Description
I will describe the process of drying and storing beans for use as dried beans or for seed. This process can be done with any and all beans. I am specifically showing lablab as an example because in my opinion this is the superior bean for a wet climate. Read more about lablab here. Lablab pods dry on the vine even in a wet environment. I’ve left beans on the vine for too long and when I’ve gone out to check them, they haven’t started decomposing and very few pests decide to get in there and eat the beans. This bean will also dry out of the pod during rainstorms and during wet humid weather, when most other beans will turn moldy and start decomposing. These reasons make lablab superior. Then to add on the nitrogen fixing capabilities, the fact that it’s a perennial, super productive, multipurpose as a food source, and the beans store well making dried beans another source of food security. Yes beans!
Harvest
First things first, you’ll need to determine what pods are worth opening up and which you can just use their pods (beans not developed). Turn them to their side to make sure they are bulging and they have beans developed. Feel them! If you accidentally harvest immature pods you may eat them sauteed or steamed, certain varieties raw.
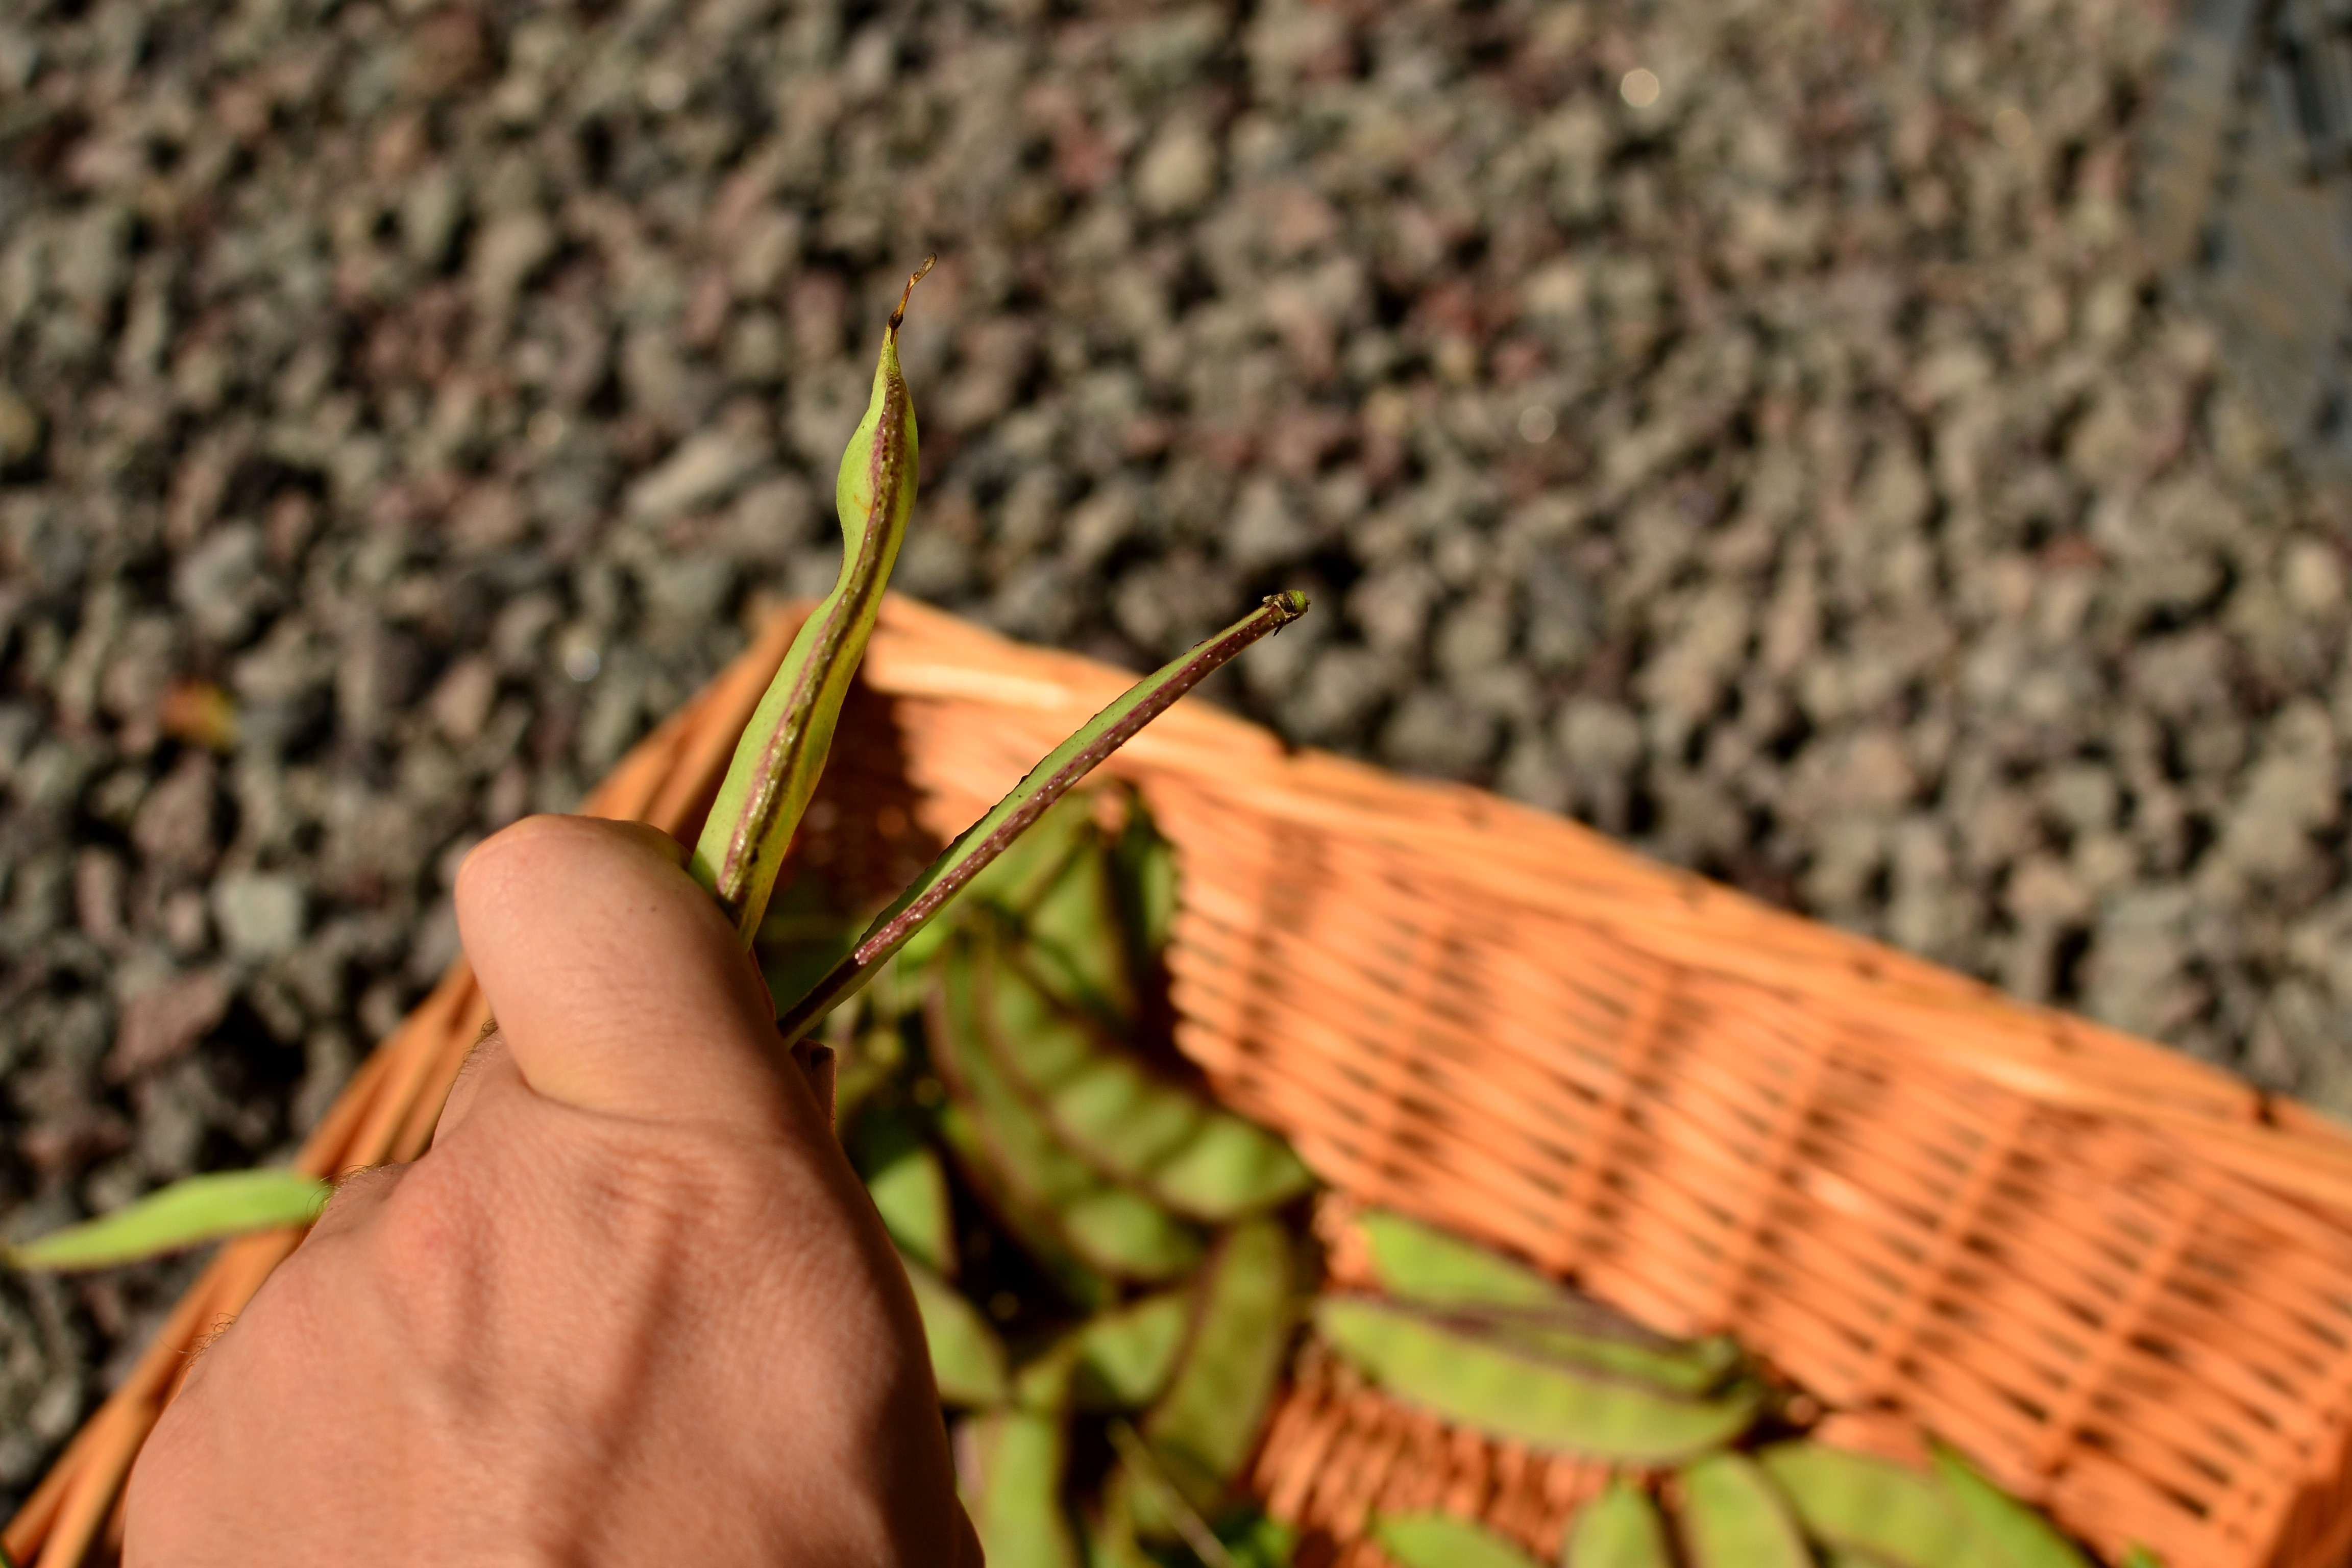
Bulging pods have beans developed. Mature on left, Immature on right.
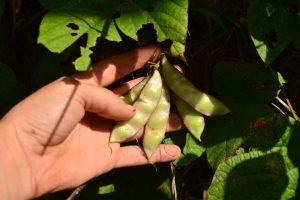
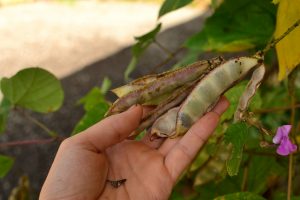
Harvest beans when dry or nearly dry on the vine. (Beans will be developed, pods bulging and usually become somewhat translucent as they dry).
-
- Mature enough, but still green
-
- Mature and somewhat translucent
-

- Fully dried on the vine
Post Harvest Processing
- If you have dry weather you can leave the pods a few days in the sun to crisp up. If you have wet weather immediately shell all beans.
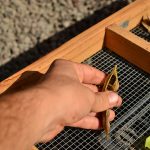
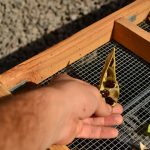
- Shelling: Take the pod, grab the flatter side and pinch the tip of one of the ends and pull away from the pod, dependent on variety a large string will peel off (hence string beans).
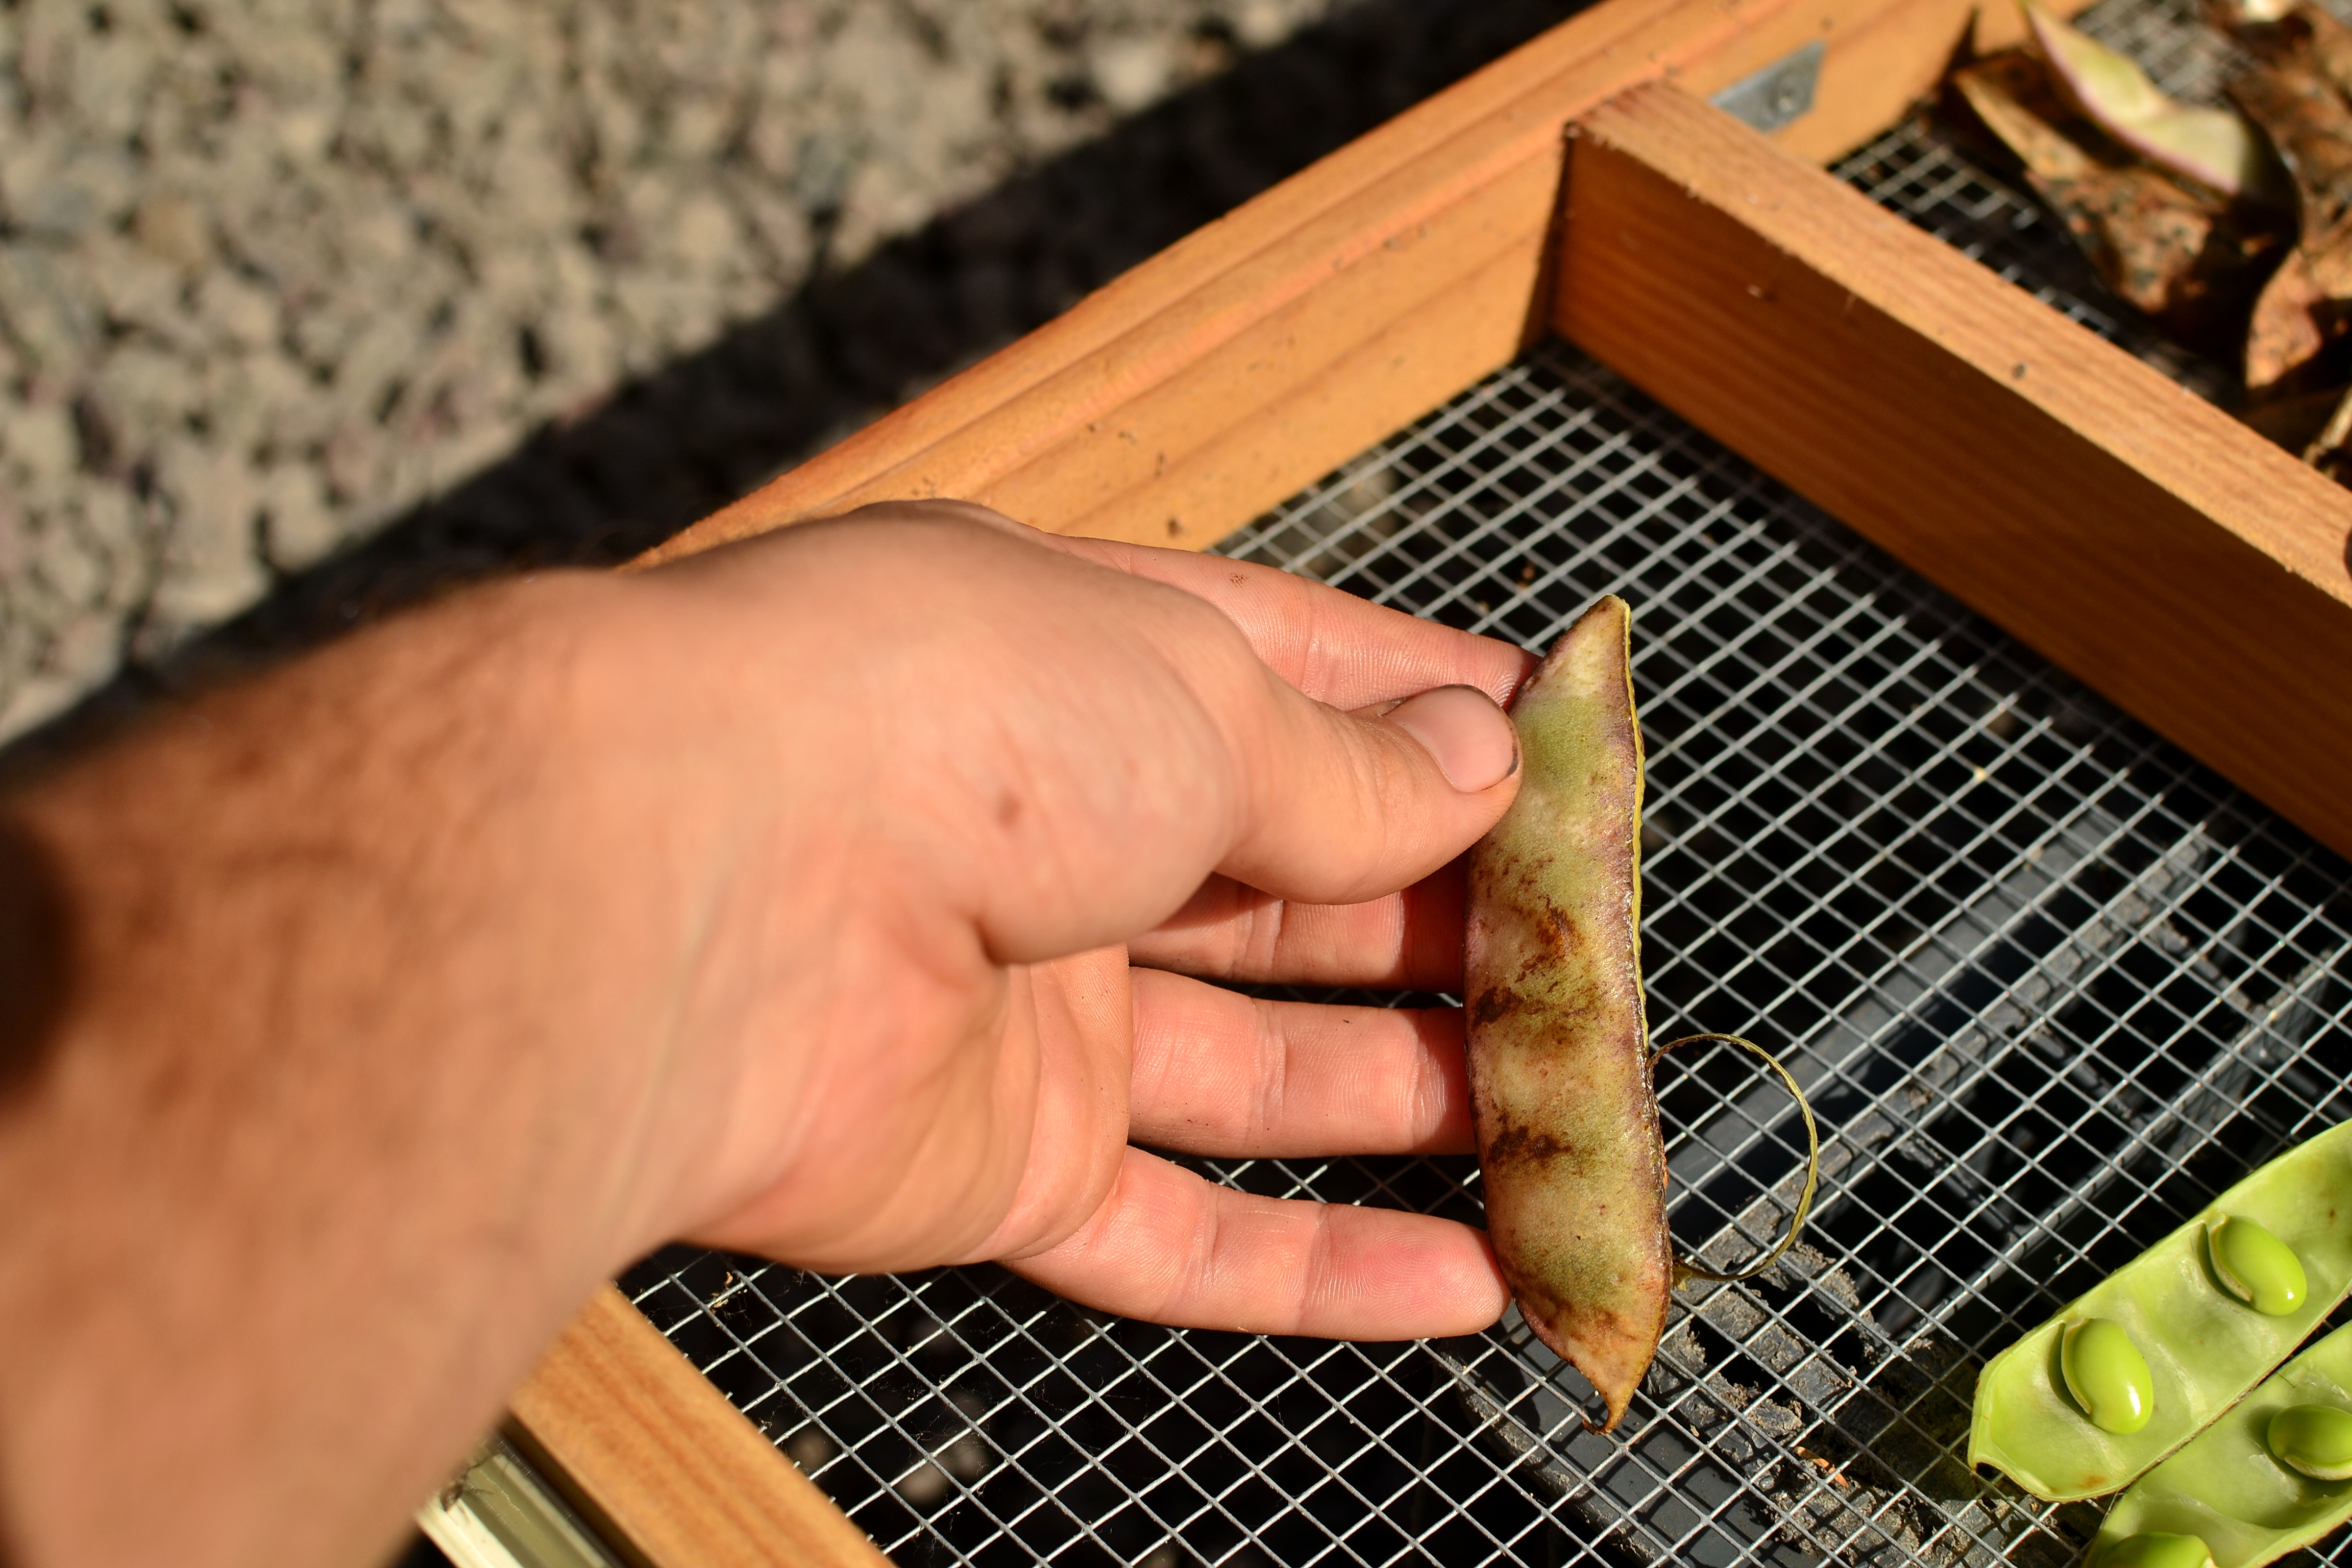
- Then apply pressure on the bean pod and it will slightly open, then grab the sides of the pod and pull them apart. The pod will typically open as two halves showing the beans (Just like processing snap peas).
-
- With time you’ll soon discover which pods are the right age to determine the bean you are looking for. I try to only collect dried ‘colored’ beans that have already transitioned away from being green and develop their dried colors.
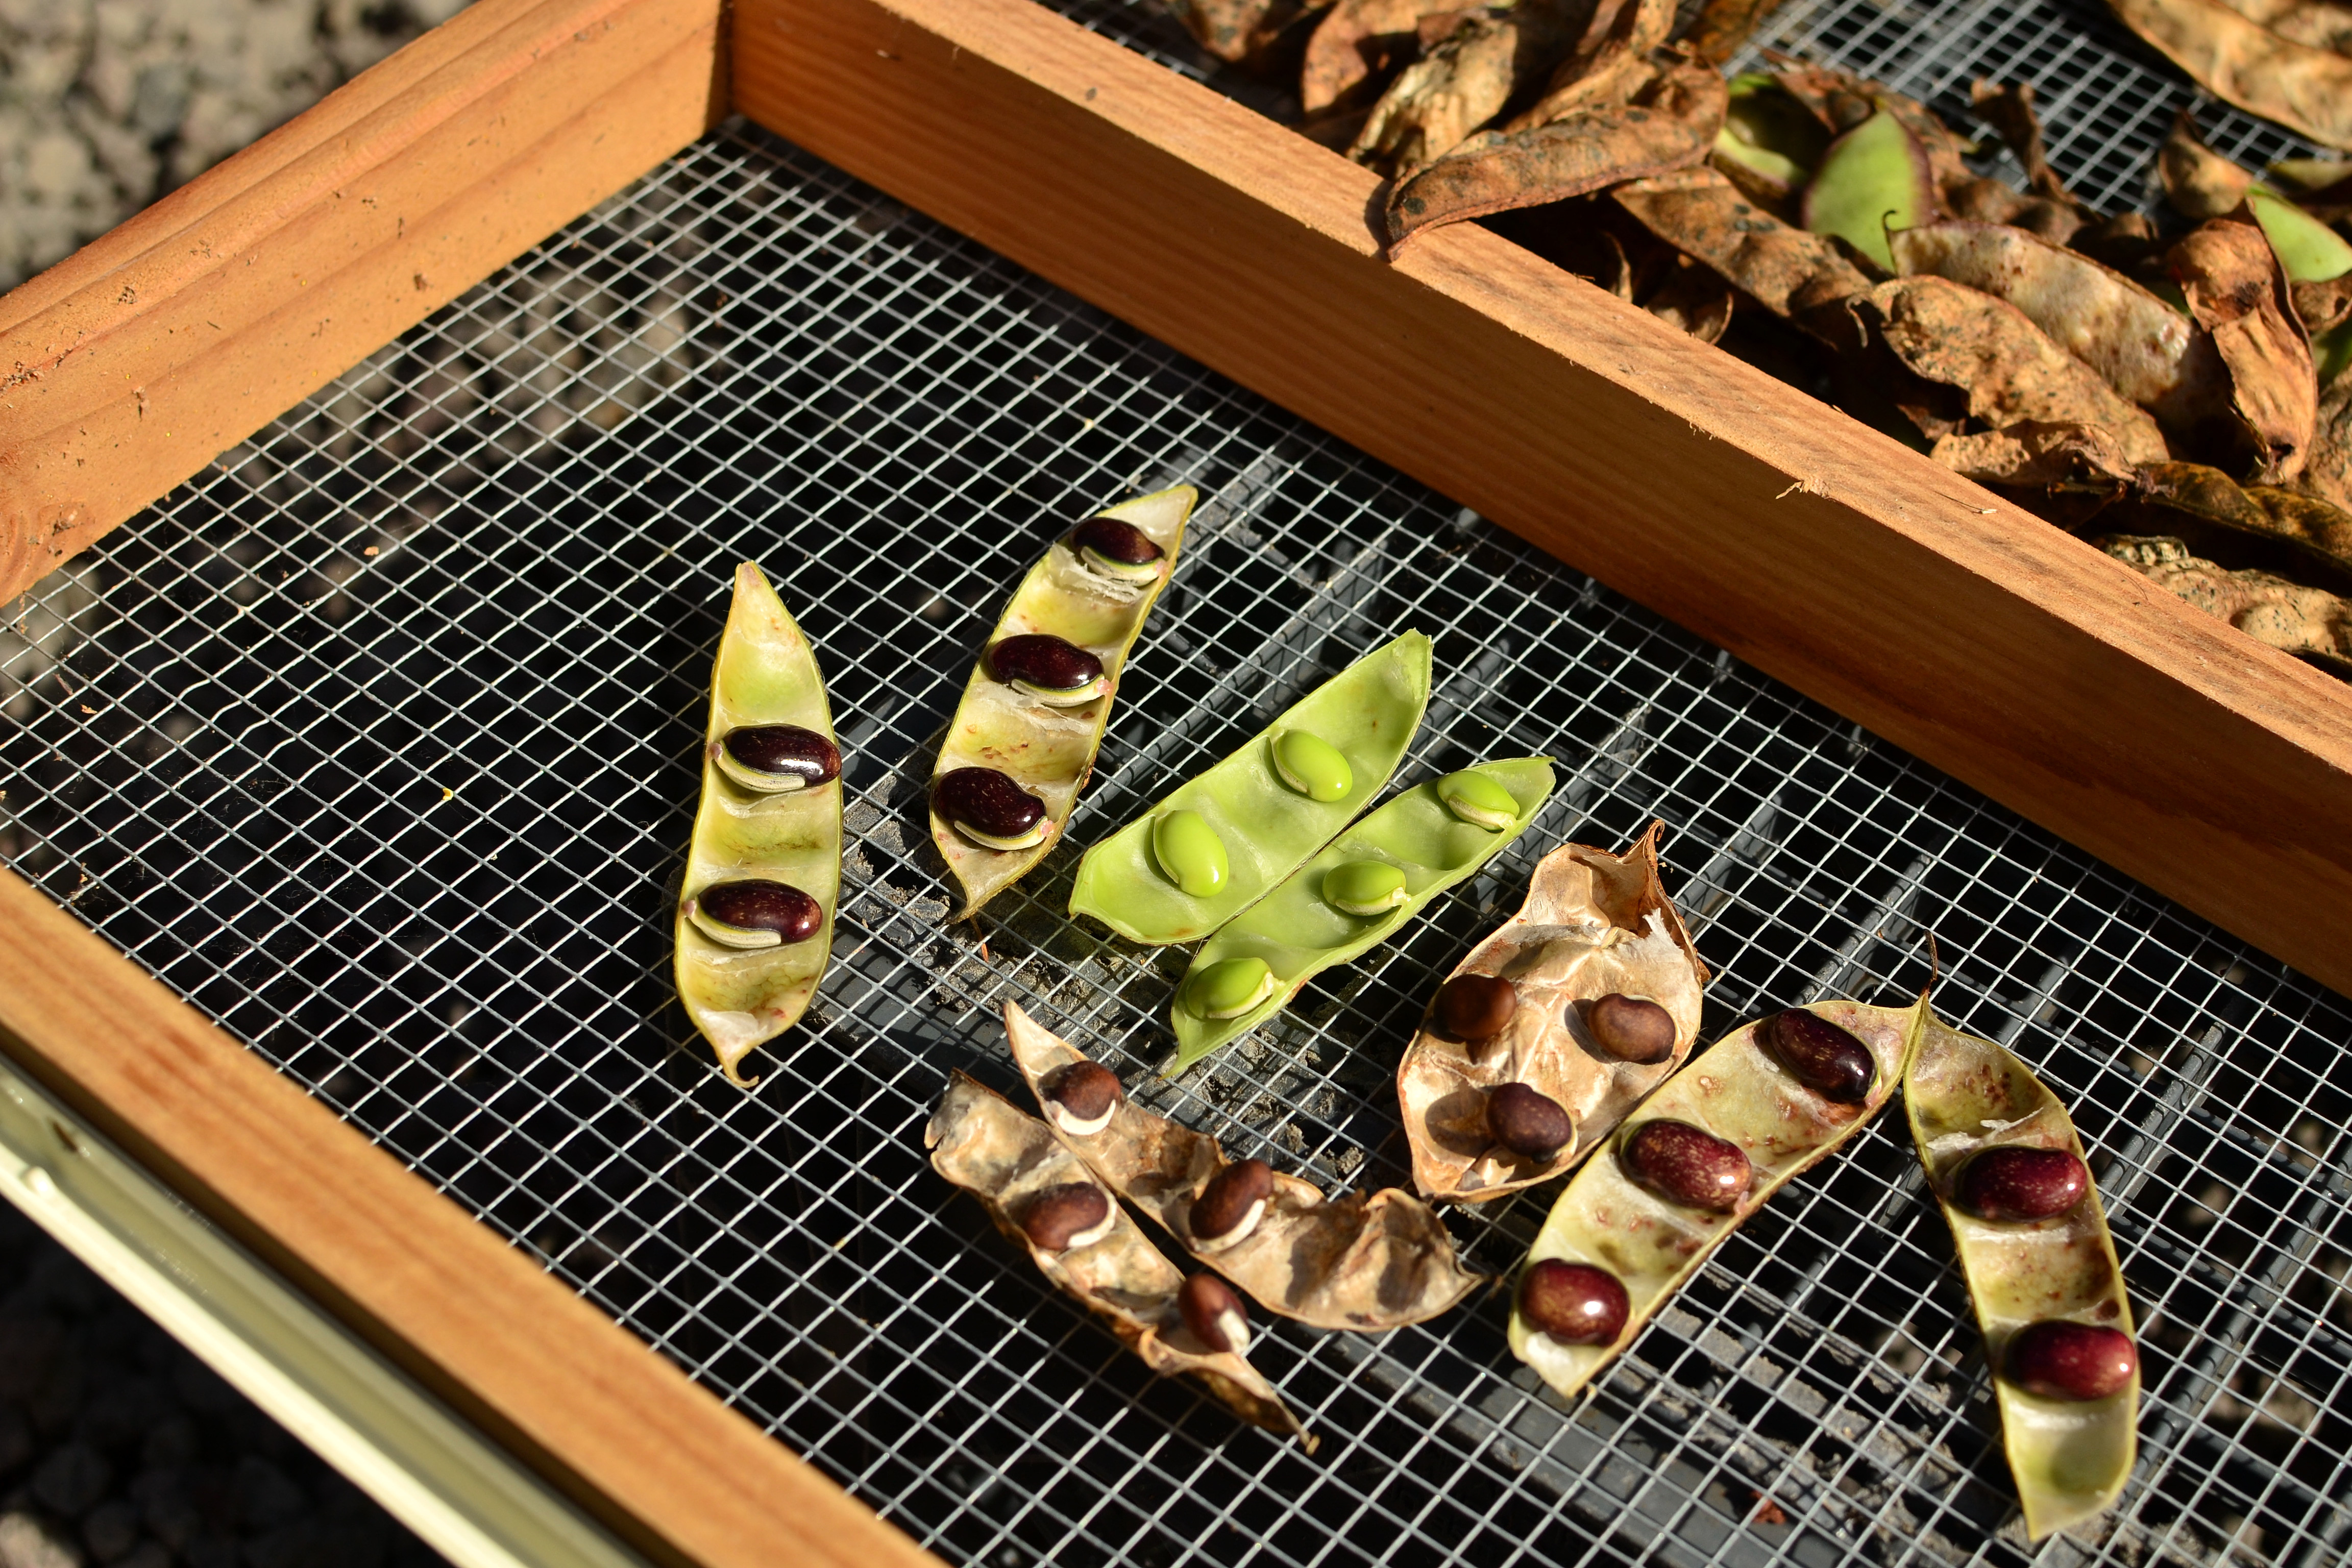
Notice some matte (dry) and some glossy (still containing moisture)
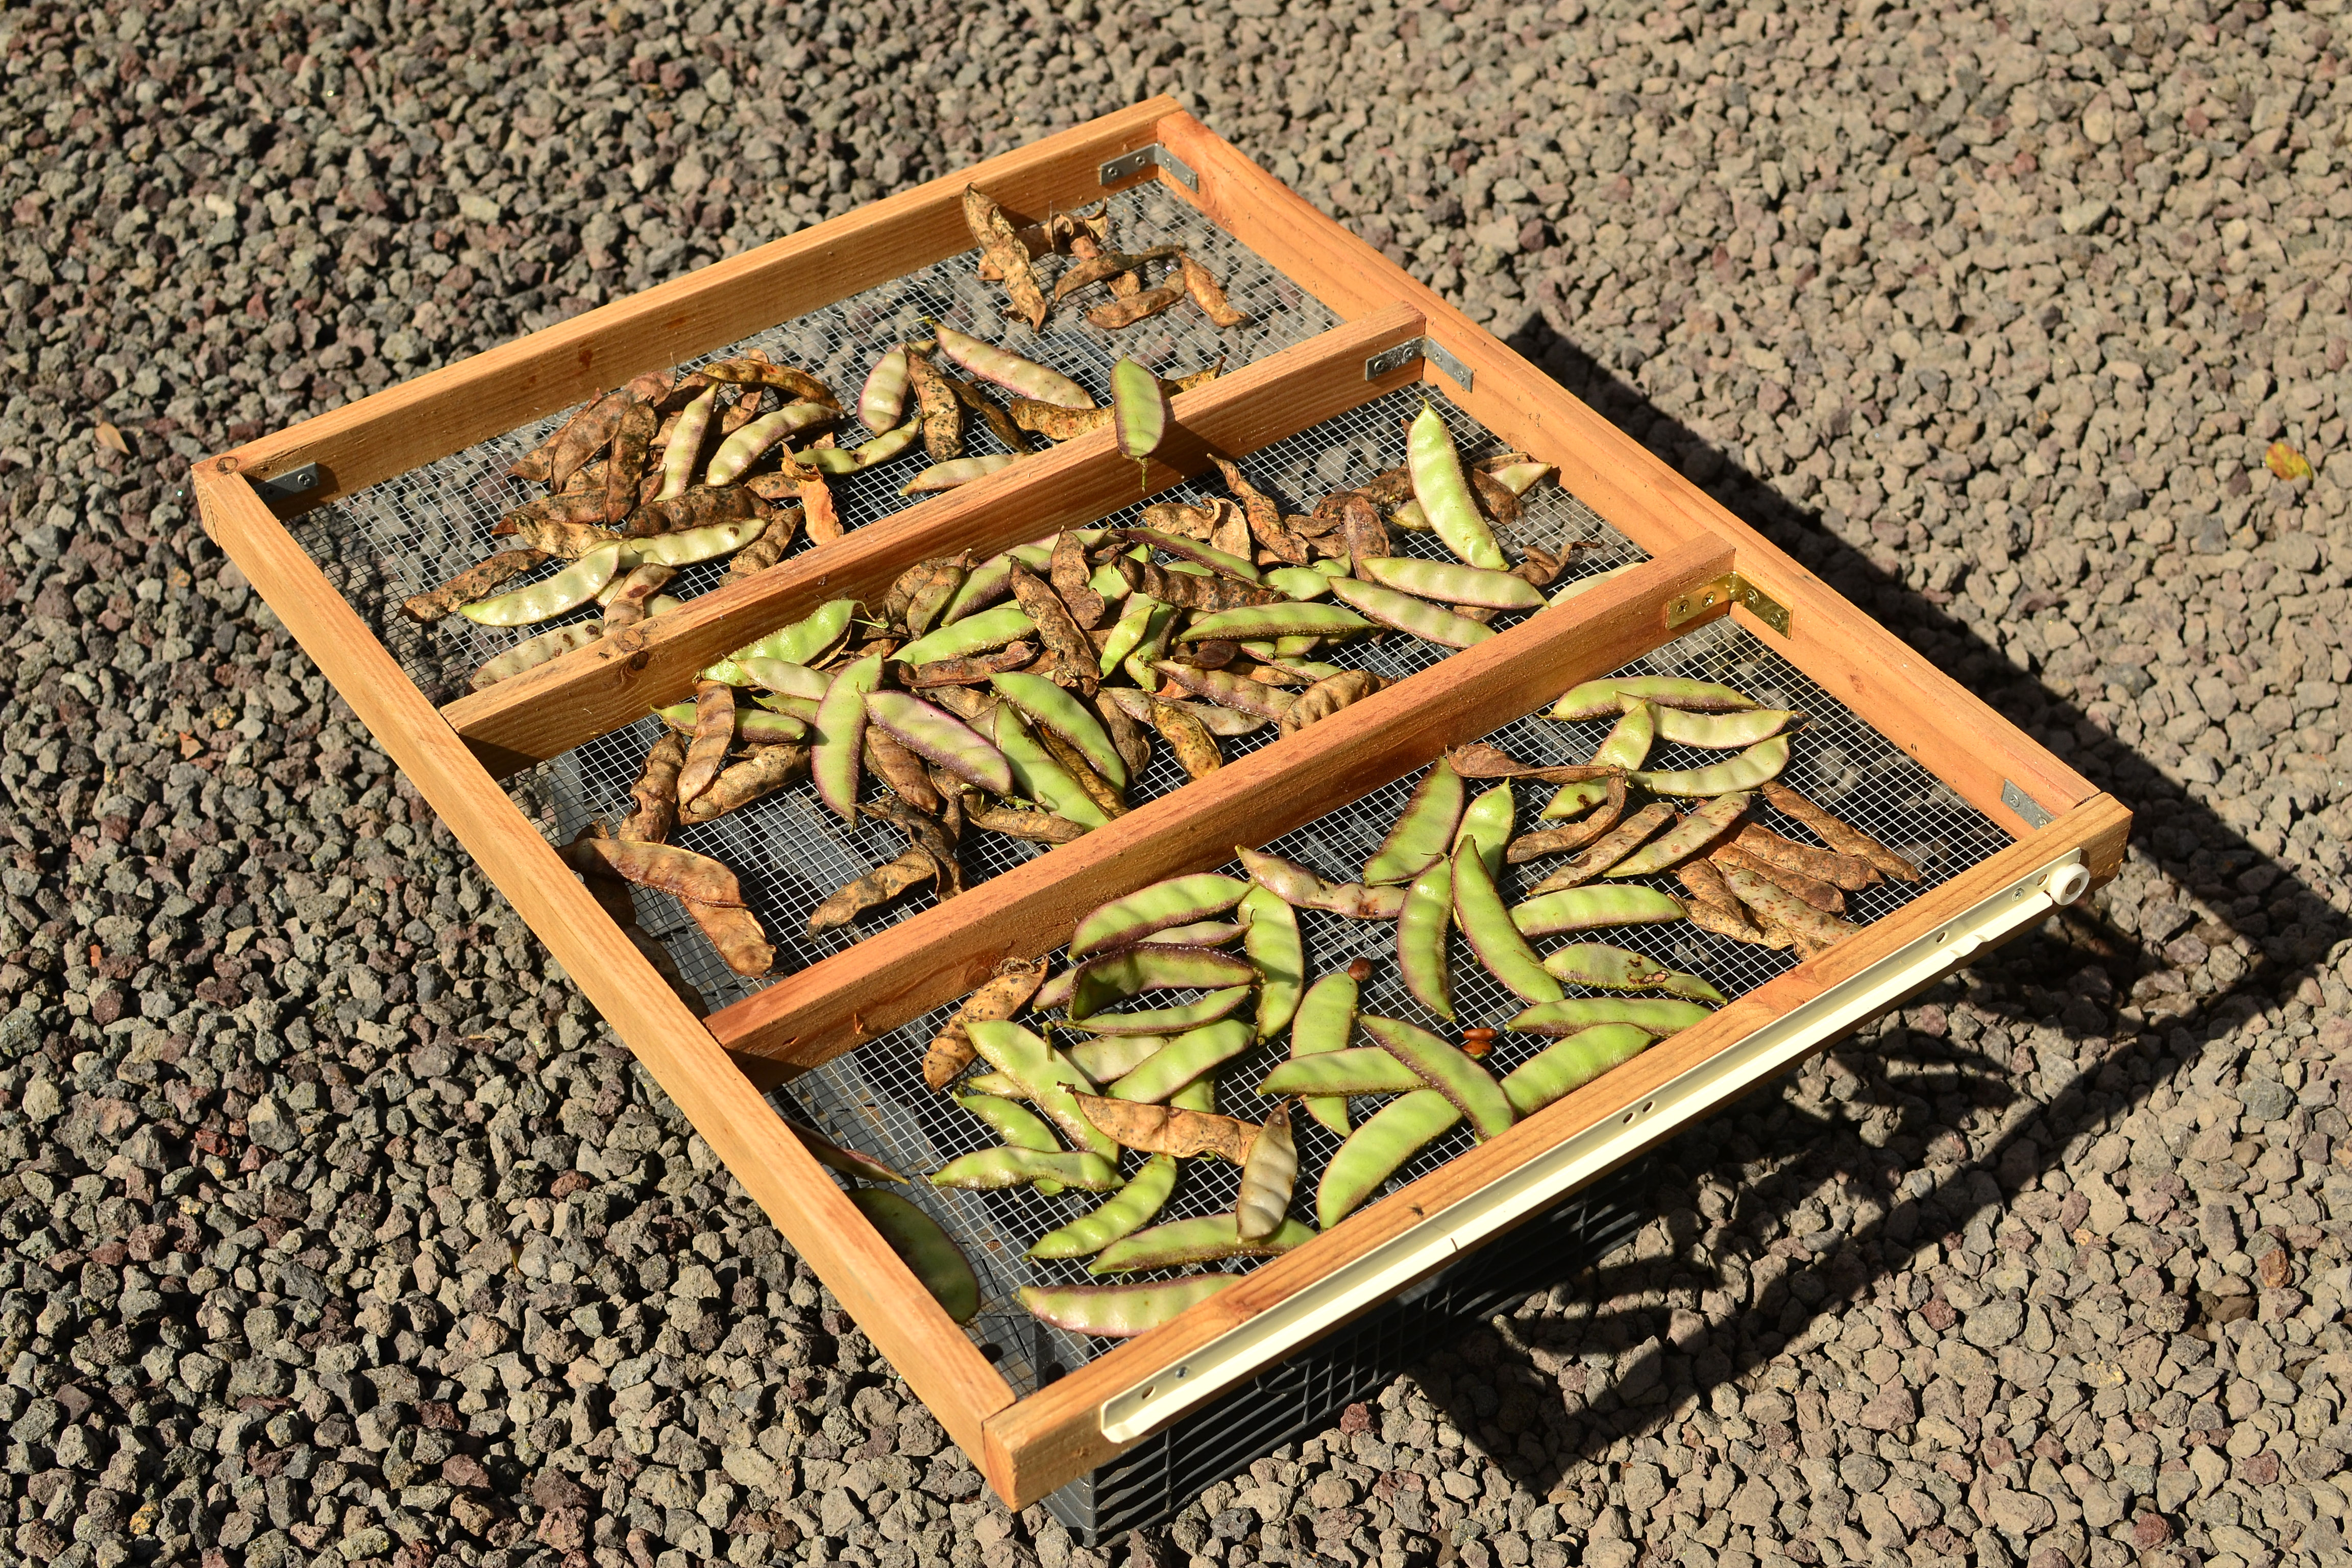
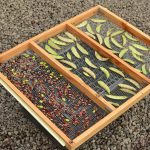
- Open up all beans all put them into a tray, clean as you go if necessary. (very simple tray, make sure you determine the size of your beans and get some metal screen sized so your harvest wont fall through (dont forget, as the beans dry they do shrink). I use wood and some screen and make a simple frame I can put anywhere in the sun). If you had to you could use a baking tray, but its best to have some ventilation all around your drying product.
-
- notice bean with residue on it
-
- simply wipe with fingers to remove
-
- Leave in the sun and monitor so the rains never come in contact with your drying beans. Periodically come and move around all the beans for even drying. Bring inside at night.
The magic of lablab – at this stage the rains came for two weeks straight. These beans dried perfectly fine in the garage, with ventilation during non-stop rain with no access to sunlight. If weather like this comes you just have to shift around your beans more periodically, and dry times are slower, but the lablab will dry. Other beans I’ve grown have molded during these kinds of weather.
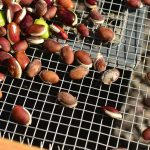
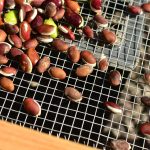
- Once beans are fully dry. You can move them around and even toss them together and you will know once they are fully dry, they sound like small pebbles, think of the sound of fresh green peas vs. dry beans. If in doubt allow them to dry longer. If there is any moisture it could spoil your whole batch once it’s stored.
- Store them for seeds or to use as dry beans for cooking. I store them in mason jars if I’m going to eat them, and I store them in plastic baggies inside of mason jars in the refrigerator if I will use them for seed. We also tend to dry our beans, cook some of them and store them cooked in the freezer. Creating that feeling of opening up a can of cooked beans without ever having to leave the property. More ways to preserve, and make life a little bit easier when there is easy to grab, quality food, when you don’t have too much time for cooking. Or in my case, too lazy to go to the store.
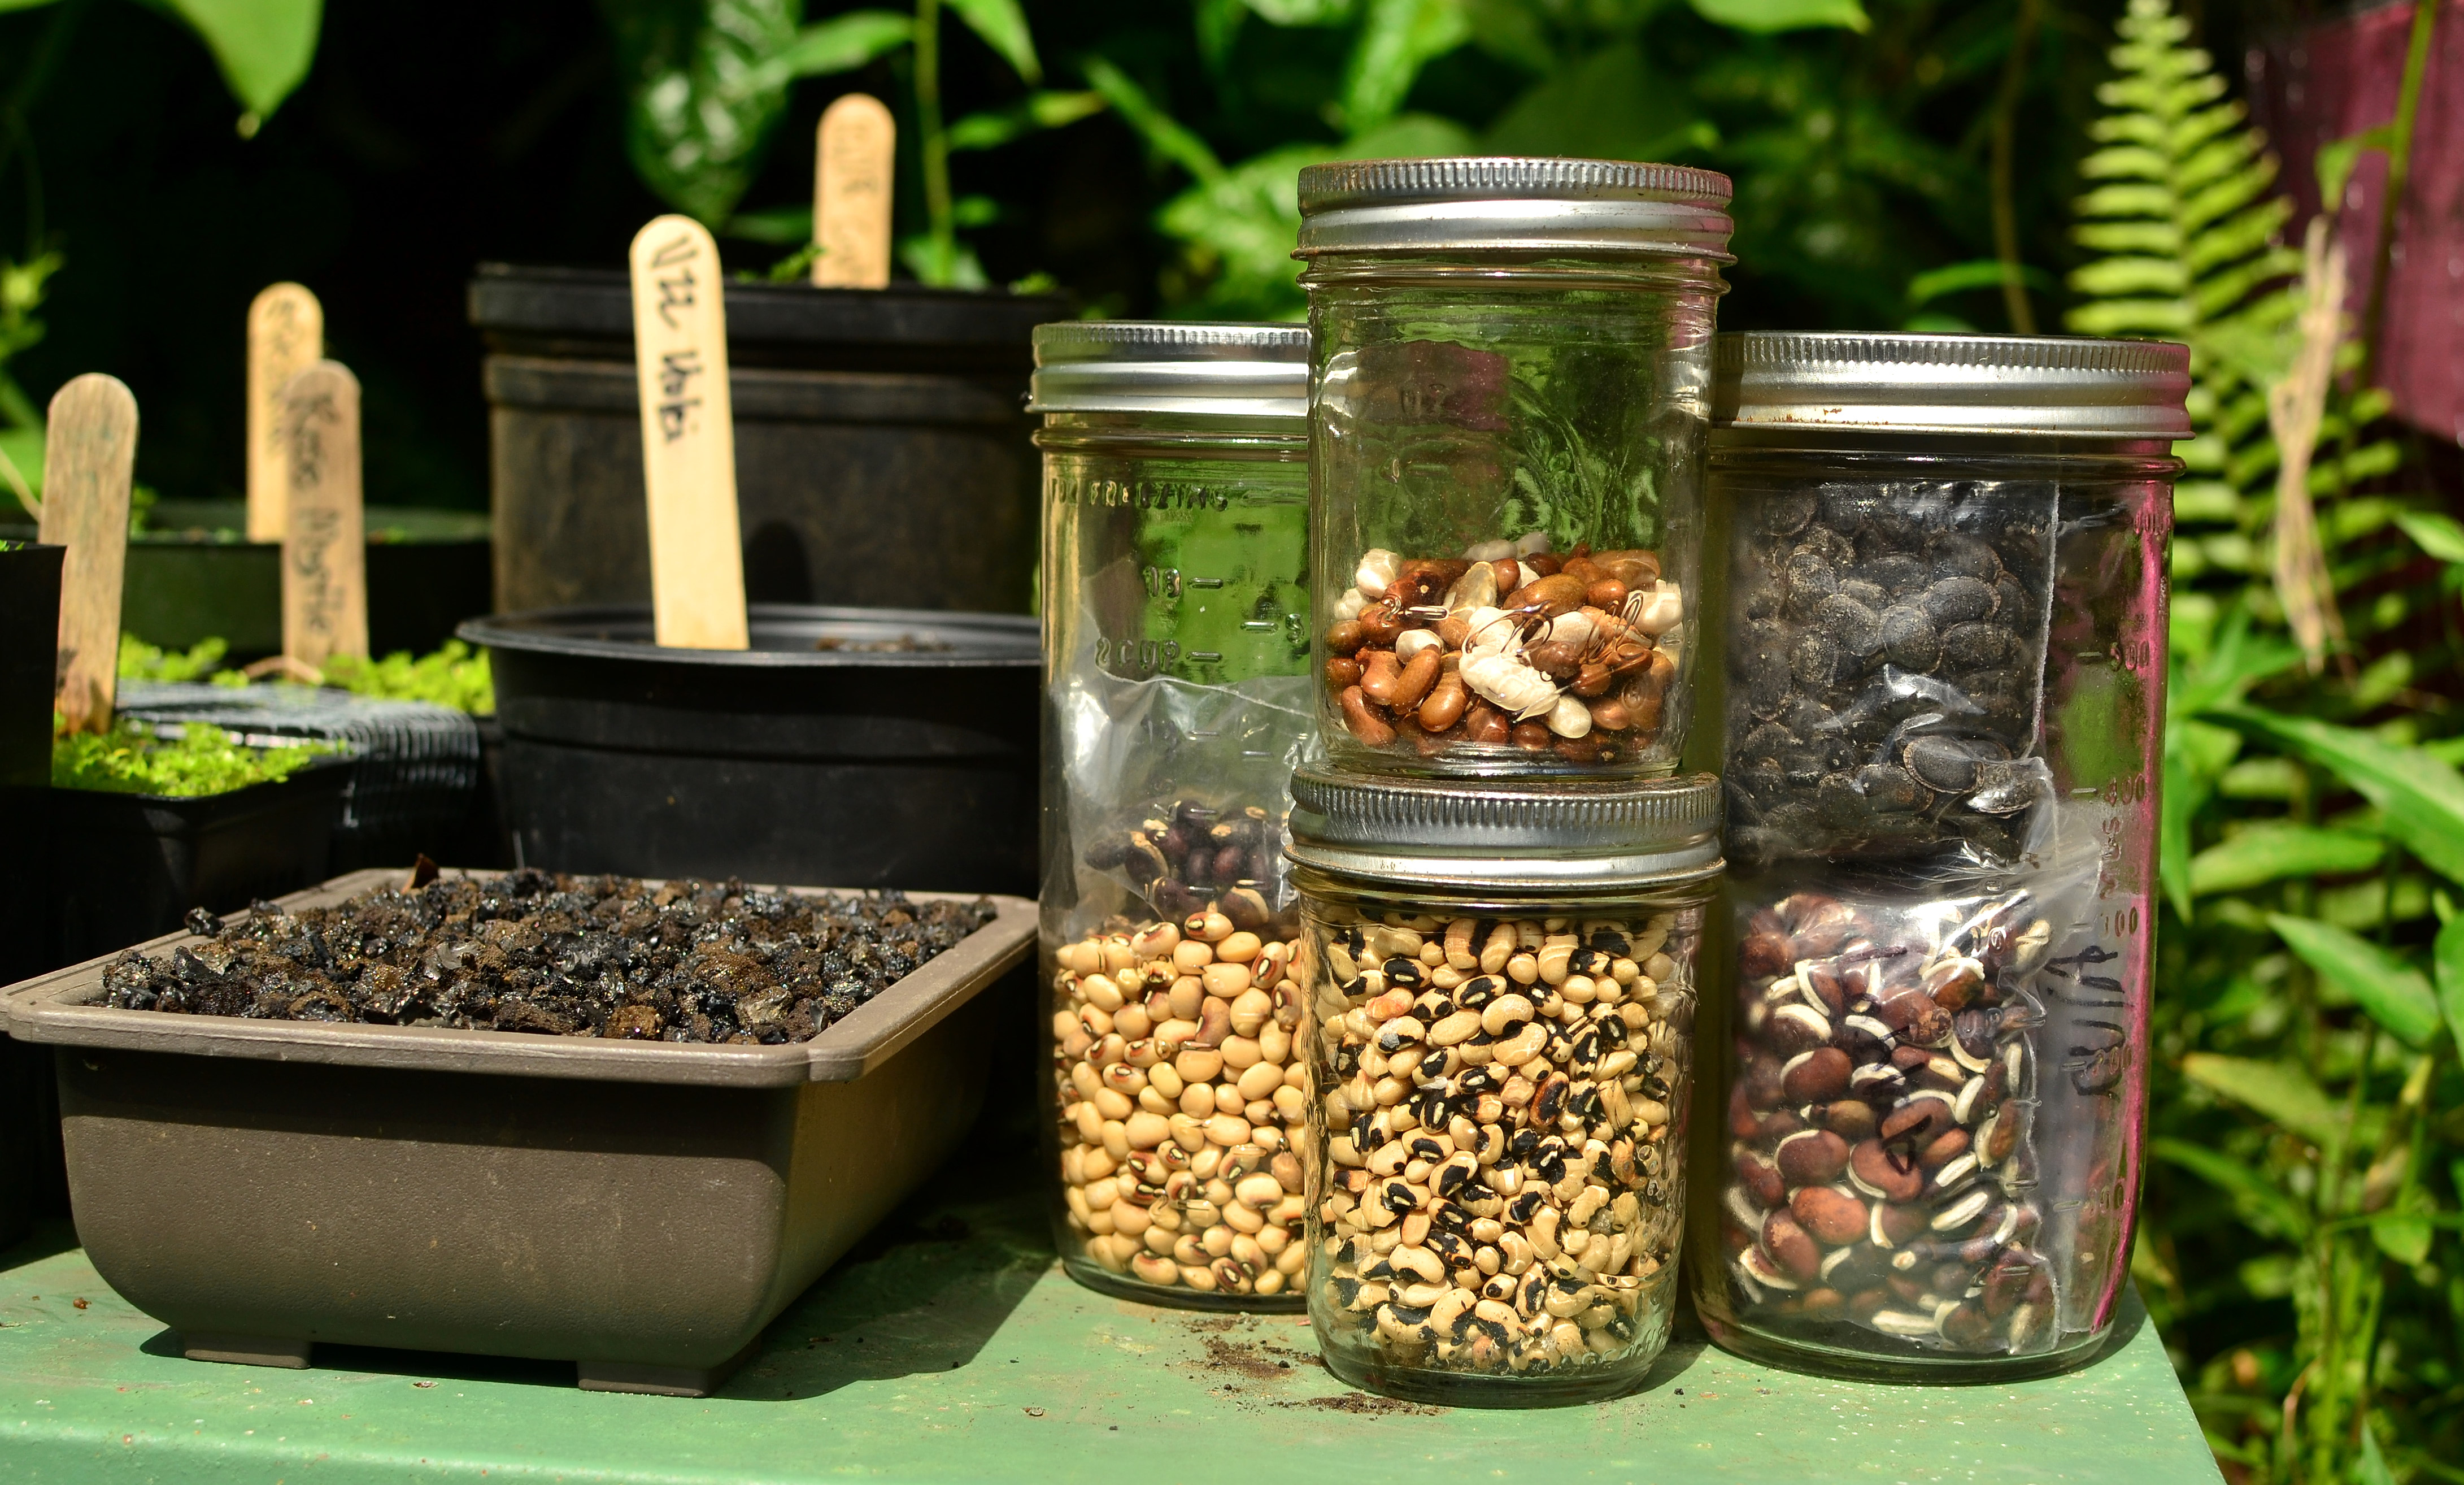
White Whippoorwill Cowpea – left. Wonder Bean ontop of Thai Soldier Long Bean – middle. Luffa ontop of Lablab – right.
Best Beans for Wet
We got 254 inches (6451.6 mm) of rain in 2018. I need a bean that can handle wet and rainfall at any time. My three favorite beans as of now are ‘White Whippoorwill Cowpea’, ‘Thai Soldier Long Bean’, and Lablab. All of these beans have been super prolific, delicious as a green bean (could be preserved by pressure cooking and canning). They all dry well on the vine, as well as in my post harvest bean processing, and all three make delicious dry beans! When you grow beans like these you have to remember not to plant too many, unless you enjoy the burden of overabundance!
Conclusions
Through this procedure you can establish food security and go full circle with your plants, from seed to seed. Most beans are very prolific and now you can store all those beans that you missed as green beans and have dry beans for soups, chili, bean dip, hummus, tofu, tempeh, bean salad, bean sprouts, or anything bean related. This also allows you to propagate from your plants as well; not only is this insuring future seed security for yourself, but also gives you adapted genetics in your specific microclimate, and well, we know Hawaii is all about microclimates. Grow them, eat them, and share them. I never need to buy beans again!
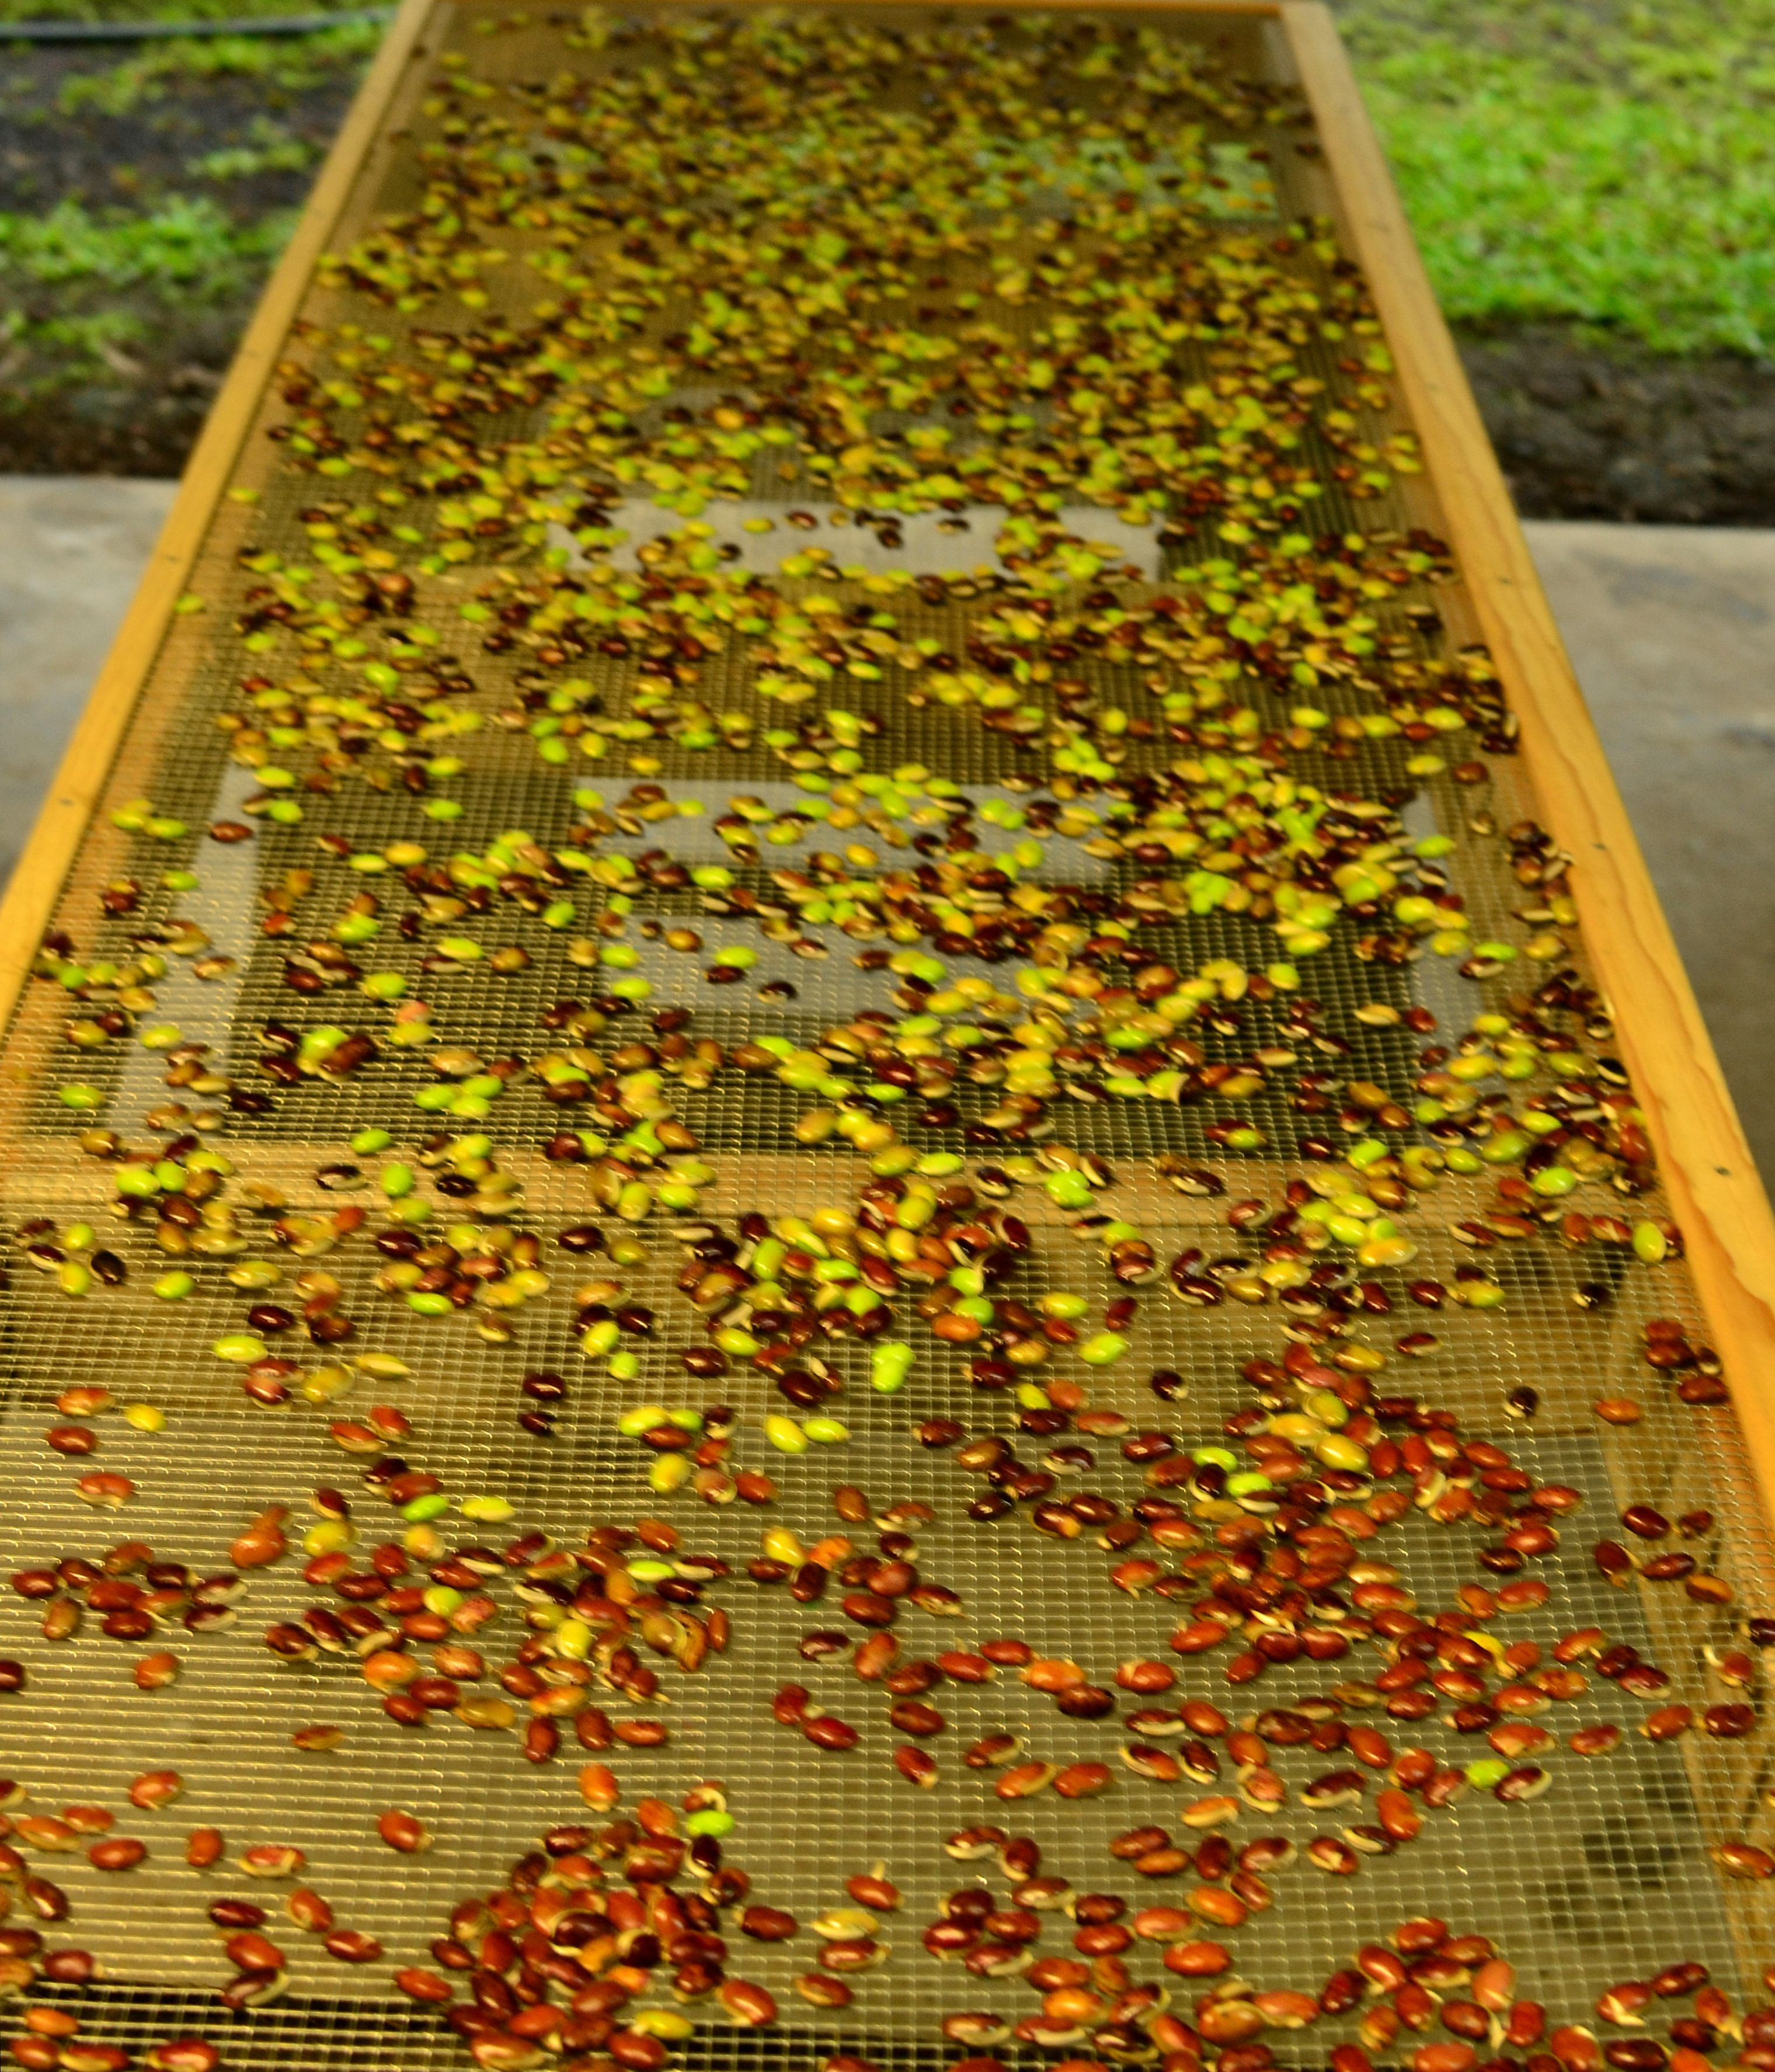
Sure is hard to capture a photo during a dimly lit rainstorm in the garage. Lablab dried just fine!
Happy Gardening!