Black Turmeric (Curcuma caesia)

Description

Black Turmeric, Curcuma caesia, is a potent perennial medicinal herb. This plant and its amazing blue-green colored rhizomes have an agreeable odor, but intense flavor, somewhat reminiscent of turpentine. Black turmeric goes dormant during part of the year, reverting to underground storage rhizomes to wait out the winter. Mid-spring, the plant shoots up bright pink and yellow flowers, and leaves up to four feet tall, bearing a red stripe along the midrib, follow a few weeks later. Common medicinal applications include use as an anti-inflammatory, anti-fungal, anti-asthmatic, antioxidant booster that can also soothe gastric issues, relax muscles, ease joint pain, control bleeding, and speed up healing of cuts and wounds. Pretty much a cure all!

Propagation

Separate roots into rhizomes, mother rhizomes and storage roots. Typically, turmeric is planted only from the mother rhizomes; the regular rhizomes are sold or used. If you only have access to regular rhizomes or are trying to propagate as many plants as you can, growing from the rhizomes is fine. Break them into sections where you have at least three eyes per rhizome. Plant them into the soil three to four inches deep and await their emergence.

Thus far, I have not figured out what to do with the storage roots; they do not grow, and I haven’t experimented with utilizing them. I usually only use the rhizomes.

Regular Rhizomes on top left. Mother Rhizomes bottom. Storage Roots top right.

Care

Black turmeric is grown exactly the same as regular turmeric. Take a rhizome and stick it in the ground, await its emergence in the spring and then fertilize. Once it goes dormant in the winter (leaves die back completely), dig it up and enjoy its beauty and taste!

Eating

In my opinion, rhizomes are too intense to use for cooking. We do a simple tincture and take a dropper full every night before bed. I’ve heard of people doing honey infusions as well.

To make the tincture, we take freshly washed rhizomes and add them to a food processor to chop finely. We then soak it in Hawaiian Okolehao (moonshine made from Ti leaf and sugarcane) for three to four weeks, agitating/shaking once a day, then strain and jar the liquid.

Where to obtain planting materials

I’ve seen this plant for sale a few times at plant sales, but it still seems to be oddly rare on the Big Island. I think because of its intensity, many people do not know how to use it.

My Garden

I’ve been growing black turmeric for a few years now; it wasn’t until this past year that I started consuming it on a regular basis. Previously, I only grew it as an ornamental because I couldn’t find a way to utilize the rhizomes appropriately. My mom’s co-worker shared with us her recipe for the tincture in exchange for some rhizomes. This simple exchange gave us the potential to utilize this amazingly medicinal plant. I believe the sugarcane in the moonshine smoothes out the intensity of the turmeric flavor, allowing it to be diluted enough to be enjoyable. We haven’t experimented with other alcohols, yet, but I’m already convinced the moonshine is the way to go.

This plant is highly ornamental and thrives without much attention. Everyone should be growing it!

Black Turmeric growing with: Acerola, cassava, mexican sunflower, awapuhi, sugar cane, mocambo, brazilian cherry, rollinia, mulberry, ooray, blackberry jam fruit, Ugni, podocarpus and cook pine.

Black Turmeric growing with: Acerola, cassava, mexican sunflower, awapuhi, sugar cane, mocambo, brazilian cherry, rollinia, mulberry, ooray, blackberry jam fruit, Ugni, podocarpus and cook pine.

Black Turmeric growing with: ti leaf, vetiver, pigeon pea, belembe, triple crown thornless blackberry, culantro, tamarillo, kumquat, poha, bell peppers, and citronella grass

Happy Gardening!

New Instagram Account

Aloha all! I wanted to share my new project which is focused on turning old degraded sugarcane land back into a lush and productive agroforestry food system. This system will be based on successional agroforestry, describe methodologies dependent upon natural systems, and will be based solely on mulching/organization of organic matter to allow for rapid decomposition to speed up nutrient cycling processes. This project is striving to be completely self sustaining and to eliminate off farm inputs in time. Follow along as the project progresses!

https://www.instagram.com/agroforestryhawaii/

From this small demo plot:

To this: in 2.5 months with no intervention

To this: in 3.5 months

Mitsuba (Cryptotaenia japonica)

Description

Mitsuba, Cryptotaenia japonica, or Japanese parsley/Japanese honeywort, is a perennial shade-loving herb. It has a taste somewhat reminiscent of parsley/celery. Mitsuba grows up to two feet tall, with a clumping habit formed by short rhizomes and thick roots. Most parts of the plant are edible: the leaves, stems, shoots and seeds. The leaves smell wonderful to brush against and have a beautiful appearance.

Propagation

Mitsuba grows from seed; however, I’ve never seen my plant produce flowers.

Plants may easily be divided as well.

Care

Mitsuba is carefree. Plant in part shade and watch it grow! Regular fertilizing will promote vegetative growth.

Eating

The leaves/stems are used fresh or blanched/parboiled and used in various dishes: pickles, soups, salads, stir fried, or fried. Leaves become somewhat bitter with too much cooking, so cook them quickly or add them as a garnish. The roots are typically fried.

Where to obtain planting materials

This one is a little bit more difficult than most. I’ve never seen the plant or seeds for sale on island. I got a small plant from a friend who got that from a friend. It is around, and I’ve seen it for sale on some seed catalog websites. From my readings, this plant is highly valued in Japanese cuisine; maybe tap into their community to find the plant.

My Garden

I’ve been growing this plant for a little while now and I always use it as a parsley replacement in recipes or when I want a similar flavor. My plant is just now vigorous enough to divide and create more plants. It’s nicely nestled into my herb garden where the leaves make me stop and stare whenever I see it. In the same bed, I’ve been letting my crotalaria spp. (rattlepod) grow like crazy to propagate and gather seeds; luckily for mitsuba, it loves living under the shade this provides!

Happy Gardening!

Litte Fire Ant (Wasmannia auropunctata) Prevention and Protocol

This blog entry is intended for Hawaii residents to prevent new introductions of an invasive specie onto your property.

Description

Little Fire Ant (LFA), Wasmannia auropunctata, is an invasive ant with a nasty sting. LFA are small, fully red, slow moving and live in trees. They do not swarm and they only sting when they get roughed up. While they are not super painful, multiple stings will leave welts and itchiness for a few days. No ants are native to Hawaii and all cause harm to the native ecosystem. However, LFA cause harm to us humans as well, they can and should be controlled around your home.

Typical LFA activity on a potted plant

LFA do not spread very far from their nest. So most nests will be brought onto your property by human activities of moving around materials. Maybe in a potted plant or other plant materials. Check all materials brought into your yard before spreading them.

This is important to note. Worker ants do not start new nests. Only a queen will start a new nest by laying a new queen, this new queen will travel very close to the original nest and start her new nest. Queen and worker ants look quite different, and you will usually see eggs where there is a nest and a queen. So only moving a nest can create a new nest. Not moving individual worker ants.

I highly recommend taking a free LFA workshop from Big Island Invasive Species Committee to learn more information from the experts (http://www.biisc.org/lfa/).

Survey

First thing to know is if you have LFA or not. You will need to survey multiple places in your yard to see if or where they have nests. They prefer trees and shaded moist areas. Look at BIISC website for more details (http://www.biisc.org/surveying-for-lfa/).

  • Use a chopstick, coffee stirrer, stick, pencil, anything that you can stick somewhere and can remember what it looks like
  • Spread a thin layer of peanut butter on the stick (LFA love the protein and sugar content of peanut butter)
  • Poke them into crevices on trees, bananas, ti, near shrubs or into grass
  • Wait 30 minutes
  • Check sticks to see if LFA are crawling around near the peanut butter
  • If you cannot identify them as LFA check website above for confirmation details
  • Note locations where infected sticks were found

Survey all soils, mulches, cinders, composts, tree materials (including posts and logs), firewood, potted plants, cuttings, grafts, air-layers, literally everything, before moving them around your site. 

Chopstick with smeared peanut butter

LFA Found

Quarantine Potential Infection Points

It only takes a few minutes to survey materials at the entrance of your property. This will prevent nest from entering! Once the survey is completed you can proceed to deal with the outcome of your survey. To learn about chemical products for treatments and prevention check out http://www.biisc.org/types-of-products-to-control-lfa/. Amdro and Tango both work as a chemical control.

Non-Pesticide Method For Prevention

Soapy water will drown the ants. The soapy water breaks down the exoskeleton of the ant and deteriorates their floating/waterproofing abilities. When I bring new materials into my yard, I soak them all in soapy water for 15-30 minutes to reduce risk of bringing in new nests.

I also follow this process before I transplant a potted plant into the ground. That way I’m not spreading a nest to an uninfected part of the yard.

Protocol:

  • 5 gallon bucket with ~ 1 gallon of water
  • 1 teaspoon of soap. Any dish soap will do, but make sure it isn’t ‘ultra’ as that could harm your plants. I use Dr. Bronner’s soap.
  • Stick your whole plant into the solution, soil and all. Make sure there is enough water to completely cover the whole pot.
  • After 15-30 minutes, remove the plants and run water through the pot to wash out any excess soap. (If transplanting I look at root ball to make sure no more ants are moving)

3 gallon water: 3 teaspoons soap

Plant soaking in sudsy solution

Larger scale soaking. Sudsy water

Soak plants as much as possible

Rinse out soapy water

Keep the ratio at least 1 gallon of water: 1 teaspoon soap. So 3 gallons of water would be 3 teaspoons or 1 tablespoon of soap. When doing larger containers just make sure the water stays sudsy during the soaking.

This also prevents spreading other pests around too.

Conclusion

I’ve been using this method about two years now and I haven’t spread any ants around to uninfected parts of the property. This process does work! I also soak everything before I give plants away including cuttings and I have never given anyone fire ants. If everyone were to follow this easy protocol we could greatly reduce the spread of these little ants!

This makes for much more happy gardening!

Bean Processing

Description

I will describe the process of drying and storing beans for use as dried beans or for seed. This process can be done with any and all beans. I am specifically showing lablab as an example because in my opinion this is the superior bean for a wet climate. Read more about lablab here. Lablab pods dry on the vine even in a wet environment. I’ve left beans on the vine for too long and when I’ve gone out to check them, they haven’t started decomposing and very few pests decide to get in there and eat the beans. This bean will also dry out of the pod during rainstorms and during wet humid weather, when most other beans will turn moldy and start decomposing. These reasons make lablab superior. Then to add on the nitrogen fixing capabilities, the fact that it’s a perennial, super productive, multipurpose as a food source, and the beans store well making dried beans another source of food security. Yes beans!

Harvest

First things first, you’ll need to determine what pods are worth opening up and which you can just use their pods (beans not developed). Turn them to their side to make sure they are bulging and they have beans developed. Feel them! If you accidentally harvest immature pods you may eat them sauteed or steamed, certain varieties raw.

dsc_0660

Bulging pods have beans developed. Mature on left, Immature on right.

Harvest beans when dry or nearly dry on the vine. (Beans will be developed, pods bulging and usually become somewhat translucent as they dry).

Post Harvest Processing

  1. If you have dry weather you can leave the pods a few days in the sun to crisp up. If you have wet weather immediately shell all beans.dsc_0665
  2. Shelling: Take the pod, grab the flatter side and pinch the tip of one of the ends and pull away from the pod, dependent on variety a large string will peel off (hence string beans). dsc_0674
  3. Then apply pressure on the bean pod and it will slightly open, then grab the sides of the pod and pull them apart. The pod will typically open as two halves showing the beans (Just like processing snap peas).
  4. With time you’ll soon discover which pods are the right age to determine the bean you are looking for. I try to only collect dried ‘colored’ beans that have already transitioned away from being green and develop their dried colors.

    dsc_0677

    Notice some matte (dry) and some glossy (still containing moisture)

  5. Open up all beans all put them into a tray, clean as you go if necessary. (very simple tray, make sure you determine the size of your beans and get some metal screen sized so your harvest wont fall through (dont forget, as the beans dry they do shrink). I use wood and some screen and make a simple frame I can put anywhere in the sun). If you had to you could use a baking tray, but its best to have some ventilation all around your drying product.
  6. Leave in the sun and monitor so the rains never come in contact with your drying beans. Periodically come and move around all the beans for even drying. Bring inside at night.

The magic of lablab – at this stage the rains came for two weeks straight. These beans dried perfectly fine in the garage, with ventilation during non-stop rain with no access to sunlight. If weather like this comes you just have to shift around your beans more periodically, and dry times are slower, but the lablab will dry. Other beans I’ve grown have molded during these kinds of weather.

  1. Once beans are fully dry. You can move them around and even toss them together and you will know once they are fully dry, they sound like small pebbles, think of the sound of fresh green peas vs. dry beans. If in doubt allow them to dry longer. If there is any moisture it could spoil your whole batch once it’s stored.
  2. Store them for seeds or to use as dry beans for cooking. I store them in mason jars if I’m going to eat them, and I store them in plastic baggies inside of mason jars in the refrigerator if I will use them for seed. We also tend to dry our beans, cook some of them and store them cooked in the freezer. Creating that feeling of opening up a can of cooked beans without ever having to leave the property. More ways to preserve, and make life a little bit easier when there is easy to grab, quality food, when you don’t have too much time for cooking. Or in my case, too lazy to go to the store.

    dsc_0802

    White Whippoorwill Cowpea – left. Wonder Bean ontop of Thai Soldier Long Bean – middle. Luffa ontop of Lablab – right.

Best Beans for Wet

We got 254 inches (6451.6 mm) of rain in 2018. I need a bean that can handle wet and rainfall at any time. My three favorite beans as of now are ‘White Whippoorwill Cowpea’, ‘Thai Soldier Long Bean’, and Lablab. All of these beans have been super prolific, delicious as a green bean (could be preserved by pressure cooking and canning). They all dry well on the vine, as well as in my post harvest bean processing, and all three make delicious dry beans! When you grow beans like these you have to remember not to plant too many, unless you enjoy the burden of overabundance!

Conclusions

Through this procedure you can establish food security and go full circle with your plants, from seed to seed. Most beans are very prolific and now you can store all those beans that you missed as green beans and have dry beans for soups, chili, bean dip, hummus, tofu, tempeh, bean salad, bean sprouts, or anything bean related. This also allows you to propagate from your plants as well; not only is this insuring future seed security for yourself, but also gives you adapted genetics in your specific microclimate, and well, we know Hawaii is all about microclimates. Grow them, eat them, and share them. I never need to buy beans again!

dsc_0052

Sure is hard to capture a photo during a dimly lit rainstorm in the garage. Lablab dried just fine!

Happy Gardening!


Observations/Recommendations for Lava Zone 1

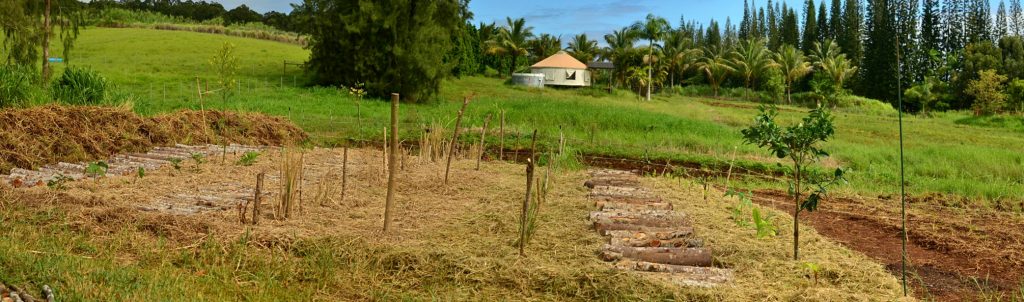
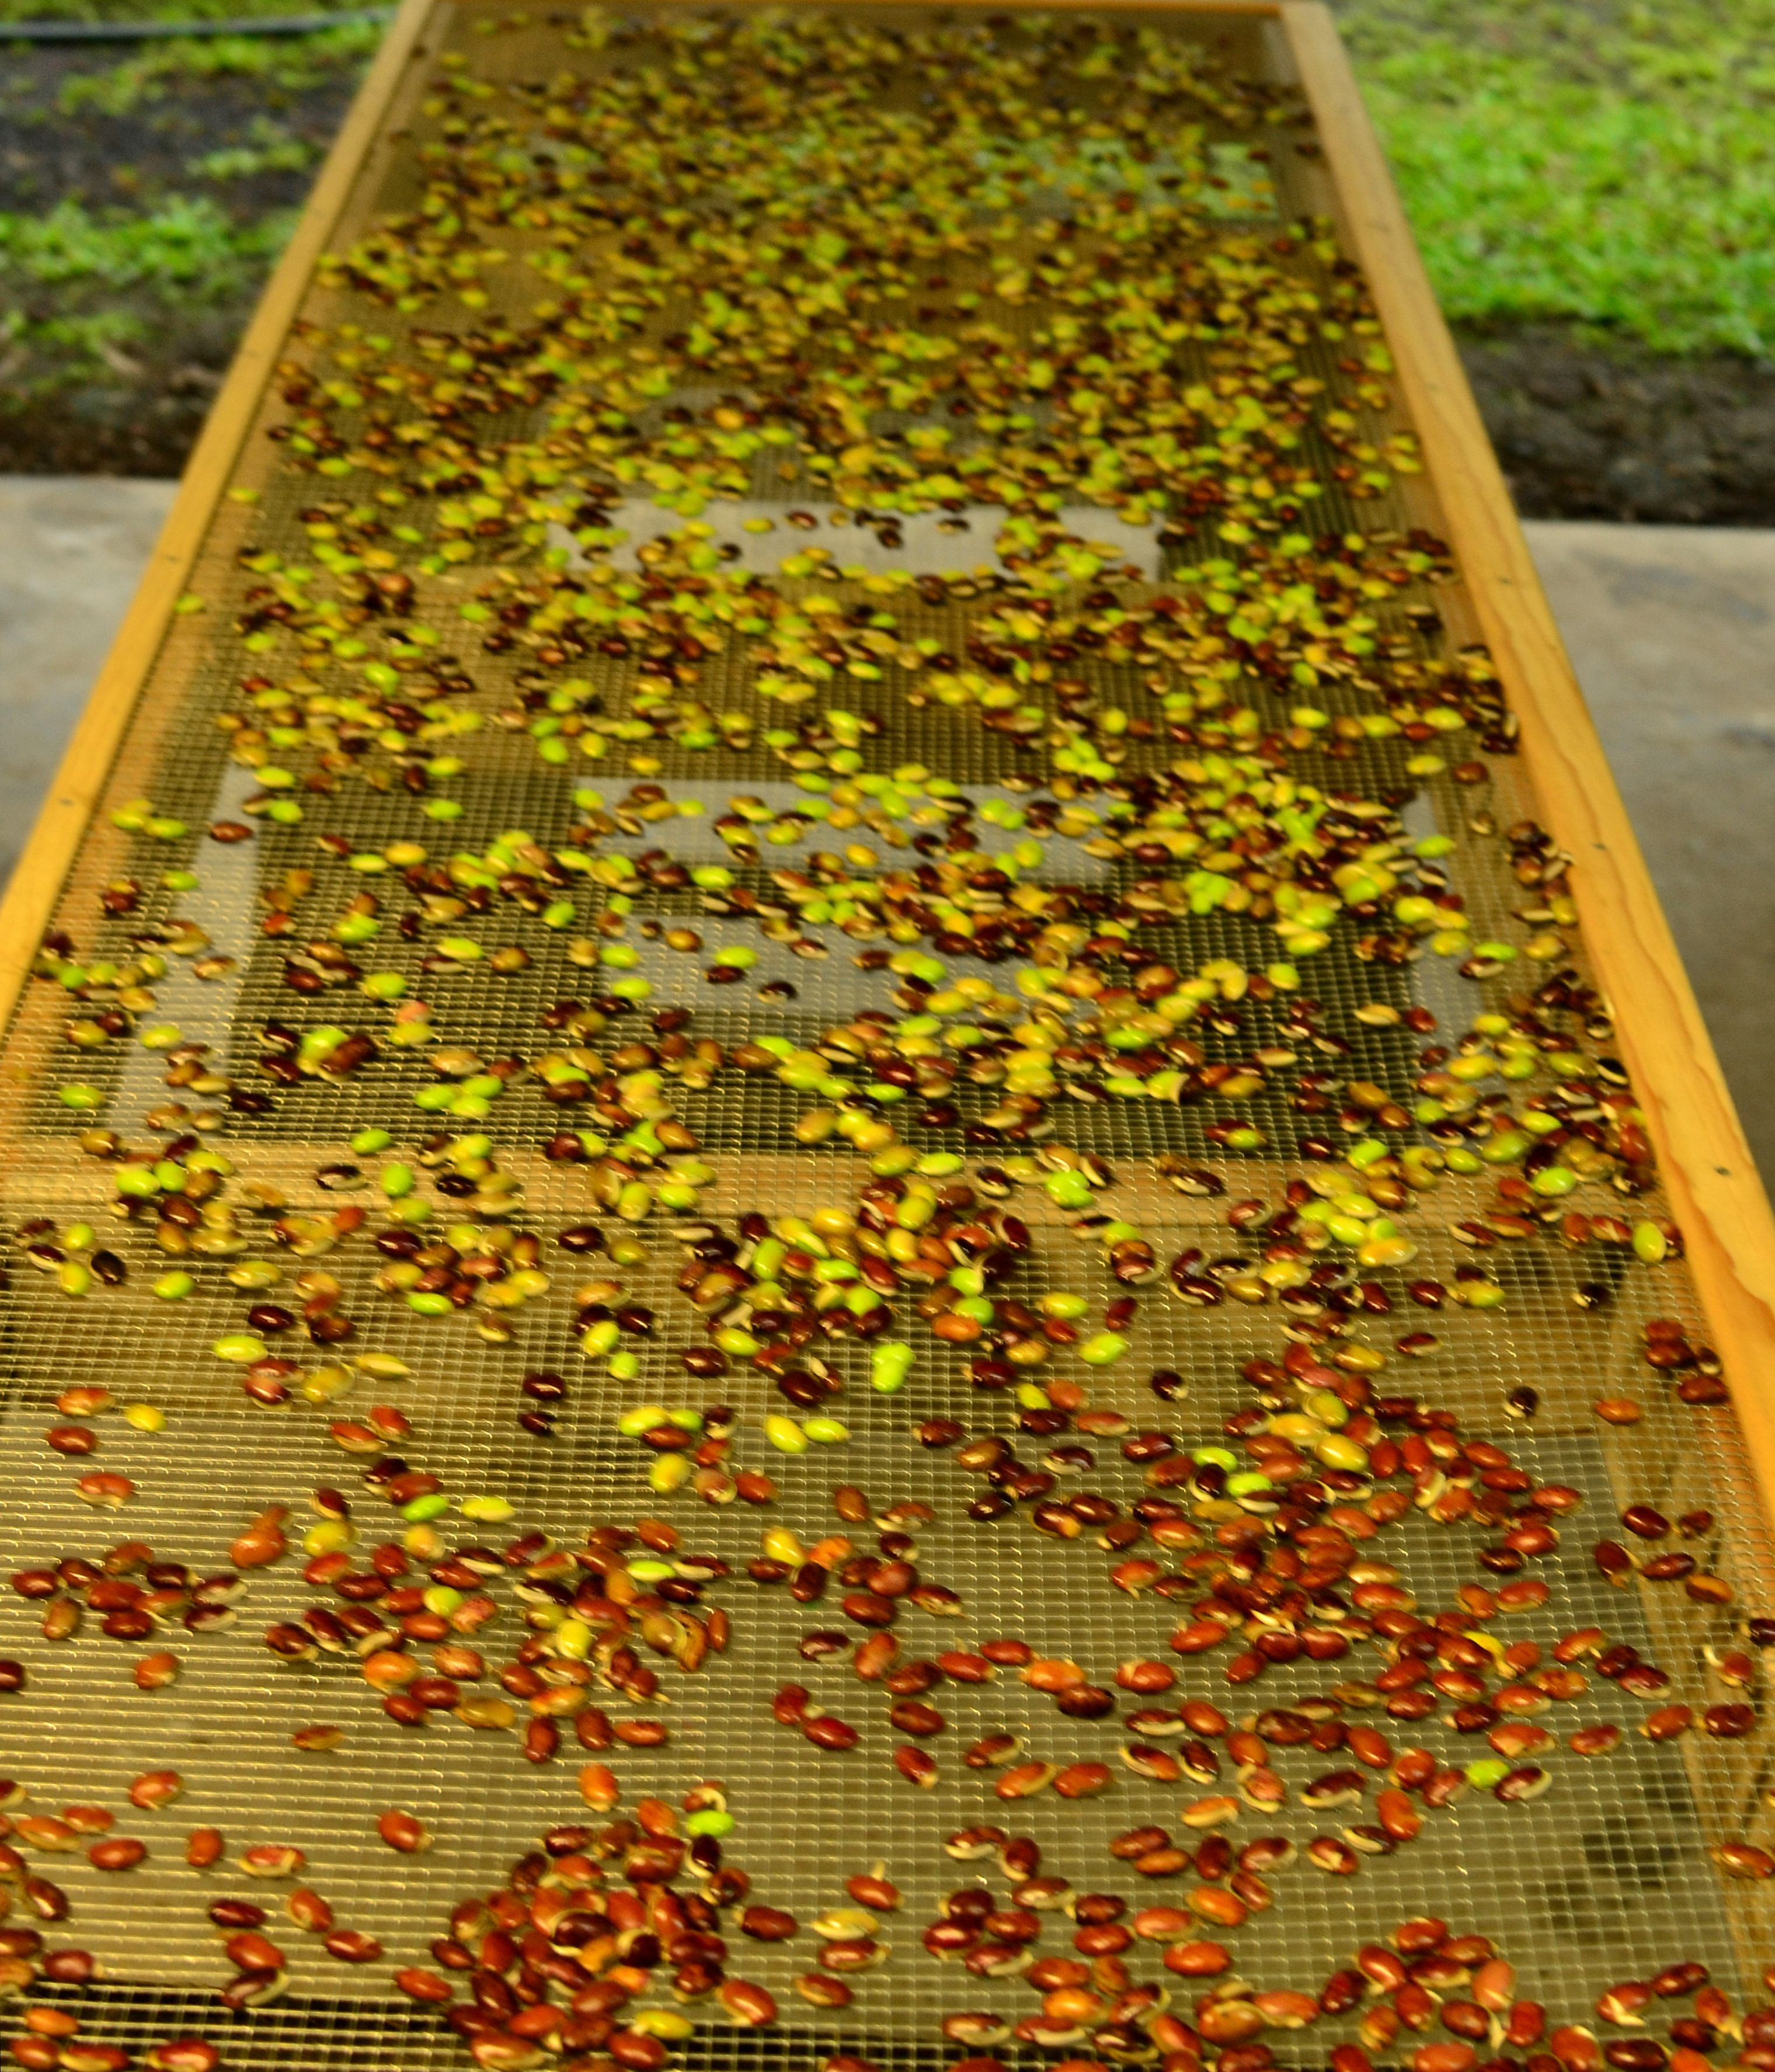
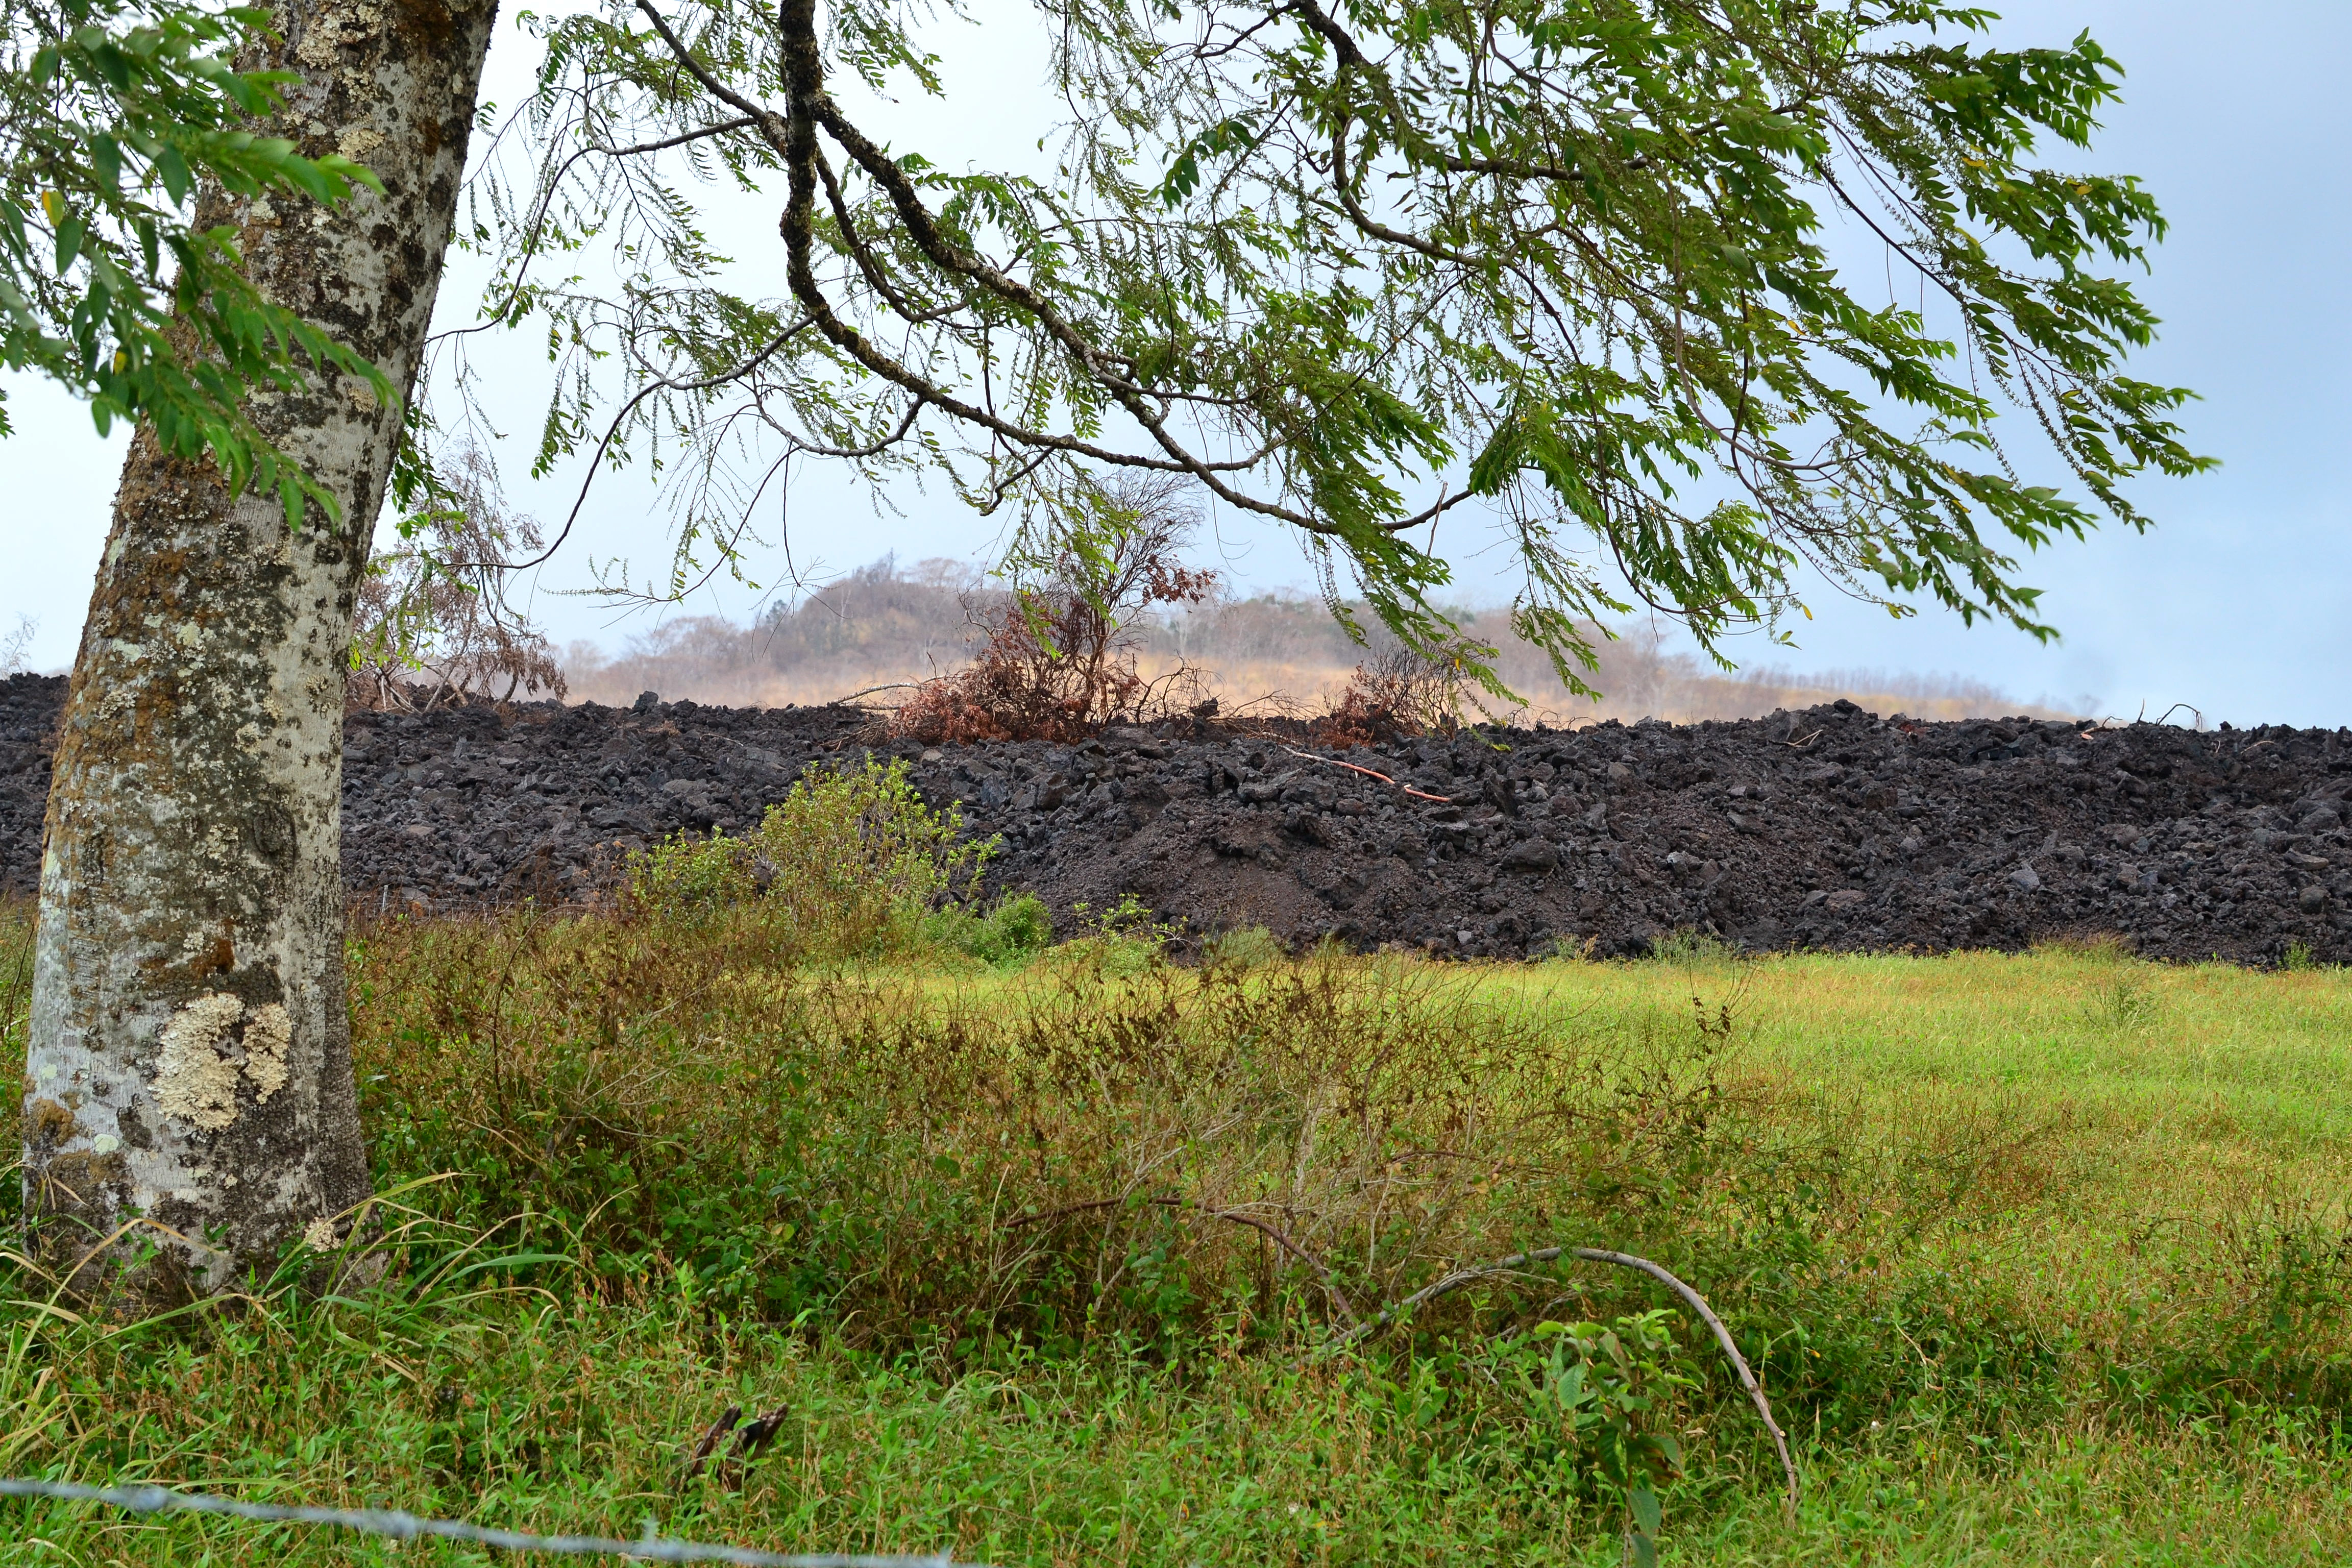
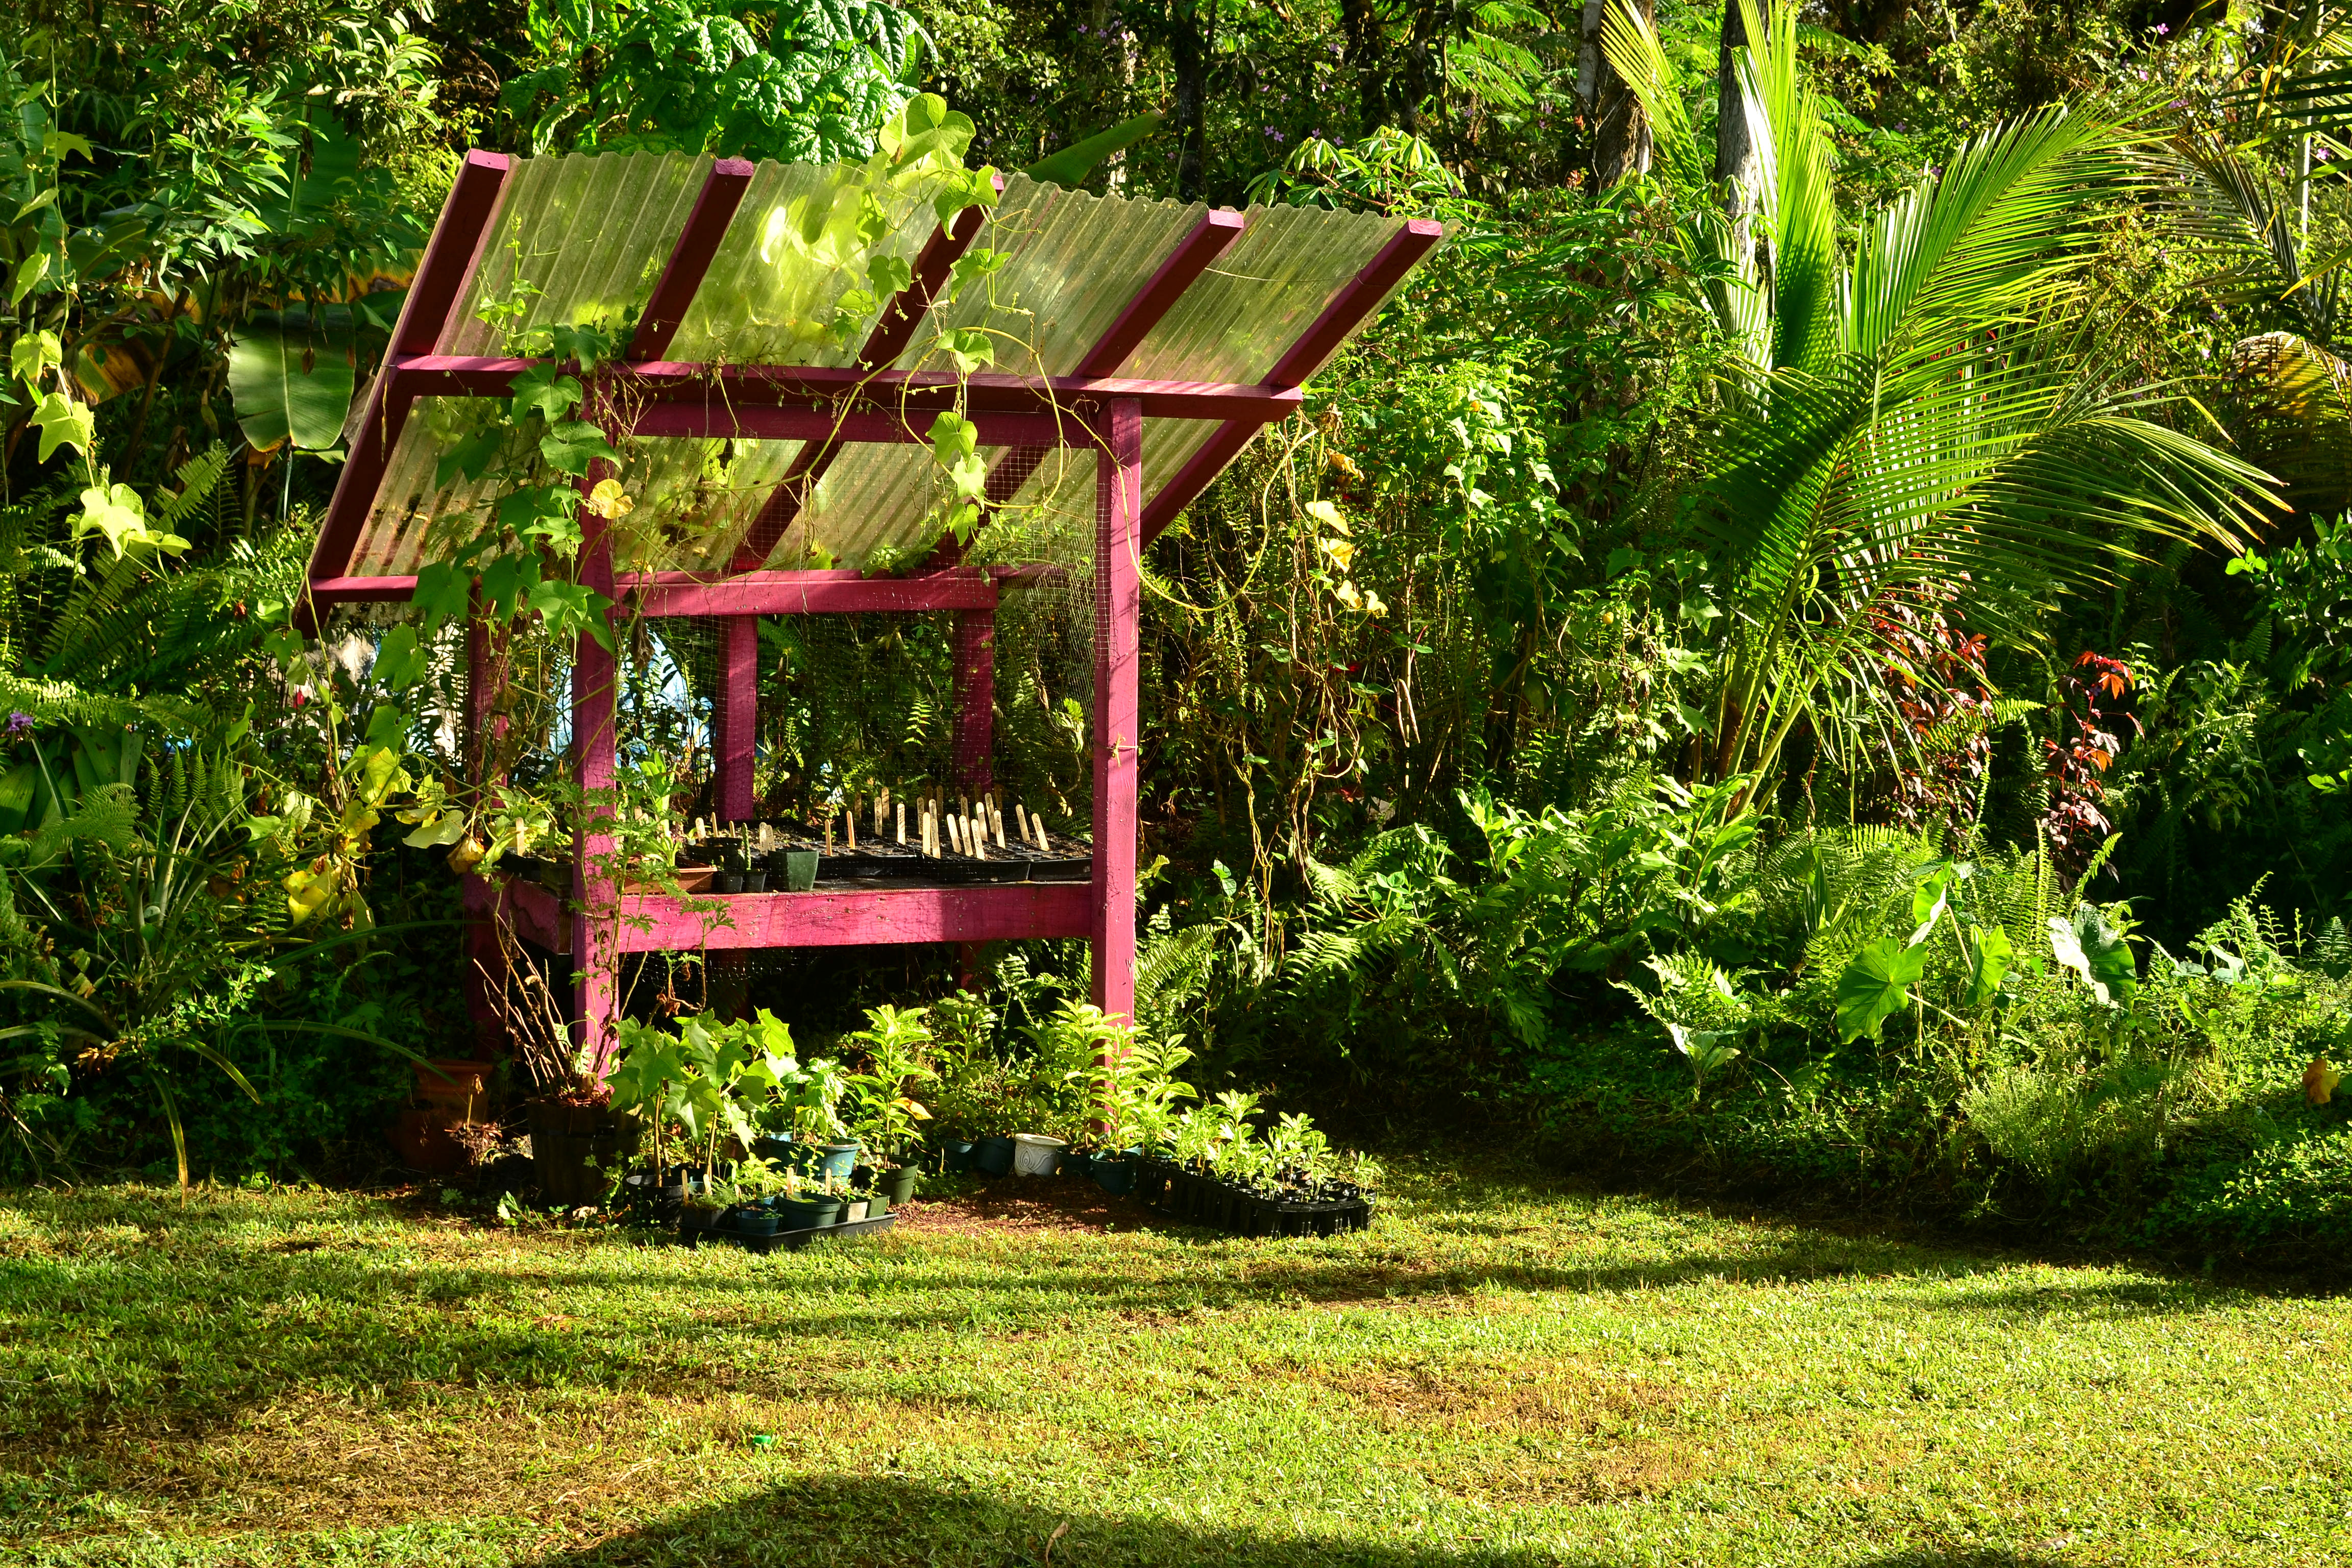
Living near Fissure 8 has given me a unique opportunity to watch and observe the volcanoes impact on plants and plant communities. Now that the mandatory evacuation zone has been lifted in Leilani Estates, I am able to go around and gather more information closer to the vent. Some of this description will be without photos as I do not want to share photos of others private property during this time of vulnerability.

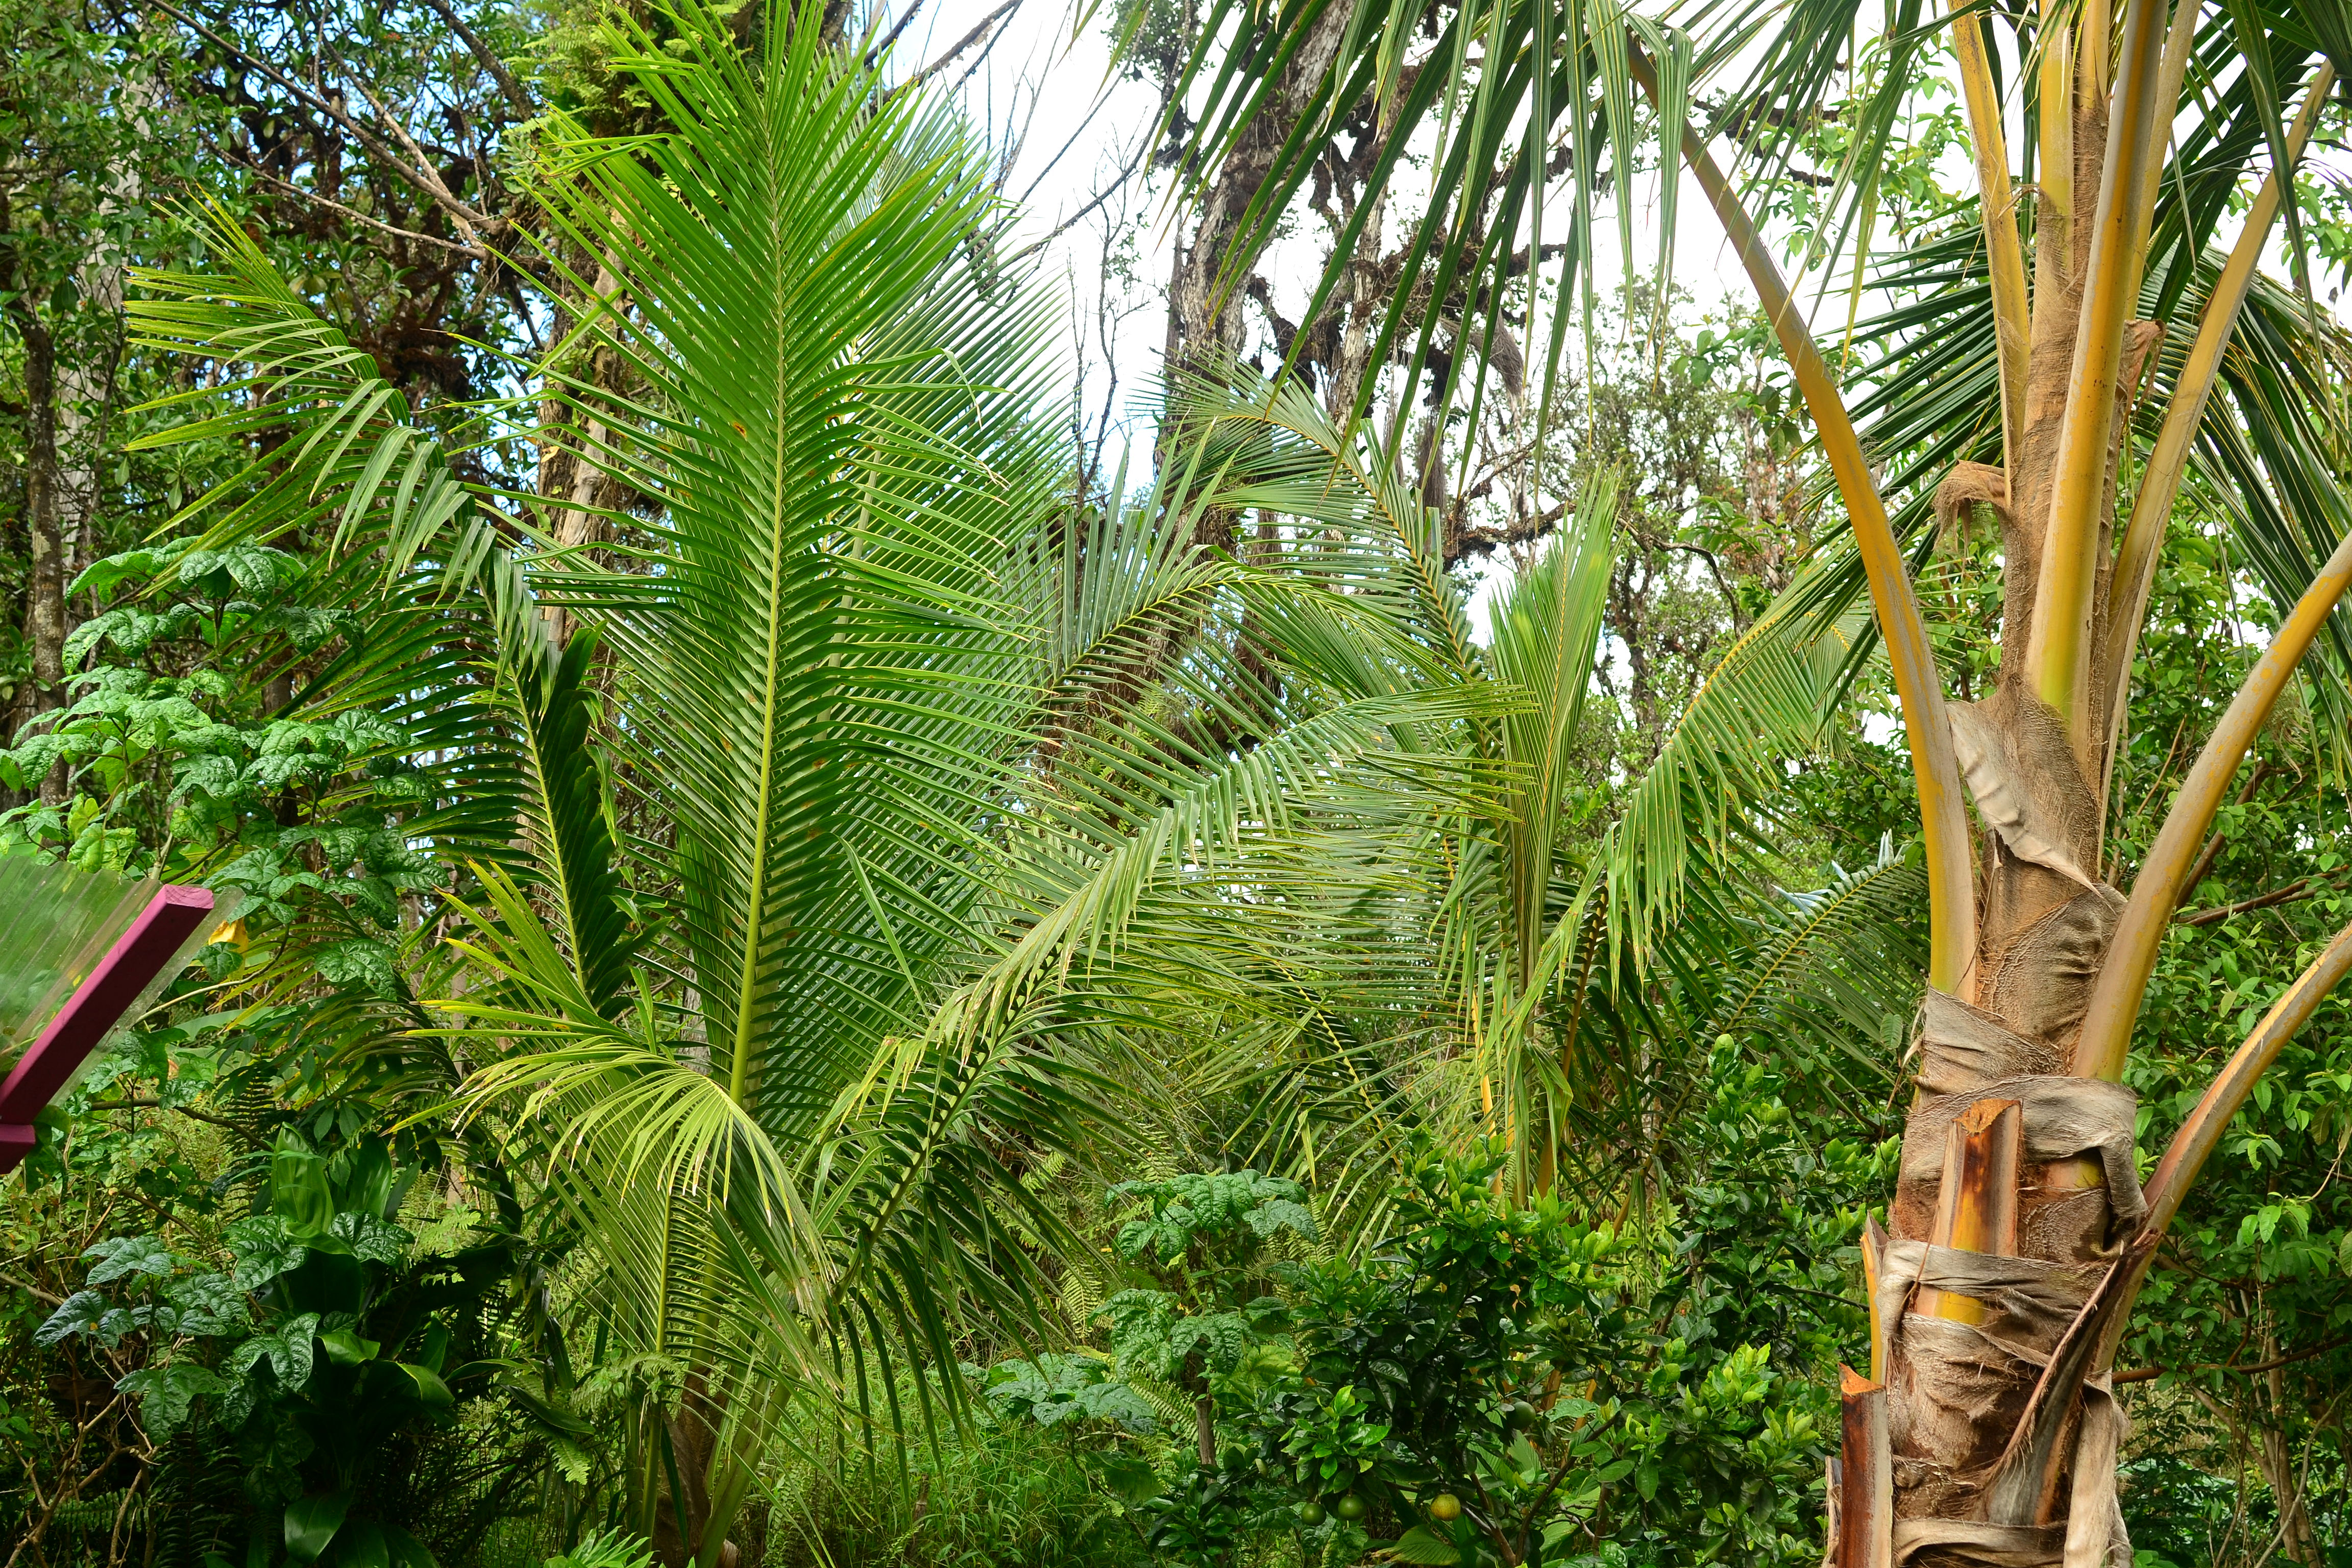
The plants that thrived through and even produced while the volcano was spewing lava and emissions at my personal residence (1 mile Northwest of the vent) were: avocados, lilikoi, papaya, pineapple, banana and citrus (specifically oranges as that’s the only citrus variety old enough to produce on the property). Plants that seemed to be minimally affected are coconuts, other palms, mango, breadfruit, monstera, soursop and Brazilian cherry.

DSC_0056

Left Mango, Middle Waiawi, Middle Guava, right Avocado. This area used to be too dense to see though.

DSC_0060

Avocado left. ROD ‘ohi’a lehua and Cecropia putting out new leaves (Was fully defoliated). Avocado Right.

DSC_0093

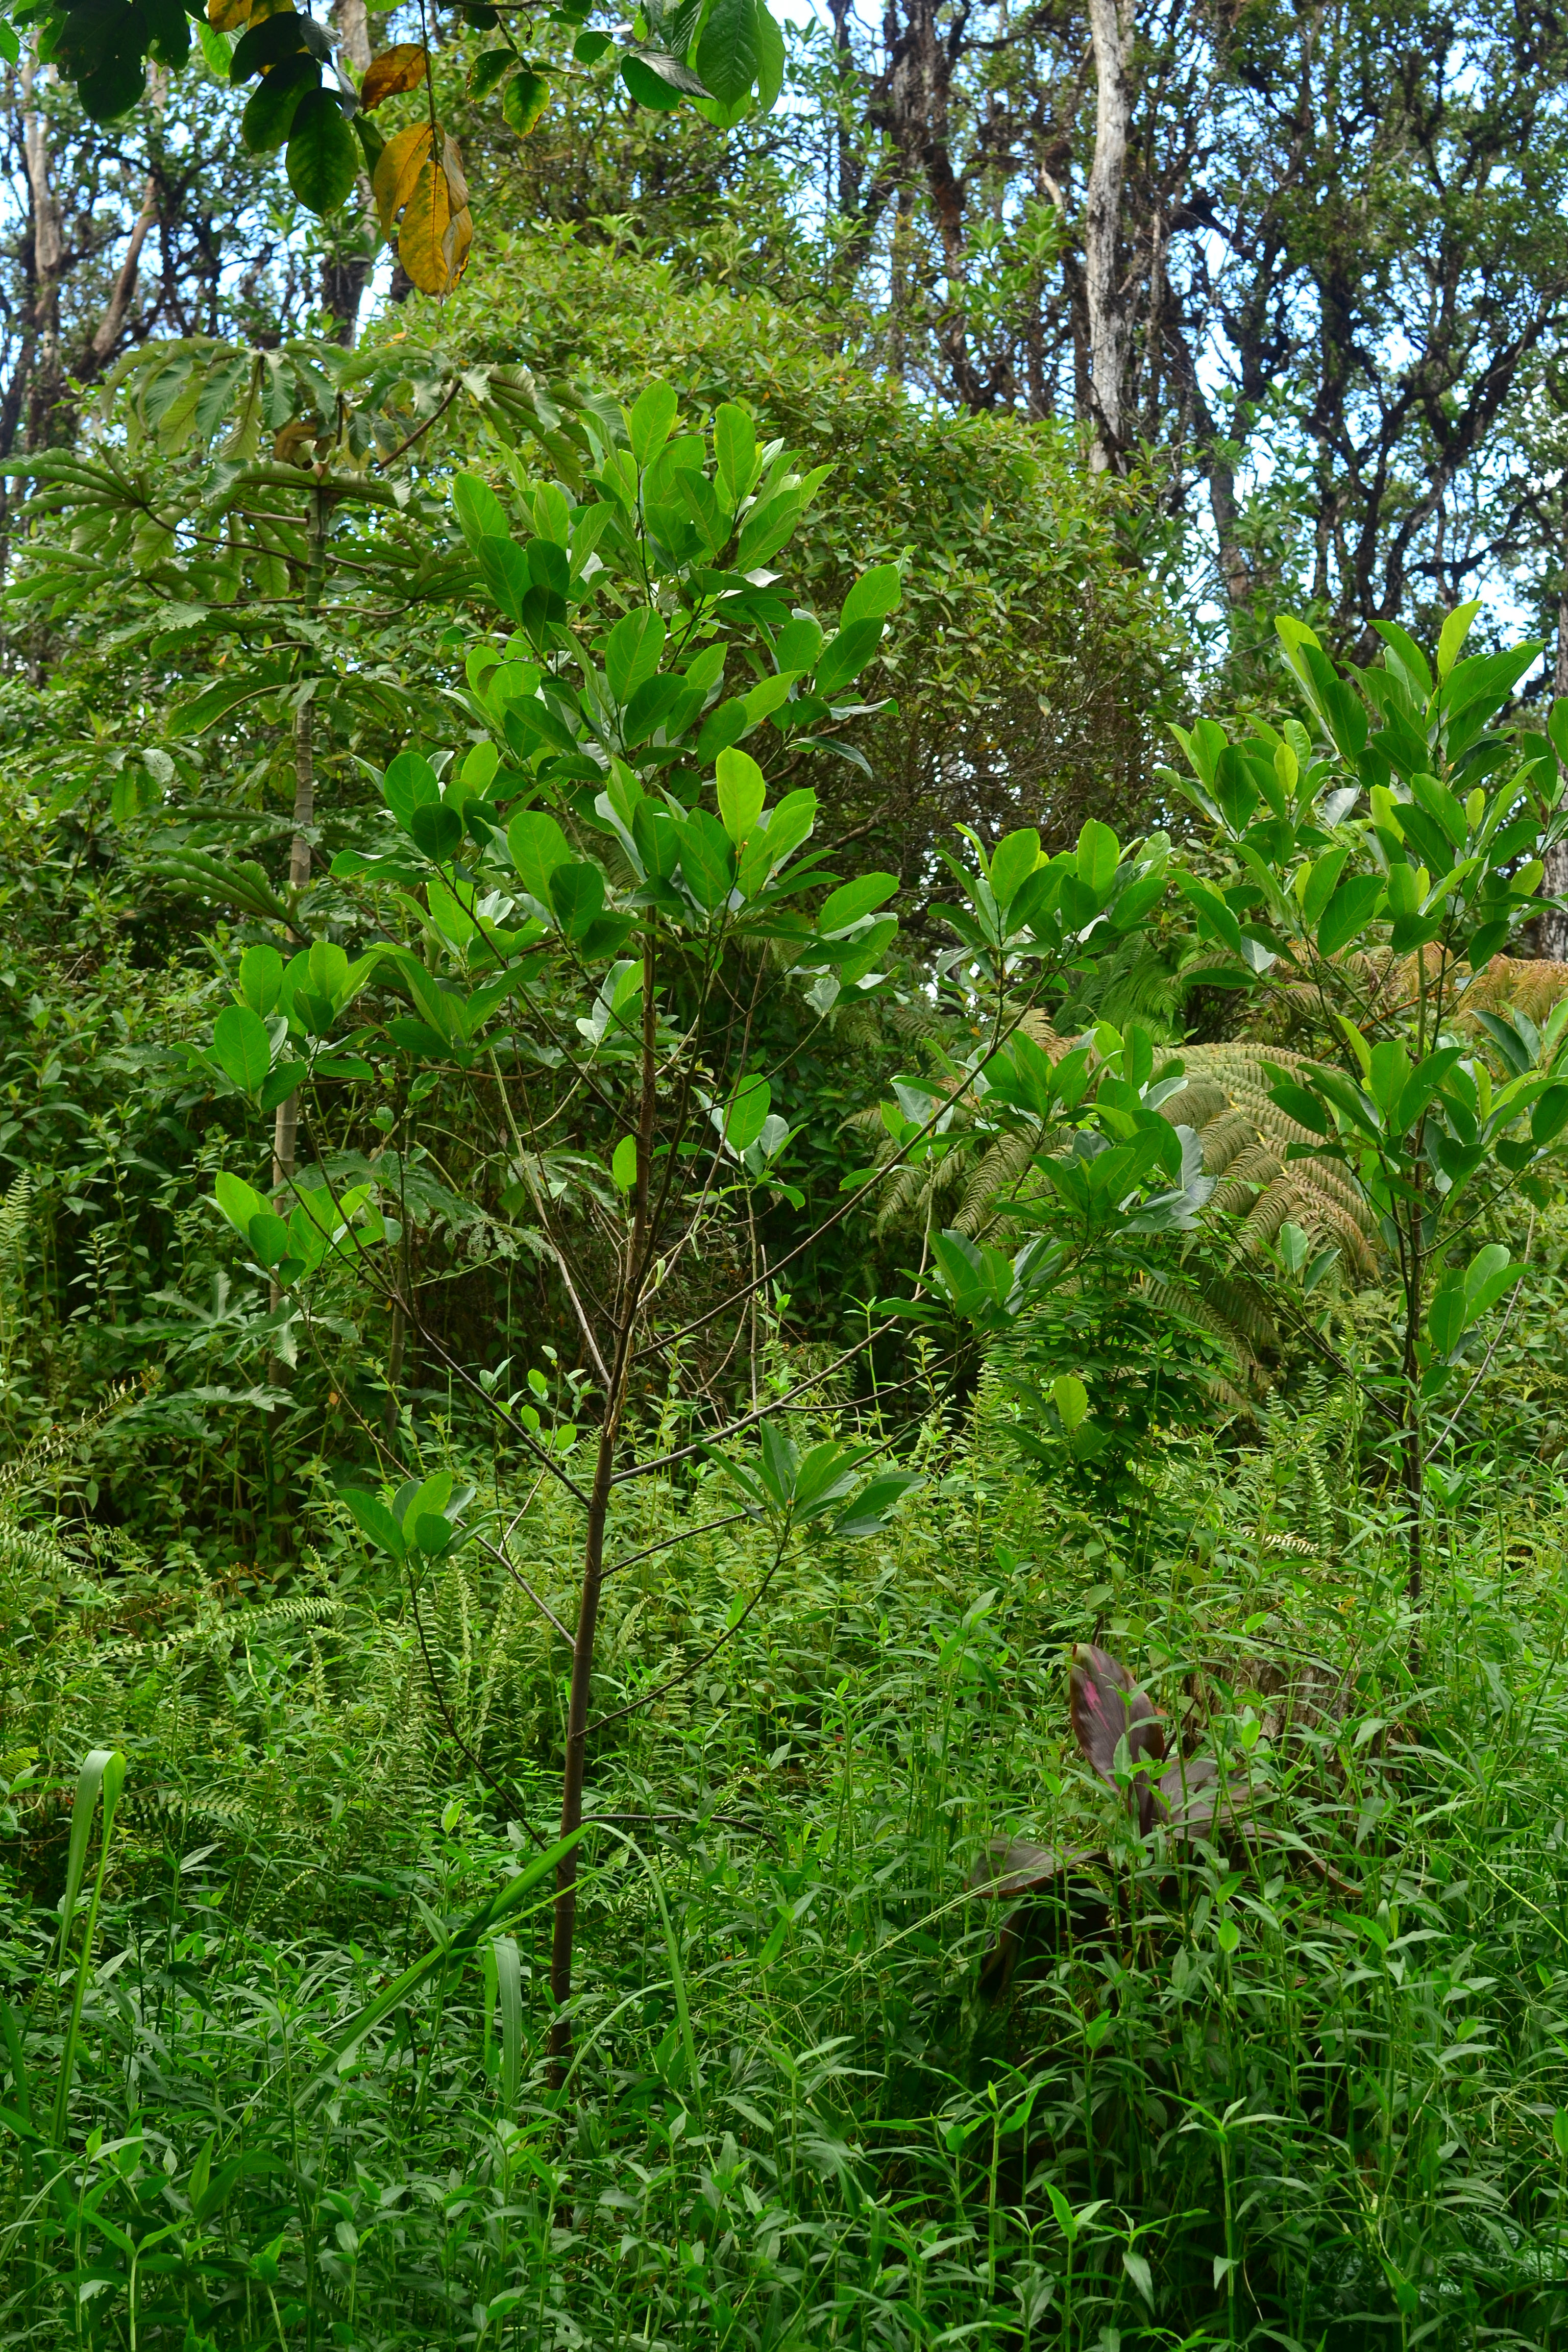
Left ‘ohi’a lehua, Middle Waiawi starting to regrow, right back Mango

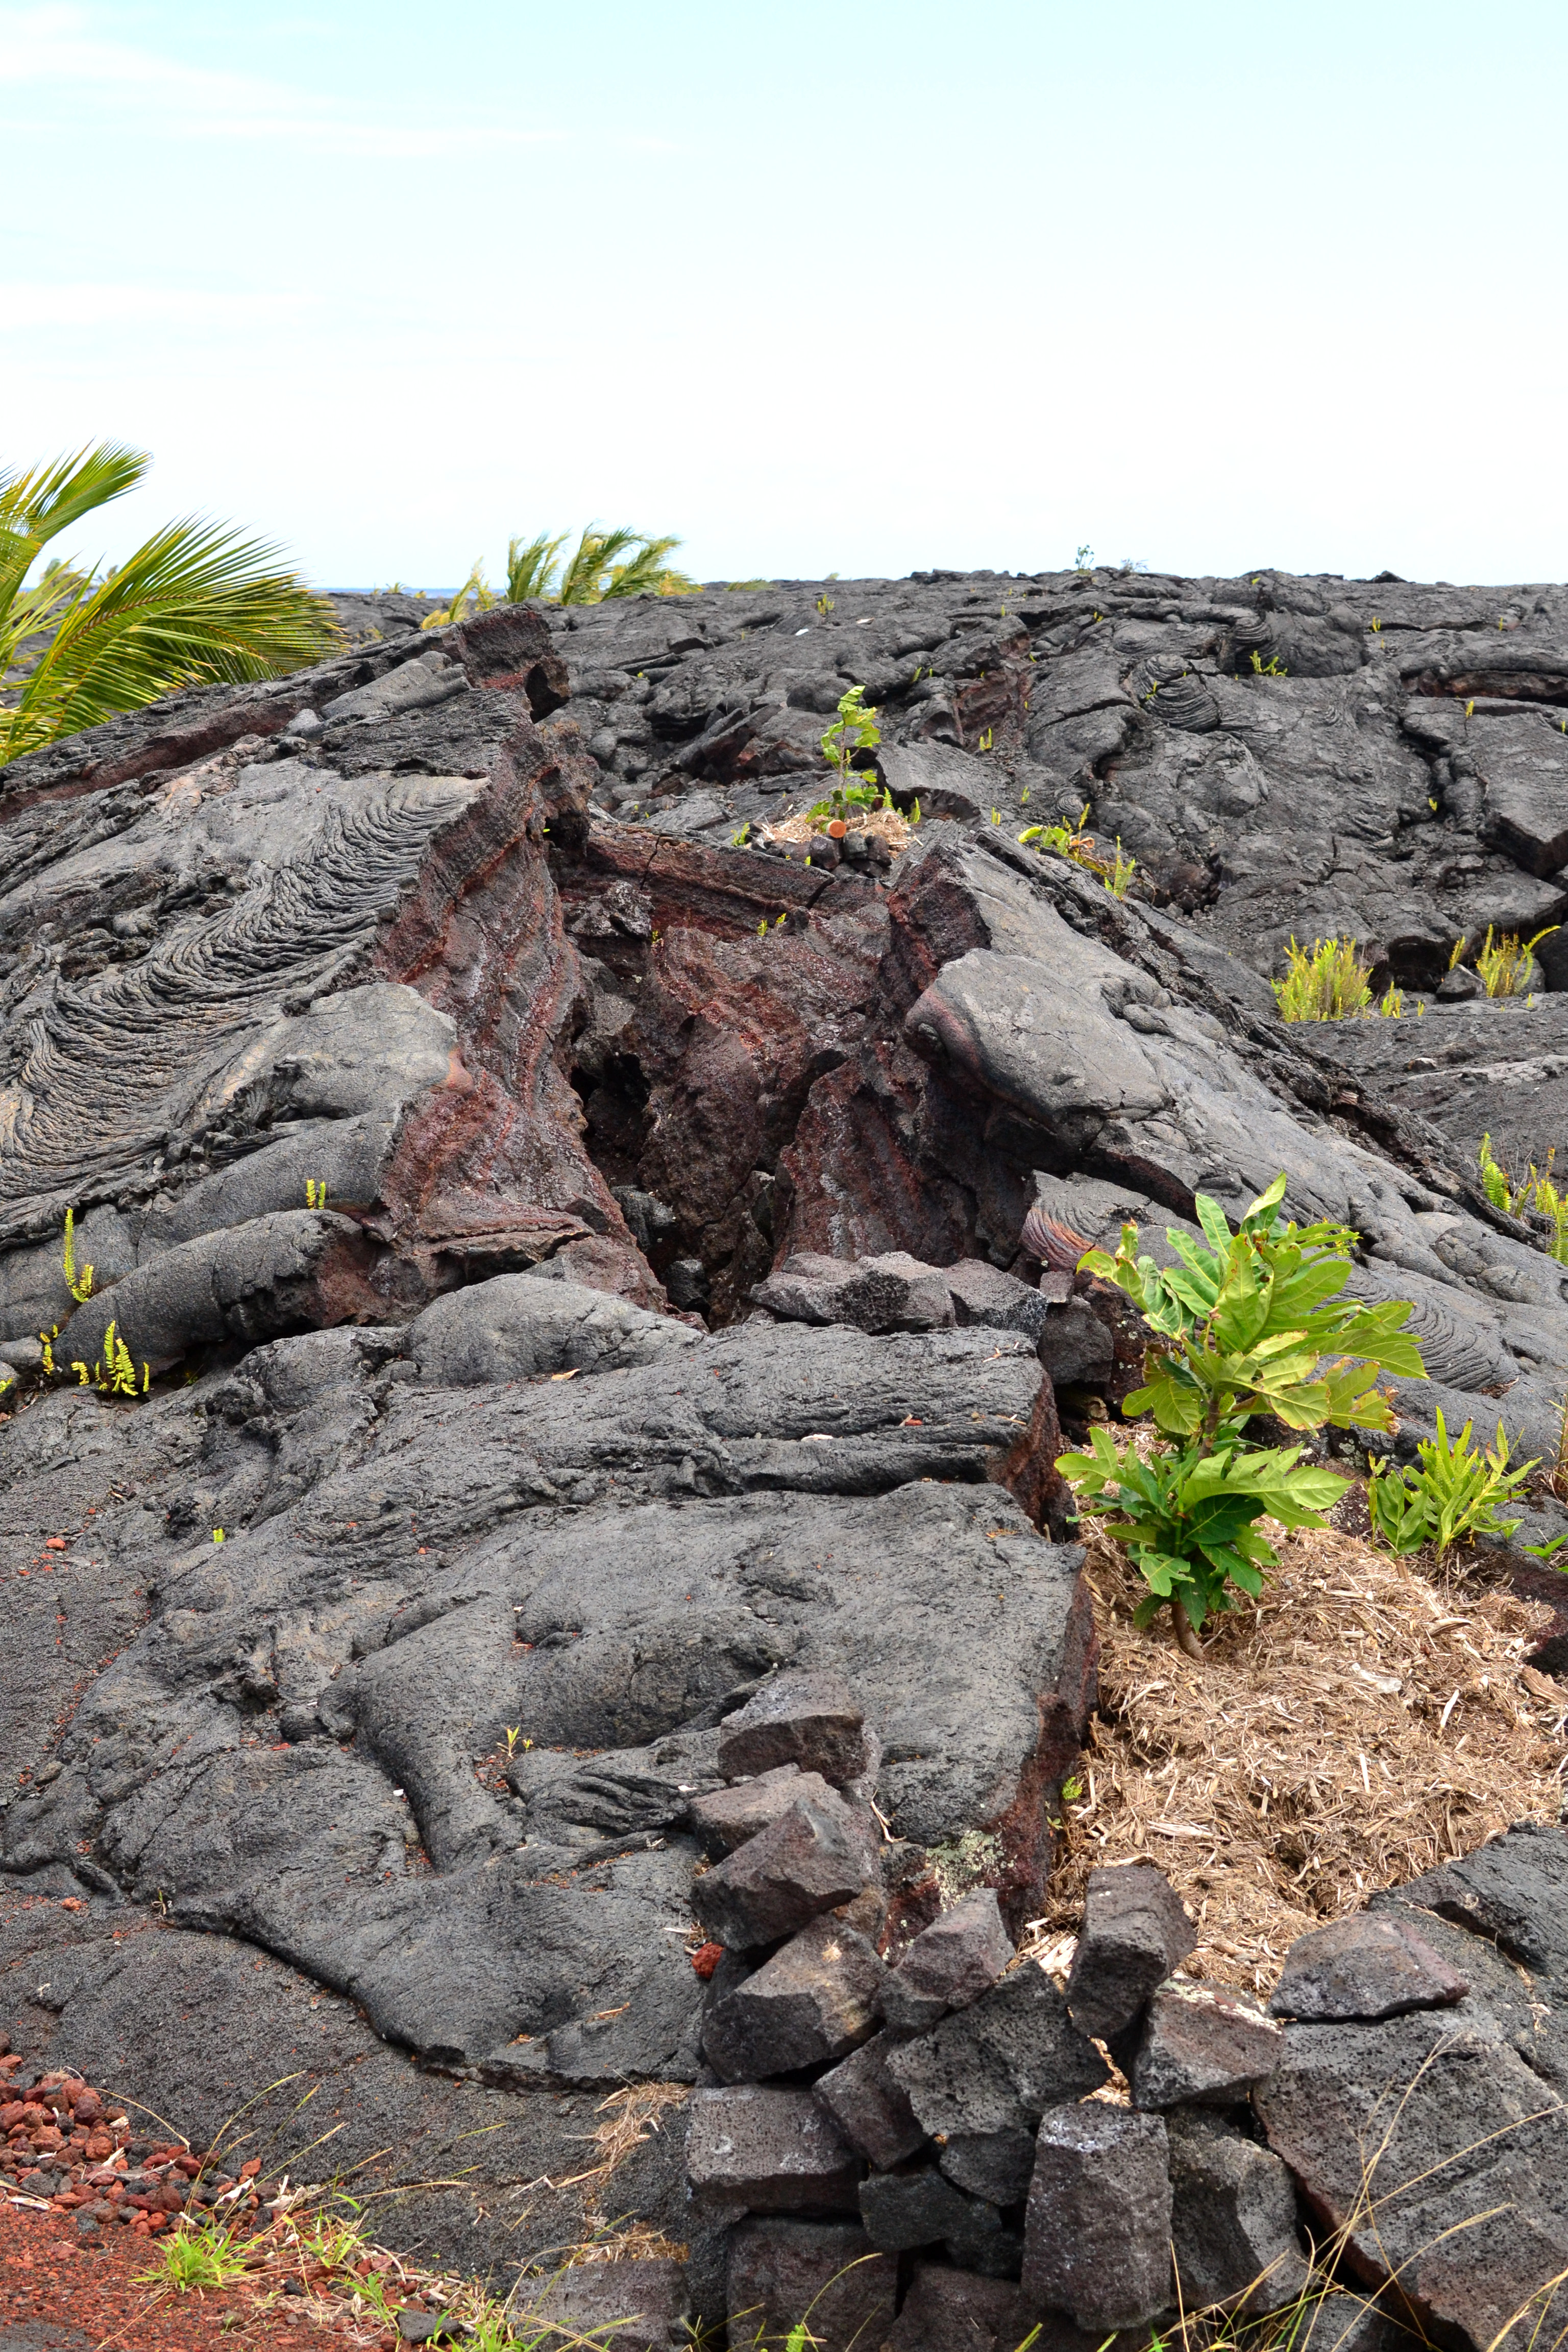
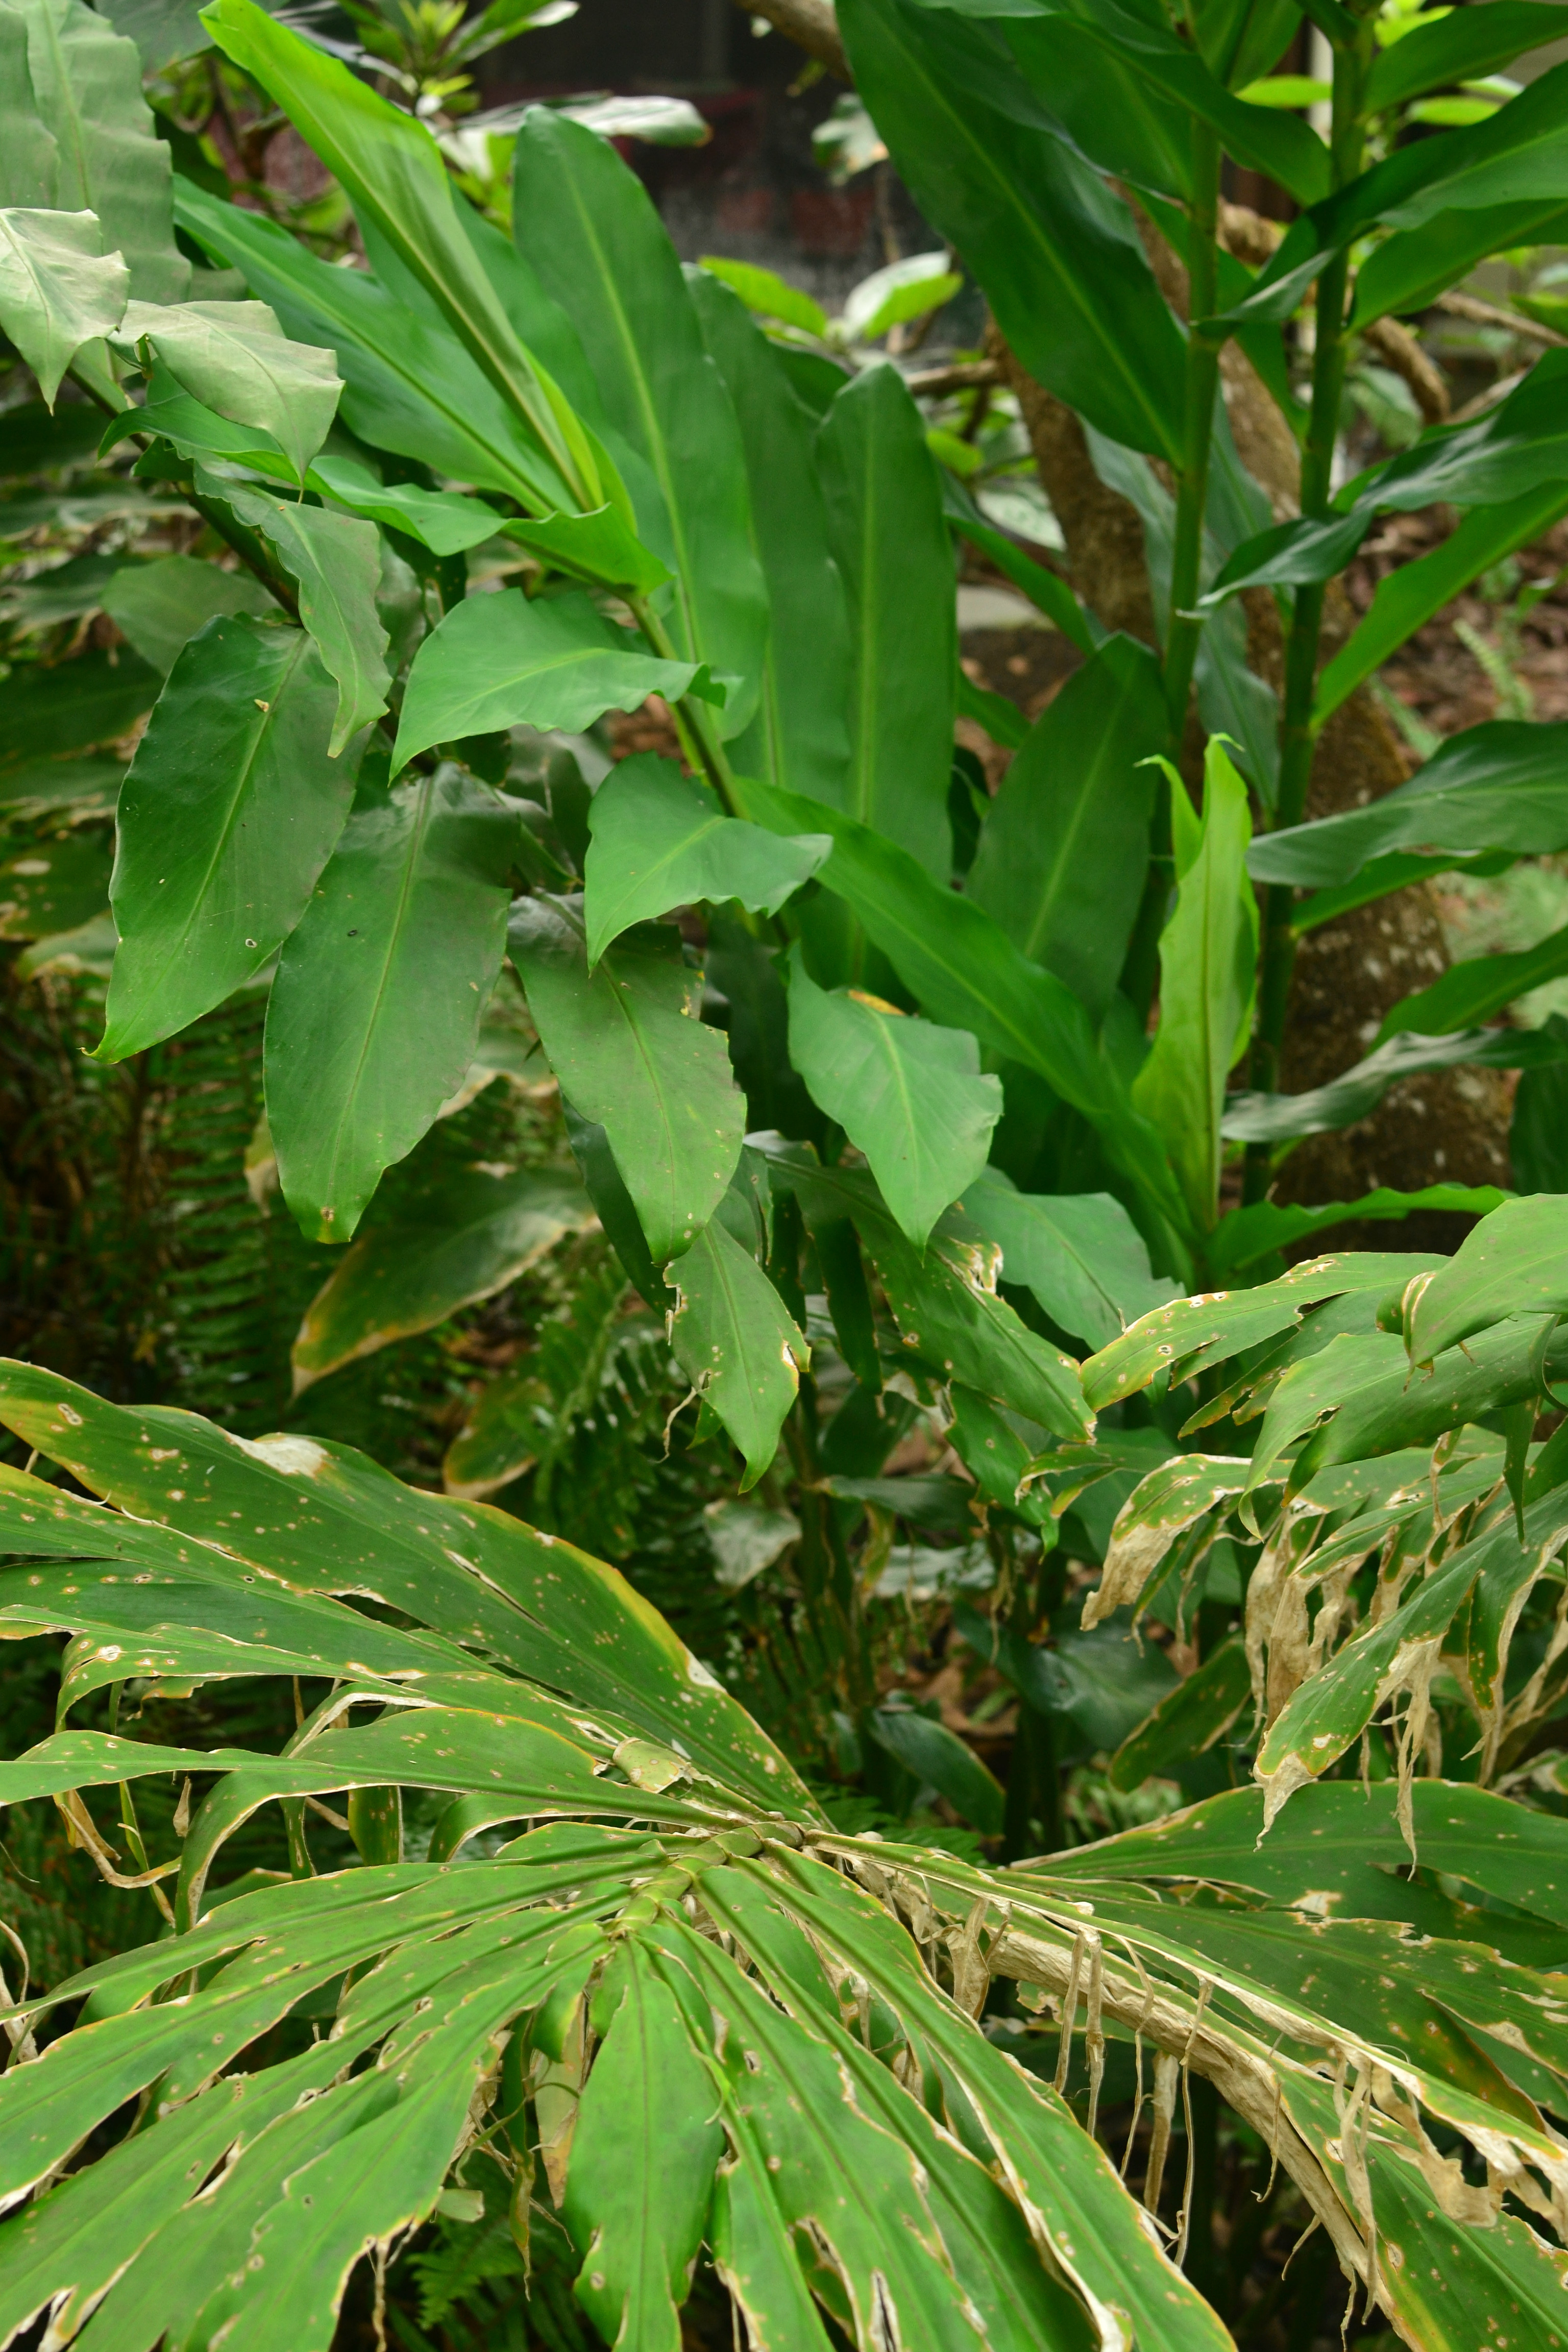
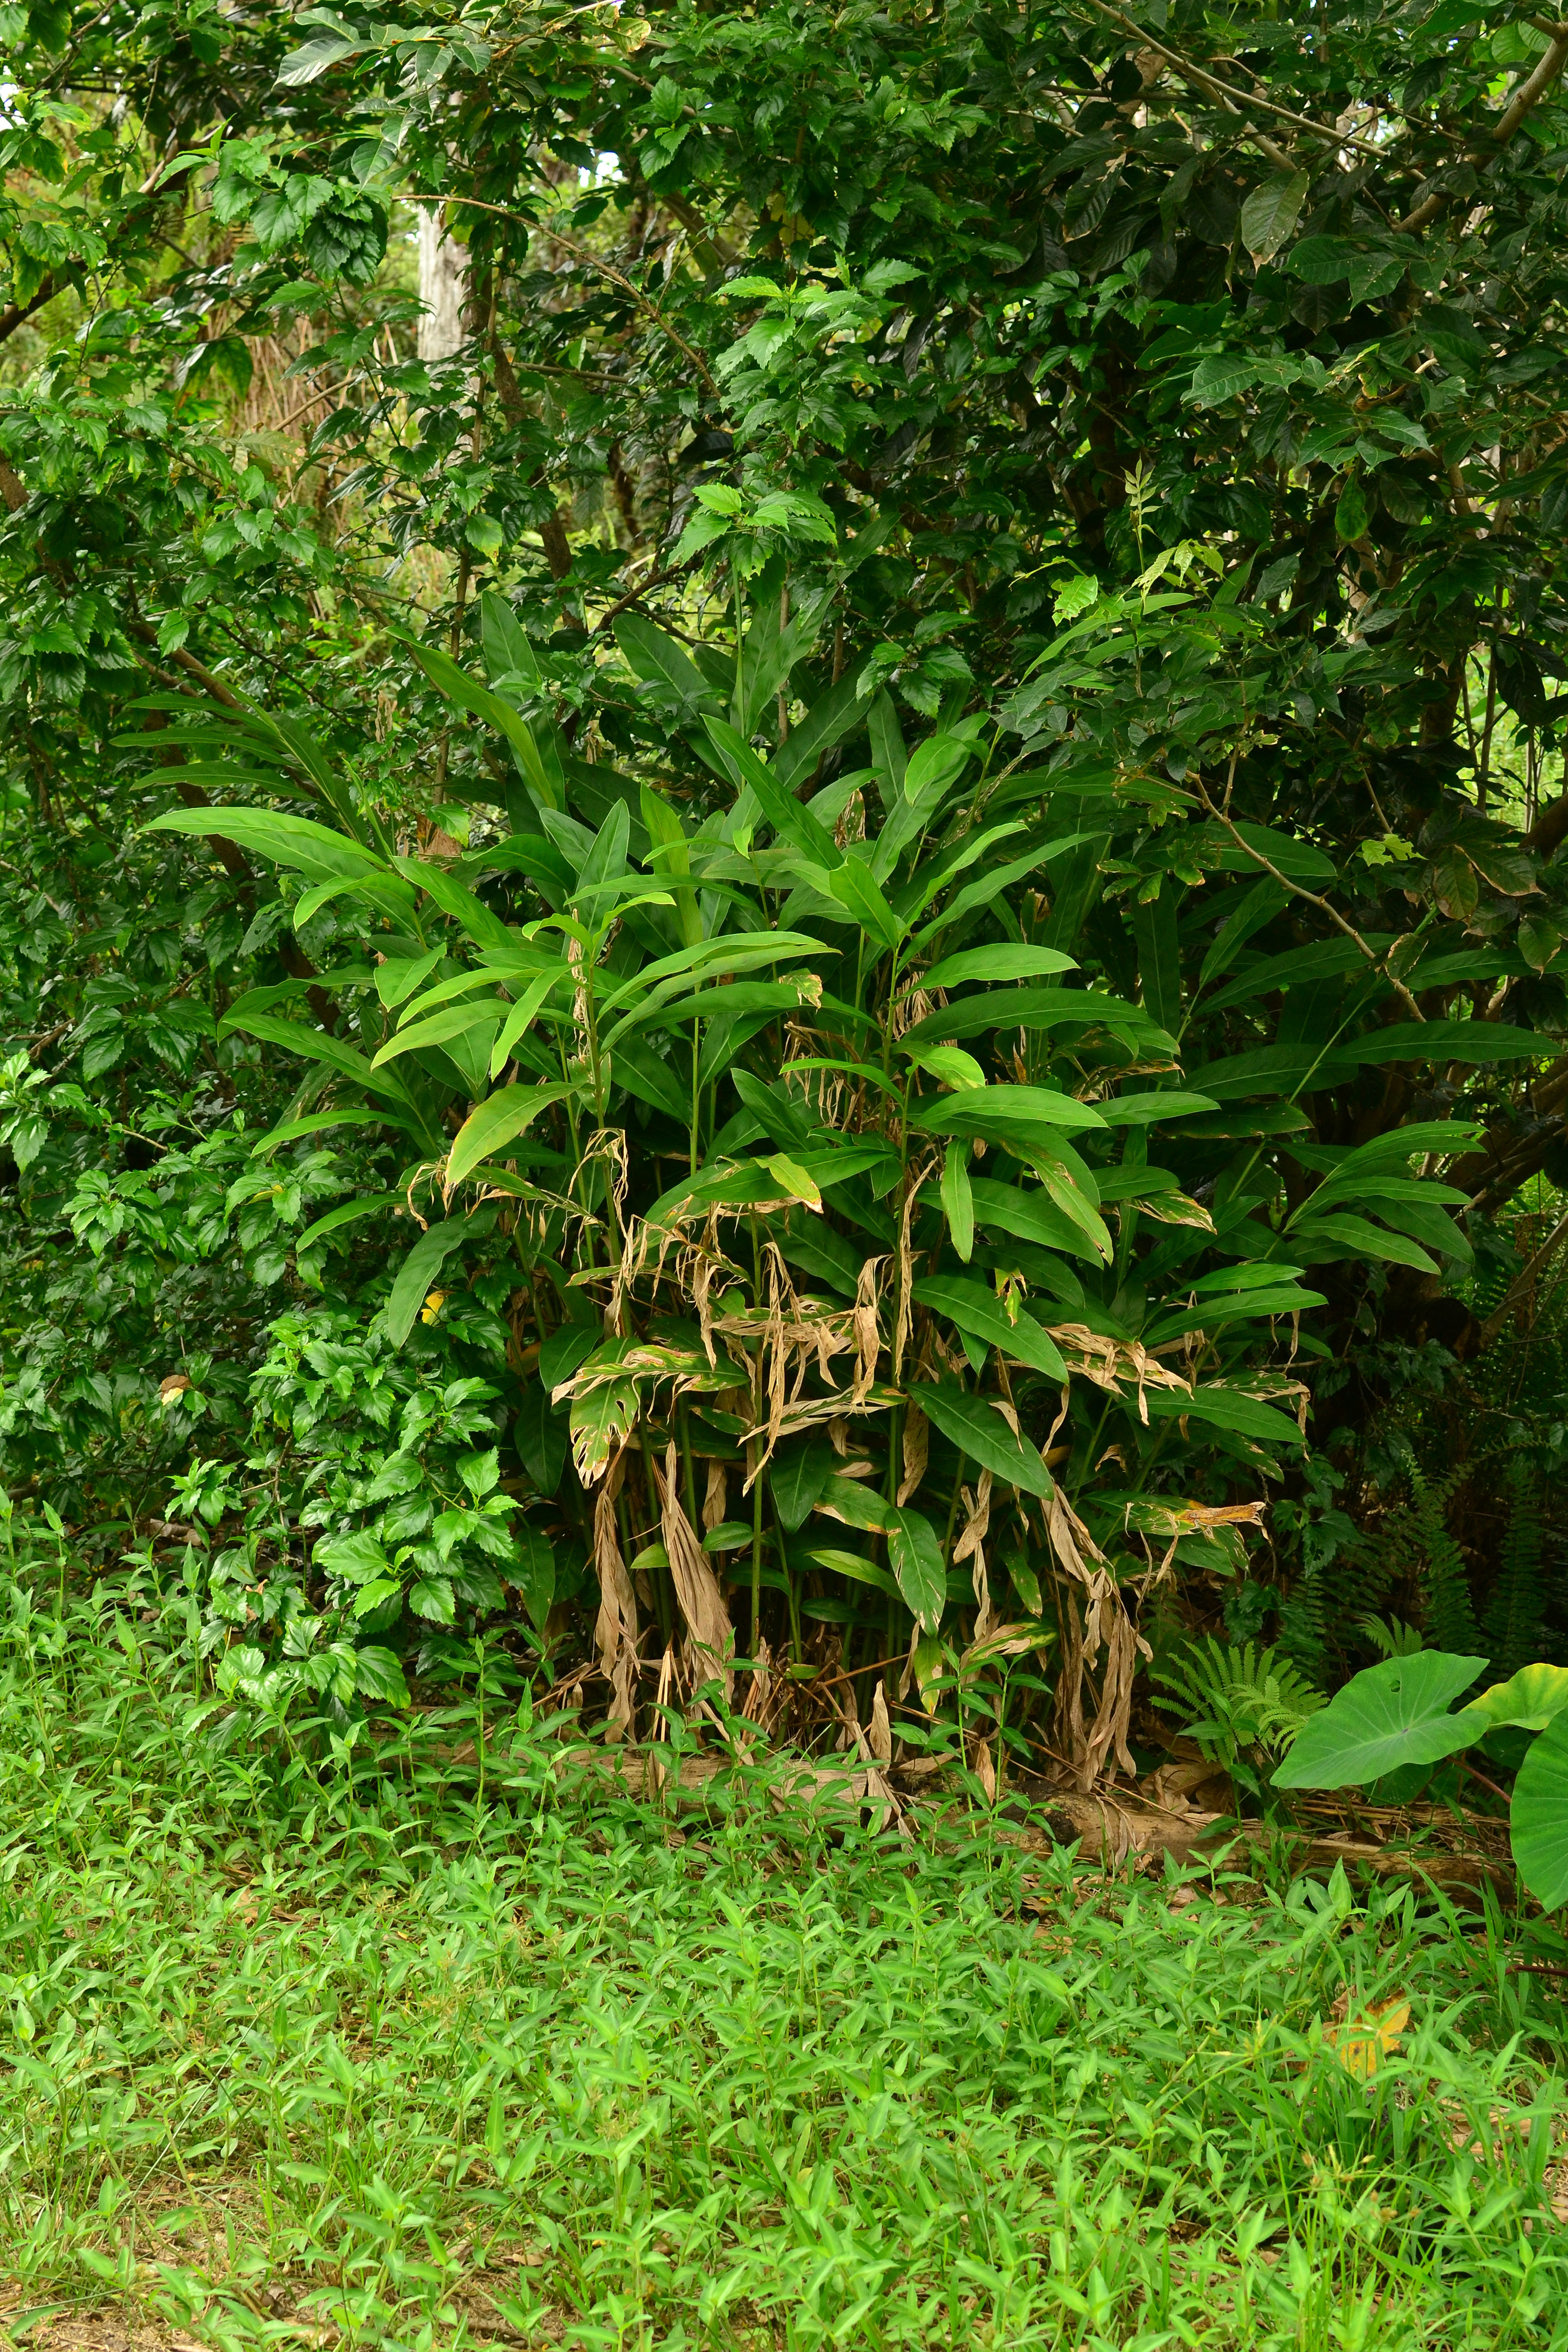
As you move closer to the vent, coconut palms, avocados, mangos, breadfruit, and citrus seem to be some of the main species holding onto their leaves. These plants are already starting to bounce back with two months of low emissions. Remember it is mostly the emissions that have effects on the plants, the lava itself, will only spare plants it goes around.

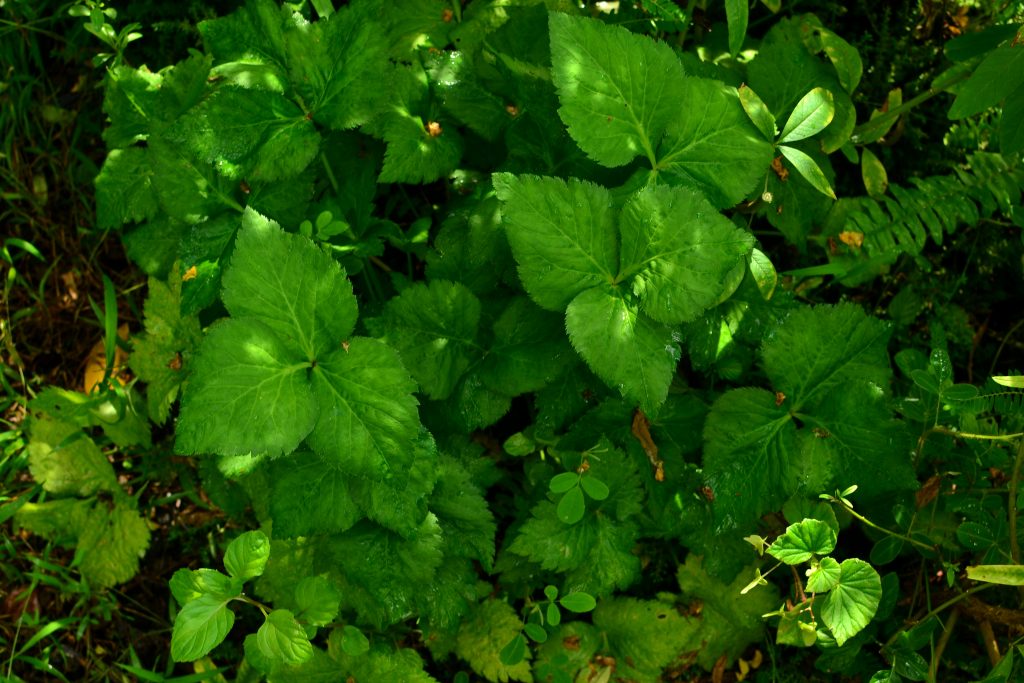
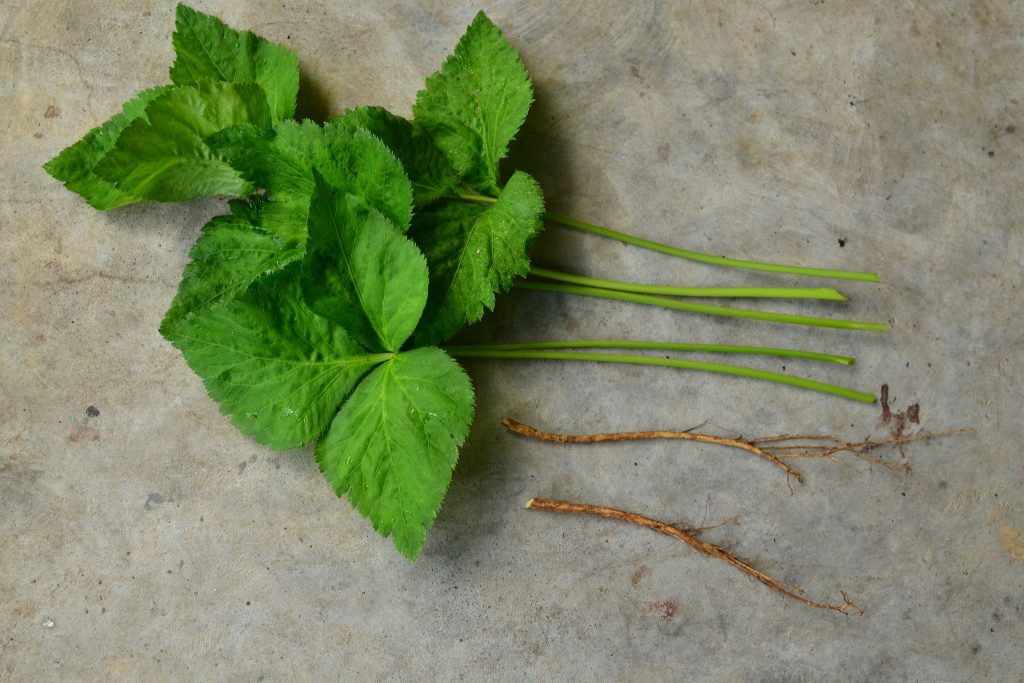
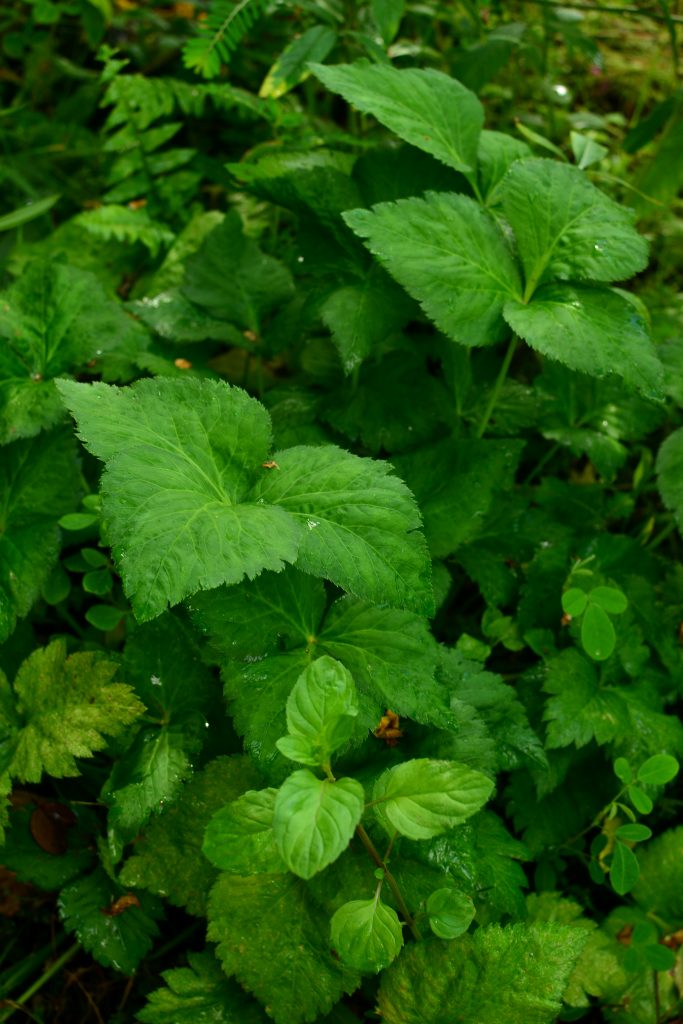
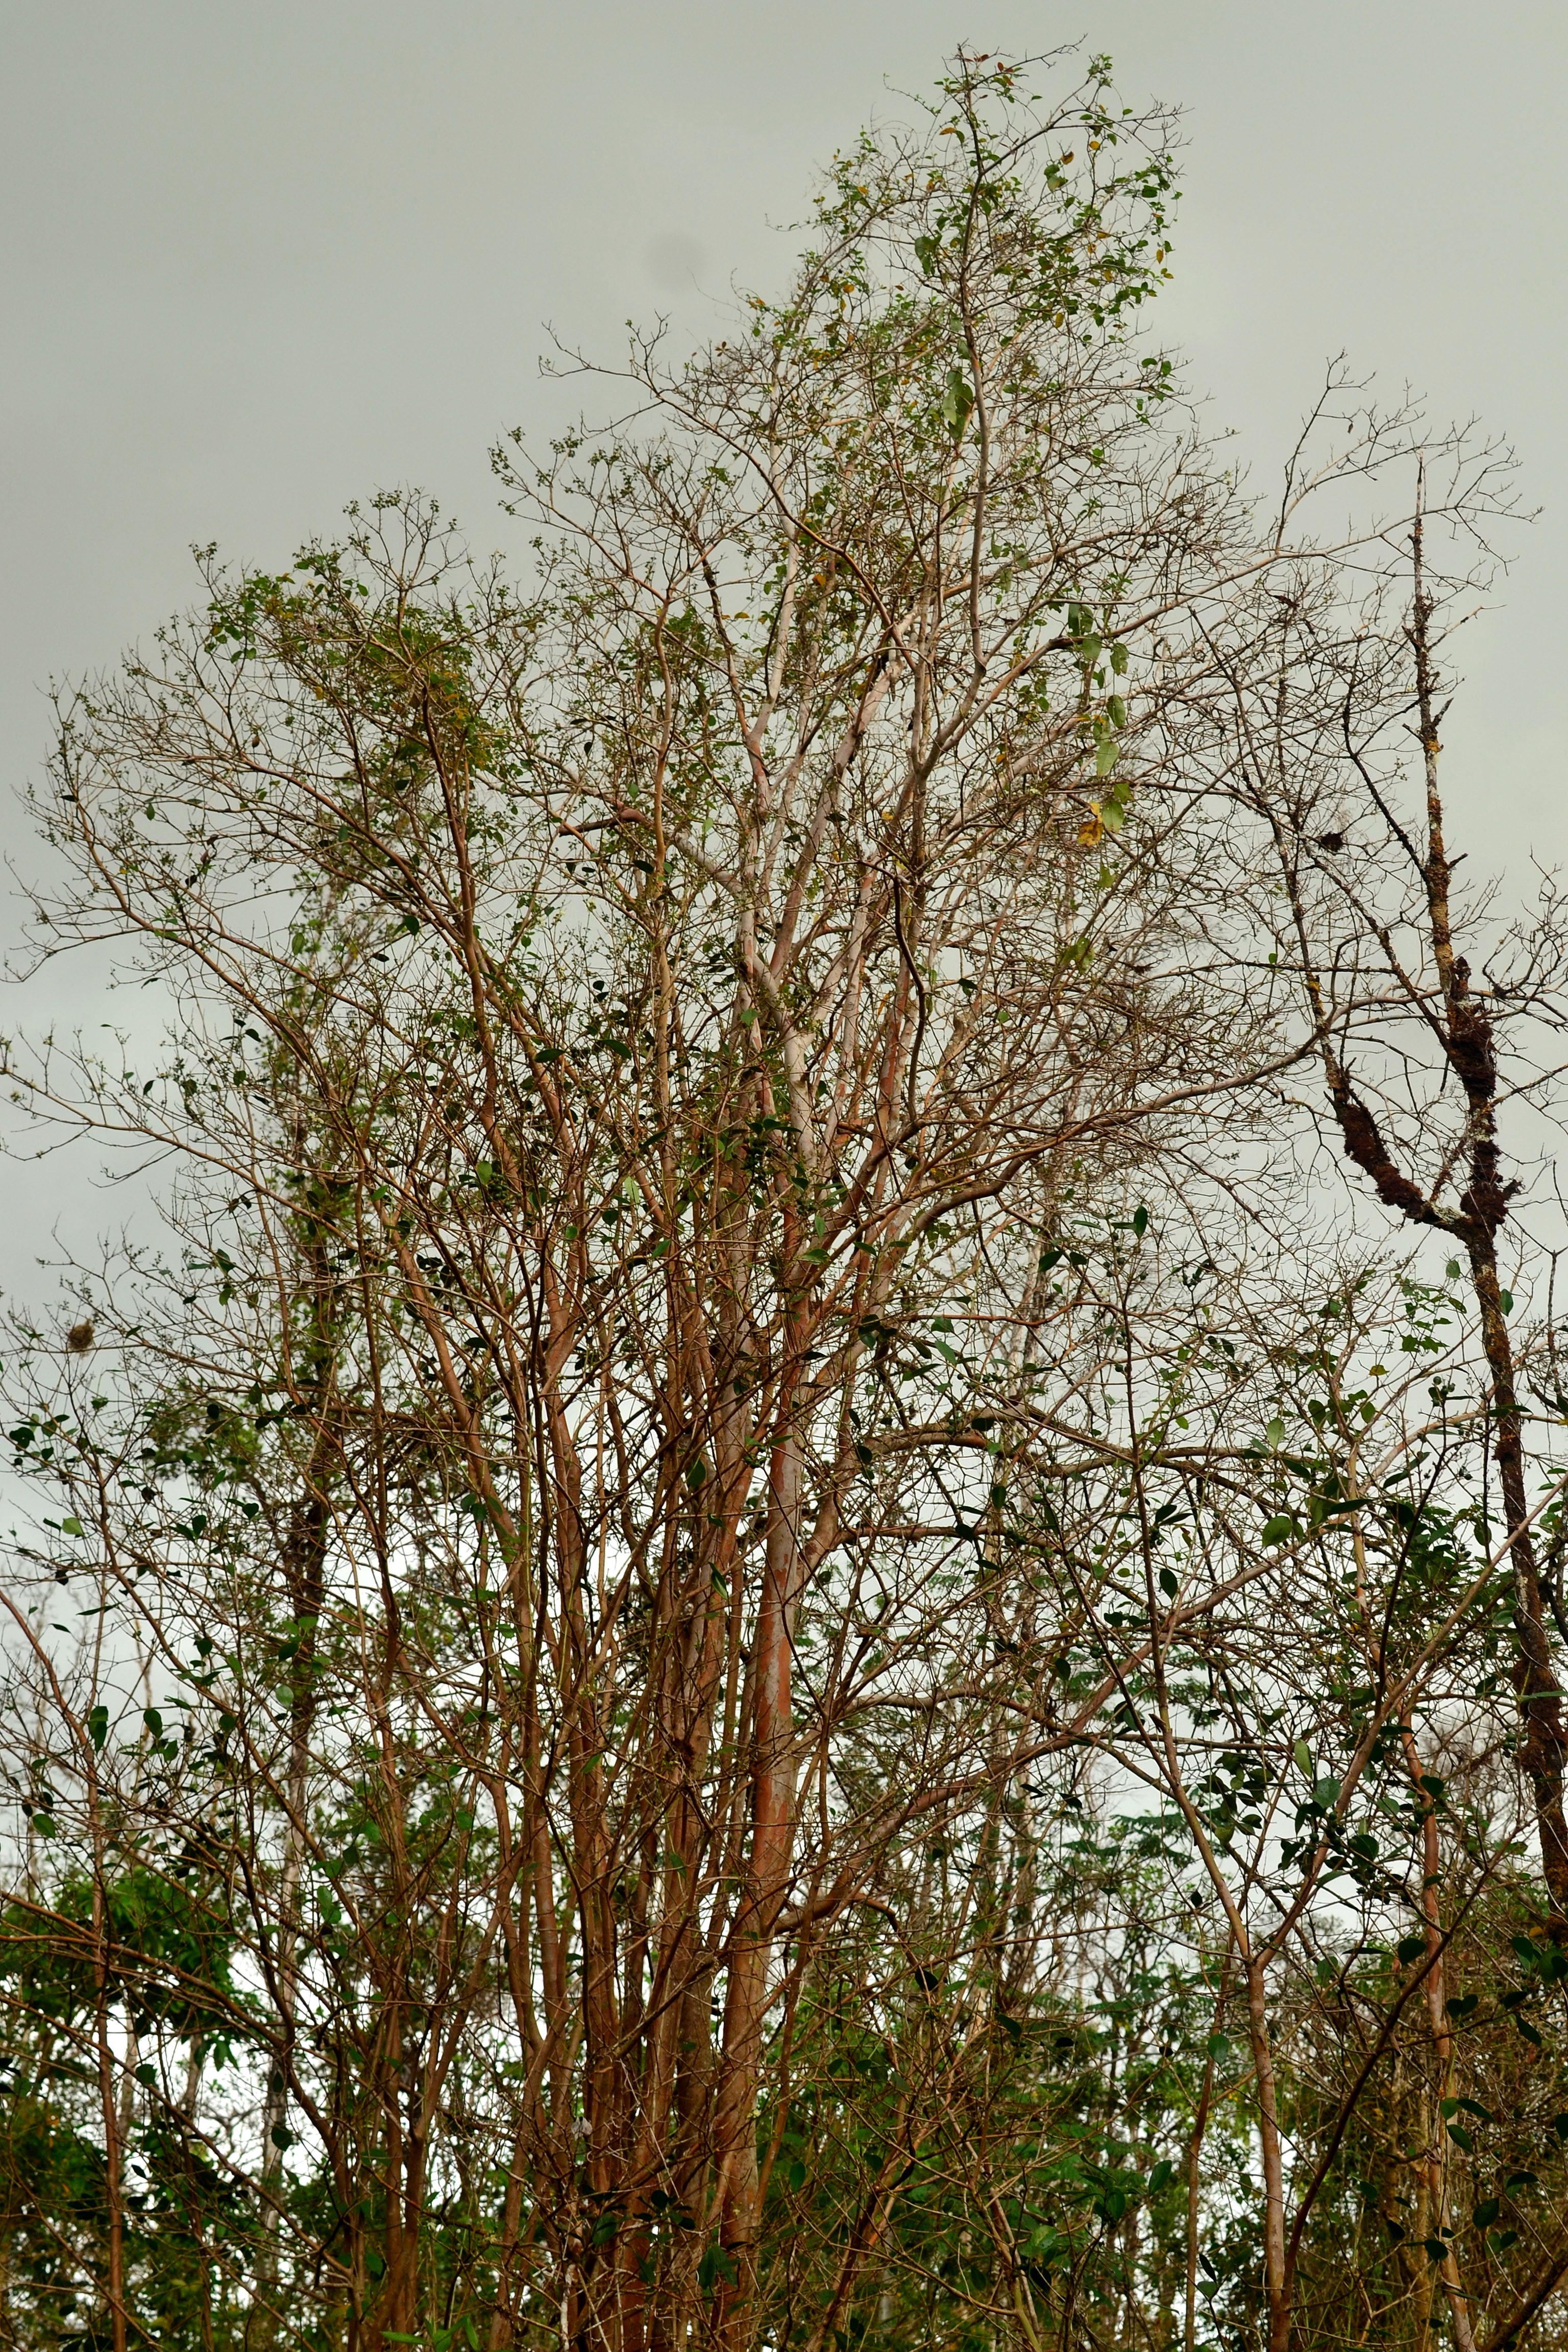
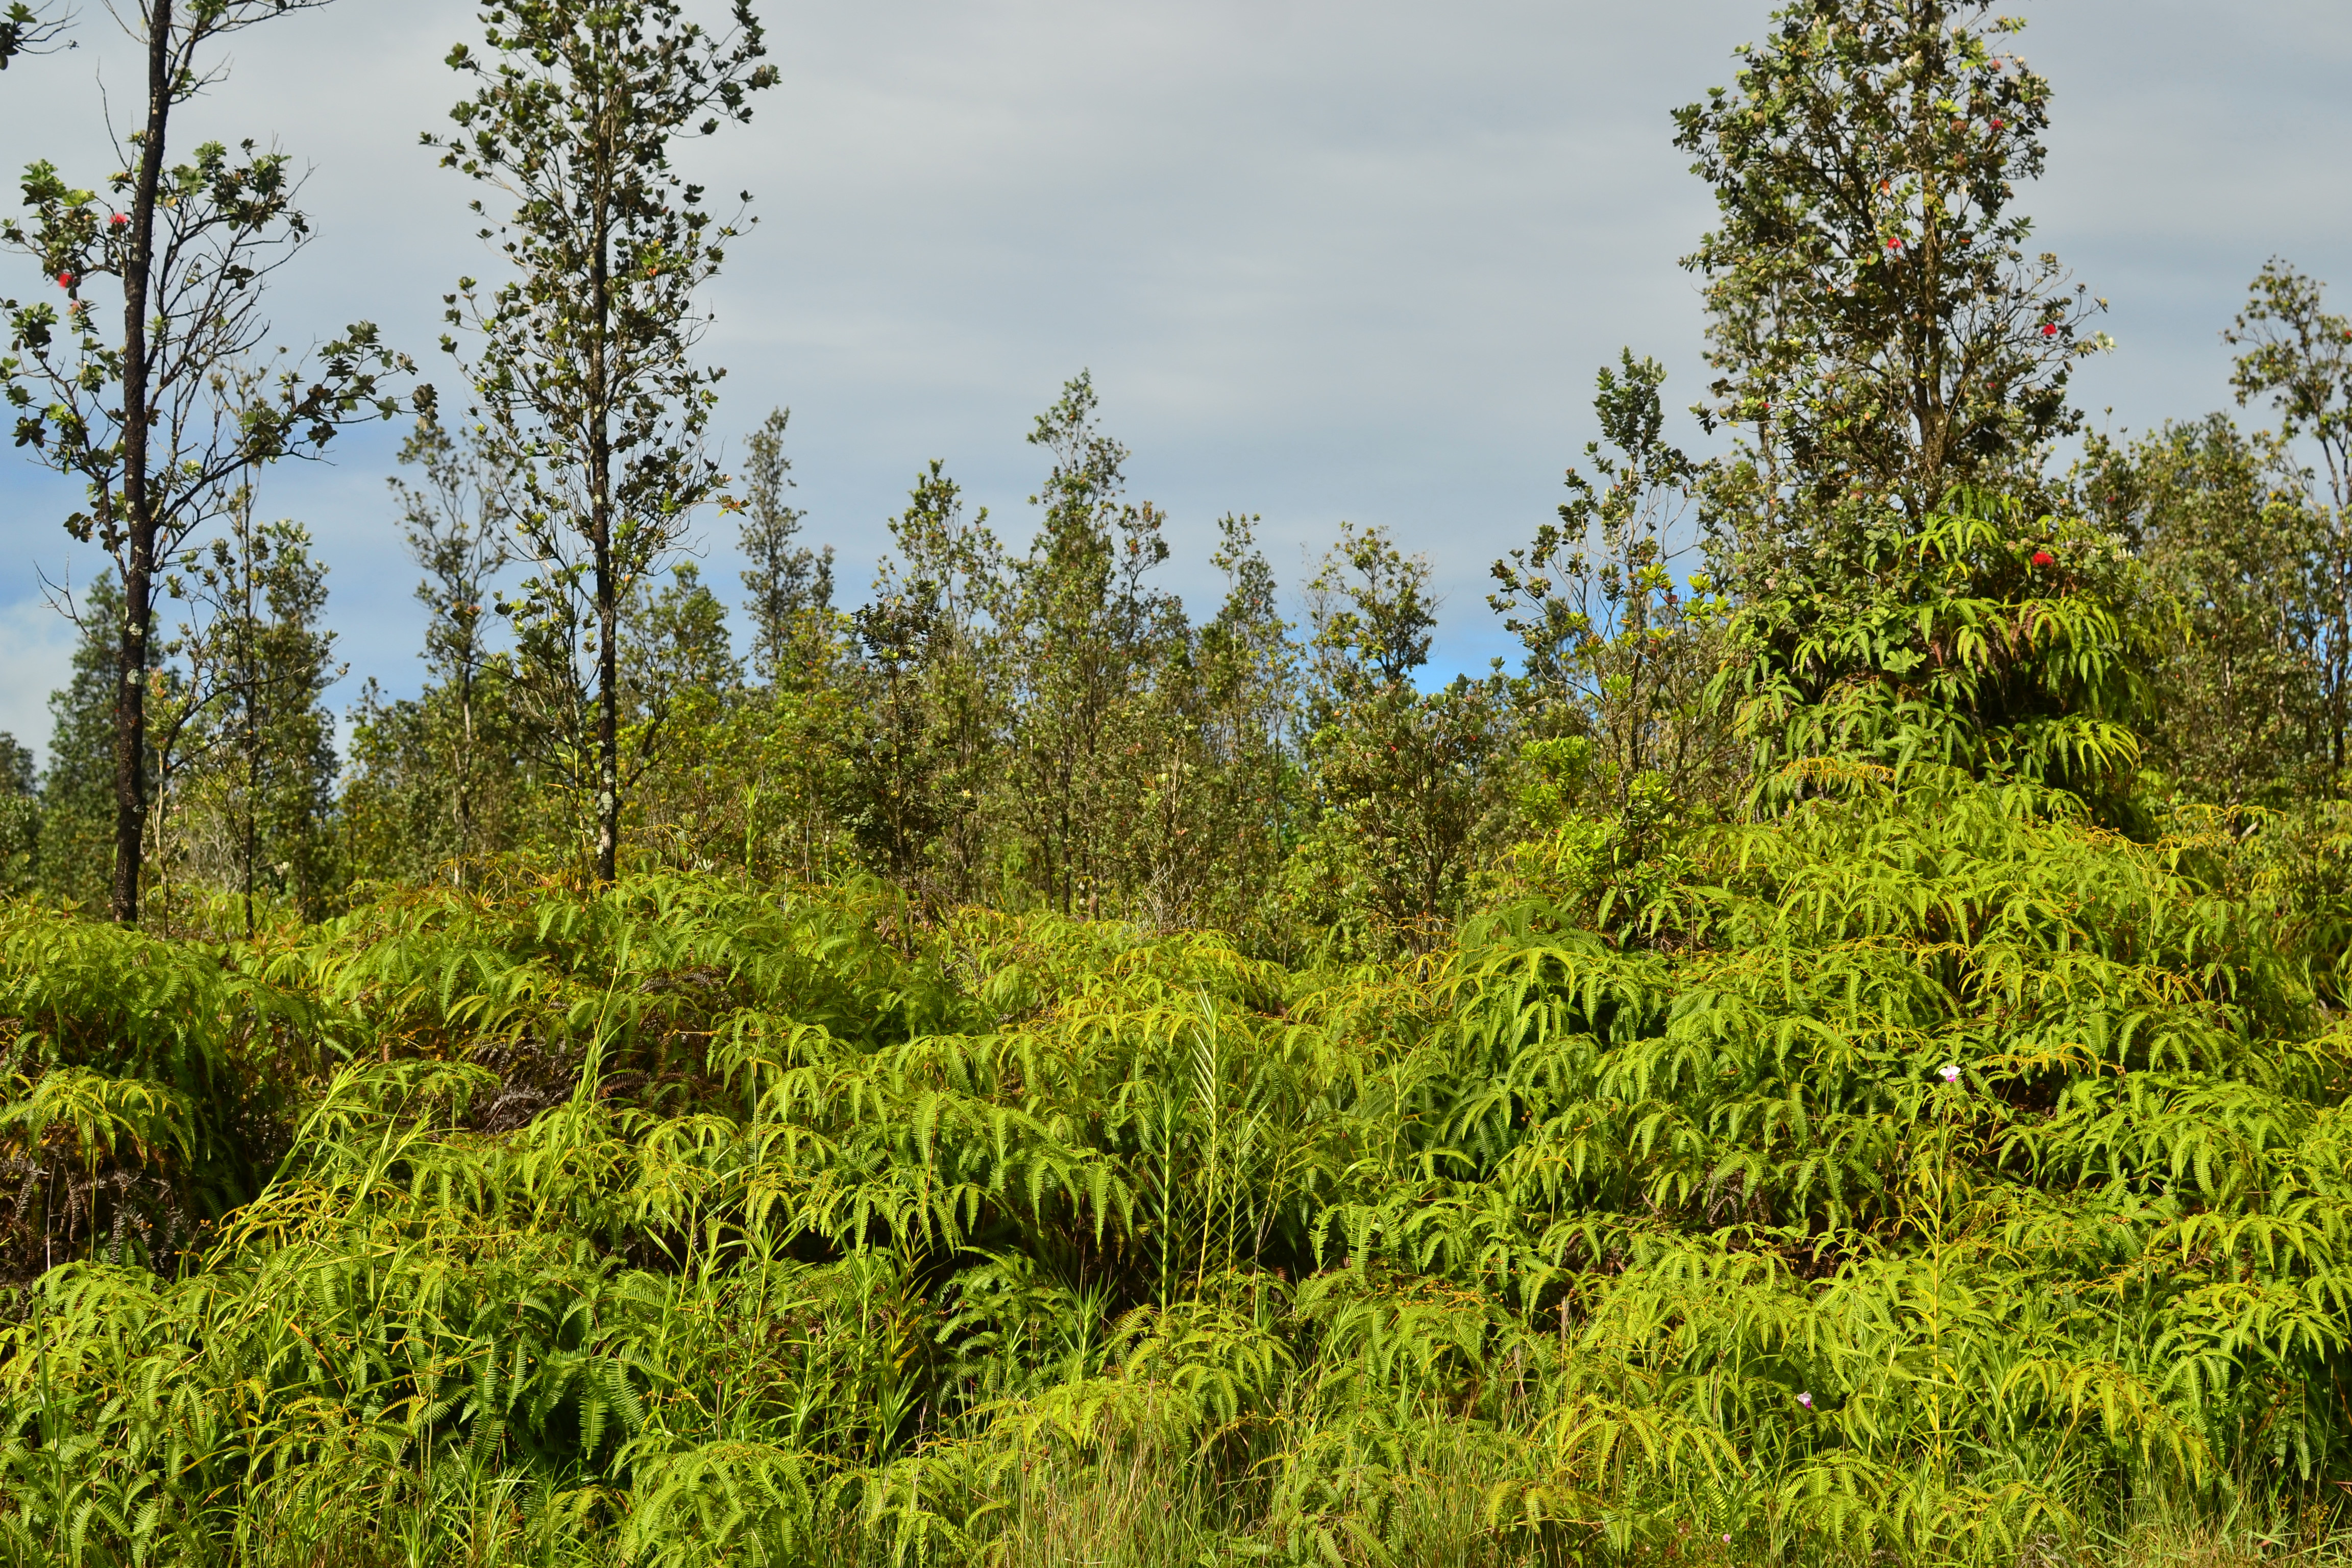
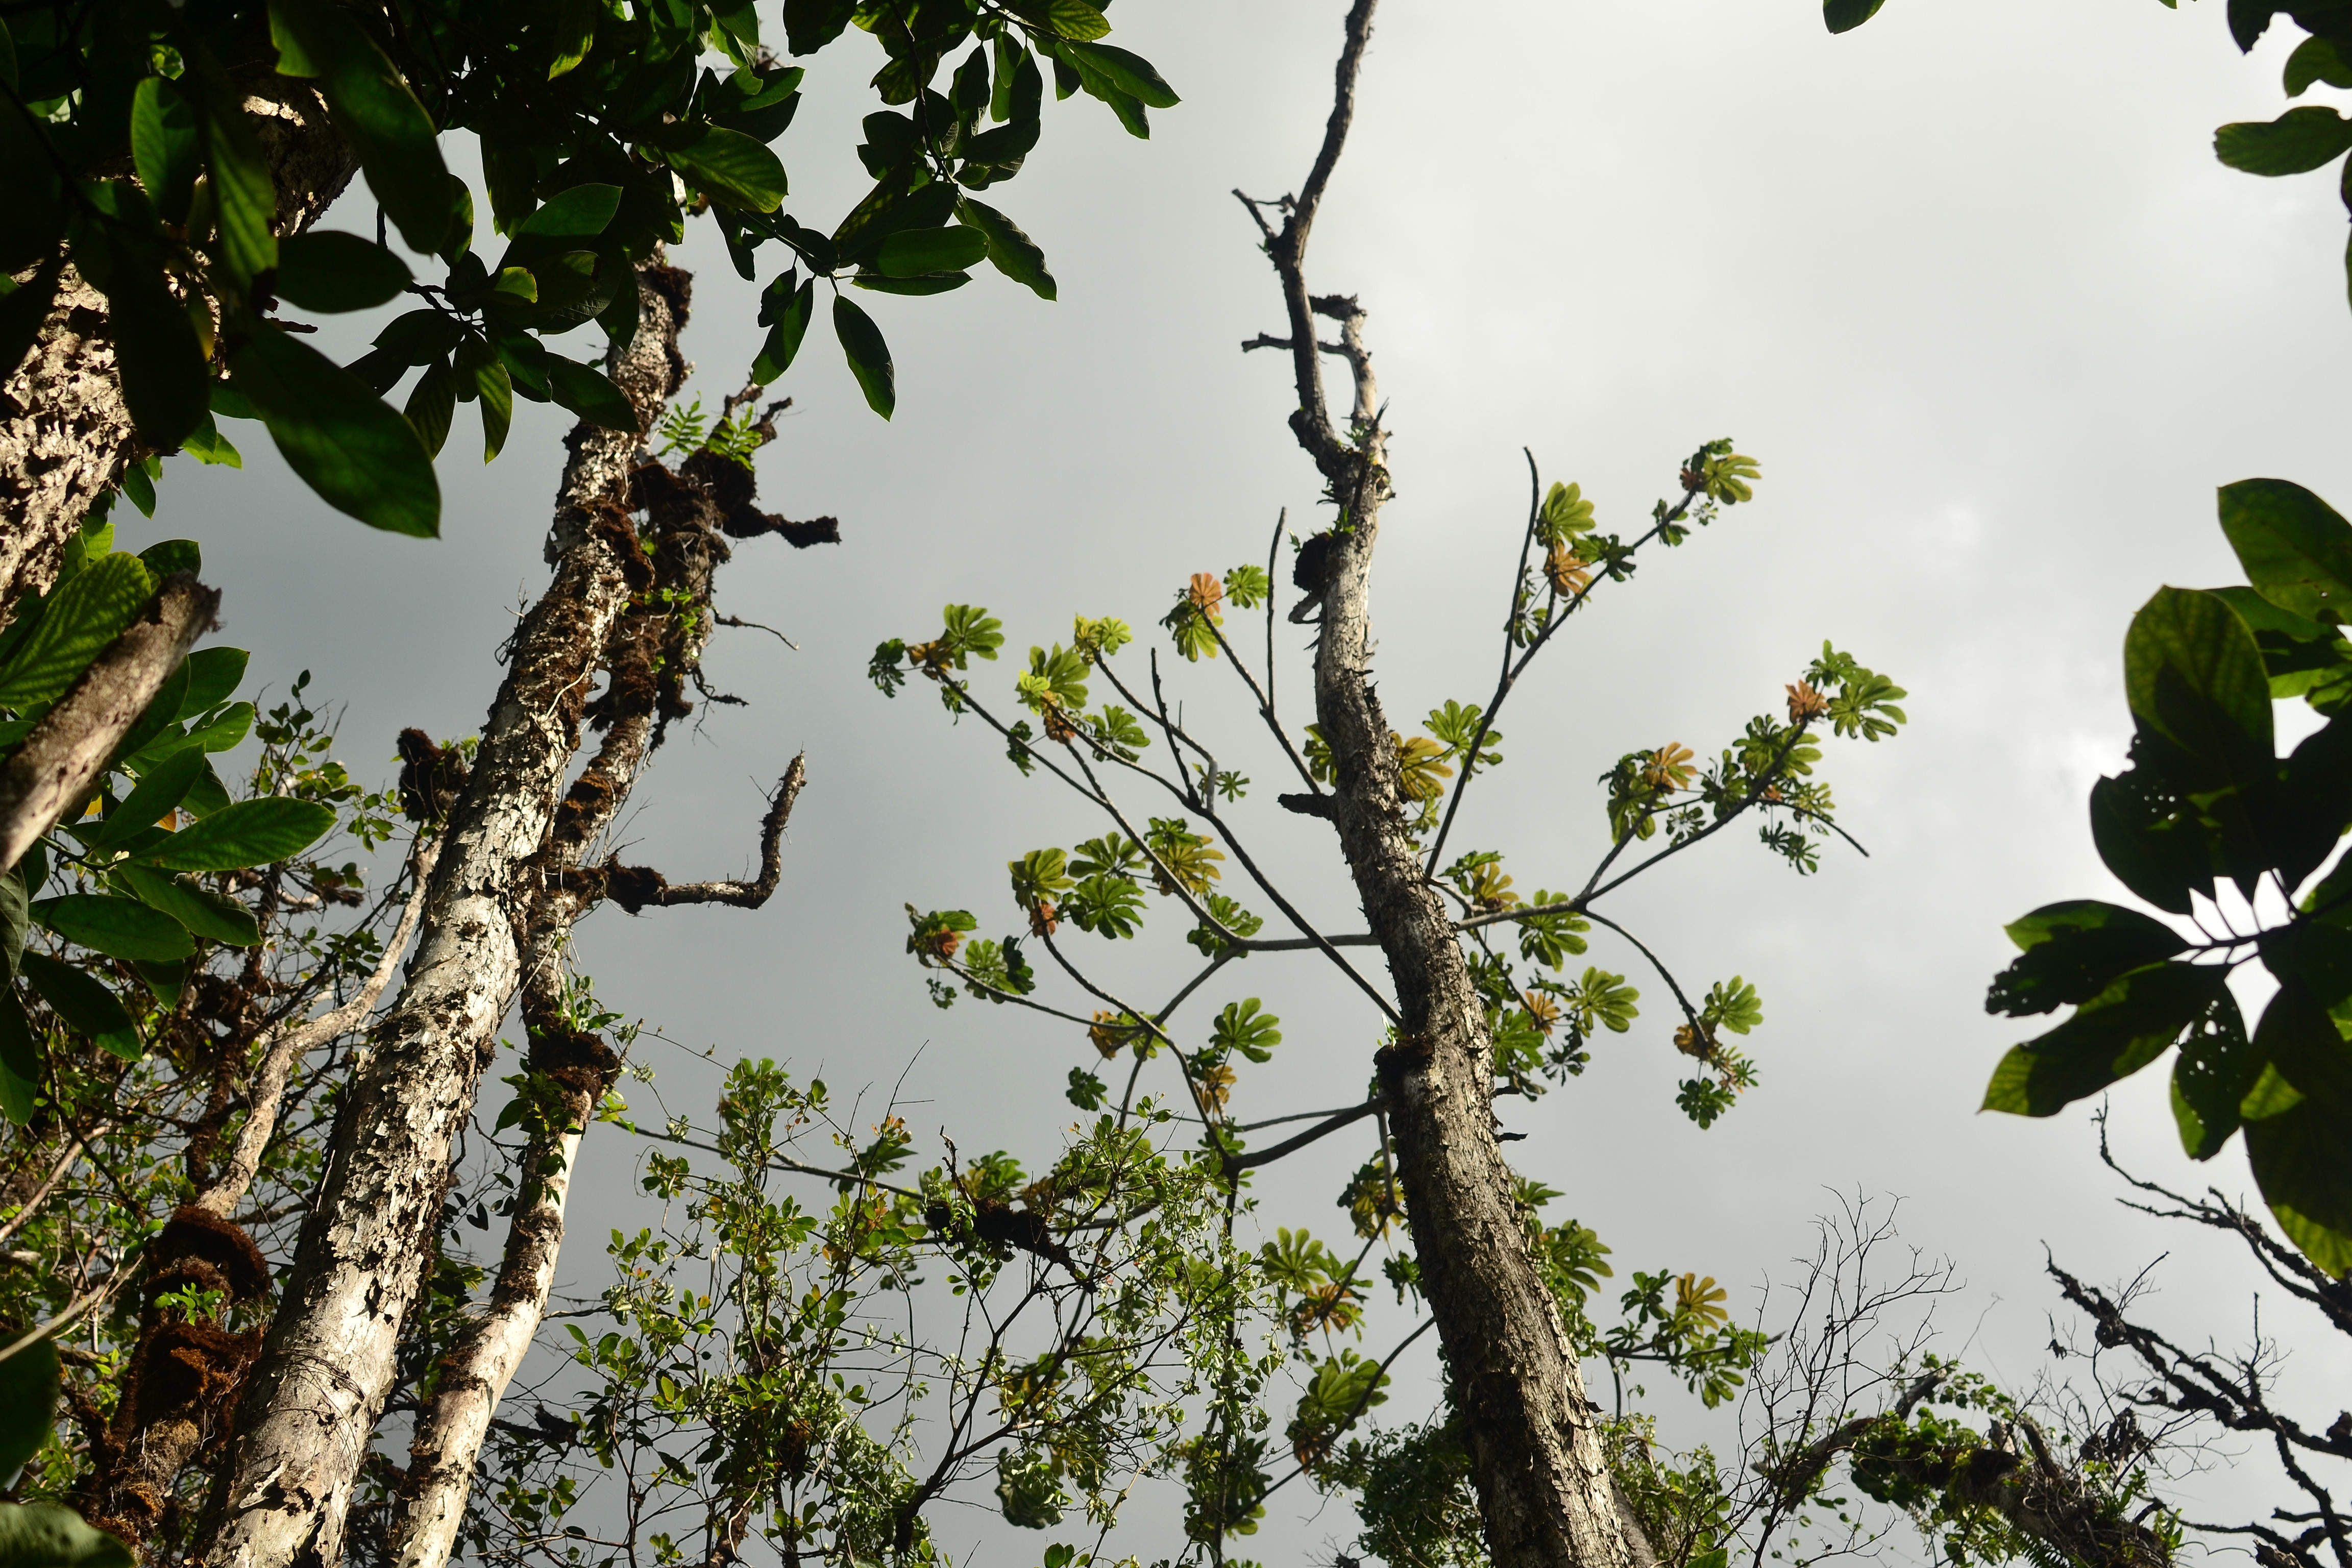
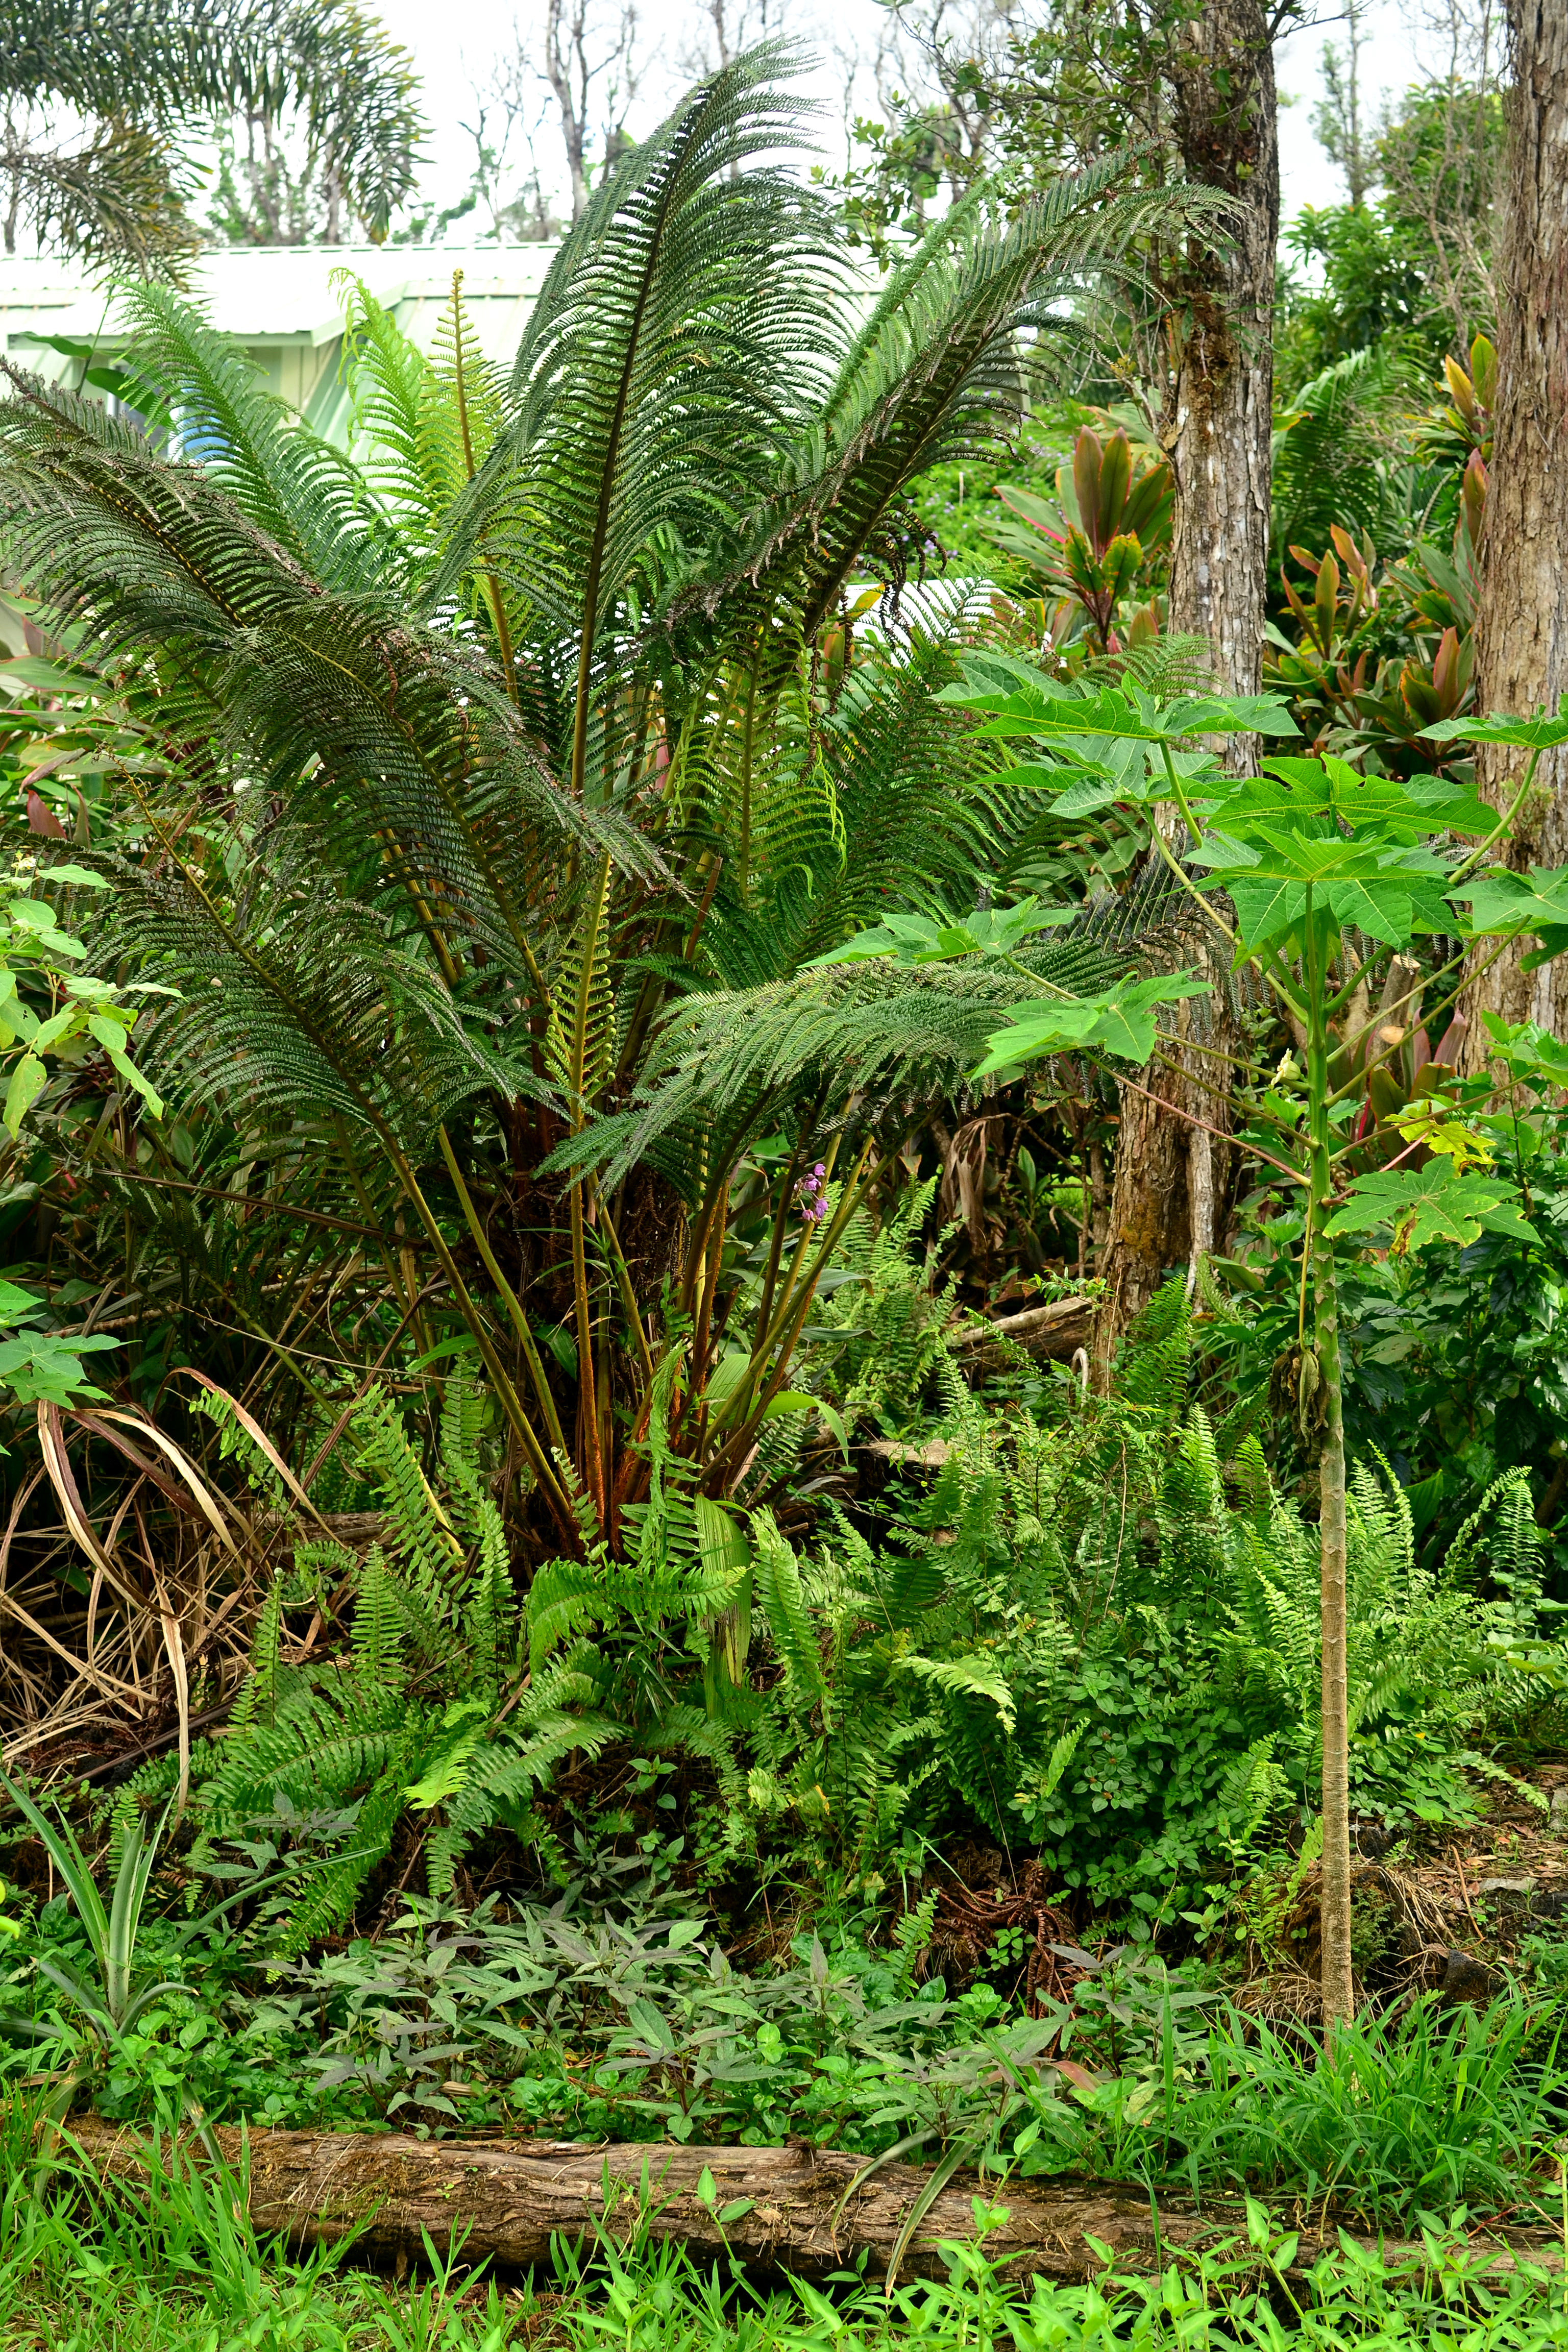
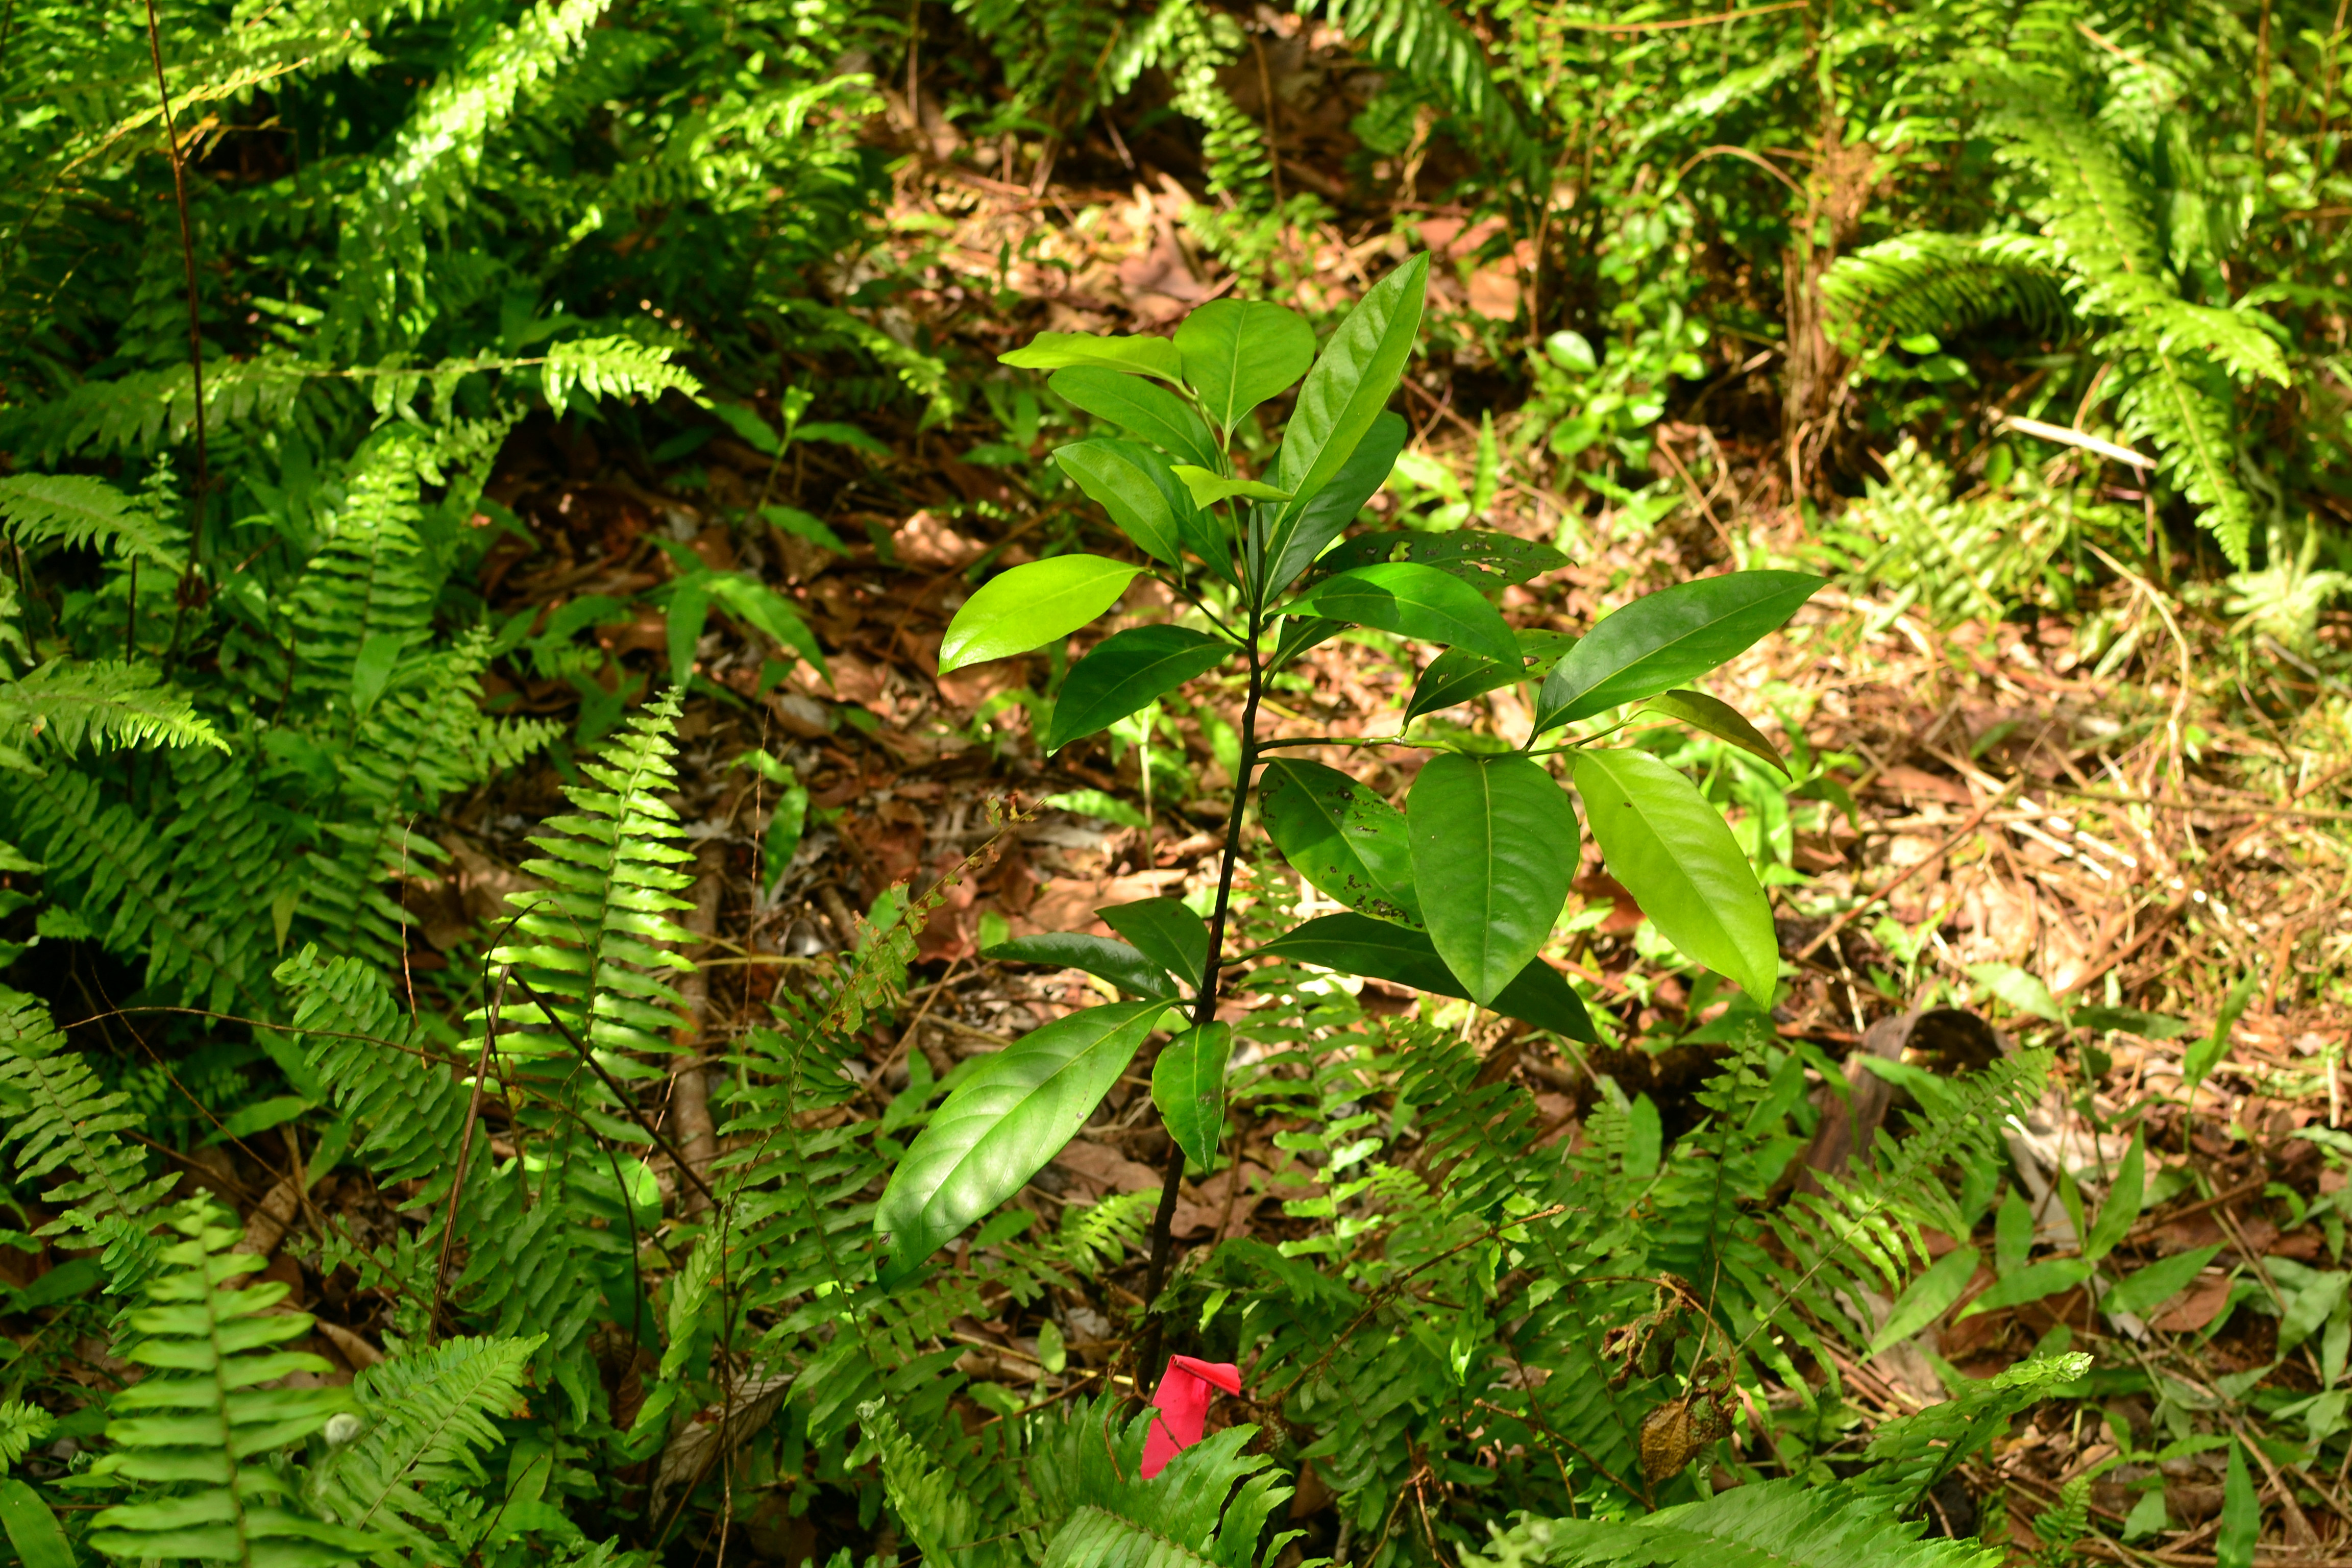
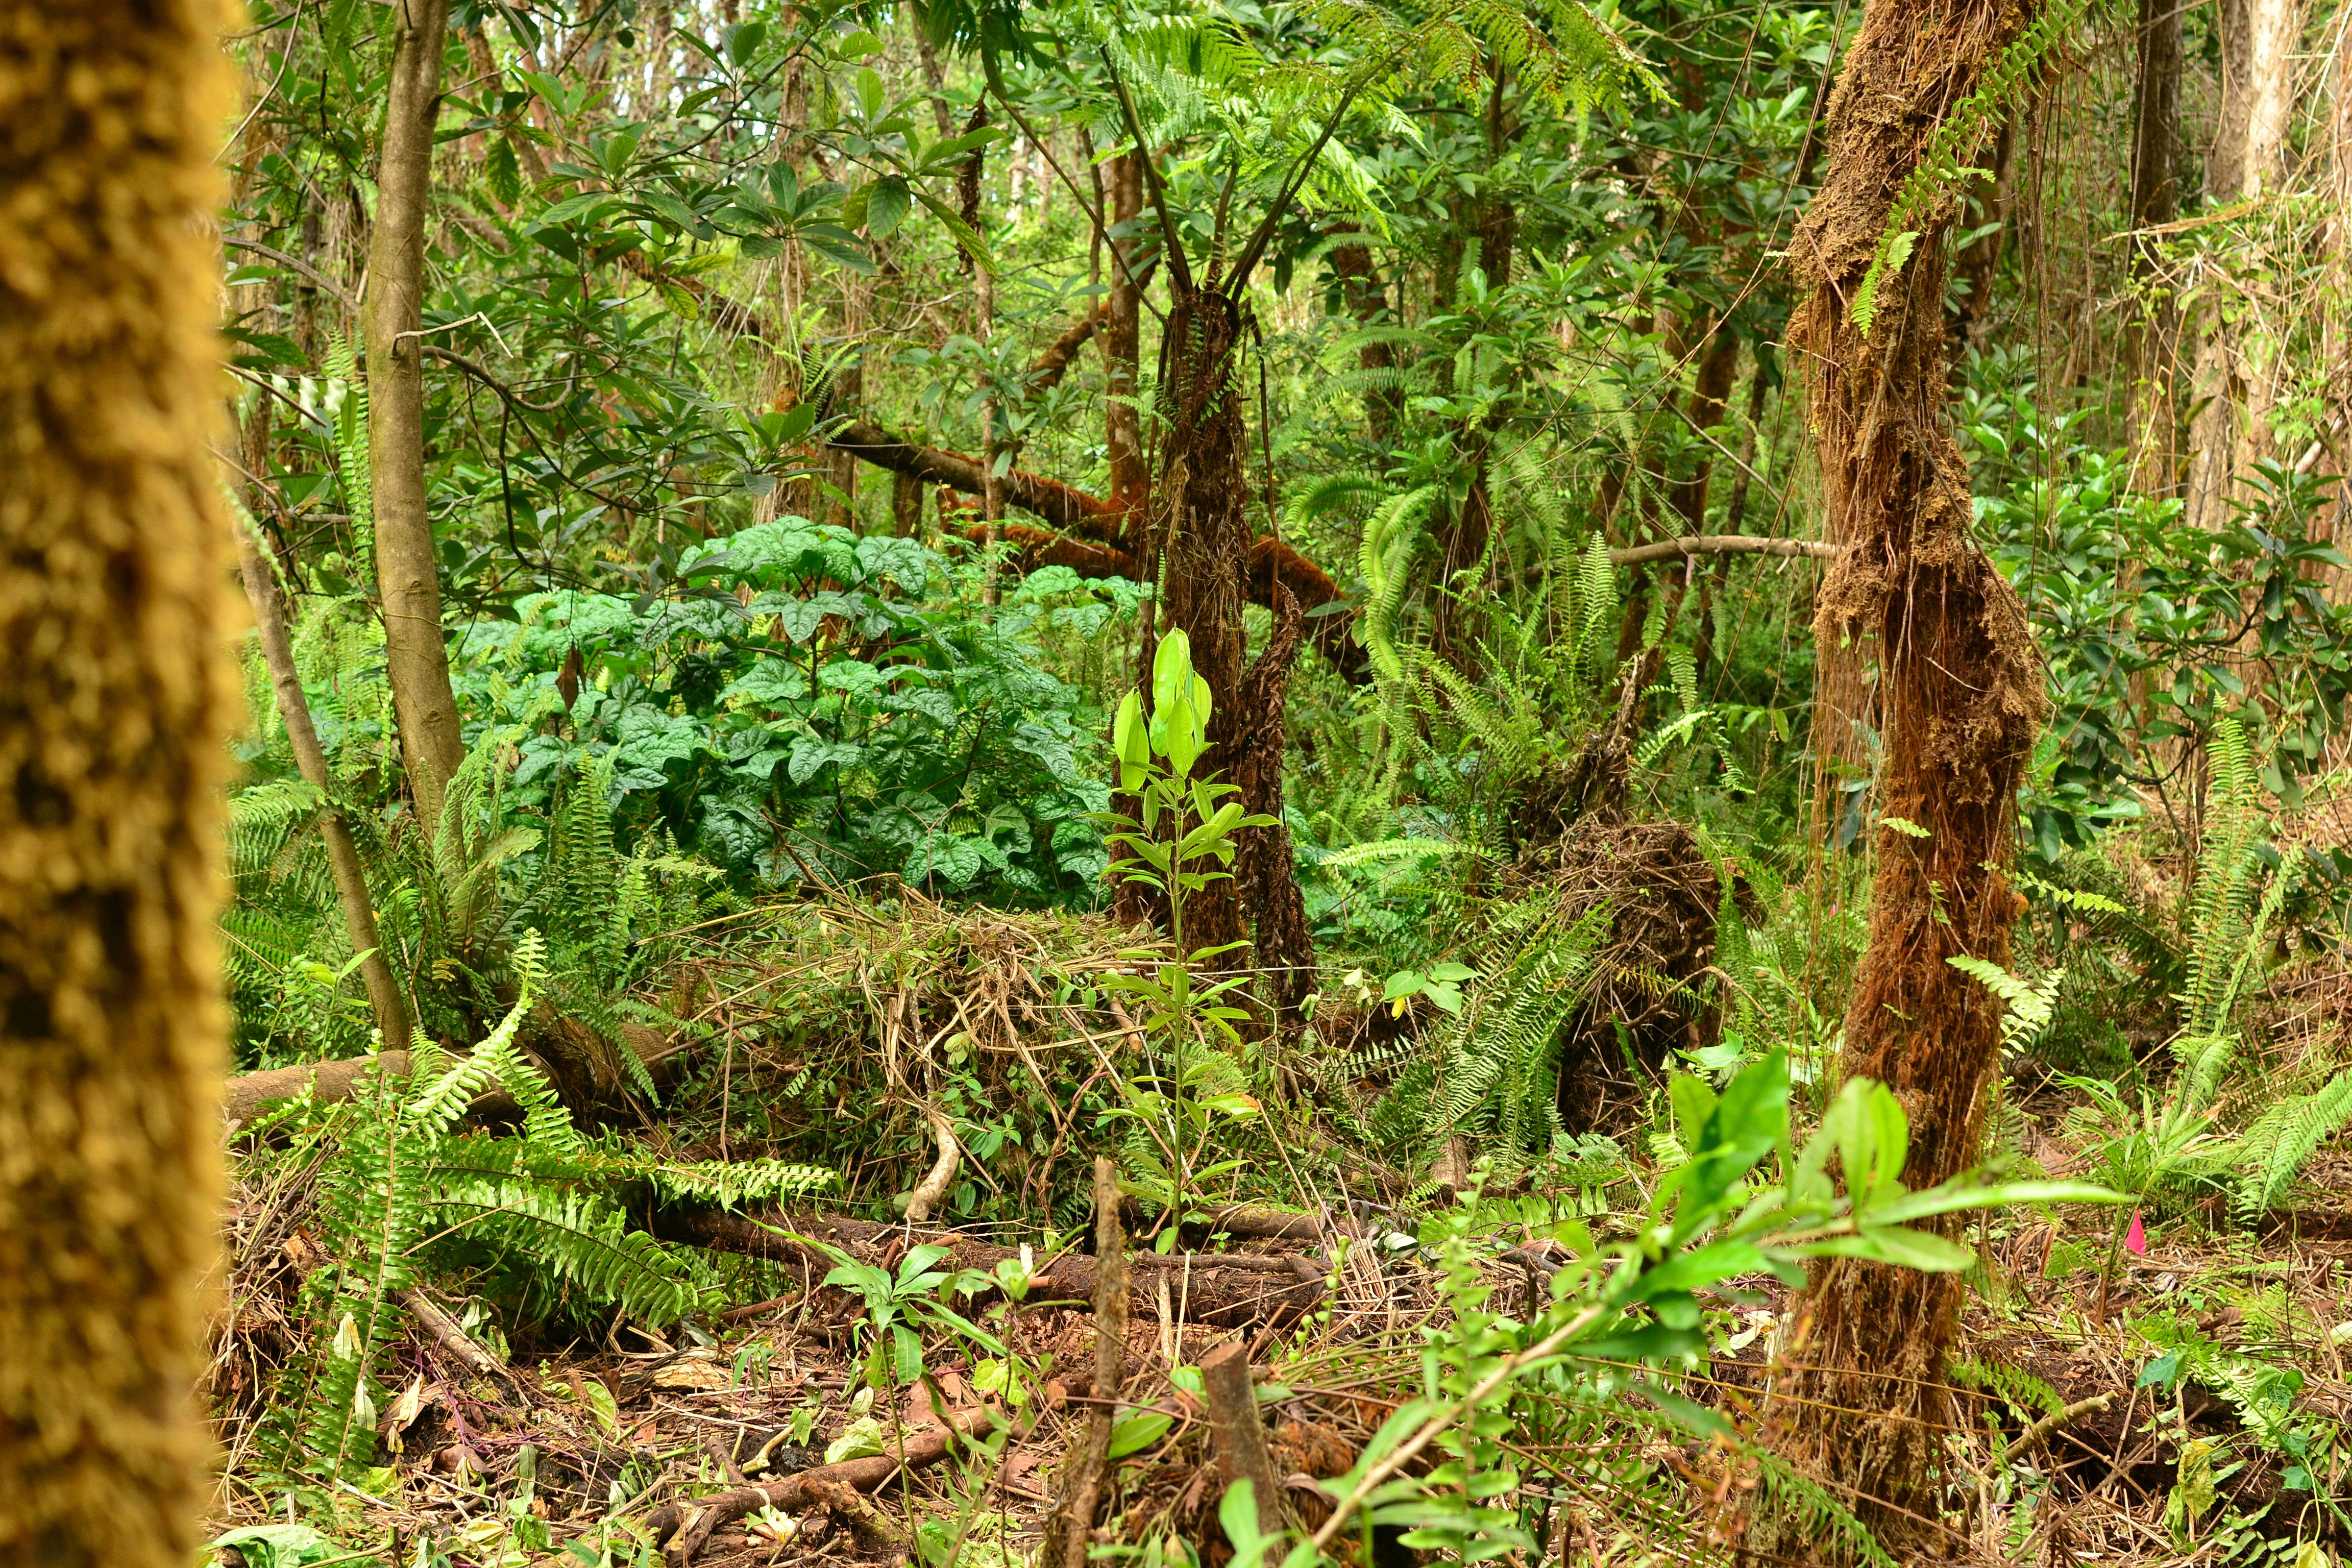
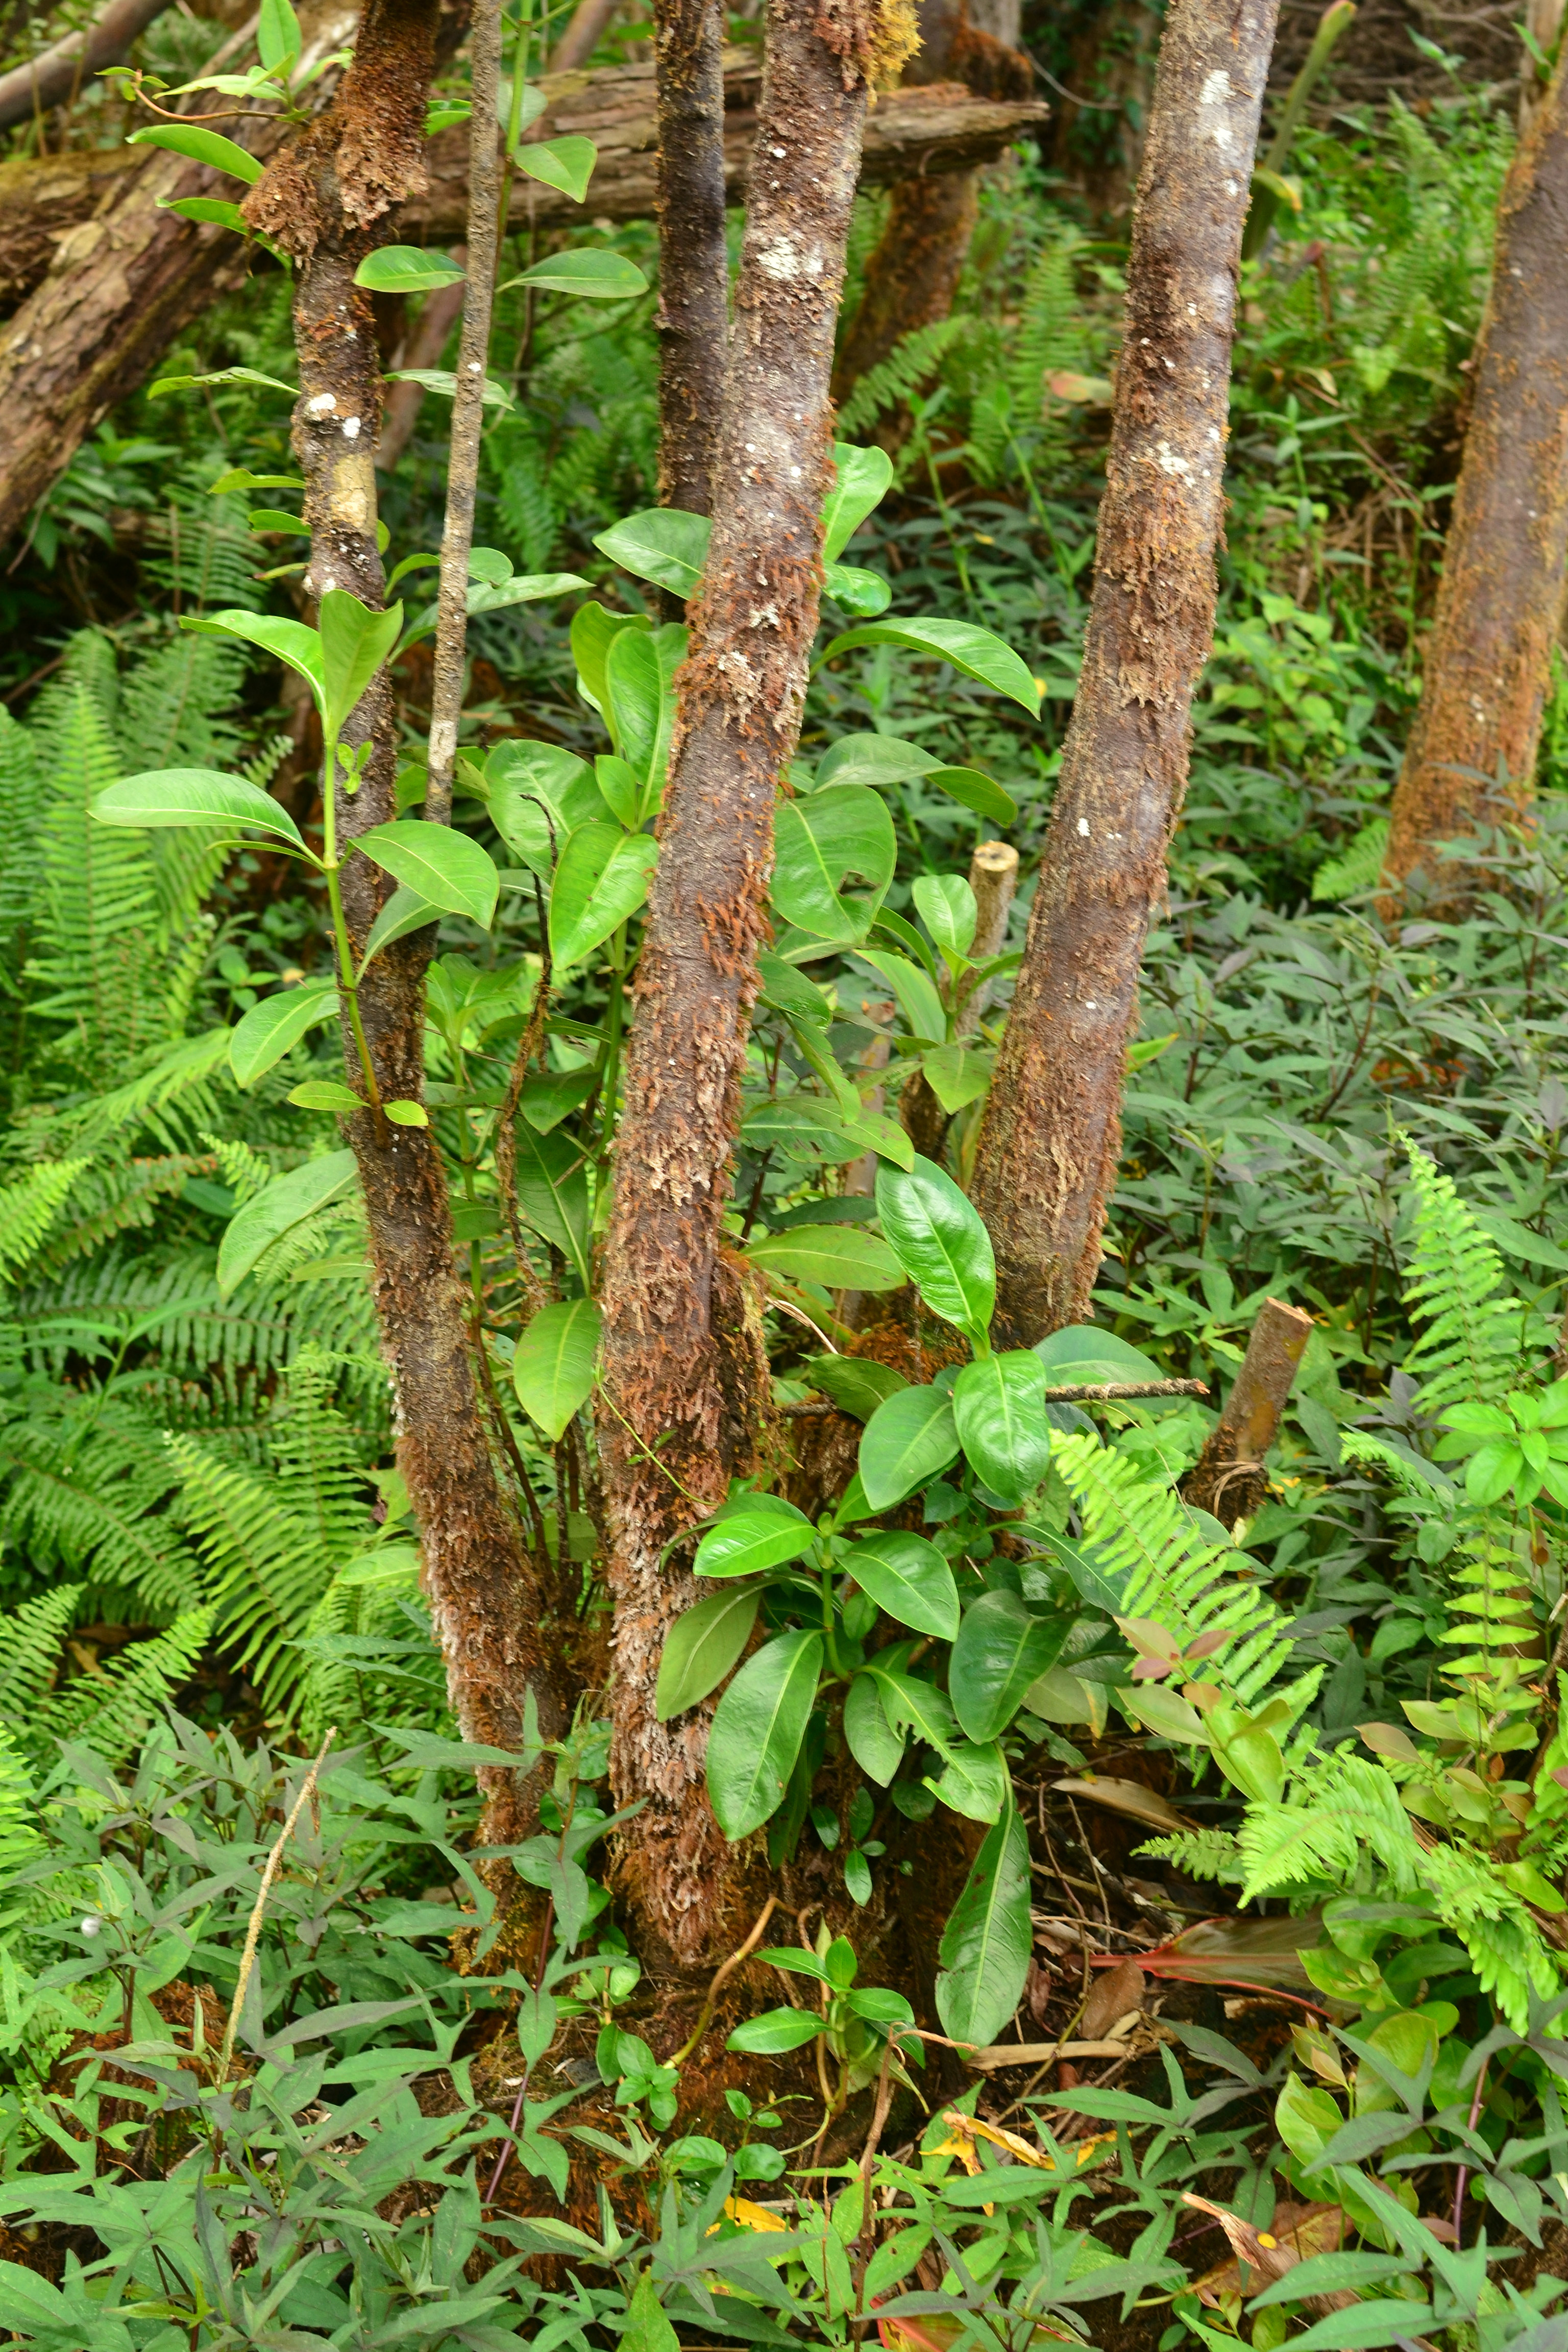
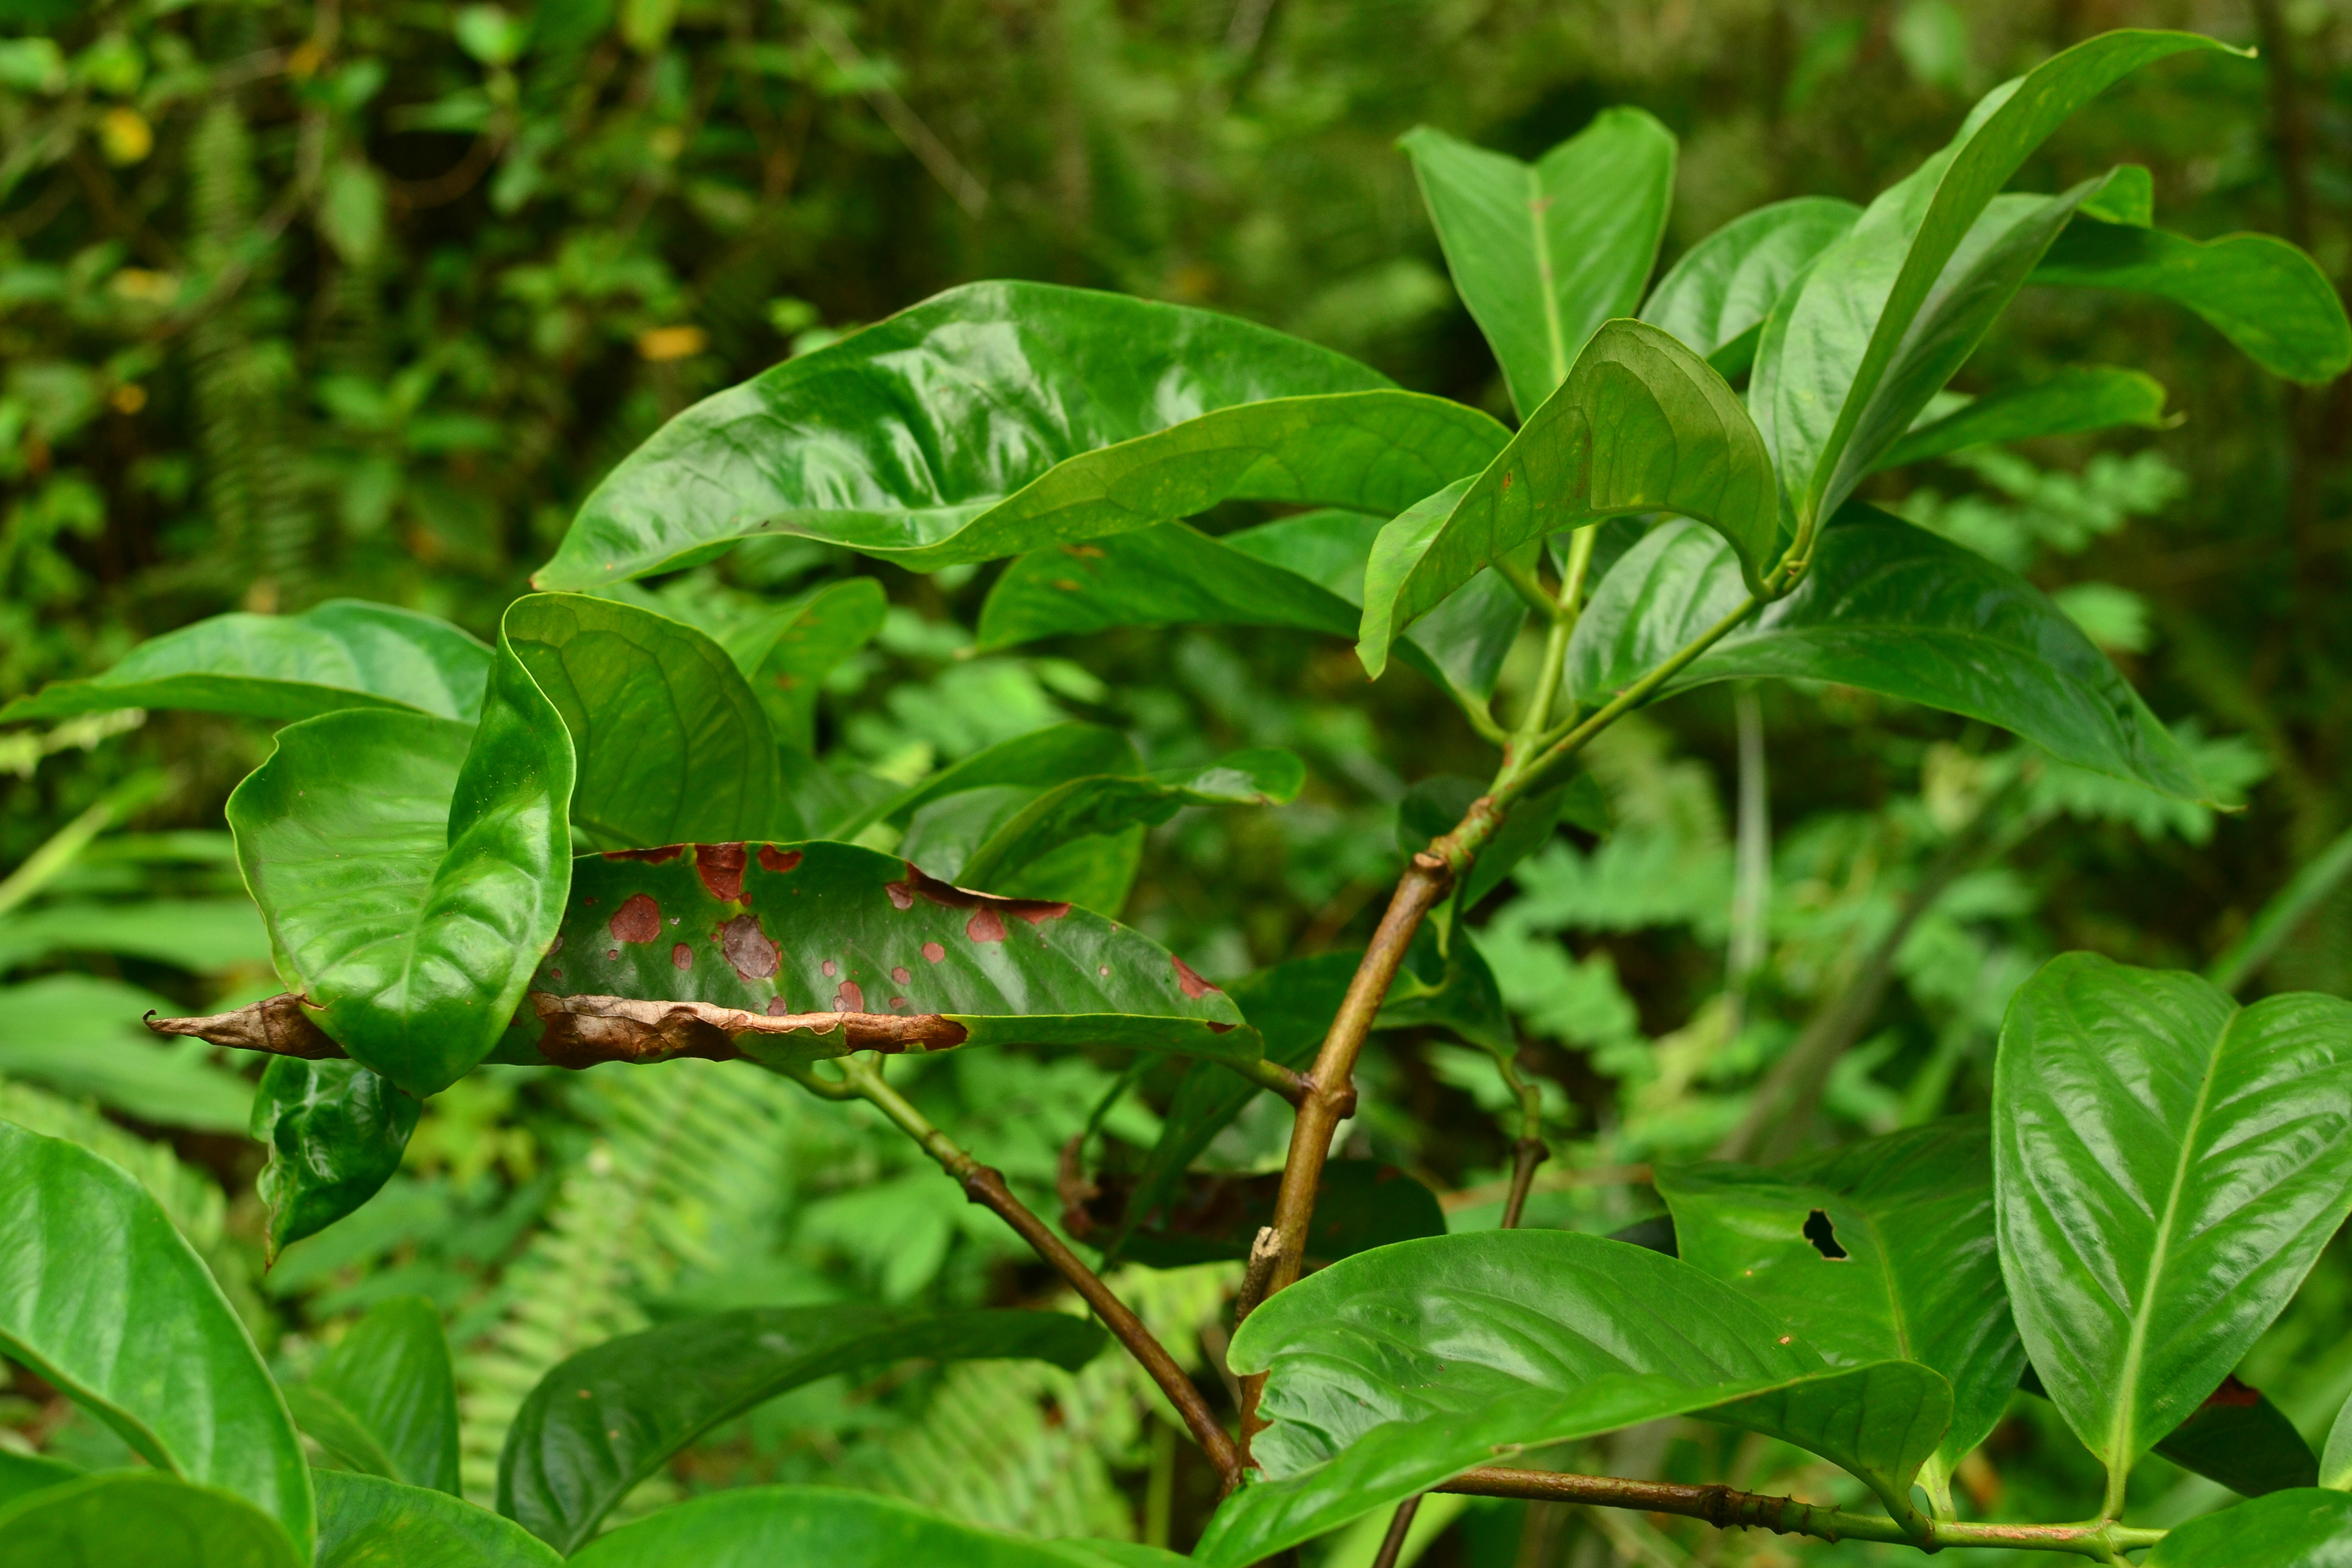
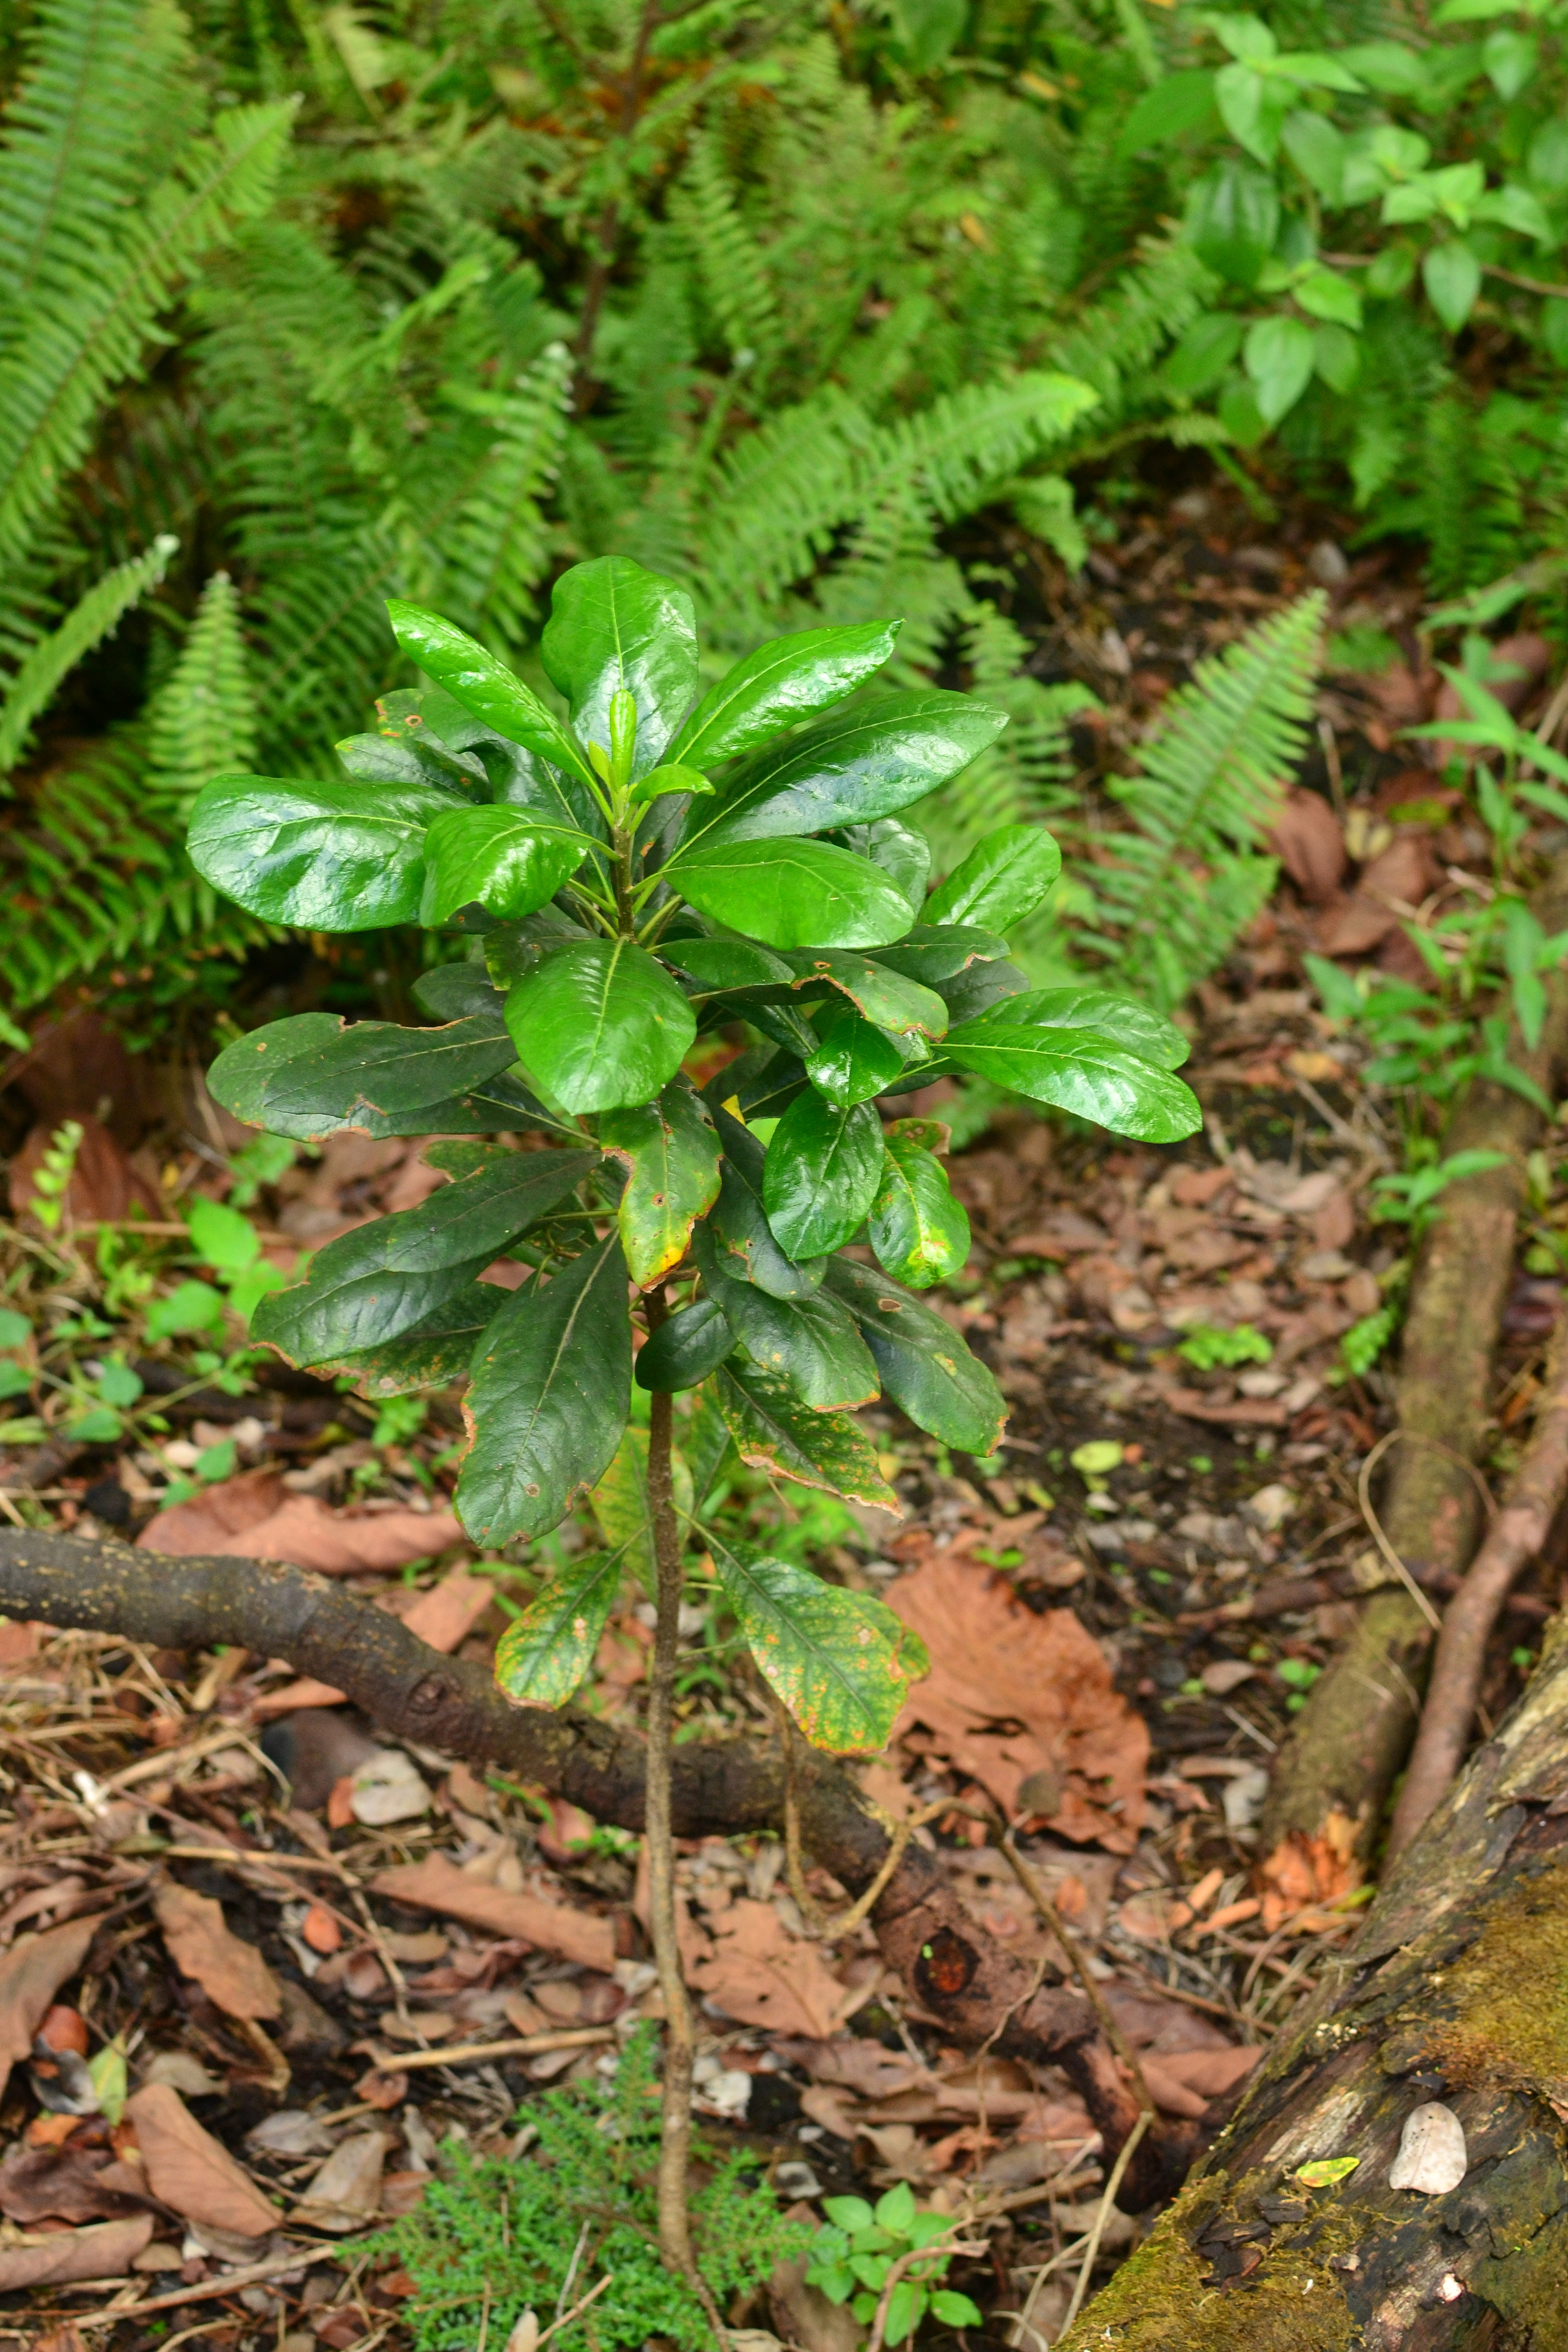
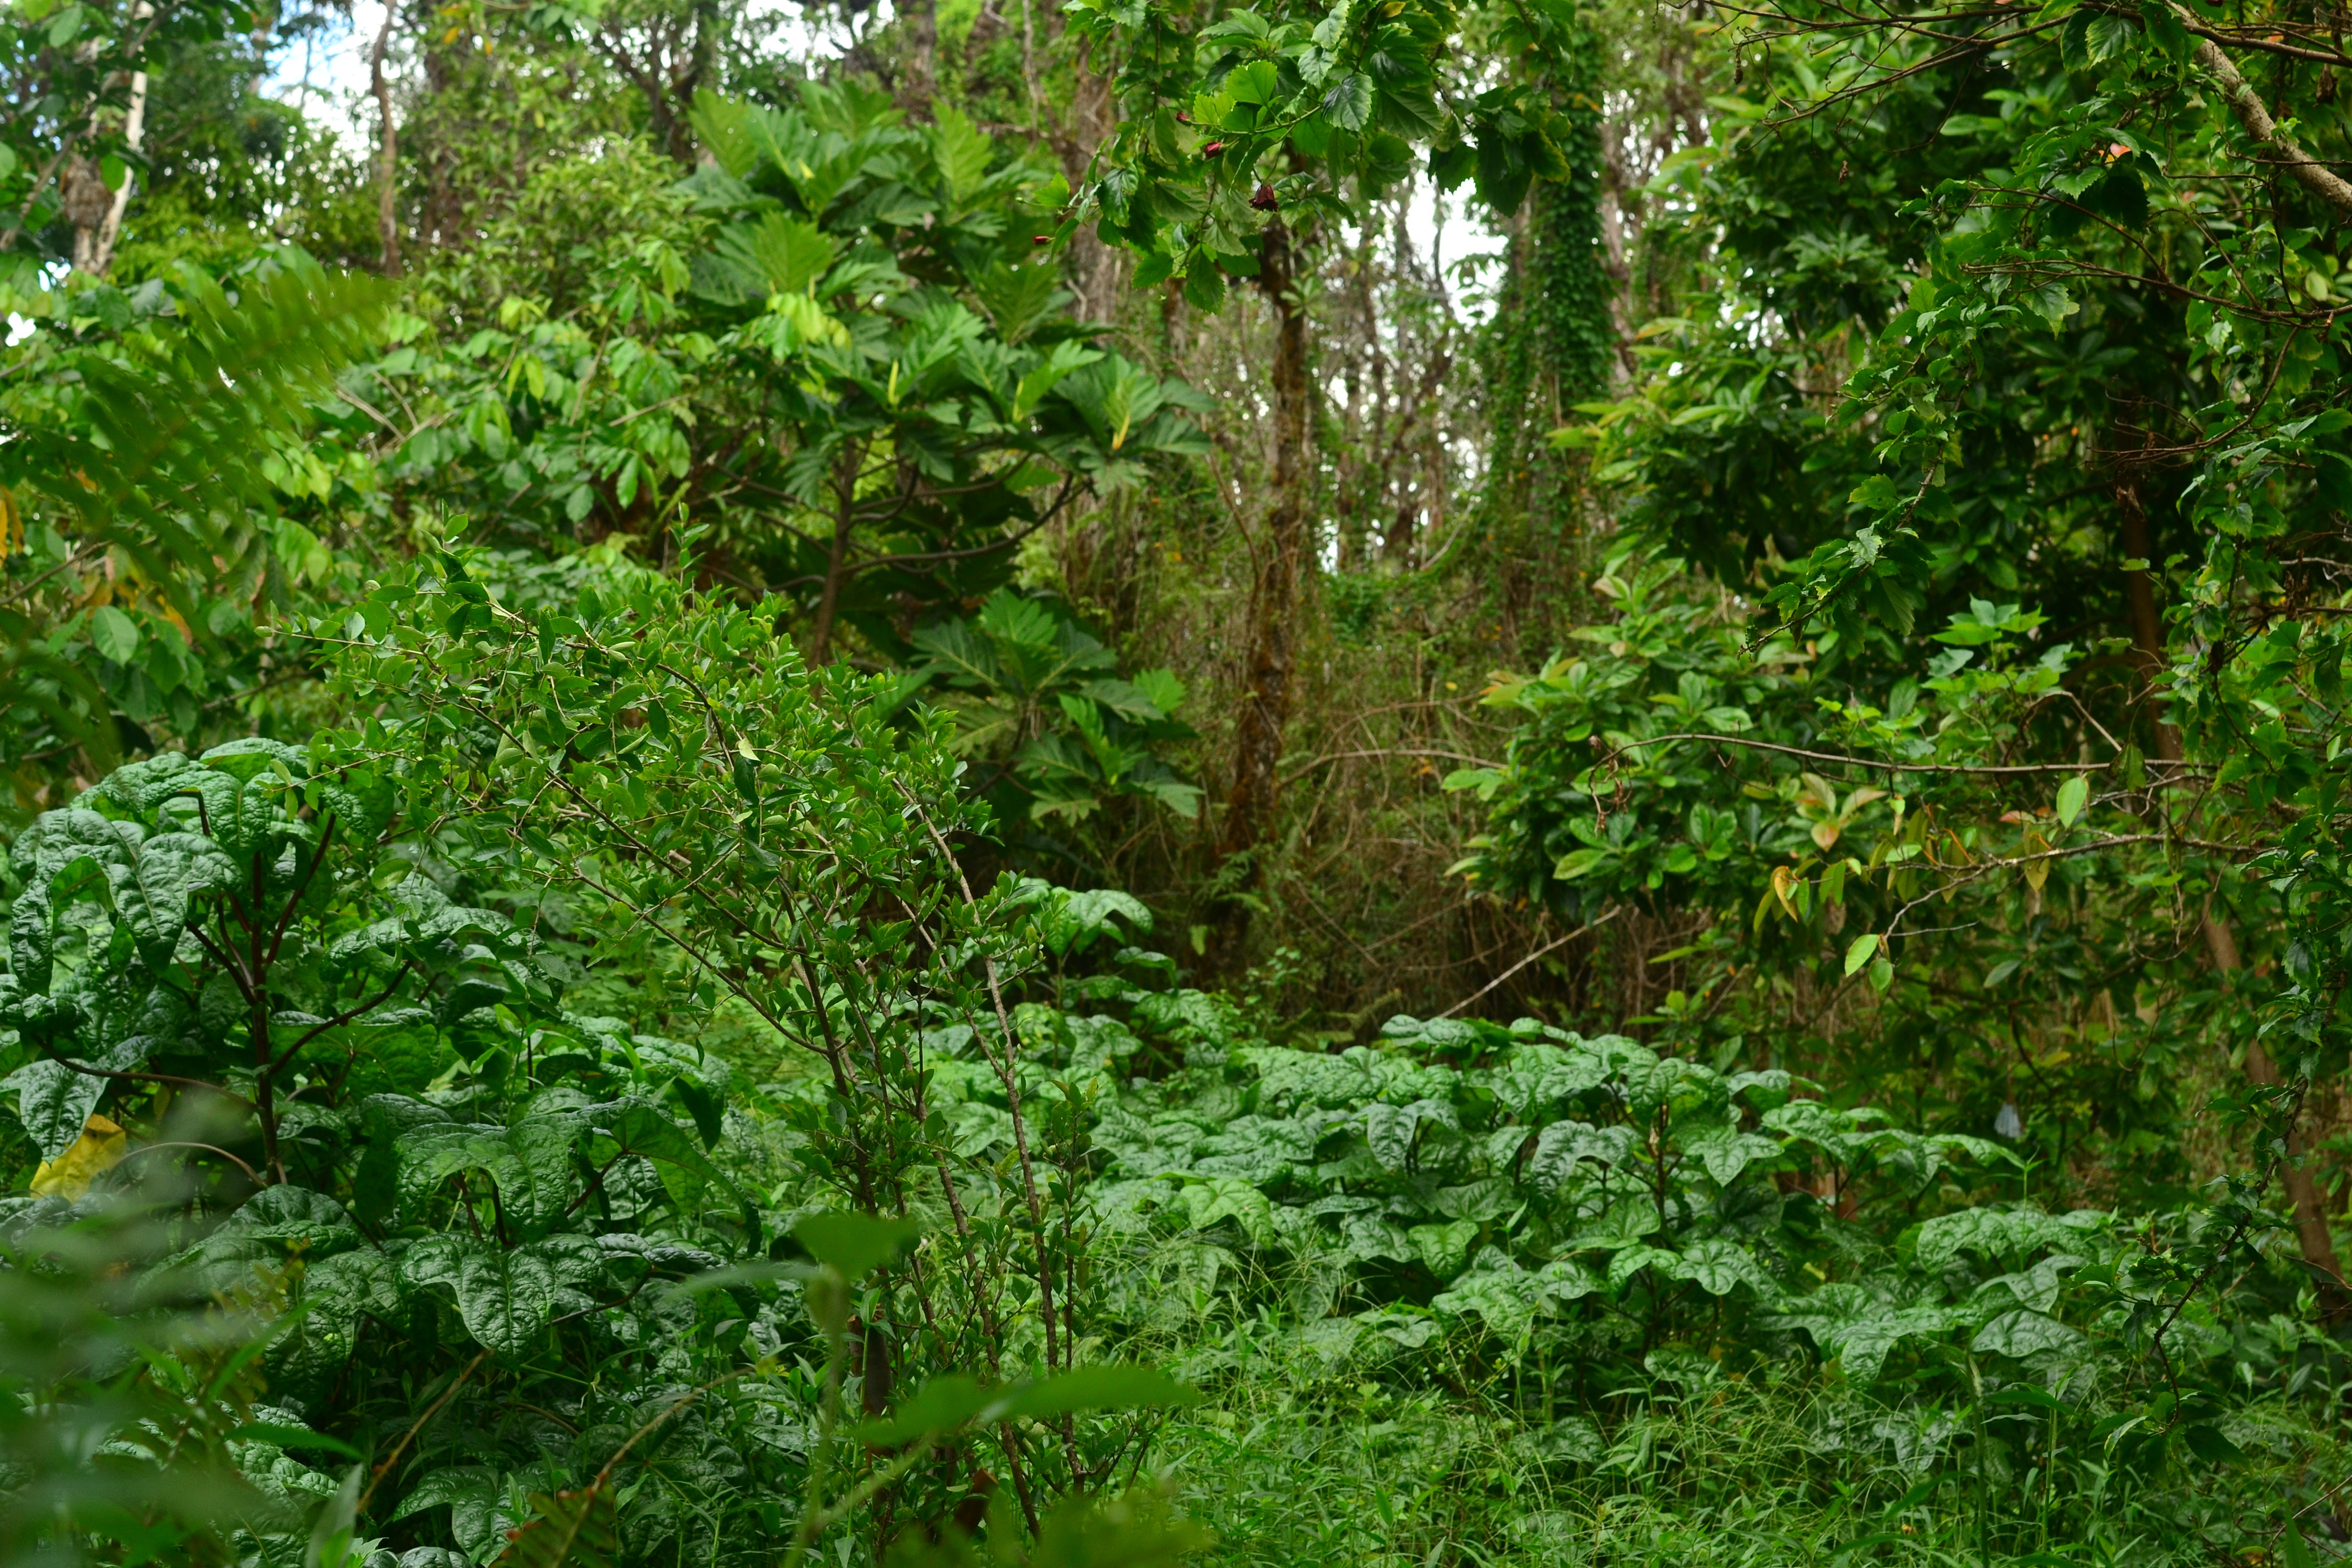
Now this is where things get really interesting, the native species. The first plants I noticed dying back were ferns and mosses. The non-native ferns have perished and still have not returned to the property. However, native ferns, specifically the hāpu’u (Cibotium sp.), kupukupu (Nephrolepis cordifolia), uluhe (Dicranopteris linearis) and ‘ama’u (Sadleria spp.) were almost non-effected from the emissions. Mosses still have not regained color and not sure how they are doing just yet. But the tree species never dropped their leaves, and are flourishing with vigor I had never noticed before. Meaning some native plants are more vigorous now than pre-eruption. These species include ‘ohi’a lehua (Metrosideros polymorpha), kōpiko (Psychotria hawaiiensis), māmaki (Pipturus albidus), hala (Pandanus tectorius), ‘ākia (Wikstroemia sandwicensis), and lama (Diospyros sandwicensis). Of the other native species that I’ve planted, who are not 100% part of our young native forest in this part of lower Puna who still thrived are: hame (Antidesma platyphyllum), hō’awa (Pittosporum sp.), loulu (Pritchardia beccariana), koki’o (Hibiscus kokio), naio (Myoporum sandwicense), and ko’oko’olau (Bidens hawaiiensis).

DSC_0039

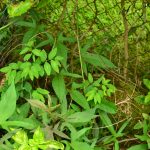
ilima, hō’awa, māmaki, kōpiko, ‘ohi’a lehua, lama, kupukupu. Look how waiwai has no leaves!

DSC_0050

Mostly kōpiko and some ‘ohi’a lehua. Gunpowder in background.

DSC_0088

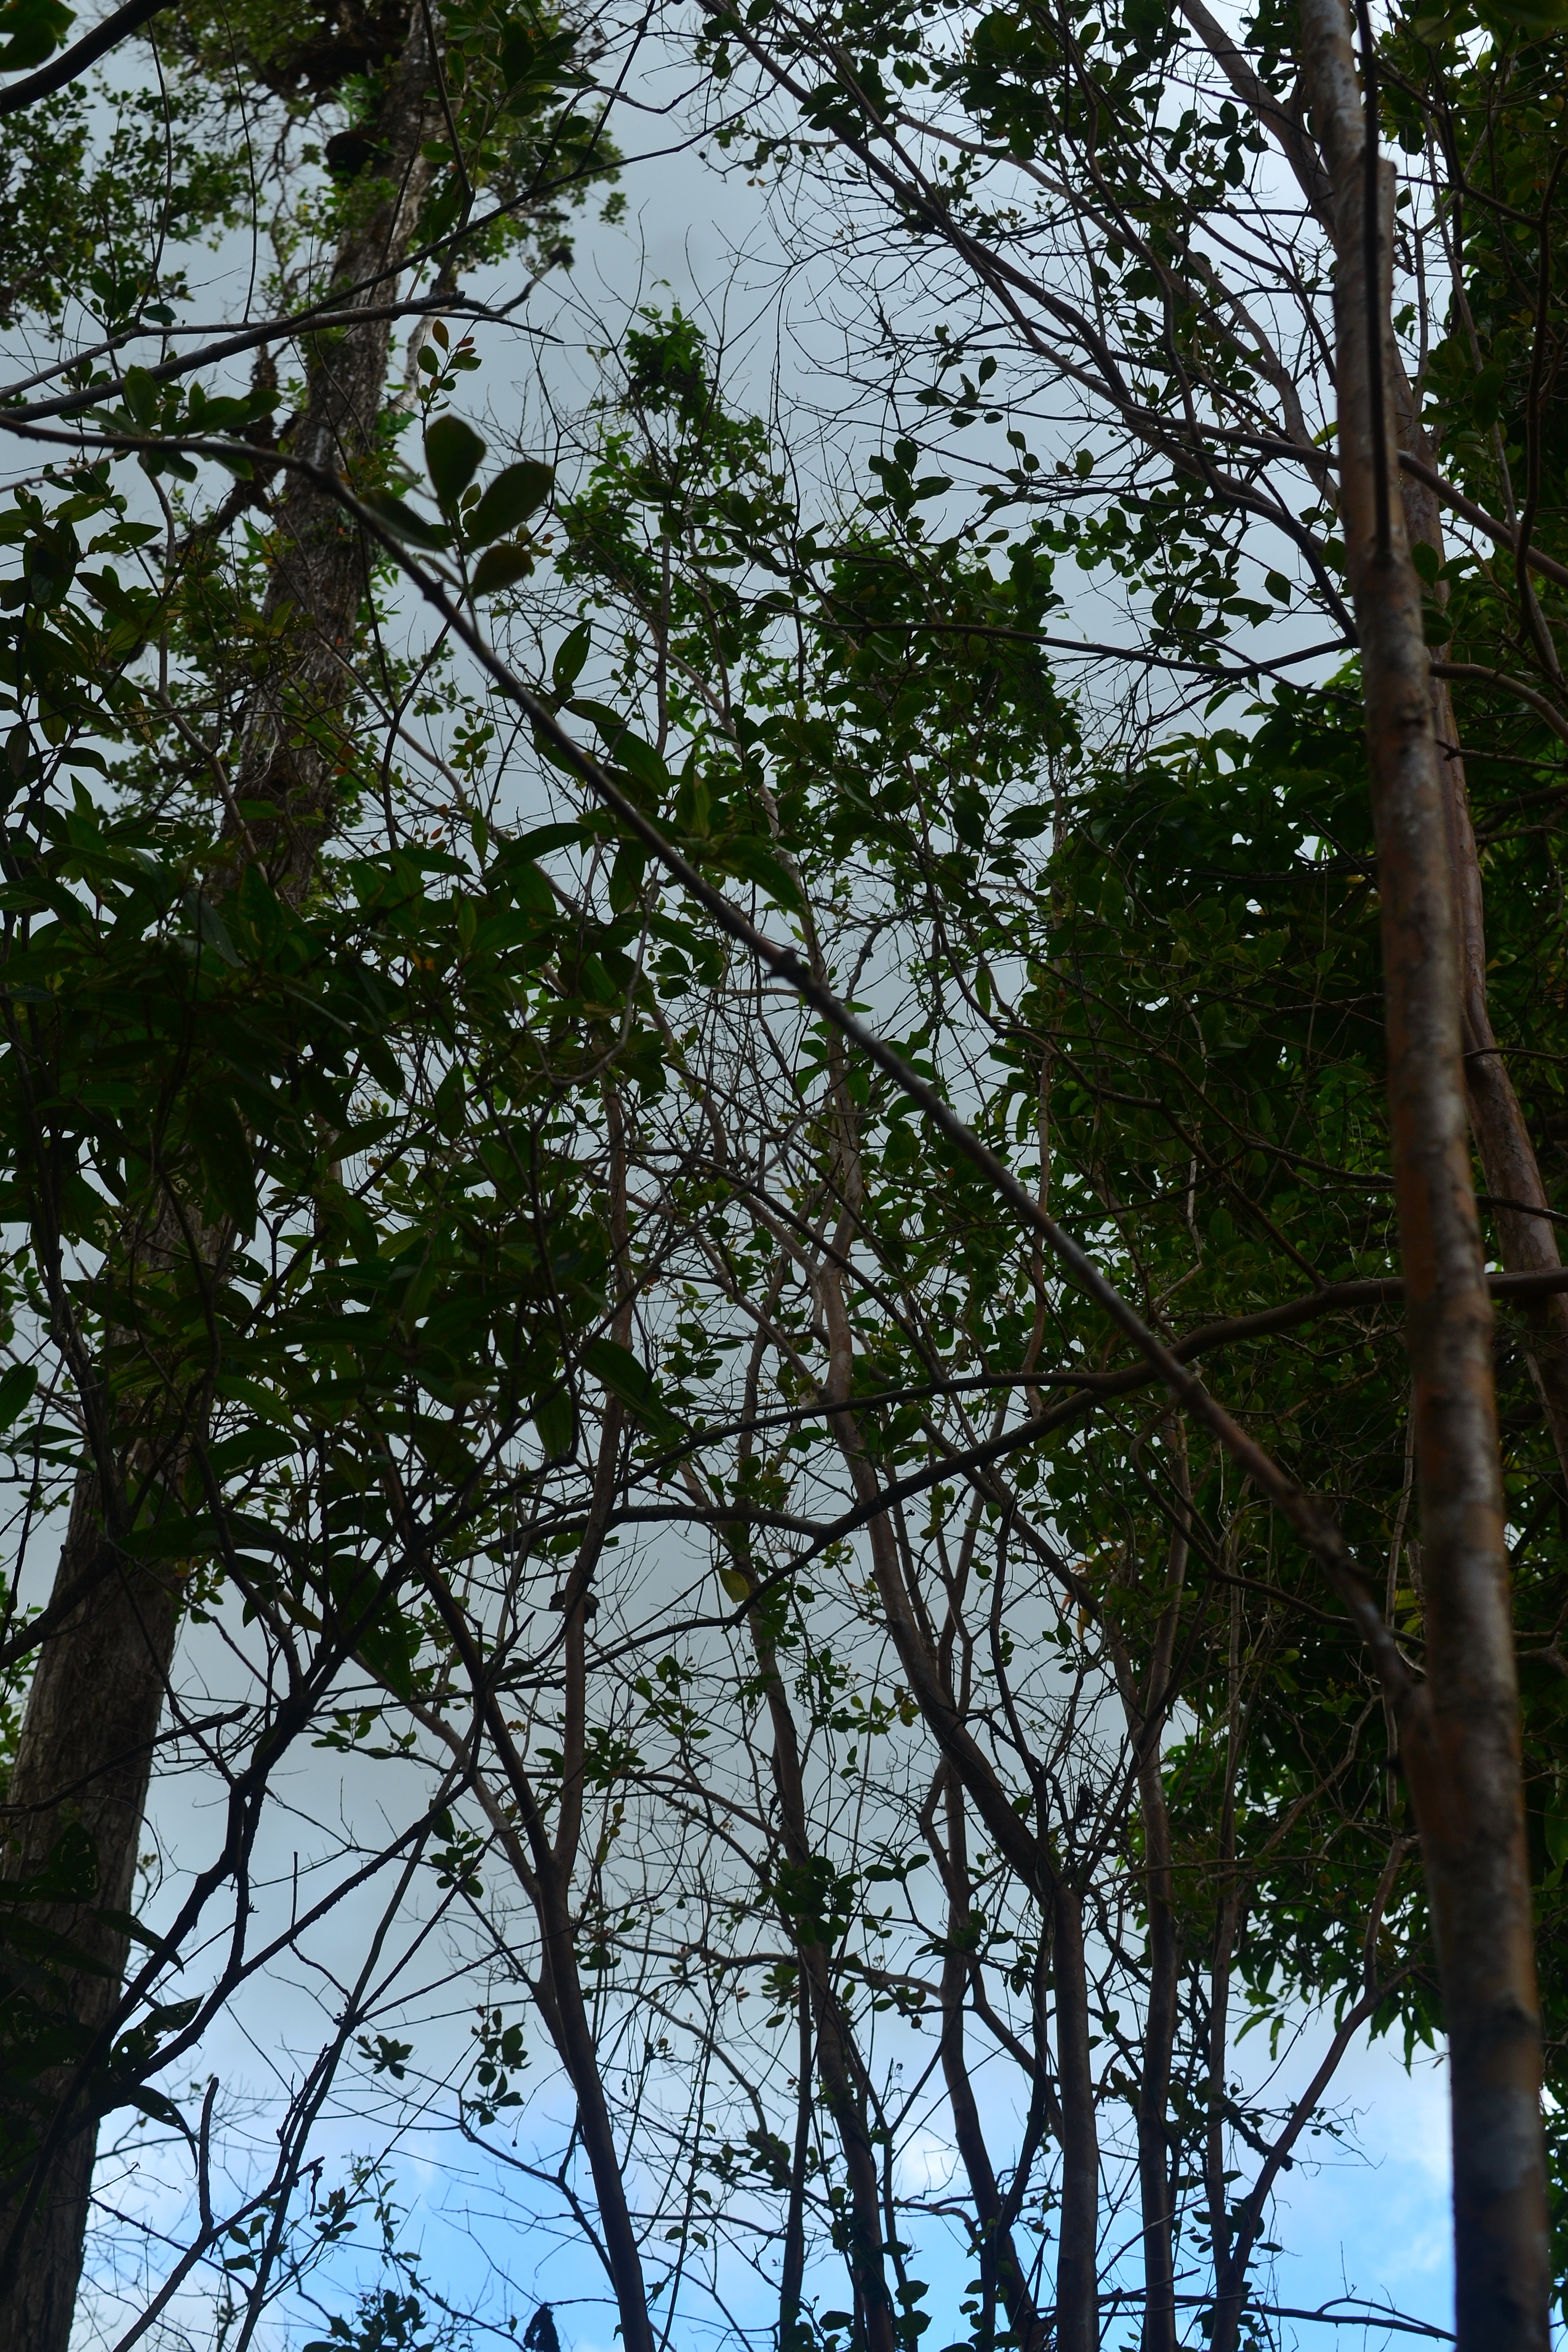
‘ohi’a lehua. kōpiko, hāpu’u. kupukupu. Look how airy the forest is without waiawi foliage.

DSC_0105

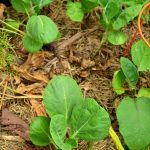
‘ama’u next to what was a fully defoliated papaya

DSC_0107

‘Ohi’a lehua

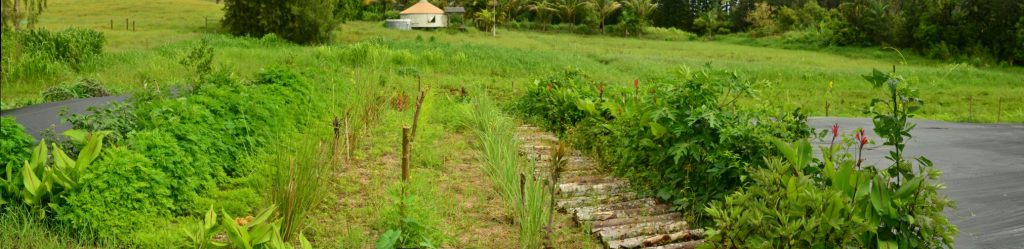
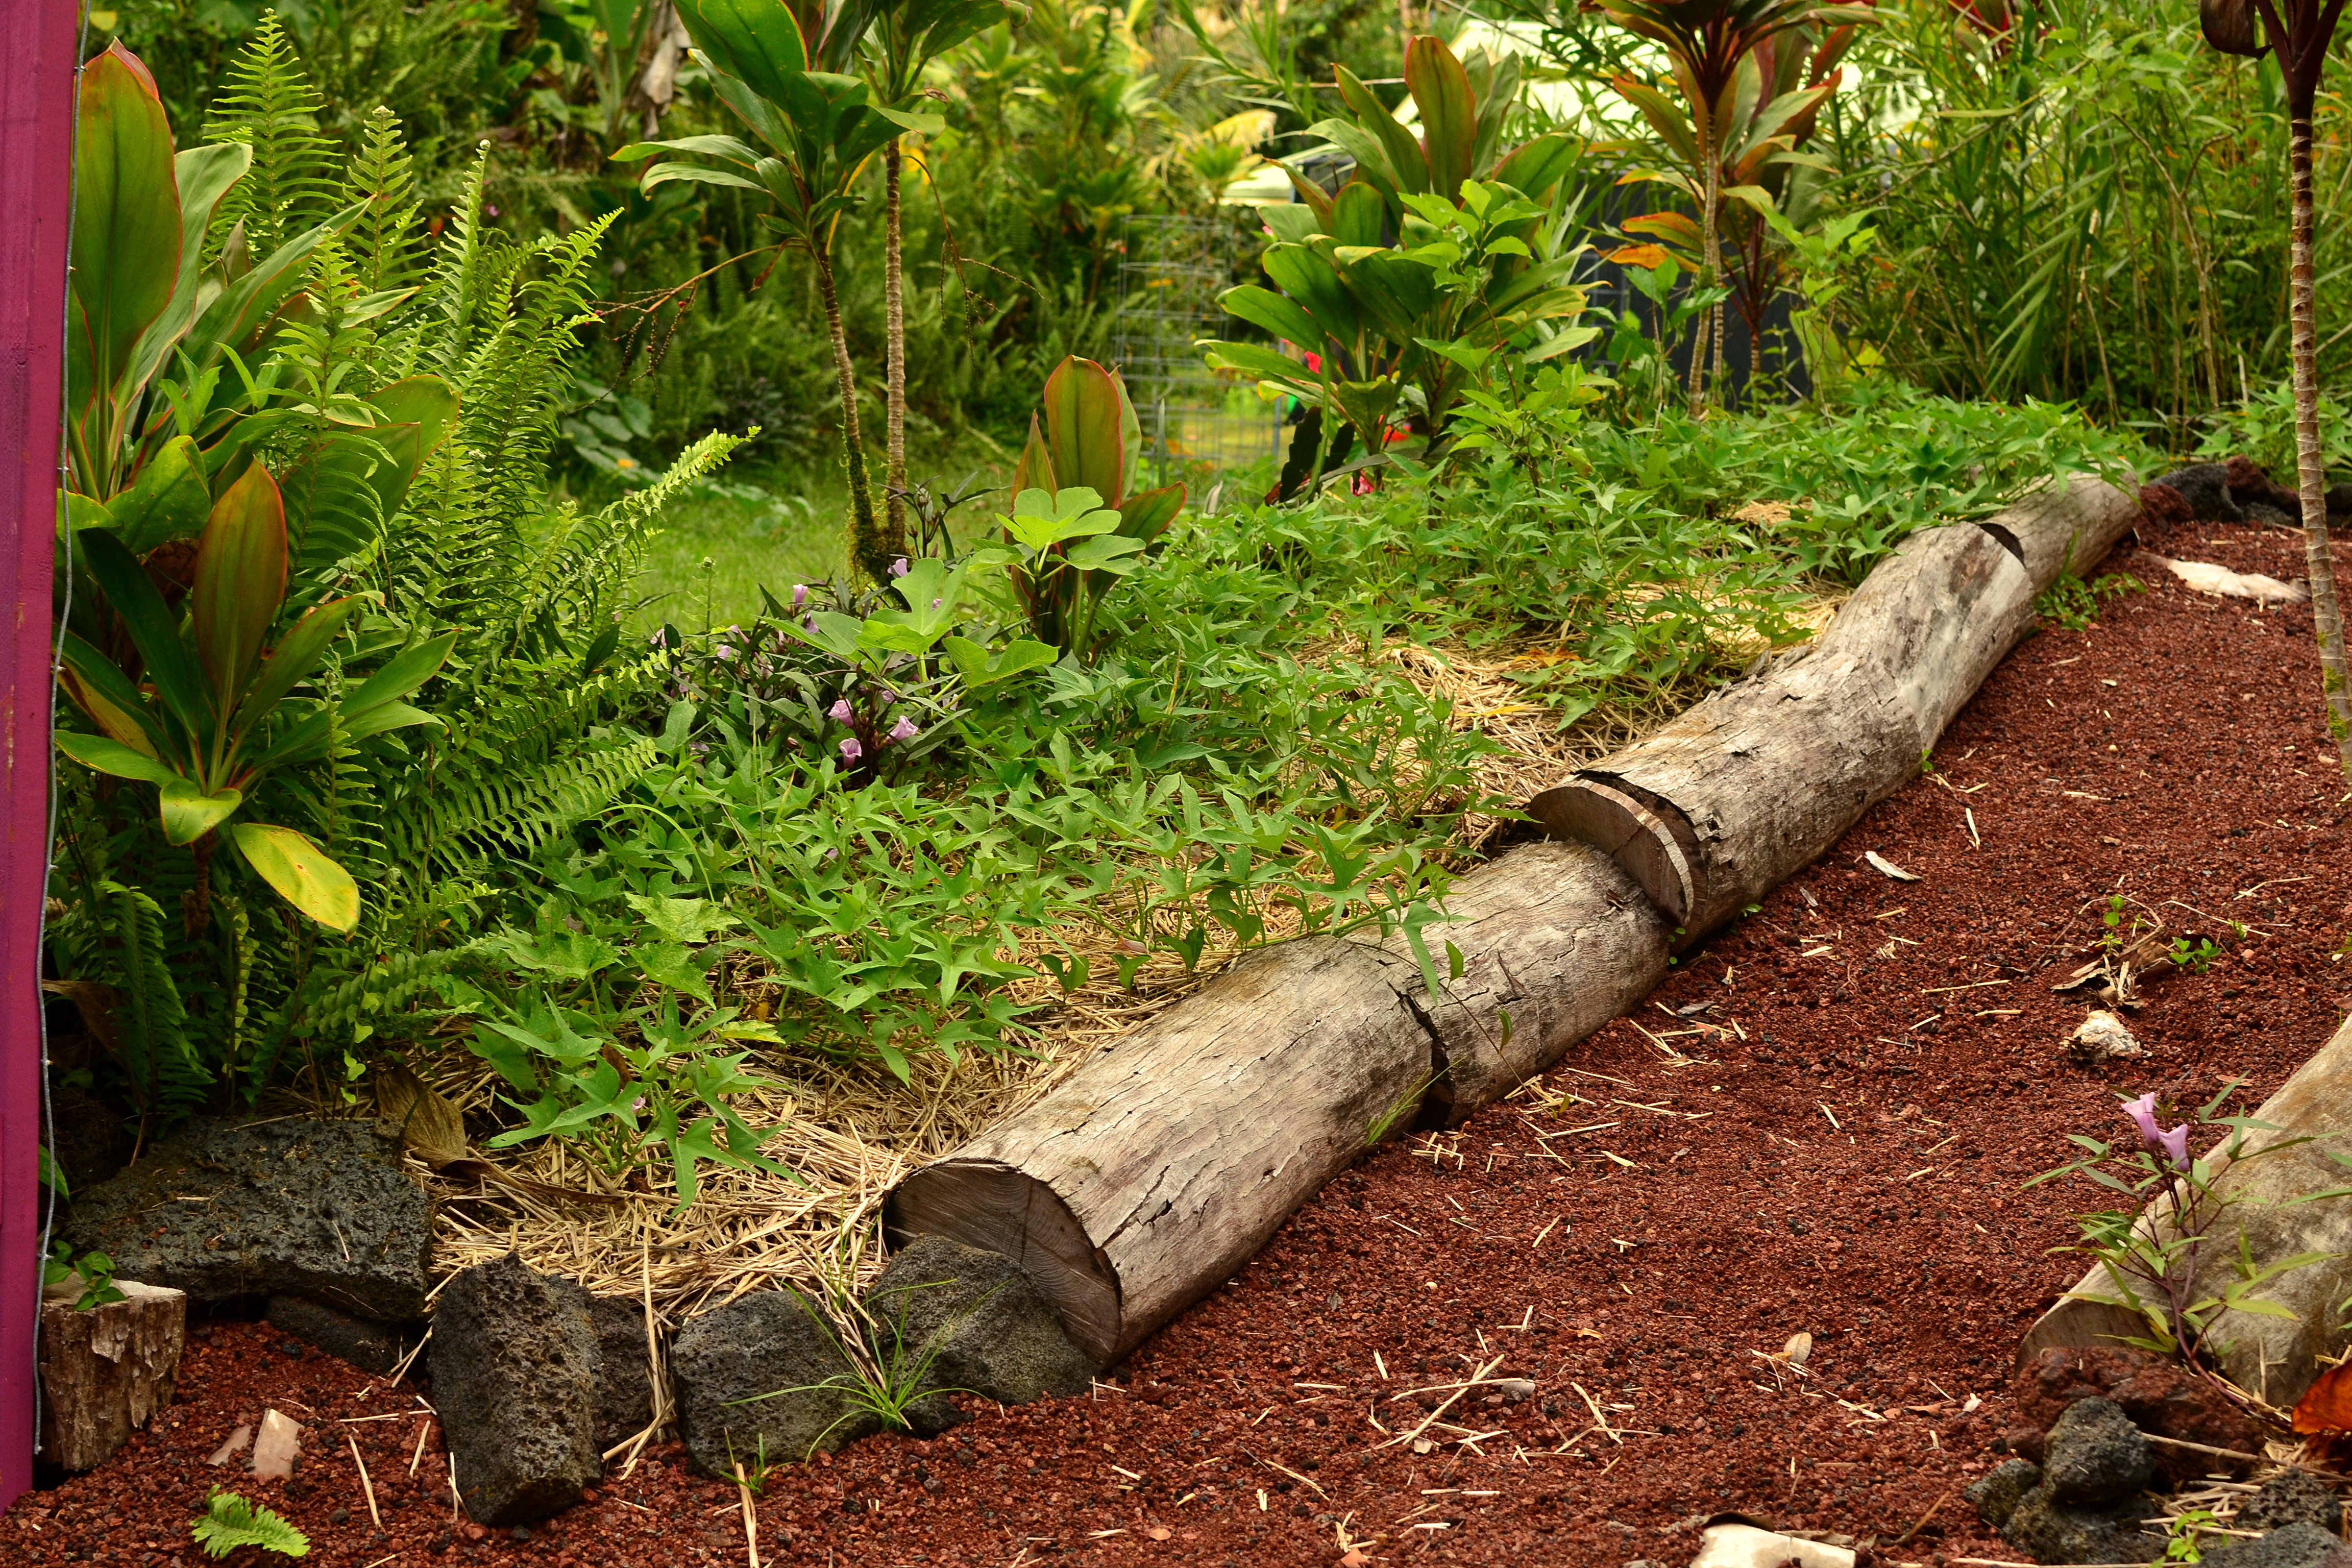
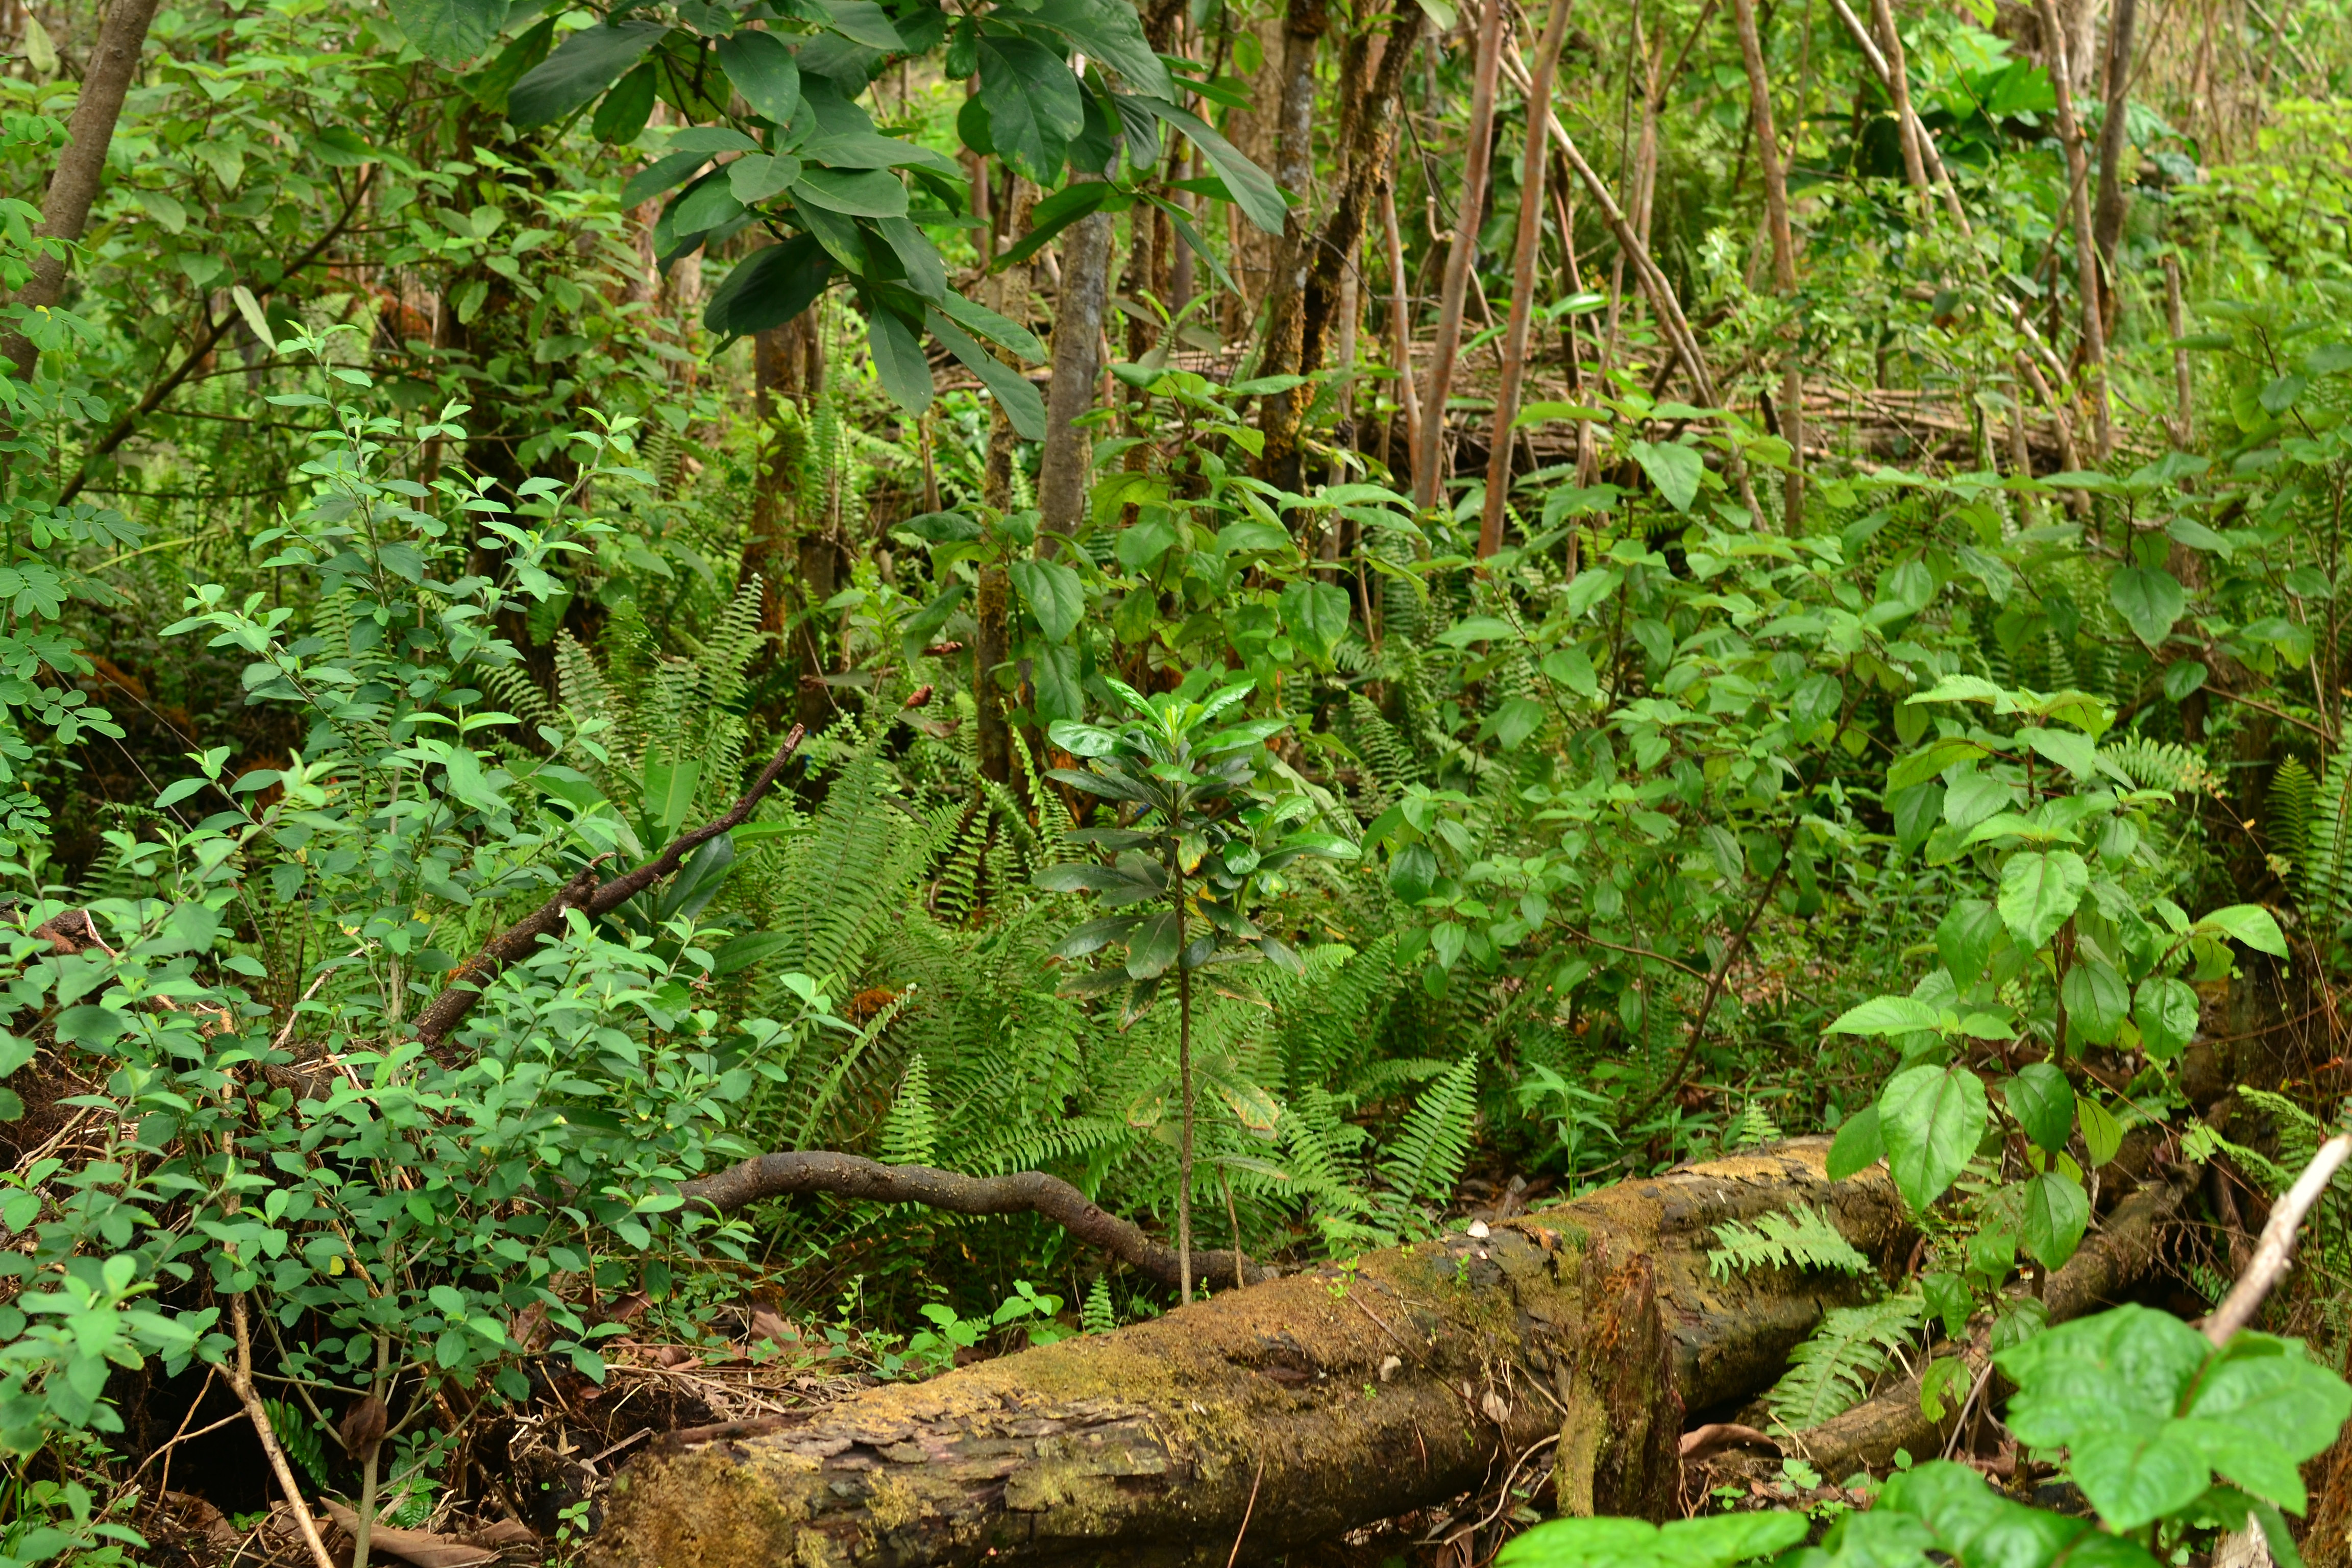
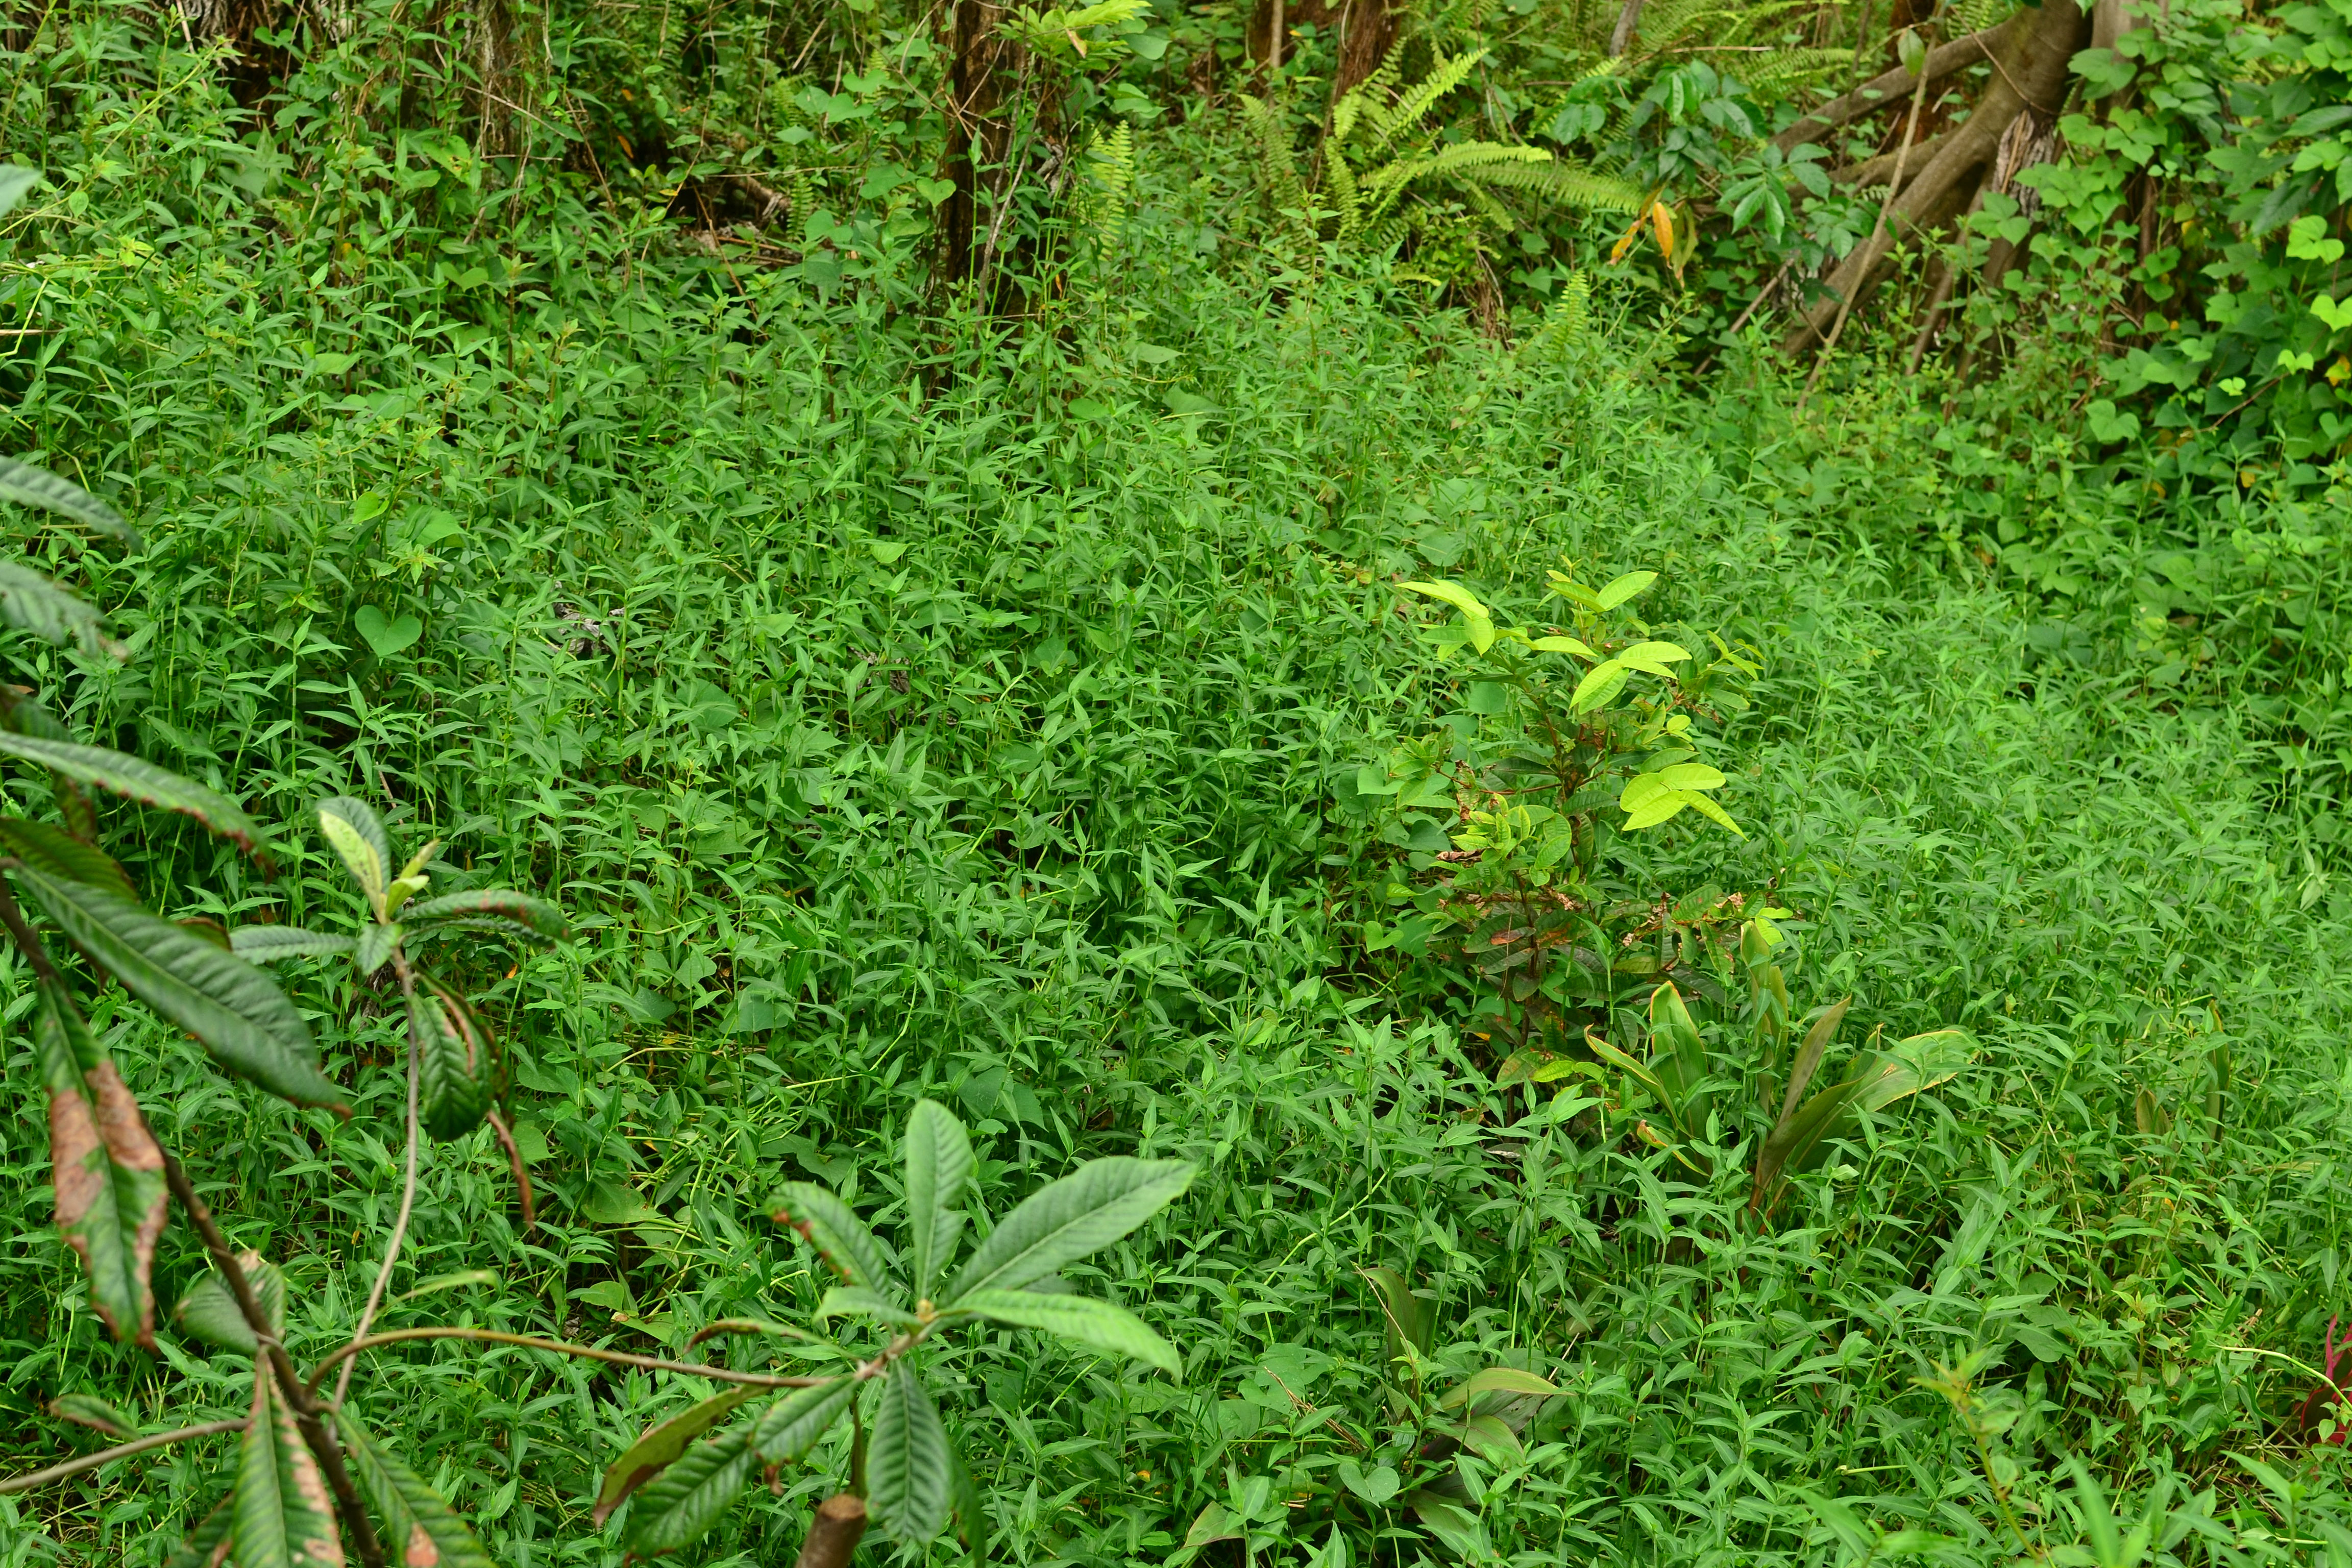
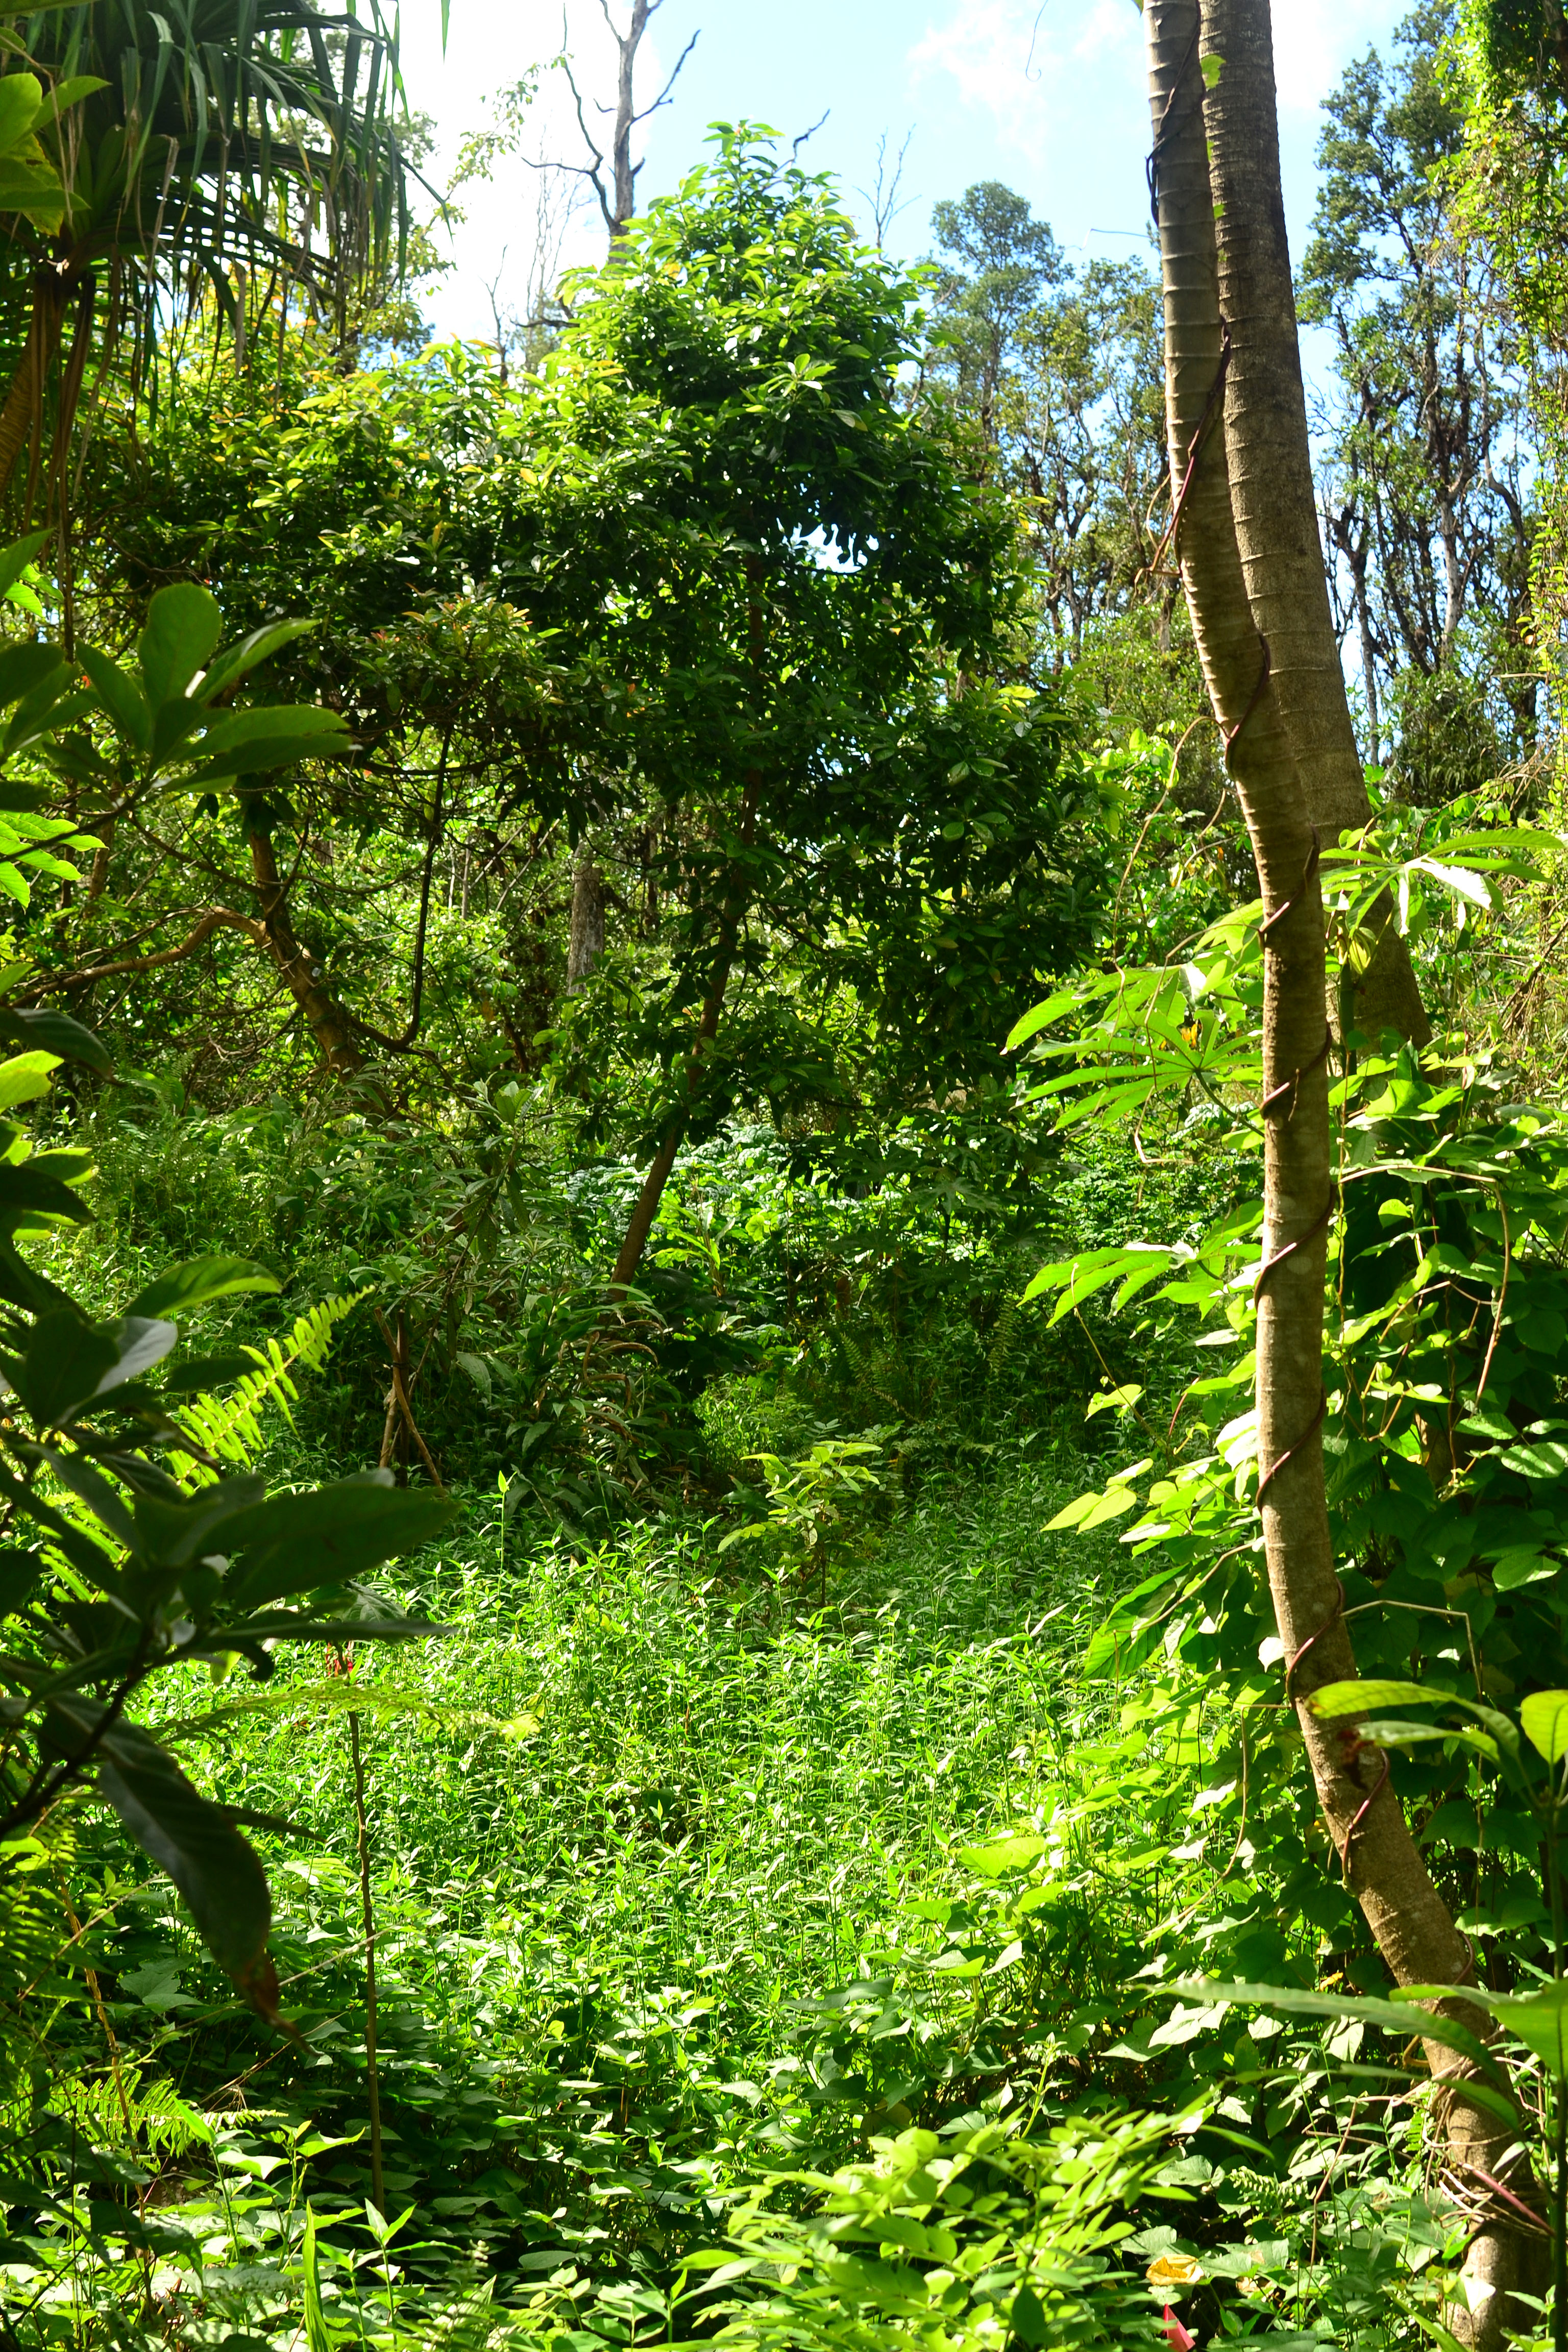
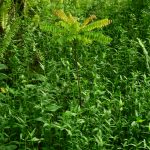
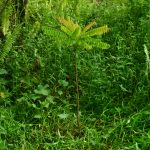
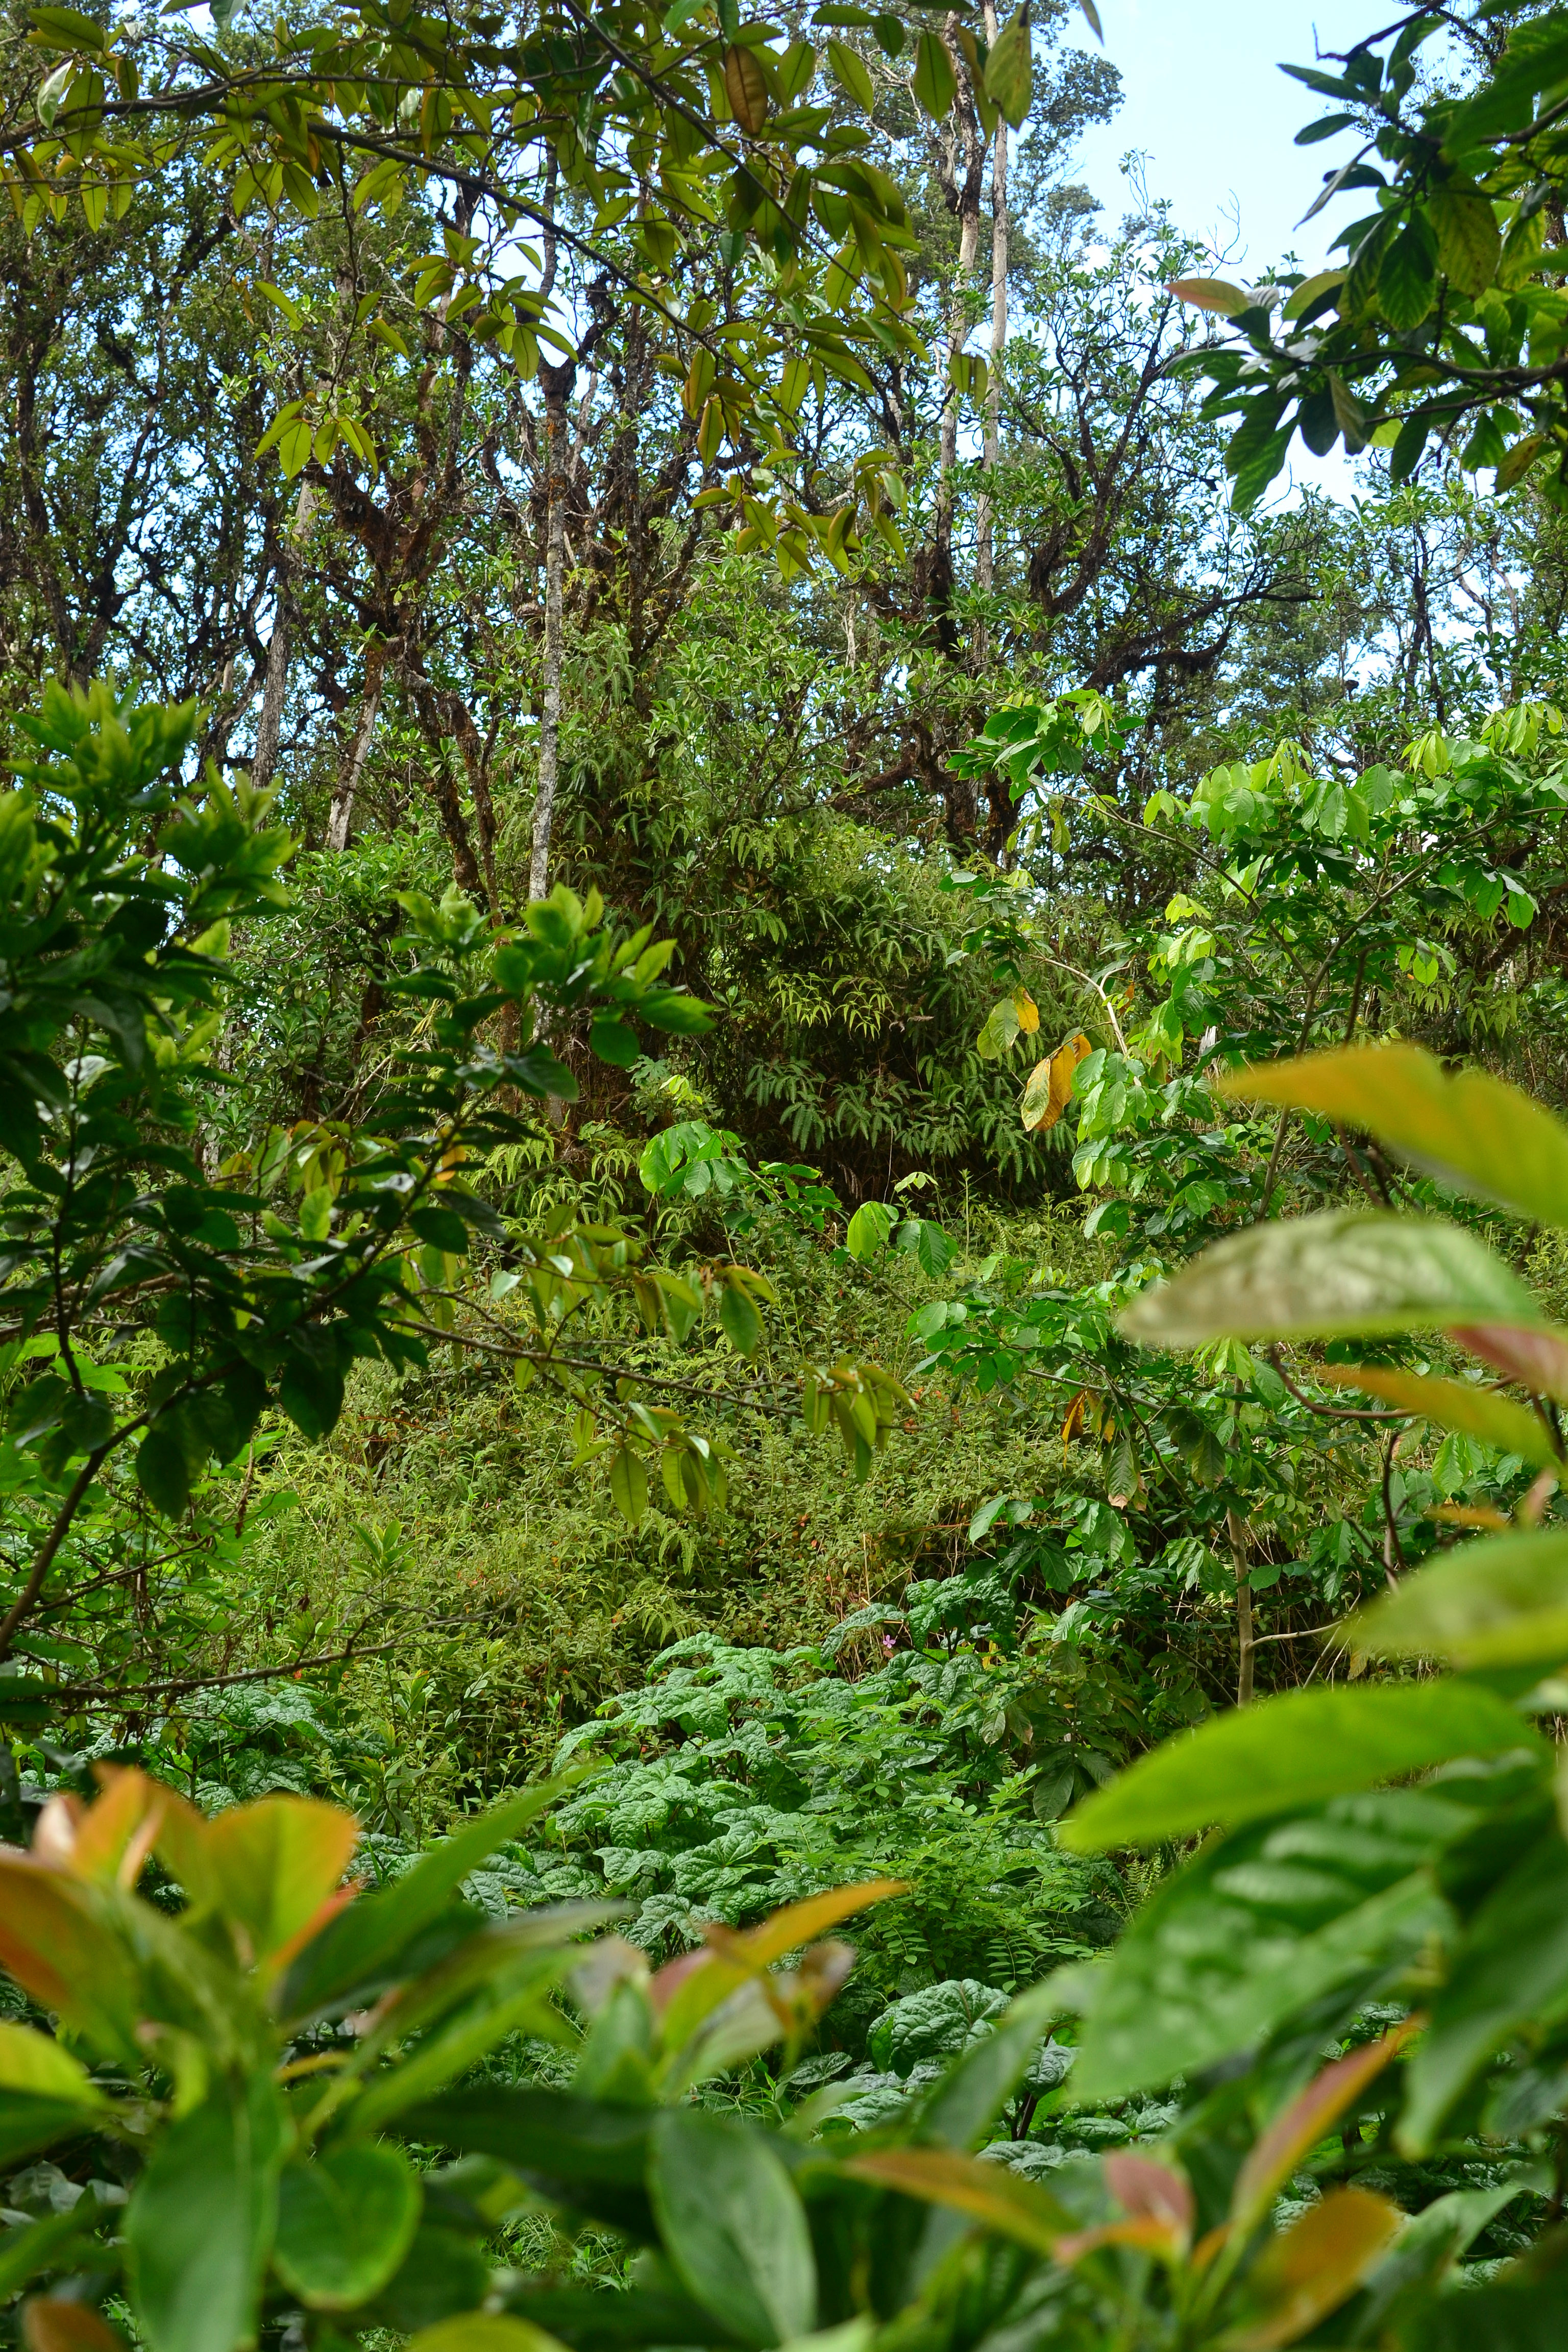
The composition of my under story has changed drastically. Grasses, whom I am not a fan of, have mostly diminished and replaced with honohono (Commelina diffusa) grass. Here in Hawaii, there are two kinds of gardeners, those who like and those who dislike honohono grass!! At any rate, I am enthralled that honohono has filled in. It’s fairly easy to maintain in those more wild parts of the garden, which is in my food forest. Just go around and smash plant material to the ground around your trees and come back later to do it again. I’ve been battling Arthrostemma ciliatum and Melastoma malabathricum who are now weakened or fully eradicated from the property. The most interesting part to me is the defoliation of some highly invasive species, mostly the waiawi (Psidium cattleianum), gunpowder (Trema orientalis), Cecropia (Cecropia obtusifolia) and albizia (Falcataria moluccana). Now all of these species are growing again, however, this opportunity has given all the under story species a chance to obtain much higher levels of light. This means that the native species that have been displaced and hiding in the shade of these dominant invasive plants now have an opportunity to thrive and jump up. This has also given the other trees I’ve planted in the forest an opportunity to jump up too. This defoliation is acting as a pruning, and now that the emissions have slowed, it has invigorated new growth into the forest, sending out growth hormones to all plants in the area. This makes for quite an interesting opportunity to look at our forests for what they should be, more open and airy.

DSC_0036

Ice cream bean, lablab, mangifera odorata, gliricidia, bilimbi, edible hibiscus, avocado, cecropia, kōpiko. Vigorous understory. Cercropia overstory almost completely defoliated (not shown)

DSC_0038

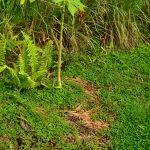
Loquat. Water Apple. Honohono.

DSC_0045

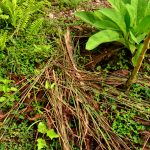
Left Avocados. Right dead arthrostemma hanging on tree

DSC_0047

Dead arthrostemma patch. easy to work. Crumble and go.

DSC_0048

Chocolate Sapote. Happy and healthy in the understory.

DSC_0061

Vigorous and healthy honohono. Hala. Avocado. ‘ohi’a lehua.
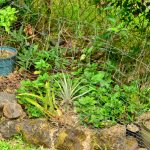
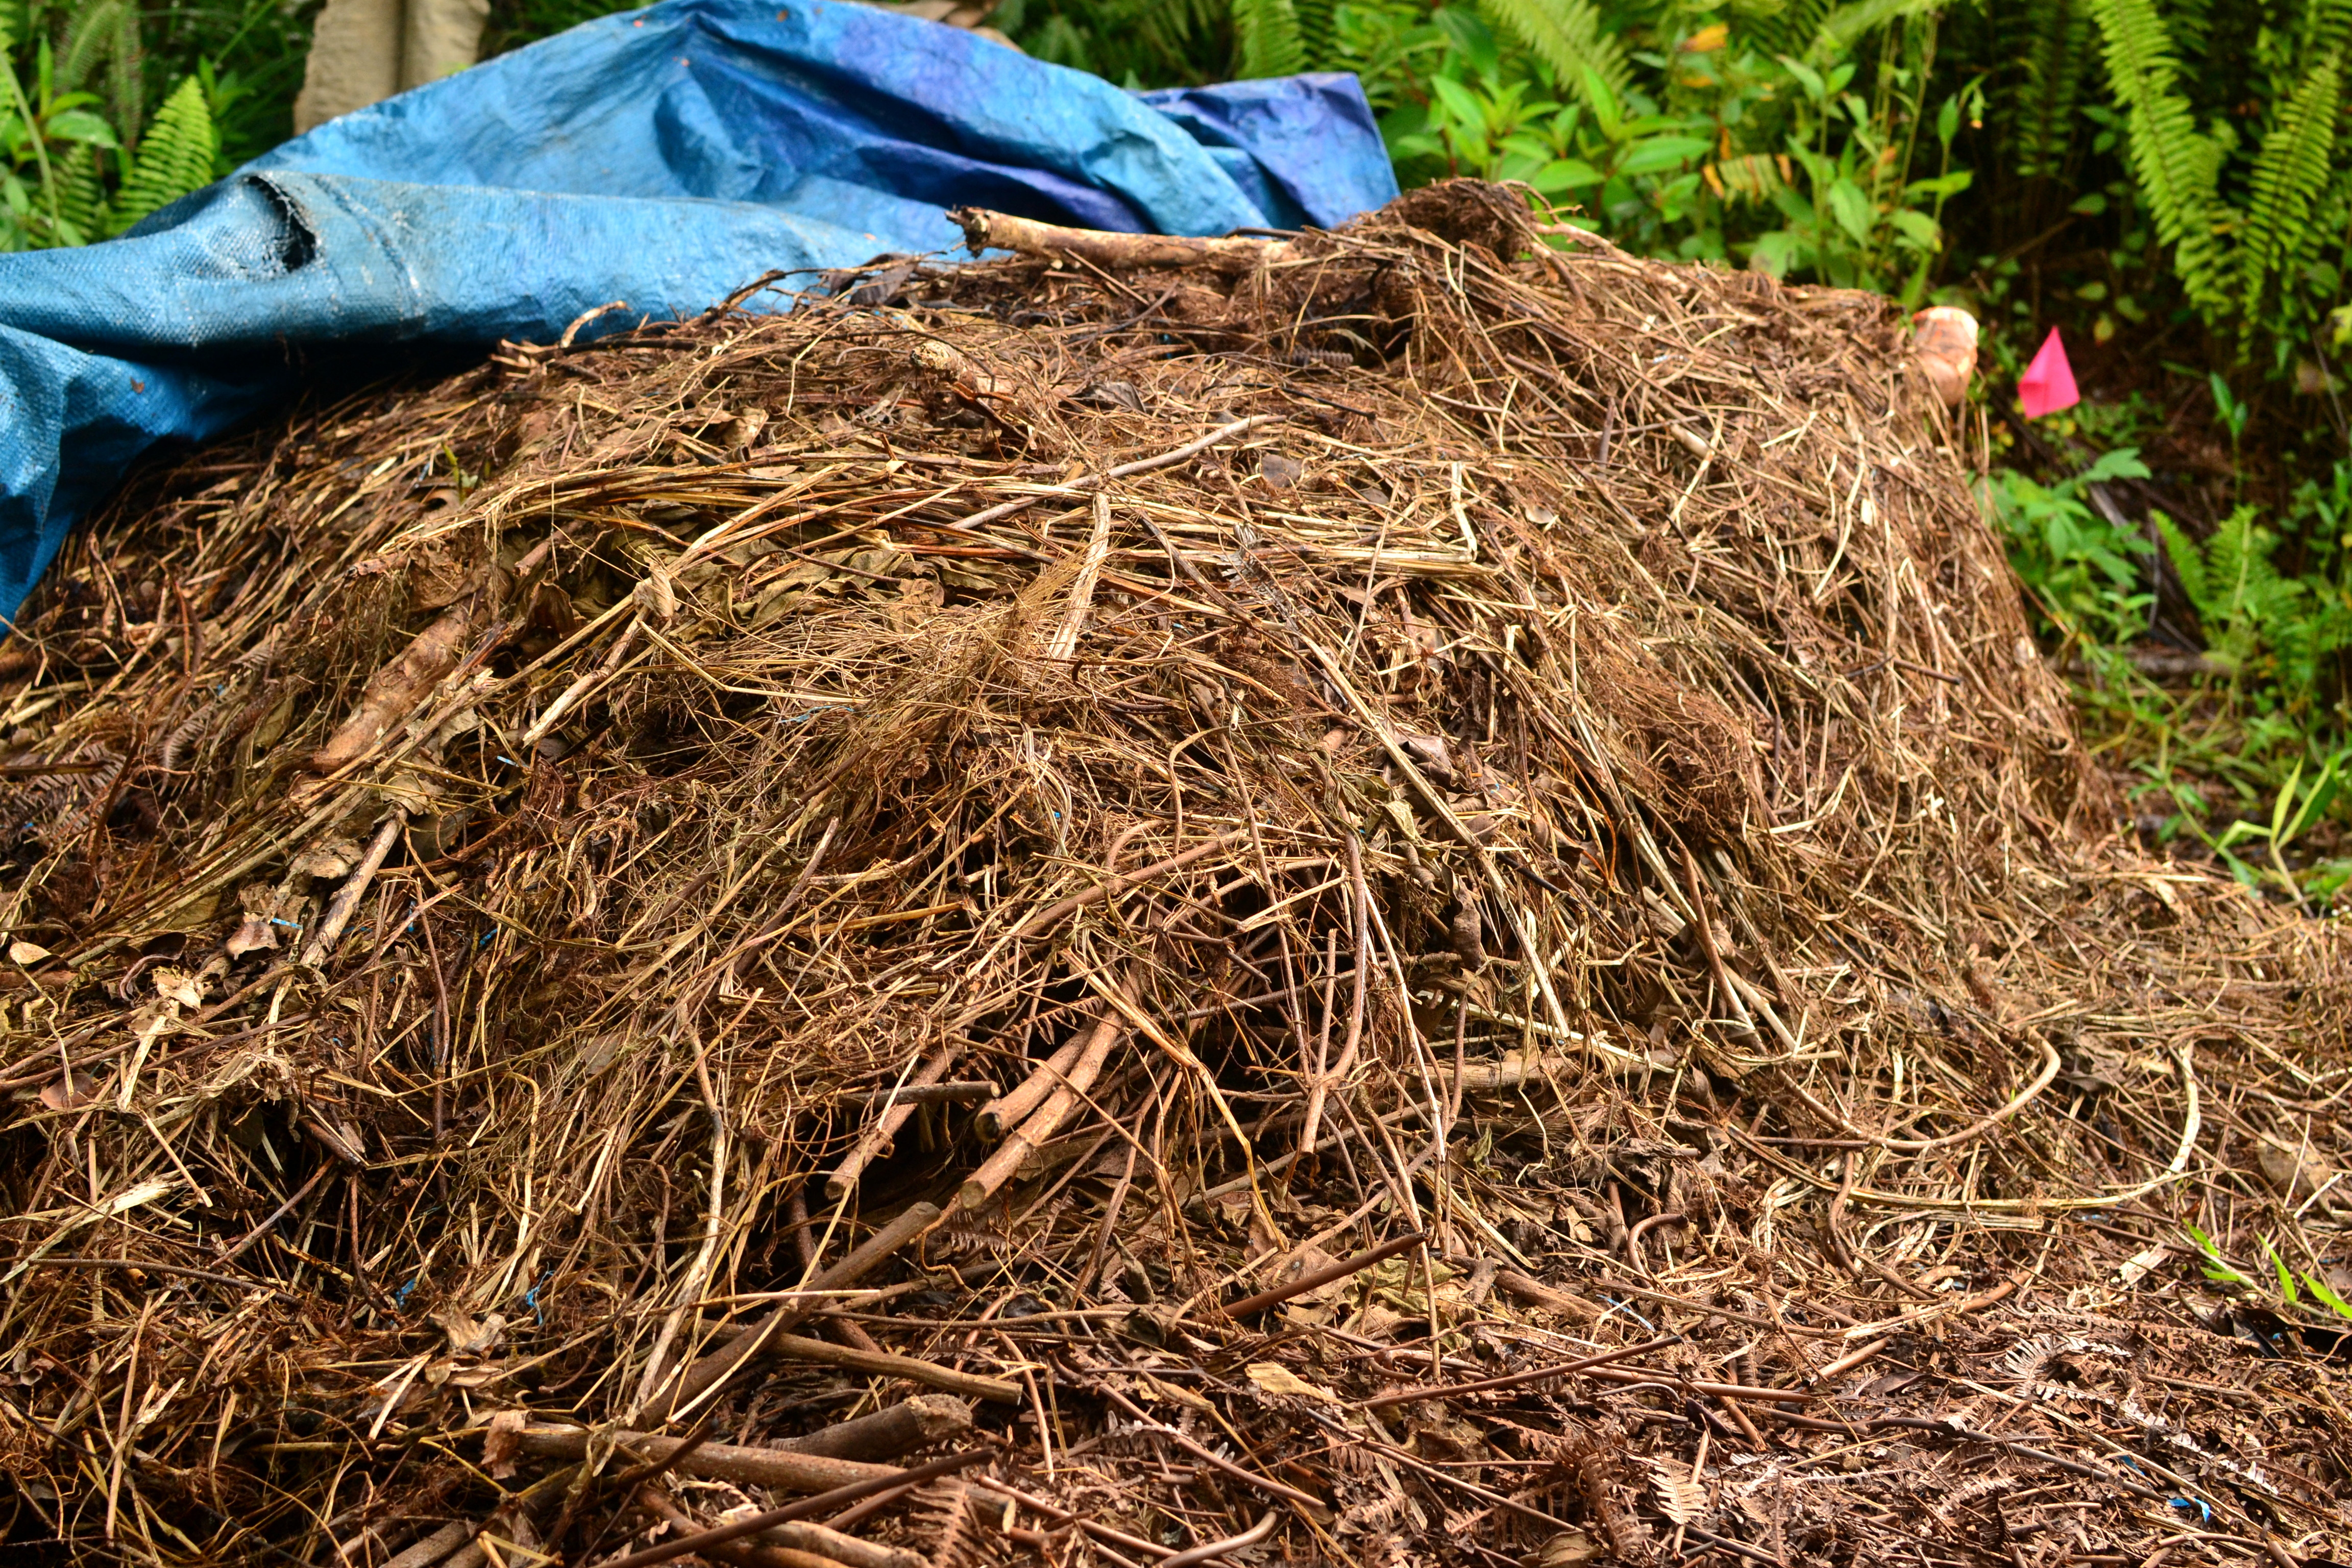
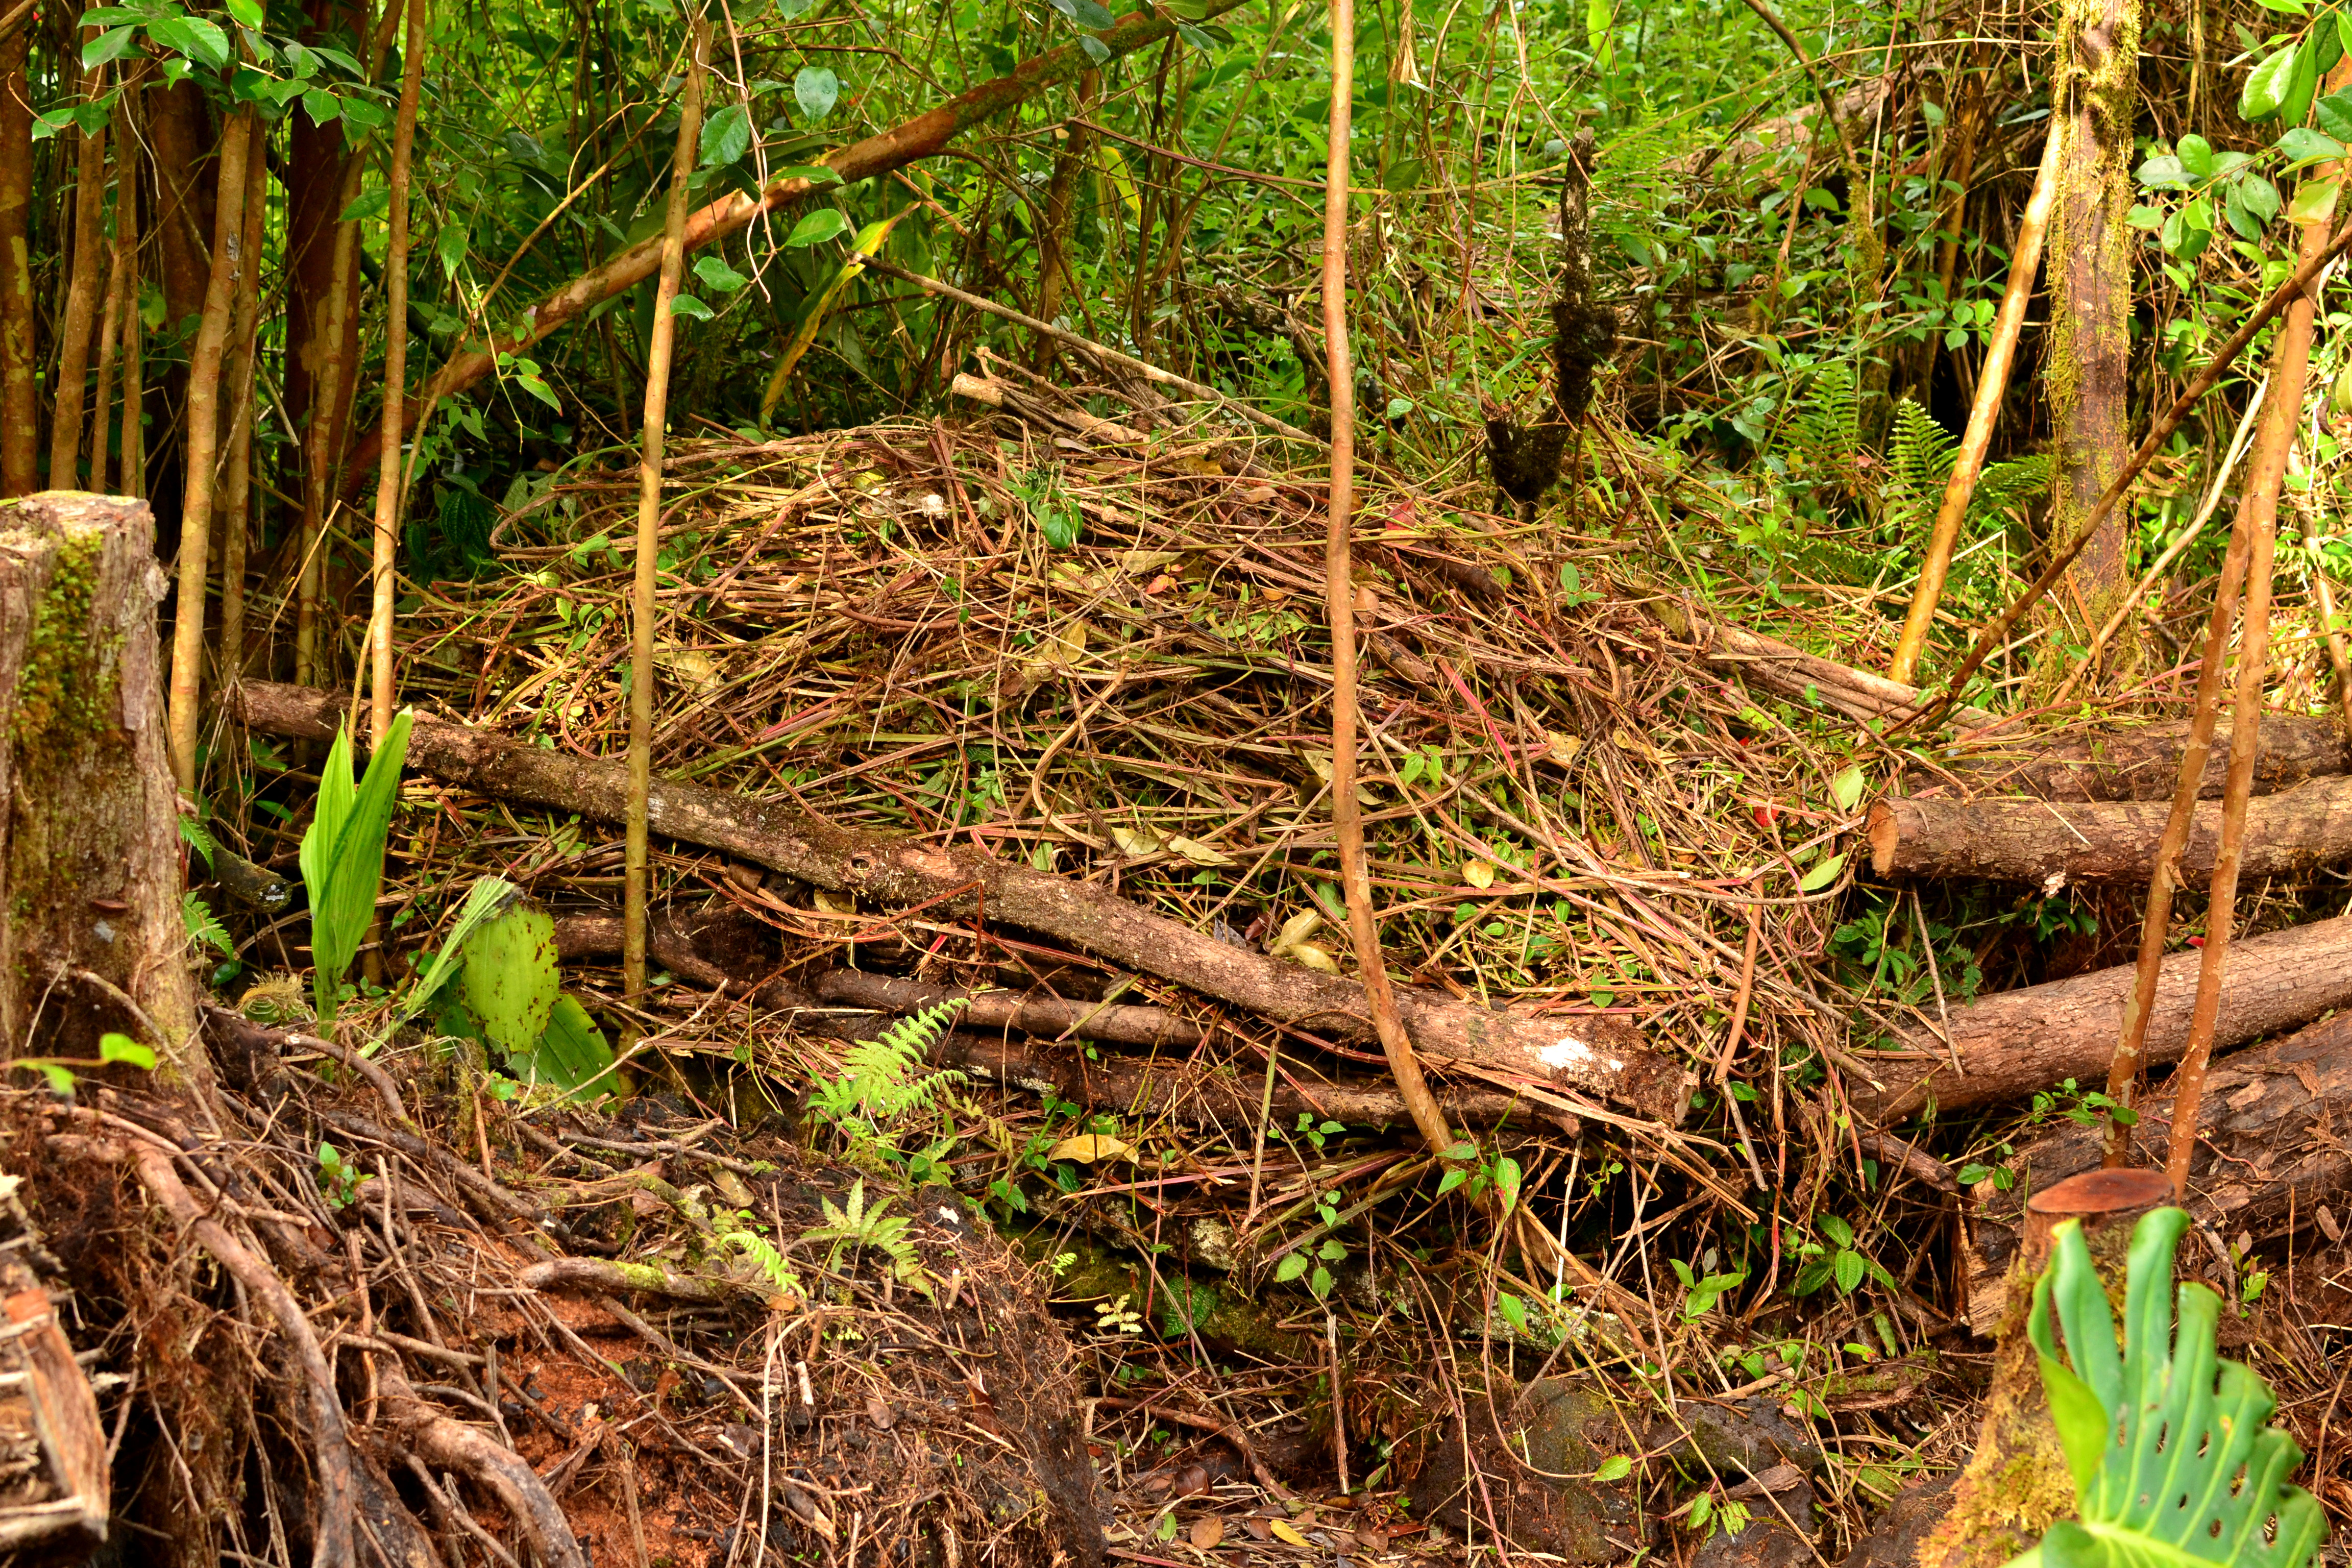
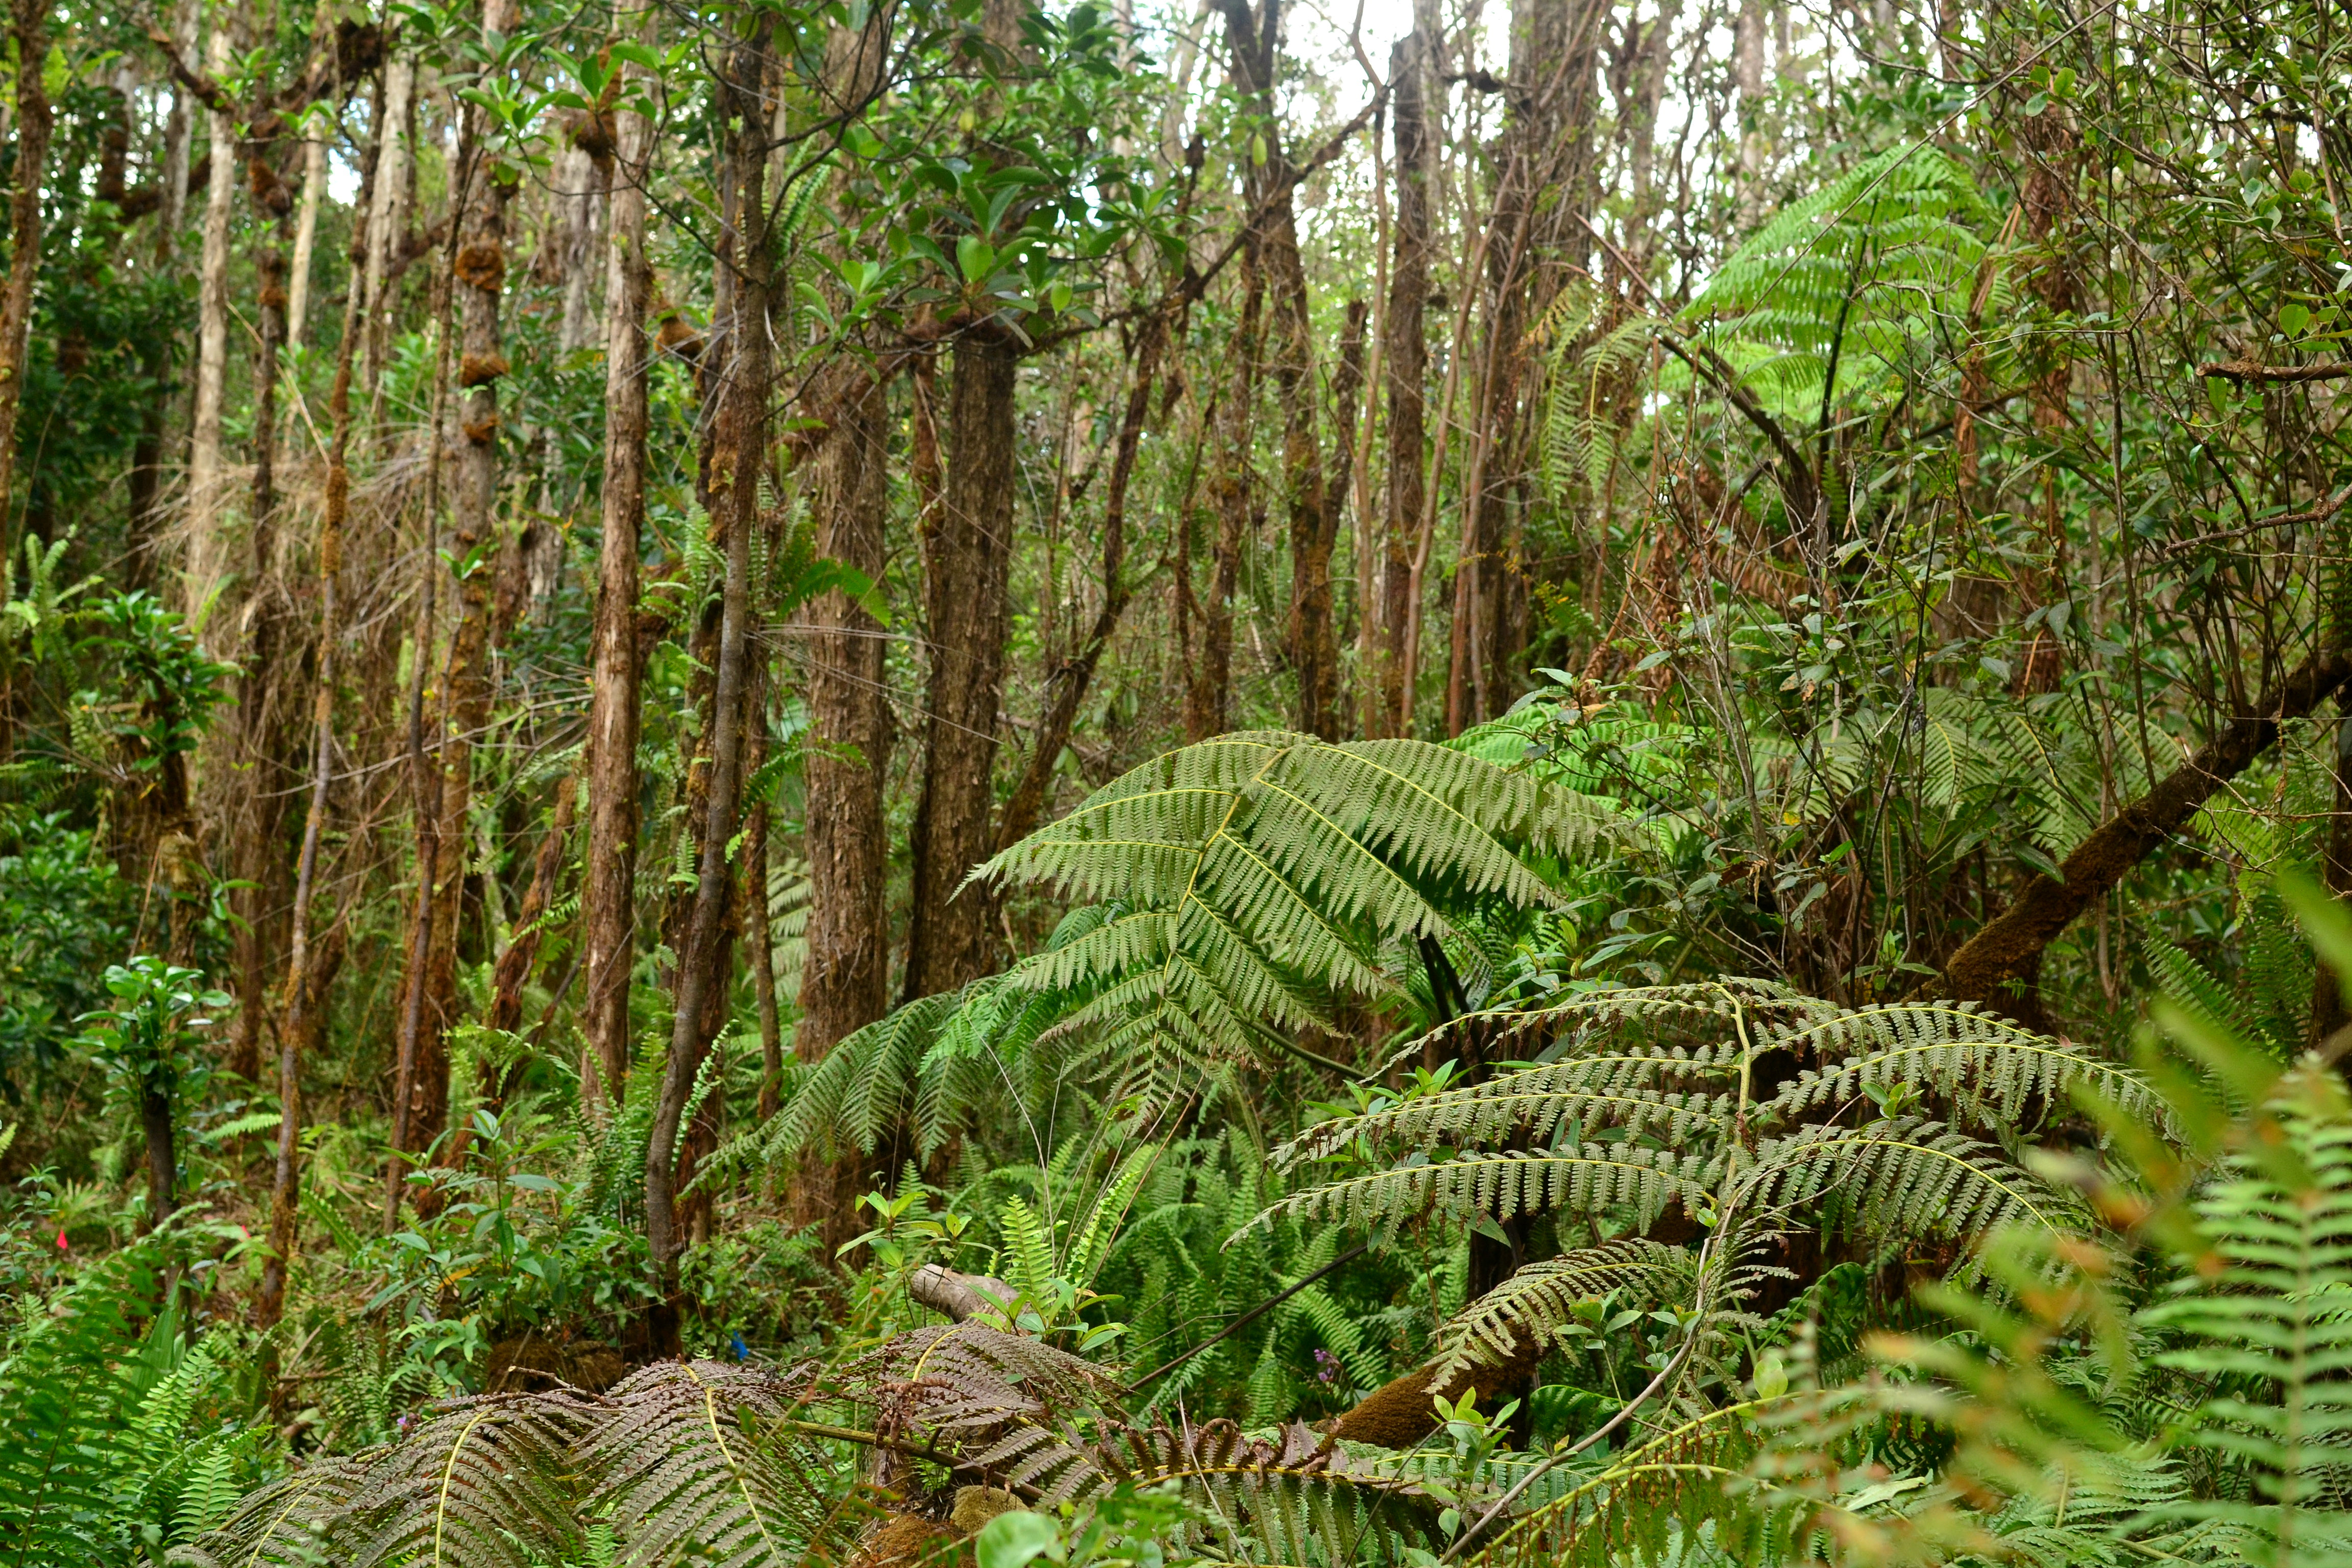
Here is my theory; due to a multitude of plants being defoliated and some plants dying completely, this acted as a pruning and mulching, leaving organic material debris on the ground. The acidity of the rain broke down logs, dead branches, leaves and other things on the forest floor, more rapidly than ever, deteriorating and turning into fertilizer and soils. I can literally go into an area and clear it in an hour, when it would have taken me 4-6 hours pre-eruption to clear. I can go and just smash everything to the ground including large dead ‘Ohi’a trunks. This in turn mixed with the above ground abuse from the emissions putting a temporary hold on the plants growth, somewhat like a winter, and now its ‘early spring’ and everything is growing trying to catch up for lost time. Trees are flushing out leaves and new growth with such abundance that it looks like they’ve been heavily fertilized and pruned to promote new growth! This forest has been in decline due to Rapid ‘Ohi’a Death for years now, but I’m seeing trees re-sprouting from their entire trunks and looking really green and healthy. I’m thinking that the forest needed this kind of abuse to restart and revitalize and become vigorous once again. There is so much mulch, light and airflow entering the forest due to defoliage, making the native trees able to photosynthesis at lower parts of their trunks, also allowing keiki to gather light and grow at speeds they never have before. This, mixed with all the rains we had, lack of pests, nutrients from ash and volcanic behaviors has put most plants in extreme grow mode! We could say that Pele selective weeded, pruned and mulched for us while we were away.

DSC_0042

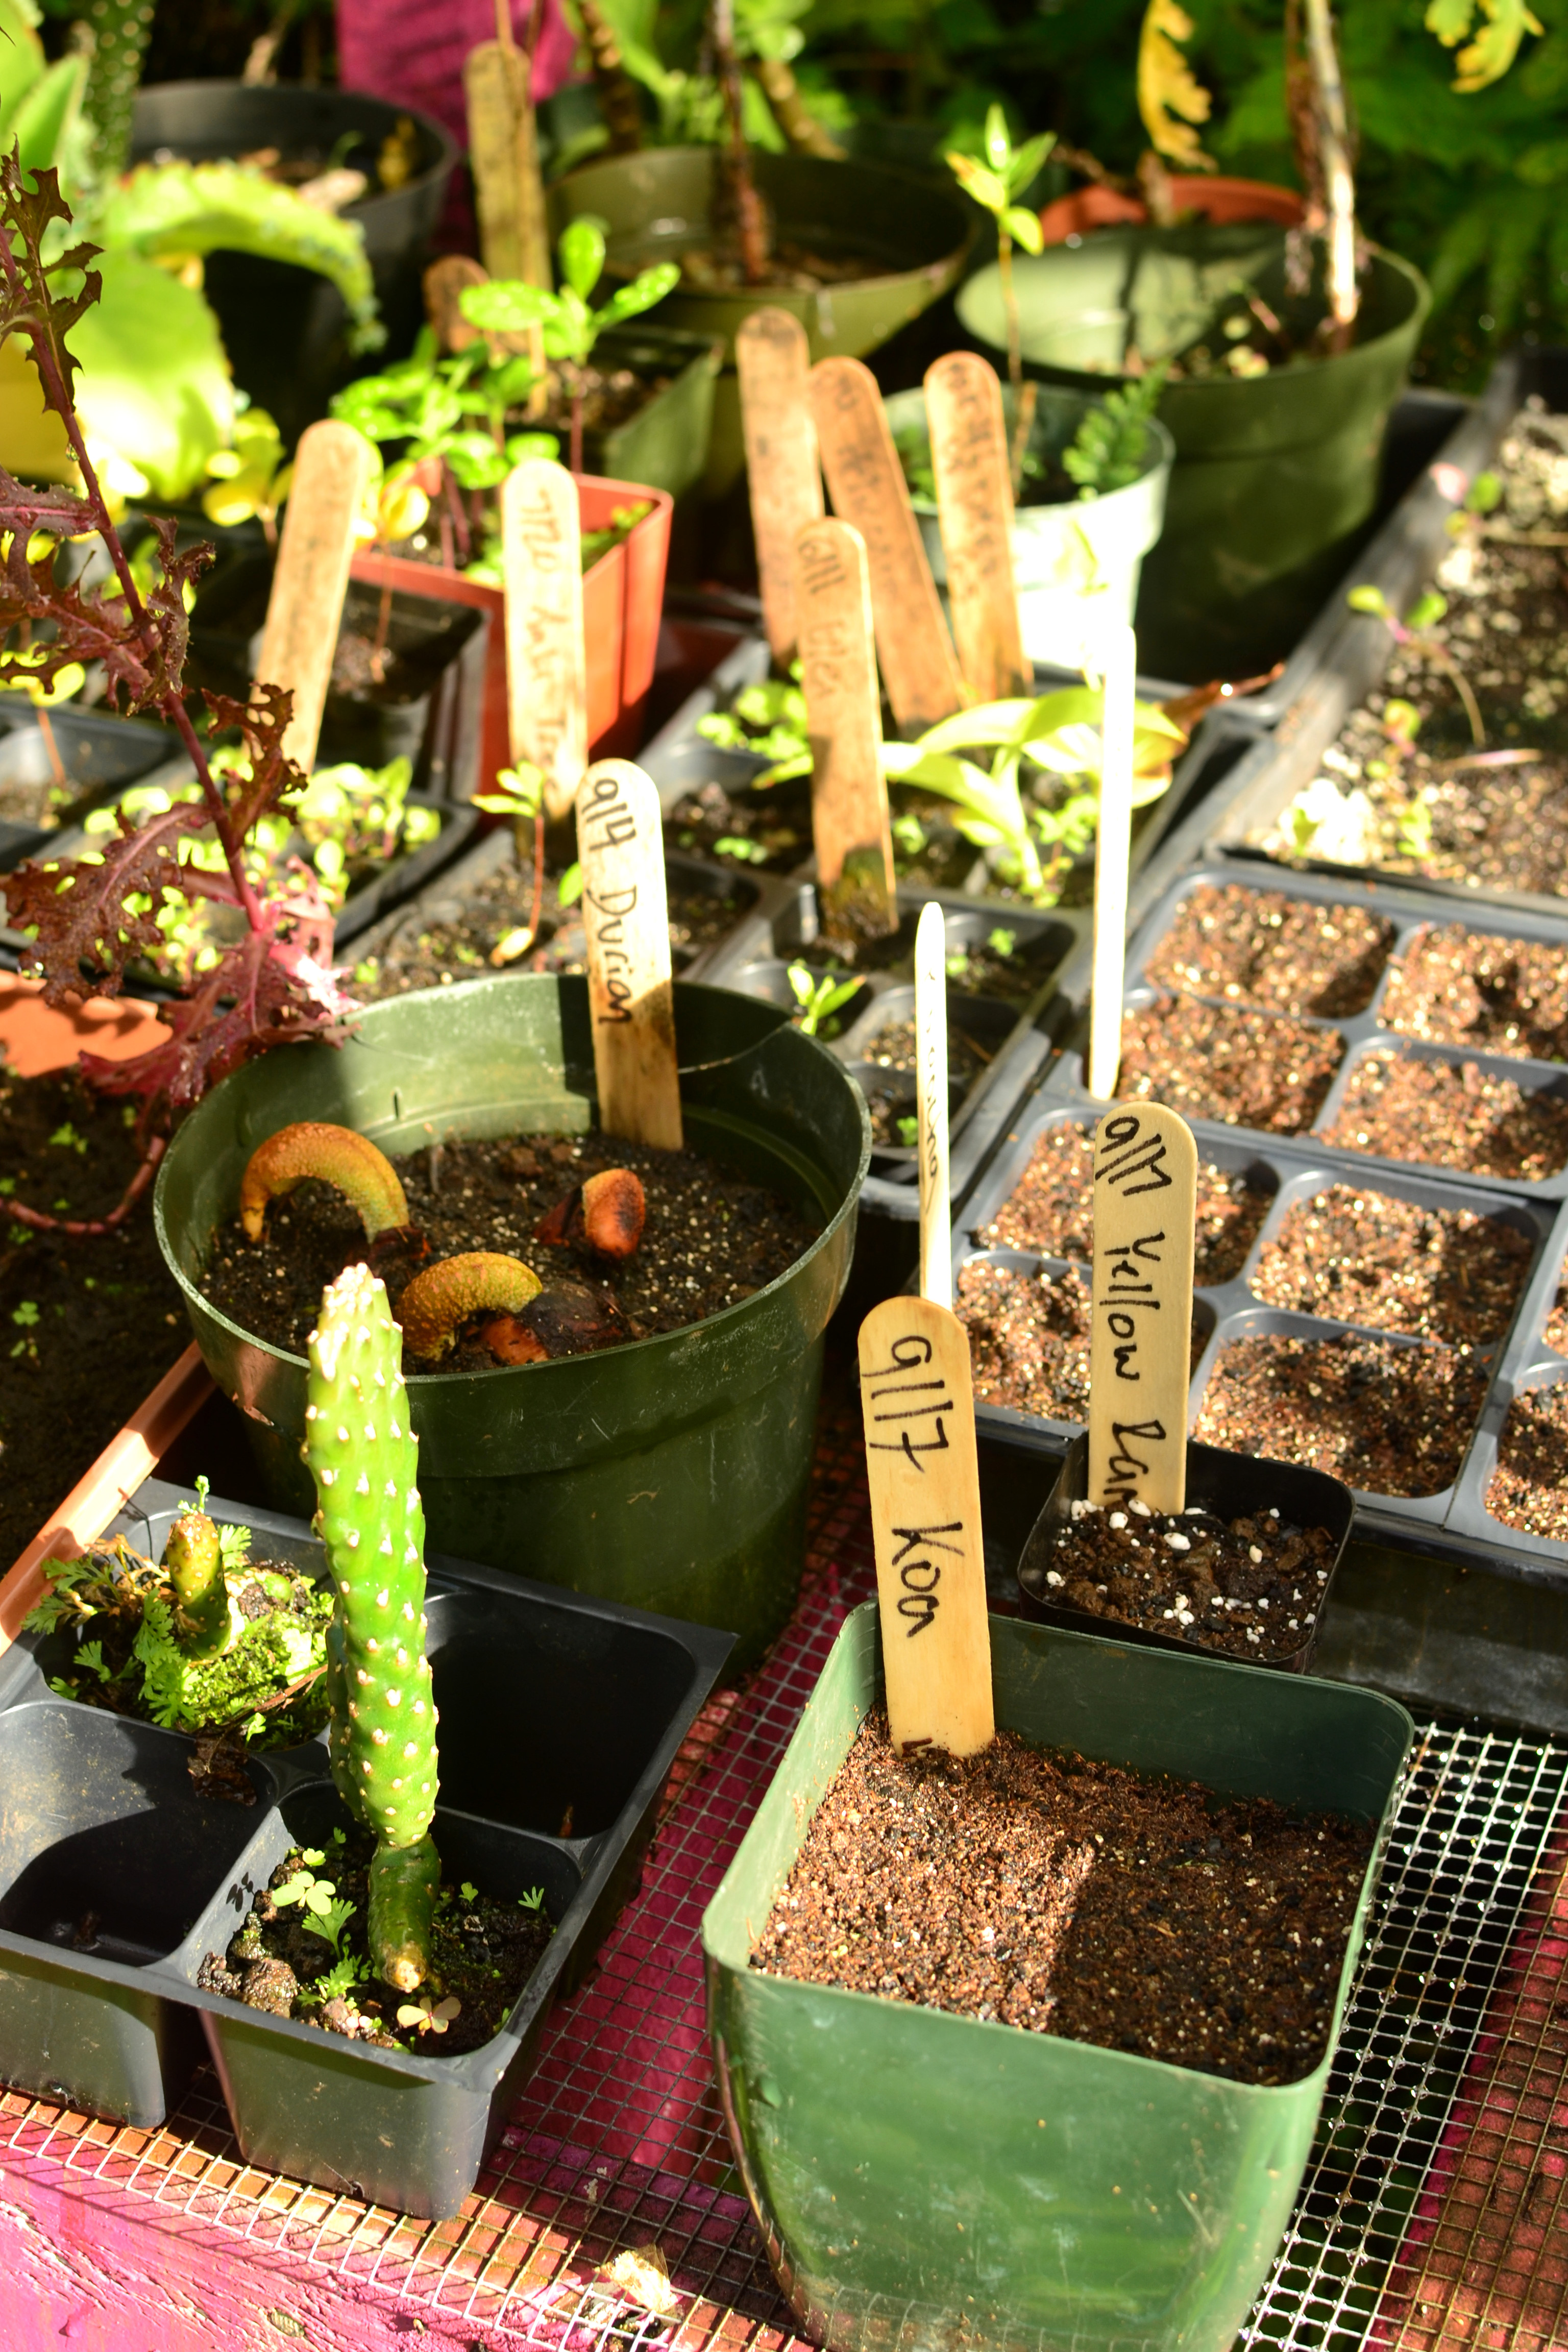
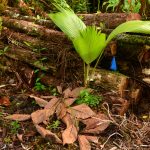
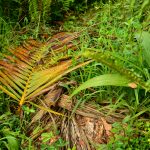
Recently cleared and planted area. Only took 1 hour and I planted 11 trees. Shown calabash tree, cinnamon and acai. kōpiko, hāpu’u, edible hibiscus and avocado also shown.

DSC_0103

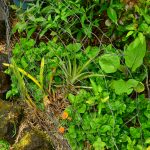
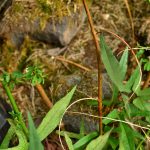
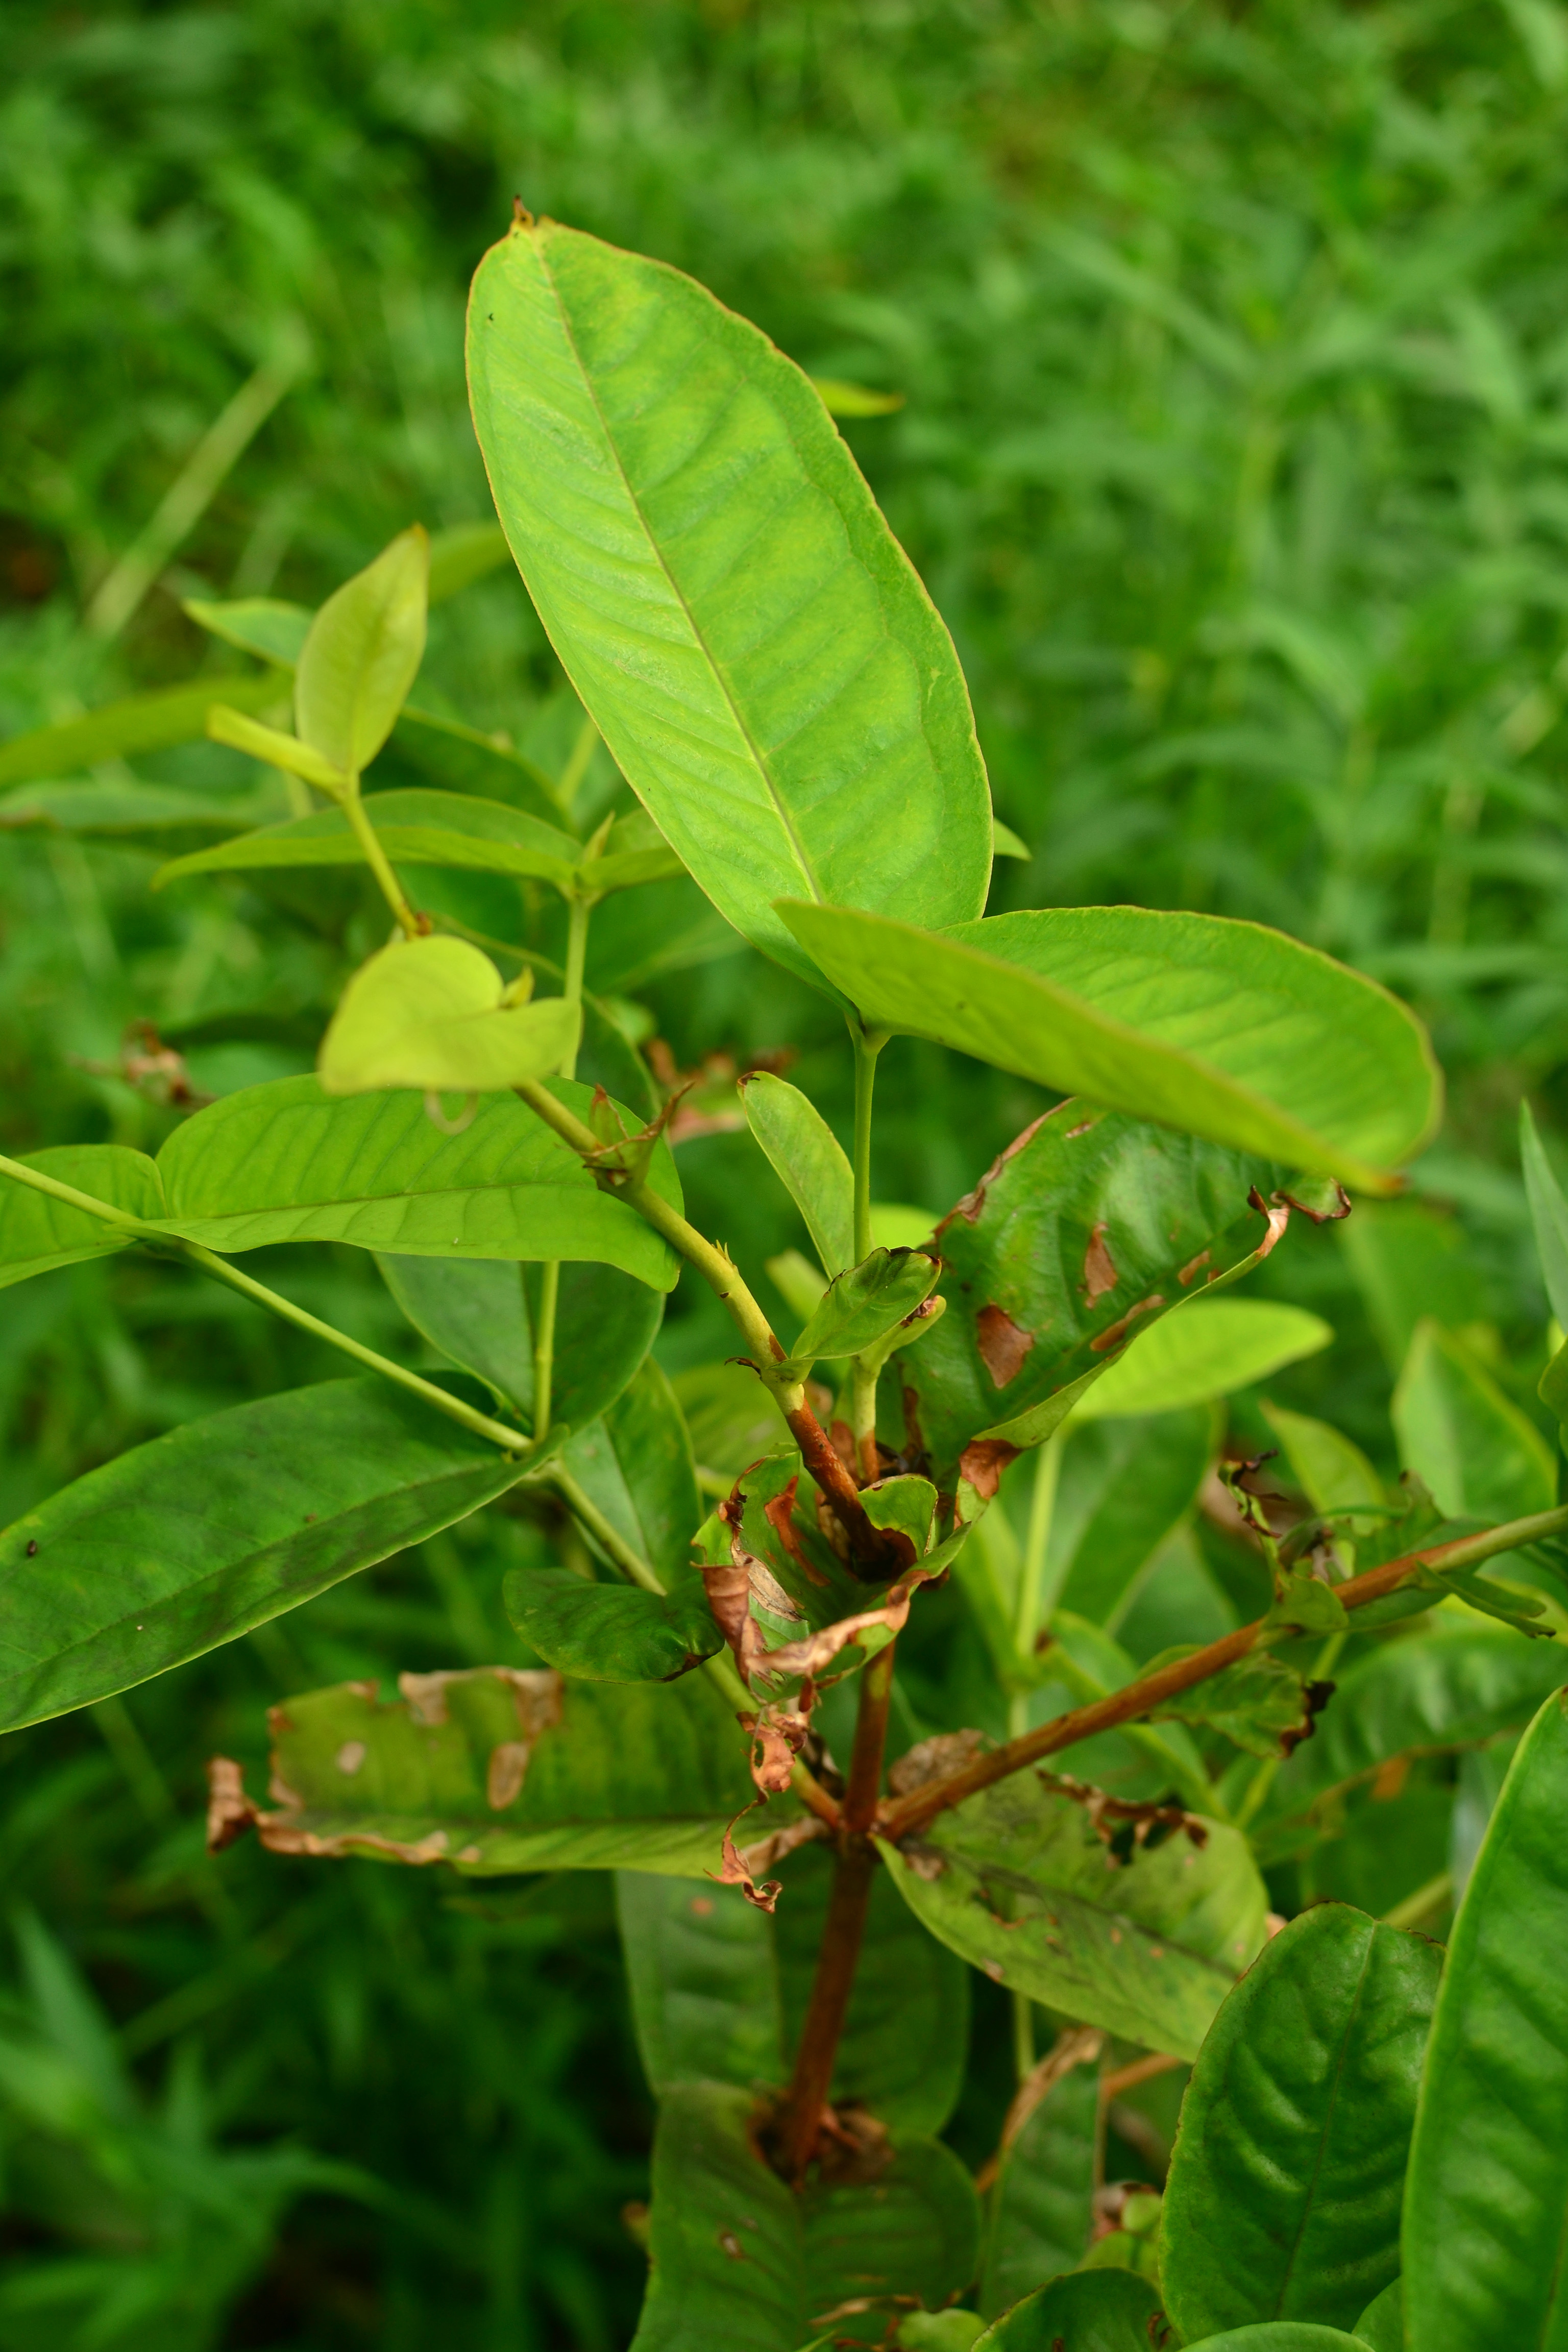
kōpiko sprouted from lower trunk

DSC_0129

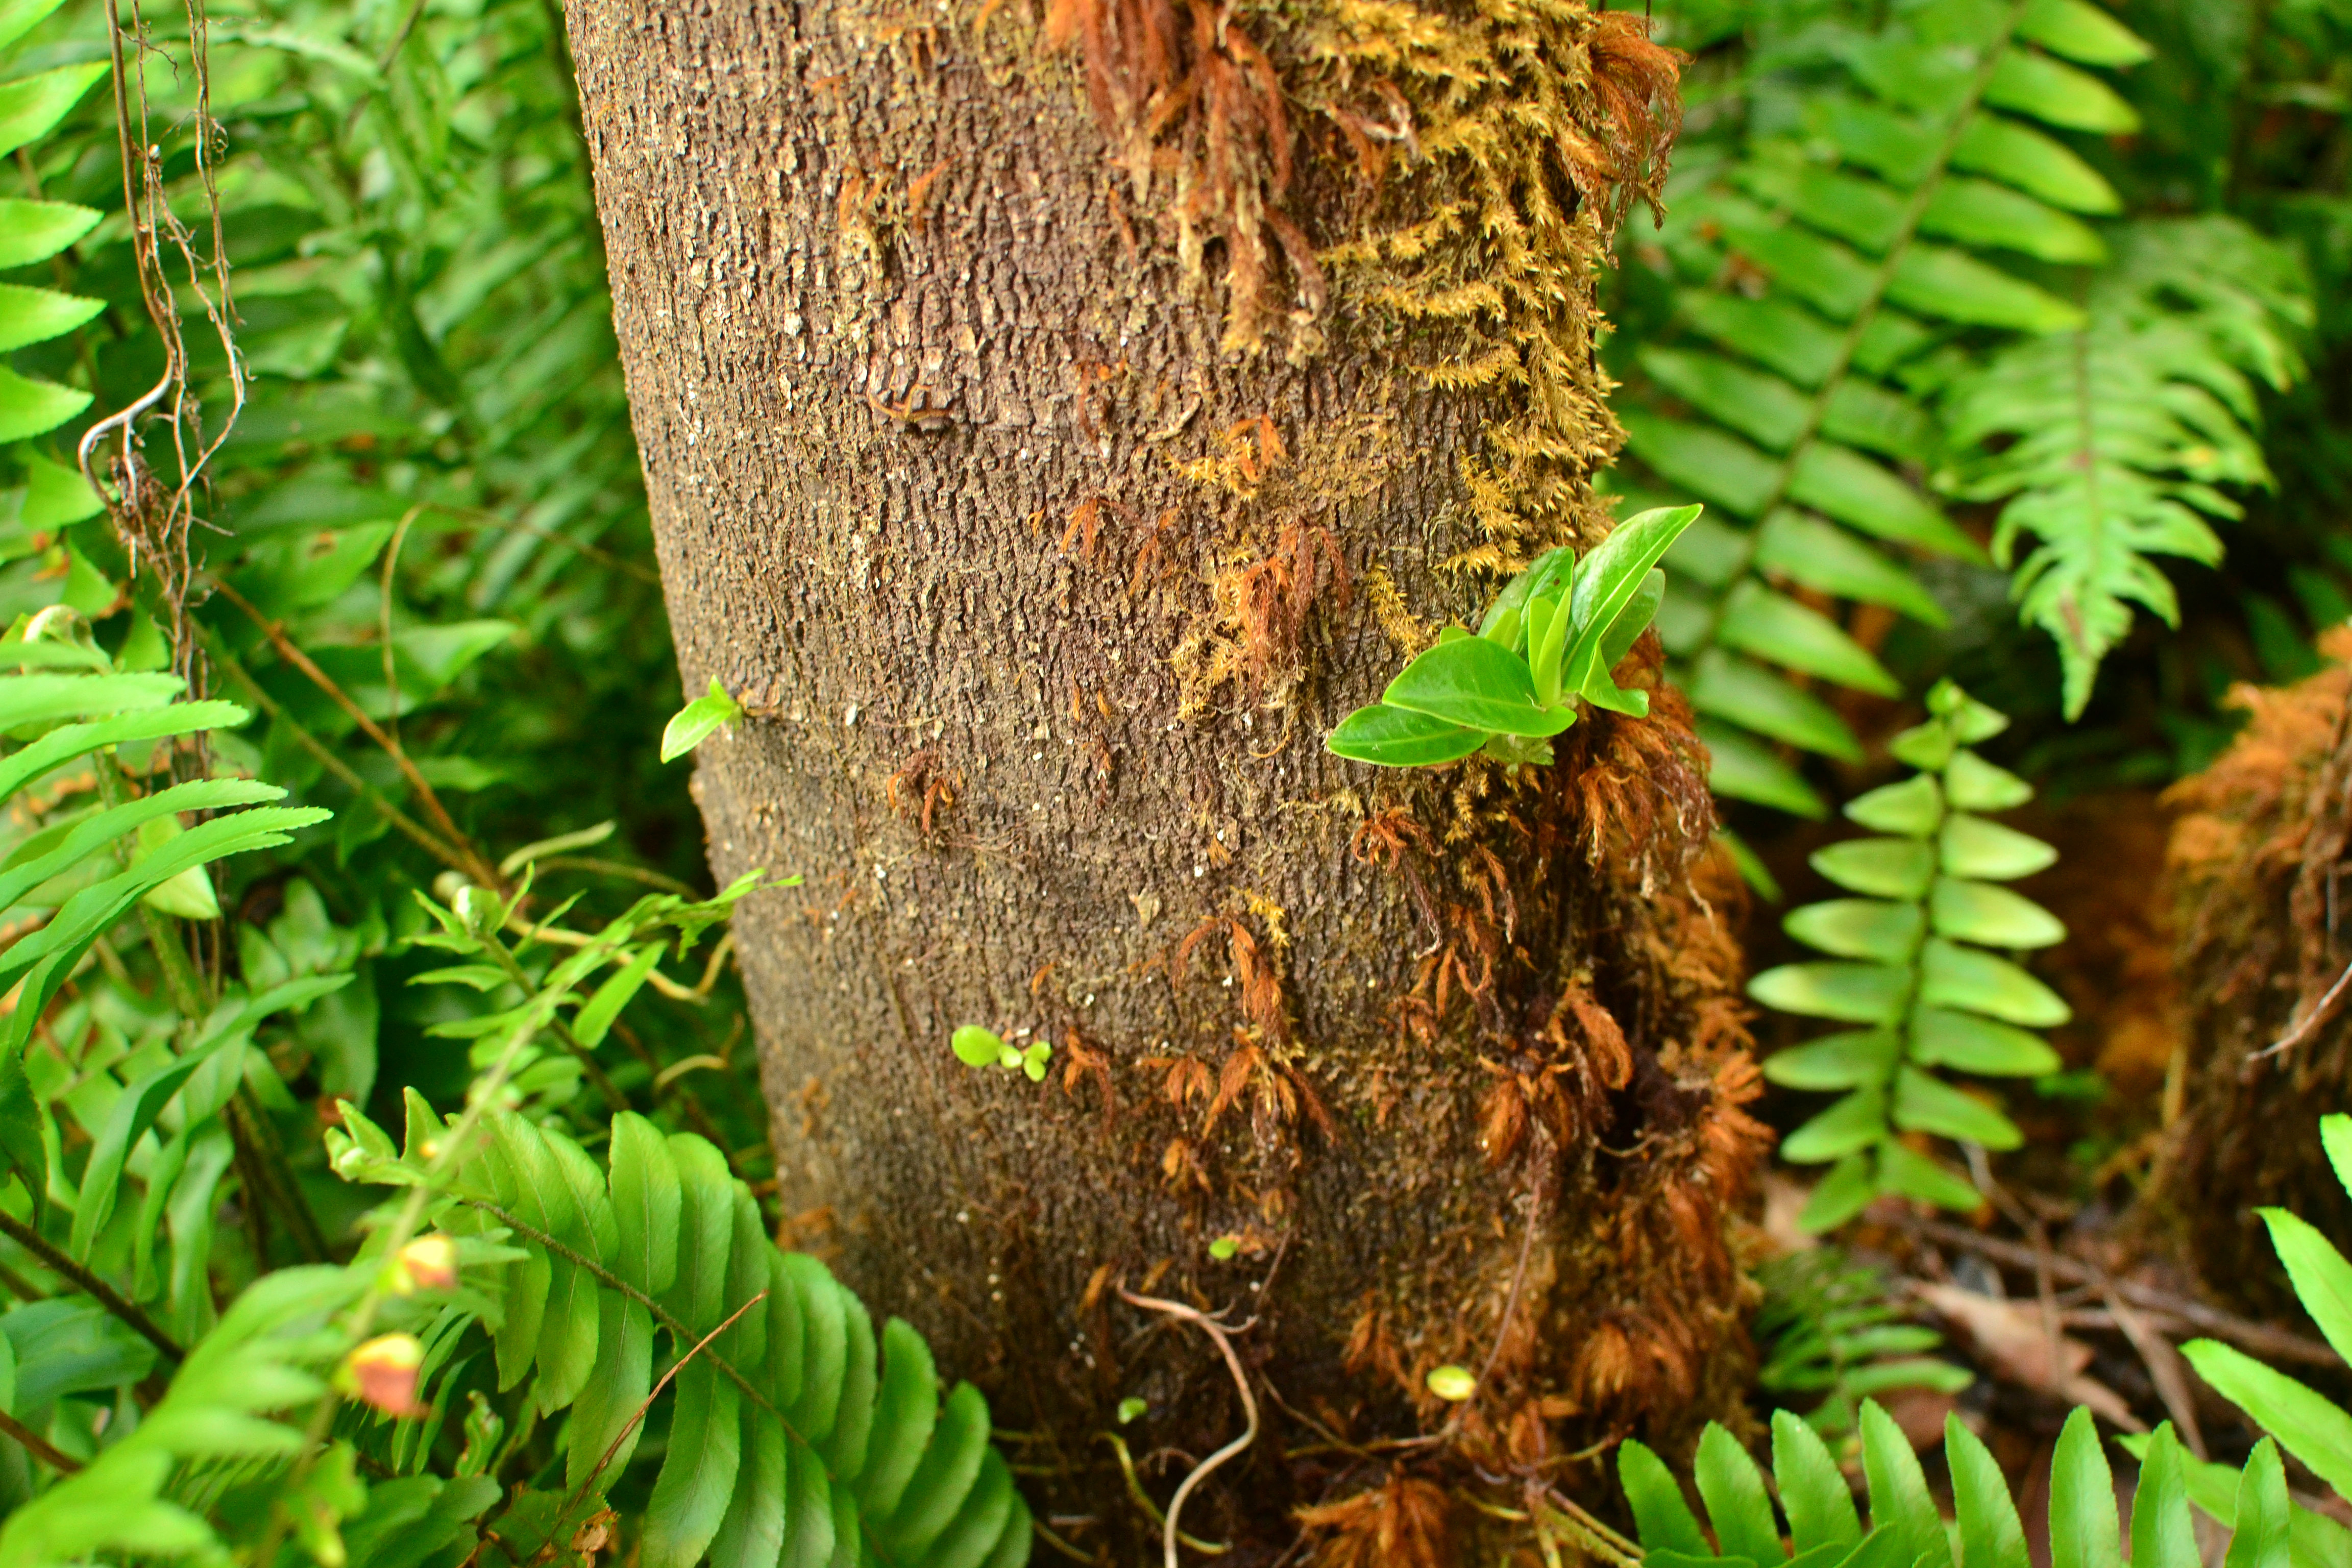
kōpiko sprouting from lower trunk

DSC_0131

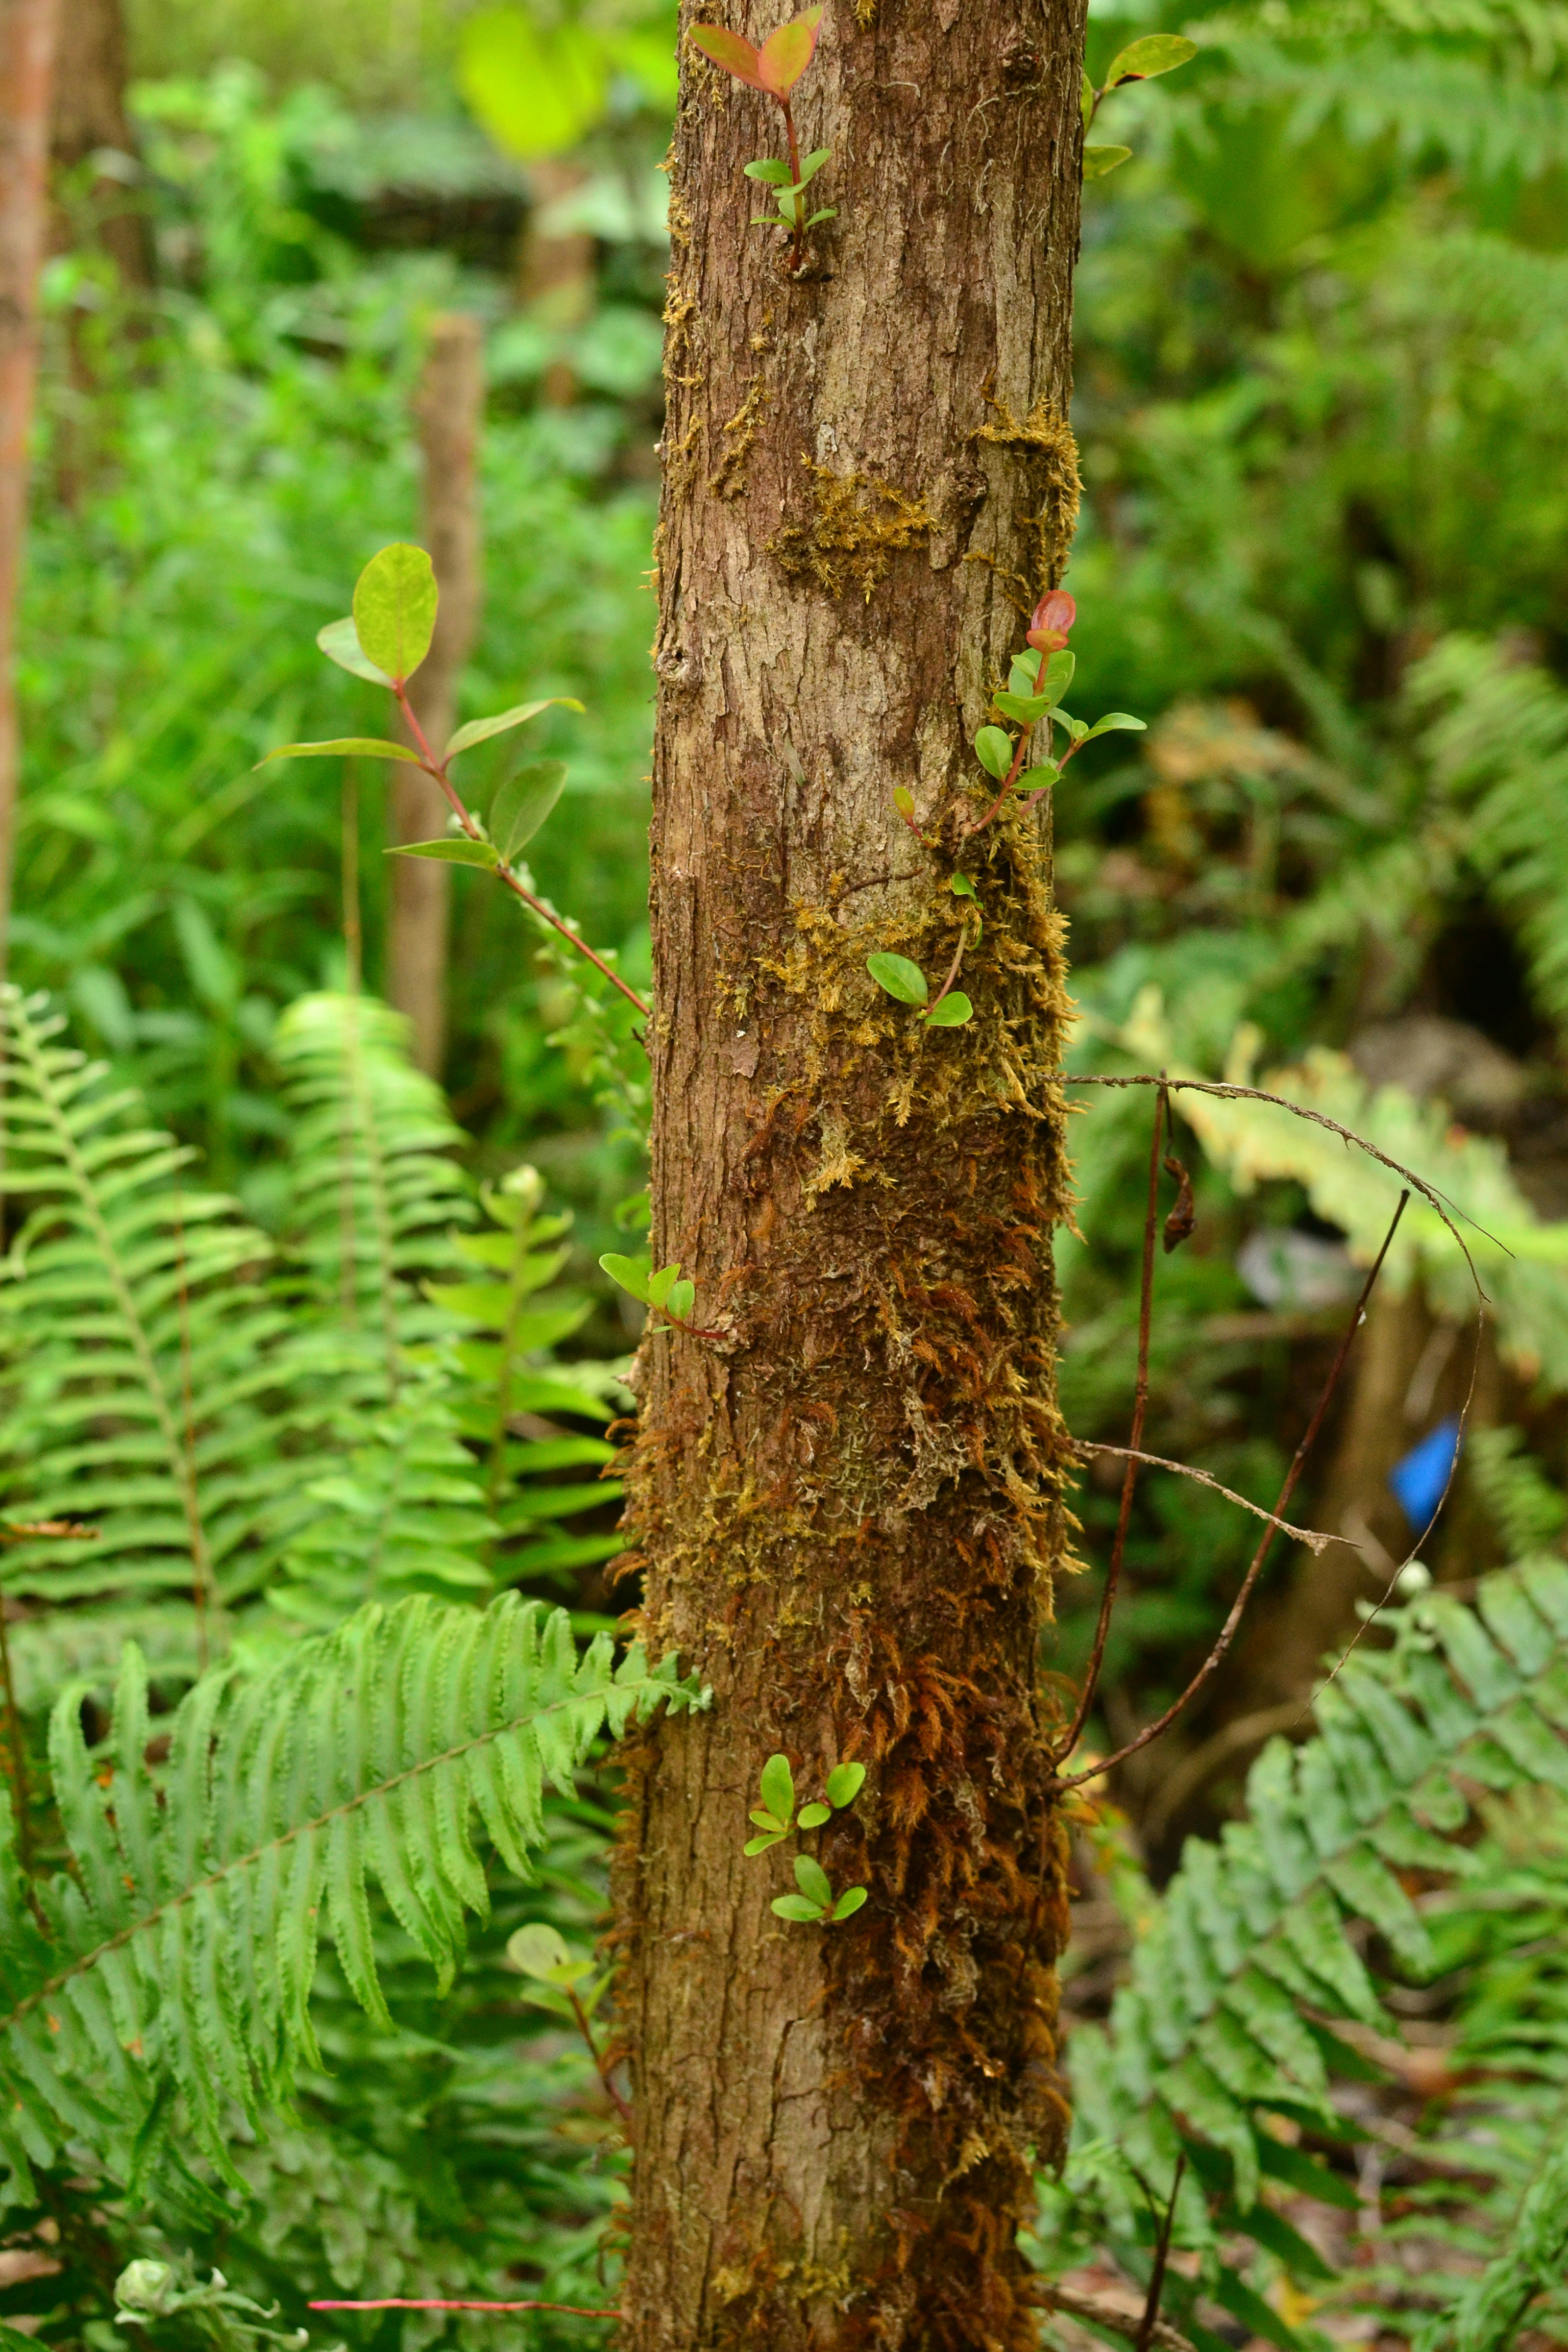
‘ohi’a lehua sprouting from lower trunk, also checkout that red aerial root!

I have planted over 100 different tree species on the property in the past three years. I didn’t lose any trees over 6 inches tall, and plants that were completely defoliated and I thought would perish have come back and put out vigorous new growth. I didn’t even have time to fertilize in the spring and was planning on doing so in May. But the plants are a deep green and looking like they were recently fertilized. I believe the resiliency of my plantings in part has to do with layers, as the older stronger trees were able to hold off some of the effects of the emissions and the younger plants in the lower strata of the forest were able to hide in the shade or coverage of the weedy/taller plants.

DSC_0035

Guava on upper right was 100% defoliated

DSC_0055

Mountain Apple. Emissions growth and vigorous new growth

DSC_0071

Water Apple. Emissions growth and vigorous new growth

DSC_0079

Jackfruit. 85% defoliated and vigorous new growth

DSC_0084

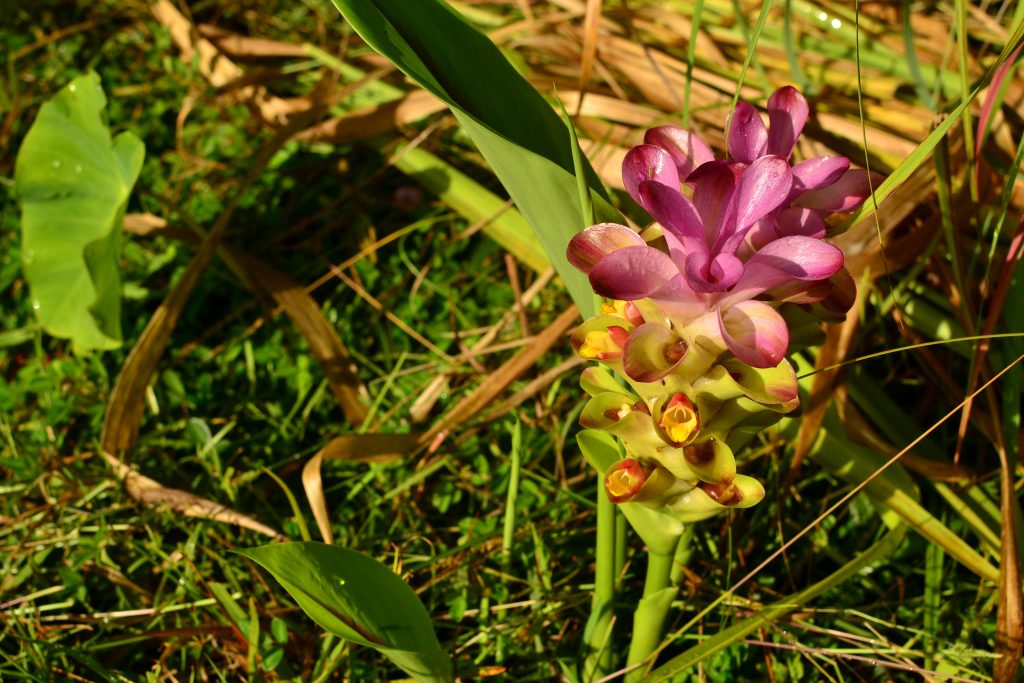
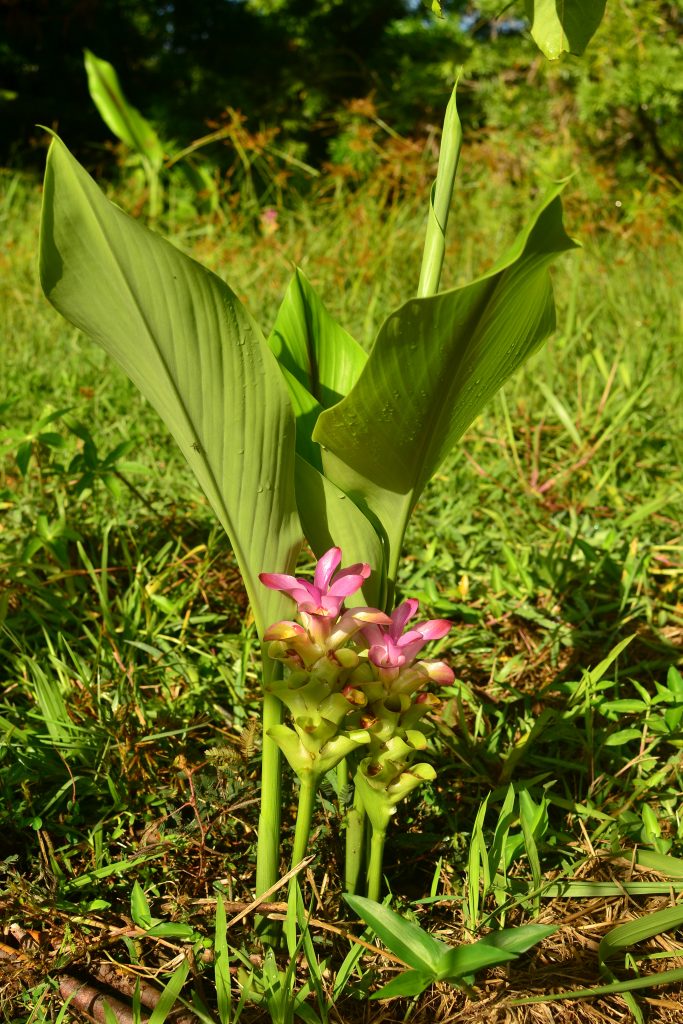
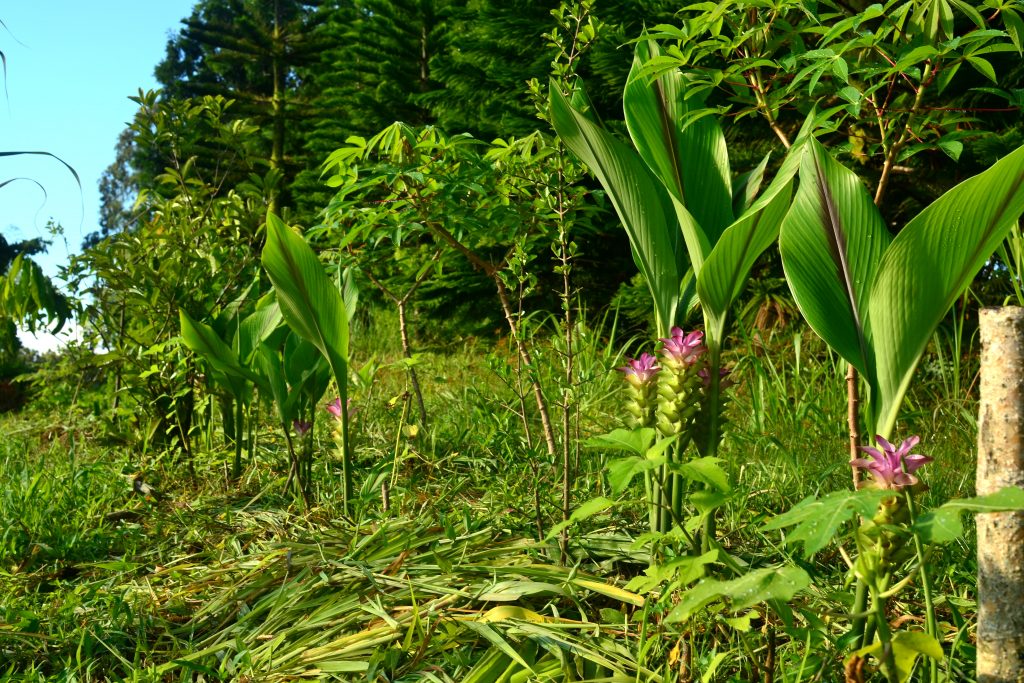
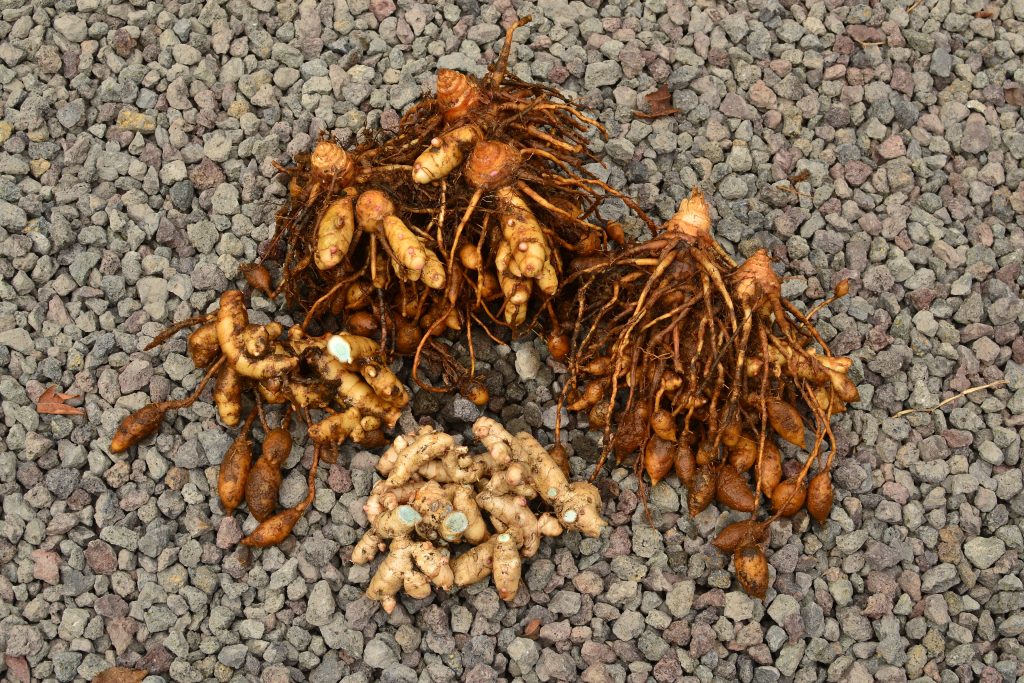
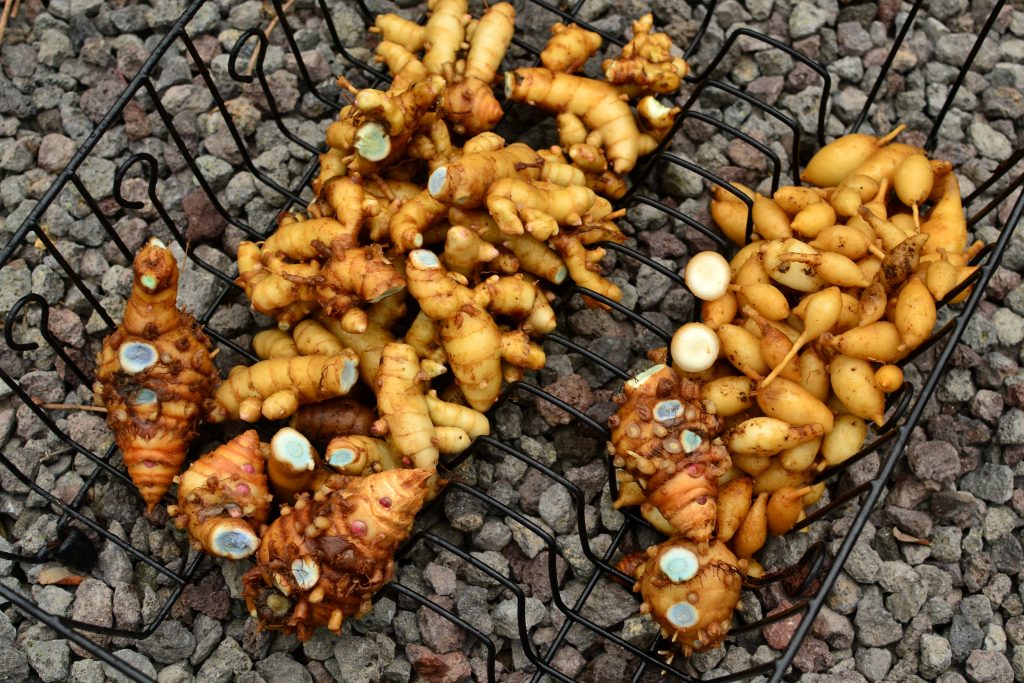
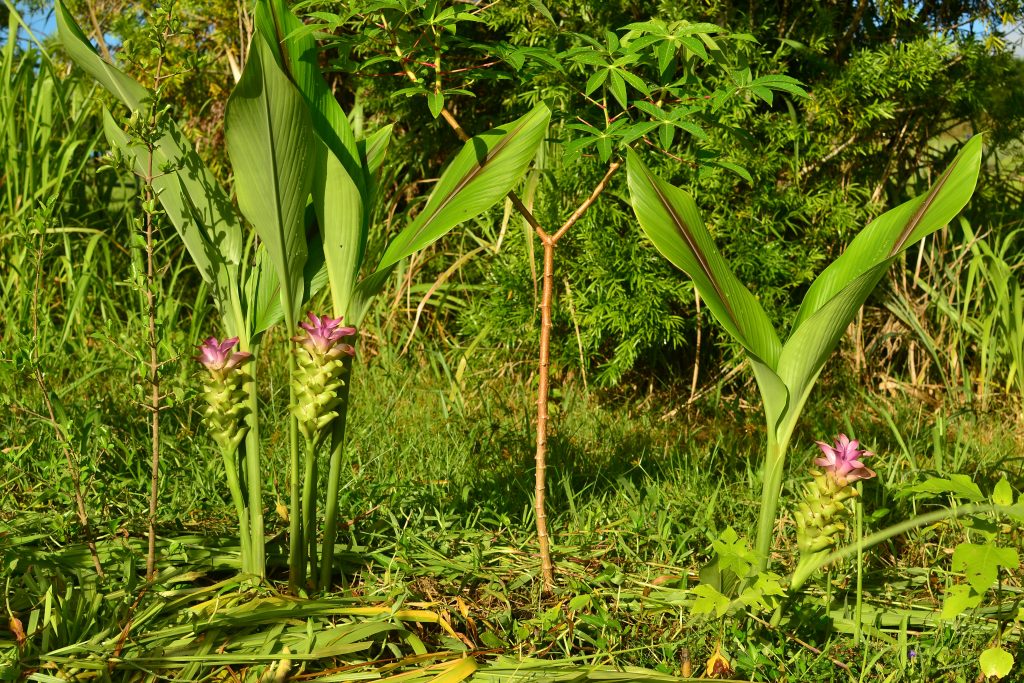
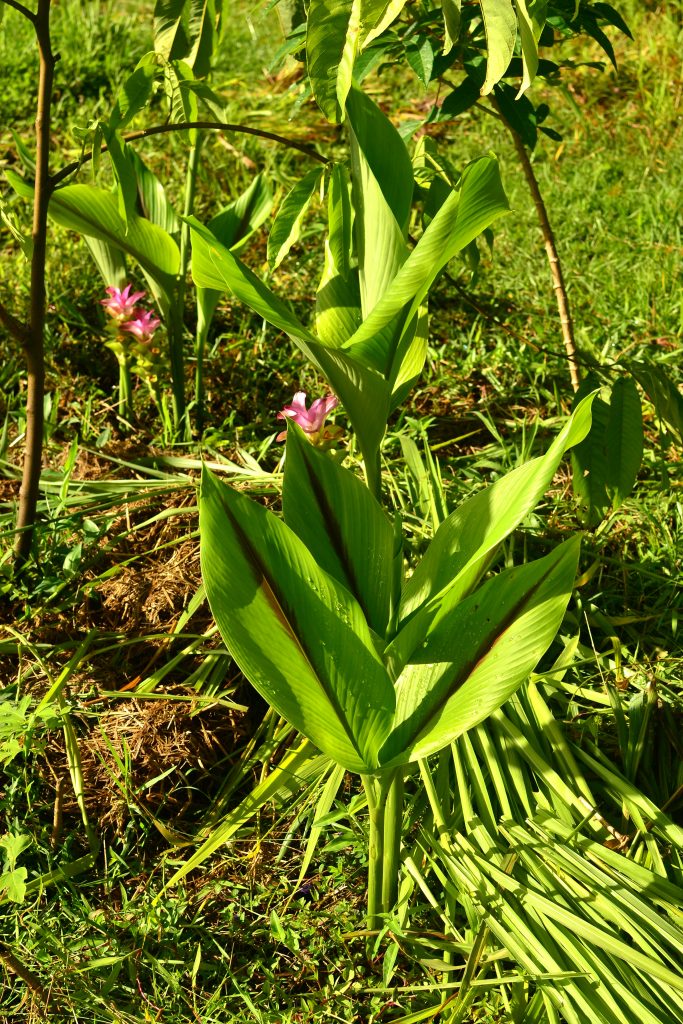
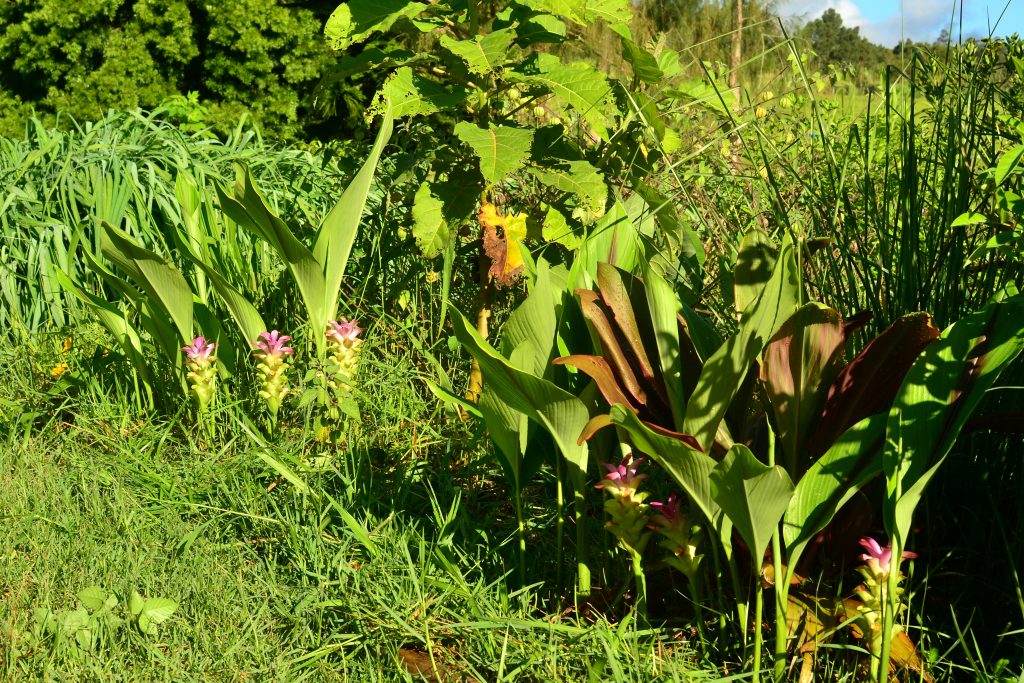
Shampoo ginger. Emissions growth and vigorous new growth

DSC_0087

hō’awa. Emissions growth and vigorous new growth

DSC_0101

Cacao. 95% defoliated. Vigorous new growth

DSC_0106

Vi Apple. 100% defoliated. Vigorous new growth

DSC_0112

Galangal. Emissions growth and vigorous new growth

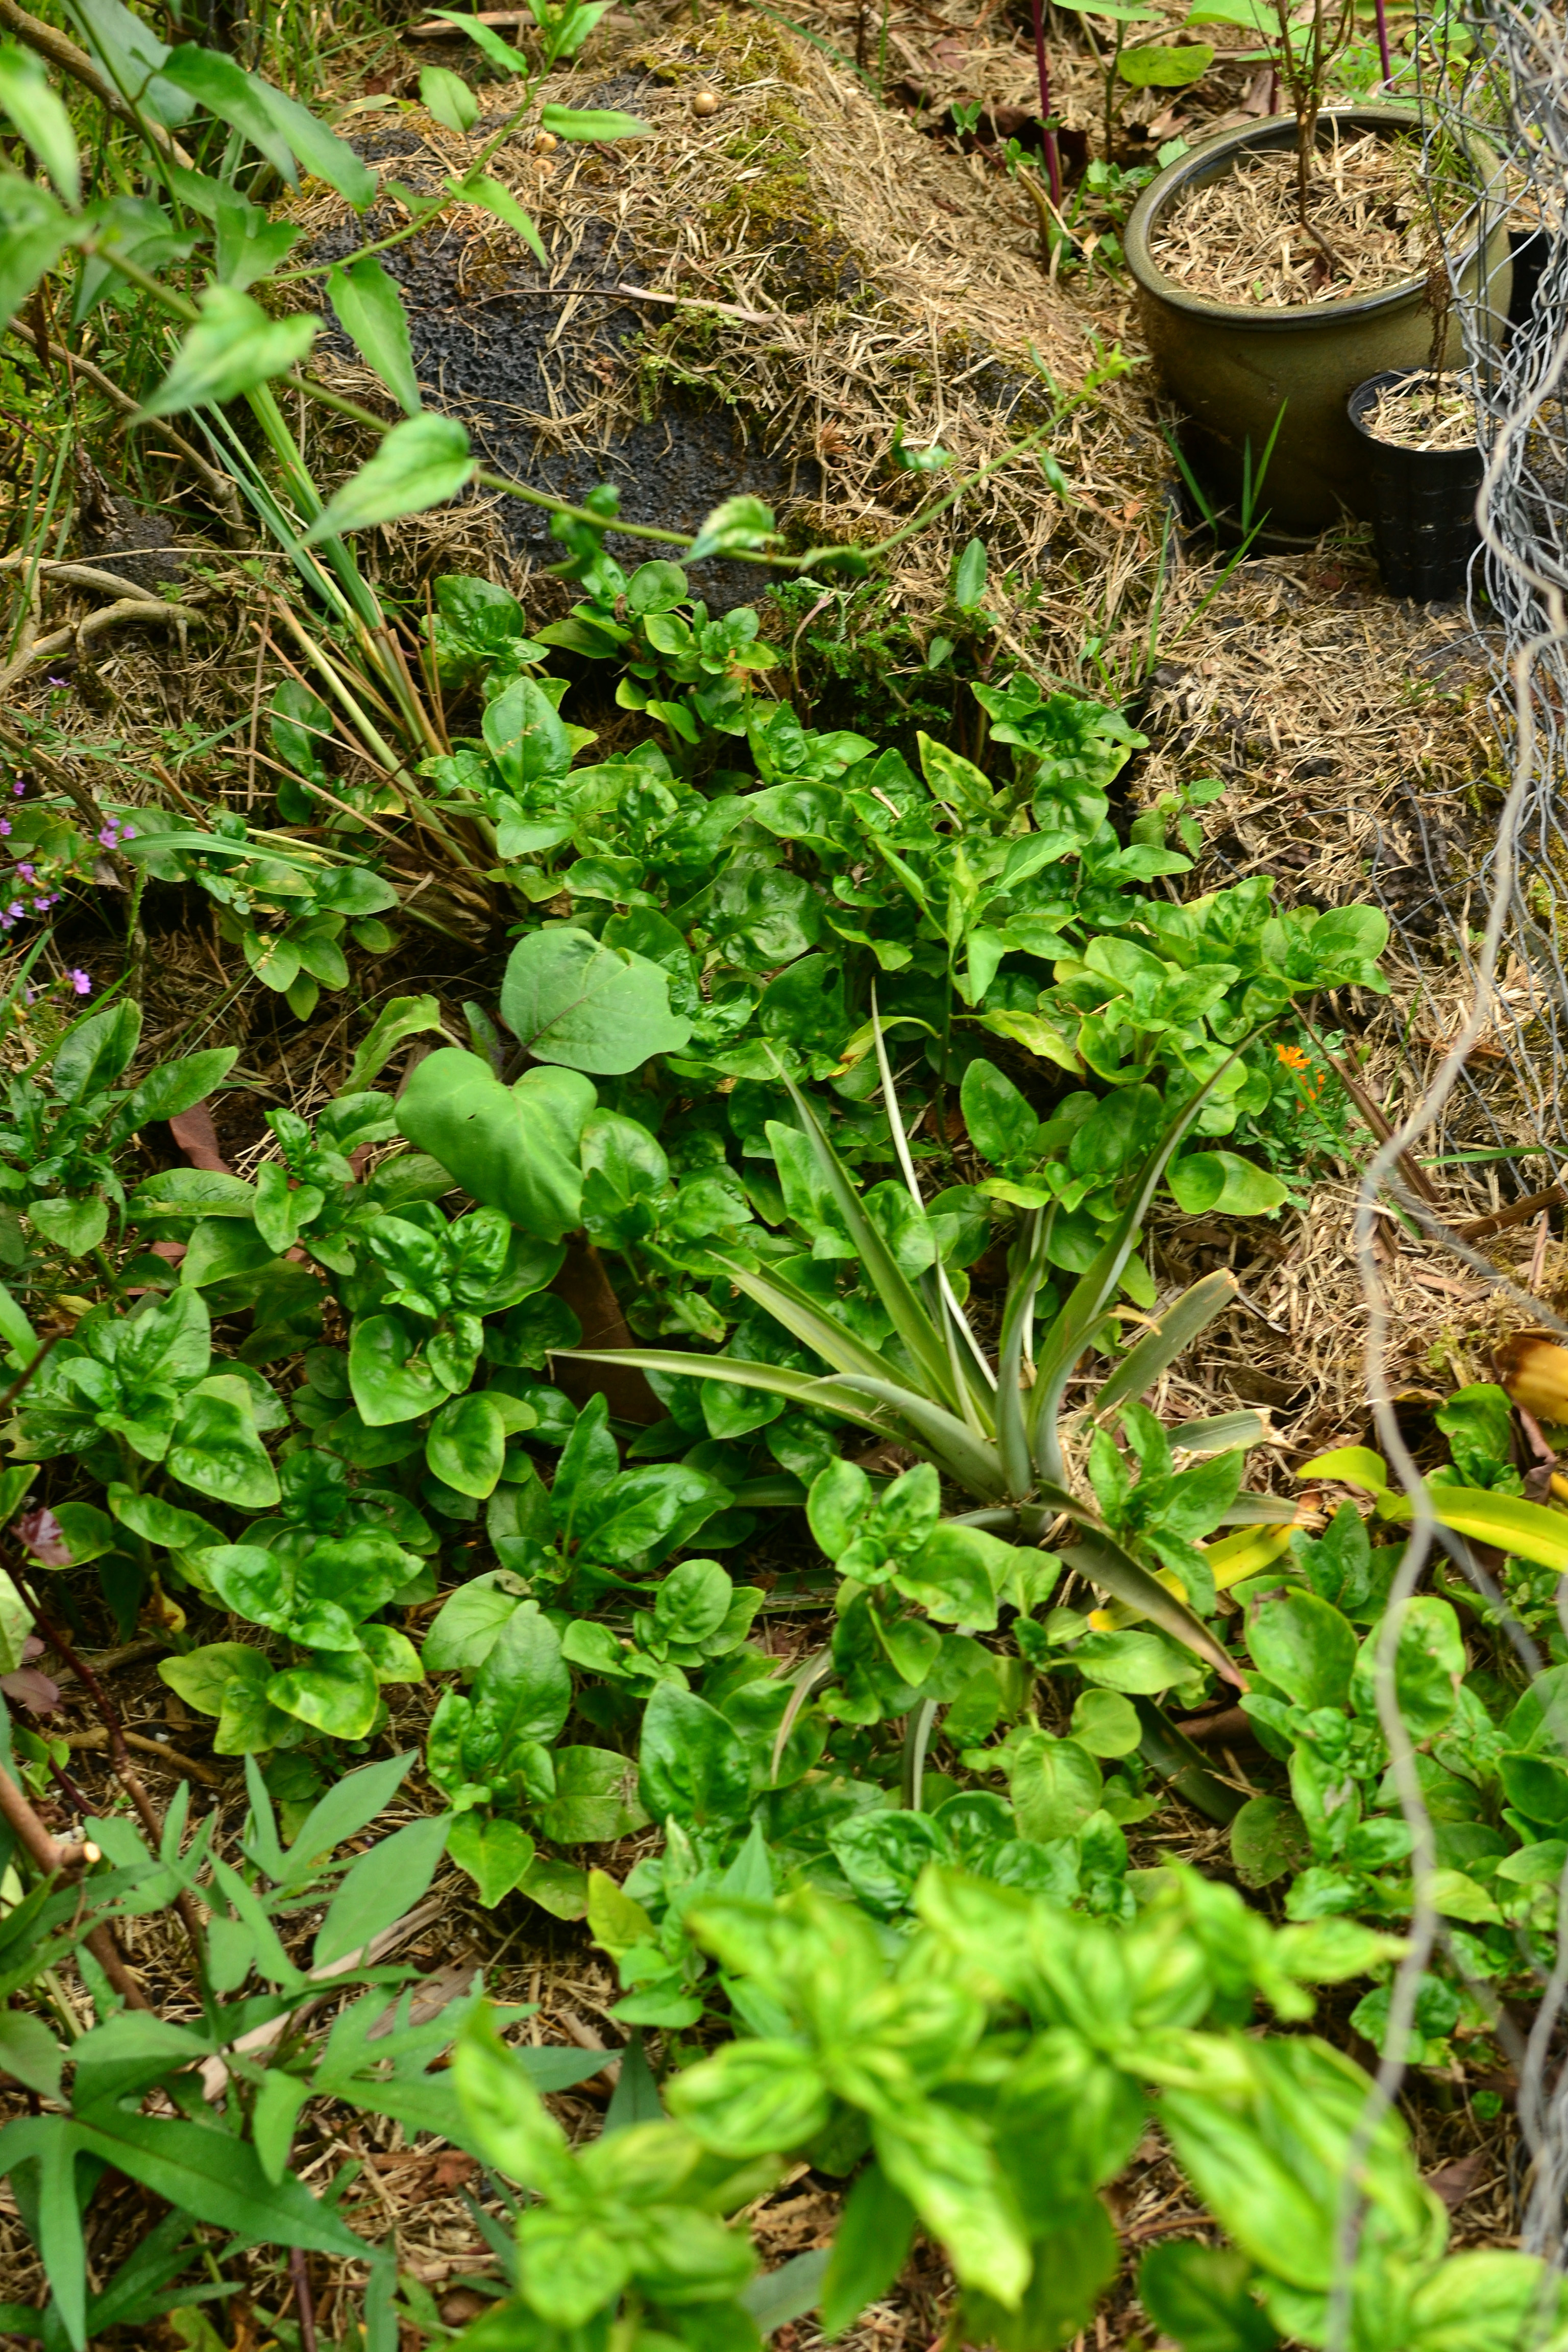
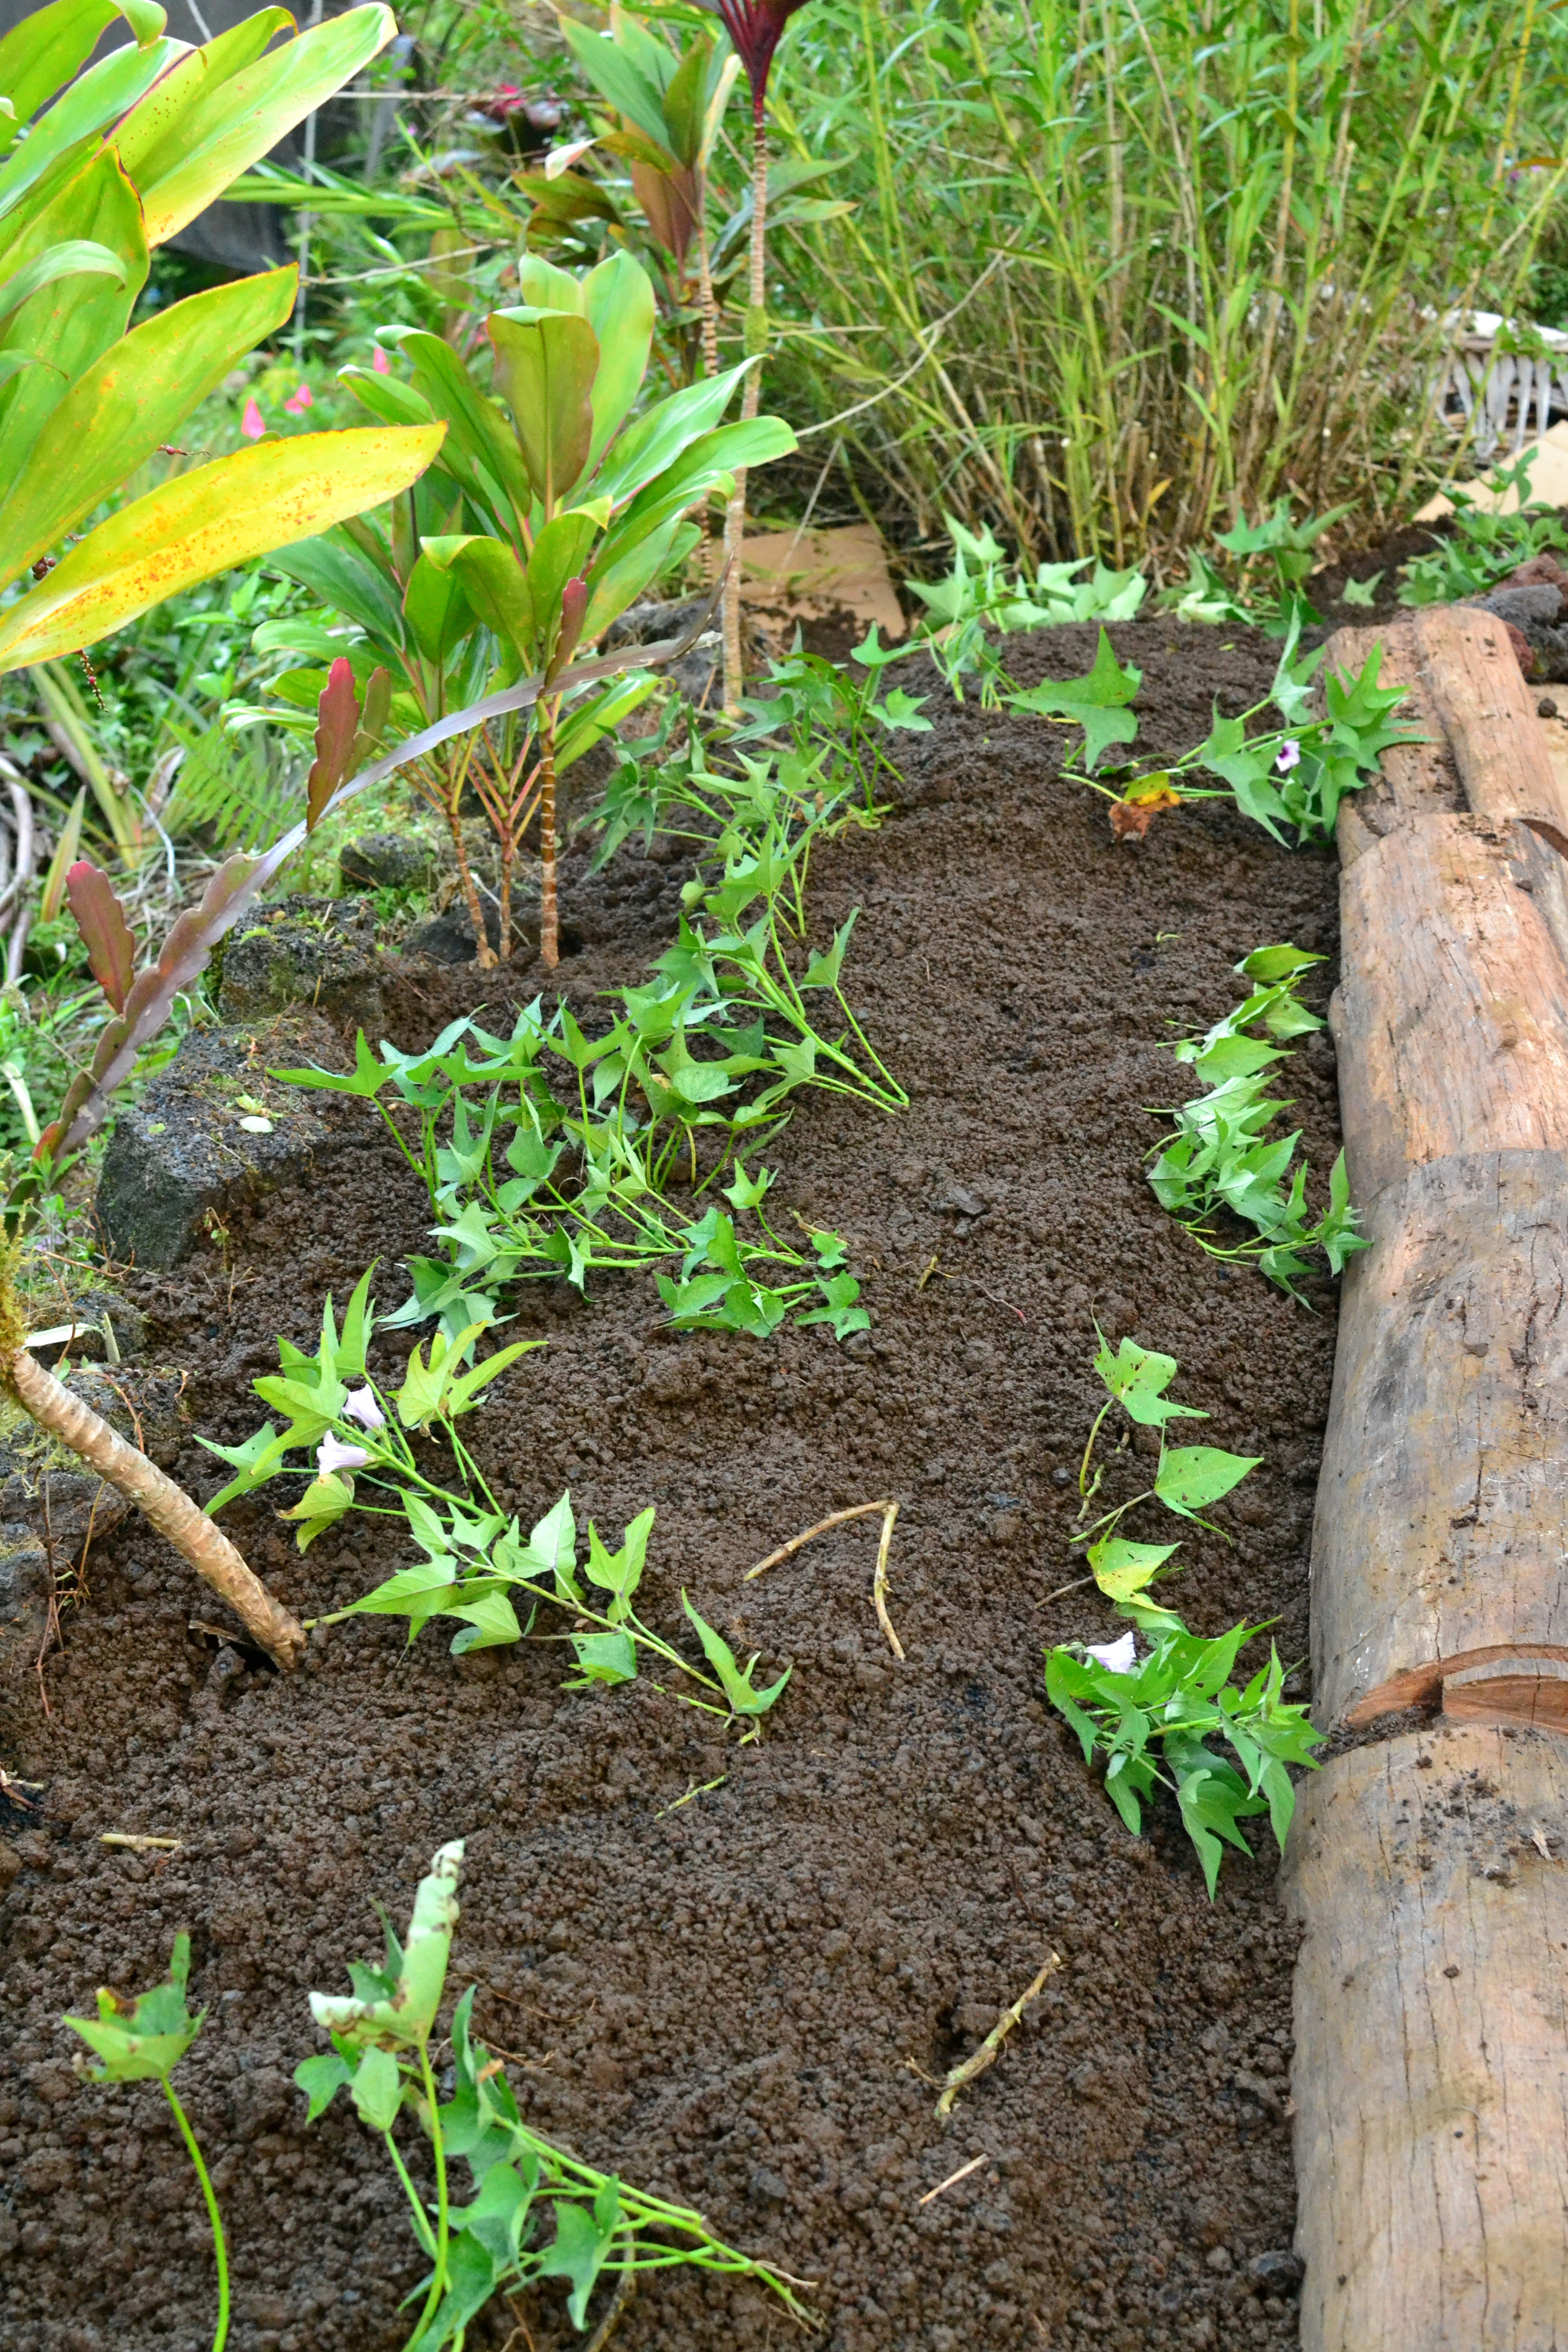
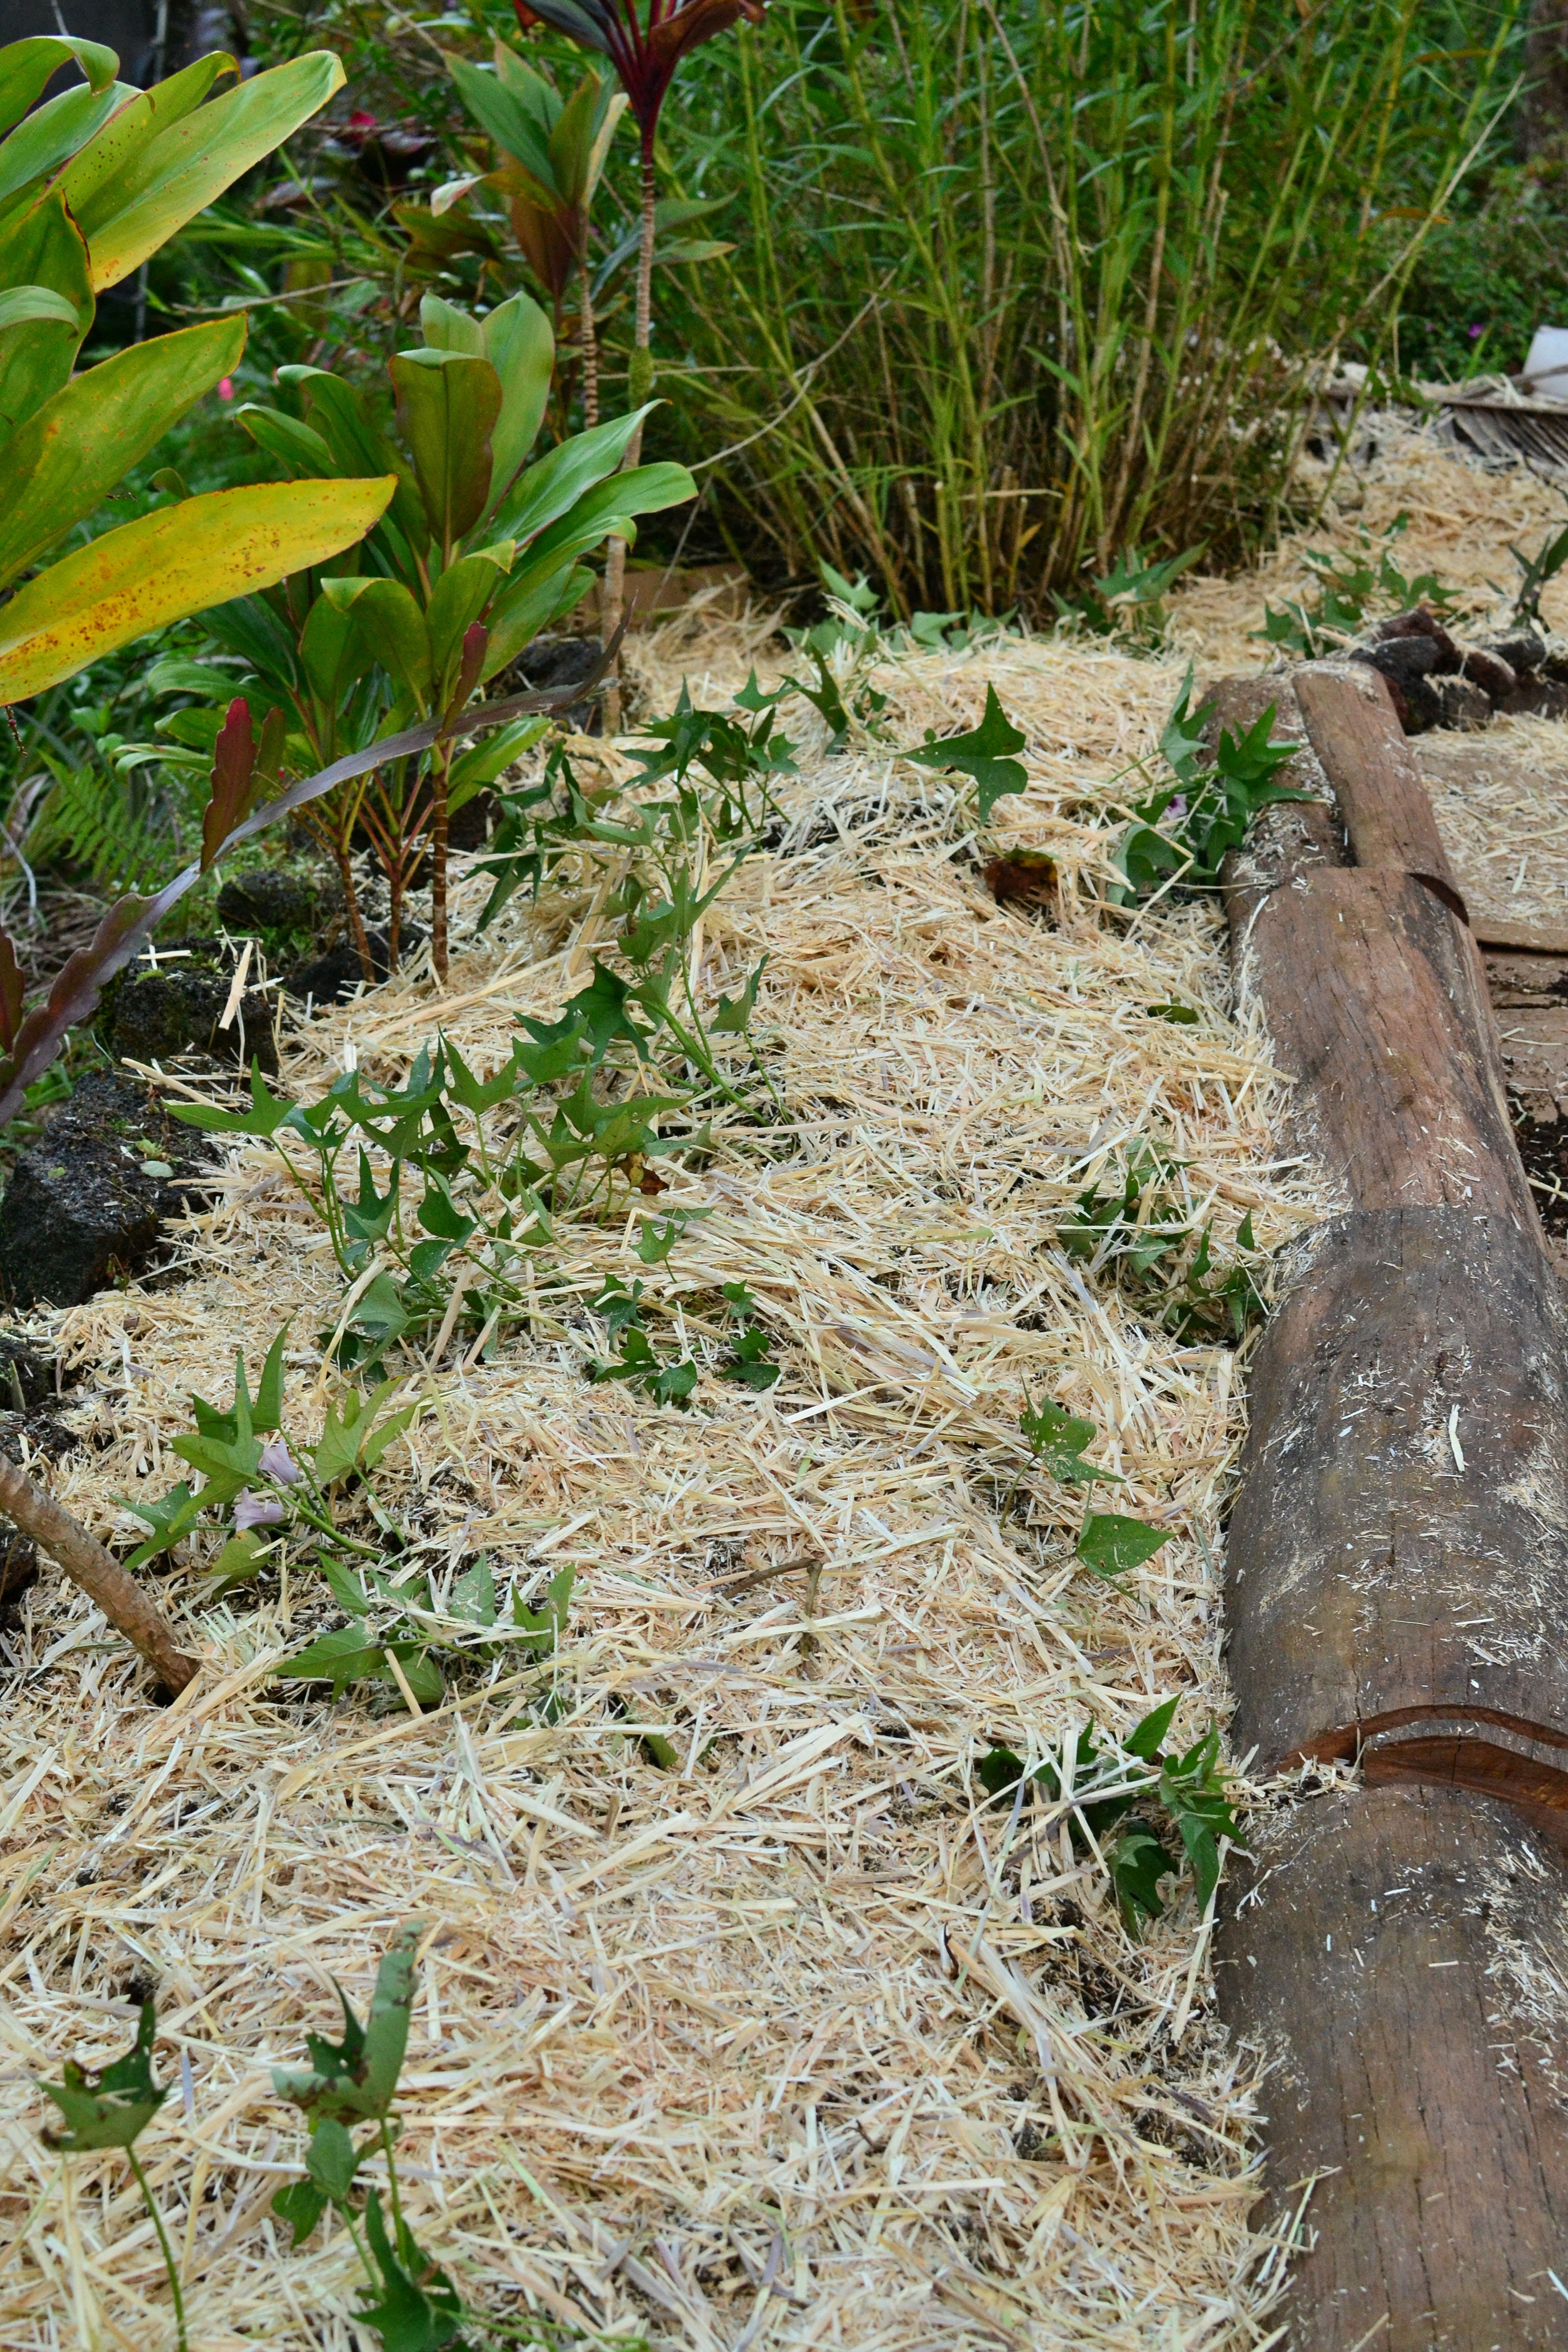
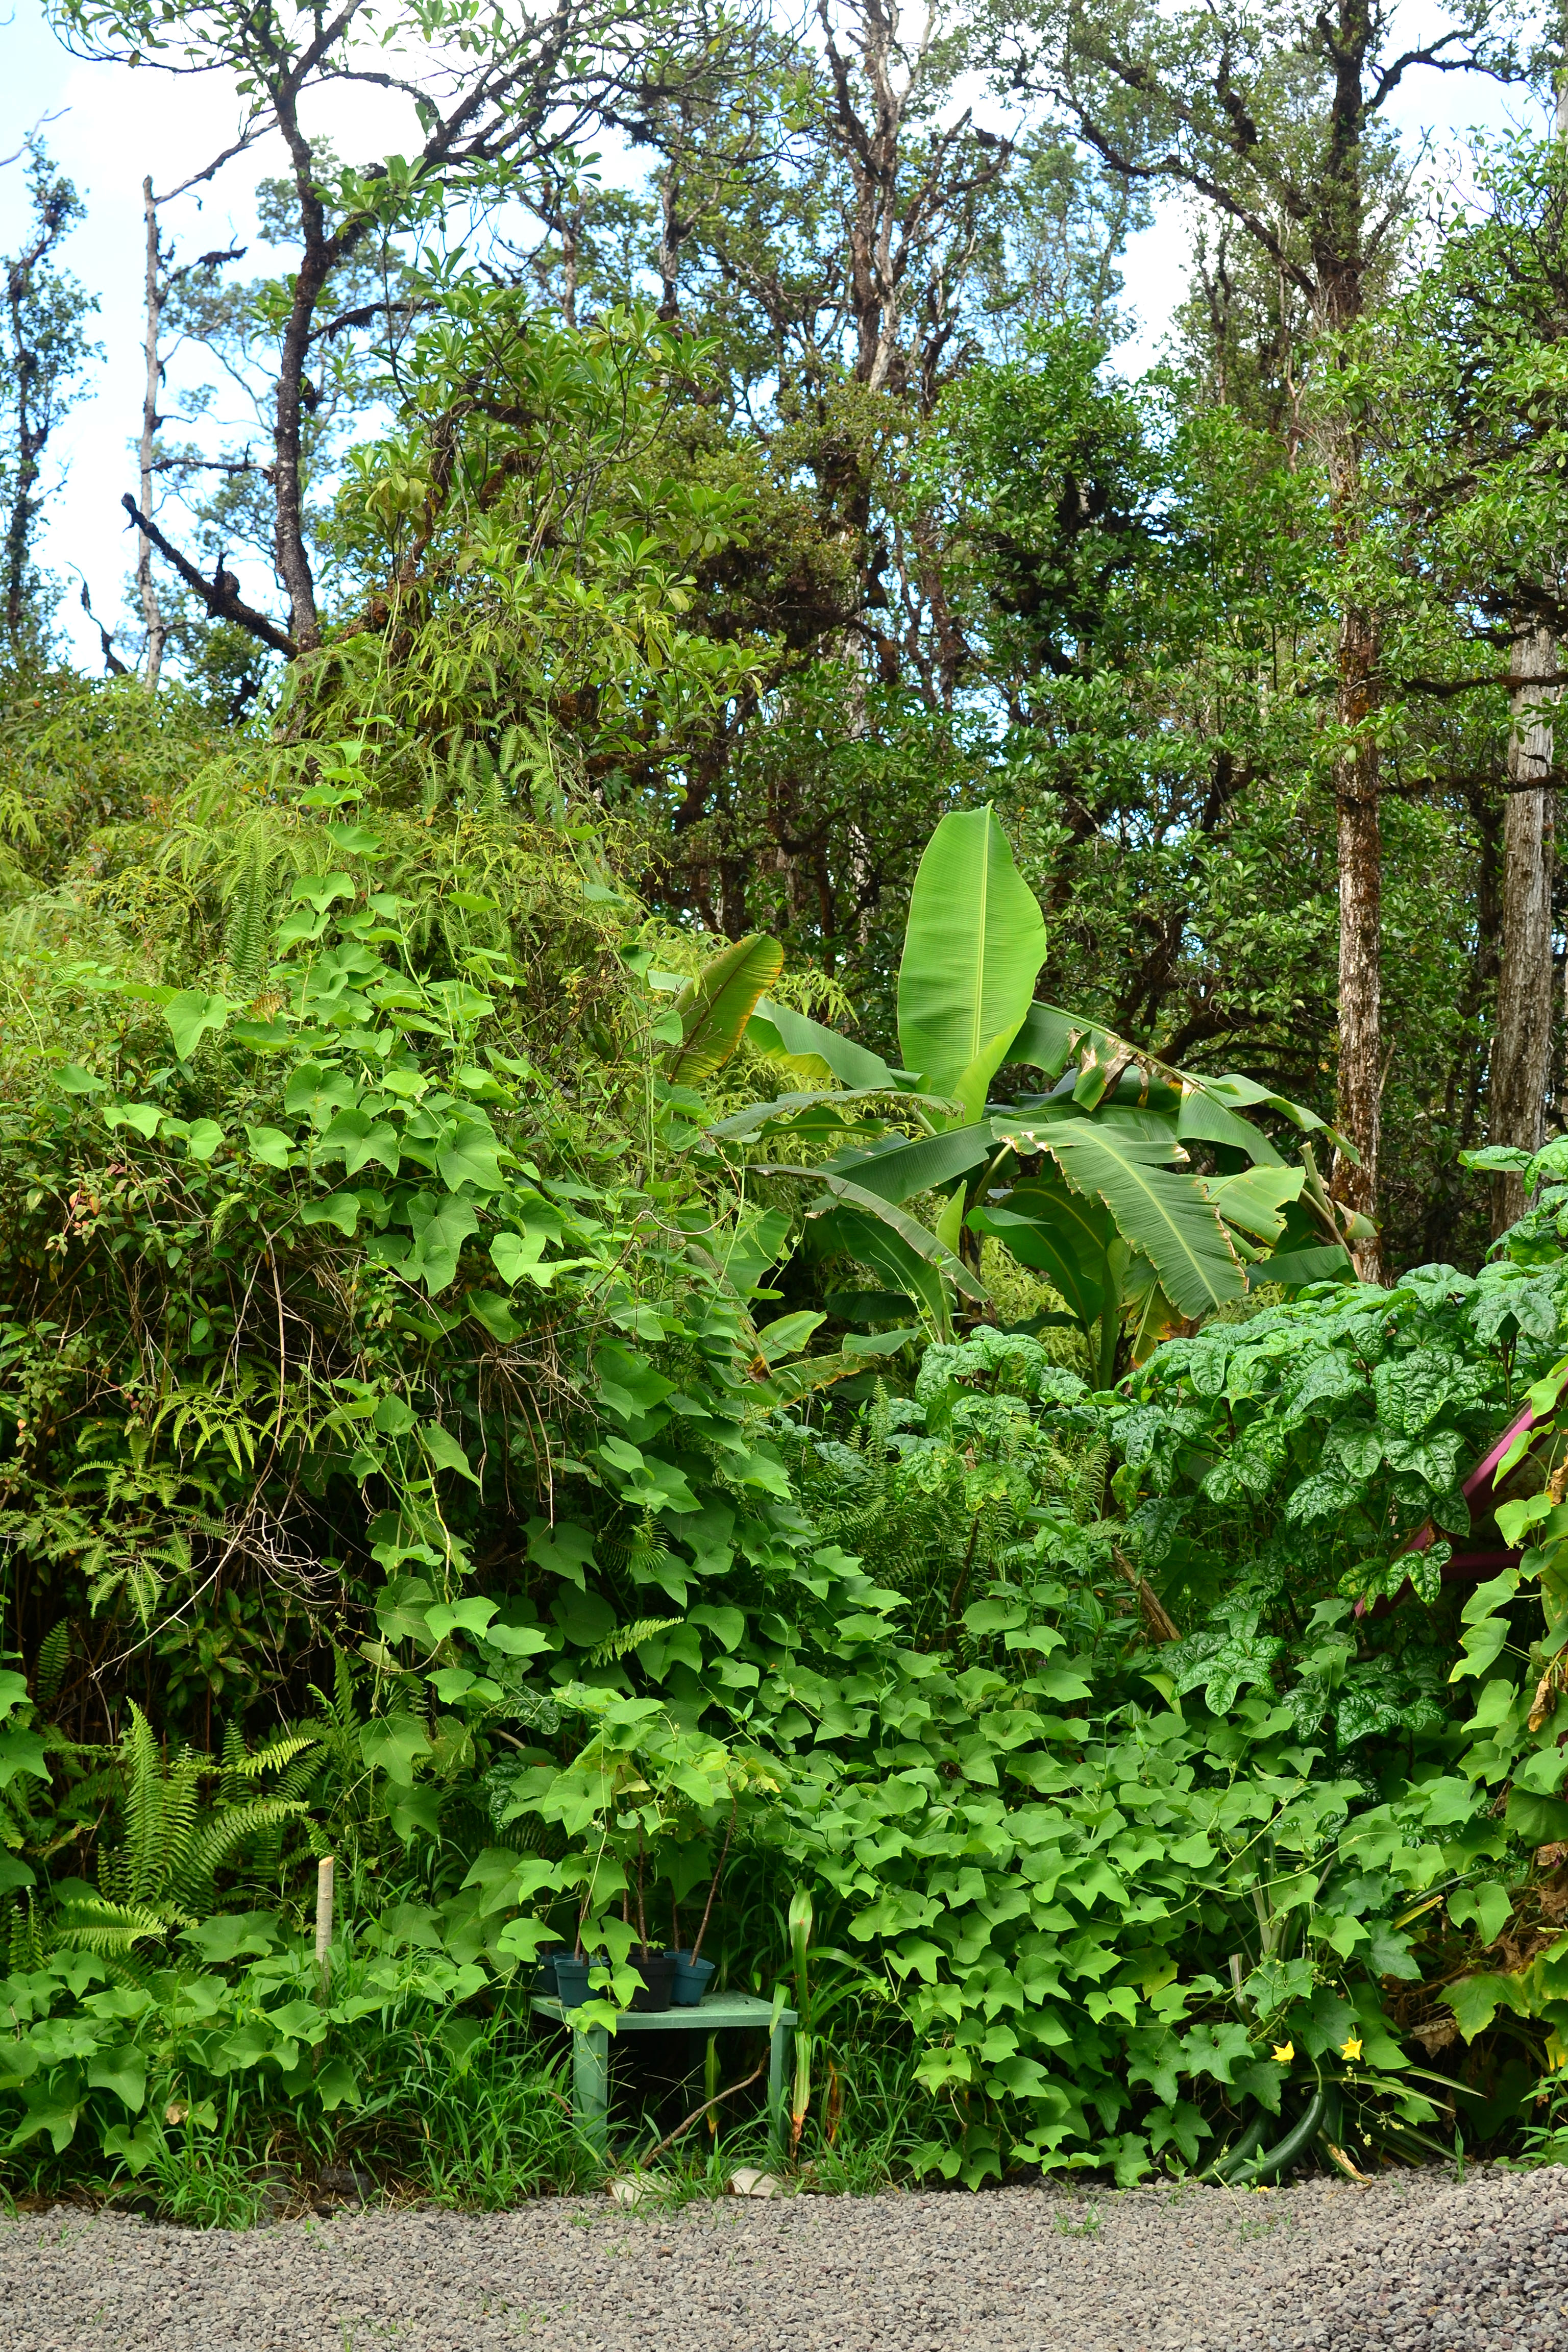
My sweet potatoes, Okinawan spinach, Sissoo spinach, edible hibiscus, kalo, turmeric, air potato, kava, cassava, and perennial peanut are flourishing because they were under other species. Now that the light levels have increased these hardy plants are able to send out new shoots or runners to occupy niches that have been left open from the emissions. My lawn is turning into a sweet potato patch. How lovely.
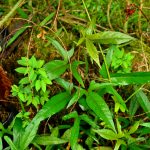
In conclusion, I recommend heavy plantings of native species, coconuts, bananas, pineapples, citrus, breadfruit and avocados, as most of these plants were minimally effected from the lava activity. This follows my ideology of multi-diverse perennial and multi-strata plantings to occupy all layers of the system to allow shelter for younger more vulnerable plants to stay protected from prolonged exposure of emissions. I recommend to all nearby residents to reclaim their yards, pull out the weakened invasives, cut out the dead put on the ground to decompose and give space and time to your plantings, this rainforest is extremely resilient, and will bounce back in time.

DSC_0033

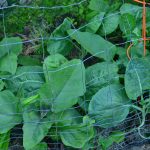
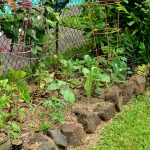
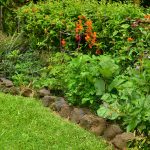
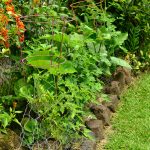
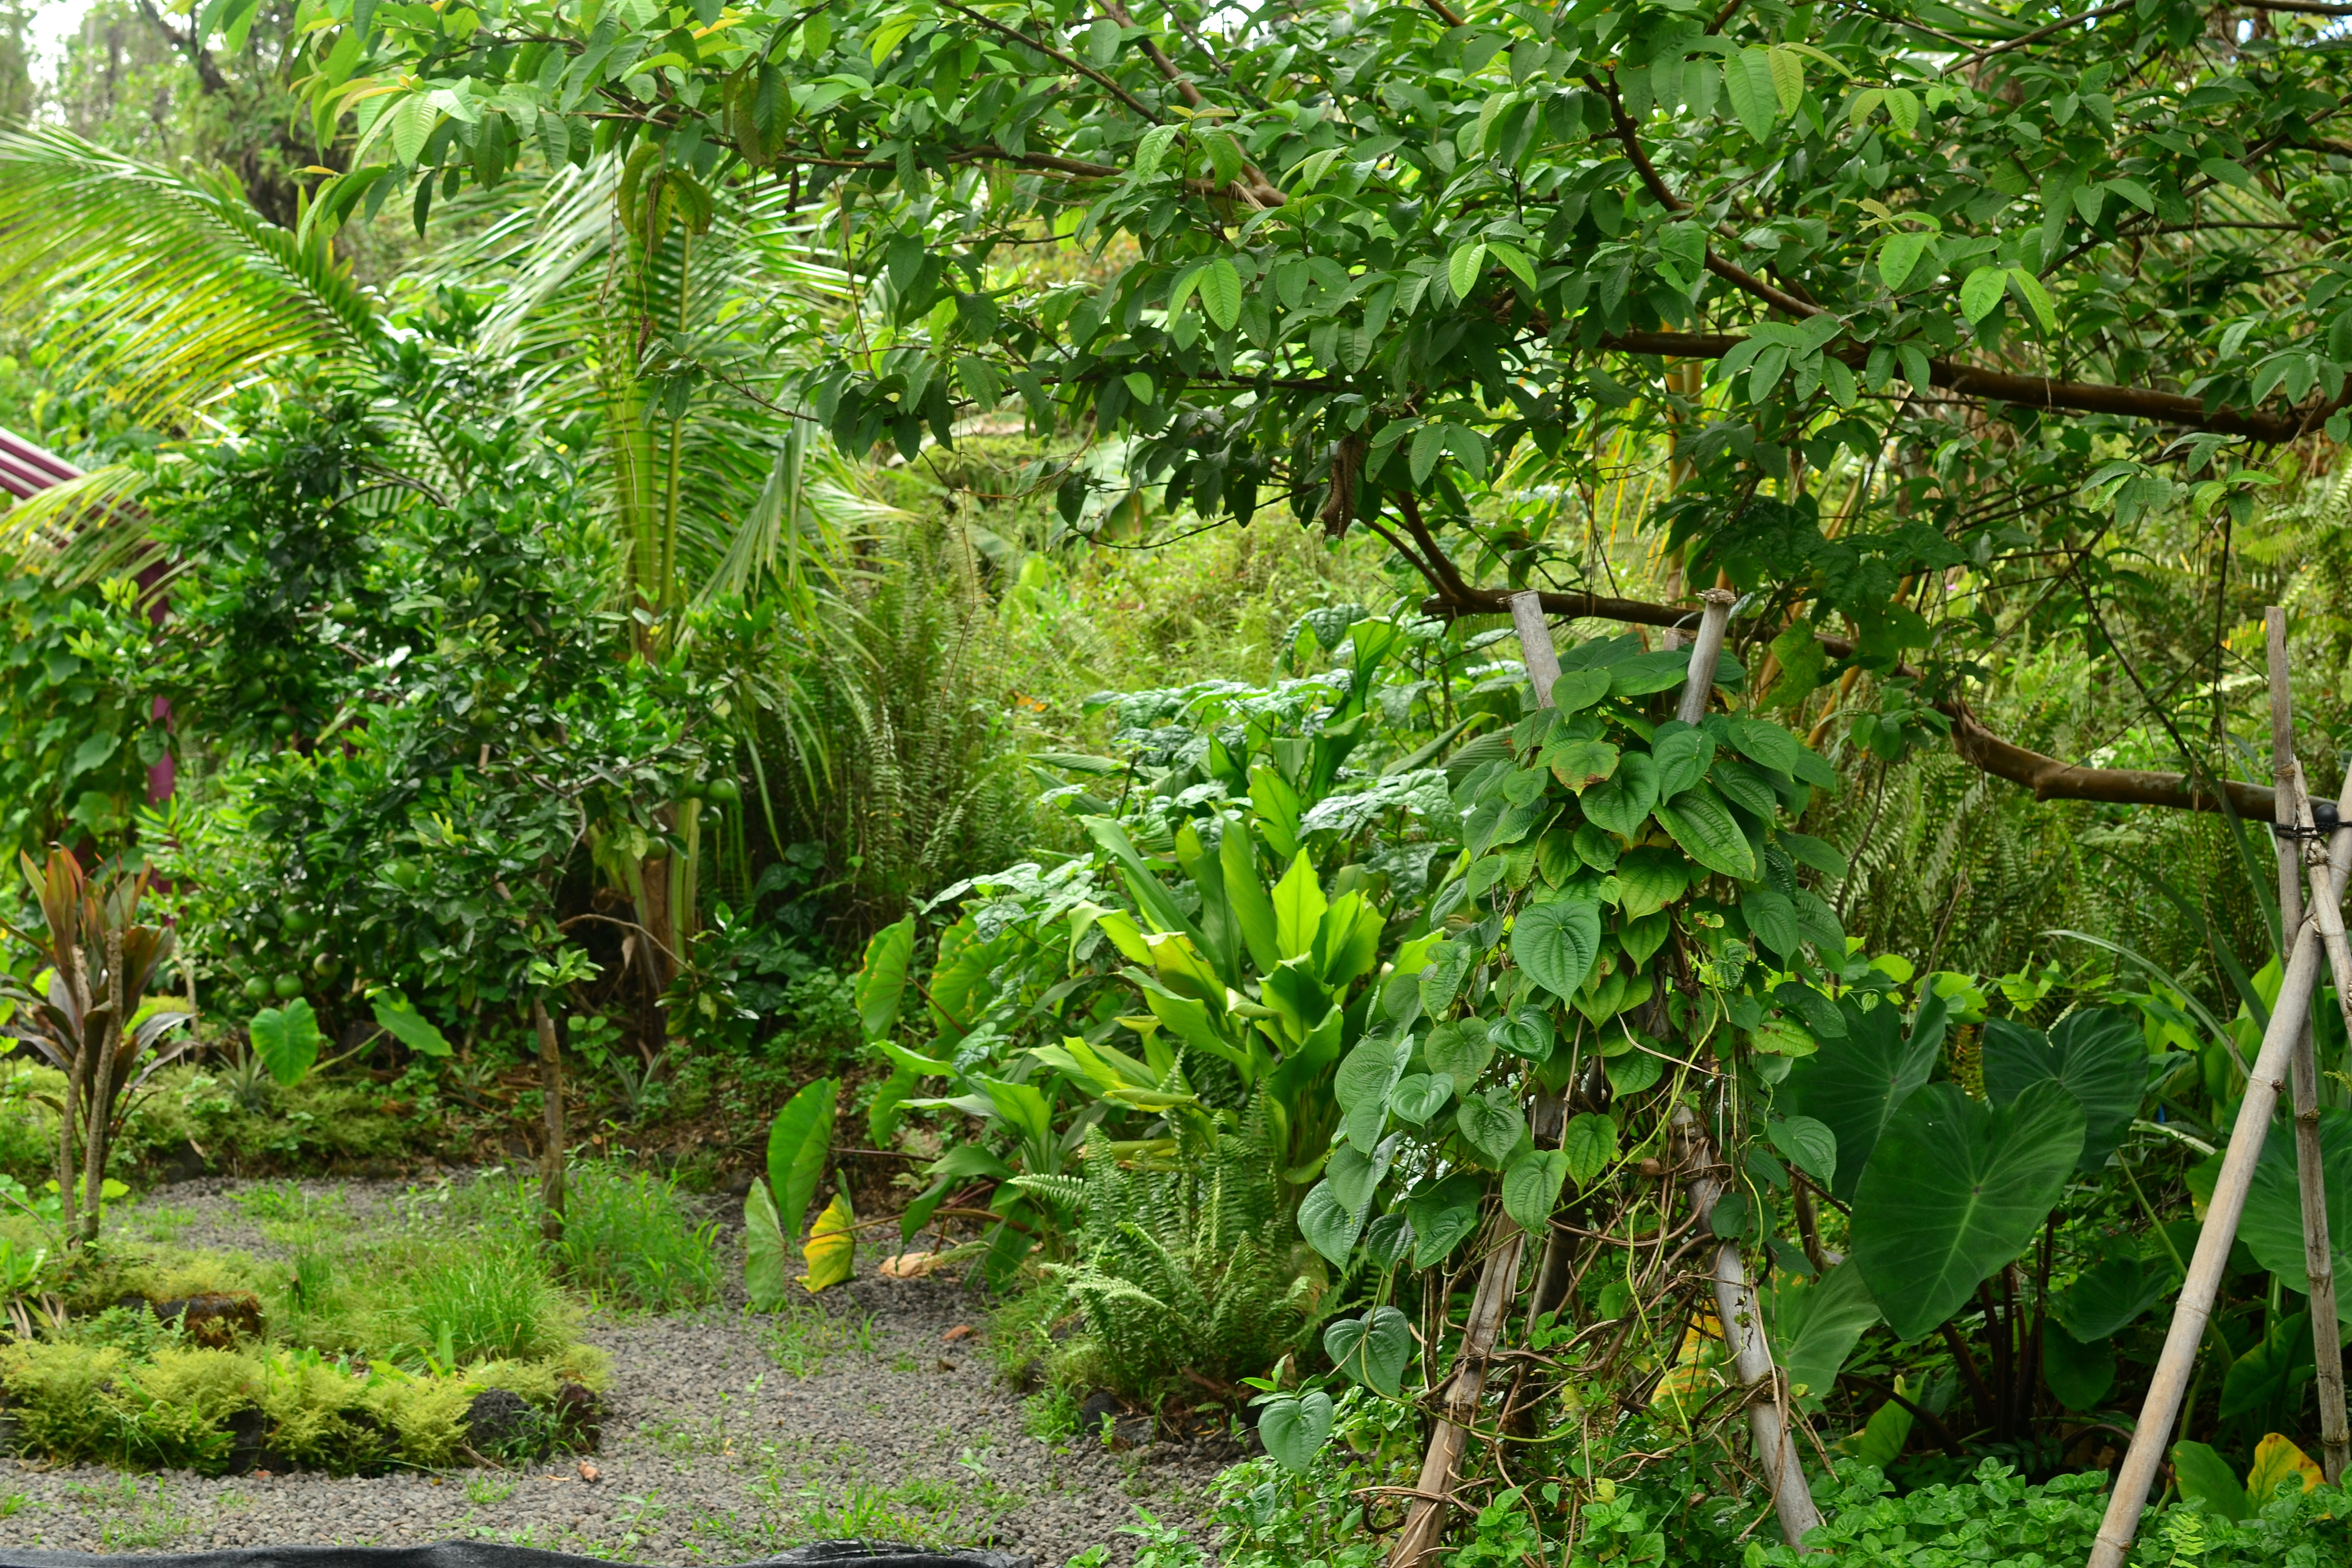
Vigorous growth. ‘Ohi’a lehua, kōpiko, uluhe, chayote, edible hibiscus, luffa, pineapple, and banana

DSC_0078

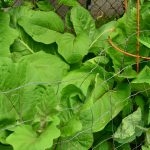
Vigorous! ‘Ohi’a lehua, kōpiko, breadfruit, ice cream bean, avocado, edible hibiscus, and acerola

DSC_0110

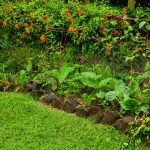
coconut, orange, edible hibiscus, guava, ‘ohi’a lehua, and kōpiko.

DSC_0114

‘ohi’a lehua, kōpiko, star apple, blood orange, gliricidia, uluhe, ice cream bean, avocado and edible hibiscus

Love the forest! Happy Gardening!

Rapid Resilient Food Systems

This post will be describing the possibility of regrowing nutritious food sources from nearly nothing, as quickly as possible. Grabbing or finding your quickest growing, most necessary food plants can enable you to grow your own nutritious food in a new place within weeks. This post could be useful to start up a new garden, or to be used if a displaced individual would have some space to grow food.

Background

The garden I tend is 1 mile (1.6 km) from fissure 8, the rapidly growing new Pu’u in Leilani Estates, Hawai’i. This new lava flow started at the beginning of May and is flowing with rapid release showing no intentions of slowing down. I have been unable to tend the garden due to air quality. At this point, I do not know if my edibles are poisoned by the emissions from Kilauea, but when I look at the plants I know they are being negatively affected.

DSC_0153

Strawberry Guava. Almost fully defoliated due to emissions. One of our most invasive species.

DSC_0421

Defoliated invasive Gunpowder Tree, active lava field, dead pasture and forest in background.

The situation

Here in Puna, most people have a bit of land; most people are even willing to grow some food on it. Currently there is a lot of displaced individuals, due to the lava activity, who used to grow their own food. They may be staying at friends houses or staying in shared places. If you are in this position, or a new renter, you will need to ask permission from a landowner to utilize some of their land to grow food. Most reasonable people will understand your desire, and will be willing to allocate a space for you to do so. If the landowner were reluctant you would want to plan out your space to be beautiful and prolific in order to share your abundance with them. The potential problems that could arise in a borrowed space could be: potential lack of cleanliness from a visual perspective and something becoming overgrown and becoming a ‘burden’. The idea is to create a system that will maintain itself after a short period and last there forever in-case a situation like this appears again. Always readily giving garden therapy.

DSC_0246

Edible Sweet Potato and Sissoo Spinach 2 weeks after cuttings planted


The Plant List

For a small space these are my necessities: Basils, Comfrey, Cranberry Hibiscus, Culantro, Katuk, Kale, Lemongrass, Mints, Okinawan SpinachPlectranthus amboinicus, Sissoo Spinach, and Sweet Potato (for leaf harvest). For a larger space include Edible Hibiscus, Moringa, and Taro grown for leaves. For a longer term space include all the plants I’ve previously blogged about.

The Facts

Initial Planting: My new garden space is 350′ elevation and much more dry compared to 780′ and wet in Leilani. The bed is small, 12′ x 2′. All I added to an old garden bed was about a 1/3 of a trashcan full of my previous soil mix: 1/2 potting soil, 1/4 compost and 1/4 biochar/sifted cinder. I planted Basils, Canna, Comfrey, Cranberry Hibiscus, Culantro, Katuk, ko’oko’olau, Lemongrass, Mints, Okinawan Spinach, Sissoo Spinach, Sweet Potato, Taro, Turmeric, and a few annuals I was growing. The annuals were: Portuguese Kale, Bell Peppers (shishito and other), Eggplant, Tomatoes and Tomatillos. Once planted, I heavy mulched it, and then I waited. The chickens came out of nowhere and decided to munch on the veggies, so I added a fence, build it and they will come!

Two weeks into garden: Sissoo spinach and sweet potato leaves ready for harvest. I planted a 2′ x 3′ space with sissoo, and I had enough harvest for three hungry adults. AMAZING!

DSC_0260

First Harvest. Week 2.

Three weeks in: Sissoo spinach, sweet potato leaves, Portuguese kale, and culantro all have new growth and ready for harvest. Katuk, cranberry hibiscus and okinawan spinach leaves starting to grow rapidly, not yet ready for harvest. We are well on our way in the garden, within a few more weeks all the perennials will be harvest-able and the annuals will start coming on, as they get large enough. This mini-food system is up and going!

Edit: Four weeks: Sissoo spinach, sweet potato leaves, Portuguese kale, culantro, okinawan spinach, and cranberry hibiscus can be harvested. Tomato, tomatillo and bell peppers flowering.


Look at all that food!! This system is now bustling, and I’m ready to start regular harvests. All it took was 3 weeks!

Final Thoughts

I’ve recently realized the necessity and luxury of growing my own food. I find it hard to find quality produce I can trust. Luckily, I’ve built some relationships with farmers at the farmers markets whom I trust. But buying produce from other vendors is sometimes sketchy. It’s hard to find out where produce comes from, let alone how it was grown. I always prefer local produce even over organic. But you really need ask a vendor you can trust where each product comes from. They will tell you and then you decide if that product is for you. Some other vendors are farms that are certified organic on our island, those vendors are a no brainier to buy from, but I still always ask where the product comes from. Think about it, if you buy a mainland cabbage, it takes at least 3 weeks, by boat, to arrive on our island. Think about how long it took to get from farm to the shipping container. Then being shipped from Oahu to Big Island, SCARY. I feel ok buying highly store-able products; onions, garlic, potatoes, which naturally have a long shelf life, think about plants that can be stored for winter uses. But I do not want to buy short shelf life products like cabbages, leafy greens, tomatoes, or others from mainland. So grow your own food and in the meantime support those local farmers!


Keep on gardening!


Seed Propagation

Description

This month I will be talking about seed propagation, an important skill to develop to maintain food security, particularly starting annual plants and fruit trees.

Seeds are amazing. They are little packets of life awaiting the correct environmental conditions to spark life. Seeds create genetic diversity within specie. This allows plants to develop environmental preferences, creating specific varieties and in turn, potentially creating new species and evolving into new plants.

With human help, we would call this process selective/genetic breeding. This is where a human collects seeds from a particular plant with favorable traits and continues to select seed until the desired traits have become normalized. This is how beets and chard have become ‘different’ plants, when in reality they are the same plant grown for specific qualities. That being the roots in beets and the leaves for chard. This process should be done in your garden to establish plants that are adapt to your environmental conditions.

Planting by the Moon

This may sound a bit faithful or superstitious, but in my experience, planting with the moon truly makes a difference. Today I noticed 90% of the seeds I planted 5 days ago sprouted. How else could you get this high of a percentage of germination without the moon? Beans and amaranth literally sprout within two days, its incredible!

Tip: If you don’t believe me, go ahead and plant seeds randomly, but make sure you write down the date, and then, look at the moon phase. Plant seeds throughout the month and notice that most all of the seeds will sprout around the new and full moon, regardless of when they were planted into the ground.

Phases of the moon

Check out the chart below to get some hints. I’ve read and tried other methods for moon planting, but I find this to be most useful. Starting seeds two days before the new moon allows the seeds to awaken with water and humidity. By the time the new moon comes around, the seeds have so much moon gravity pulling on them that they cannot stay within the cozy little womb and they jump out, showing beginning stages of germination. The chart below also describes how moon phases directly affect plants growth.

Moon Phase Chart

Seed Planting

Yes, you can just follow what a seed packet says. But a lot of the time I get seeds from friends, save my own seed, or when I buy delicious fruits and decide to plant those seeds, no seed pack instructions come along.

It all depends on the size of the seed, larger seeds tend to take longer to germinate and needs to be planted deeper than tiny seeds. Think about brassica seeds vs. bean or squash seeds. Here is my general rule for planting seeds: plant the seeds twice as deep as the width/thickness of the seed. So a seed that is a quarter inch thick will be planted a half-inch deep. Most times I stick my seeds in horizontally to the depth desired. Don’t worry too much, it doesn’t need to be an exact science, just stick em in and wait for them to sprout. However, seeds smaller than a pepper, Capsicum spp., I surface sow, or lightly dust potting mix on. Literally just add the seeds to the top of your potting trays.

DSC_0050

Peanut seed planted to correct depth

DSC_0032

Seeds smaller than Capsicum spp are surface sown

Preferences for seed starting

I prefer to start almost all my seeds in my ‘sunhouse’, rather than planting directly into the ground. For whatever reason, most things I put directly into beds disappear and don’t sprout, I don’t know if its ants, birds, rats, too much rain or whatever factor I’m not considering, so I just play it safe and plant it somewhere safe and sheltered.

My ‘sunhouse’ consists of a clear plastic roof to allow sunlight in, but keep rains out. Also the space should be rat and bird proof, for me, I just threw netting around my table. This space should be near a water source, whether that be a small catchment system coming off your roof to allow a hose to be attached. Or simply close enough to your home structure so that you can water with a hose. The place should be raised off the ground, so grasses and other weedy plants don’t drop seeds into your trays. This system could be as simple or elaborate as needed. I know people who just grow their seeds under the eve of the house on the sunny side. So just keep these factors in your mind when creating a place to start seeds.

DSC_0013

My Sunhouse

I typically use three types of trays or pots to start seed: the typical 4-pack, a smaller 6-pack tray, and a larger ¼ gallon pot (for fruit trees). These can all be purchased for under a dollar each. You could cut toilet paper or paper towel rolls to size, or really use anything you can think of, you just want to make sure you can take out the plant safely without damaging roots or soils.

DSC_0021

My prefered tray sizes

DSC_0026

Use larger pots for larger seeds

Plant Variety or Crop

One of the main problems starting seed and growing vegetables in the tropics is variety. Think about it; ‘typical’ vegetables in the grocery stores are temperate or Mediterranean climatic plants, because well, that’s where mega farms are located. The ‘western’ diets consist of those plants because those are the plants that developed in the regions where those people lived.

The tropics are another story. We simply cannot grow onion, broccoli or other ‘staple’ vegetables (unless you live in higher elevations or have a completely controlled environment). However, there are relatives of these common plants that do thrive in hot, humid, wet environments. So these are the seeds to look for. When I buy heirloom seeds online, I look for Thai or Southern varieties because I know the climate is similar. Another option is University of Hawaii seeds because they too have been selected to thrive in our environment. The best way to ensure optimal results is to change your diet to include things that grow in your climate.

Final Considerations

  • Label all seed trays, you may think you’ll remember dates and varieties, but after a month I cant remember anything of that matter!
  • Use quality seedling soil mix. I used regular potting soil for a while, and once I switched to seedling mixes the difference was night and day. I also add biochar to my seedling mixes to add soil structure and drainage.
  • Once you fill your trays with soil, water them multiple times before adding seeds, it will fill in air pockets and make the medium moist and ready to start germination.
  • Add multiple seeds into trays in case some of them don’t germinate. It’s easier to thin out plants than it is to start new trays if you have spotty germination. One plant per tray is ideal. Multiple sprouts in a single tray create too much competition.
  • Flats may be used if you plan to transplant them into their own trays when they are ready.
  • Once seeds are planted, water them daily; in the morning or the evening, and keep a steady routine, plants rely upon consistent conditions.
  • Seeds do not need nutrients before they sprout. Long-term germinating plants, like fruit trees, I simply throw in cinder or cinder soil. Once they sprout, place them into their own pot with nice soil and allow them to grow.
  • Starting from seed saves money rather than buying starts at a market. You could buy a single plant for $3 or you could buy a seed packet with 300 seeds for $3. Hmm.
  • The only downside to buying seed packets, are that they come with too many seeds for a small scale, and our environment is not conducive to store seed regularly. So there are a few options: you can share seeds with friends, or plant all the seeds in a pack and share the excess product. Plant all the seeds and eat most of them as sprouts or micro-greens, saving the largest and most vigorous for the garden to become mature plants. The final option is to save them temporarily for yourself. My method for storing seed: get small zip lock bags; add unused seed. Make sure it’s labeled well, air free (as much as possible), then take all your baggies and put them in a mason jar, then store in the fridge. Seeds will last a few months and retain their viability. If you leave your seeds in their original packets they will deteriorate pretty quickly.
  • Hybrid seeds do not set viable seed, buy non-hybrids if you plan to save seed. I typically buy heirloom seeds because they are open pollinated and have specific qualities that I desire. Also, who wouldn’t want purple beans, orange tomatoes and red carrots?


DSC_0036

Store seed in air-free baggies in a mason jar in the fridge

Happy Gardening!

Soil Building/Bed Making

This months entry is a little bit different than those in the past. Instead of talking about a specific plant, I’m going to describe how soils are made, and how I create soil and garden beds.

When I use the word organic, I mean organic matter, or natural earth made materials that will naturally decompose over time. “It is matter composed of organic compounds that has come from the remains of organisms such as plants and animals and their waste products in the environment.” Not to be confused with the the label ‘organic’ meaning that it has been certified by an organization.

First of all, soil is the most important part of growing anything. More important than the plant itself.

I live in Puna, Hawaii. Here our active volcanoes dictate our landscape. I live in a region where the most recent lava flow through was 3-500 years ago. Meaning our forest has had some time to recreate itself and build soil (4-6 inches of beautiful rich organic matter).

Learn from observation

Let’s take a lesson from the forest, a self regulating entity, to learn how to create soils.

As you look around young lava flows, what do you see happening? You see ōhiʻa lehua, Metrosideros polymorpha, repopulating the open landscape: finding a crack, growing, dropping its leaves, building soil and making habitat for other plants to move in. In the early stages of the forest you notice only two plants really thriving, ōhiʻa lehua and uluhe fern, Dicranopteris linearis. These two plants shed tons of organic matter, resulting in leaf litter covering the ground, and uluhe sprawling expansively covering the ground acting as a living mulch. This happens for a few hundred years until the trees grow large enough to shade out the fern, allowing open areas for other tree species to populate. In a native Hawaiian landscape, birds and wind disperse seeds of other species to grow. However, in our current environment we’ve lost most of our lowland native birds to extinction, resulting in almost no dispersal of native trees. Allowing the dispersal of alien plants to move in and take over the forest. Creating a forest nonetheless.

DSC_0698

Beginnings of a forest (ōhiʻa lehua)

DSC_0437

uluhe

DSC_0466

Young forest (ōhiʻa lehua and uluhe)

DSC_0575

Planters at Kaimū following natural cycles. Speeding up the process and growing food plants (Breadfruit and coconut)

Let’s think about what the plants are doing to create soil in this new forest. They are dropping leaves, plants may die, and everything falls to the ground eventually. Now this is where things get interesting. Microscopic life, fungus, bacteria, insects, lichens, whatever you can think of, start doing their work. They decompose all this matter, including rocks, into rich soils. A warm, moist, shaded environment speeds up this process. Through these soils, plants obtain their nutrients and live out their life cycle.

Resource Management

Now, let’s translate this into building soil for our own benefits. First off, all plant matter is a resource. Remember that. That is the MOST IMPORTANT factor to think of in your garden. I never take materials to green waste (unless they are diseased). All those pesky weeds, albizia, waiwi, arthrostemma, and everything else are valuable resources ready to take part in soil building.

So, how do we use these resources? Think about a compost pile, the basic components are nitrogen (green) and carbon (brown) based materials. What happens over time? The materials break down and turn into organic matter.

Hint: Did you know that albizia (Falcataria moluccana) is a nitrogen fixing tree? One of the most important macro nutrients for plants. Have you thought about ways to use its ability to fix nitrogen for your favor? How about coppicing? Literally cutting the tree back hard, as soon as it reaches a desired height. Once the tree is cut it releases its nitrogen from the soil because the roots are larger than the above ground parts and it loses them to compensate for the loss of trunk. Leaving this nitrogen available for other plants to take up. The leaves of the tree are high in nitrogen as well, so using them as mulch around you plants also feeds them, just be careful not to add mature branches or trunk pieces as they will re-root if they are touching the soil. A little bit more work than poisoning the trees, however, you have long term fertility for free. If you have large trees, I would recommend getting them professionally cut and not poisoned, and therefore you can manage them afterward, and cut their new trunks when they reach an inch or two in diameter. This will eventually kill the tree, but you may as well use it for its benefits while its still alive and growing! ****Please do not use this method in native forests, the plants there evolved in low nitrogen soils, adding nitrogen will make environments more favorable for invasive plants.

DSC_0448

Coppiced albizia

Soil Making

This is how I create soil, taking care of all my leafy weedy plants. I simply throw them all in a pile at least 3 feet by 3 feet by 3 feet (a cube). Taller and wider is acceptable, but it must be at least those dimensions for proper sped up decomposition. I build my piles as tall as I can, stomp them down for decompression, then simply cover them (tarp, weed mat, cardboard, whatever) for 6-9 months. Yes this is a while, but in all honesty that is really quick for soil making. What do you do after this time? Check under the tarp and look at your black gold. The pile will have shrunk considerably, but what you have left is pure organic matter ready to start life again.

I make two kinds of piles. One is a large pile that is covered, and the other I add weeds to over time as I pull them from the garden. The covered one is left alone and will become soil more quickly, but I constantly have materials that need to go somewhere, so why not add them to a pile. These piles are separate from my compost pile, which is managed for a quicker turnaround. I wont go into detail on my compost because I’m still trying to figure out a better method.

DSC_0427

‘black gold’ – completed pile

DSC_0438

covered large pile

DSC_0429

uncovered add-on pile

Key Factors Gardening in the Tropics

Due to our heavy rains, nutrients are leached quickly from our soils, and our soils are acidic. Which is fine for most tropical plants because they too evolved to thrive in acidic soils, but in your veggie garden, where things prefer neutral soils we have to amend to raise pH.

Because our nutrients are leached out quickly from the subsoil, plants themselves contain precious nutrients that are unavailable elsewhere. So mulching and chop and drop are highly recommended to cycle nutrients to other plants. And our richest soils are on the surface, creating the organic layer where most plants will obtain its nutrients. Therefore, creating no-till systems will retain highest availability of nutrients.

Chop and drop examples:

Bed Making

All of my beds are raised beds. I use rocks and logs as my borders and mound the soil in my beds. Know what you’re going to grow in that bed. Maybe just sweet potatoes, maybe a veggie garden, different plants have different needs. If growing a mixed veggie garden give it lots of nutrients. My bed making style is a mix between huglekulture and sheet mulching. I’ve found this method to be effective in building nutrients and using plant materials.

  1. I always lay down cardboard first. Weed suppression is key. Remove tape from cardboard before you put it down, or remove it as you see it in the future.
  2. Shape beds with whatever materials around, rocks and dead trees seem to be the most abundant resources I have.
  3. Add layer of any raw organic matter. Leaves, branches, whole plants, tree trunks, it doesn’t matter, as long as it will decompose over time and feed nutrients into the soil. (huglekulture style). Adding problematic weeds at this stage will prevent them from regrowing because they will be completely covered and unable to grow at all.
  4. Depending on what you are growing: amend to raise pH. I use dolomite lime because it gives me magnesium as well as raising pH. Spread a layer recommended by label. Lime and dolomite are two minerals found around the world. They are found naturally and contain no chemicals, so there’s no need to be worrisome about poisoning your bed. (dolopril or calcium carbonate work as well)
  5. Add soil. Unless you have a supply of soil ready to go, I would pick up some cinder-soil from a quarry, and to be honest you may as well get the cheapest one available, as they are all leached soils, no reason to pay more for that degraded top soil. But cinder is important in heavy rain areas to promote drainage.
  6. Add compost, self made soil, indigenous microorganisms (IMOs), biochar, chicken manure, potting soil, or any other organic amendments on top layer. You may mix the organic matter and cinder-soil, but I wouldn’t mix them too deep as the top layer is the most important.
  7. Add mulch. Any materials that will cover the soil works. Banana leaves, coconut leaves, mulch from the transfer station, fern leaves. Anything really.
  8. Plant into your bed. If its dry season I would water the bed as you make it. If its rainy season, let the bed get rained on and plant away.
DSC_0086

Steps 1 & 2. Lay down cardboard and shape bed

DSC_0097

Step 3. Add organic matter (any raw plant matter will do, trunks, branches, leaves, weeds)

DSC_0099

Step 4-6. Add soil and amendments (biochar)

DSC_0102

Step 4-6. Add final amendments and mix top layer

DSC_0107

Step 8. Plant (sweet potato cuttings)

DSC_0109

Step 7. Add mulch

DSC_0363

Bed a few months later. (sweet potato, mulberry and fig)

Happy Gardening!