Description
Cassava tubers are an incredible, versatile, starchy food source. It is super easy to grow and thrives in minimal and poor soils! Did you know that processing and preparing cassava is just as easy as growing it? There are many ways to prepare cassava; I’ve found this method really straightforward to get it into the kitchen. This method is for pressure cooking cassava and not making flours, starch granules, or ferments. Once cassava is out of the ground the shelf life is really short, so process it as soon as possible. Not to worry when you have a large harvest, it’s easy to store too!
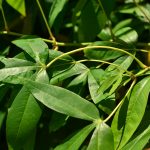
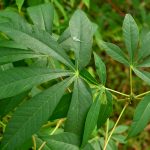
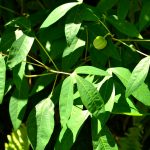
You need to learn the variety you’re growing. Be sure to only dig up the same variety and process it by itself. Don’t mix varieties when you process and cook as they may have different textures and cook times. Variety names do not matter, as I cannot find any information on varieties and cook times, so just stick to your same varieties and learn as you go. I’ve heard on our island we have three varieties: red, yellow and green. But I have at least five distinctly different varieties growing right now, so that shattered that theory. Look at leaf shape, color of stem and leaves, and color of petiole and stipule. Since cassava is typically grown as a clone and not seed, genetic variability doesn’t occur. So these are direct clones someone has cultivated somewhere and it adapted and evolved into separate varieties. In simple: stick to same varieties when preparing and cooking. I like to grow a few plants in close proximity and harvest them all at the same time and re-grow a patch once harvested.
-
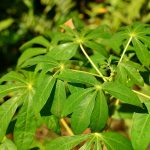
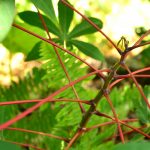
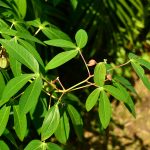
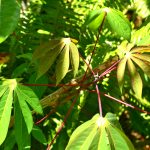
- Green petiole. Green stipule. Green stem. Narrow leaf.
-
- Green petiole. Red stipule. Green stem. Narrow leaf.
-
- Green petiole. Red stipule. Green stem. Narrow leaf.
-
- Green petiole. Red stipule. Green stem. Narrow leaf.
-
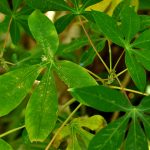
- Magenta petiole. Red stipule. Brownish stem. Wide leaf.
-
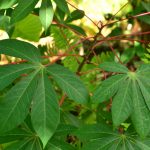
- Magenta petiole. Red stipule. Brownish stem. Wide leaf.
-
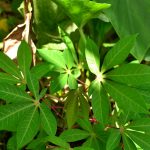
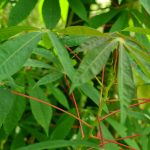
- Magenta petiole. Magenta stipule. Green stem. Wide leaf.
-
- Magenta petiole. Magenta stipule. Green stem. Wide leaf.
-

- Magenta petiole. Magenta stipule. Green stem. Wide leaf.
-
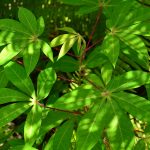
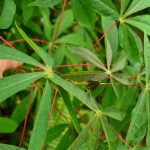
- Green with red splash petiole. Red stipule. Green stem. Narrow leaf.
-
- Green with red splash petiole. Red stipule. Green stem. Narrow leaf.
-
- Red petiole. Red stipule. Green stem. Narrow leaf.
-
- Red petiole. Red stipule. Green stem. Narrow leaf.
-
- Magenta petiole. Magenta stipule. Brownish stem. Wide leaf.
Harvest
Again, you have to learn when your particular variety is ready for harvest, write down when you planted it and write down when you obtain a satisfactory harvest. Different varieties harvest between 6-18 months. You may harvest at specific time depending on the age of tuber you want. I prefer young tubers as you can use them all and not worry about woodiness. So I harvest early.
There are two ideologies when it comes to harvesting cassava. 1. Dig the whole plant up, and 2. Dig a few tubers at a time as needed. I prefer pulling the whole plant up, and pull up multiple plants at once, and have a single large processing batch rather than doing small ones regularly. I like to minimize work and store processed goods to grab and throw together a meal rather than: harvest, process and then cook.
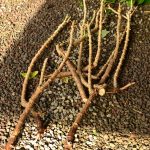
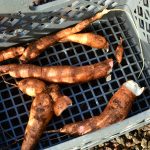
Yank that plant out of the ground! If you’ve prepared soil, it comes out as soon as you pull enough on the main stalk, should be easy to pull up all the roots at once. If you didn’t prepare soil and it’s growing in lava rocks, you’ll have to get down there and move around rocks until you can get the whole thing out.
If you harvest during the week of the full and new moons, the energy of the plants will be in the roots and therefore, create a more nutritious harvest. If you harvest at these times, it is also a good time to propagate as the energy is in the roots and will begin rooting right away. Working with nature!
Post Harvest Processing
- Separate stalks from tubers. I mulch the tops of my plants where I harvest, then I take the stalks and stick them in the ground elsewhere to propagate them. Crop rotation is important to prevent pests.
-
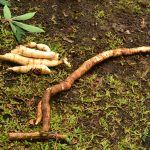
- At this stage the tubers should be washed to remove excess soil. Can be done in a bucket or with running water. I’ll usually use a little luffa sponge to scrub if necessary. These skins will be removed so it is not too important.
-
- Next, take washed tuber and cut it into large pieces, there are usually natural breaking points on the tubers, separate at this point and cut off rootlet ends. If whatever tool your using doesn’t cut through the tubers easily, they are woody, not edible, take them and compost them. This is where you’ll need to learn when to harvest your variety. If they are mostly woody then you are waiting too long, harvest them earlier next time.
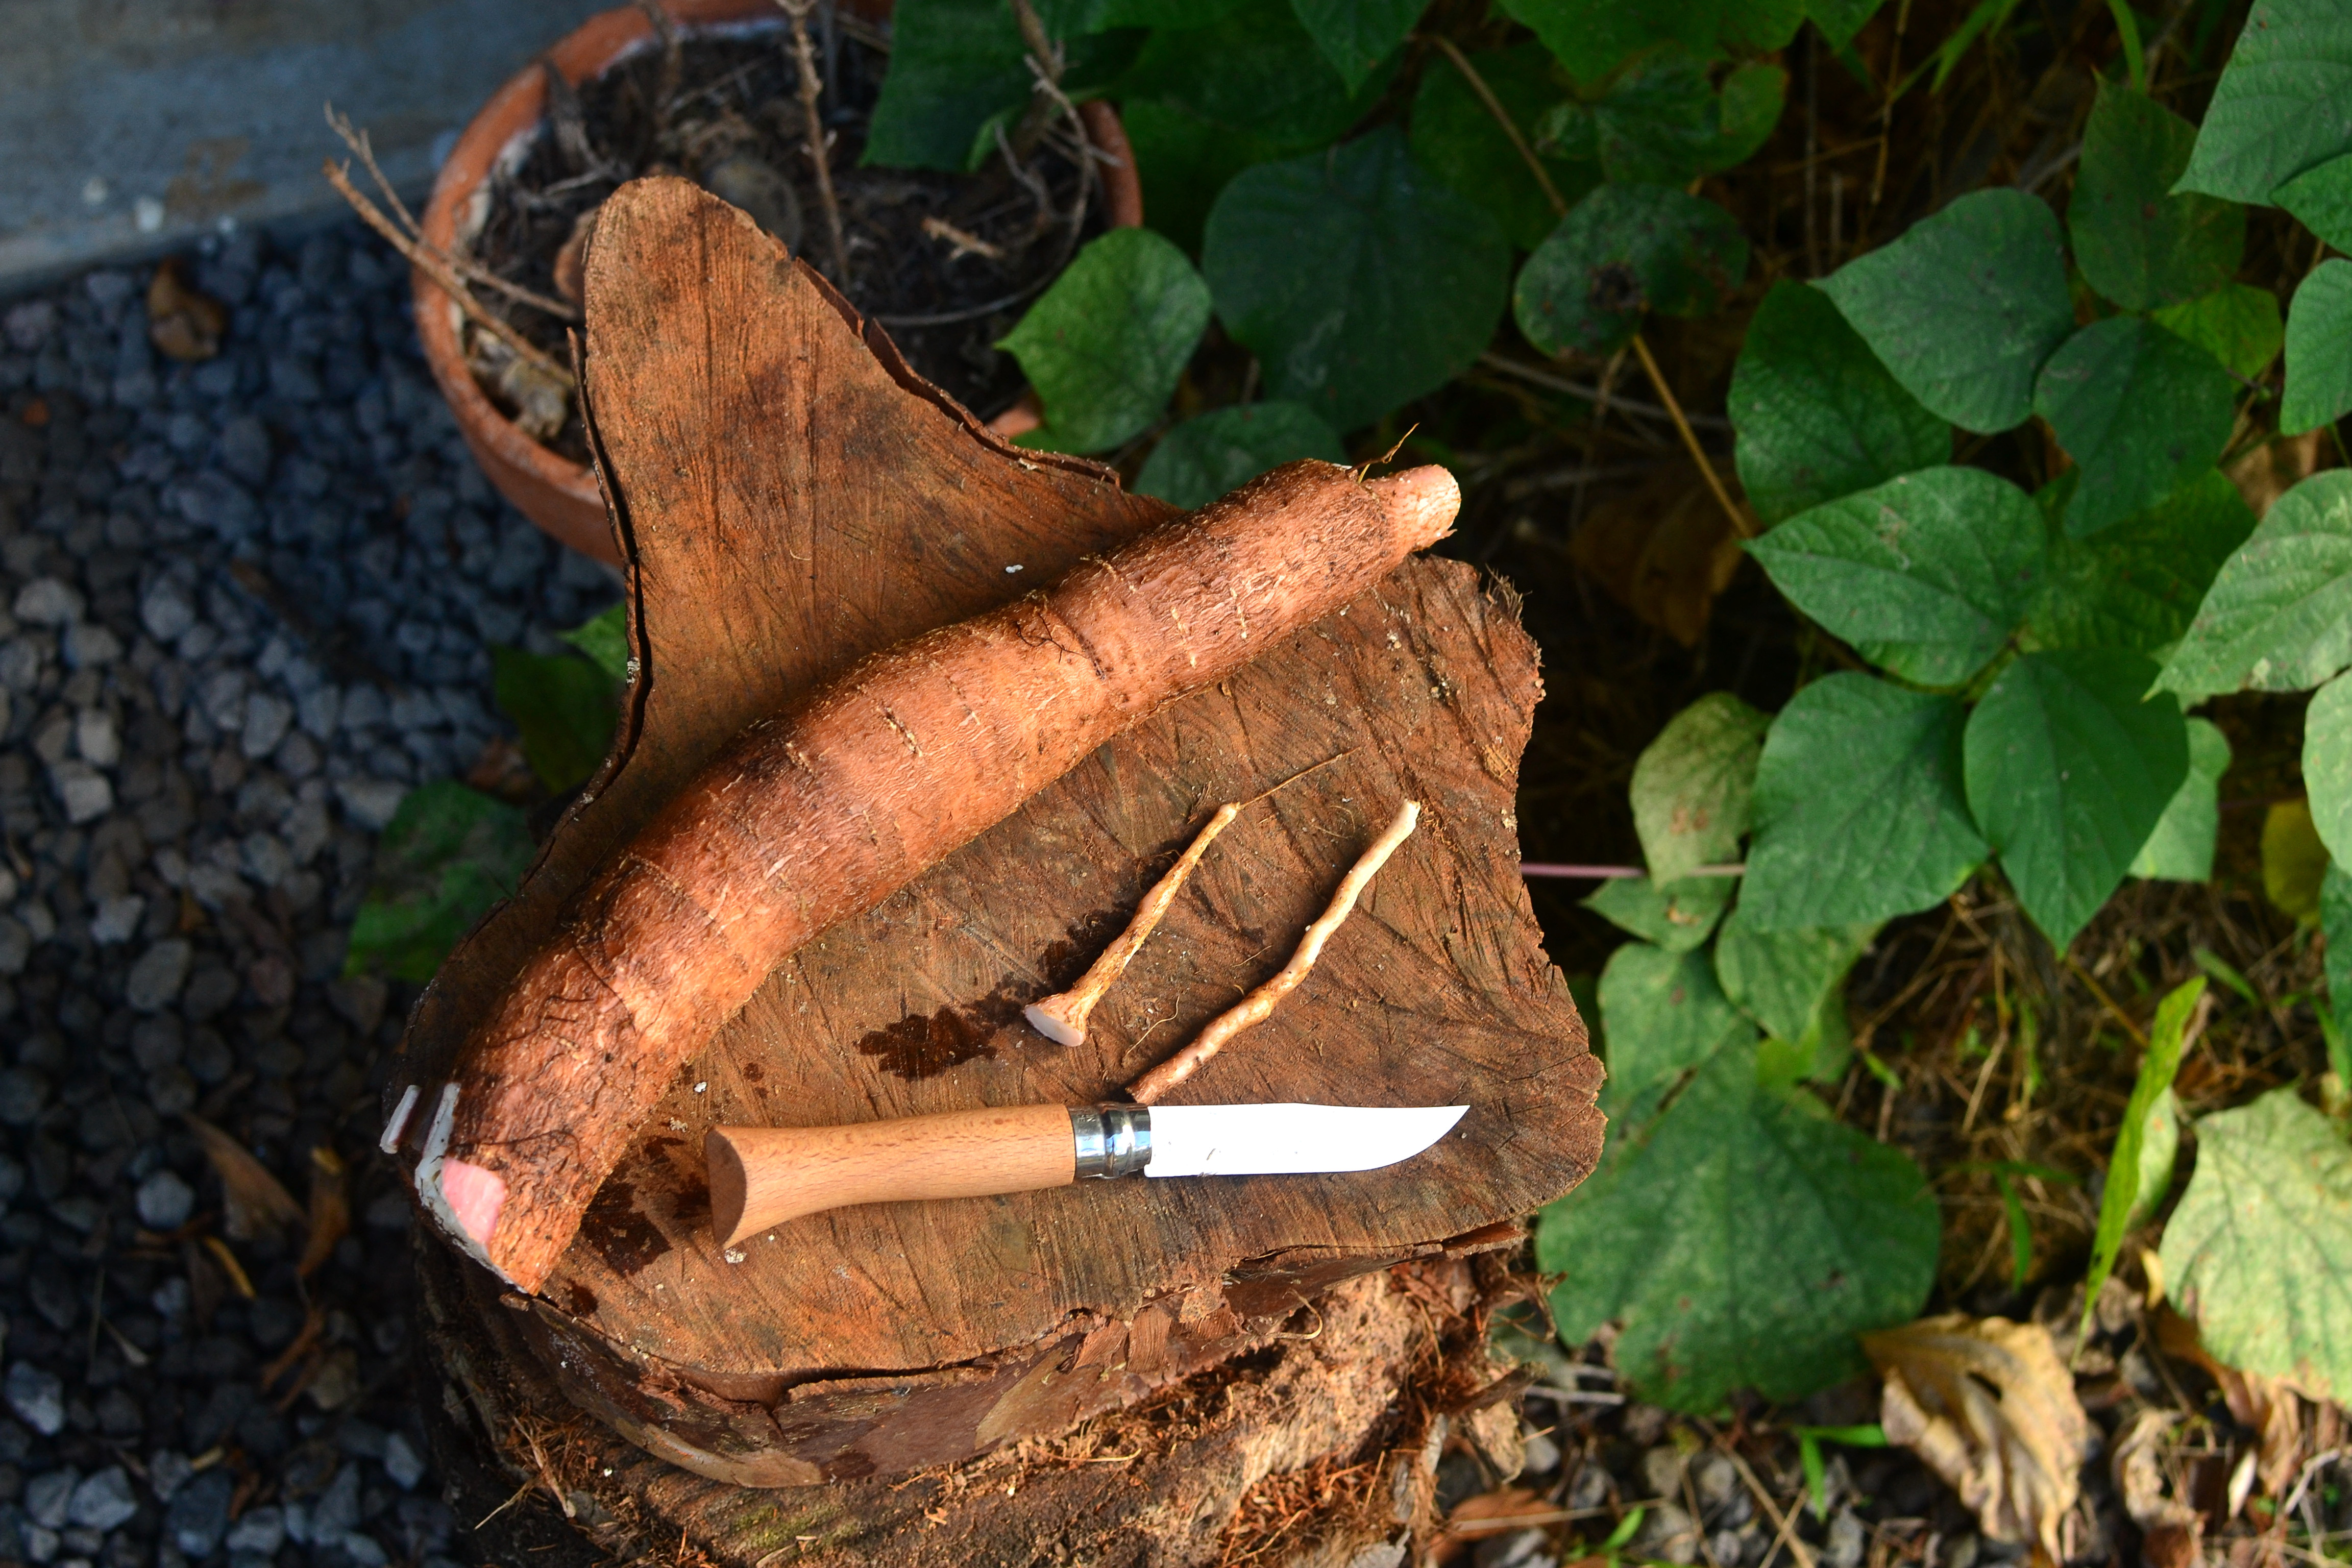
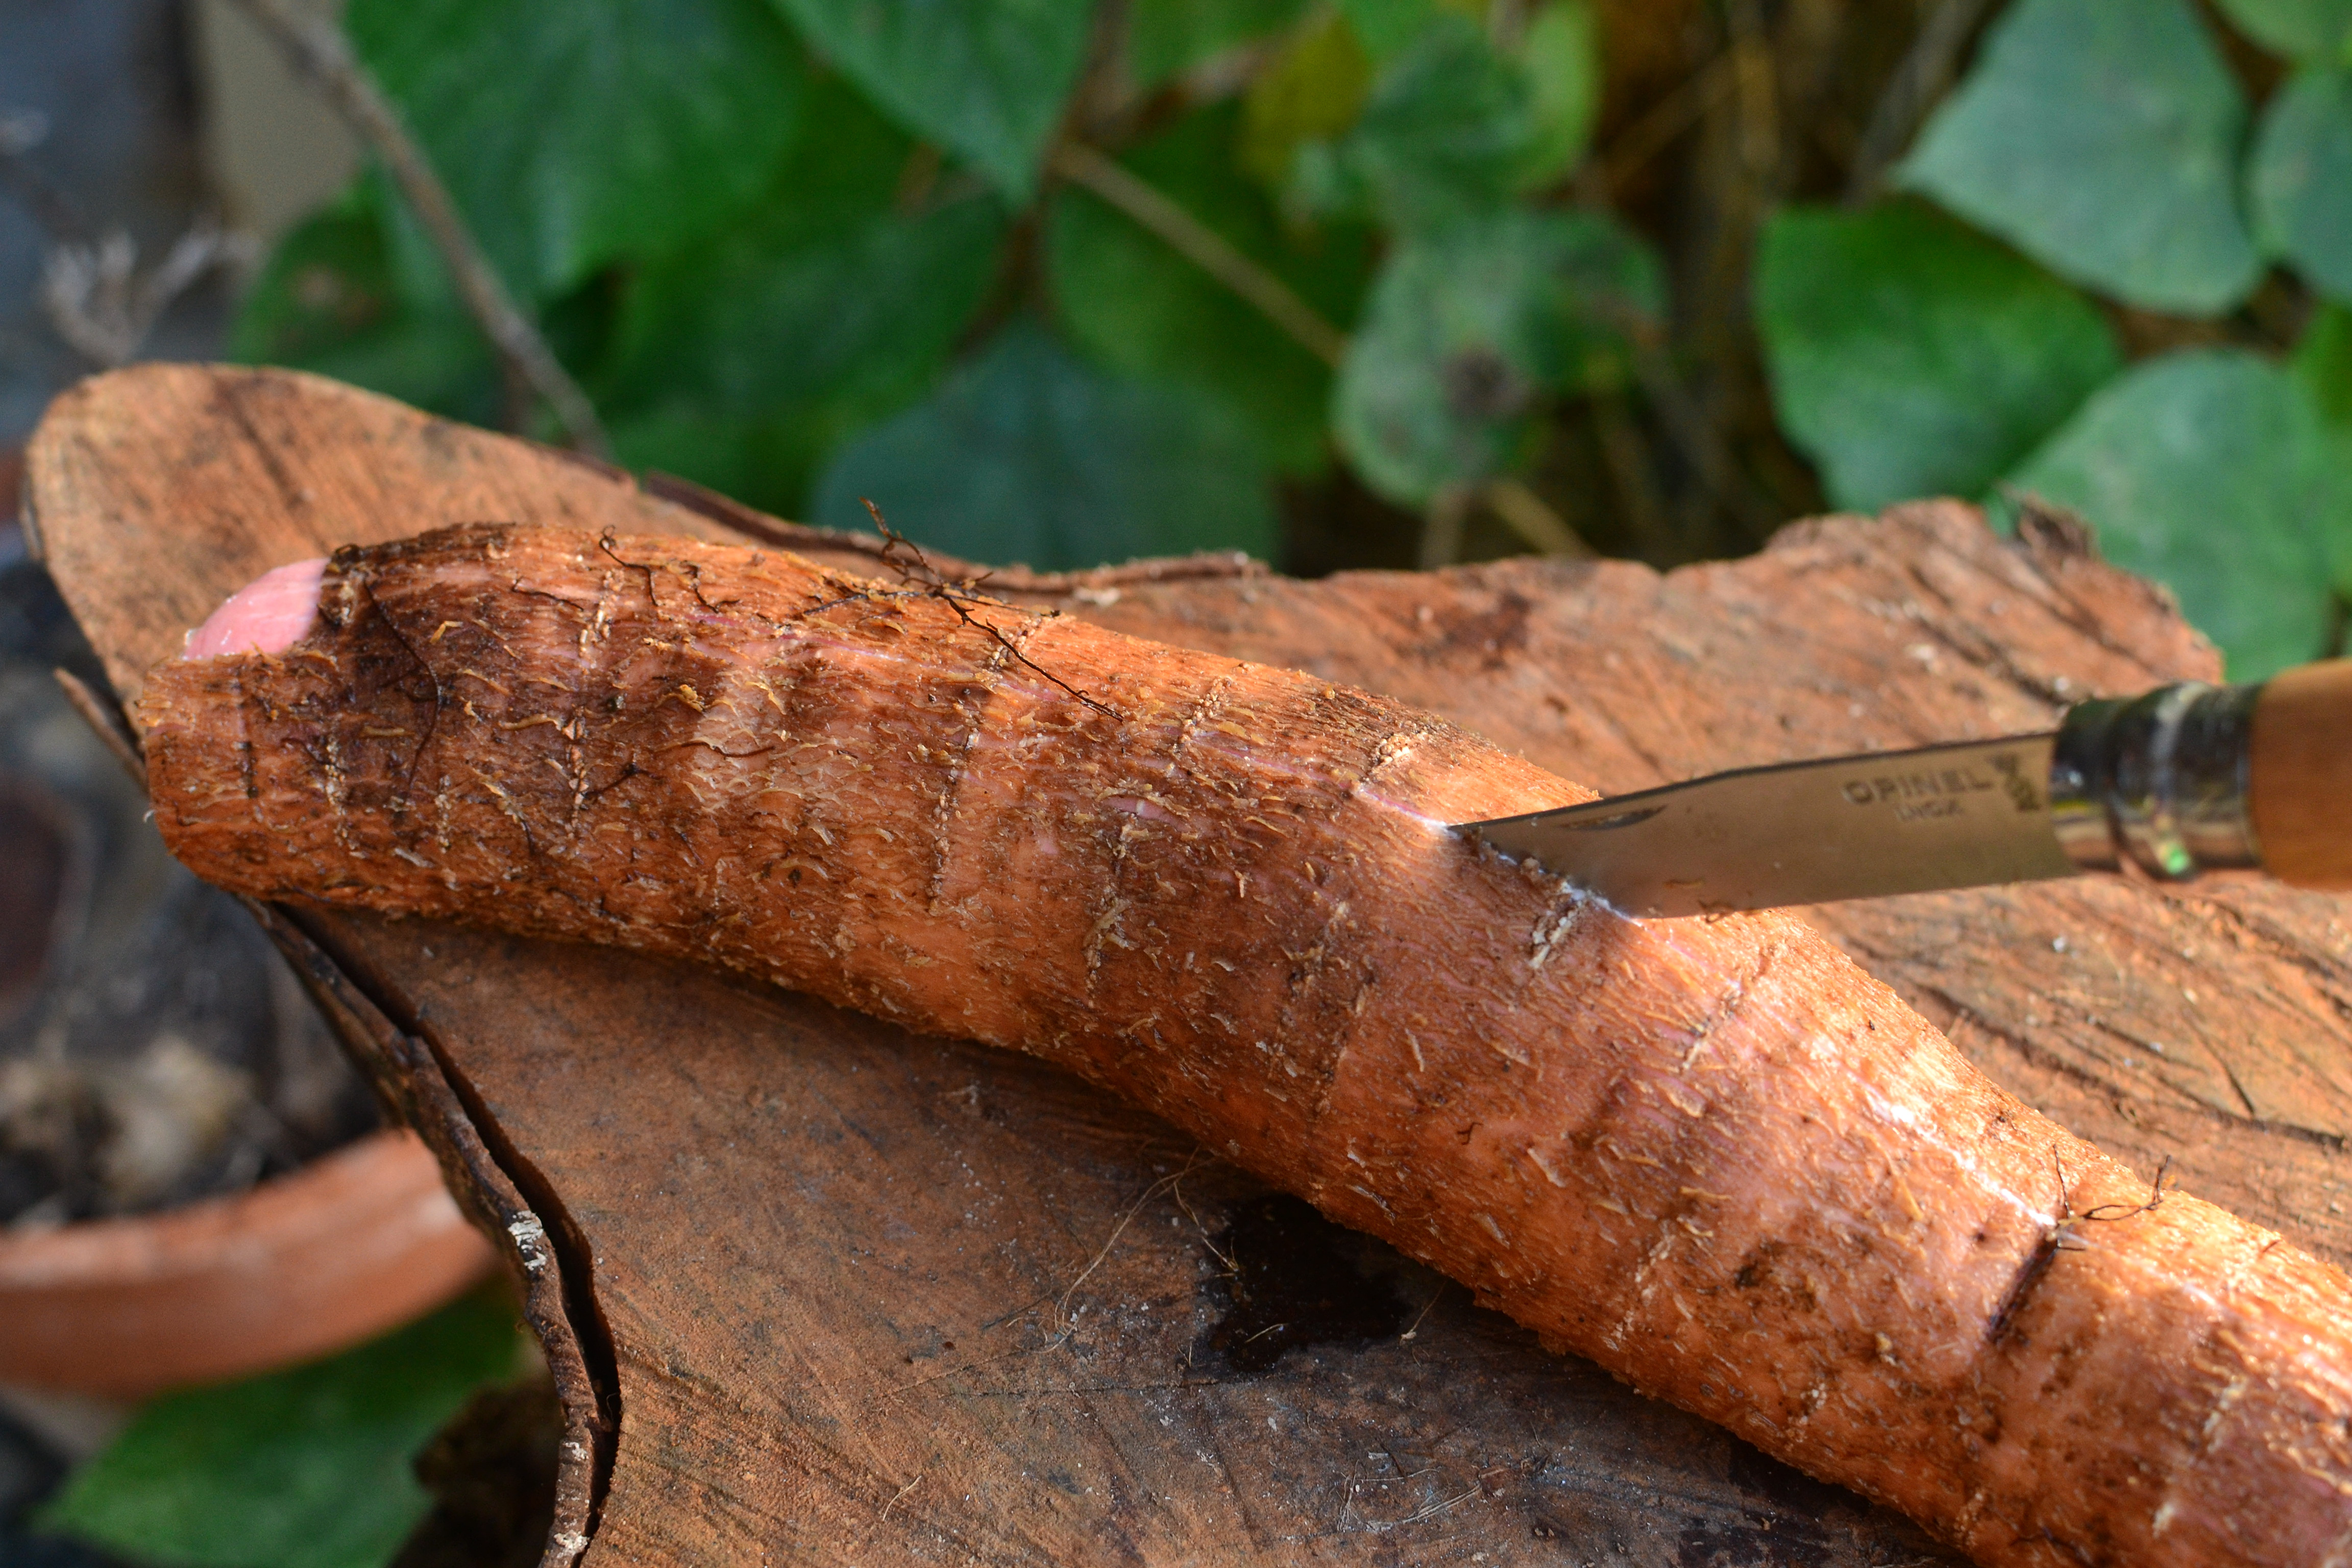
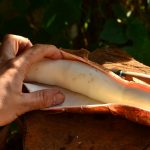
- Grab a knife and slice lengthwise along the whole tuber. You’ll notice the flesh isn’t very thick so you only need to slice that deep.
- Stick your finger under the skin at one of the edges, sometimes you may need to use the knife and pry it up.
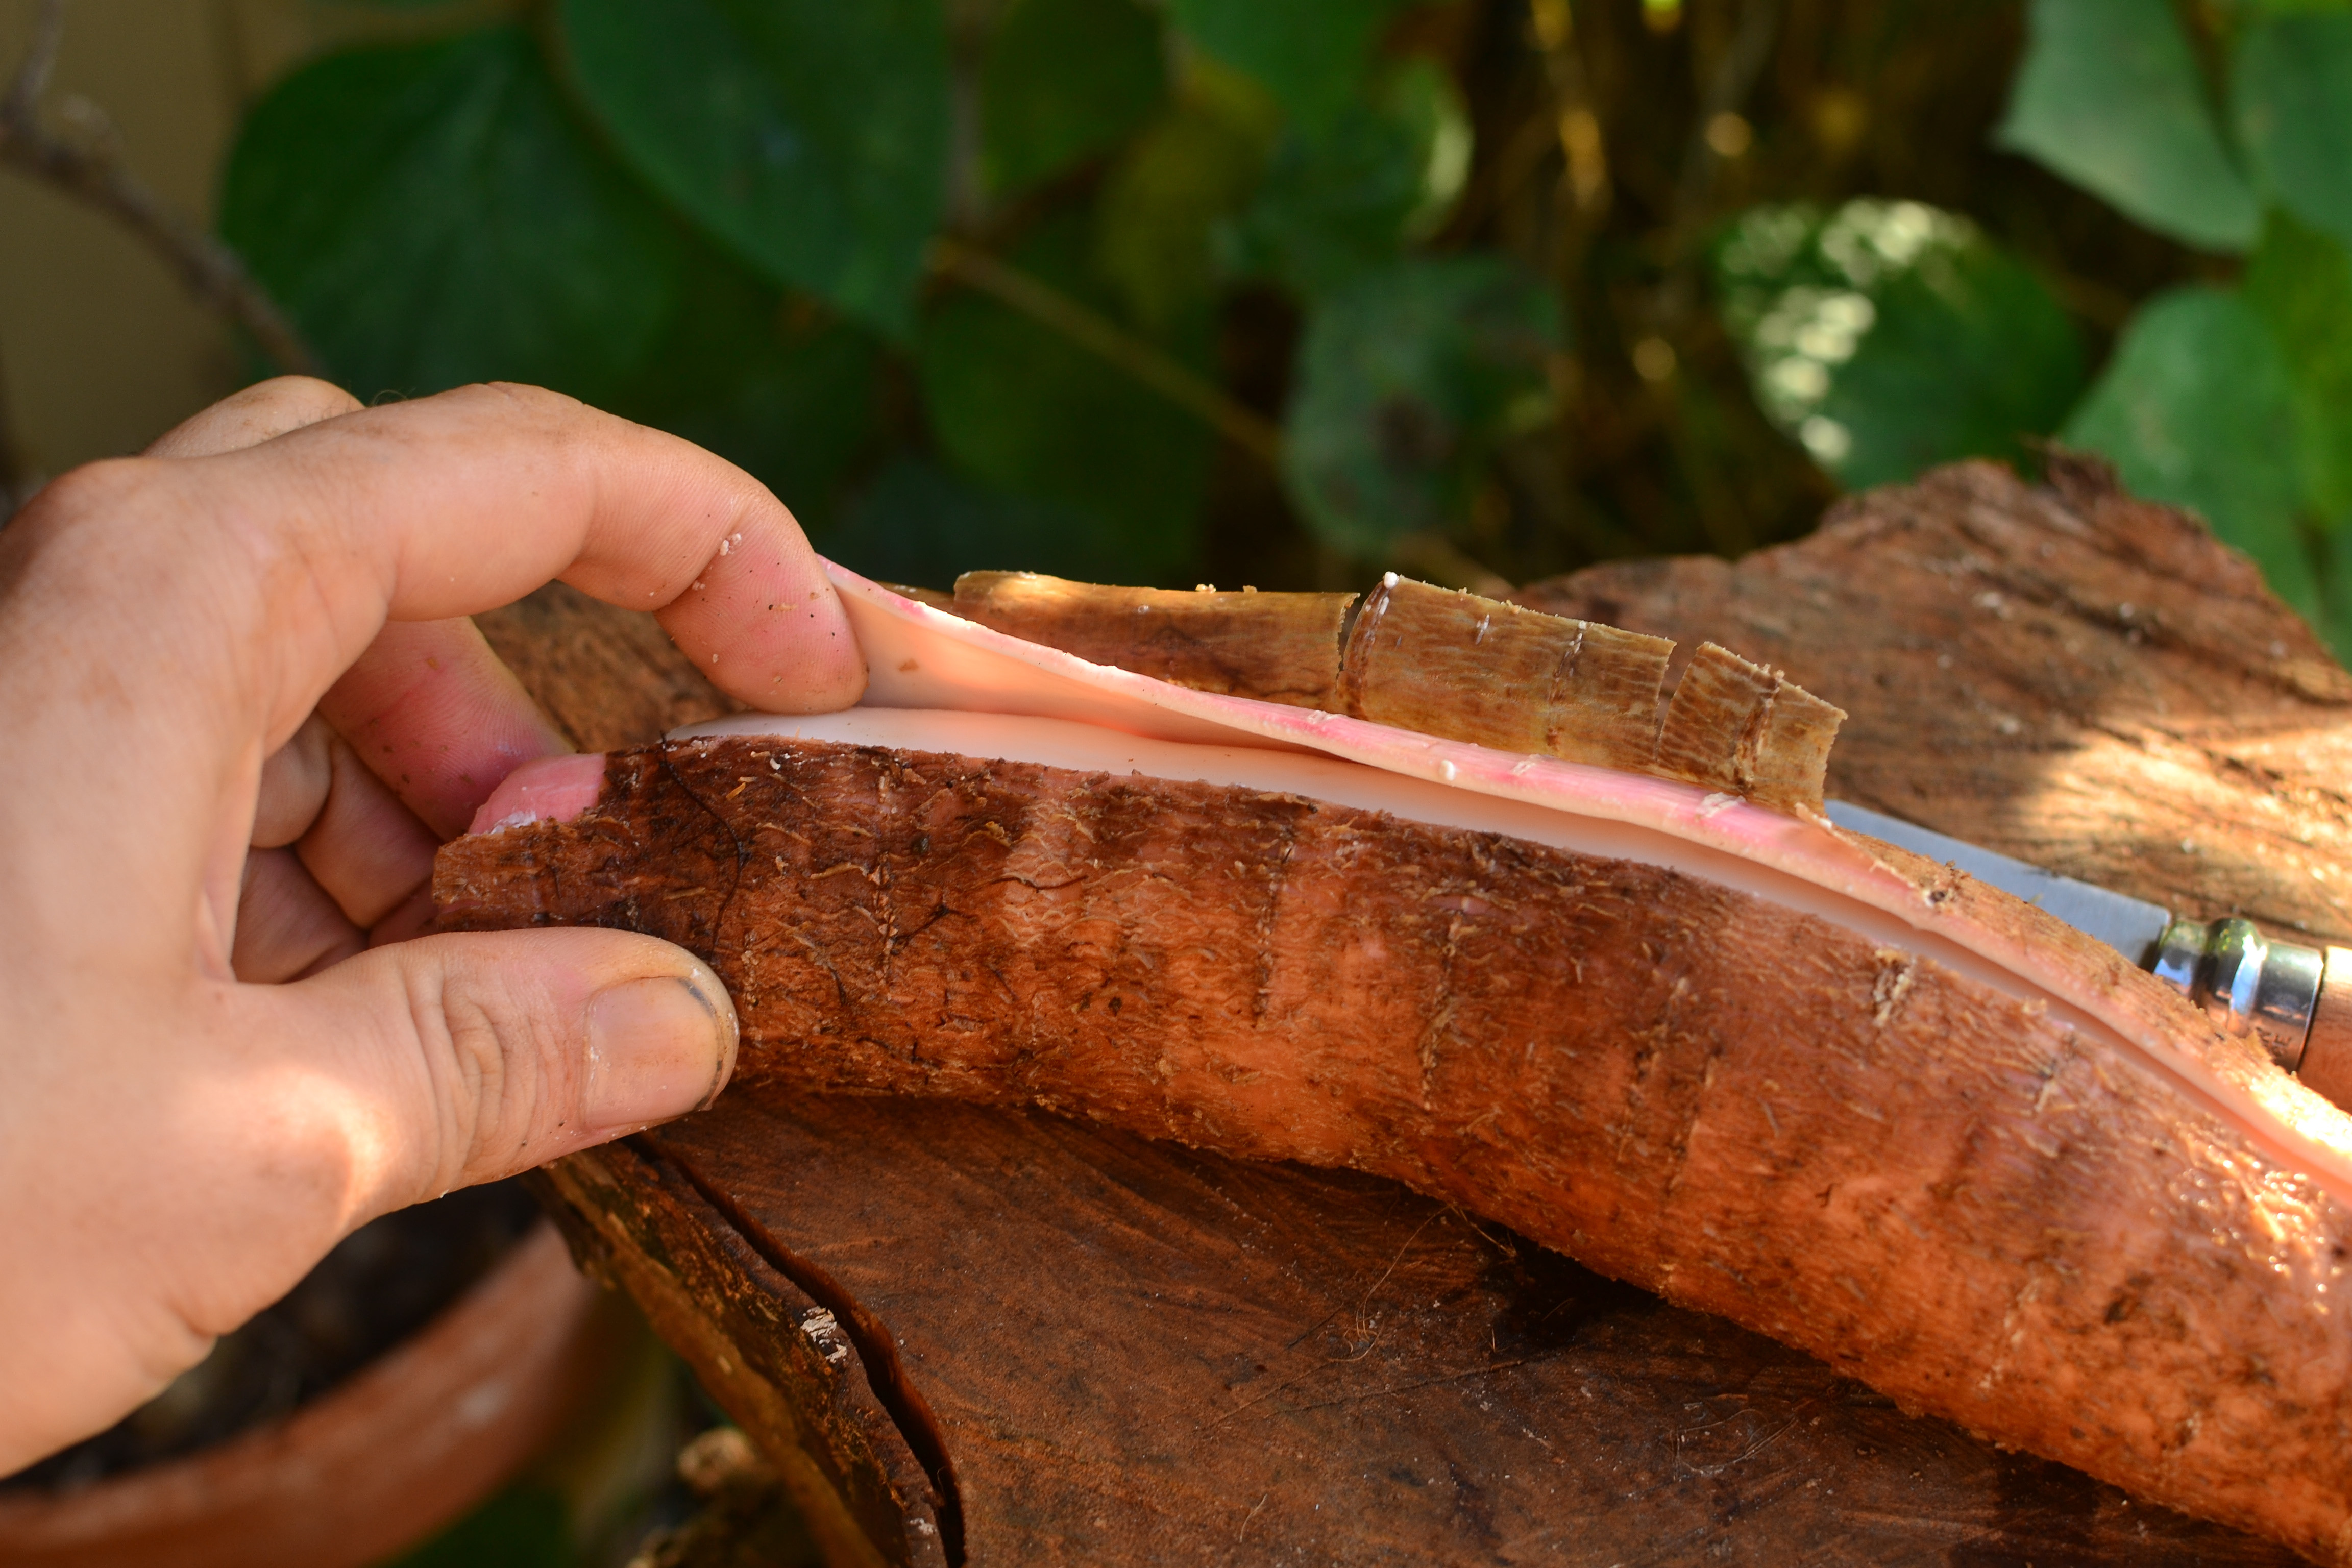
- Slide your finger along the sliced cut along the whole length. Don’t worry the tuber should be nice and juicy and smooth to work with. Turn tuber around the do the same along the other side of the slice.
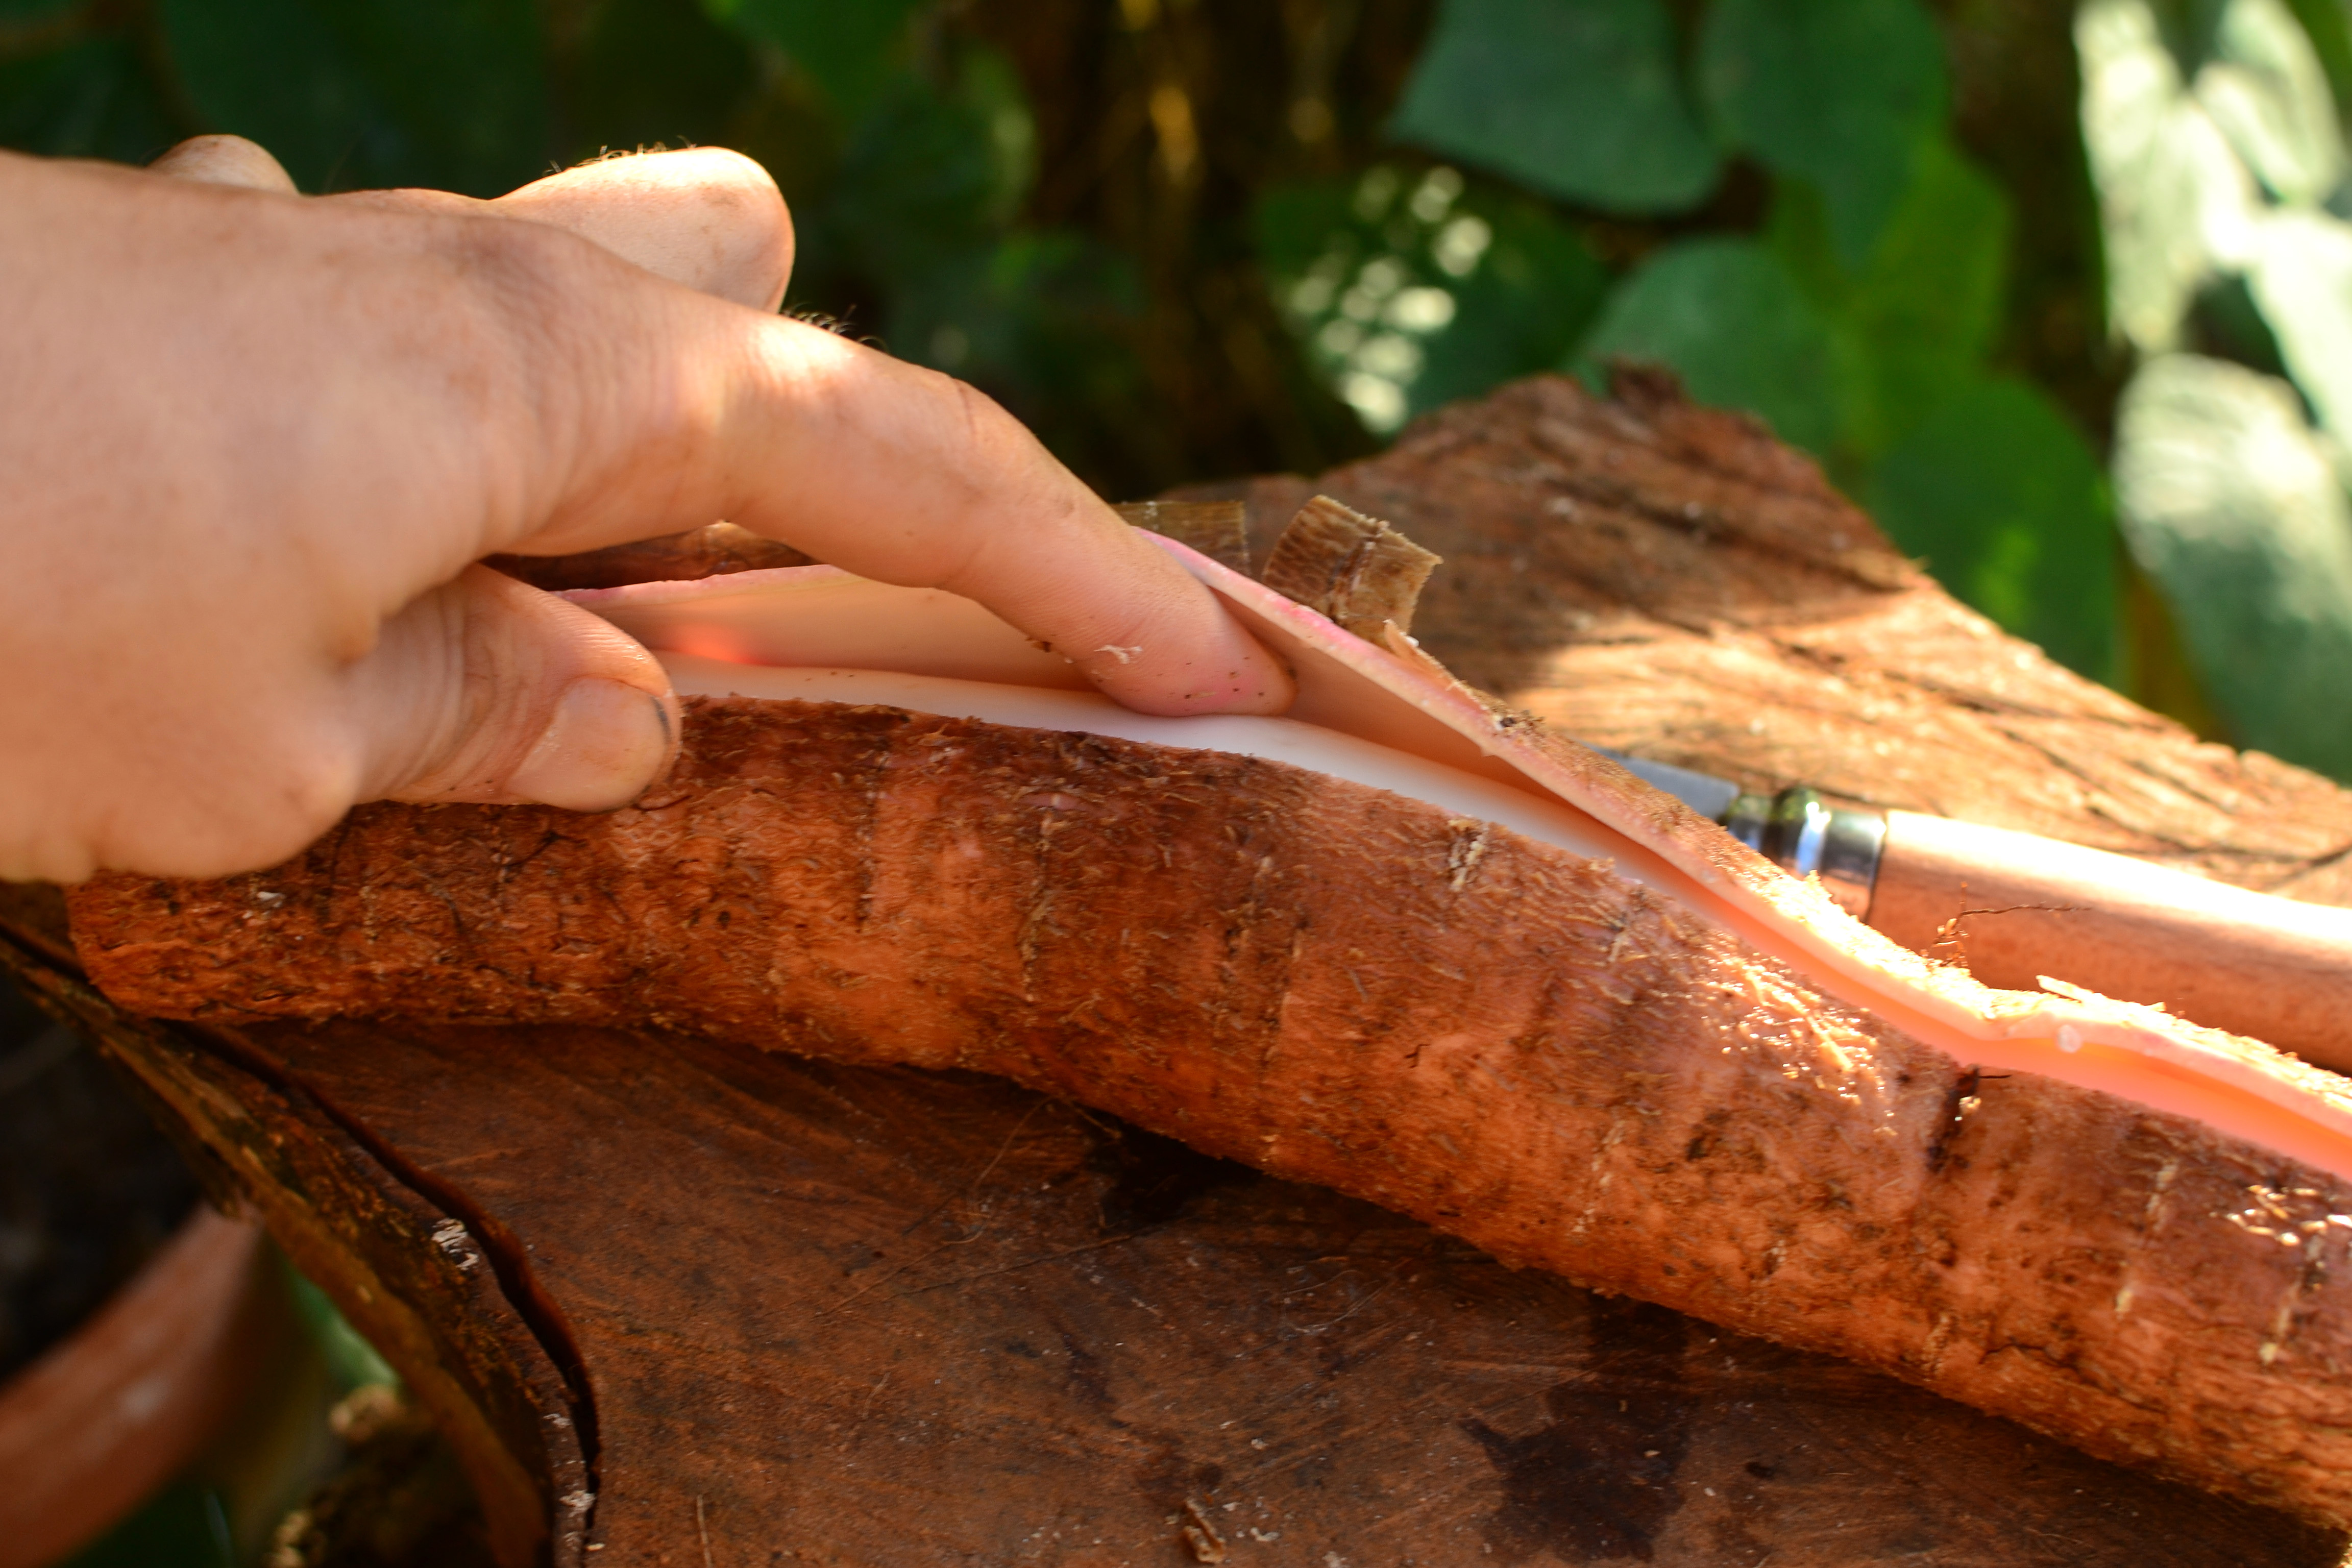
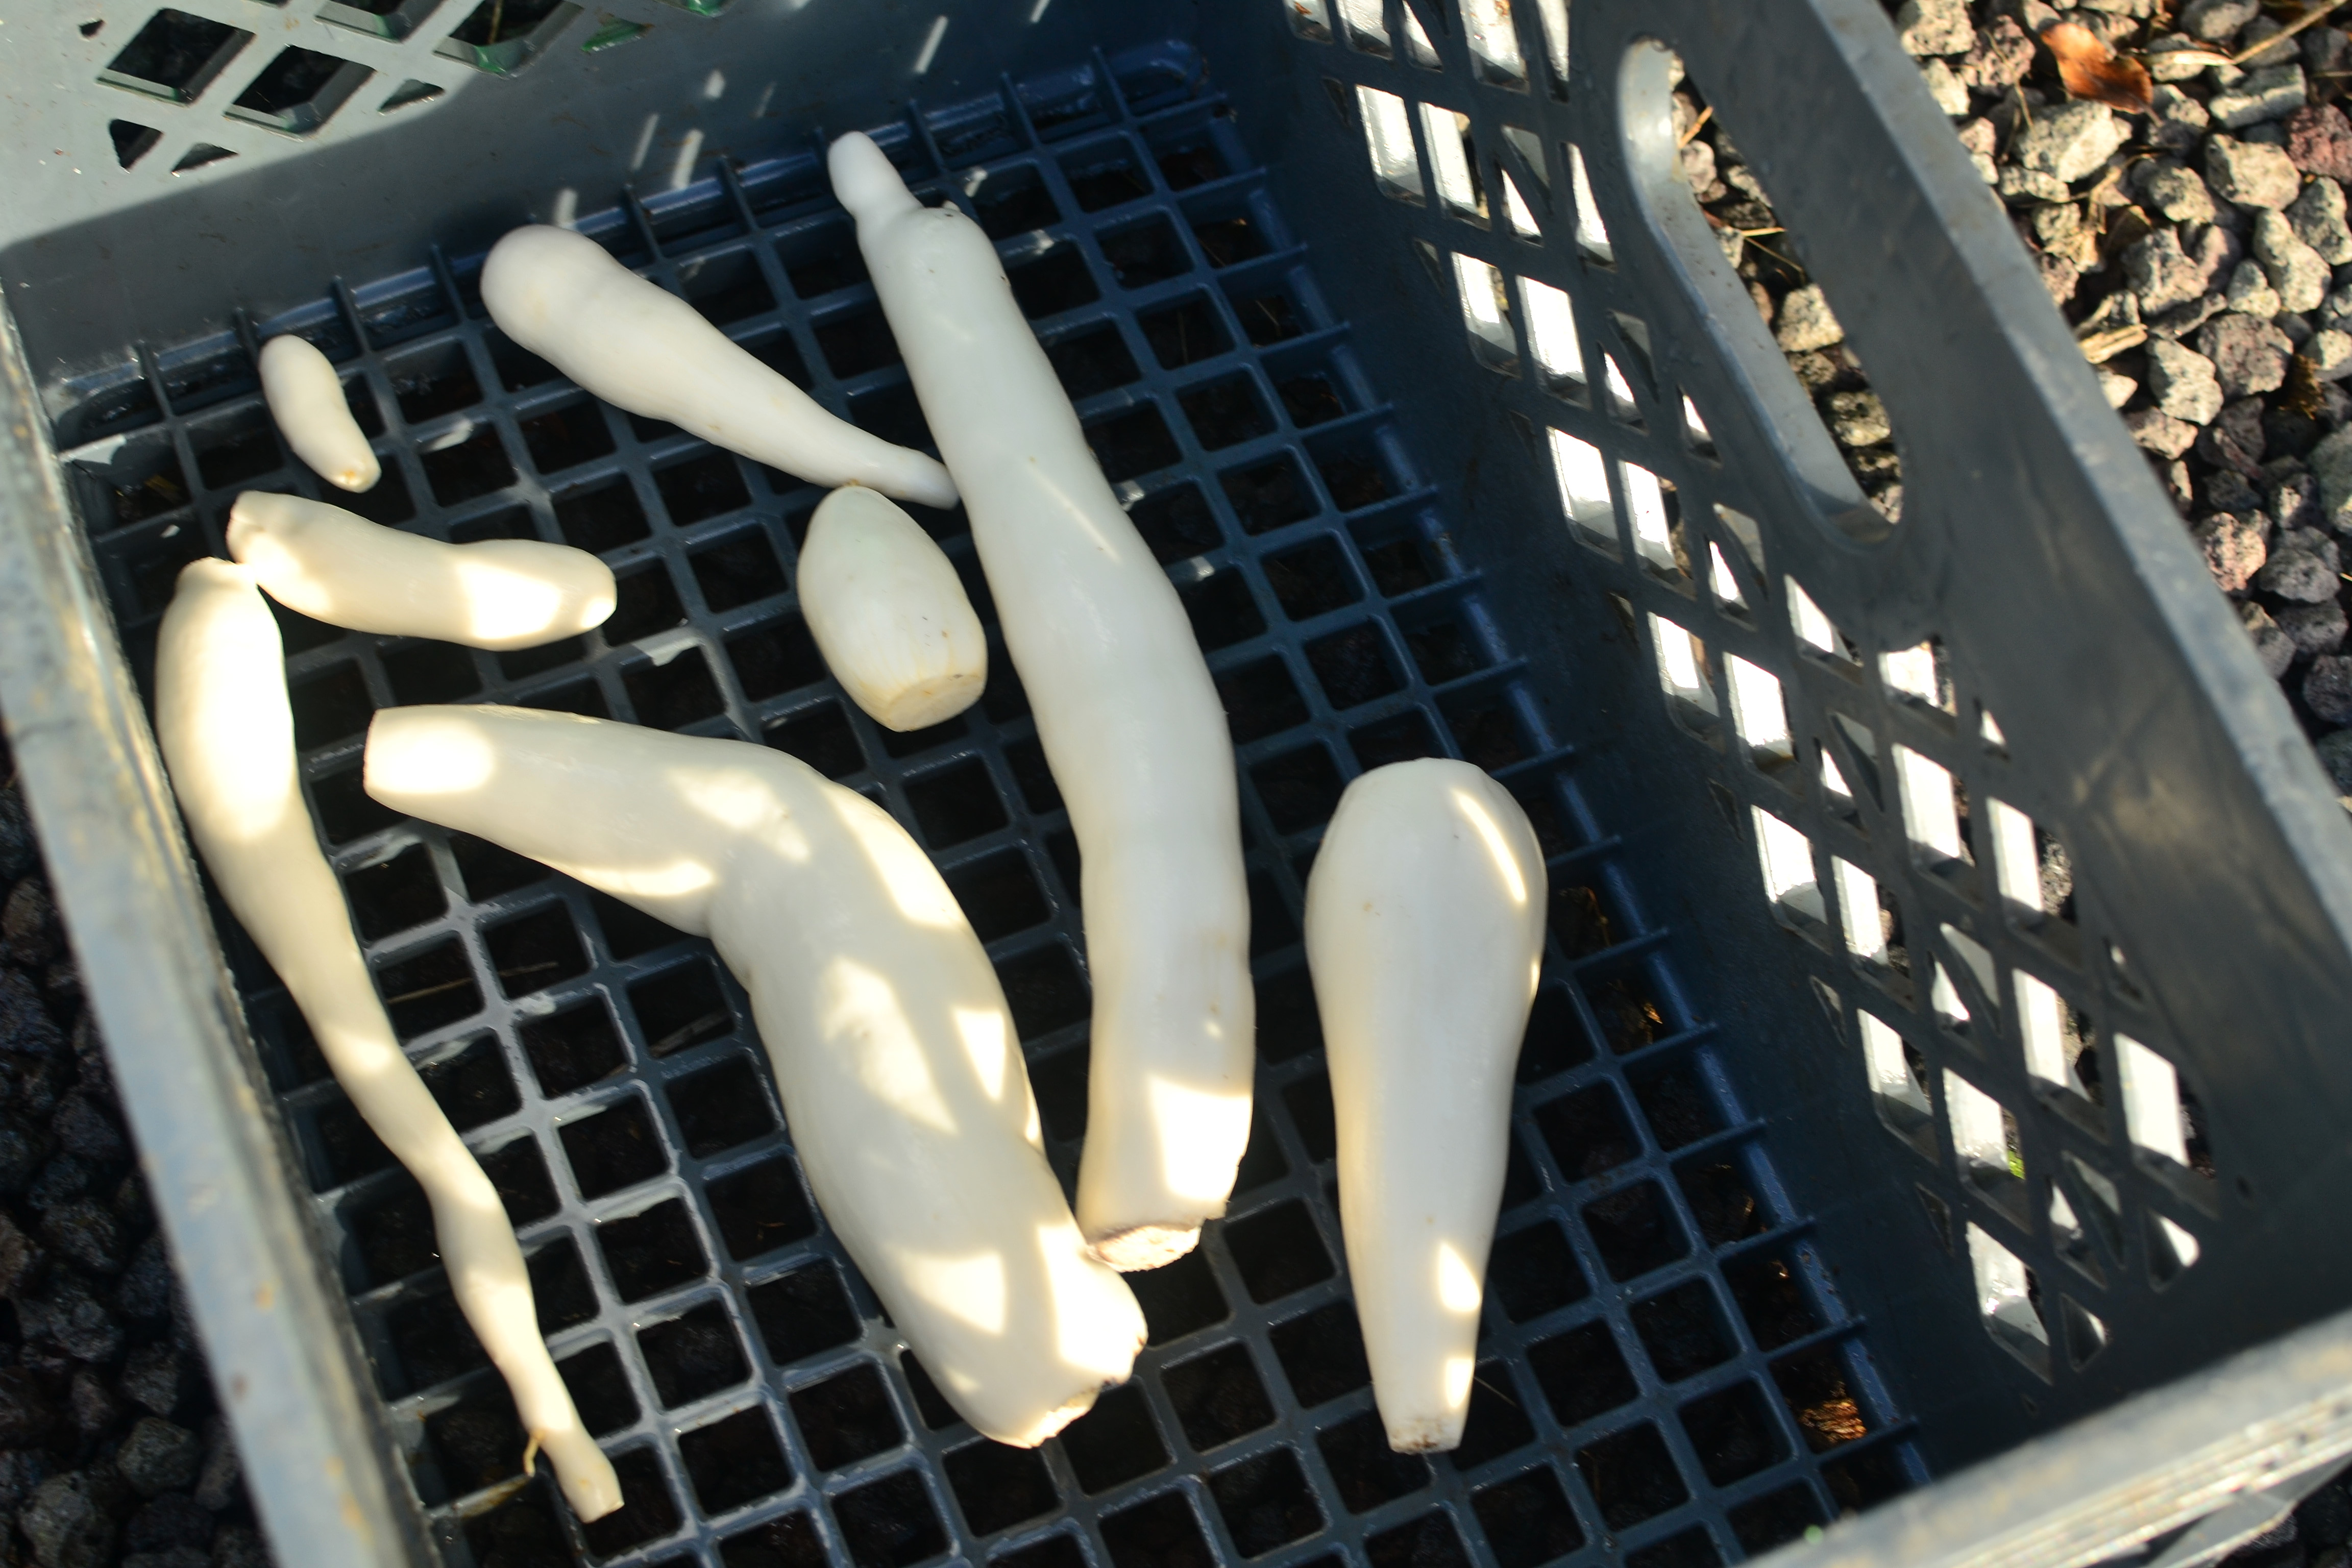
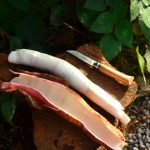
- At this point, you’ll notice the whole skin is coming off in one piece. Continue to work it; it will come off easily in one piece. Compost that nutrient rich skin!
-
- Wash again. Bring them inside. Wow, that was easy!
Kitchen Work
In the kitchen comes the final part of processing. First thing to know: if your knife doesn’t cut through easily, compost it, it’s not worth the frustration!
- Cut everything into evenly sized pieces, we usually take one of the smallest roots and use that to size everything (if a tiny outlier exists, its not worth cutting all the larger pieces to that size). The more standardized all the pieces are, the more even the cooking. Tubers are typically cut 3-4 inches long x whatever piece is the average smallest diameter. We prefer to keep cut chunks as large as possible.
- When working with them check out the very center of the tuber for woodiness. If you harvest them young there’s nothing to worry about and no woodiness. If woody just cut it out.
- Once everything is nice and evenly cut and all woodiness removed, add to pressure cooker.
- Pressure cook for 5-8 minutes (dependent on variety). Once time is up, quick release, or pour cool water slowly over top of cooker to cool, so you can release the pressure as soon as possible to stop cook time. The pressure cooker is an important tool and I suggest everyone goes and finds a simple stove top cooker. It is worth it to speed up cook times of our tropical foods. Pressure cooking times starts once pressure regulator is moving and pressure is built, until then it’s pre-heating. You can boil but would probably take 40-45 minutes.
- Stick a fork into a cassava piece, fork should enter slowly and fully pierce.
- Once cooked take out and allow to dry. Now you have edible cooked cassava! This is your base for all cassava dishes. We typically freeze as much as we can at this stage for quick already processed cassava meals. We freeze them on a baking tray in a single layer and then fill into Tupperware or freezer bags once frozen. This prevents them from sticking to each other as they freeze. Once frozen they won’t stick together. We do the same for our bananas.
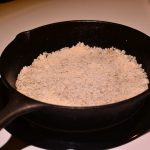
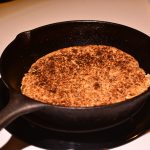
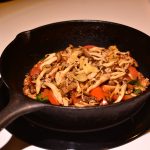
- From here, fresh or frozen, we make: fries (baked, roasted or fried), hash browns (refrigerate before shredding for best results), throw them in soups, curry, chili or anything really. Now you can utilize them as a potato and use them in any recipe calling for that. This is where cassava gets fun! Tubers do not have too much flavor and benefit from heavy spicing.
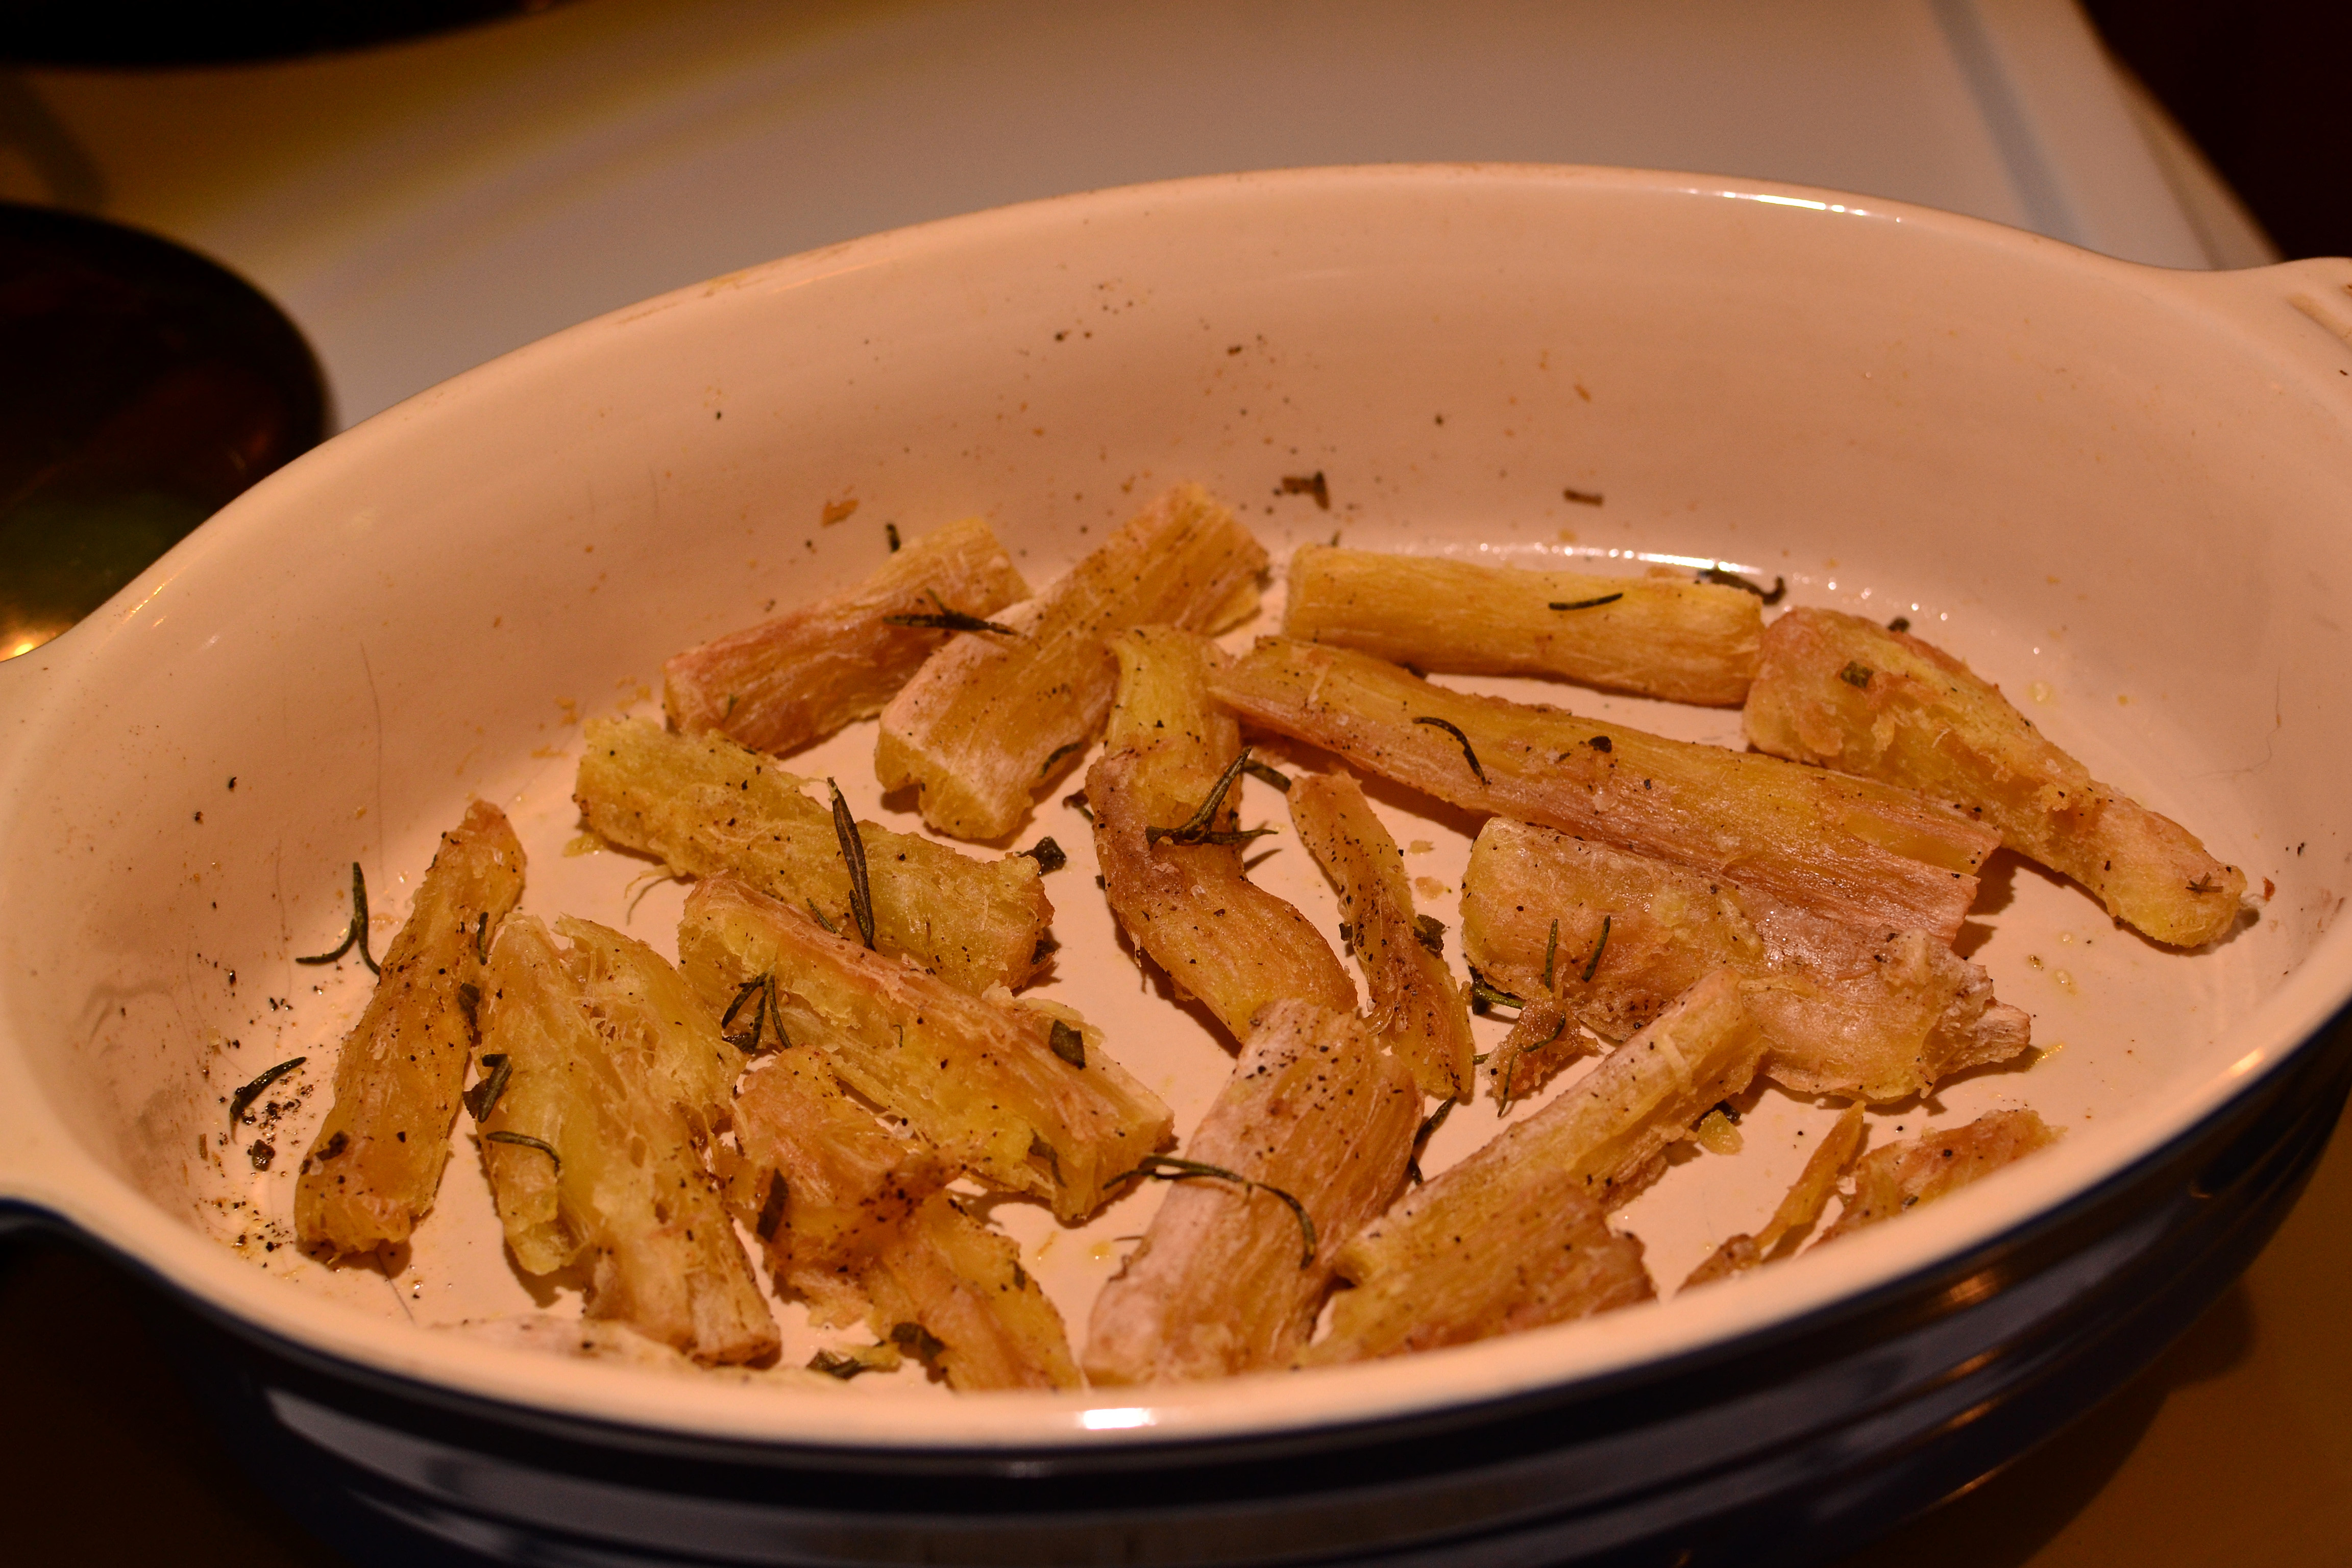
Fries: Bake @ 400 degrees for 20-30 minutes. Olive oil, sage, rosemary, salt, pepper
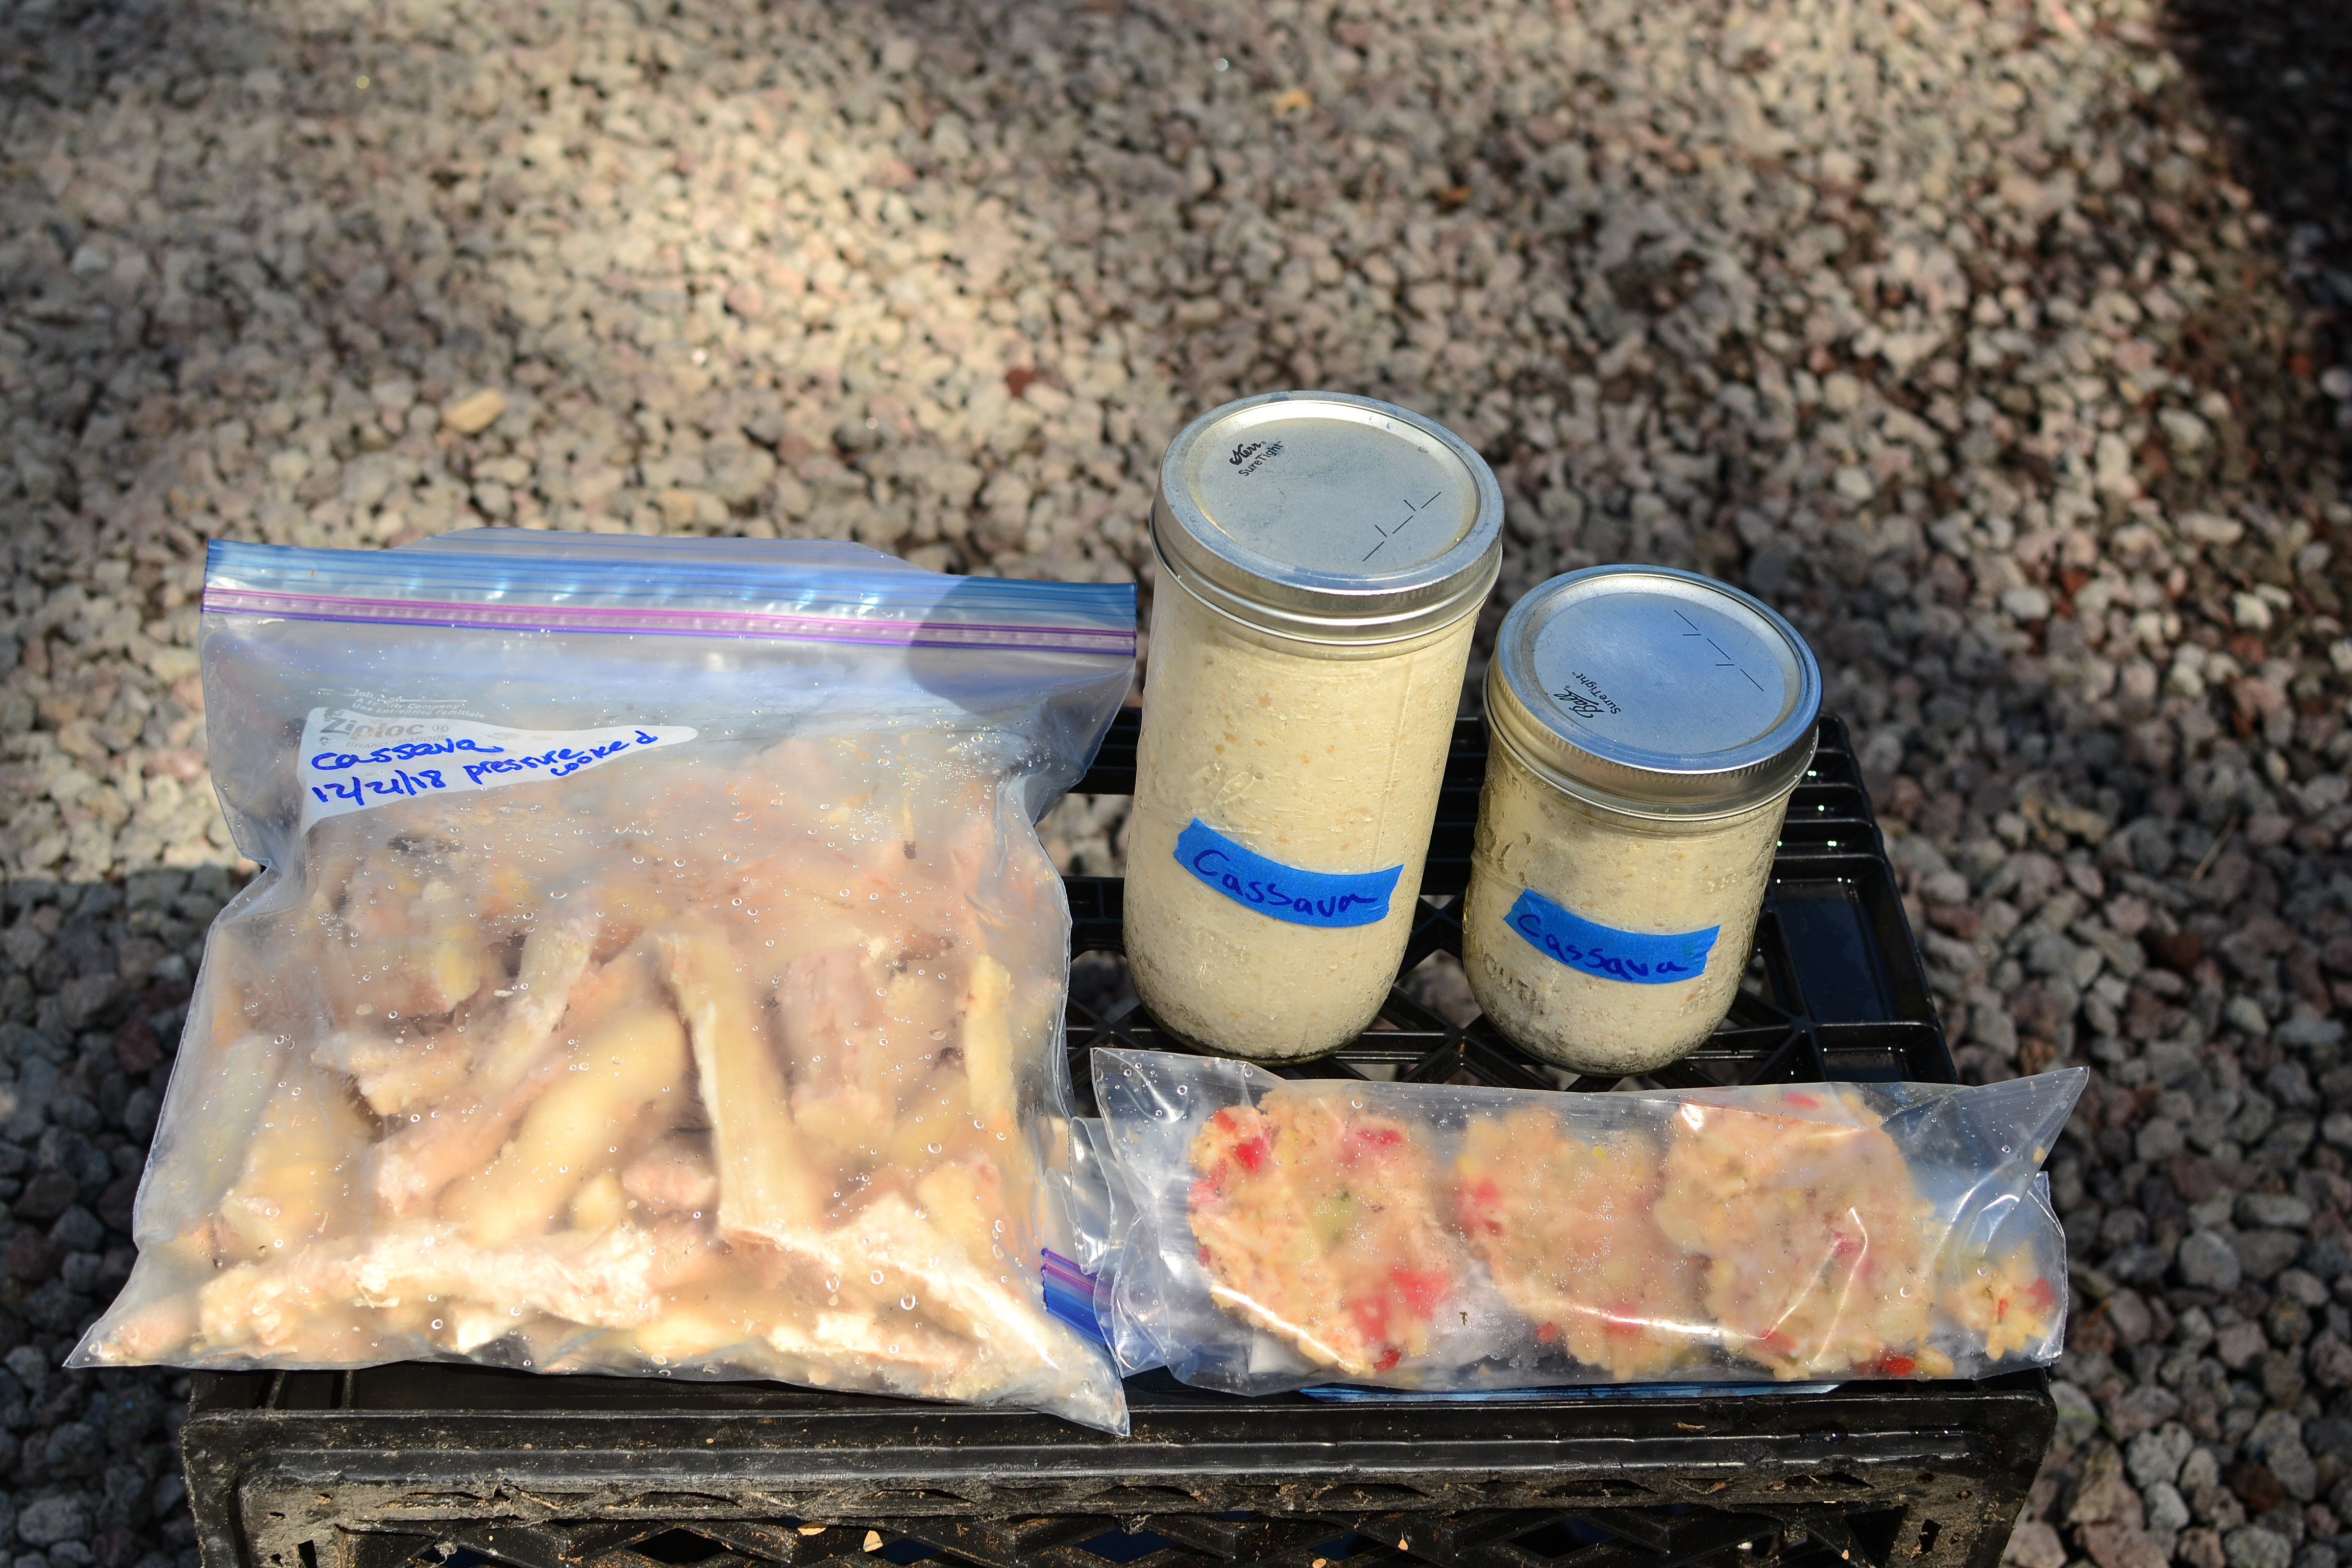
Preserved cassava products: frozen pressure cooked, frozen hash browns. In jars: puba – fermented cassava flour
Conclusions
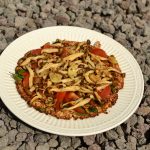
Processing cassava in this manner is easy and accessible for anyone to enjoy this dense and delicious starch. This methodology allows us to use tubers in a certain way, there are other numerous ways to eat and utilize this amazing plant. My favorite method is called puba, take fresh root and mill it into a thick moist ‘flour’. From there you take it and press out all of the liquid. After pressing and it’s fully dry, you take it and press it into jars and allow it to ferment 1-2 weeks. From there you can use it as ‘bread’ and make pizzas and crusts. It’s delicious!!! Cassava is so versatile, now you too can enjoy cooking it up!
Happy Gardening!
Amazing info, so helpful! Is there any way you could go into Puba making in more detail? I really can’t find much online.
yeah its a pretty interesting one! my friend studied under ernst and showed me the process when i was staying up in their farm in kohala. we used a meat grinder to mill the fresh root, but it wasnt the most effective method as we had to run it through a few times. but its worth the effort!
https://www.youtube.com/watch?v=rcOtHku5vF0