Description
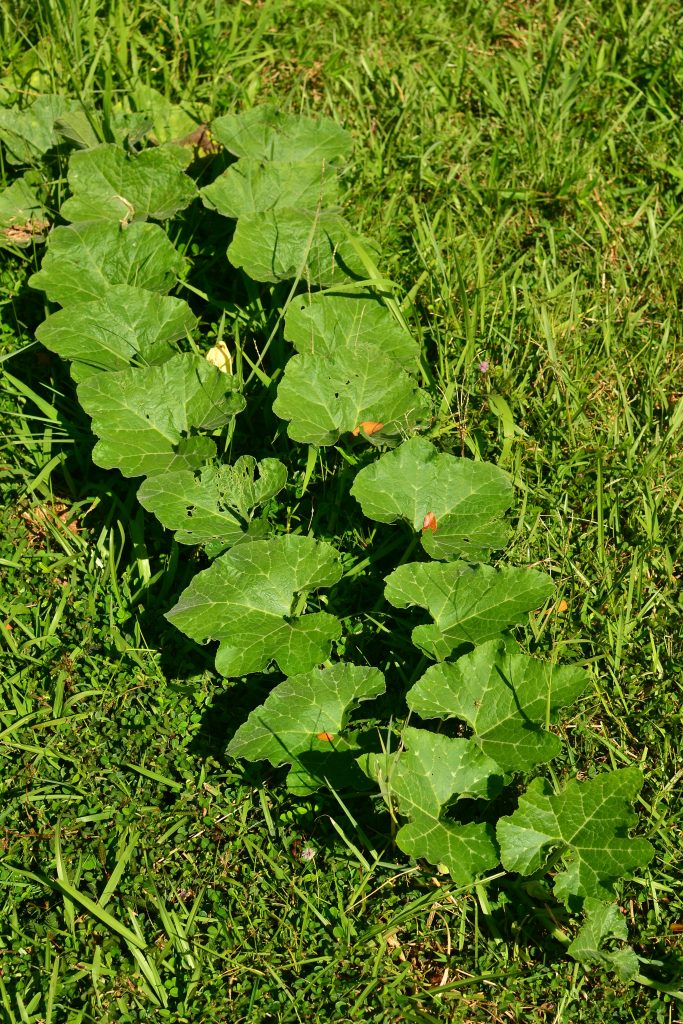
Winter squash is an amazing, long-lived, productive, nutrient dense food source. Winter squash is a broad-term descriptive regarding the hardness of the fruit skin, indicating that it may be stored for long periods of time. For a tropical climate, Cucurbita moschata and Cucurbita maxima are the preferred growing species due to their vigor and hardiness to pests. These squash are sprawlers; vines can grow over 30 feet long. Tendrils provide an ability to climb if allowed, and vines typically produce a good amount of biomass in the form of large, broad leaves to outcompete unwanted plants. There are many varieties, colors, shapes and sizes of fruits. I’ve grown fruits as small as a pound and as large as twelve pounds. The immature fruits, young tender growing tips, seeds and the flowers of the plant are also edible. Fully mature fruits will last a few months in storage. These plants are vigorous and tasty!
Propagation
Winter squash is typically grown from seed. Open a ripe fruit and put the seeds into the ground, preferably direct sown in the place where you want it to grow.
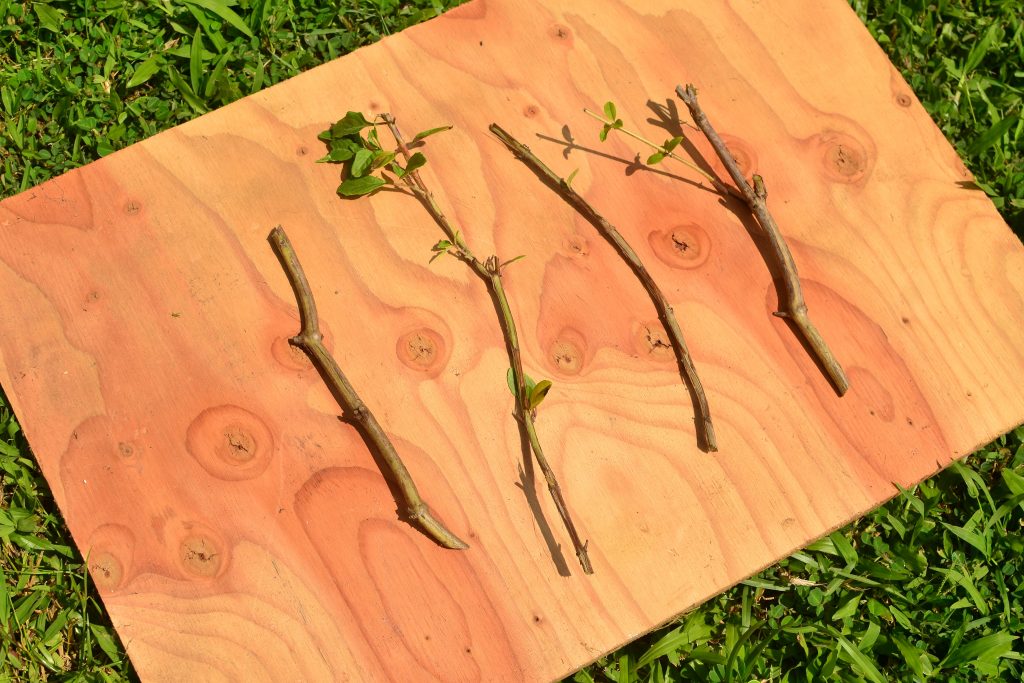
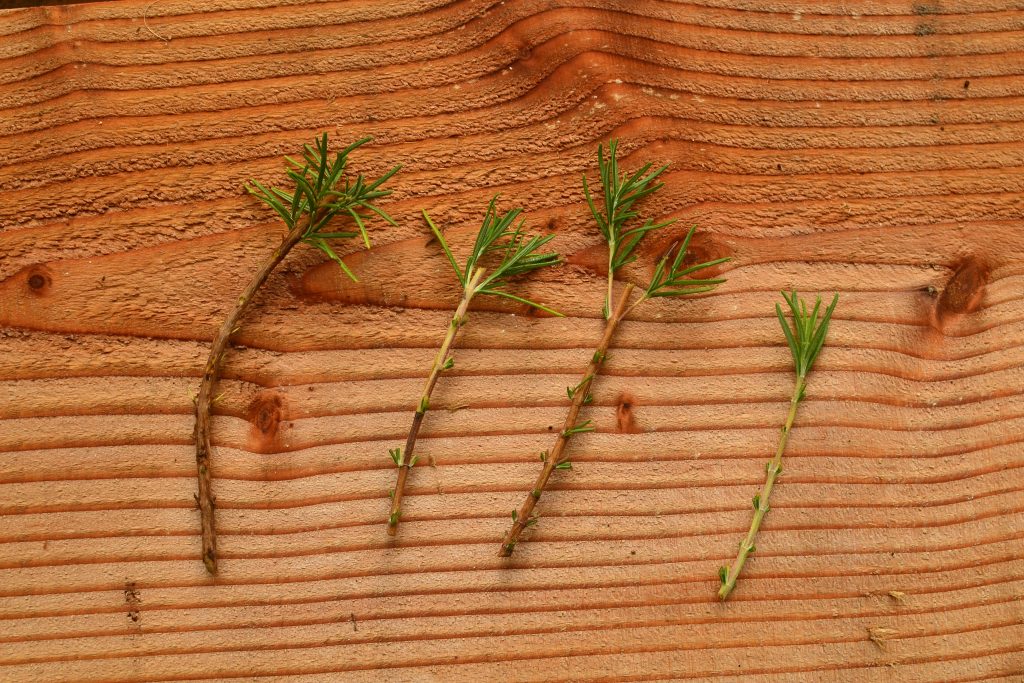
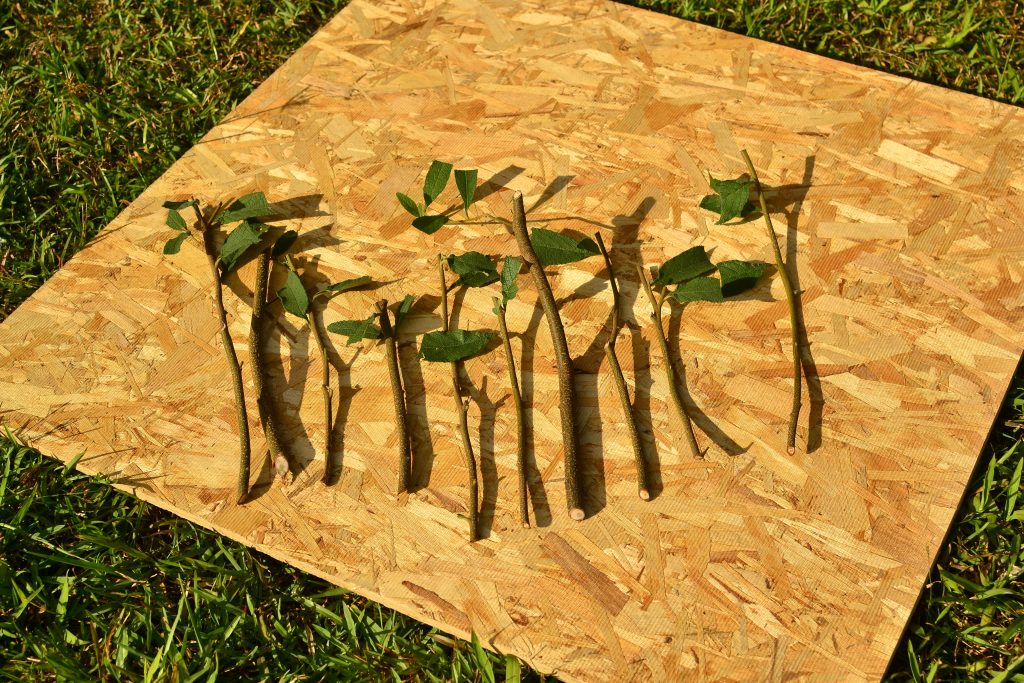
Cuttings with three nodes and a small leaf are sometimes also used for propagation.
Care
Heavily amend the site you wish to grow the squash. Add as much manure, compost, fertilizer and mulch as you can before planting seeds. Squash are very hungry. The more food you supply to them at the time of planting, the more vigorous they will be. (Most literature I’ve read says there is no need to feed them while growing, just at the time of planting). Squash vines are happiest in full sun or light shade. Allow a large space to sprawl, or manage weekly and aim into desired areas. I’ve even seen squash growing extremely well climbing to the top canopy of citrus trees and producing large squash dangling in the air!!!
Male and female flowers are separate, but on the same plant (monoecious). Male flowers typically bloom alone for the first few weeks, and then female flowers emerge. A lot of the time, regular garden pollinators will pollinate the flowers; however, hand pollinating increases the chances of fruit set.
Usually vines tend to produce one squash at a time, unless they root at another node along their vine, which allows them to tap into more nutrients and sustain more fruits.
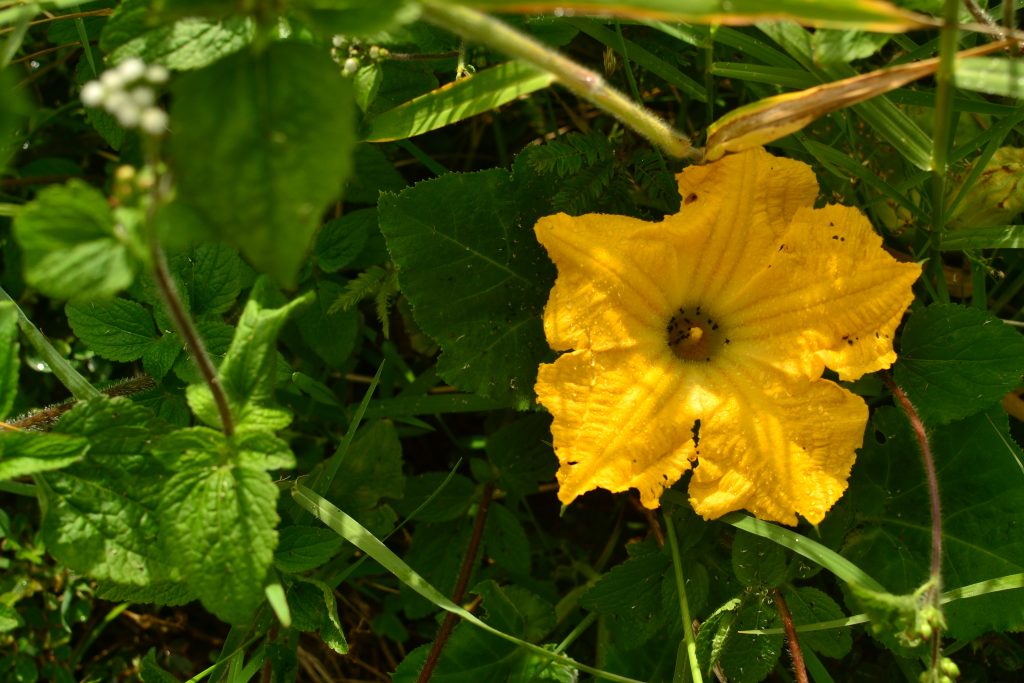
Male Flower
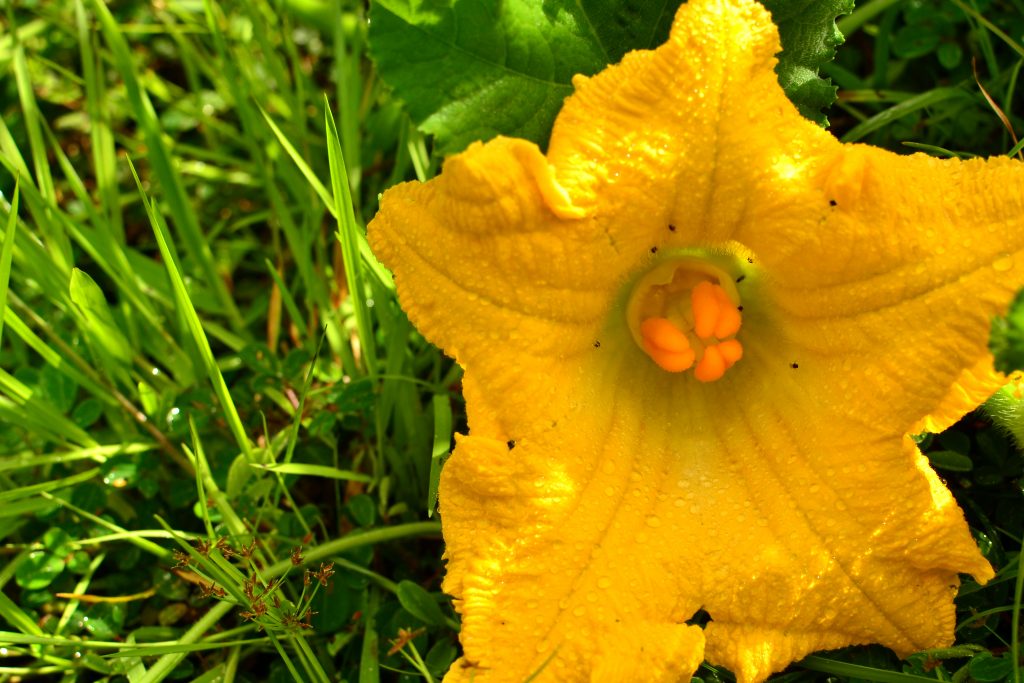
Female Flower
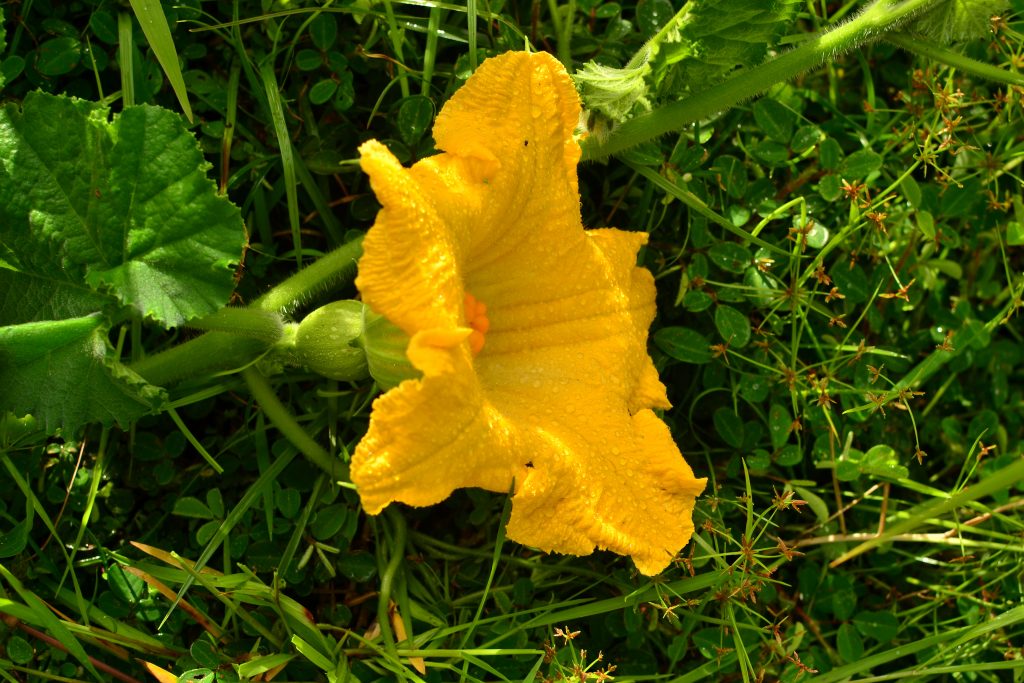
Female Flower. Notice the tiny unpollinated fruit attached to base of flower
Eating
Flowers and vine tips are edible; they should be picked early when very tender.
Immature fruit is best picked after the flower has fallen off.
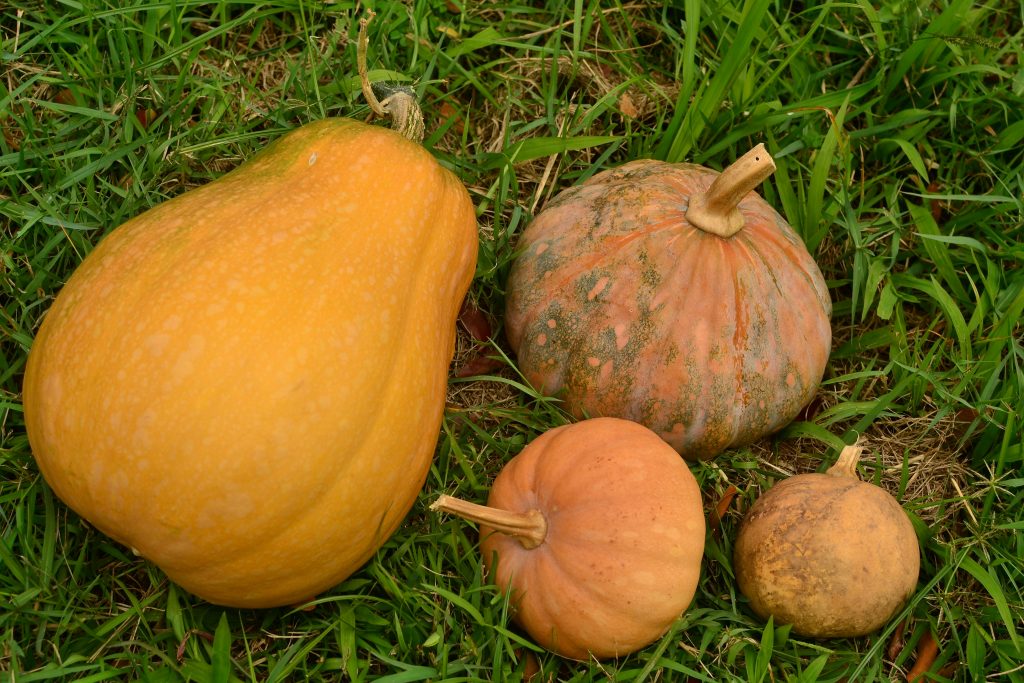
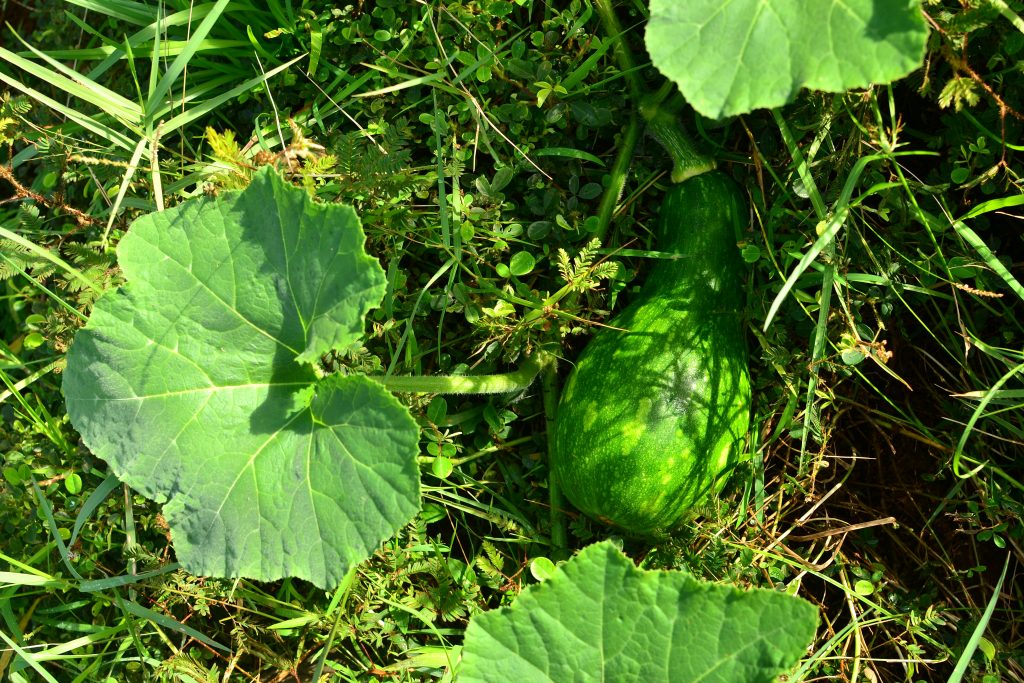
The tendril closest to a fruit will brown when the fruit is mature and ripe. Usually the squash will change color and turn from a greenish to a yellow-tan color. Ripe fruits may be eaten with or without skin, and cooked by baking, roasting, boiling, steamed, or sauté.
Seeds may be cooked, or made into an oil extraction.
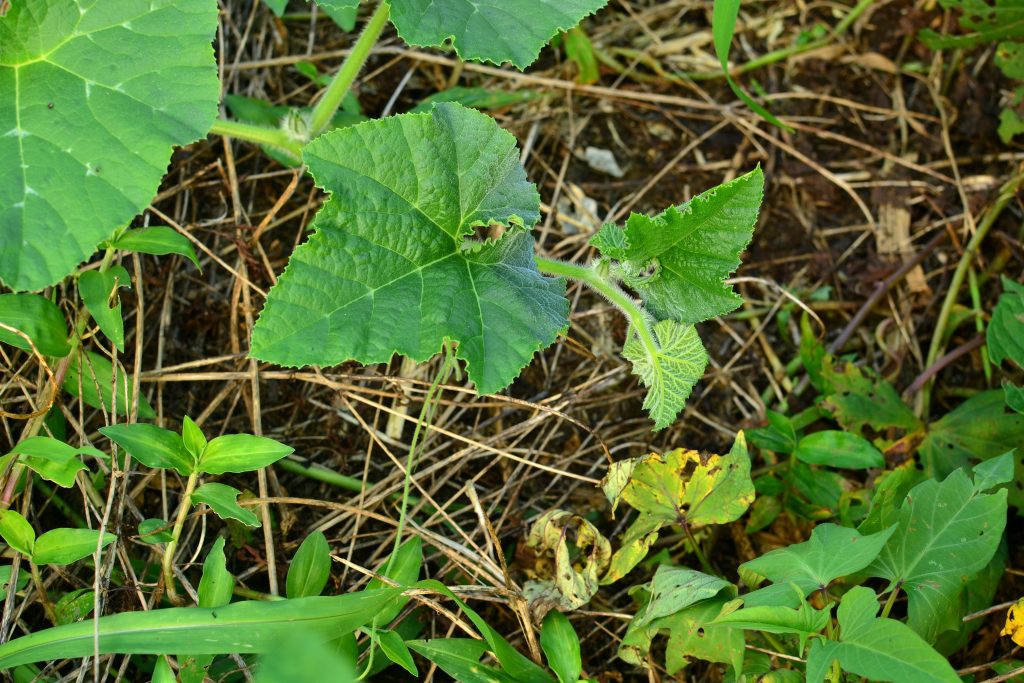
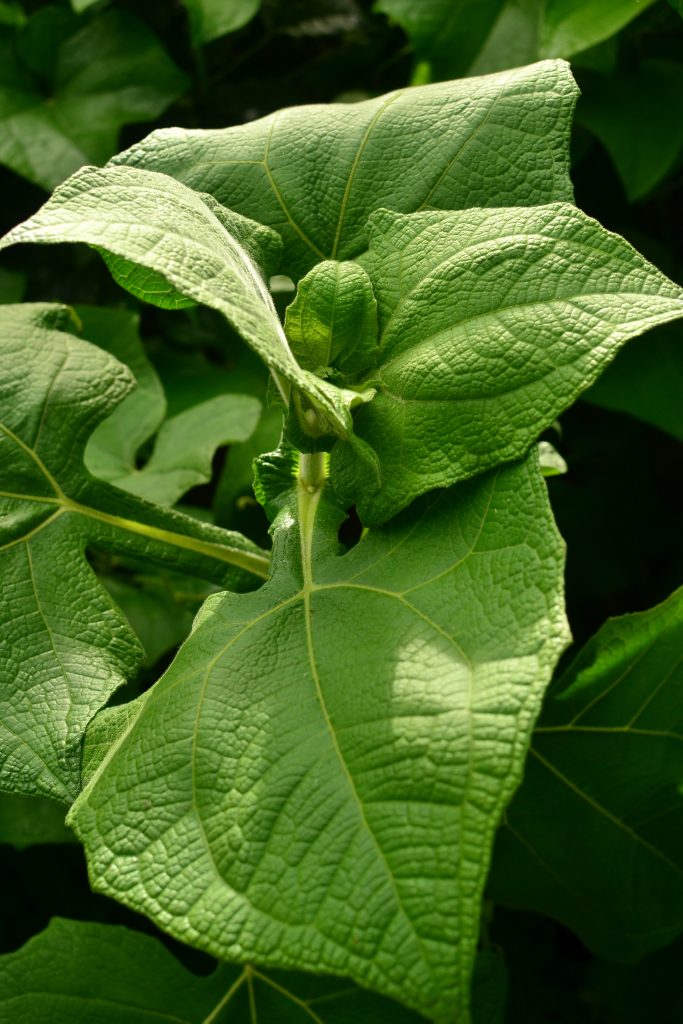
Tender vine tips ready for eating
Where to obtain planting materials
For the best locally-adapted genetics, it is most appropriate to collect fruits for eating from the local farmers’ market. A lot of time, most squash the vendors sell is homegrown by that vendor; you should ask if that’s the case. Then go home, cut it up, save the seeds, eat the food. If it is delicious (usually most are!), then plant those seeds. You may never be able to identify the squash itself, unless the vendor tells you the variety, but you will have good genetics.
Alternately, buy a seed pack from a seed company. But understand, it will potentially be less productive and more susceptible to various tropical pests. Remember to stick to the preferred species.
My Garden
Besides these past few months, I’ve had pretty limited success with growing winter squash. The majority of my previous fruits came from volunteer vines from my compost piles; anywhere I intentionally planted seeds, the keiki never got vigorous. First, it was the slugs/snails eating all the new growth, then the caterpillars boring into the immature fruits before fruit set, then the lack of sunlight, and finally, the lack of pollinators. The simplest solution for all these issues is adding more fertilizer; the more vigorous the plant, the more likely it is to put off more flowers to be potentially pollinated. I now have squash growing in a few different areas, and as I do my rounds, I regularly see little fruits growing! This is an incredible food source that basically maintains itself once it is going strong. More winter squash is the answer to a self-sufficient lifestyle.
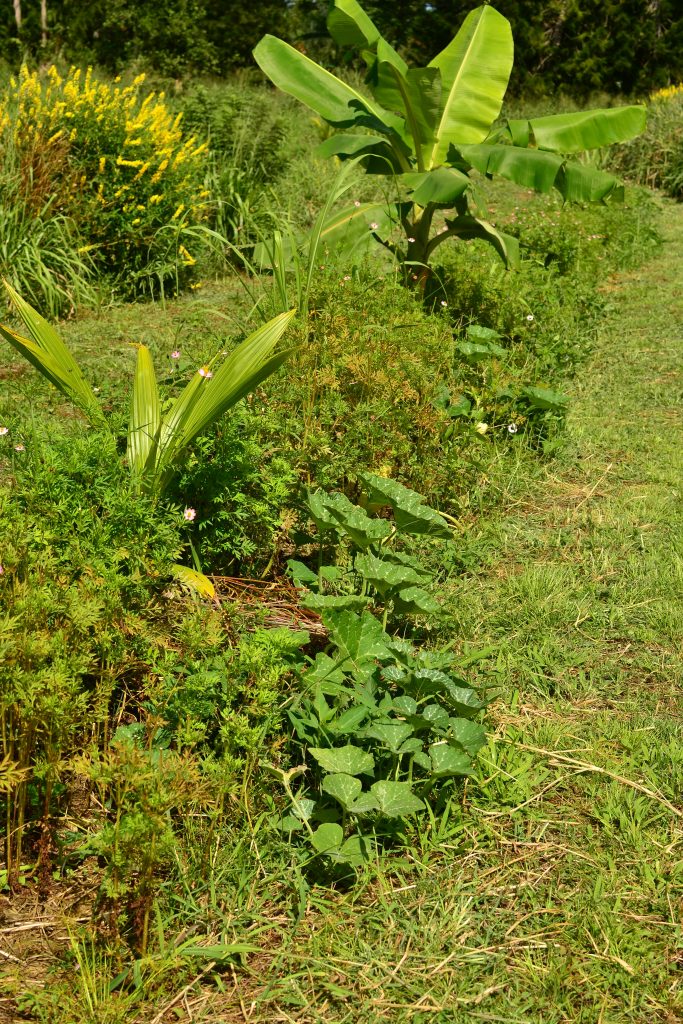
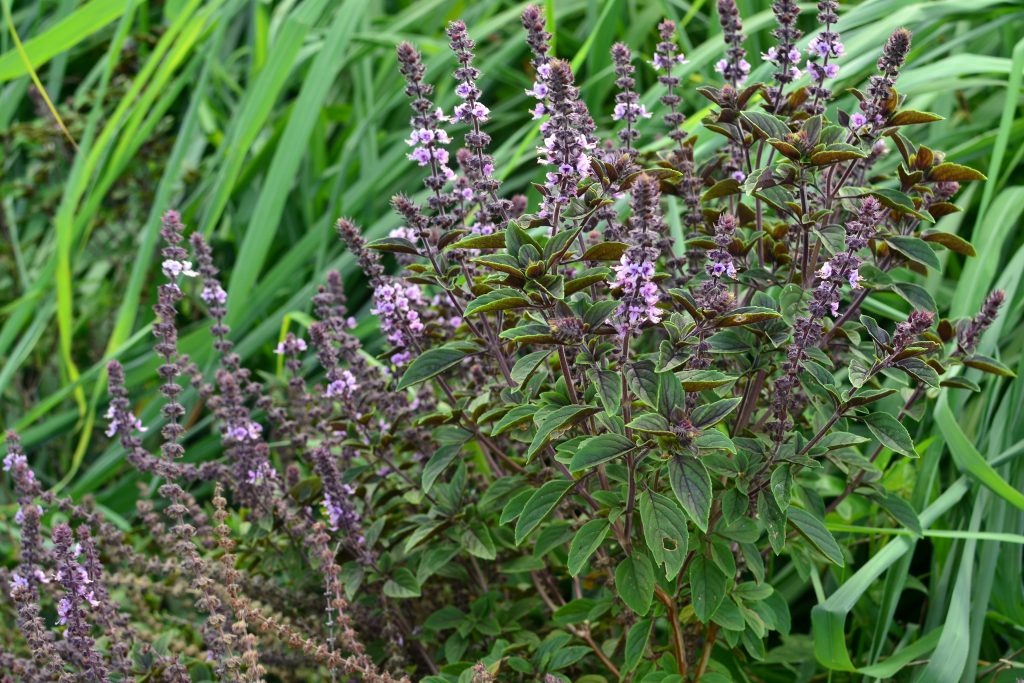
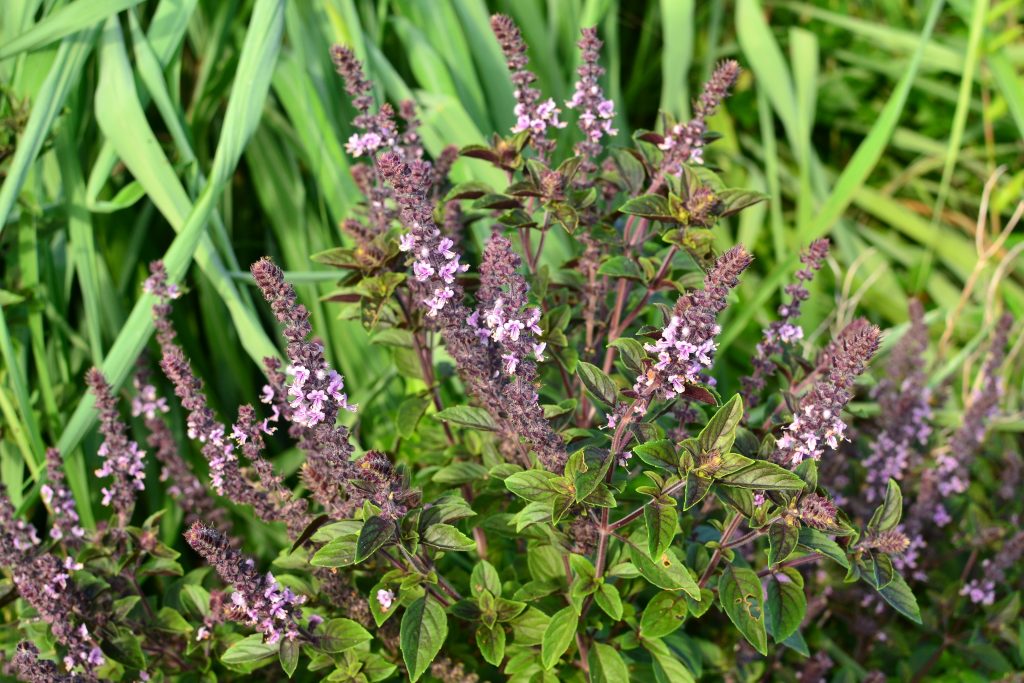
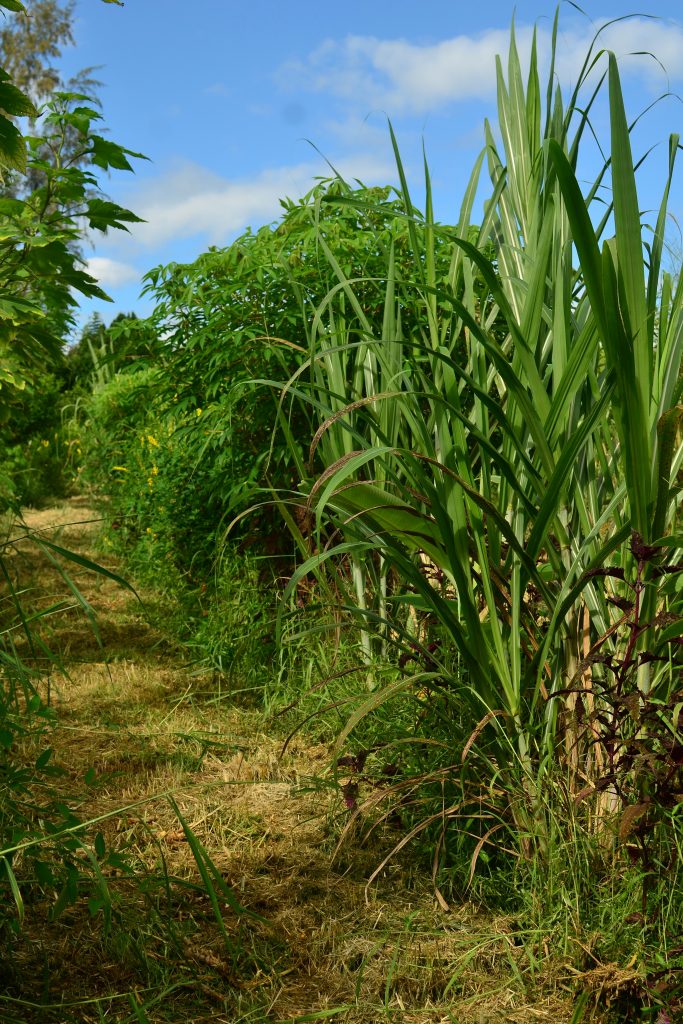
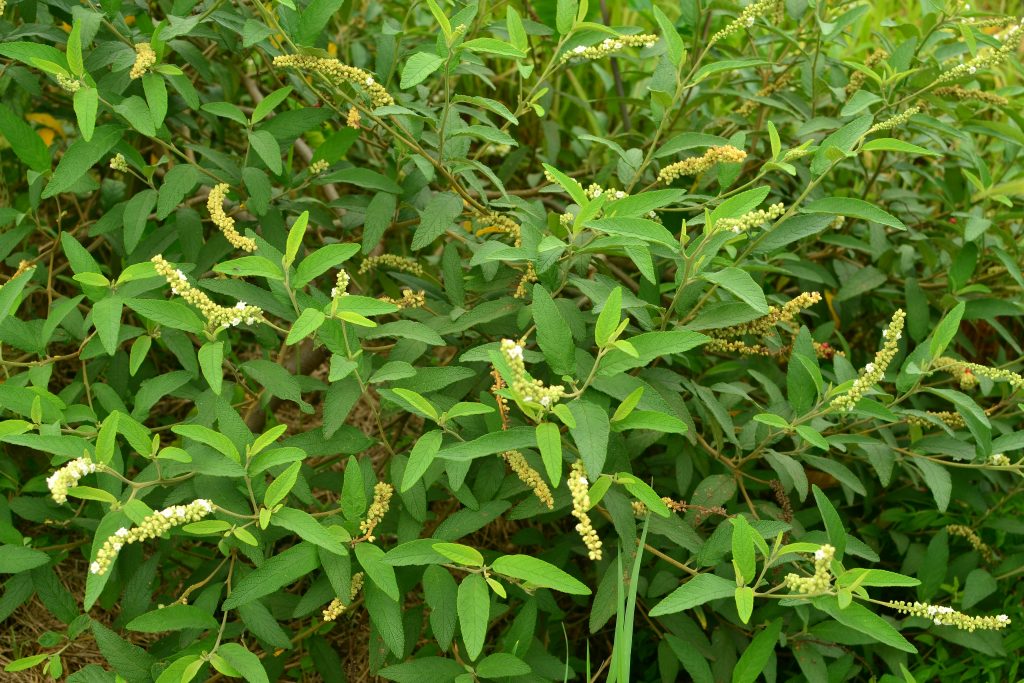
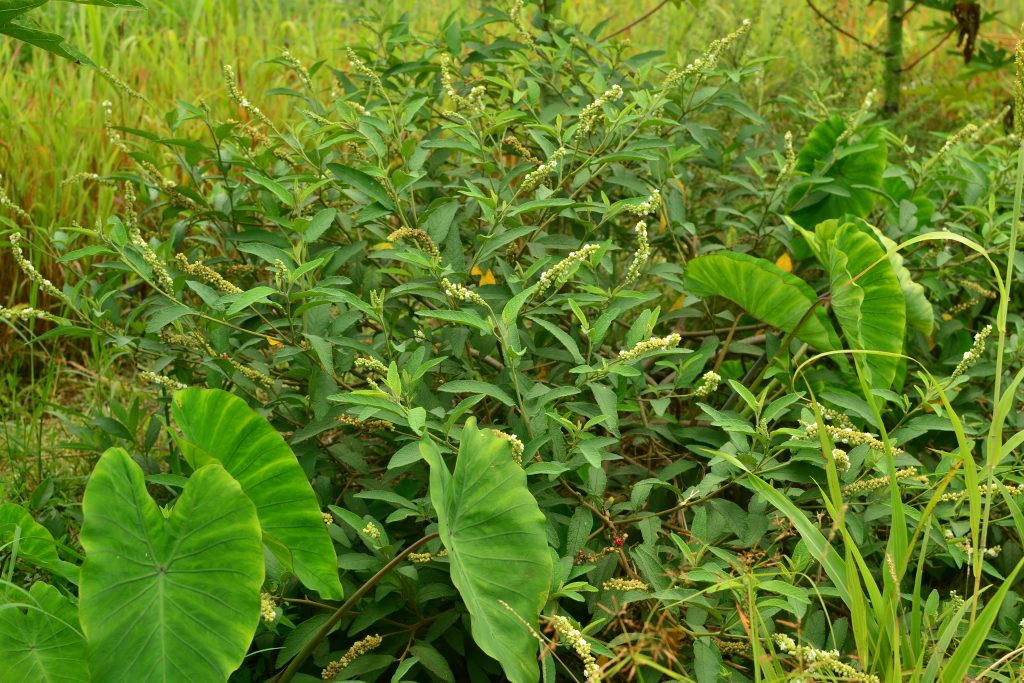
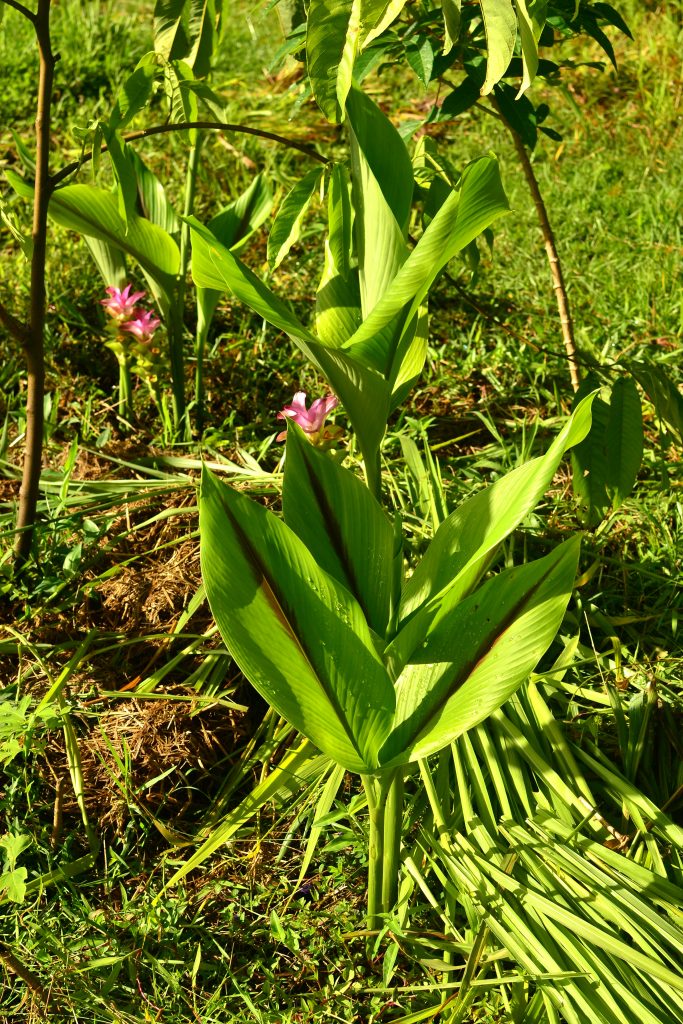
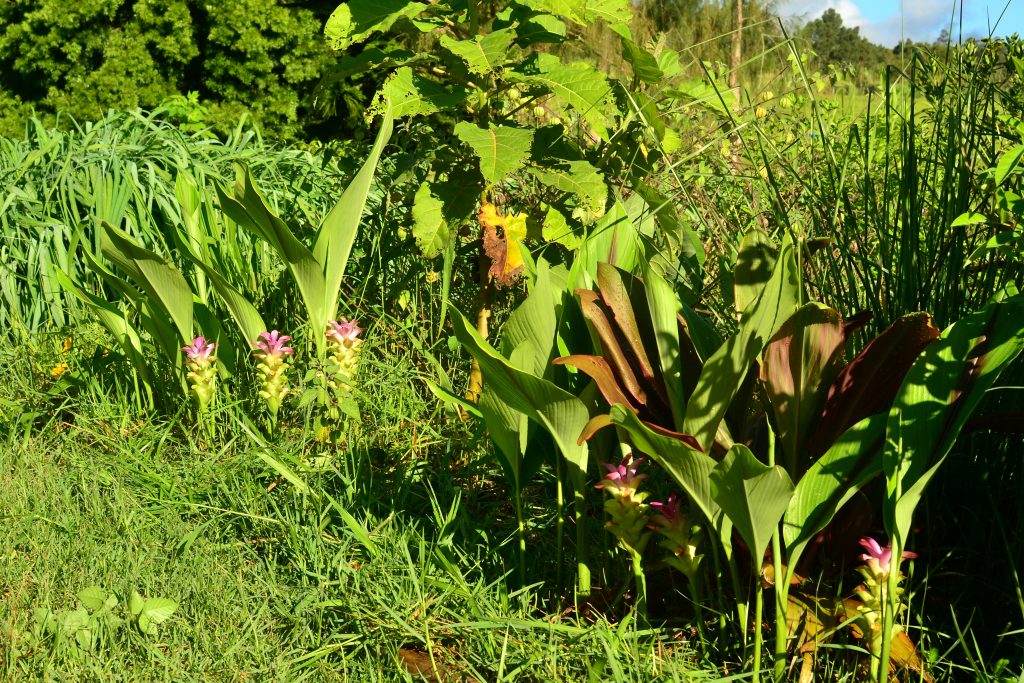
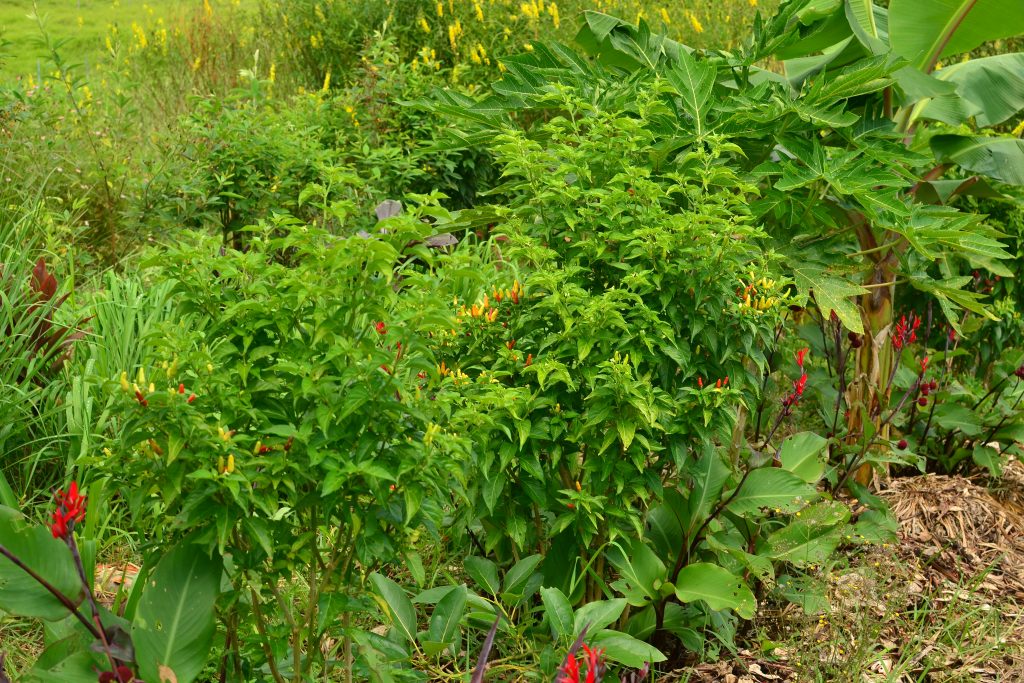
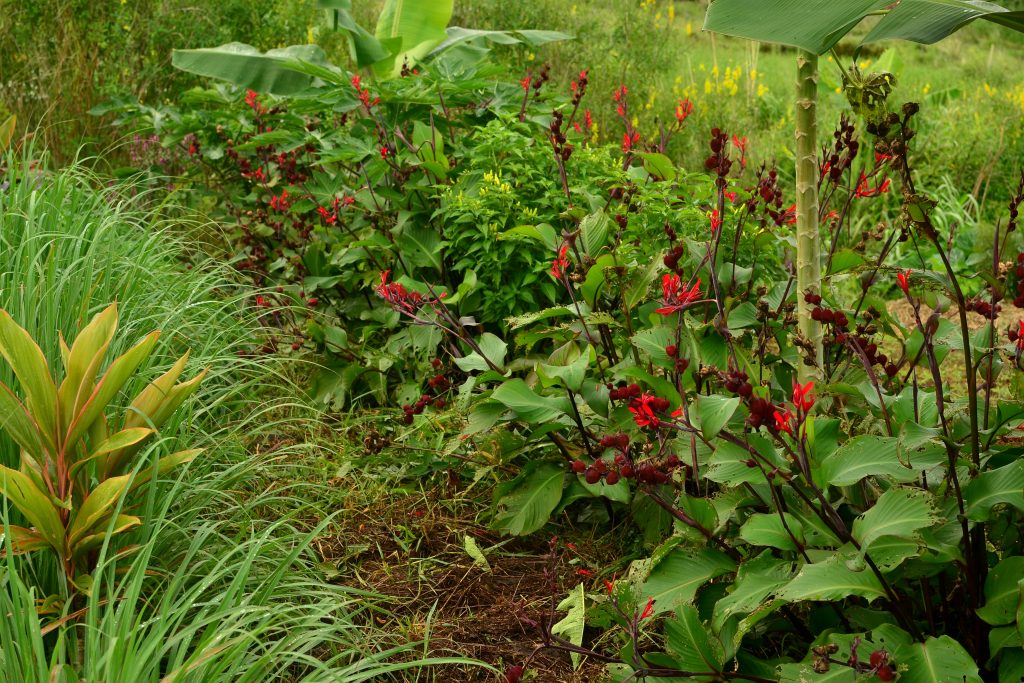
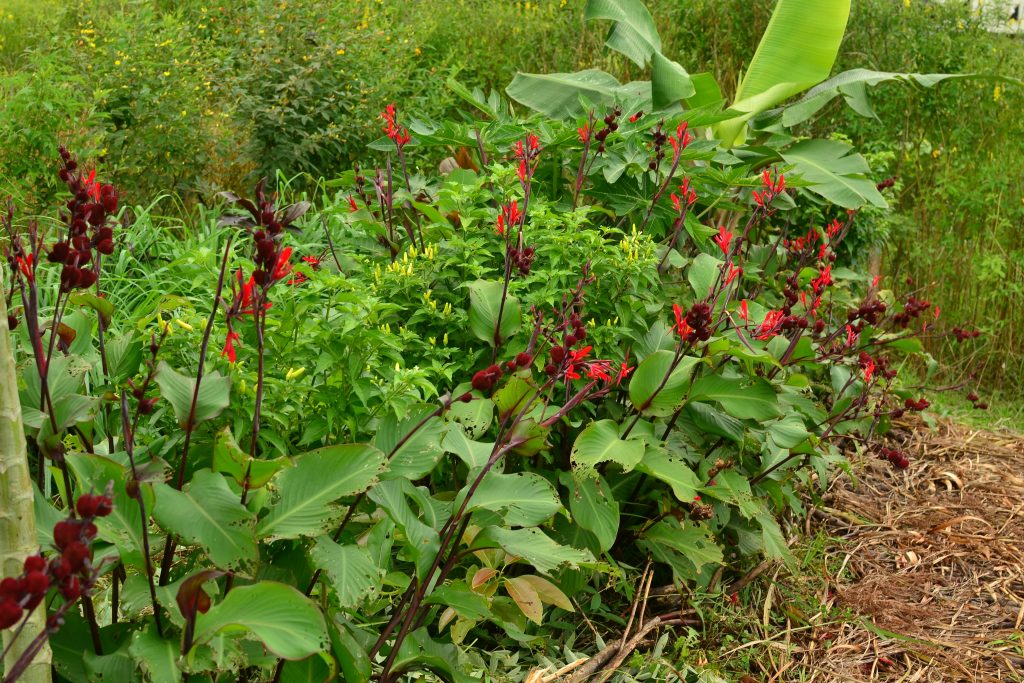
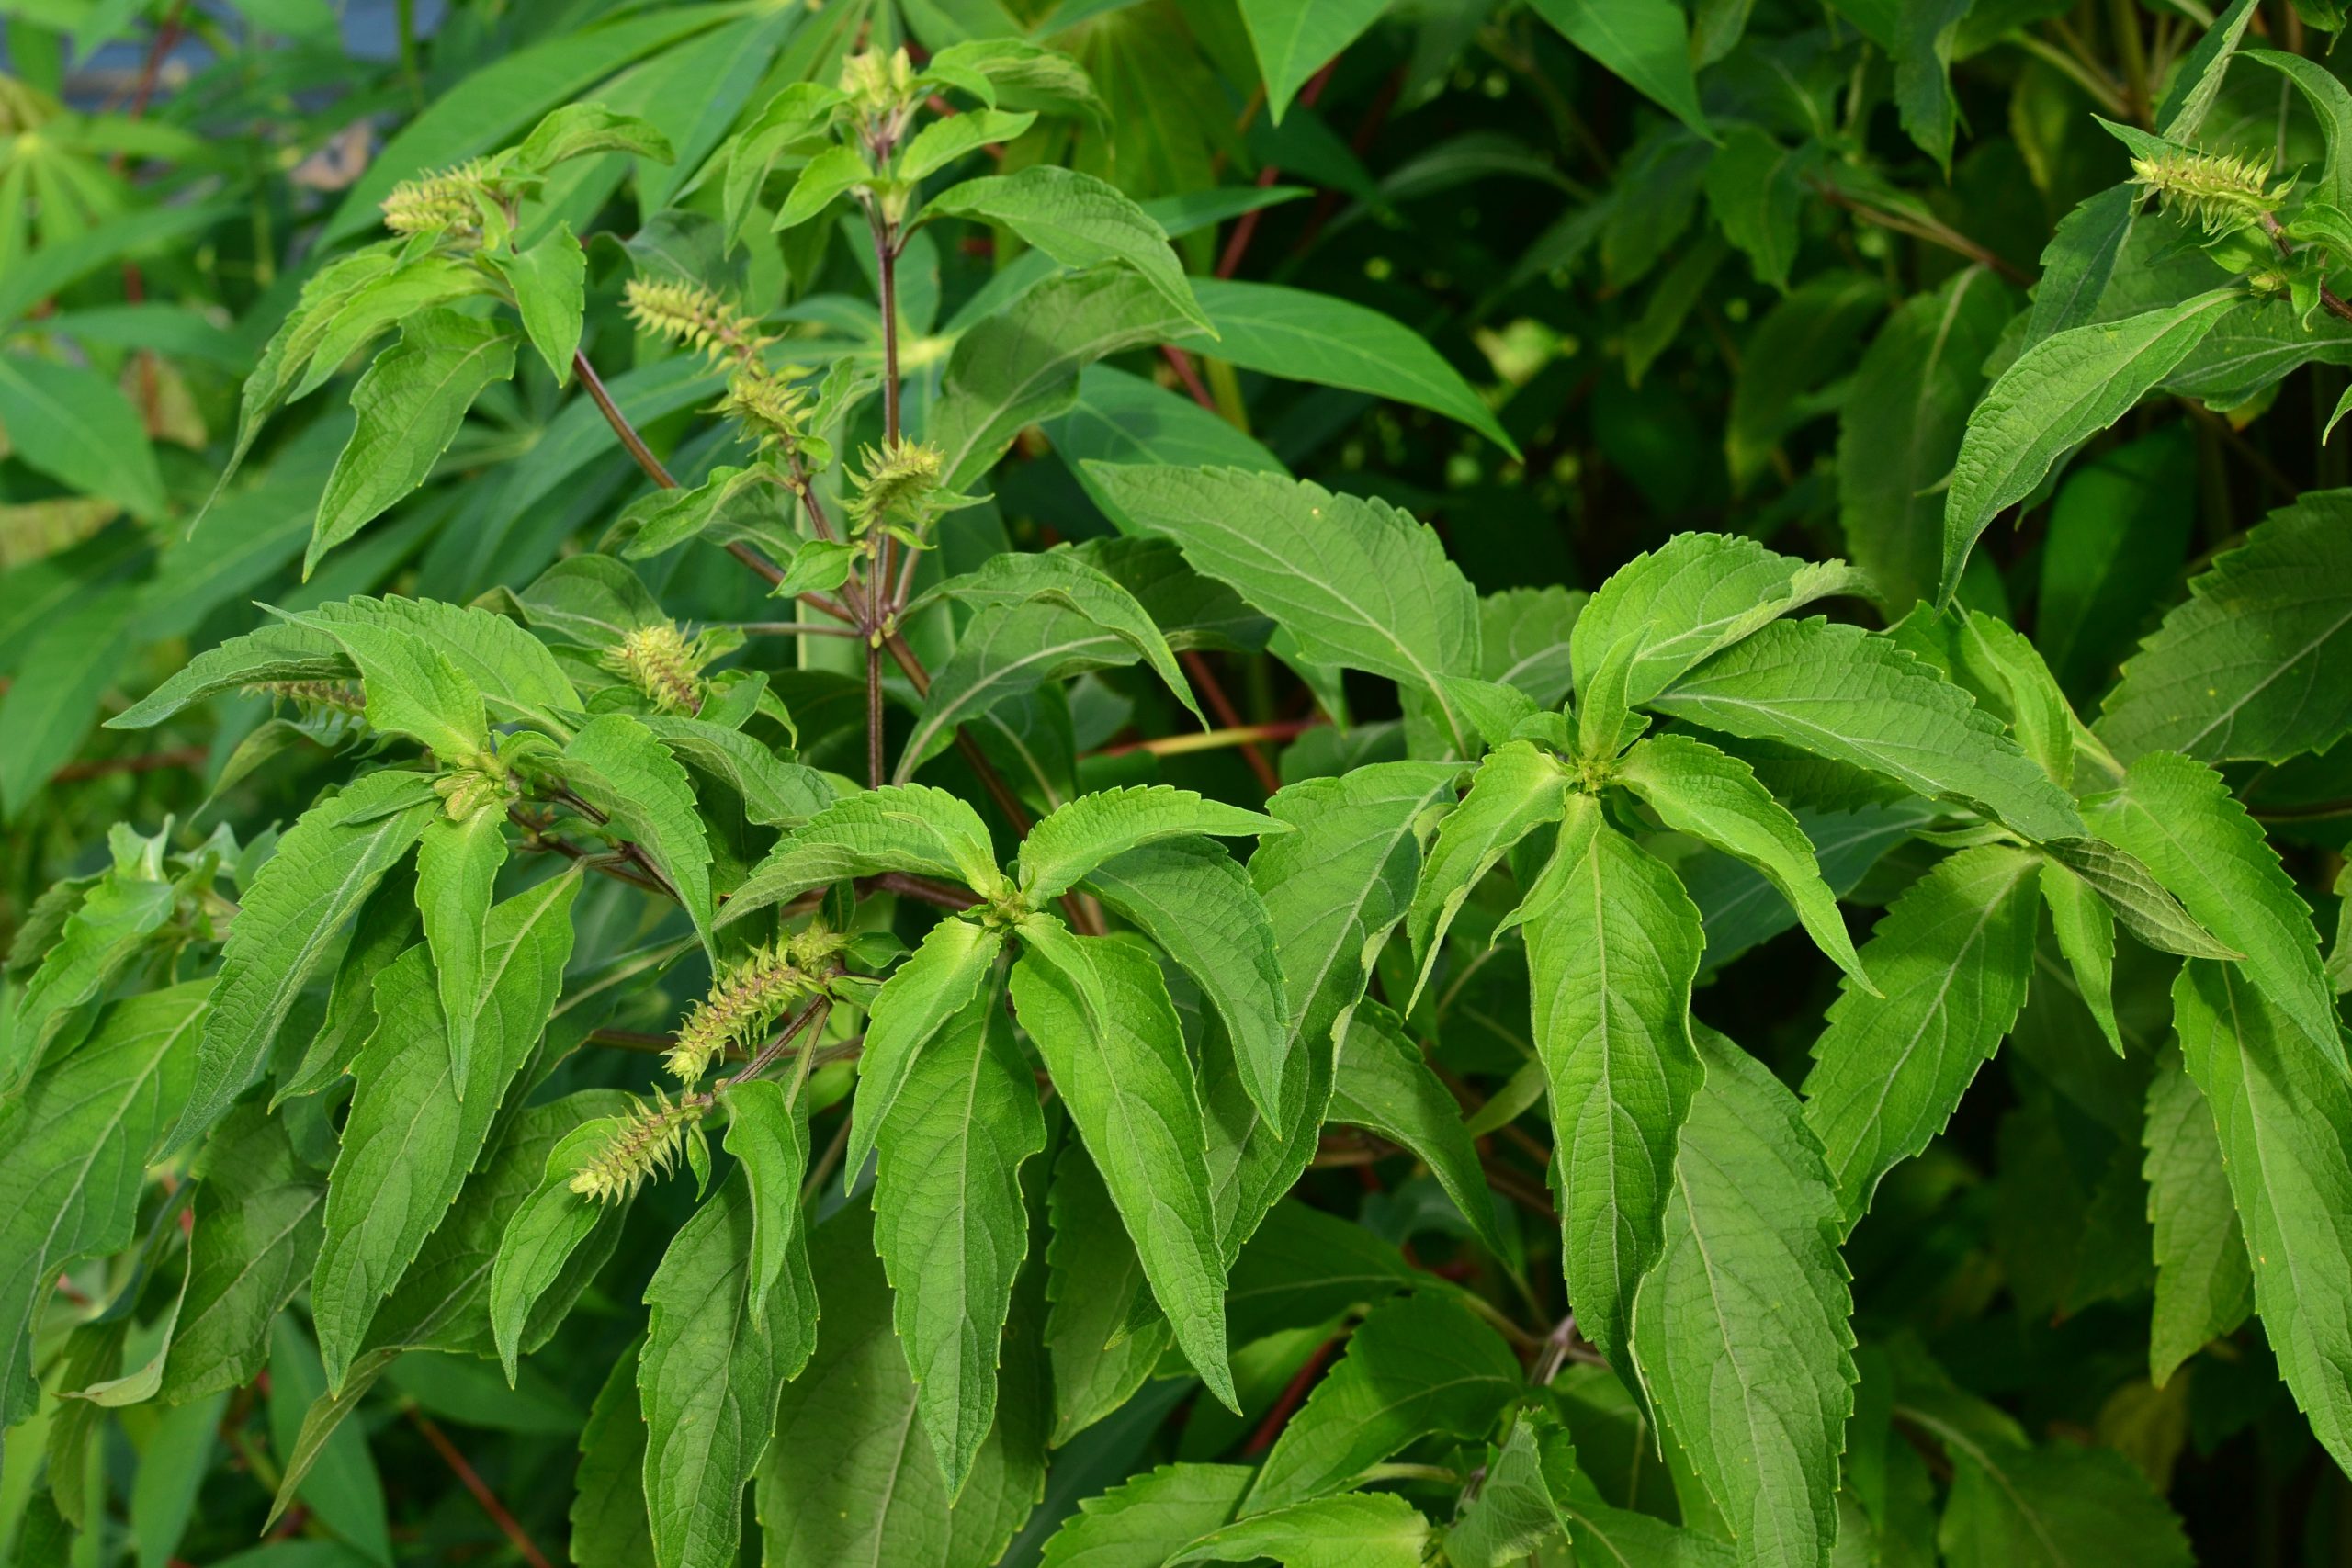
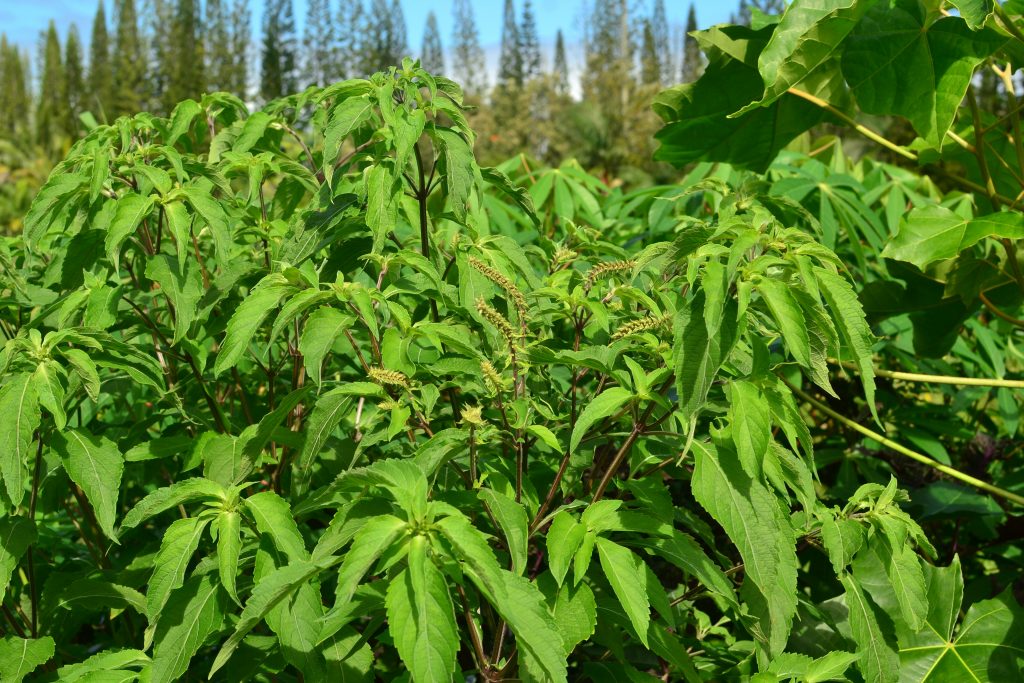
Squash grown with: coconut, banana, sugarcane, cosmos, blue basil, bush basil, edible hibiscus, Plectranthus barbatus, and coleus
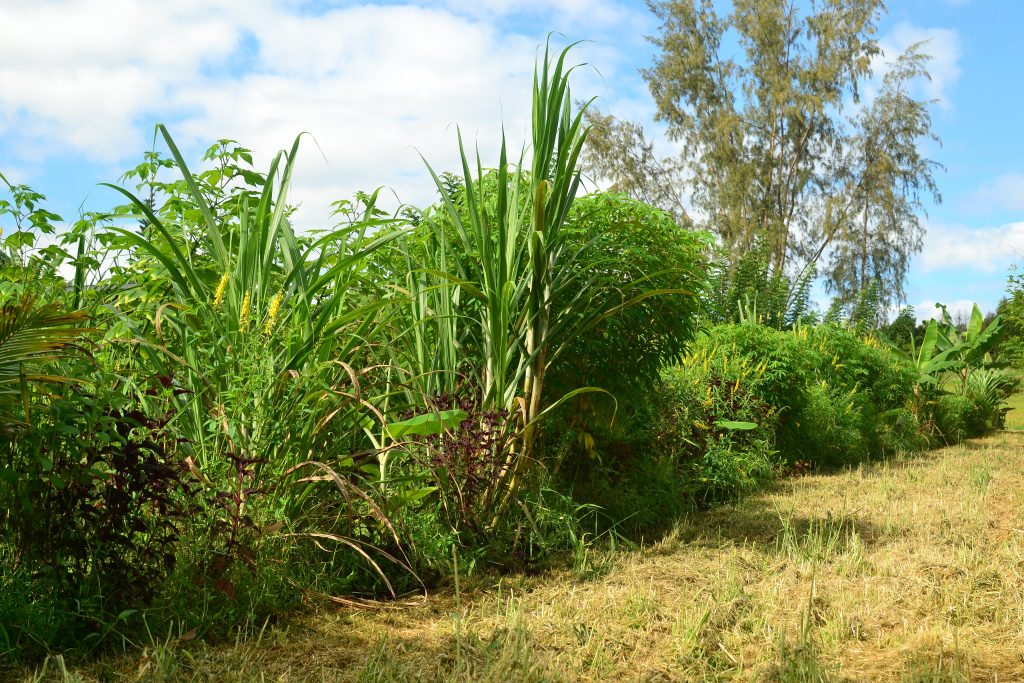
Squash grown with: coconut, banana, sugarcane, cosmos, blue basil, bush basil, edible hibiscus, Plectranthus barbatus, and coleus
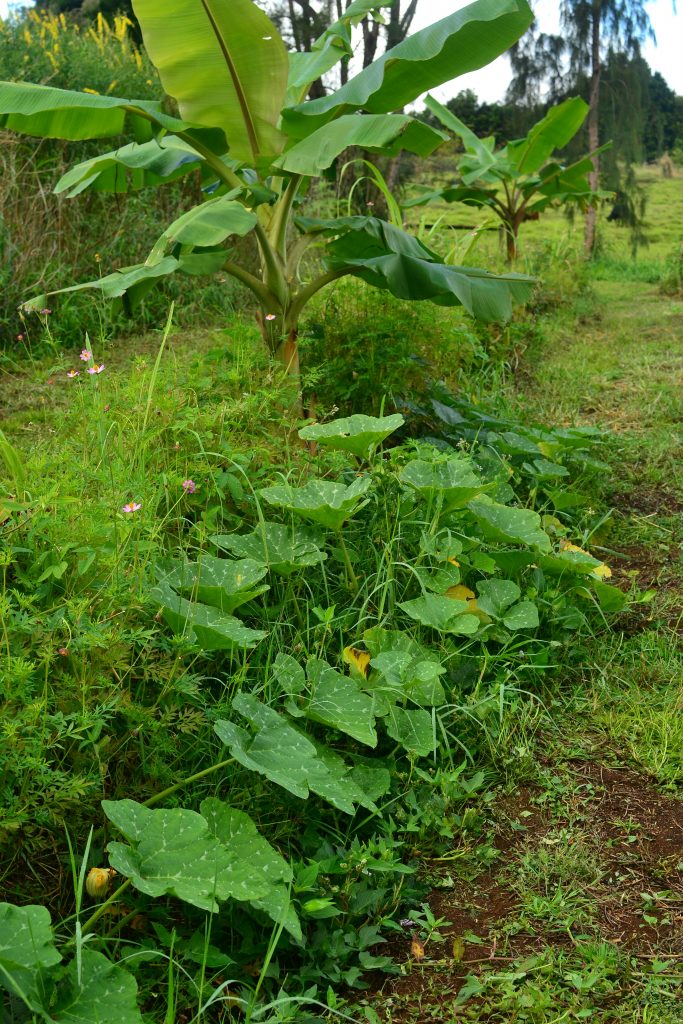
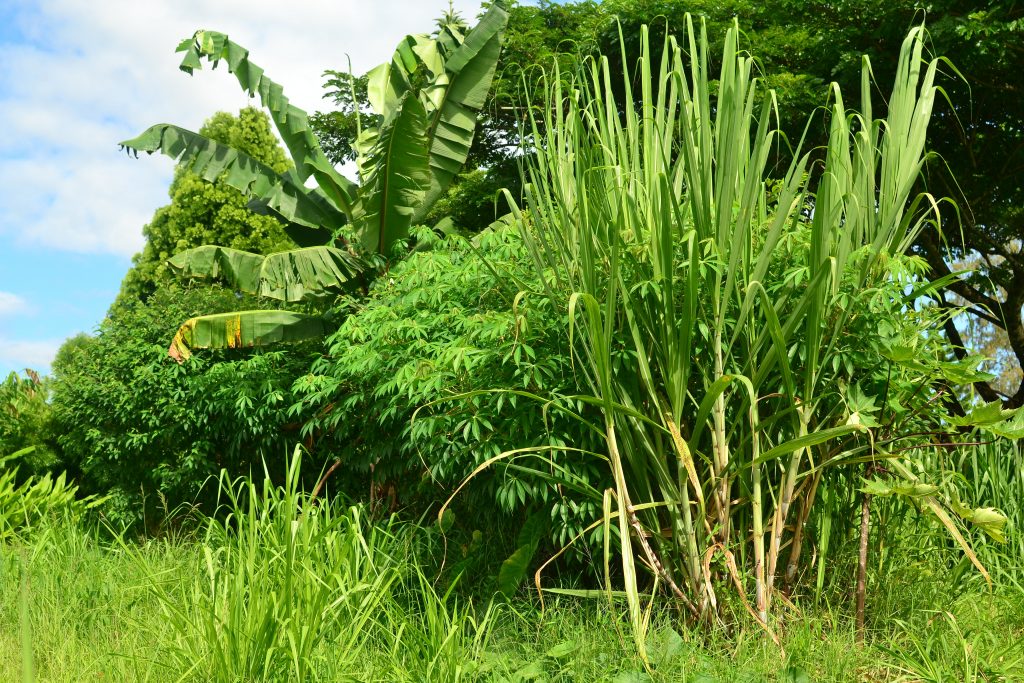
Squash grown with: coconut, banana, sugarcane, cosmos, blue basil, bush basil, edible hibiscus, Plectranthus barbatus, and coleus
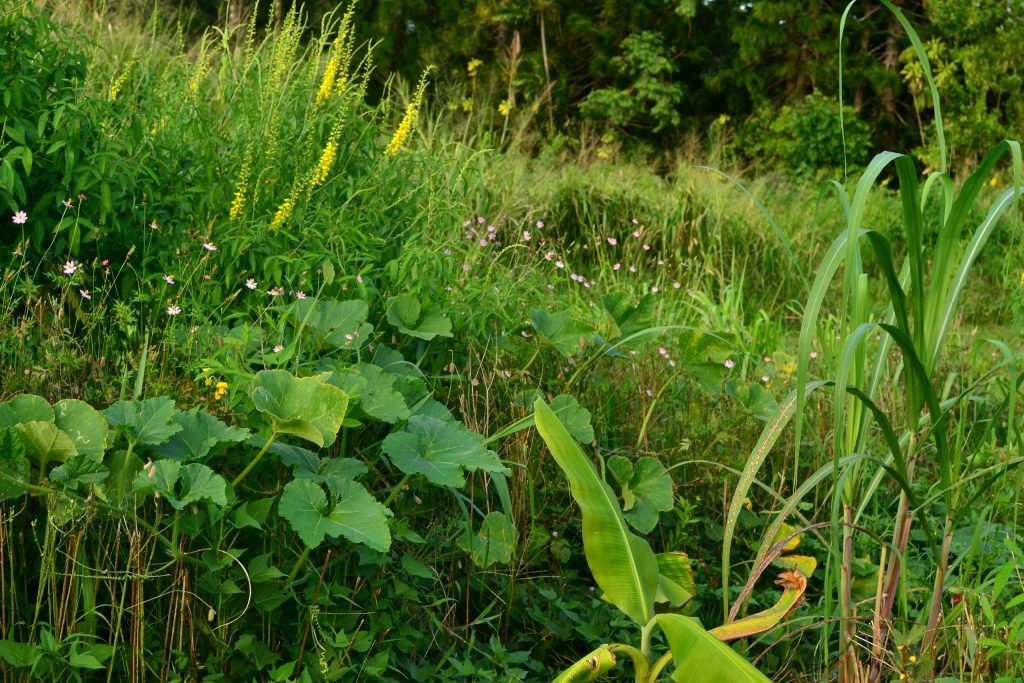
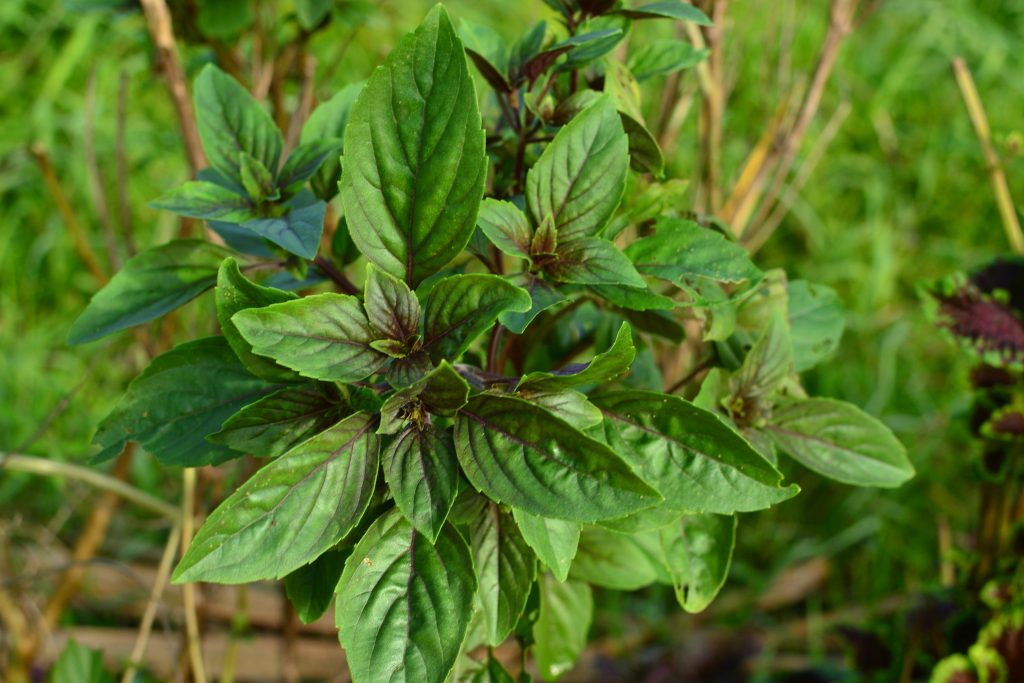
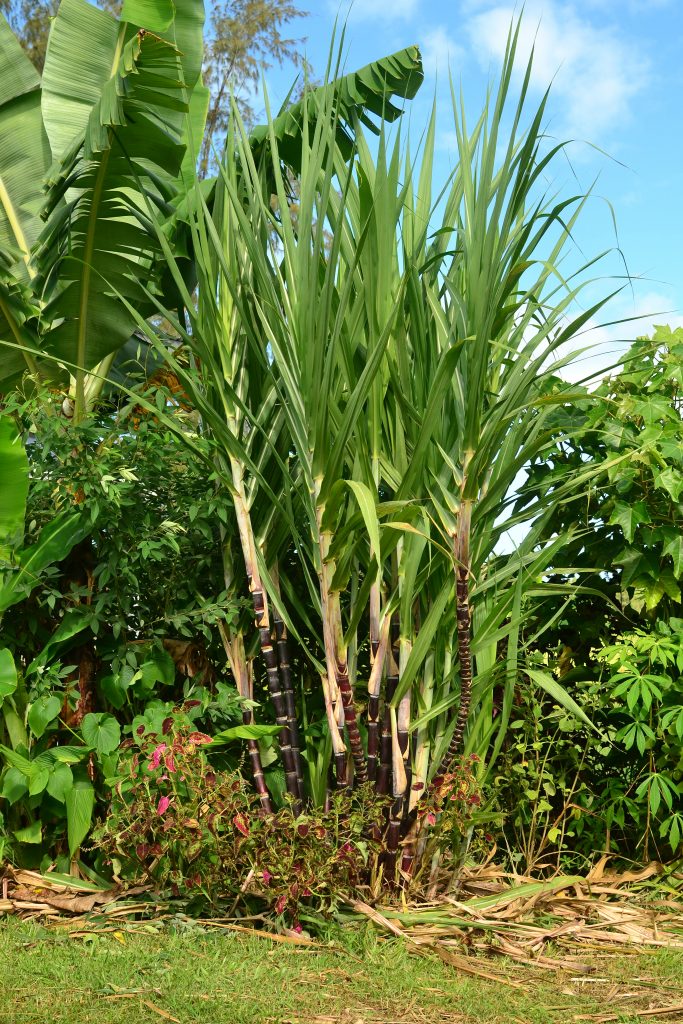
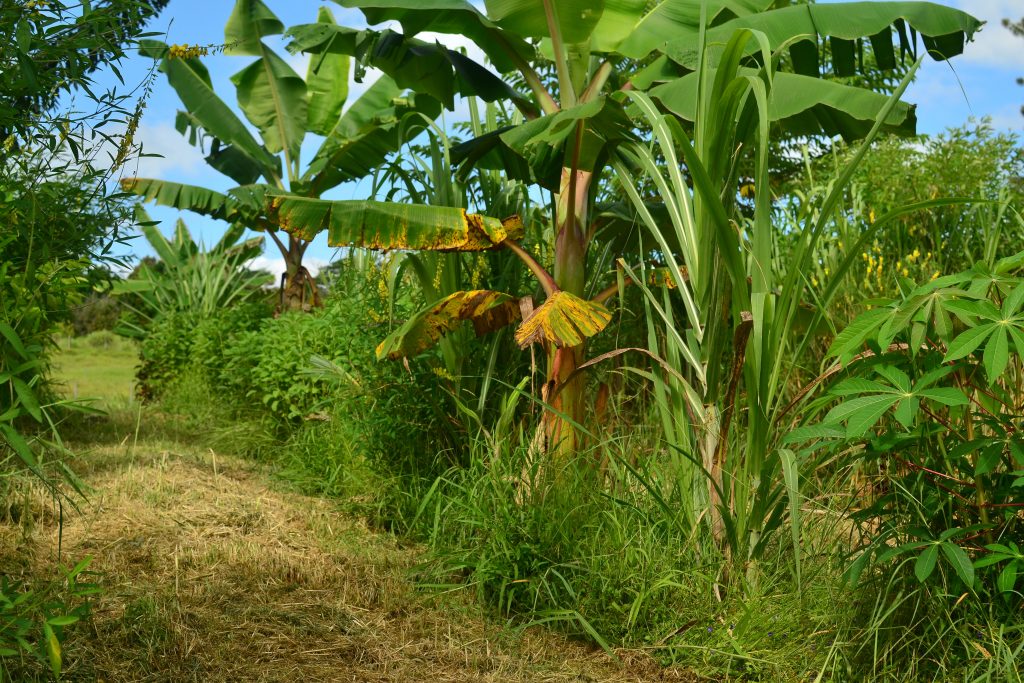
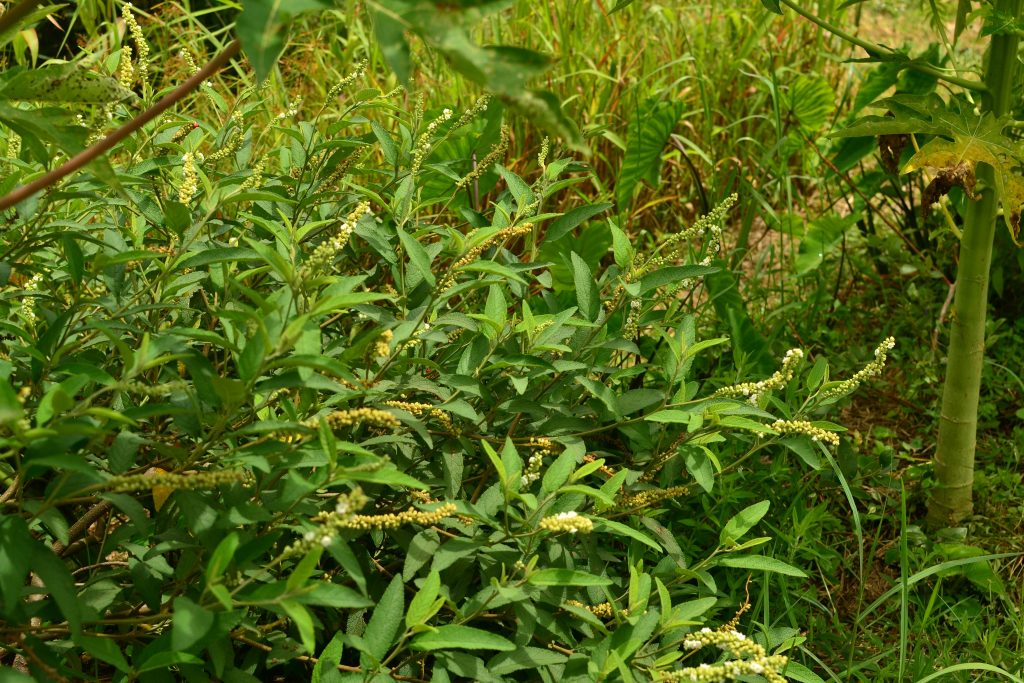
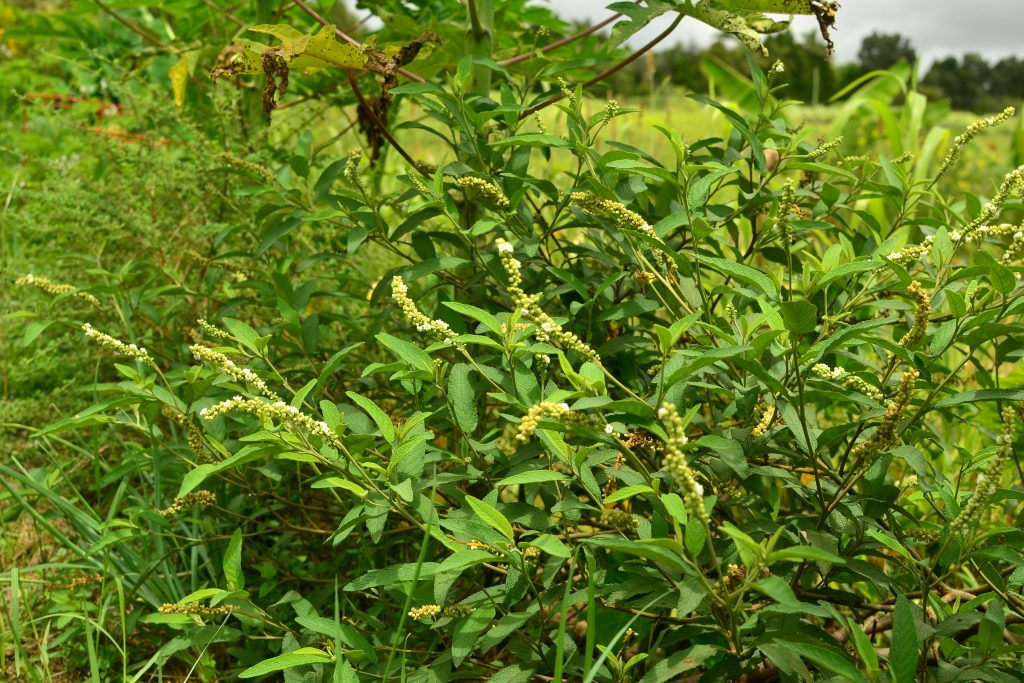
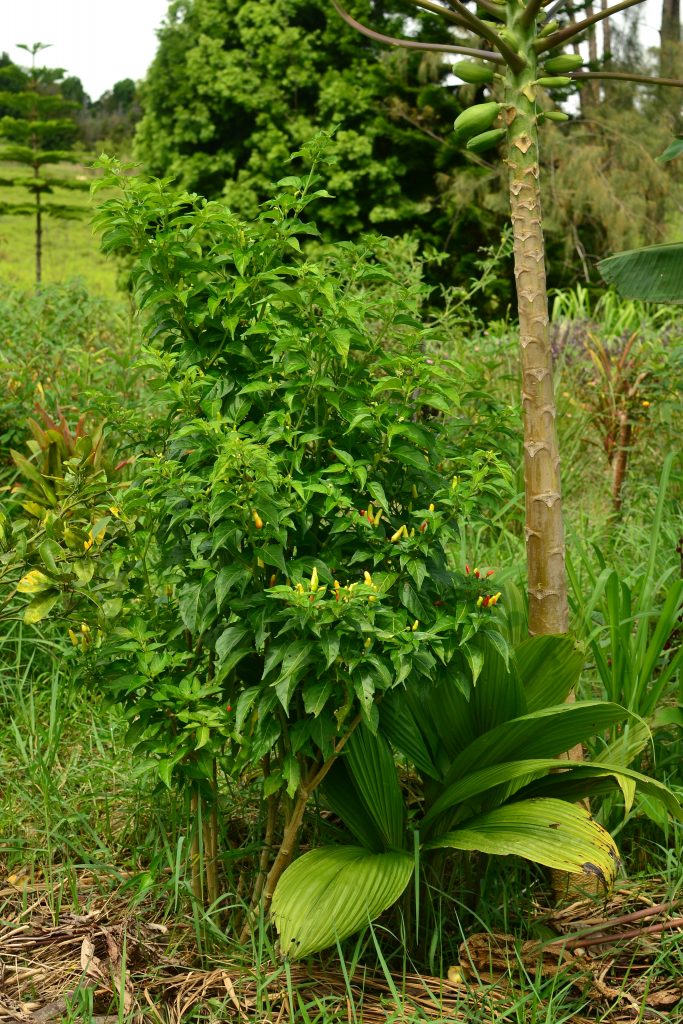
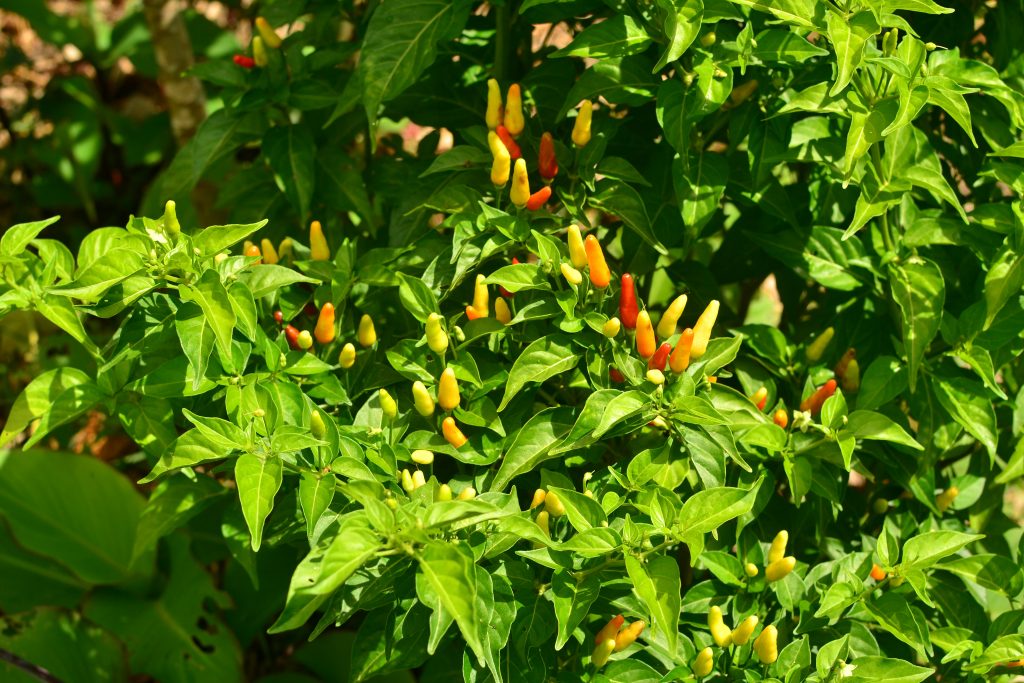
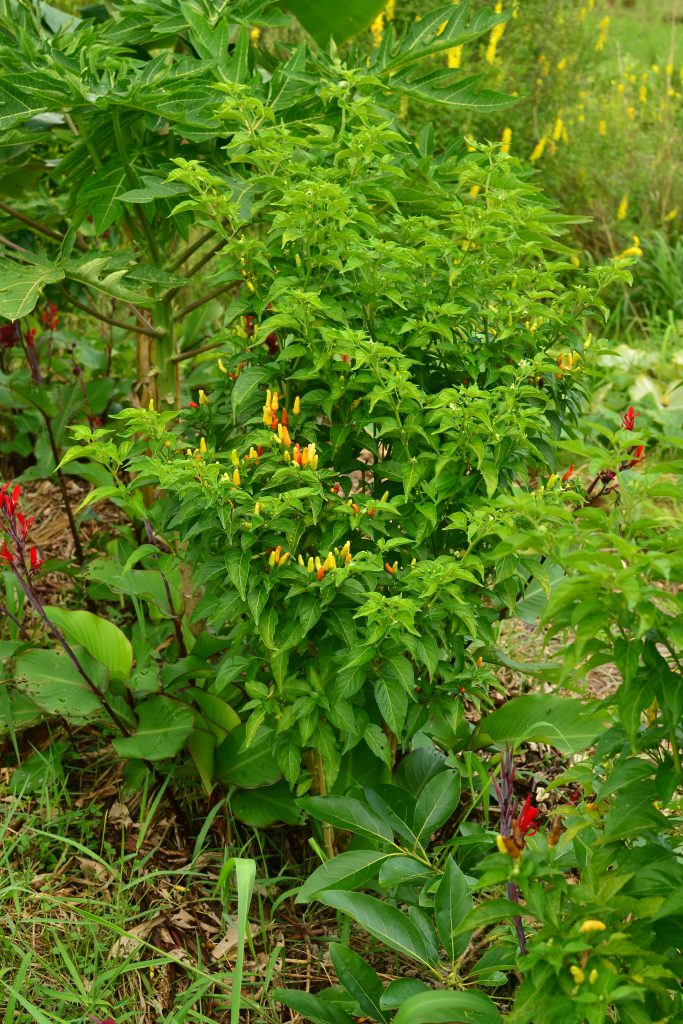
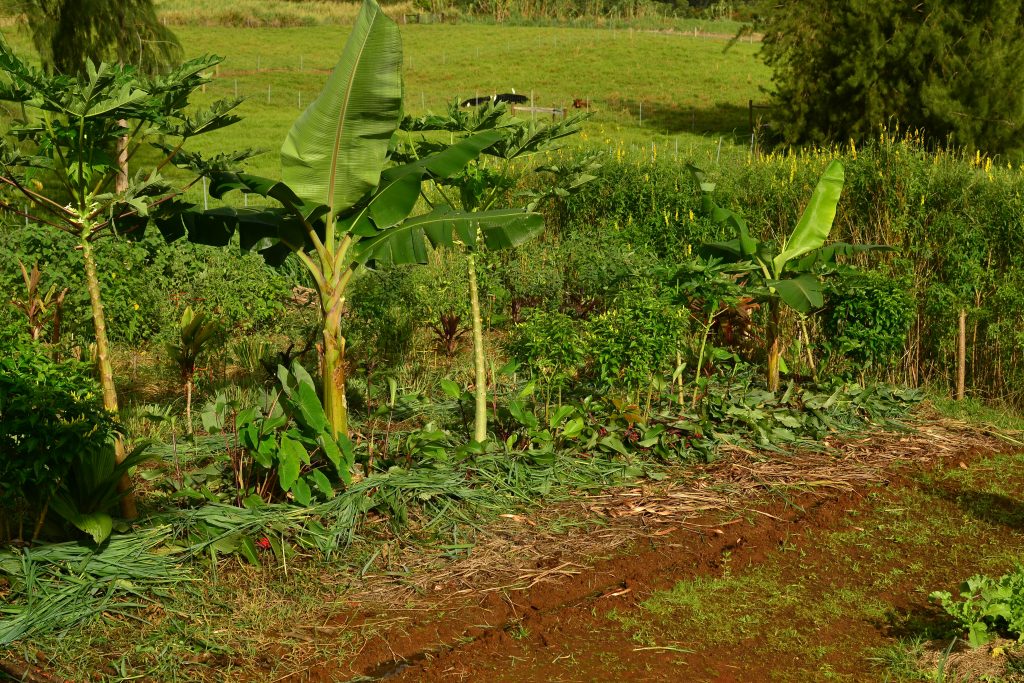
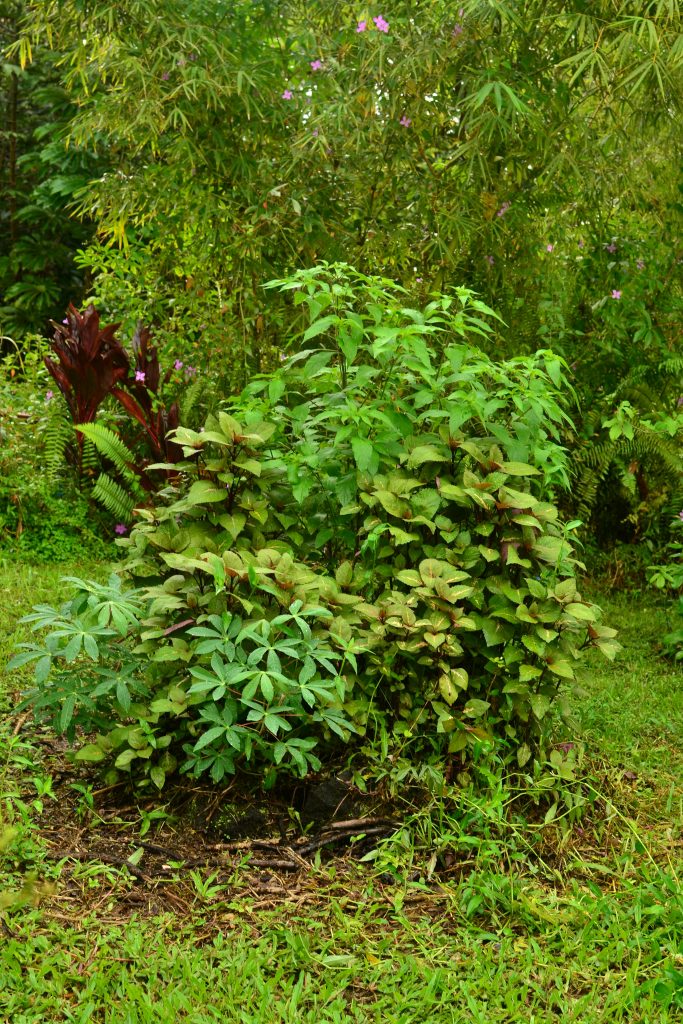
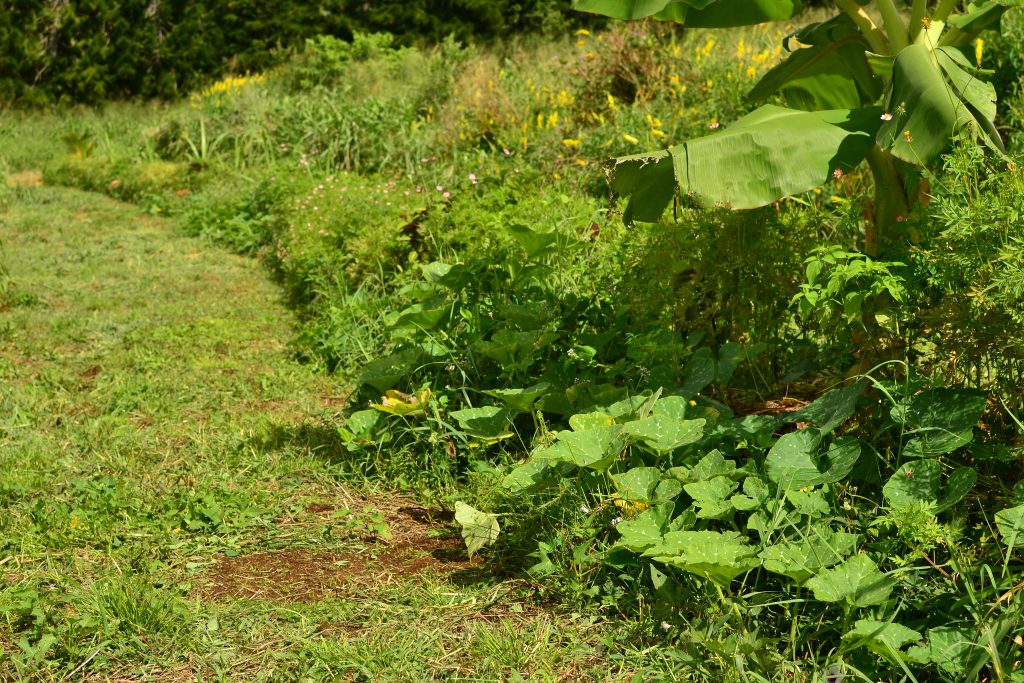
Squash grown with: banana, sugarcane, hot peppers, chico sapodilla, papaya, sweet potato, crotalaria, and cosmos
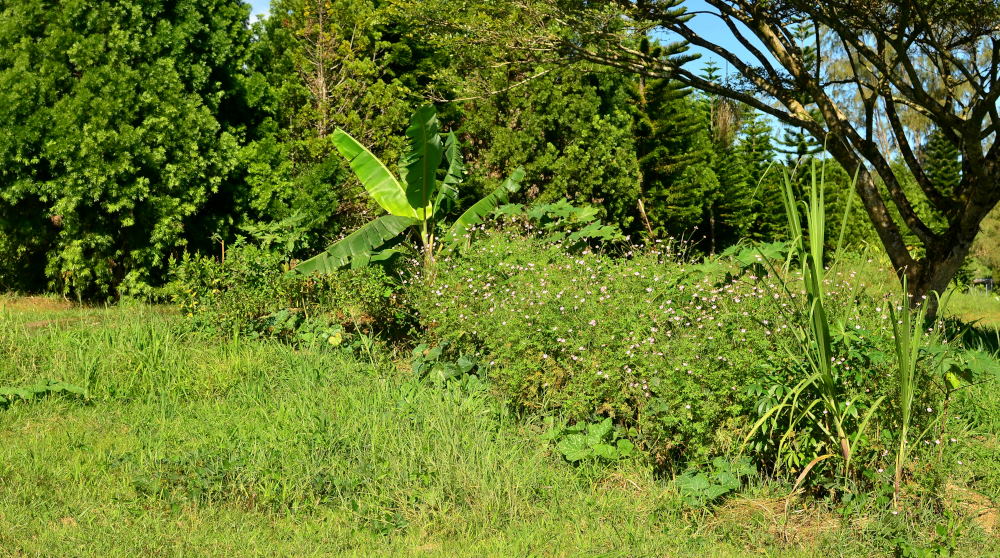
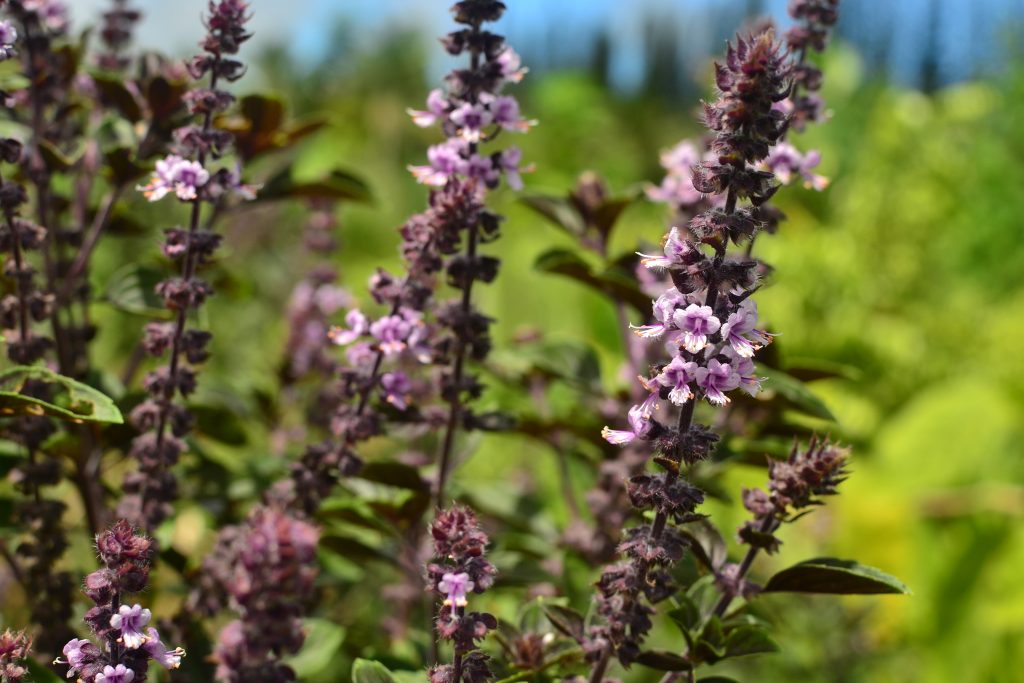
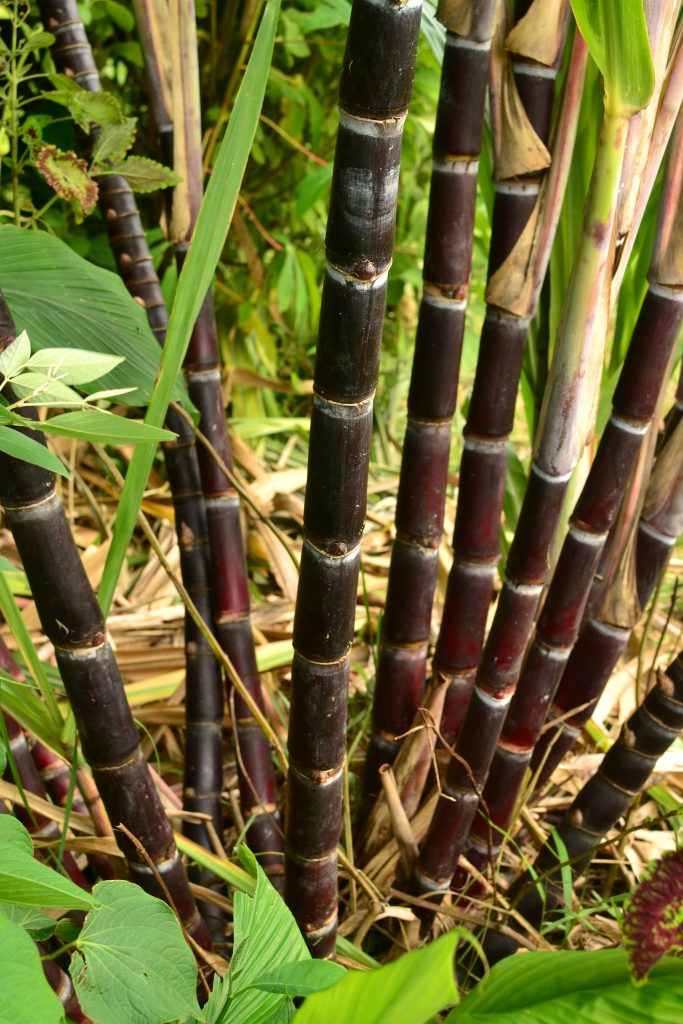
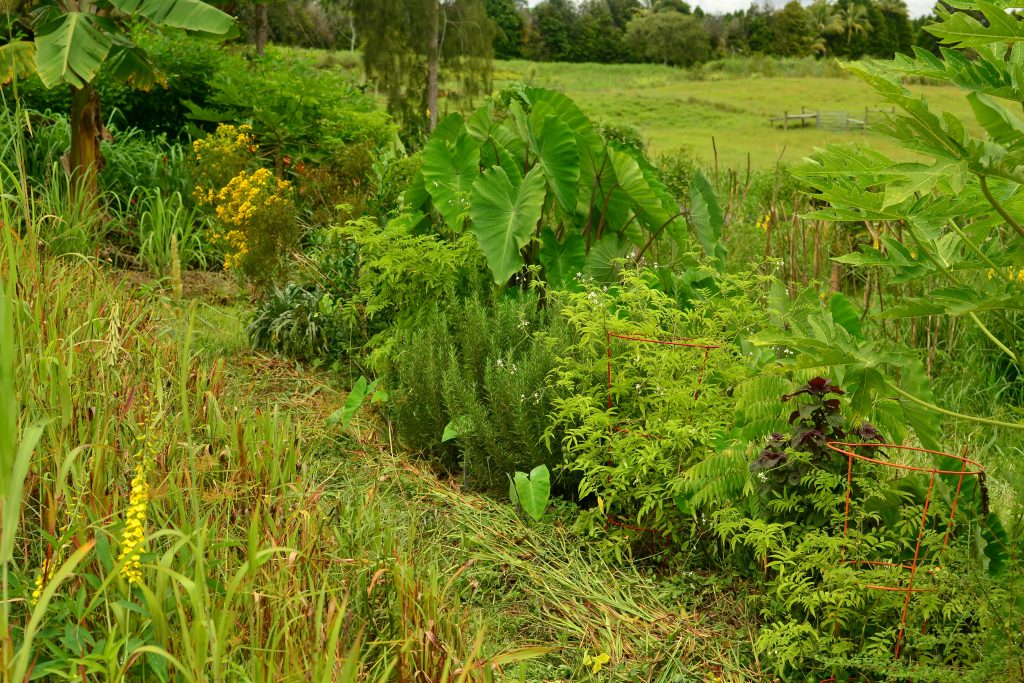
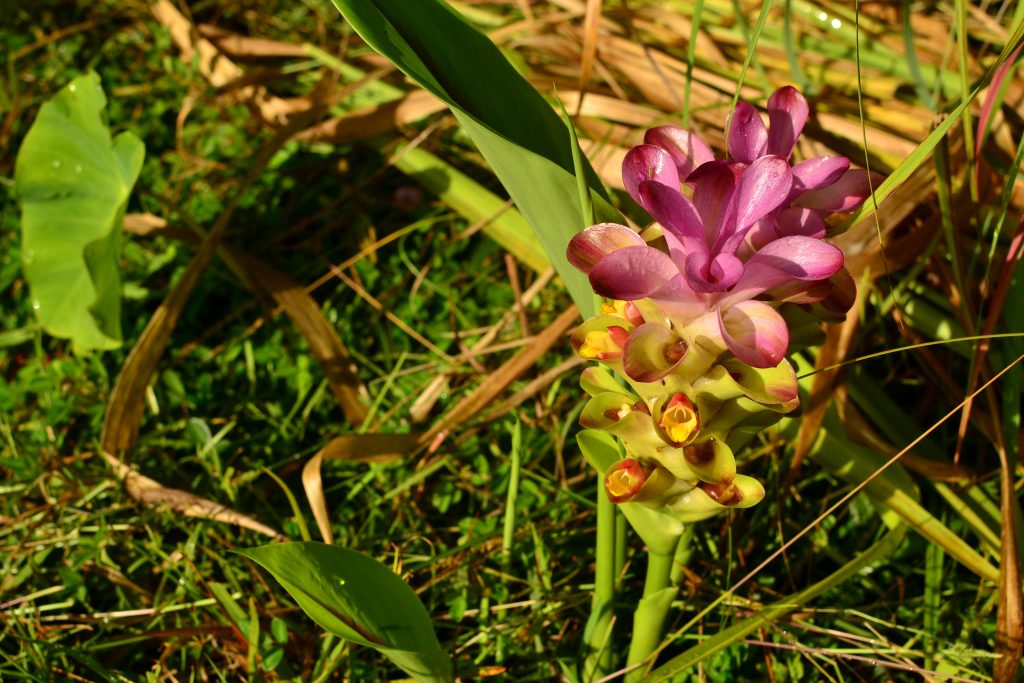
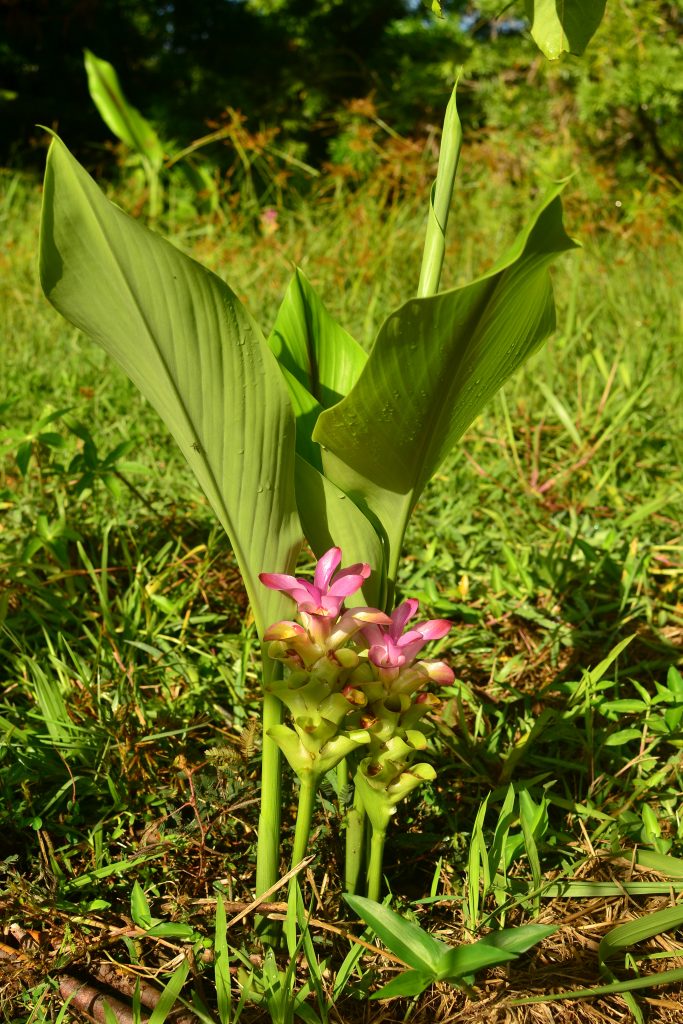
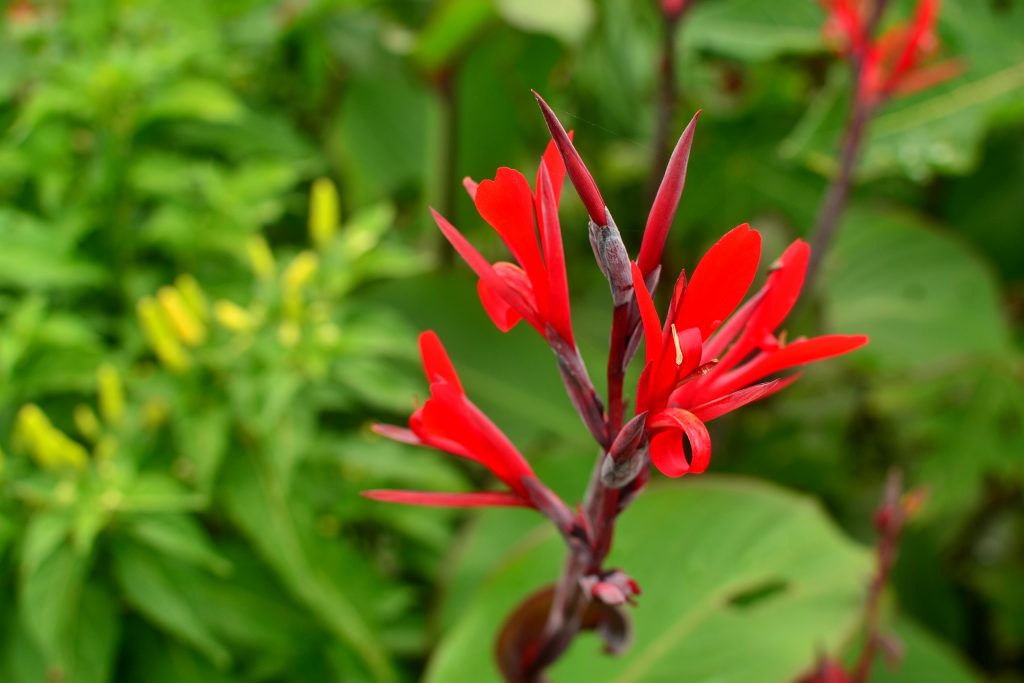
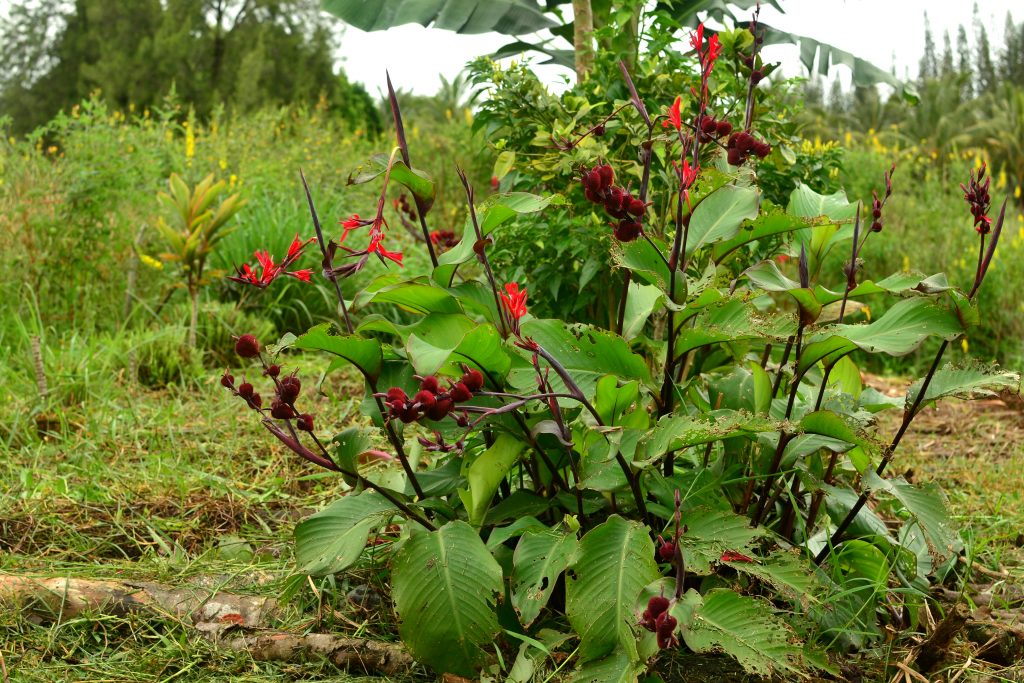
Squash with: Thai Basil, Catnip, Amorphophallus konjac, Shallots, Tithonia rotundifolia, Ginger, Boesenbergia rotunda, Sesbania javanica, Pigeon Pea, ele ele banana, Broadleaf Papaya, Cosmos, Sugar Cane, Kava, Kalo, Jobs Tears, Cassava, Alternanthera dentata
Happy Gardening!