A reader recently suggested I write about soil mixes and potting plants. Here are the tricks I’ve learned over the past few years.
Propagation is an important process to learn in order to save money on plant materials and continually grow plants for yourself and others. There are a few simple procedures that will help with your propagation adventures and make life a little bit easier. I am including information specific to Hawaii. Materials described are those we currently have available in our region, though I’m sure comparable resources can be found almost anywhere.
I create my systems to be expanded upon, starting out with a small setup and building onto it as I desire. When I first started growing plants, I didn’t think I would be working a 12-acre property and propagating thousands of plants. Luckily, with the way I designed it, I have been able to expand my nursery inexpensively over time.
The Nursery
Having a nursery is ideal for propagation. Young plants do not want to have direct, intense sunlight all day, nor have direct heavy rainfall on them; they demand a more delicate habitat that we can easily create for them. This could be as simple as under the eaves of a house or something more complex.
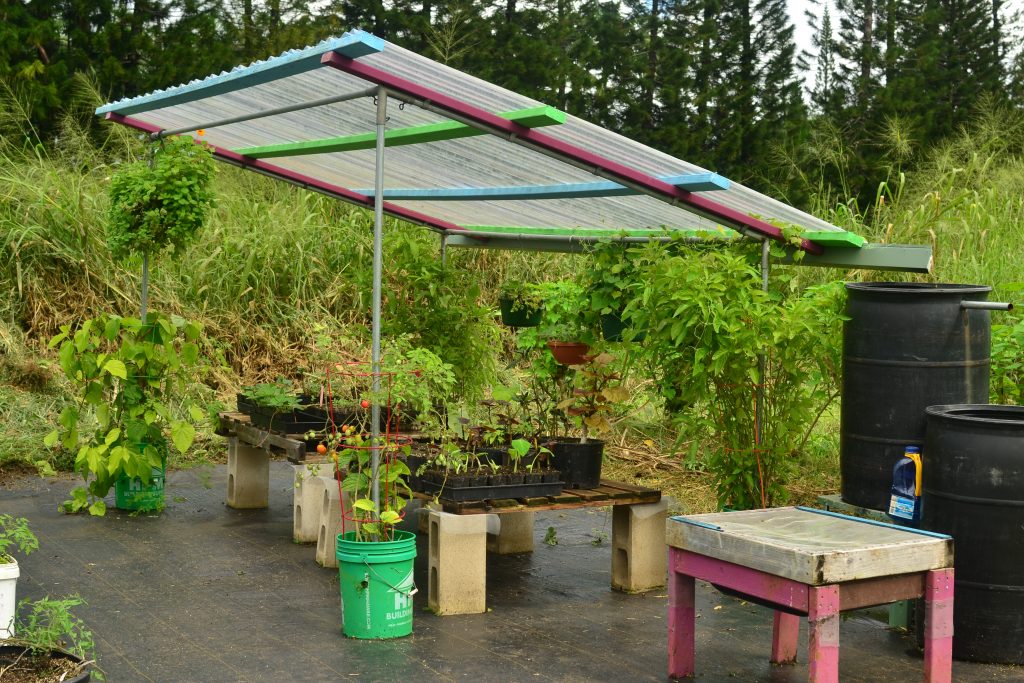
I call my setup a ‘sun house.’ It consists of an 8’x12’ piece of clear corrugated plastic roofing on top of a 1-inch electrical conduit piping pipe tent (typical pipe tent). This roof creates more dry space than the pipe tent’s standard dimensions (typically 10’ maximum sections), and also allows plants to grow out of the rain in the footings of the tent. The legs of the tent are cemented into five-gallon buckets for weighing down the structure. Space has been left in the top of the buckets and drain holes drilled, so that plants can be grown there! I use a single pitched roof, a lean-to, for maximum rain capturing abilities, with a rain gutter attached that drains directly into two 55-gallon rain barrels. (Currently, there’s no water pump; we fill gallon water bottles with holes drilled into the lid, resembling a shower head, to distribute water.)
Plants go on top of two cinder block pallet tables. A metal screen is placed over the cinder block legs between the top blocks and the pallet. This reduces slug threats to plants, as slugs do not like to cross metal screens. Never allow plants to reach from the ground onto the table or vice versa (creating a bridge), or slugs will find their way across. Consider leveling the ground and placing a weed mat down before setting up a nursery.
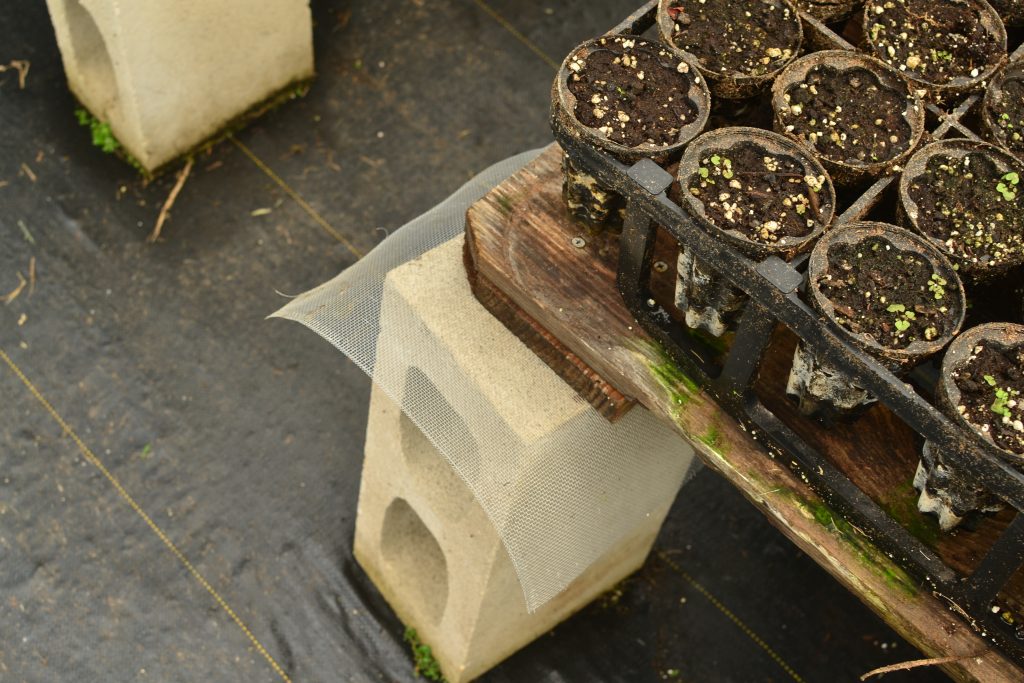
Slug deterrent metal screen
When growing plants that need shade, you will want to have a shade house in addition to your sun house, or simply shade half of the sun house. My shade house started out as a 10’x10’ pipe tent with a 75% light filtration shade cloth roof; over time it expanded to 20’x20’. This material allows rainfall through, so you don’t have to water your plants as often as with a solid roof. I have weed mat underneath and pallets on the ground for the plants. (Untreated pallets can be expected to last about a year before deterioration.)
– Pipe tents and shade tarp materials can be purchased at HPM or Ace.
– Corrugated roofing can be purchased at HPM or Home Depot.
– Weed mats, shade tarps and clear plastic tarps can be purchased at Rudy’s Shade Inc.
Soil Mixes
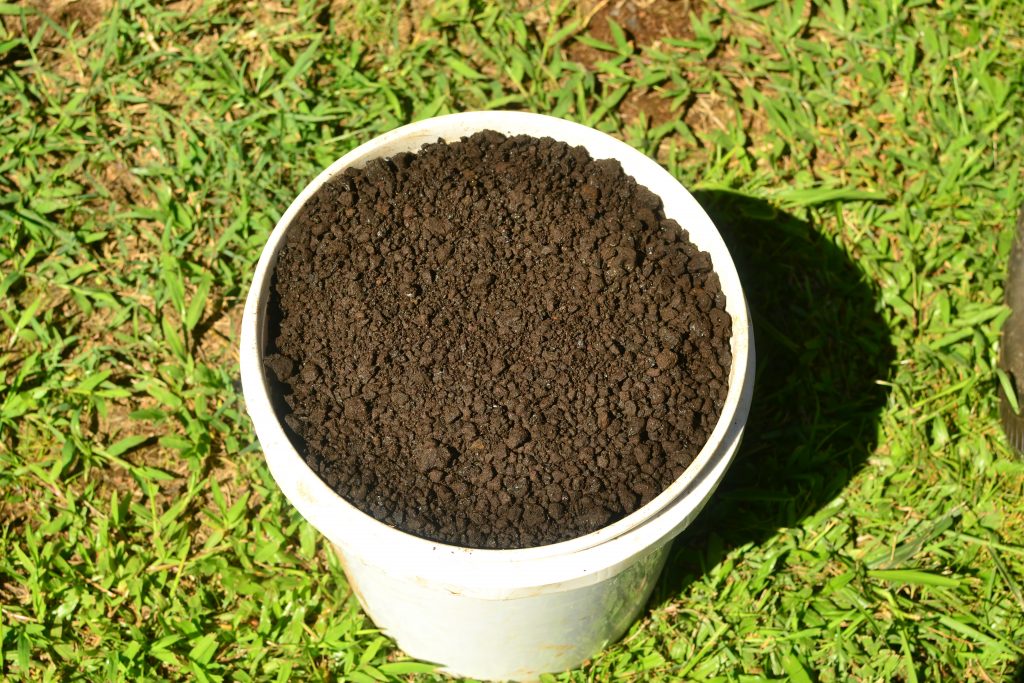
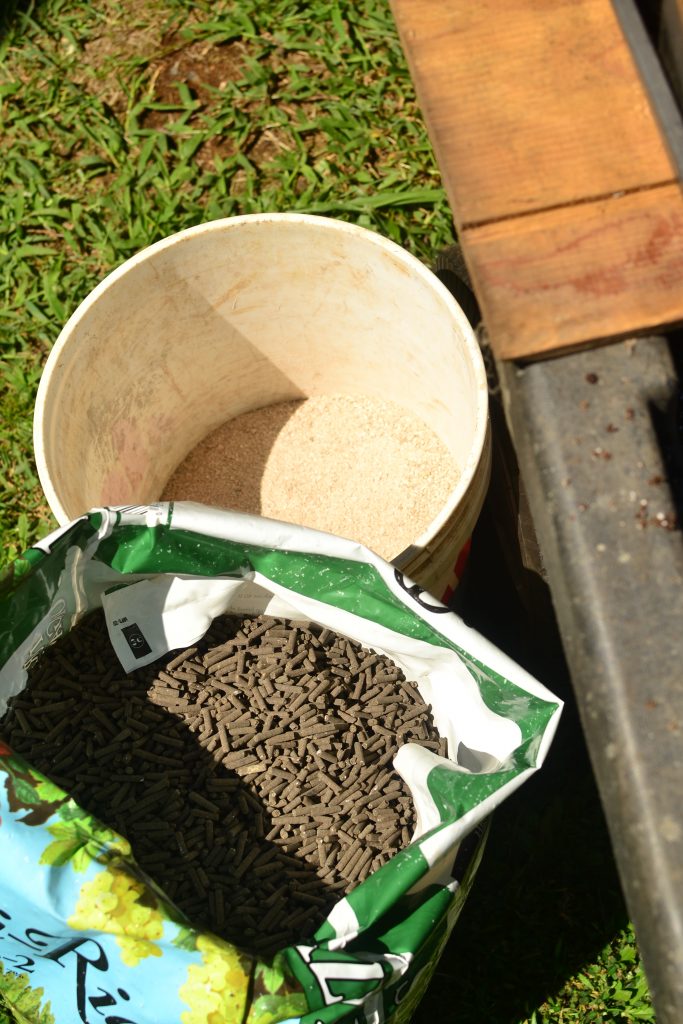
Not all soil mixes are created equal, and I find that most store-bought mixes need a little modification to be more adapted to our (wet) environment. I use Sunshine Mix 4 or Promix as a medium.
I always cut my soil bales with black cinder (purchased directly from a quarry) for increased drainage. Also, in times of extreme drought, the cinder mix will allow water to penetrate the soil more readily. Many times, I’ve gotten plants from other people. On some occasions, when the pots were allowed to dry completely, the soil by itself became impermeable; the only way to induce absorption again was to fully submerge the pot in water for a period of time. What a hassle!
Materials:
Soil Bale: Sunshine Mix 4 – 3 cubic feet or Promix – 3.8 cubic feet
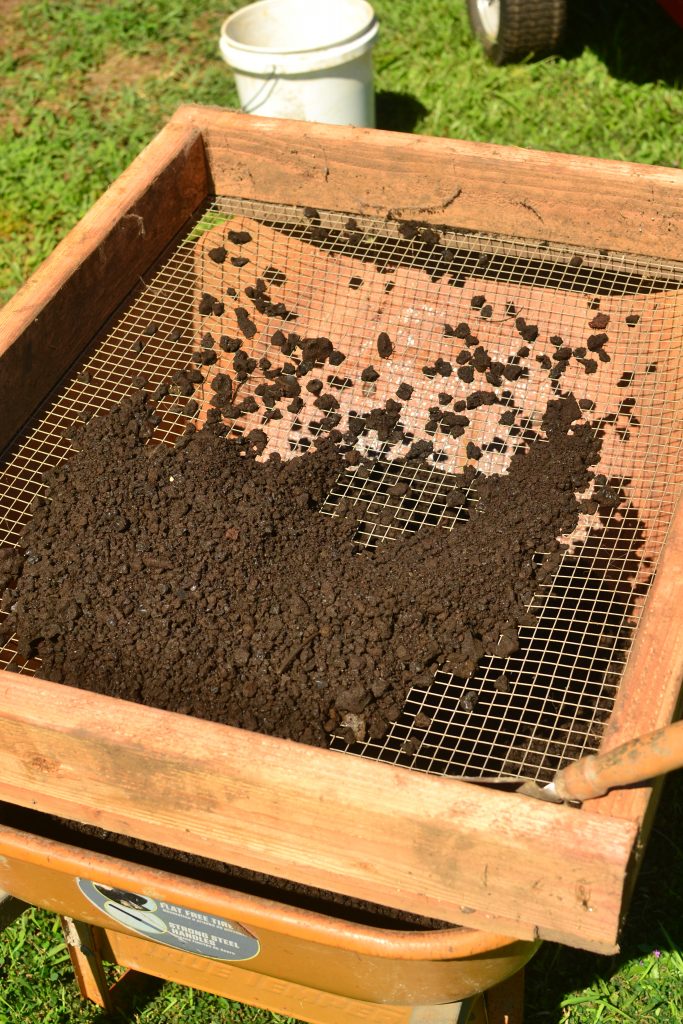
1’’ Minus Black Cinder (sifted through ¼’’ metal screen)
Water
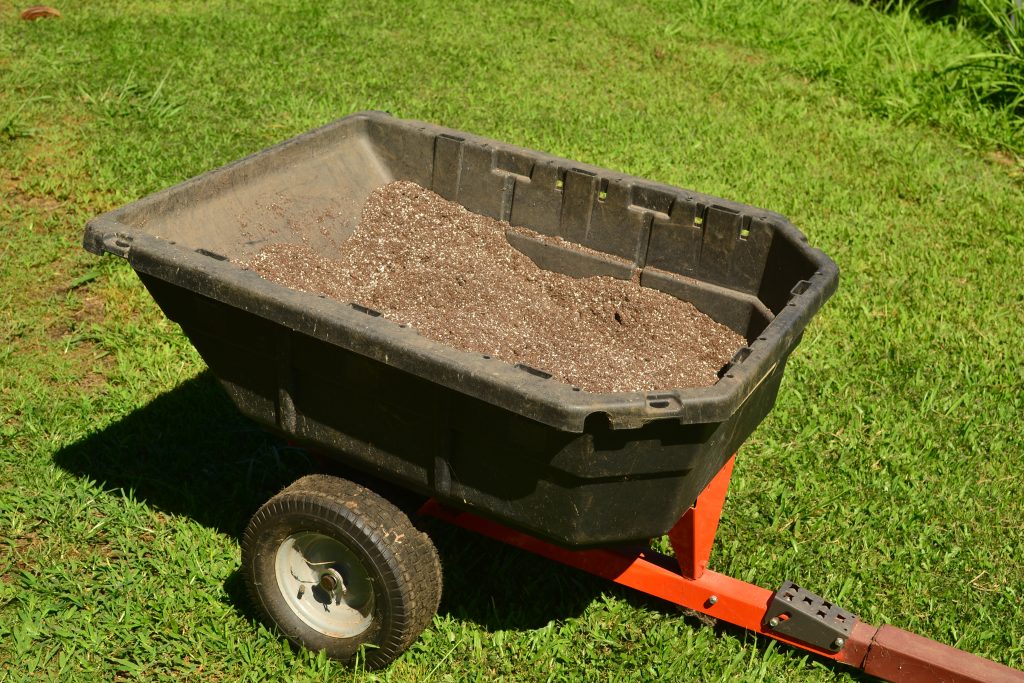
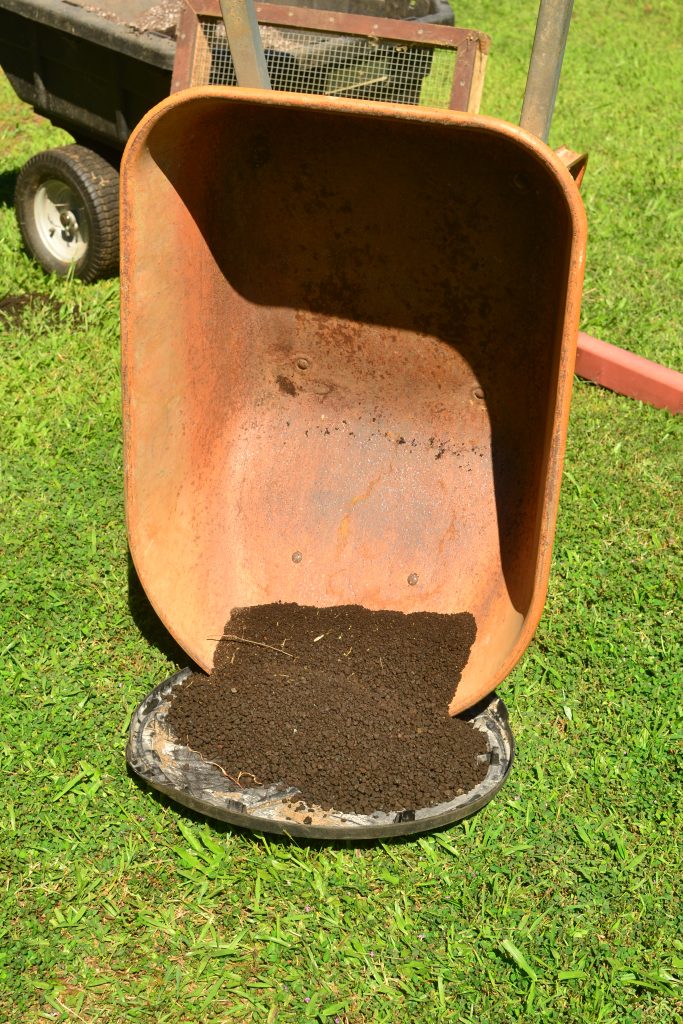
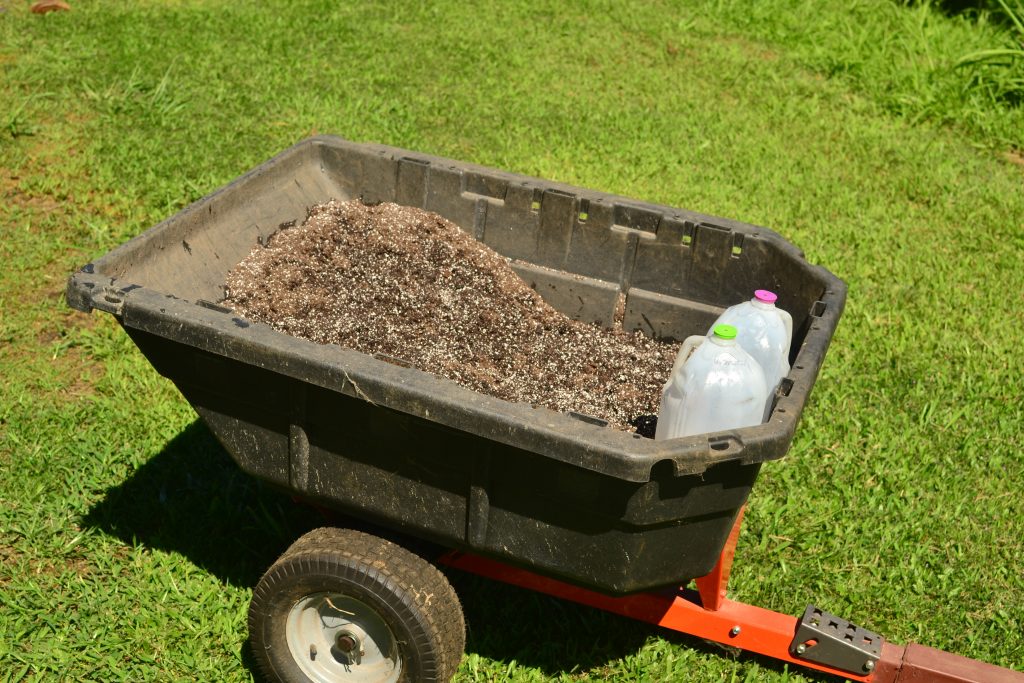
Wheel barrow (or other large container for mixing)
Hoe
Ratio for wheel barrow:
- ¼ soil bale (0.75-0.95 cubic feet)
- ½ five-gallon bucket of cinder
- Two gallons of water
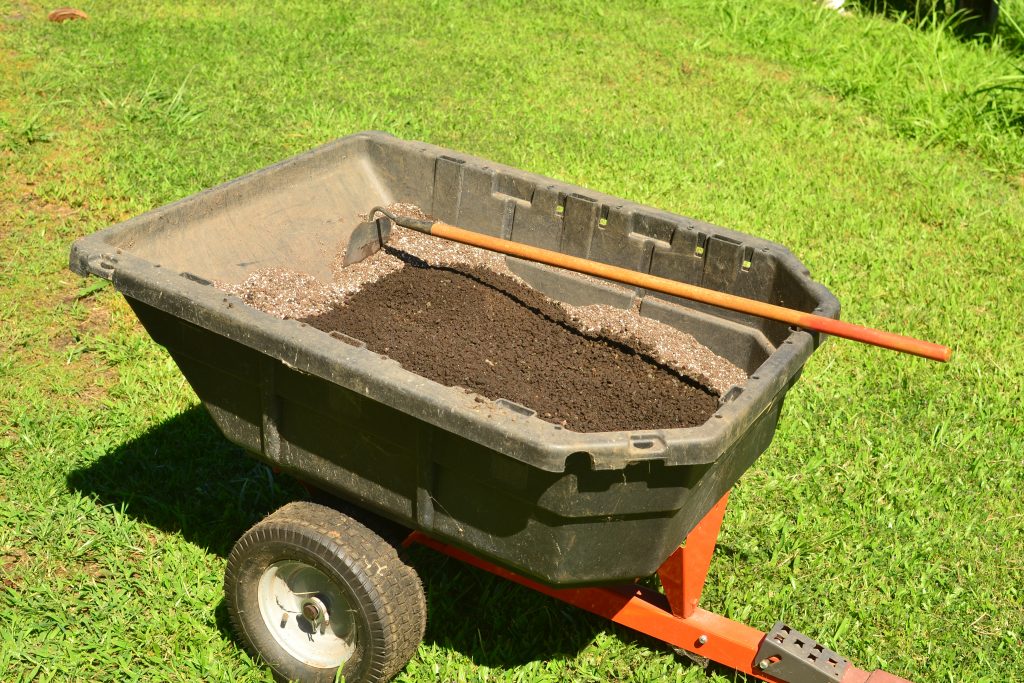
Ratio for larger cart:
- ½ soil bale (1.5-1.9 cubic feet)
- One five-gallon bucket of cinder
- Four gallons of water.
Procedure (for wheel barrow – double this recipe for larger batch/mixing container):
Take soil bale and put it into wheel barrow. Cut off ¼ of the bale and leave it in the barrow and set the rest aside. I use a sickle for cutting.
Using your hands, break the soil down to remove any clumps.
Fill half of a five-gallon bucket with sifted black cinder and pour into the wheel barrow.
If you are up-potting plants, add fertilizer to the mix.
***DO NOT ADD FERTILIZER WHEN PROPAGATING SEEDS OR CUTTINGS!*** It will promote rotting and may attract unwanted pests.
Mix the cinder into the soil with a hoe until homogenous.
Add two gallons of water and allow to absorb for five minutes before mixing.
Mix the water into the soil with a hoe.

The mix is now ready for potting.
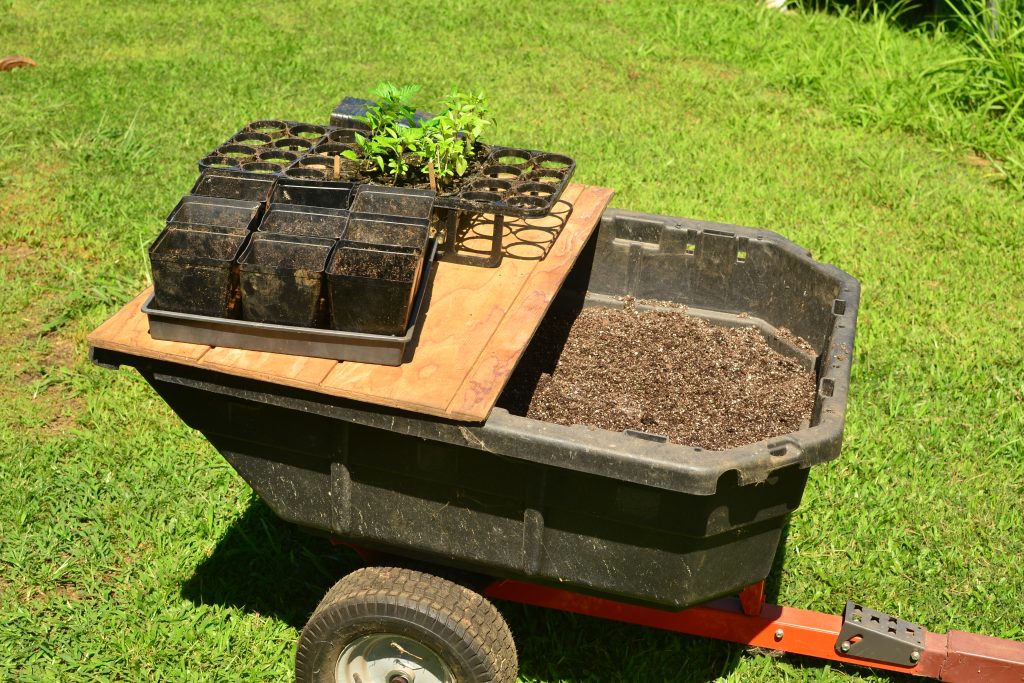
Potting
I use plywood on top of my wheel barrow as a table; when I make a mess it’s easy to put soil back into the barrow.
Compaction:
You need to learn the correct amount of compaction when propagating. You’ll want to press firmly, but avoid compacting the soil so much that propagation and watering are hindered.
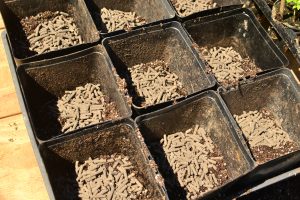
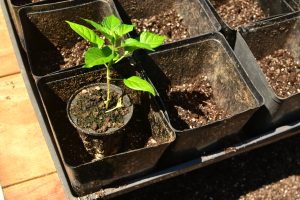
Potting seeds or cuttings:
Fill the pot completely with no compaction first. Then gently press the soil down, it usually compresses down about one third of the way below the rim of the pot. Add more soil on top with another gentle pressing. The soil will likely appear sufficiently compacted, but go water the pot on a level surface, and odds are, you will see the soil level drop another inch. Give the pot (or tray of pots) a firm tapping on the ground to ensure all air pockets are removed and the soil has fully settled into the pot(s). Add more soil to finally fill the pot. Do not compact this section; we want the pot to have a little head room for water to gather before percolation. You are now ready to add seeds or cuttings to the pot. Check out my seed propagation article for propagation techniques.
*** Seeds require no fertilization until after their first set of true leaves appear. So never add fertilizer into the soil mix. Always top dress later.
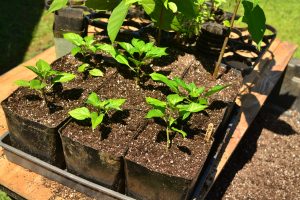
Up-potting young plants:
Half fill the pot with soil, then add fertilizer and mix it in. Add enough soil for the top of the plant’s root ball to be slightly below the rim of the new pot. Position the plant in the pot and add soil around it, compacting as you go. Water it and add more soil if necessary. Place in slight shade for the first few days after transplanting to reduce shock. The plant can then be moved to the appropriate light level.

Determining pot size:
I typically use four-inch and one-gallon pots. The idea is to utilize as little soil mix as I can and plant them as soon as possible. I typically start plants in small pots and when they grow large enough, up-pot them into larger pots or get them in the ground. Very few plants will be in their original pots for over 6 months.
Always up-pot or plant out when plants are thriving. If you miss peak timing, they tend to decline and lose their vigor, and may struggle to fully recover. When you see any roots coming out of the bottom of the pot, it’s time to transplant.
Fertilizing
Yes, you need to fertilize regularly! Unless you live in an intact ecosystem where you have a forest, plenty of rain, sunshine, shade and regular leaf litter accumulating into your pots and planted plants, you need to fertilize. Even if you are lucky enough to have all of the above, fertilizing will make plants grow faster and healthier!
When someone asks me “what’s wrong with this plant,” my first question is always, “when did you last fertilize?” The answer is usually, “never,” or “just at planting time.” To which I reply, “your plants are hungry!!!”
Fertilizing can be simple or complicated. I create a blend (azomite, dolomite, alfalfa meal and shrimp or crab meal) and add it to all of my plants when planting in the ground, and then add chicken manure regularly. That’s it! (Well, besides the massive amounts of mulch that I regularly apply! This mulch turns into fertilizer itself, but that’s for another article.)
Fertilizing potted plants:
If you buy pre-made soil blends, then the pH levels should be where you want them; do not add calcium to the mix or you risk raising the pH higher than tropical plants will appreciate. The only time I add my fertilizer blend is when up-potting trees, if they will stay in the nursery for a period of time.
I regularly add chicken manure into potted plants. My fertilizer of choice is organic Nutri-Rich Chicken Manure Pellets. Add a light sprinkling of manure once the first set of true leaves of a seedling appear. This will pump it up for a few weeks. Add more if you notice yellowing or a decline in vigor. If your plants are not a dark, vibrant green, they are hungry.

Healthy green growth on left, Chlorotic yellow-green leaves on right
And there it is, the beginning of your (dark) green thumb.
Happy Gardening!
Learned so much!! Thank you for taking the time to write it! Just knowing that screen will deter snails is priceless!!!
The screens to stop slugs: very clever!
Thanks!
Ann Drake