Description
This month I will be talking about seed propagation, an important skill to develop to maintain food security, particularly starting annual plants and fruit trees.
Seeds are amazing. They are little packets of life awaiting the correct environmental conditions to spark life. Seeds create genetic diversity within specie. This allows plants to develop environmental preferences, creating specific varieties and in turn, potentially creating new species and evolving into new plants.
With human help, we would call this process selective/genetic breeding. This is where a human collects seeds from a particular plant with favorable traits and continues to select seed until the desired traits have become normalized. This is how beets and chard have become ‘different’ plants, when in reality they are the same plant grown for specific qualities. That being the roots in beets and the leaves for chard. This process should be done in your garden to establish plants that are adapt to your environmental conditions.
Planting by the Moon
This may sound a bit faithful or superstitious, but in my experience, planting with the moon truly makes a difference. Today I noticed 90% of the seeds I planted 5 days ago sprouted. How else could you get this high of a percentage of germination without the moon? Beans and amaranth literally sprout within two days, its incredible!
Tip: If you don’t believe me, go ahead and plant seeds randomly, but make sure you write down the date, and then, look at the moon phase. Plant seeds throughout the month and notice that most all of the seeds will sprout around the new and full moon, regardless of when they were planted into the ground.
Phases of the moon
Check out the chart below to get some hints. I’ve read and tried other methods for moon planting, but I find this to be most useful. Starting seeds two days before the new moon allows the seeds to awaken with water and humidity. By the time the new moon comes around, the seeds have so much moon gravity pulling on them that they cannot stay within the cozy little womb and they jump out, showing beginning stages of germination. The chart below also describes how moon phases directly affect plants growth.
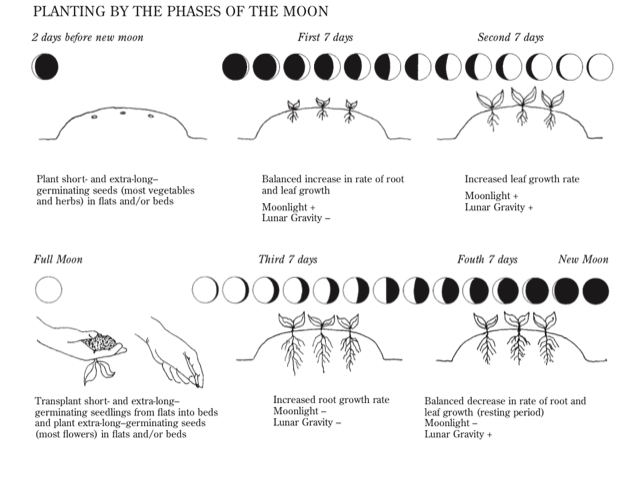
Seed Planting
Yes, you can just follow what a seed packet says. But a lot of the time I get seeds from friends, save my own seed, or when I buy delicious fruits and decide to plant those seeds, no seed pack instructions come along.
It all depends on the size of the seed, larger seeds tend to take longer to germinate and needs to be planted deeper than tiny seeds. Think about brassica seeds vs. bean or squash seeds. Here is my general rule for planting seeds: plant the seeds twice as deep as the width/thickness of the seed. So a seed that is a quarter inch thick will be planted a half-inch deep. Most times I stick my seeds in horizontally to the depth desired. Don’t worry too much, it doesn’t need to be an exact science, just stick em in and wait for them to sprout. However, seeds smaller than a pepper, Capsicum spp., I surface sow, or lightly dust potting mix on. Literally just add the seeds to the top of your potting trays.
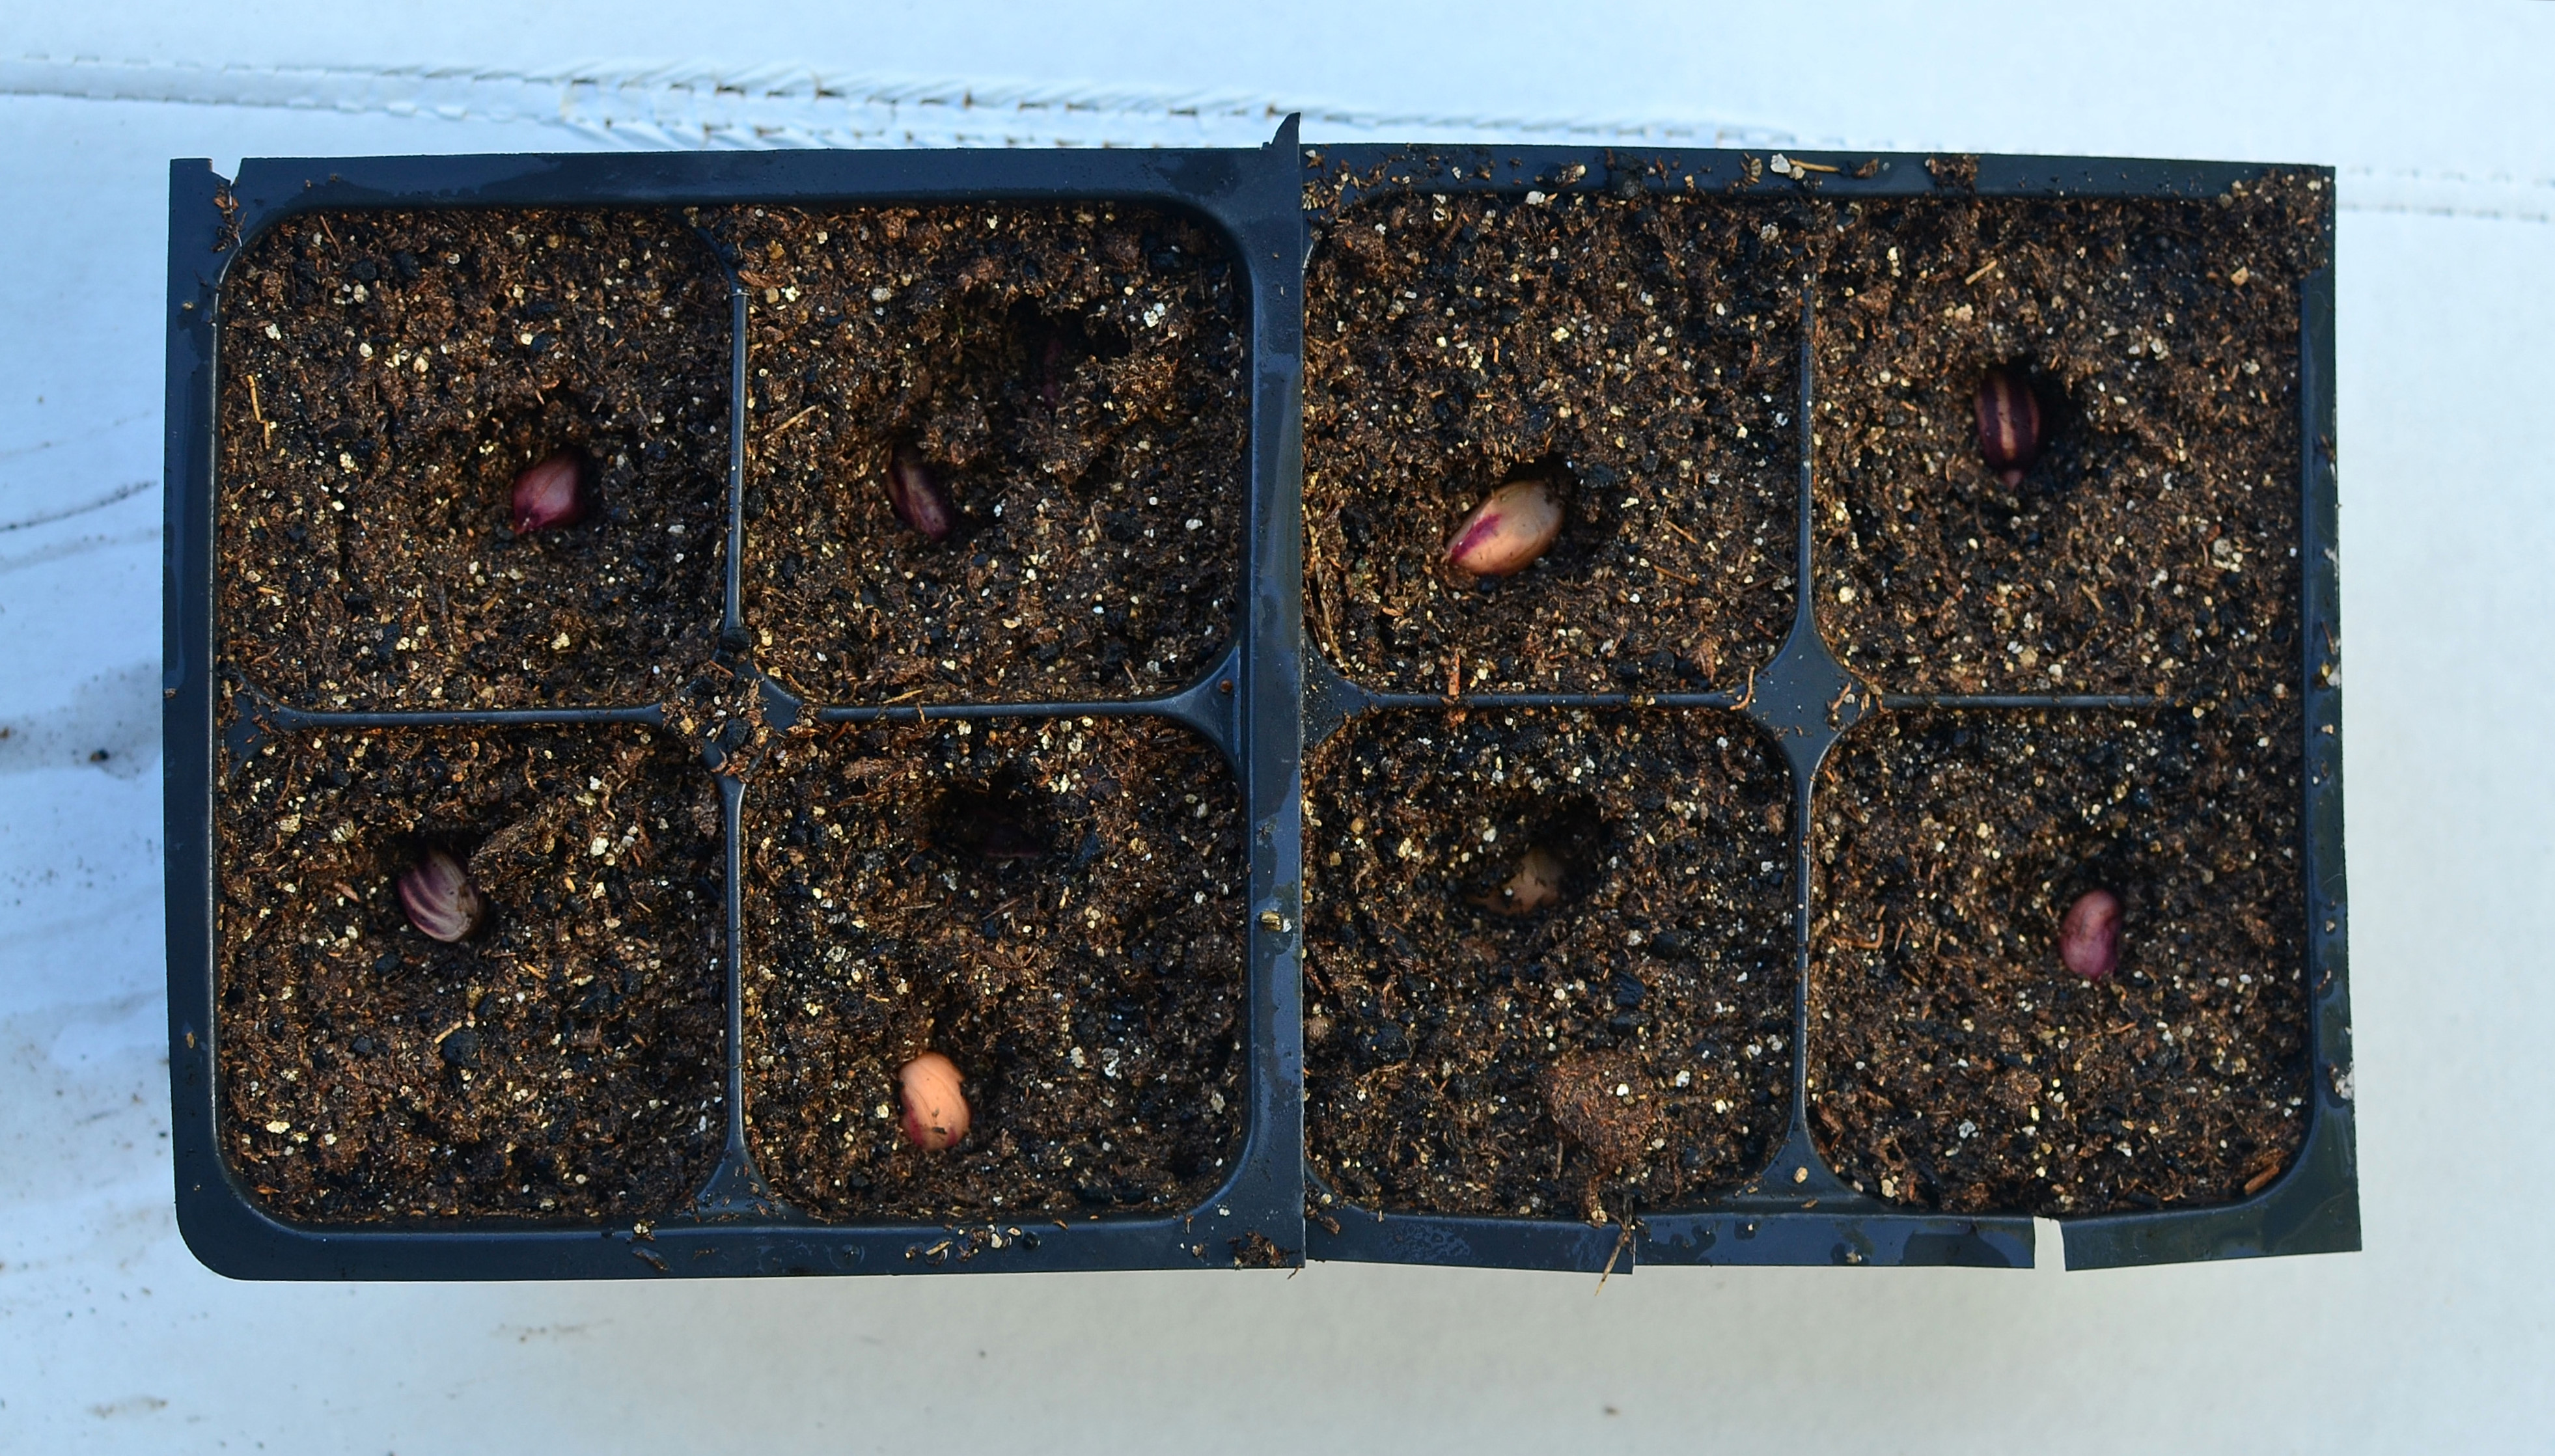
Peanut seed planted to correct depth
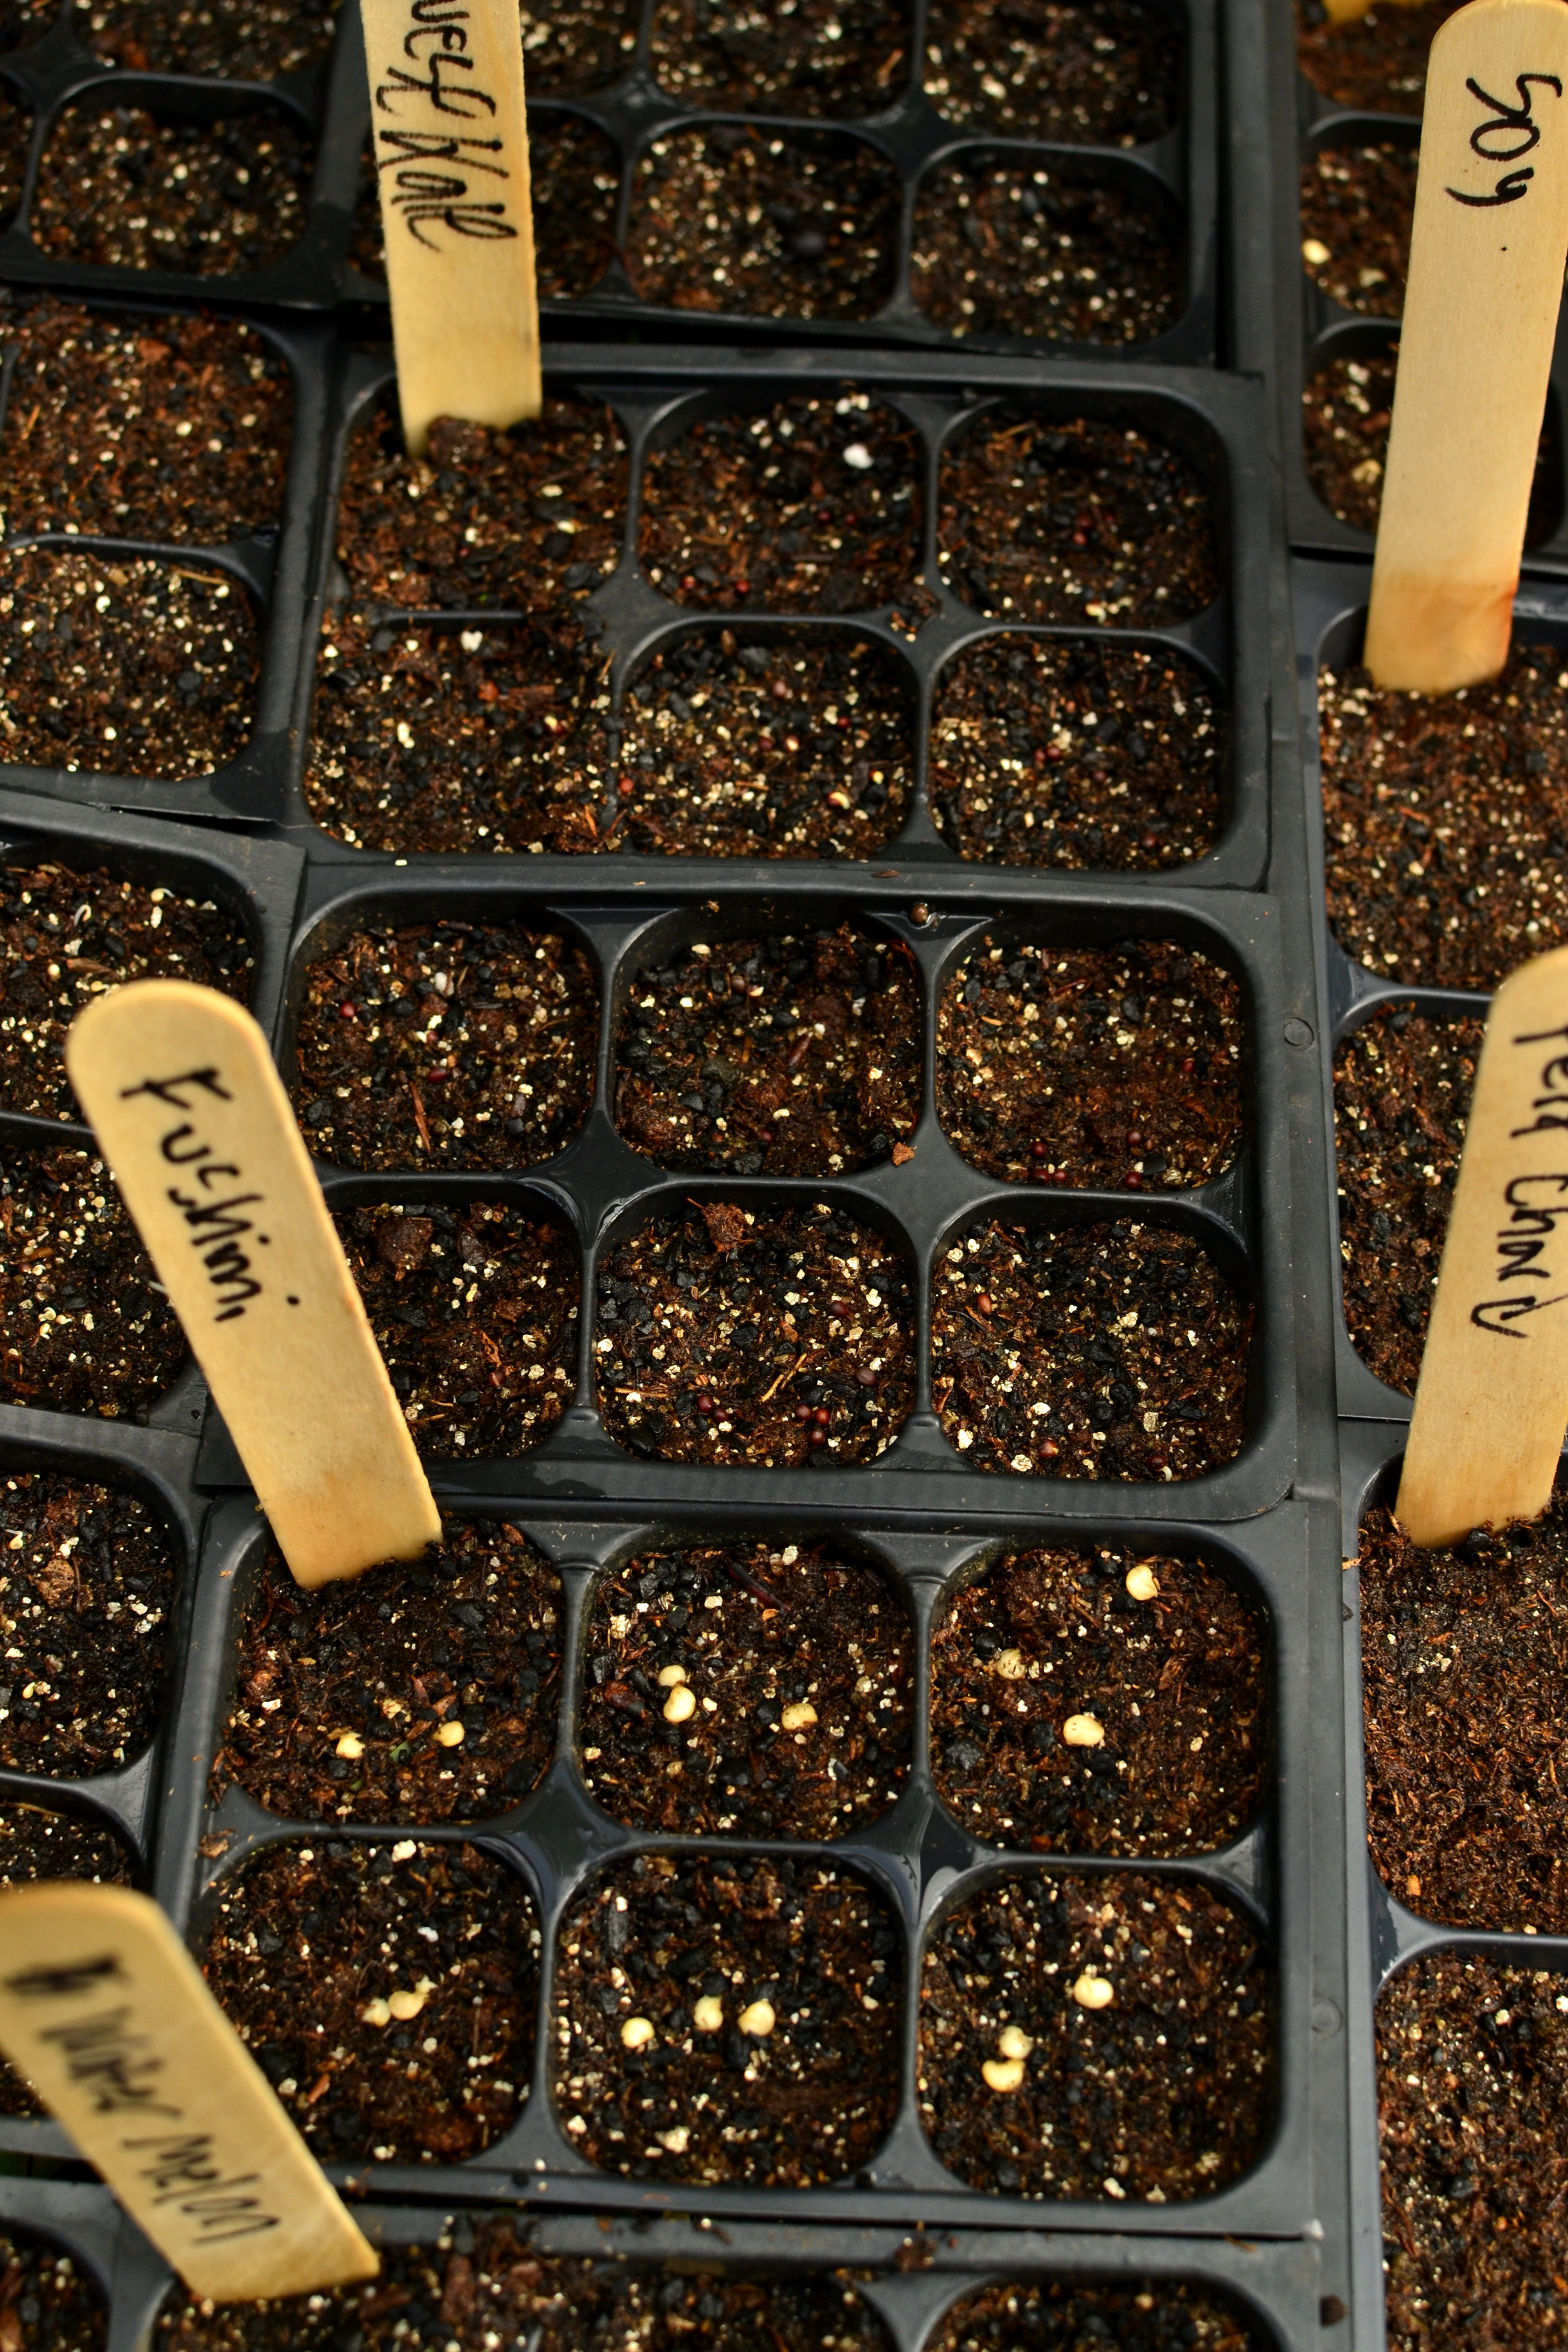
Seeds smaller than Capsicum spp are surface sown
Preferences for seed starting
I prefer to start almost all my seeds in my ‘sunhouse’, rather than planting directly into the ground. For whatever reason, most things I put directly into beds disappear and don’t sprout, I don’t know if its ants, birds, rats, too much rain or whatever factor I’m not considering, so I just play it safe and plant it somewhere safe and sheltered.
My ‘sunhouse’ consists of a clear plastic roof to allow sunlight in, but keep rains out. Also the space should be rat and bird proof, for me, I just threw netting around my table. This space should be near a water source, whether that be a small catchment system coming off your roof to allow a hose to be attached. Or simply close enough to your home structure so that you can water with a hose. The place should be raised off the ground, so grasses and other weedy plants don’t drop seeds into your trays. This system could be as simple or elaborate as needed. I know people who just grow their seeds under the eve of the house on the sunny side. So just keep these factors in your mind when creating a place to start seeds.
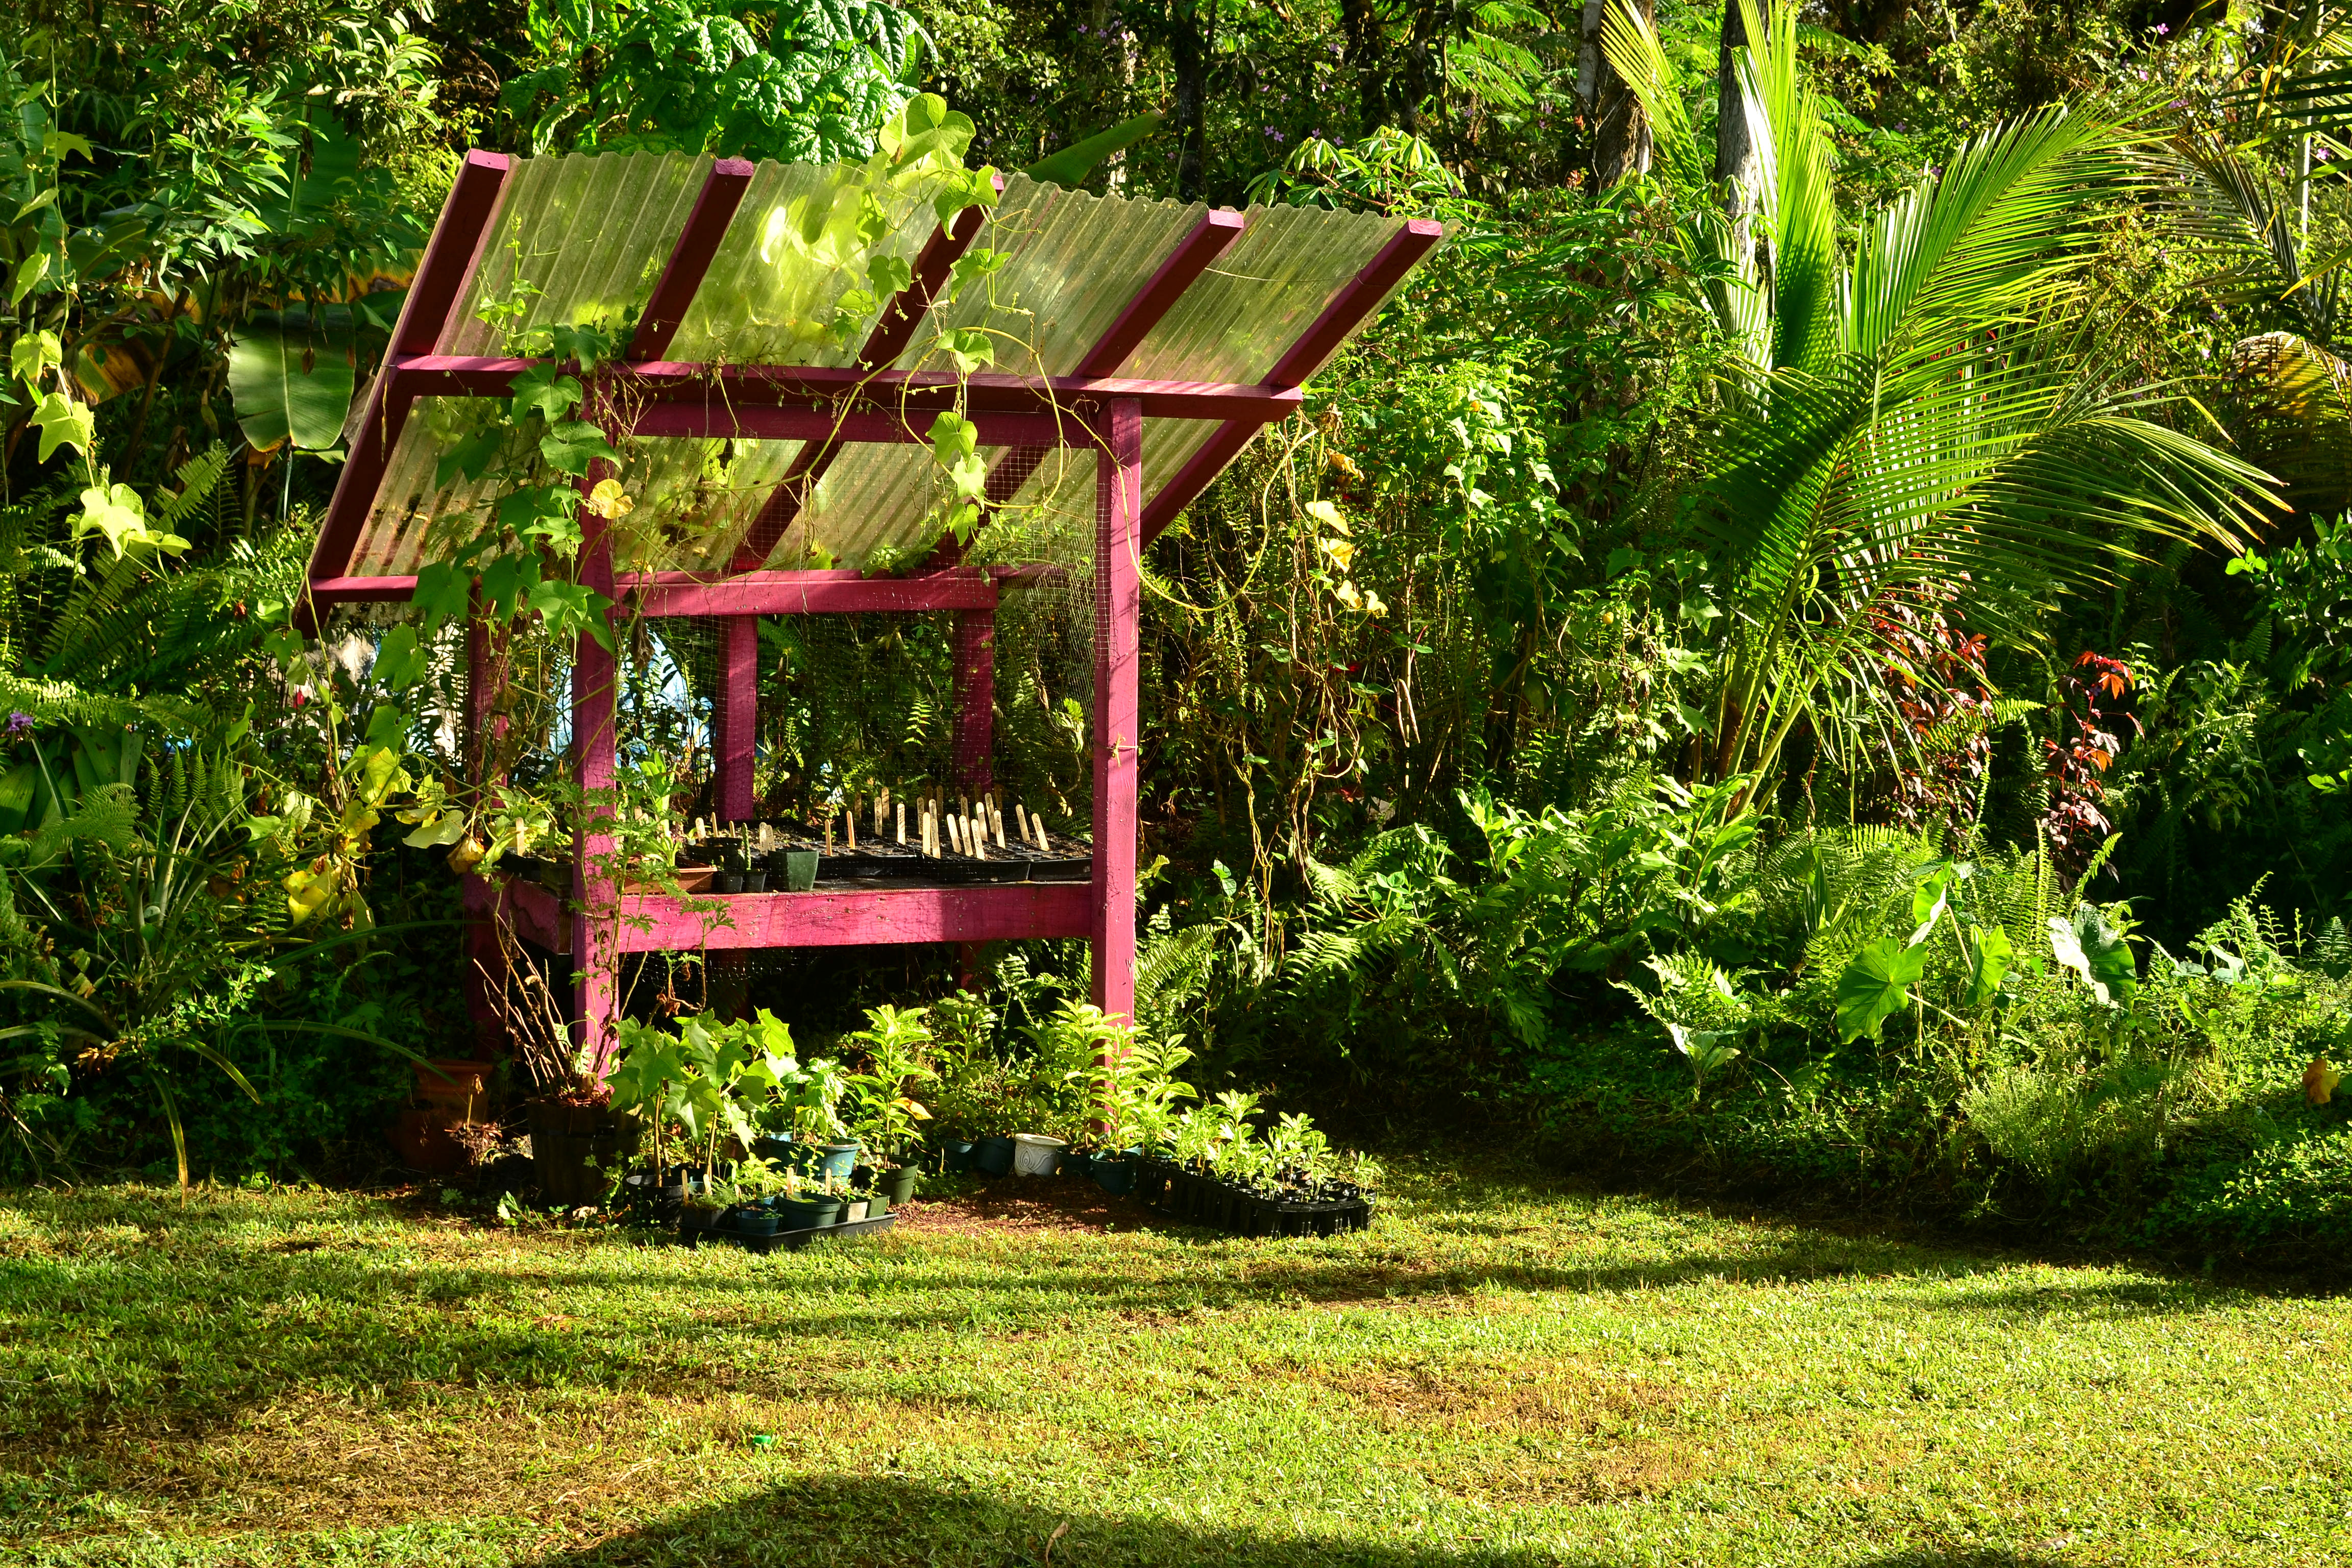
My Sunhouse
I typically use three types of trays or pots to start seed: the typical 4-pack, a smaller 6-pack tray, and a larger ¼ gallon pot (for fruit trees). These can all be purchased for under a dollar each. You could cut toilet paper or paper towel rolls to size, or really use anything you can think of, you just want to make sure you can take out the plant safely without damaging roots or soils.
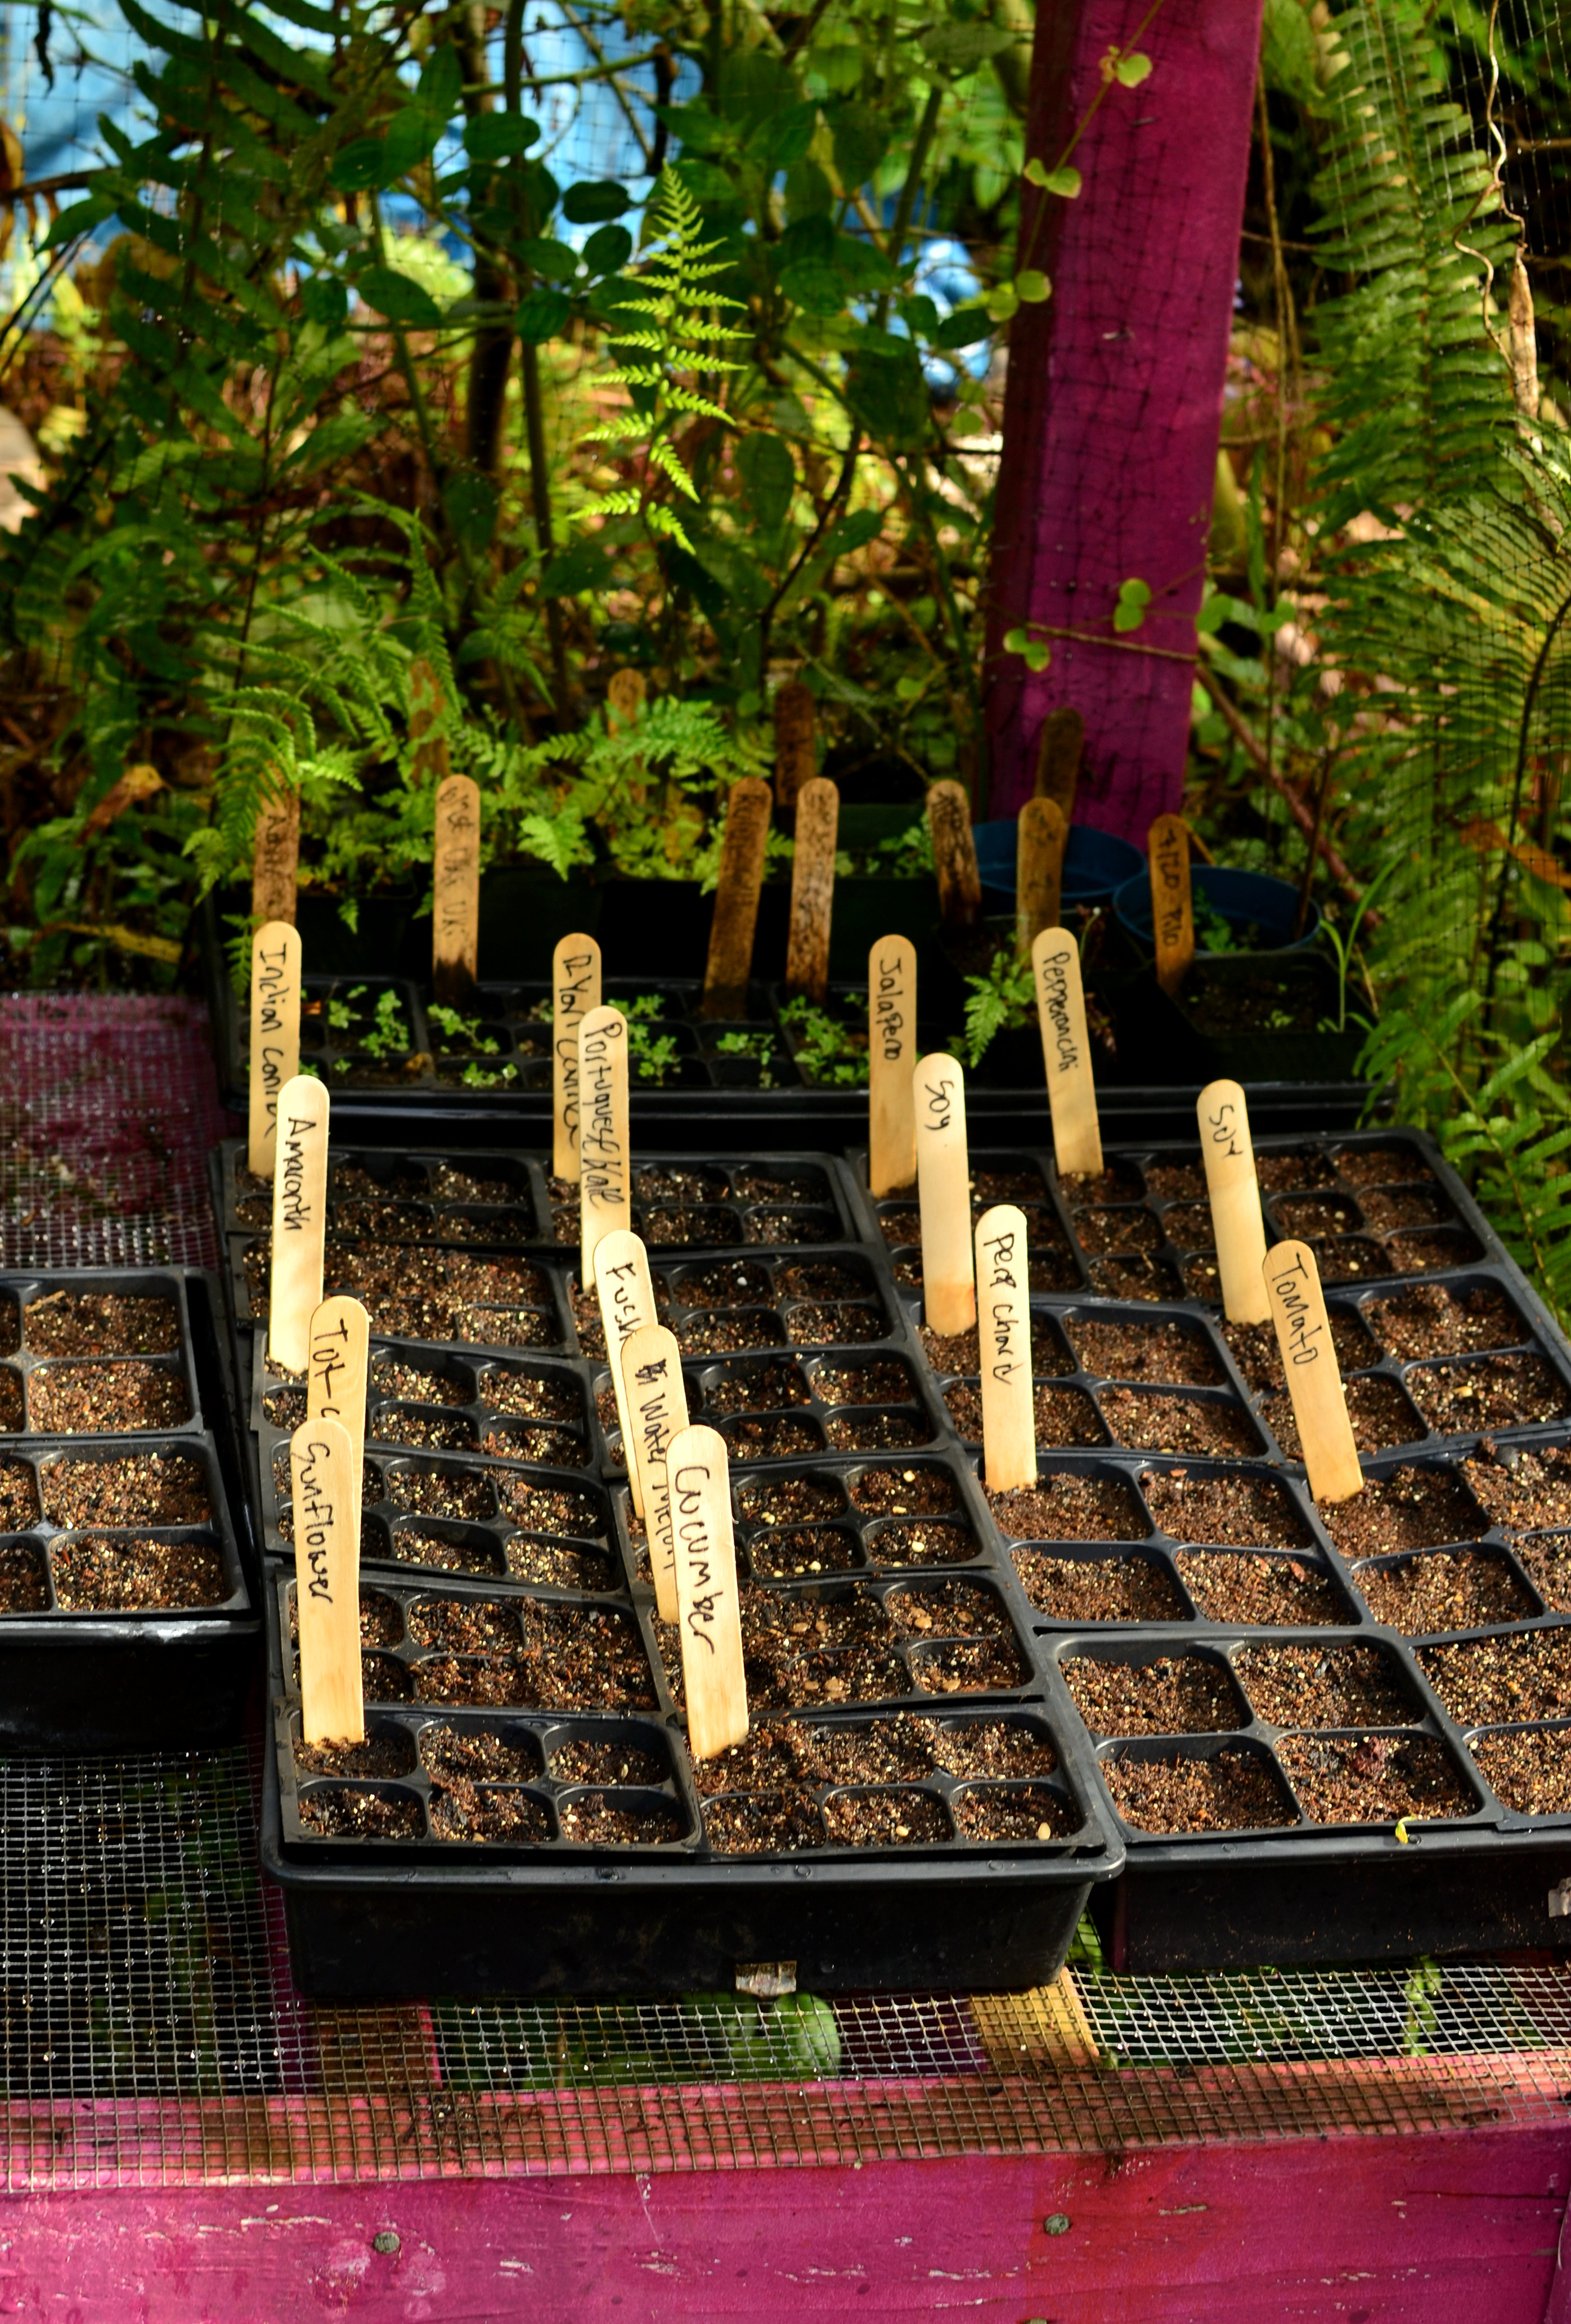
My prefered tray sizes
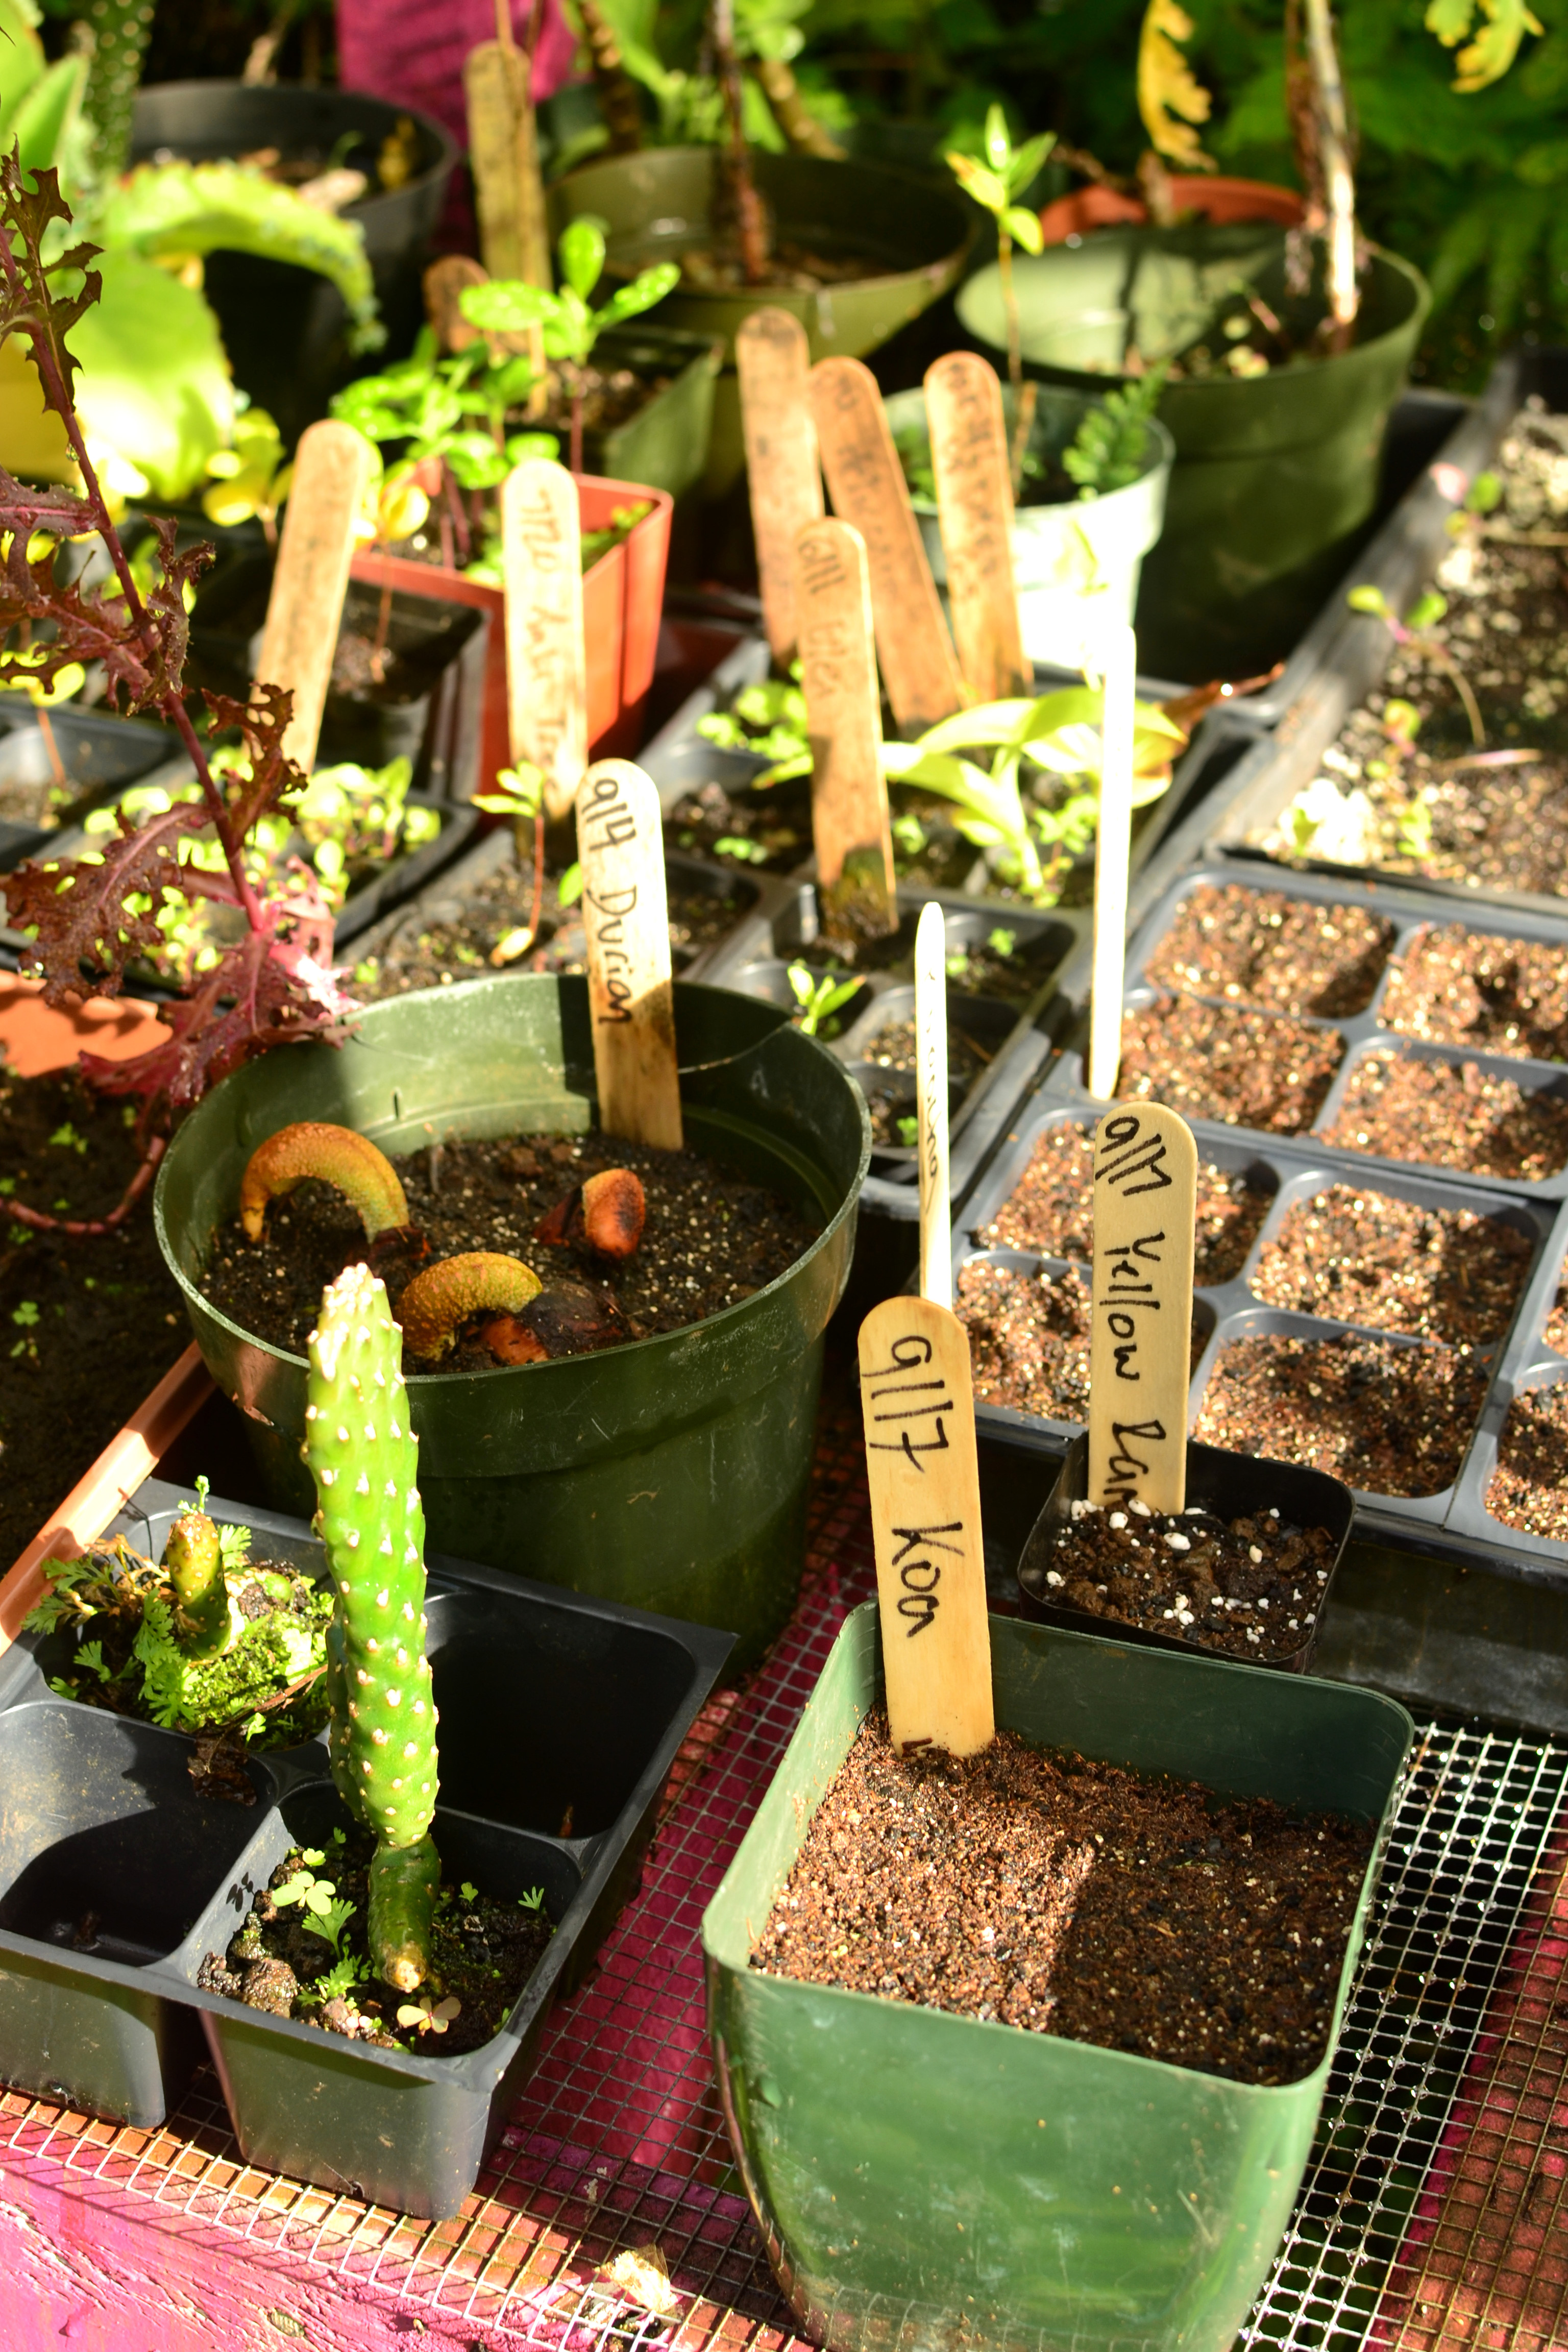
Use larger pots for larger seeds
Plant Variety or Crop
One of the main problems starting seed and growing vegetables in the tropics is variety. Think about it; ‘typical’ vegetables in the grocery stores are temperate or Mediterranean climatic plants, because well, that’s where mega farms are located. The ‘western’ diets consist of those plants because those are the plants that developed in the regions where those people lived.
The tropics are another story. We simply cannot grow onion, broccoli or other ‘staple’ vegetables (unless you live in higher elevations or have a completely controlled environment). However, there are relatives of these common plants that do thrive in hot, humid, wet environments. So these are the seeds to look for. When I buy heirloom seeds online, I look for Thai or Southern varieties because I know the climate is similar. Another option is University of Hawaii seeds because they too have been selected to thrive in our environment. The best way to ensure optimal results is to change your diet to include things that grow in your climate.
Final Considerations
- Label all seed trays, you may think you’ll remember dates and varieties, but after a month I cant remember anything of that matter!
- Use quality seedling soil mix. I used regular potting soil for a while, and once I switched to seedling mixes the difference was night and day. I also add biochar to my seedling mixes to add soil structure and drainage.
- Once you fill your trays with soil, water them multiple times before adding seeds, it will fill in air pockets and make the medium moist and ready to start germination.
- Add multiple seeds into trays in case some of them don’t germinate. It’s easier to thin out plants than it is to start new trays if you have spotty germination. One plant per tray is ideal. Multiple sprouts in a single tray create too much competition.
- Flats may be used if you plan to transplant them into their own trays when they are ready.
- Once seeds are planted, water them daily; in the morning or the evening, and keep a steady routine, plants rely upon consistent conditions.
- Seeds do not need nutrients before they sprout. Long-term germinating plants, like fruit trees, I simply throw in cinder or cinder soil. Once they sprout, place them into their own pot with nice soil and allow them to grow.
- Starting from seed saves money rather than buying starts at a market. You could buy a single plant for $3 or you could buy a seed packet with 300 seeds for $3. Hmm.
- The only downside to buying seed packets, are that they come with too many seeds for a small scale, and our environment is not conducive to store seed regularly. So there are a few options: you can share seeds with friends, or plant all the seeds in a pack and share the excess product. Plant all the seeds and eat most of them as sprouts or micro-greens, saving the largest and most vigorous for the garden to become mature plants. The final option is to save them temporarily for yourself. My method for storing seed: get small zip lock bags; add unused seed. Make sure it’s labeled well, air free (as much as possible), then take all your baggies and put them in a mason jar, then store in the fridge. Seeds will last a few months and retain their viability. If you leave your seeds in their original packets they will deteriorate pretty quickly.
- Hybrid seeds do not set viable seed, buy non-hybrids if you plan to save seed. I typically buy heirloom seeds because they are open pollinated and have specific qualities that I desire. Also, who wouldn’t want purple beans, orange tomatoes and red carrots?
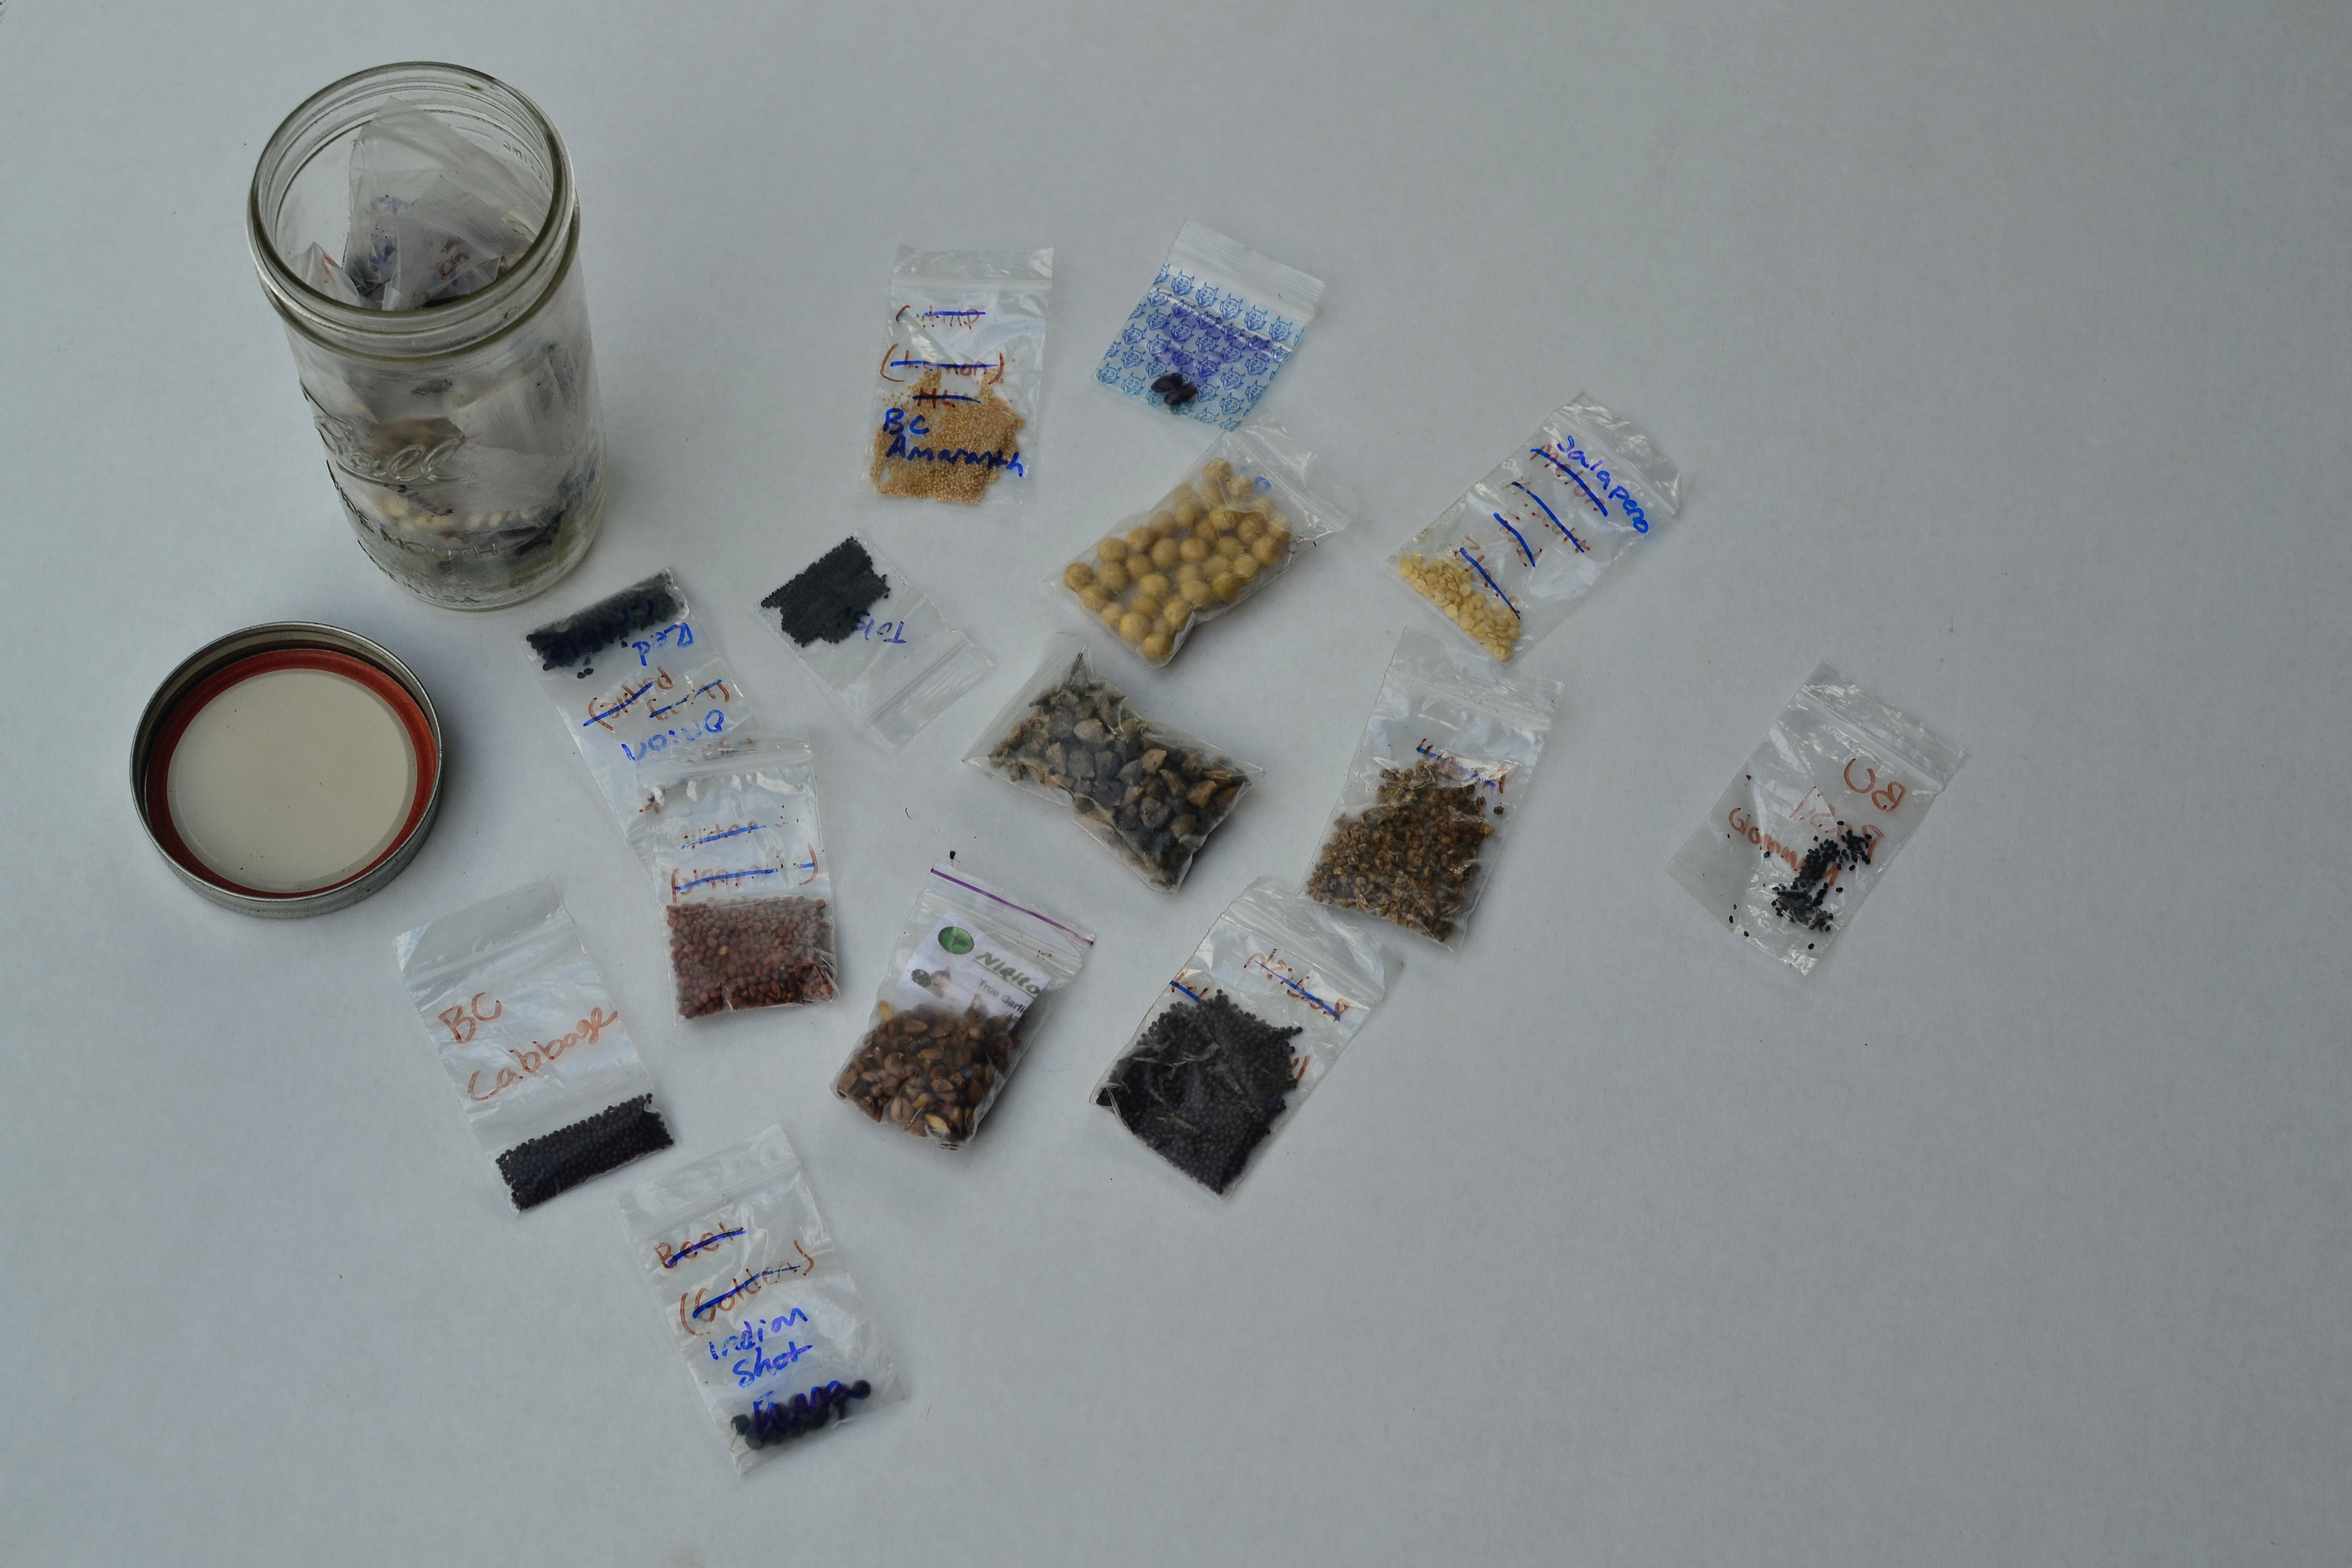
Store seed in air-free baggies in a mason jar in the fridge
Happy Gardening!
Pingback: Poha Berry (Physalis peruviana) | Tropical Self-Sufficiency
Pingback: Pigeon Pea (Cajanus cajan) | Tropical Self-Sufficiency
Pingback: Sacha Inchi (Plukenetia volubilis) | Tropical Self-Sufficiency
Pingback: Hawaiian Cocktail Pepper (Capsicum chinense) | Tropical Self Sufficiency