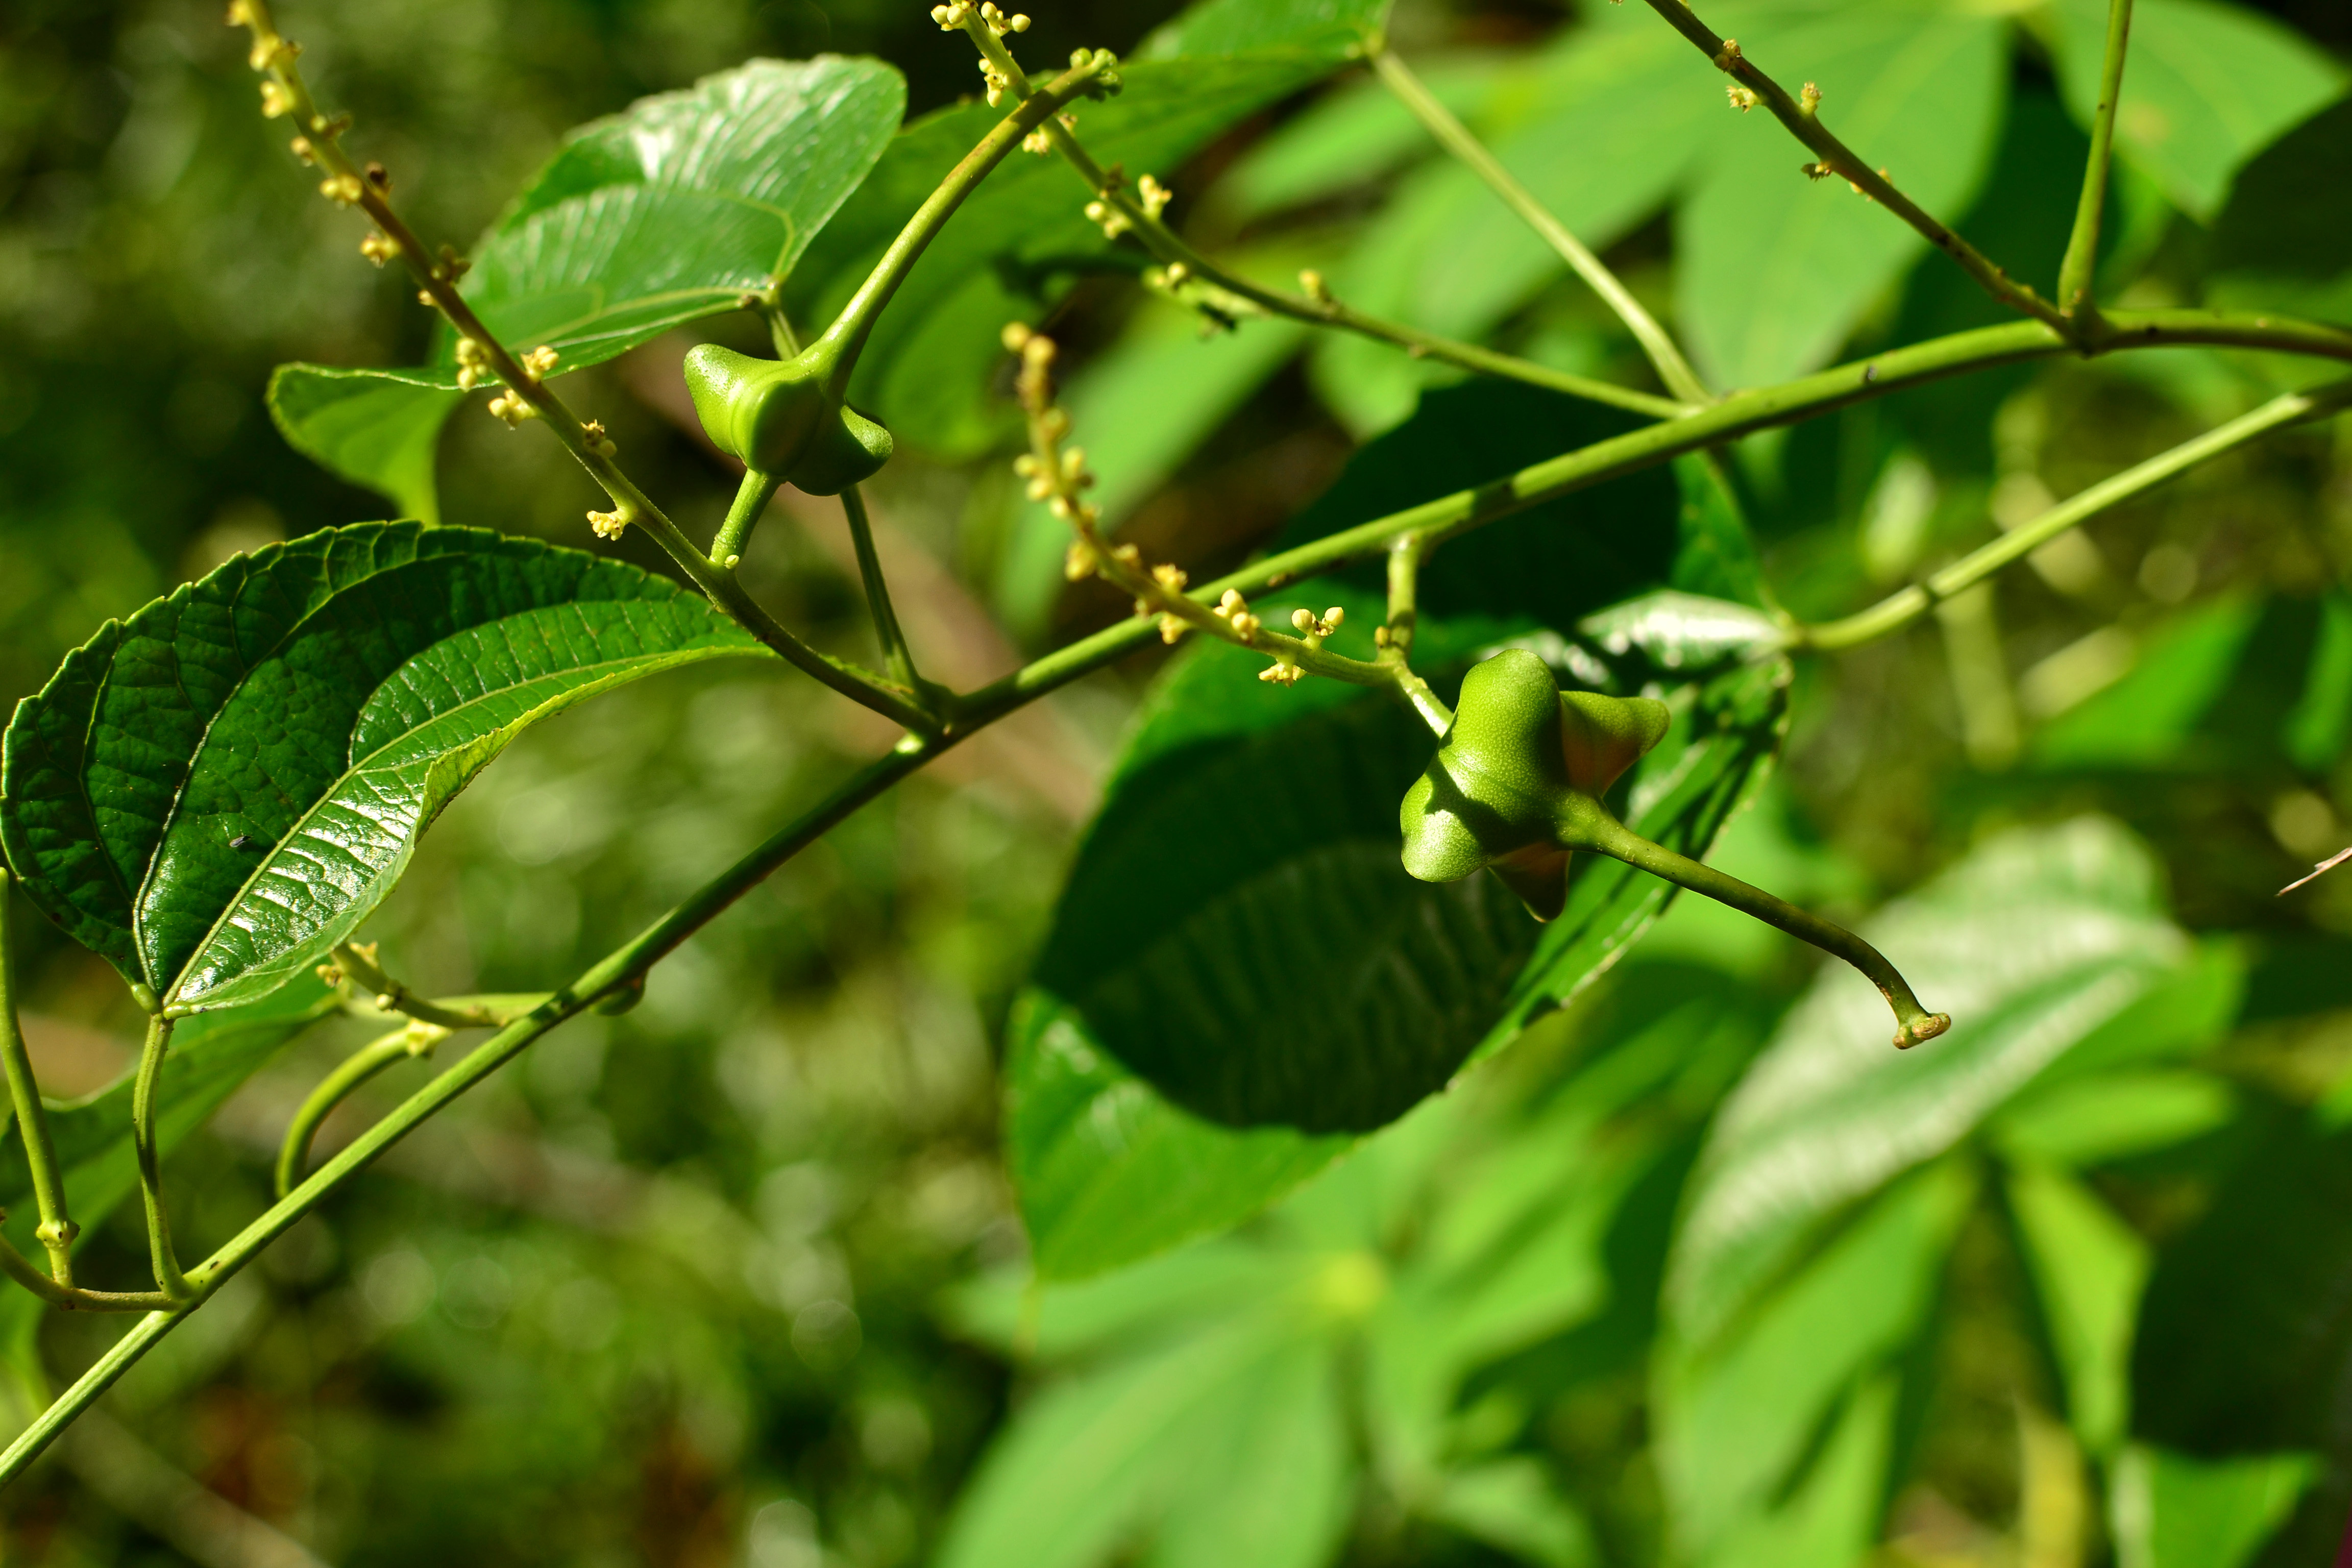
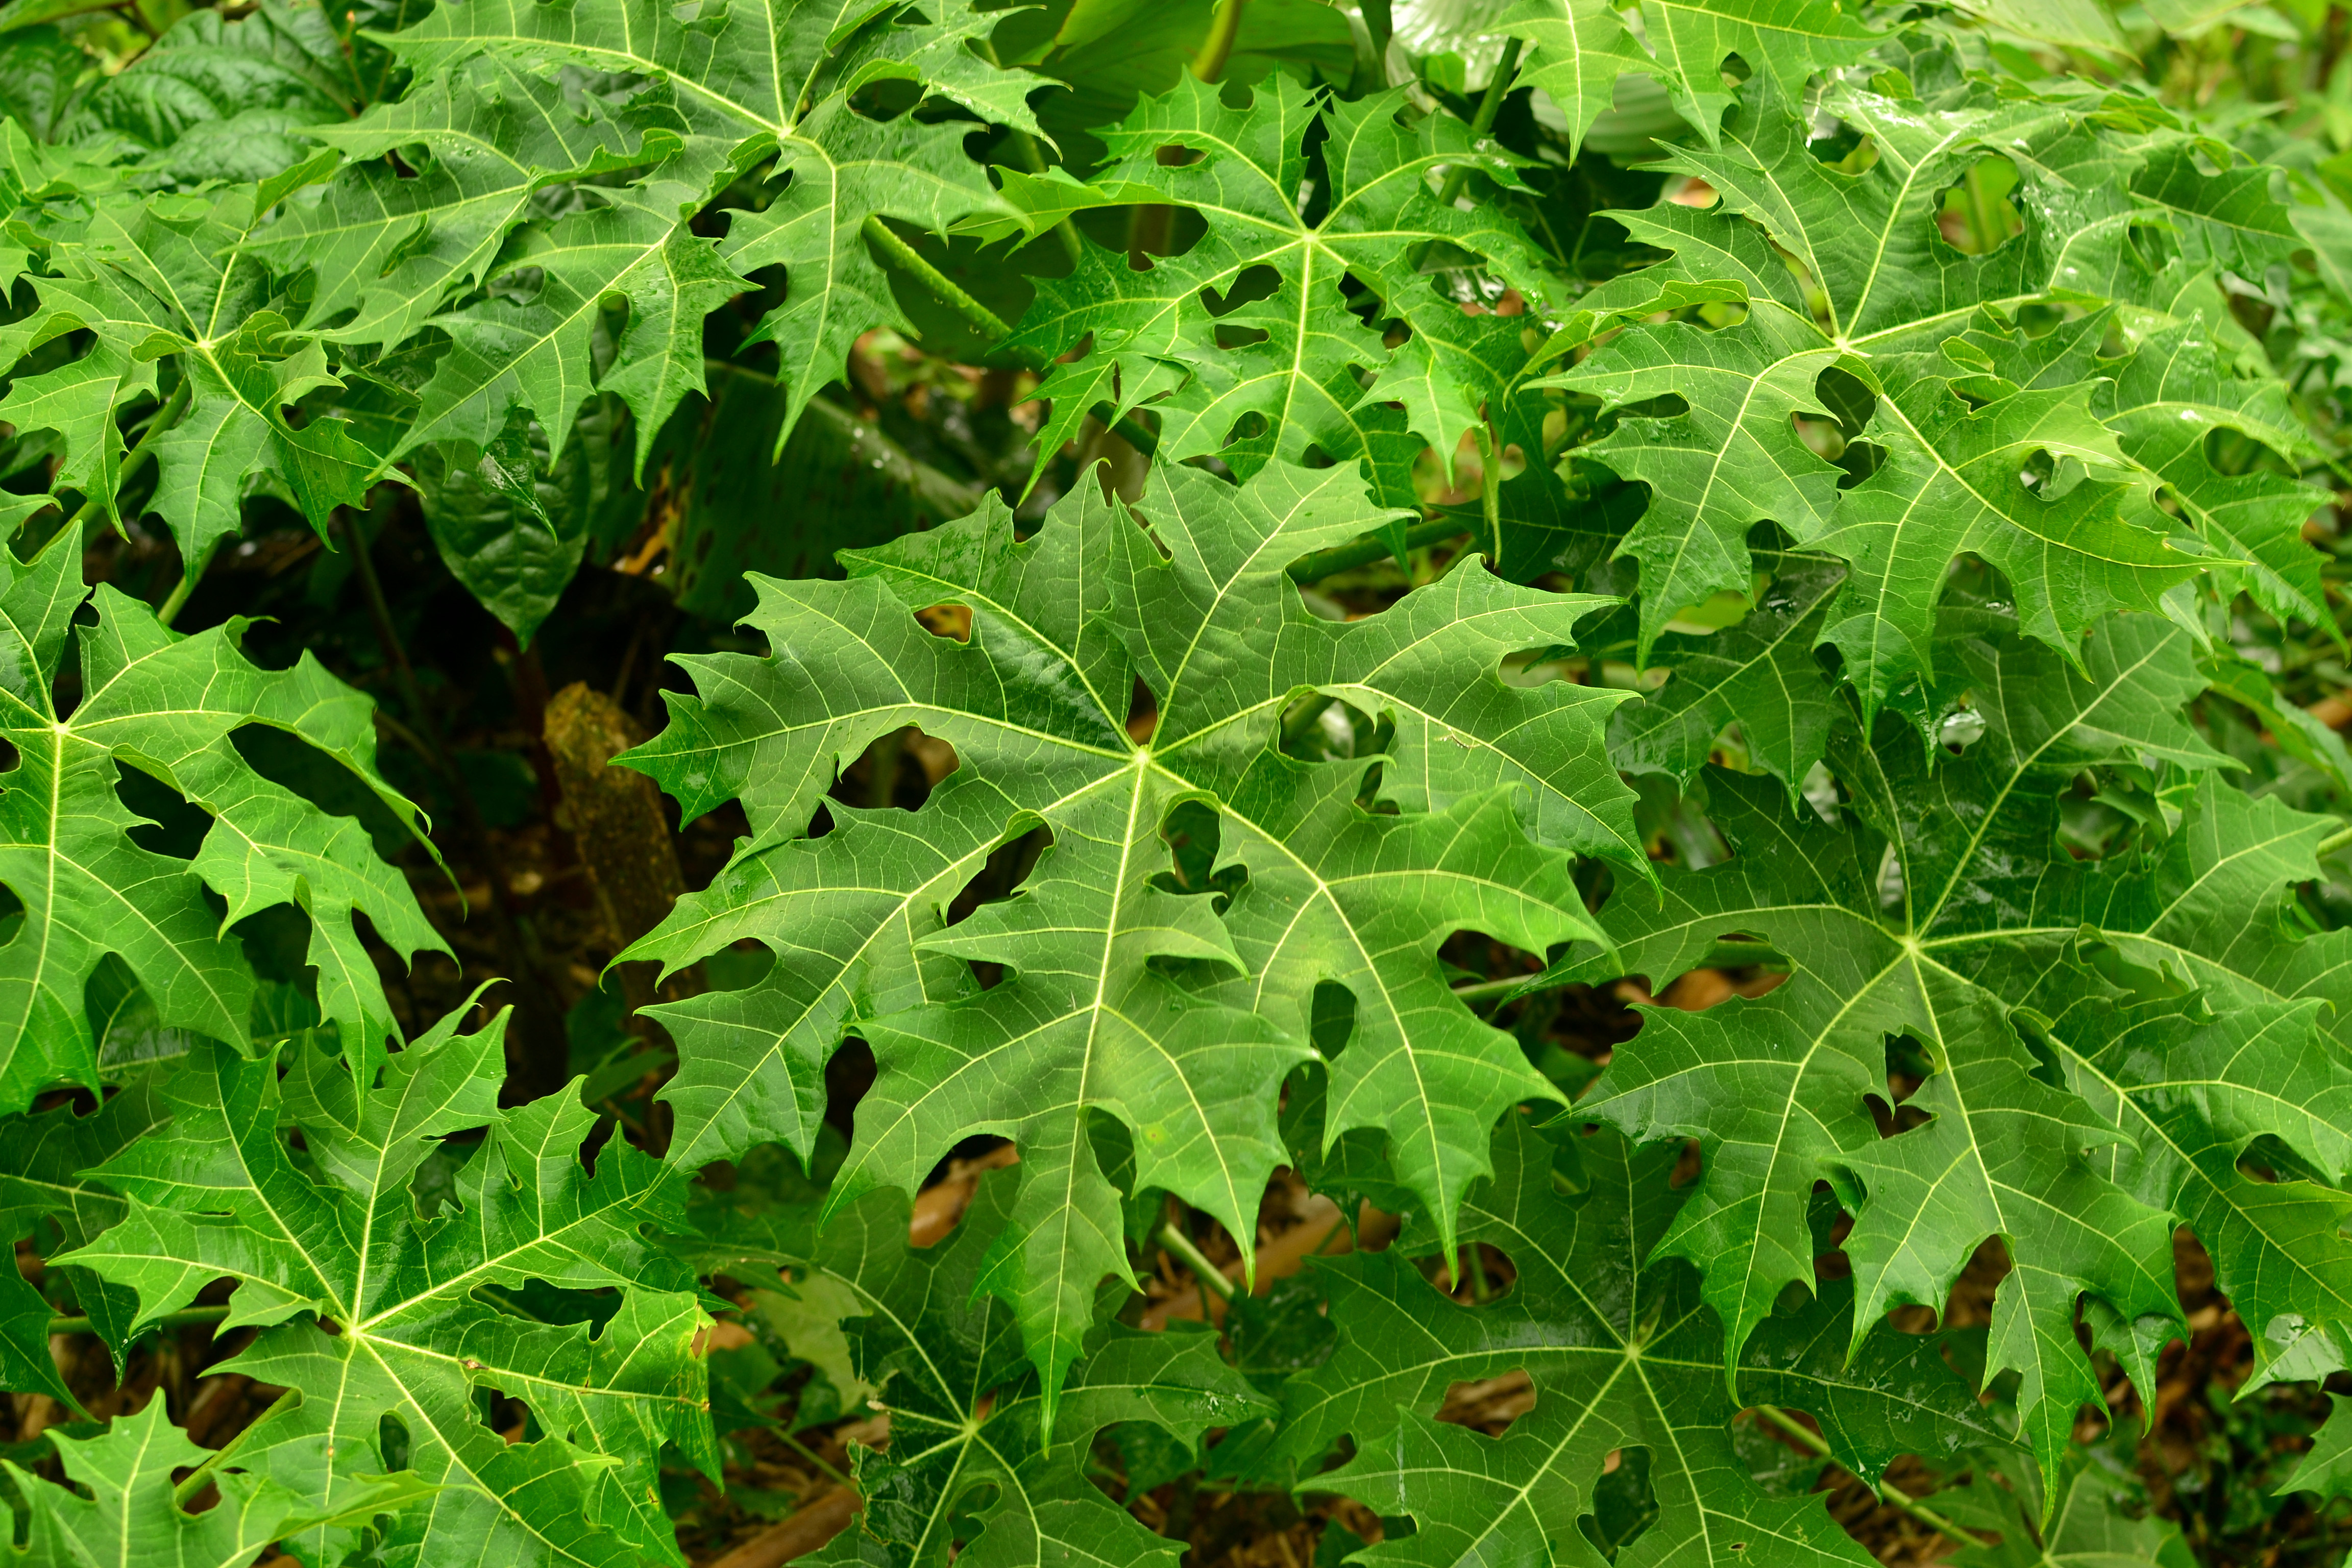
Spiny Chaya (Cnidoscolus aconitifolius)

Description

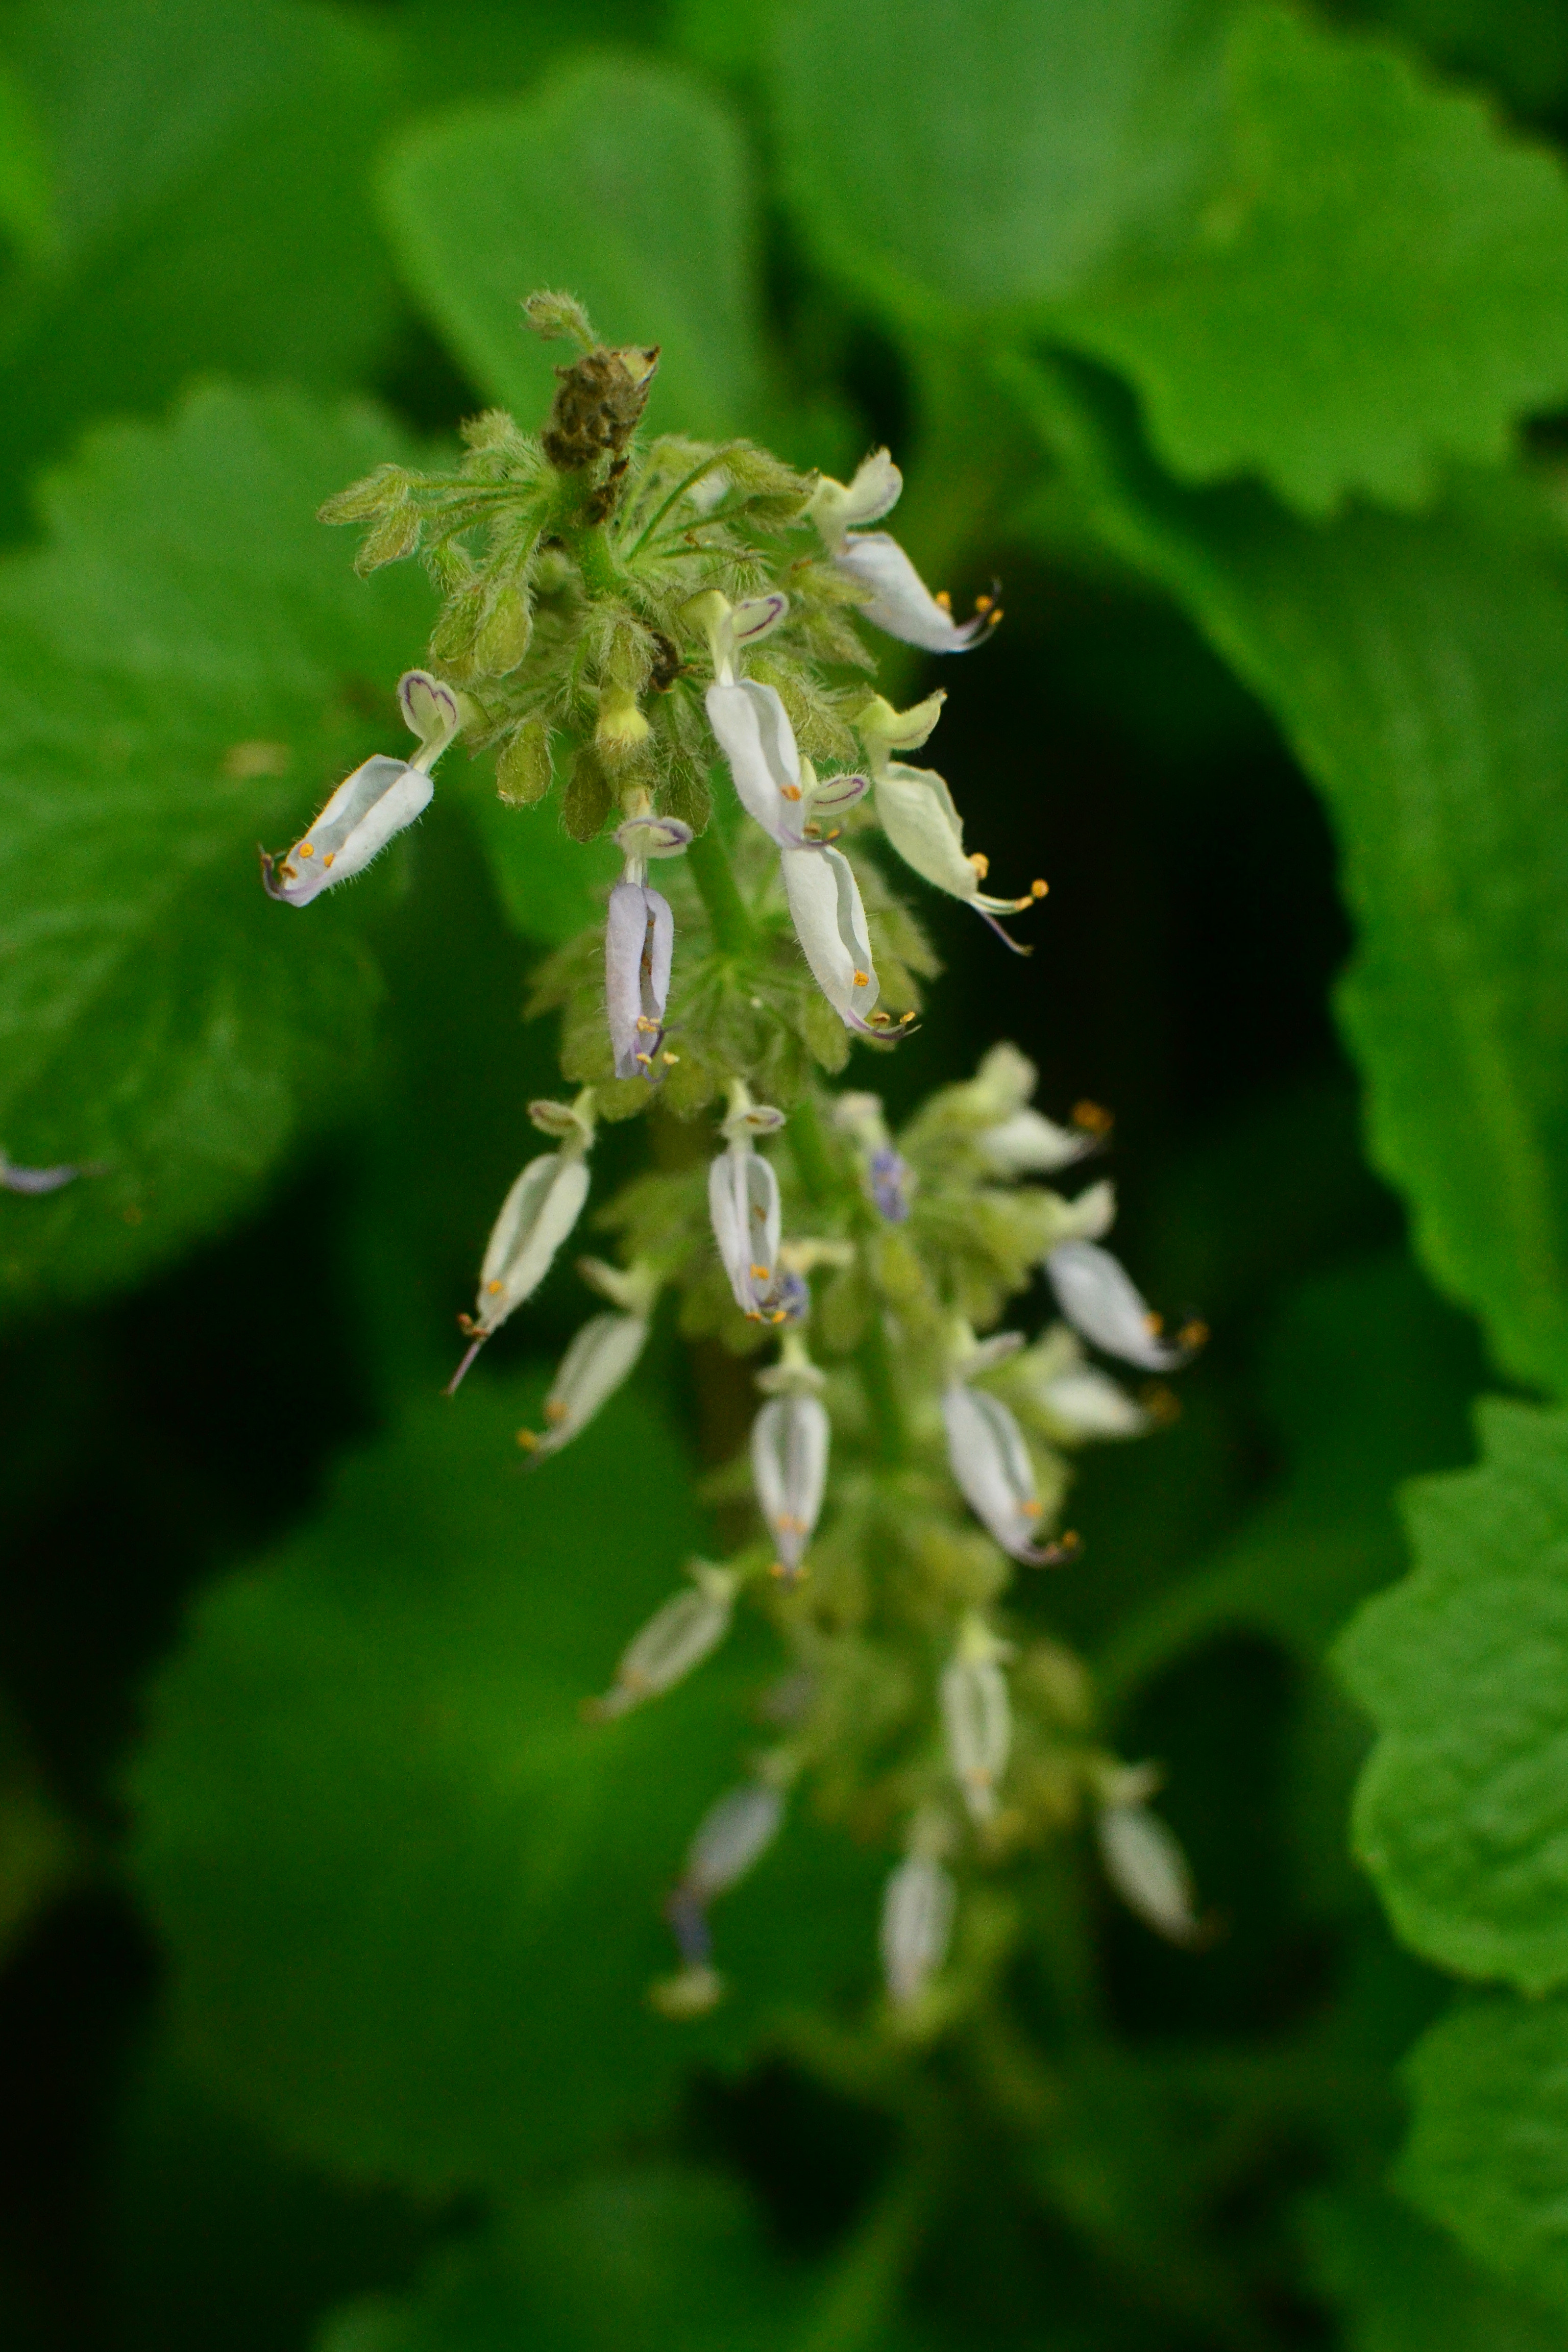
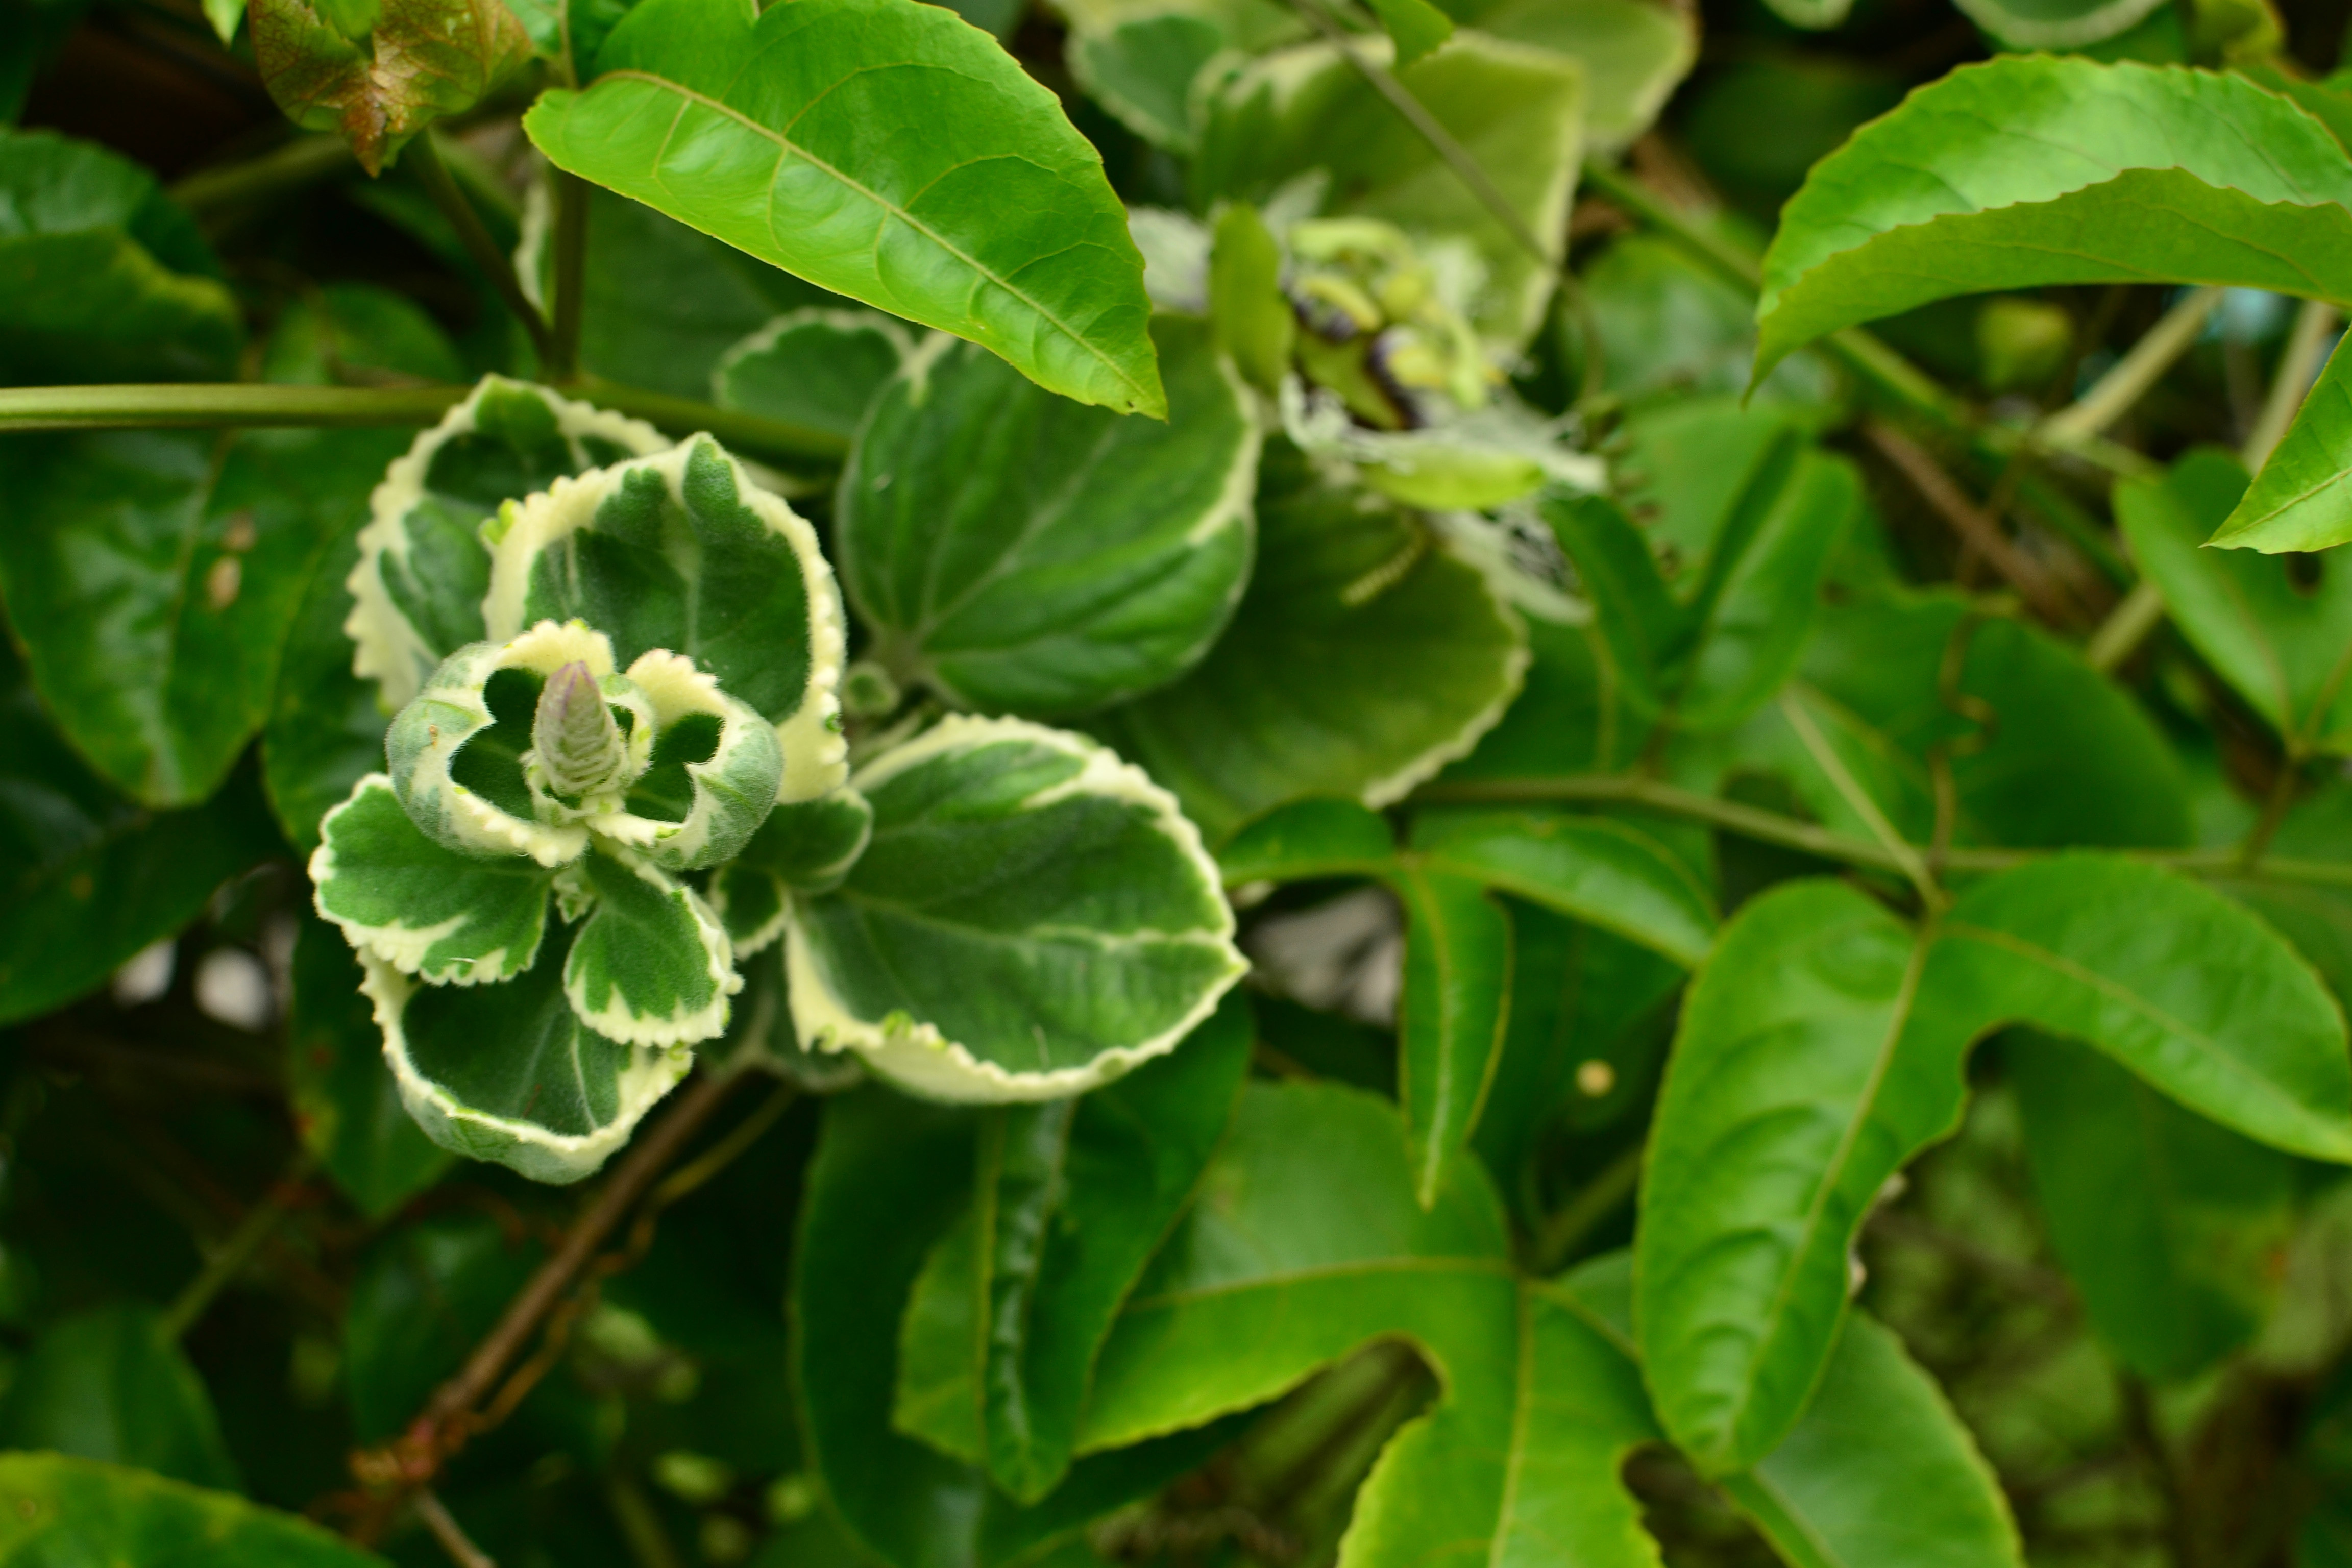
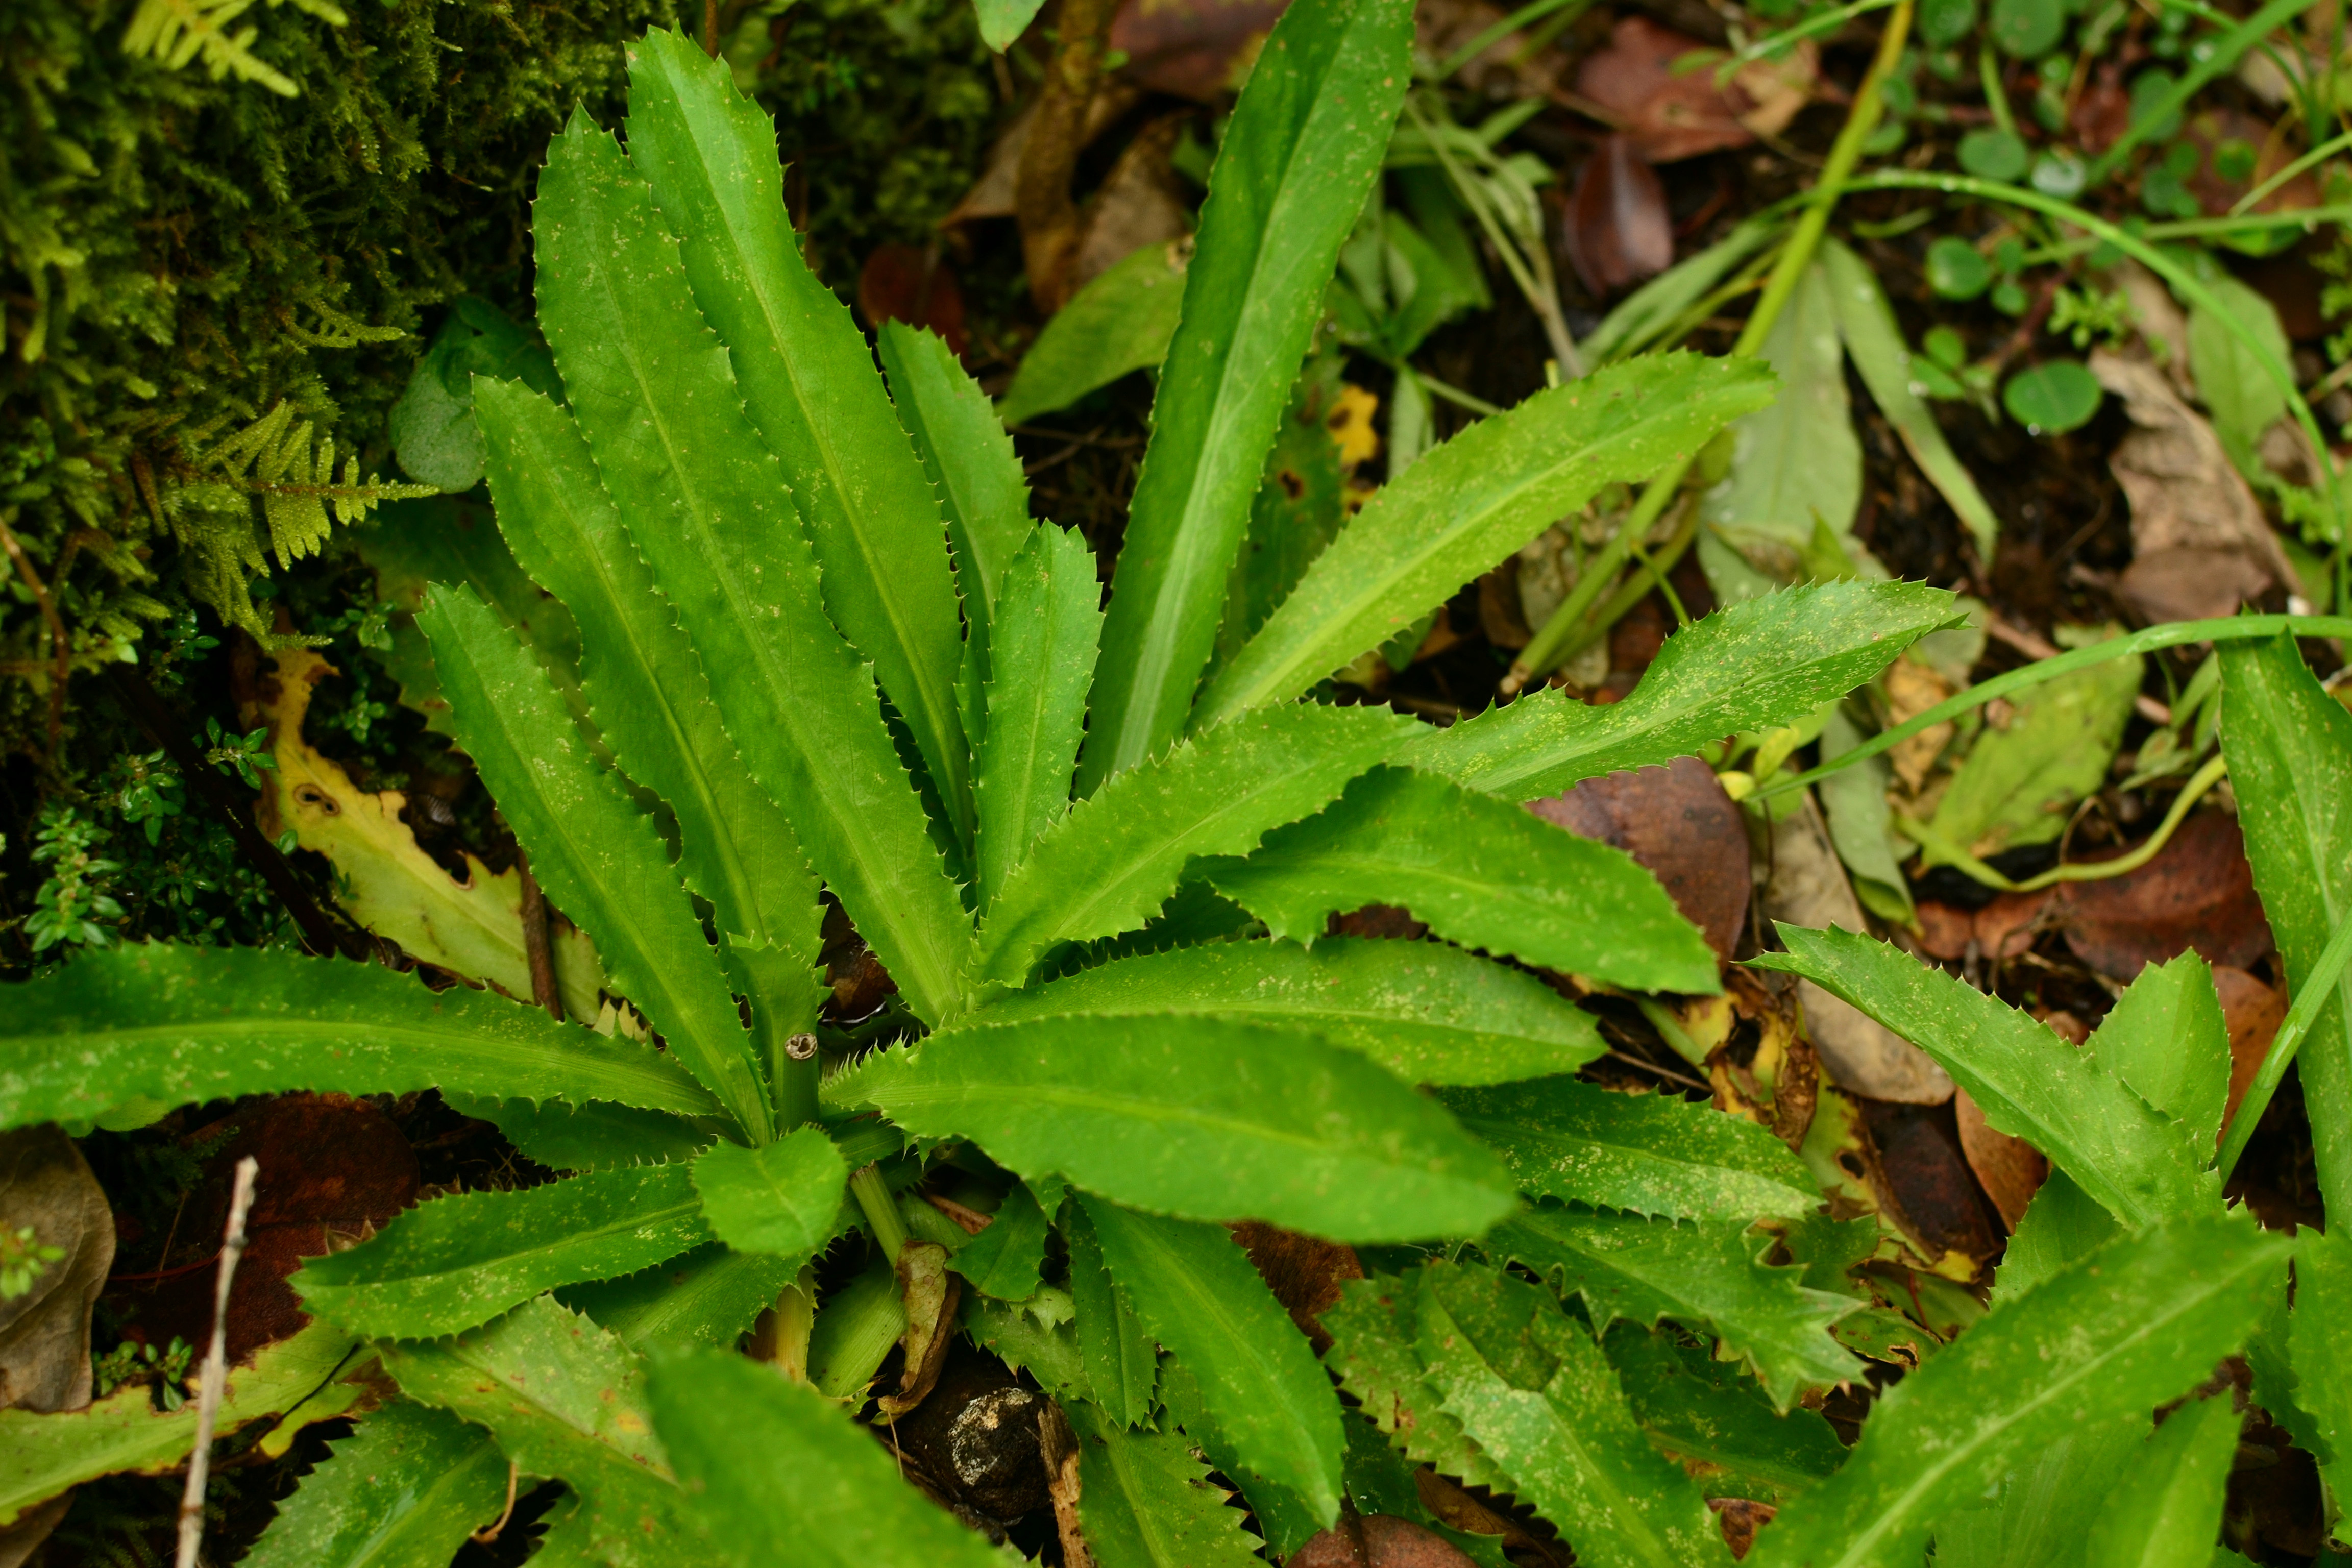
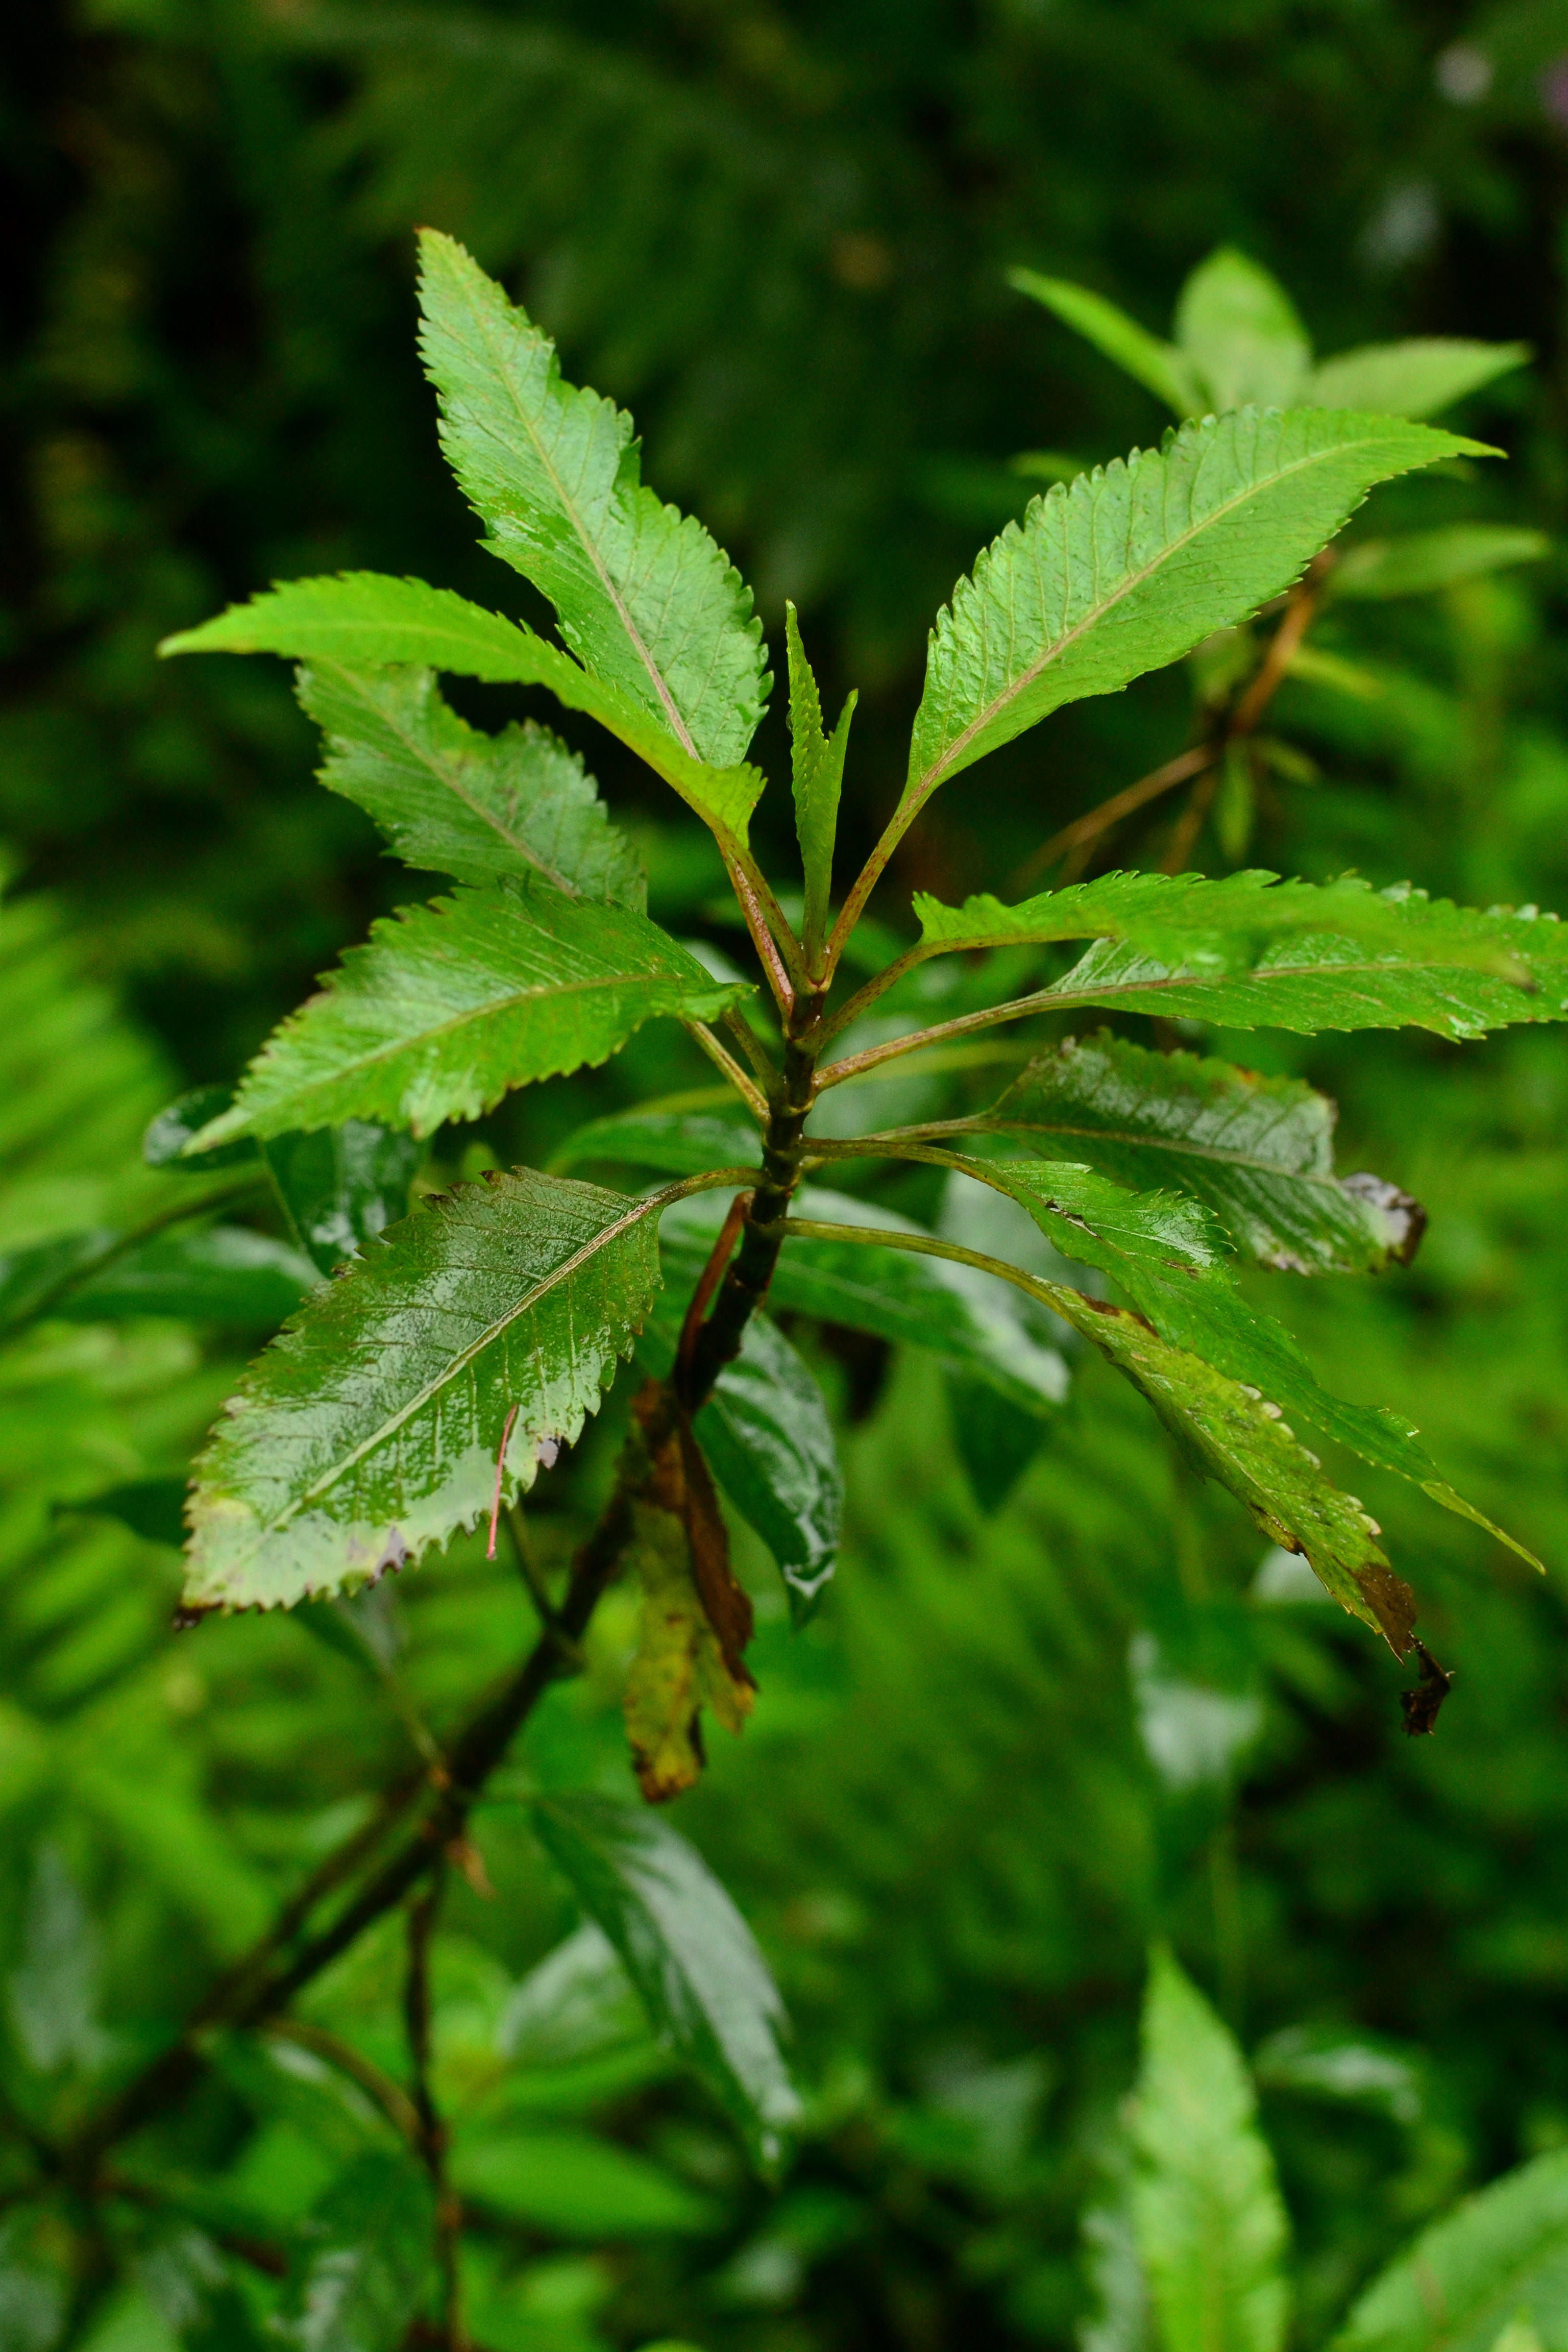
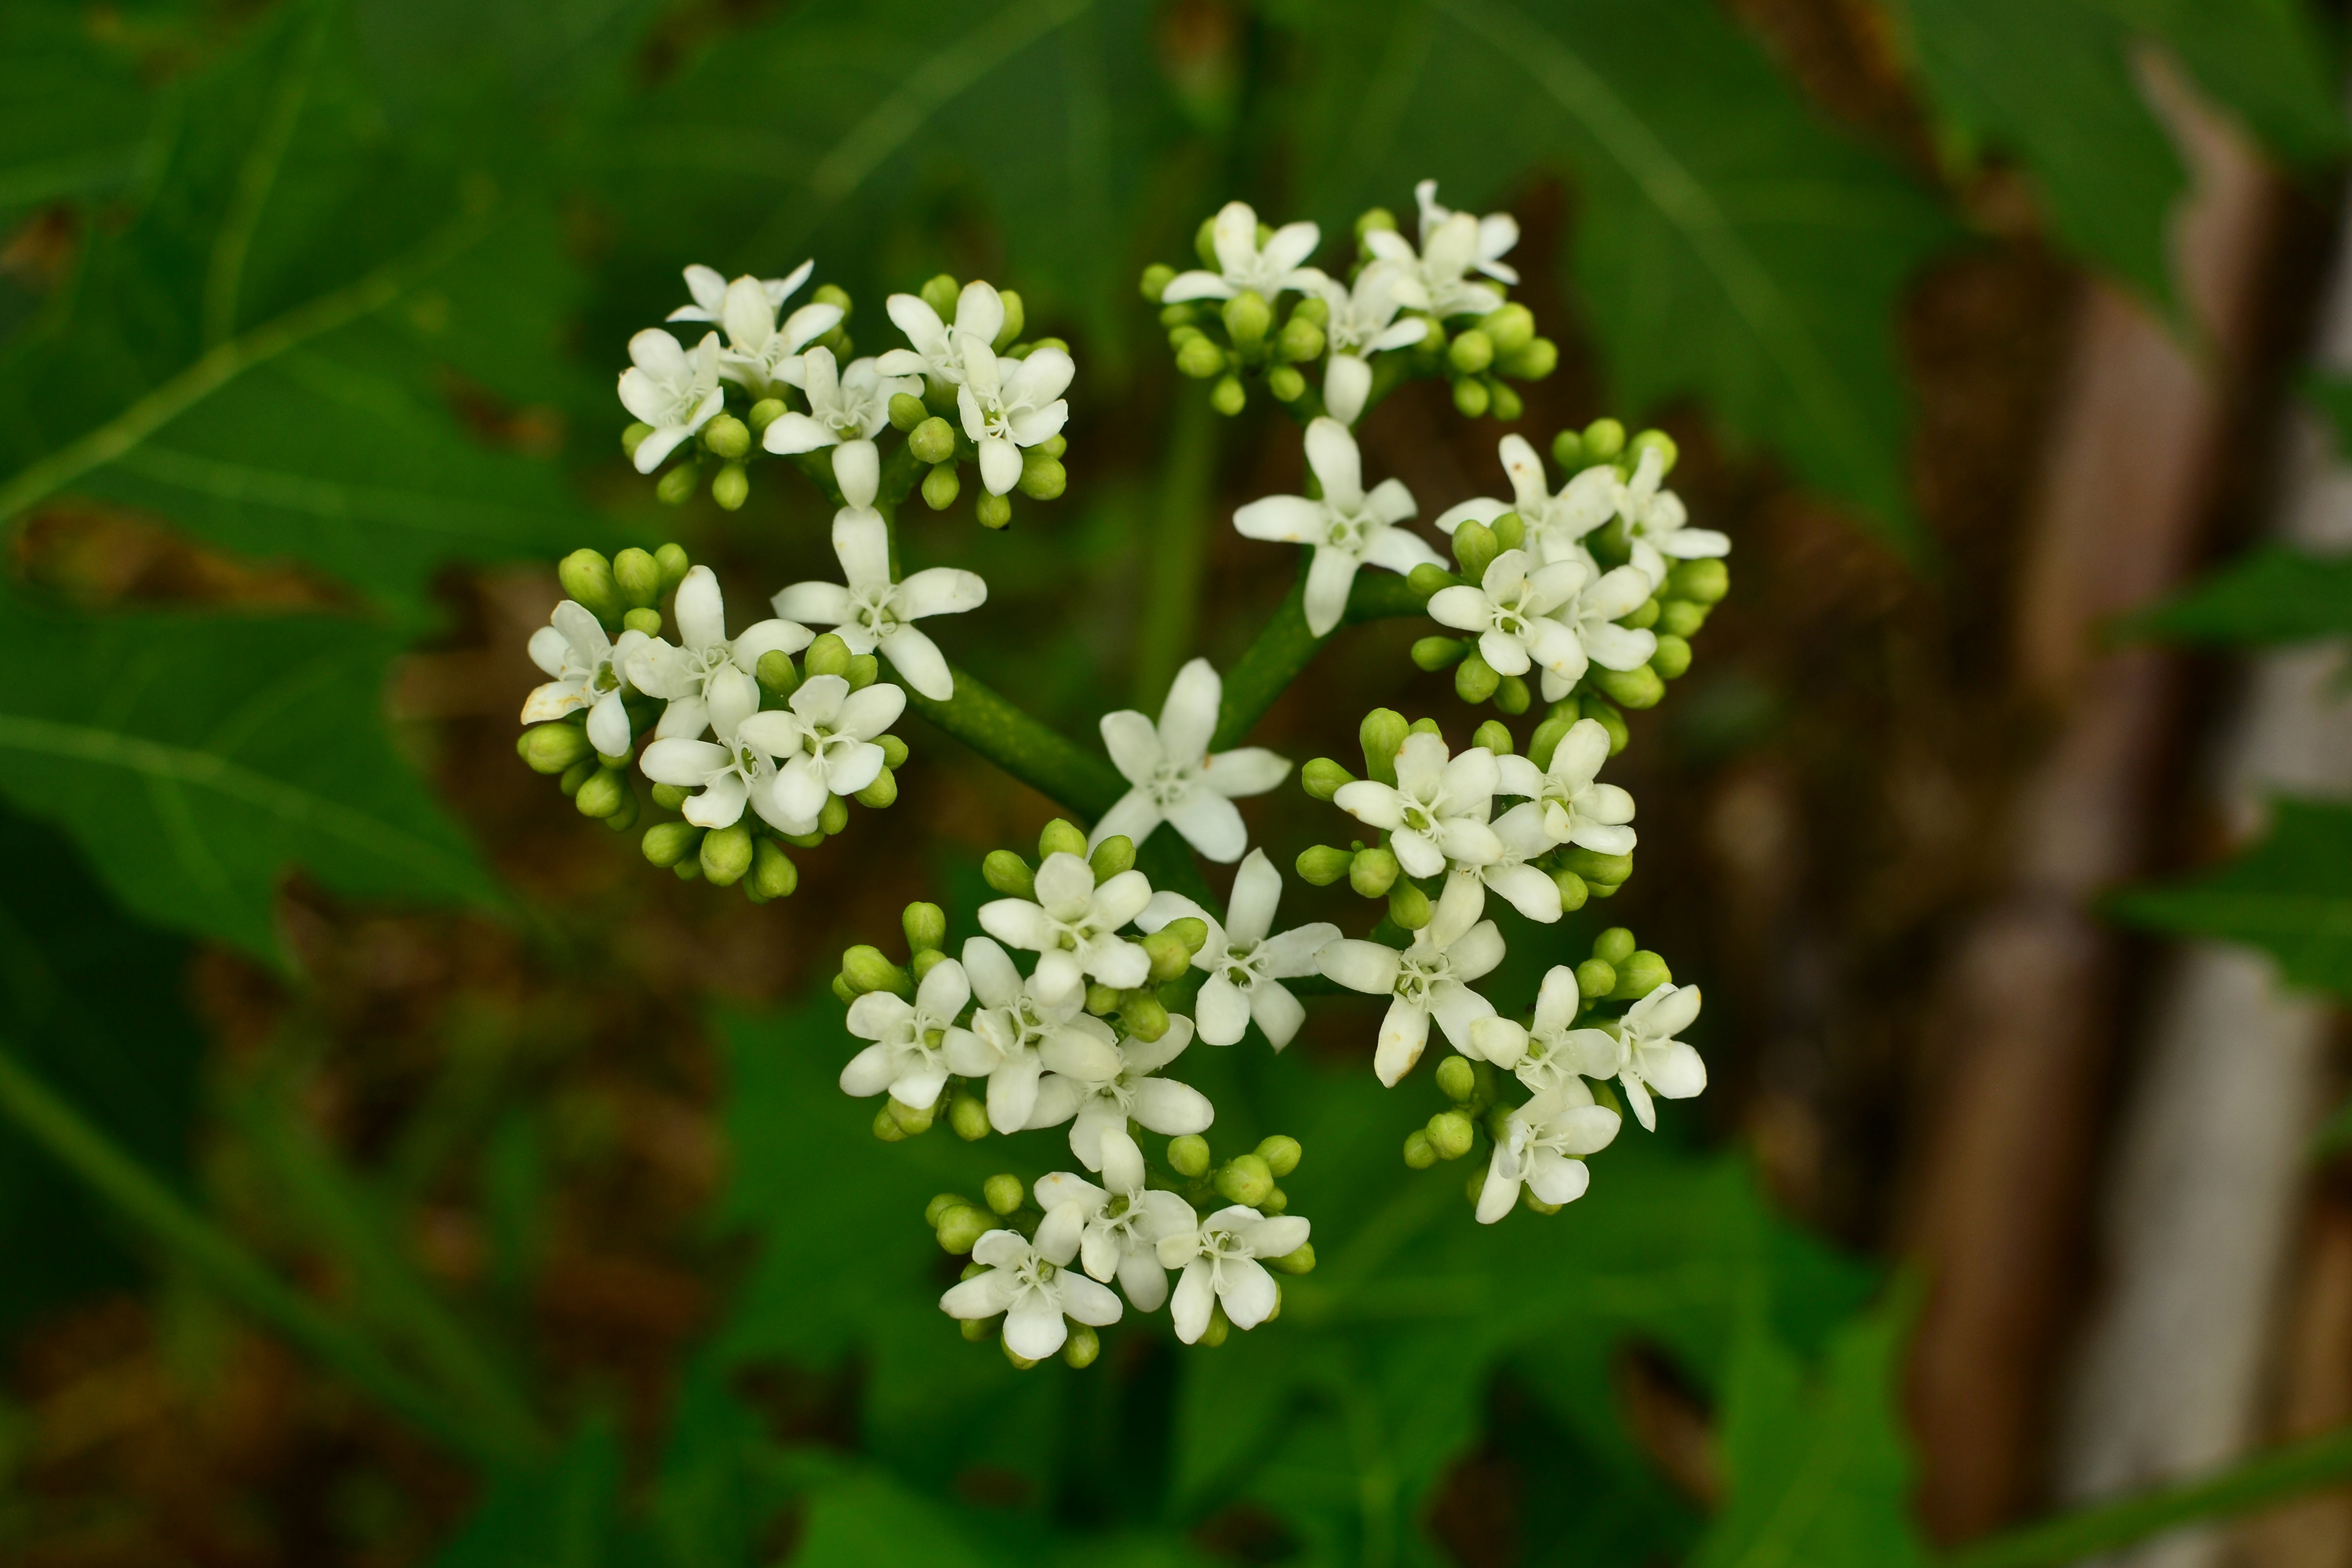
Spiny chaya, Cnidoscolus aconitifolius, is a highly nutritious, productive, and fast growing perennial tree ‘spinach’ that reaches heights of 20 feet. There are two main cultivated varieties, or species, of chaya. This article focuses on the specific spiny or estrella variety. Although there is some confusion with naming as well, I’m going to stick with this specie as the spiny chaya and the spineless chaya as Cnidoscolus chayamansa, which will have a write up at a later time. Chaya is rich in protein, calcium, iron, carotene, riboflavin, niacin, and ascorbic acid! Once dried and ground it also becomes a great supplement for us humans or for great animal feed. And really, it’s just a beautiful plant!

DSC_0267

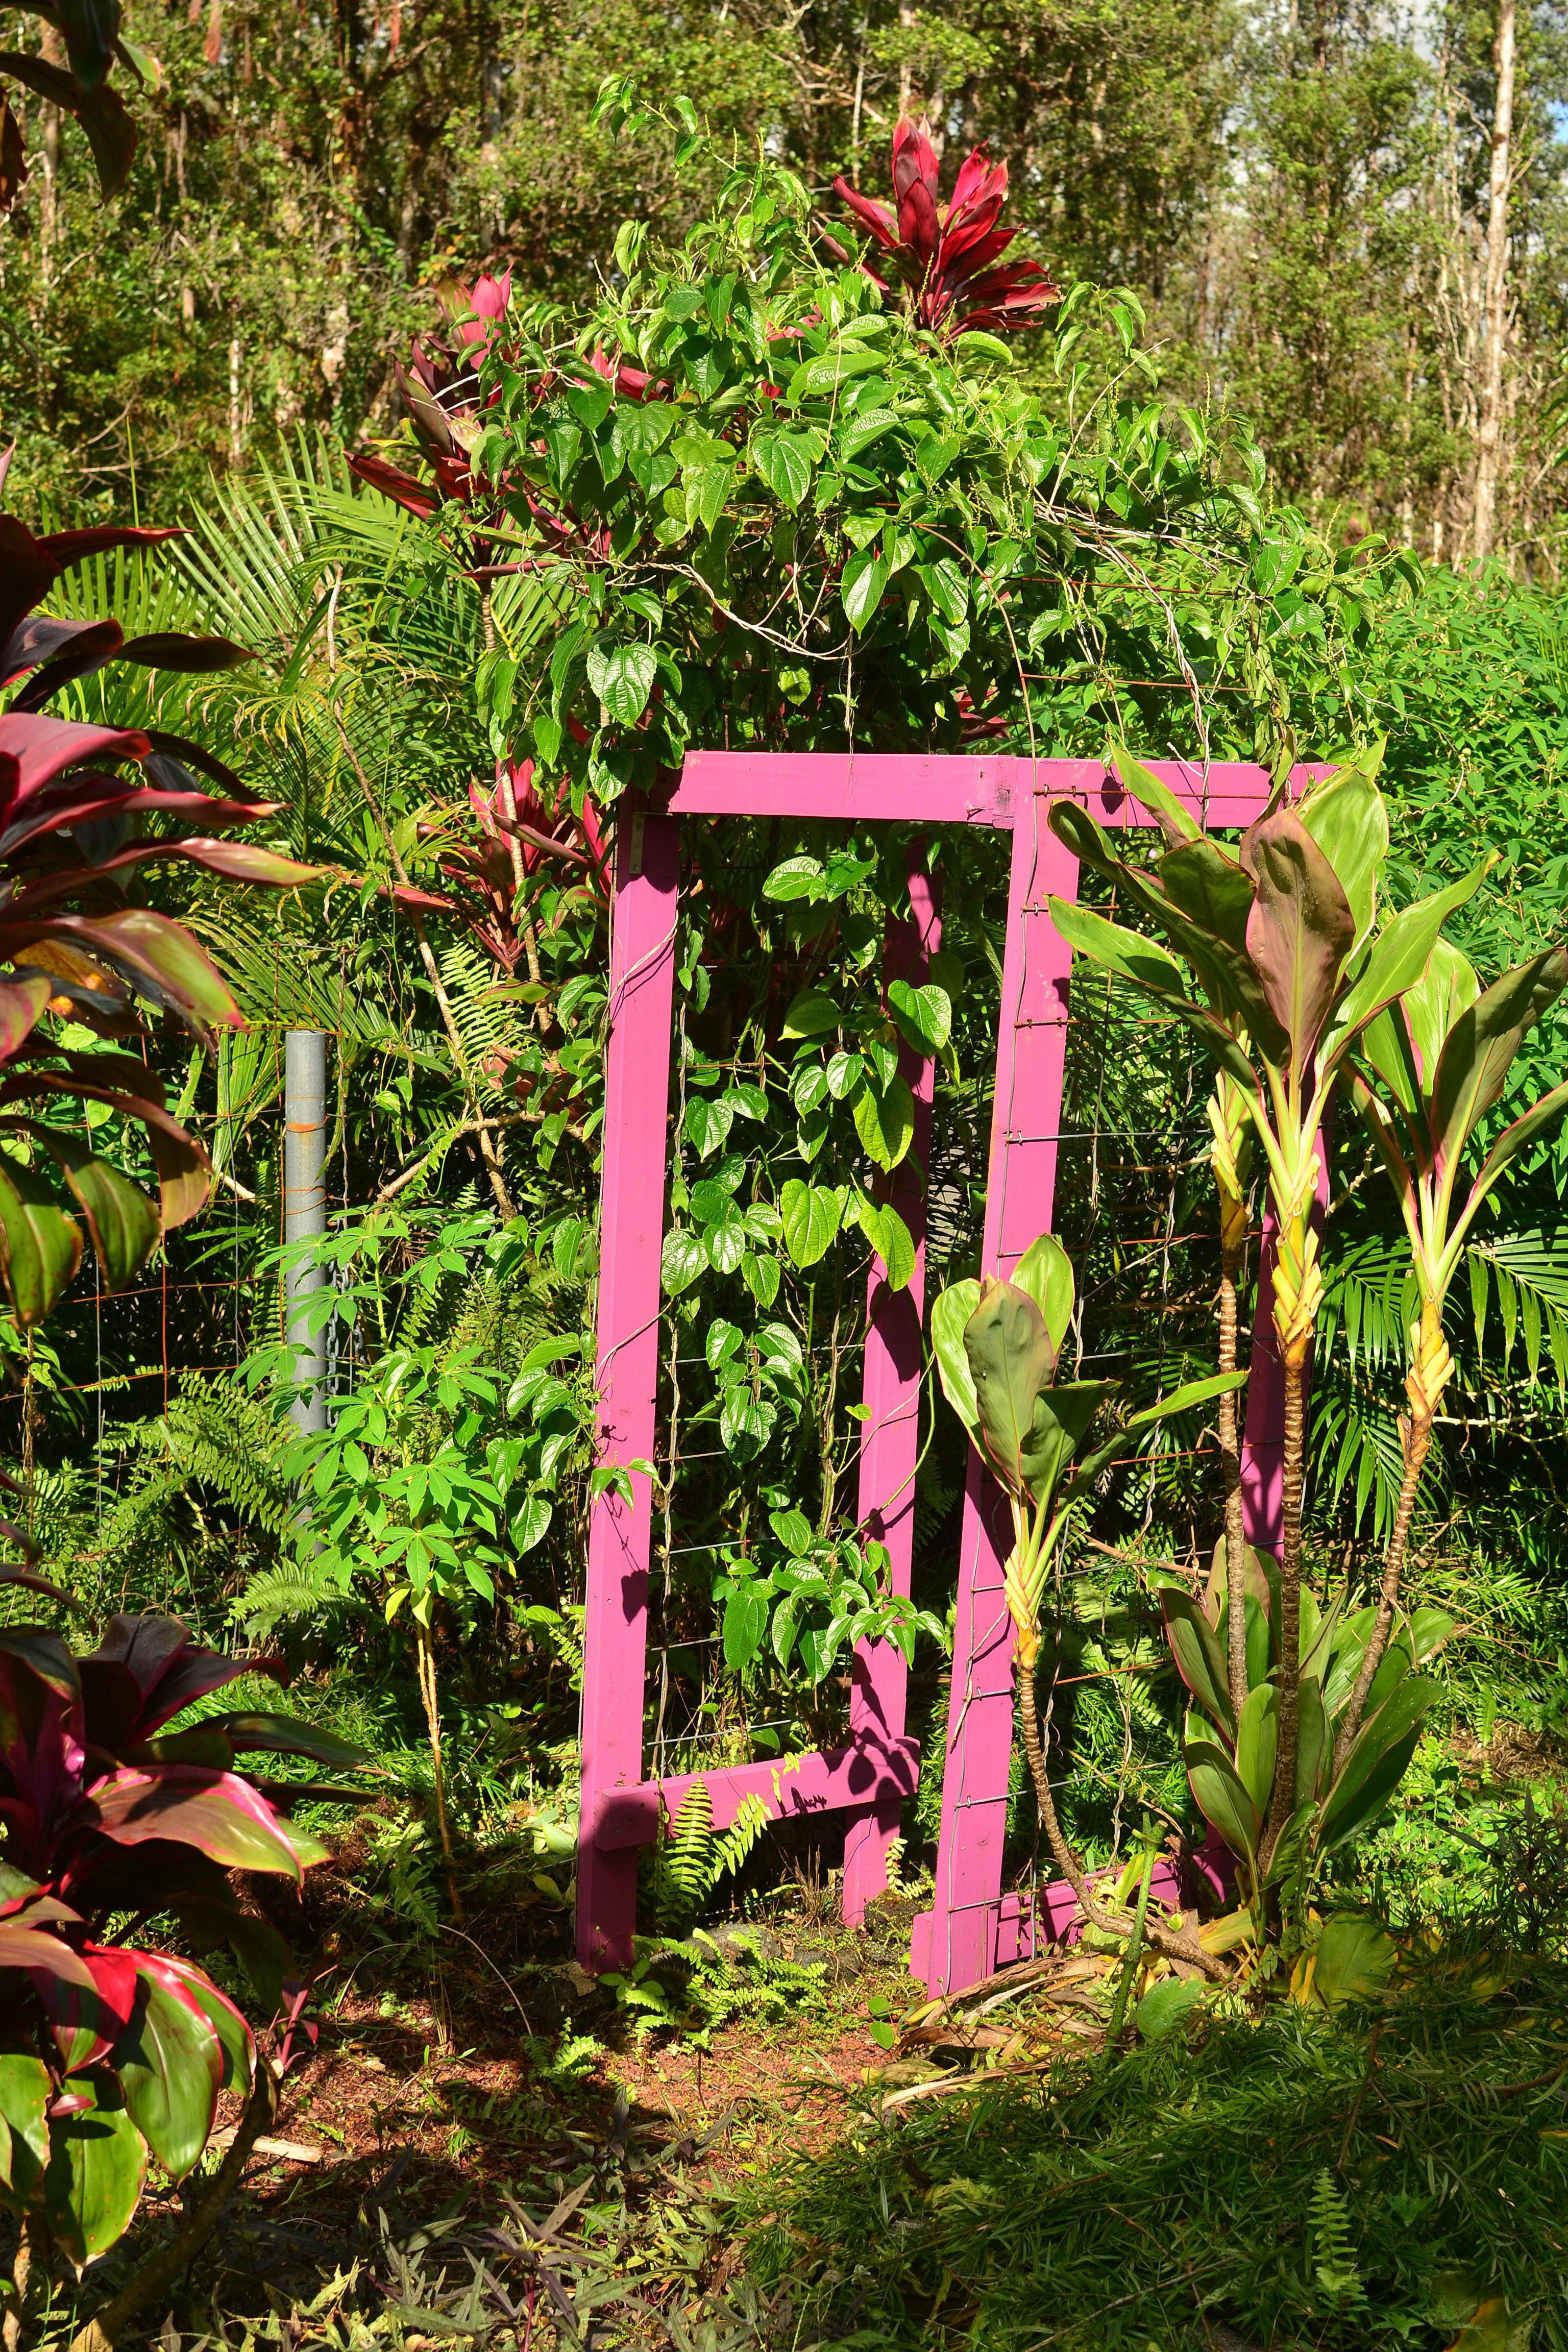
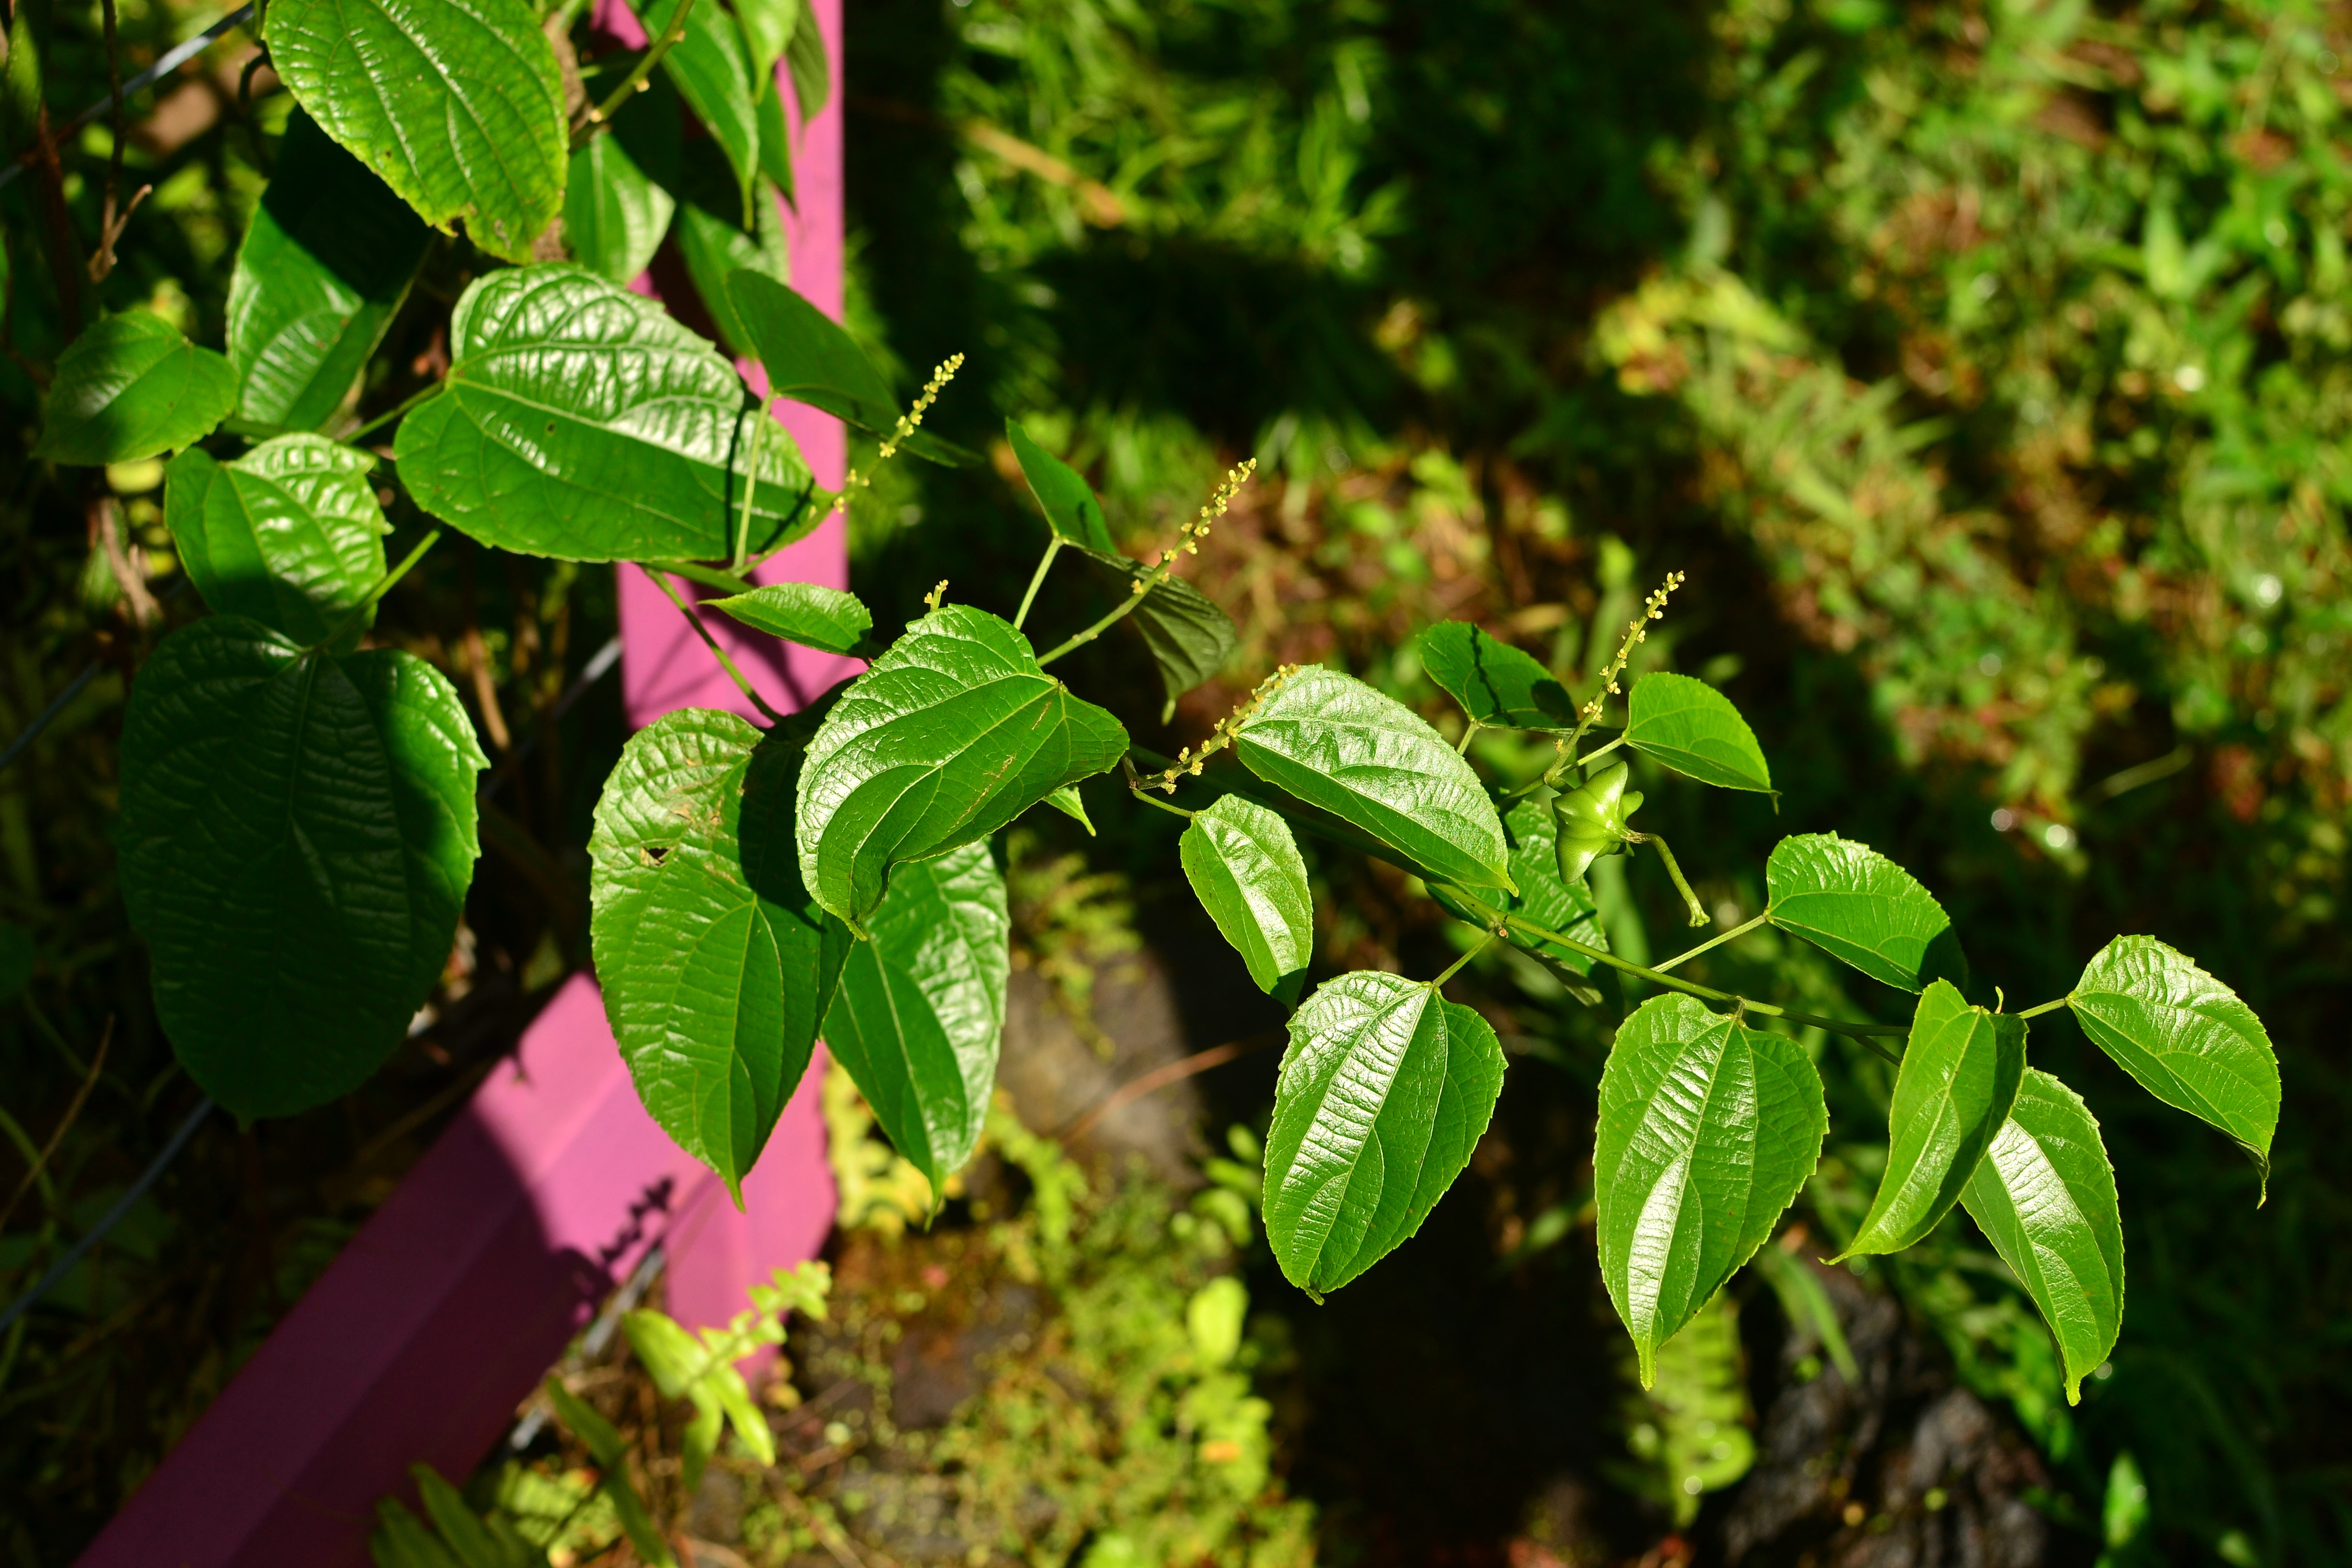
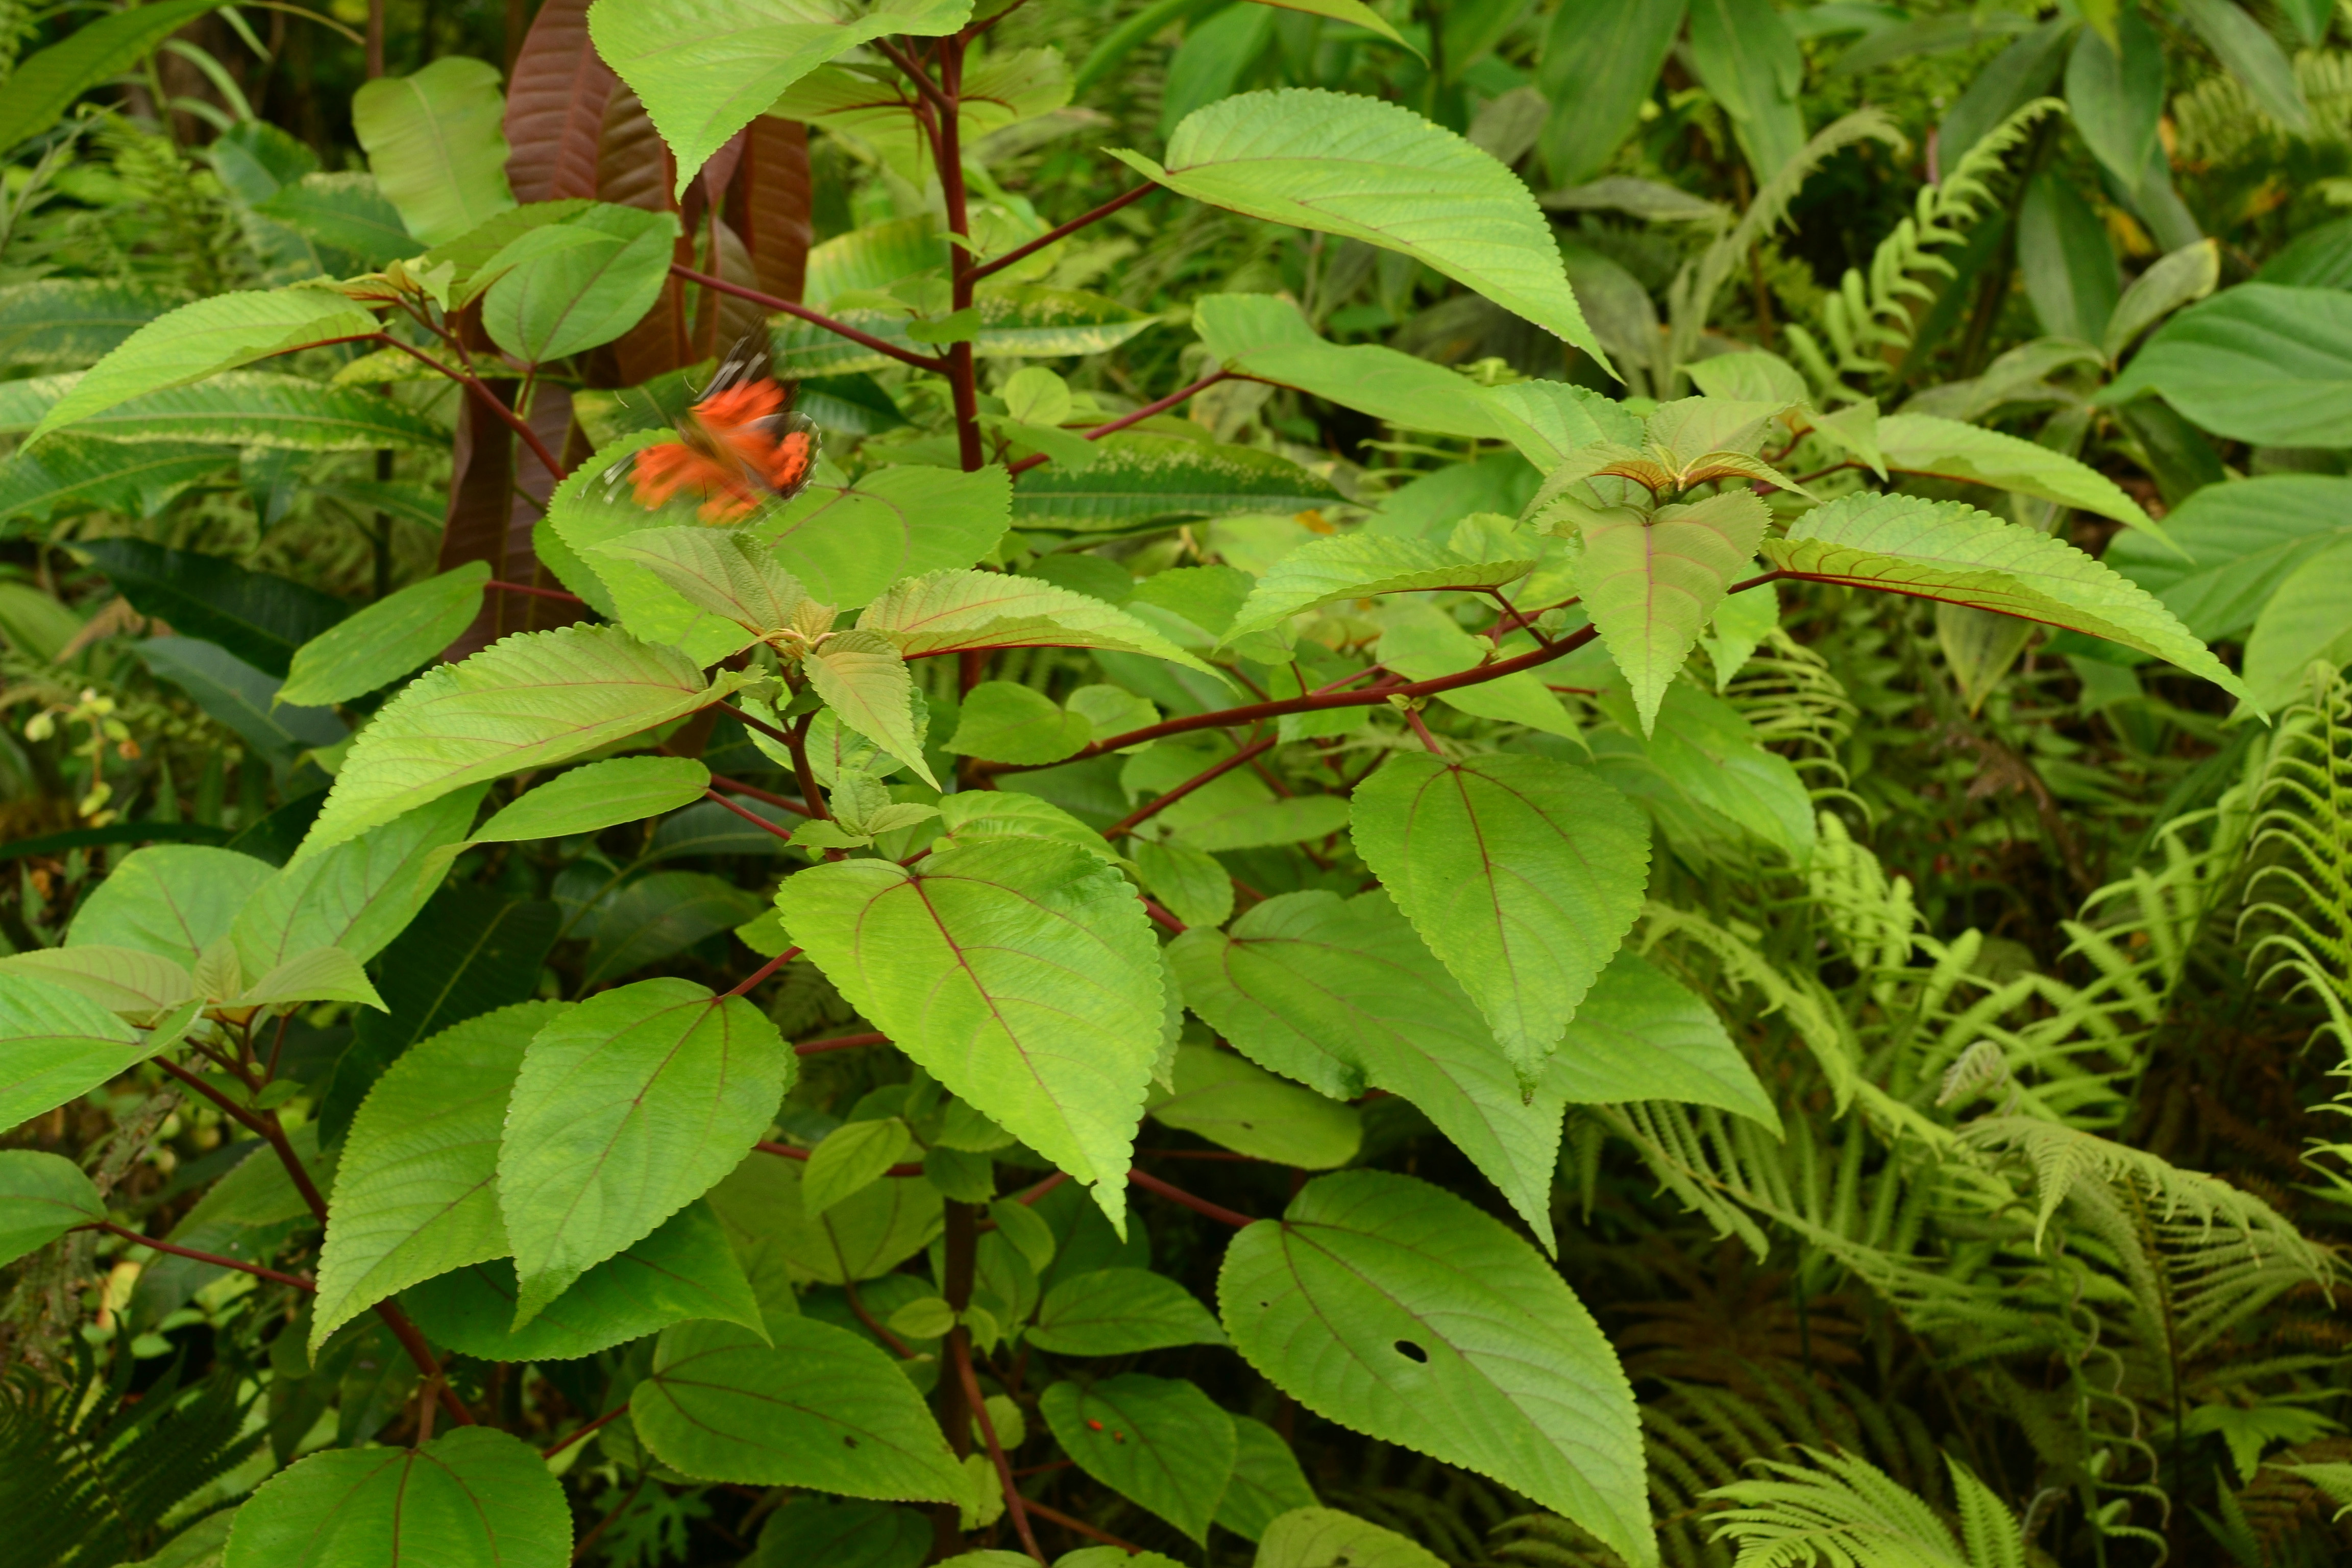
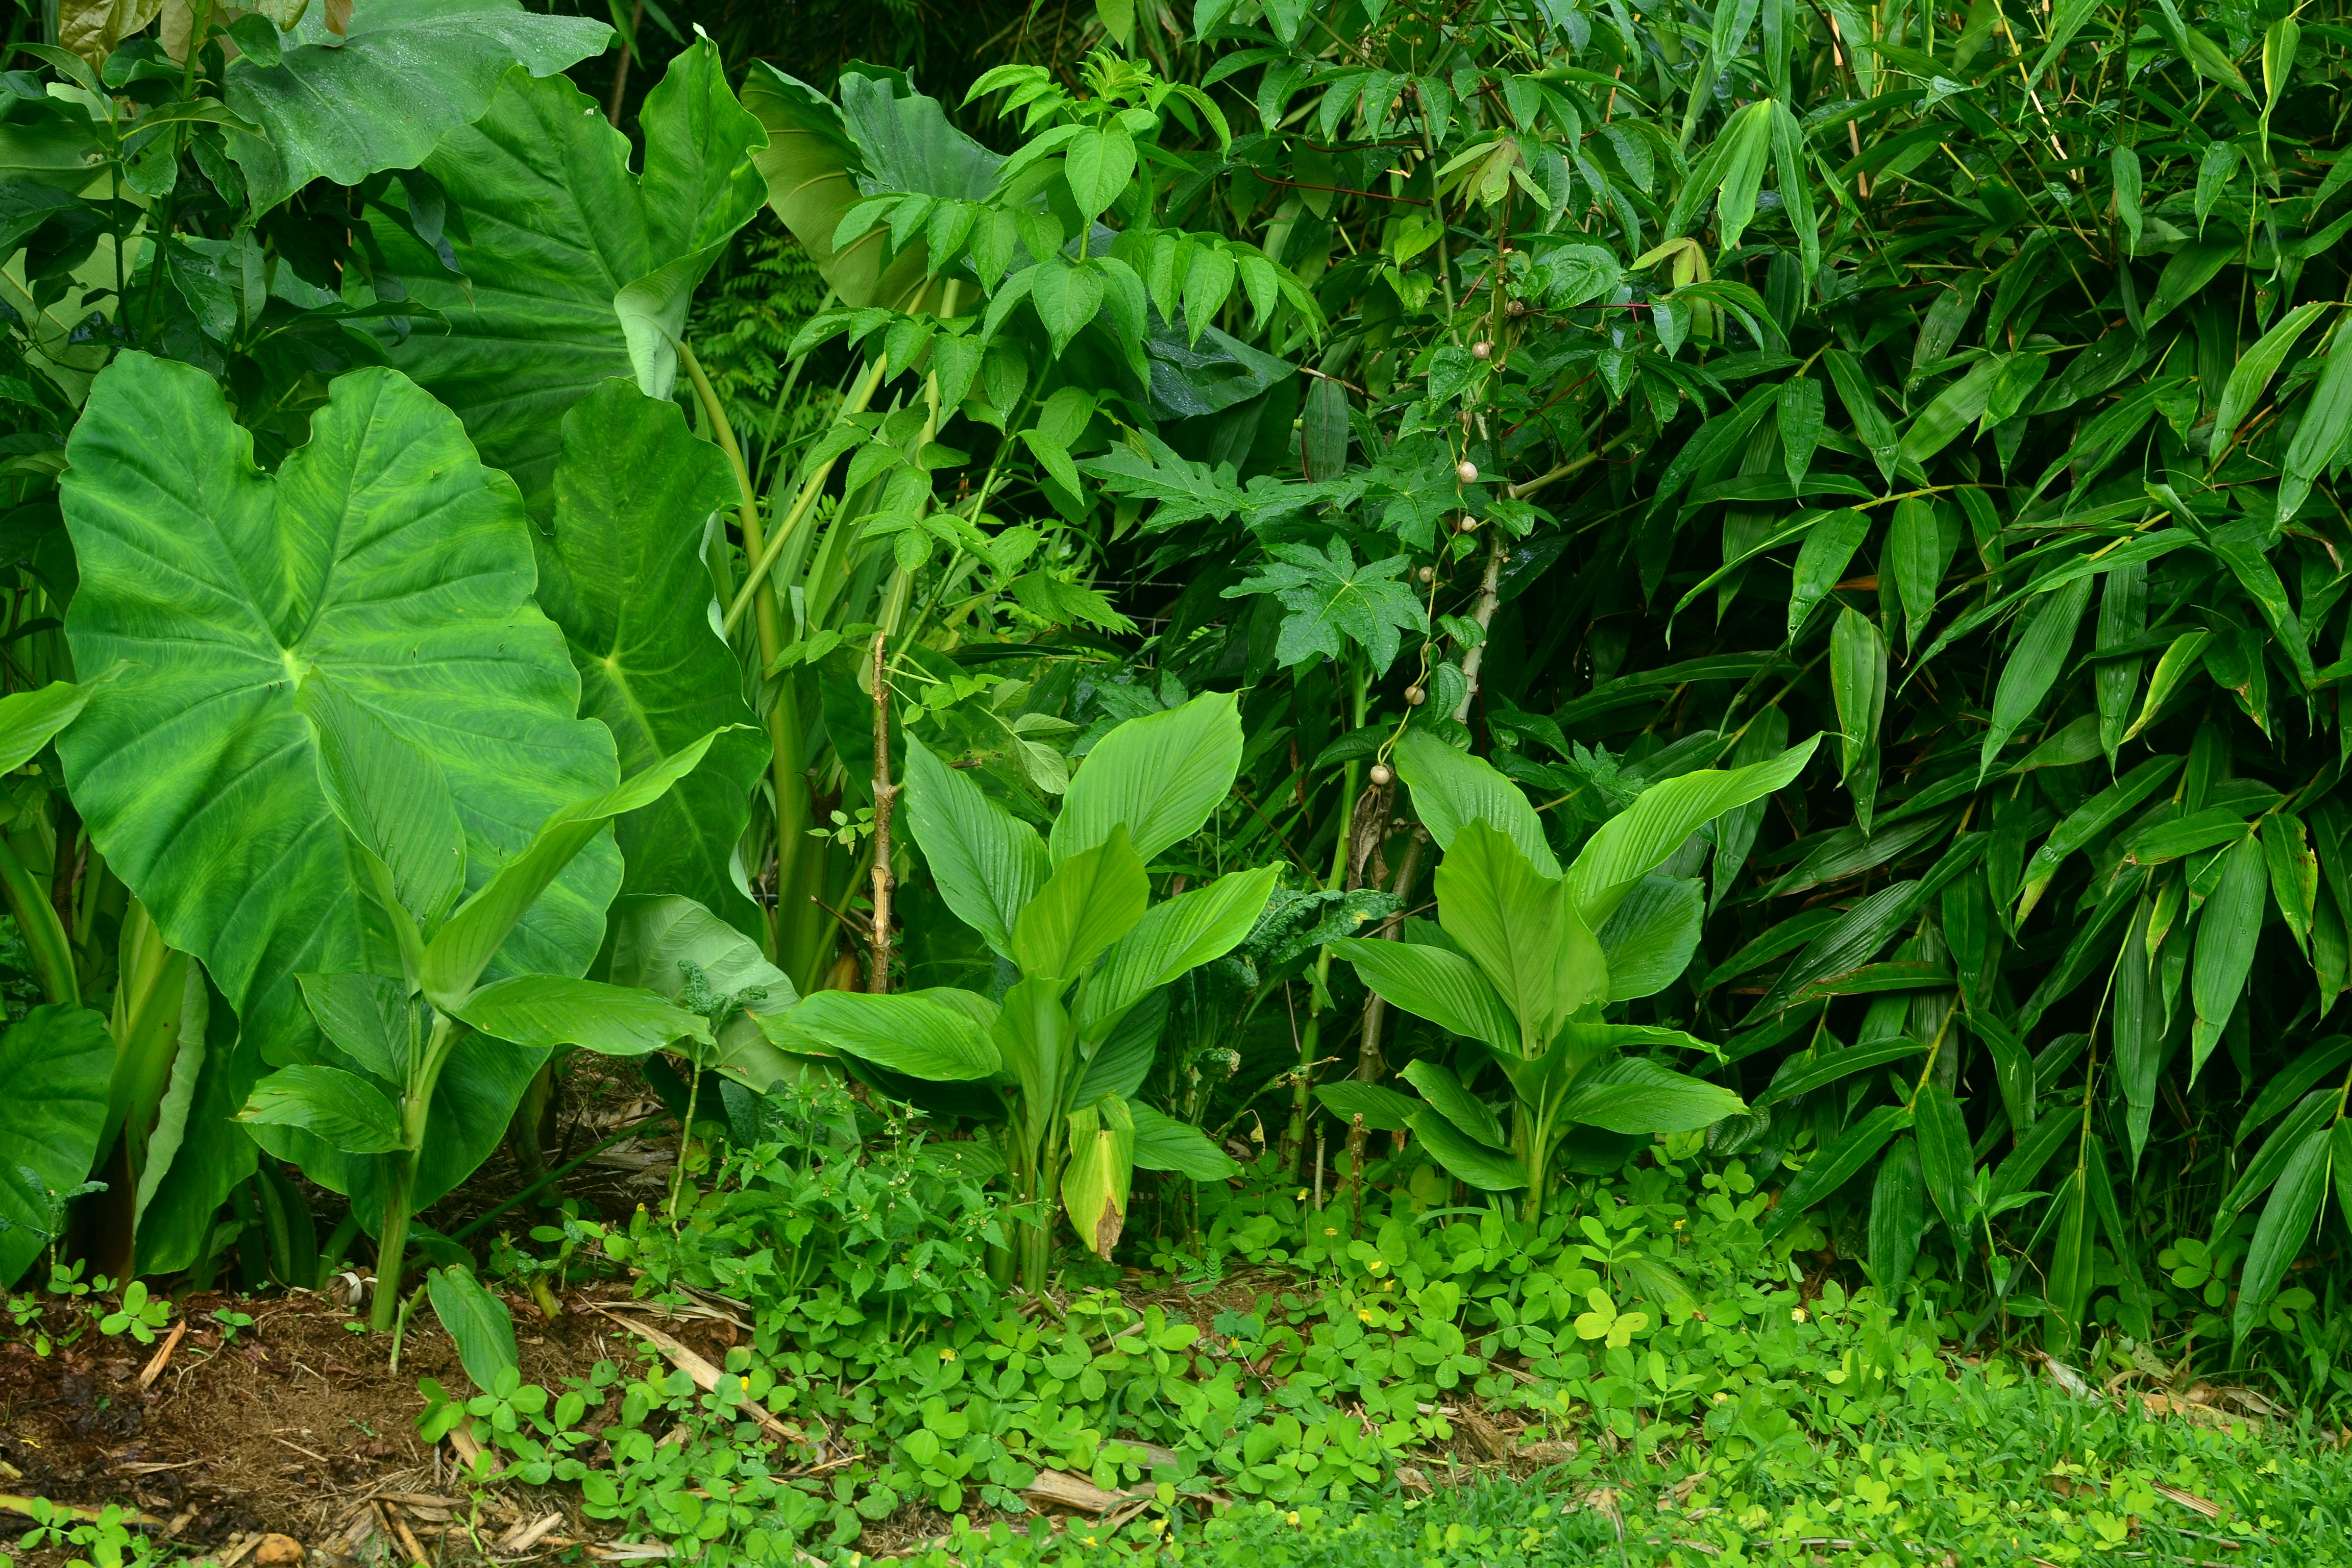
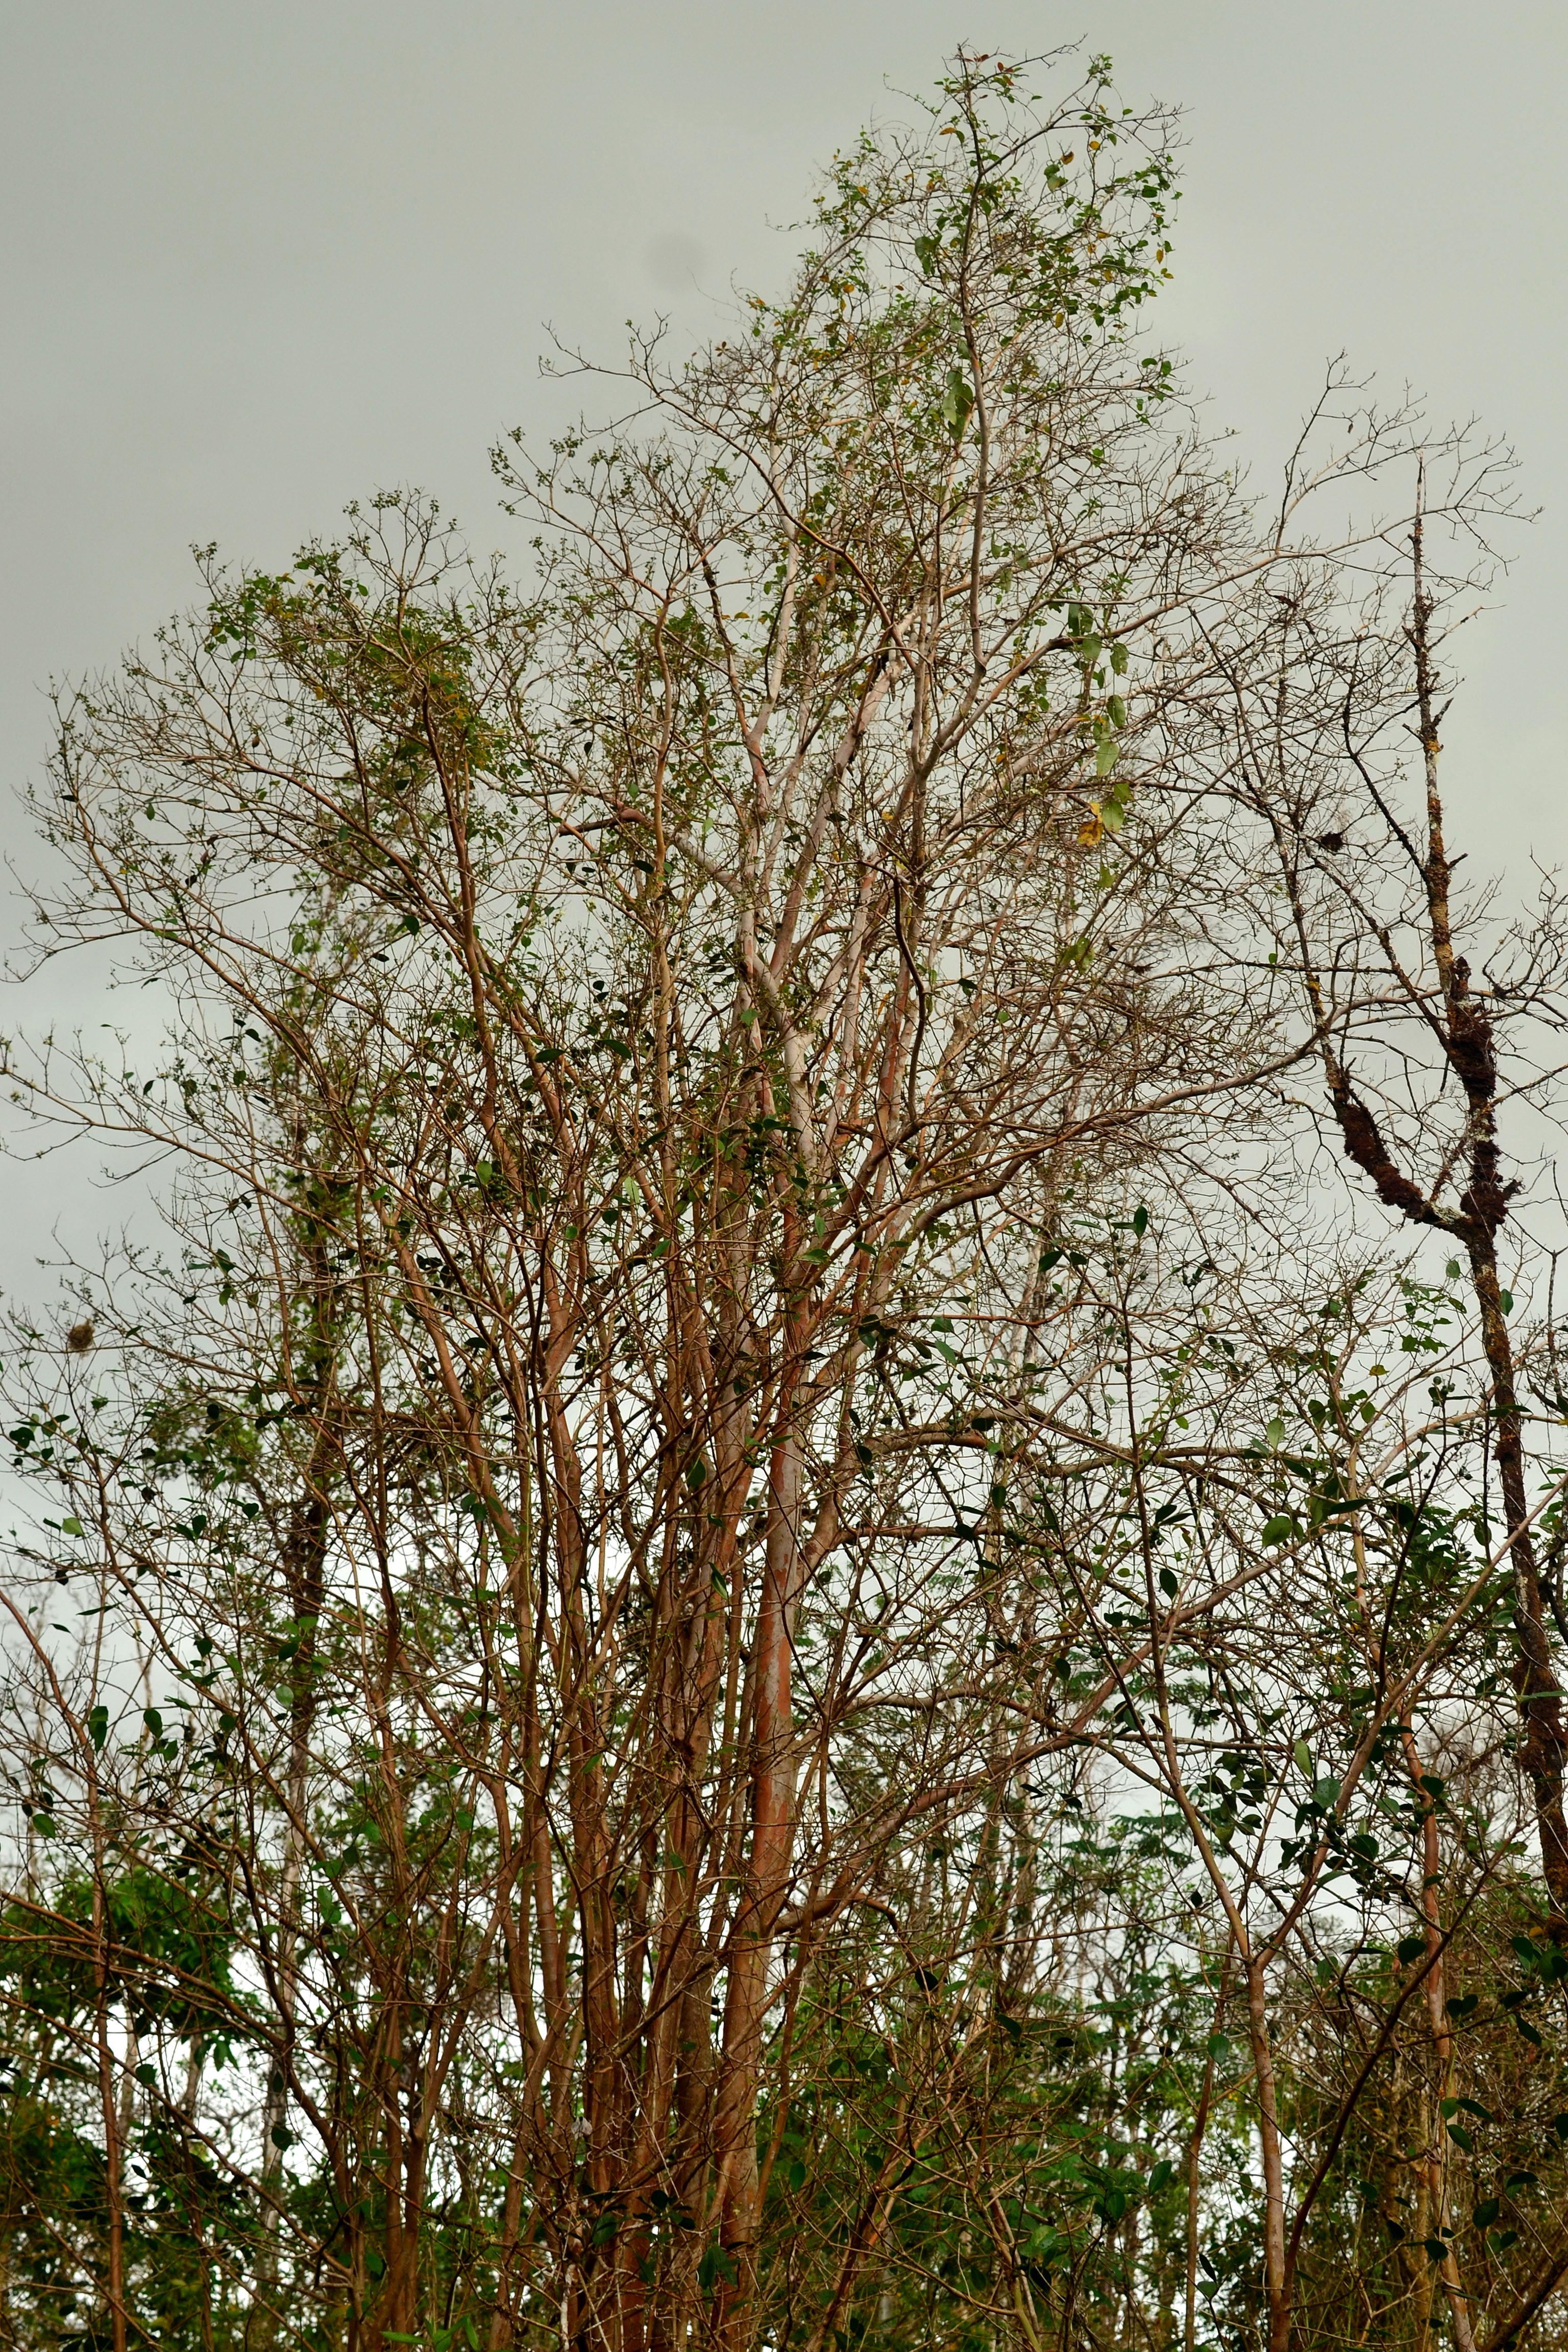
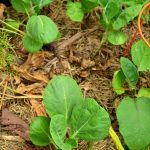
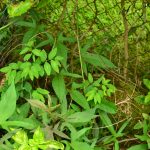
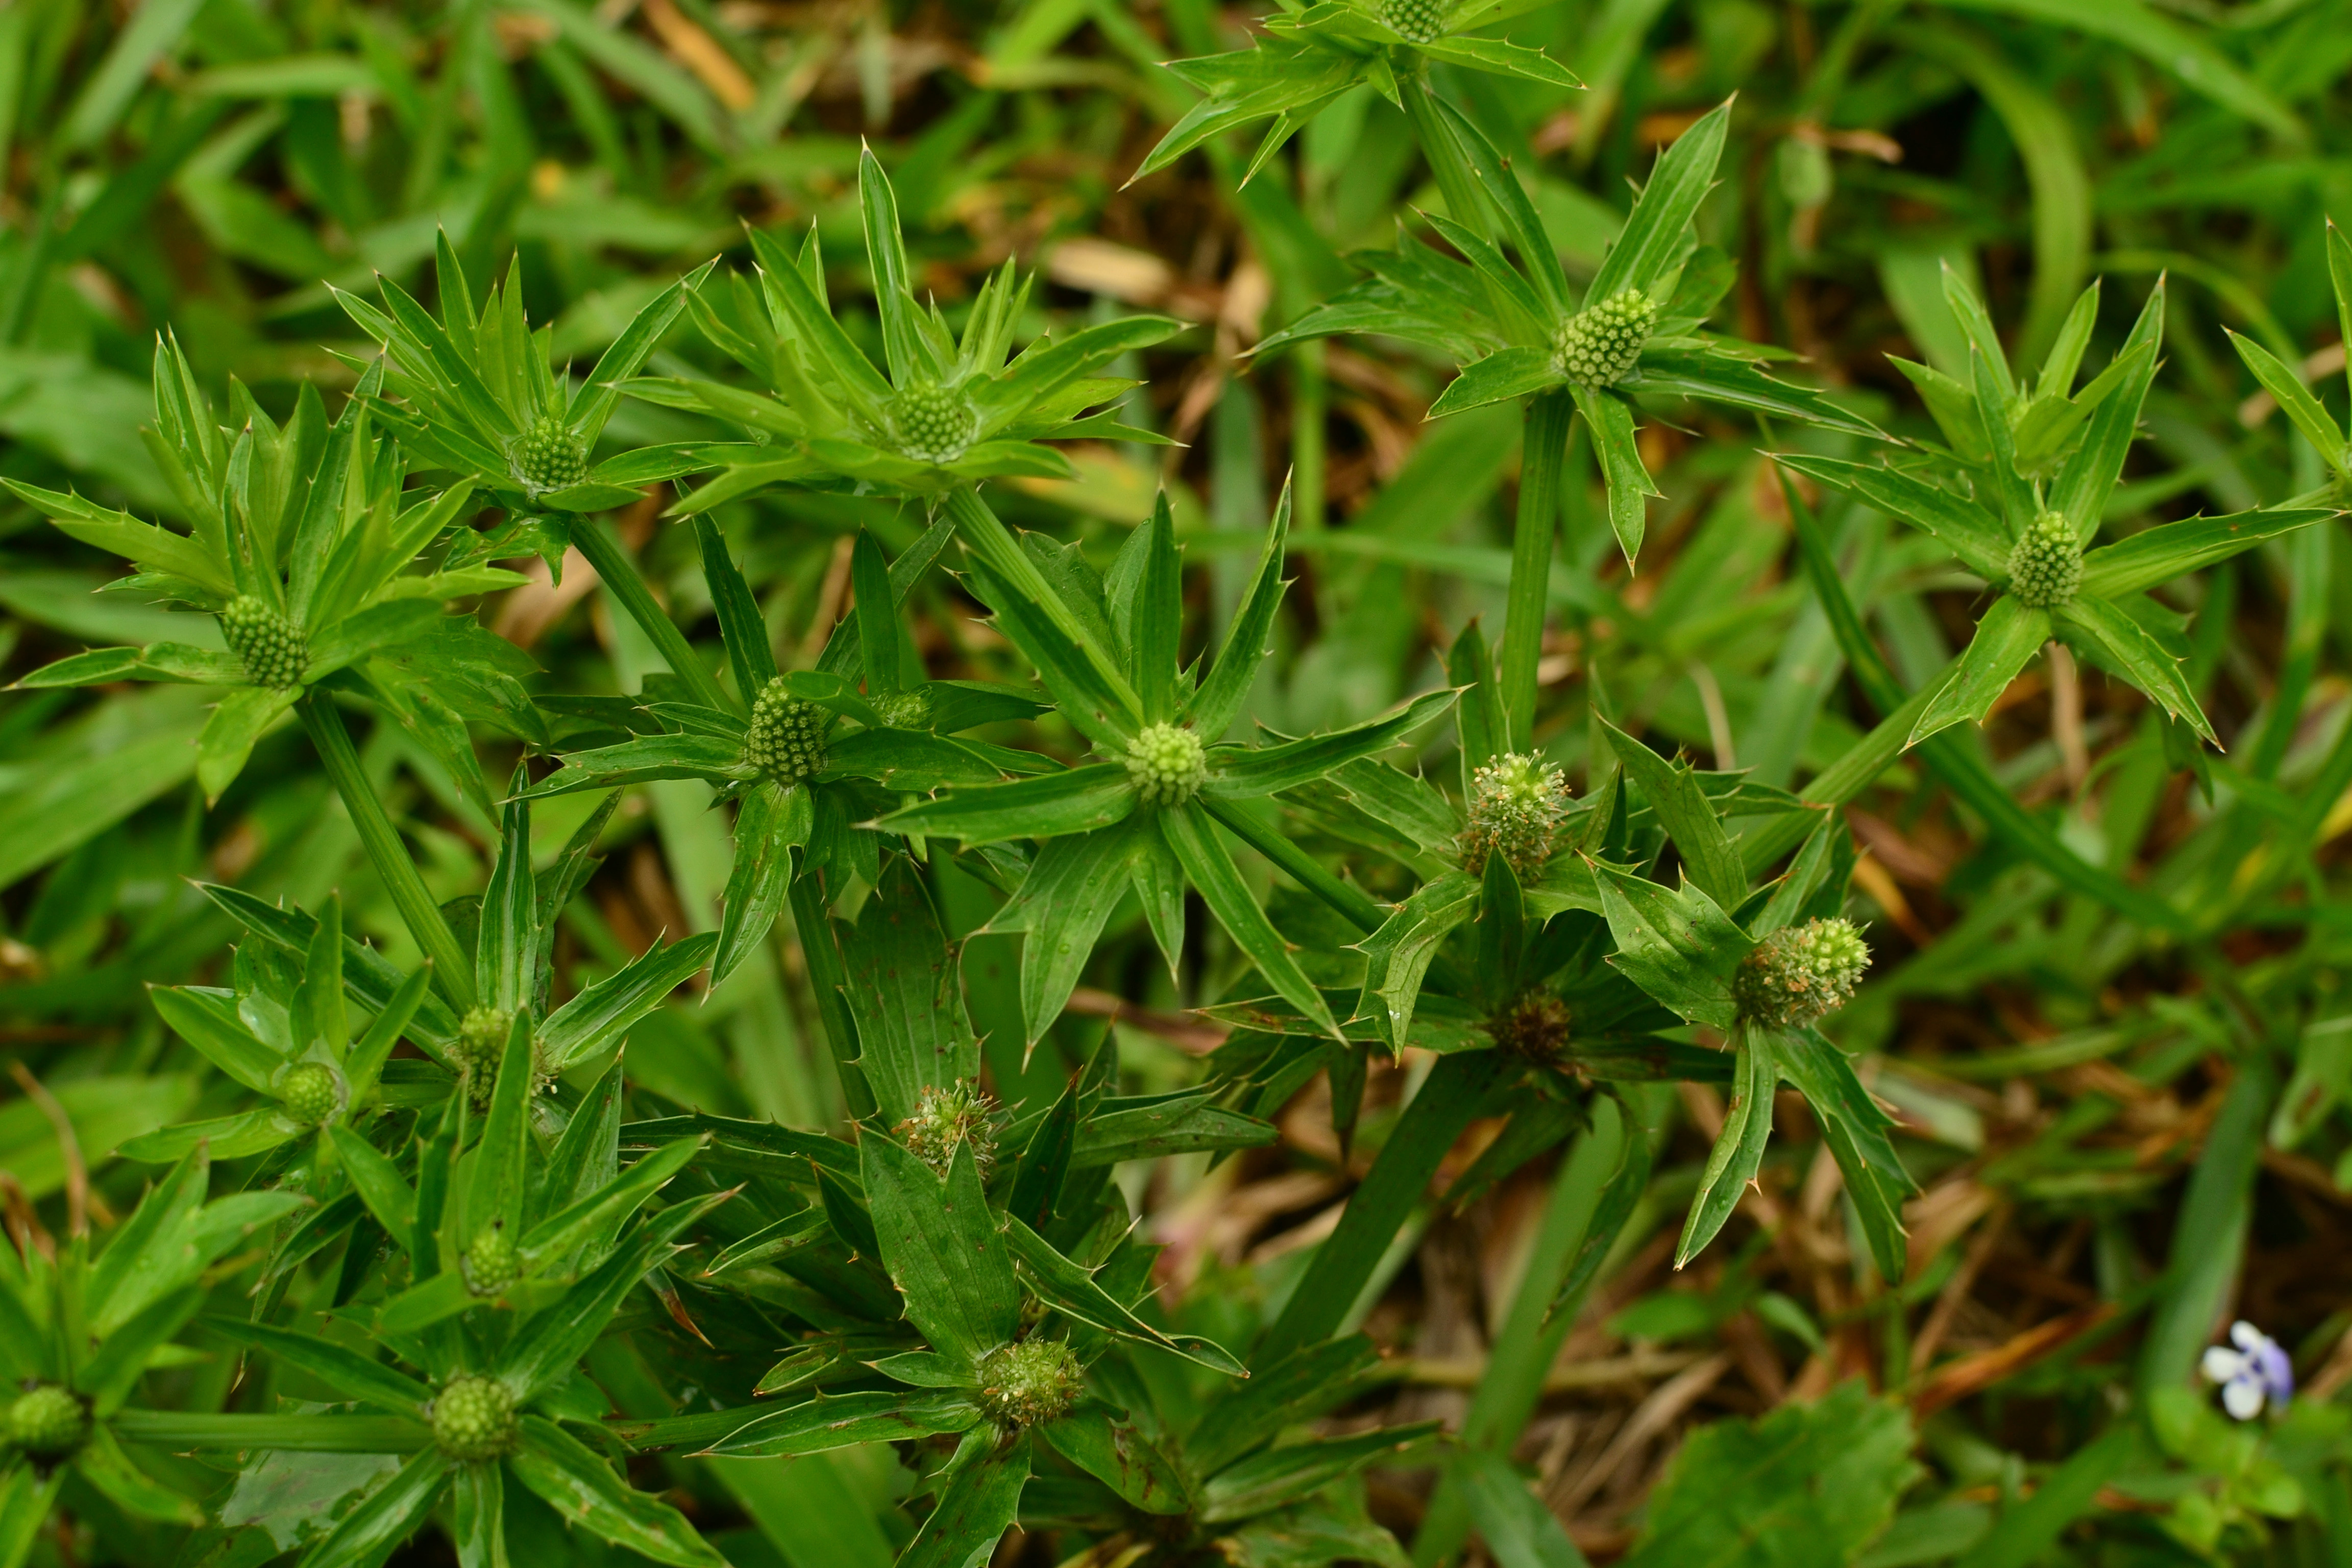
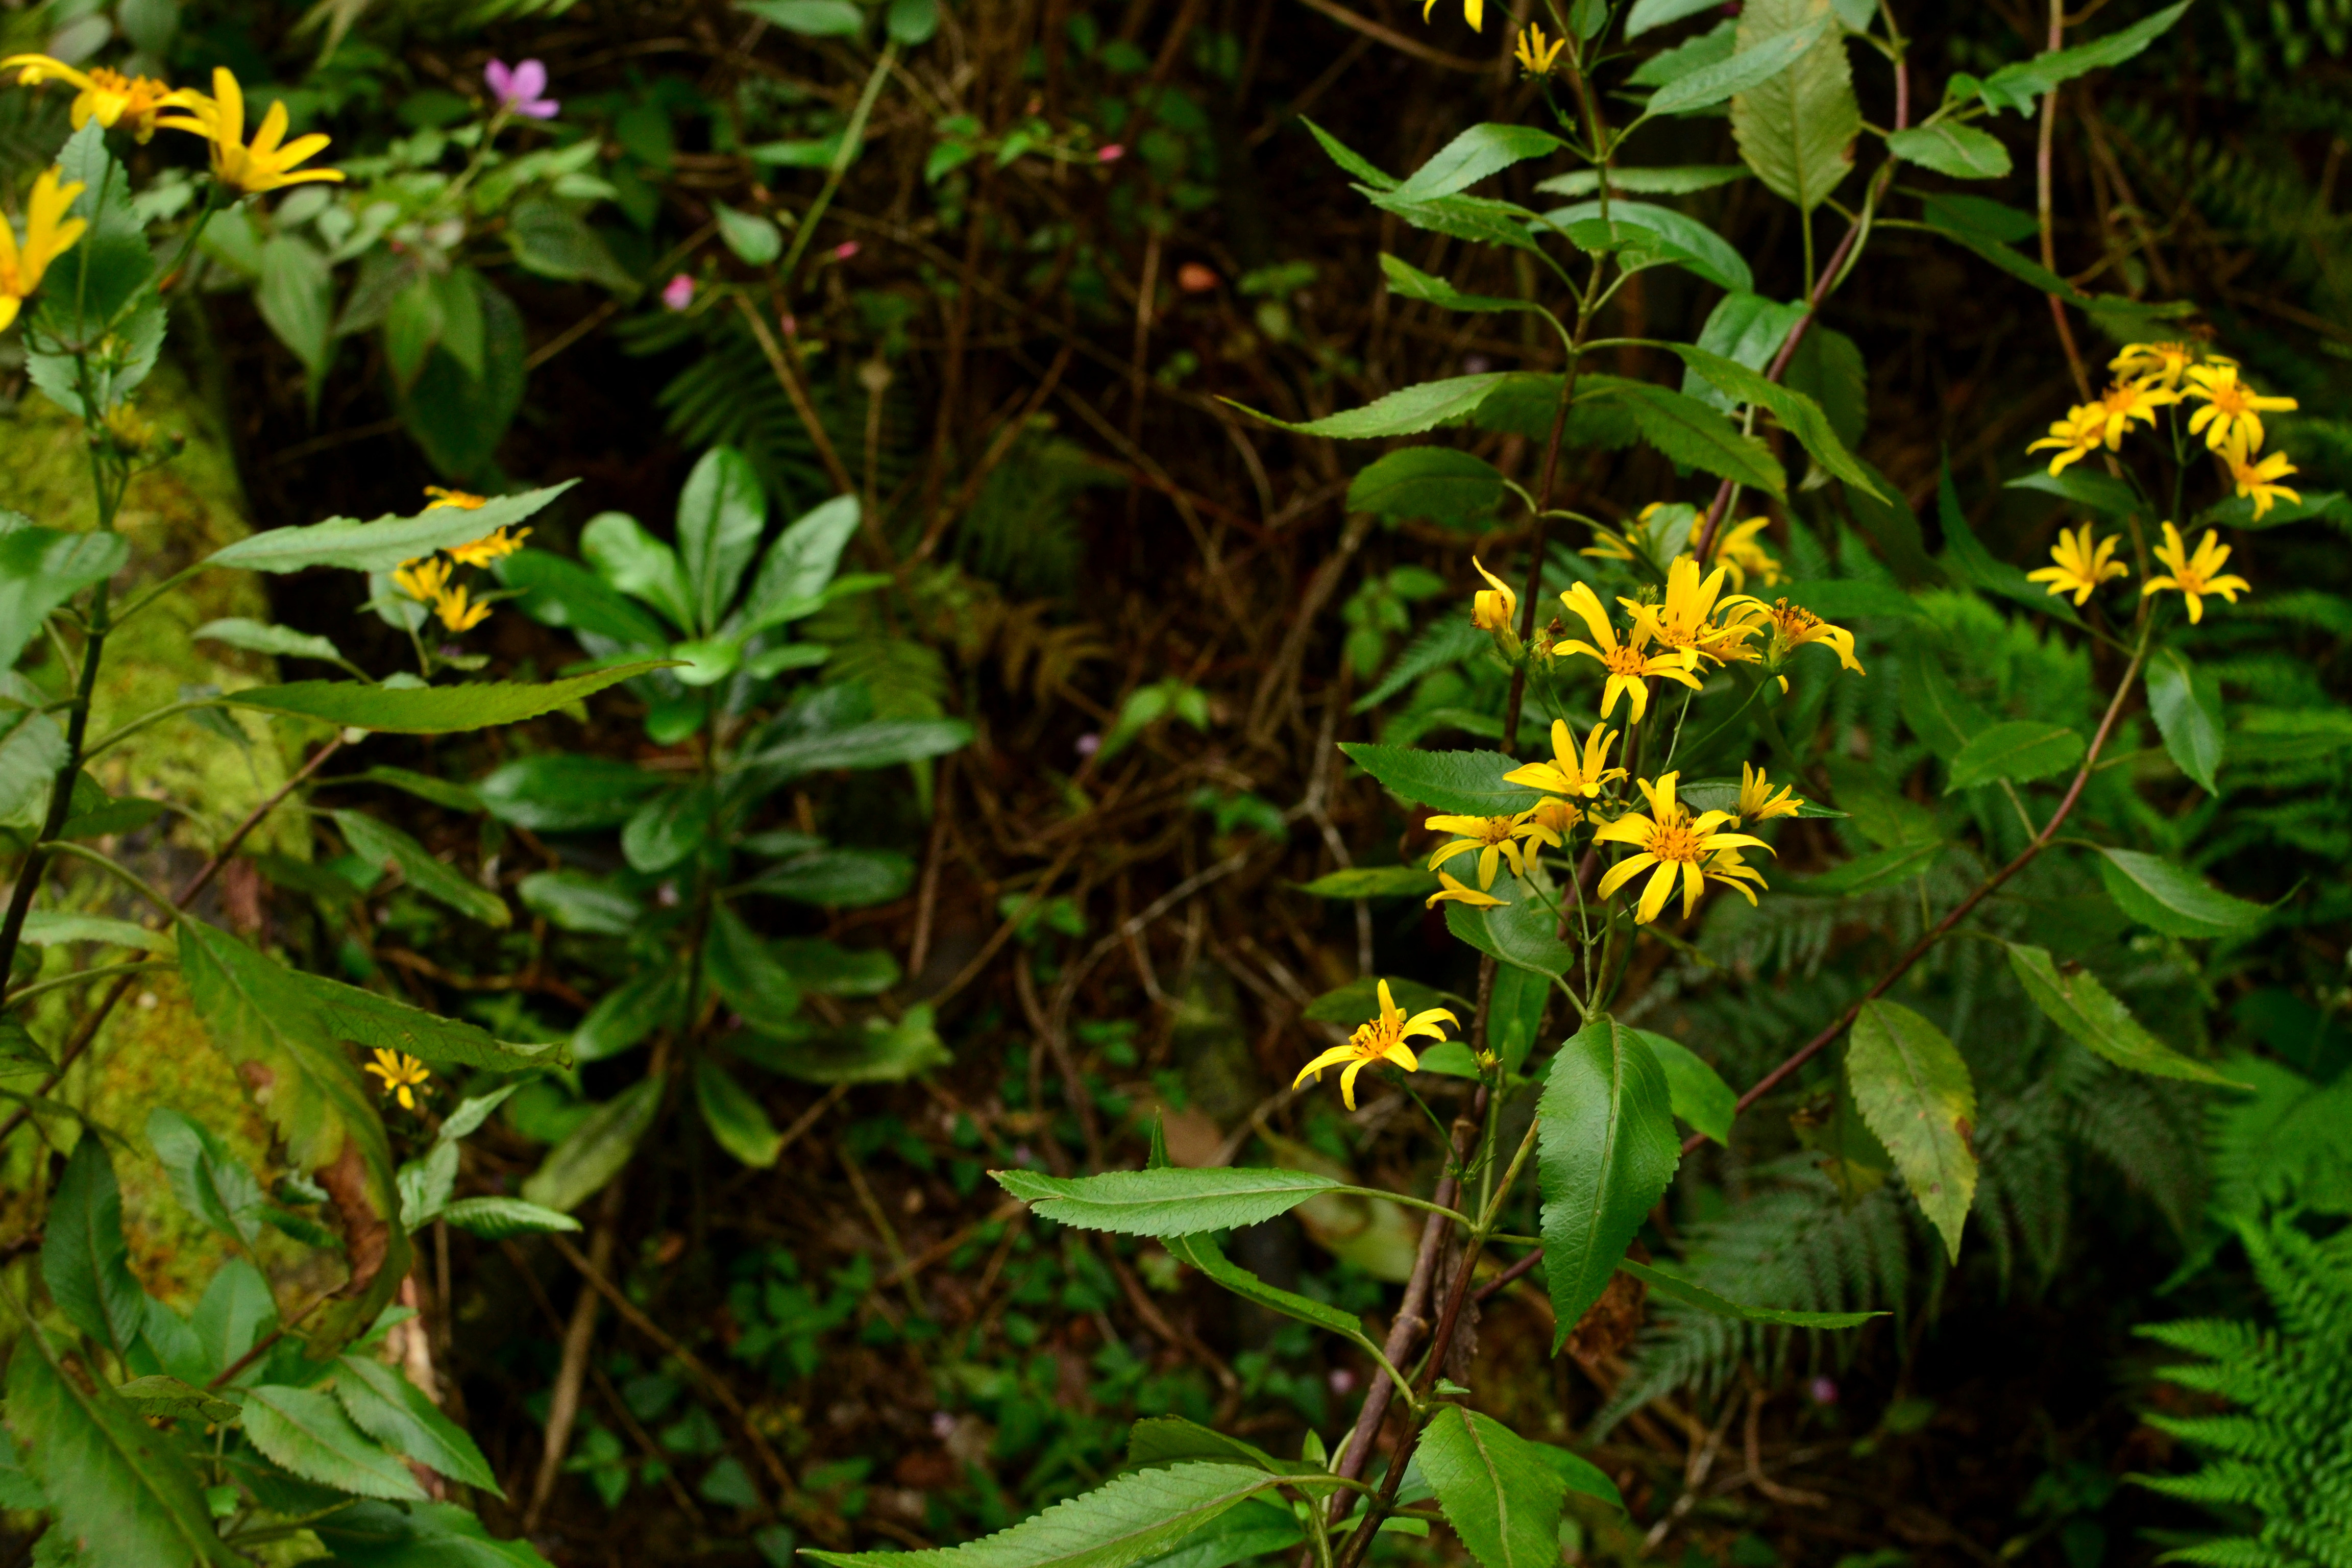
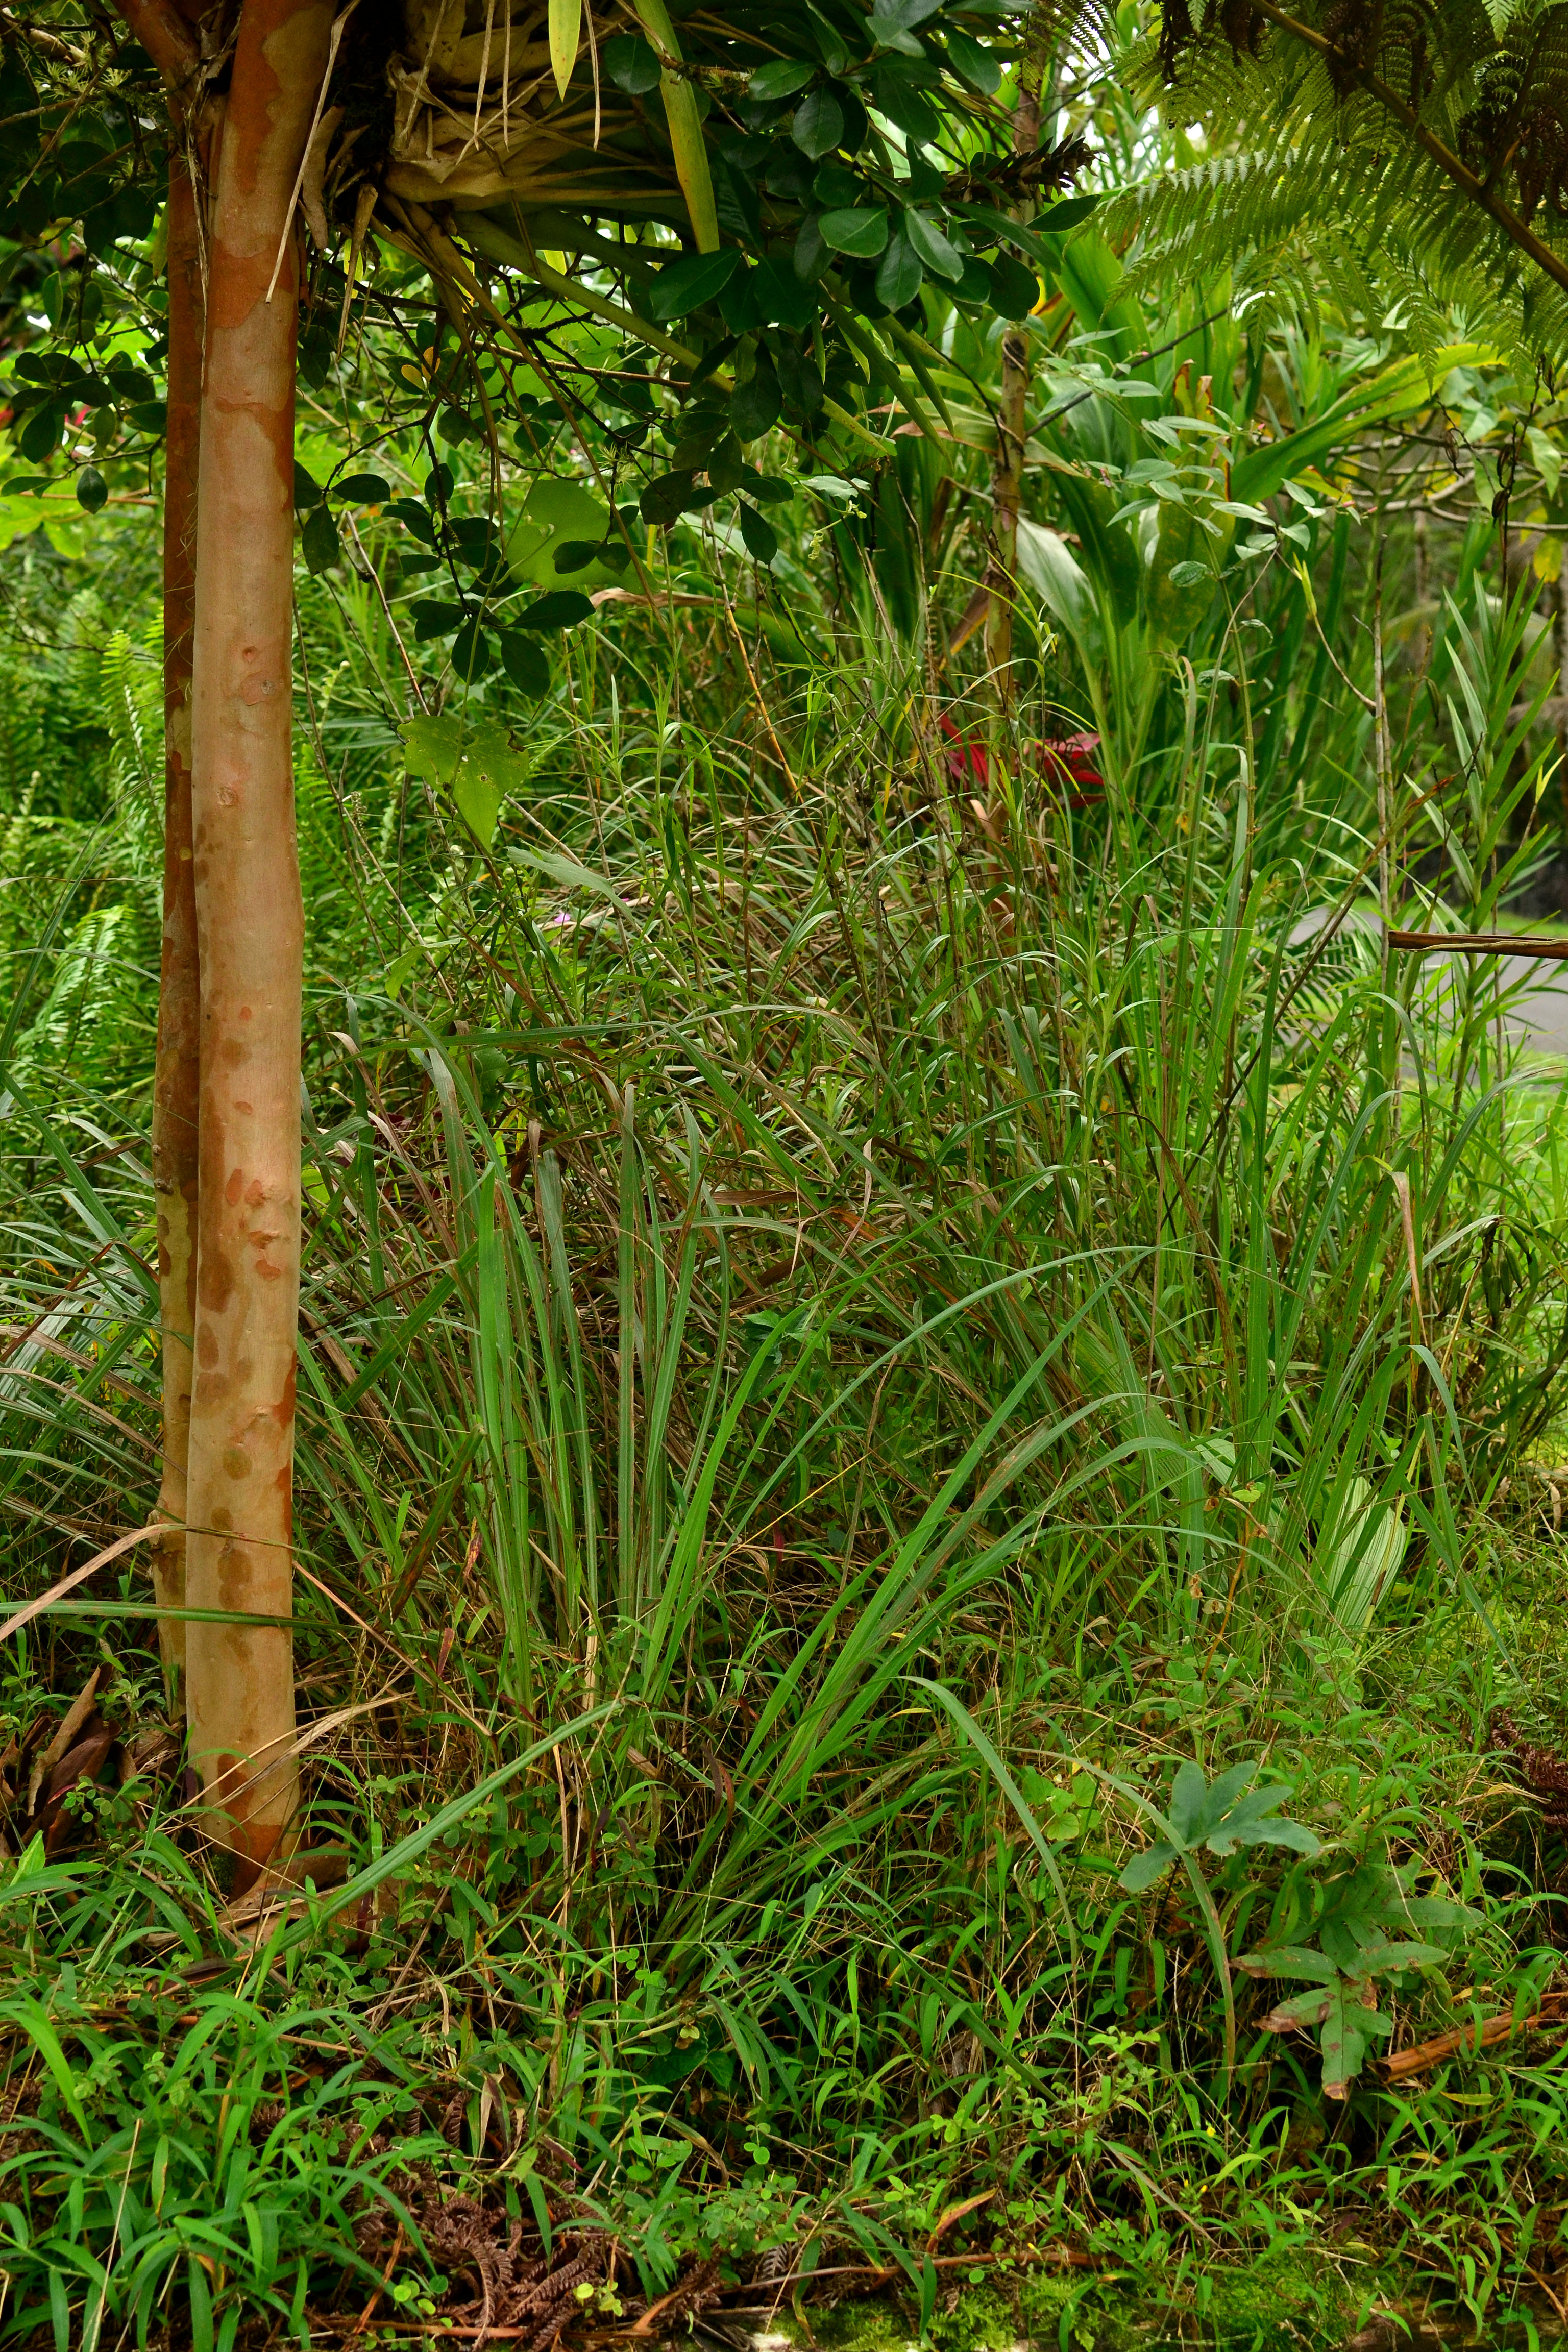
That kalo relative is 7′ tall. look at that chaya over story

DSC_0297DSC_0314

Propagation

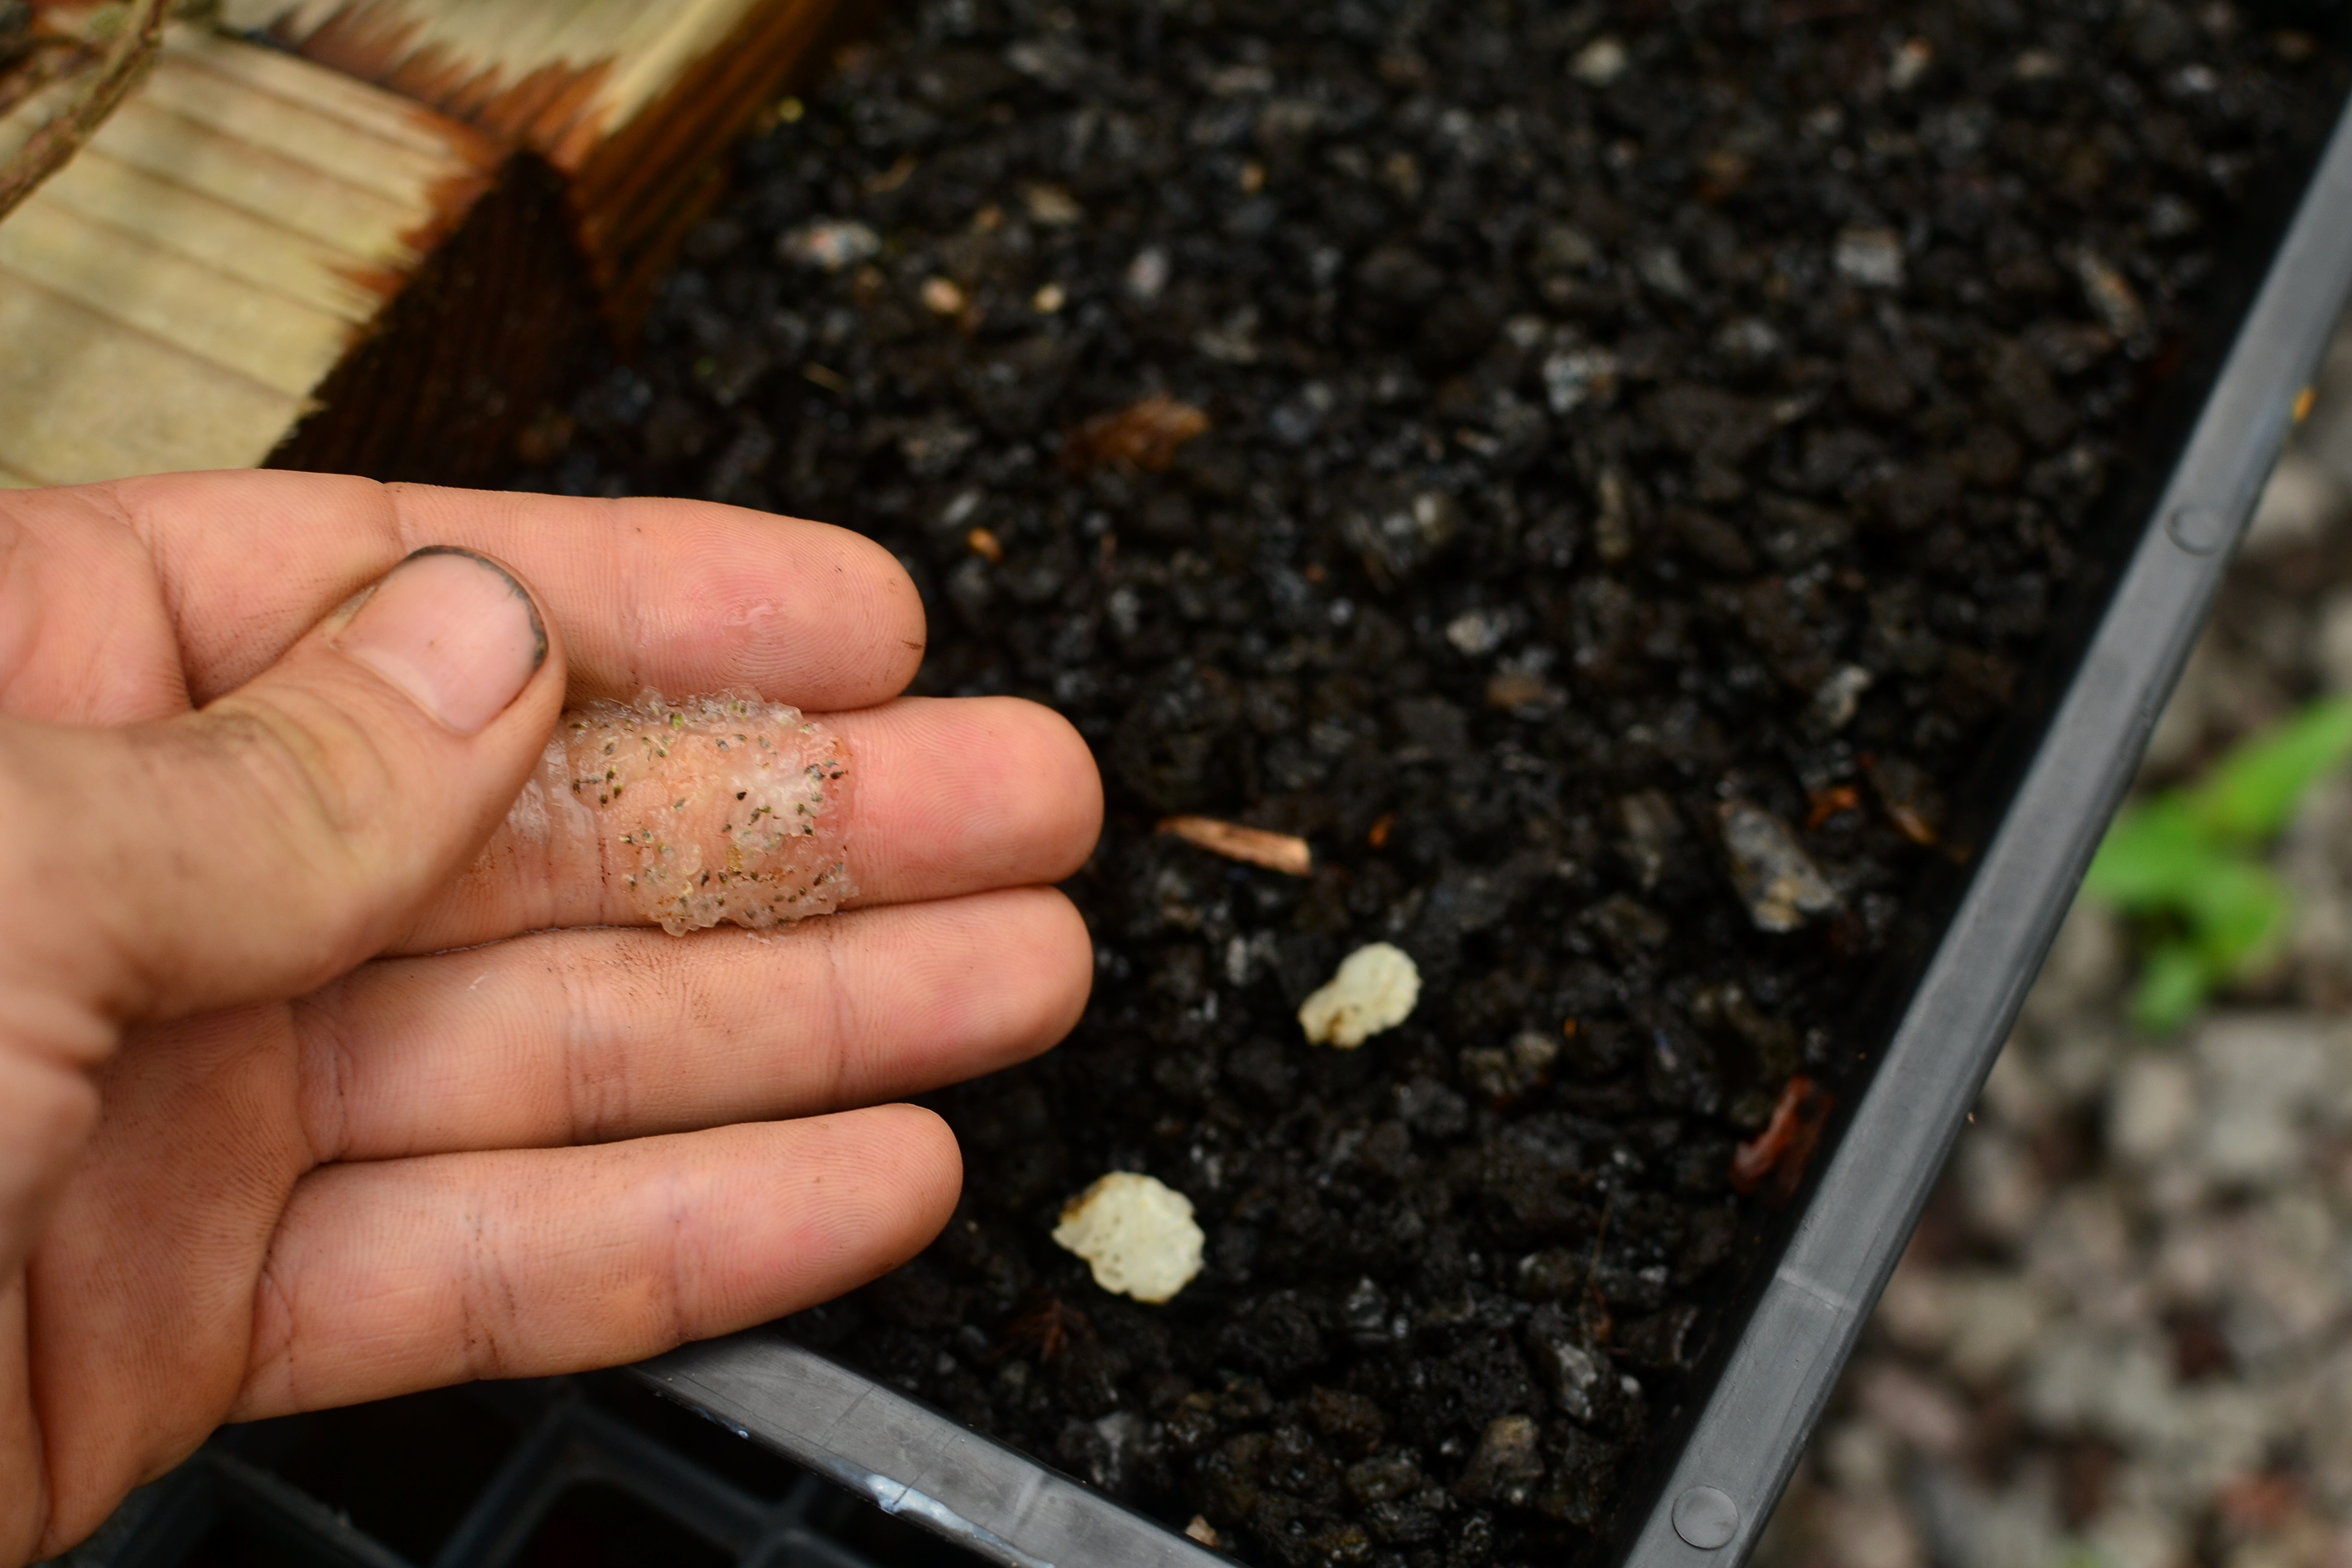
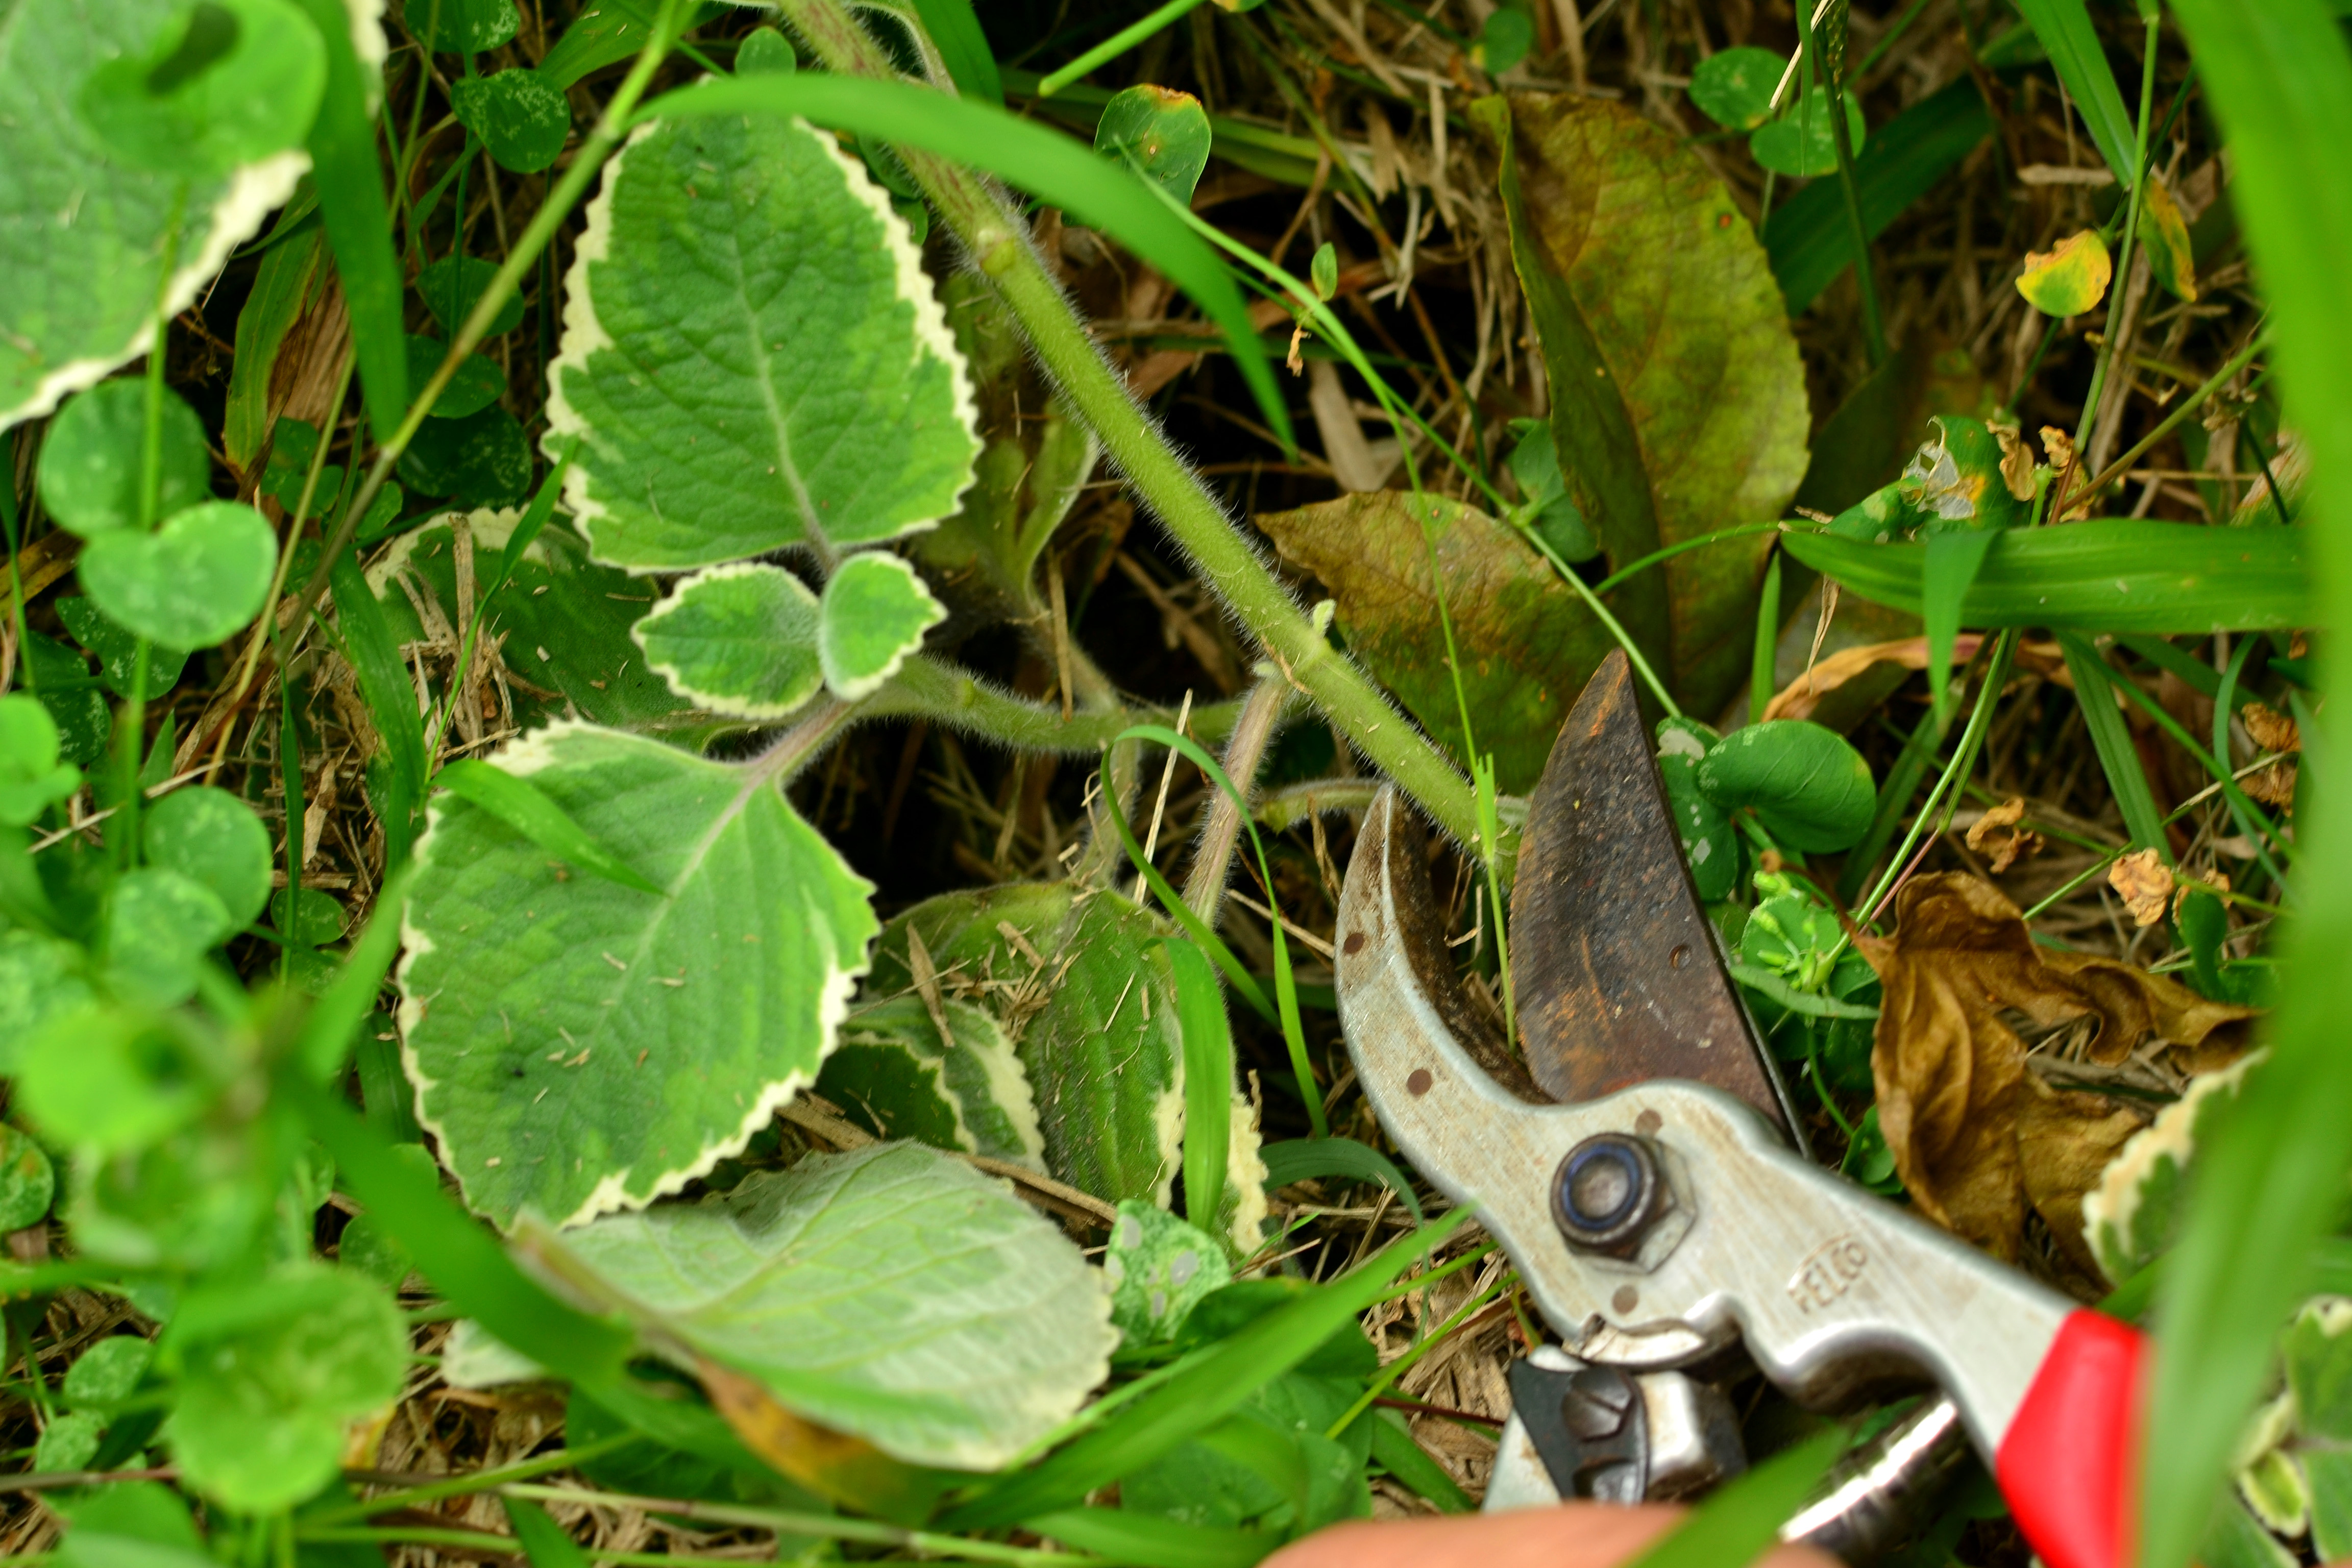
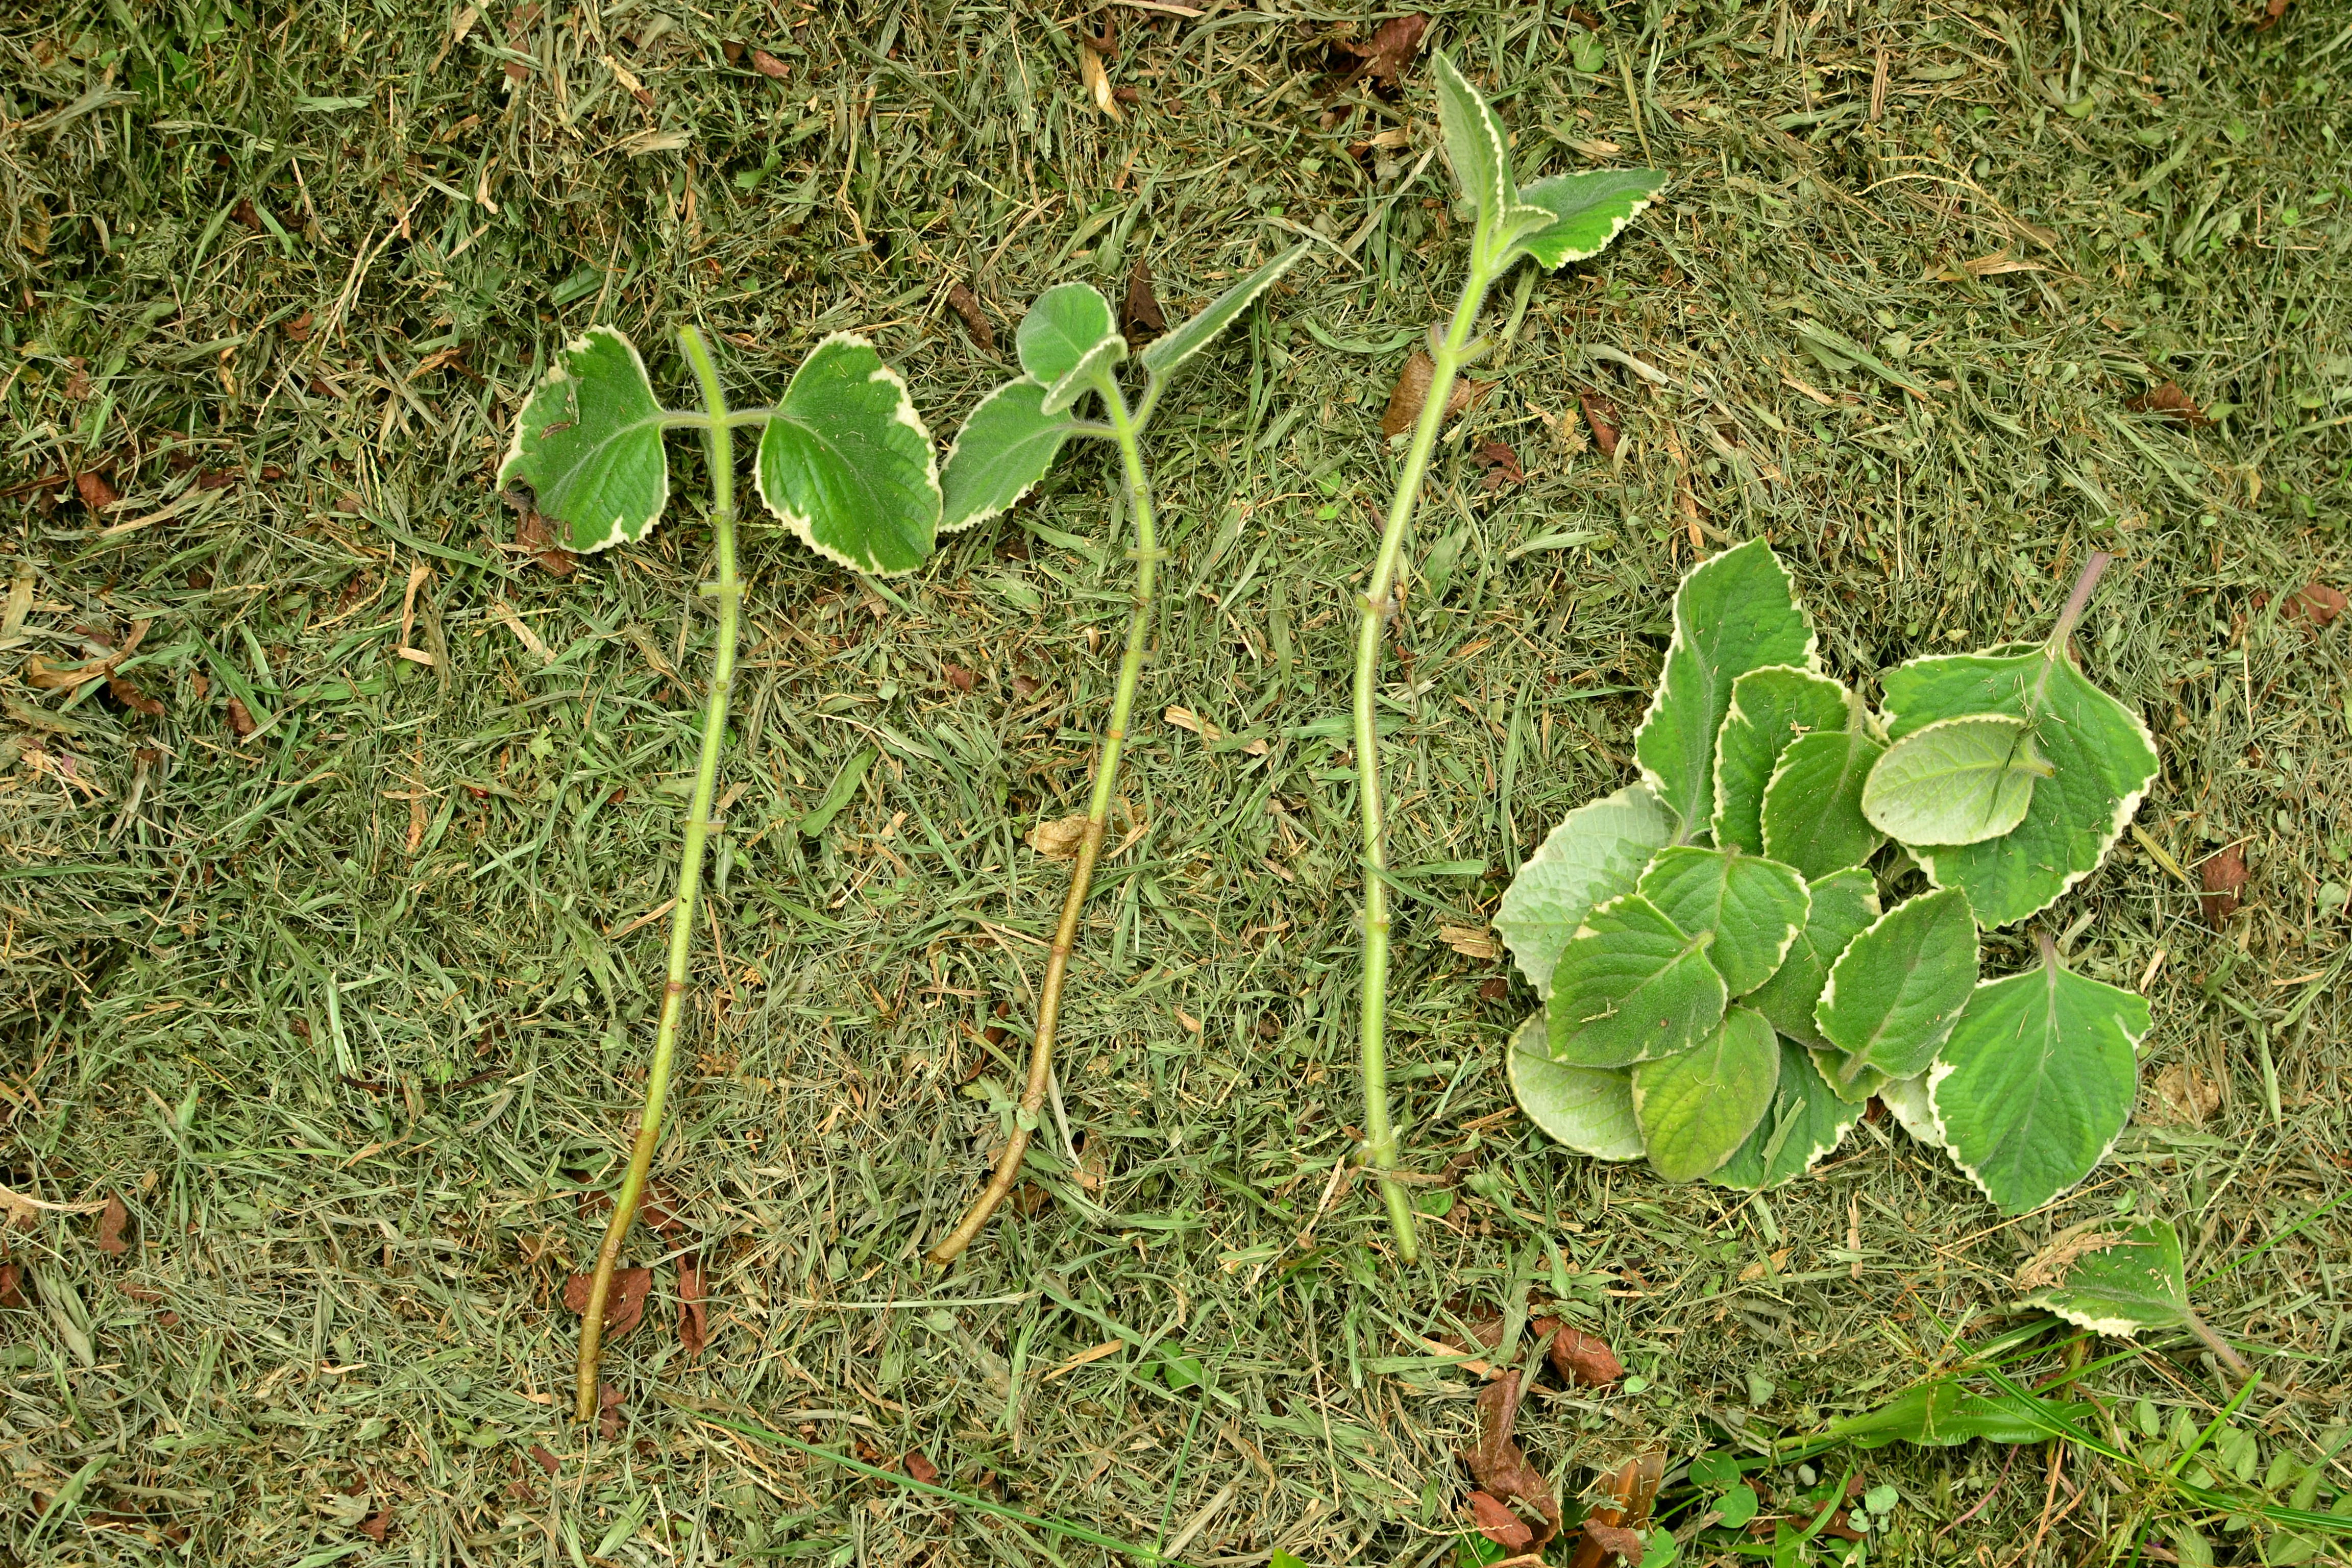
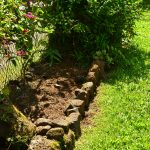
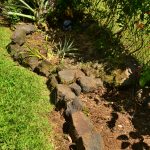
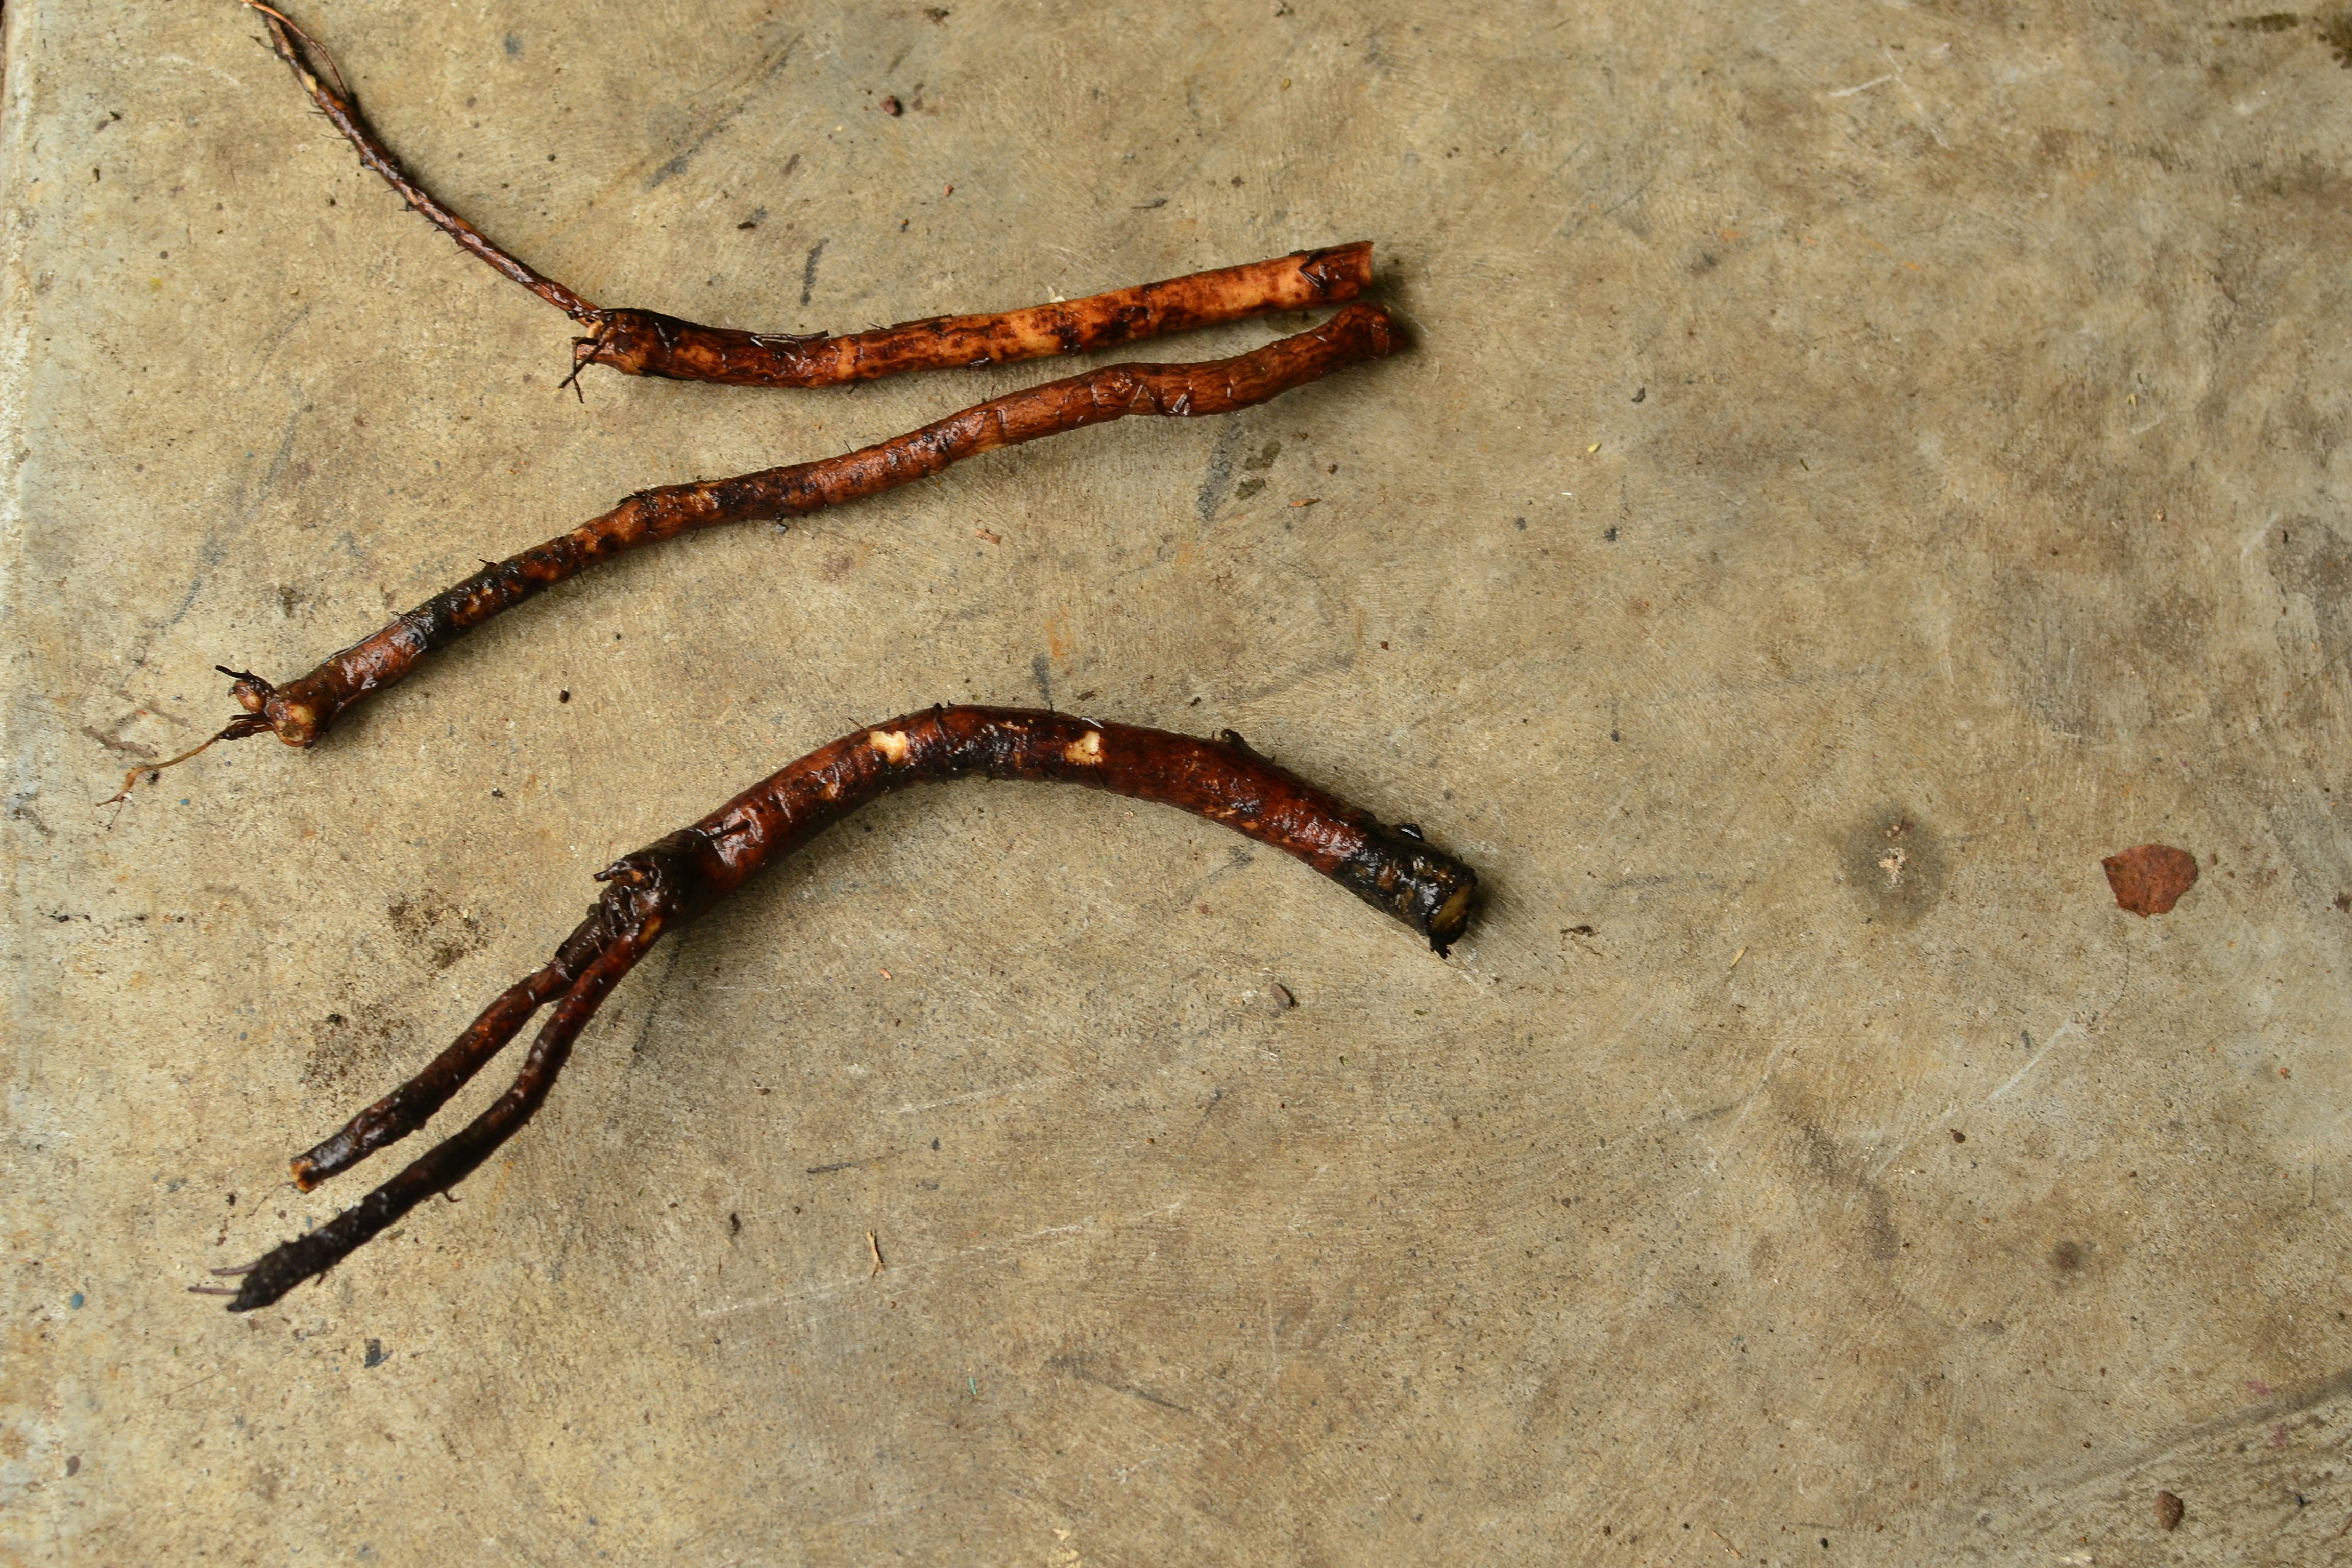
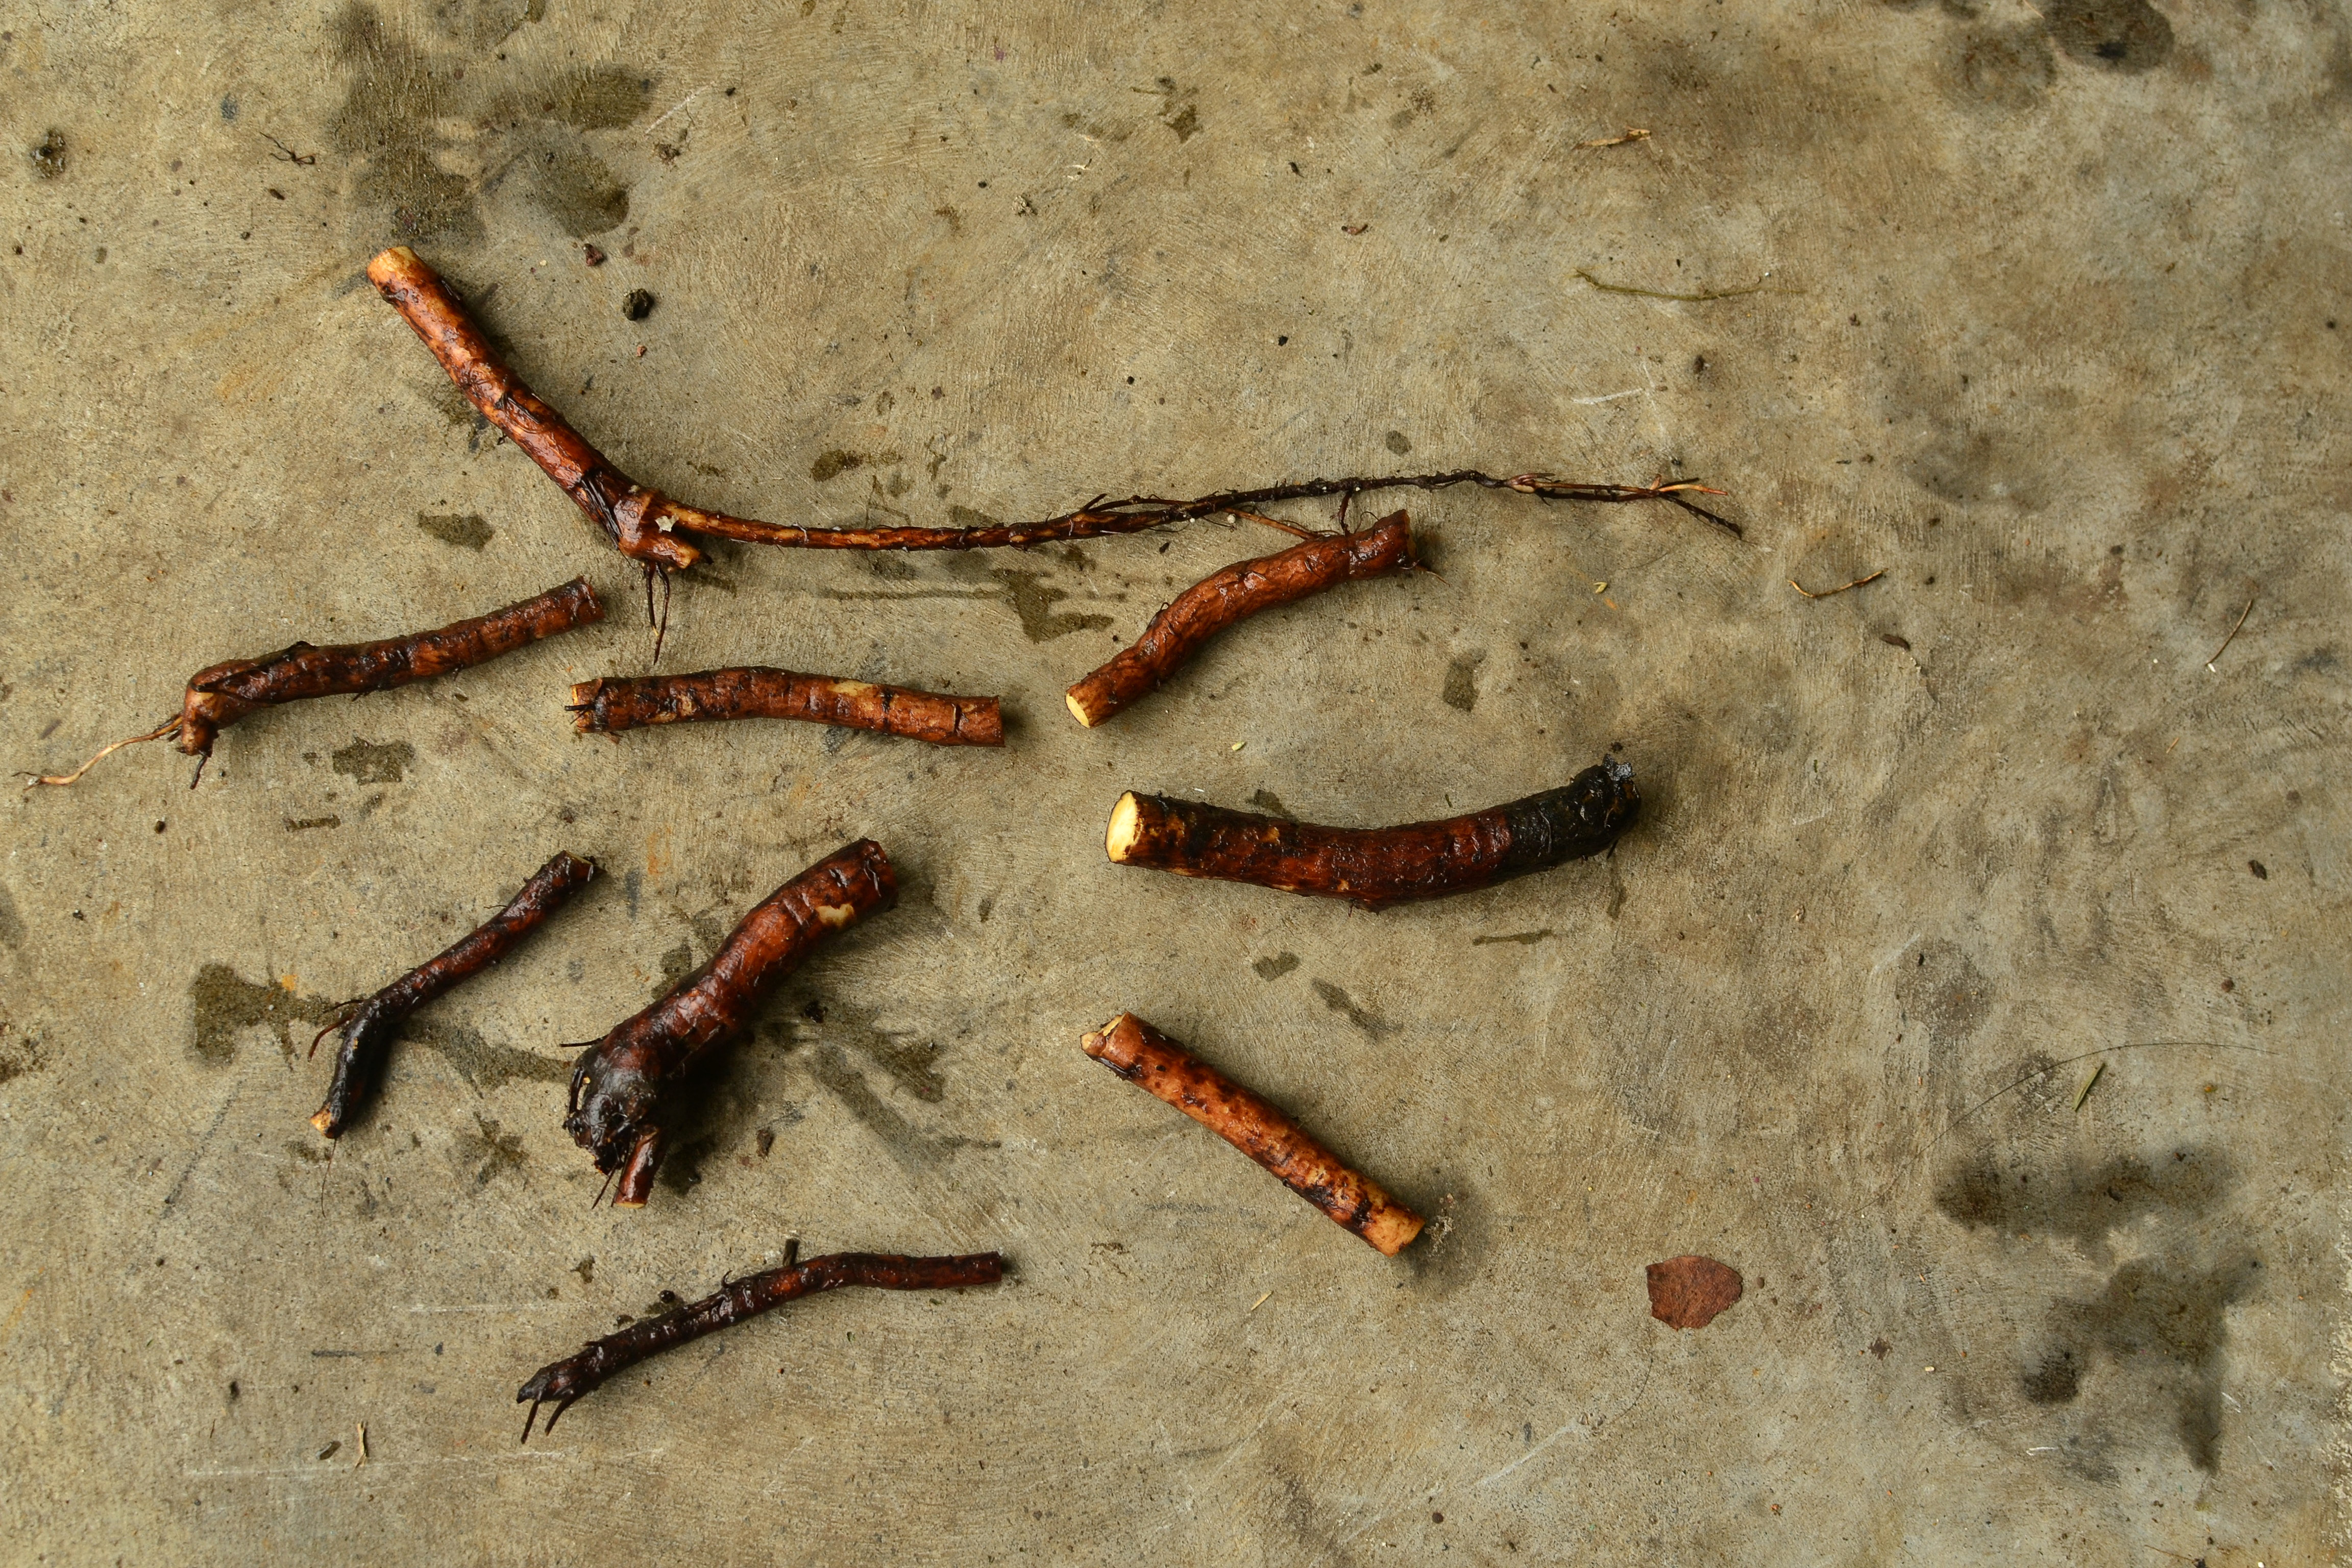
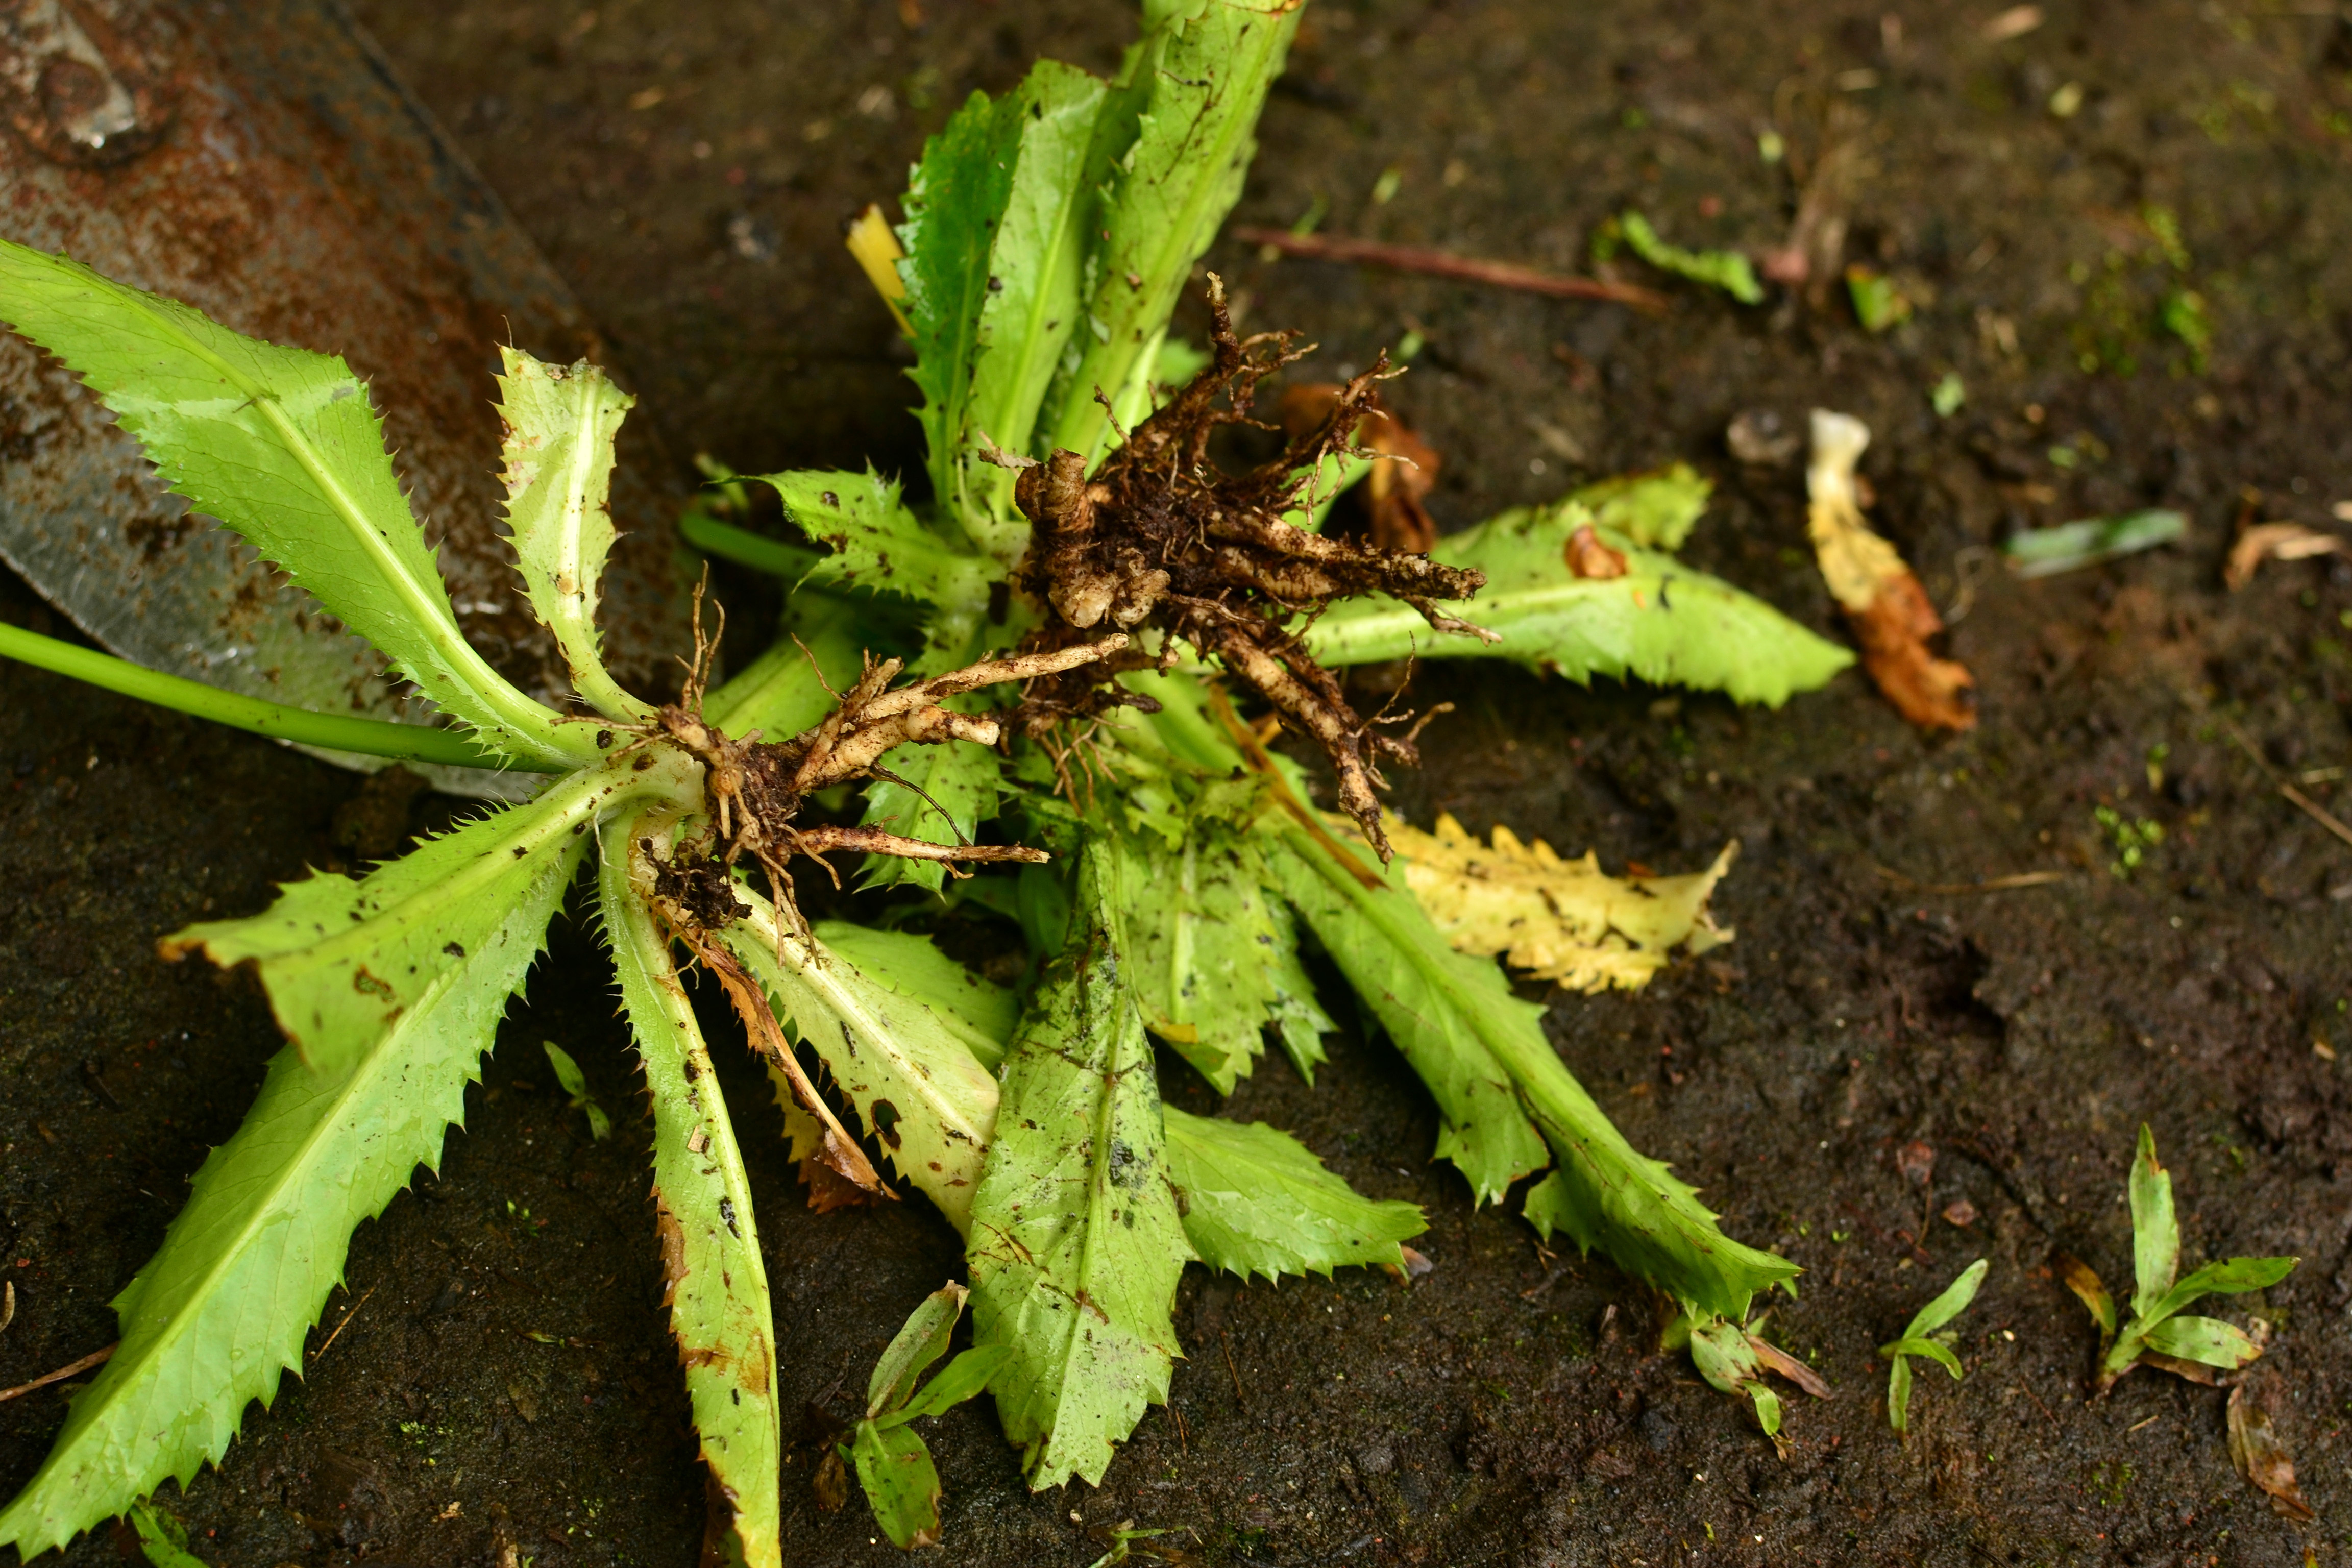
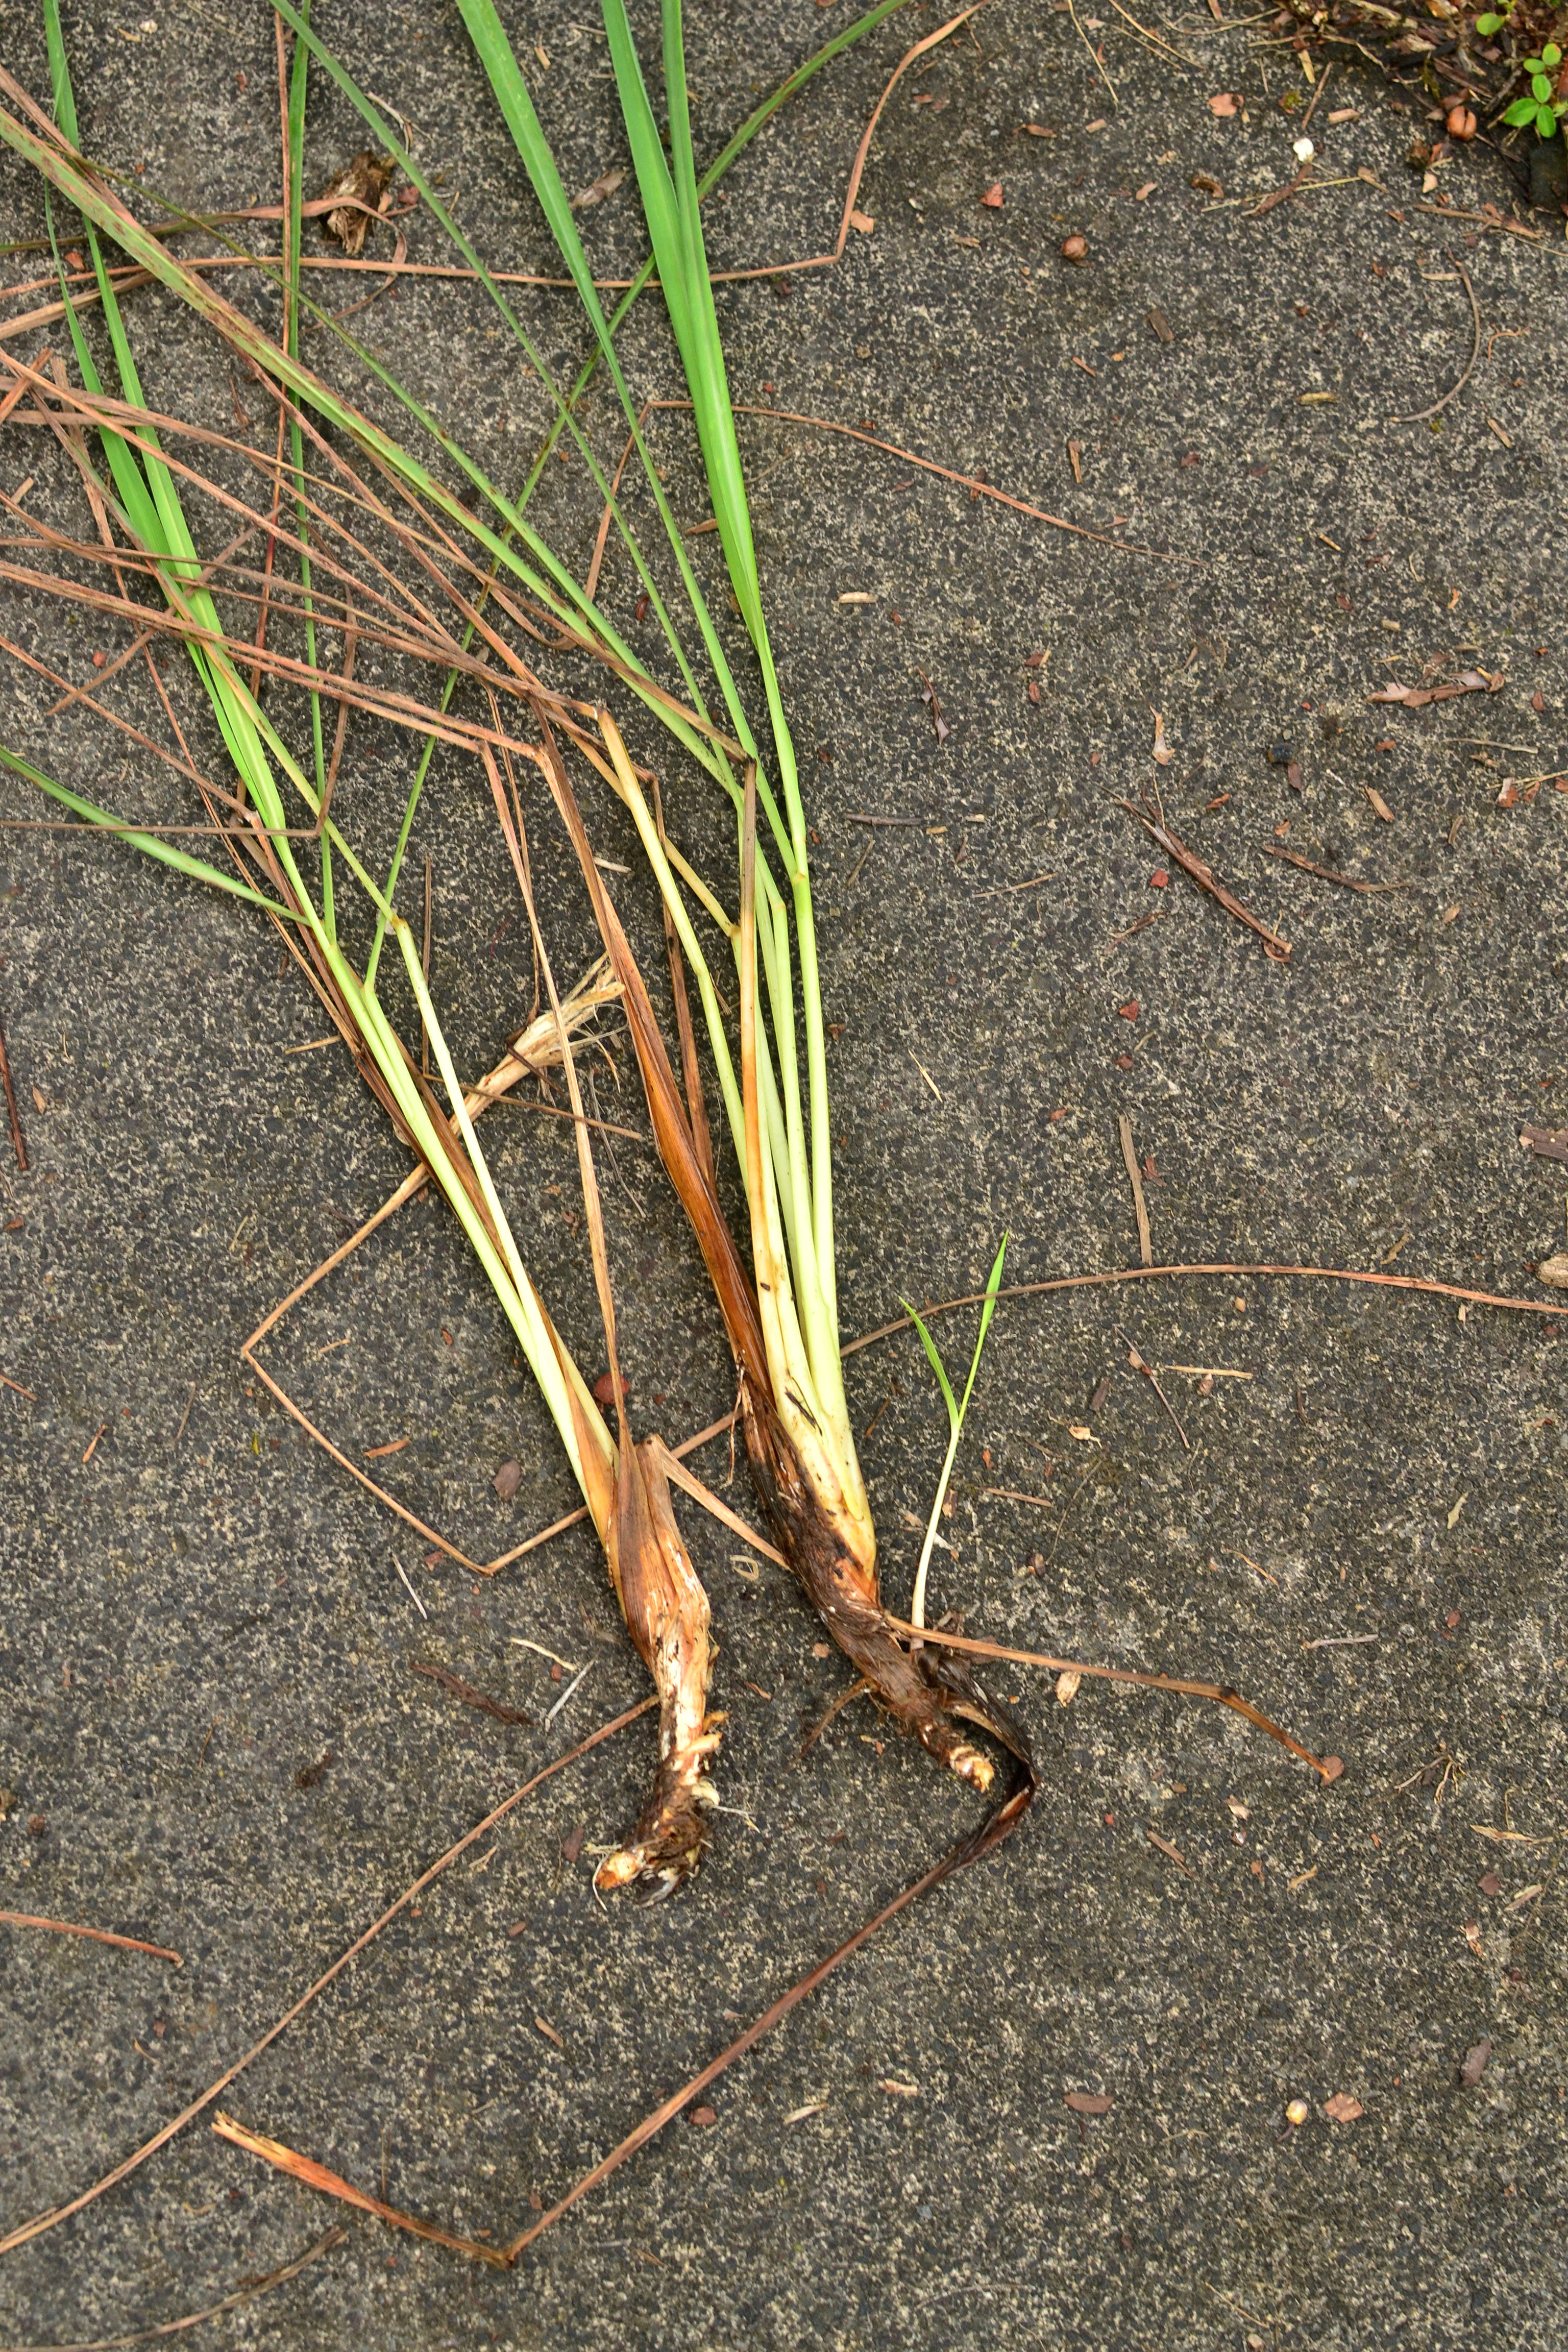
Propagate spiny chaya by woody cuttings. You may either stick into the soil or just leave large trunk pieces on the ground and they will root. Use cuttings 1-3 feet long.

DSC_0425

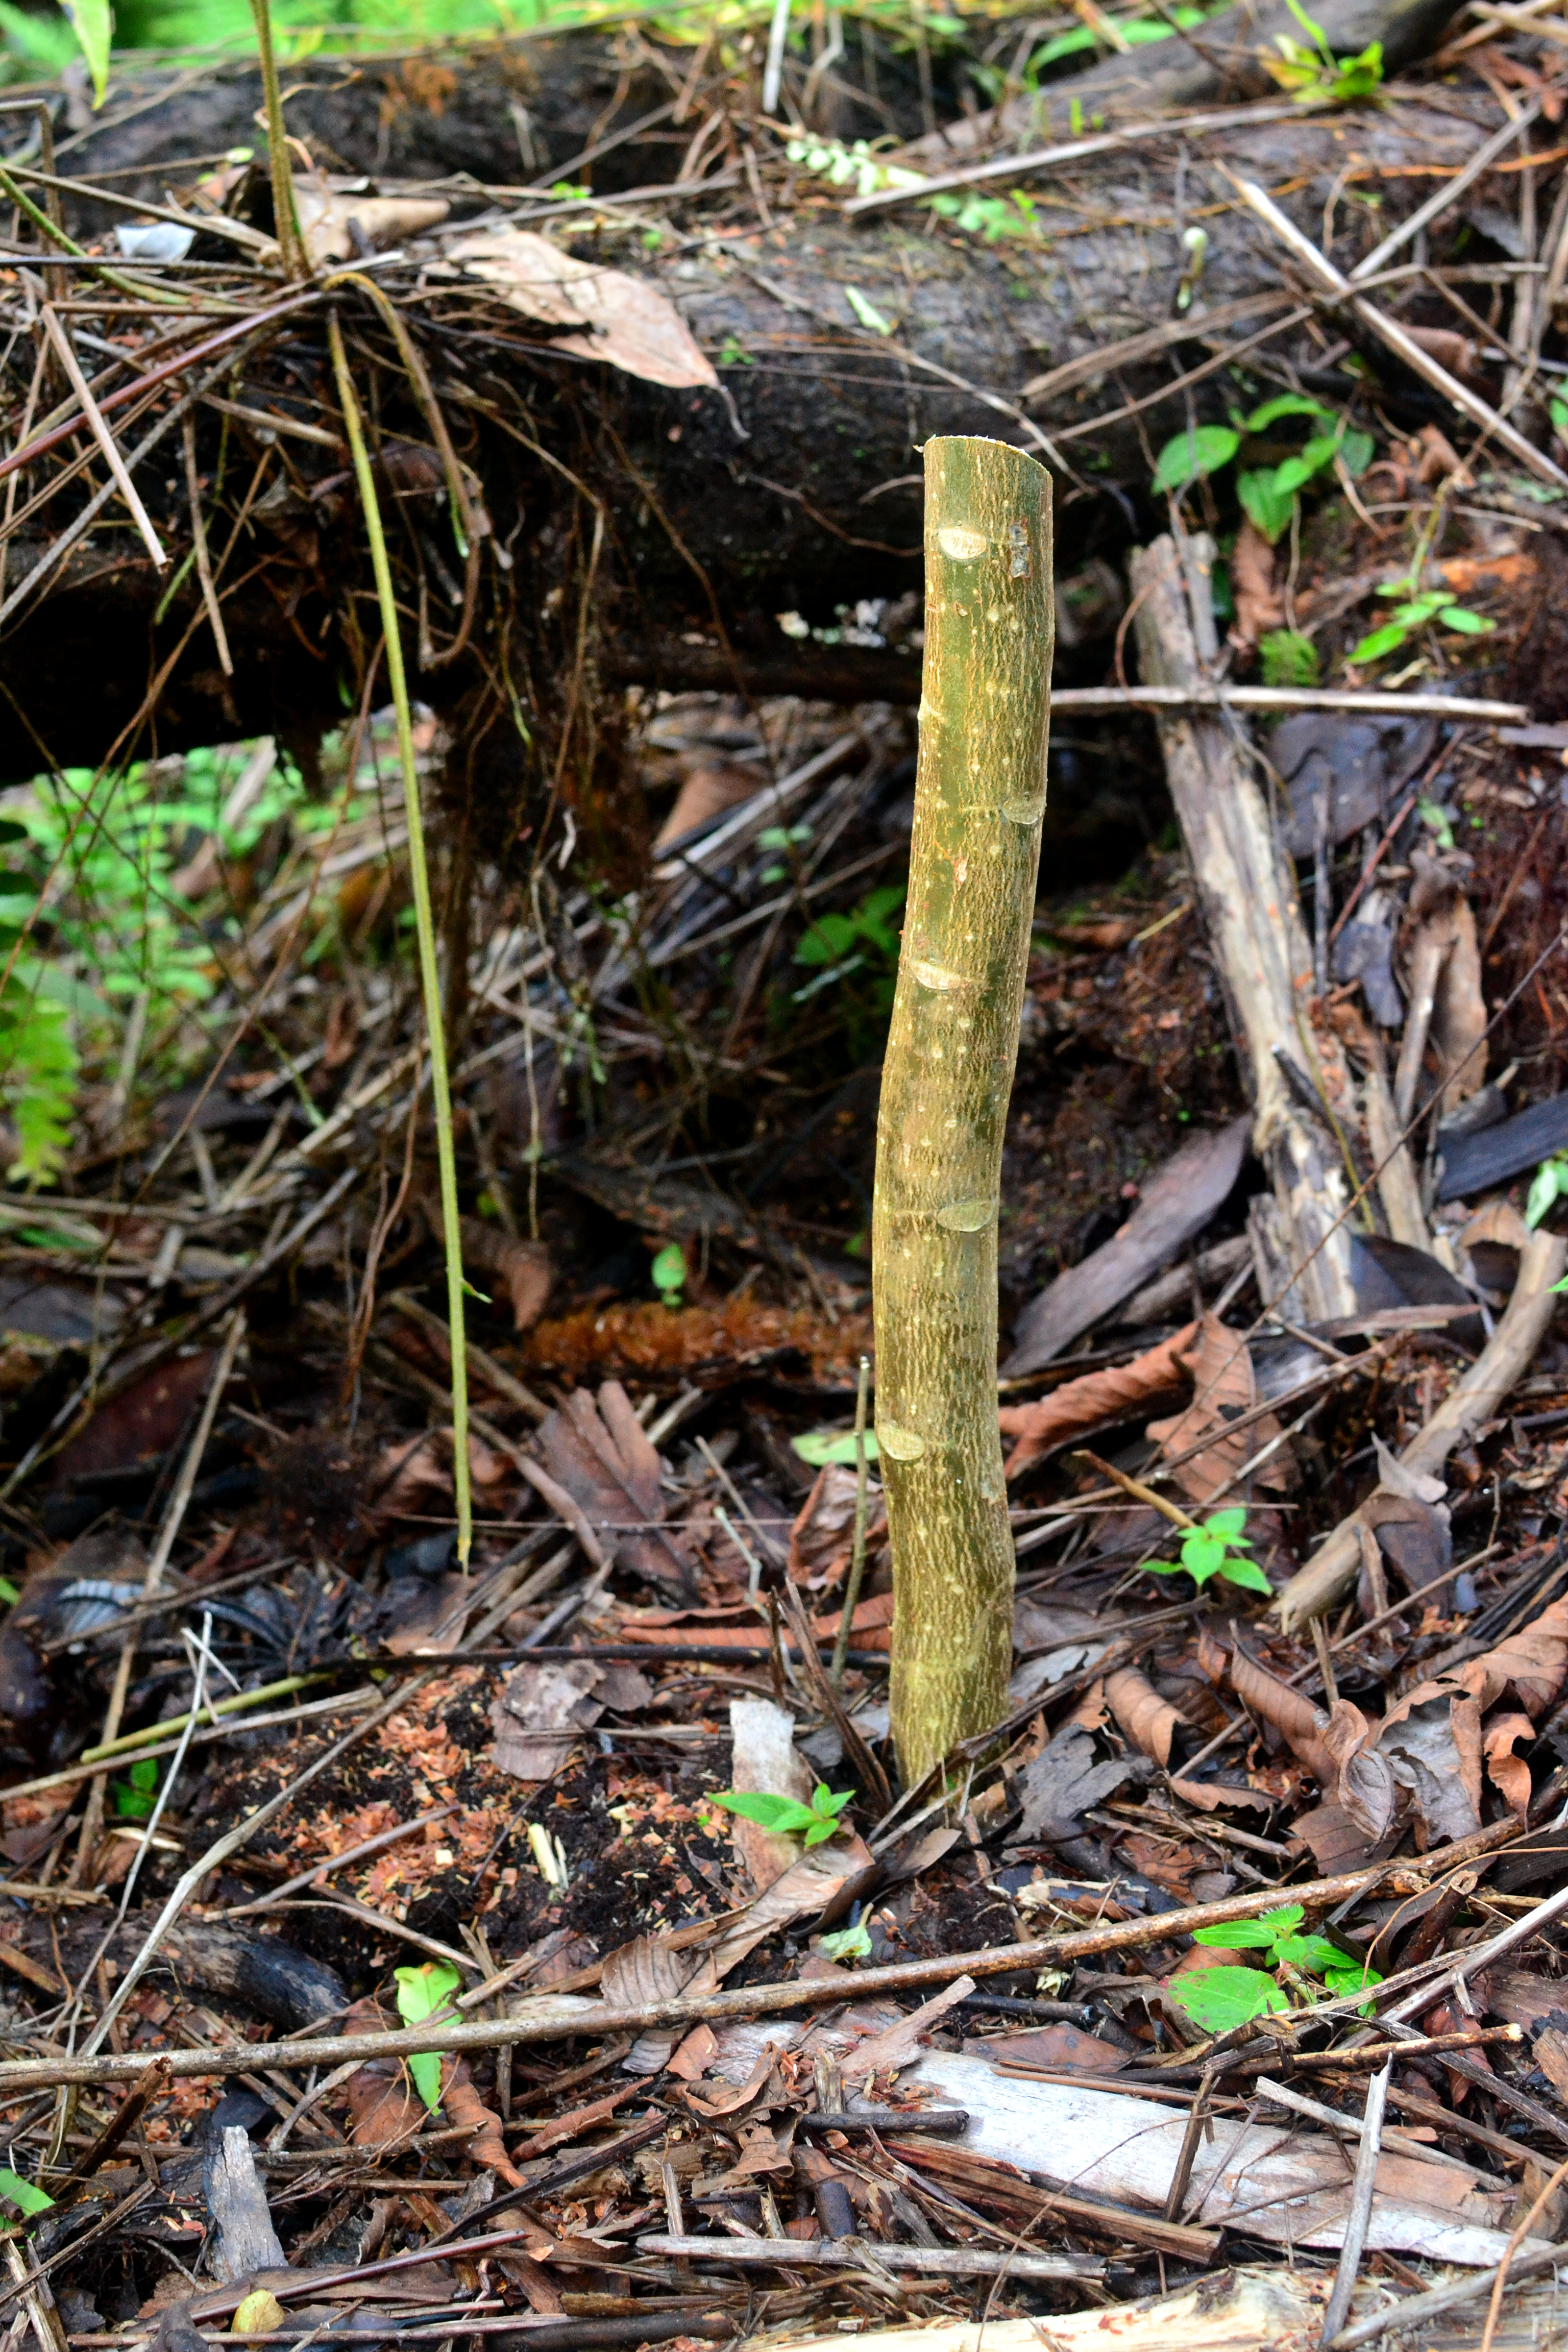
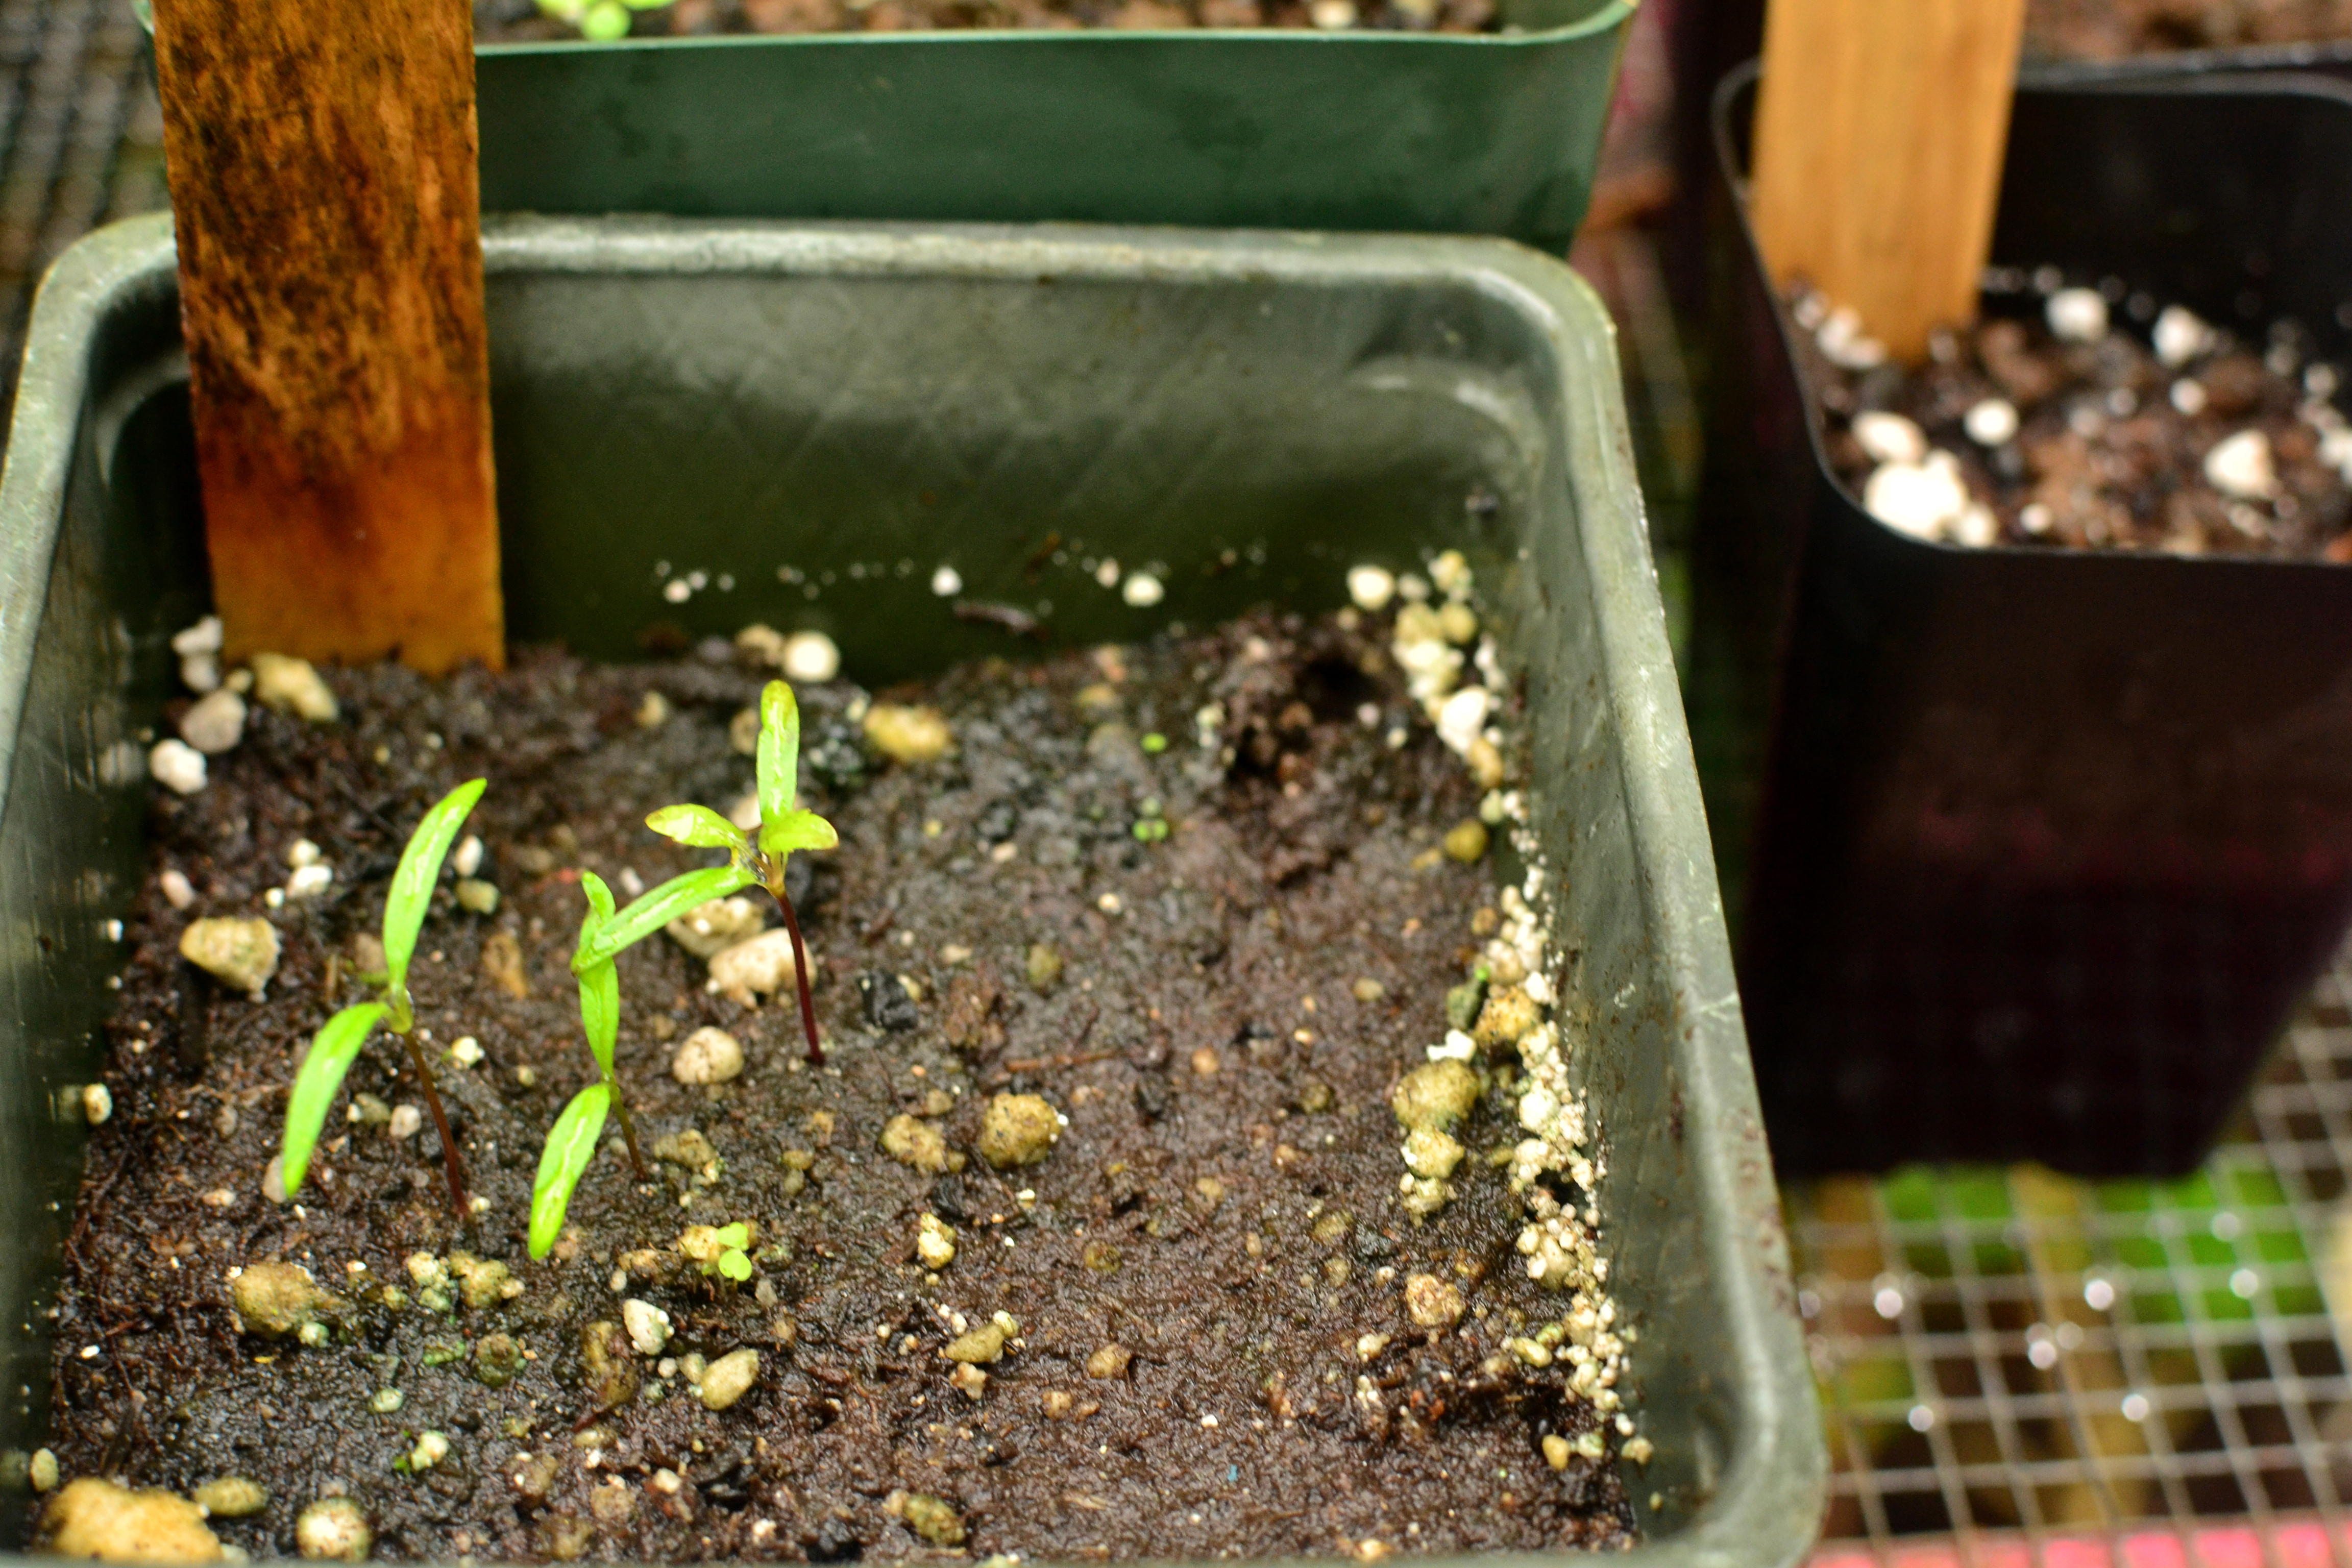
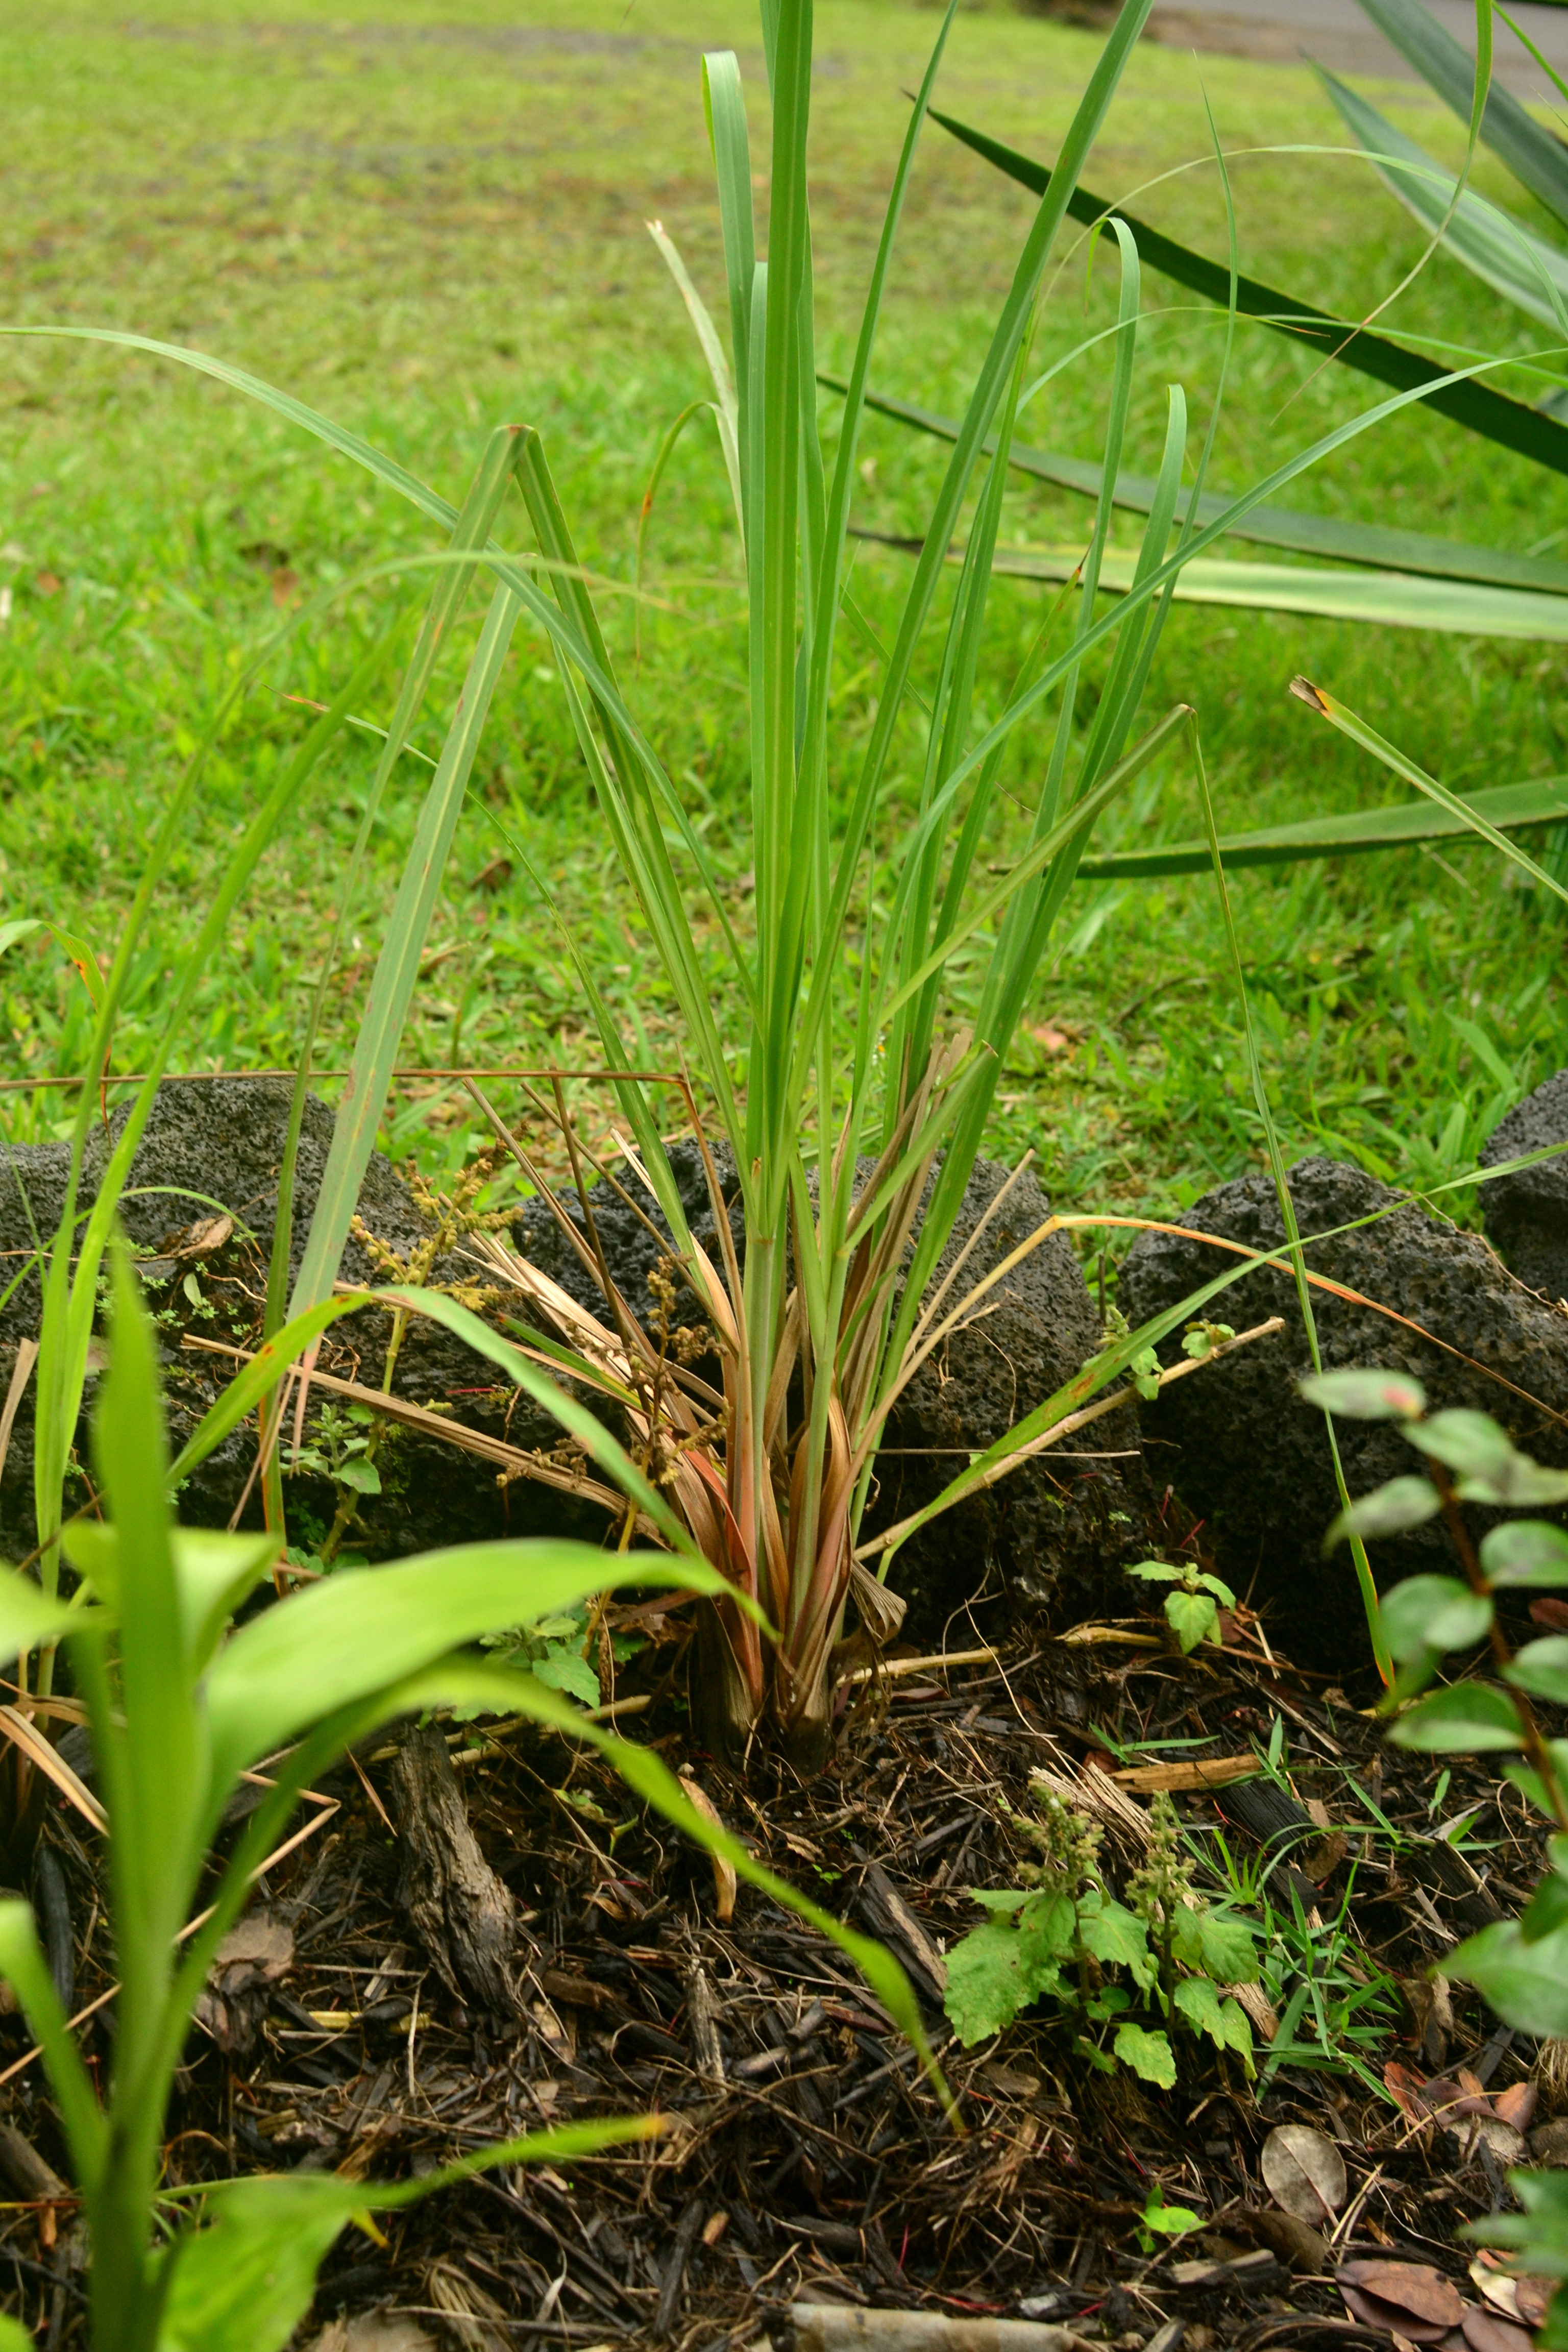
Stick 1-3 foot woody cutting into the ground

DSC_0406

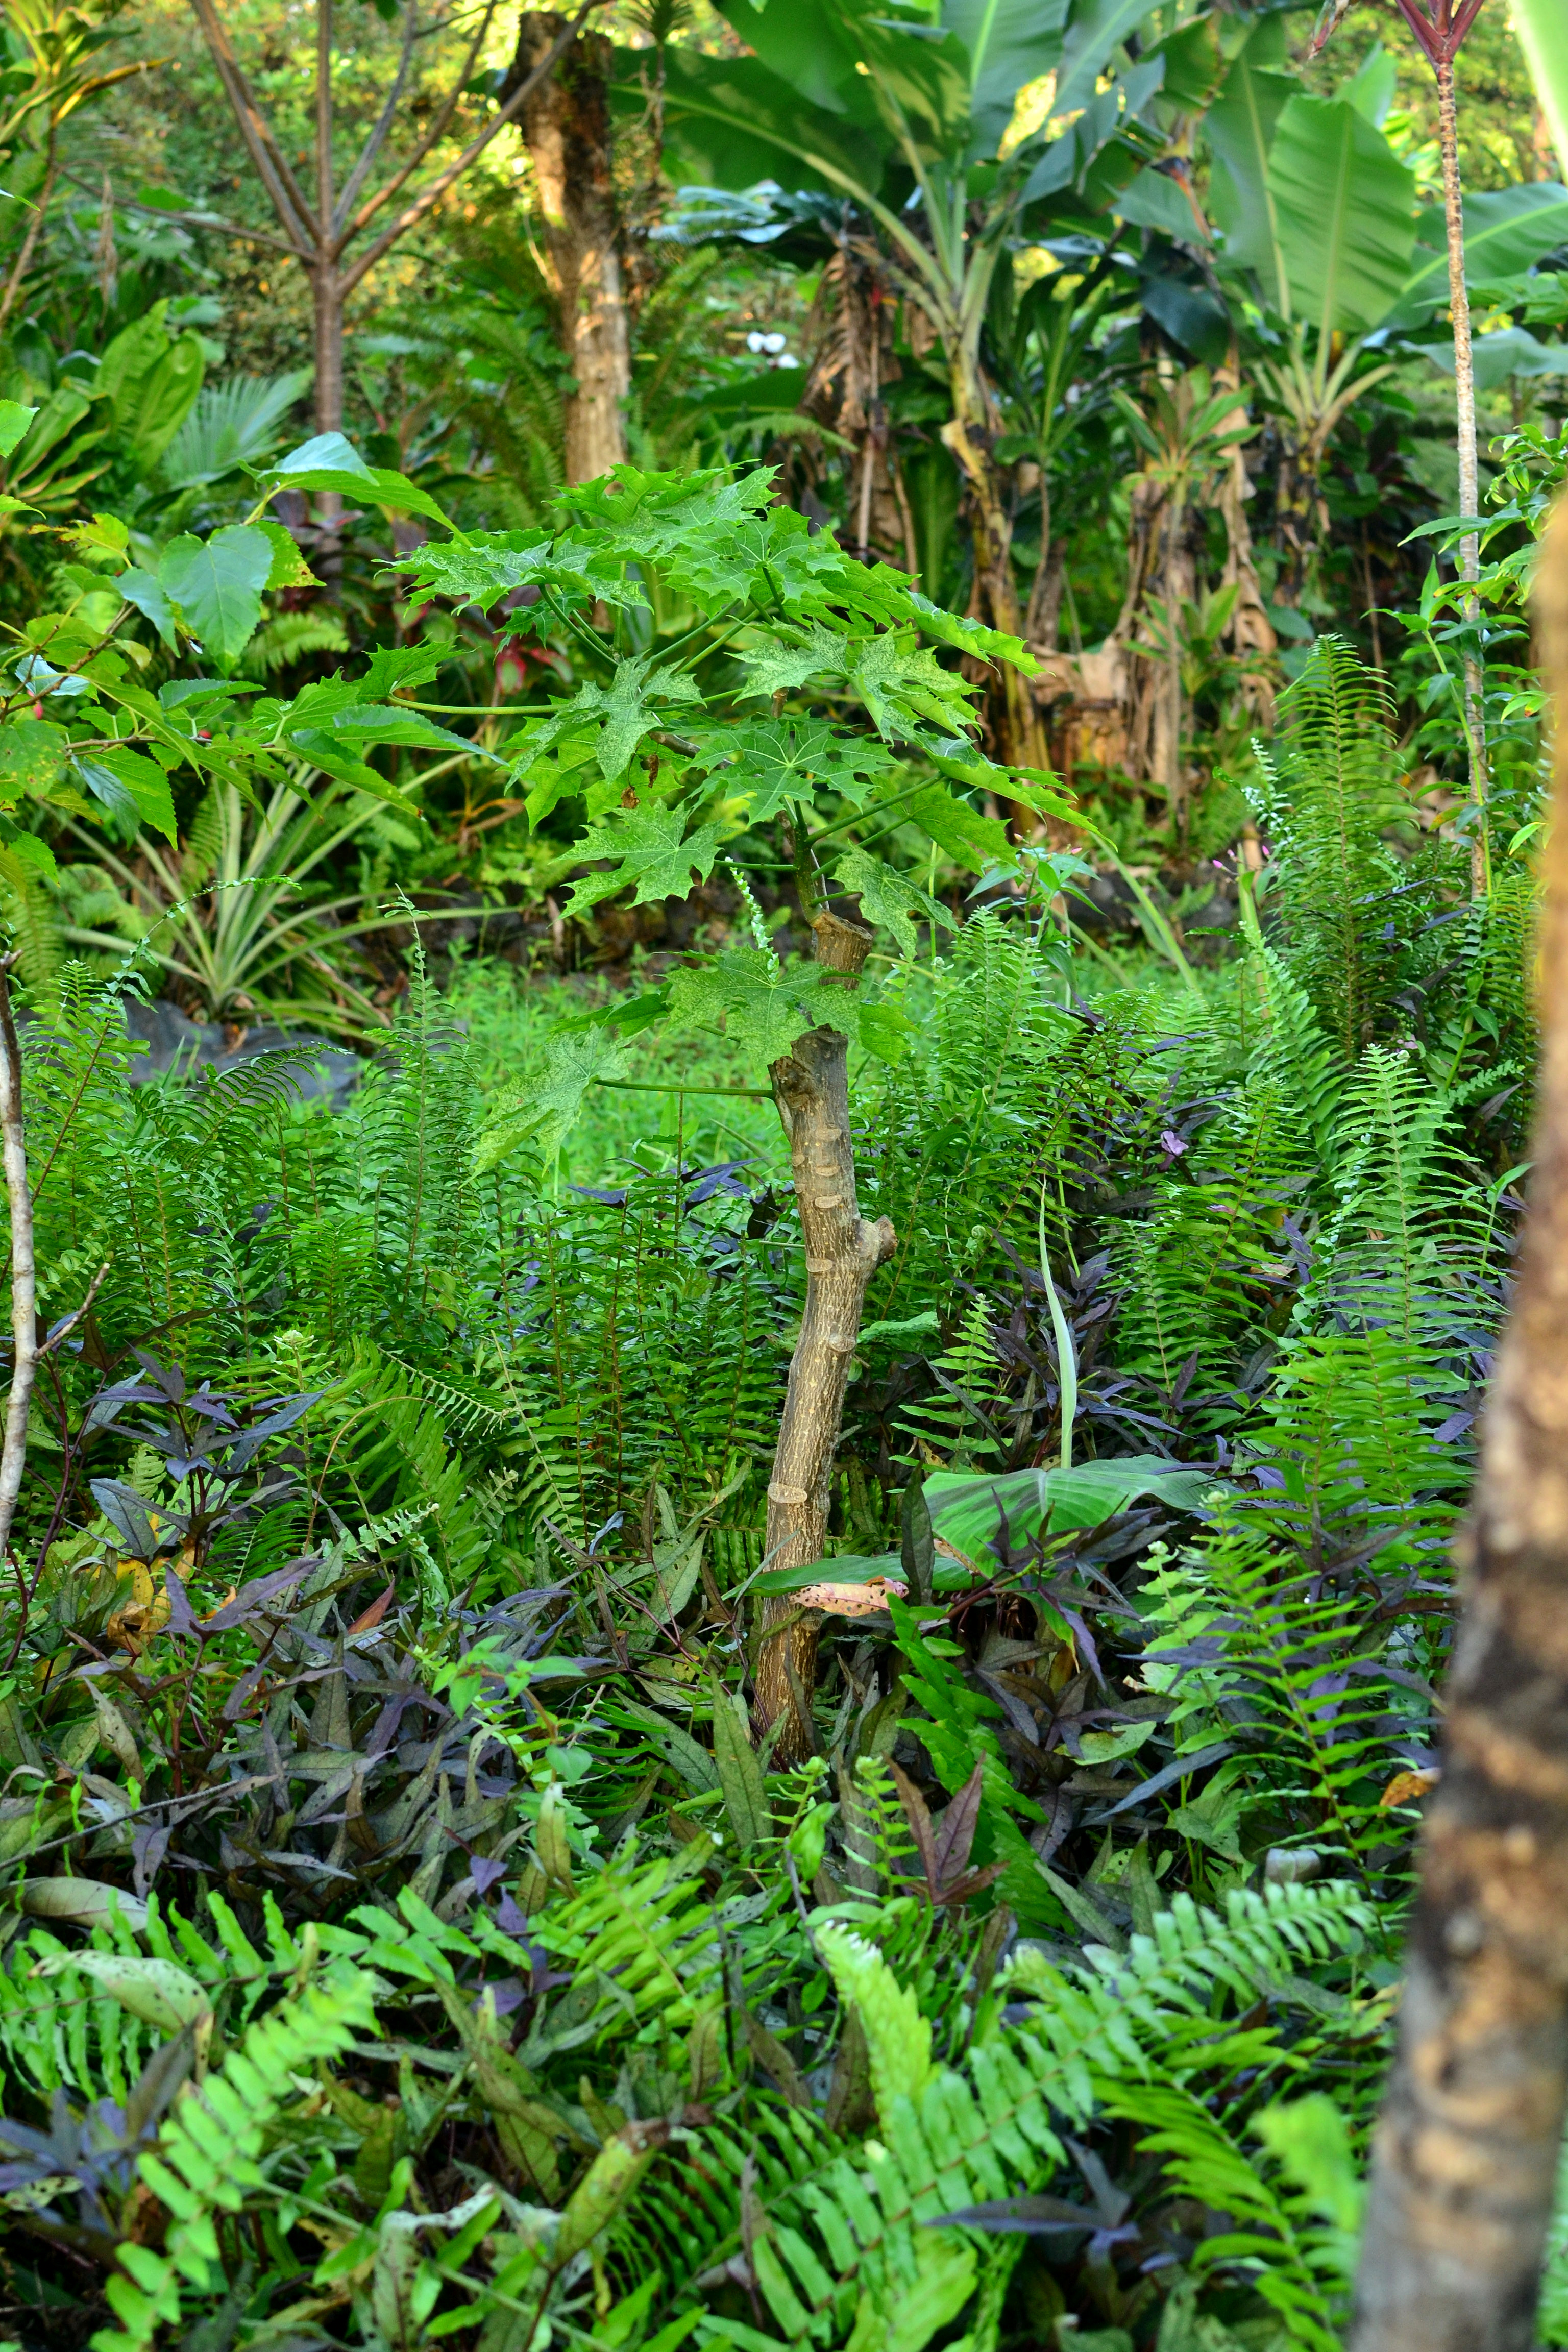
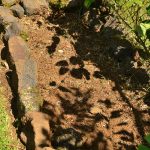
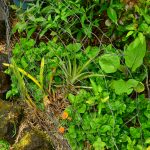
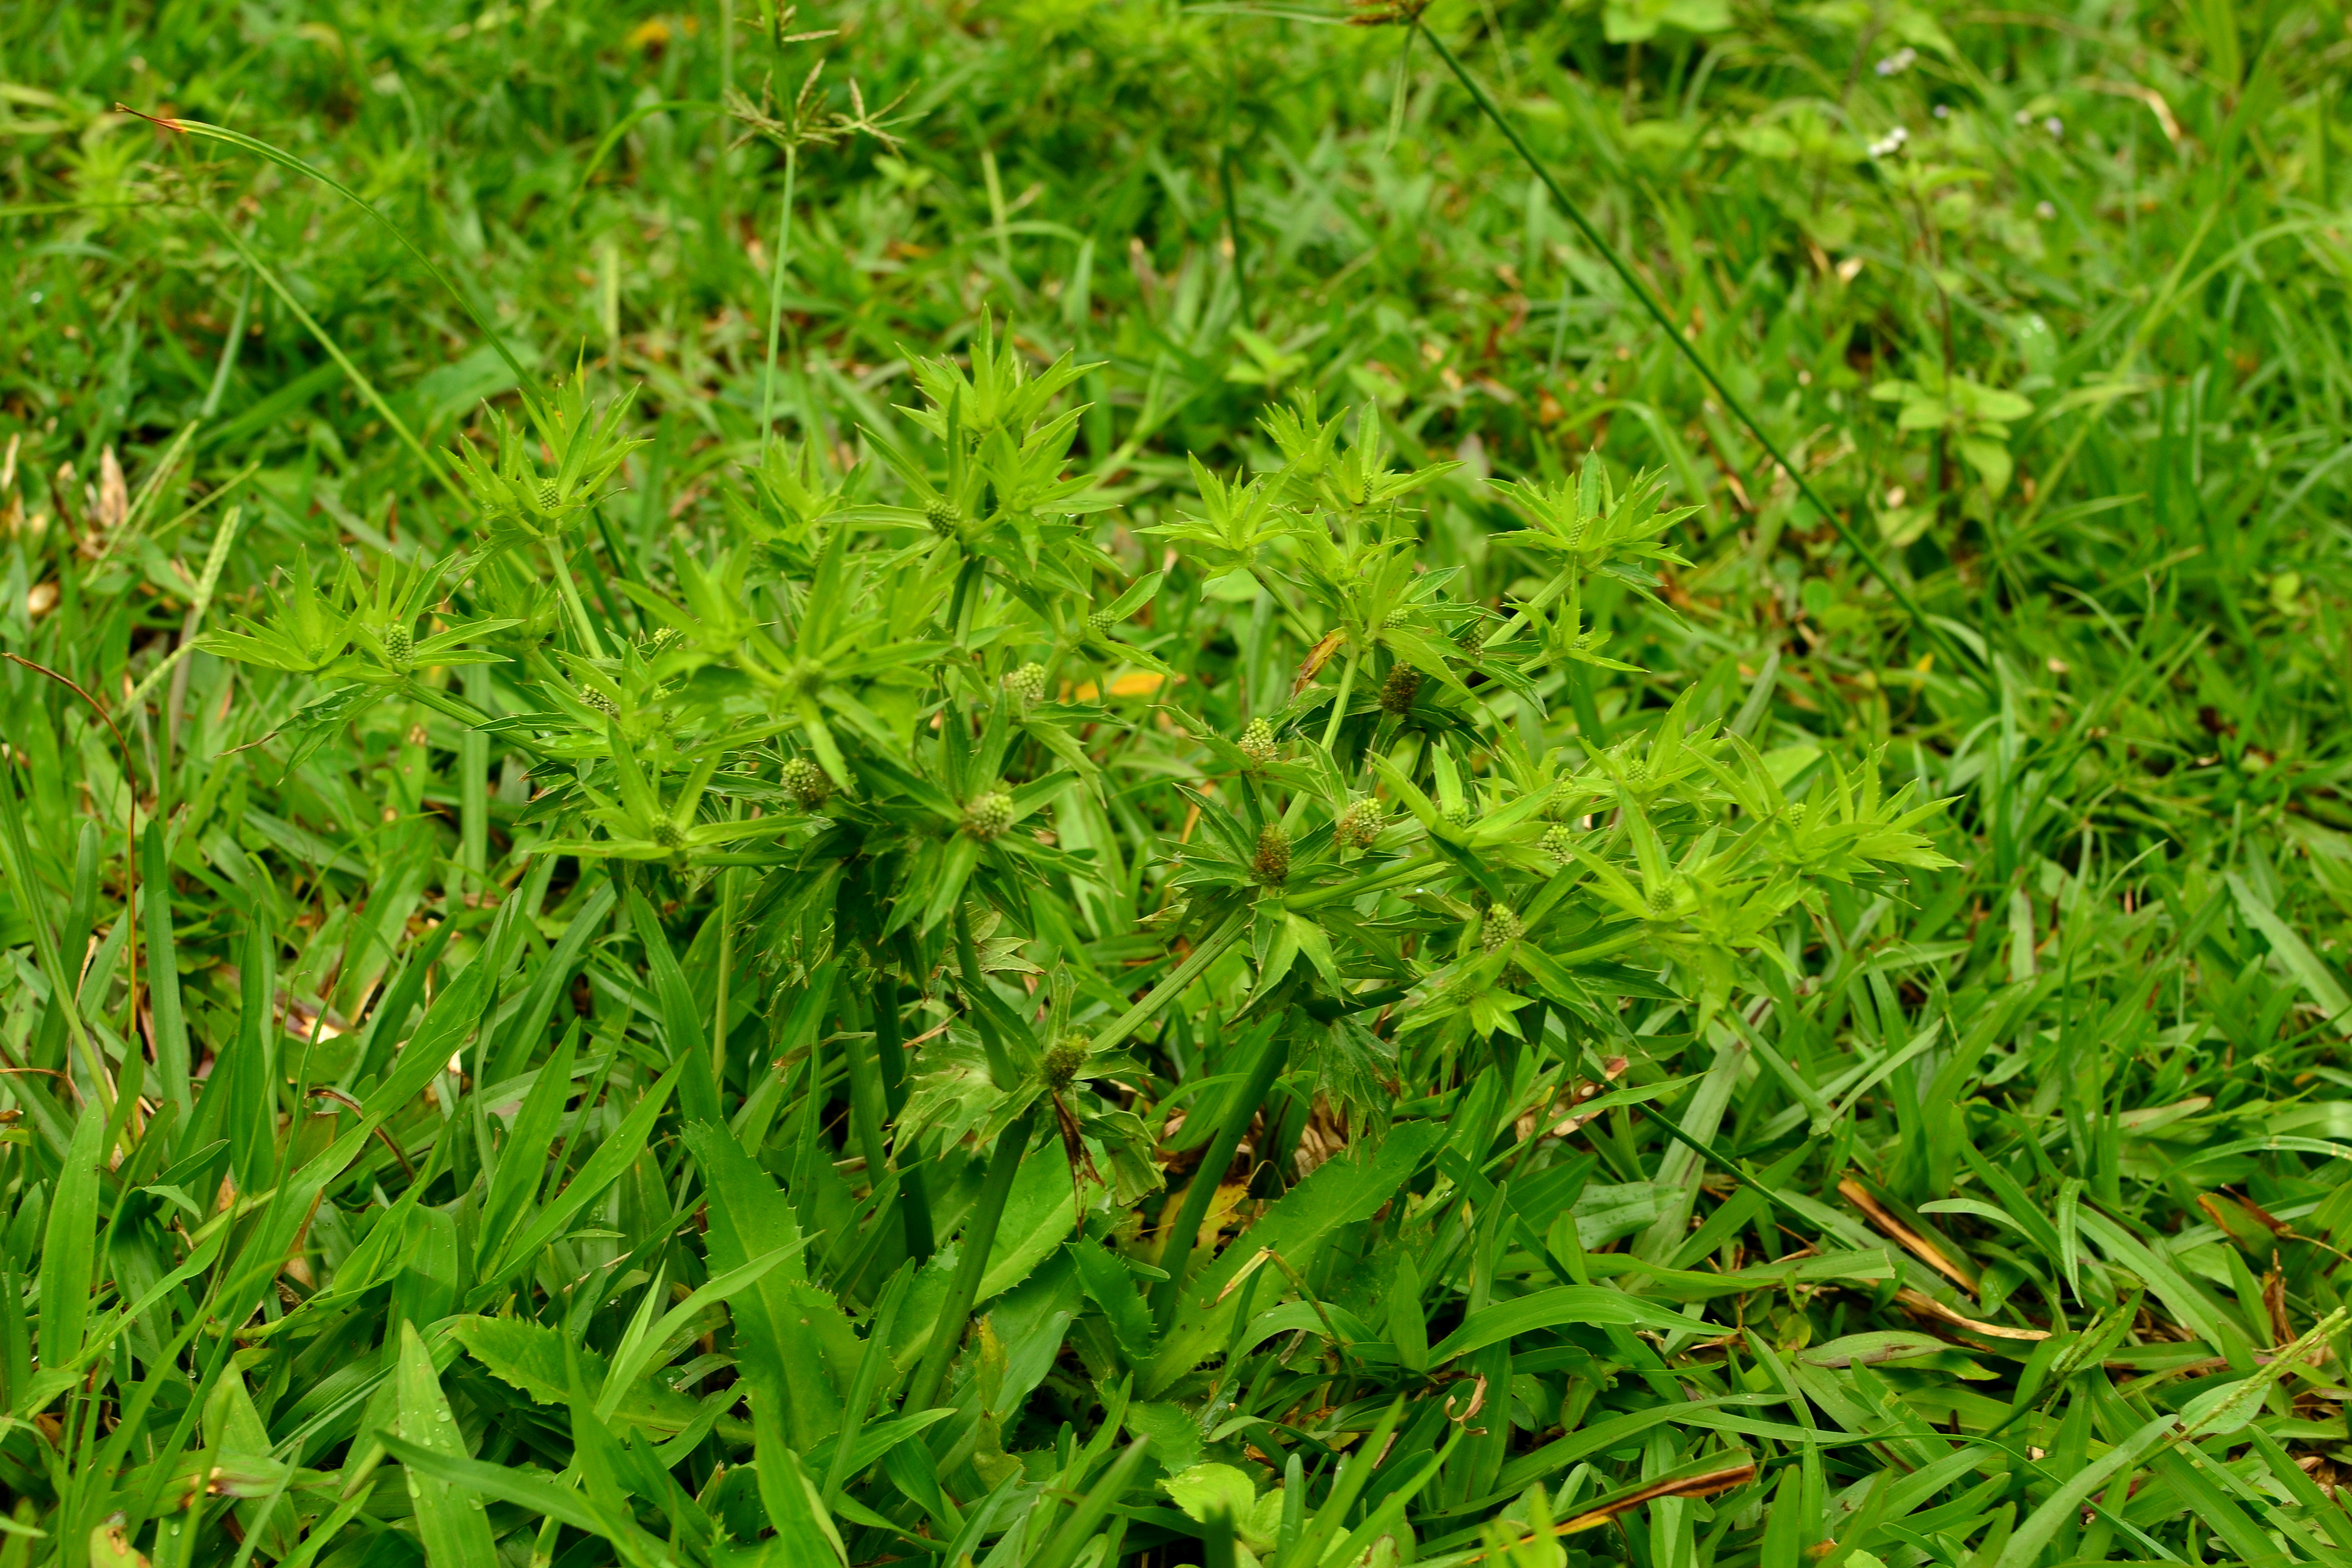
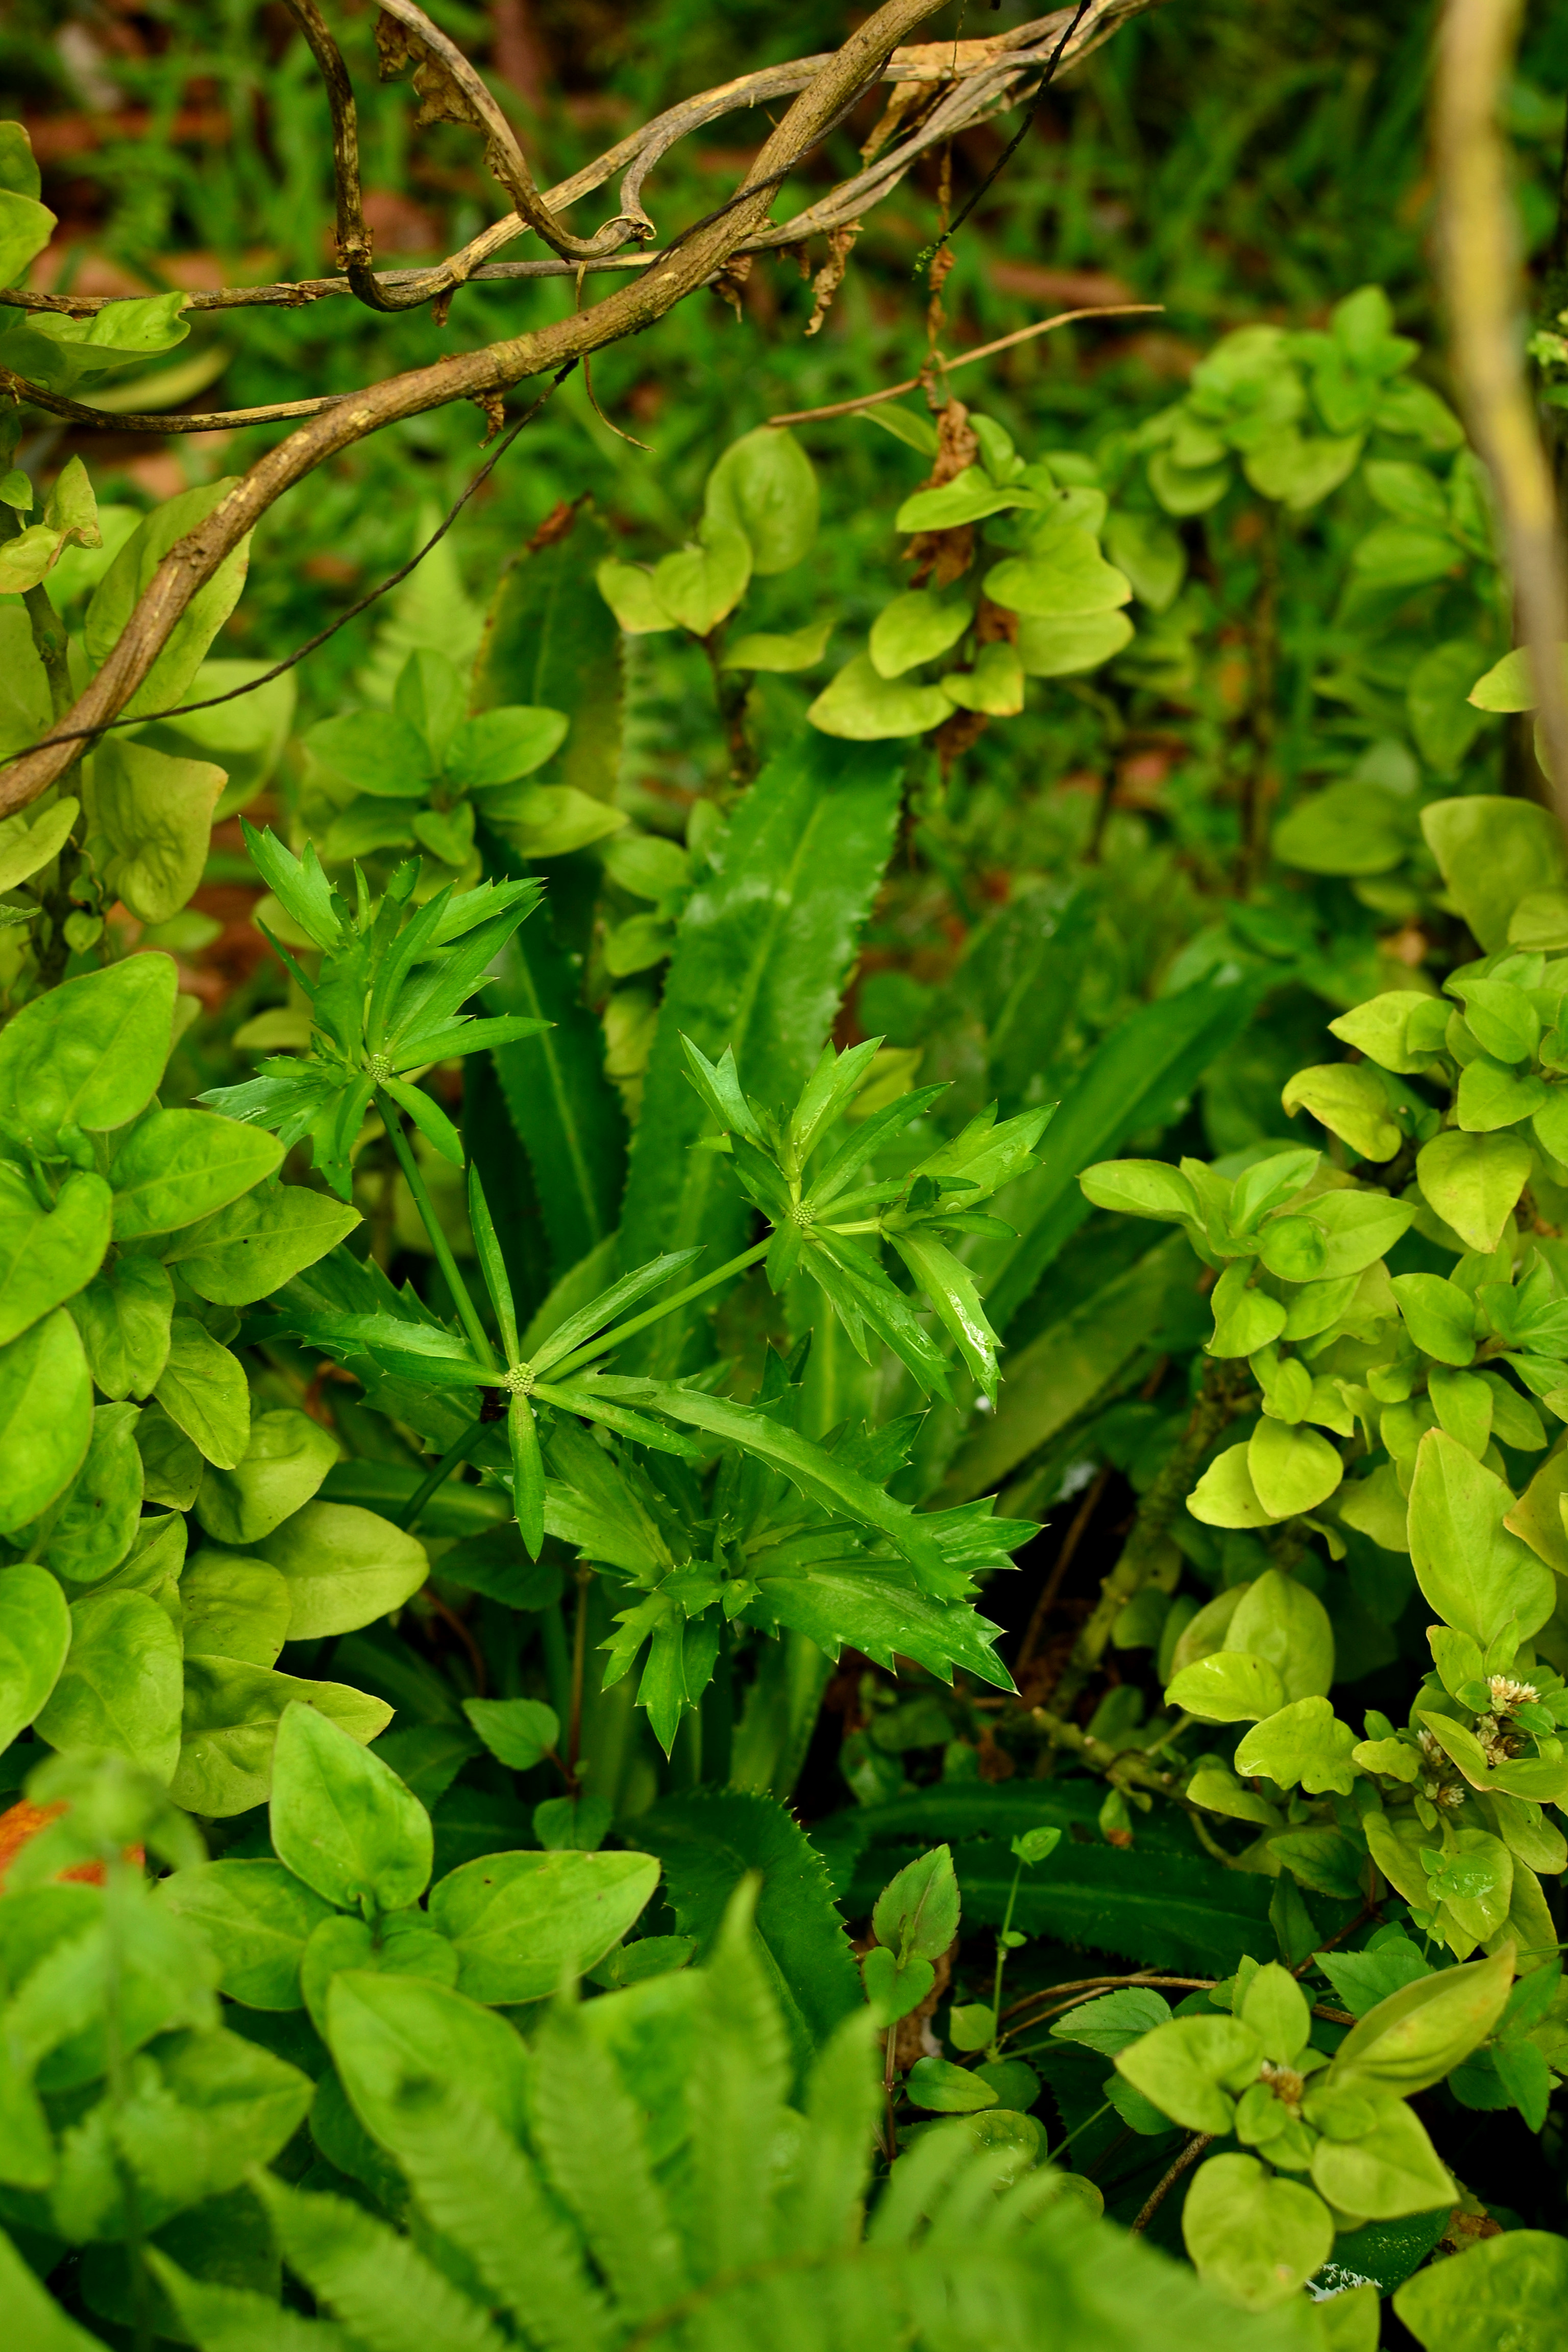
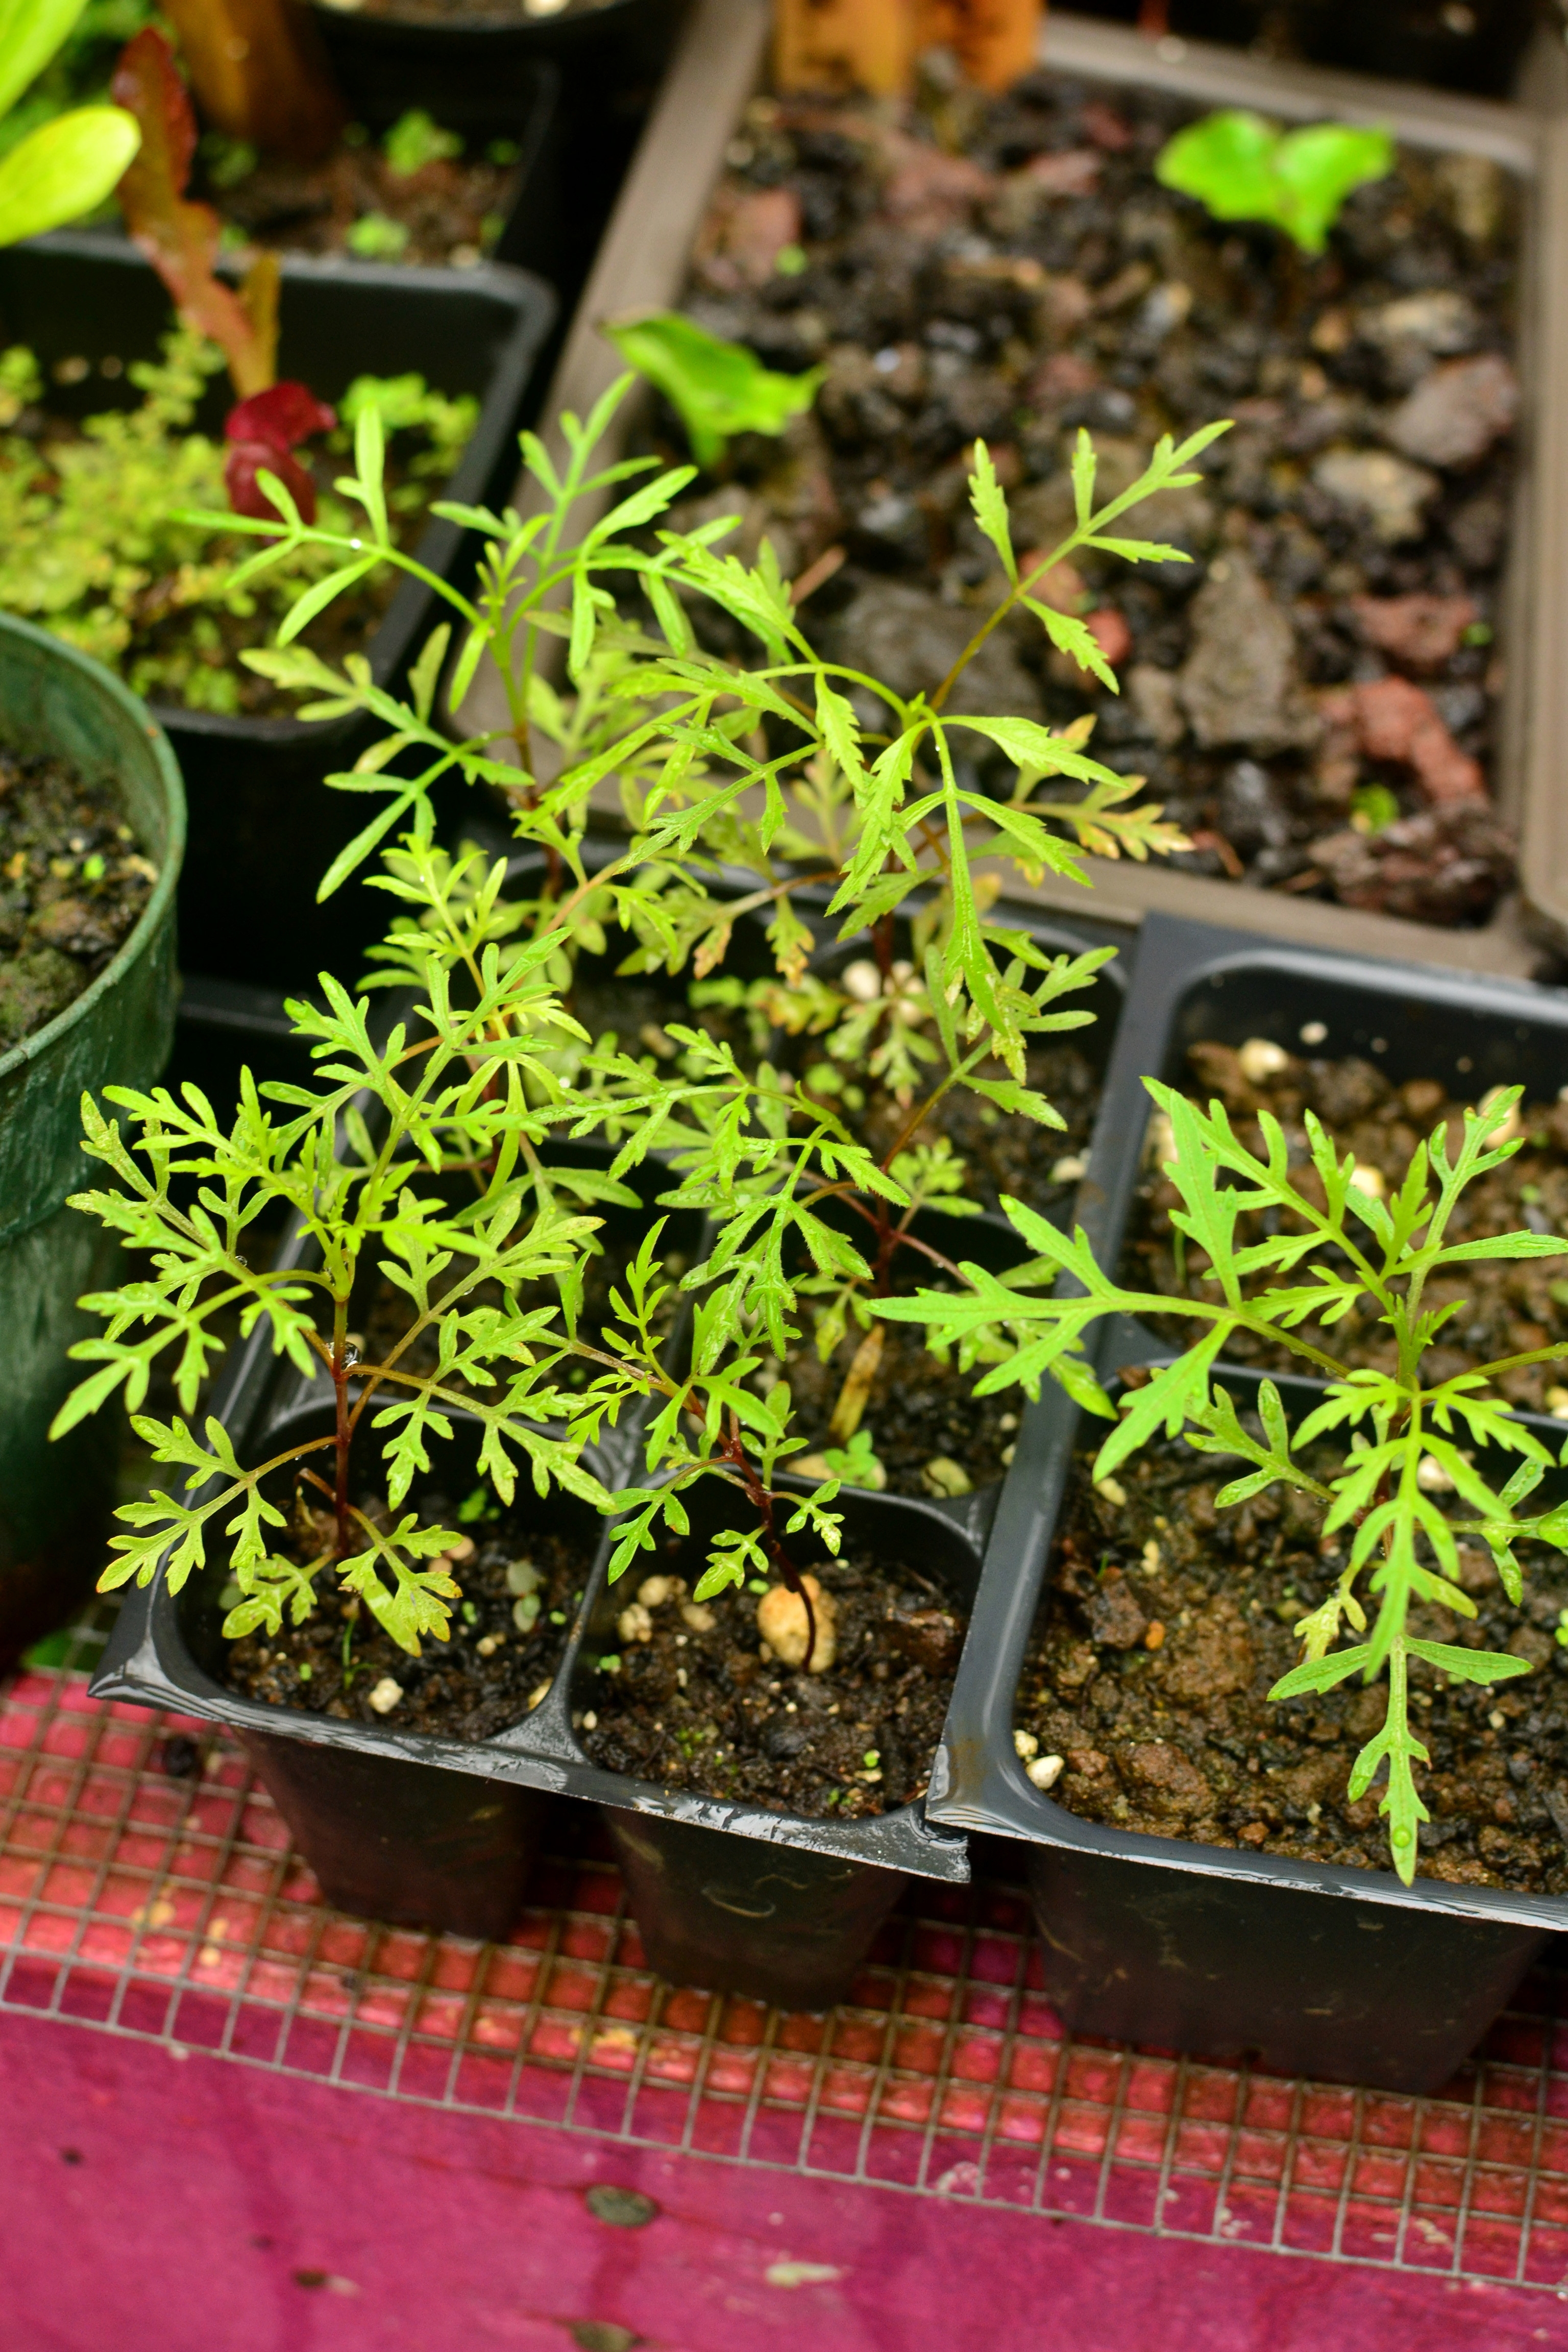
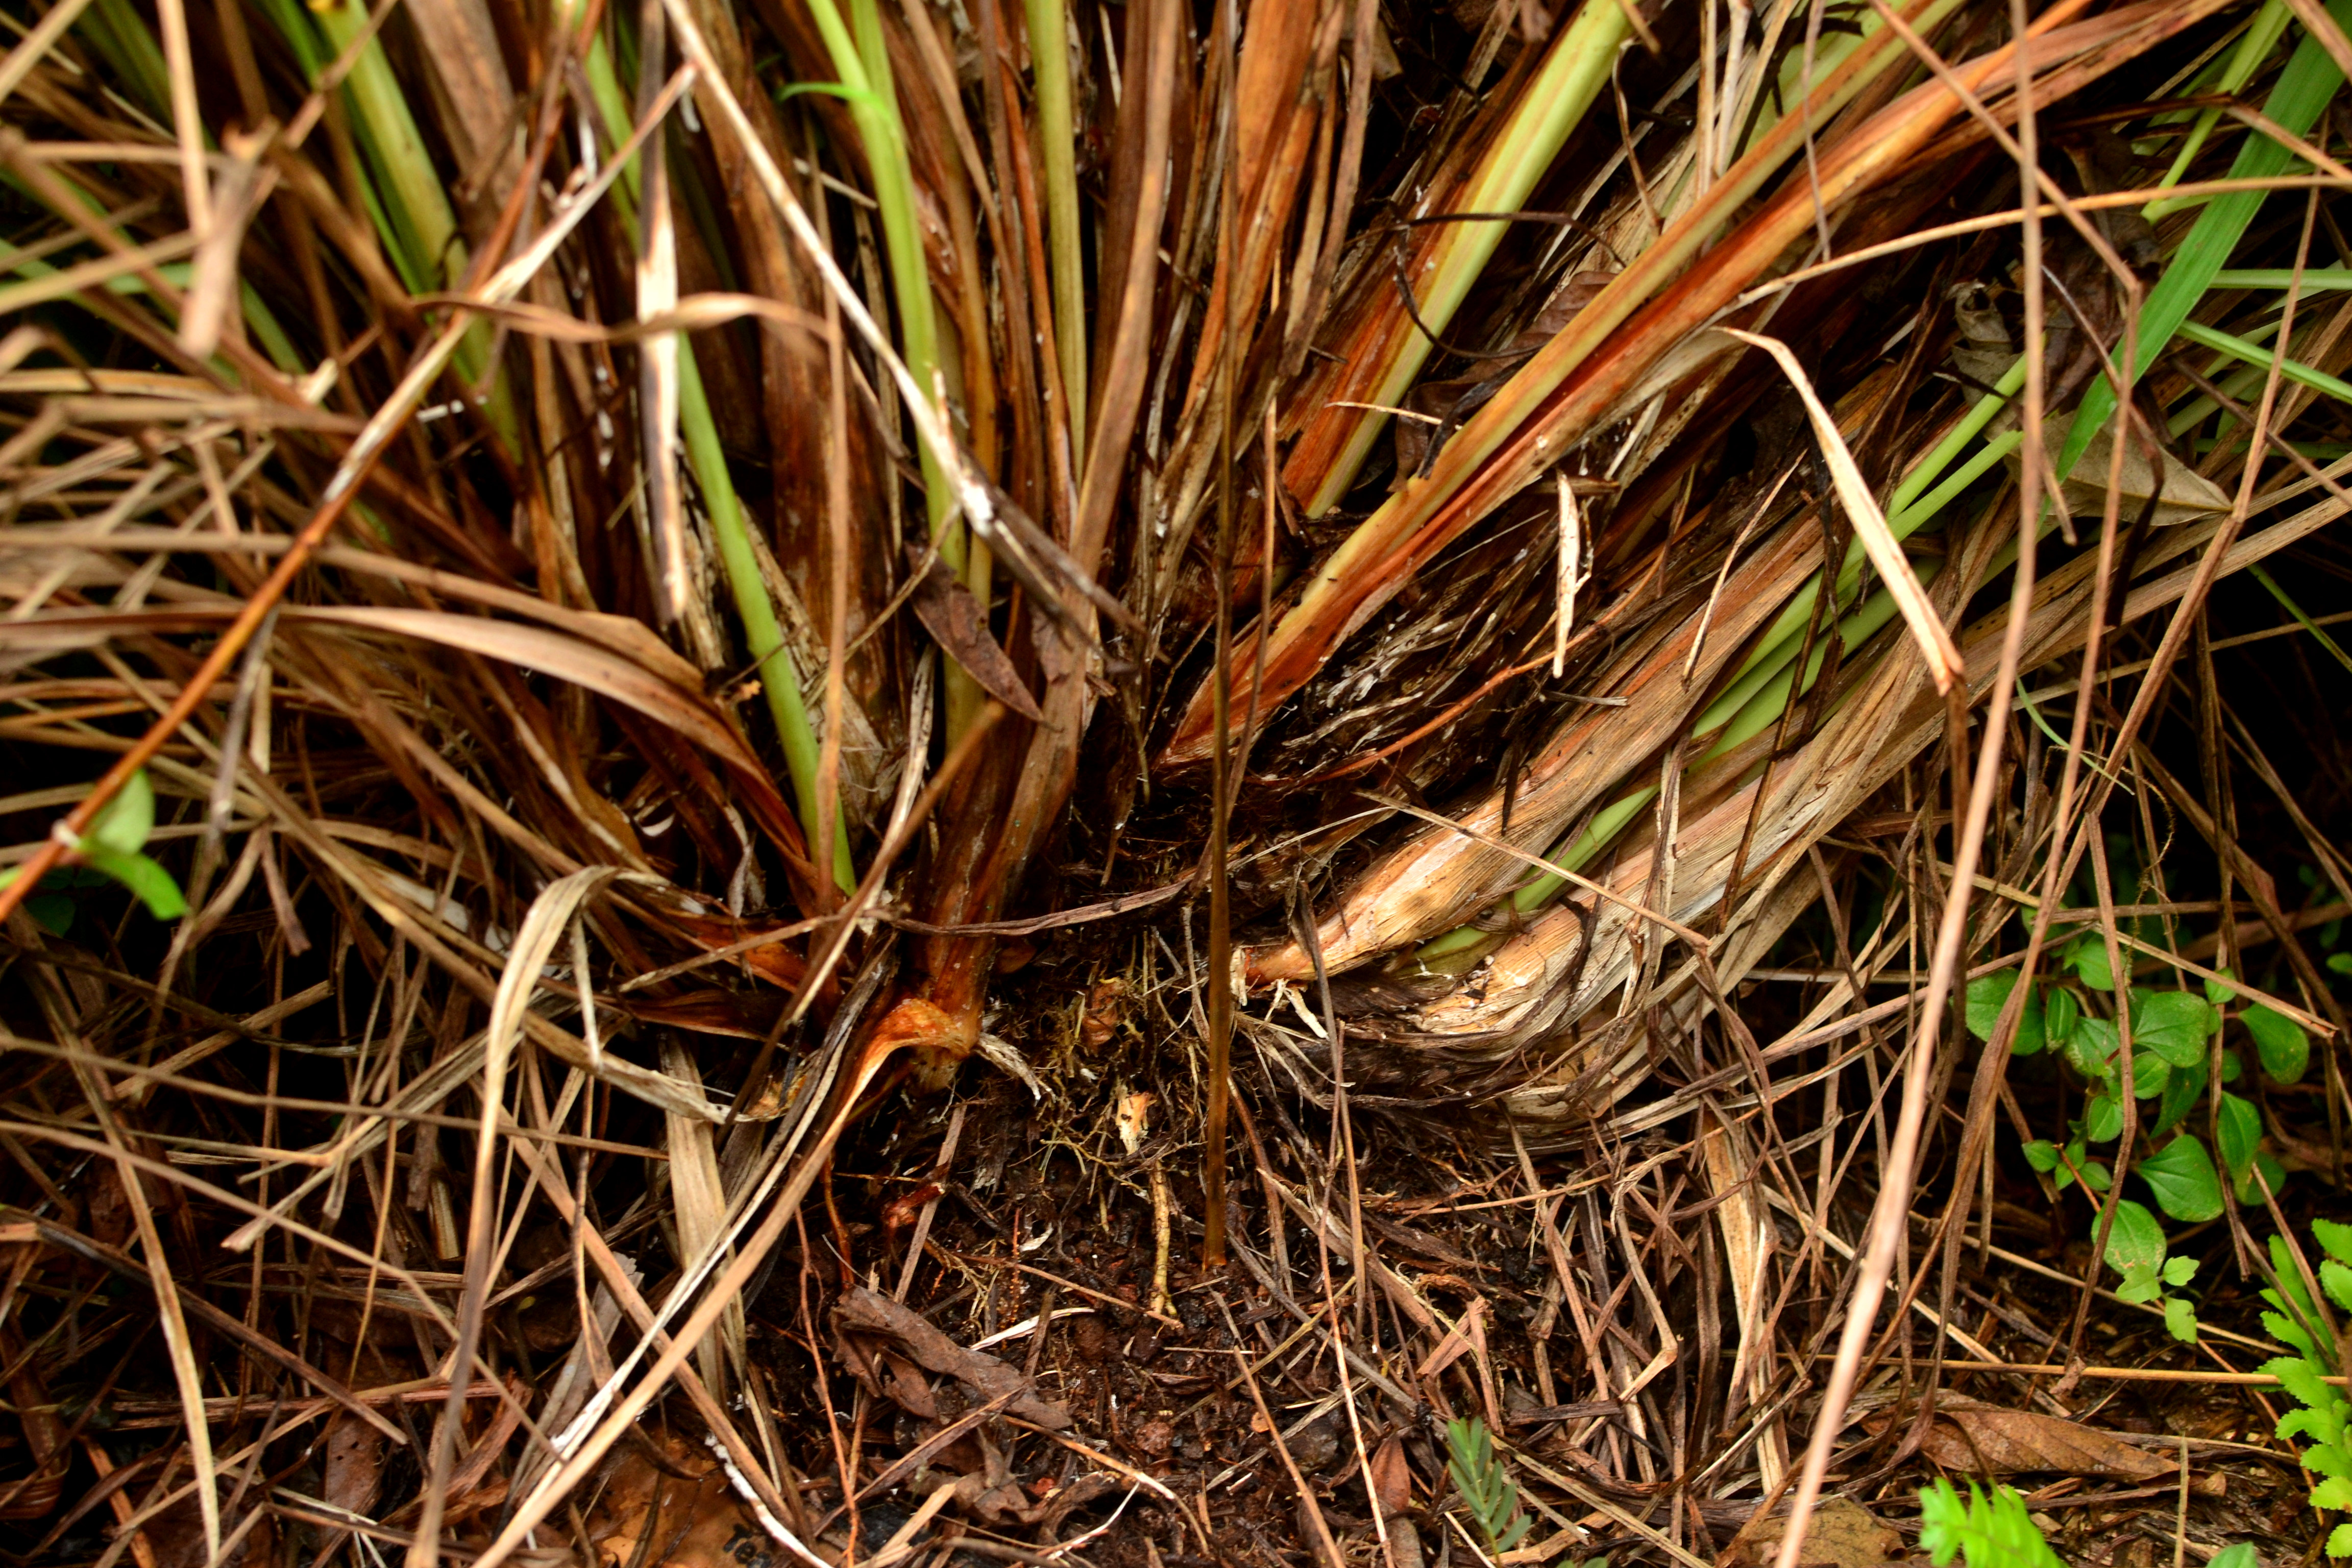
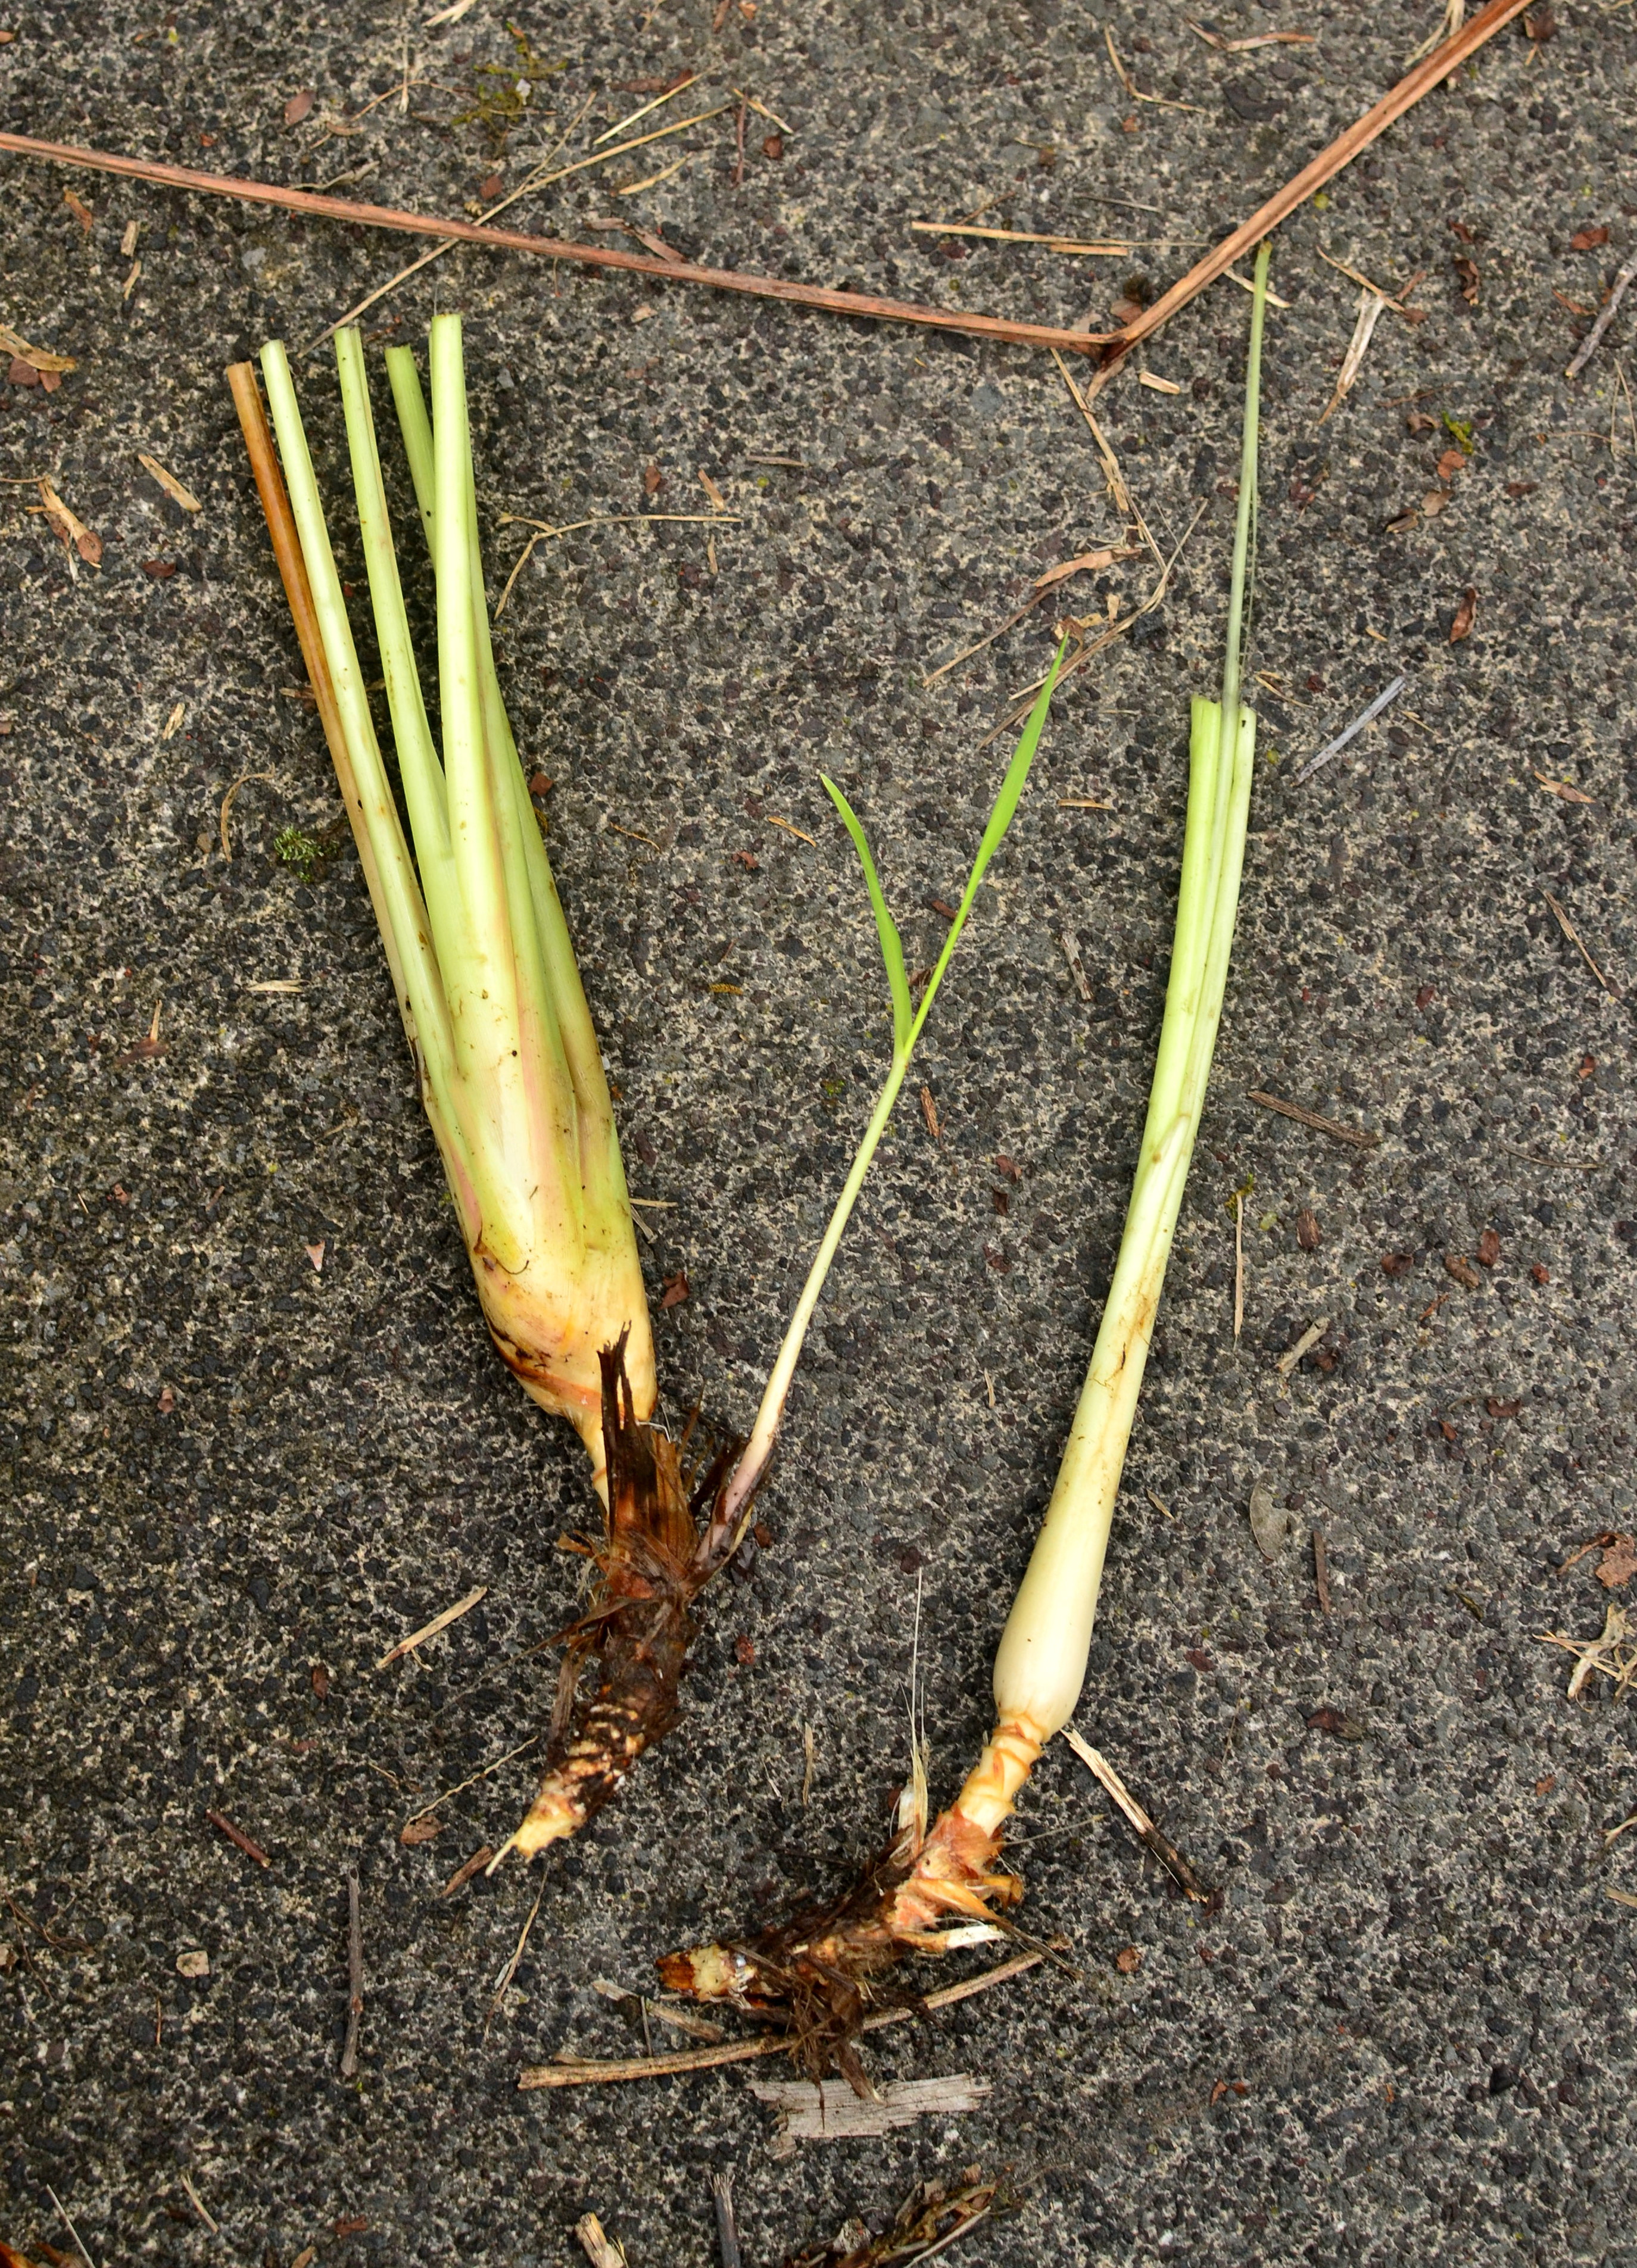
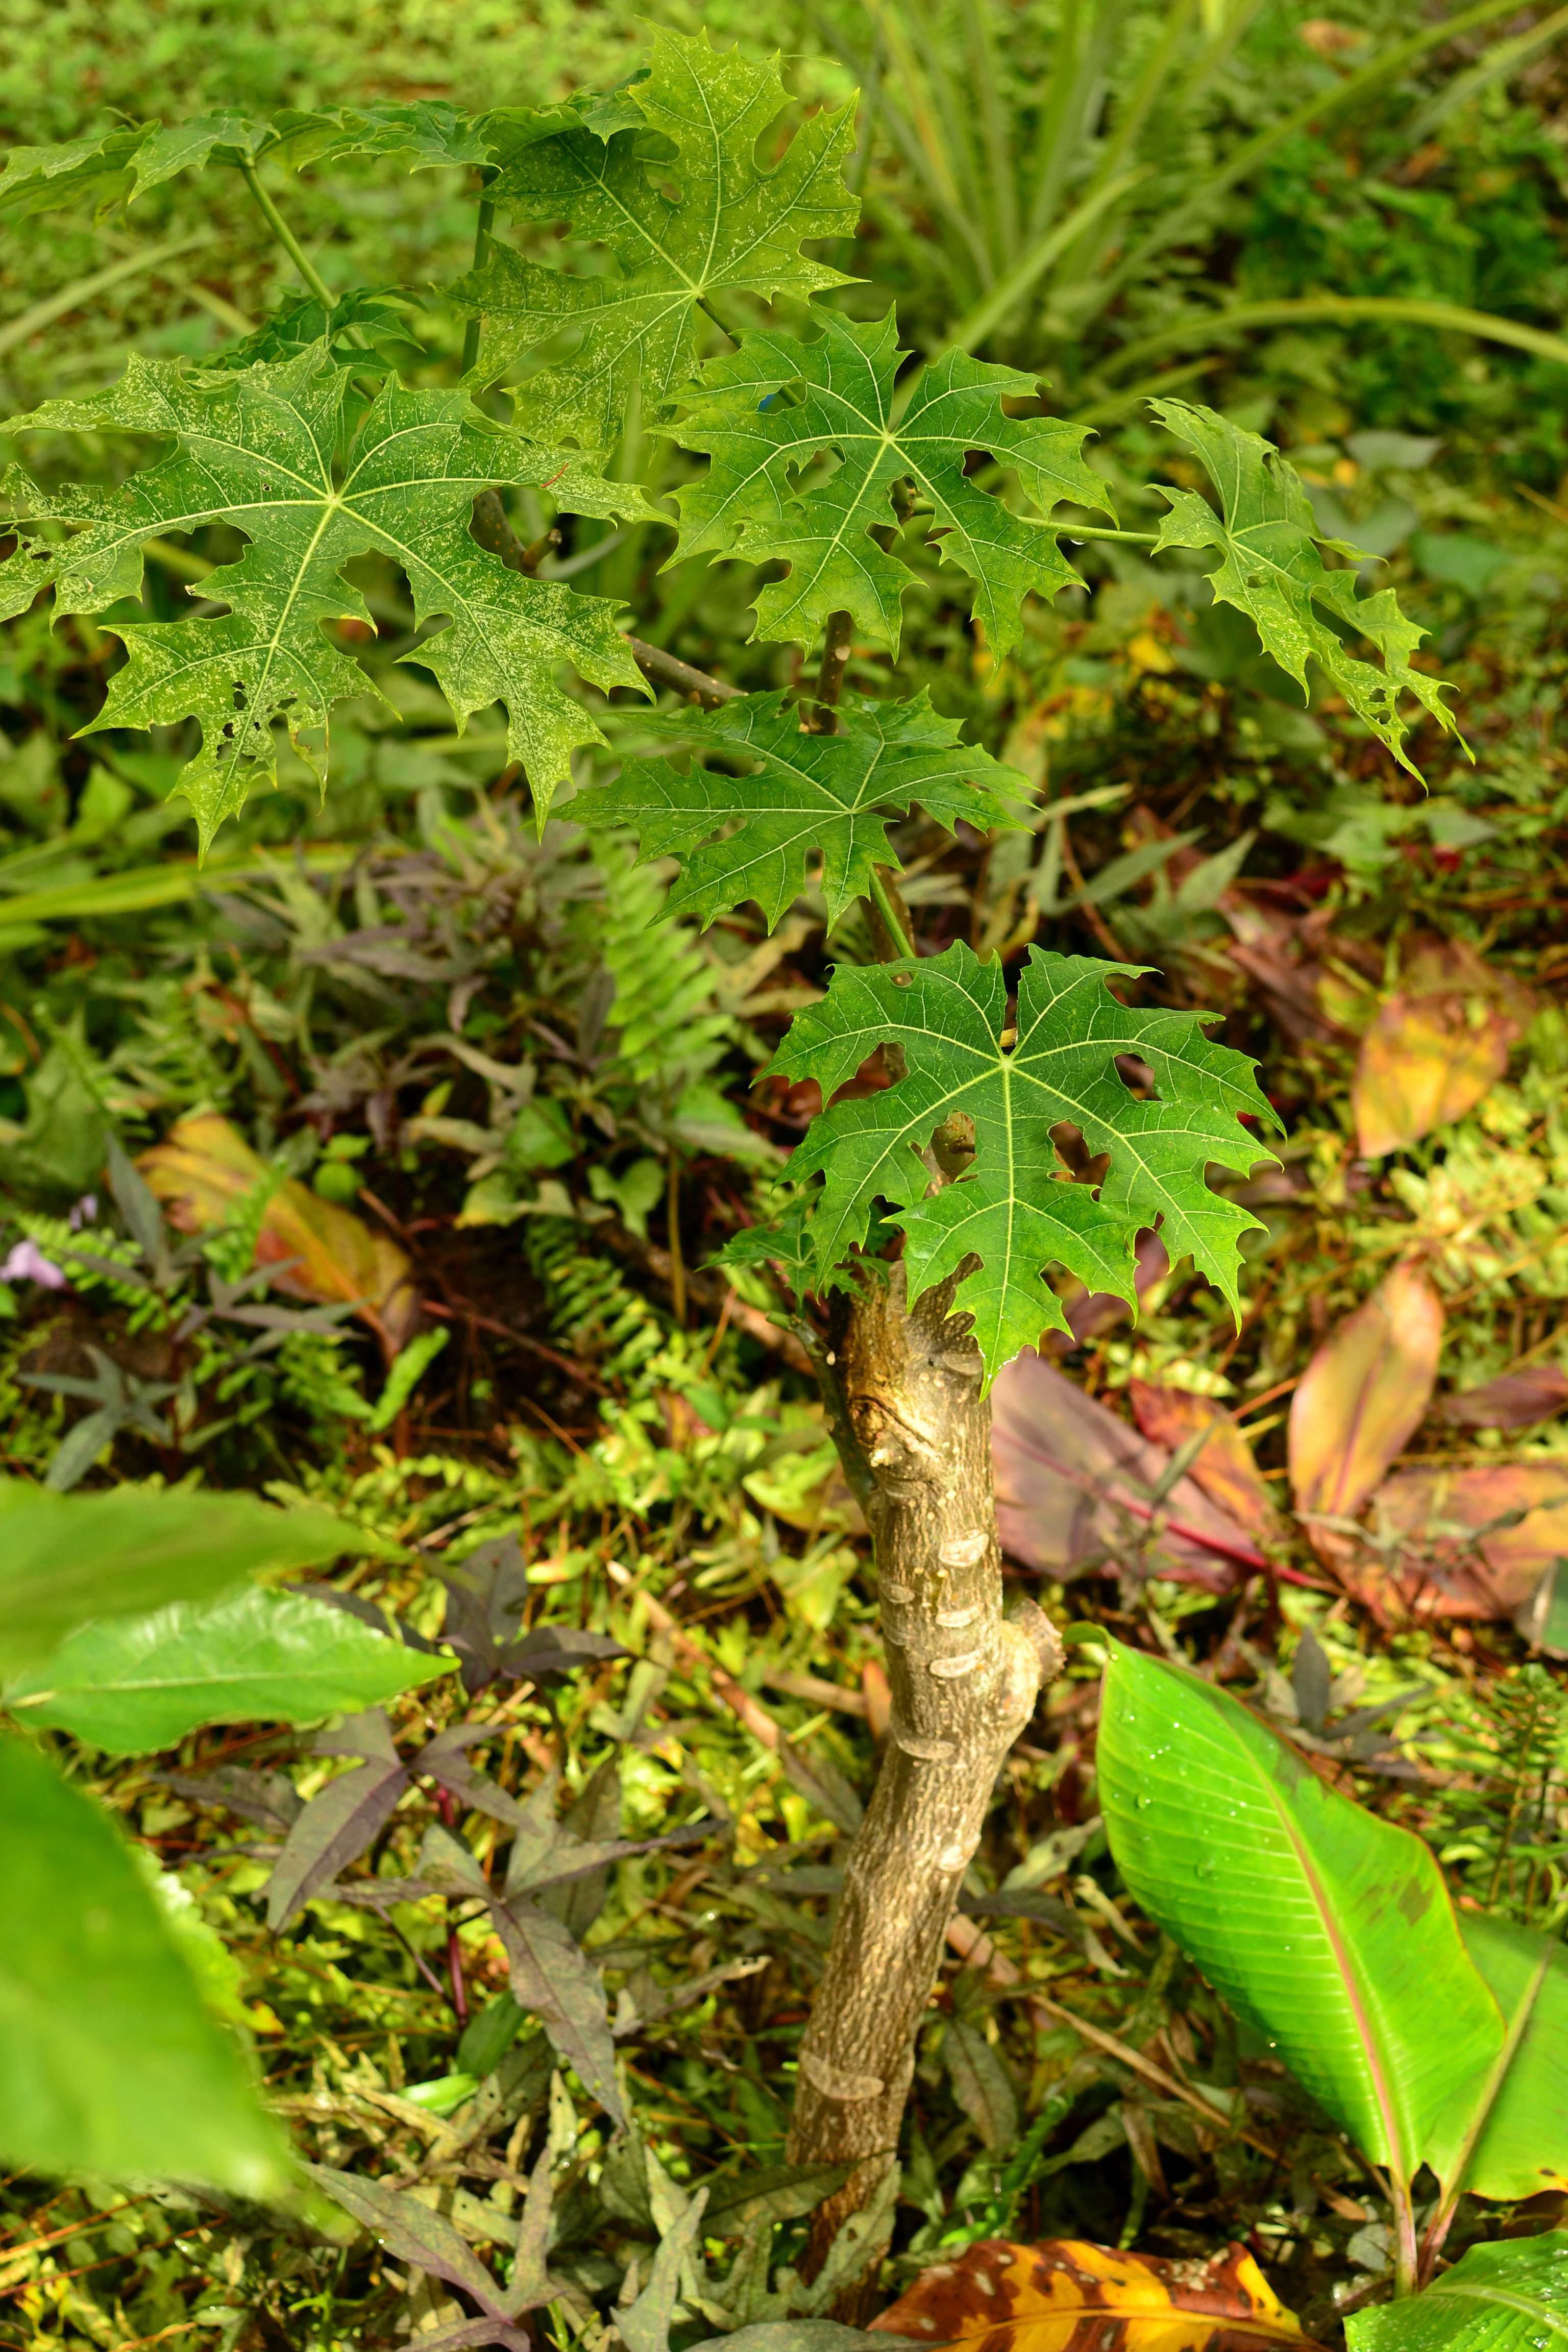
cutting just getting going

Care

Spiny chaya is carefree. Stick it into the ground and wait for leaves to emerge and begin consuming! Be mindful of the small hairs on the leaves that cause irritation, so don’t plant this in a high traffic area where you would potentially bump into the leaves on accident.

Eating

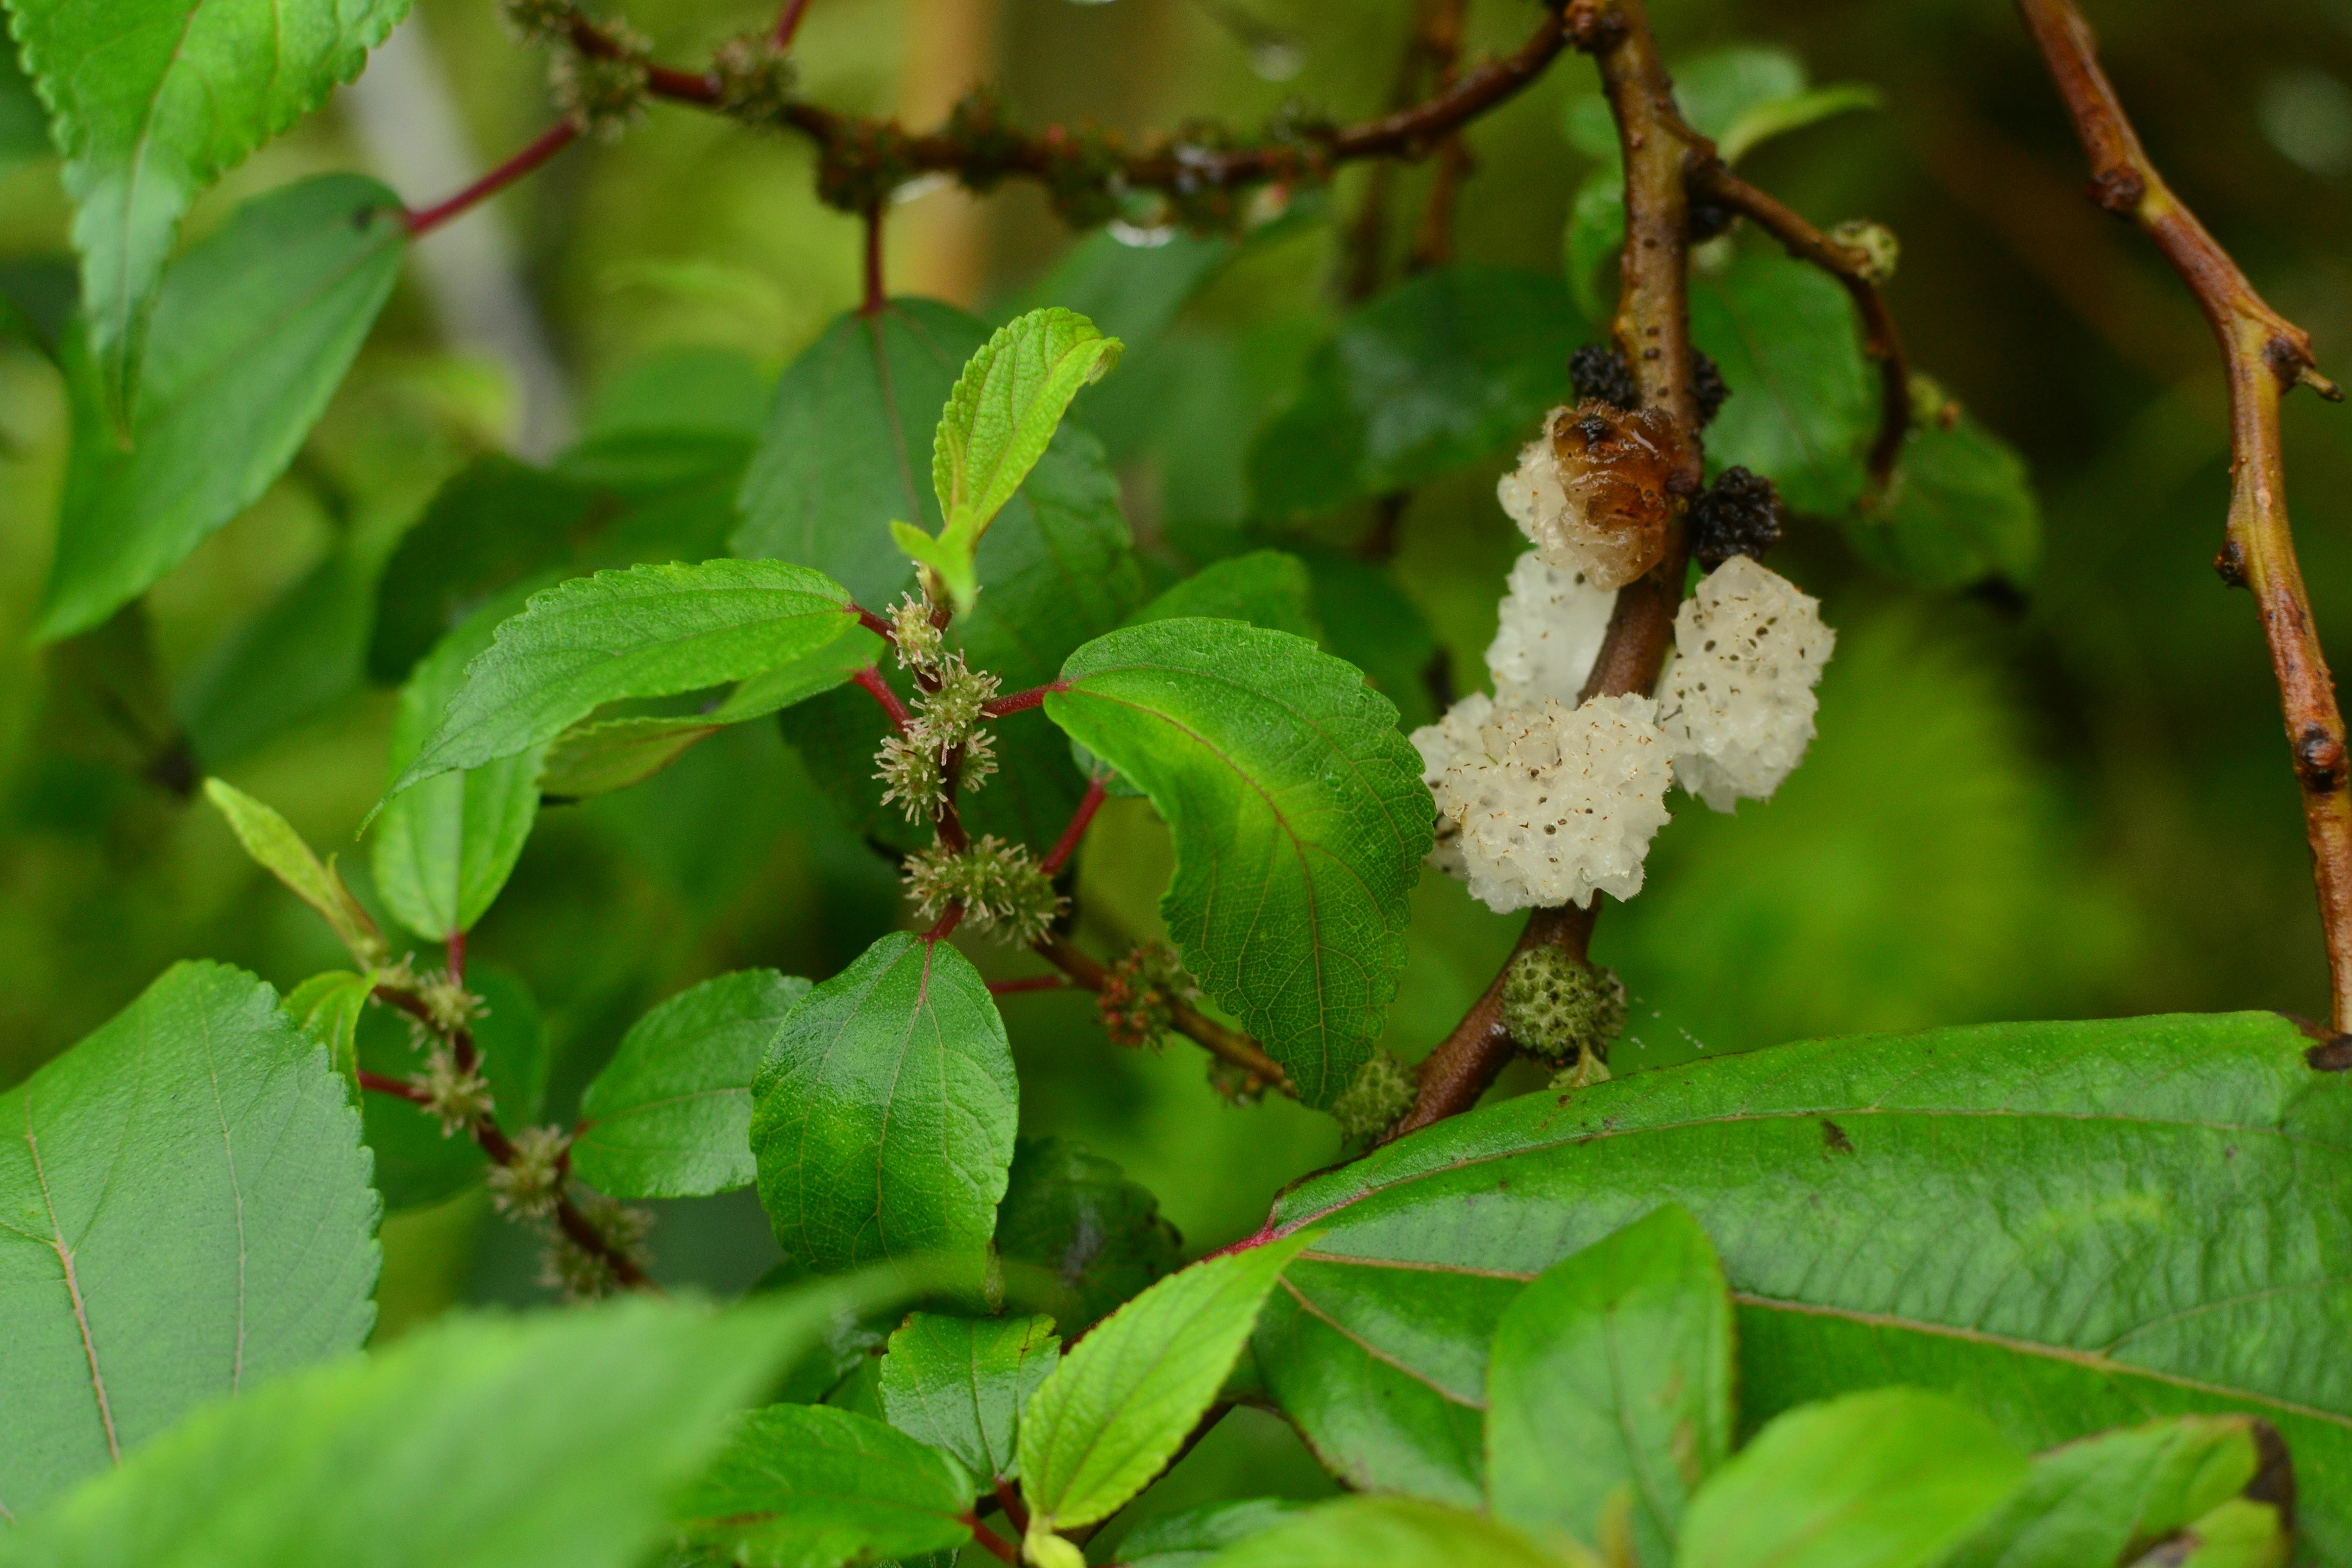
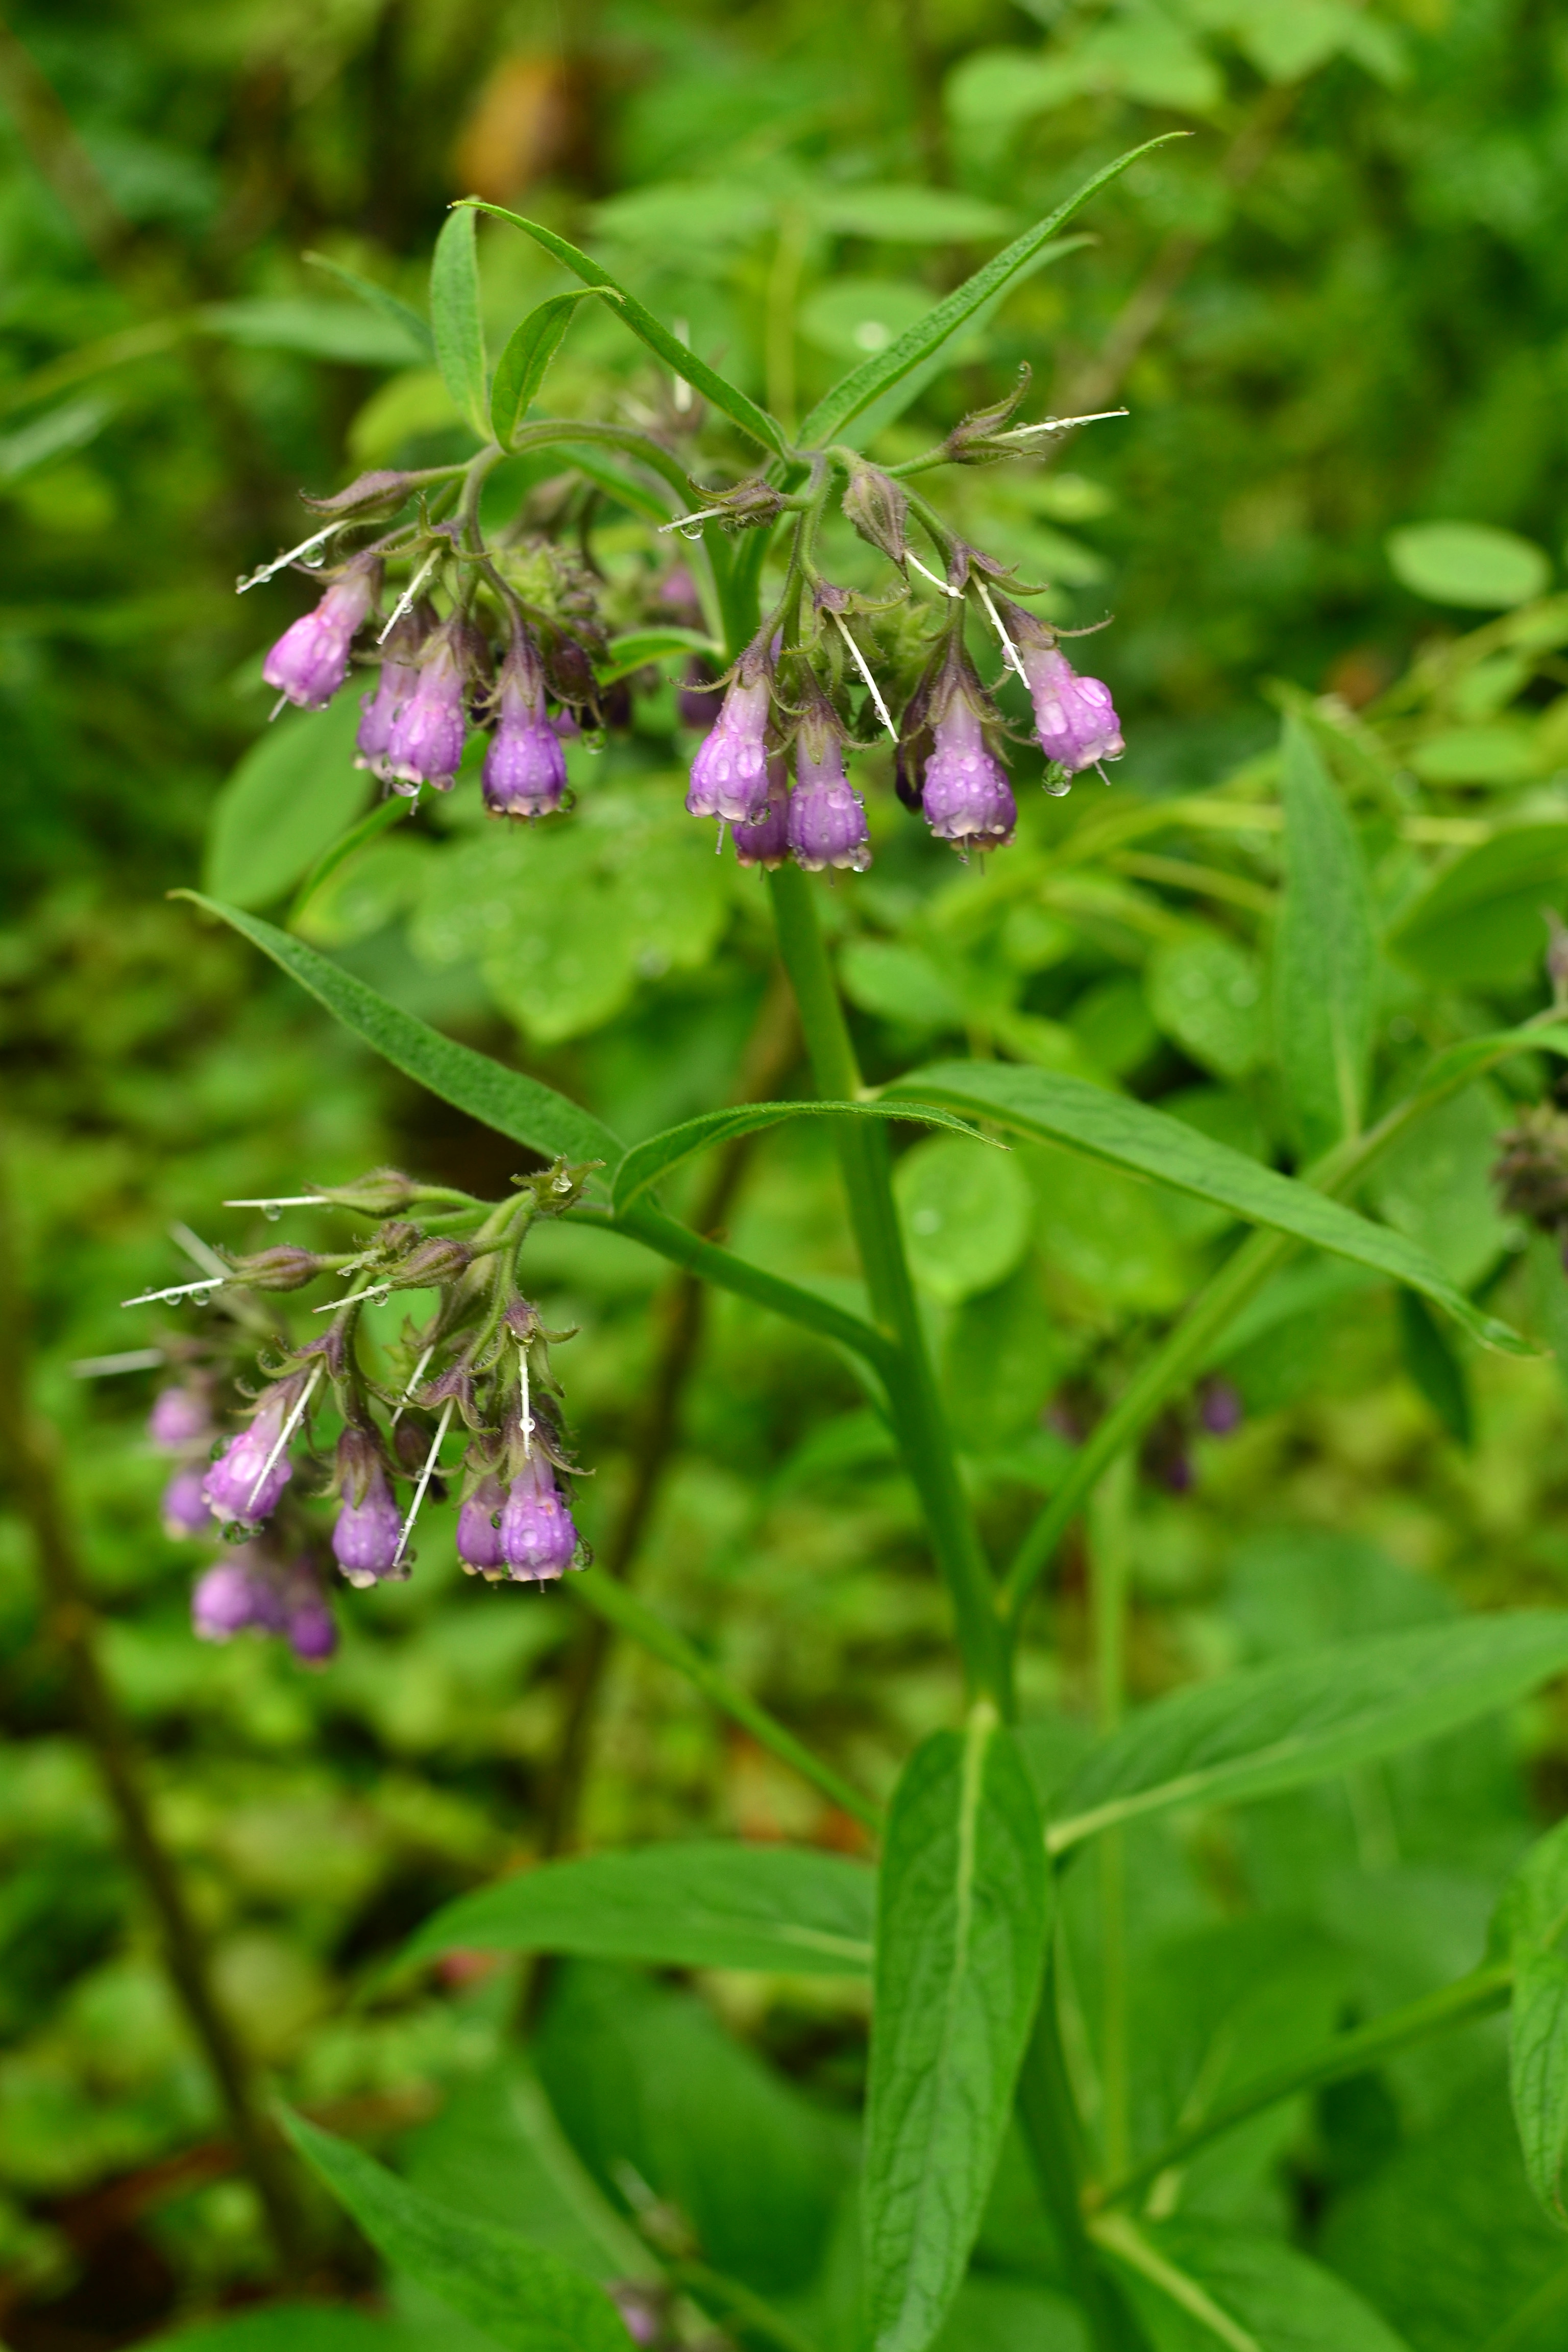
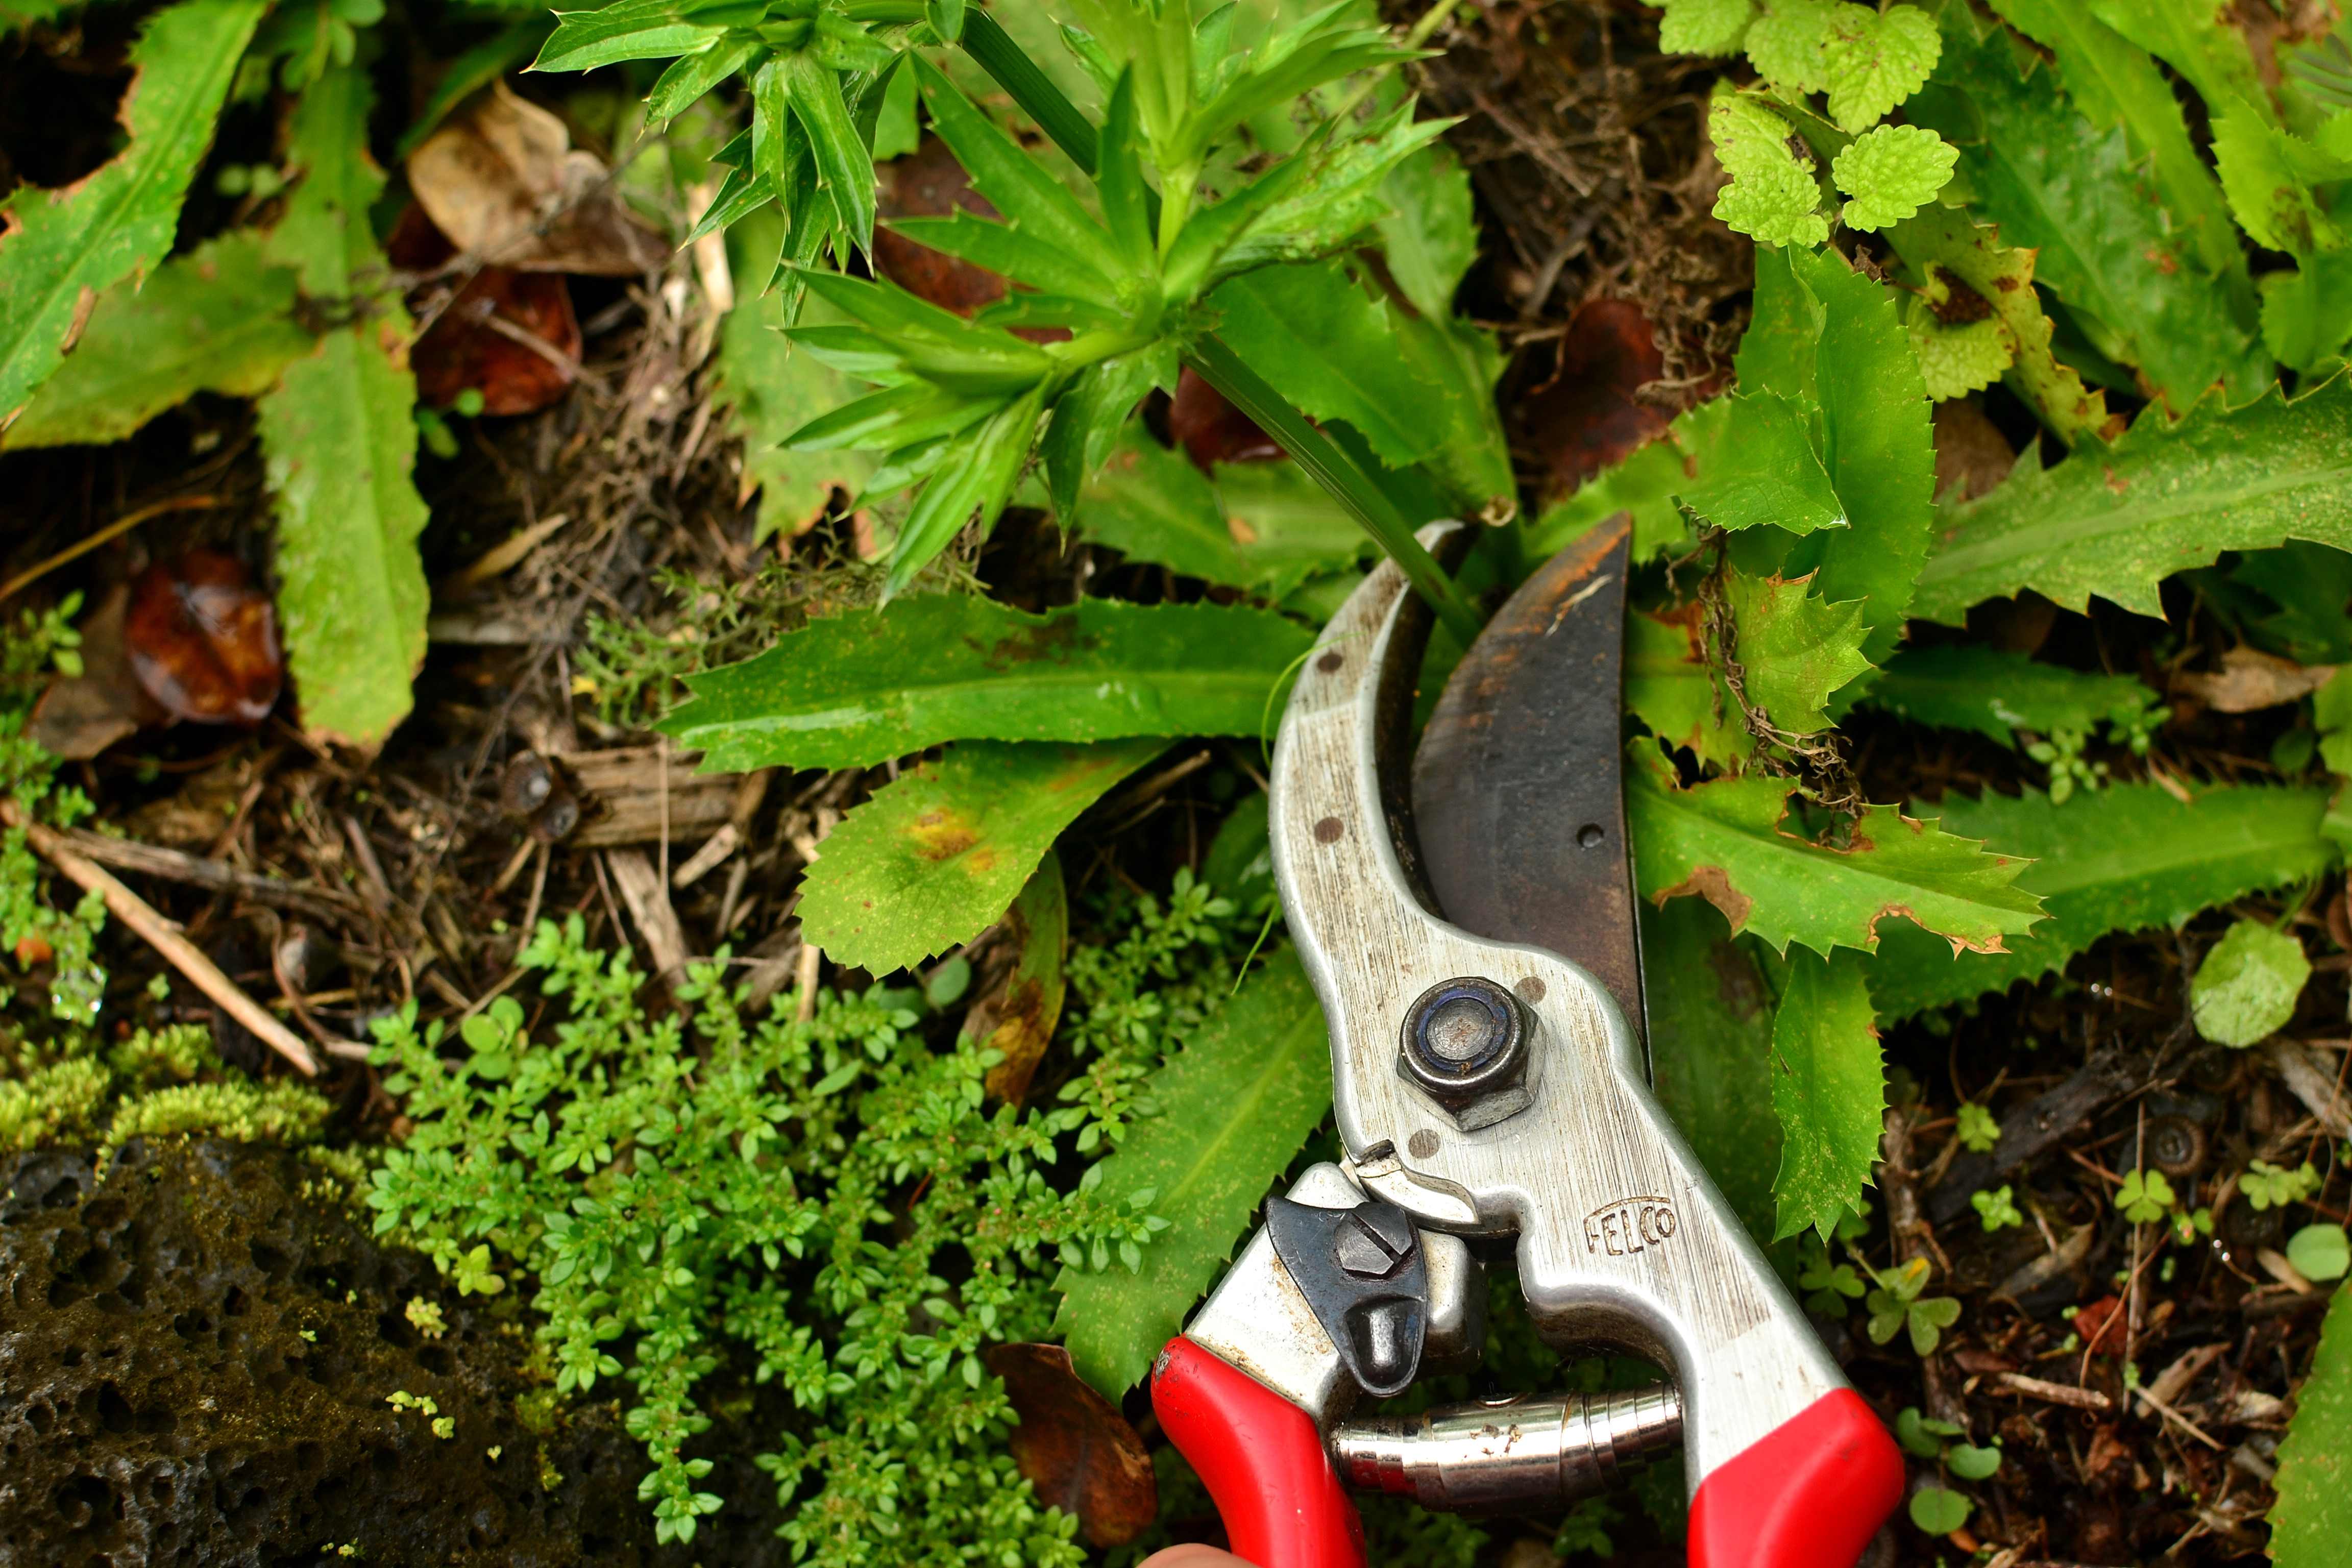
Harvest and prepare spiny chaya wearing gloves, to prevent being poked from the spines. The spines disappear with cooking and leaves do not reduce much in size once cooked. Spiny chaya contains toxins in the leaves and must be cooked for 5-15 minutes before consumption to cook out the hydrocyanic glycosides. I have also had a delicious ‘kimchi’ that uses this plant as the only source of greens in the ferment. The leaves are cooked first then cooled and fermented.

Where to obtain planting materials

This plant does not grow from seed; you’ll need to find someone growing this plant to get woody cuttings. This plant is much less common than the spineless chaya that everyone seems to be growing, therefore, it may be difficult to find.

My Garden

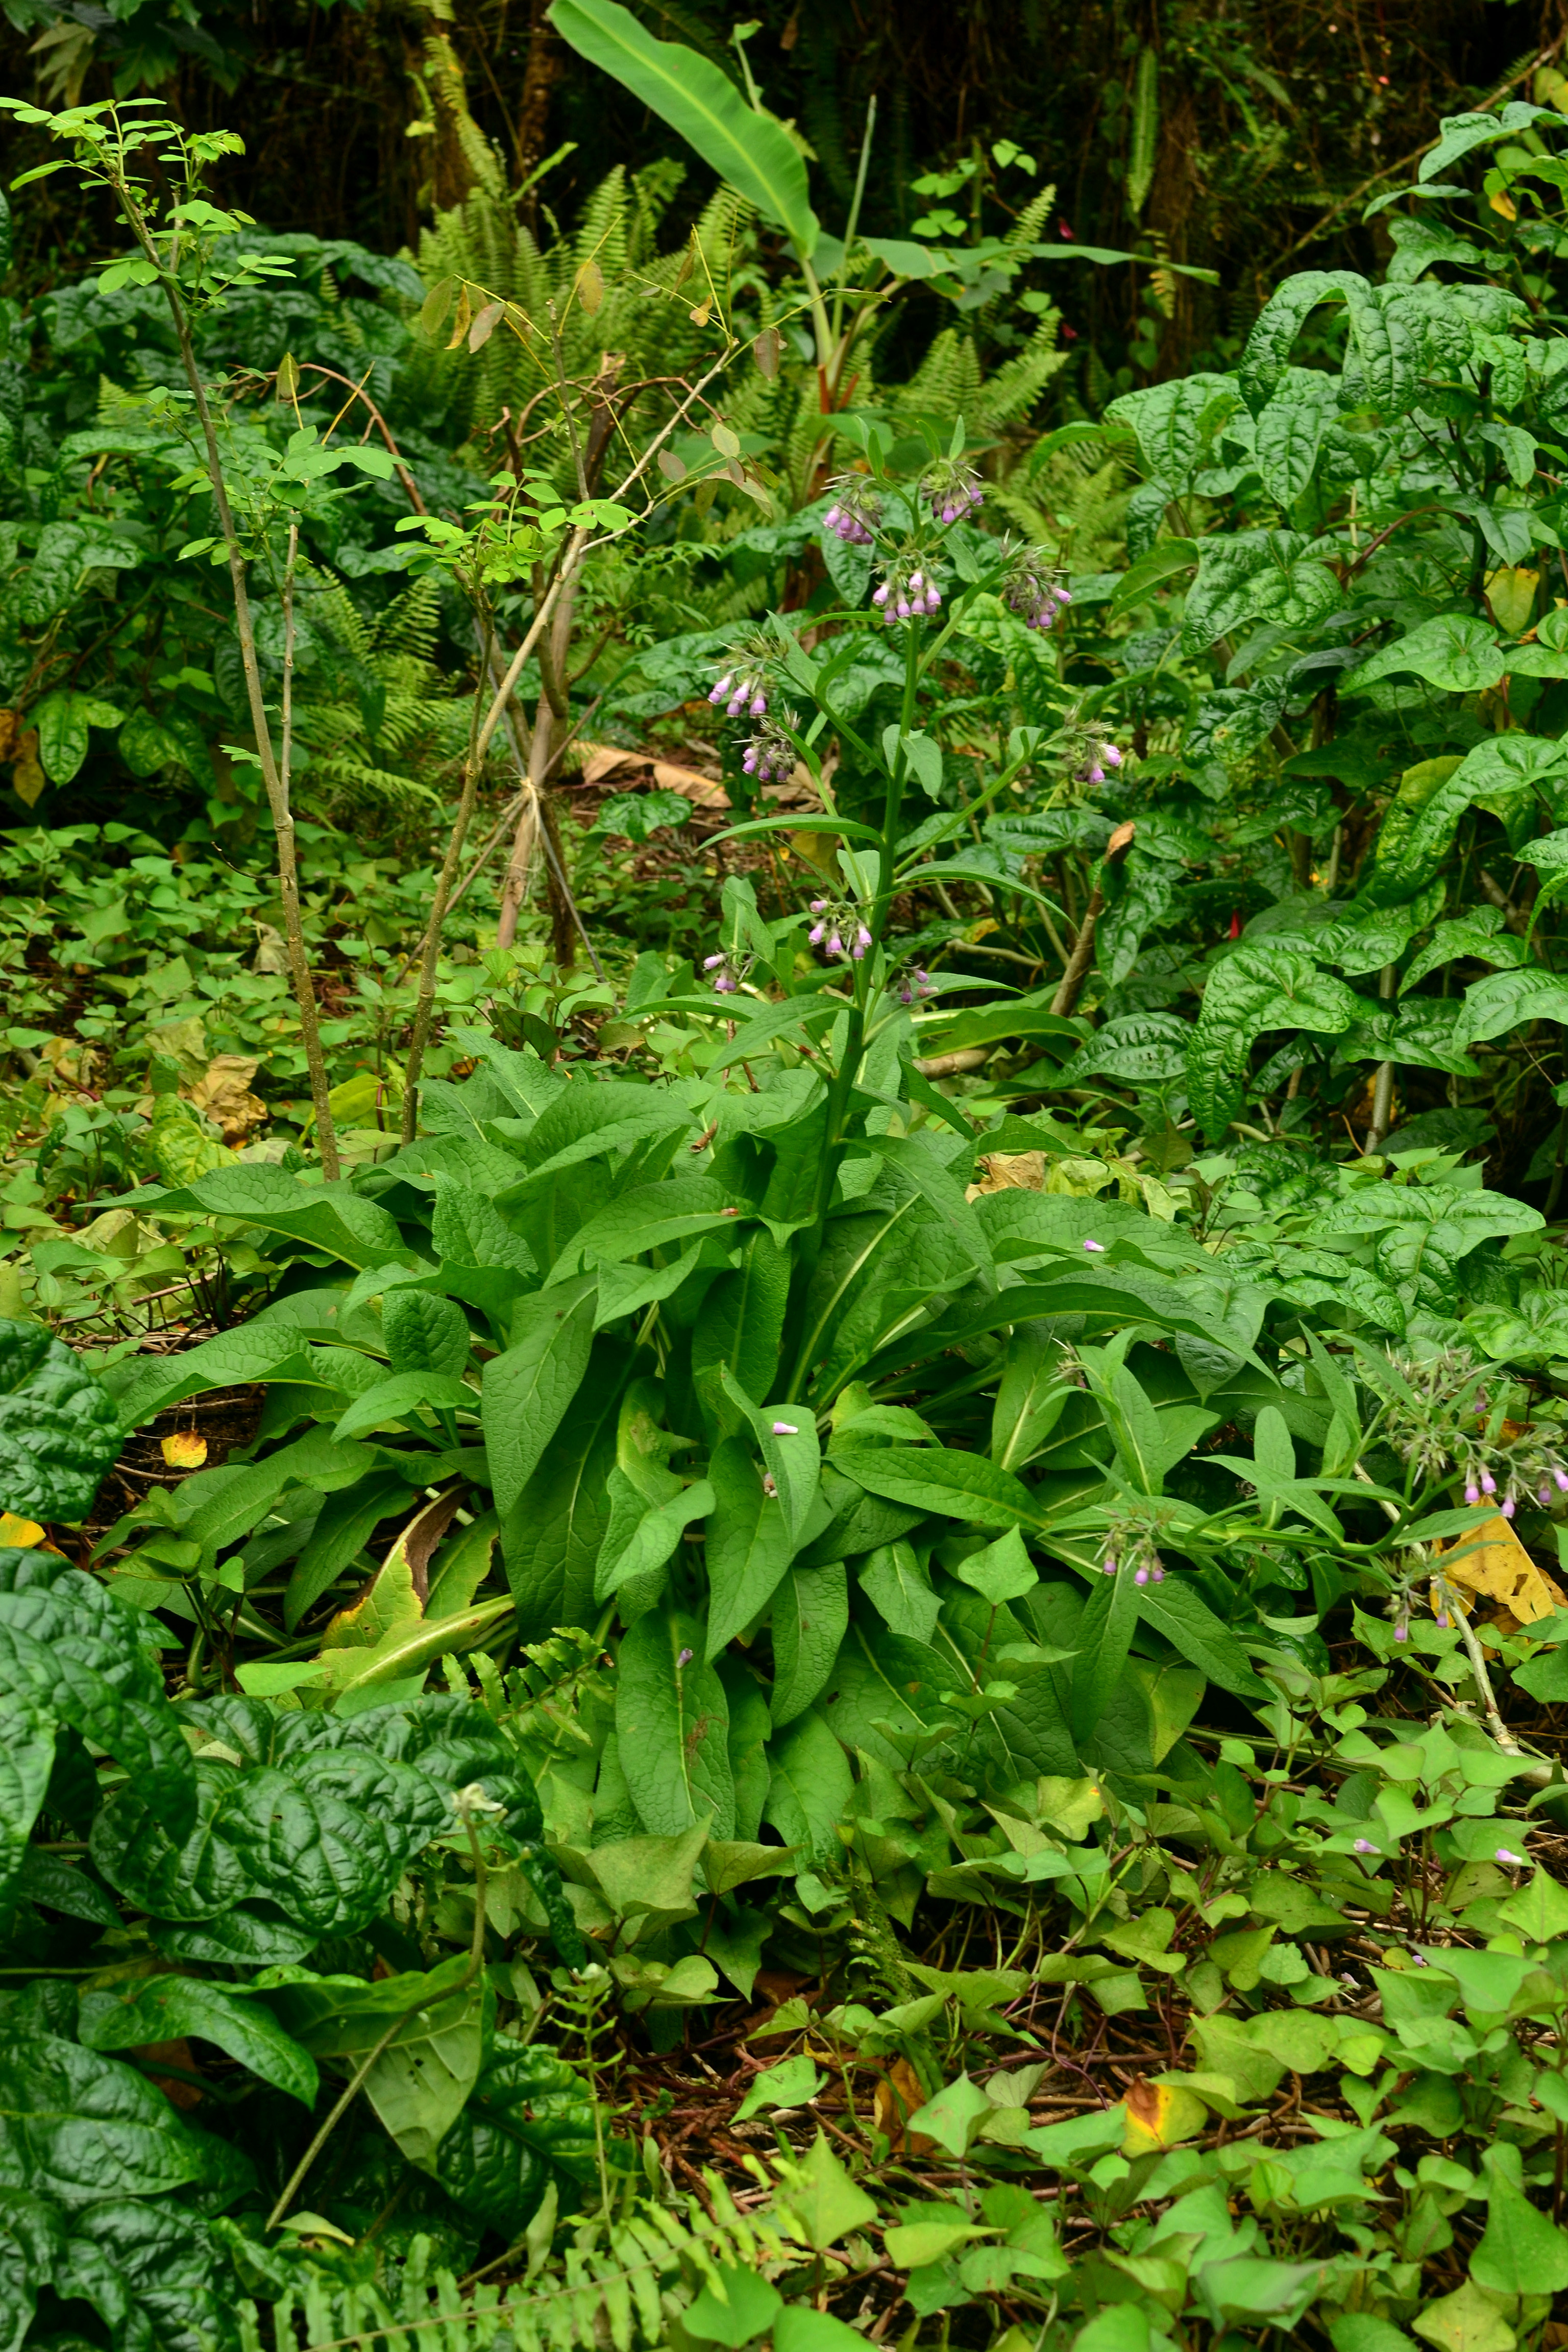
I’ve known about chaya as long as I’ve been in the tropics, but I have never had good luck with spineless chaya growing here for some reason. I recently learned about the spiny variety and got to observe its growth habit and consume it while spending some time on the dry side of the island. I brought it over here to see how it grows in the wet environment. So far its growing and putting off a few leaves, they have only been in the ground a little while so they haven’t taken off just yet. I am not able to fully report how it likes the wet, but I’ve read they can handle wet and that it takes them a little time to develop their roots before getting really vigorous. The goal is to grow this around my fruit trees for an easy constant source of mulch for them and an easily obtainable food for me. The waiting game begins!

DSC_0696

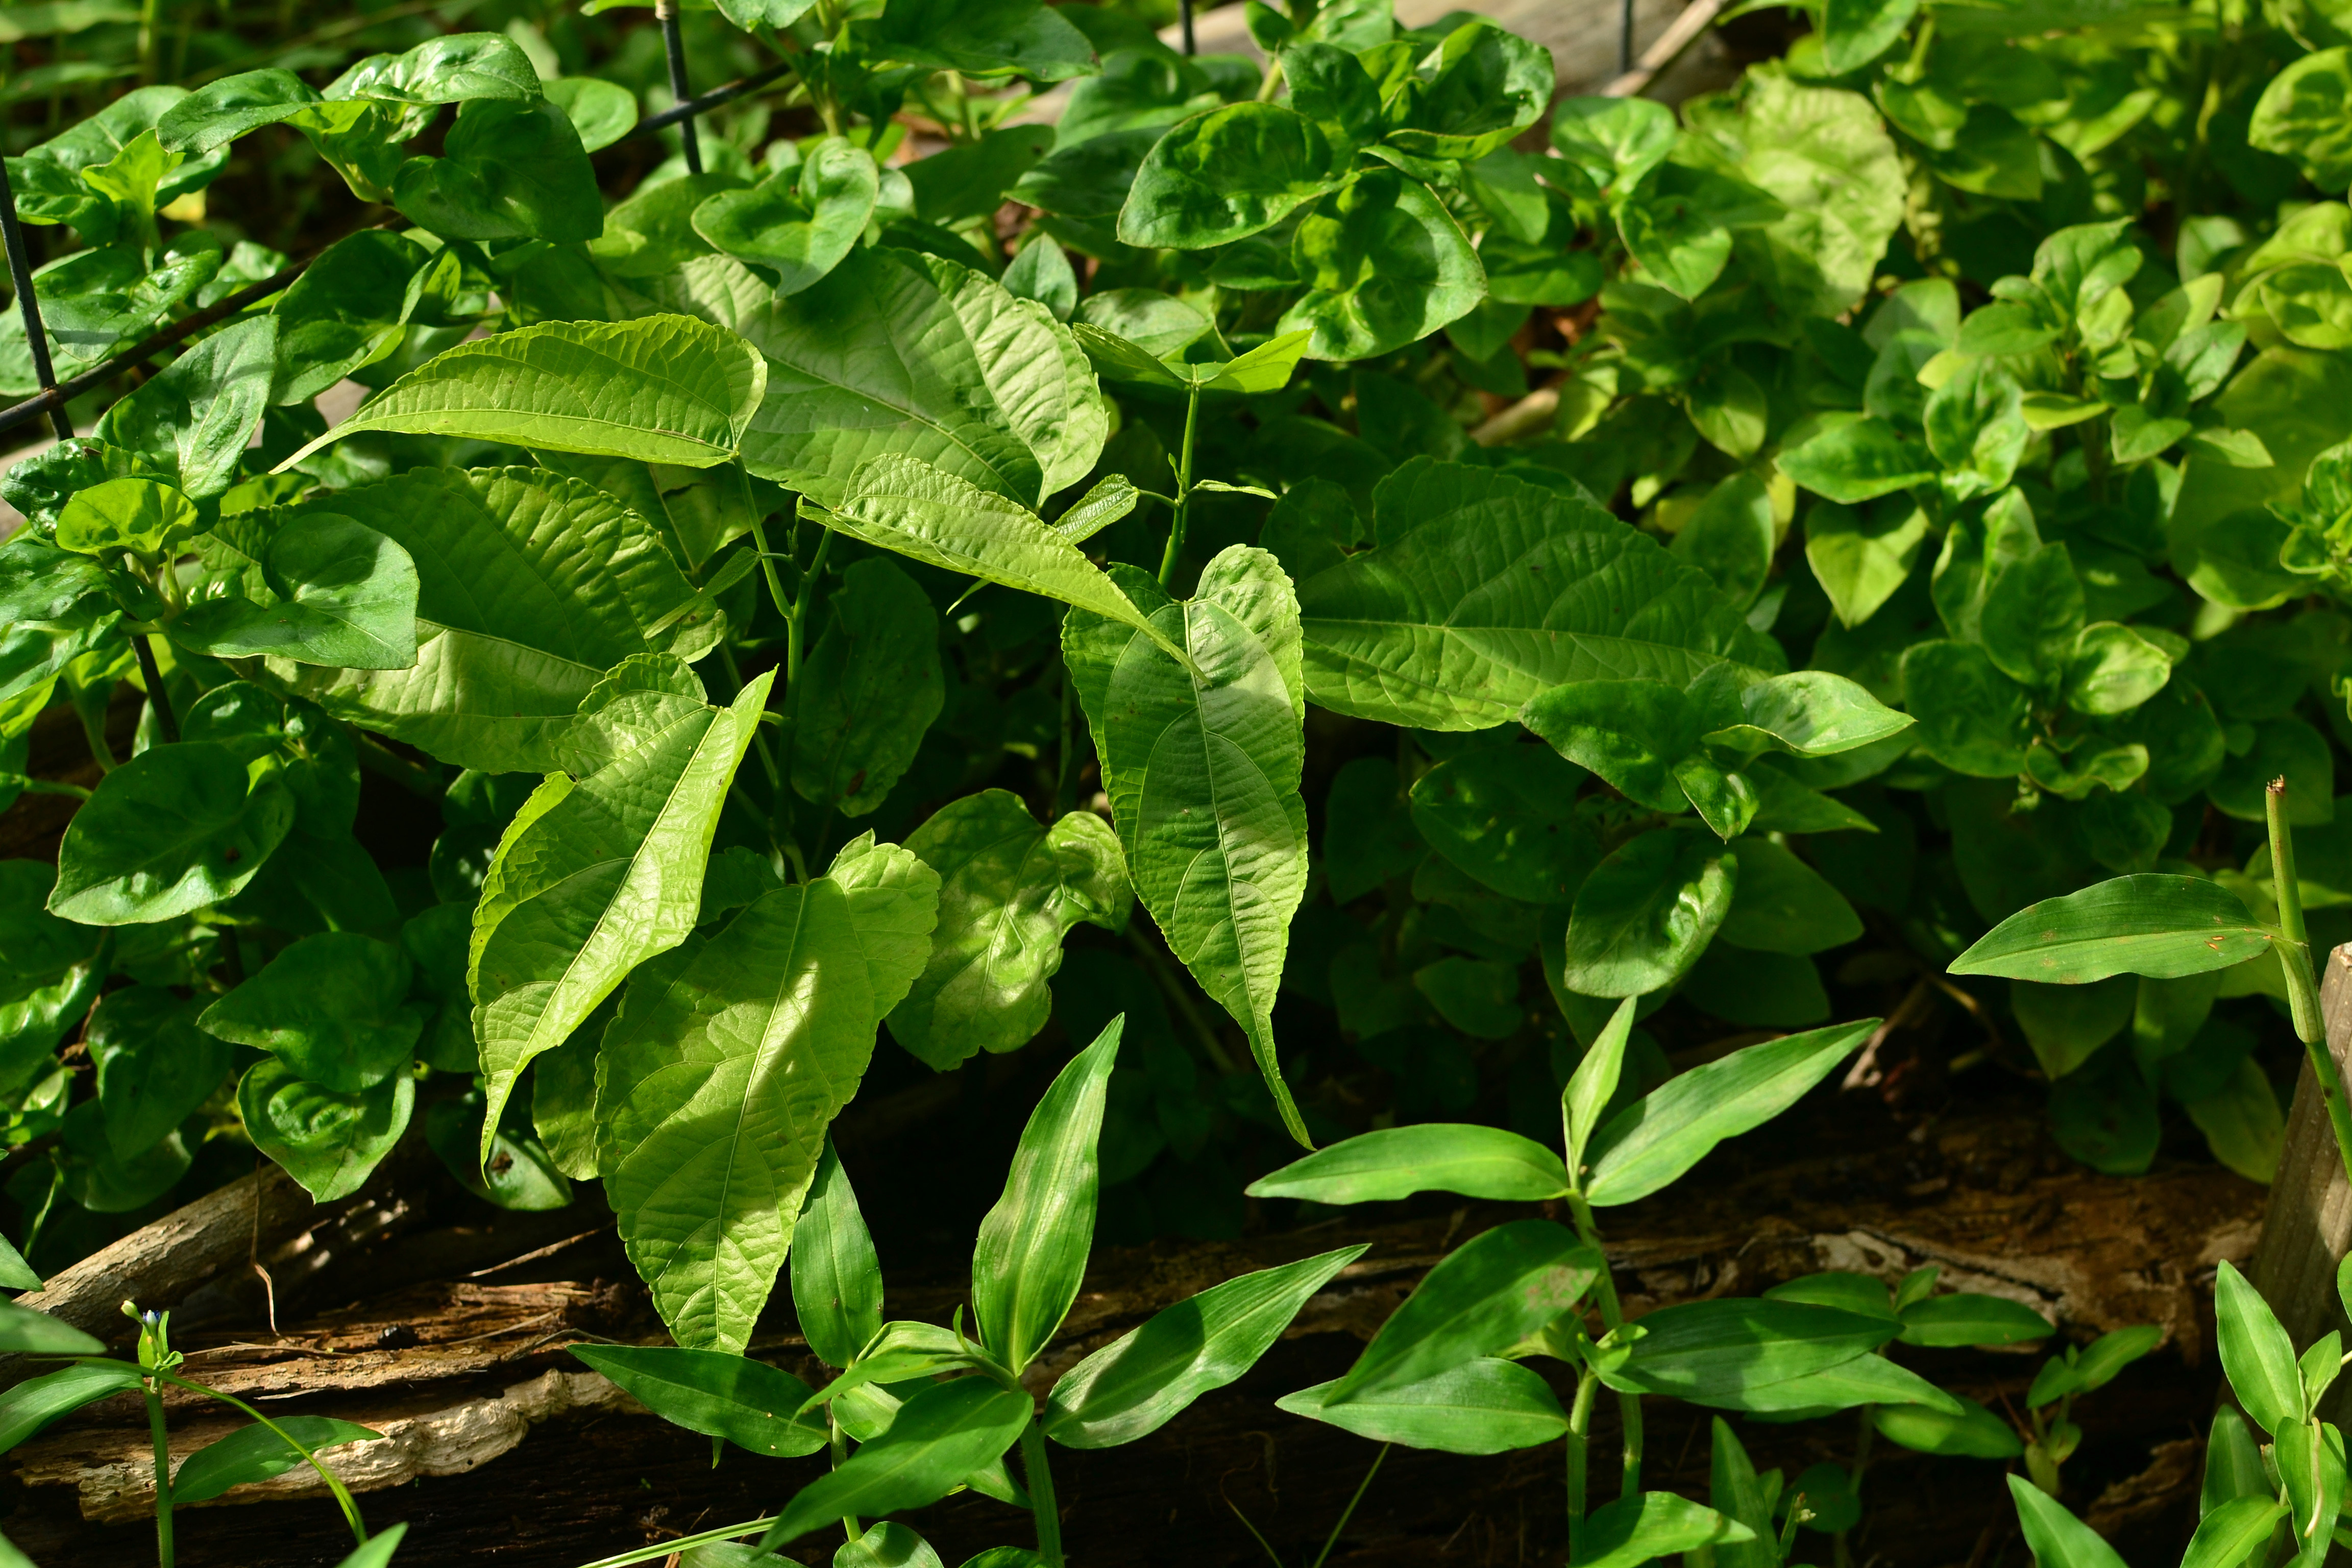
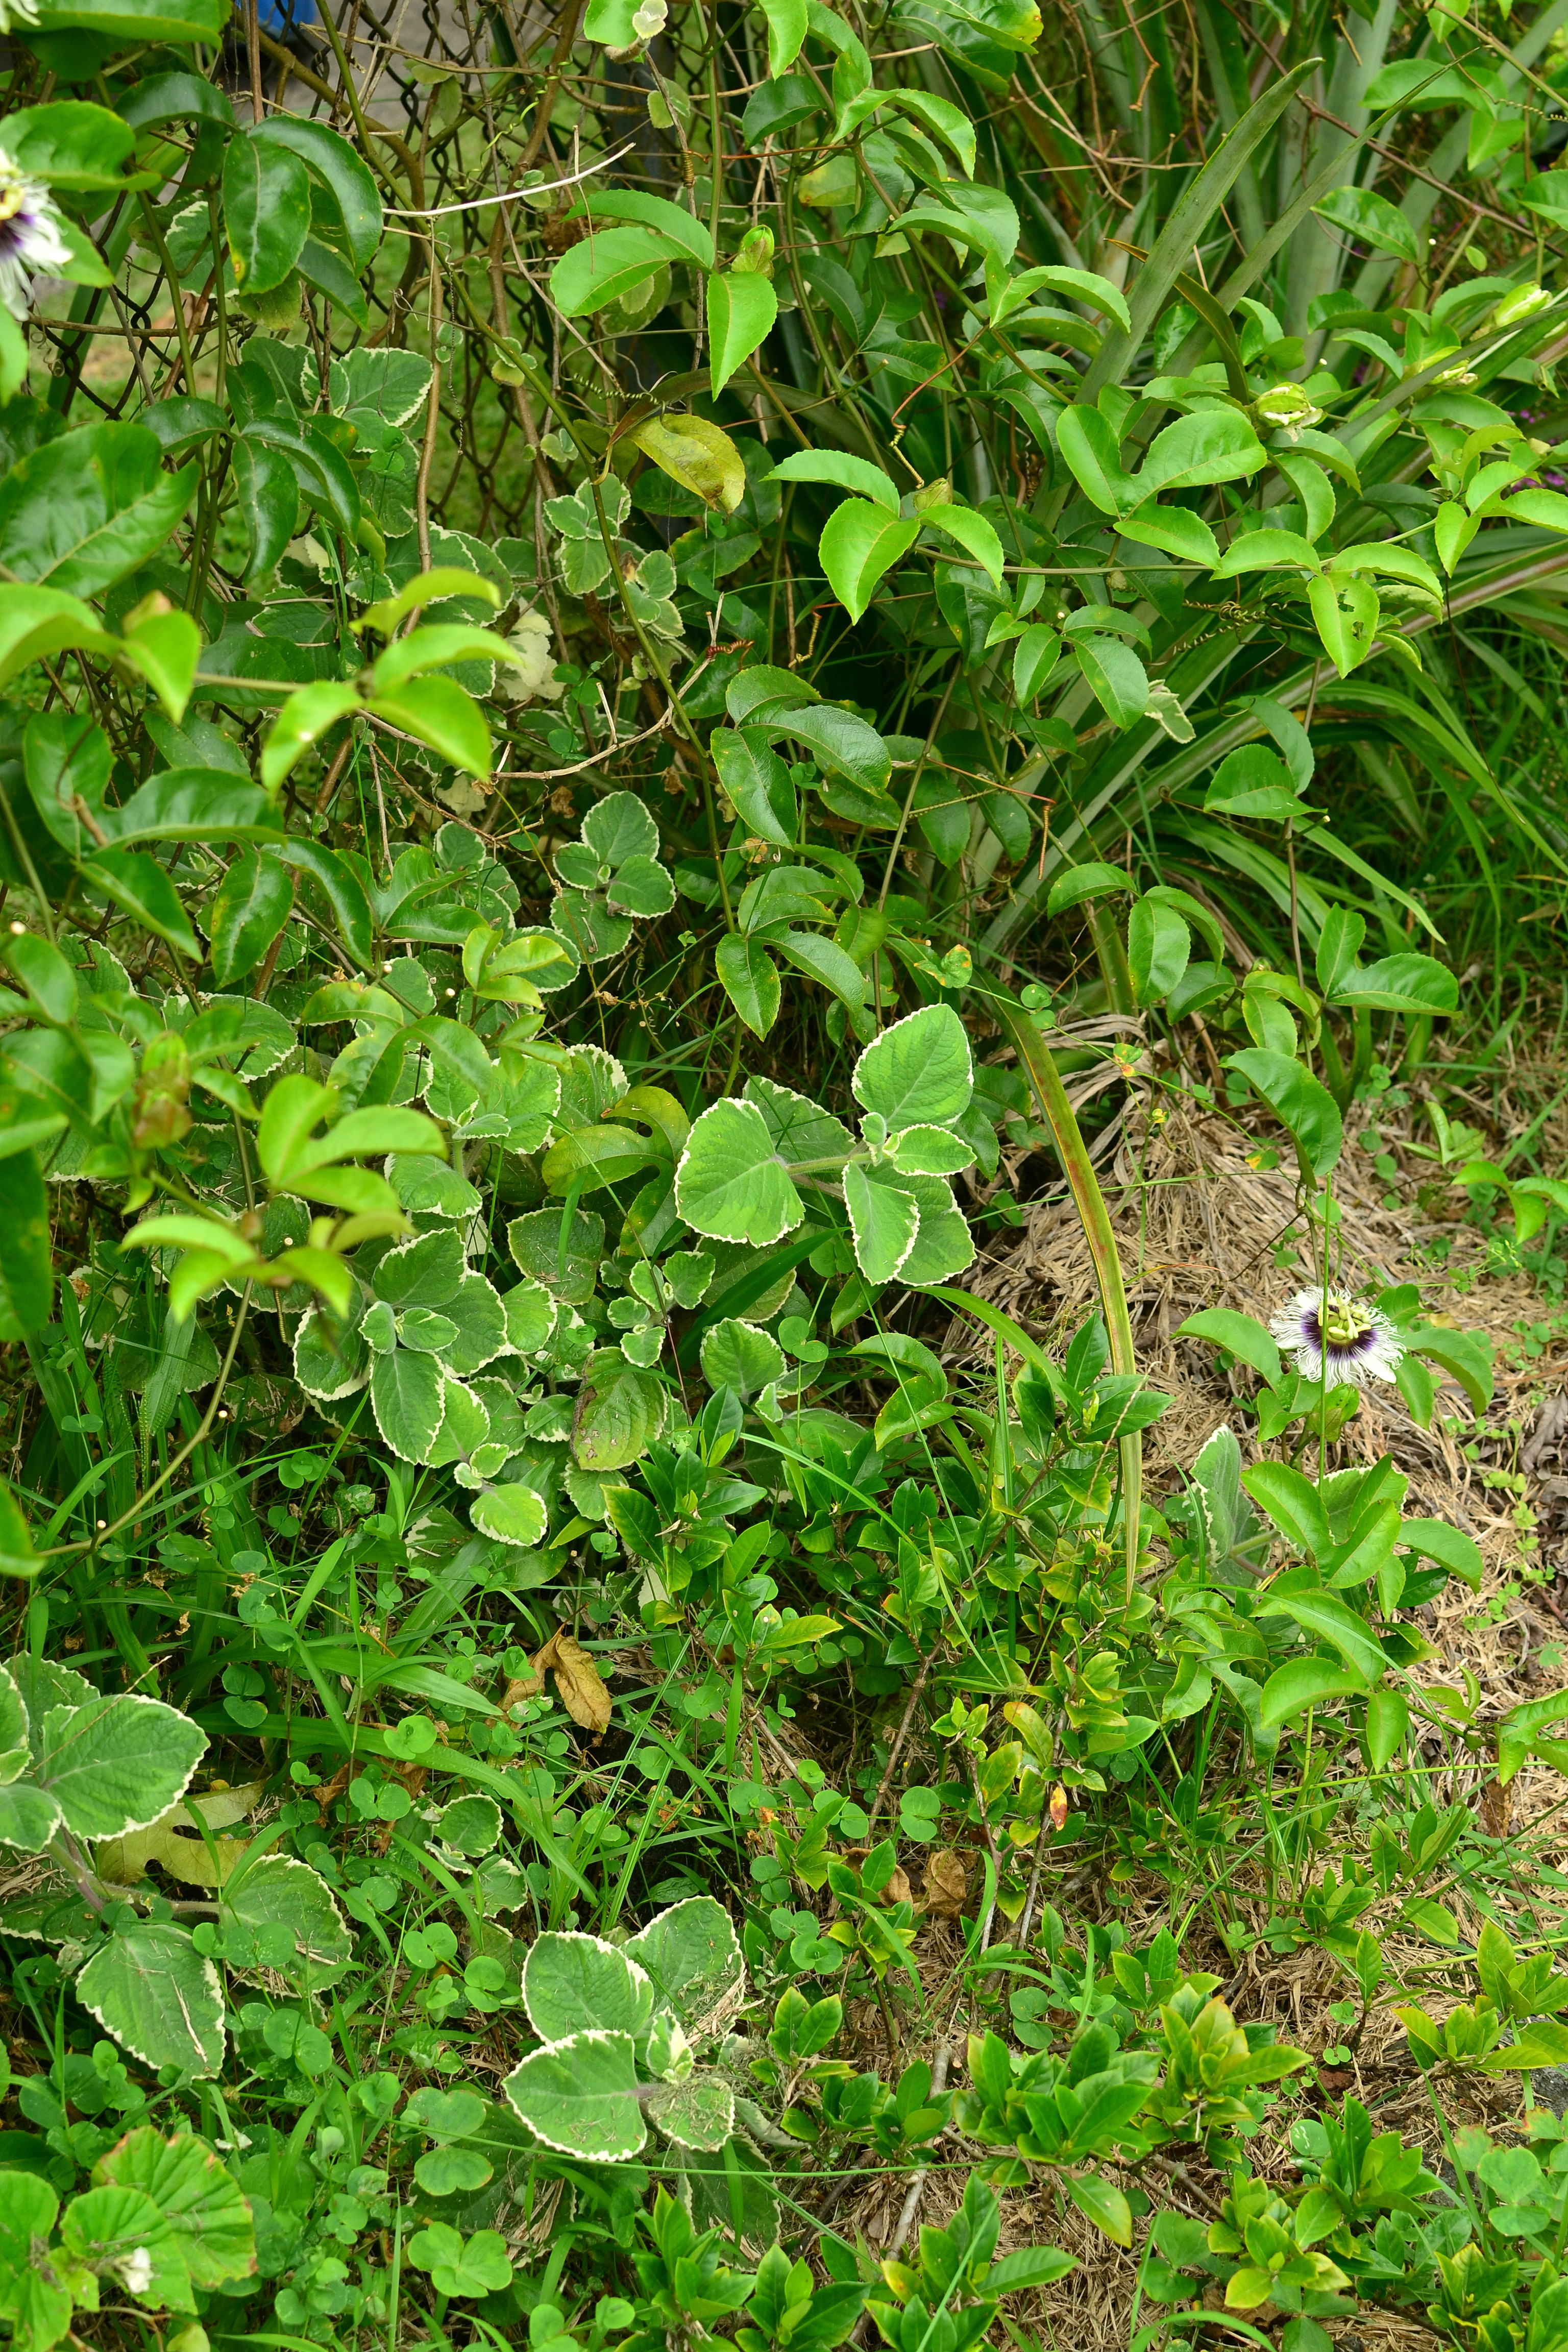
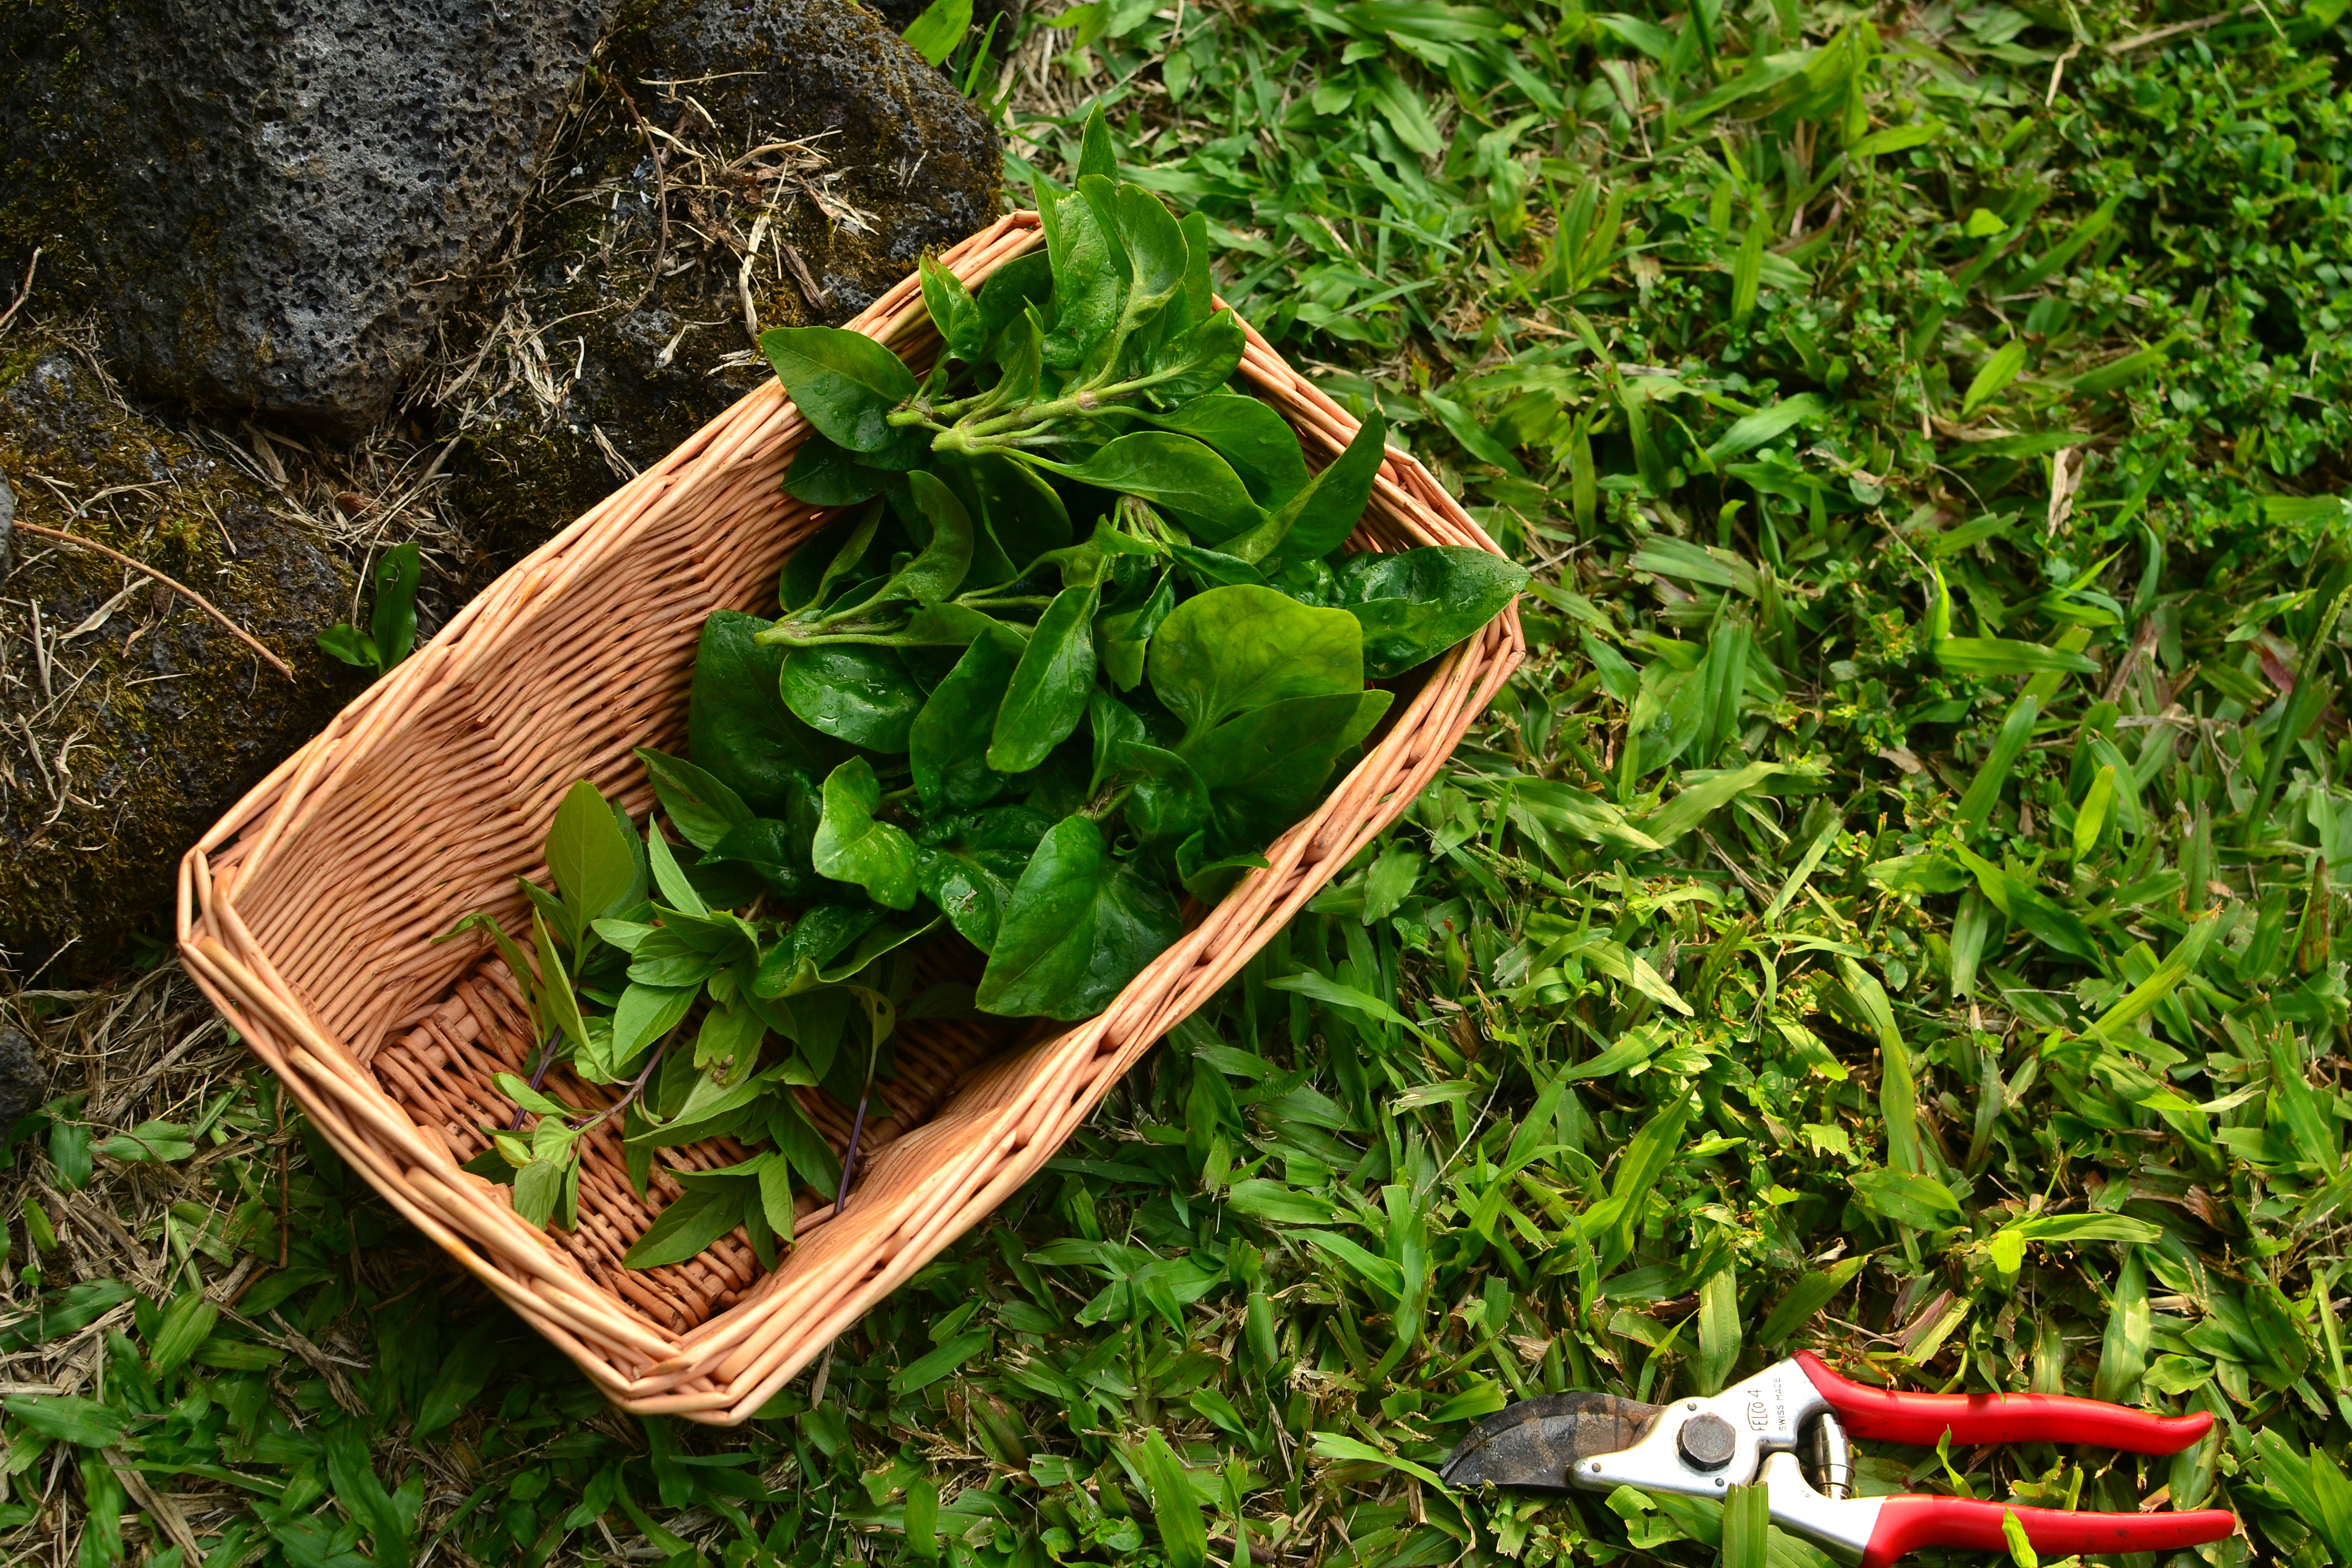
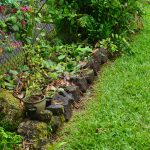
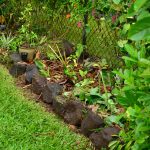
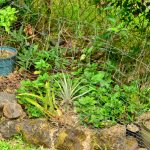
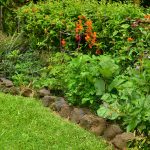
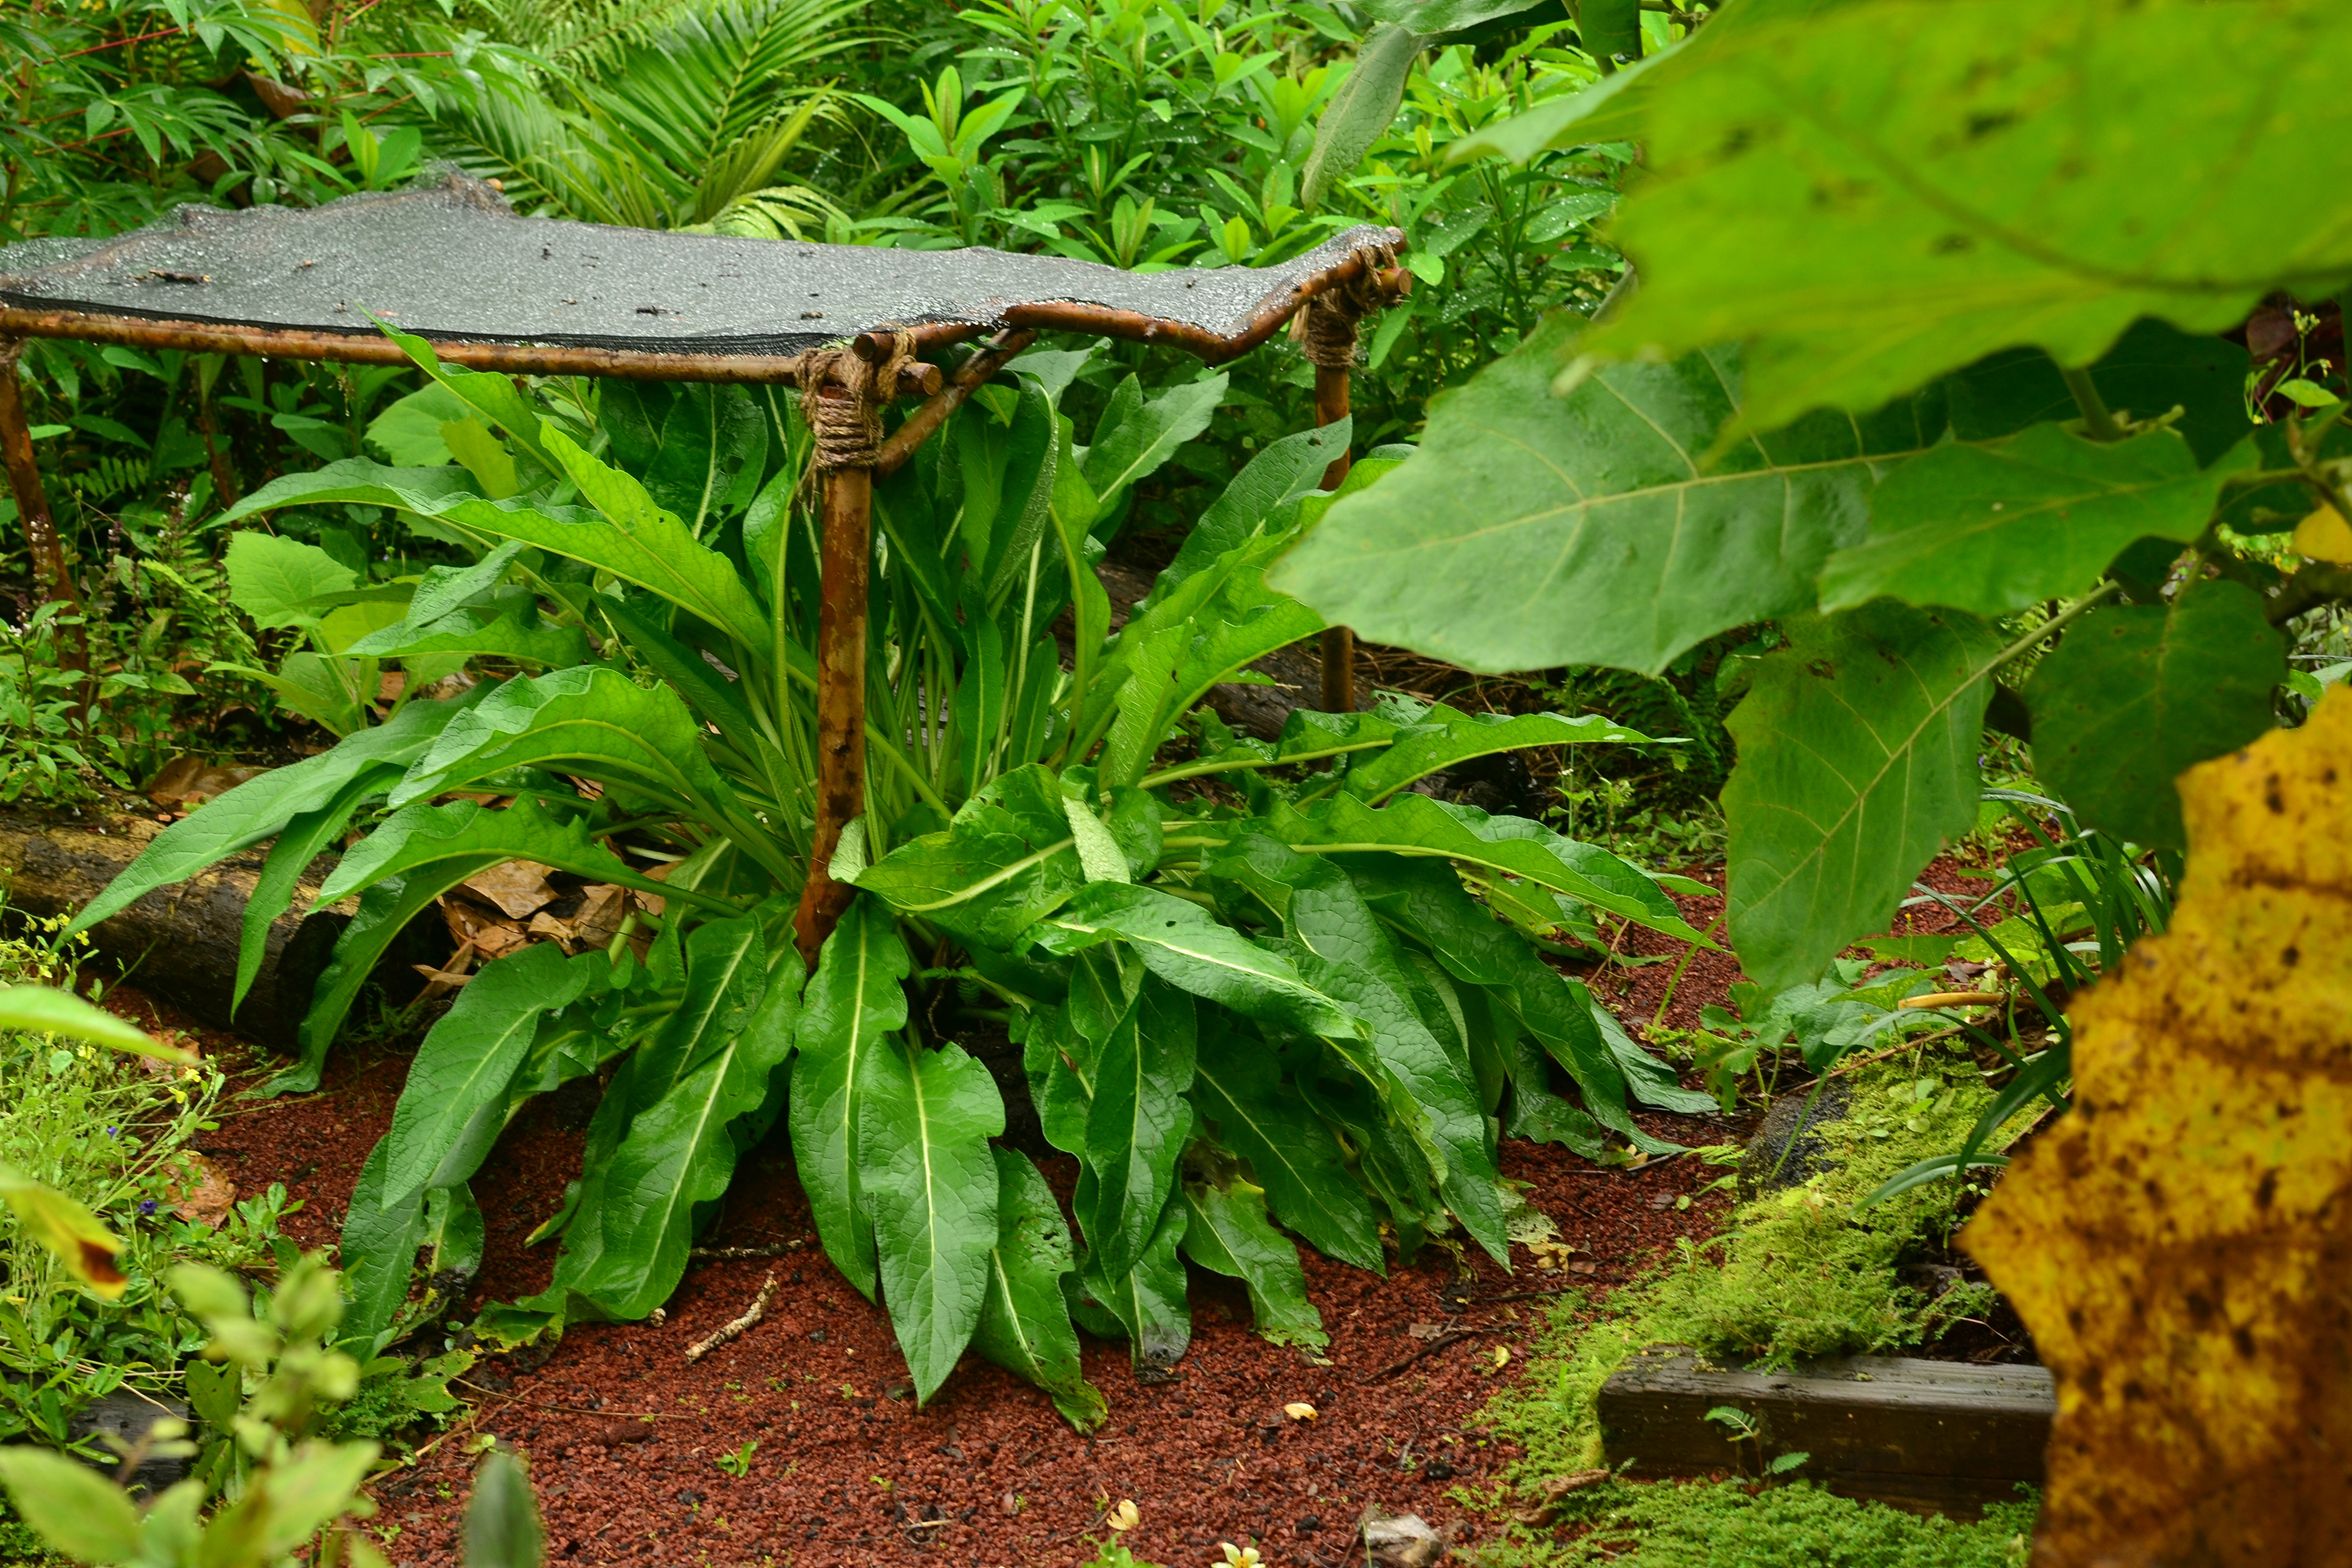
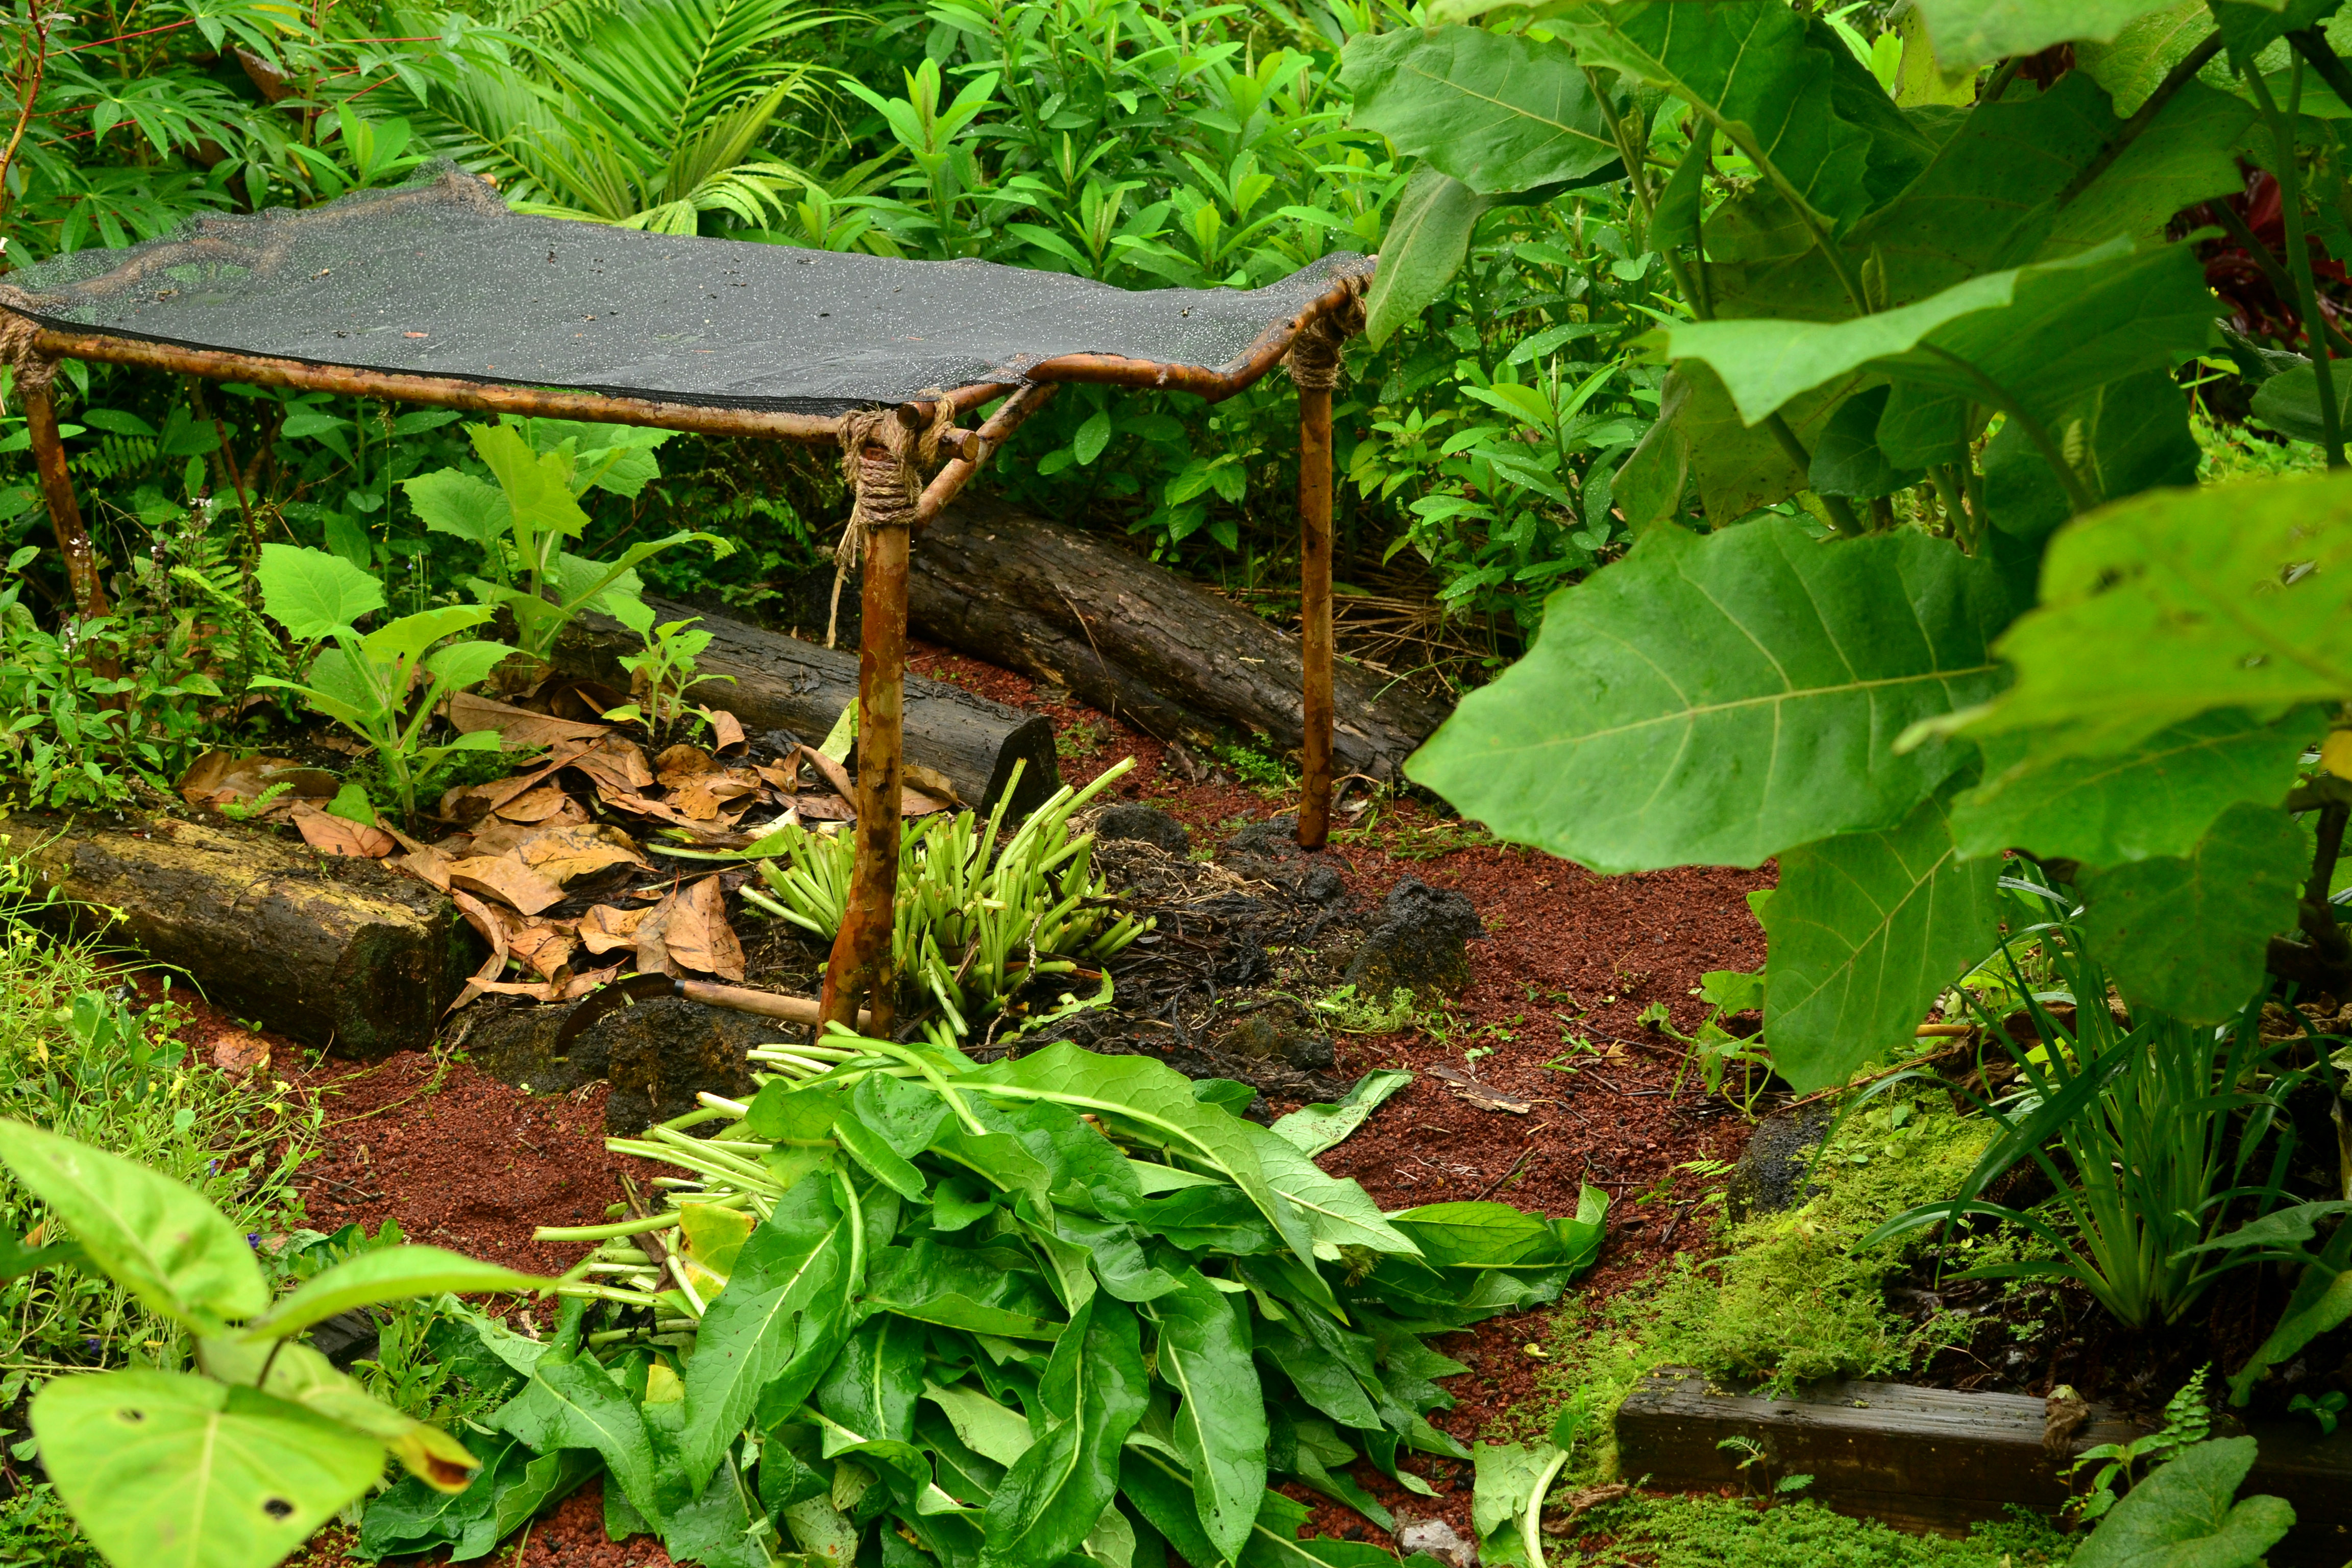
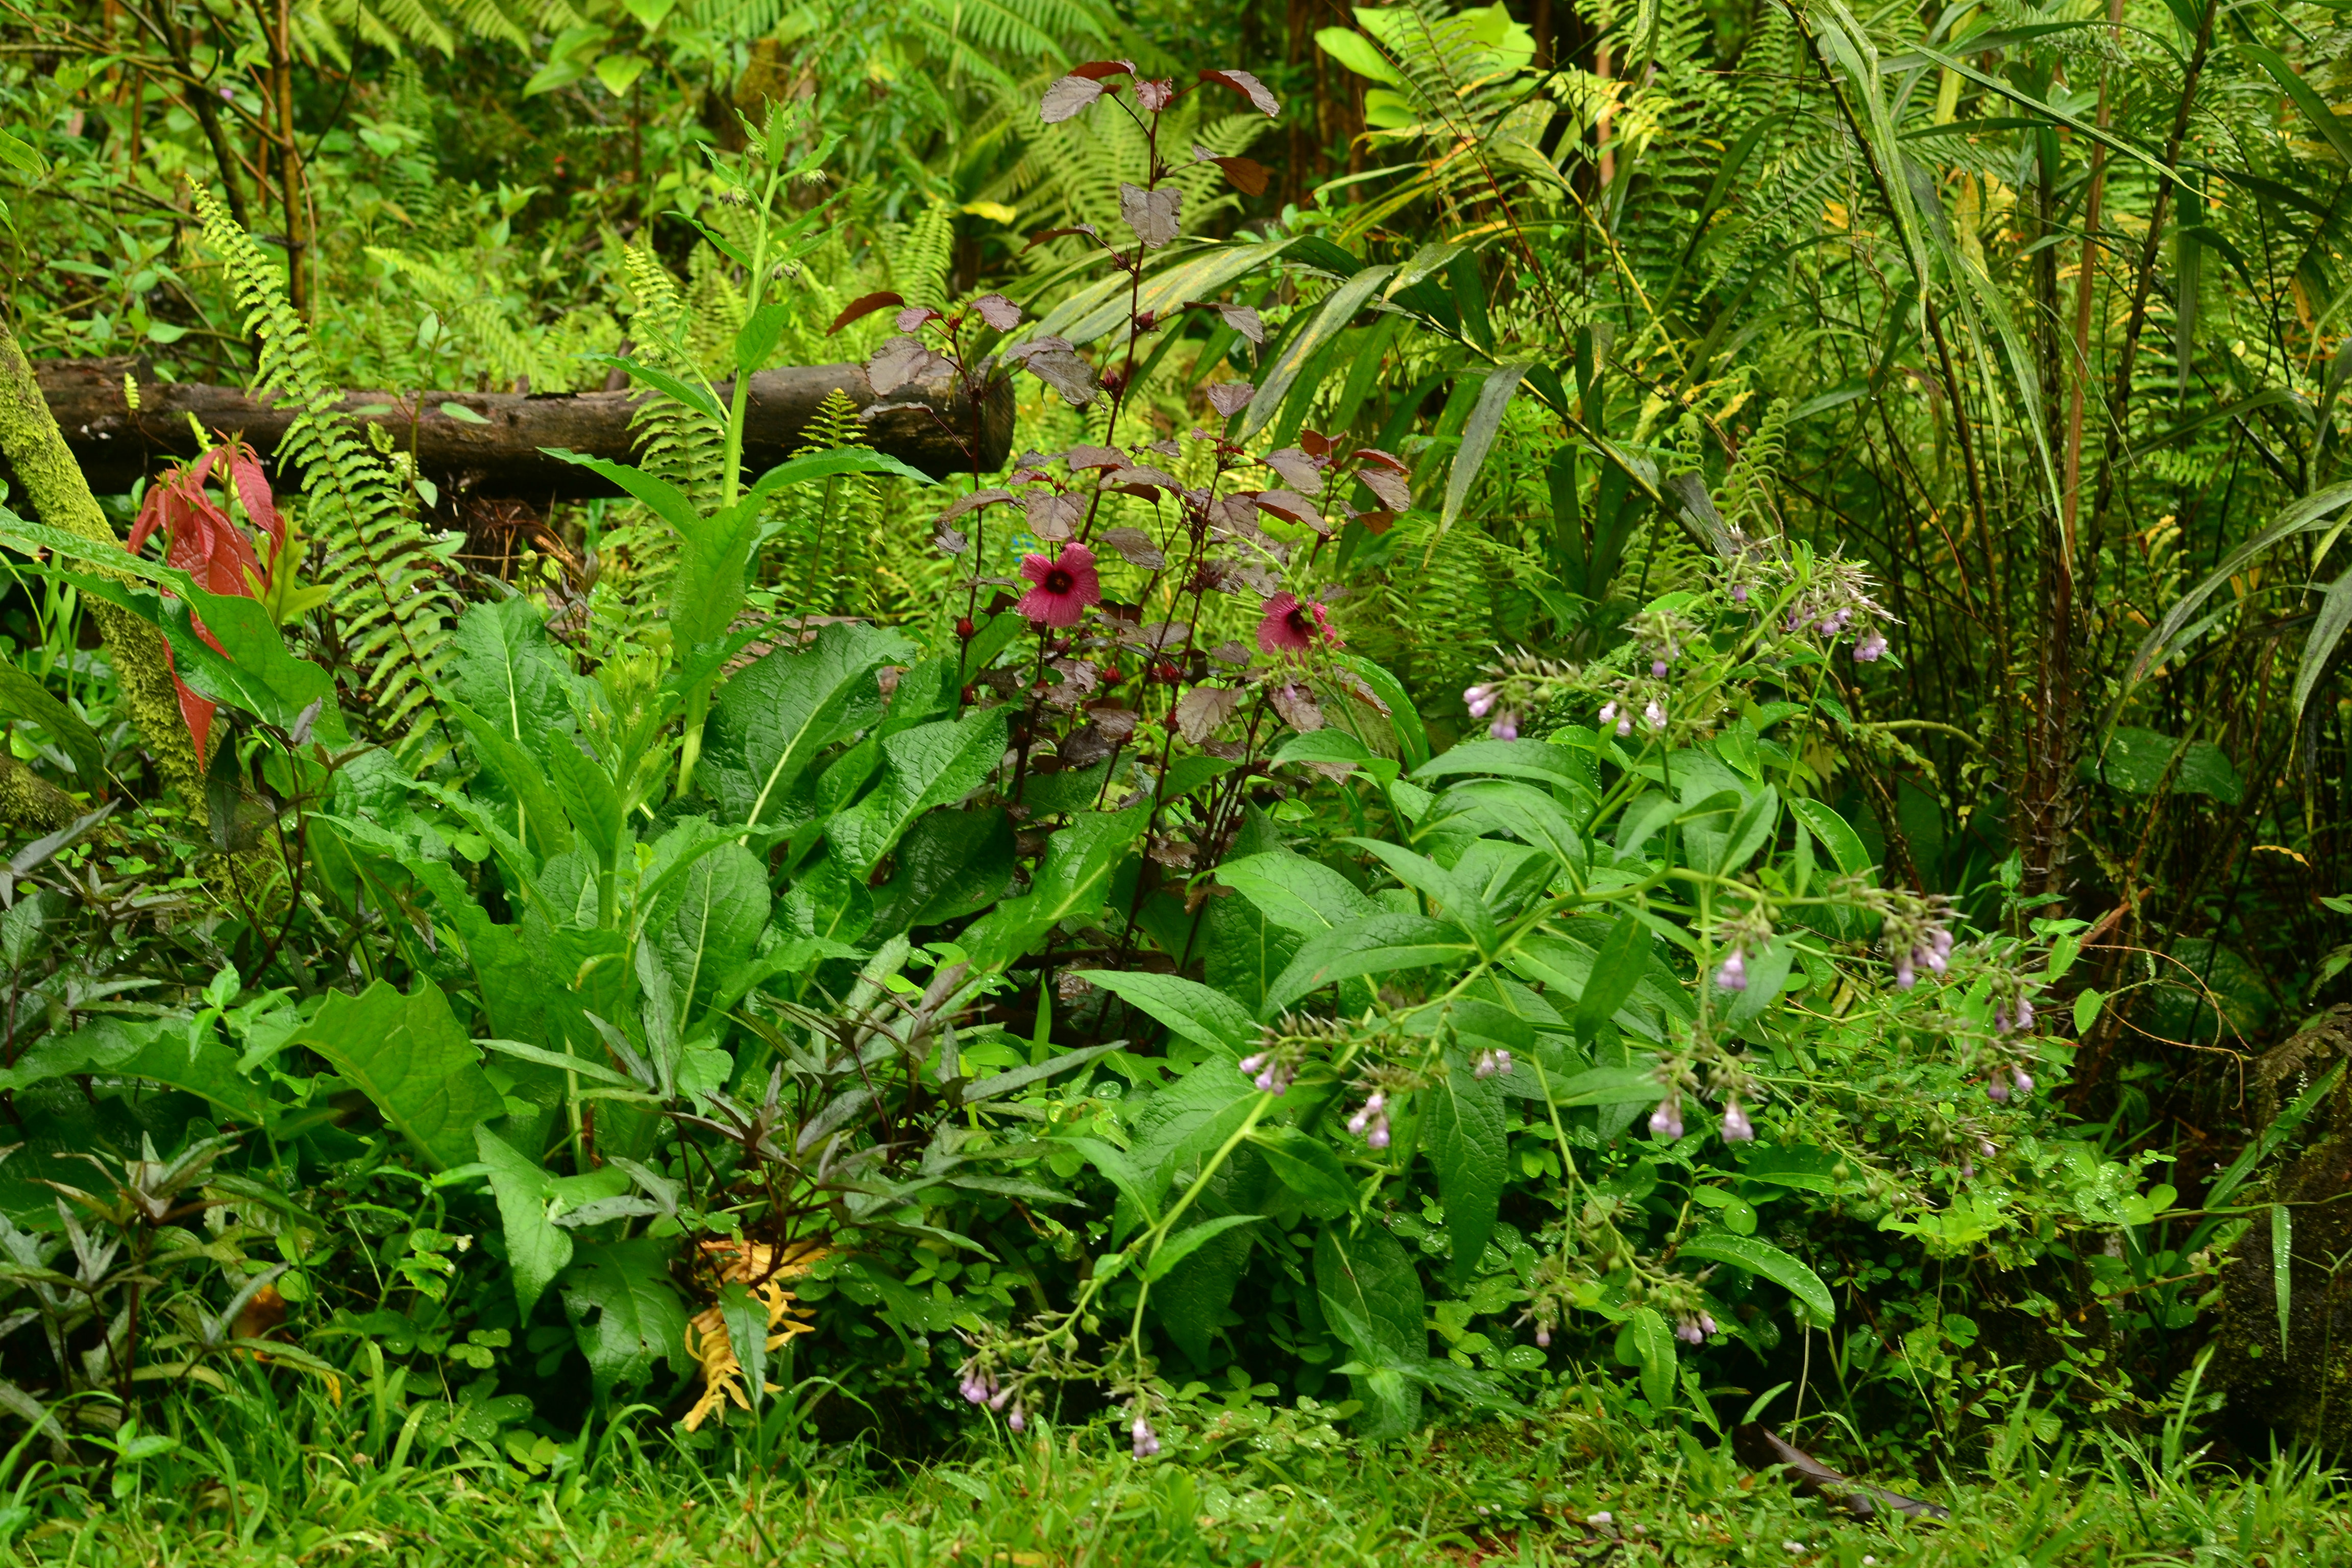
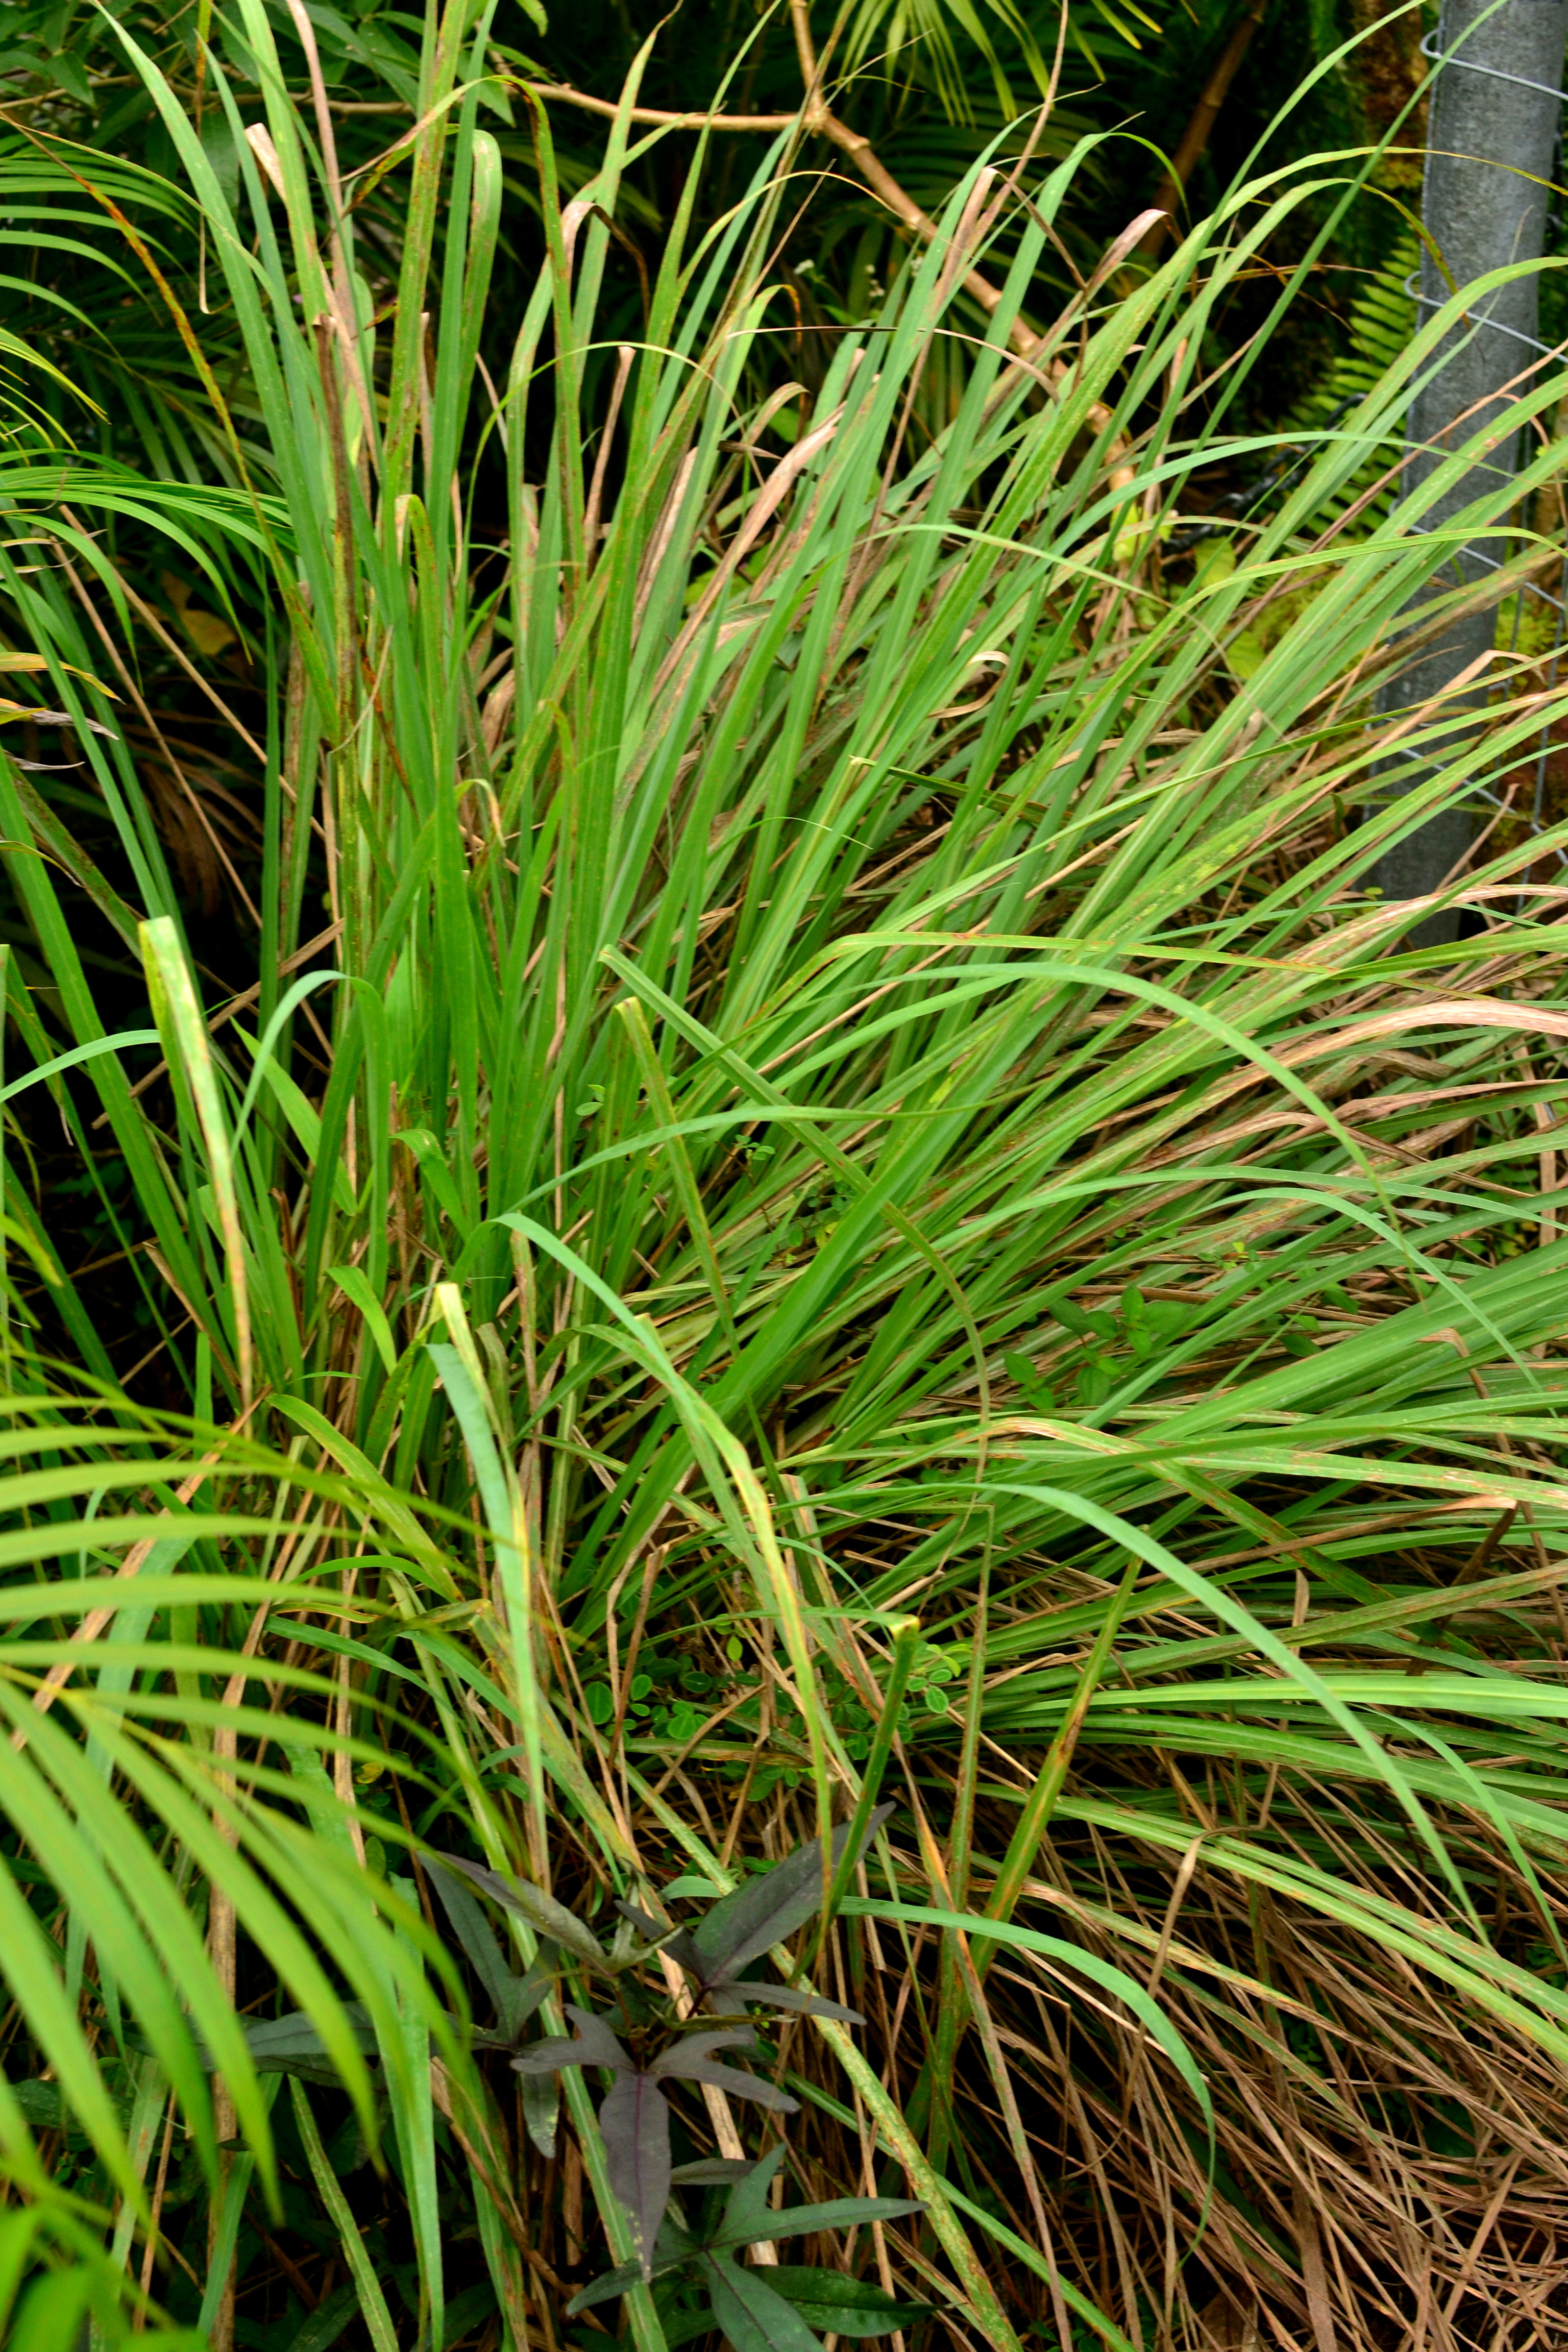
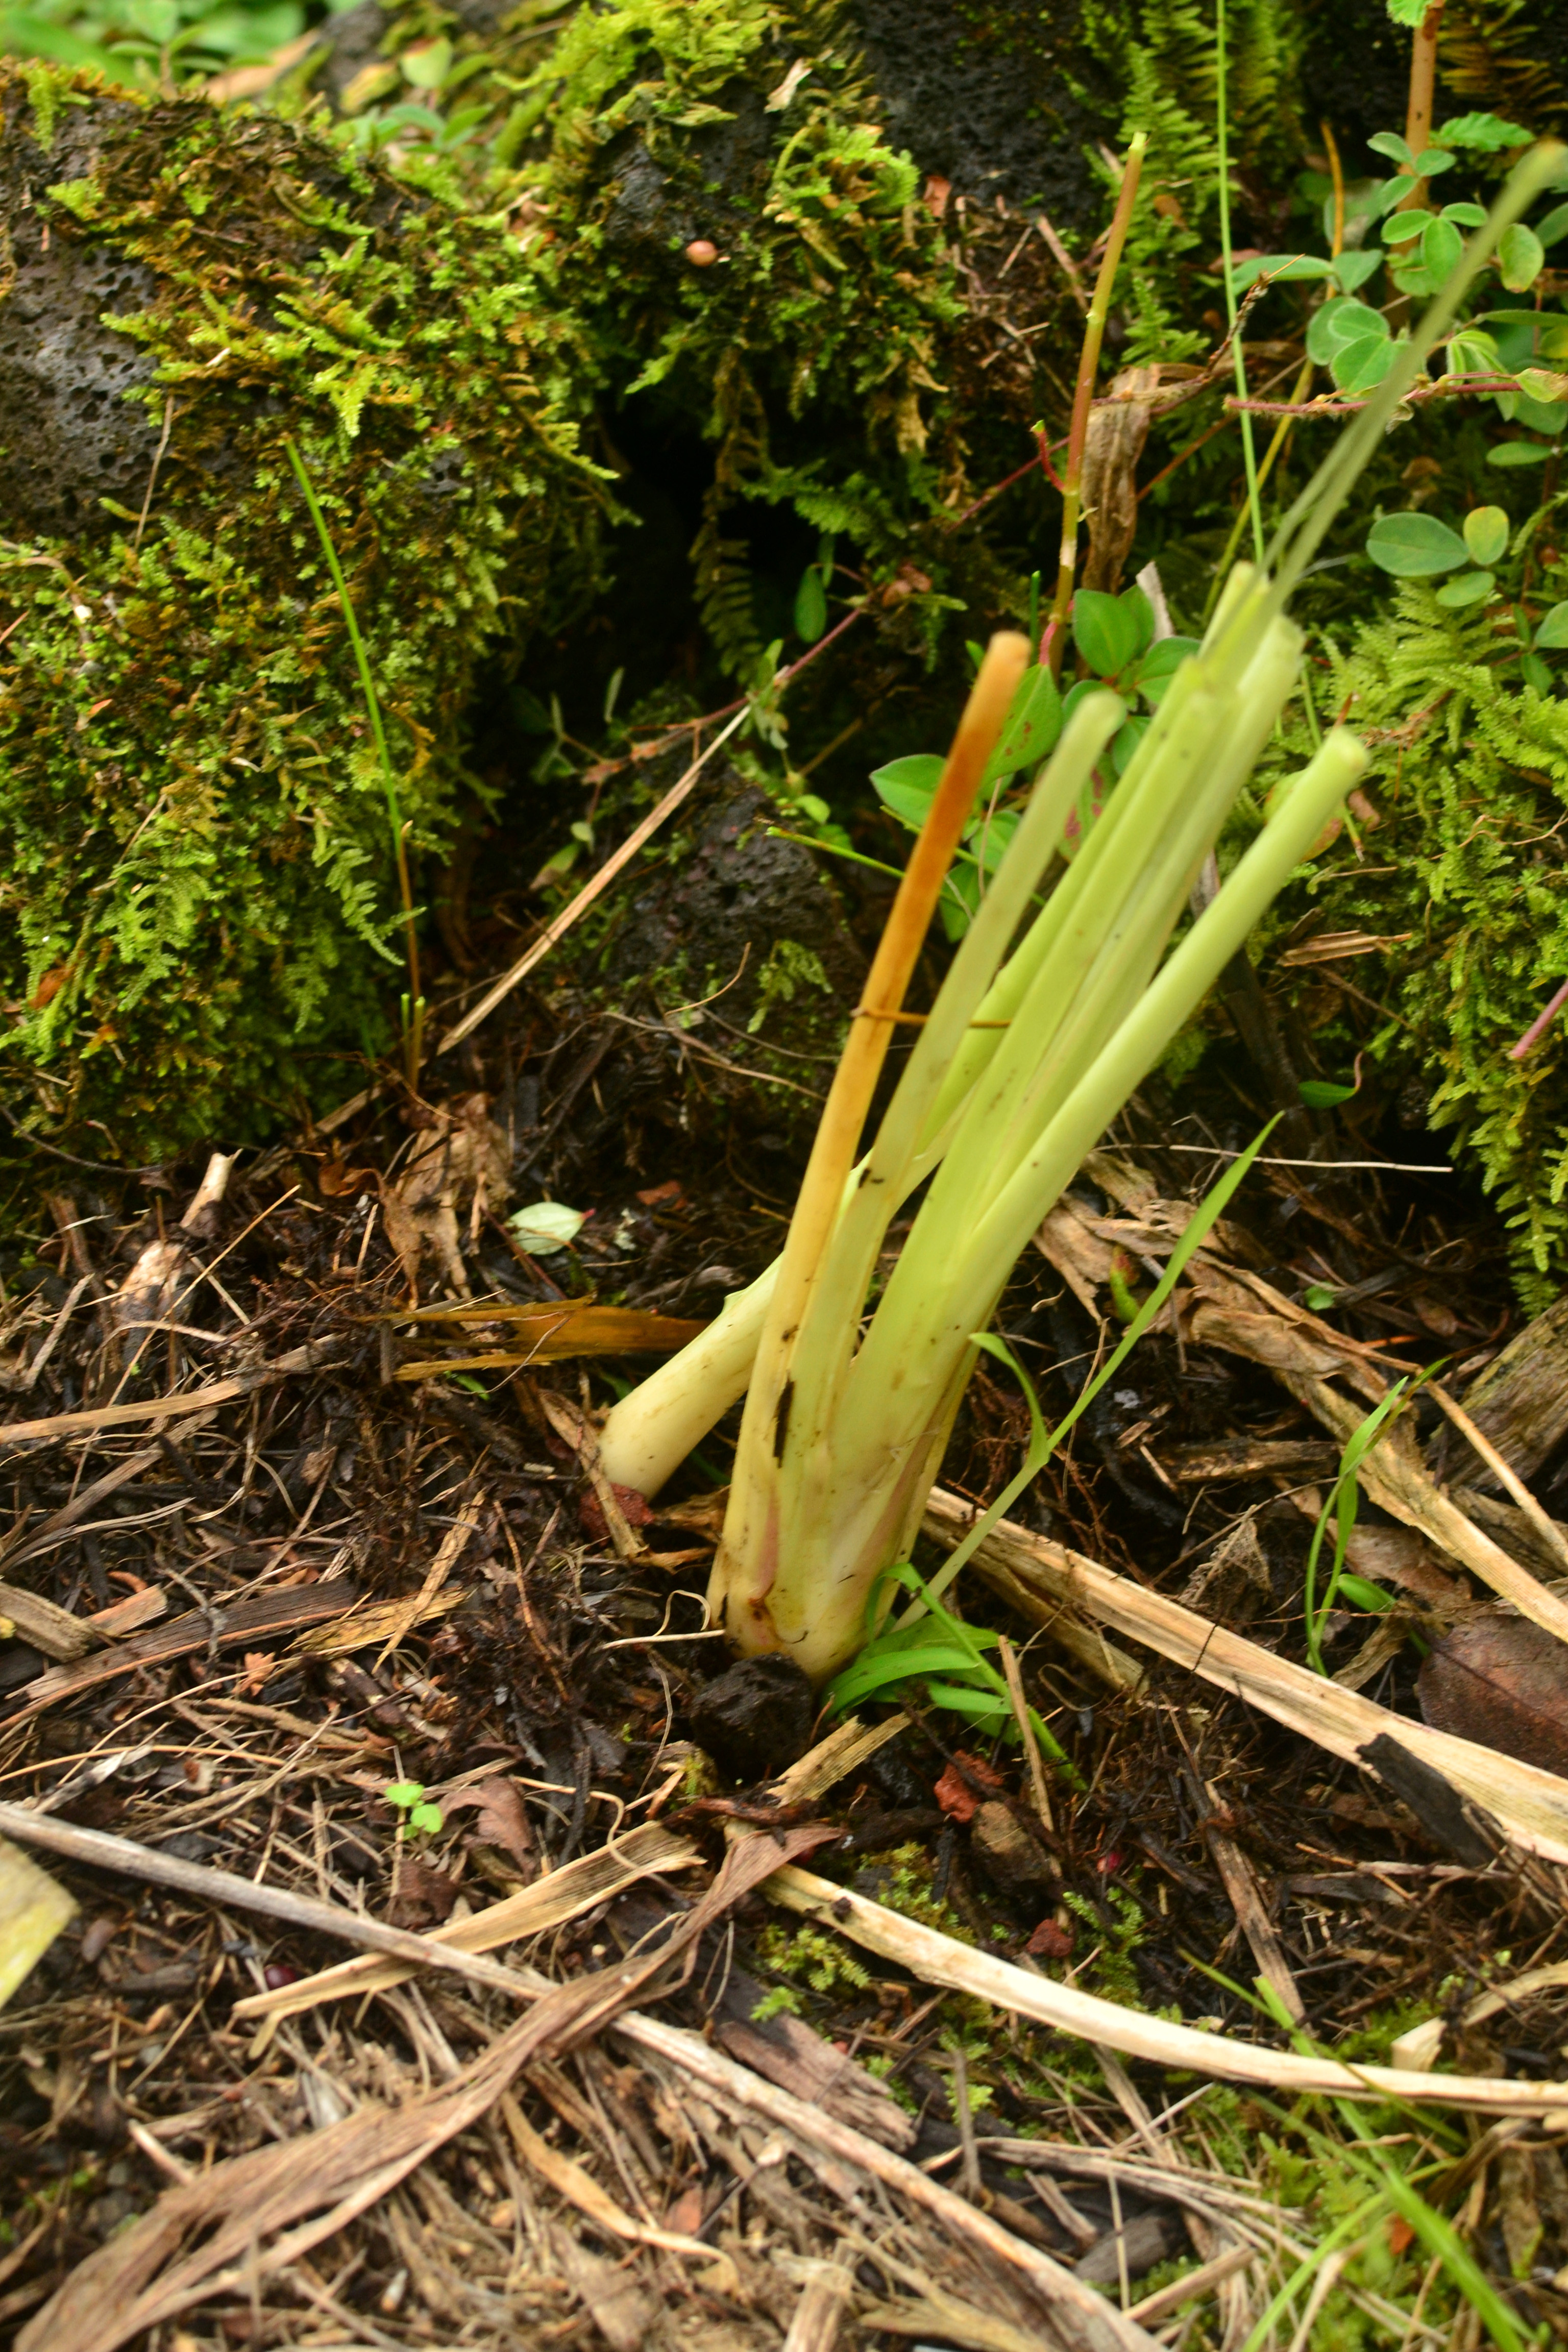
One of my cuttings after a pruning/harvest and mulching. Growing with banana, mulberry, sugarcane, ti, and sweet potato.

DSC_0315

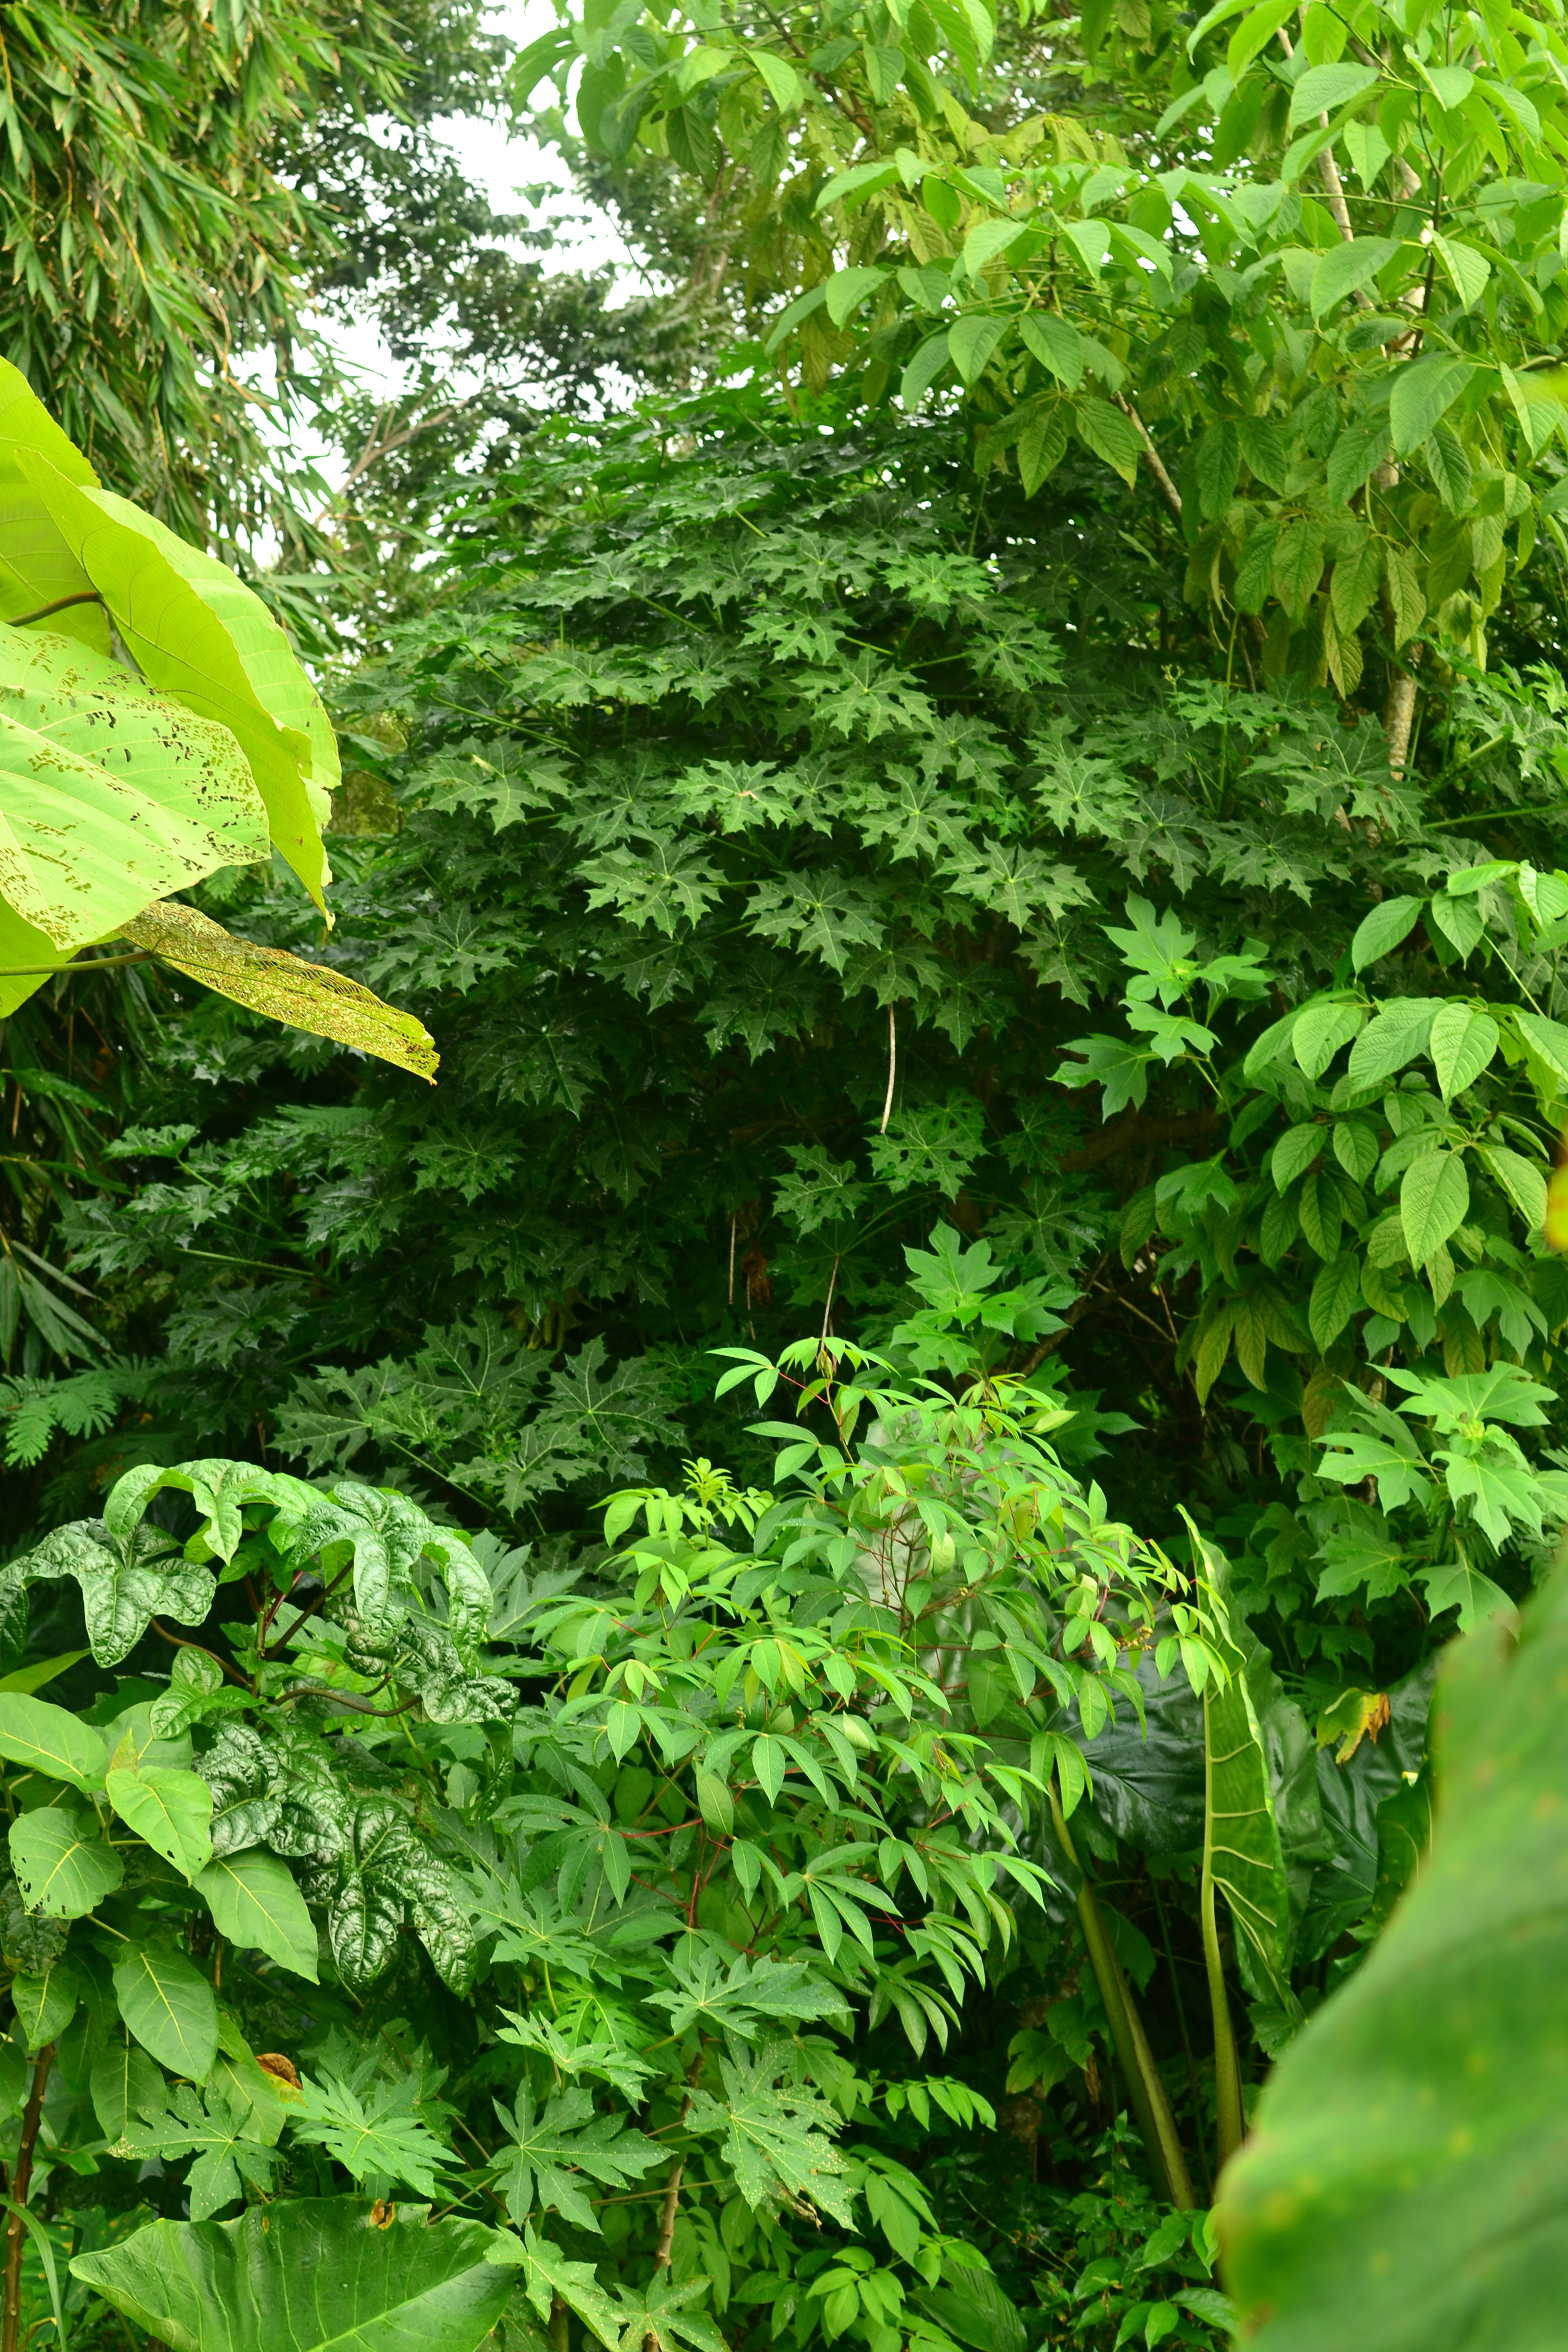
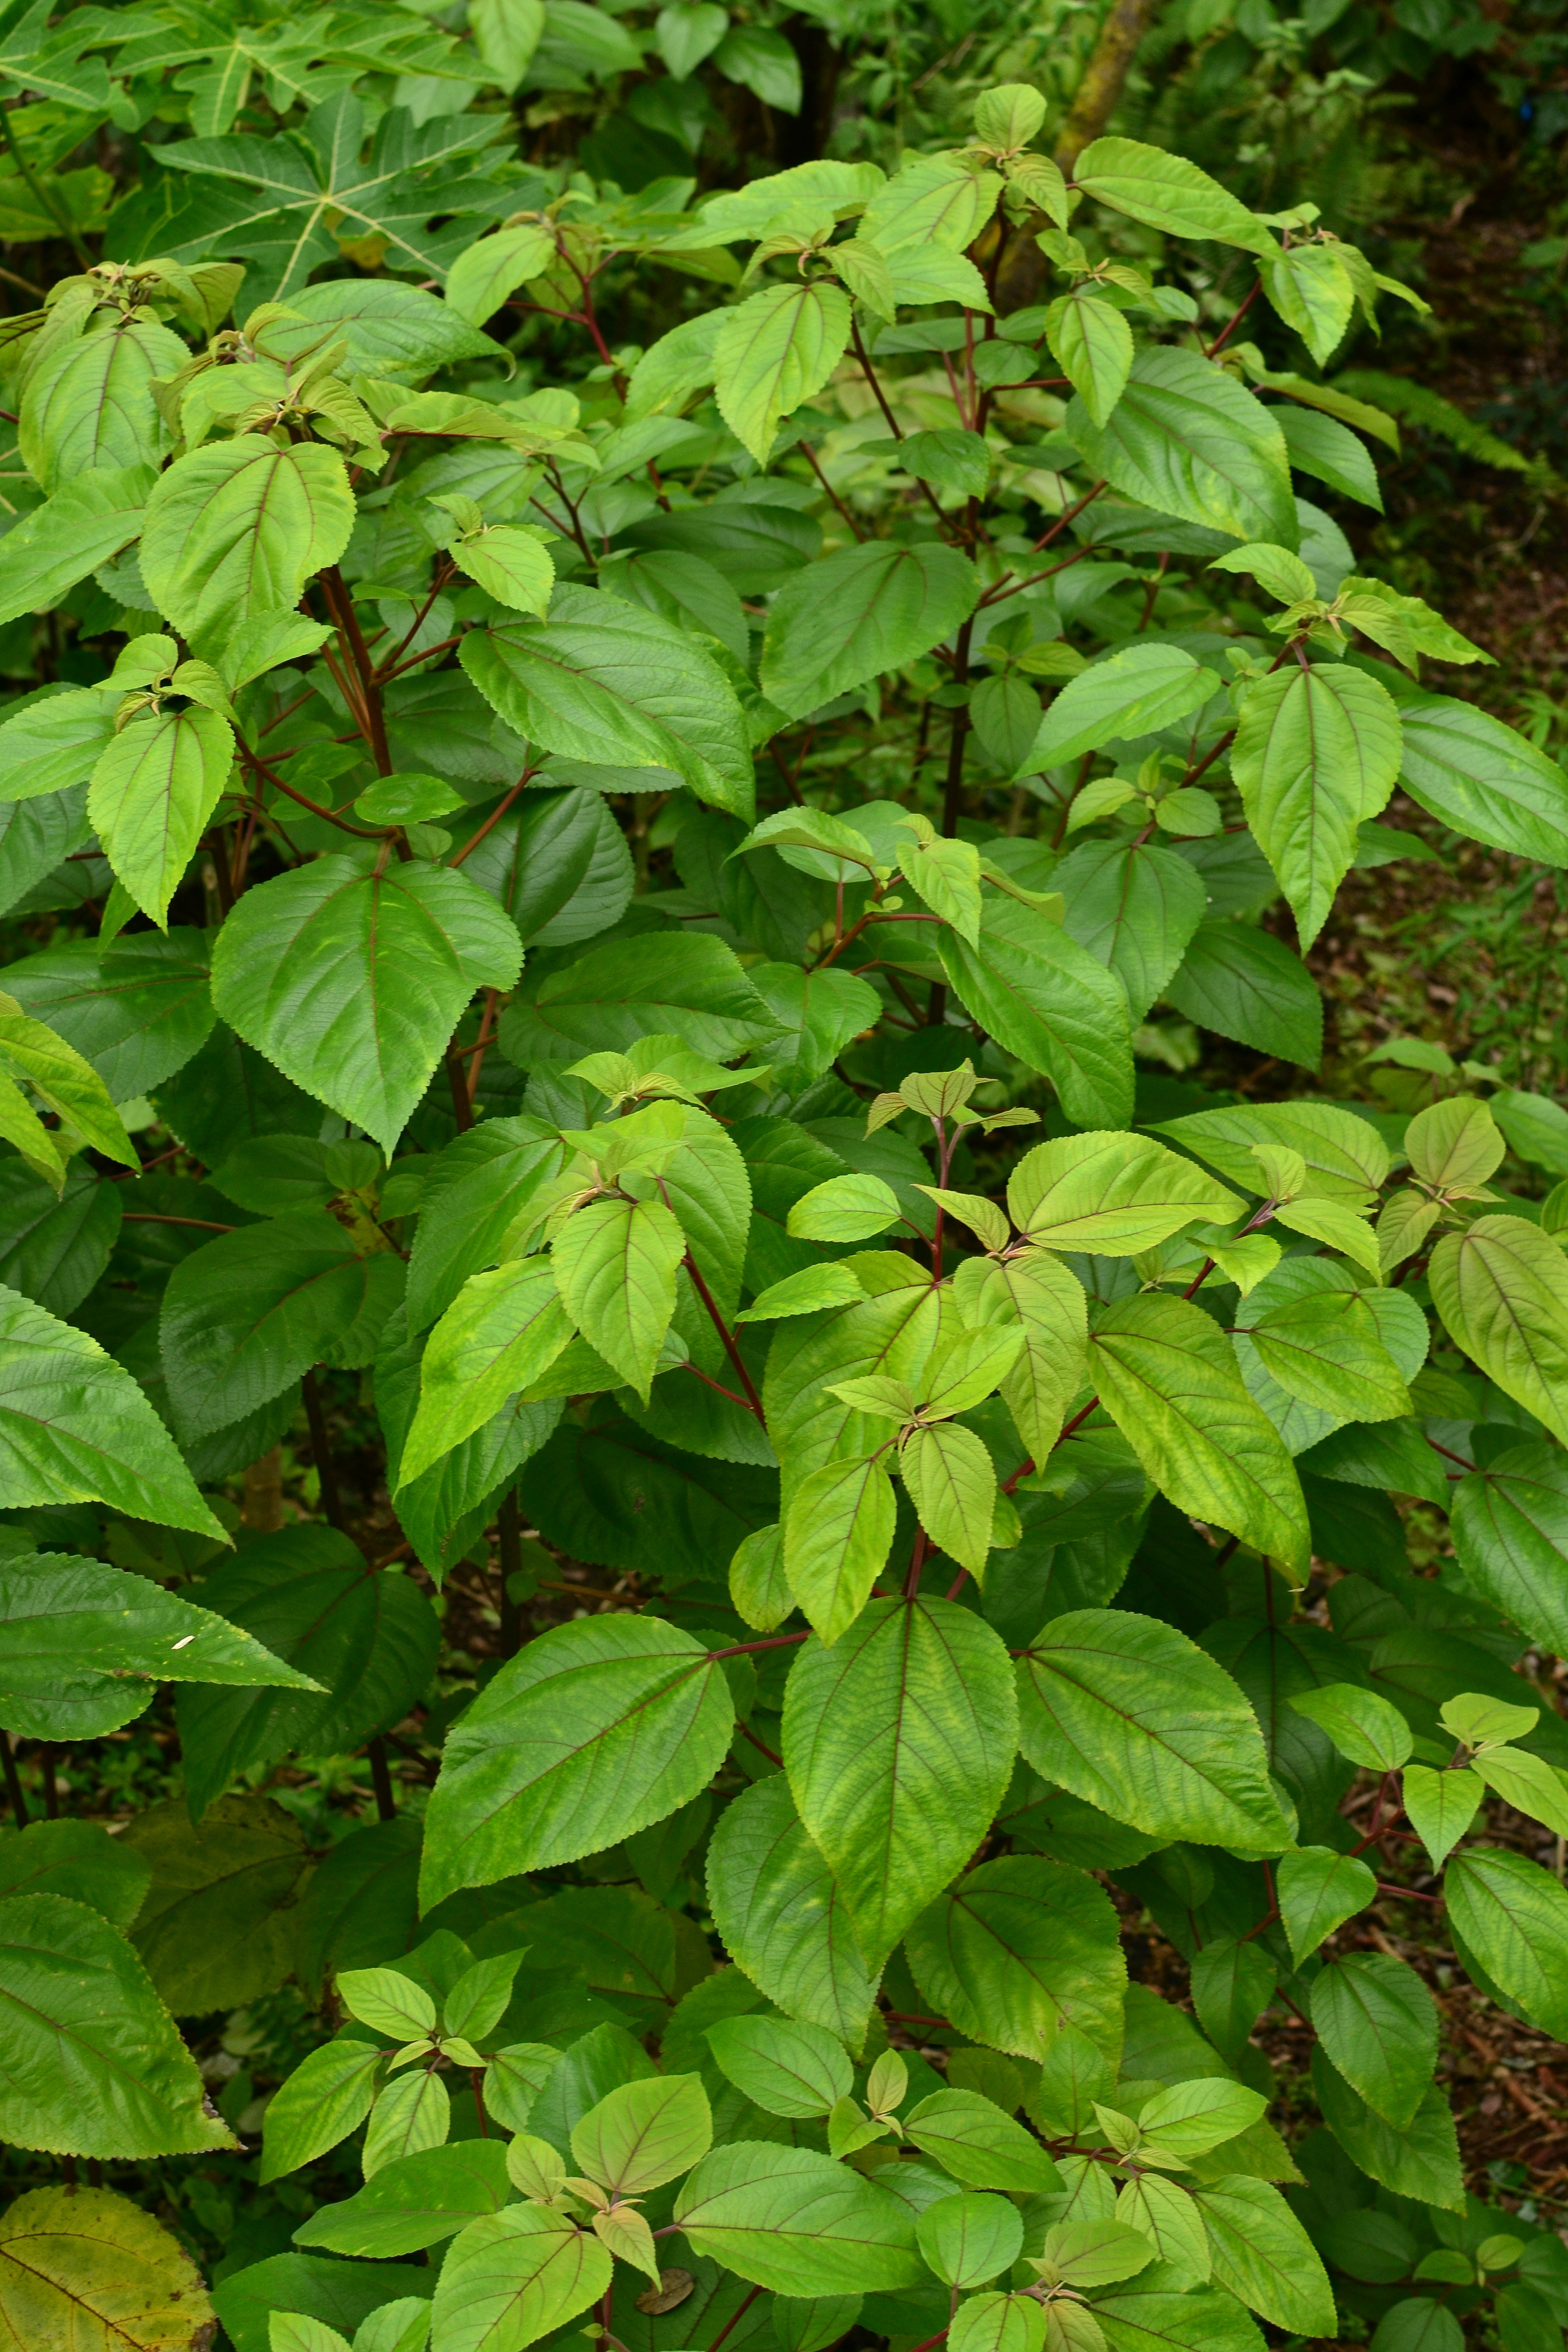
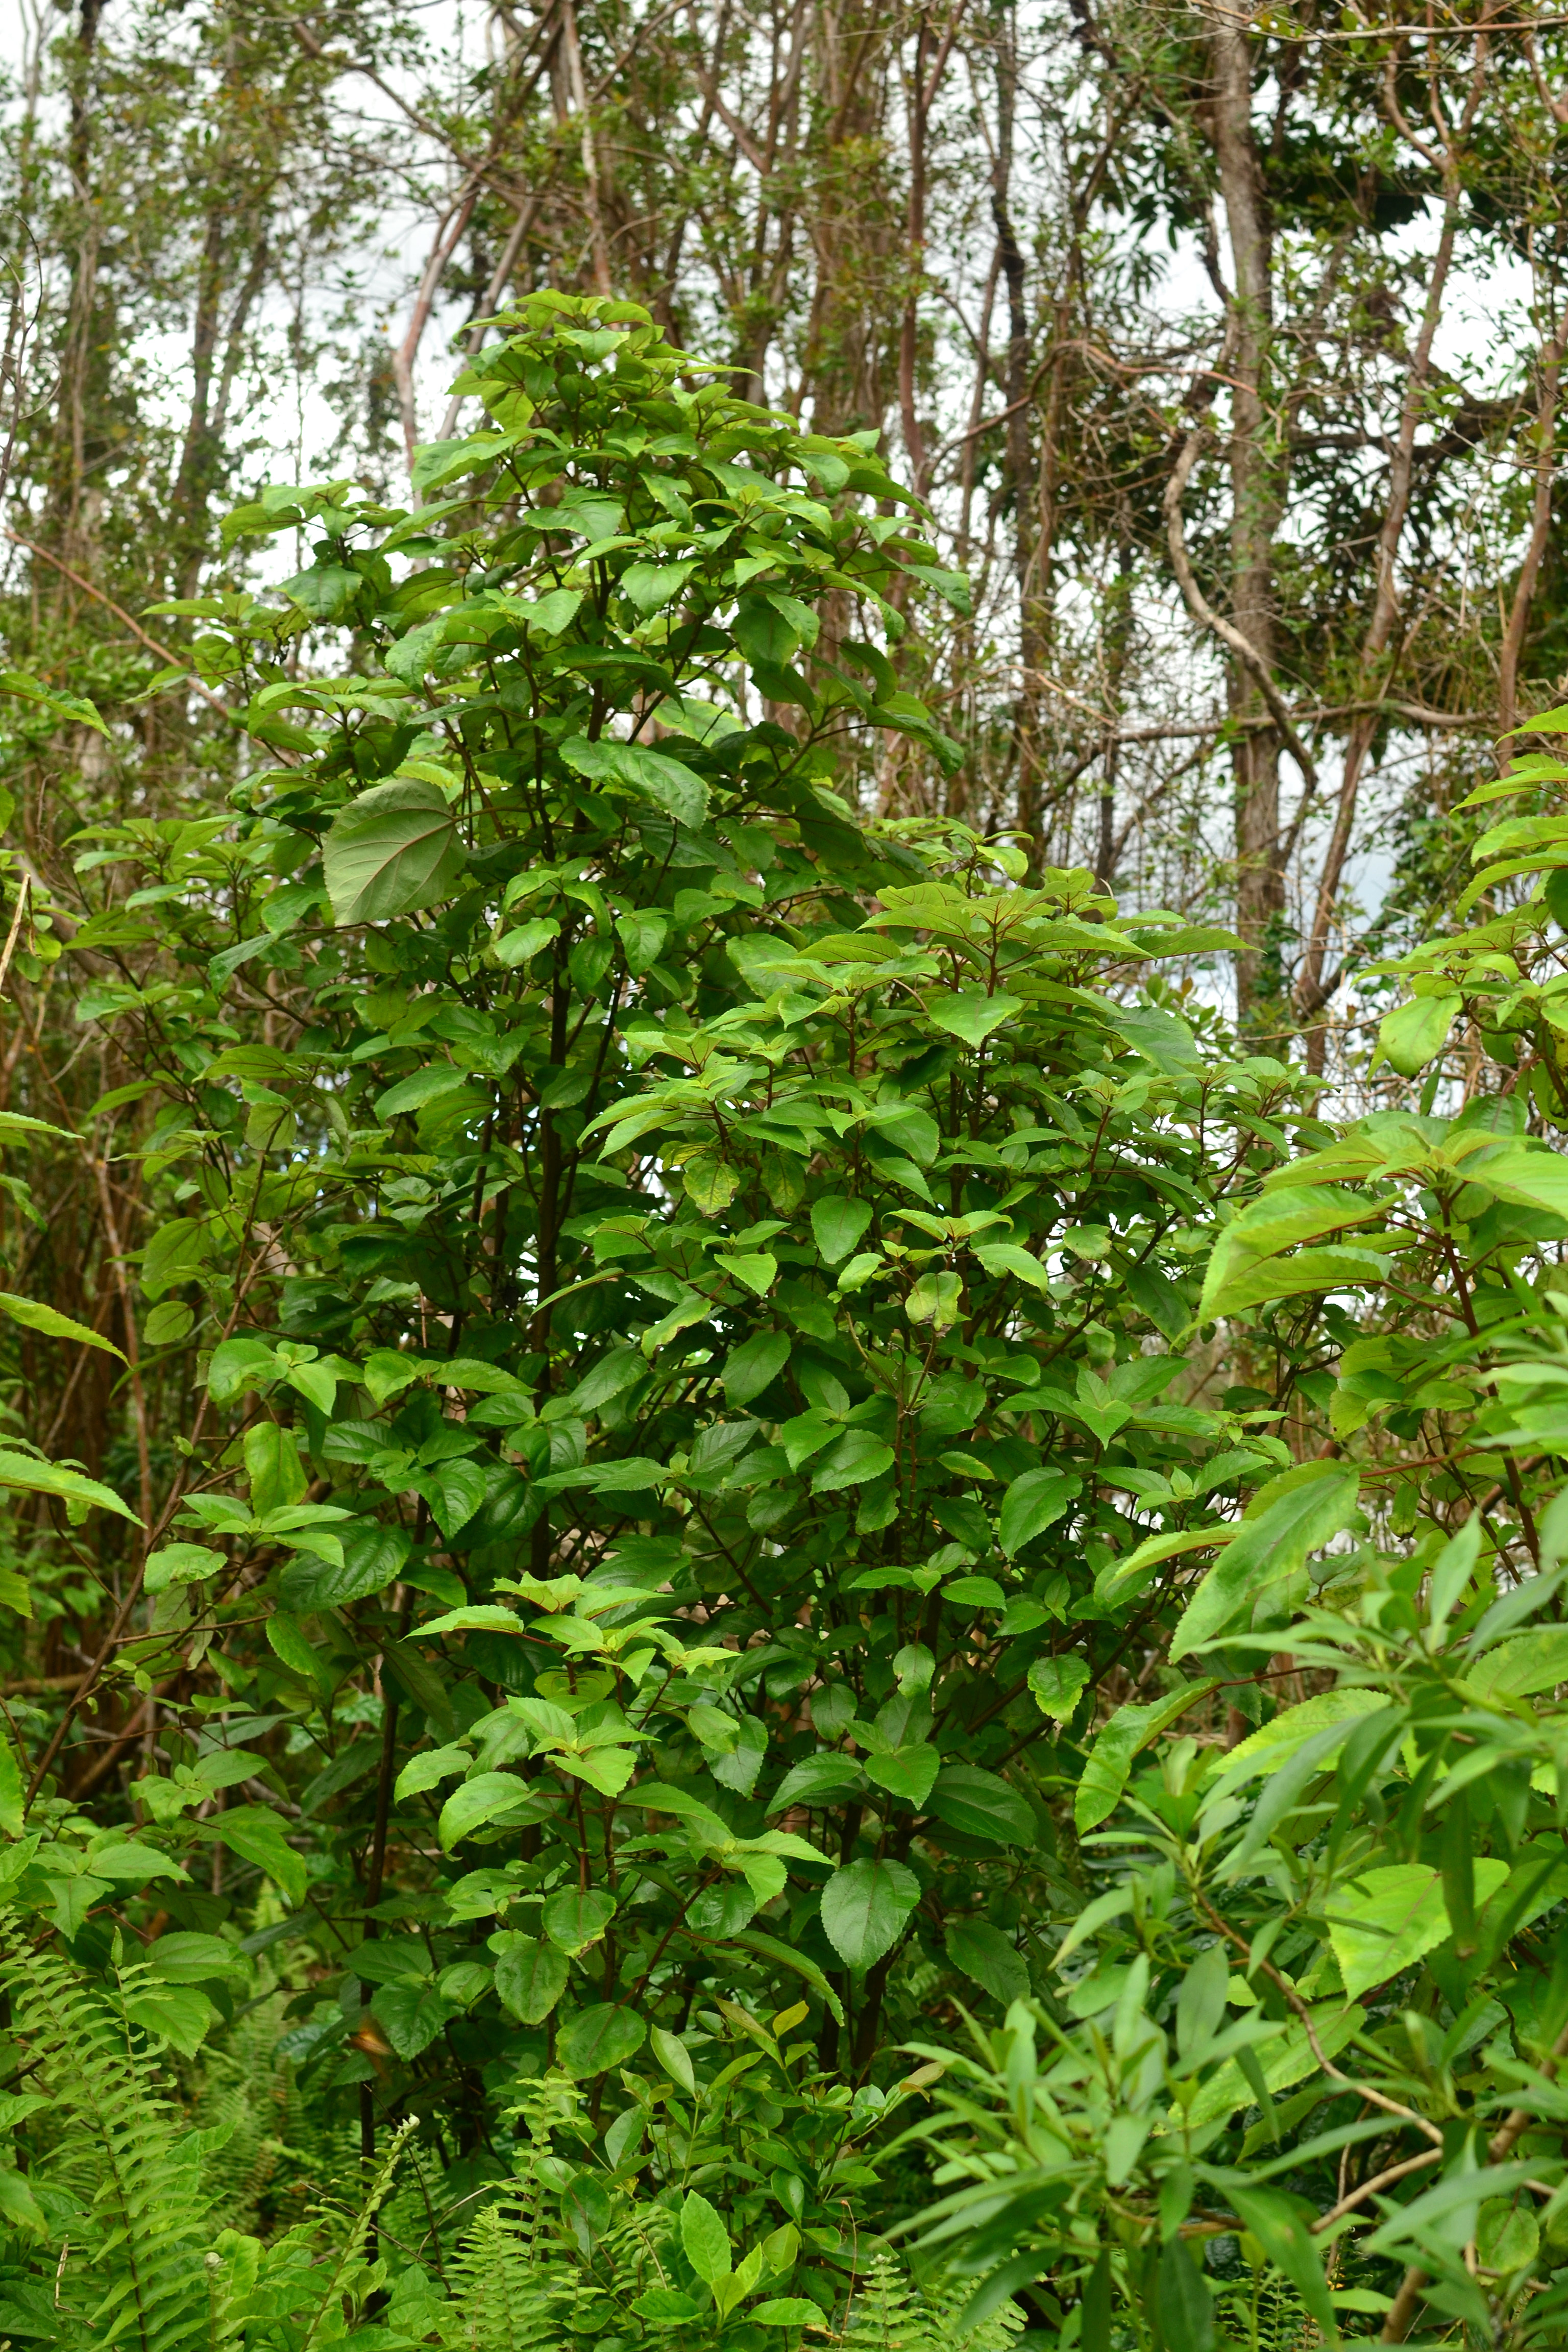
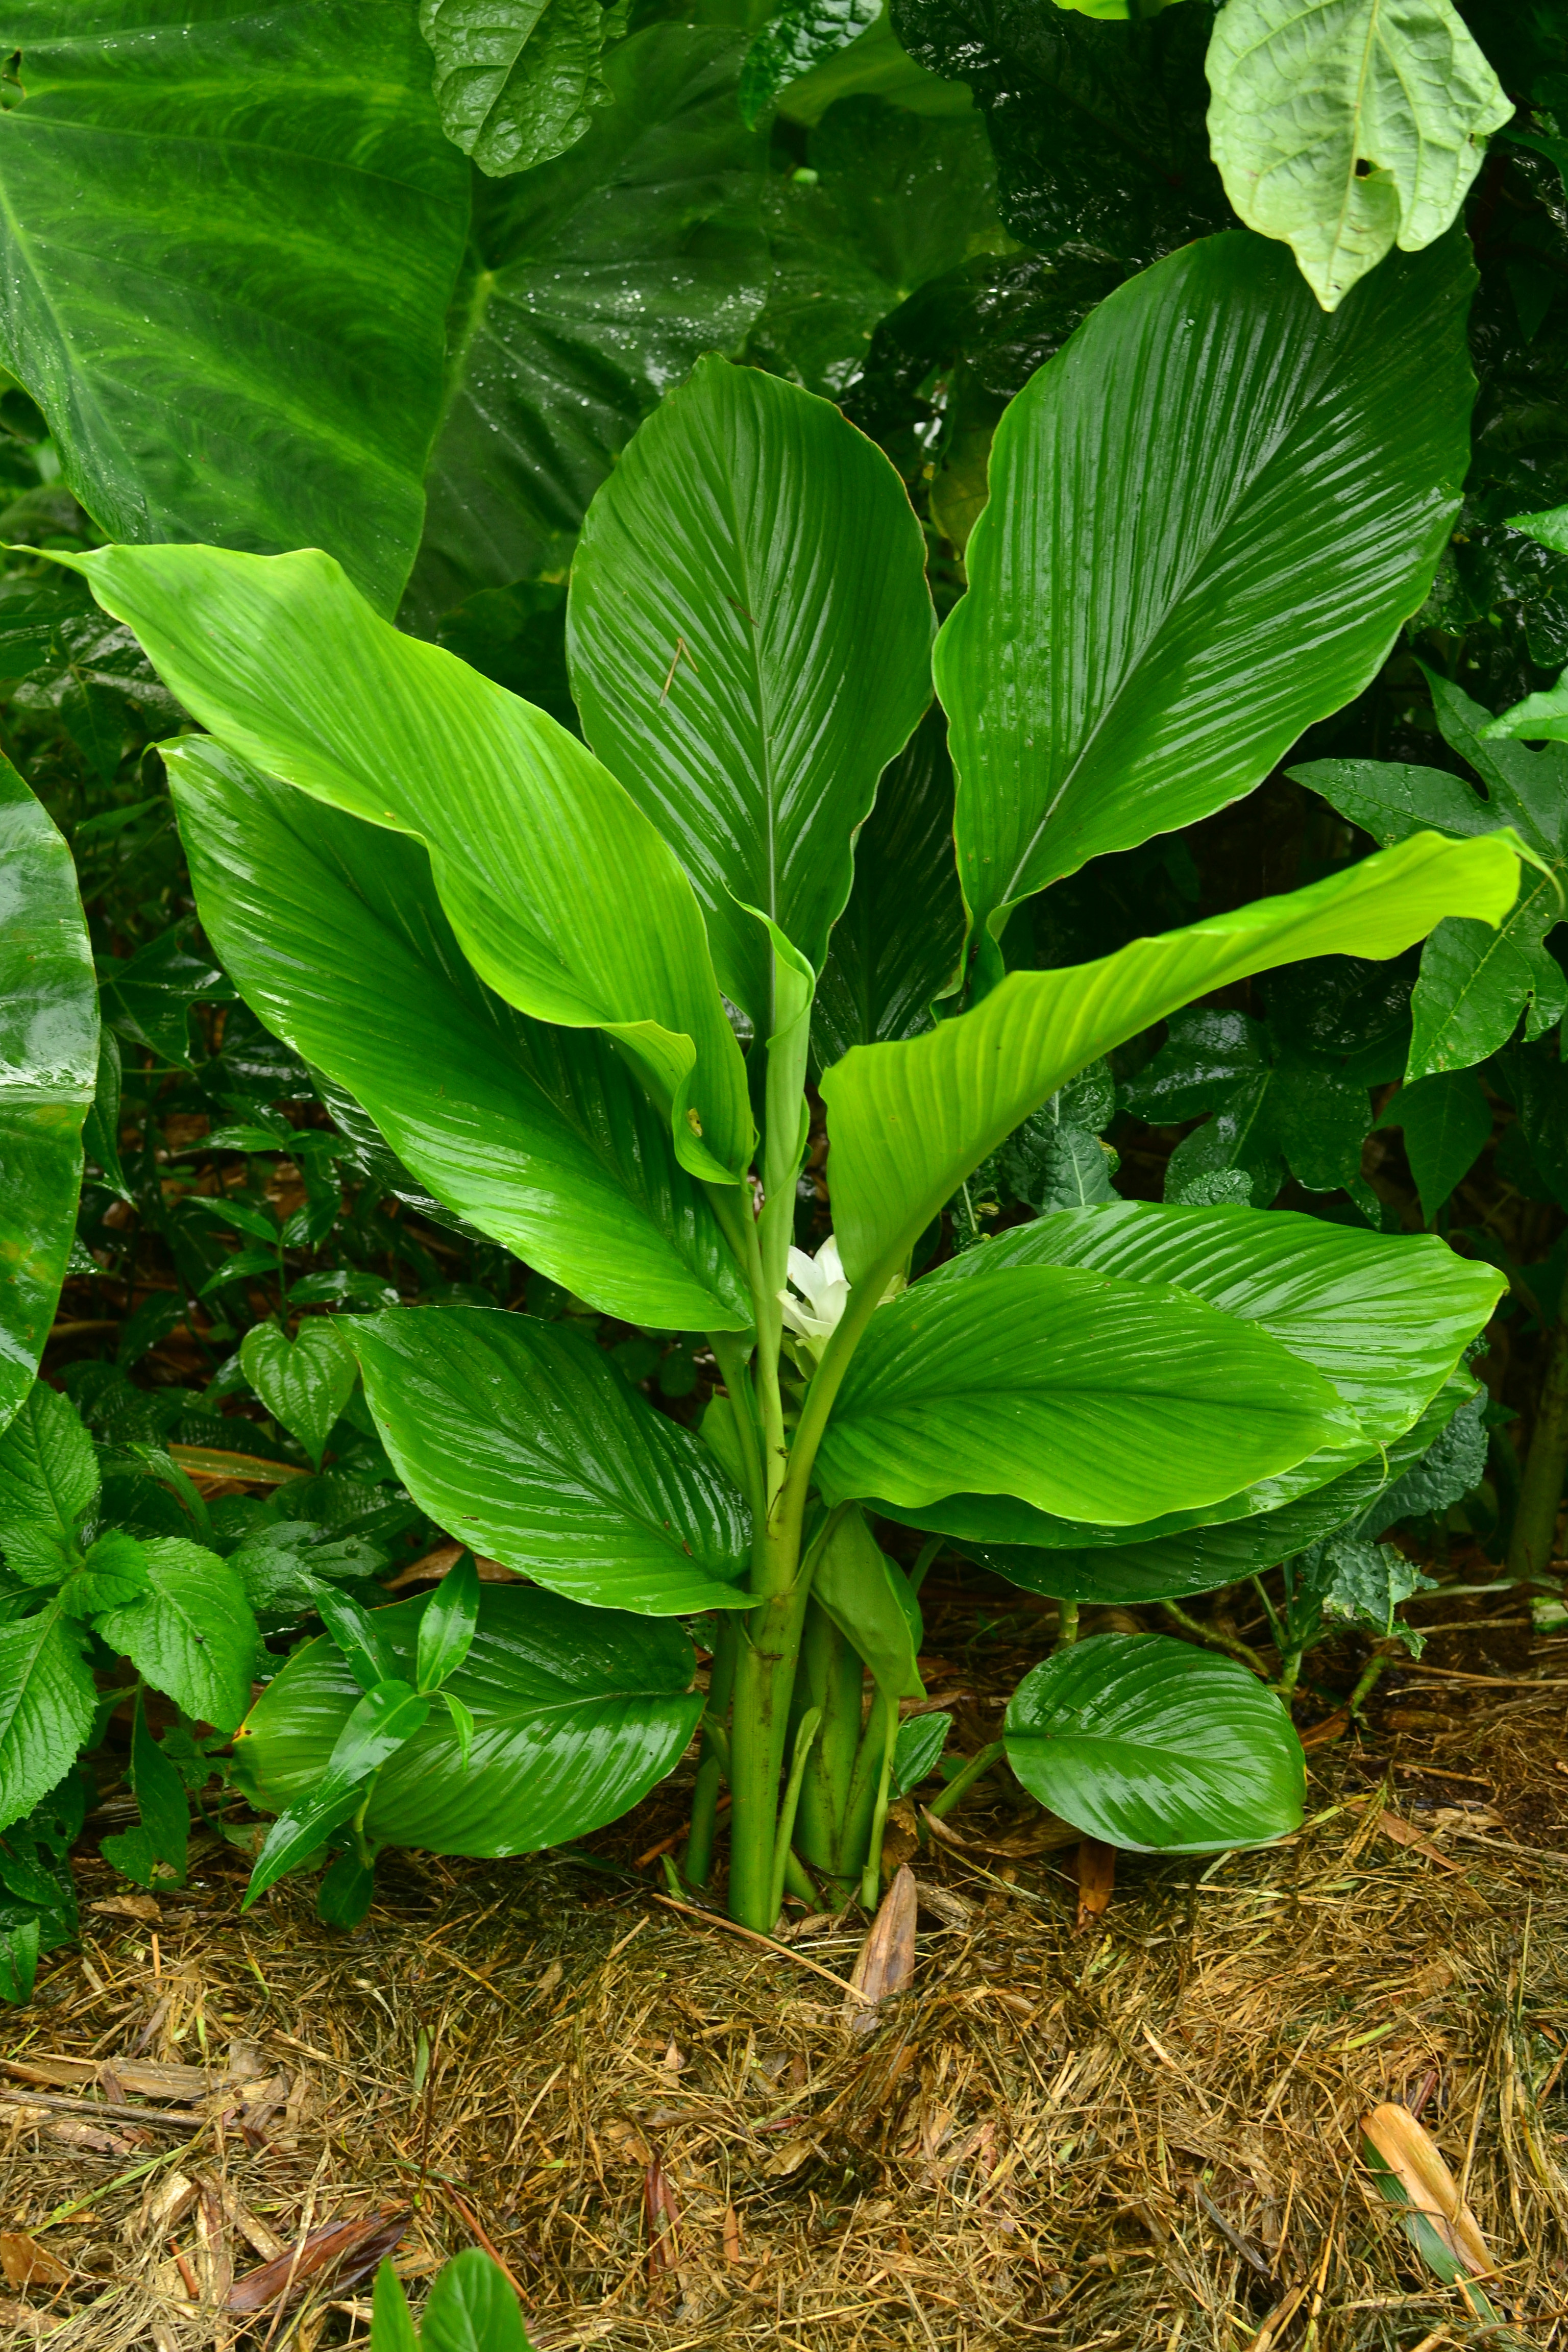
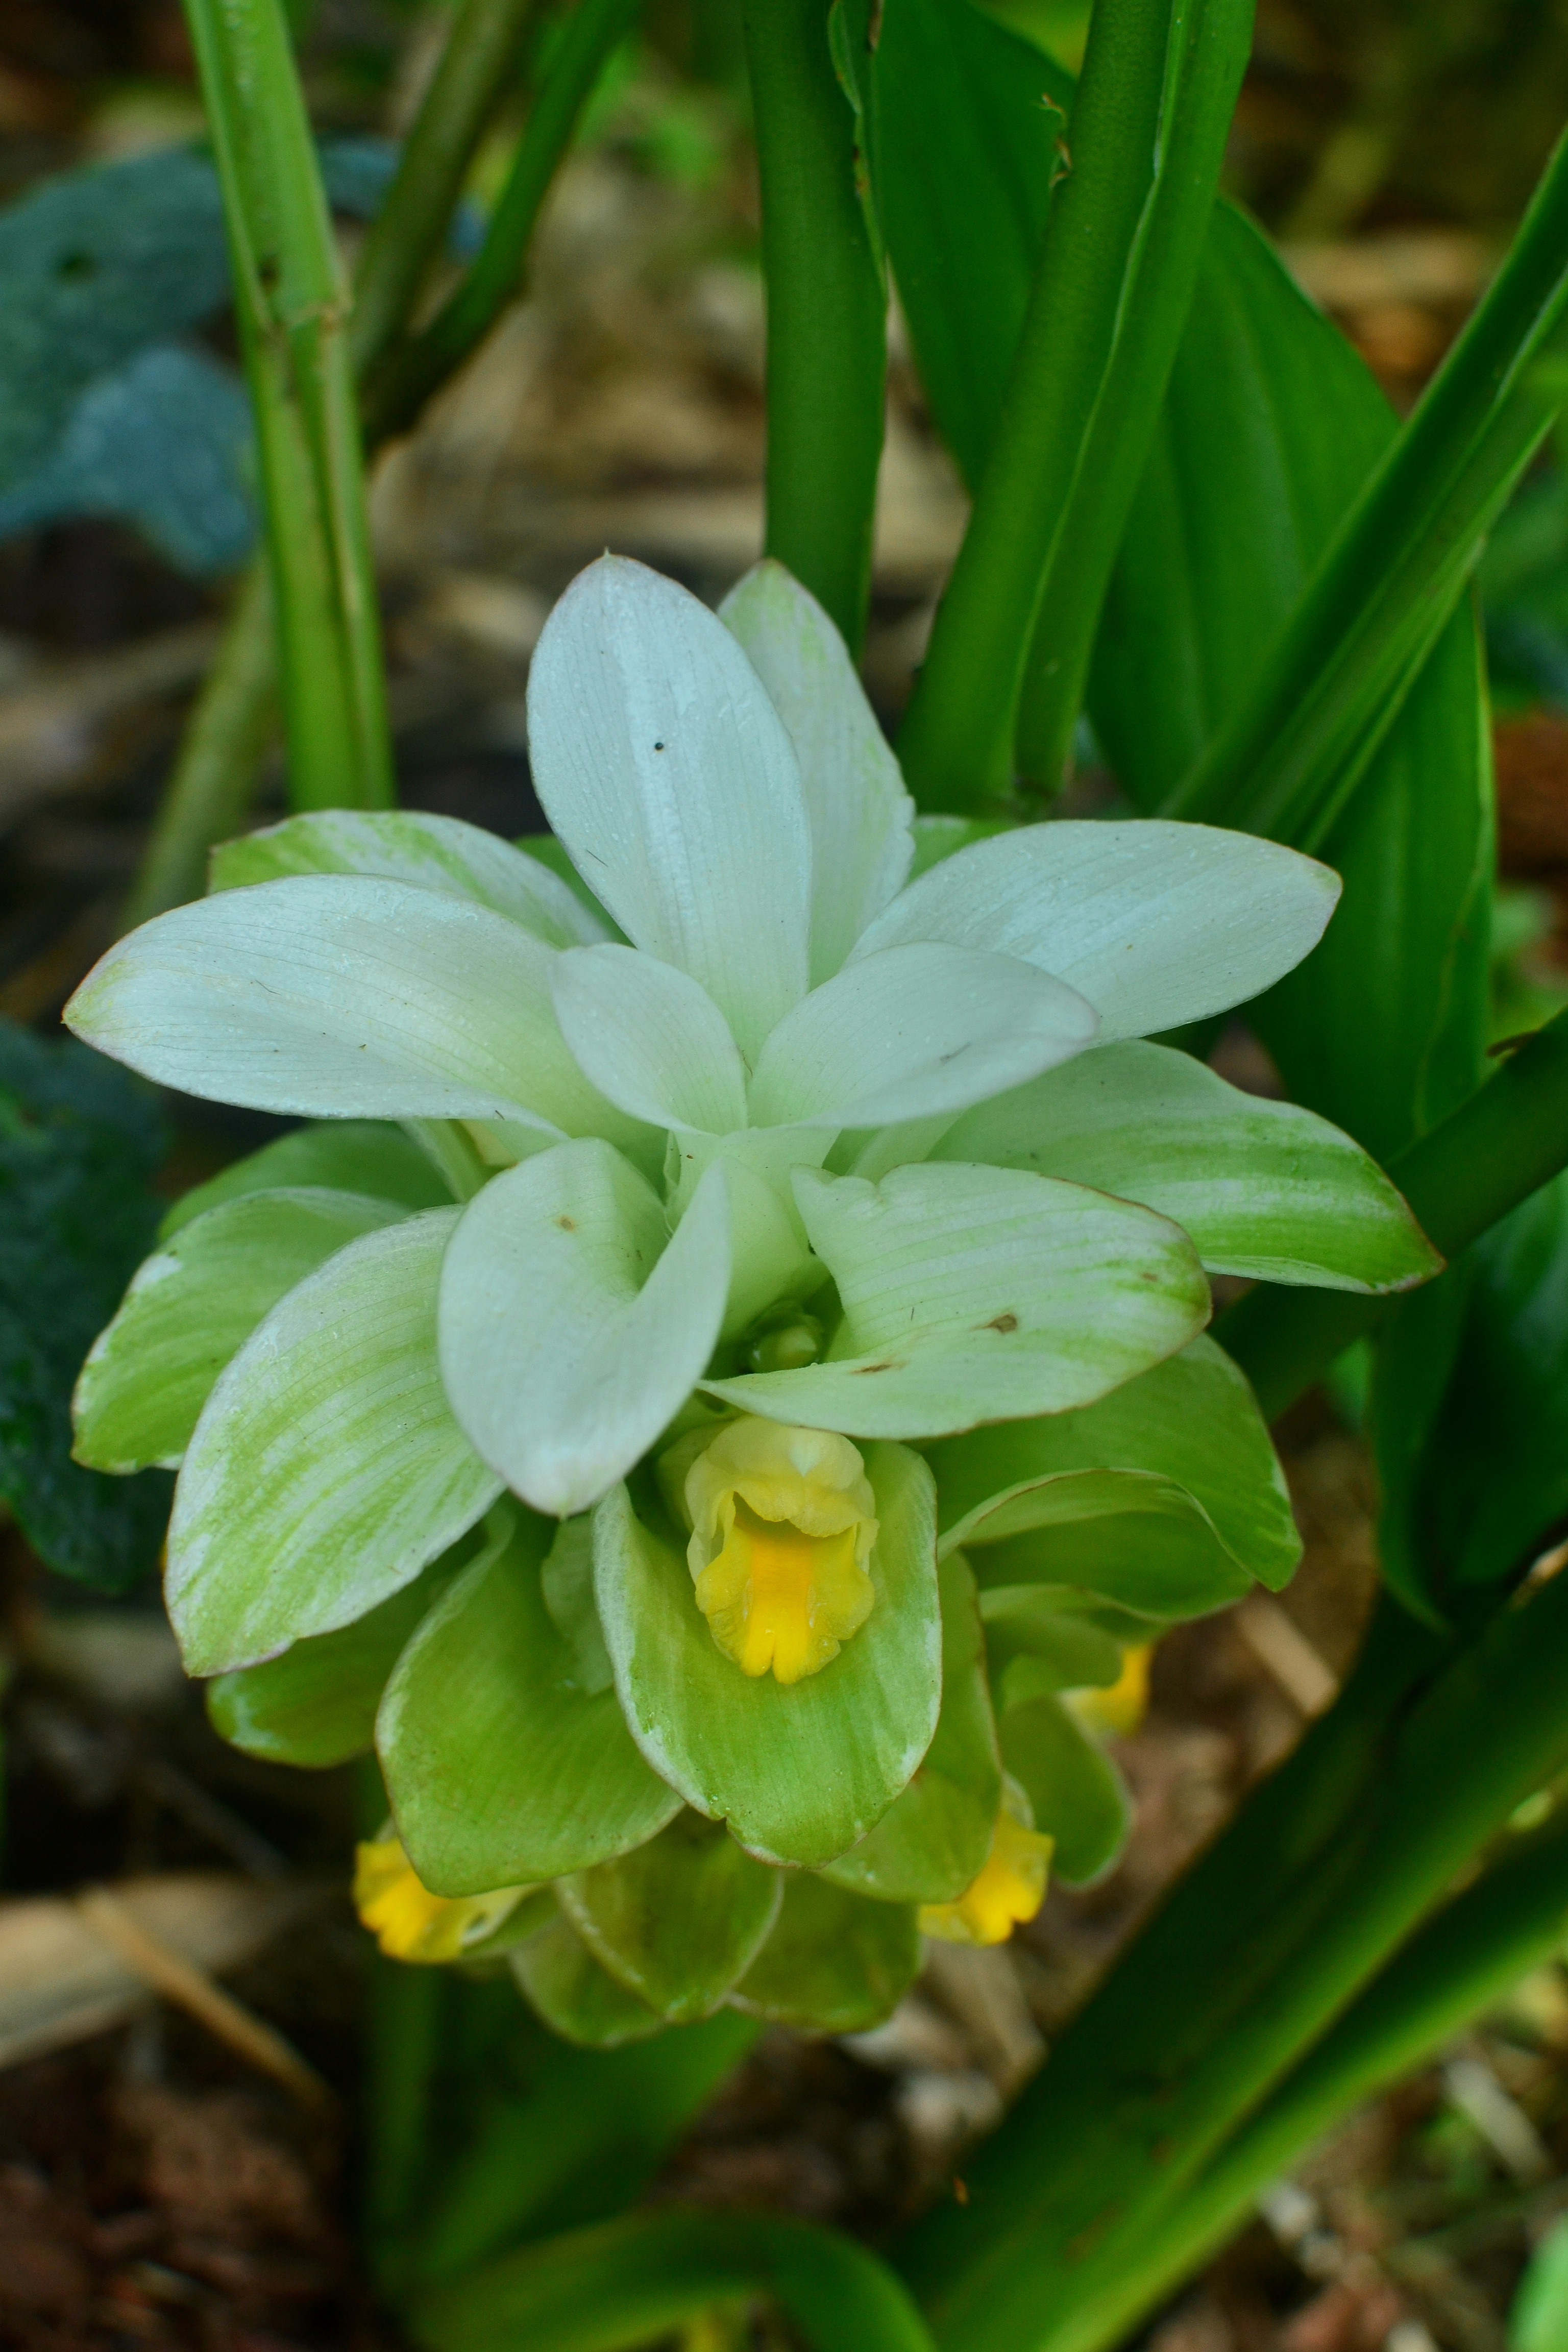
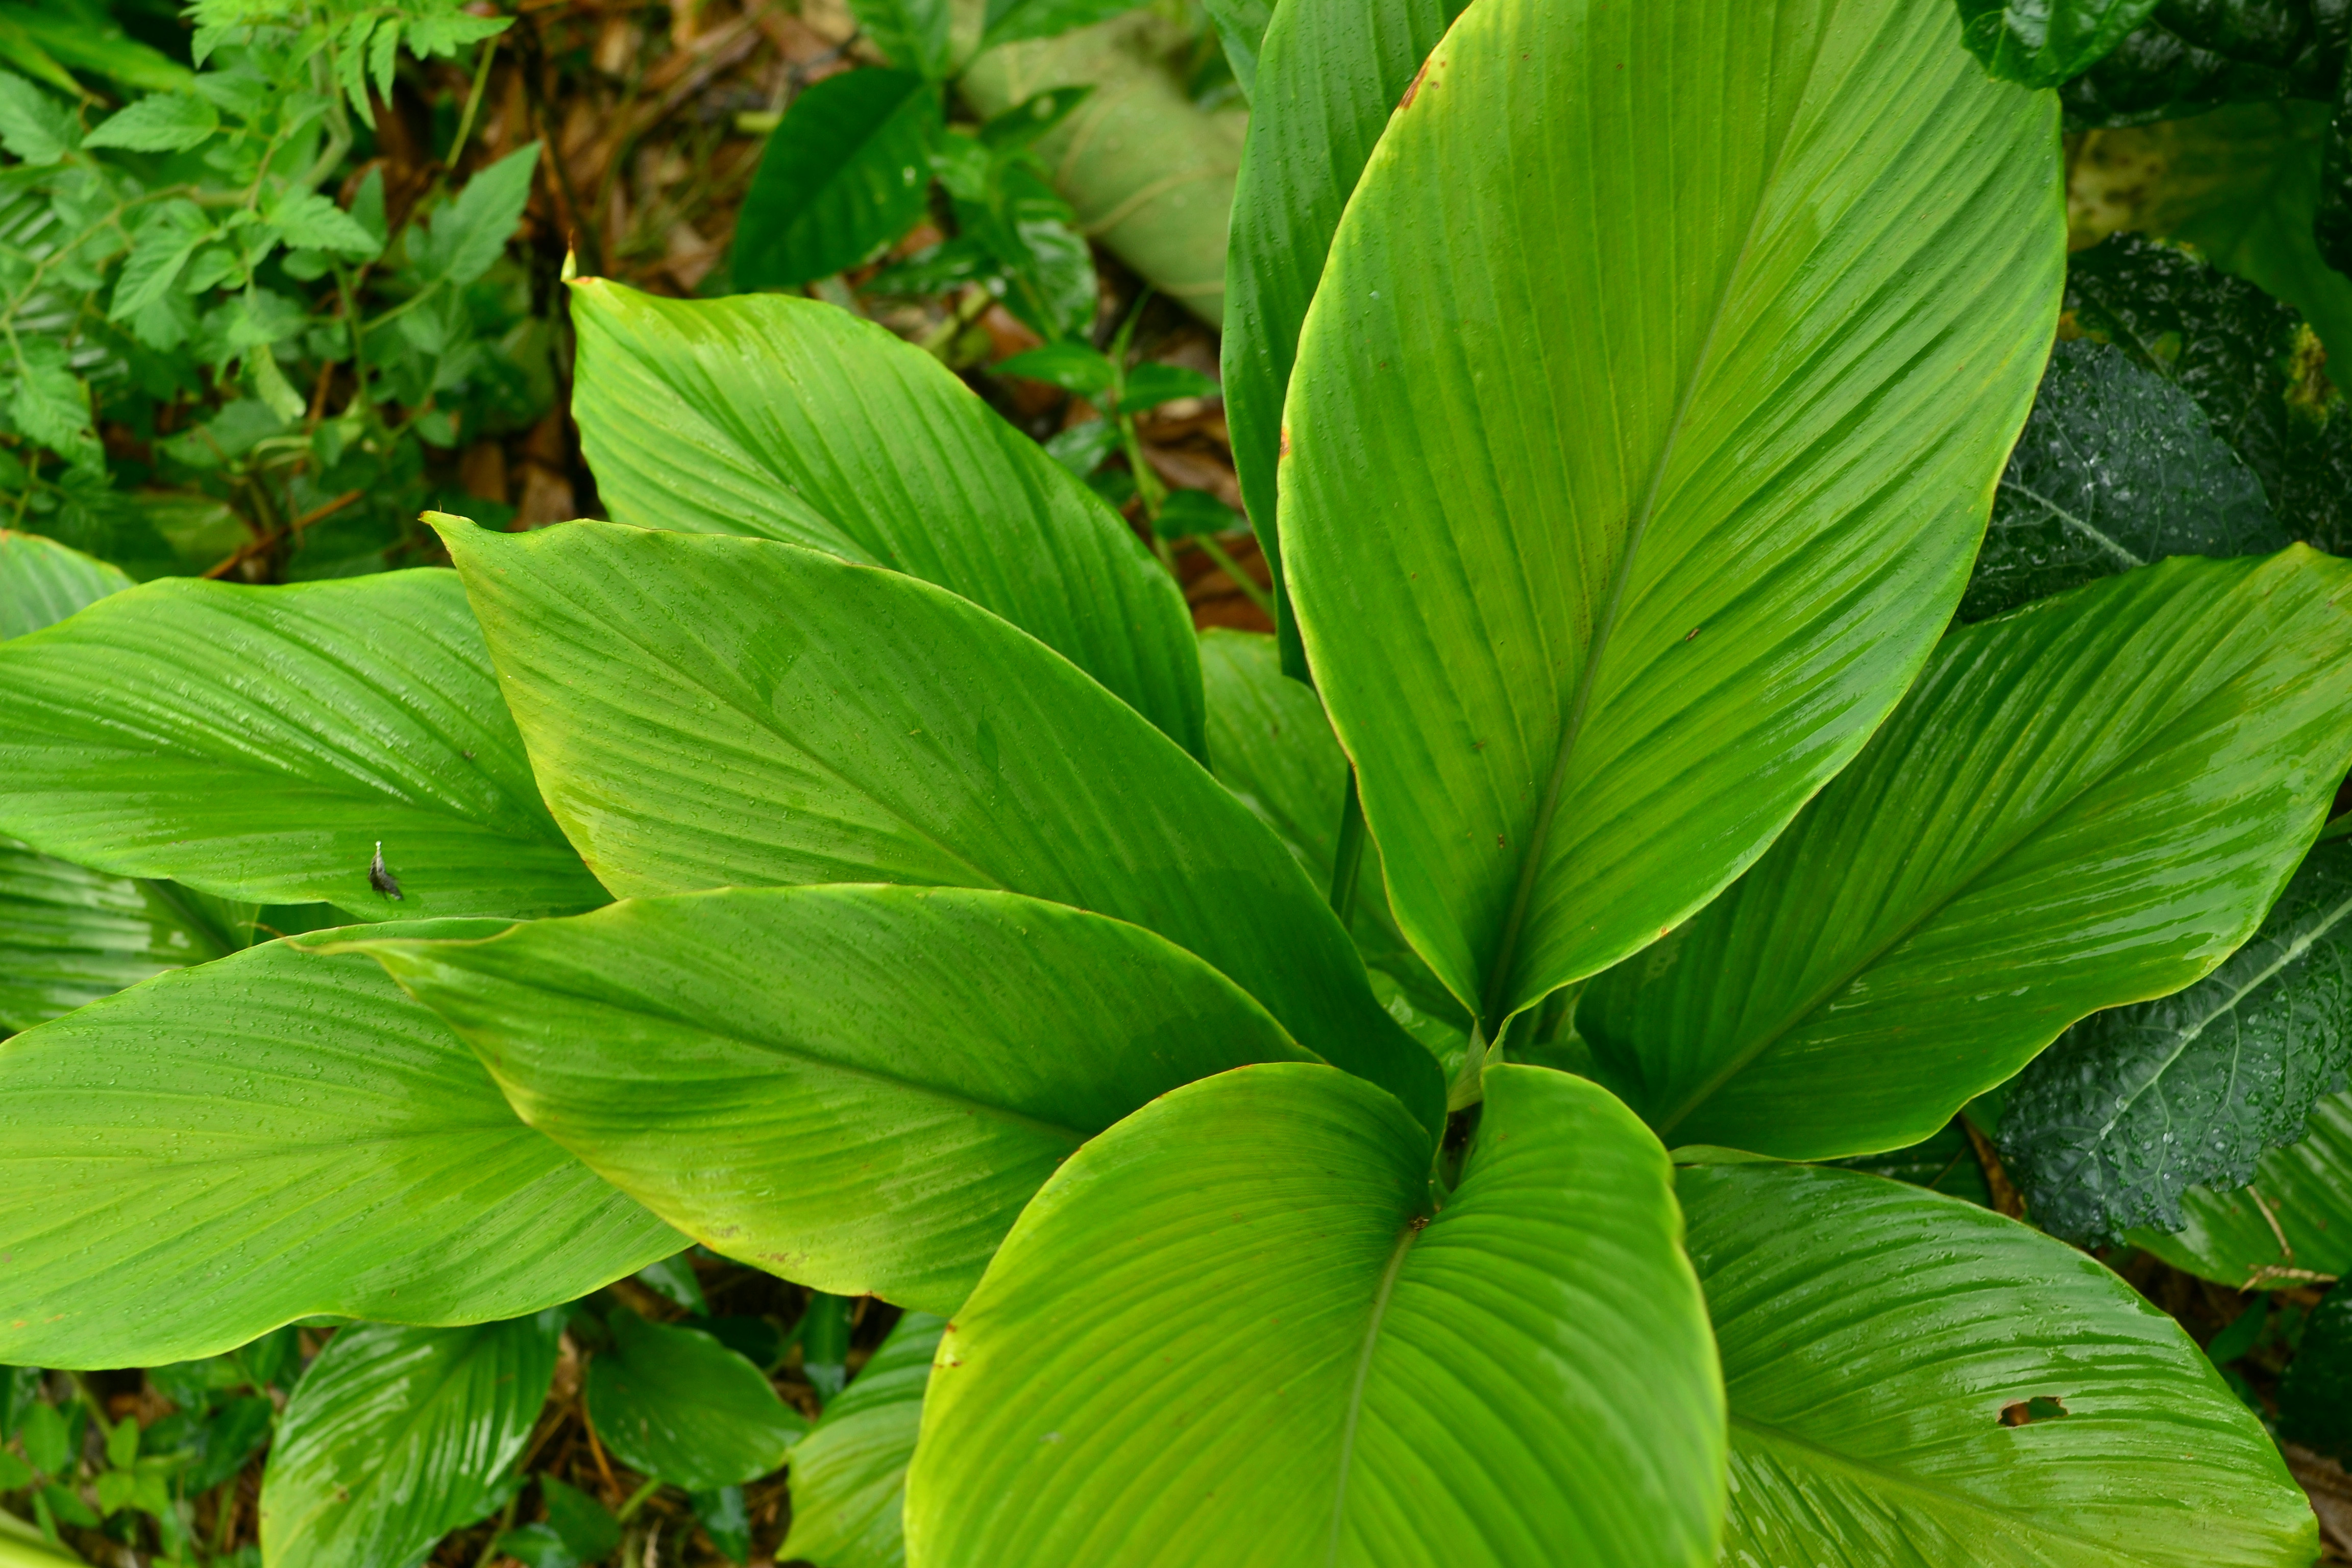
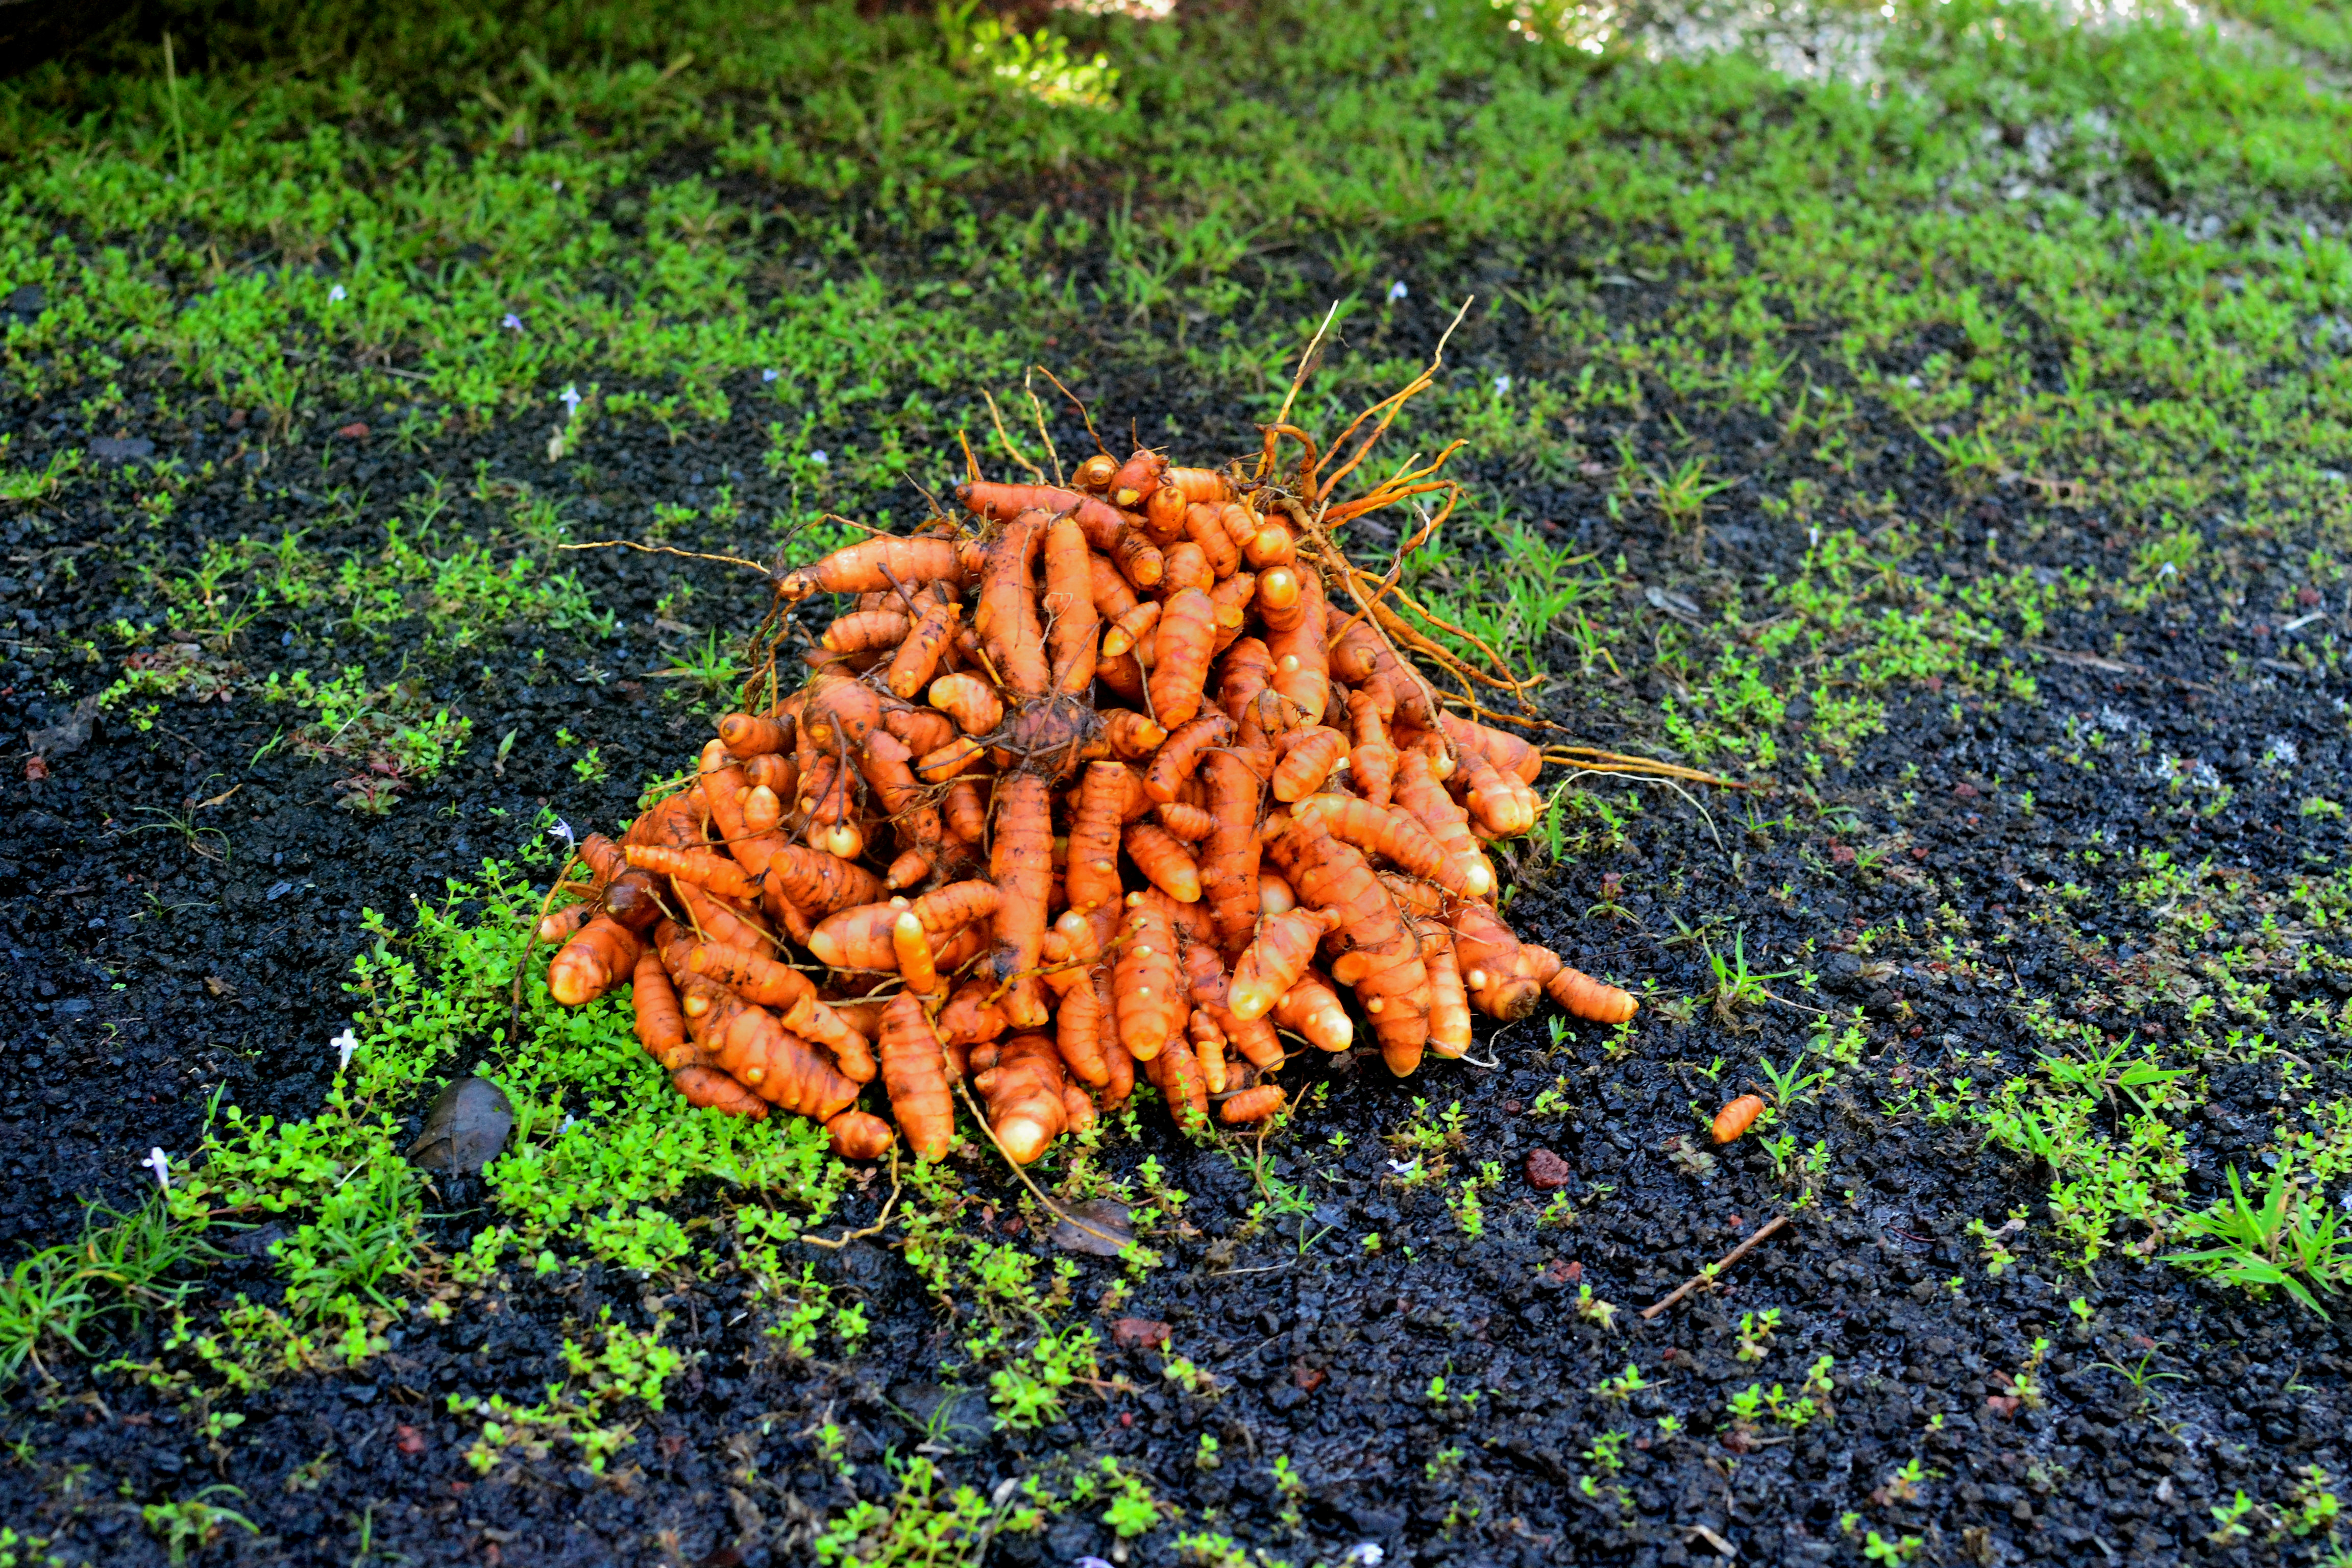
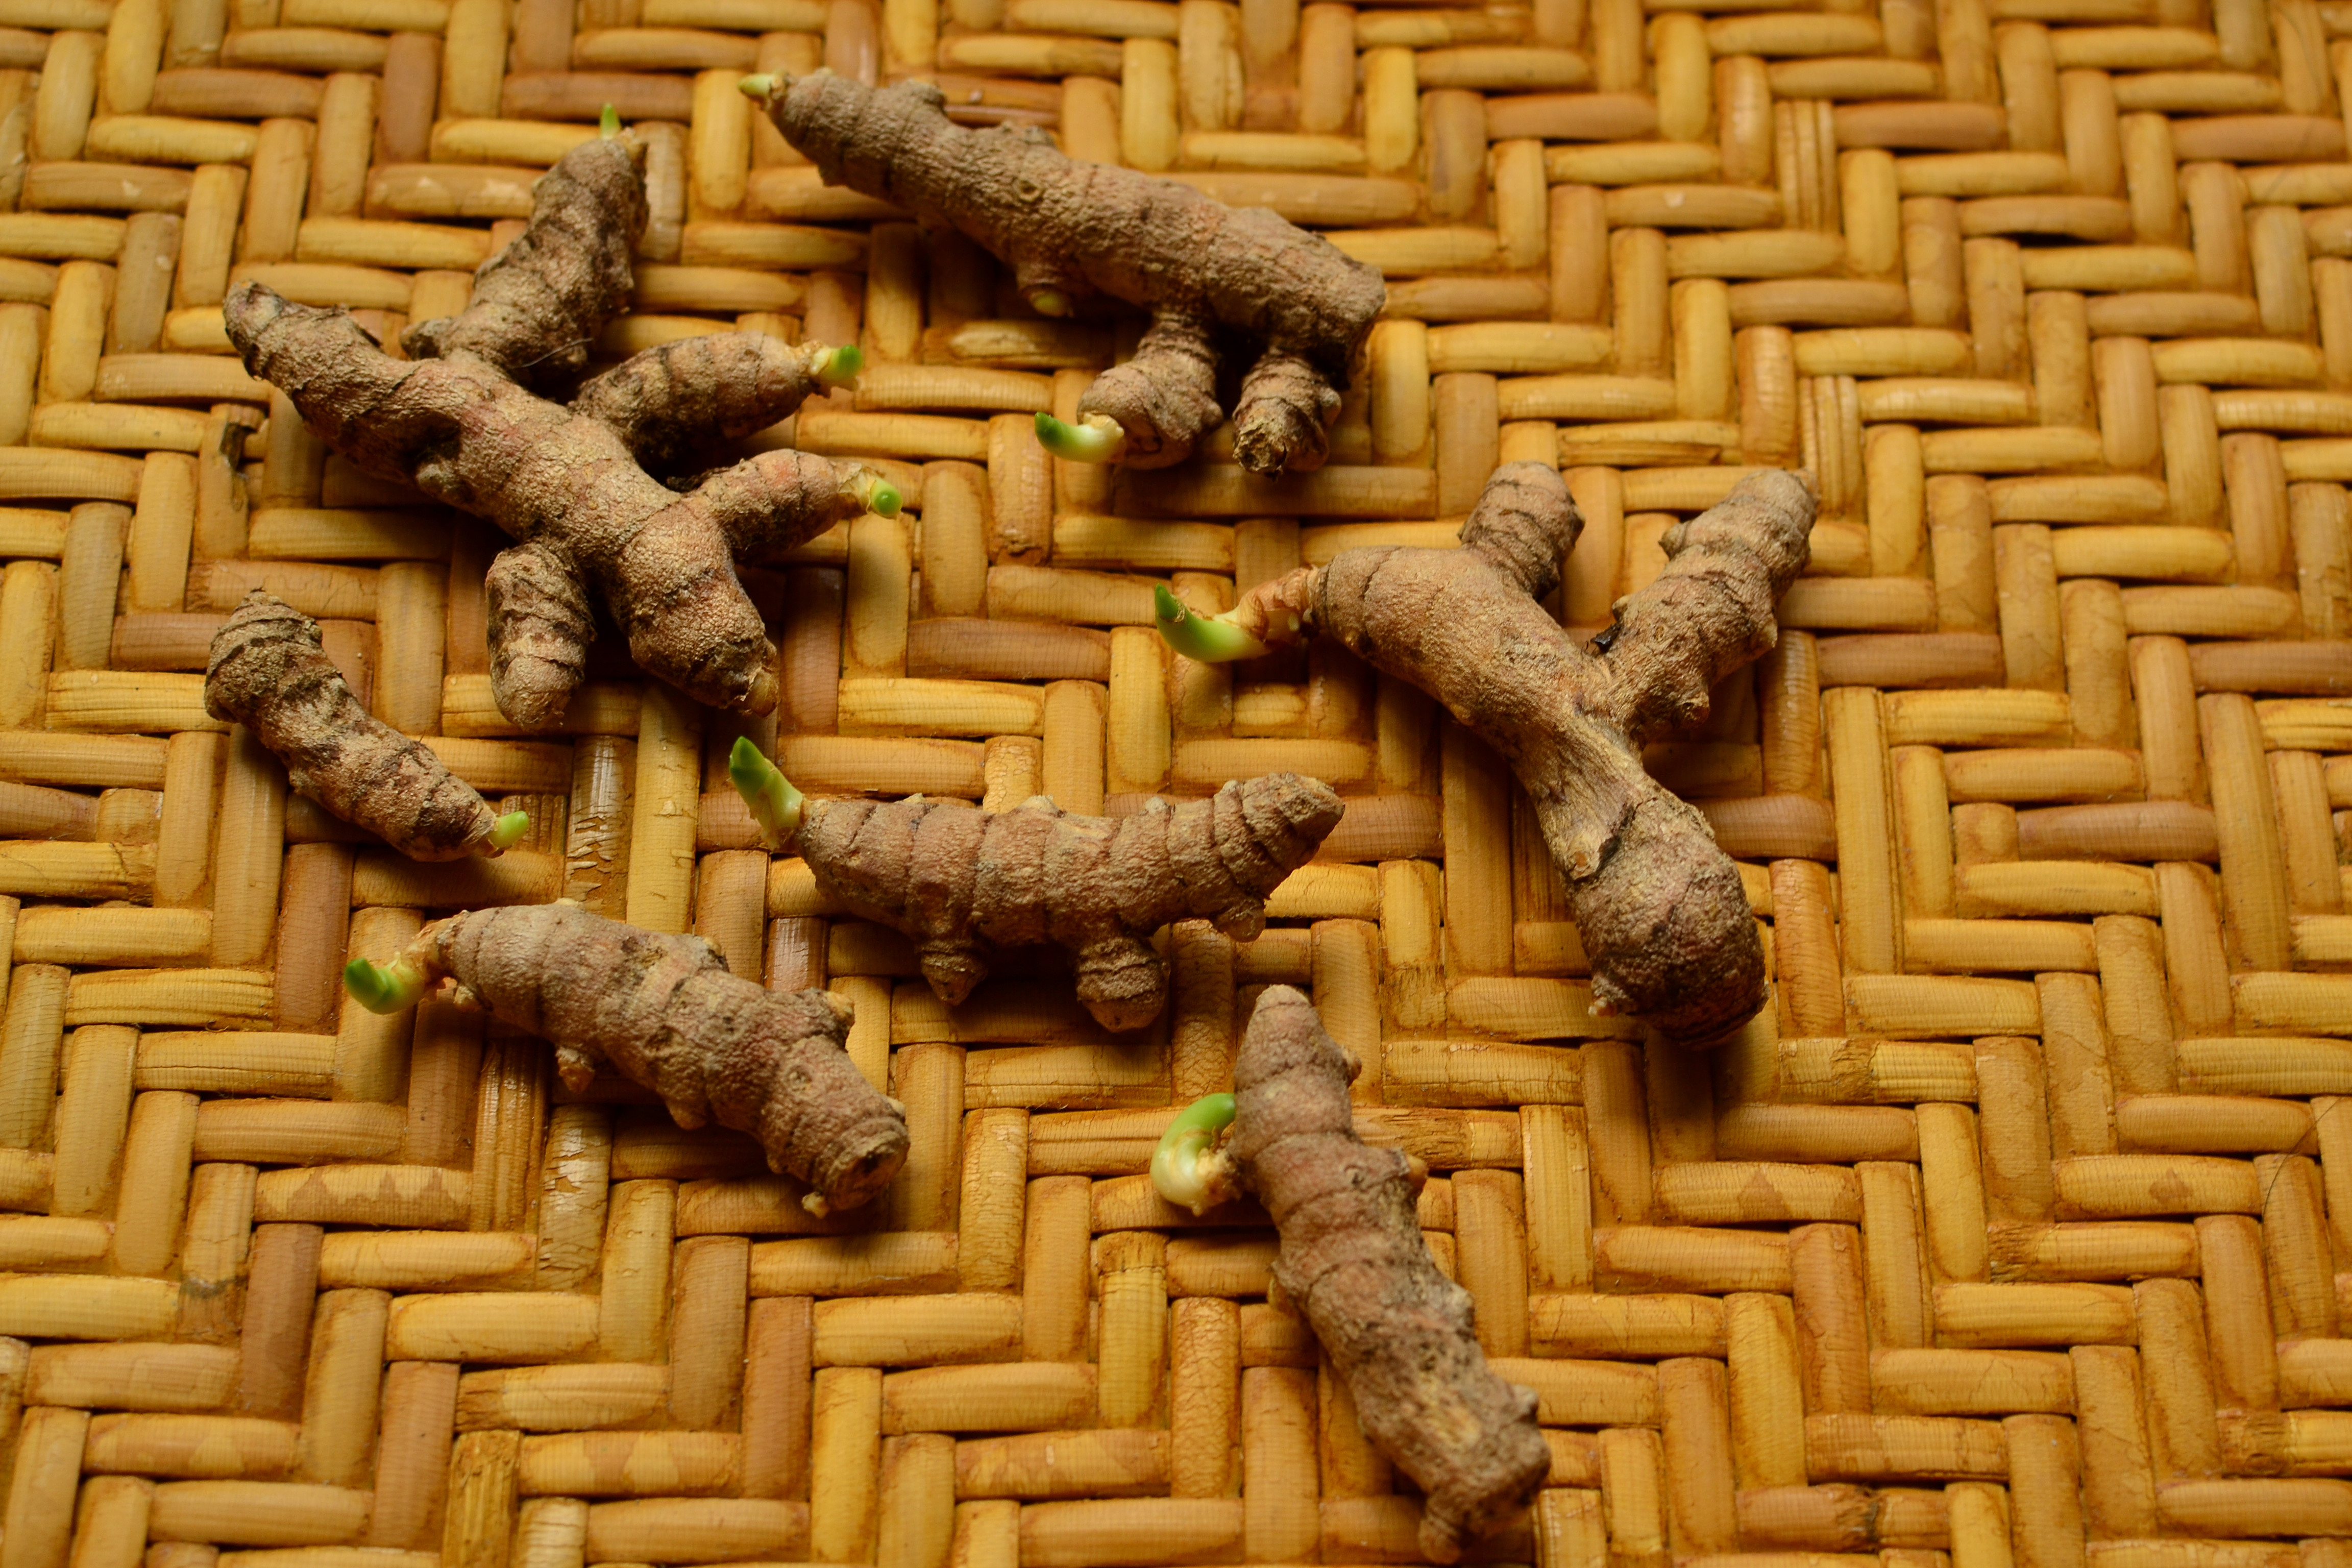
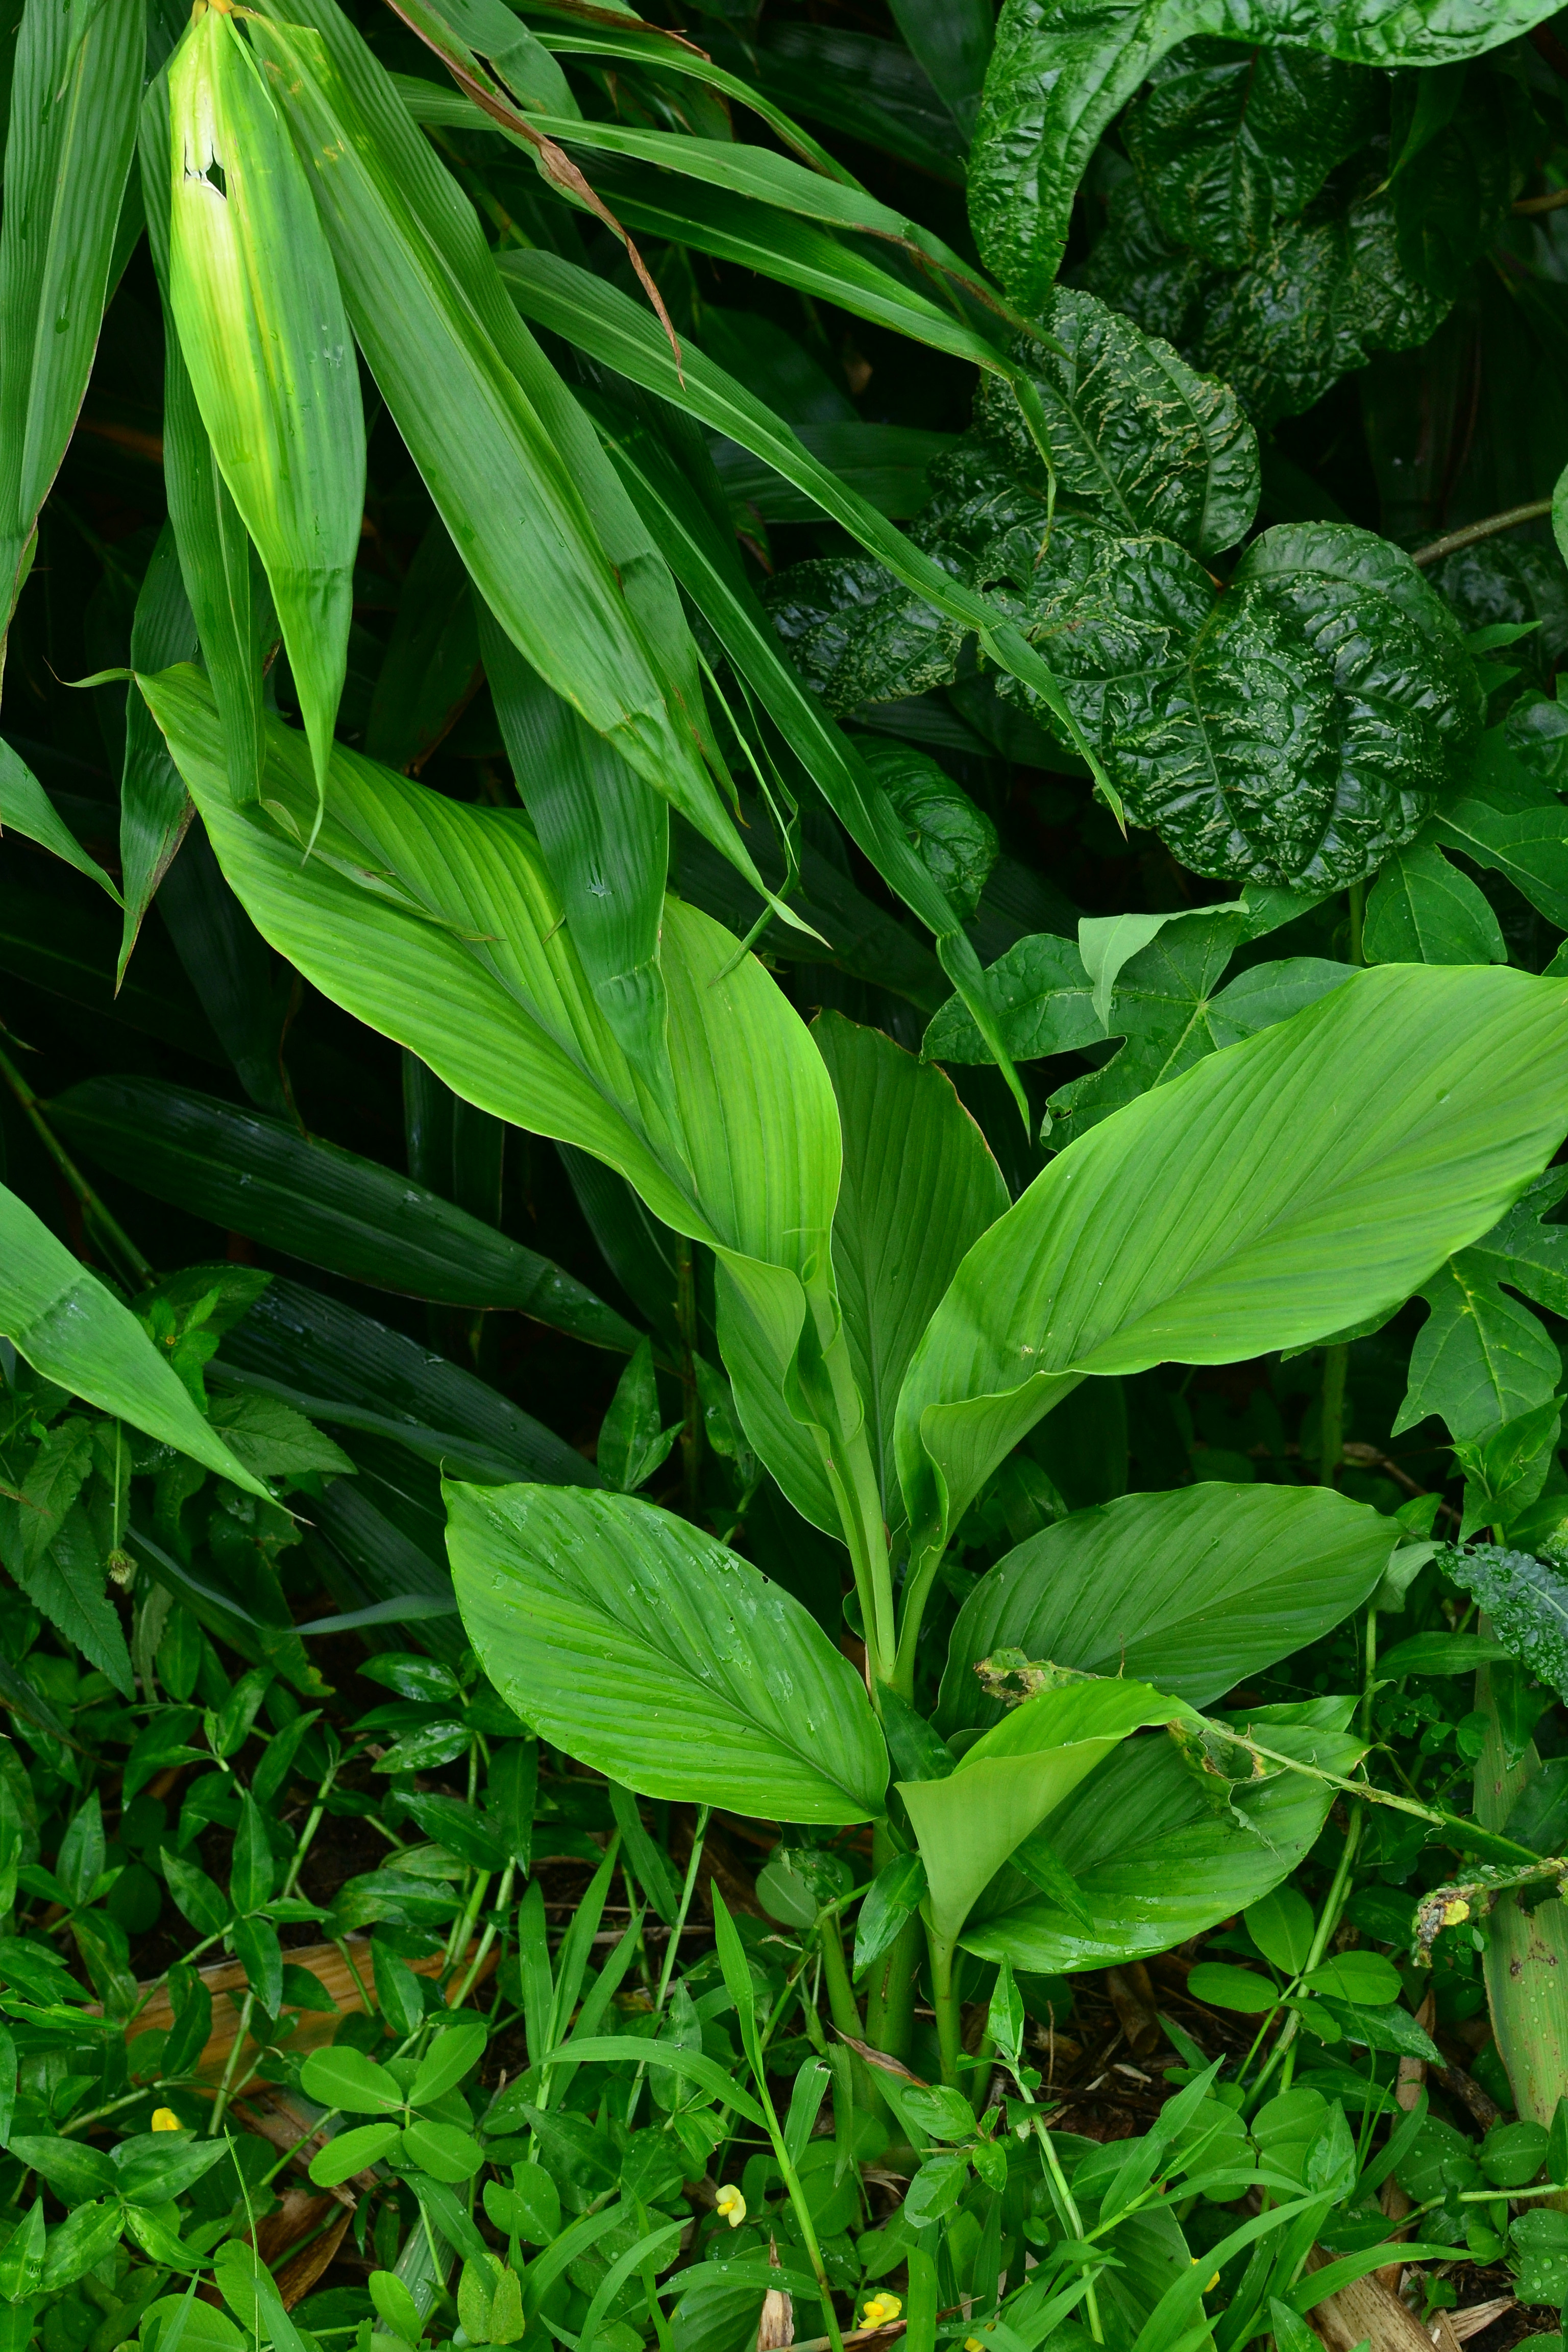
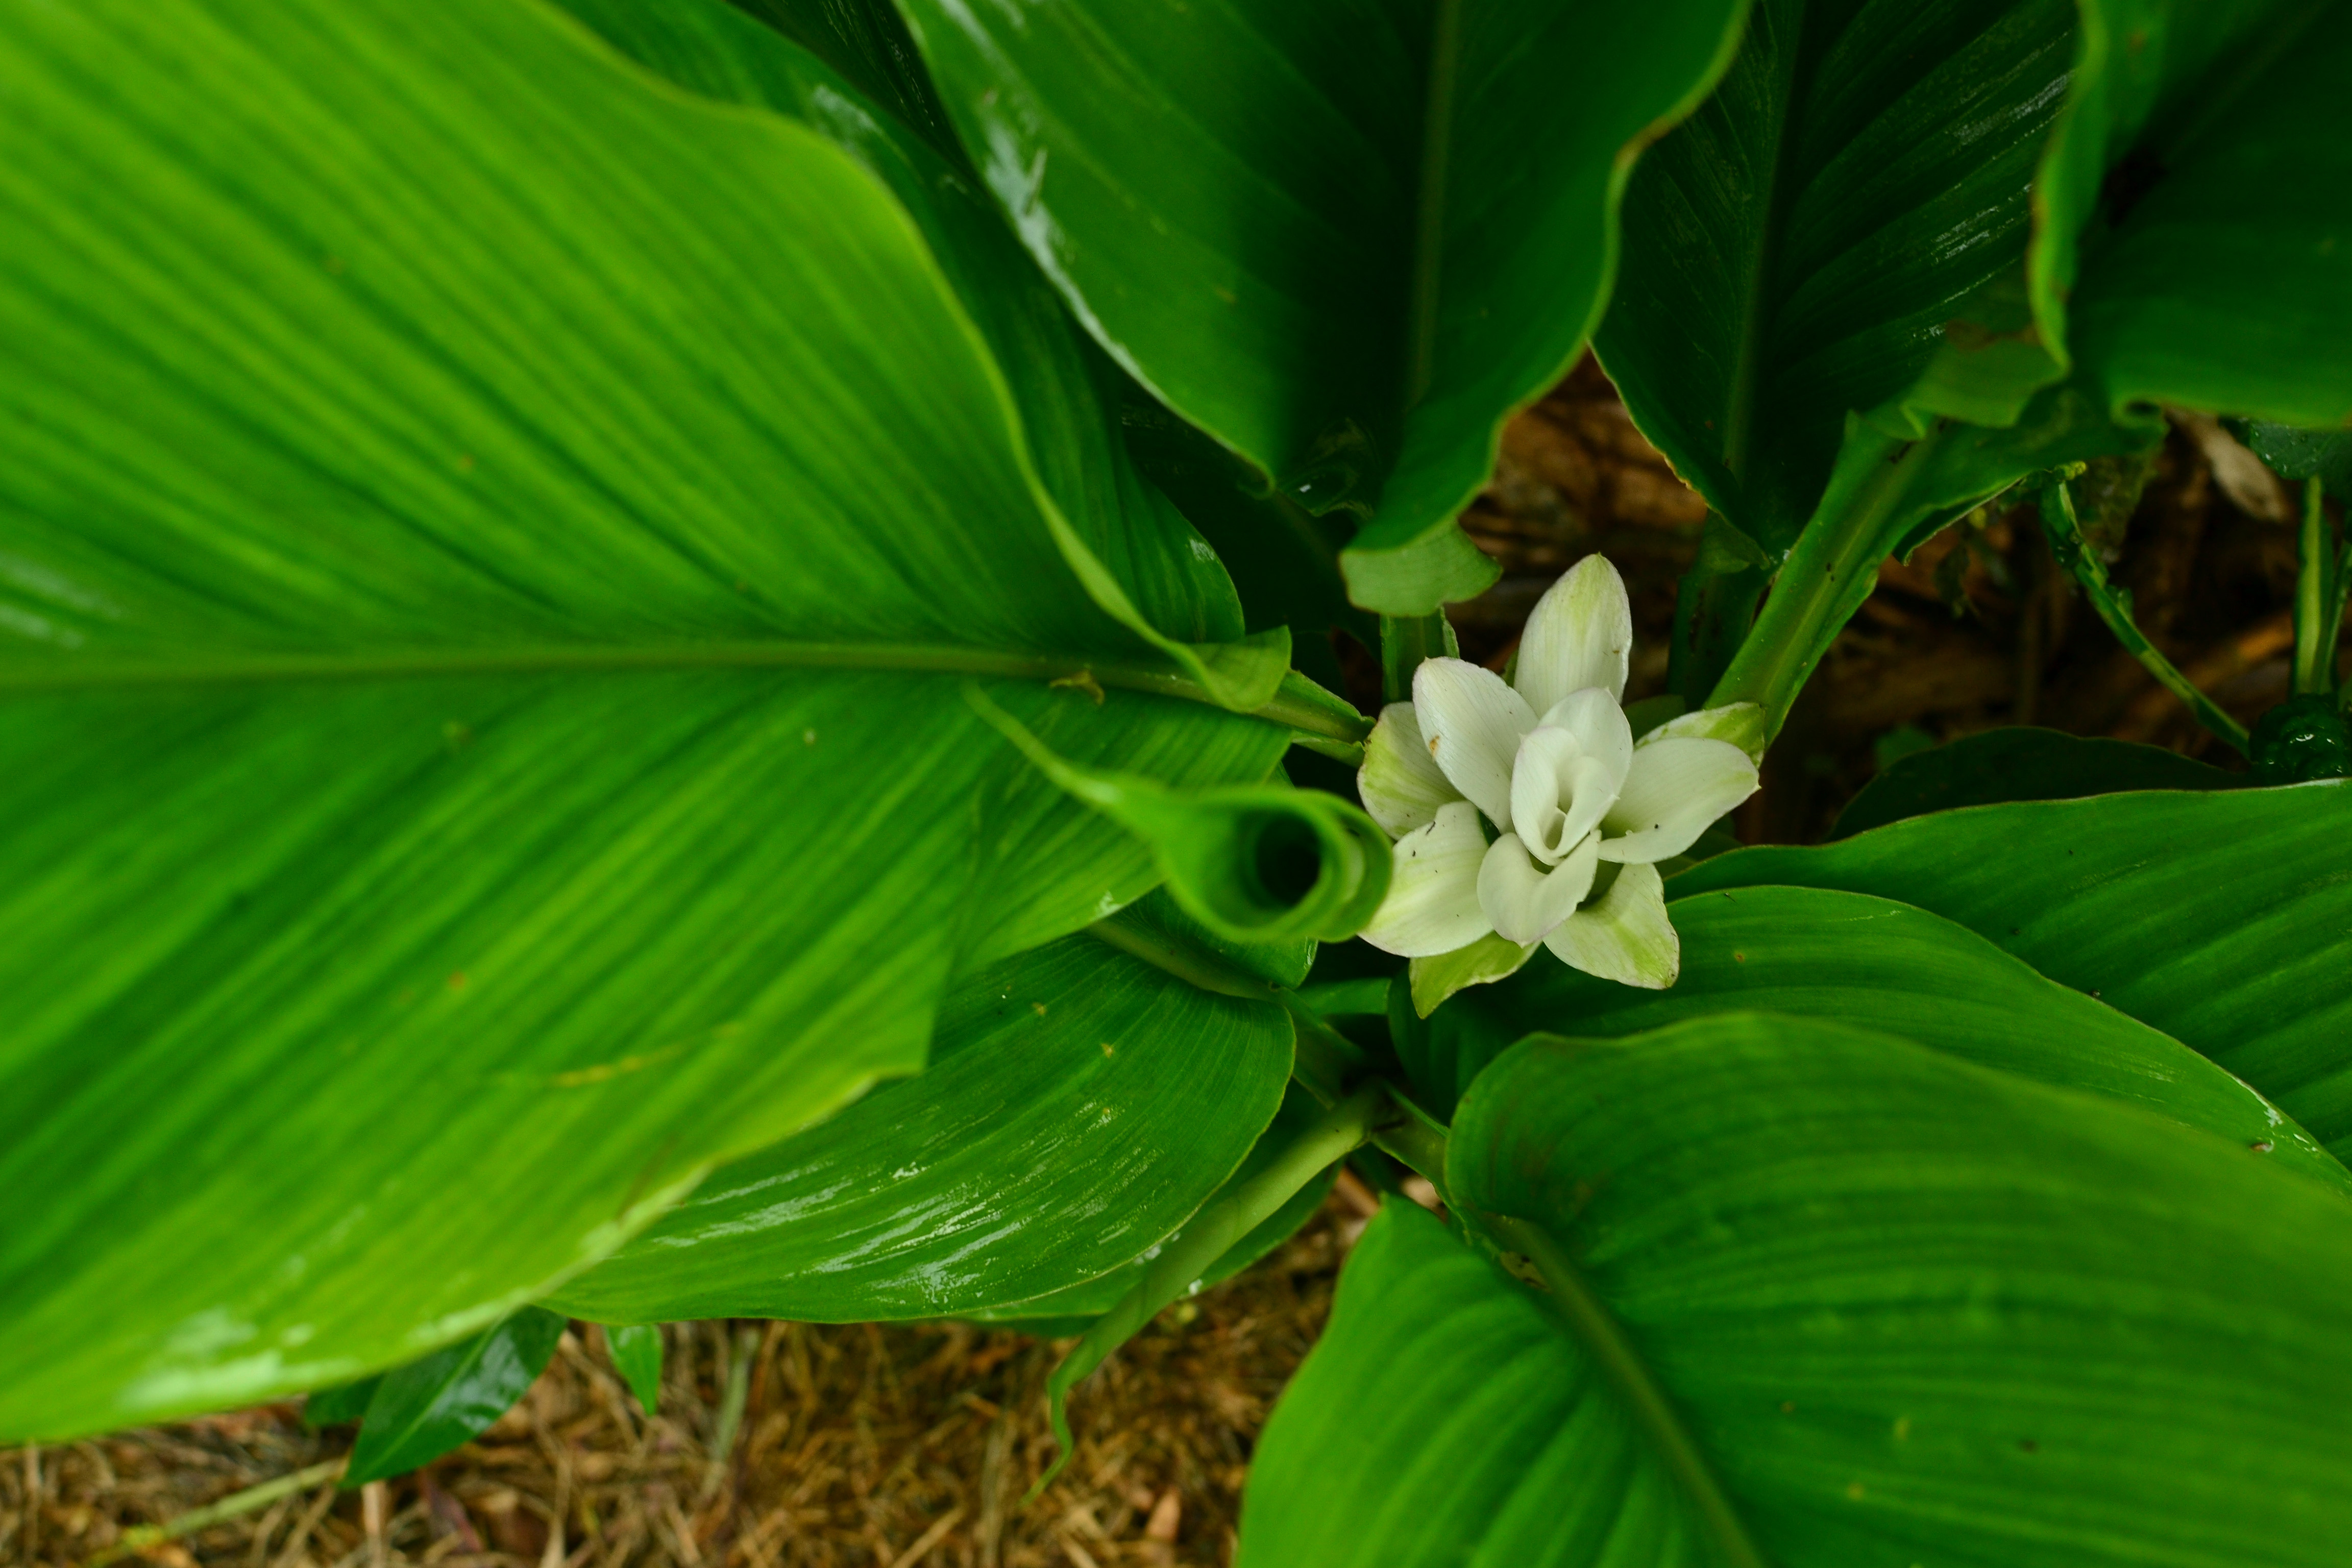
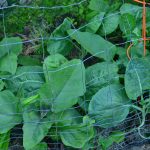
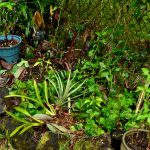
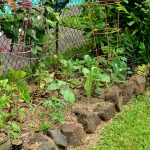
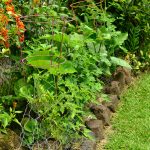
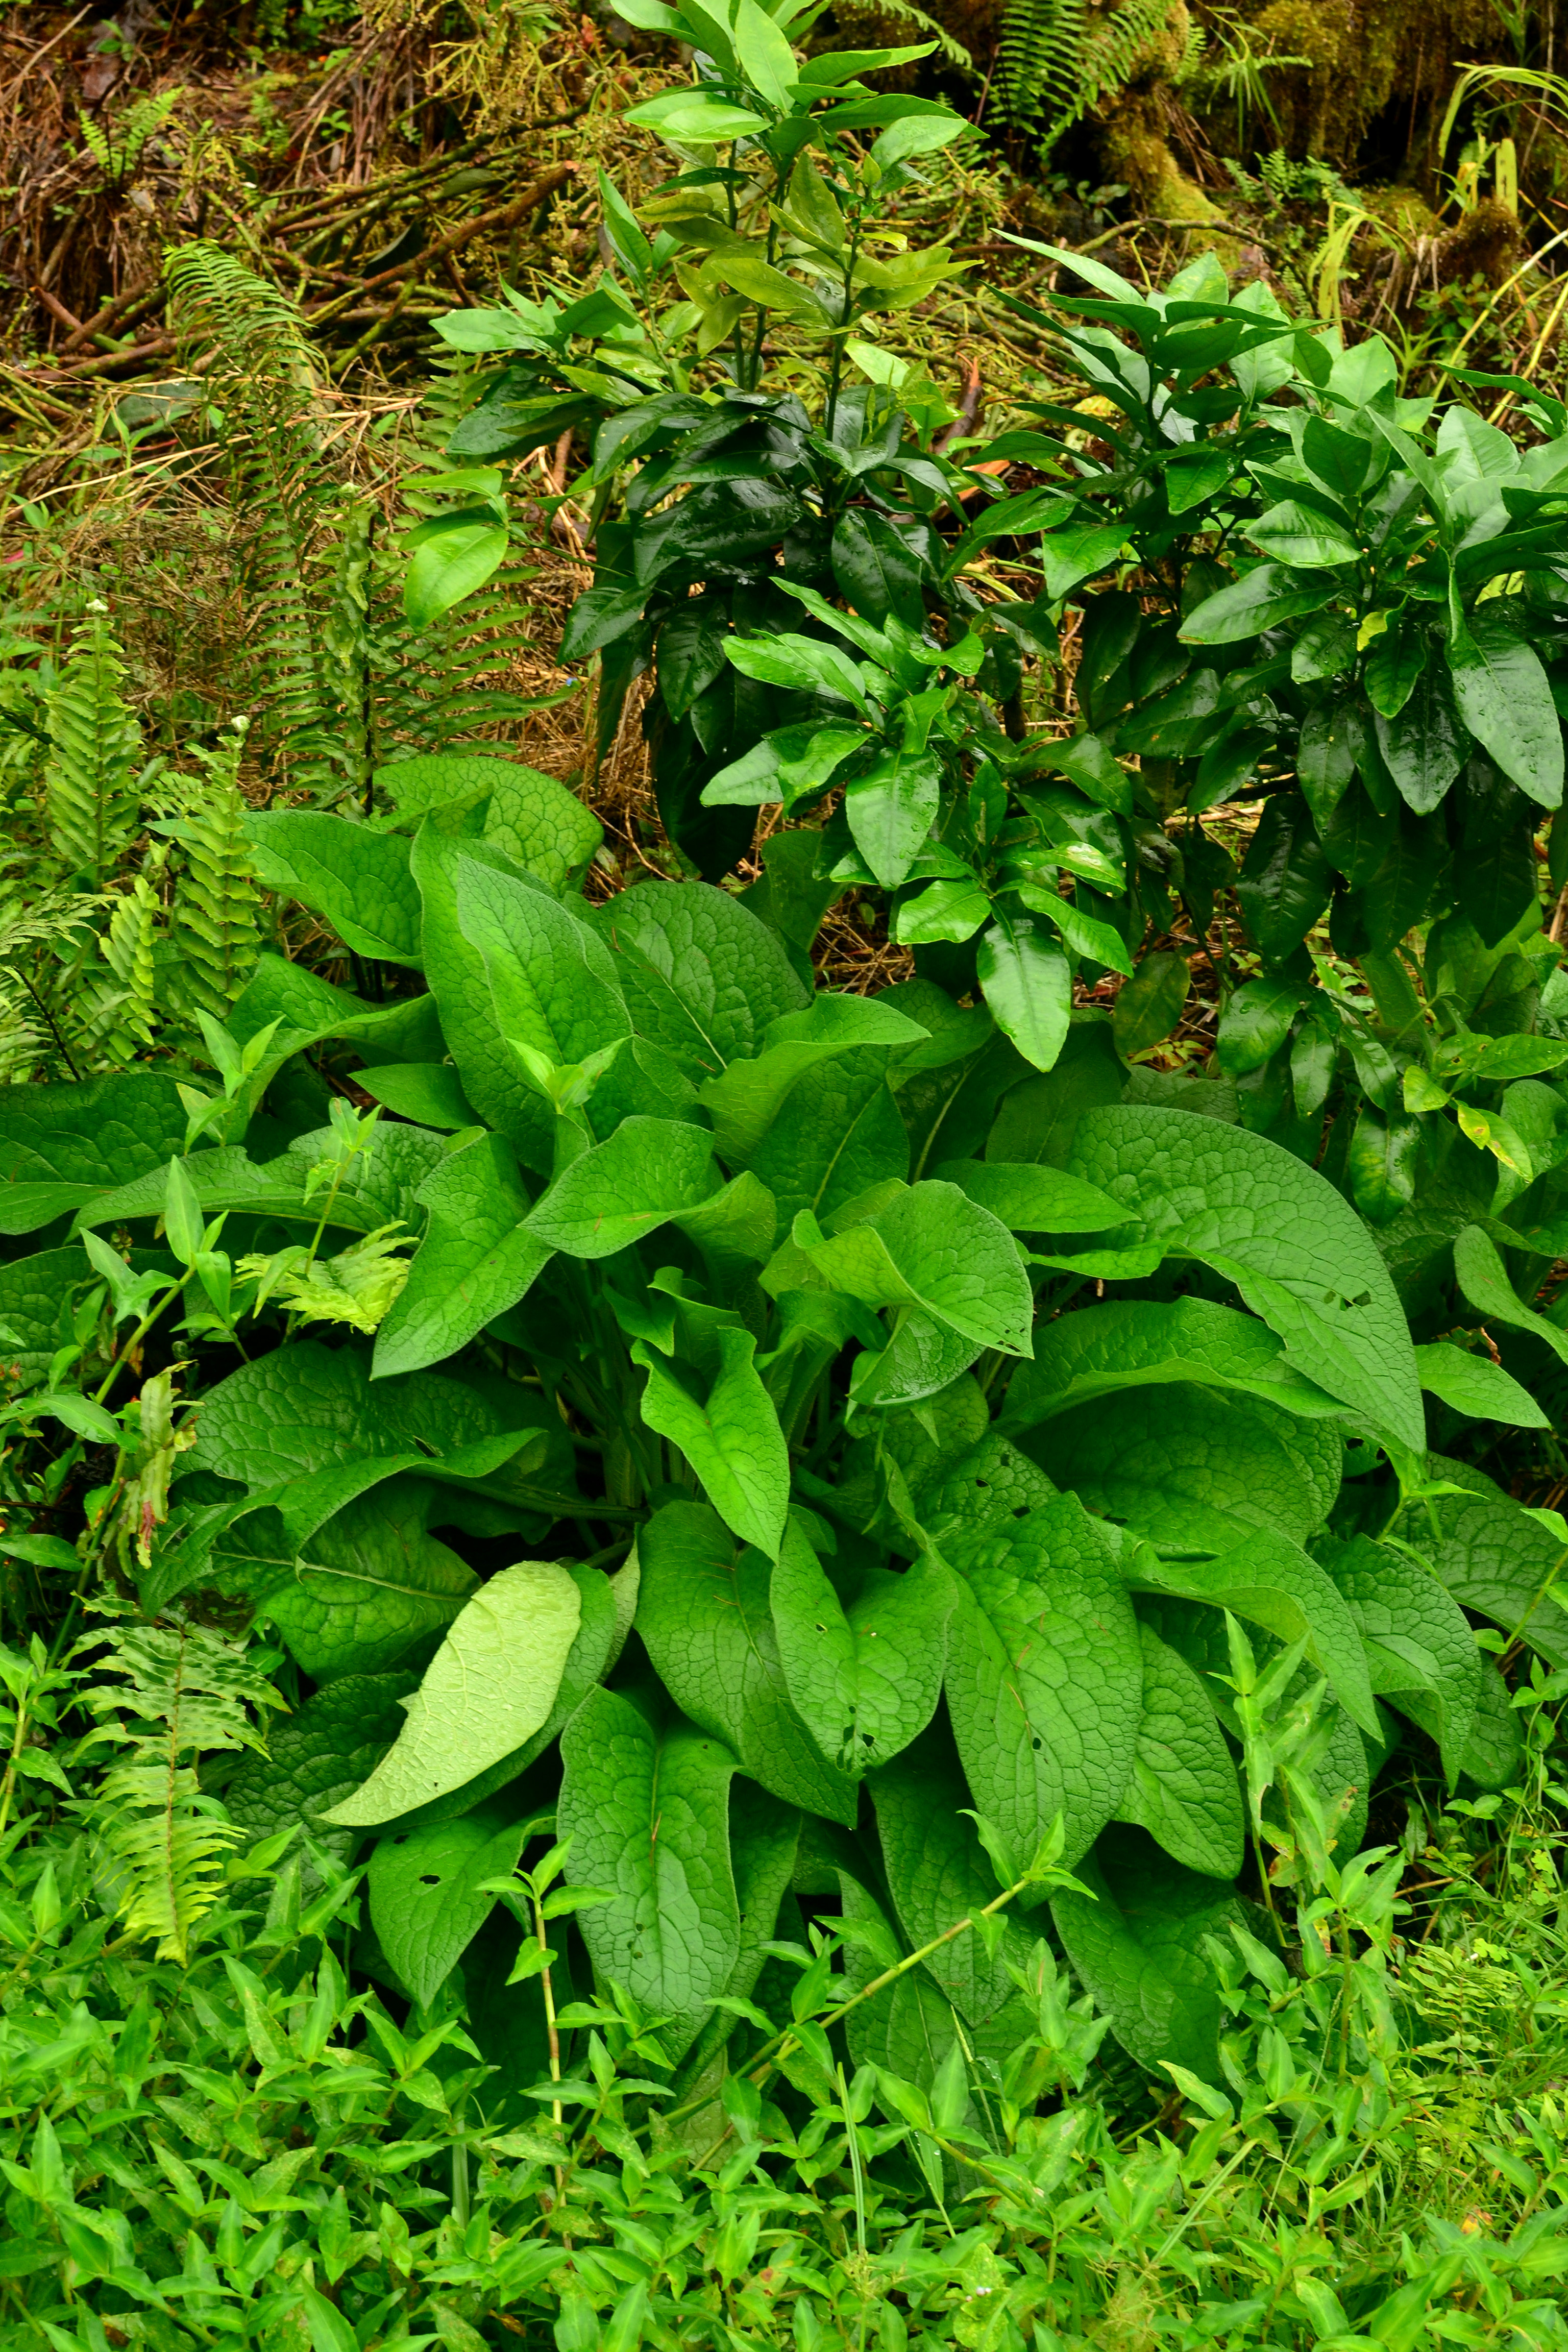
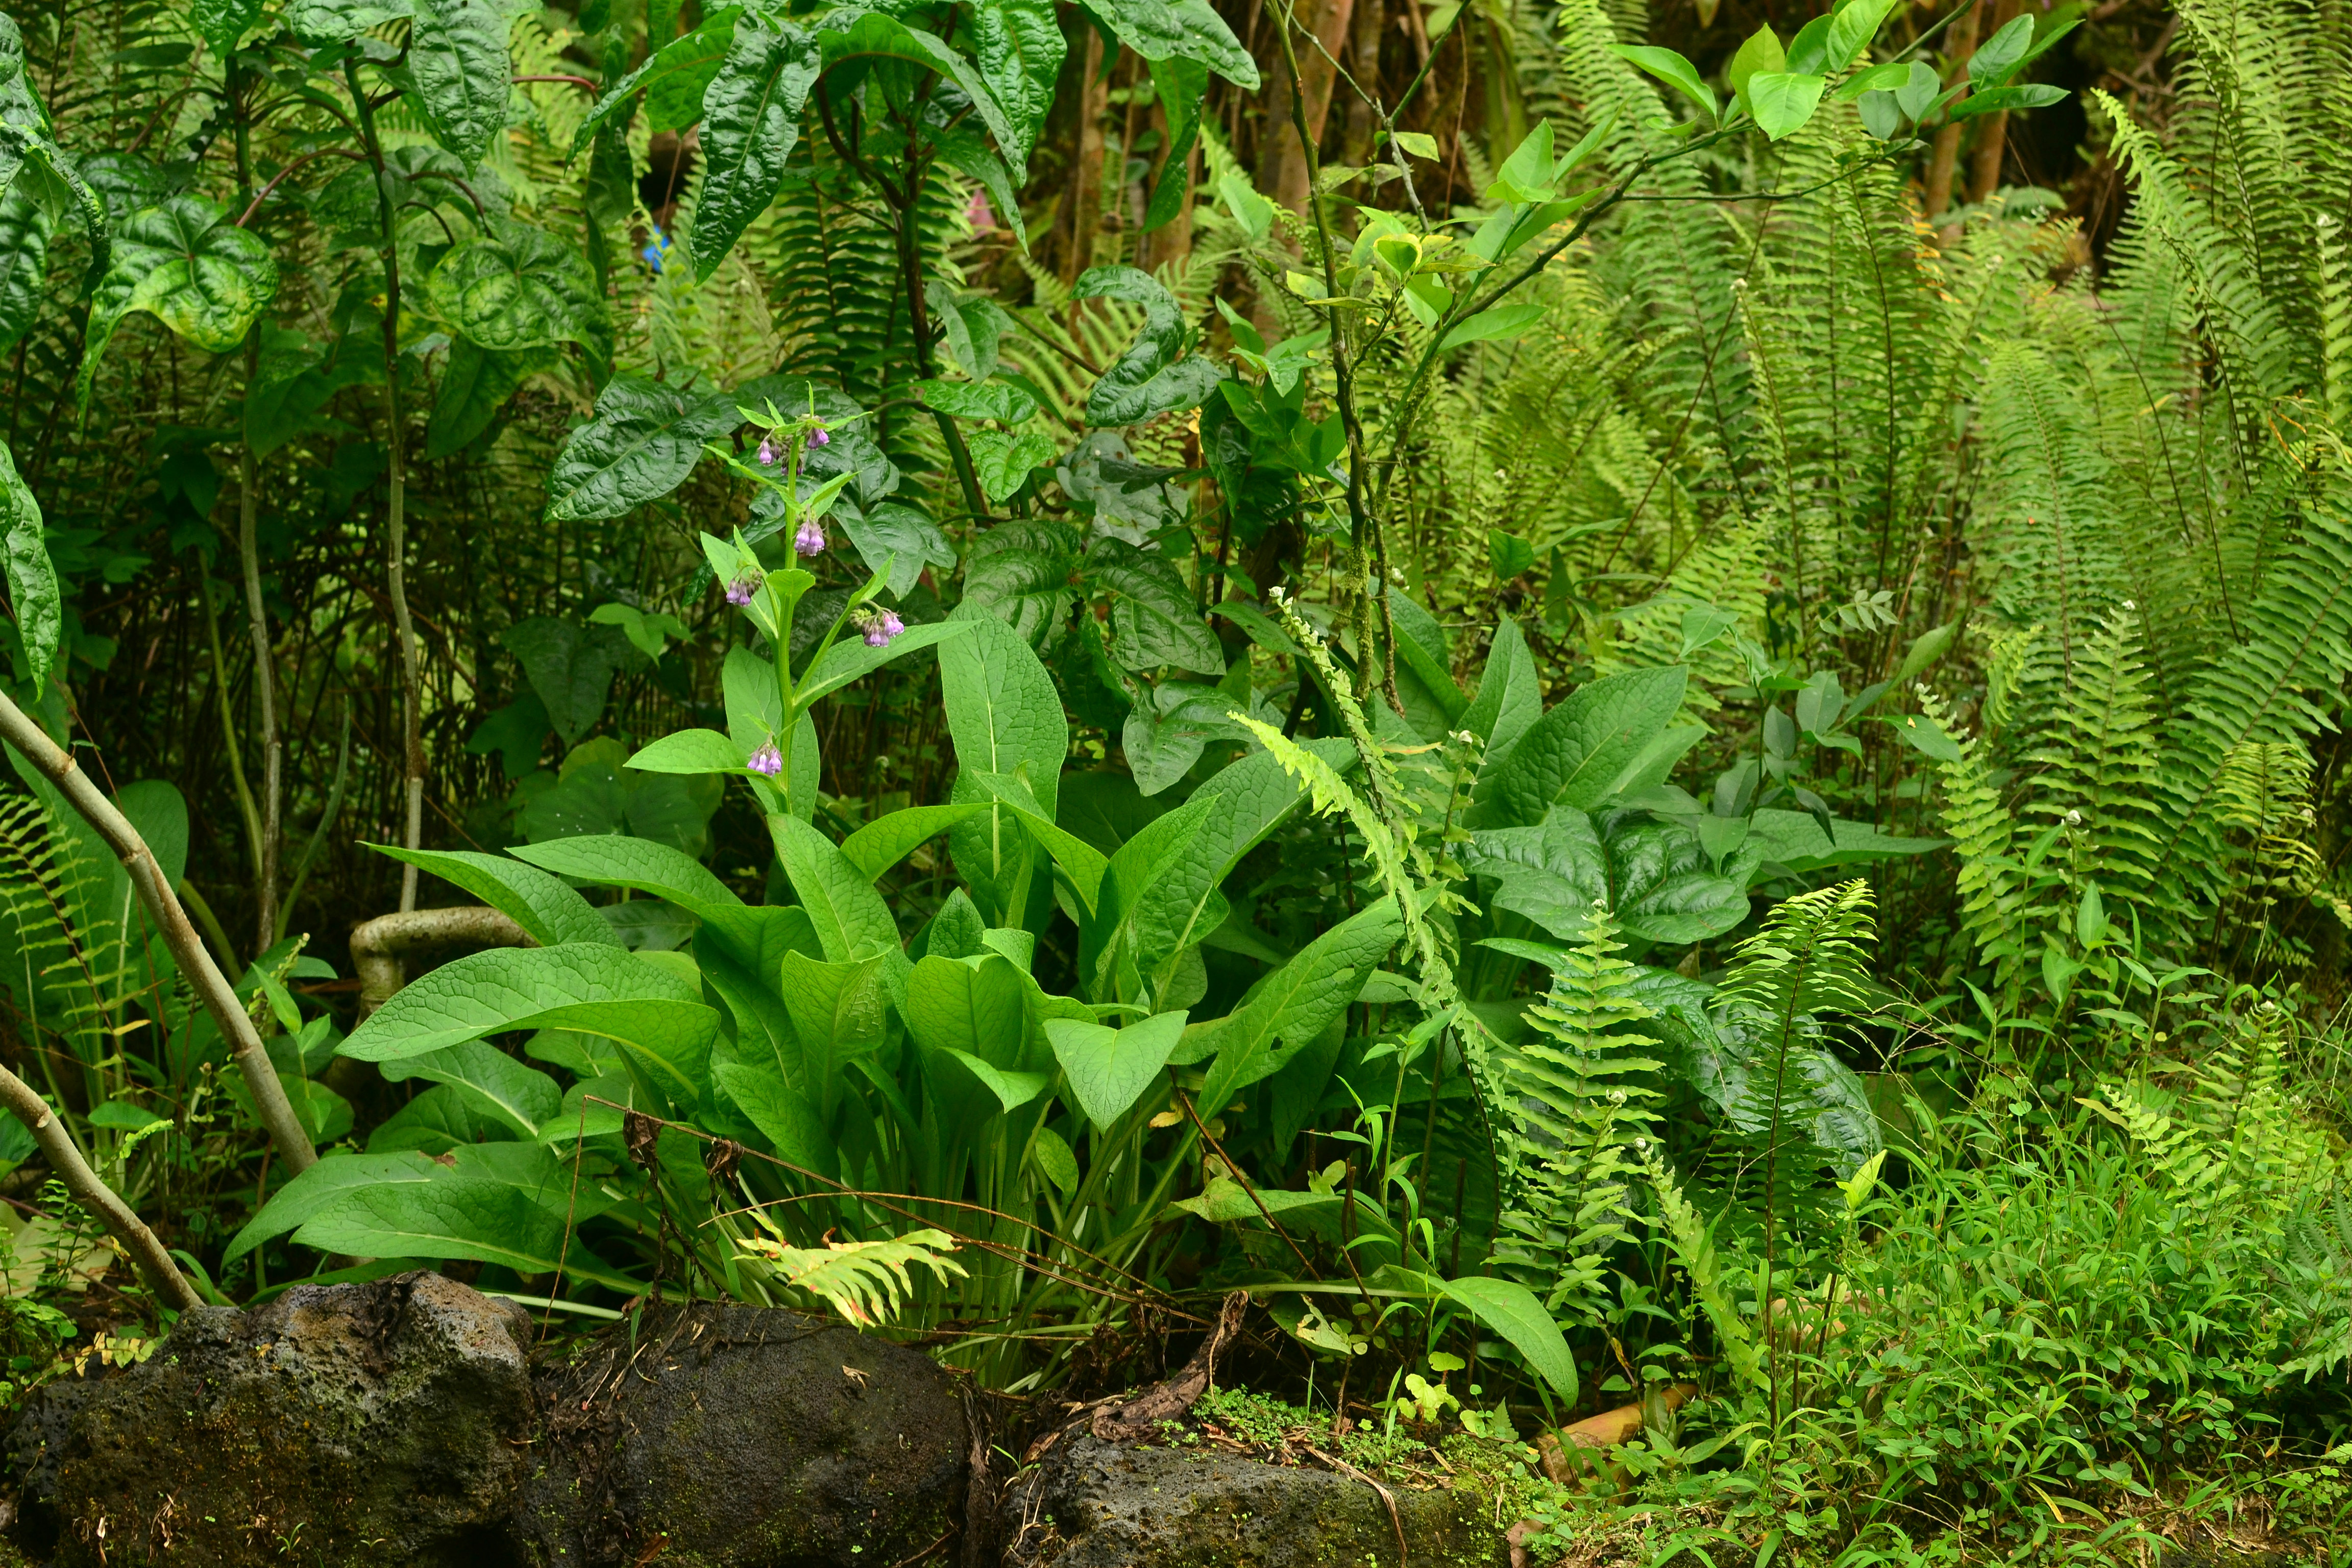
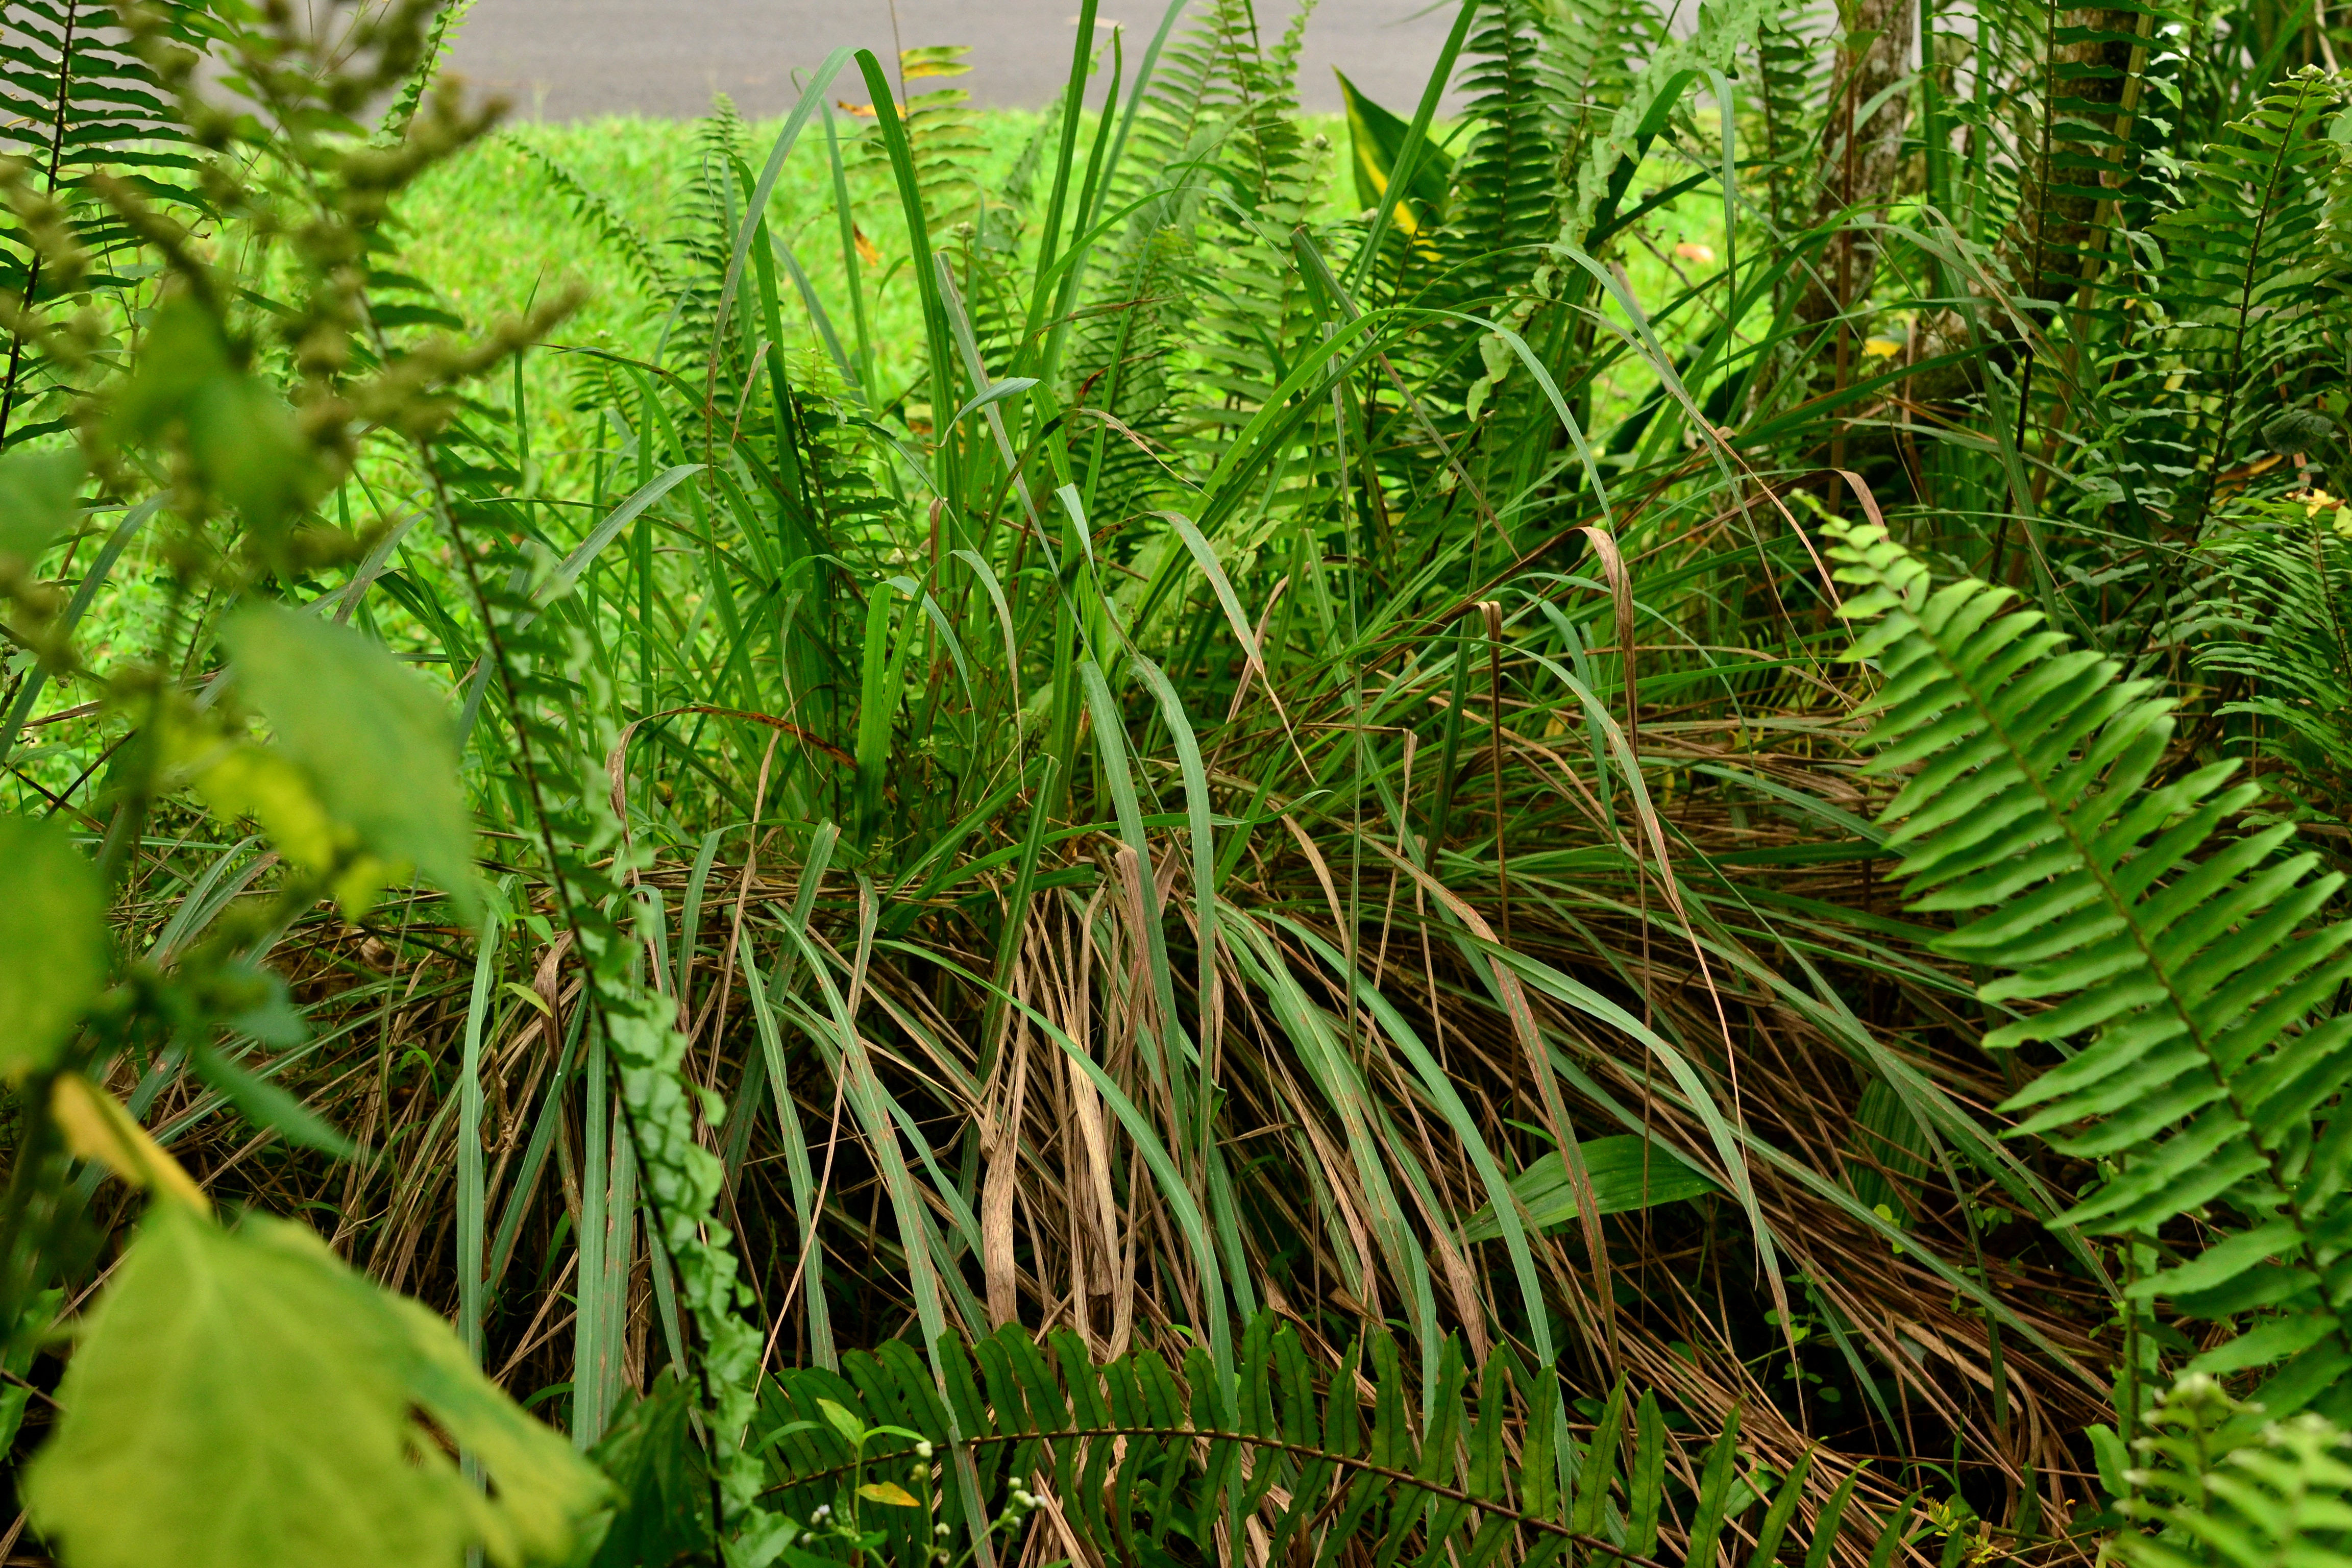
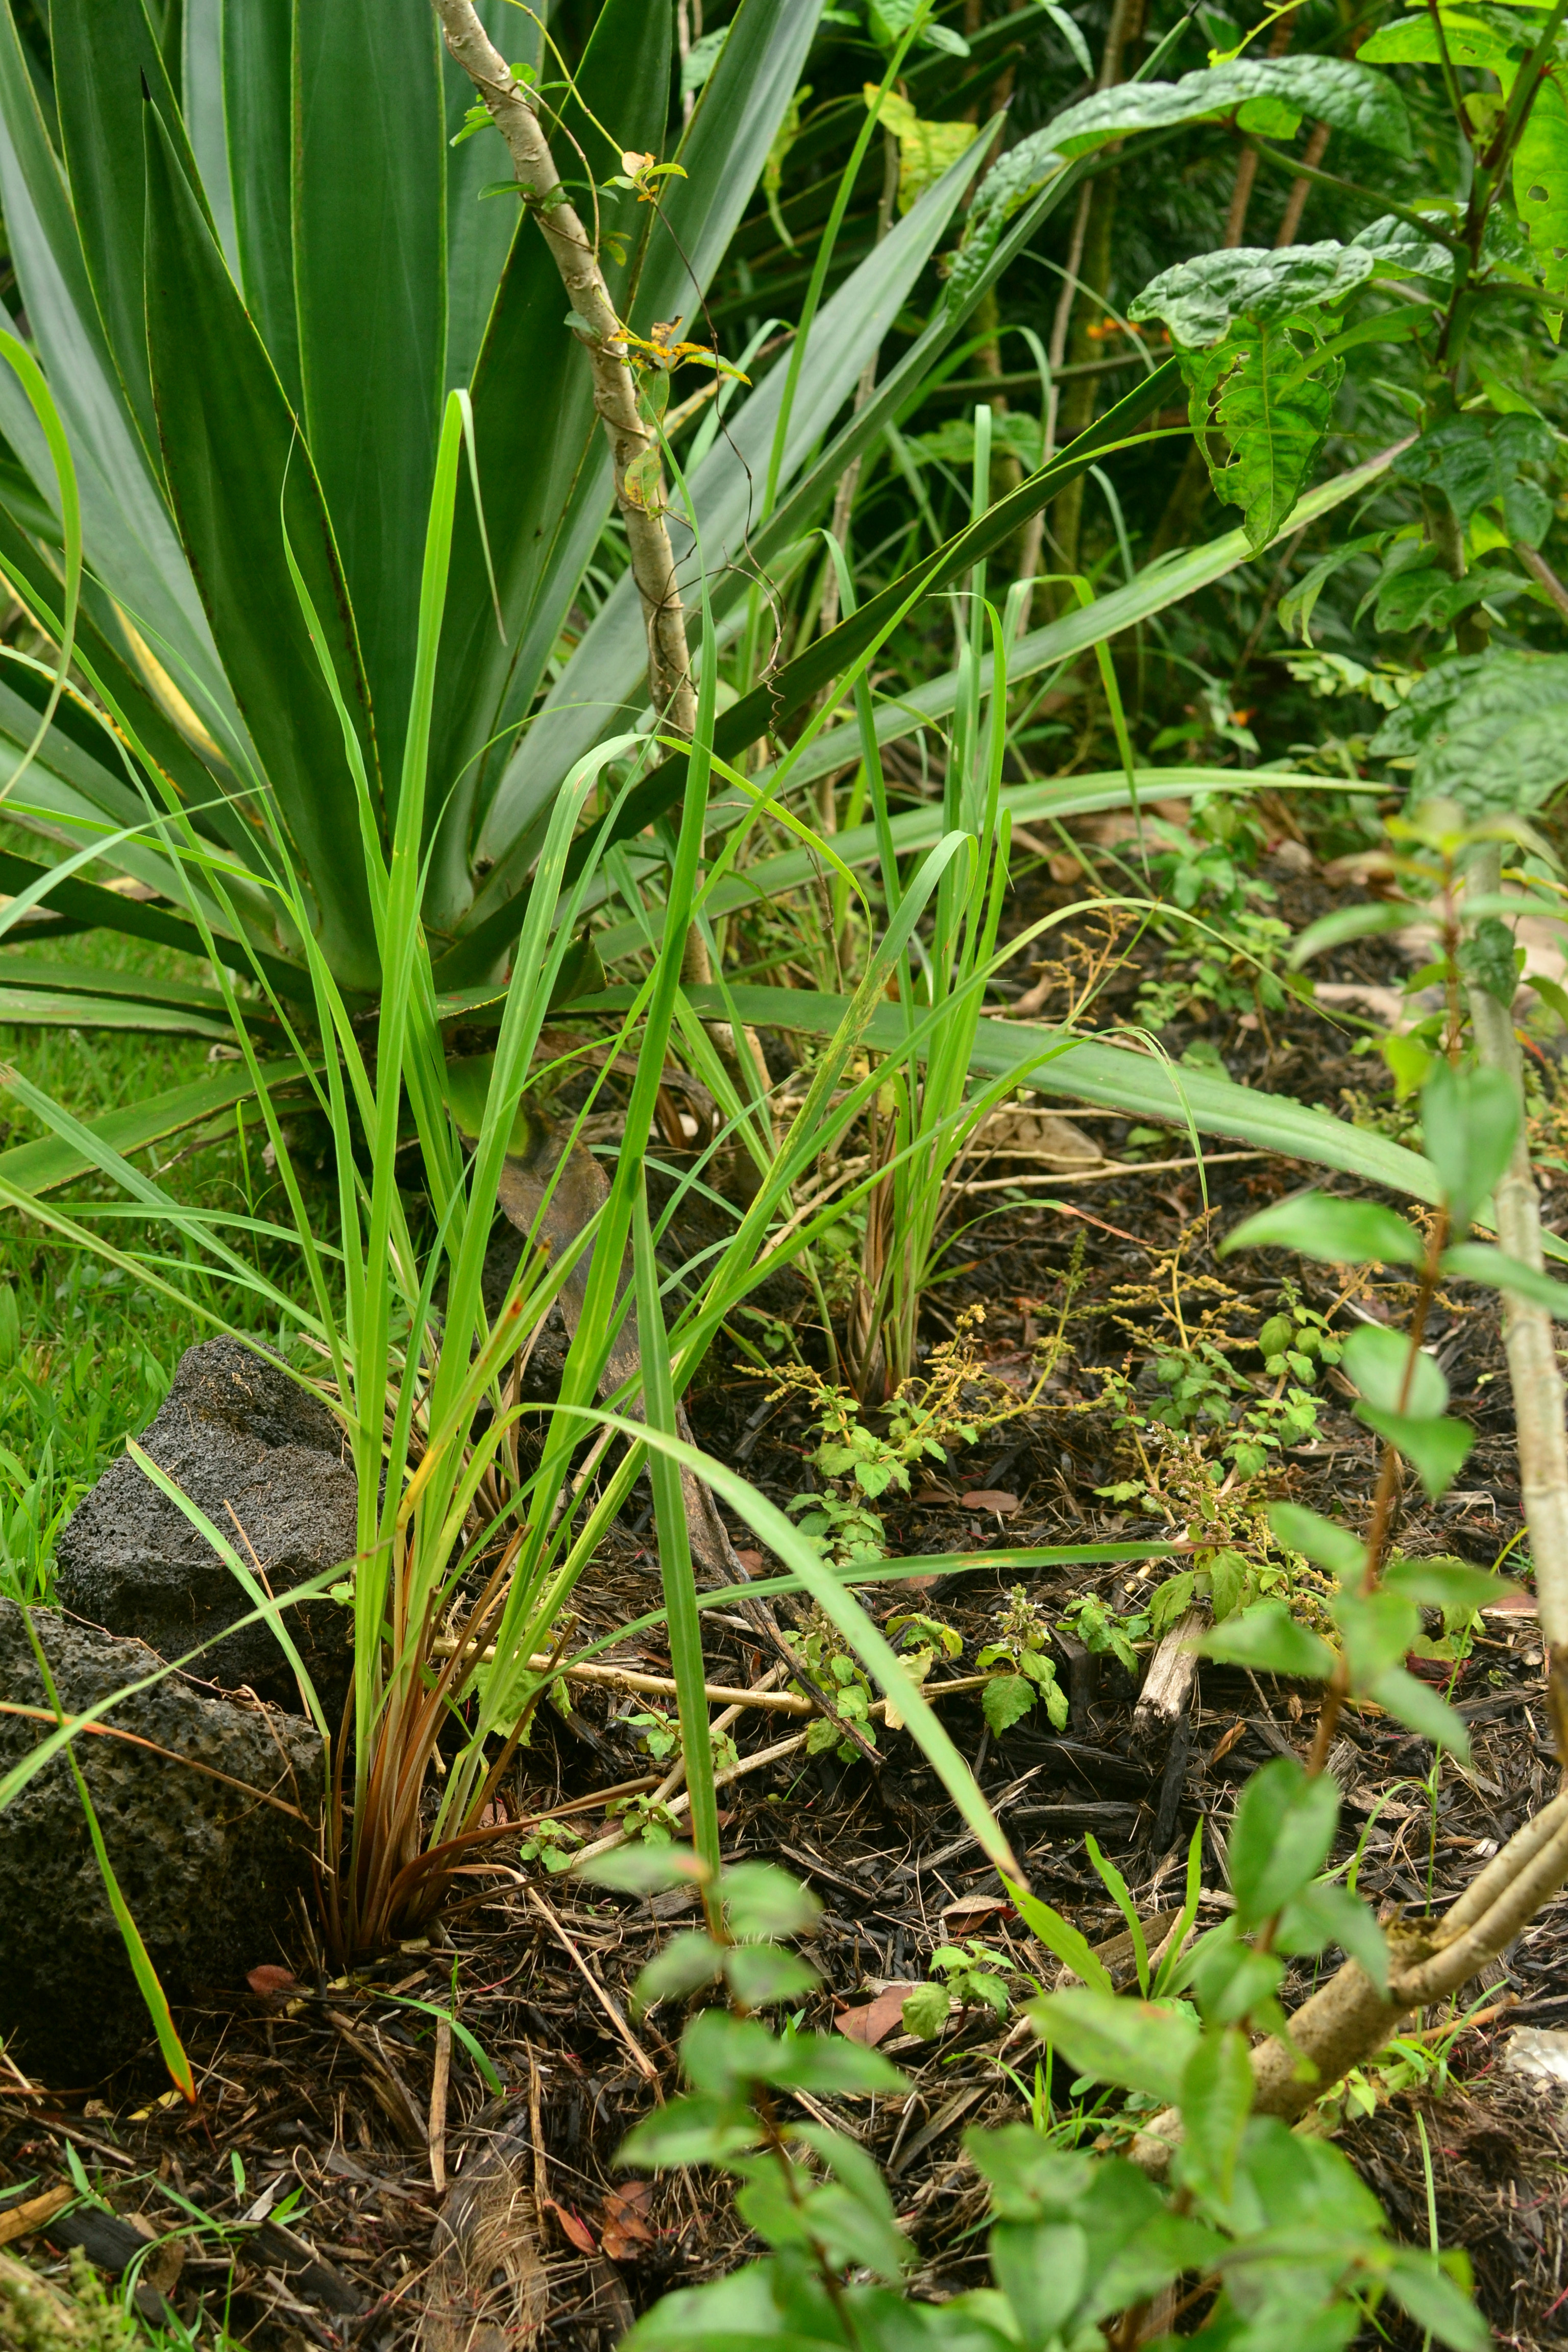
Multi-diverse agroforestry with chaya overstory. Including: elderberry, cassava, edible hibiscus, balsa, Alocasia spp., mexican sunflower, tree tomato, bamboo, ginger, turmeric, and i’m sure more!

DSC_0320

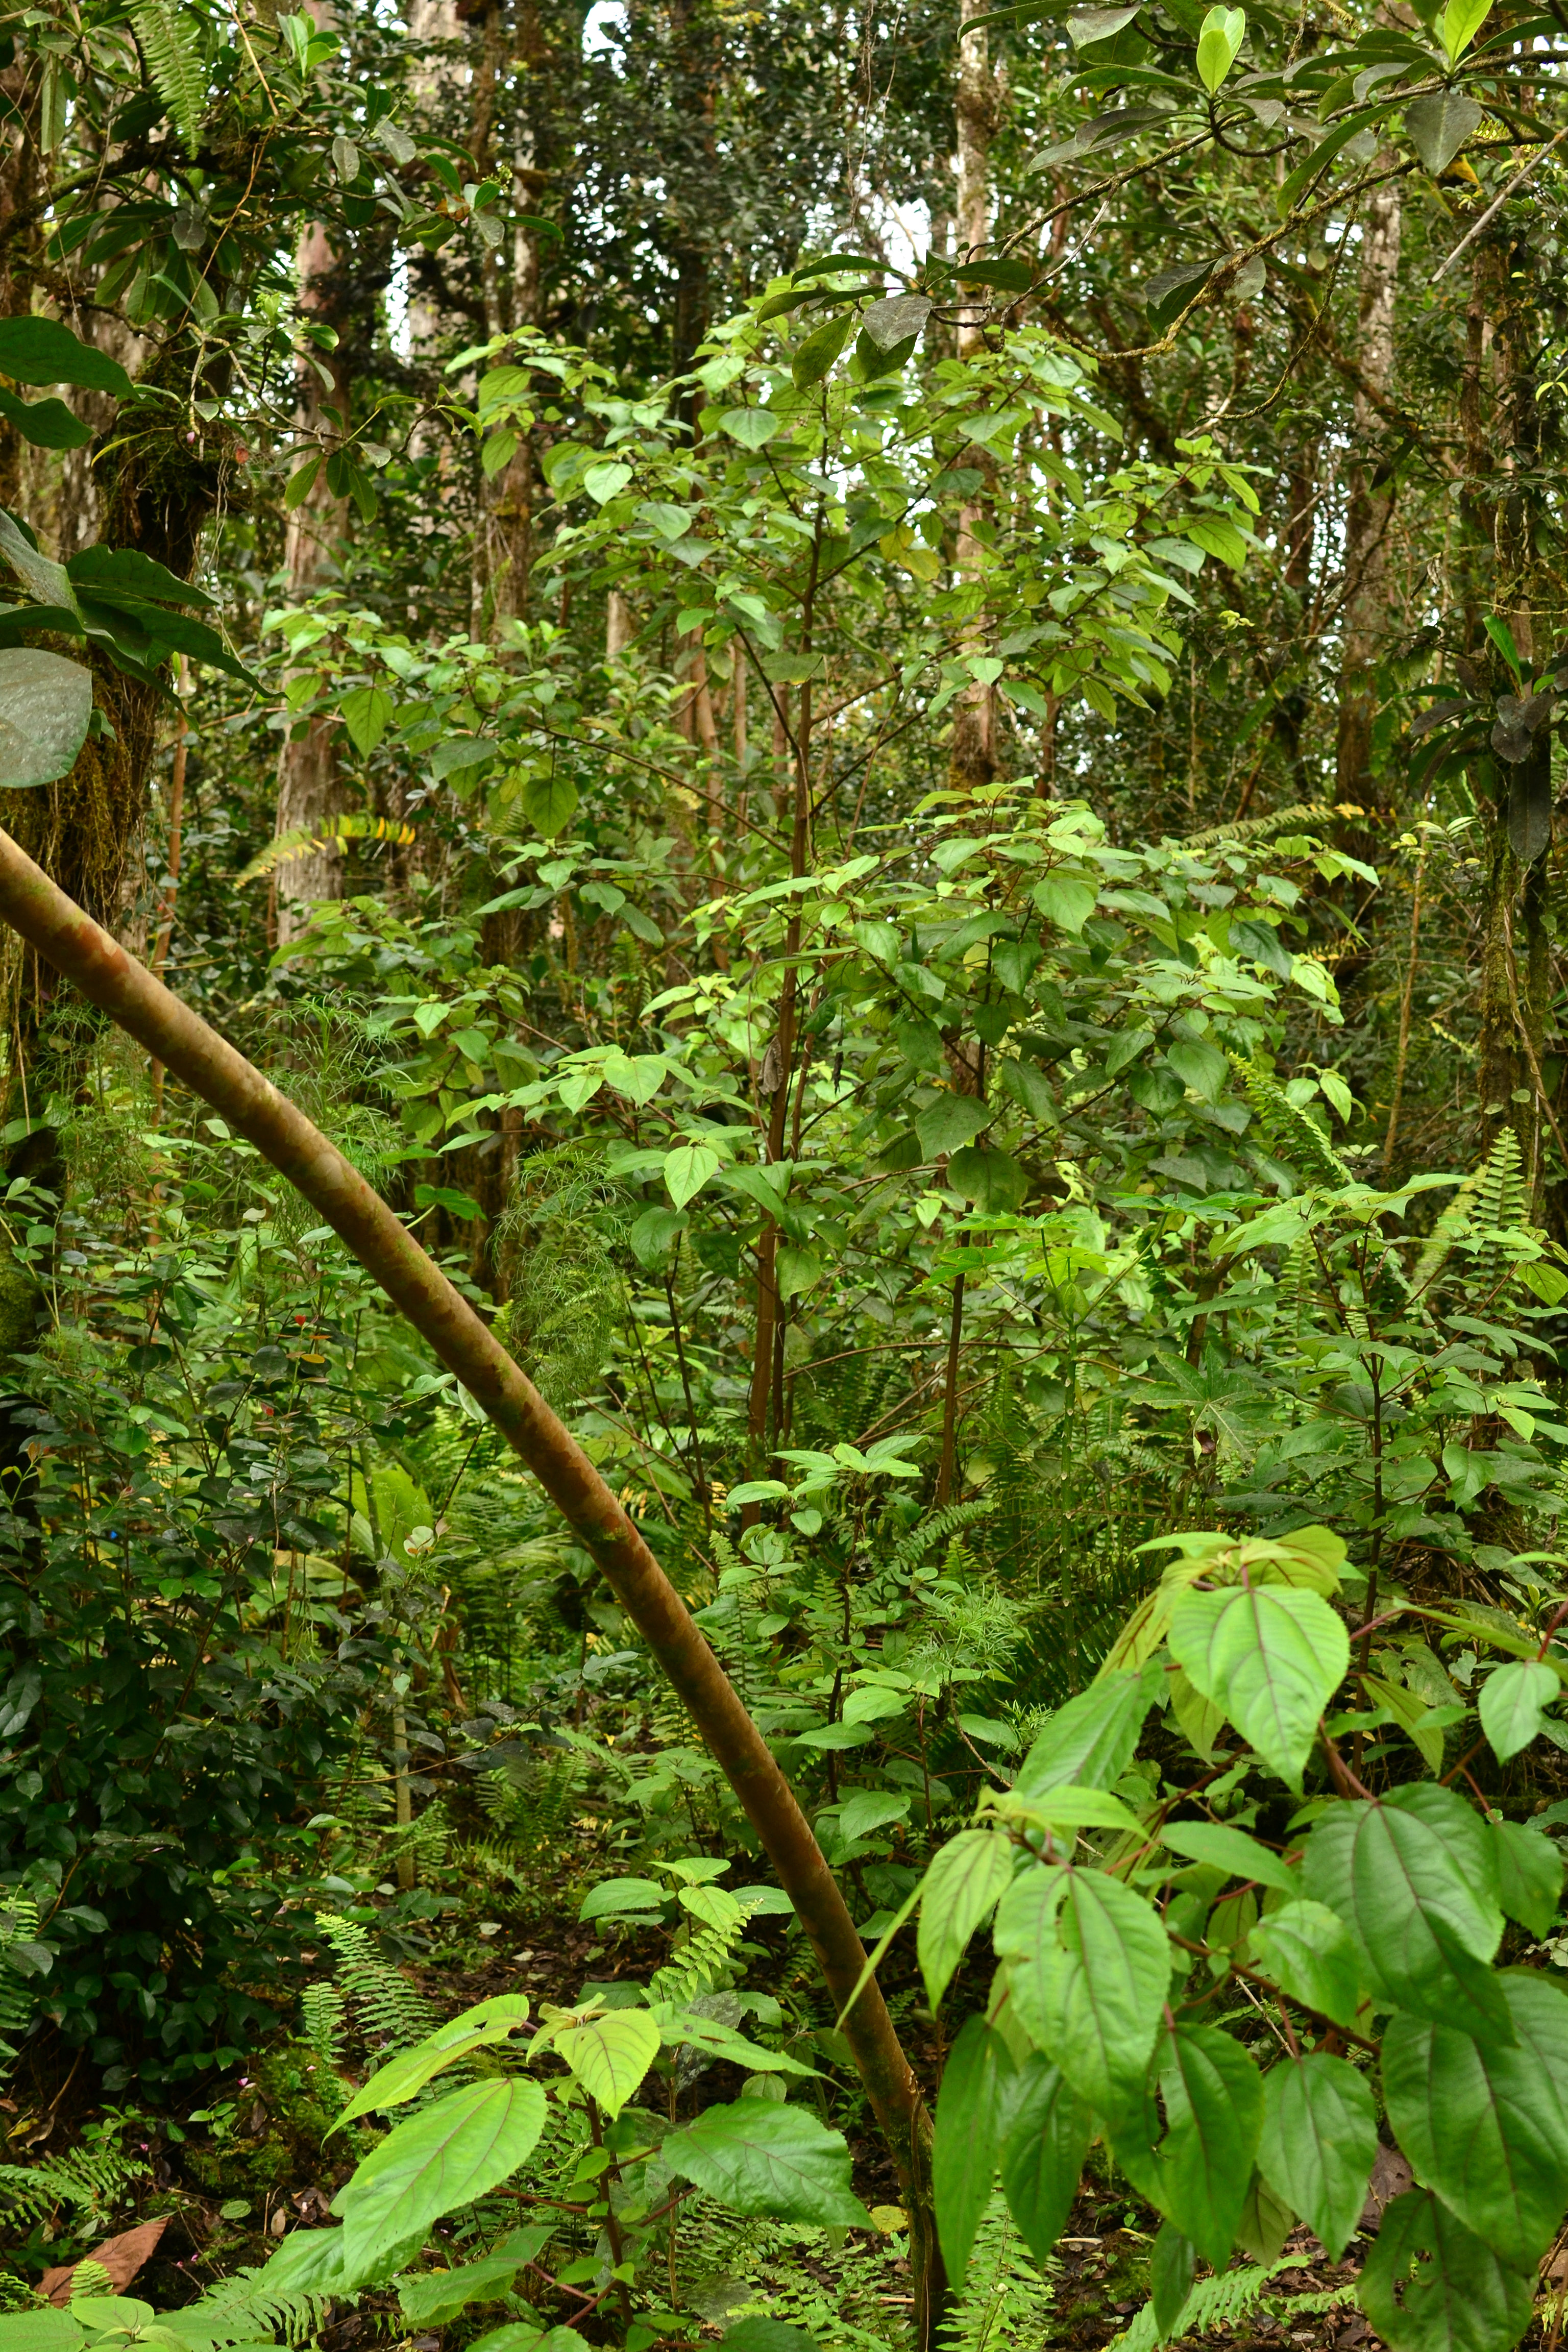
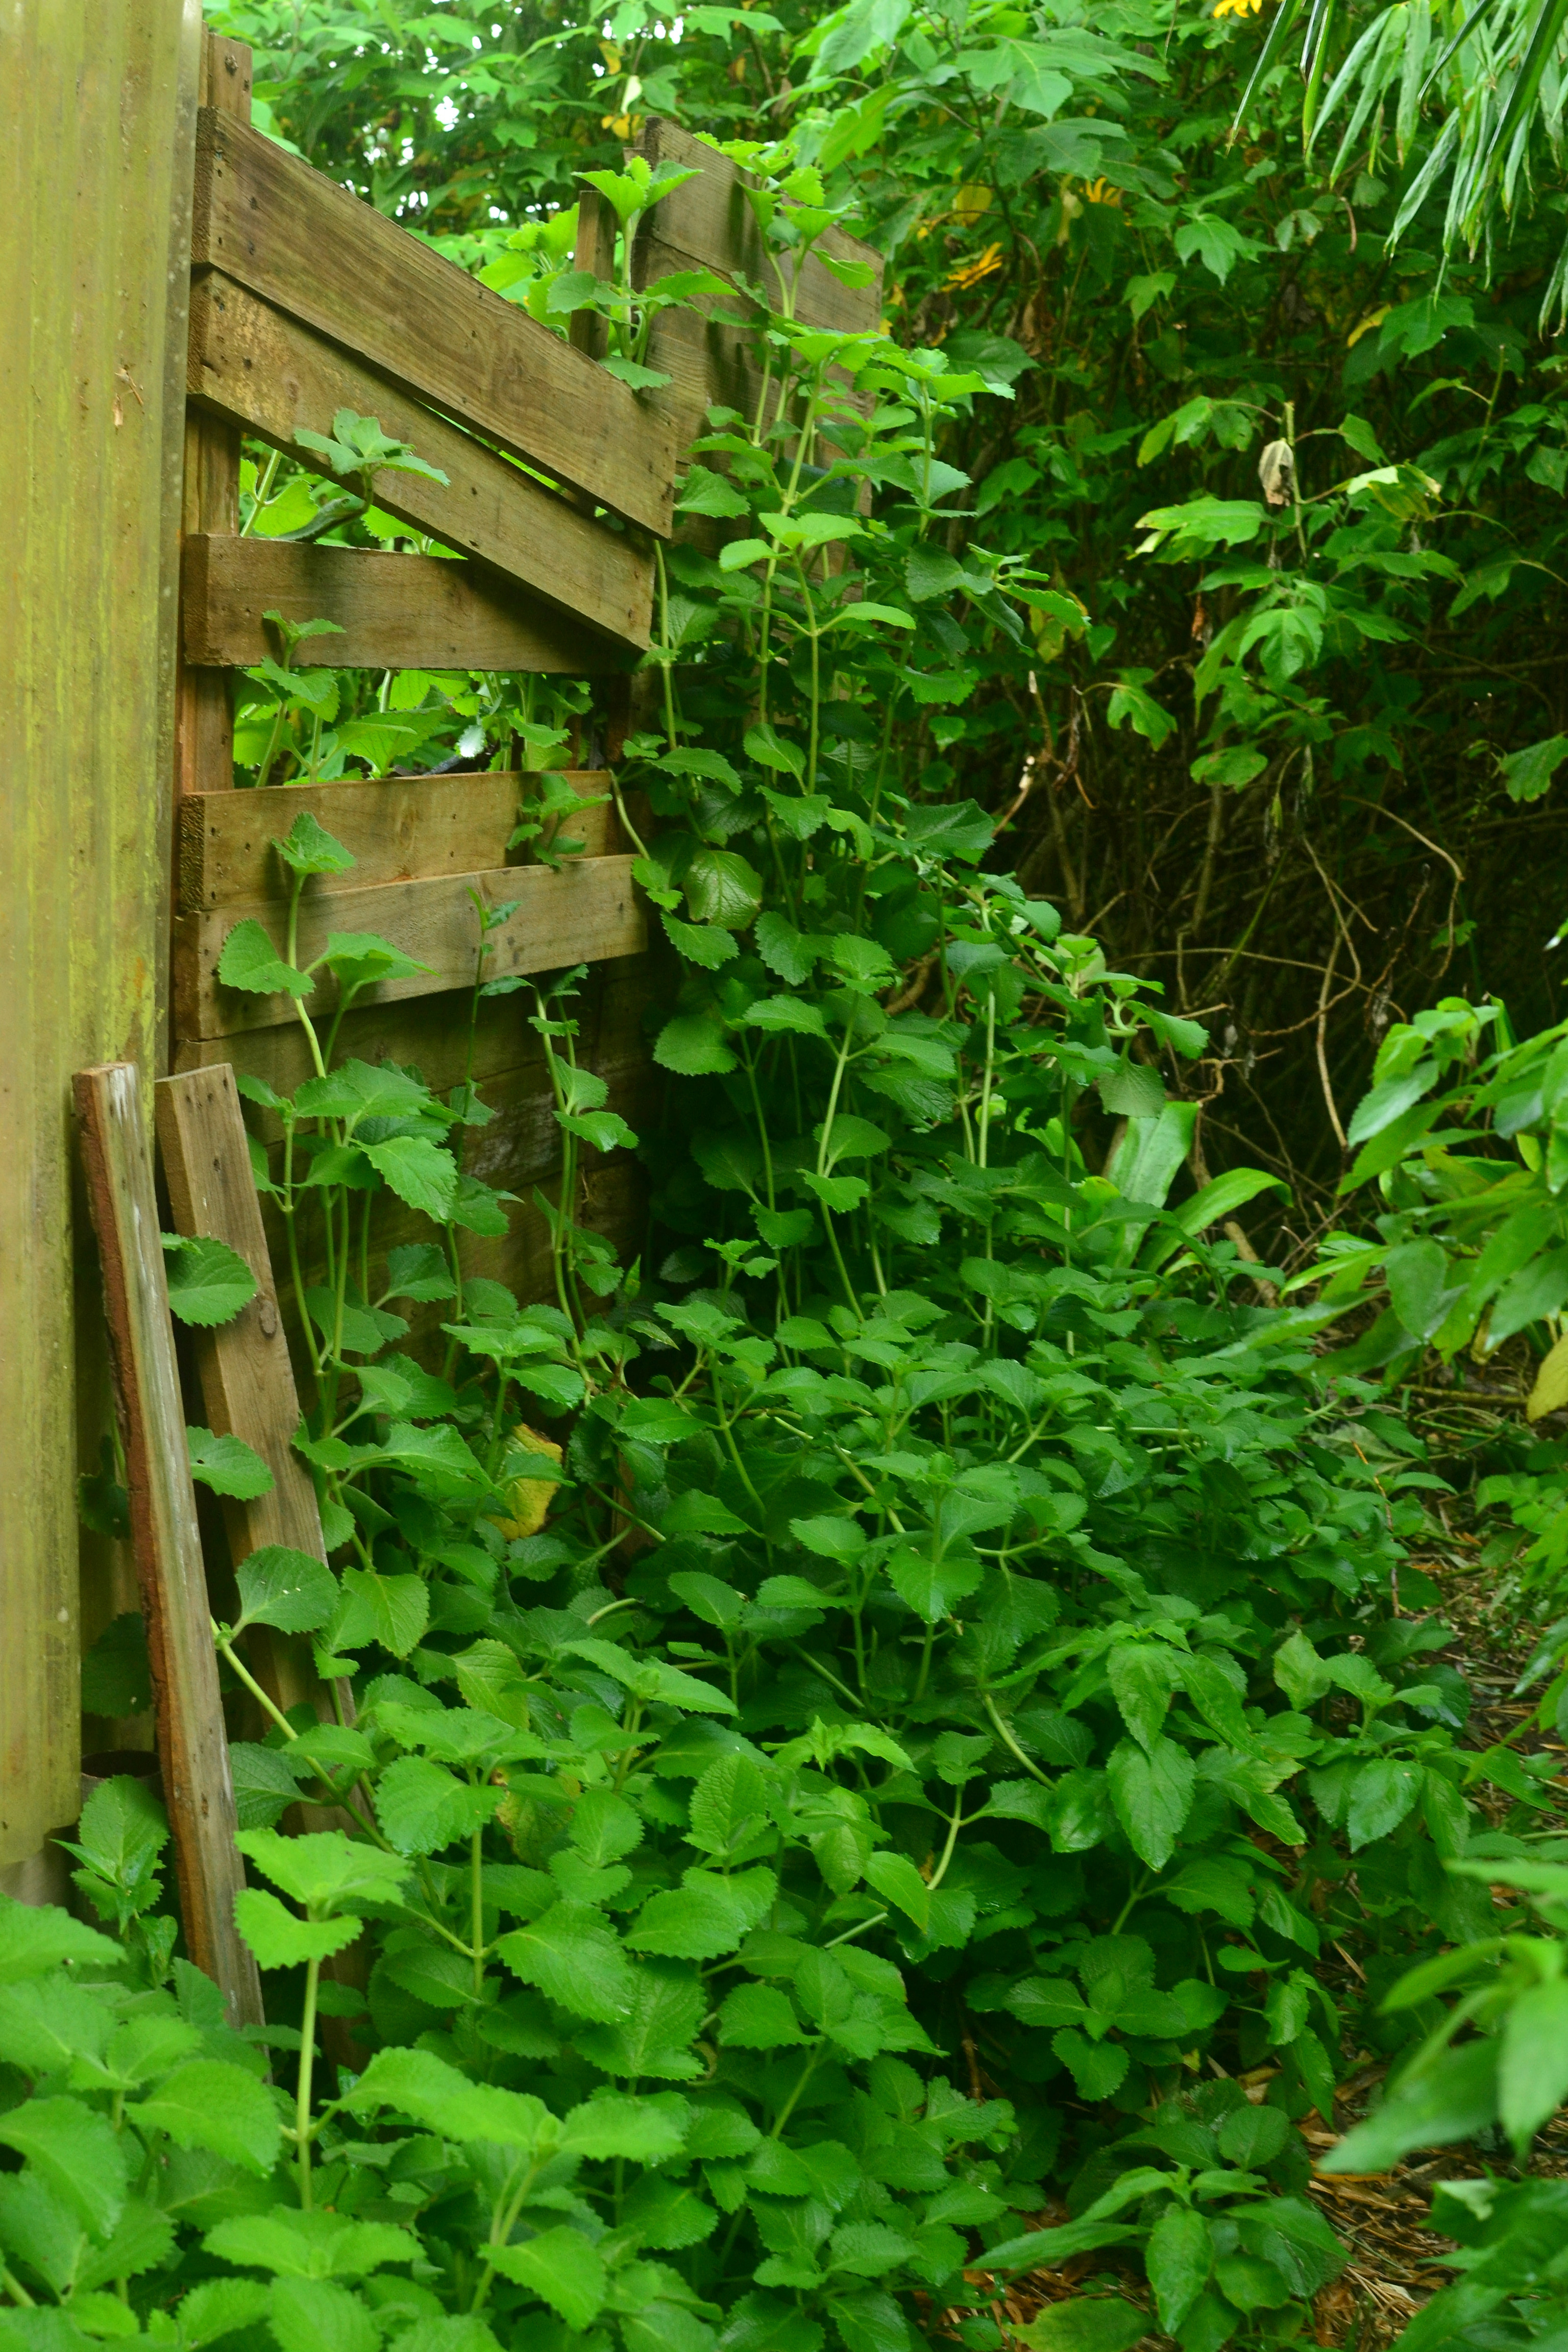
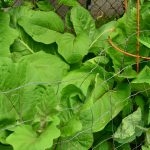
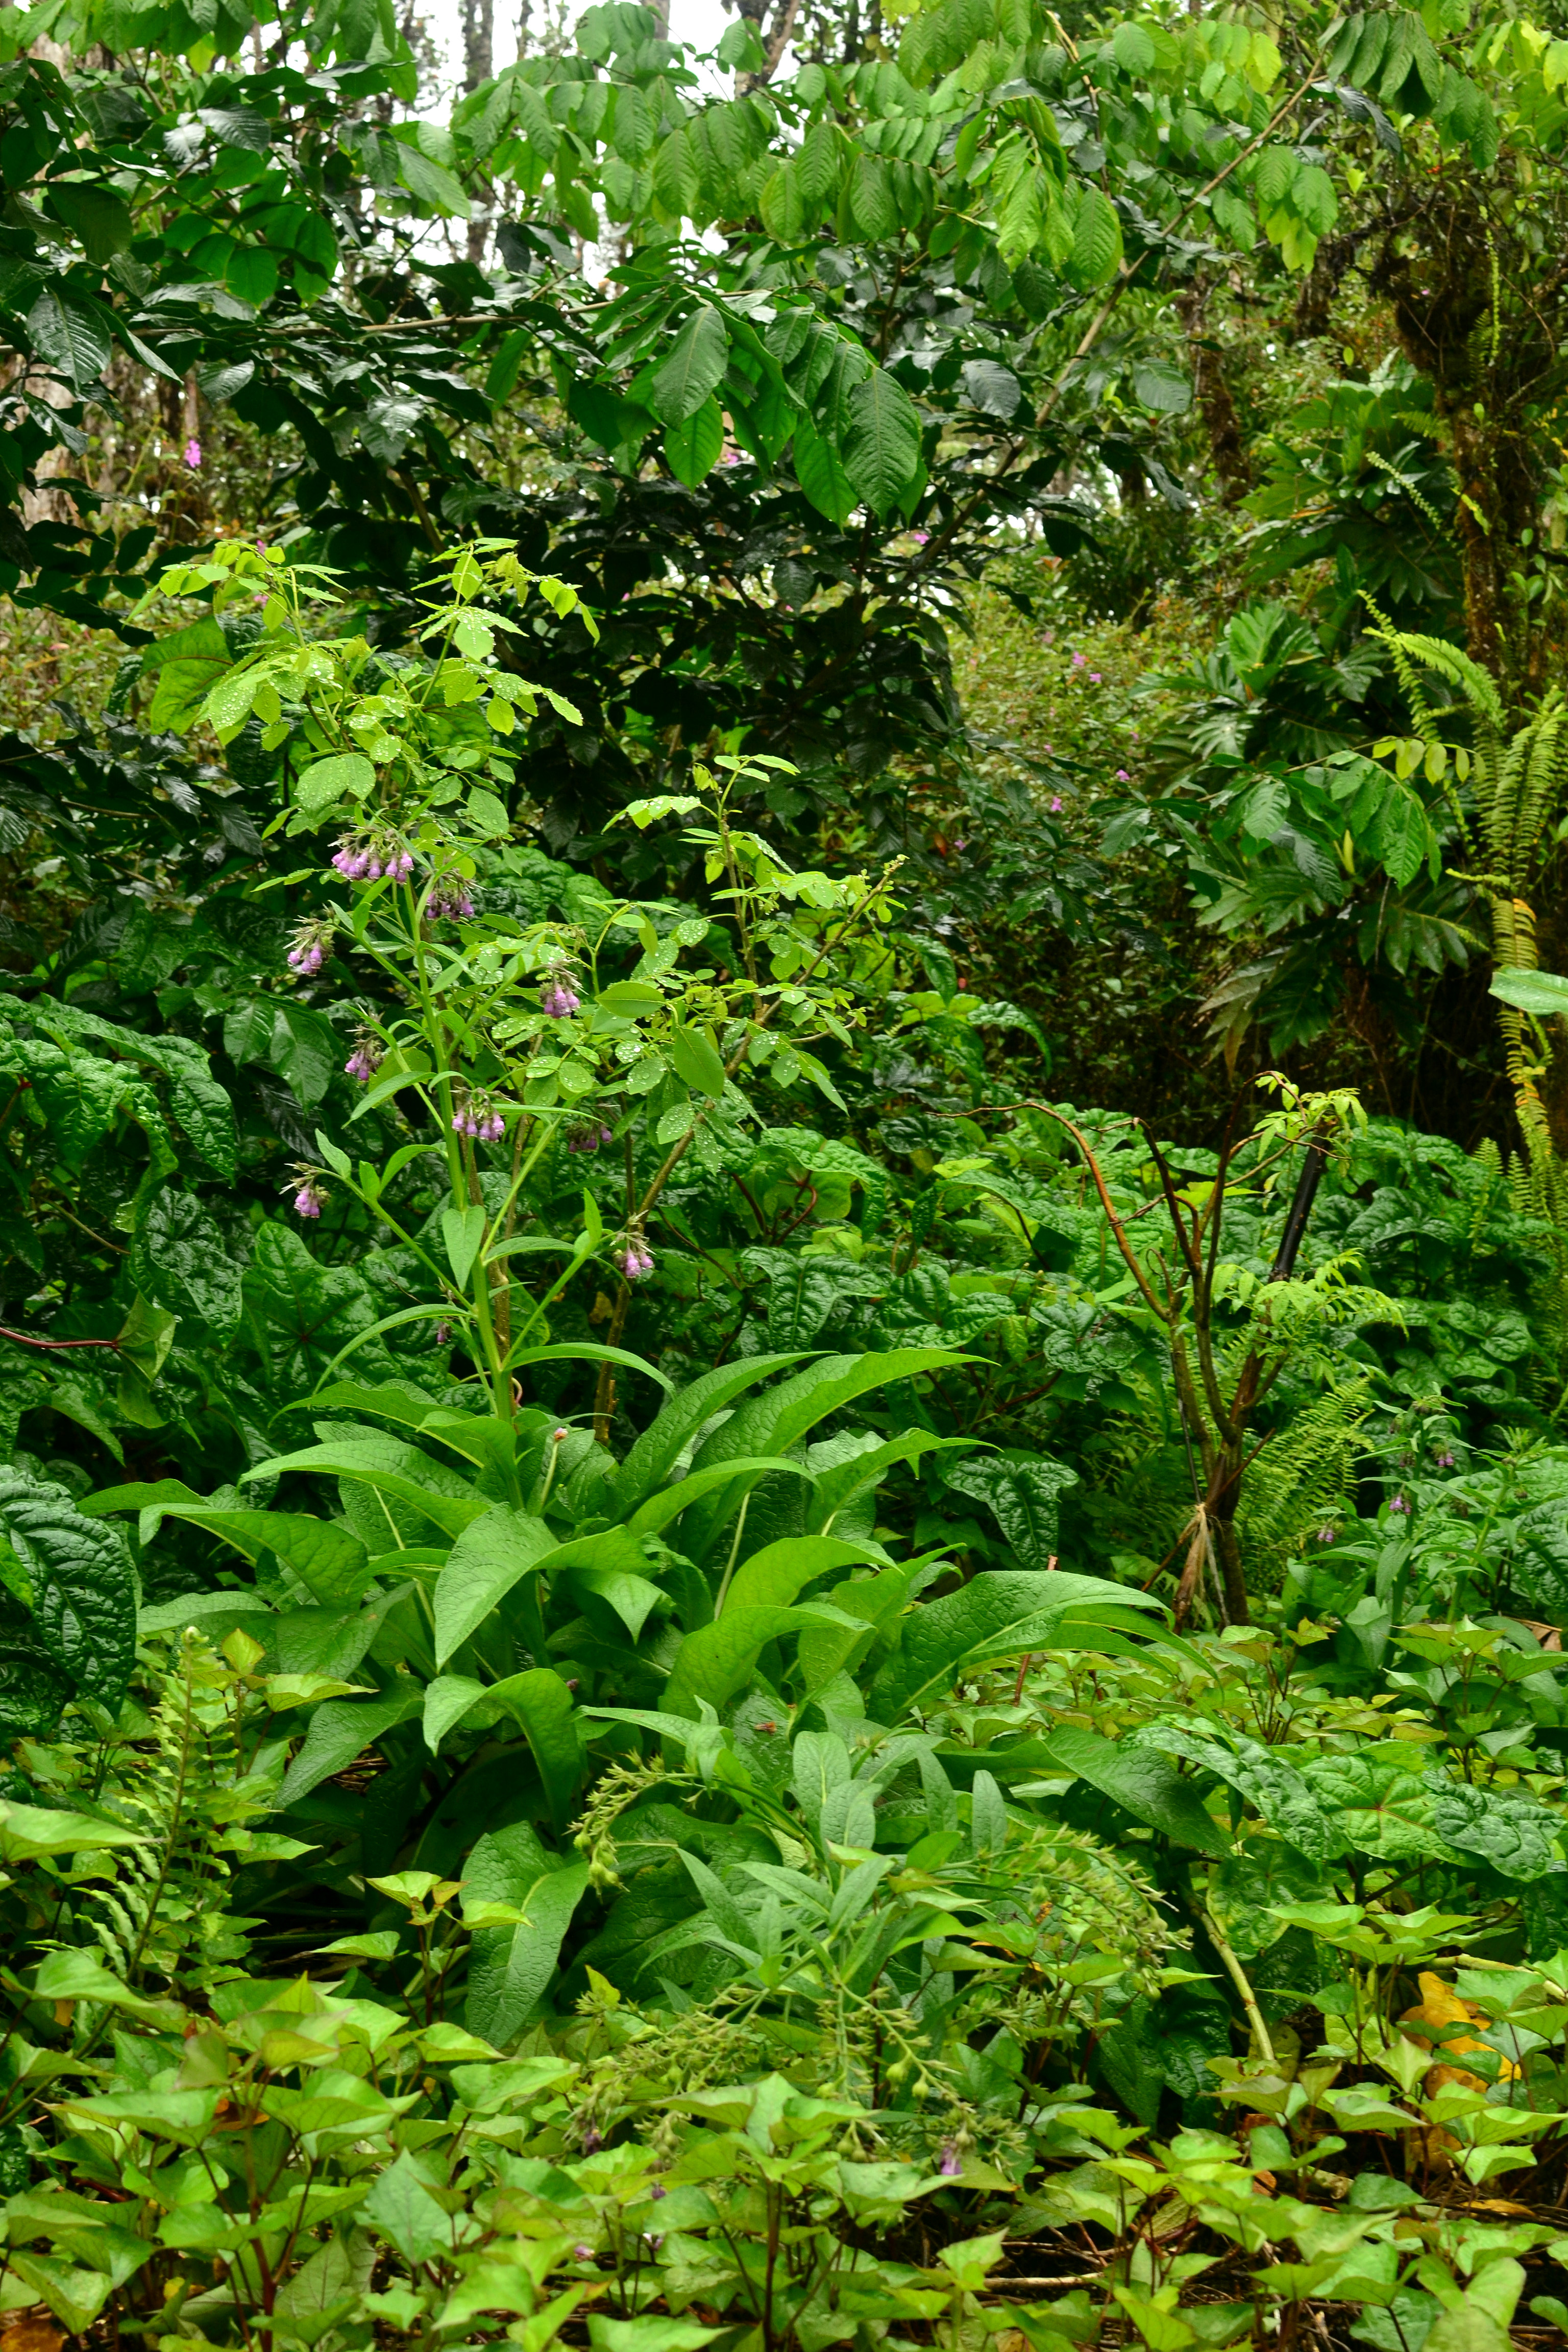
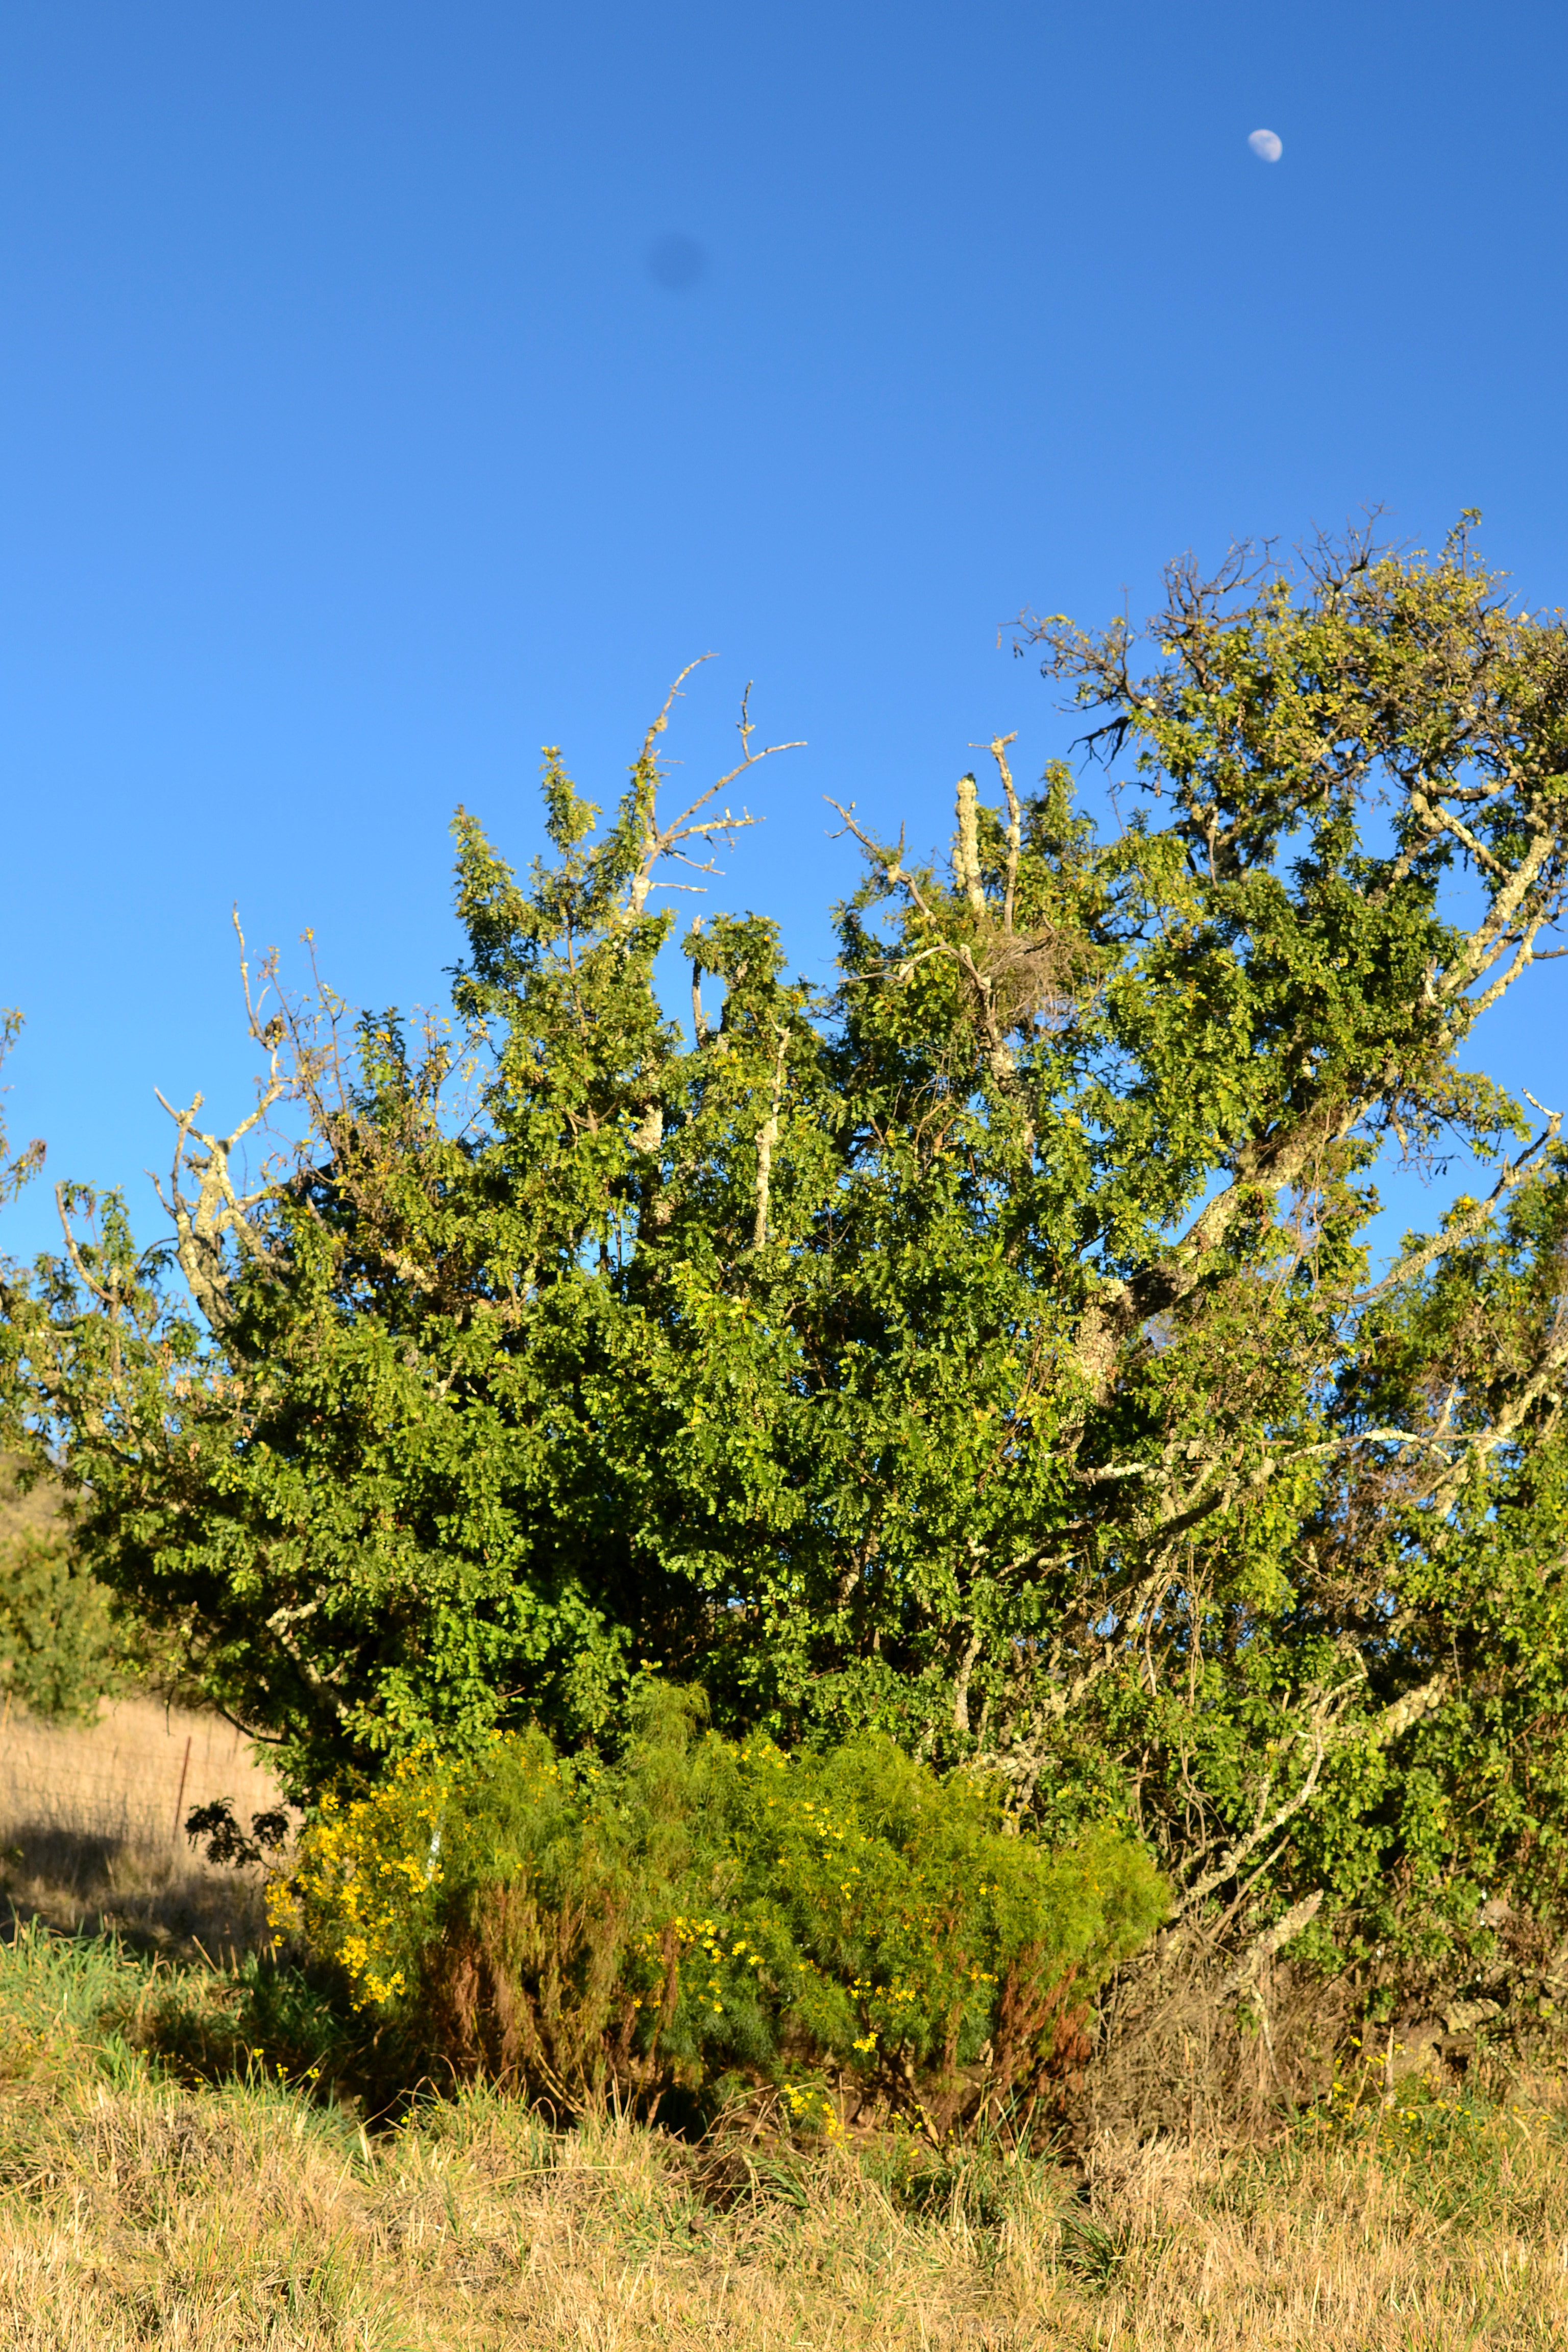
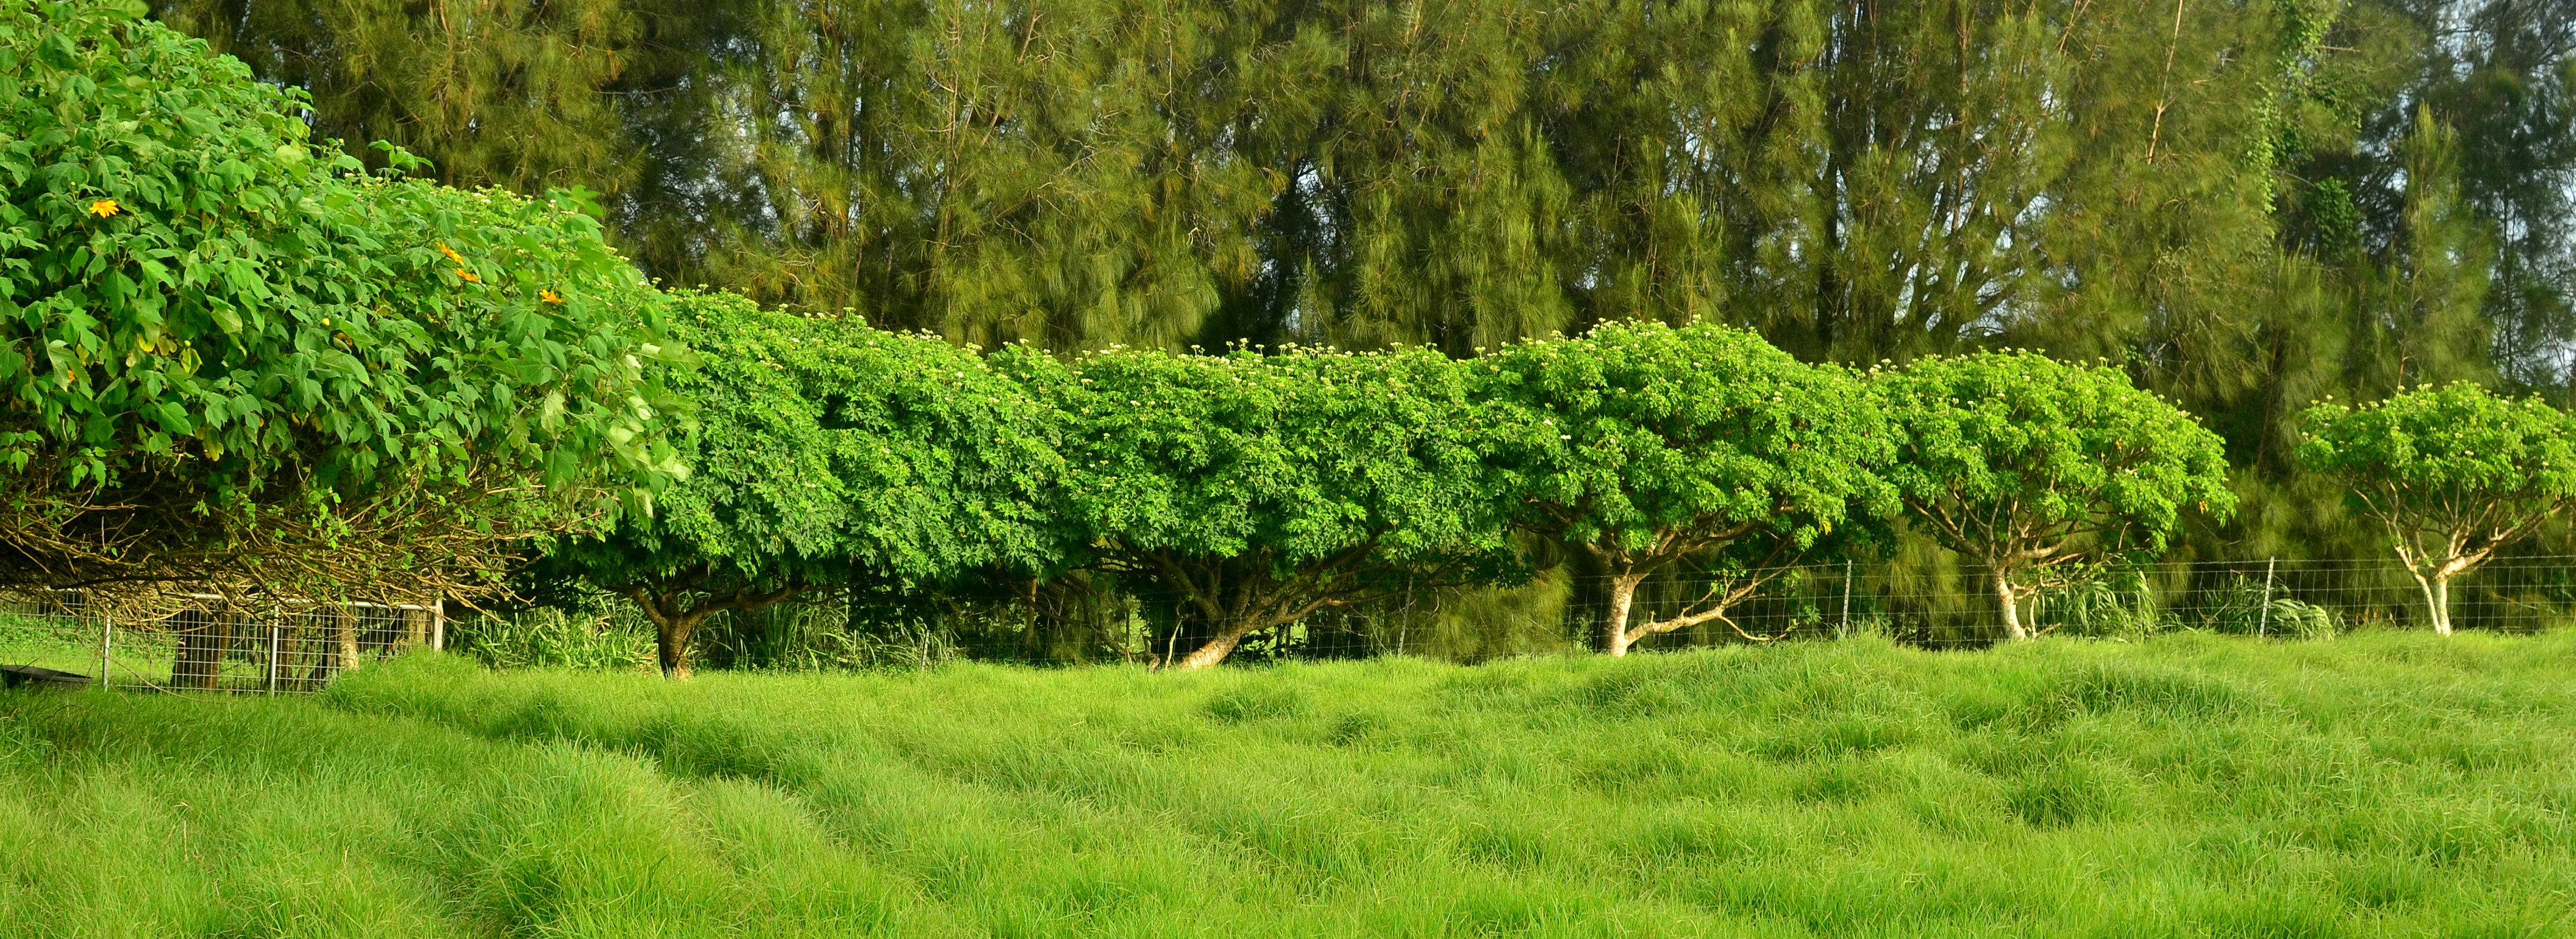
Spiny chaya growing to its full potential in a multi-diverse windbreak. Mexican sunflower, bamboo, banana.

DSC_0719

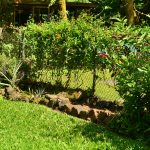
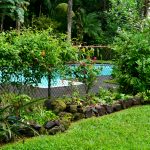
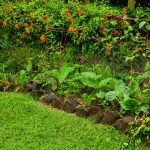
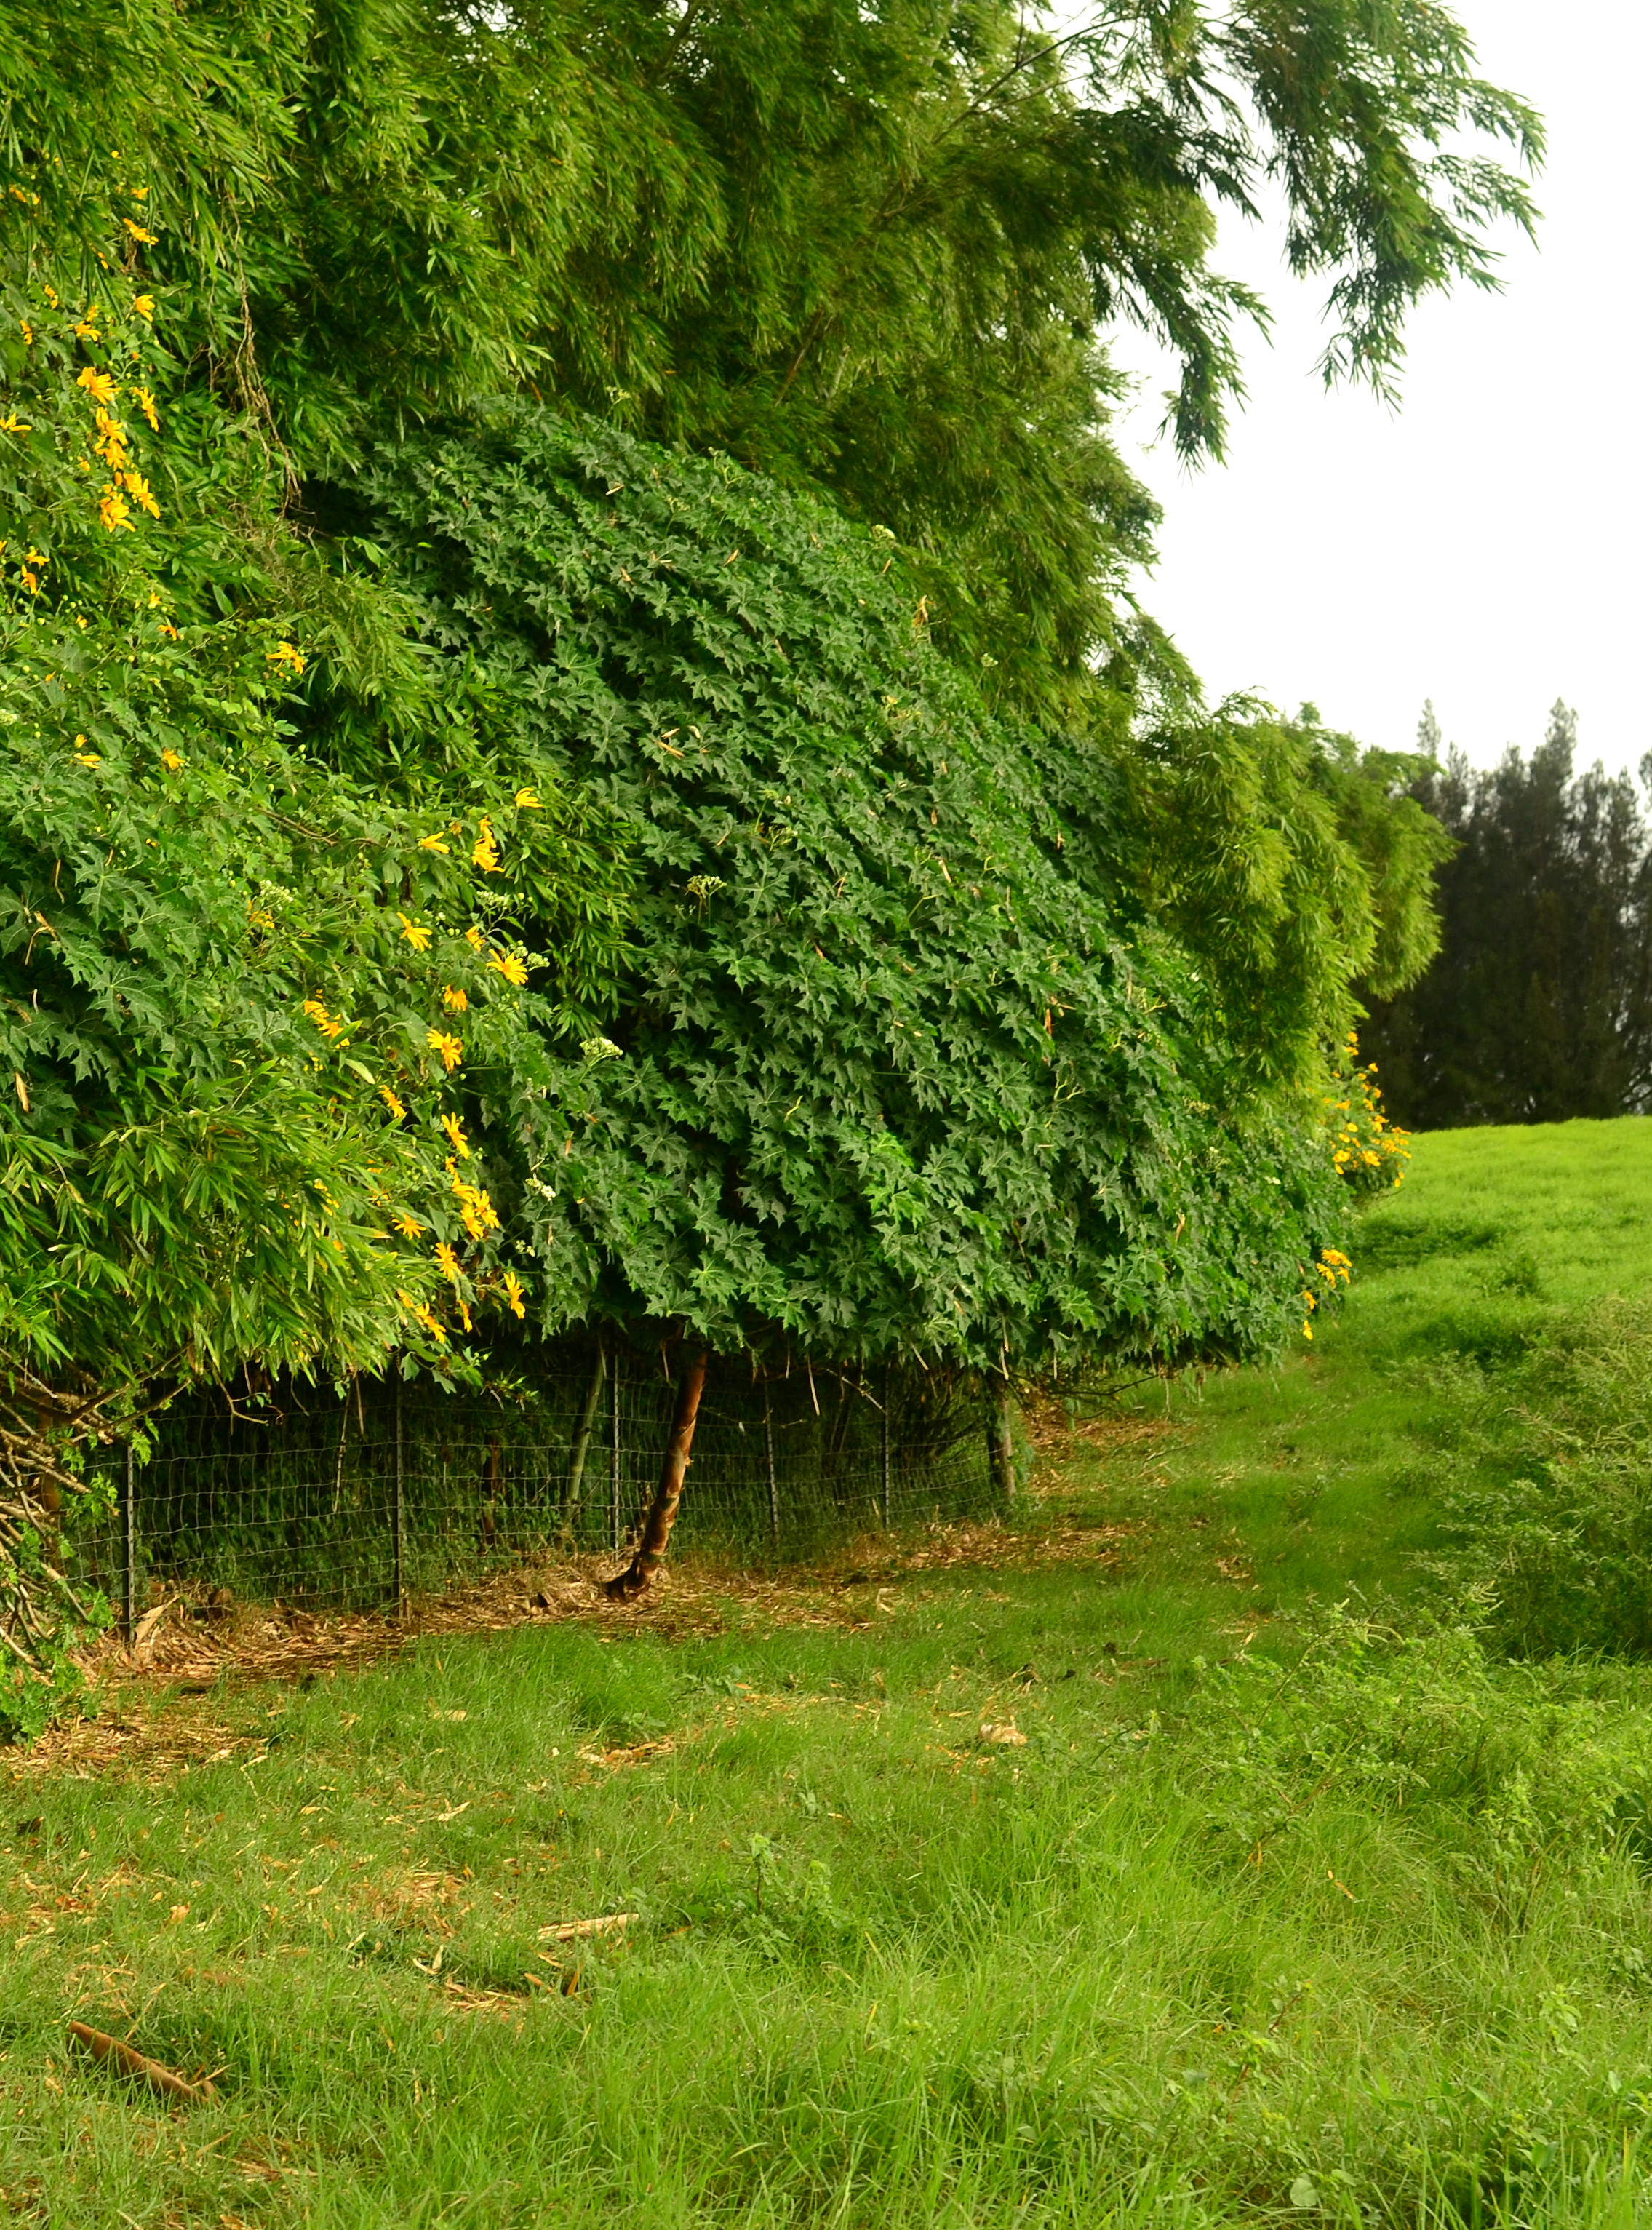
Spiny chaya privacy hedge. Growing to their full potential. Notice the spacing to have a full wall.

Happy Gardening!

Sacha Inchi (Plukenetia volubilis)

Description

Sacha inchi, Plukenetia volubilis, or inca peanut, is a highly productive perennial vine that produces edible nuts and leaves. These nuts are high in protein, oils, and fatty acids omega 3, 6 and 9. Some people call them a superfood. The vine climbs up to about 7’ and tops off. This plant contains toxins in its raw form and must be roasted prior to eating. The nut flavor is slightly peanut like and the leaves may be eaten or drank in tea form after roasting. The fruits are extremely ornamental and always make people stop and look!

DSC_0449

Vine climbing pink trellis

DSC_0444

immature fruits

Propagation

Sacha inchi is propagated by seed. Check out my seed propagation blog. Plants can be grown directly in place or planted in a pot and transplanted once 6 inches tall. Seeds germinate fairly rapidly within a few weeks.

DSC_0492

Direct sow seedling

Care

Sacha grows at a moderate pace and is not overly aggressive. Weed around them and put them on a trellis. Once they get going there is no maintenance. Apparently harvests are typically around 100 nuts and the plant produces nearly year round. Making about 4-5 harvests leaving you with 400-500 nuts per vine per year. The nuts also have an extremely long shelf life if left inside of their shells (at least a year in my experience).

Eating

Sacha inchi flowers 5 months after sowing and nuts are harvestable around 8 months. Allow fruits to fully ripen and dry on the vine, yes even in an extremely wet environment they will dry on the vine. Once they are brown and dry you can pick them off the vine.

Shell them using pliers then roast them. This may be done in a pan as well. I also sometimes throw a few in soup or curry and boil to add some extra nutrients to my meals.

DSC_0468

All Stages of processing: Right – dry harvest. Middle – open shell. White nut- edible part. Brown shell – use pliers to open to get edible white nut.

Where to obtain planting materials

This plant is still a little bit rare here on our island. Ask someone growing it for seeds, as they are so prolific and easy to share.

My Garden

I’ve been growing sacha for just about two years now. I originally had 5 vines growing. Two didn’t make it through the sulfur and lava event but three made it. These plants are just starting to get going once again and are full of flowers and immature fruits. This is just a hardy beautiful plant. It look me a while to figure out how to eat it since there isn’t too much information in that respect out there. And now I recently acquired what I was told was a sacha relative, Plukenetia spp., but as of now looks really similar so I’m not sure if it is a different species yet, but we will see once it starts growing more and flowers. What a fun plant to grow!

DSC_0448DSC_0437

DSC_0486

Sacha relative growing with sissoo spinach


Happy Gardening!

Mamaki (Pipturus albidus)

Description

Mamaki, Pipturus albidus, is a Hawaiian endemic medicinal tree. Mamaki is a short-lived, fast growing pioneer specie that grows 10-30 feet, typically 10-15’ during the first year. The leaves are commonly used as a general tonic and cure-all in the form of a delicious tea. This plant hosts our endemic butterfly, Vanessa tameamea, in its caterpillar stages and adds beauty to any landscape.

Mamaki is a key plant in the young native forests as it grows quickest and fills space, creating shade and more favorable environments for our native plants. This is a major role that needs to be filled as our ‘Ohi’a lehua are losing the higher canopy, now the lowest strata of canopy can be filled with Mamaki and when the younger longer-lived trees are ready, they will break through the canopy of the Mamaki and grow toward the sun. Or the Mamaki will die back naturally, and allow space for that longer-lived tree to grow in that space.

DSC_0329

Sea of volunteer mamaki

DSC_0165

Ripe fruits and flowers

DSC_0928

Pulelehua (Vanessa tameamea) our endemic butterfly – it only lays eggs on mamaki and caterpillars eat the leaves

Propagation

Mamaki is grown from seed, and readily dispersed by birds. Take fruits and smash them and spread them around. Each fruit contains many seeds. Directly sown plants grow much stronger, faster and healthier than transplanted plants. If transplanting, move them at a tiny stage of no more than 6 inches, they will be shocked for a little while and will take their time to re-establish.

If trying to broadcast seed over a large area (restoration or successional food forest): collect fruits, add a little bit of water, and blend for 1-2 seconds to create slurry. This slurry can then be broadcasted via squirt guns or cups and buckets.

DSC_0225

Smash fruit prior to planting

DSC_0151

Various stages of fruit and flower development

Care

Mamaki is extremely tender when young. Young trees are easily snapped or broken when working around them. It’s easiest to just leave them alone until they develop a root system that will hold them strongly up. Since Mamaki is a pioneer species they tend to have a high germination rate and a high mortality rate. This is normal. Trees throughout any stage may die back, just take standing dead wood to the ground to feed your other plants and give the live ones a little space. Natural thinning to feed the forest, wow, what a helpful plant!

Eating

Young leaves are edible raw or cooked. Fruits are edible, but too many can lead to diarrhea. The leaves are boiled for a delicious medicinal tea. Take a handful of leaves and add them to boiling water, let steep 30 minutes for the most delicious golden green tea. Mamaki leaves also make an amazing sun tea! Take leaves and throw them into a glass jar full of water. Leave that glass jar in the sun and out of the rain, I usually put a coffee filter over the top to prevent bugs from entering, leave in the sun 4-8 hours. I like to drink it while its still got the warmth from the sun, but also makes a great tea for the next day. Drink within 48 hours.

Medicinal benefits of tea: anti Vog, aiding respiratory, tissue cleansing, lowering blood pressure and cholesterol, fighting insomnia and irritability, promoting relaxation and vitality!

Where to obtain planting materials

Many places sell young plants but I typically see them in small containers where the roots will be totally root bound and will likely never redevelop and grow the way they want to. Find a friend who is growing Mamaki and get some fruits from them. Your success will be much more plentiful. A single mature Mamaki will produce tons of fruits and seeds!

My Garden

Mamaki always volunteers (germinates without cultivation) in areas where the forest has been cleared or the soil is disturbed at my house. I clear an area, plant it out with trees and come back in fill it in with ground cover. During the first few months my ground cover will slowly be establishing, during this initial establishment stage I come through and weed 1-2 times being very careful not to pull up Mamaki sprouts. Once an area has been gone through and the Mamaki left alone they will grasp ahold and start shooting up and growing really quickly. This means that the weeds (typically Arthrostemma) germinate and establish faster than Mamaki, but if you allow the Mamaki to have a little bit more germination time and time in the tiny keiki stages it will establish and overtake most other weeds. The Mamaki will really start filling in and you have a small canopy started. In about a year you have a lot of coverage and height and variation in heights of the new canopy. Mamaki will continue to germinate as long as there is enough light in the area. This can create thickets of Mamaki that will self thin, feed other plants, and over time allow favorable microclimates to develop until emergent species over take them. Not only is this an amazing forest helper but also the medicinal benefits are tasty and incredible. Volunteer Mamaki plants grow right outside of my side door where I can quickly grab them with taking less than 10 steps and get back inside and make up a tea, this is perfect when I’m feeling sick or have some respiratory issues and need a good healthful tea! Thank you nature!

DSC_0307

volunteer keiki – make sure to learn how to identify mamaki when small

DSC_0988

Mamaki growing with naio, okinawa spinach

DSC_0319

Mamaki growing with ohia, lama, kopiko, hame, loulu, kookoolau, avocado, strawberry guava


Happy Gardening!

Turmeric (Curcuma longa)

Description

Turmeric, Curcuma longa, or ‘olena, is a potent perennial spice, dye, and medicinal plant. The plant grows 3 feet tall and creates edible spicy rhizomes. This plant is high in anti-inflammatory properties and is widely known to curb or completely cure arthritis within a few months of regular use. This plant is highly ornamental with big green leaves and a very showy flower!

DSC_0764DSC_0729DSC_0770

Propagation

Turmeric is propagated from small pieces of rhizome, or modified stems. Turmeric does not produce seed.

Place 3-6 inch pieces of rhizome twice as deep as their diameter into the soil in the early spring. And then await emergence. You can also wait for shoots to grow on rhizomes you have saved in a cool, dry environment and plant them once the shoots appear.

DSC_0202

Fresh harvest

DSC_0644

Stored and sprouting rhizomes

Care

Turmeric is commonly grown like an annual, and has a natural die back/dormancy phase during winter when leaves die completely. Shoots will reemerge in spring and come back to life.

Make sure soil is high quality and not too rocky for ease of harvest and for larger rhizome production.

Once the leaves have disappeared, the harvest can begin. You may dig up the whole root mass or dig roots as you need them. If you live in a dry area, digging up the whole plant isn’t an issue, but in a moist humid environment, I prefer to leave in ground and harvest as needed to avoid losses due to moisture on stored rhizomes.

Eating

Fresh leaves are used as an herb, and young shoots and inflorescences are boiled as a vegetable in some places.

The main use of turmeric is for curries and spicing, but I enjoy a simple tea to give me my regular dosages of medicine. Turmeric needs to be combined with black pepper in order to increase absorption into the body. The spice is very potent so a little goes a long way, and commonly will stain your cutting board and knife.

Tea recipe: boil ½ gallon of water, add 2-3 inches of coarsely chopped turmeric once water has boiled (with or without skin). Add pepper if desired, or drink tea while you are eating a meal with pepper added. You may simmer roots for 20 minutes, or simply add turmeric chunks and allow cooling on its own (usually over night). Strain and drink a cup a day! May refrigerate or leave at room temperature.

Where to obtain planting materials

Turmeric is commonly sold at plant sales and there are a few different varieties sold here in Hawaii. There is the common yellow turmeric, white turmeric, blue turmeric, and black turmeric.

You may also get some turmeric at the farmers market or grocery store and leave it on your counter until it sprouts and plant that.

Or of course ask a friend for some bits of rhizome, if someone has grown the plant for at least one life cycle they will have plenty of material to share!

My Garden

I’ve grown turmeric ever since I’ve lived in Hawaii. My first harvest I found in the forest where I was living, and harvested many pounds and I spread that around everywhere. I now have turmeric growing in almost all my zones. I’ve made dedicated beds so I can have an easy harvest. I’ve also stuck rhizomes in many places just to plant sprouted bits. The farm I am staying now has turmeric growing in many places in very diverse polycultures and in the early stages of succession in multi-diverse food forest/agroforestry systems. What a beautiful and useful plant to spread everywhere!

DSC_0755

Turmeric. Bamboo. Edible Hibiscus. Papaya. Kale. Perennial peanut.

DSC_0732

Bamboo. Cassava. Air potato. Kale. Papaya. Kalo. Avocado. Perennial peanut.

DSC_0762

Happy Gardening!

Cuban Oregano (Plectranthus amboinicus)

Description

Cuban oregano, Plectranthus amboinicus, also called Spanish thyme, Indian borage, Greek oregano, oregano or false oregano, is a highly fragrant, quick growing, mat forming, perennial herb. This plant grows up to 3 feet tall and 5 feet wide if left untrimmed, the growth habit tends to sprawl, and becomes woody at its base. This plant is also highly ornamental and two varieties exist, a variegated variety and a solid green variety. The flavor of the herb is likened to oregano, thyme, and pine with a mix of peppery minty flavor. Quite a complex arrangement! In my opinion, it deserves its own distinct name, however, common names tend to describe other plants!

DSC_0662DSC_0738DSC_0749

Propagation

Cuban oregano grows extremely easy as a cutting. Use cuttings 6-8 inches long and plant about 4 inches deep into the soil. It is best to start in shade and move into full sun once it develops roots. Or plant directly in the garden with some overhead vegetation cover to produce shade. However, a developed plant prefers full sun.

DSC_0670

Cut stem

DSC_0674

Remove lower leaves

DSC_0679

Stick 4 inches into soil


Care

Cuban oregano can withstand shade, but becomes leggy and thin, rather than a dense mat it forms in full sun. This plant grows quickly. Mature specimens become sparsely covered and leafless in the lower stems and regions of the plant. In order to counteract this behavior, regular pruning and harvesting is recommended.

Eating

The flavor is rather strong; therefore, a small quantity of fresh leaves is used for spicing. In its native range this herb is used for masking the intense aroma of fish, goat and game. This plant is also used medicinally to treat coughs, as well as minor infections and inflammation. The aromatic oils make this plant useful as an insect repellant and also for laundry scent.

Where to obtain planting materials

Ask anyone growing this plant for some cuttings. If you grow this plant you have plenty of propagation materials to share. This plant may also be found at some plant sales.

My Garden

I’ve grown Cuban oregano for a long time now, but most of my ground covers tend to get shaded due to the overwhelming abundance of growth in my garden. This plant can be easily maintained under shade as it grows slower and doesn’t grow more than you can harvest. I worked at a horticulture therapy program where we grew Cuban oregano in full sun and it was always jumping out of its beds and trying to grow everywhere. Which is wonderful in the correct situations! It’s a lovely plant to observe and smell. Give it space and let it grow. Currently here at my transitional garden it is already growing well on its own. With a little bit more care and tending it would fill space nicely.

DSC_0660

DSC_0665

Cuban oregano growing with lilikoi, pineapple and gardenia.

Happy Gardening!

Rapid Resilient Food Systems

This post will be describing the possibility of regrowing nutritious food sources from nearly nothing, as quickly as possible. Grabbing or finding your quickest growing, most necessary food plants can enable you to grow your own nutritious food in a new place within weeks. This post could be useful to start up a new garden, or to be used if a displaced individual would have some space to grow food.

Background

The garden I tend is 1 mile (1.6 km) from fissure 8, the rapidly growing new Pu’u in Leilani Estates, Hawai’i. This new lava flow started at the beginning of May and is flowing with rapid release showing no intentions of slowing down. I have been unable to tend the garden due to air quality. At this point, I do not know if my edibles are poisoned by the emissions from Kilauea, but when I look at the plants I know they are being negatively affected.

DSC_0153

Strawberry Guava. Almost fully defoliated due to emissions. One of our most invasive species.

DSC_0421

Defoliated invasive Gunpowder Tree, active lava field, dead pasture and forest in background.

The situation

Here in Puna, most people have a bit of land; most people are even willing to grow some food on it. Currently there is a lot of displaced individuals, due to the lava activity, who used to grow their own food. They may be staying at friends houses or staying in shared places. If you are in this position, or a new renter, you will need to ask permission from a landowner to utilize some of their land to grow food. Most reasonable people will understand your desire, and will be willing to allocate a space for you to do so. If the landowner were reluctant you would want to plan out your space to be beautiful and prolific in order to share your abundance with them. The potential problems that could arise in a borrowed space could be: potential lack of cleanliness from a visual perspective and something becoming overgrown and becoming a ‘burden’. The idea is to create a system that will maintain itself after a short period and last there forever in-case a situation like this appears again. Always readily giving garden therapy.

DSC_0246

Edible Sweet Potato and Sissoo Spinach 2 weeks after cuttings planted


The Plant List

For a small space these are my necessities: Basils, Comfrey, Cranberry Hibiscus, Culantro, Katuk, Kale, Lemongrass, Mints, Okinawan SpinachPlectranthus amboinicus, Sissoo Spinach, and Sweet Potato (for leaf harvest). For a larger space include Edible Hibiscus, Moringa, and Taro grown for leaves. For a longer term space include all the plants I’ve previously blogged about.

The Facts

Initial Planting: My new garden space is 350′ elevation and much more dry compared to 780′ and wet in Leilani. The bed is small, 12′ x 2′. All I added to an old garden bed was about a 1/3 of a trashcan full of my previous soil mix: 1/2 potting soil, 1/4 compost and 1/4 biochar/sifted cinder. I planted Basils, Canna, Comfrey, Cranberry Hibiscus, Culantro, Katuk, ko’oko’olau, Lemongrass, Mints, Okinawan Spinach, Sissoo Spinach, Sweet Potato, Taro, Turmeric, and a few annuals I was growing. The annuals were: Portuguese Kale, Bell Peppers (shishito and other), Eggplant, Tomatoes and Tomatillos. Once planted, I heavy mulched it, and then I waited. The chickens came out of nowhere and decided to munch on the veggies, so I added a fence, build it and they will come!

Two weeks into garden: Sissoo spinach and sweet potato leaves ready for harvest. I planted a 2′ x 3′ space with sissoo, and I had enough harvest for three hungry adults. AMAZING!

DSC_0260

First Harvest. Week 2.

Three weeks in: Sissoo spinach, sweet potato leaves, Portuguese kale, and culantro all have new growth and ready for harvest. Katuk, cranberry hibiscus and okinawan spinach leaves starting to grow rapidly, not yet ready for harvest. We are well on our way in the garden, within a few more weeks all the perennials will be harvest-able and the annuals will start coming on, as they get large enough. This mini-food system is up and going!

Edit: Four weeks: Sissoo spinach, sweet potato leaves, Portuguese kale, culantro, okinawan spinach, and cranberry hibiscus can be harvested. Tomato, tomatillo and bell peppers flowering.


Look at all that food!! This system is now bustling, and I’m ready to start regular harvests. All it took was 3 weeks!

Final Thoughts

I’ve recently realized the necessity and luxury of growing my own food. I find it hard to find quality produce I can trust. Luckily, I’ve built some relationships with farmers at the farmers markets whom I trust. But buying produce from other vendors is sometimes sketchy. It’s hard to find out where produce comes from, let alone how it was grown. I always prefer local produce even over organic. But you really need ask a vendor you can trust where each product comes from. They will tell you and then you decide if that product is for you. Some other vendors are farms that are certified organic on our island, those vendors are a no brainier to buy from, but I still always ask where the product comes from. Think about it, if you buy a mainland cabbage, it takes at least 3 weeks, by boat, to arrive on our island. Think about how long it took to get from farm to the shipping container. Then being shipped from Oahu to Big Island, SCARY. I feel ok buying highly store-able products; onions, garlic, potatoes, which naturally have a long shelf life, think about plants that can be stored for winter uses. But I do not want to buy short shelf life products like cabbages, leafy greens, tomatoes, or others from mainland. So grow your own food and in the meantime support those local farmers!


Keep on gardening!


Comfrey (Symphytum spp.)

Description
Comfrey, (Symphytum spp.) or knitbone, is the ultimate permaculture/multipurpose perennial plant. Comfrey is a magical medicinal healing plant; its deep roots have amazing abilities to mine the soil for micronutrients and makes them available in their leaves, bees love it, and it grows prolifically in any environment/soil.

DSC_0681DSC_0903DSC_0858

Propagation

Comfrey is grown from clump-division and from root cuttings. I typically only grow it from root cuttings because it is less work.

Simply dig around in the soil, find the root and cut off a section. Take this section and cut it up into 3 inch bits and replant them horizontally 2 inches deep in new location. Give it a couple of weeks and new leaves will emerge.

DSC_0915

Dig up roots

DSC_0923

Cut into 3 inch pieces and replant horizontal

Care

Comfrey is a carefree plant. It grows about 3’ tall and wide and flowers year round with no care. If you want to utilize comfrey for its soil building properties, you’ll want to cut it back to about 2 inches off the ground, then mulch, compost, or make compost tea from the leaves (wear gloves when handling, hairs on the leaves may irritate). Doing this will make use of the micronutrients mined from the ground and make them available for other plants to uptake. Once cut back, it will start re-growing immediately and start putting up vigorous growth once again. The leaves break down quickly and give their nutrients to the soil. A healthy plant may be cut back completely 4-5 times a year in a temperate environment. In the tropical environment its almost endless the amounts of times you can cut it back throughout the year! Even just growing this plant around your trees will give extra nutrients to them.

DSC_0895

DSC_0911

Cut back to a few inches above ground level. Look at all that wonderful mulch!

Uses as medicine

Comfrey has so many uses as medicine it deserves endless research. Historically, comfrey was used internally and externally to treat throat issues, broken bones, arthritis, ulcers, burns, inflammation and many other issues. The main reason I use comfrey is for its antiseptic and cell growth stimulant properties. Healing my wounds in hours. It is seriously magic.

Where to obtain planting materials

Ask a friend who grows comfrey for some roots to propagate. Make sure you get a sterile variety so it doesn’t spread by seed indefinitely. I’ve grown mine for a few years and they have never spread beyond their original clump unless I spread around roots.

My Garden

As an avid environmentalist I spend most of my time outside playing in the waves, forests, mountains and in the garden. Living on a very young landscape, the lava rocks are very sharp and unforgiving. This means I cut myself basically everyday. Sometimes small, sometimes larger. But I have no fear even though I live in a region teeming with staph (Staphylococcus spp.) because I have my go to medicine all around. I simply grab off a bit of leaf and mash it between my fingers and create a poultice. Apply this directly to the wound and throw a Band-Aid to keep it in place, I then wrap tape around the Band-Aid it to actually keep it on my skin (LOL at waterproof Band-Aids in the wet tropics). I have not used traditional western antiseptic in three years and have never had an infection! Yes comfrey!

DSC_0864

Comfrey with: edible hibiscus, kalo and lemon

DSC_0900

Comfrey with: cranberry hibiscus, perennial peanut, sweet potato, snake fruit, cacao and tamarillo, hapu’u, pigeon pea and waiawi in the background

DSC_0908

Comfrey with: sweet potato, edible hibiscus, gliricidia, vi apple, ice cream bean, and ulu


Happy Gardening!

Culantro (Eryngium foetidum)

Description

Culantro (Eryngium foetidum), or sawtooth coriander, is a small potent herb closely related to the cilantro/coriander (Coriandrum sativum) plant. Culantro has a very similar taste to cilantro; it is stronger and more pungent though. Culantro can be considered weedy, is a truly tropical plant, and will thrive in your garden with no help. Plants can easily be trained to become perennials. Quite the contrary of cilantro in our tropical environments, cilantro doesn’t like our rains, heat/sun and is hard to establish. Why grow something so difficult if you could just grow culantro with no effort?

DSC_0570DSC_0573


Propagation

Culantro is grown from tiny seeds. Plants left to flower will set seed prolifically and do not need to be re-sown with your help.

Culantro can easily be up-planted and moved anywhere desirable. Don’t worry if you break a few roots, this plant is extremely hardy and will bounce back.

DSC_0593

Flower and seed head

DSC_0658

Up-plant and replant

Care

Culantro is a carefree plant. If you would like to perennial-ize your plants, cut off flower stocks when they appear. Consistently doing this will force the plant to keep producing edible leaves and it will not end its lifecycle.

If you want to propagate more culantro: let one of your plants go to seed and continue to cut off the flower stocks on your other plants. Your single flowering plant will set lots of seed and drop them all around itself. Give them a little time and new plants will emerge all around your flowering plant. Once the plant flowers it will die. But you should have plenty of keiki to replace it.

DSC_0575

Cut off flower stock to keep plants from ending their lifecycle

Eating

Treat culantro as you would cilantro. Use young tender or older leaves raw or cooked. However, use less of the leaves, as it is more potent than cilantro. Flower heads may be blended to create a pesto or salad dressing as well.

Where to obtain planting materials

Look around your property for it; chances are it’s already a weed in the garden somewhere. Seriously.

You could ask someone growing it for some seed, or a young up-planted plant would be easier. Or try to find it at a plant sale. This plant is easy to find and identify (leaves, flowers and scent are unmistakable).

My Garden

When I first moved onto the property I would cut the grass and get a strong scent I could never place. As I left the grass to grow, I would walk around and get poked by the flowers of this unmistakable plant. This plant would force me to cut the grass sooner than I would like because it would always poke me! One day I was at a plant sale and noticed this plant. I saw a photo of the flowers and looked at the leaves. I immediately realized this was the plant prolific in the grass at home. I noted the name and checked out the plant once I got home. Realizing this scent I associated with cutting the grass was cilantro like, or rather the pungent scent of culantro. I decided to up-plant this and move it into the herb spiral at home. This was about two years ago. Those plants are still growing strong in the herb spiral and still out there in the grass. Food and medicine are literally all around us without our knowledge!

DSC_0597

Culantro in the grass

DSC_0582

Culantro surrounded by Sisso Spinach and Winged Bean above


Happy Gardening!

ko’oko’olau (Bidens spp.)

Description

ko’oko’olau (Bidens spp.) is a medicinal native Hawaiian plant. The two species I will describe are Bidens menziseii subsp. filiformis, and Bidens hawaiensis, both endemic to Hawaii Island. There are over 200 species of Bidens worldwide, with many of them being highly medicinal. Medicinal properties include: promotion of good health, cleanse the body, prevents: strokes, diabetes, constipation, stomach, and liver problems. Basically good for everything, do some more research to identify more medicinal properties. This plant is also highly ornamental!

DSC_0132

Bidens hawaiensis

DSC_0170

Bidens menziseii subsp. filiformis

DSC_0312


Propagation

ko’oko’olau grows well from seed or cuttings. I prefer to grow them from seed so they have a stronger root system, as they tend to fall over when they get large.

Surface sow seeds and they should germinate within two weeks.

DSC_0148

sprouted seed

DSC_0140

keiki awaiting transplant

Care

It would be safe to call ko’oko’olau a weed, as it propagates readily and grows quickly. Needing no care at all. I have noticed ants love farming on menziseii but it doesn’t seem to affect them.

They prefer full sun but will grow in part shade. These two varieties grow from the coastline to about 8000’. And need good drainage, meaning add lots of cinder into the soil mix. Or grow them on straight cinder or straight lava like they grow in the wild!

Did I mention they are frost, drought, heavy rain, scorching sun, and high winds tolerant? Yeah, grow ko’oko’olau anywhere and everywhere!!

Bidens menziseii subsp. filiformis grows to about 15’ with the largest trunk diameter I’ve seen is over 5 inches!

Bidens hawaiensis grows to about 6’ in a more shrub like habit.

DSC_0158

Eating/Preparing

Grab a few leaves and throw them in boiling water. You could also dry the leaves first, 3 cups water to 1 tablespoon of dried leaves.

Where to obtain planting materials

I highly recommend sourcing seeds or cuttings from your local species as the islands of Hawaii contain 19 endemic species. Please grow the correct species, as keeping genetics pure will allow these species to continue to thrive in their endemic habitat. As some of these species are rare, it would be wonderful to promote and propagate them in the correct environment and hopefully seeds will spread and become more naturalized and hopefully spread from cultivated specimens and retake their landscapes.

If you live in puna contact me for a seed source. I will share when they are in season.

My Garden

I first learned of Bidens menziesii while working on Mauna Kea replanting the high elevation forest. Working closely with this plant gave me an appreciation of this species. On the mountain this seems to be the fastest growing species, making it the pioneer plant the mountain needs to become reforested once again. This is a keystone species that we plant with Sandalwood, as the host plant. This plant also goes to seed within half a year and sets seed vigorously. Perfect for a restoration plant. In the forest at home this plant grows well, but has not flowered yet. Possibly due to the amount of shade it receives.

I’ve only been growing Bidens hawaiensis for a little while now and do not have quite as much experience with it. Although it has already flowered, I was not able to catch seeds because the rain knocked them off.

DSC_0744

Enter a caption

DSC_0393

ko’oko’olau growing under mamane tree on mauna kea

DSC_0309

ko’oko’olau growing in the forest at home with hō’awa

Happy Gardening!

Lemongrass (Cymbopogon citratus)

Description

Lemongrass, Cymbopogon citratus, is a wonderful aromatic perennial multipurpose clumping grass. Lemongrass is an essential flavor in Southeast Asian cooking, but also a great mulch plant, being high in carbon makes it an excellent addition for your carbon ratio in your compost pile. It also works great as mulch around your plants; cutting the plant back to 6-12 inches tall it will regrow vigorously. The roots go deep and help prevent soil erosion as well. This plant is closely related to citronella grass, (Cymbopogon nardus), meaning that lemongrass also contains insect repellent properties (great next to your tomatoes or bell peppers). And finally lemongrass is a great barrier plant; most weeds will be stopped in their tracks trying to cross a lemongrass hedge.

DSC_0649DSC_0669

Propagation

Although lemongrass does grow from seed, it is better to get a non/low-seeding variety as it will be less likely to spread. The only way to know for sure if it is a non-seeding variety is to divide shoots, or grow cuttings, from a superior variety and grow a clone.

To take cuttings from an existent clump: pull off 2-3 shoots; trim the tops and stick into the ground 2-3 at a time. To create a hedge, plant them (2-3 shoots) 2 feet apart. They can also be rooted in water, but I’ve found they root just fine in the wet soil environment I live in.

Propagation by division: Find a mature clump (12 inch diameter) and pull the whole clump out of the ground. Divide the clump with a spade fork into 3-4 stocks each, and remove the top of the plant. Replant and water heavily.

They do take their time to establish with both methods. I regularly propagate by cuttings so I can continue harvesting for food while propagated plants establish.

DSC_0659

find center of clump

DSC_0650

push stock down – to pull off a few stocks

DSC_0651

trim top leaves

DSC_0662

stick into ground

Care

Lemongrass is a carefree plant once established. Water new propagations heavily until new growth appears. Full sun is preferred, however, they can be grown in light shade but do not grow at their full sun vigor and become spindly. Mature plants are about 3 feet tall and wide and can tolerate fairly poor soils.

Eating

Prepare stocks by cutting off long ends of tops and trimming the base. Then ‘beat up’ the fleshy shoots before cooking. Add the shoots whole into your dishes and remove before eating.

Tender hearts of stocks can also be eaten as a vegetable in rice dishes.

Upper leaves may be used as flavoring as well, but should be tied in a bunch during cooking for easy removal before serving.

Where to obtain planting materials

Ask a friend for a couple of shoots and replant them. Or look at the farmers markets, as fresh shoots will still be fine for planting, or plant sales.

My Garden

I started off buying a single lemongrass plant. Once it became large enough I started propagating it. I had some space to fill in a newly created section of the yard; it was at the very front of the lot along the road. I had a few trees growing there taking up canopy space but needed something to fill in the ground and mid level so the house wasn’t visible by the road. So I decided to try out the lemongrass hedge. I stuck them in the ground every few feet and waited. Now that those plants are nice and mature it created an amazing barrier. The grass on the lawn doesn’t try to jump into the space and the desmodium inside of the space doesn’t try to jump out over the lemongrass. As the trees grow and fill in even more canopy space I’m surprised that the lemongrass is growing really well in the shade. I also layered this hedge with patchouli in case the shade becomes too heavy and the lemongrass doesn’t succeeded, the patchouli can grow in complete shade.

I’ve followed this same method in a section I just created that has more sun than the previous. However, this time I planted a row of Surinam cherries too. So I should have the lemongrass and patchouli fill in along the boundary quickly, and the Surinam cherries taking their time to fill in the rest of the hedge creating another barrier between my neighbors lot and mine.

The key is to garden in layers and succession, filling in newly cleared areas so all niches are filled, therefore, weeds will not take over.

DSC_0643

barrier hedge

DSC_0644

barrier hedge (lemongrass, strawberry guava, hapuu, avocado, kou, pigeon pea, papaya, soursop)

DSC_0665

newly planted barrier hedge (lemongrass, patchouli, surinam cherry, naupaka, akala, aweoweo, kolomona, apple banana, edible hibiscus)

Happy Gardening!