Culantro (Eryngium foetidum)

Description

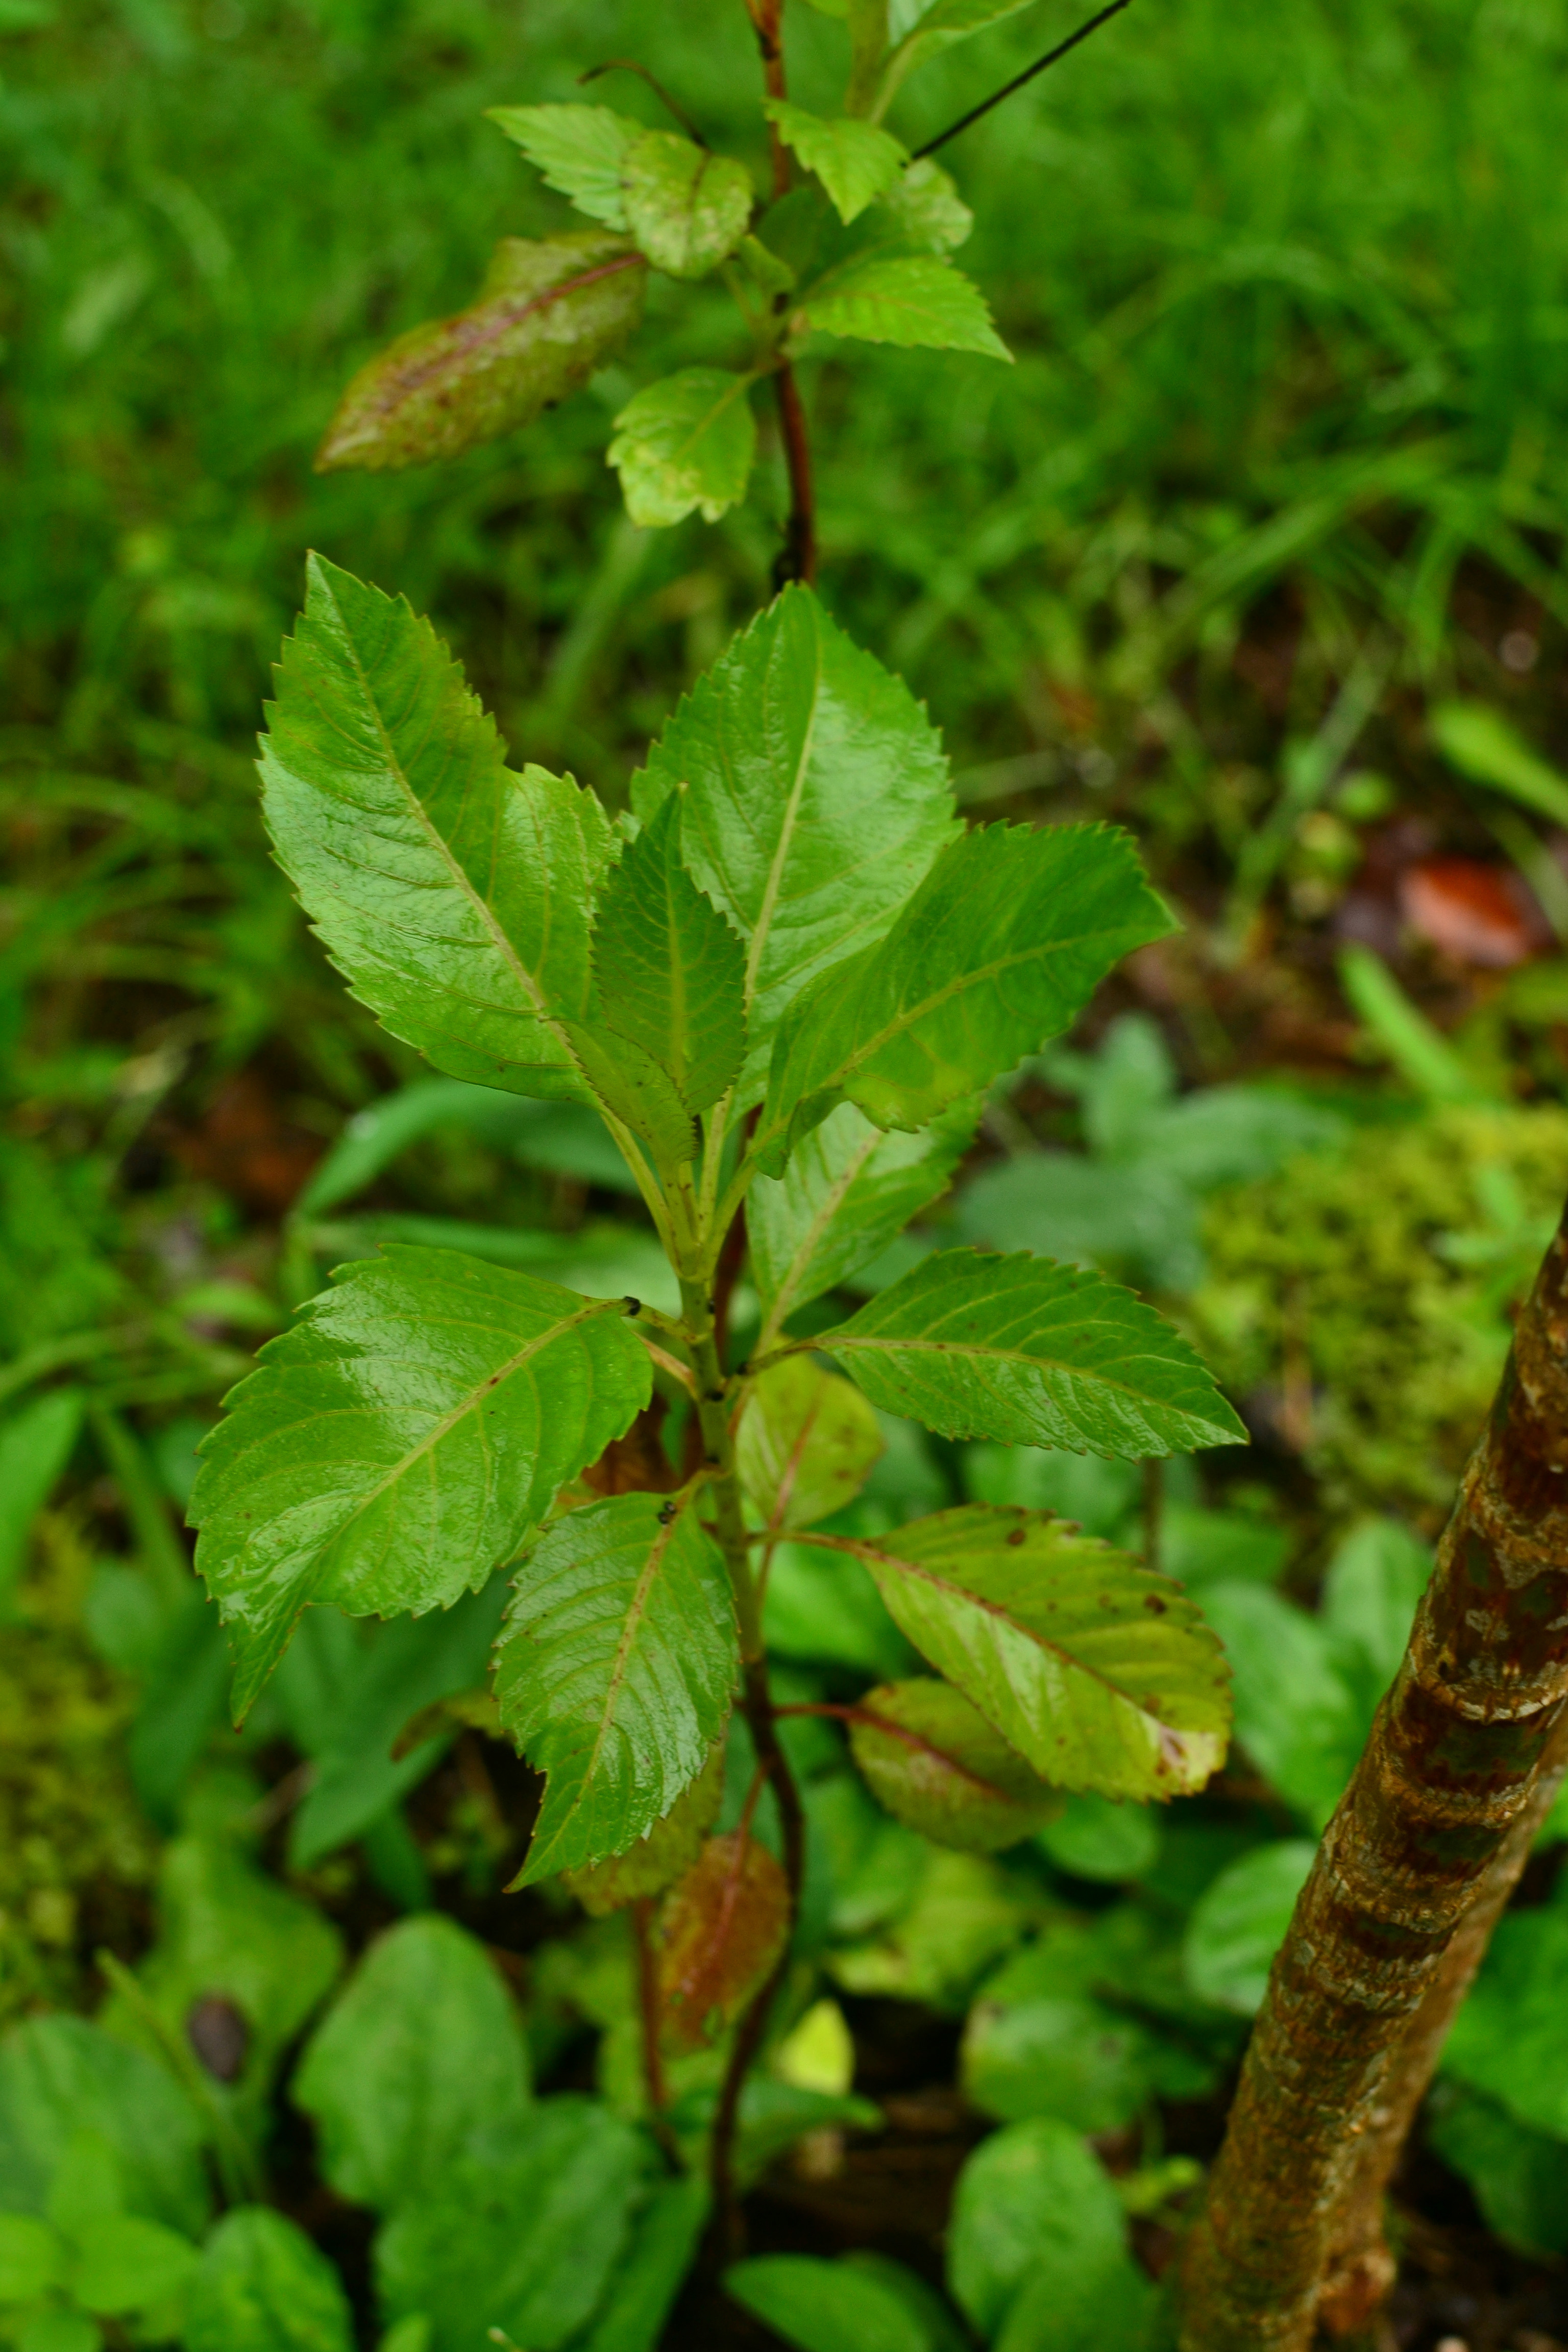
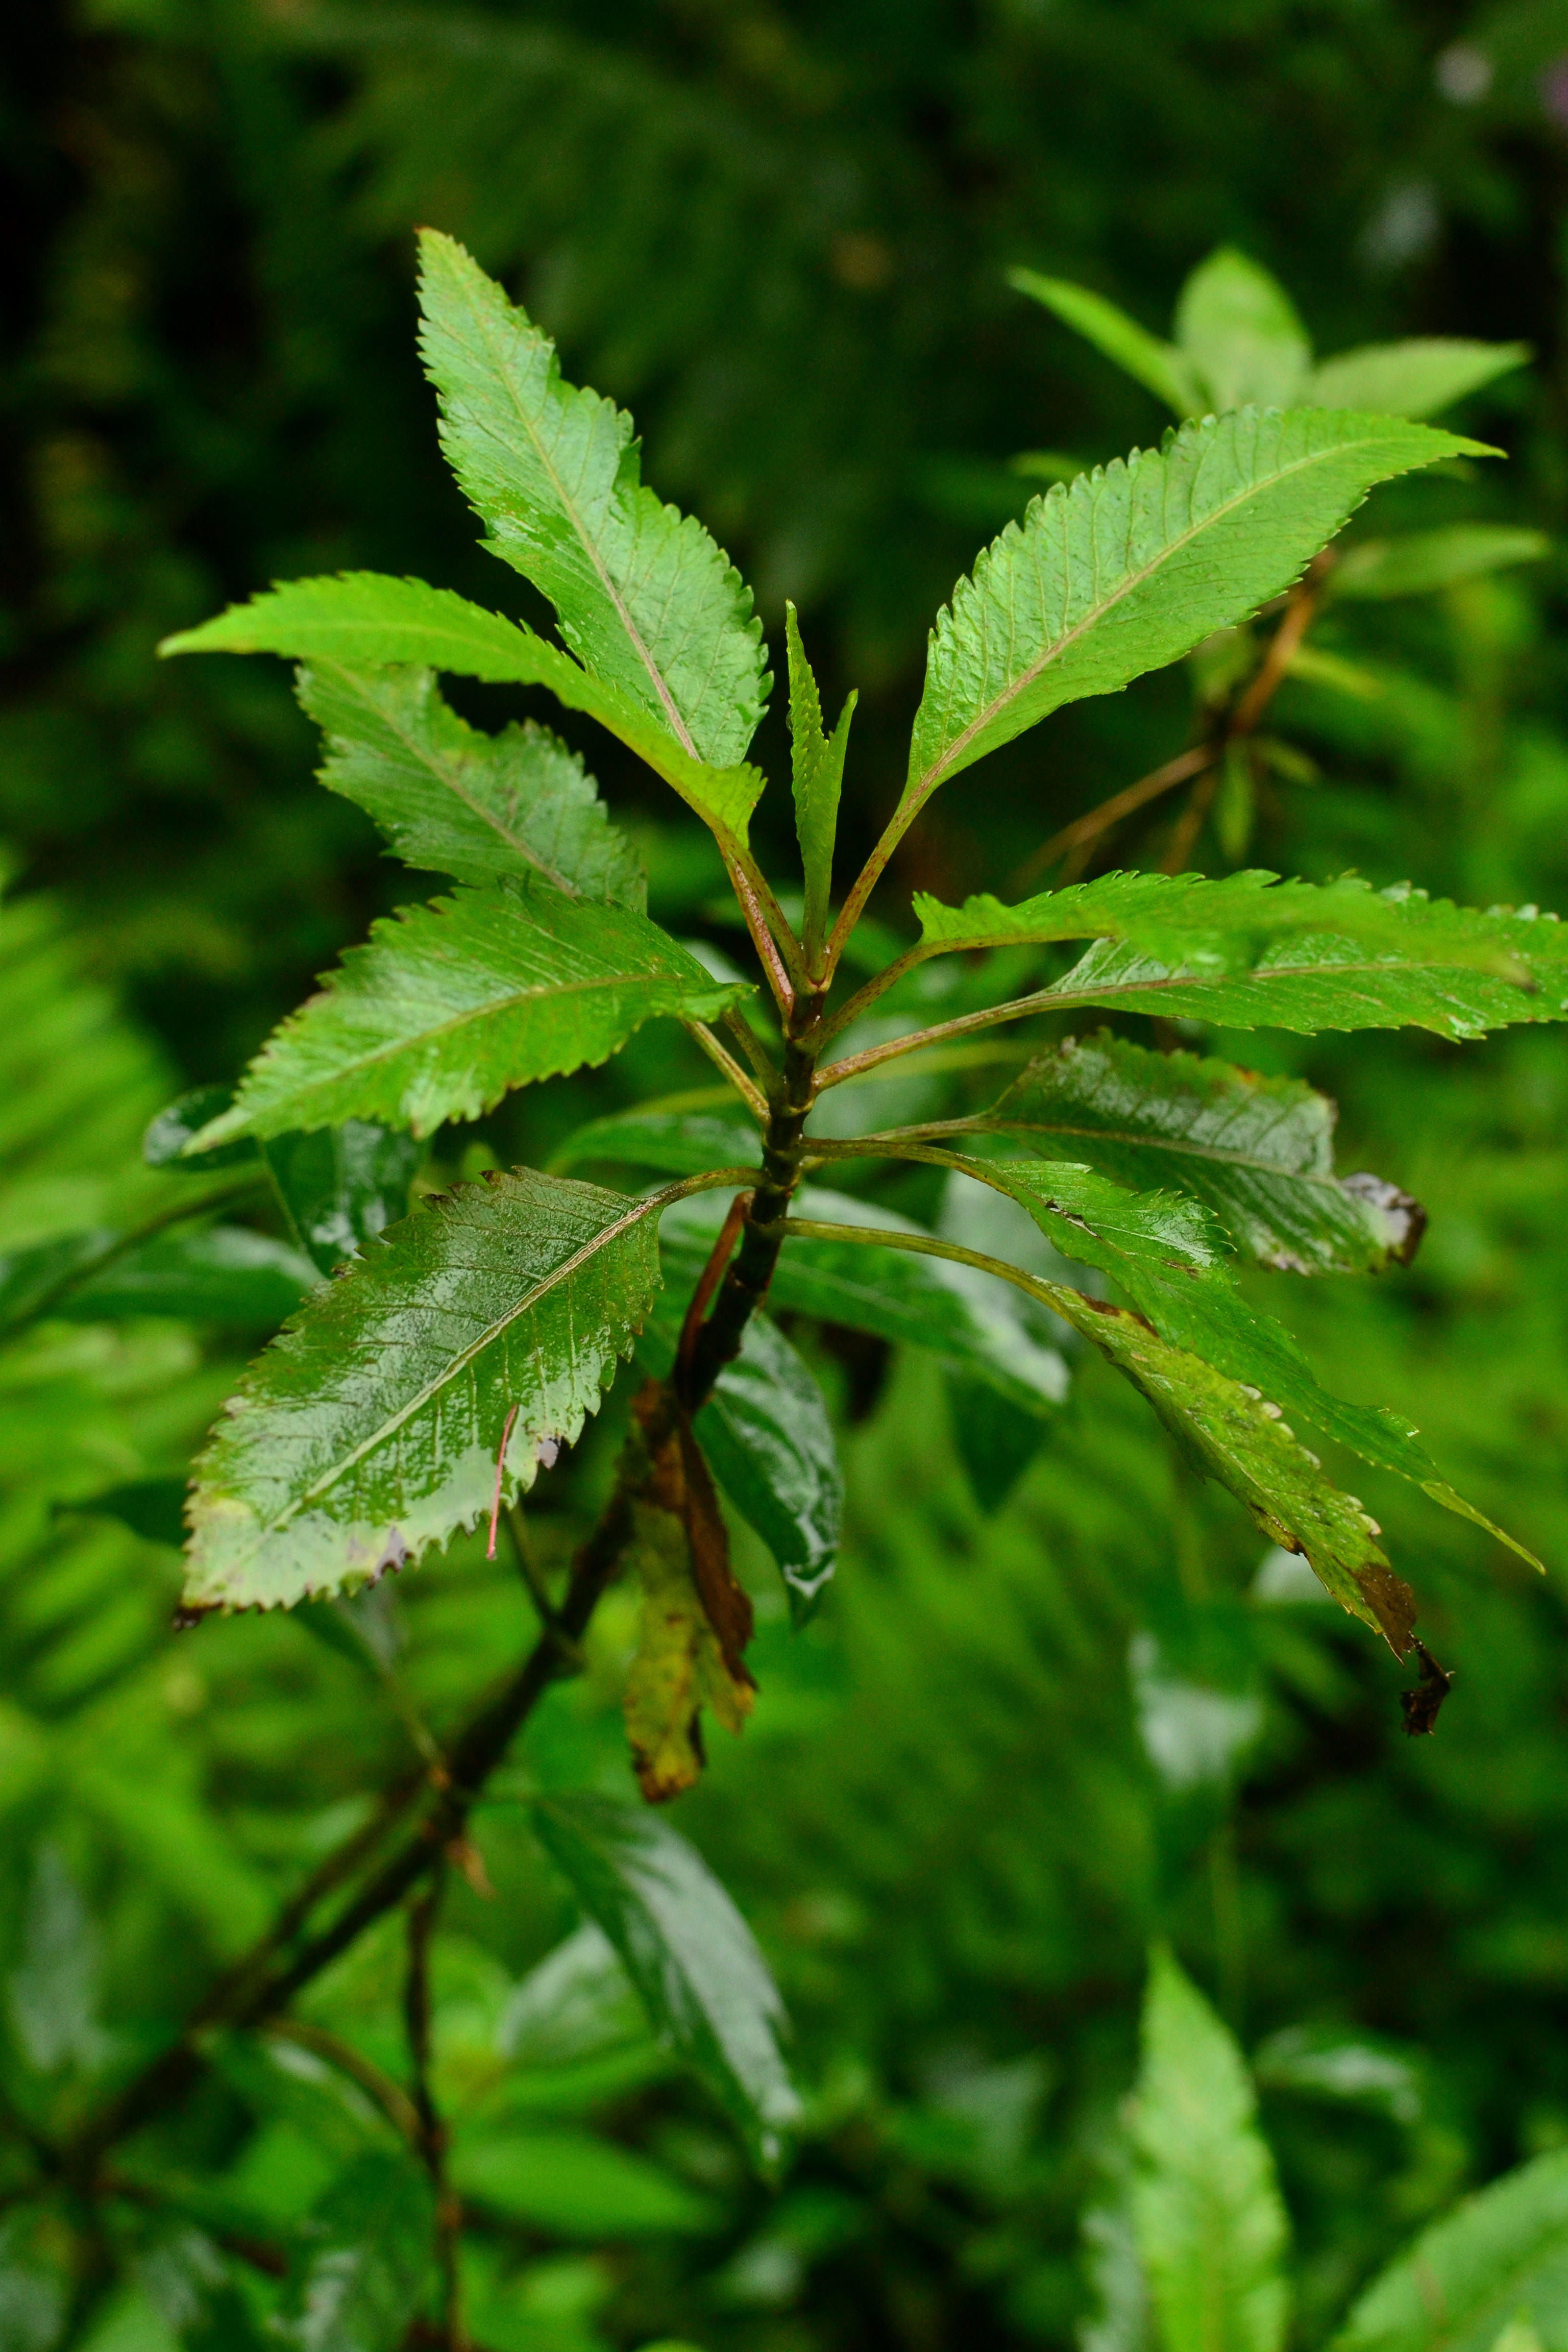
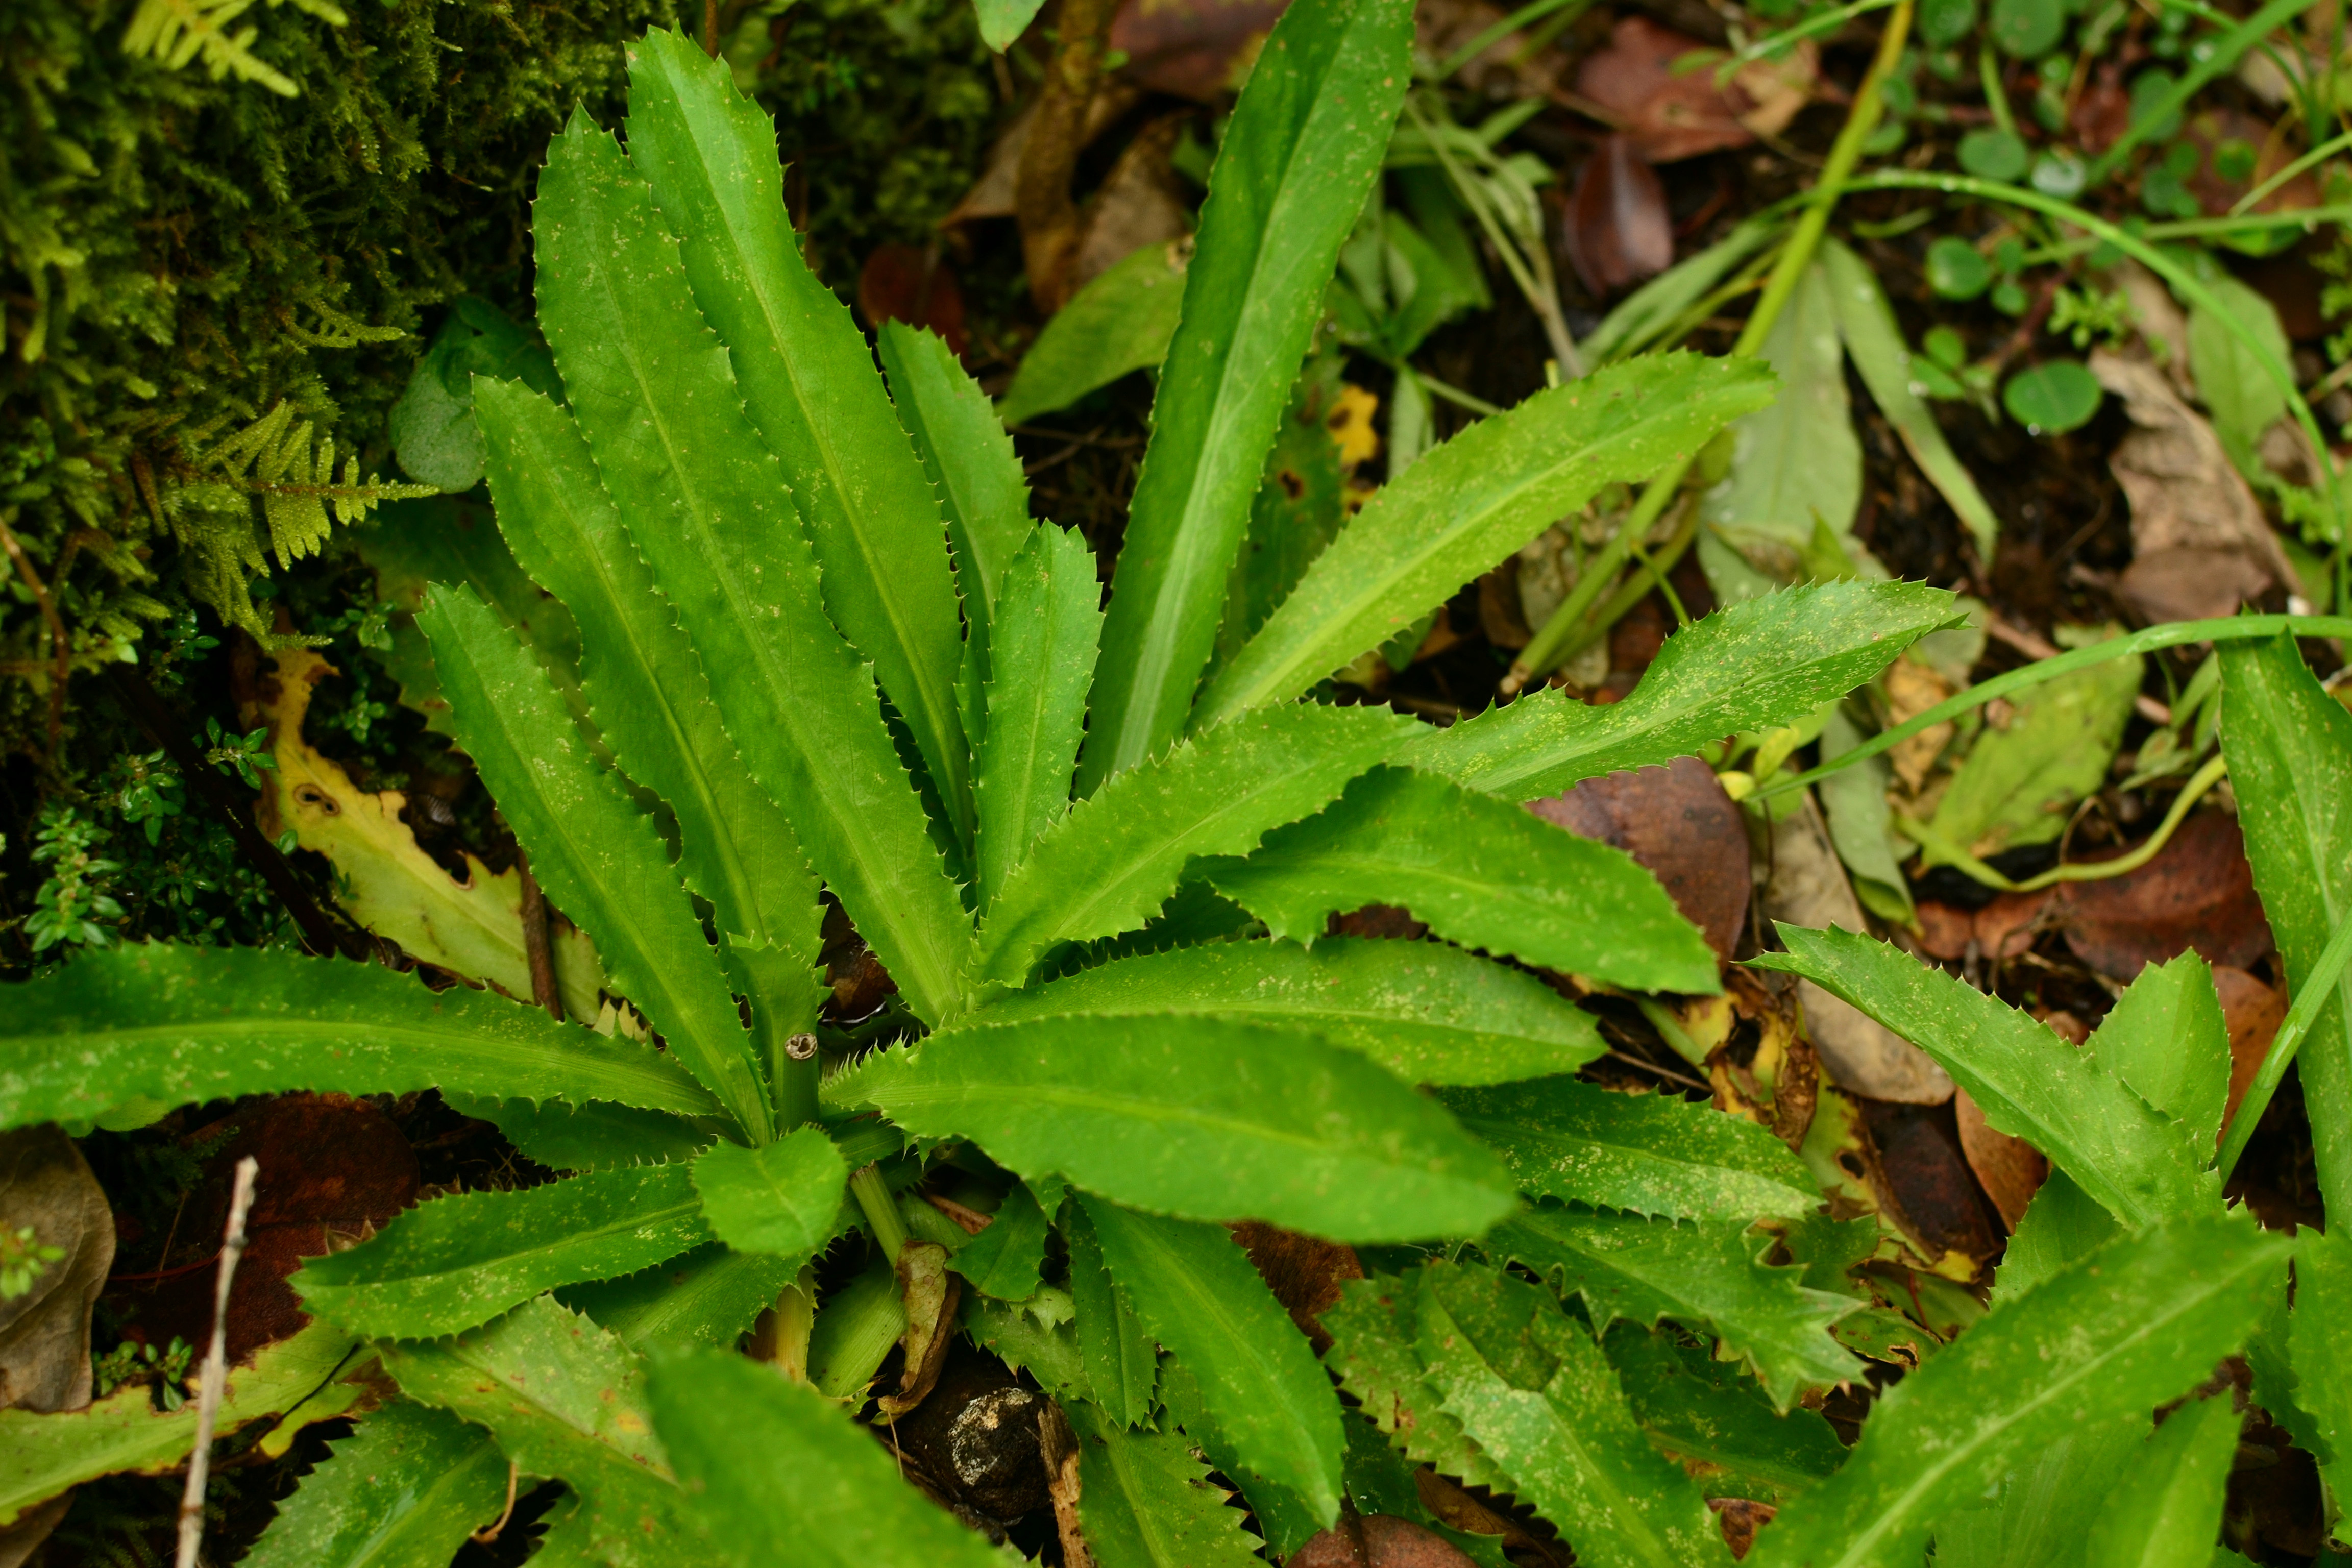
Culantro (Eryngium foetidum), or sawtooth coriander, is a small potent herb closely related to the cilantro/coriander (Coriandrum sativum) plant. Culantro has a very similar taste to cilantro; it is stronger and more pungent though. Culantro can be considered weedy, is a truly tropical plant, and will thrive in your garden with no help. Plants can easily be trained to become perennials. Quite the contrary of cilantro in our tropical environments, cilantro doesn’t like our rains, heat/sun and is hard to establish. Why grow something so difficult if you could just grow culantro with no effort?

DSC_0570DSC_0573


Propagation

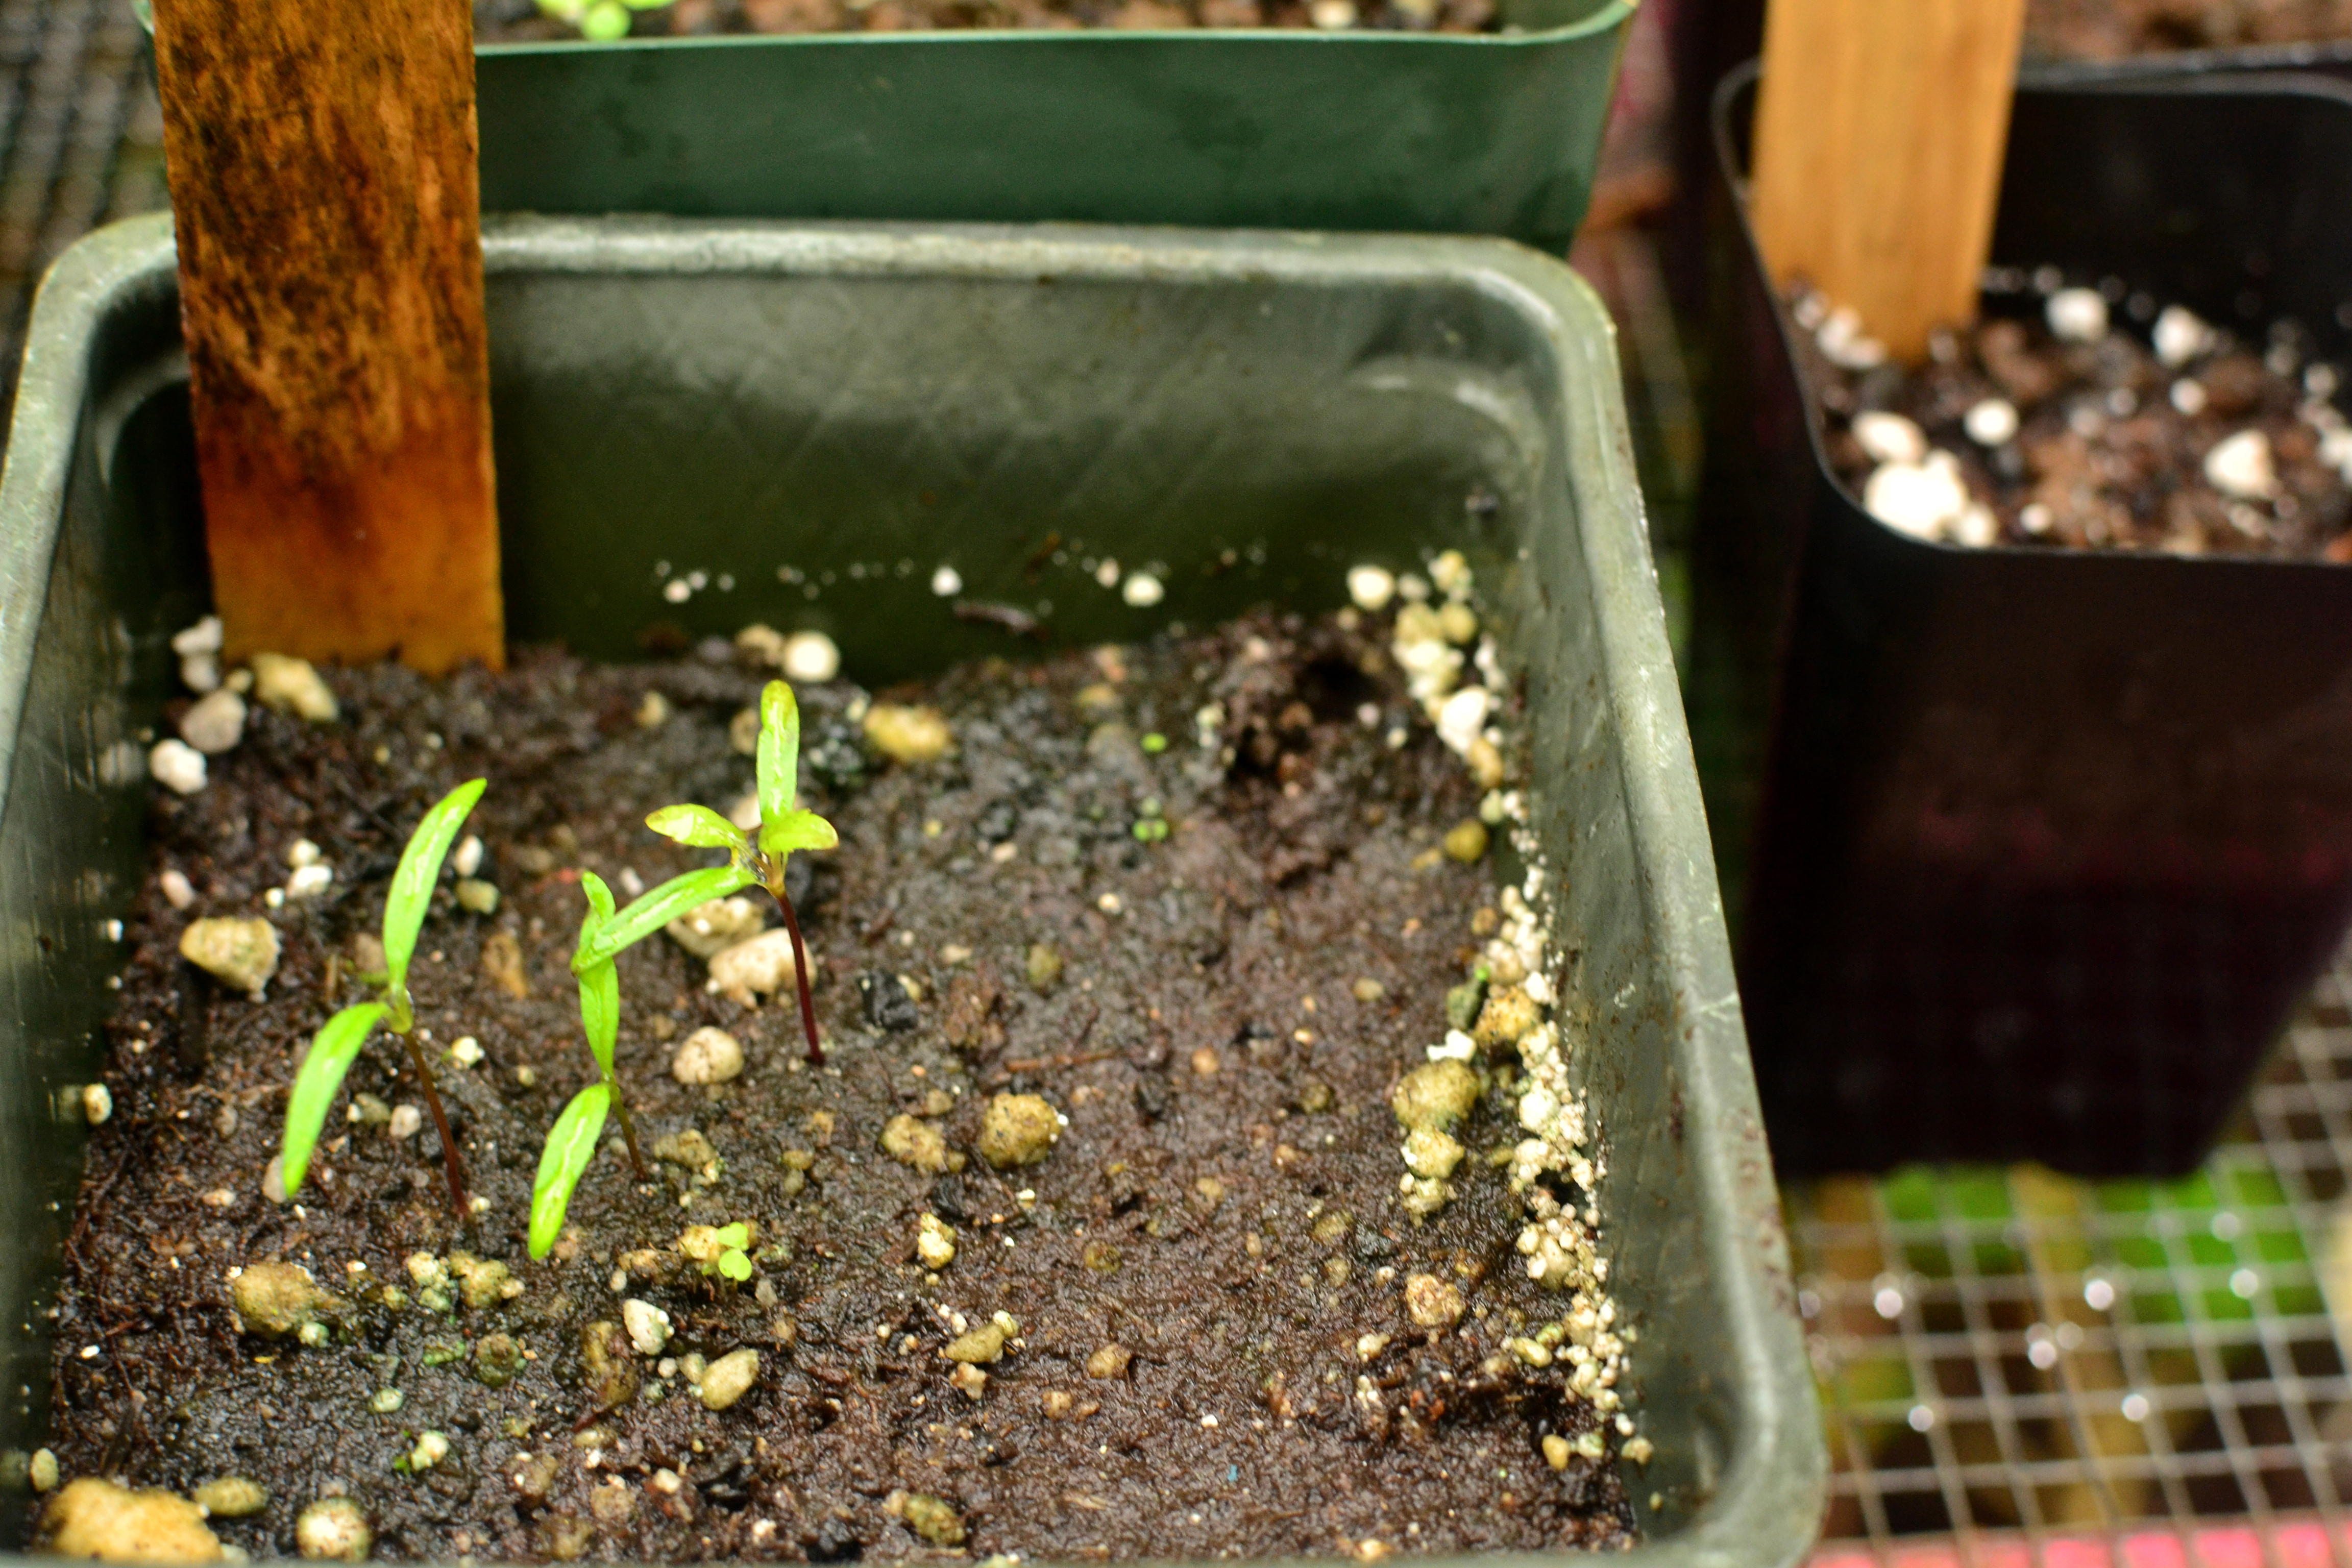
Culantro is grown from tiny seeds. Plants left to flower will set seed prolifically and do not need to be re-sown with your help.

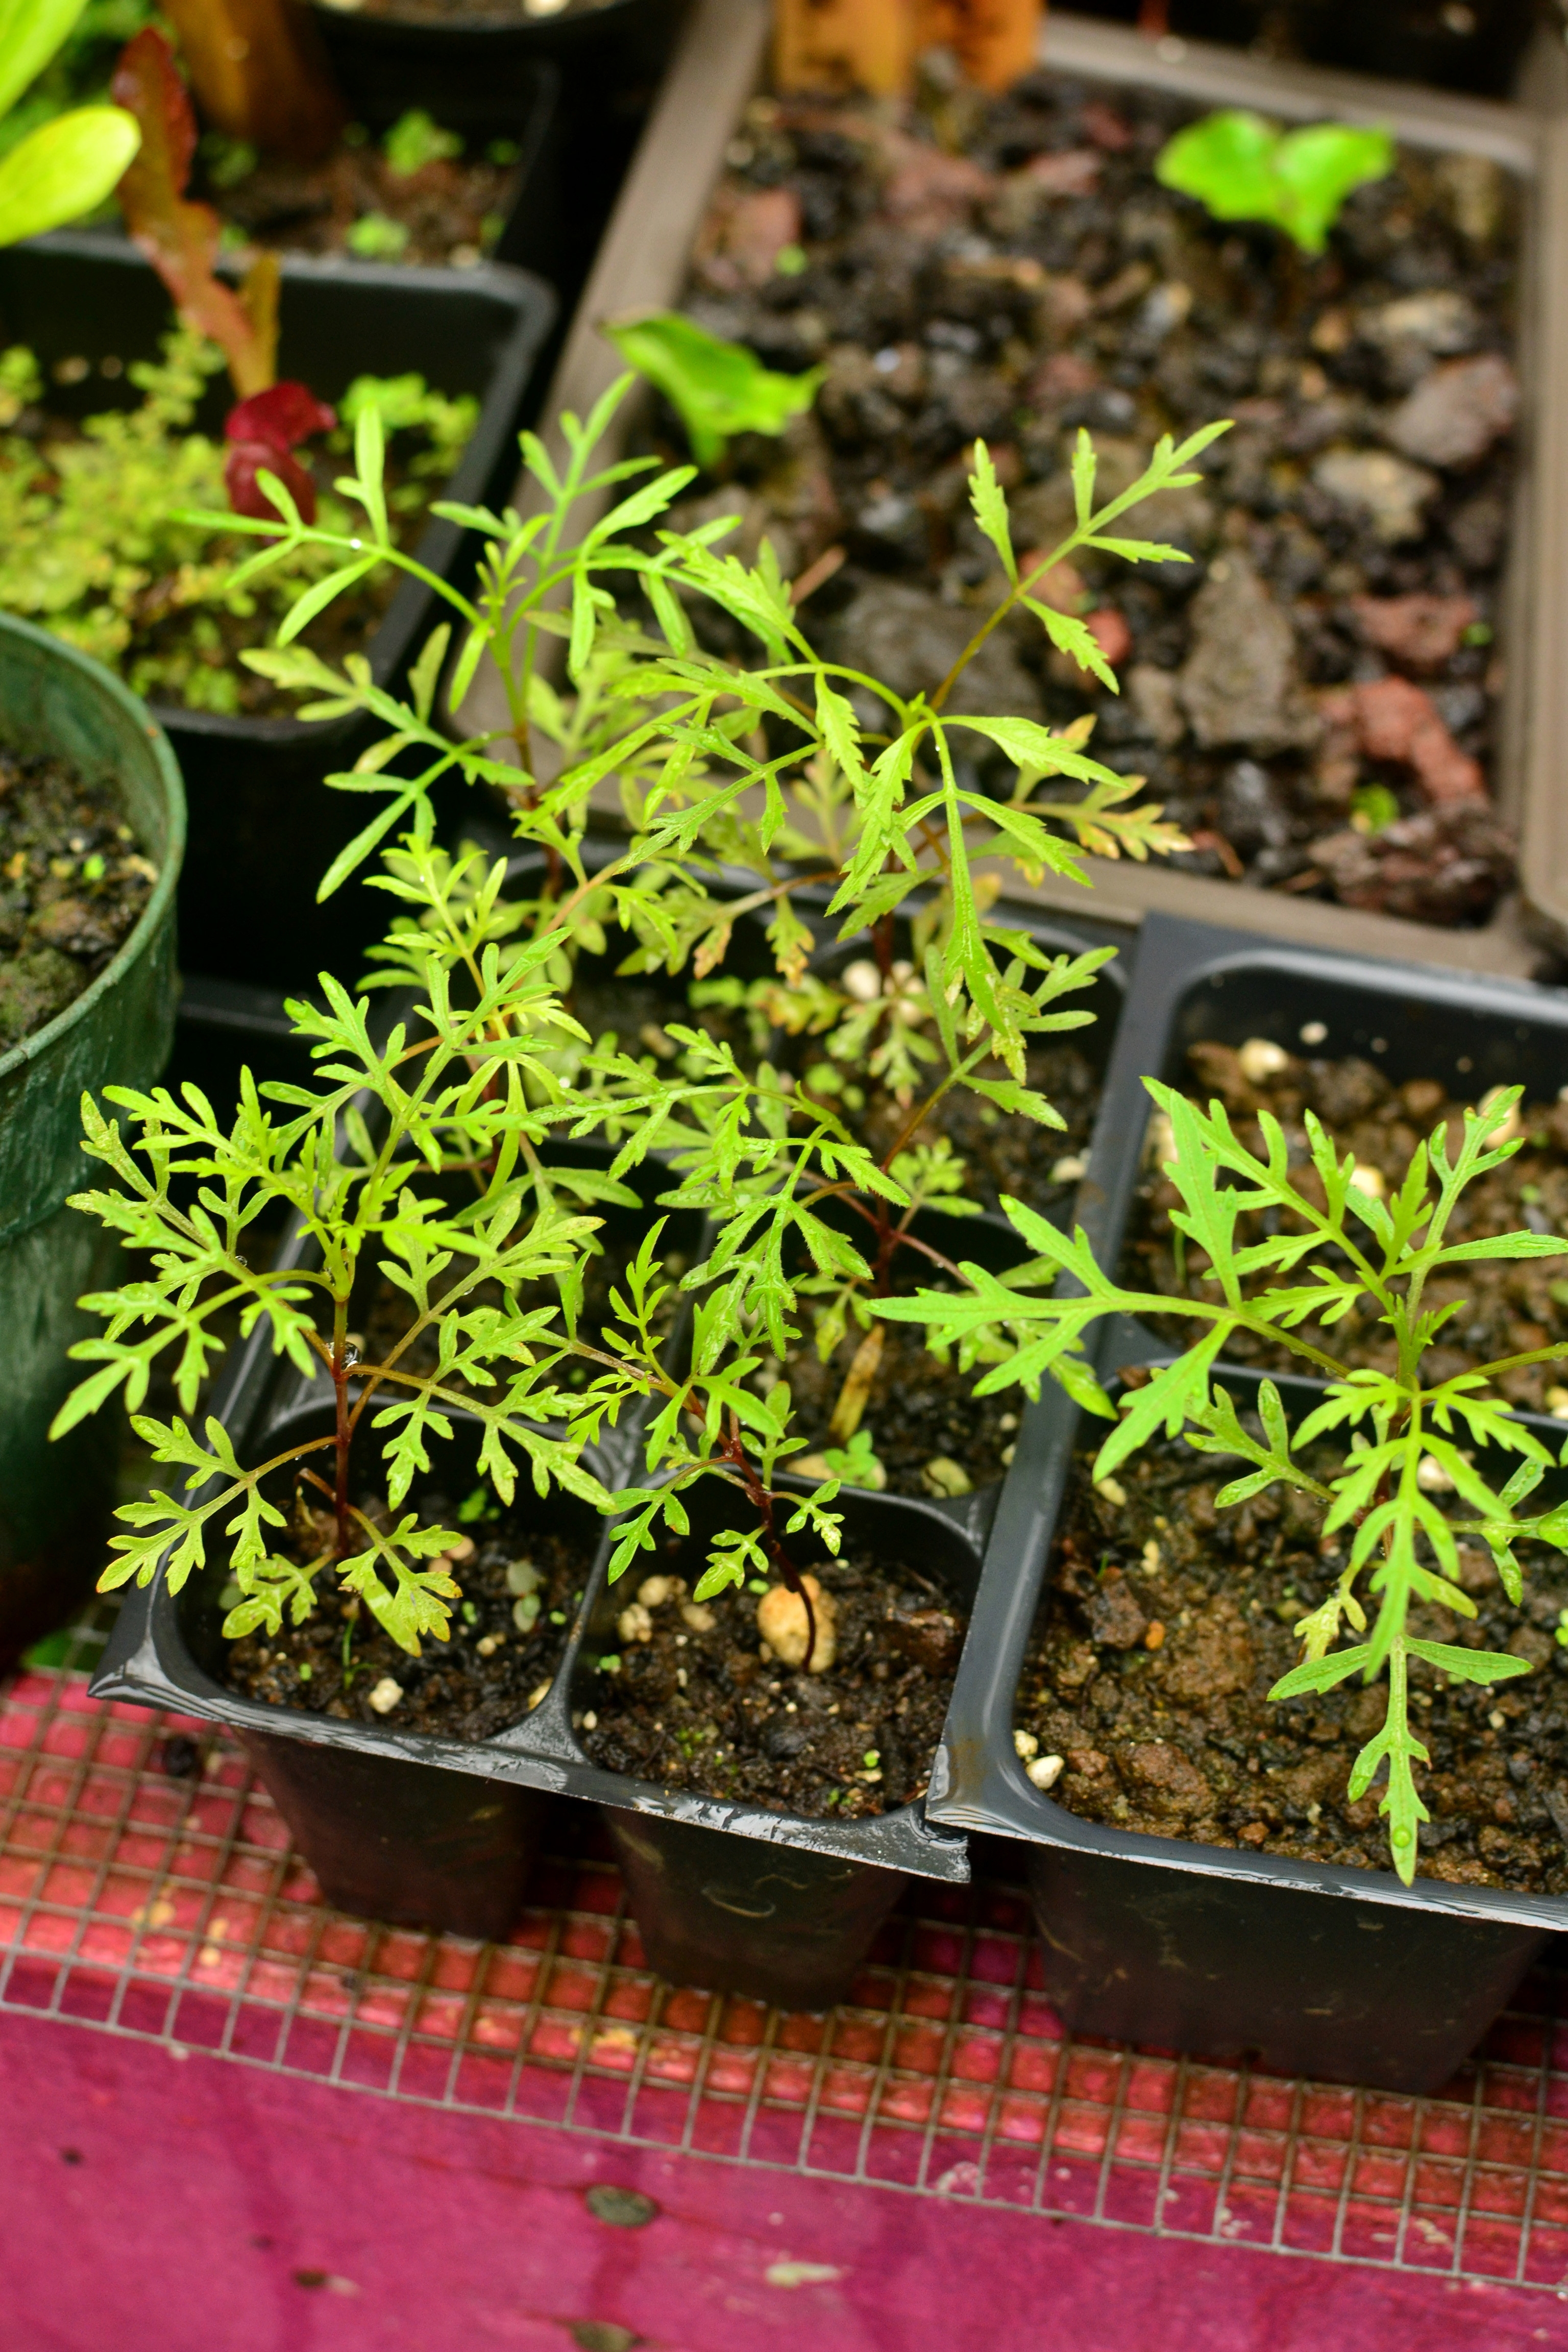
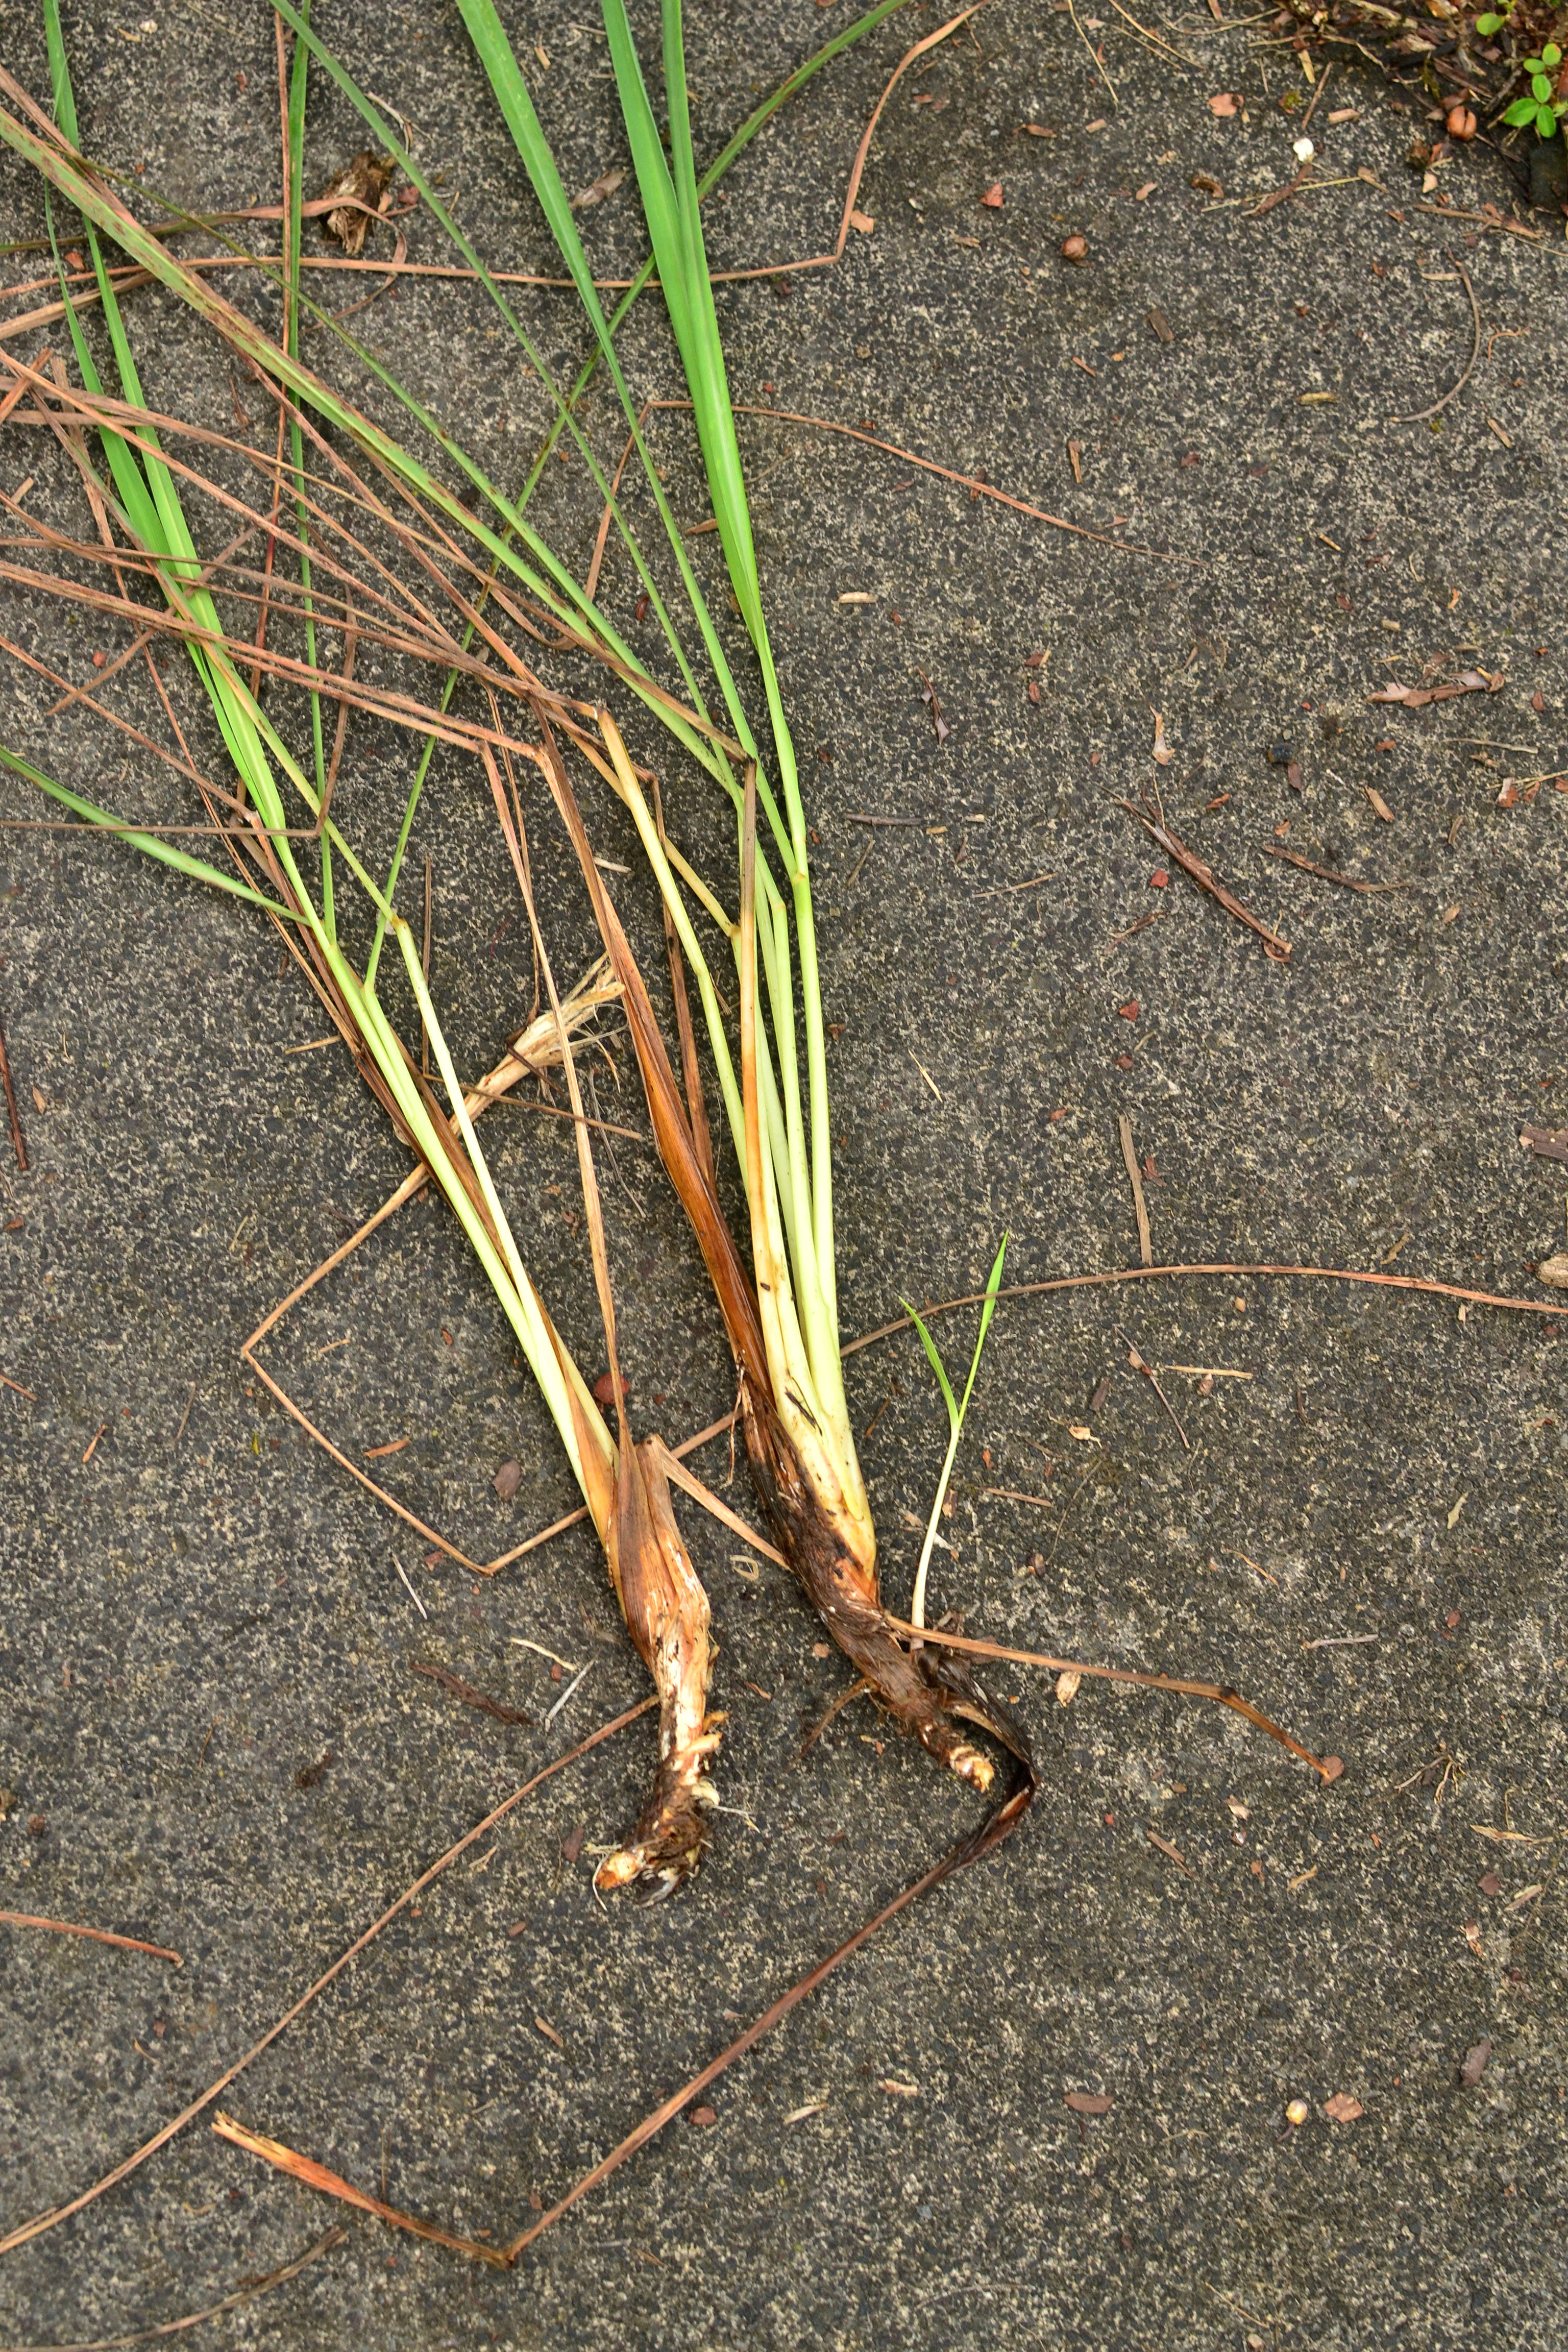
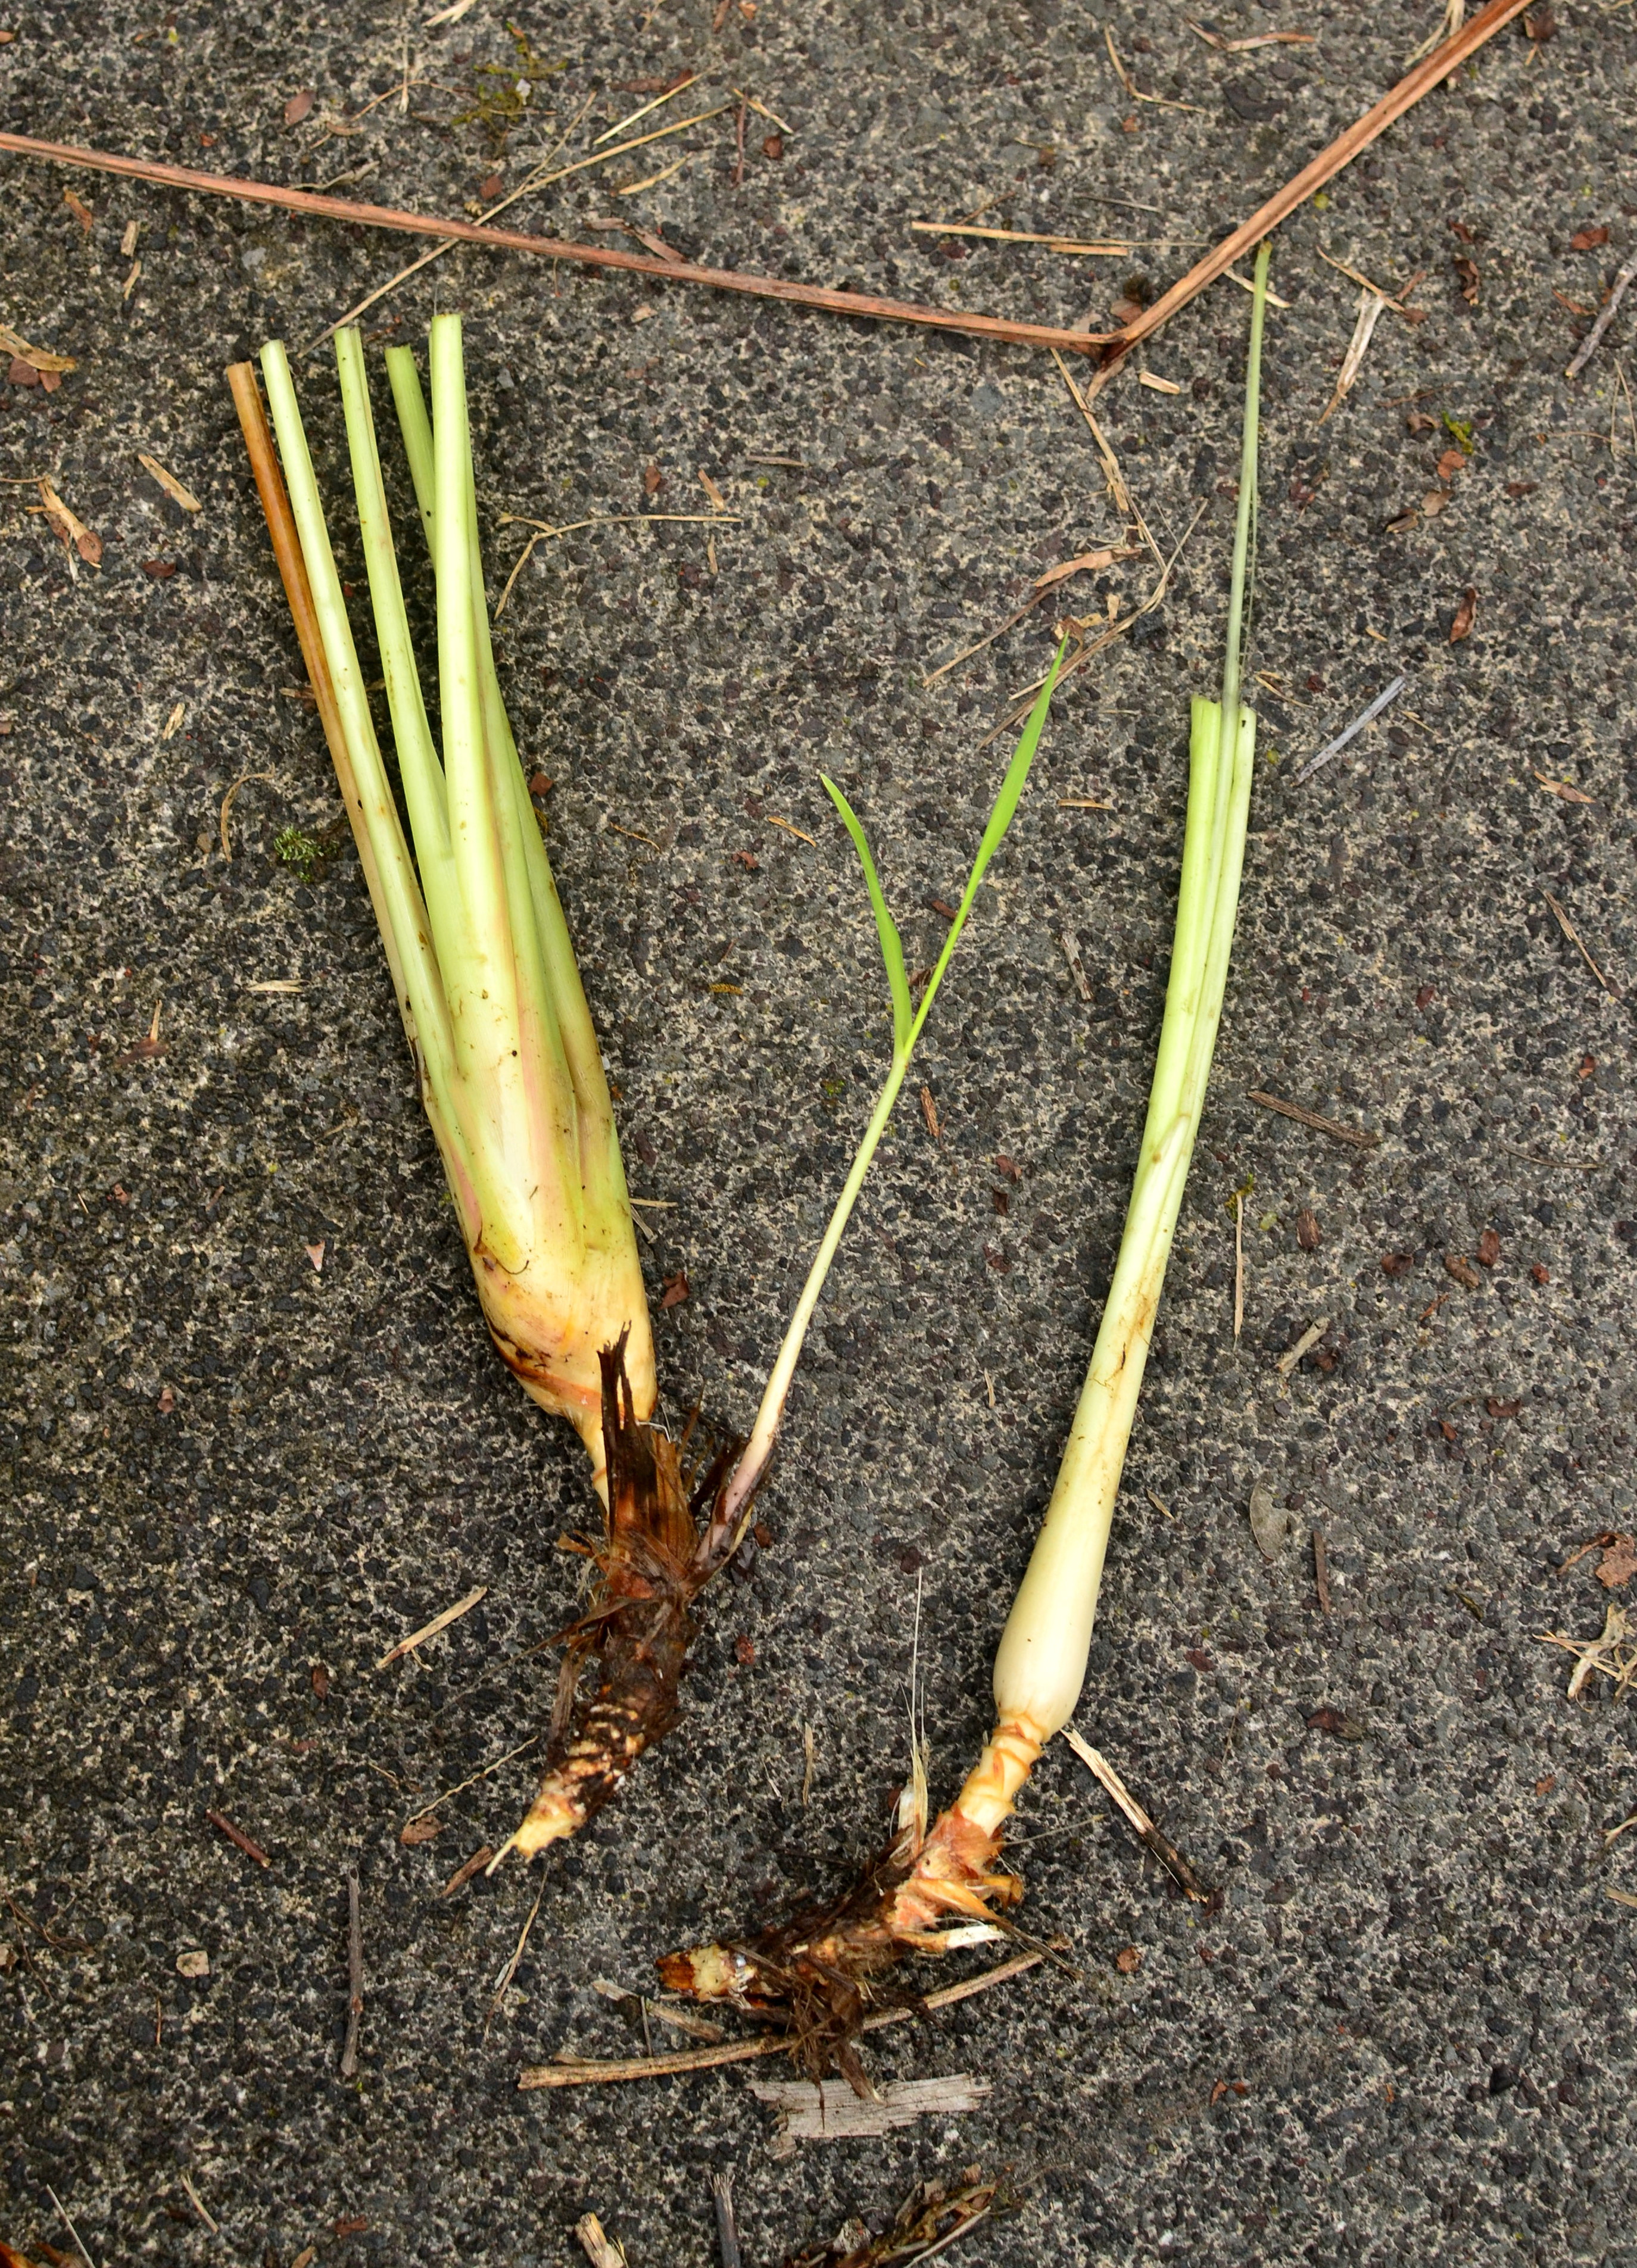
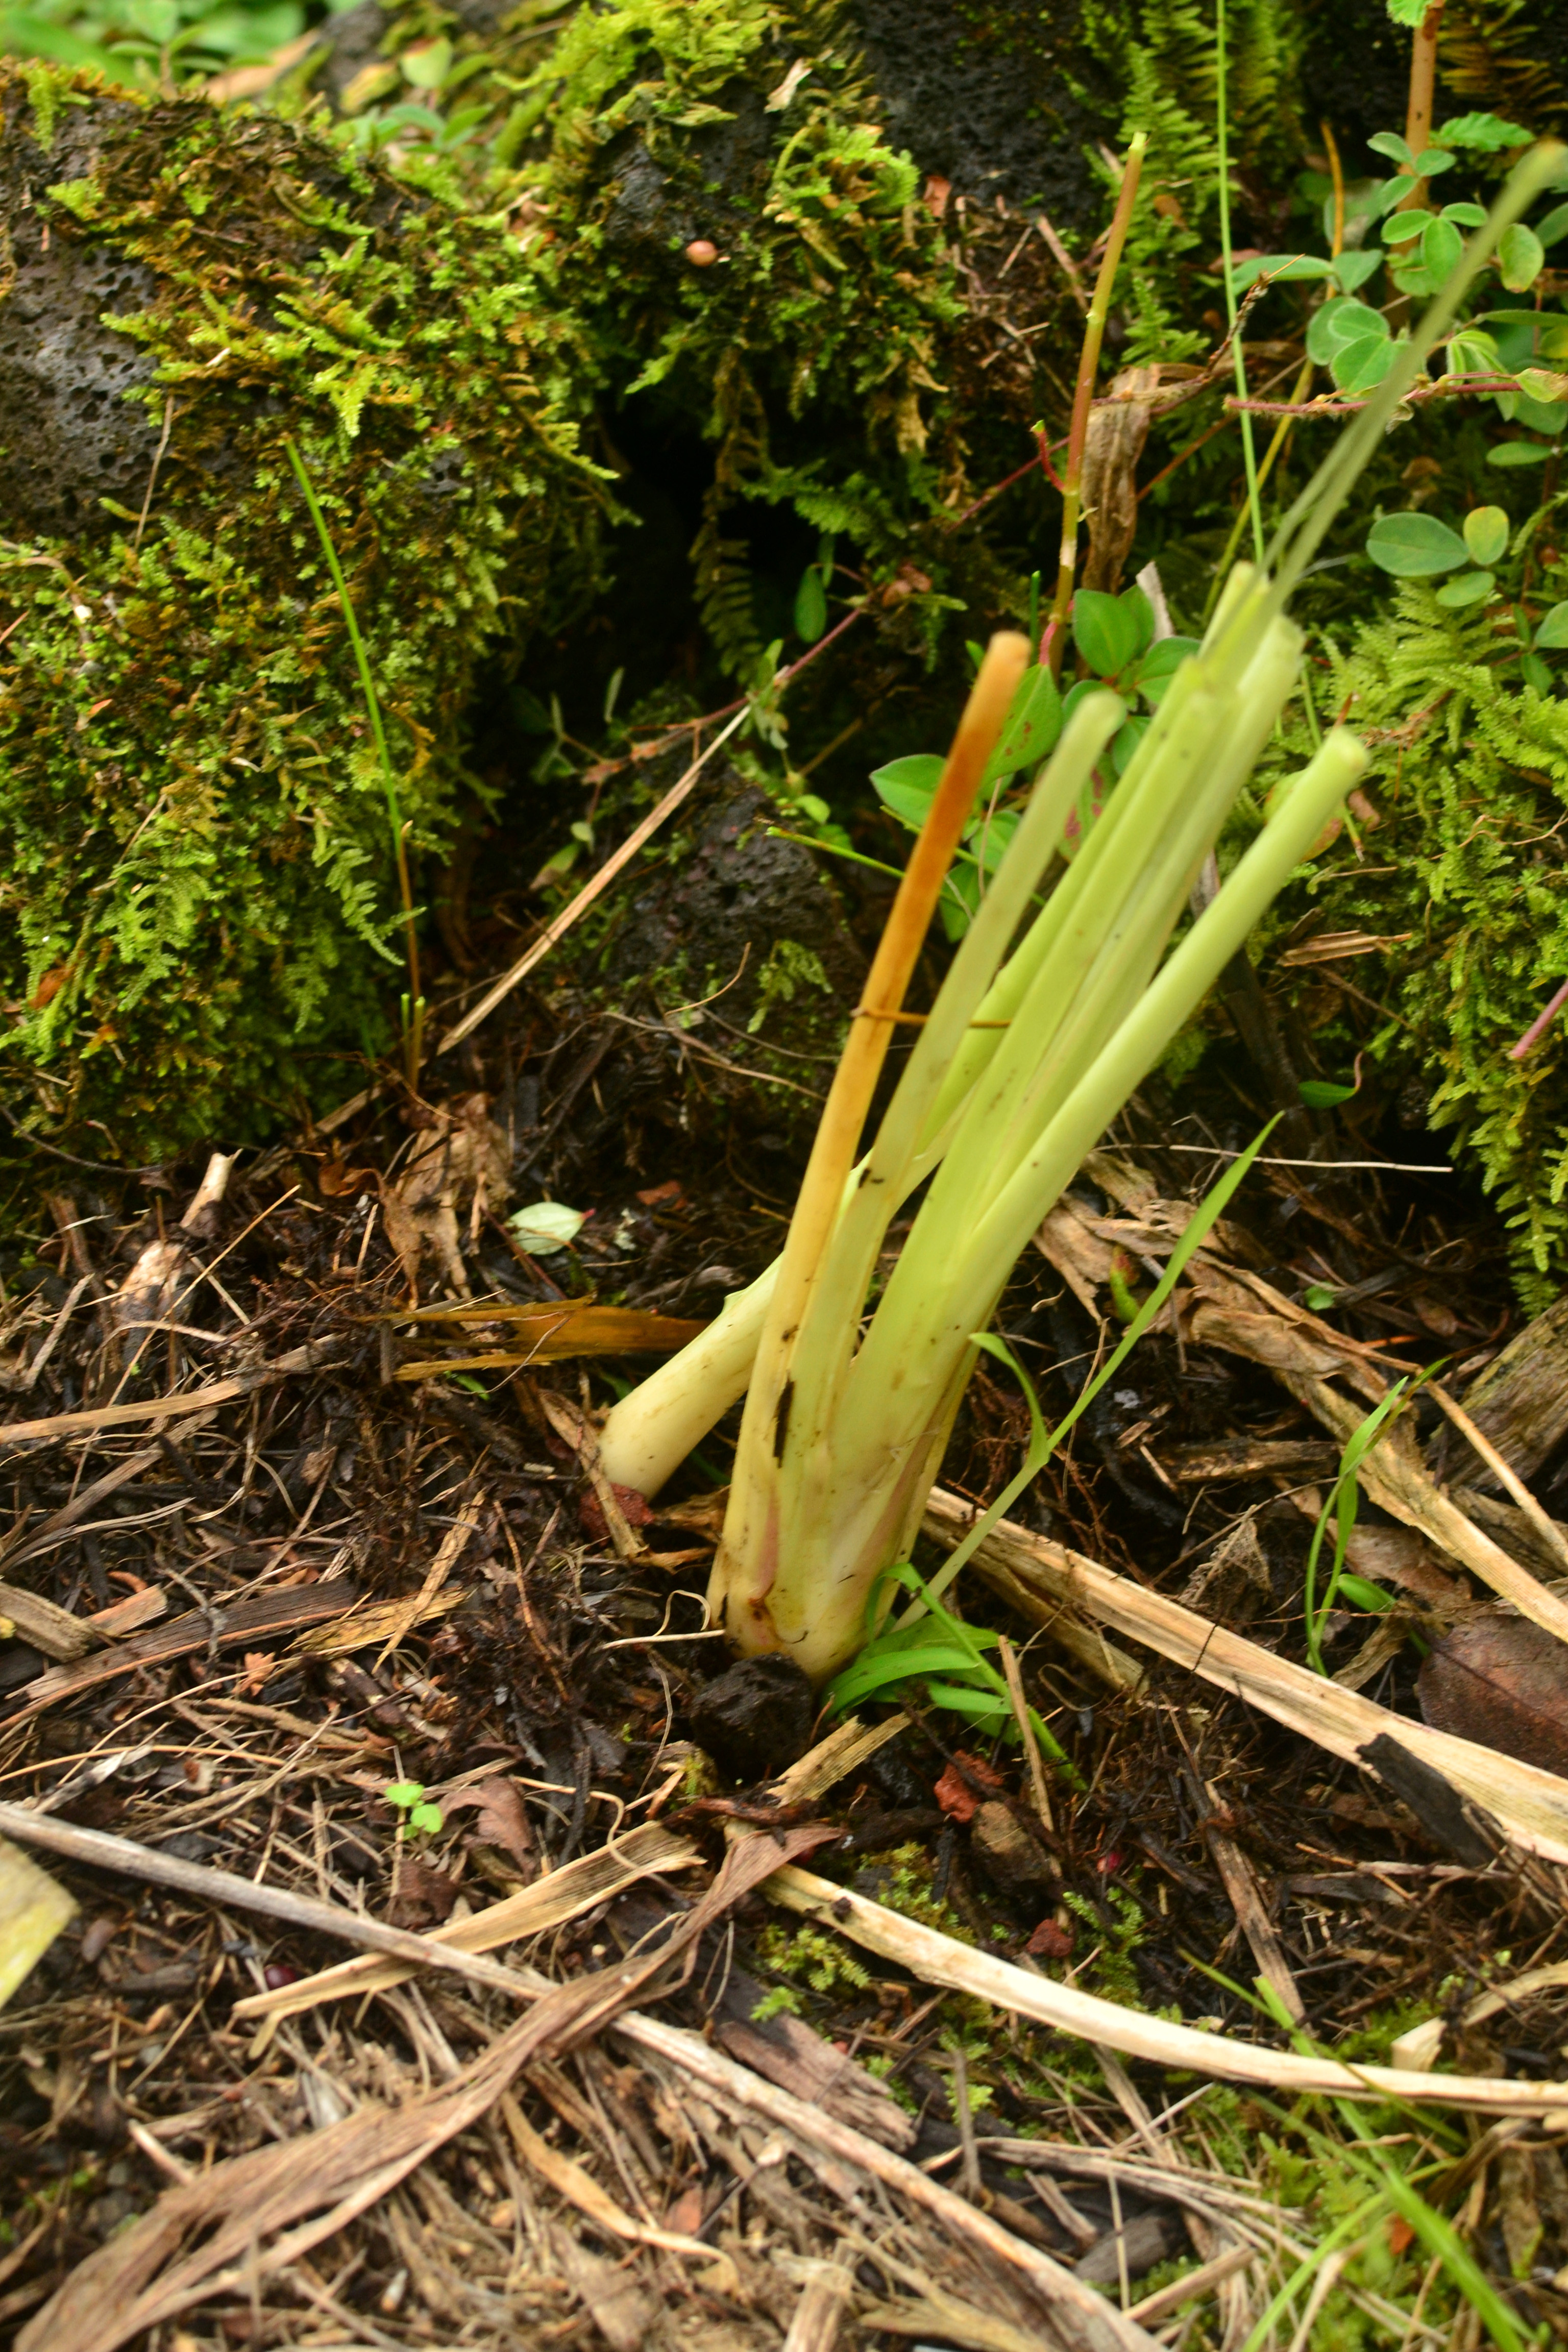
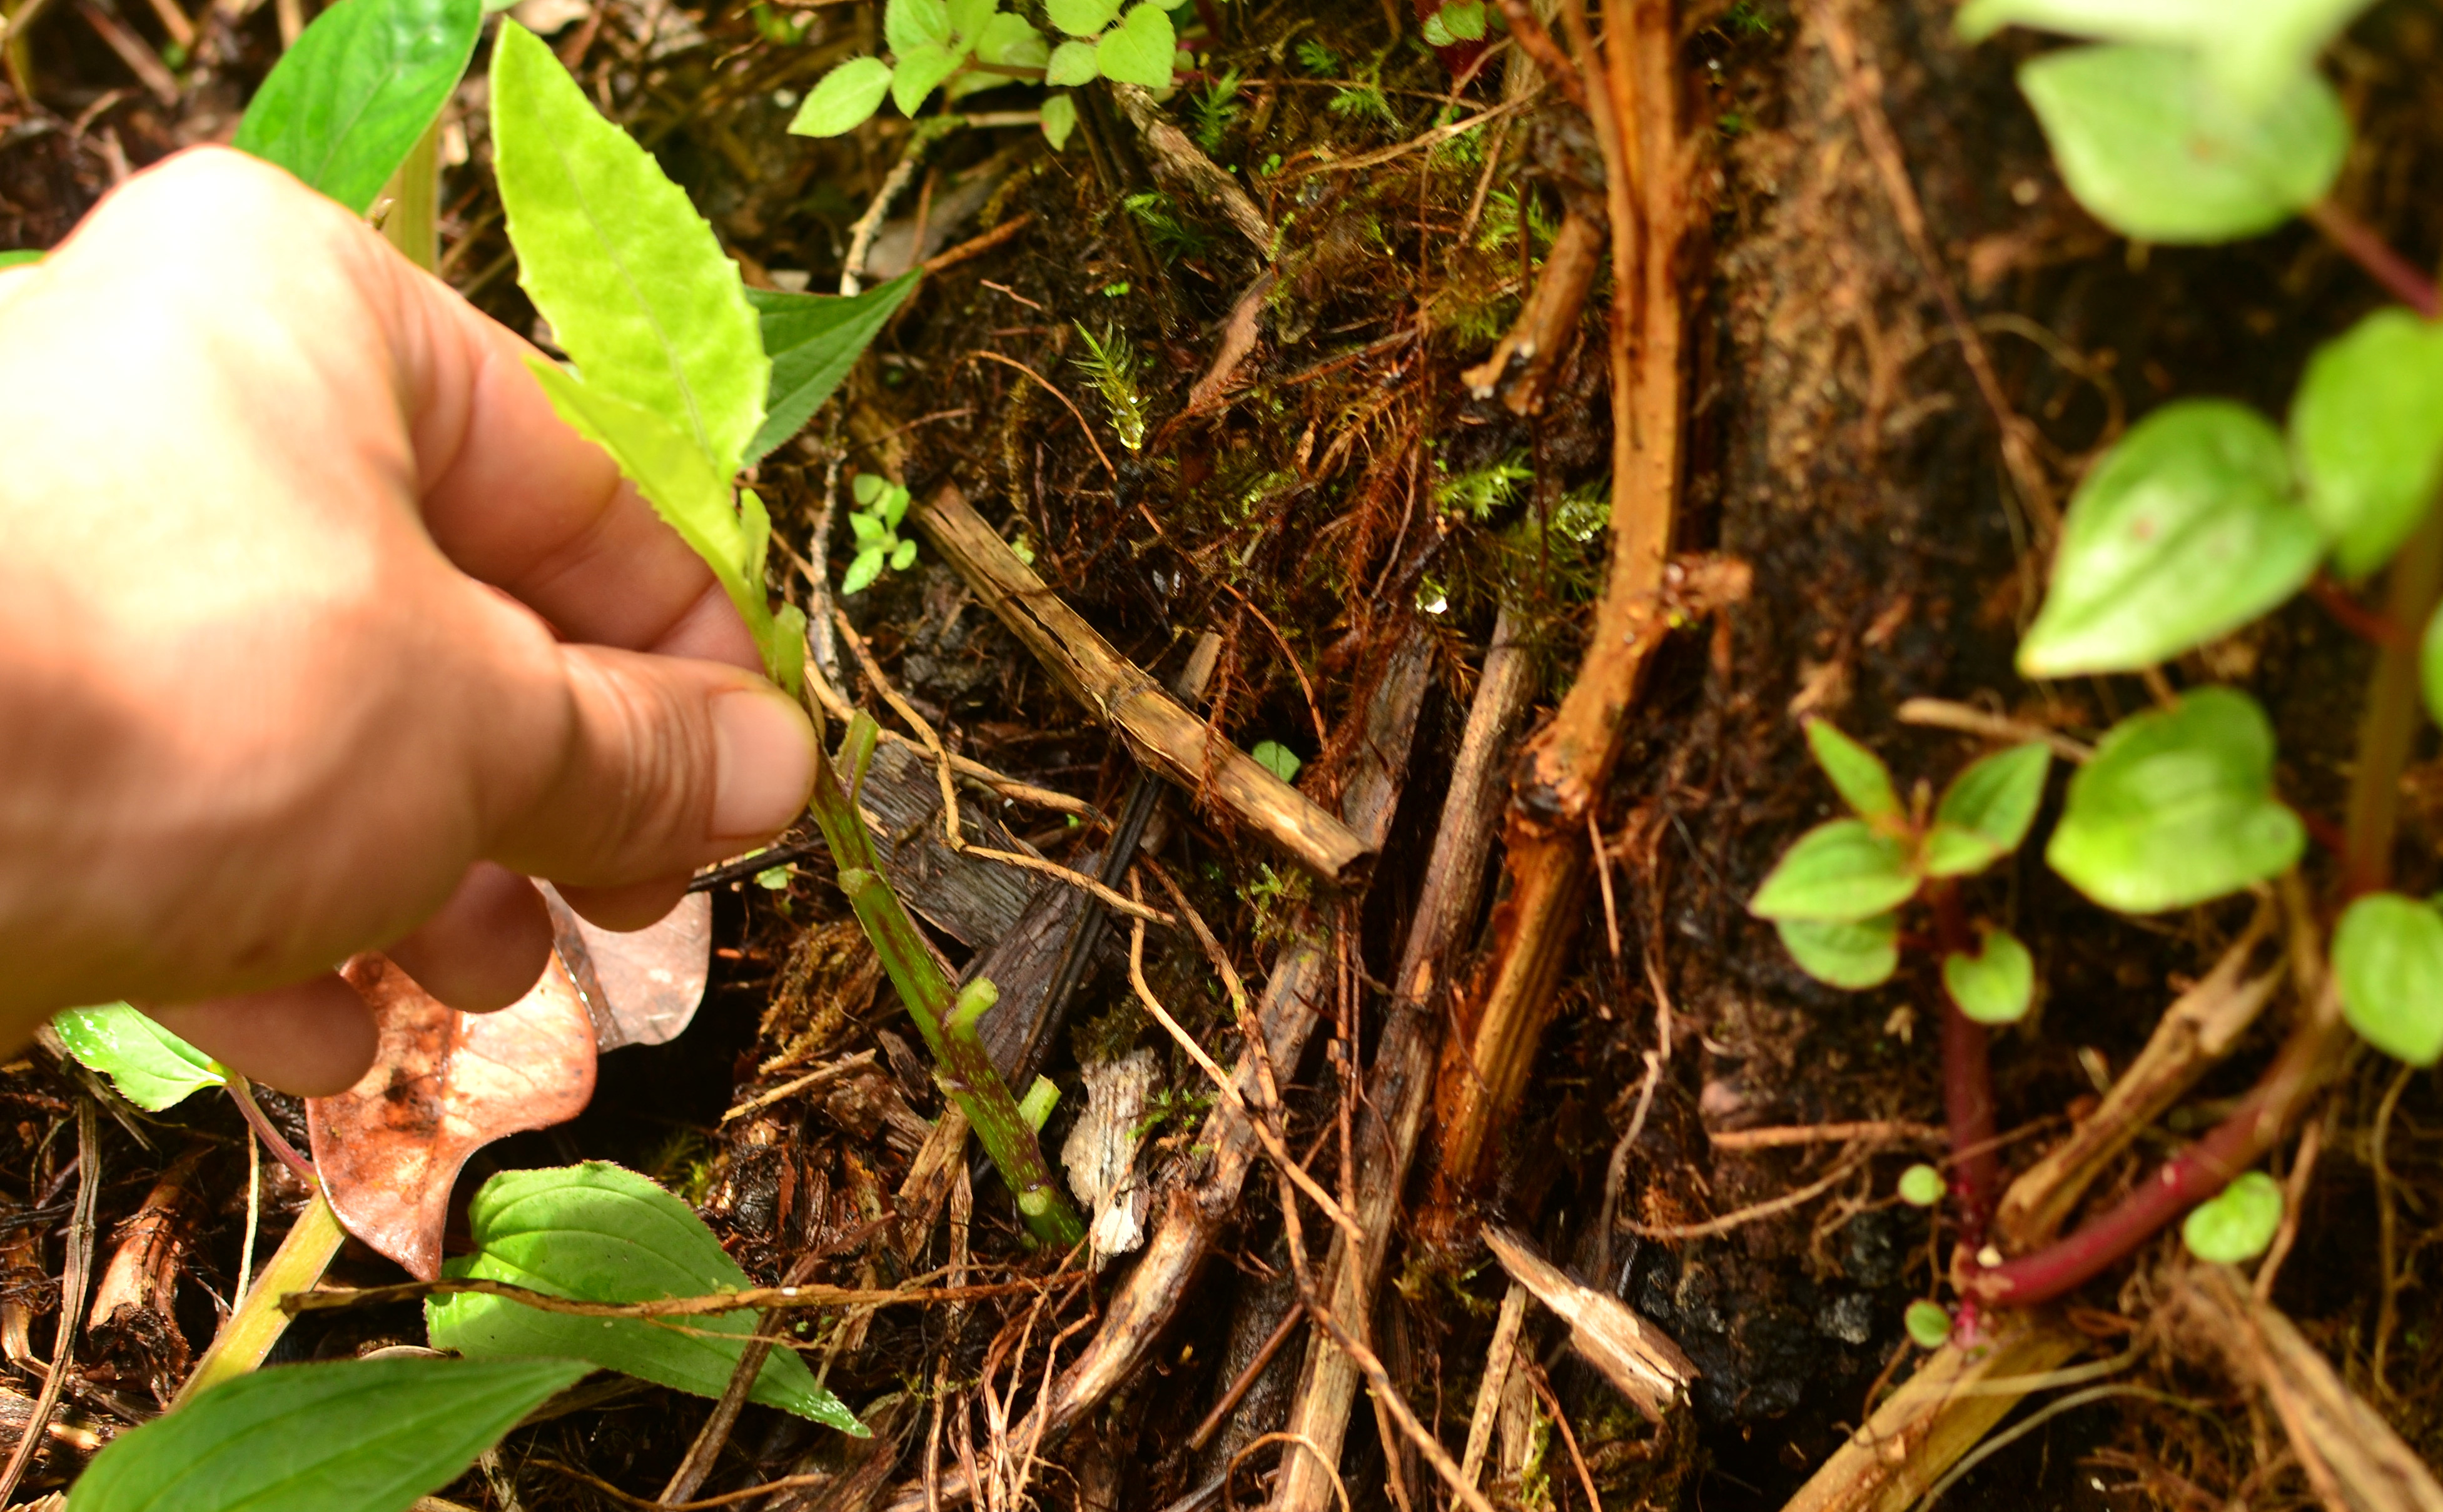
Culantro can easily be up-planted and moved anywhere desirable. Don’t worry if you break a few roots, this plant is extremely hardy and will bounce back.

DSC_0593

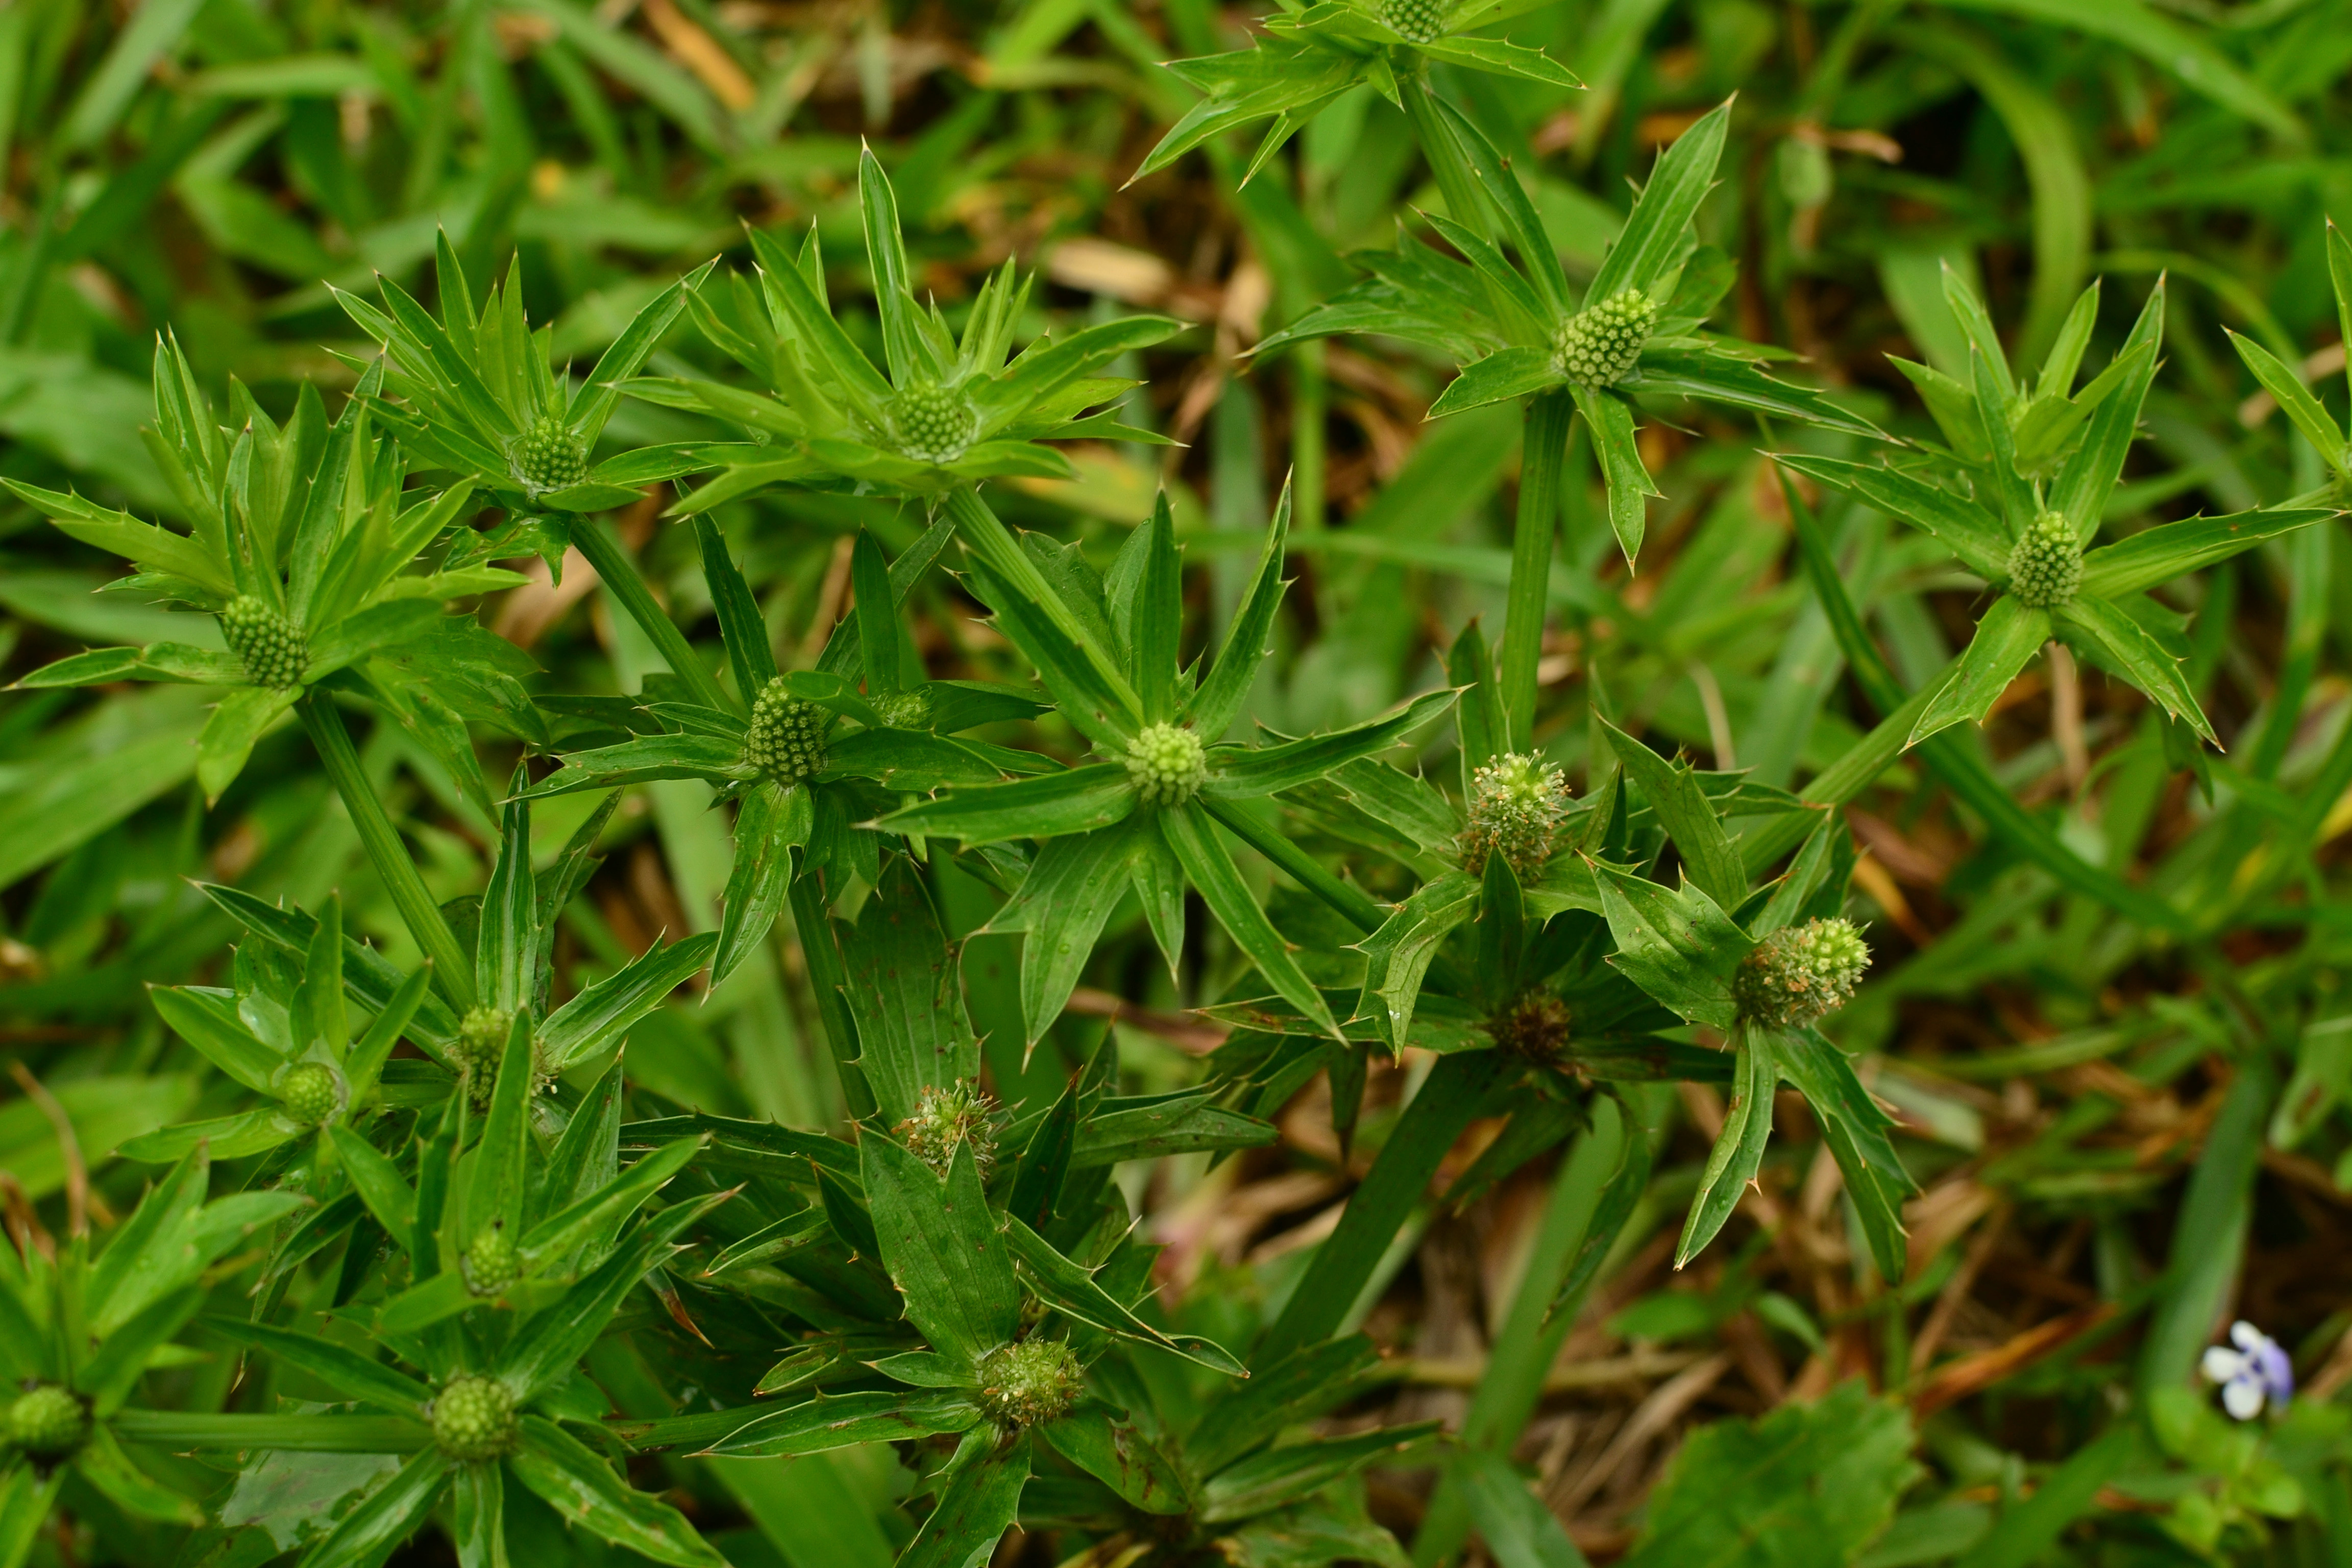
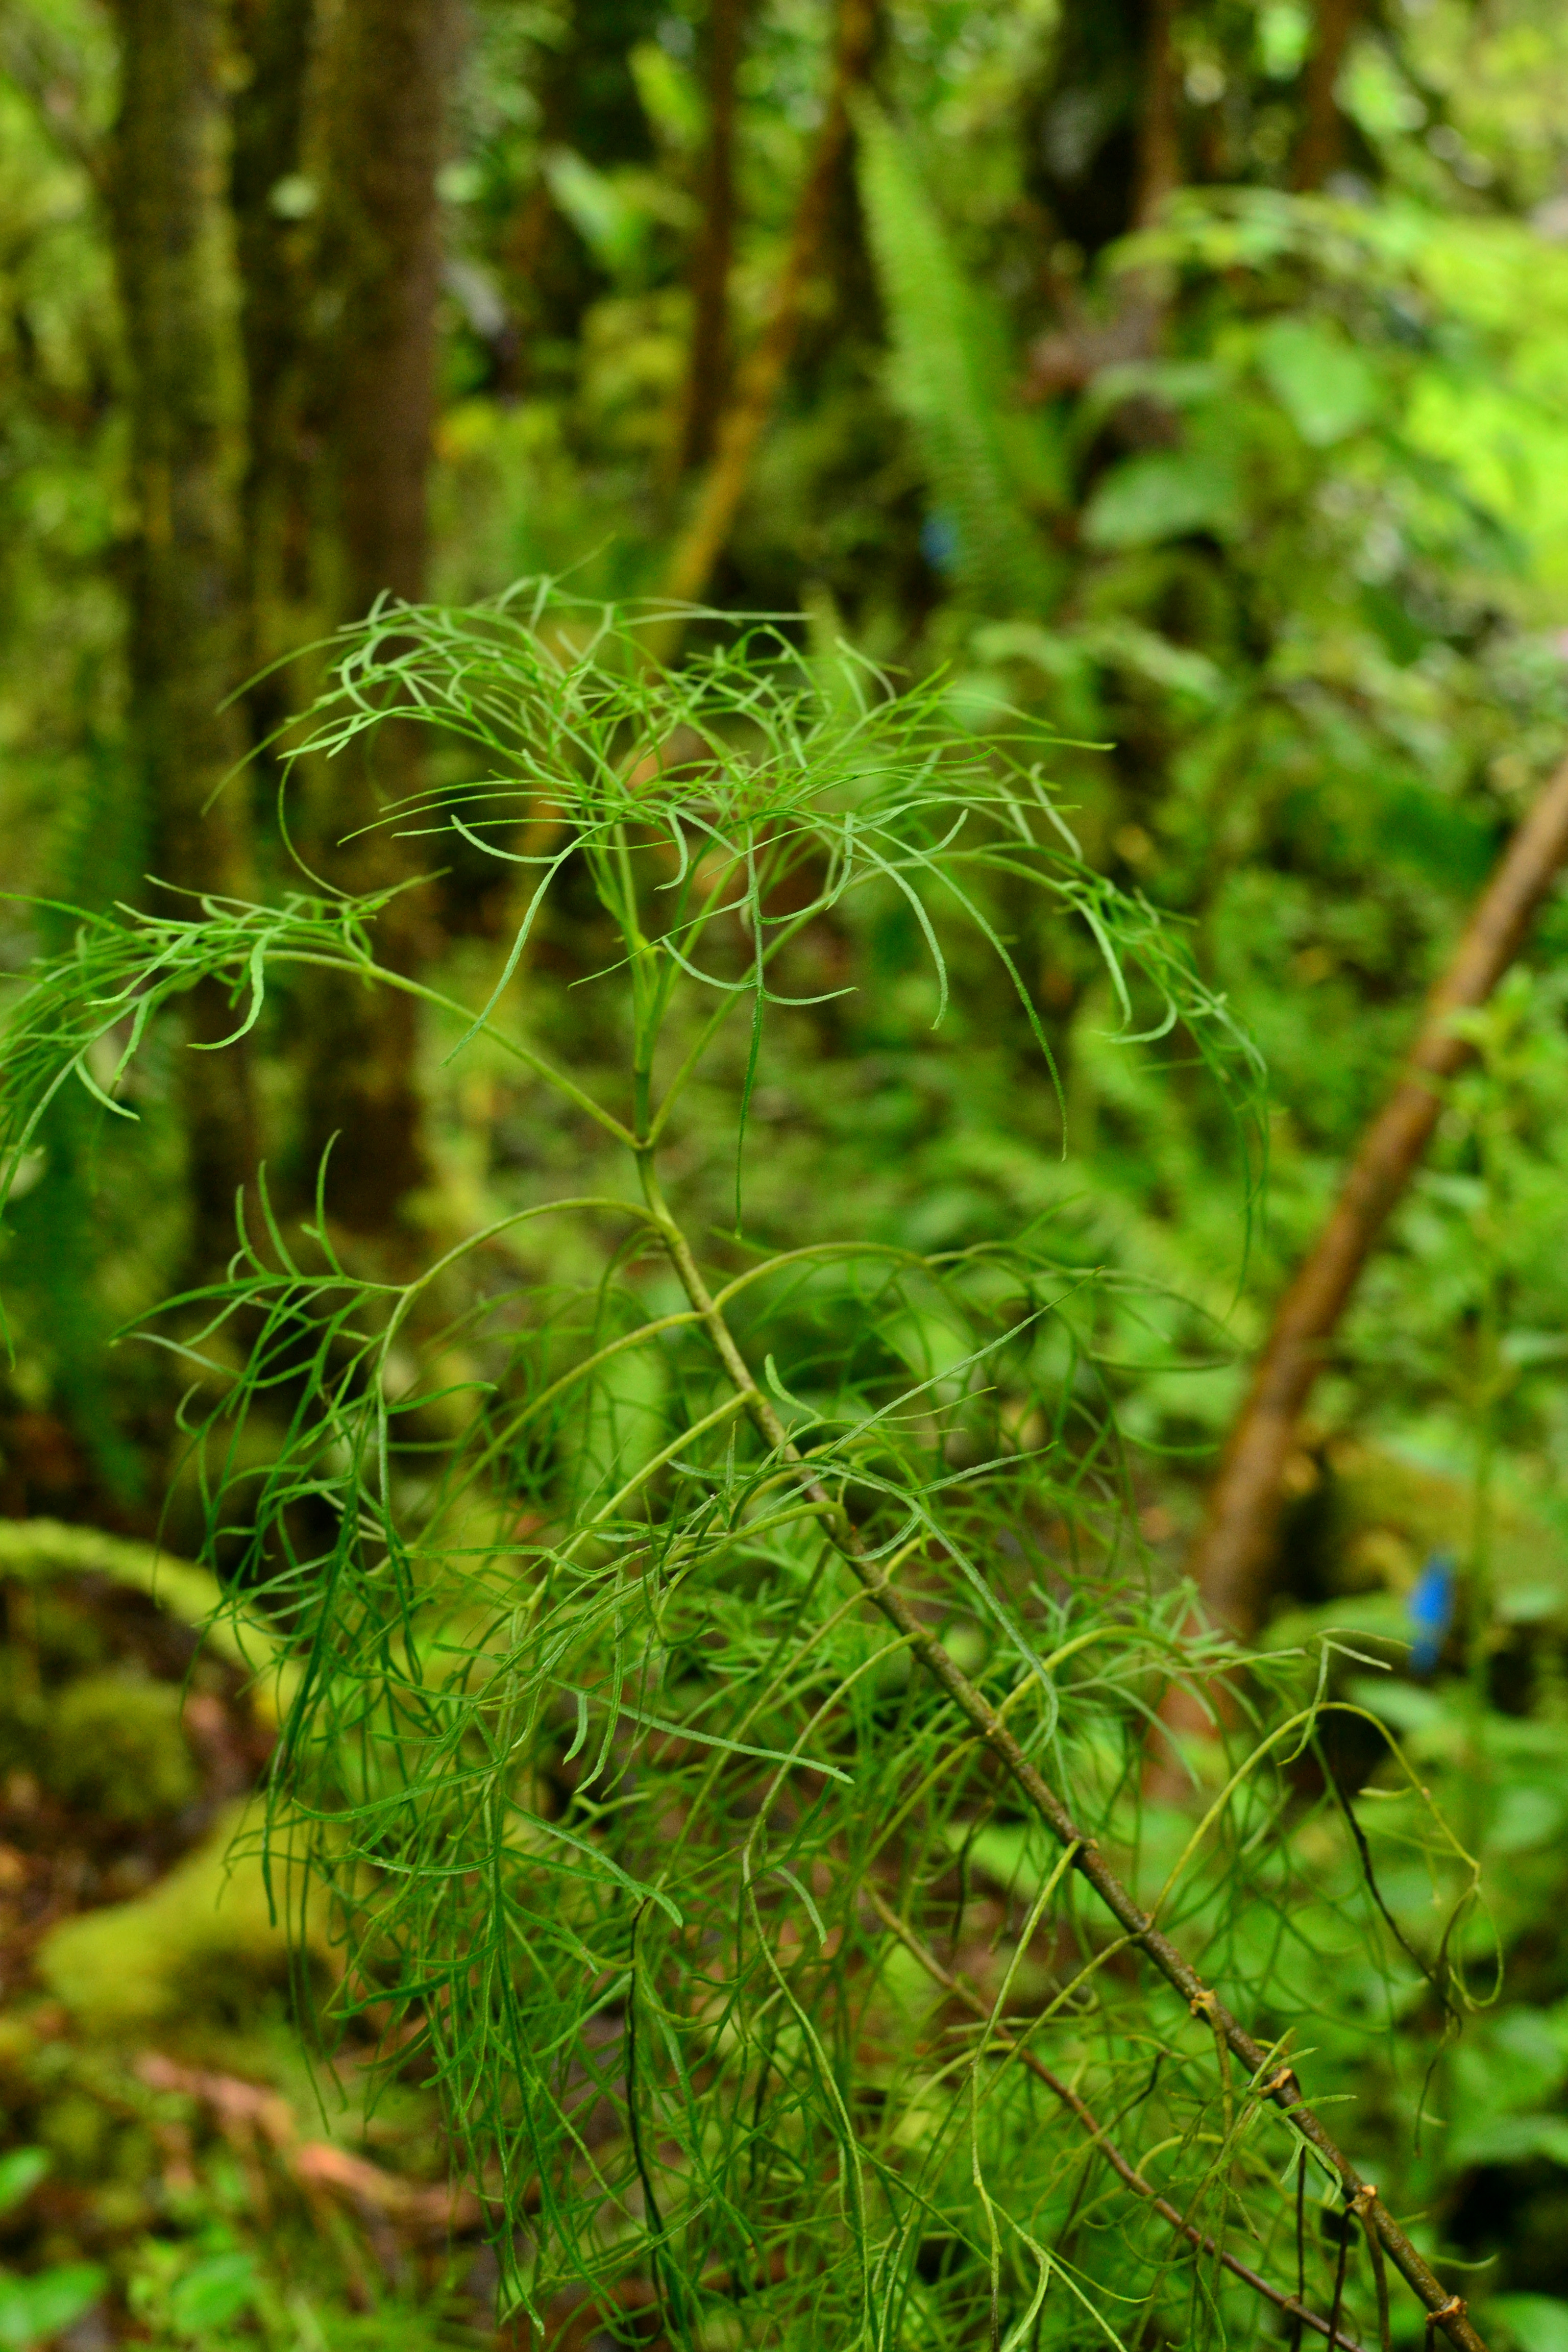
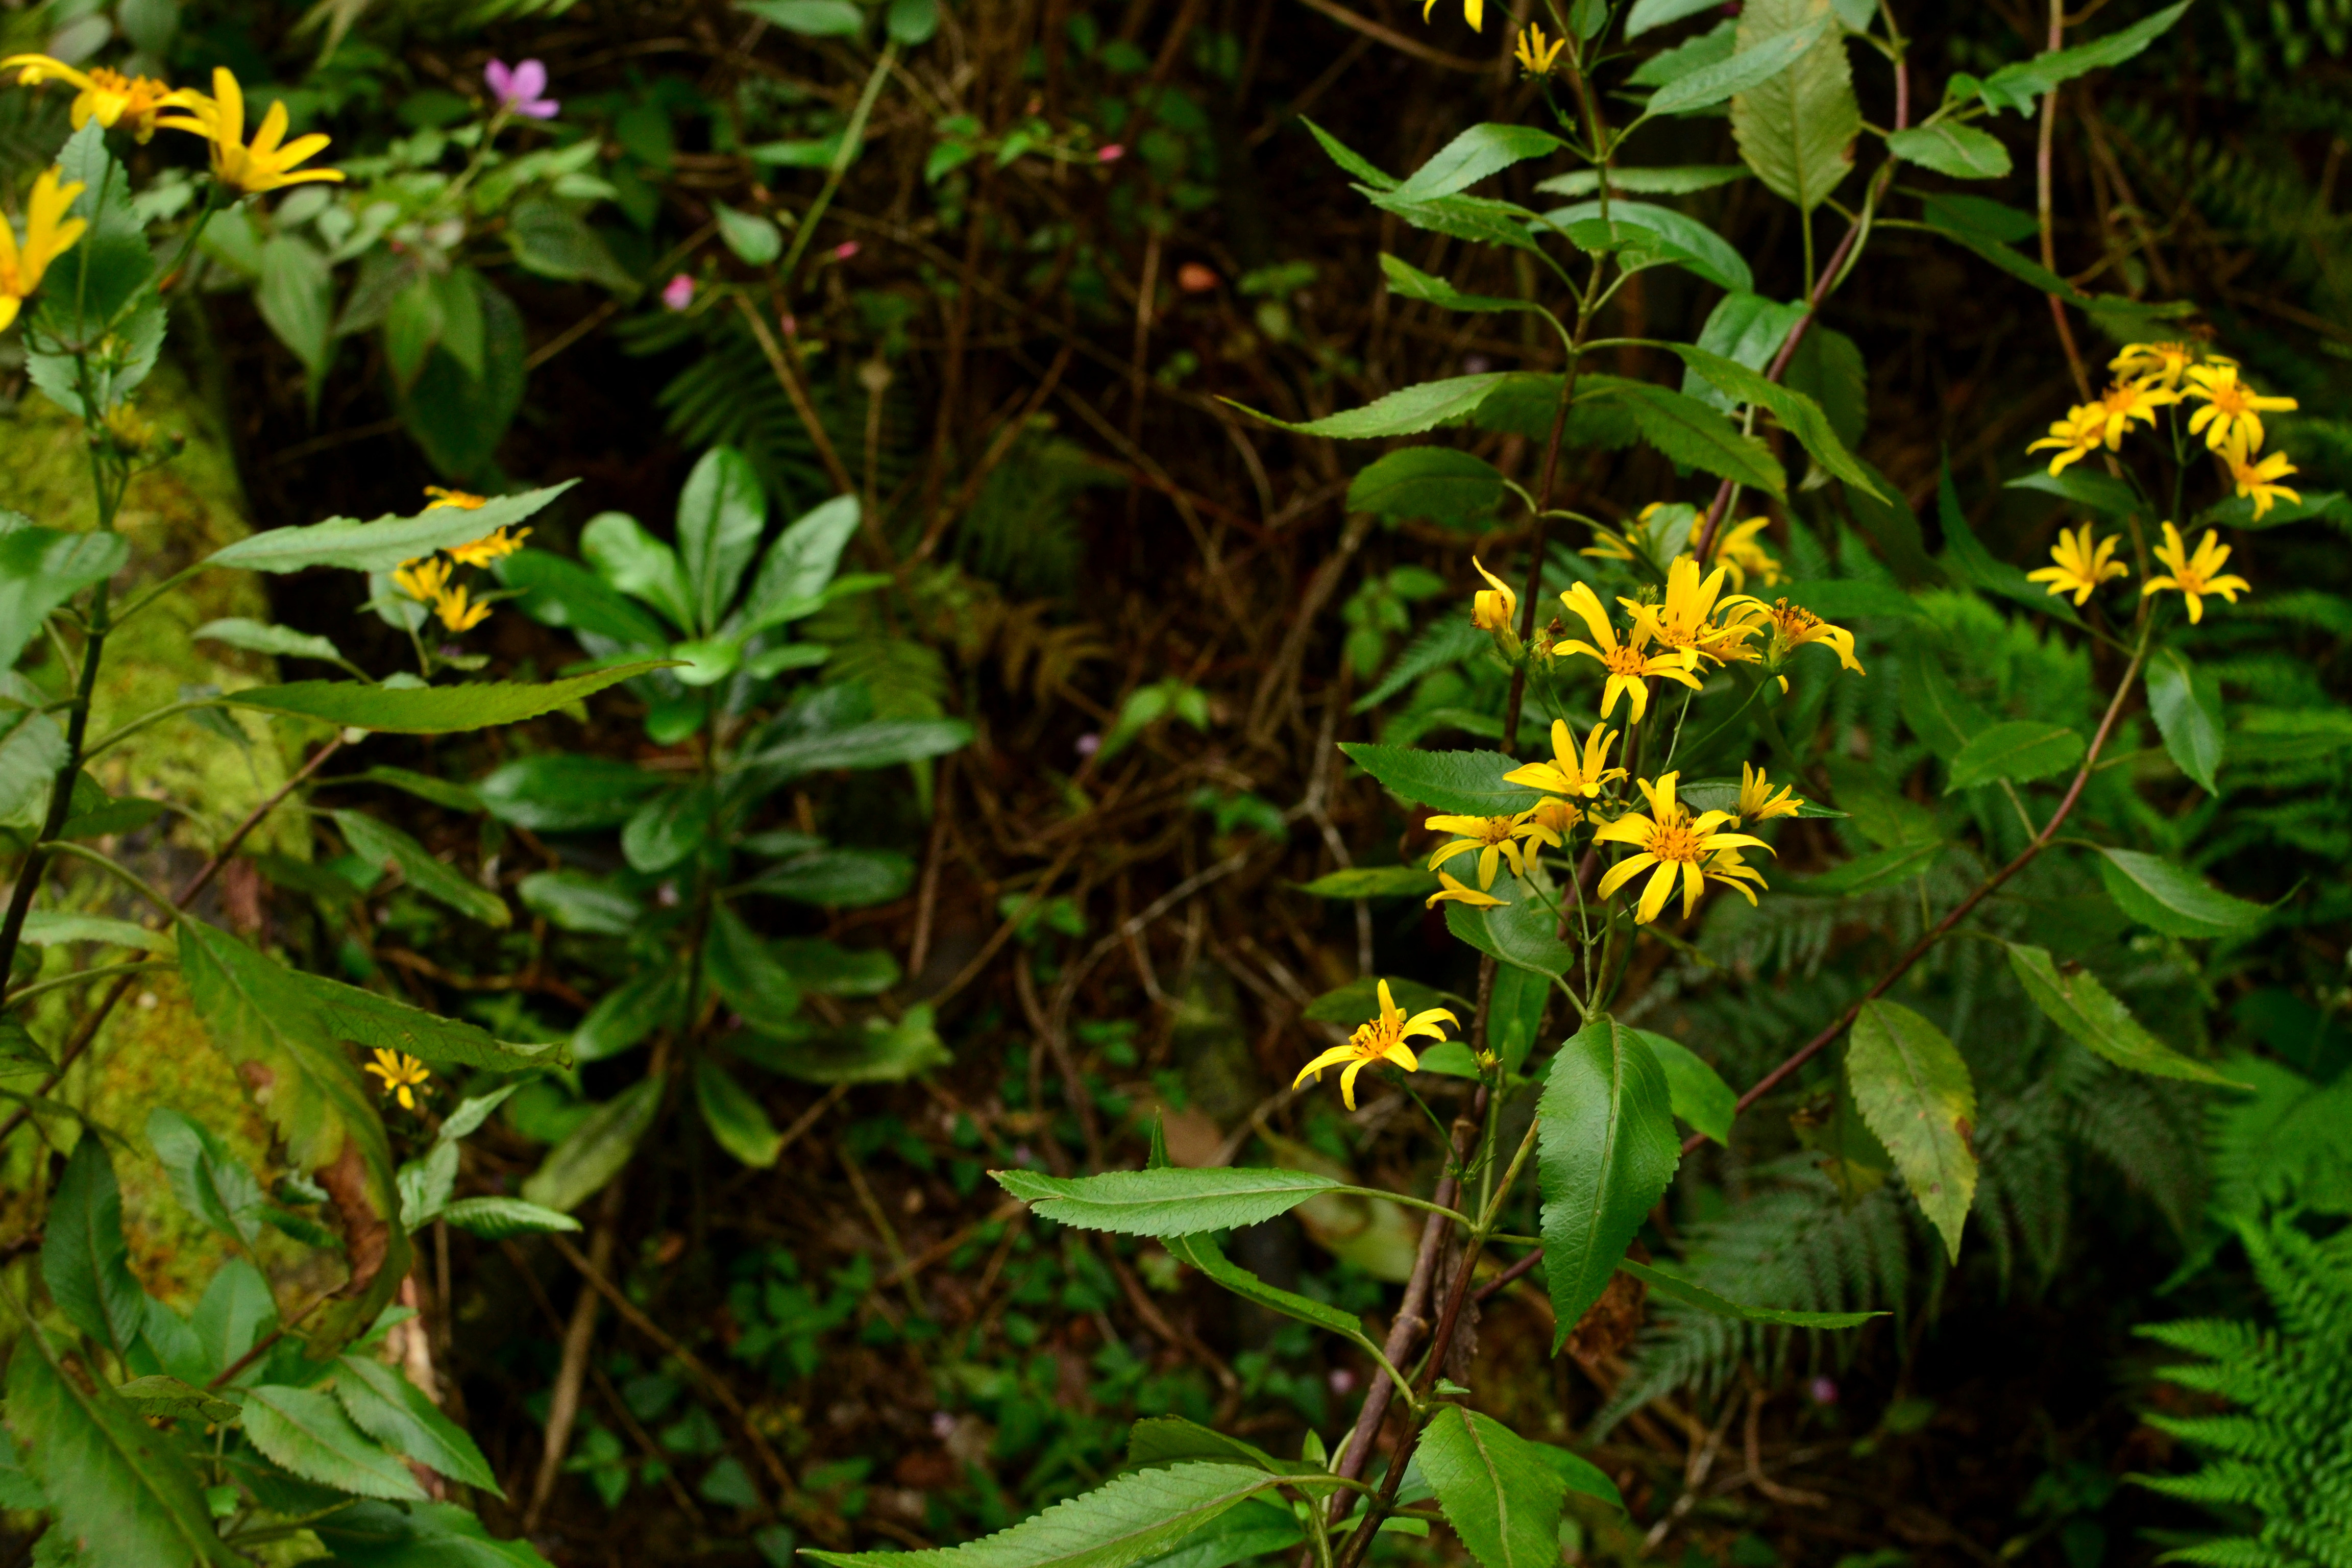
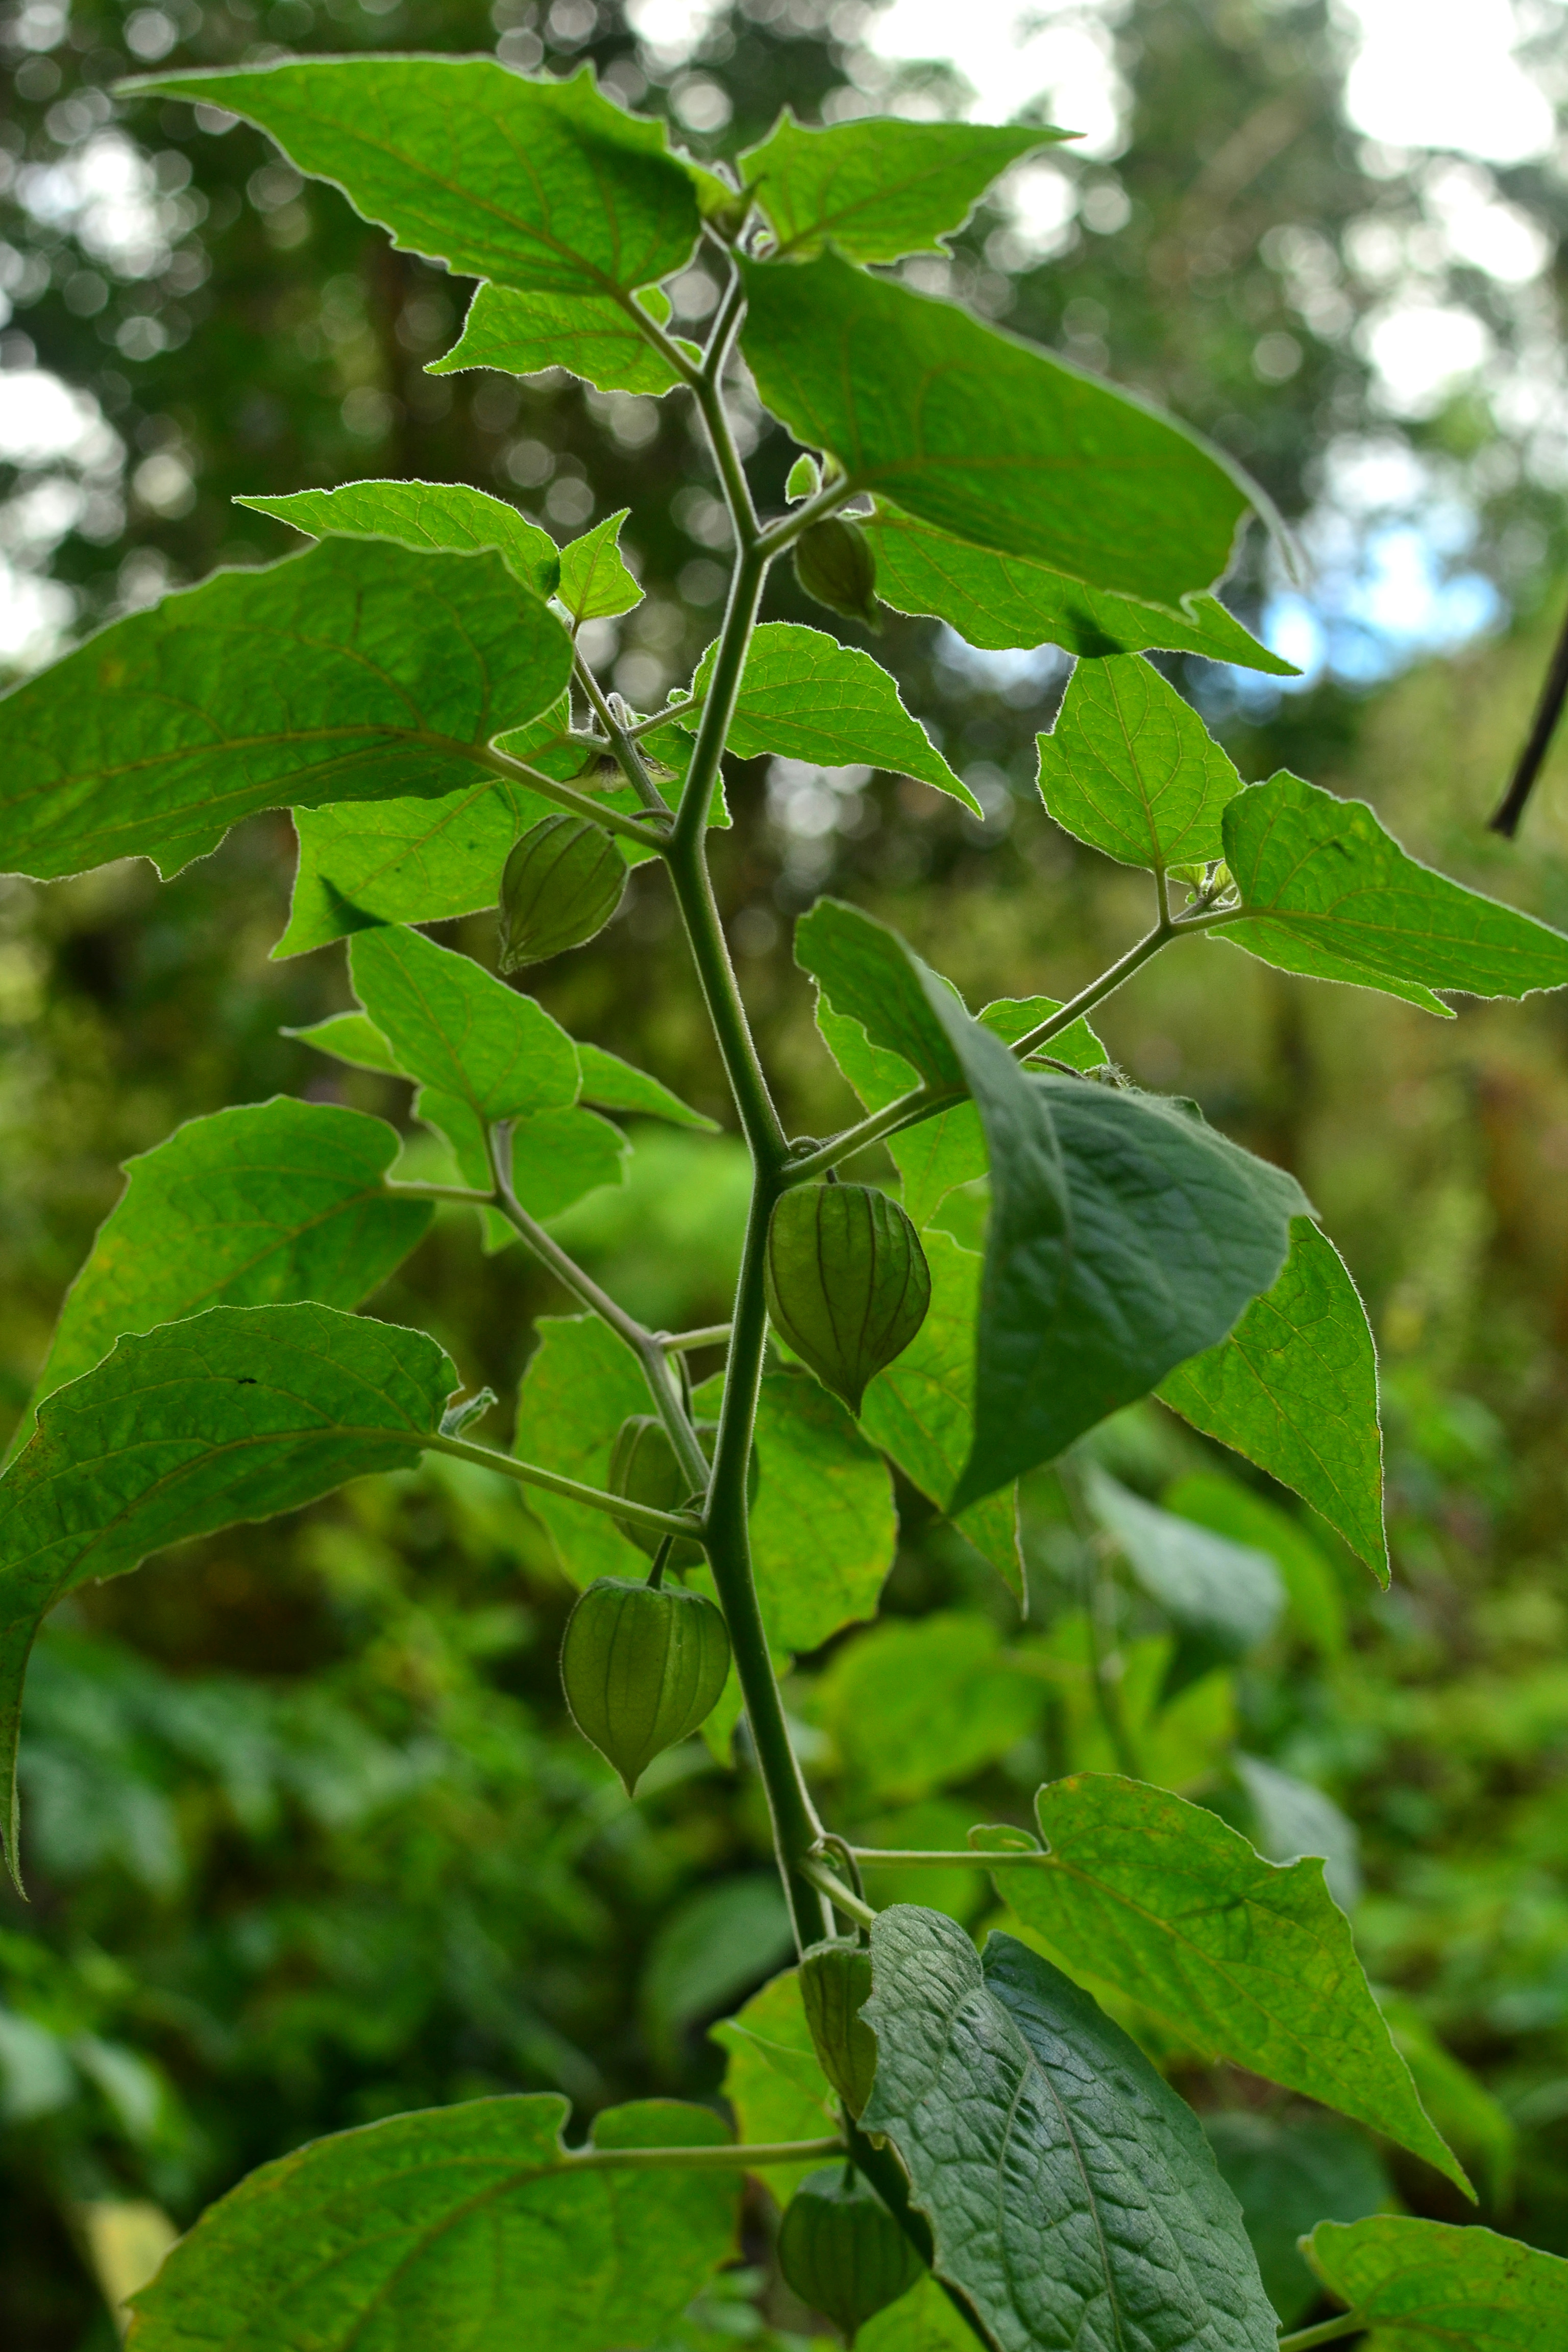
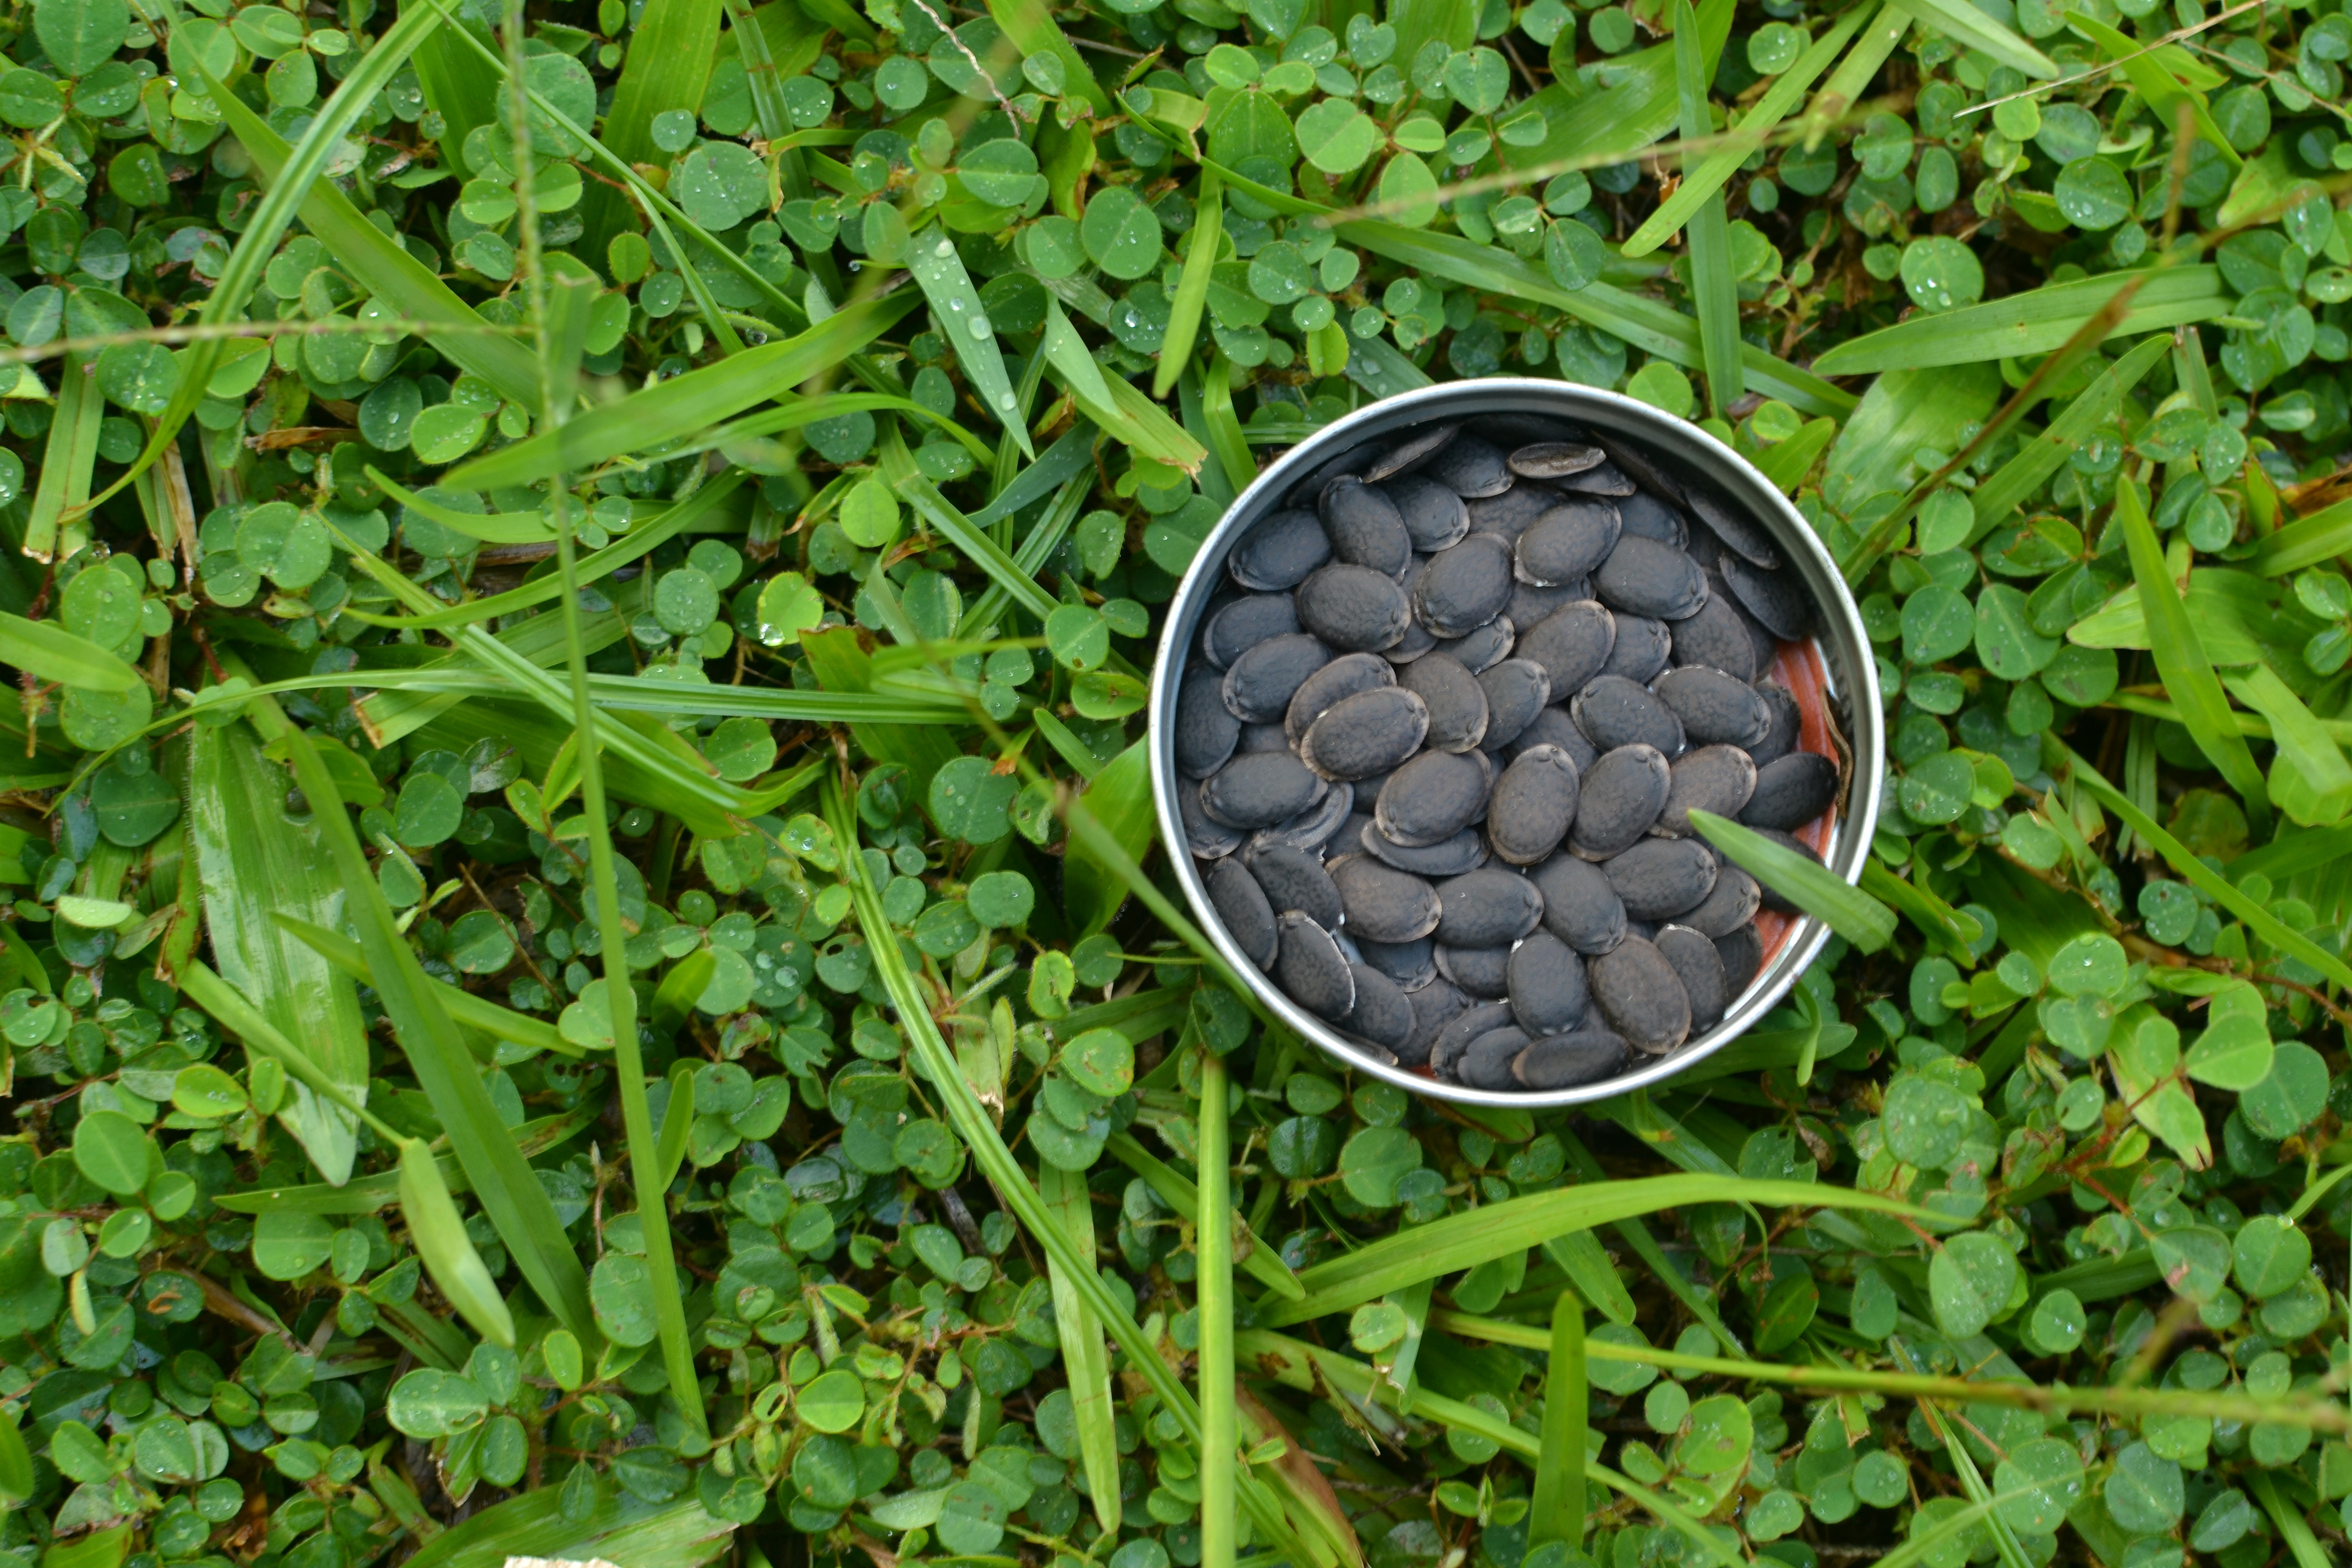
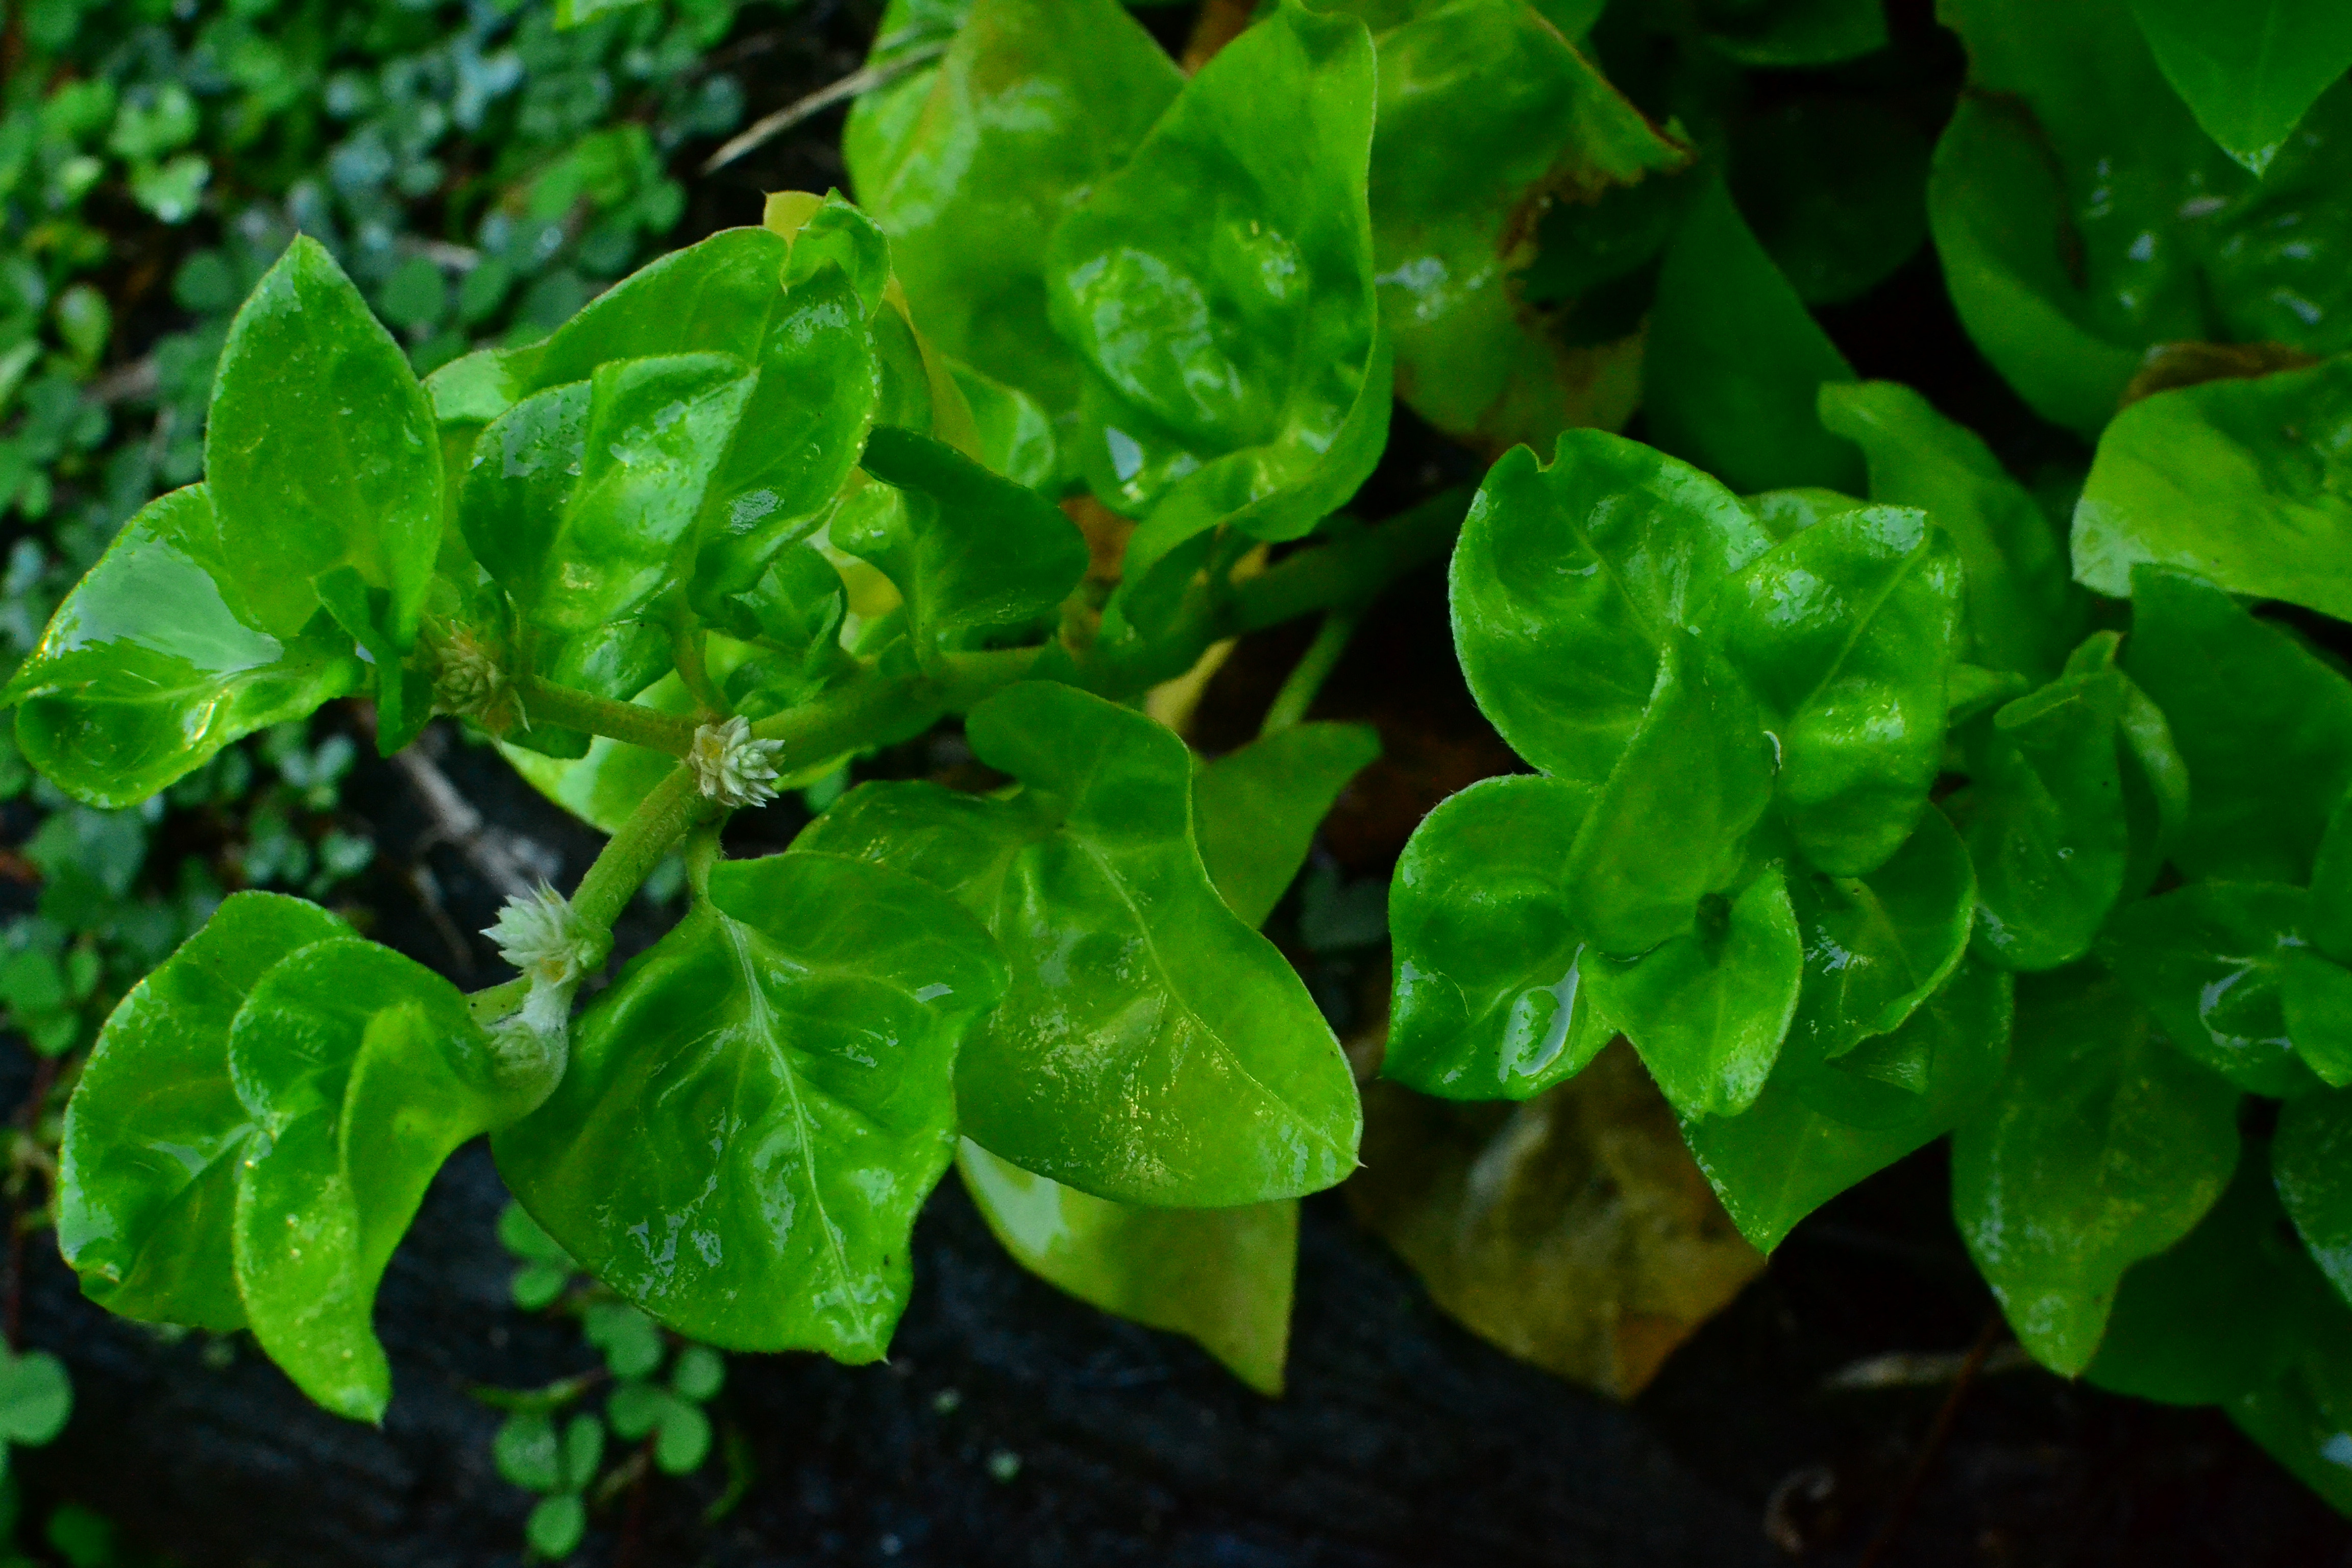
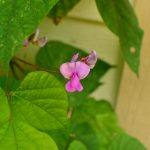
Flower and seed head

DSC_0658

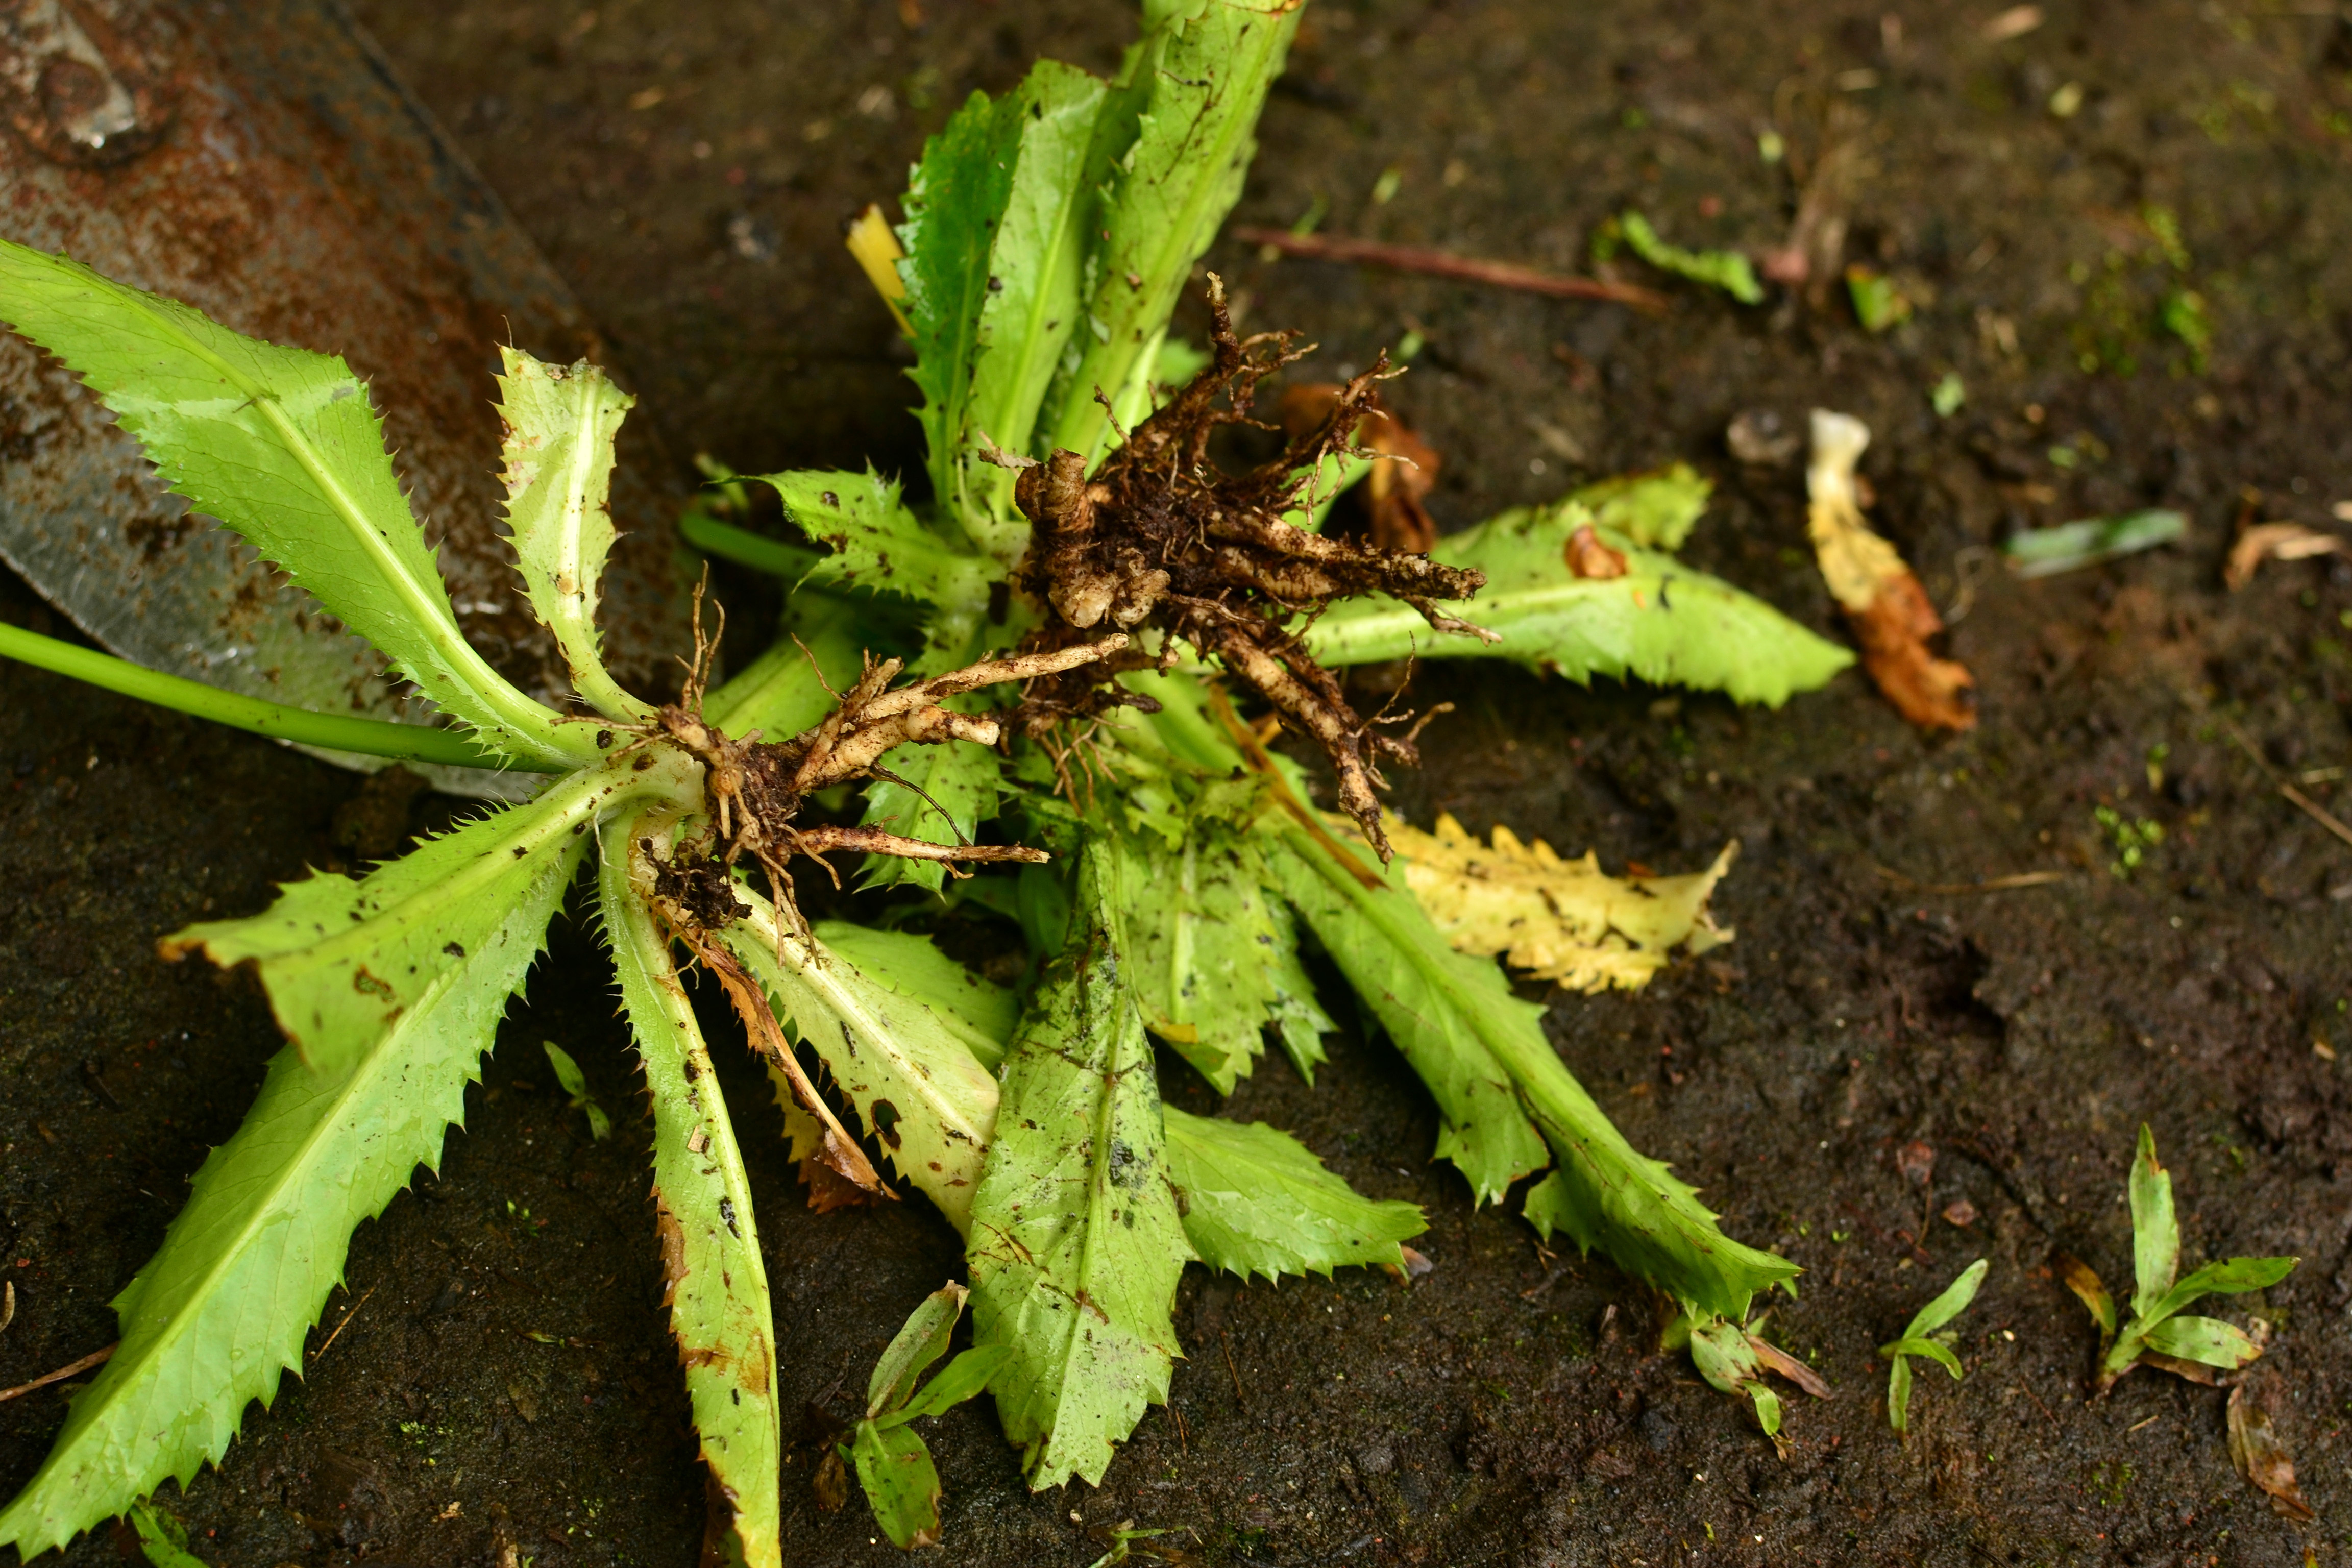
Up-plant and replant

Care

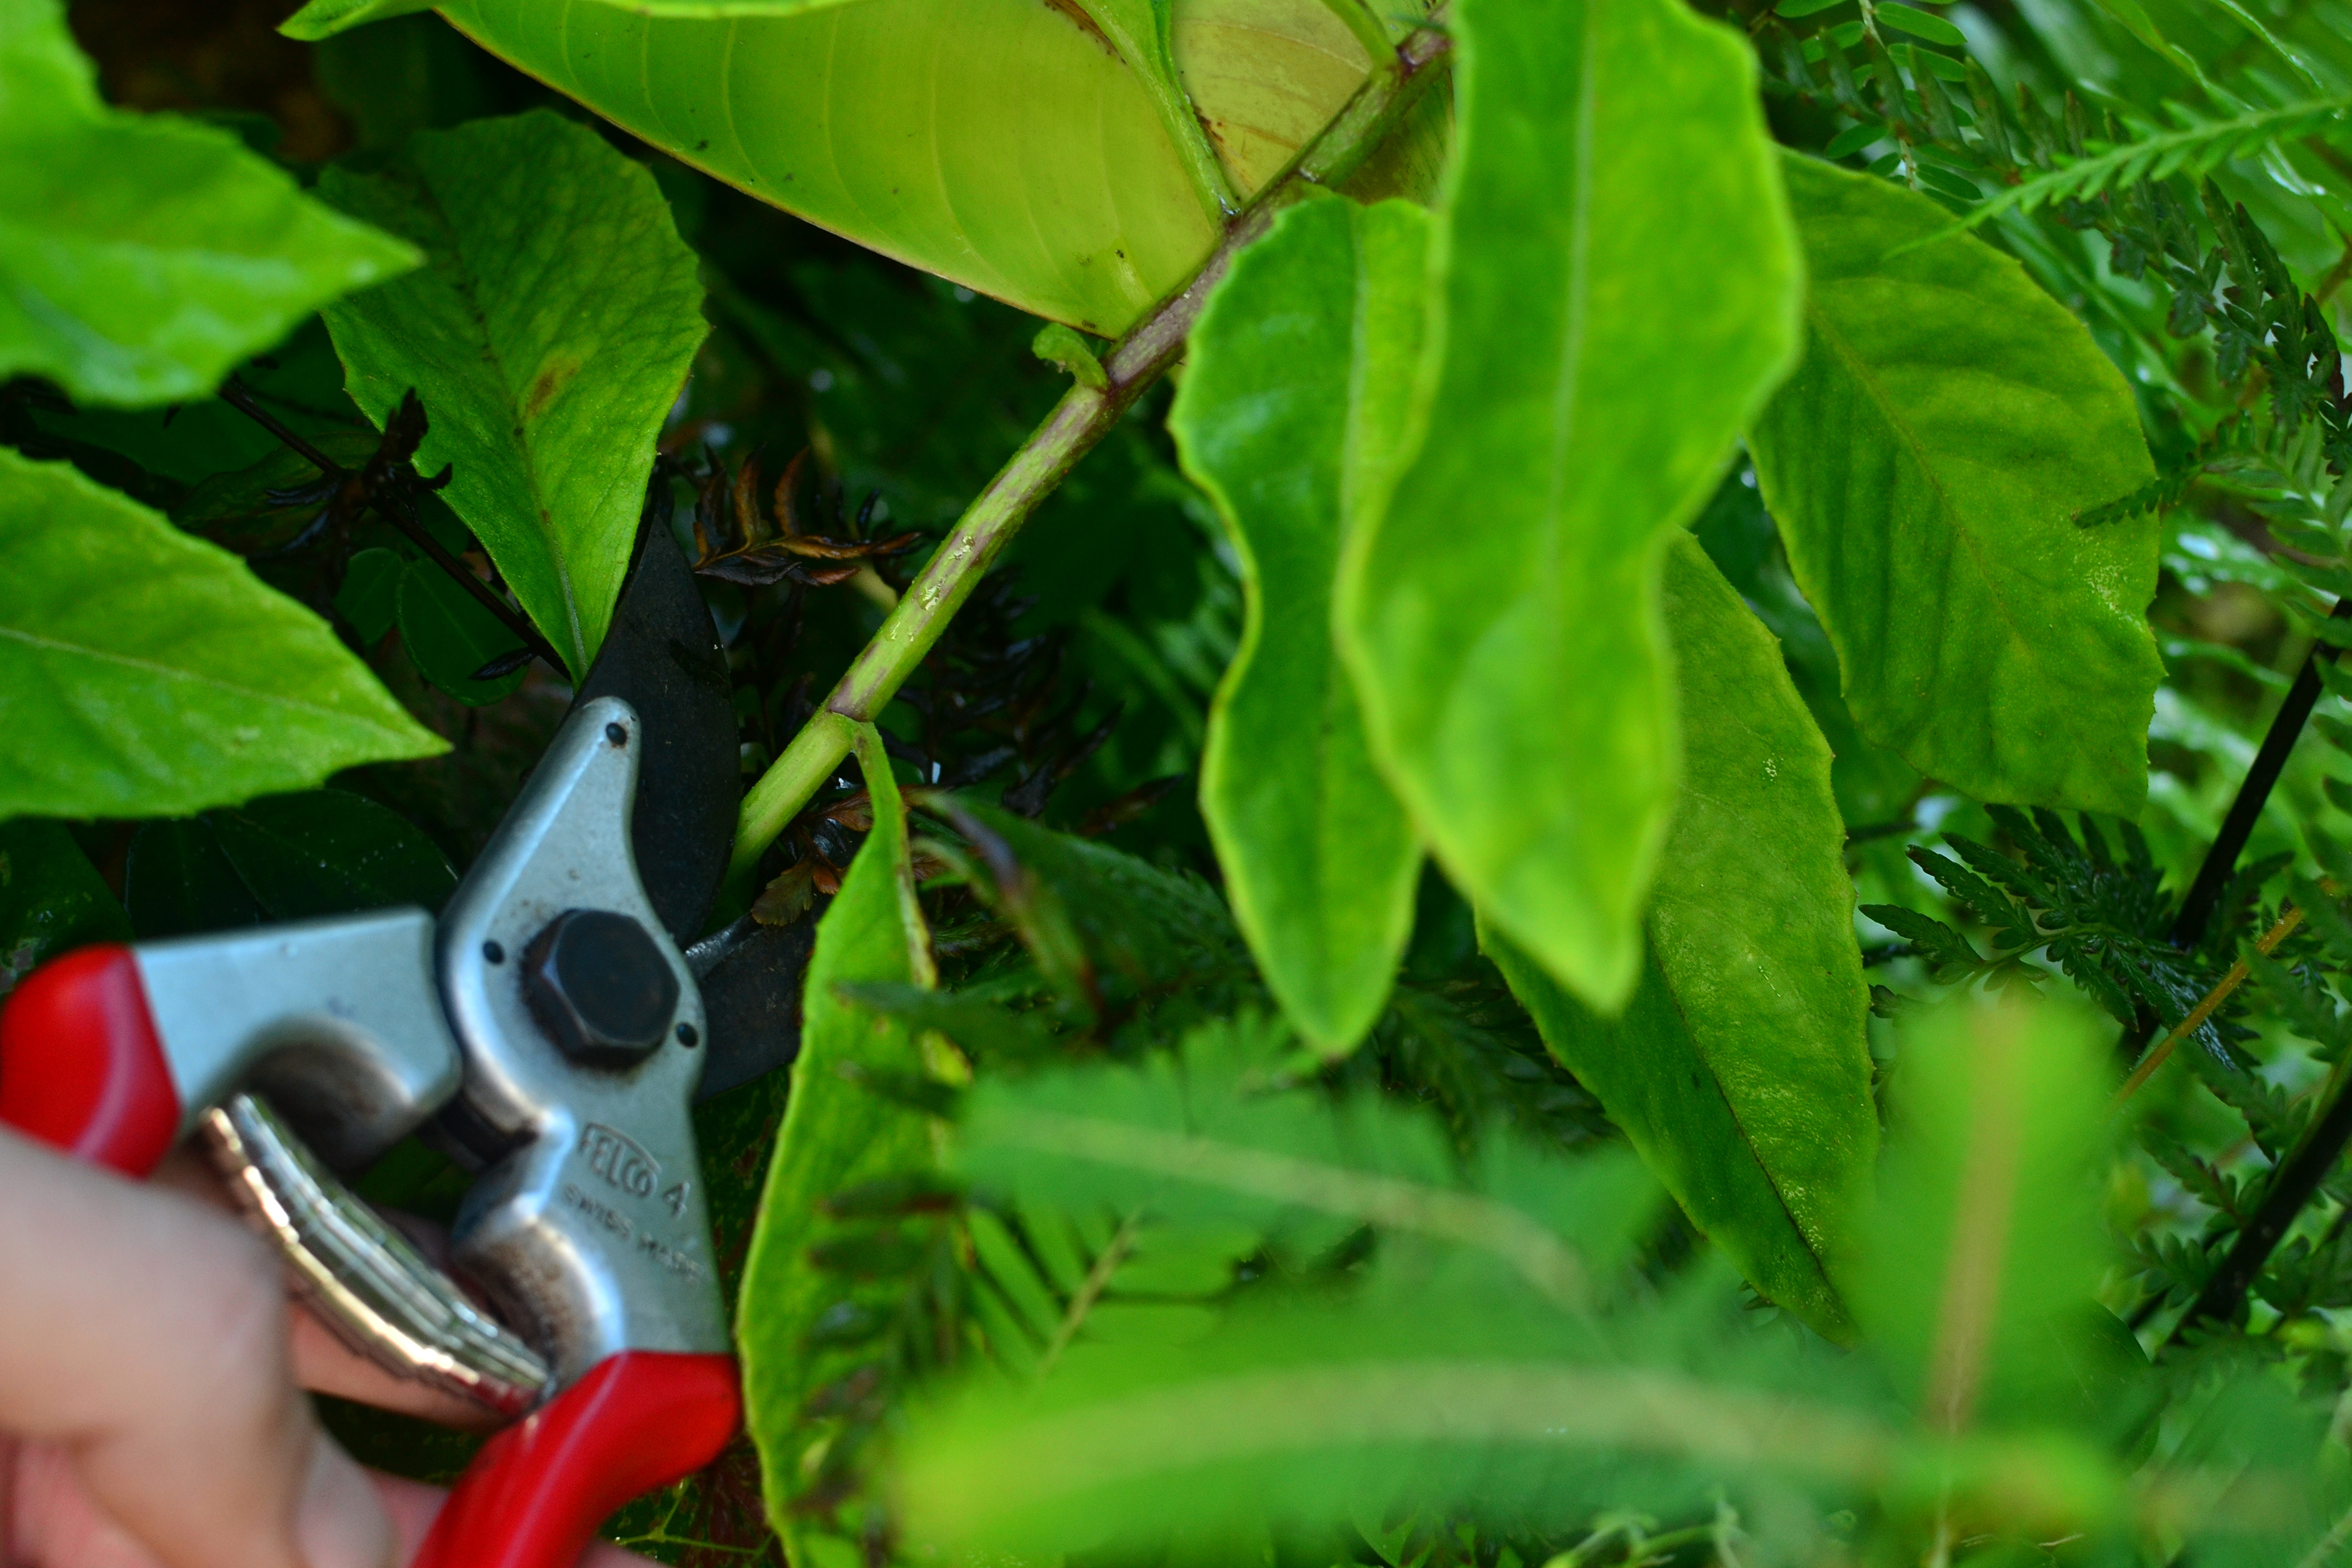
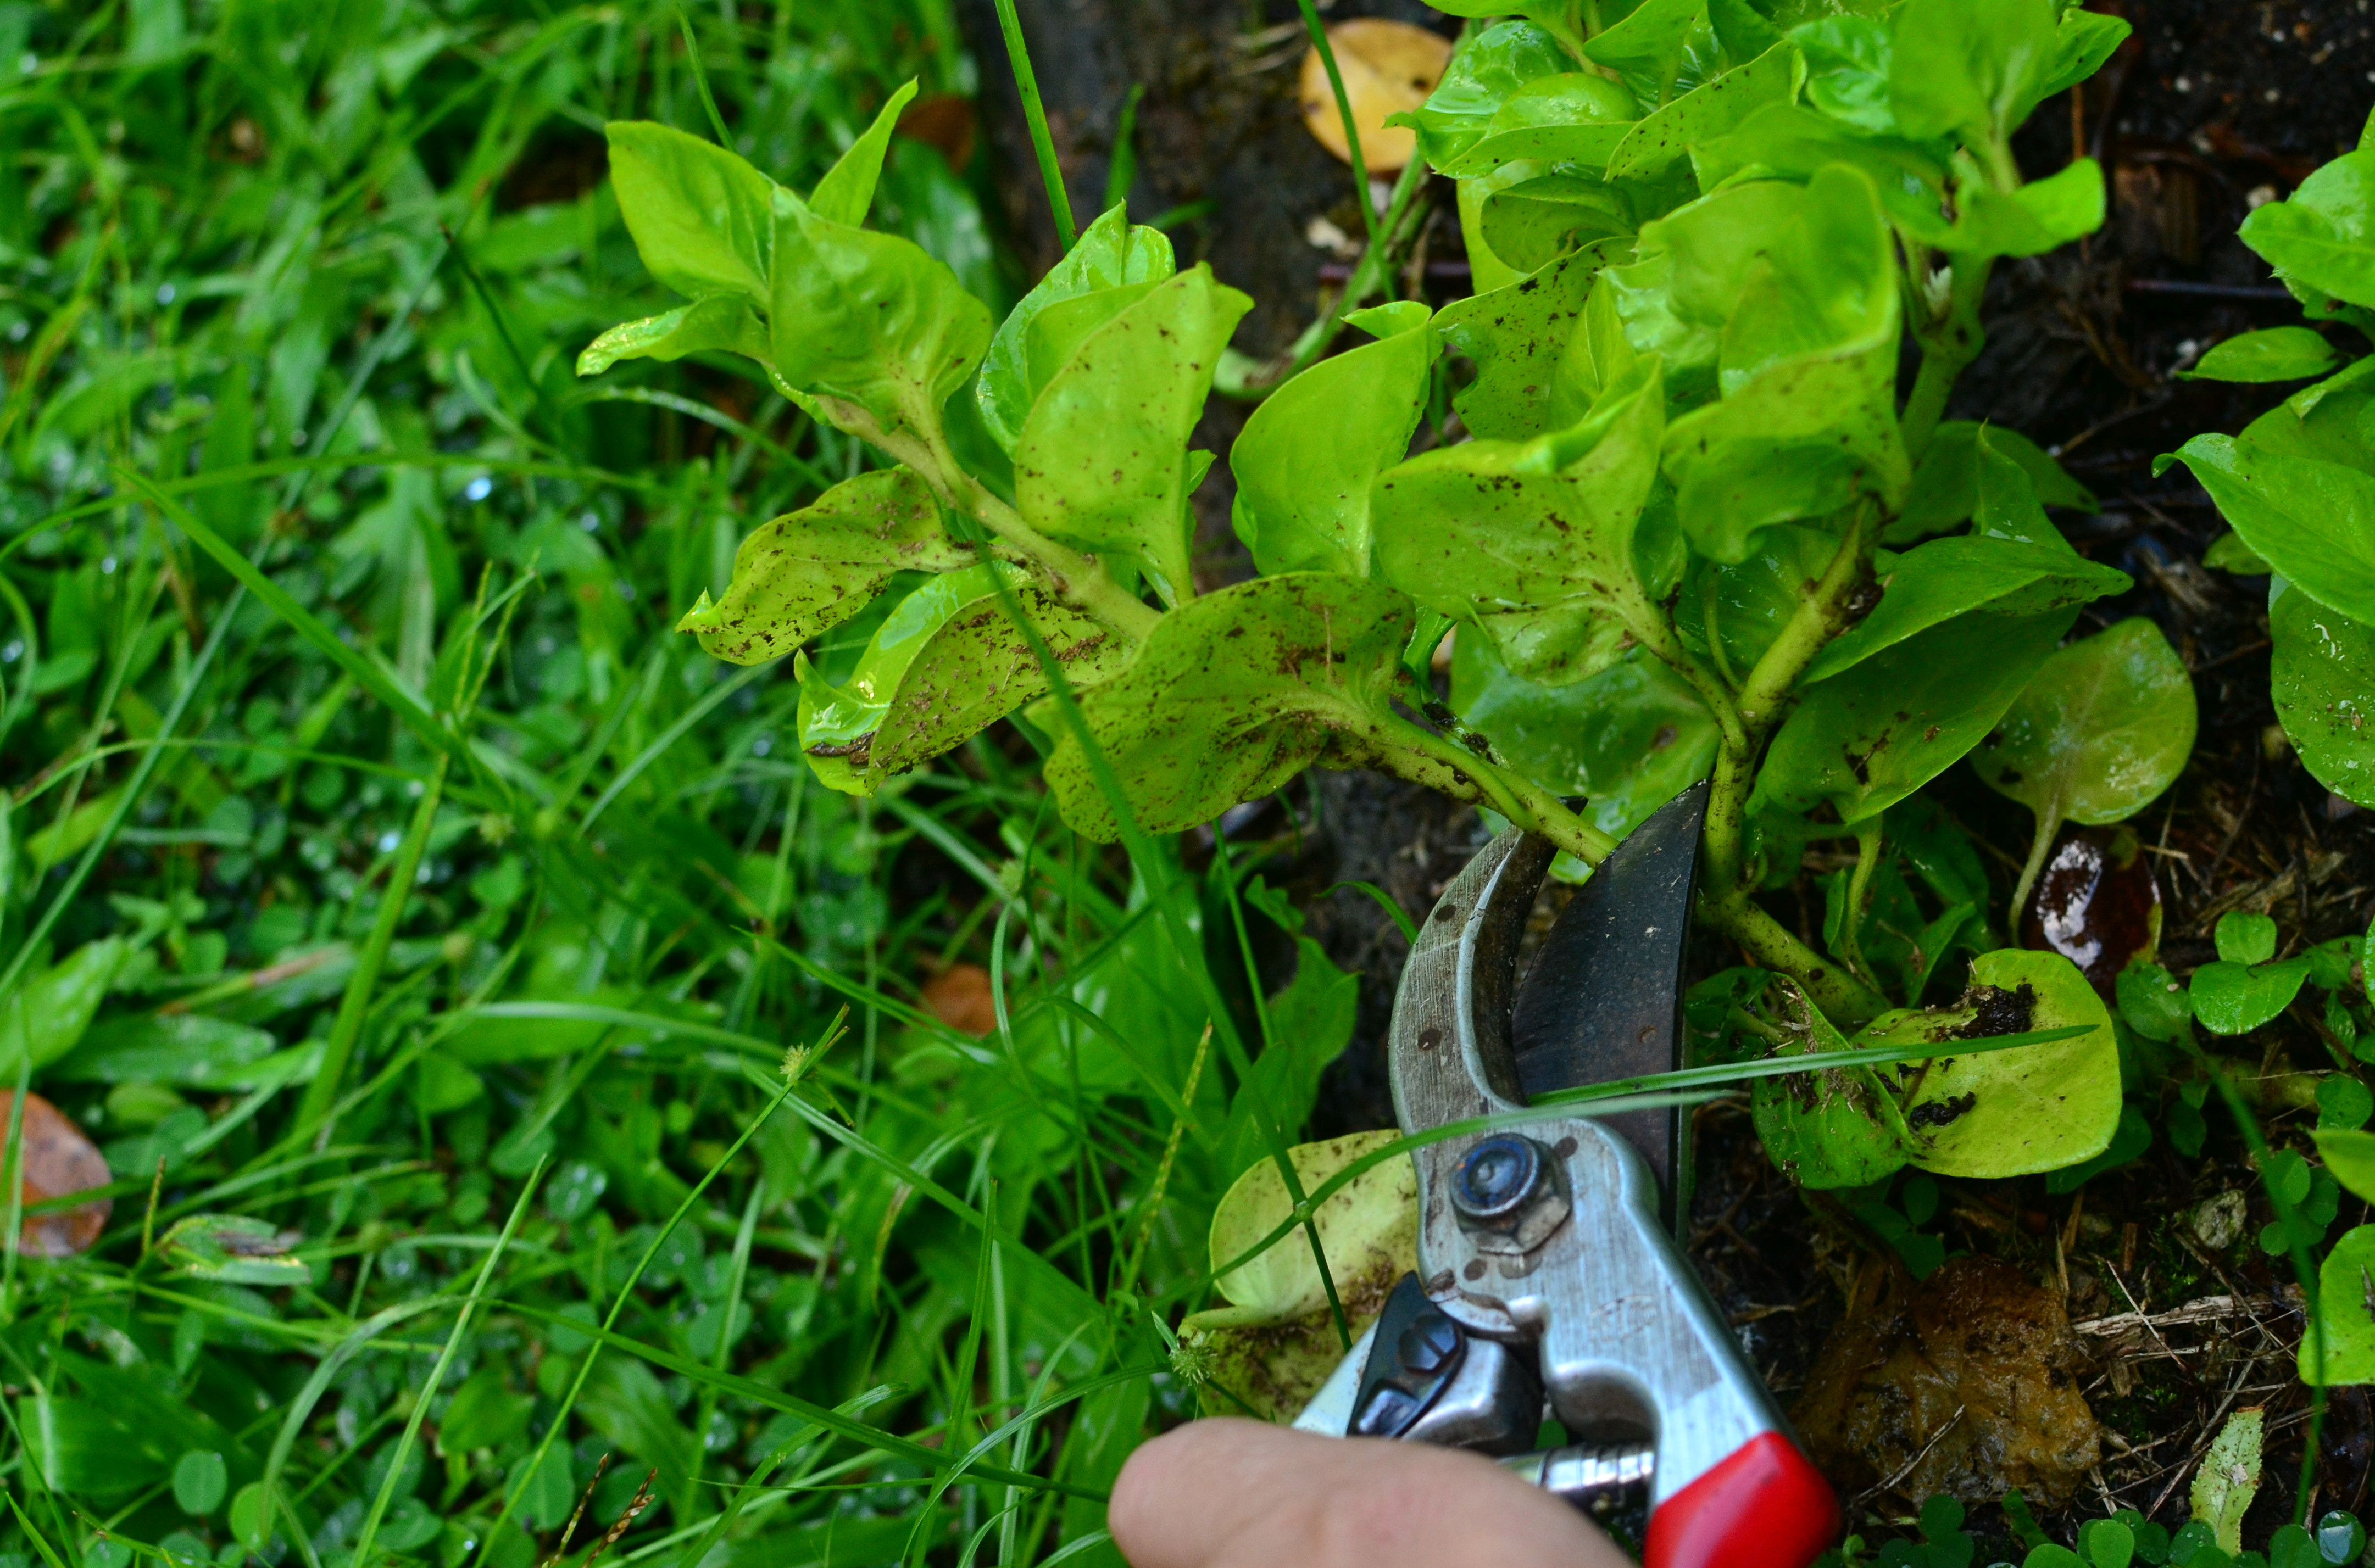
Culantro is a carefree plant. If you would like to perennial-ize your plants, cut off flower stocks when they appear. Consistently doing this will force the plant to keep producing edible leaves and it will not end its lifecycle.

If you want to propagate more culantro: let one of your plants go to seed and continue to cut off the flower stocks on your other plants. Your single flowering plant will set lots of seed and drop them all around itself. Give them a little time and new plants will emerge all around your flowering plant. Once the plant flowers it will die. But you should have plenty of keiki to replace it.

DSC_0575

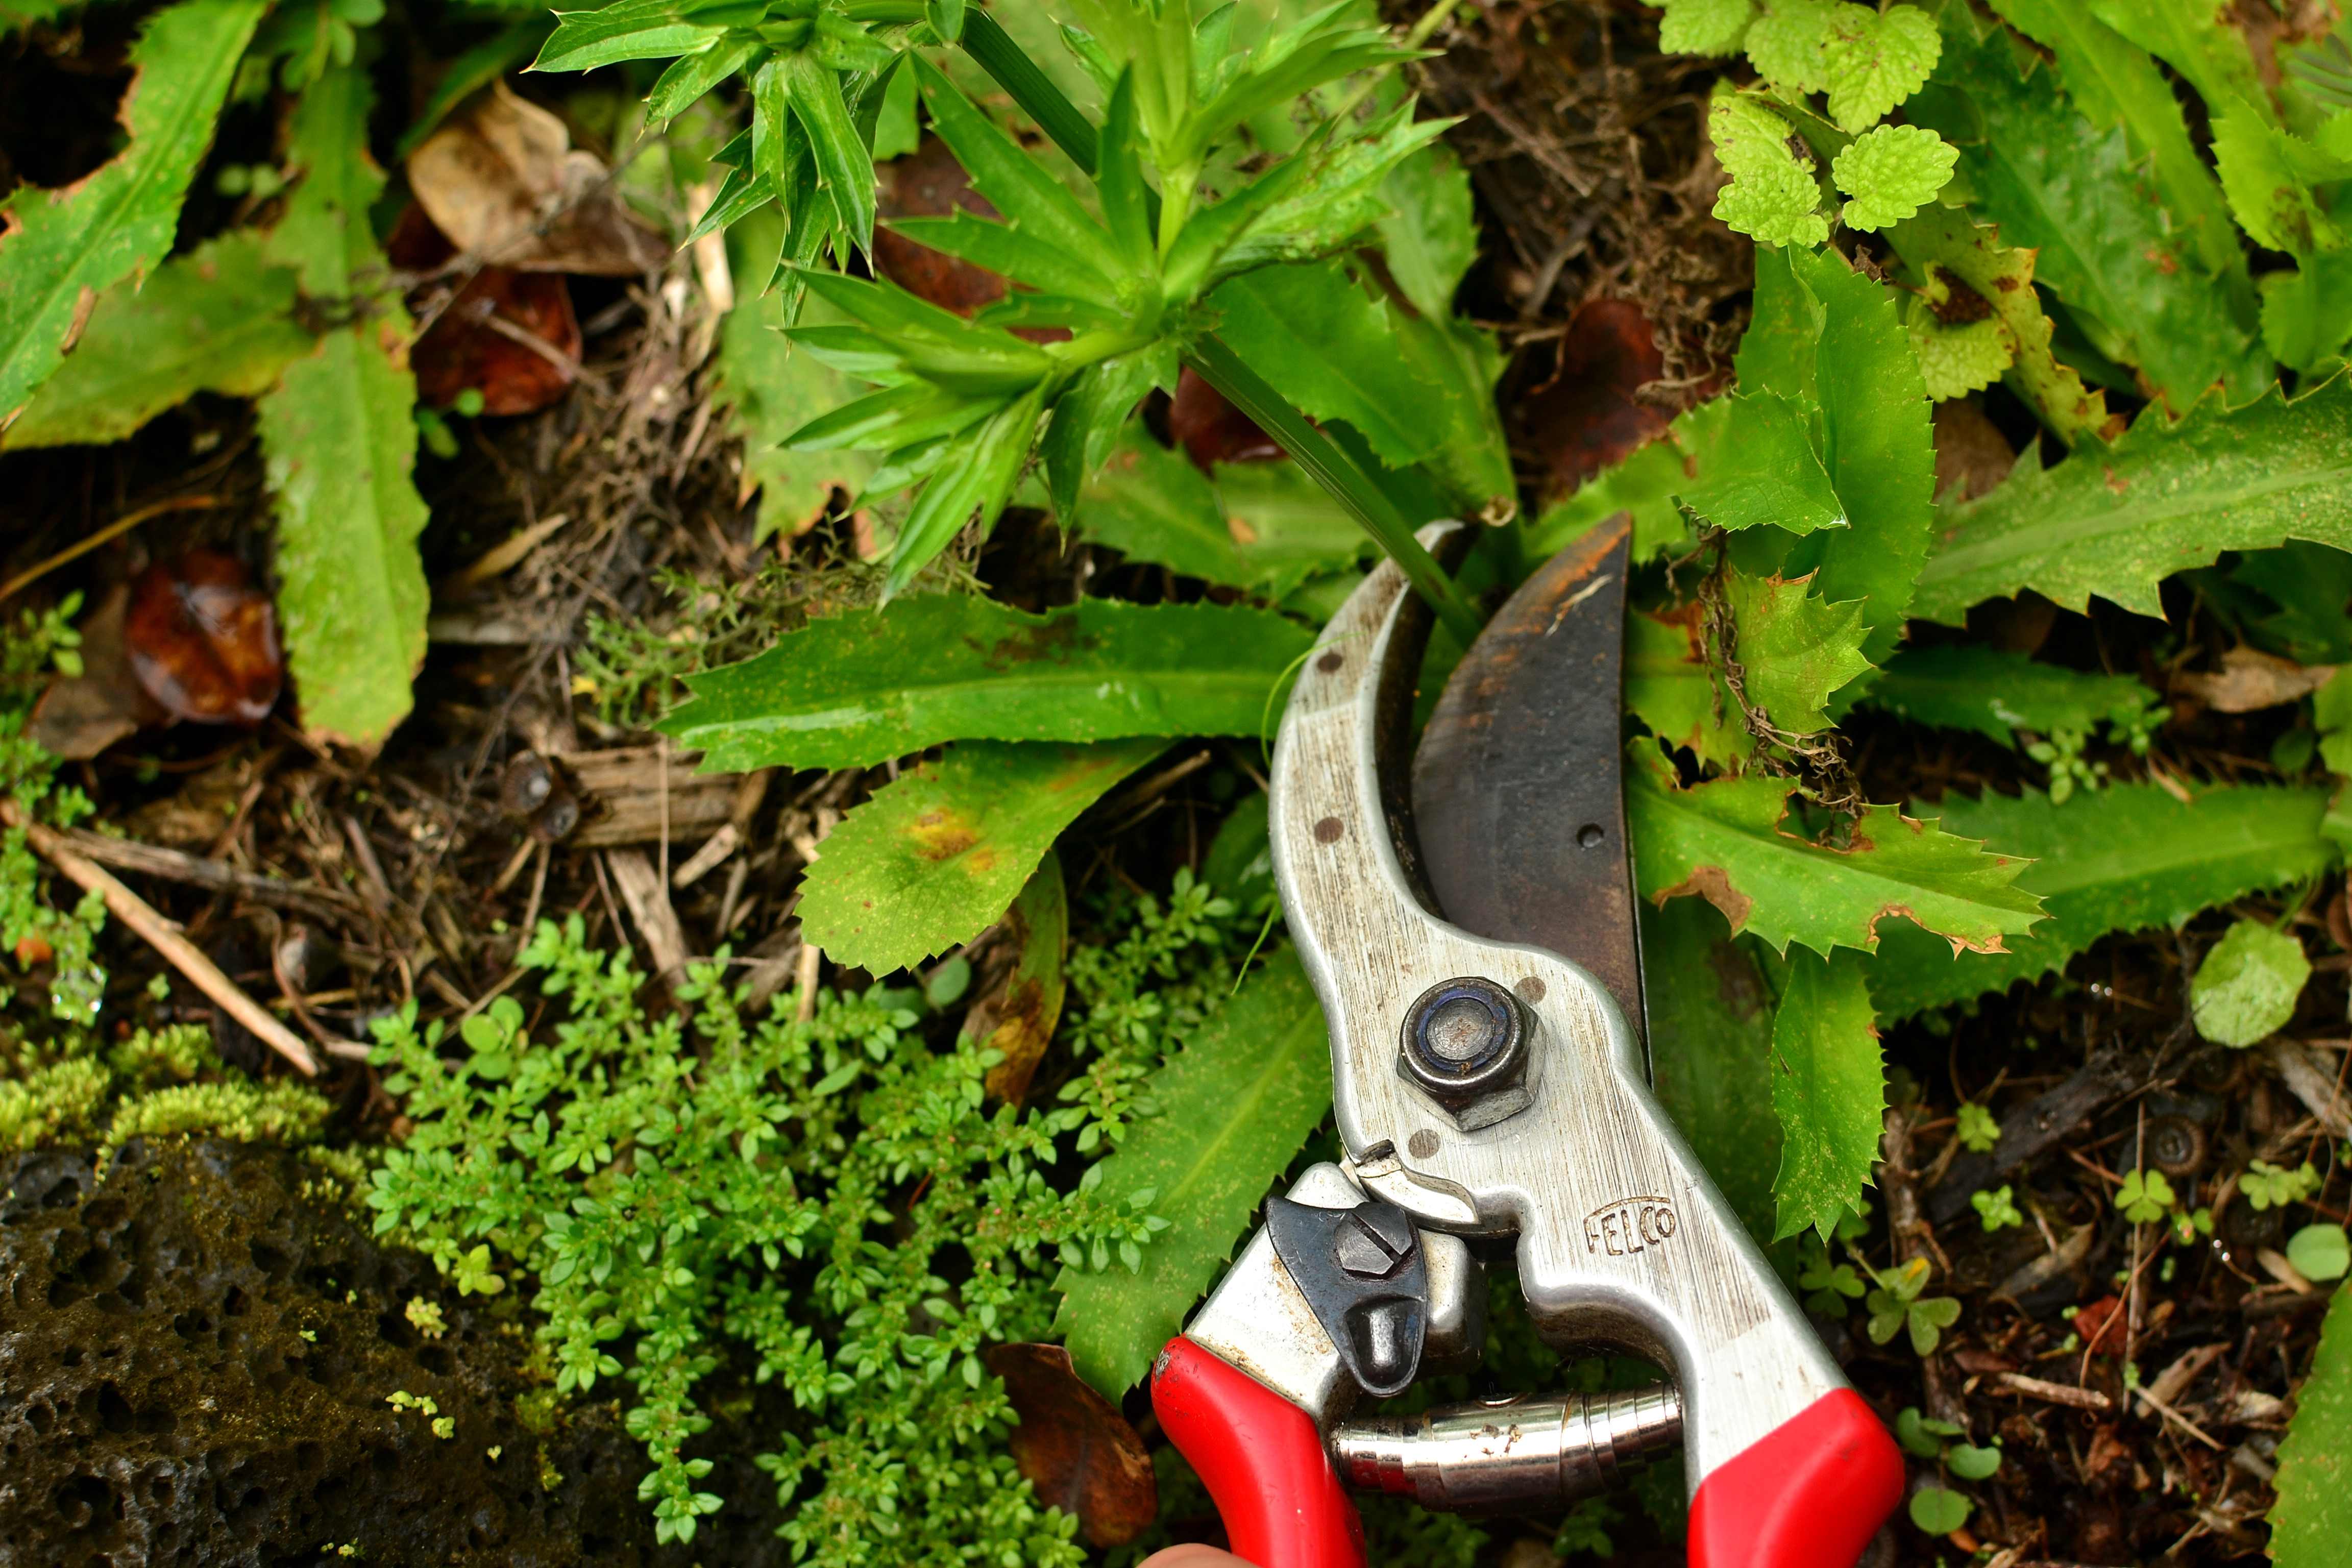
Cut off flower stock to keep plants from ending their lifecycle

Eating

Treat culantro as you would cilantro. Use young tender or older leaves raw or cooked. However, use less of the leaves, as it is more potent than cilantro. Flower heads may be blended to create a pesto or salad dressing as well.

Where to obtain planting materials

Look around your property for it; chances are it’s already a weed in the garden somewhere. Seriously.

You could ask someone growing it for some seed, or a young up-planted plant would be easier. Or try to find it at a plant sale. This plant is easy to find and identify (leaves, flowers and scent are unmistakable).
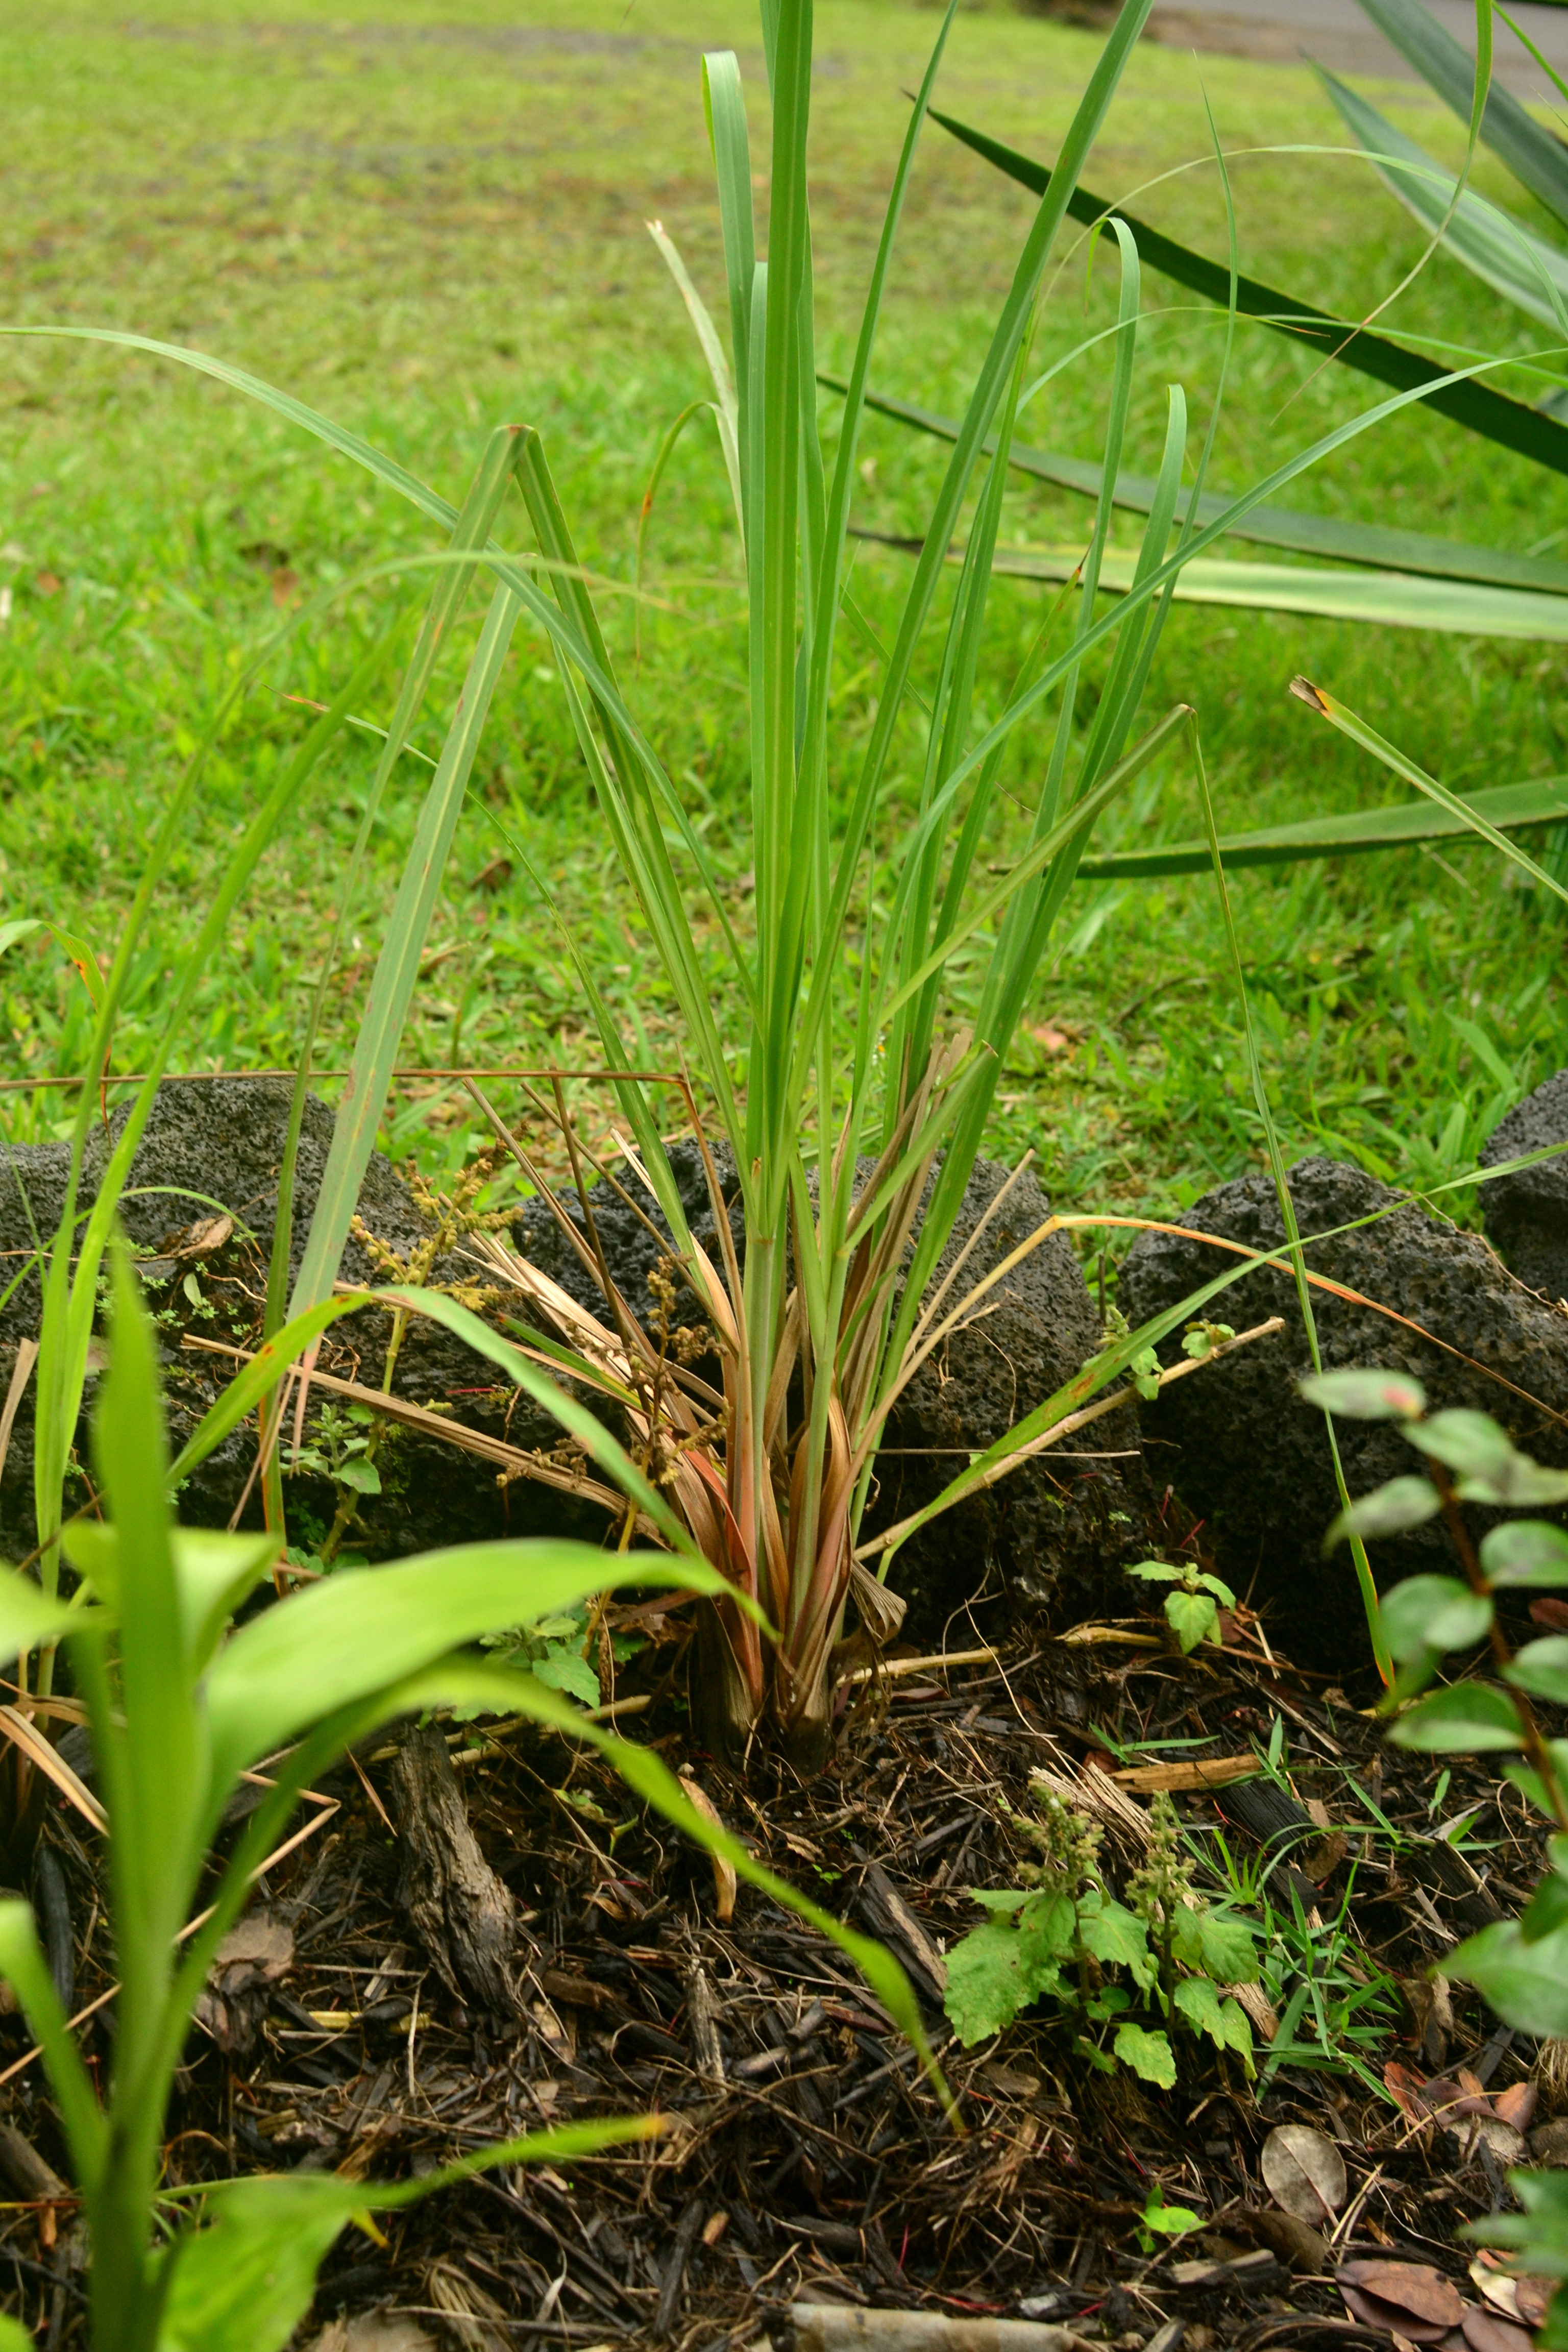
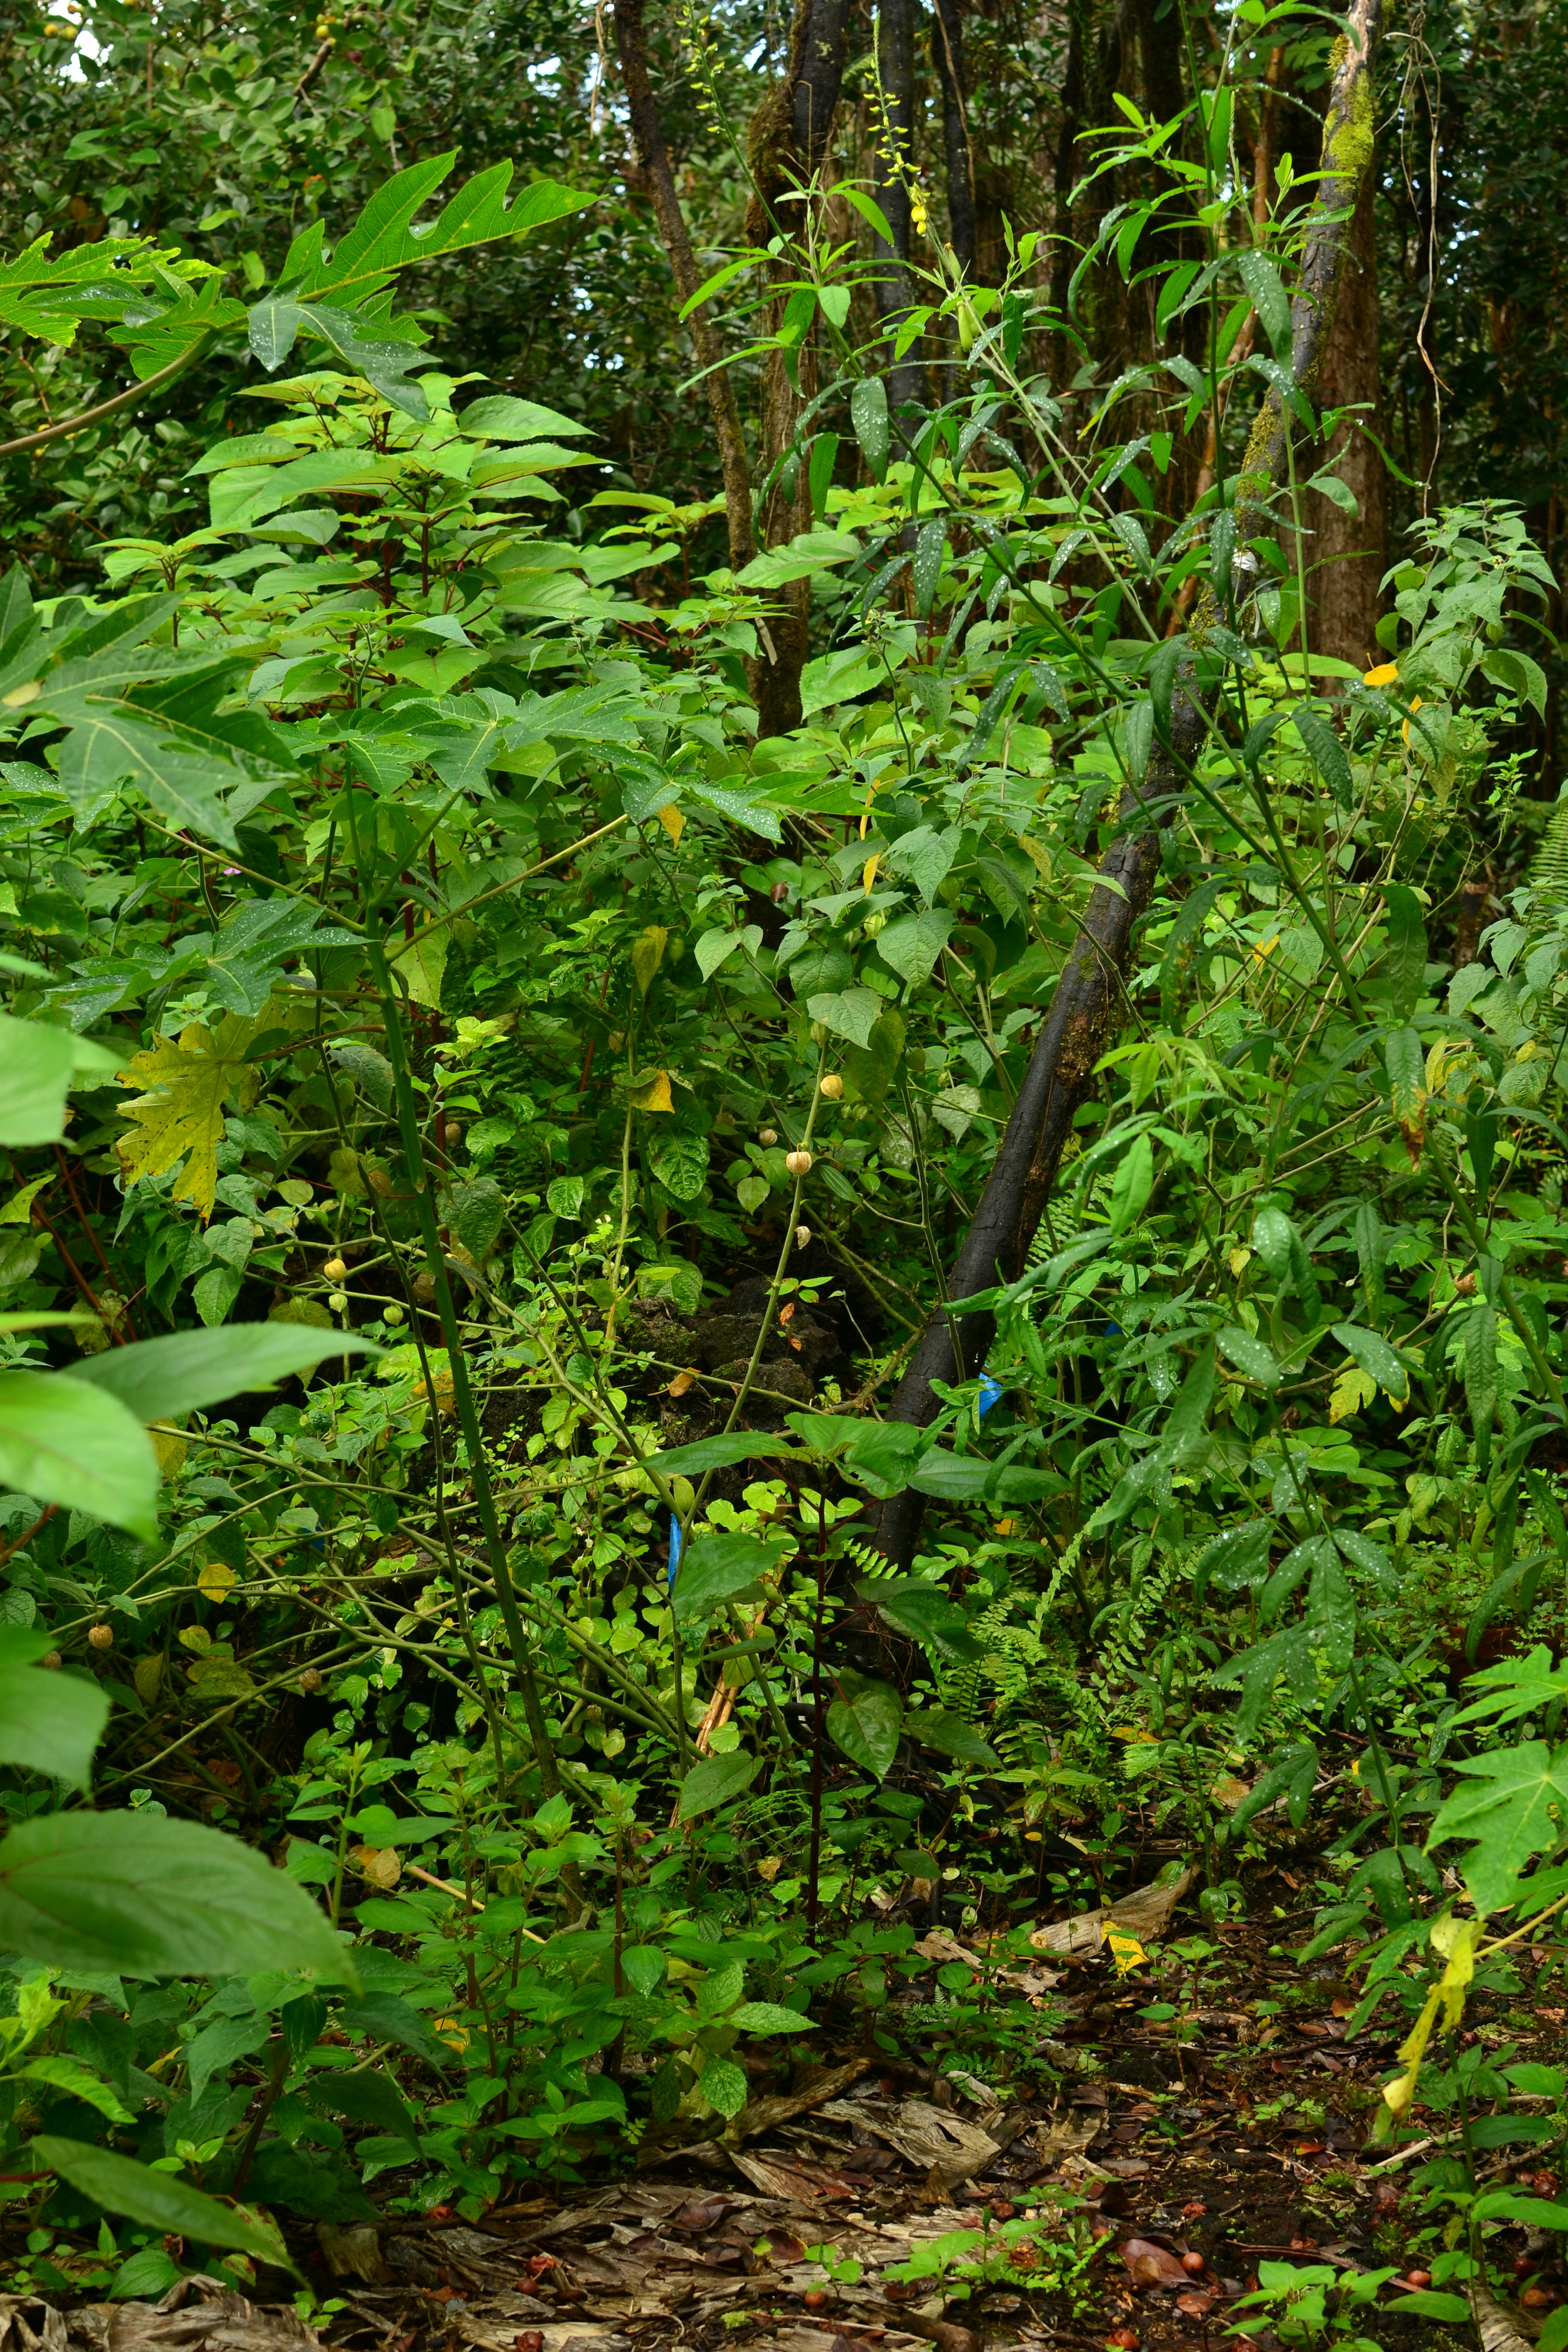
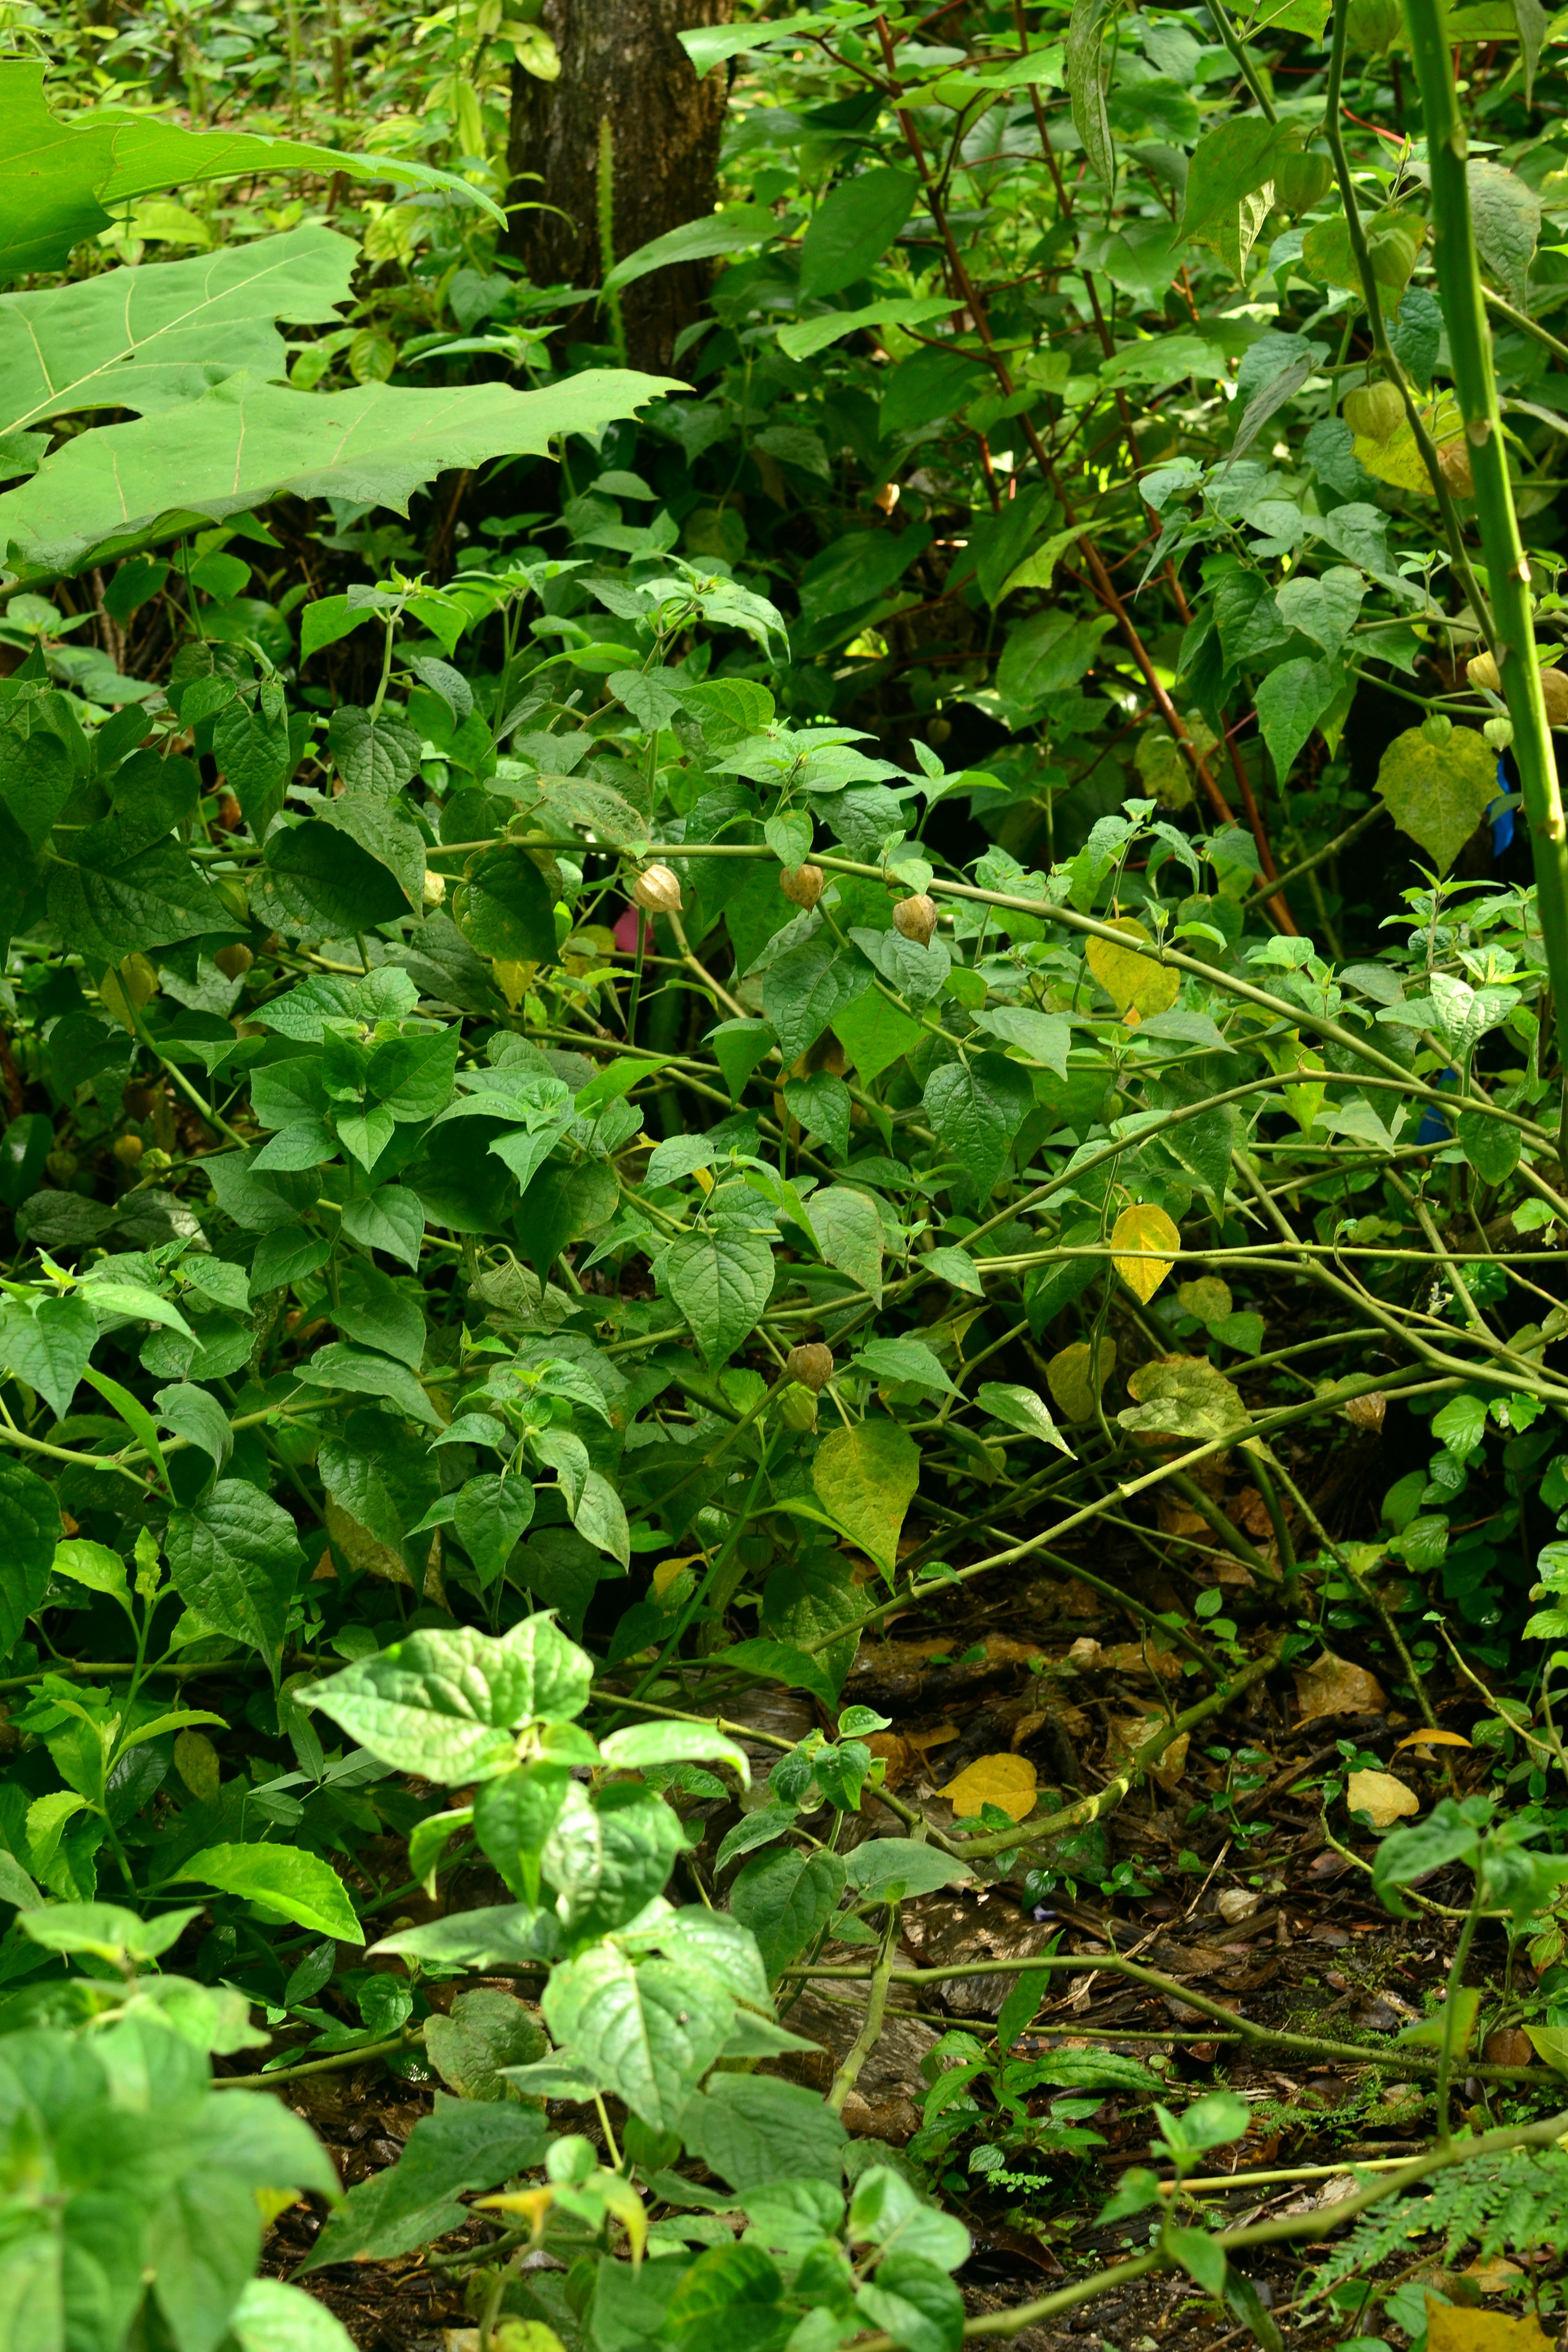
My Garden

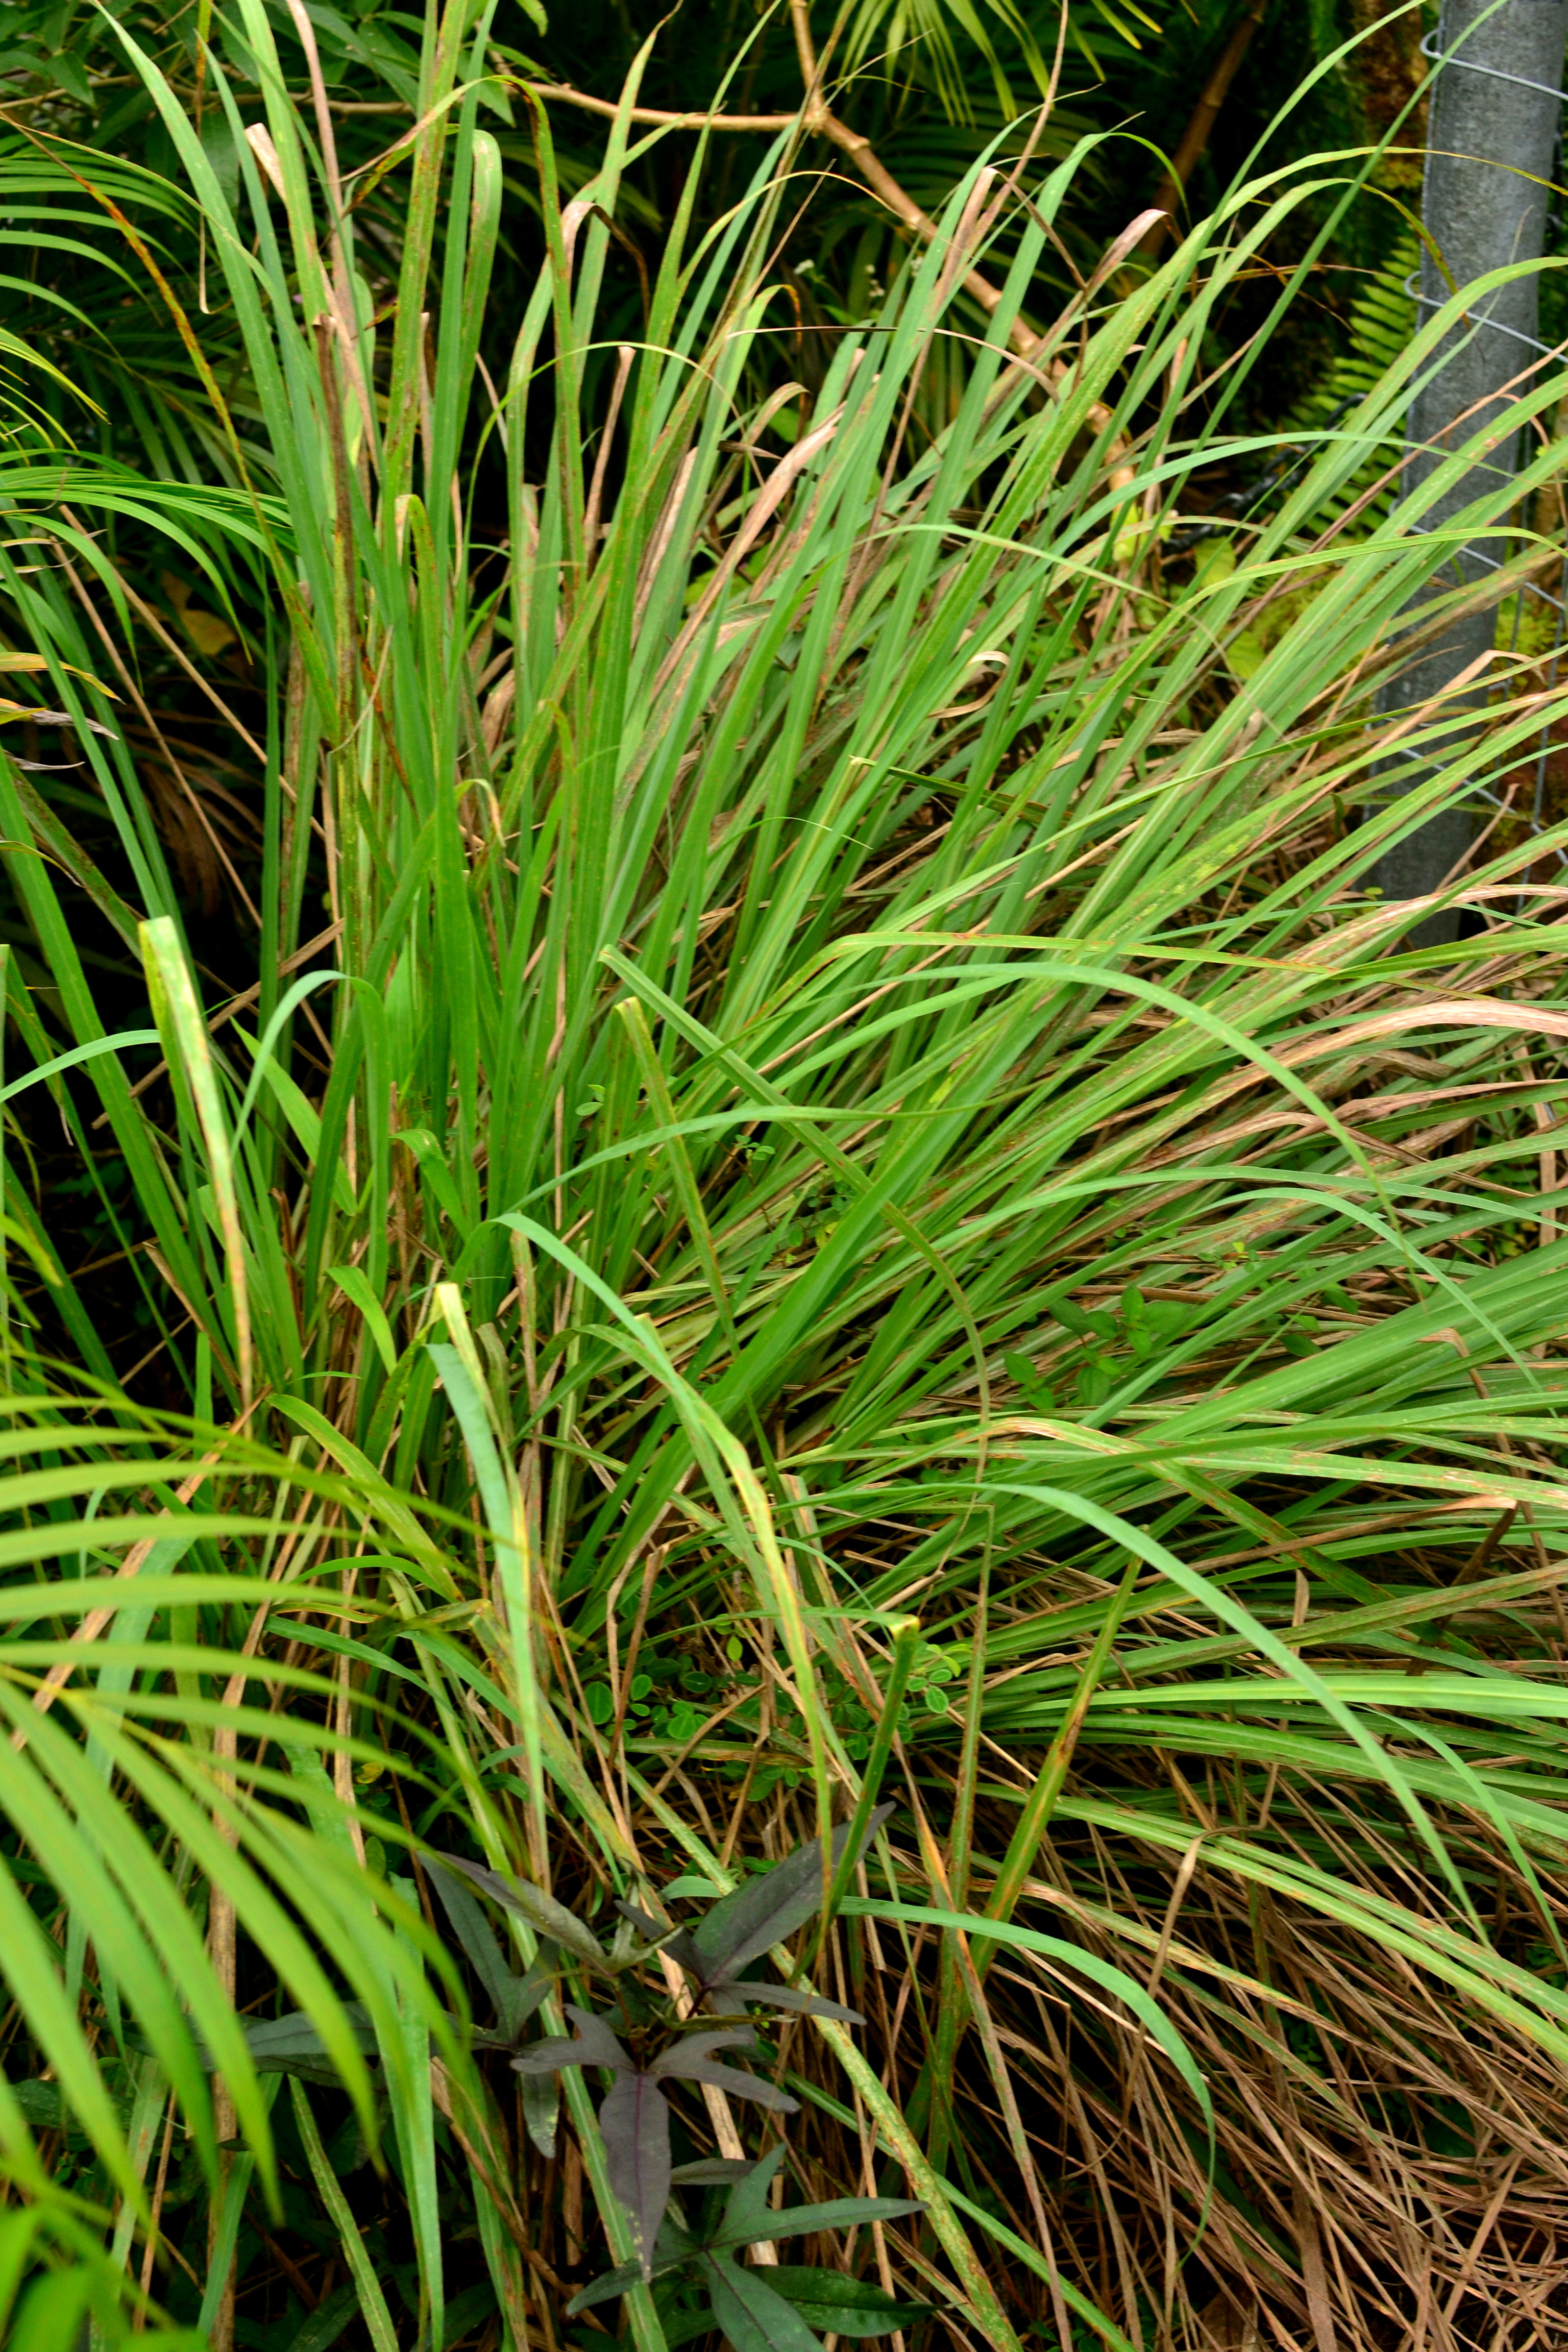
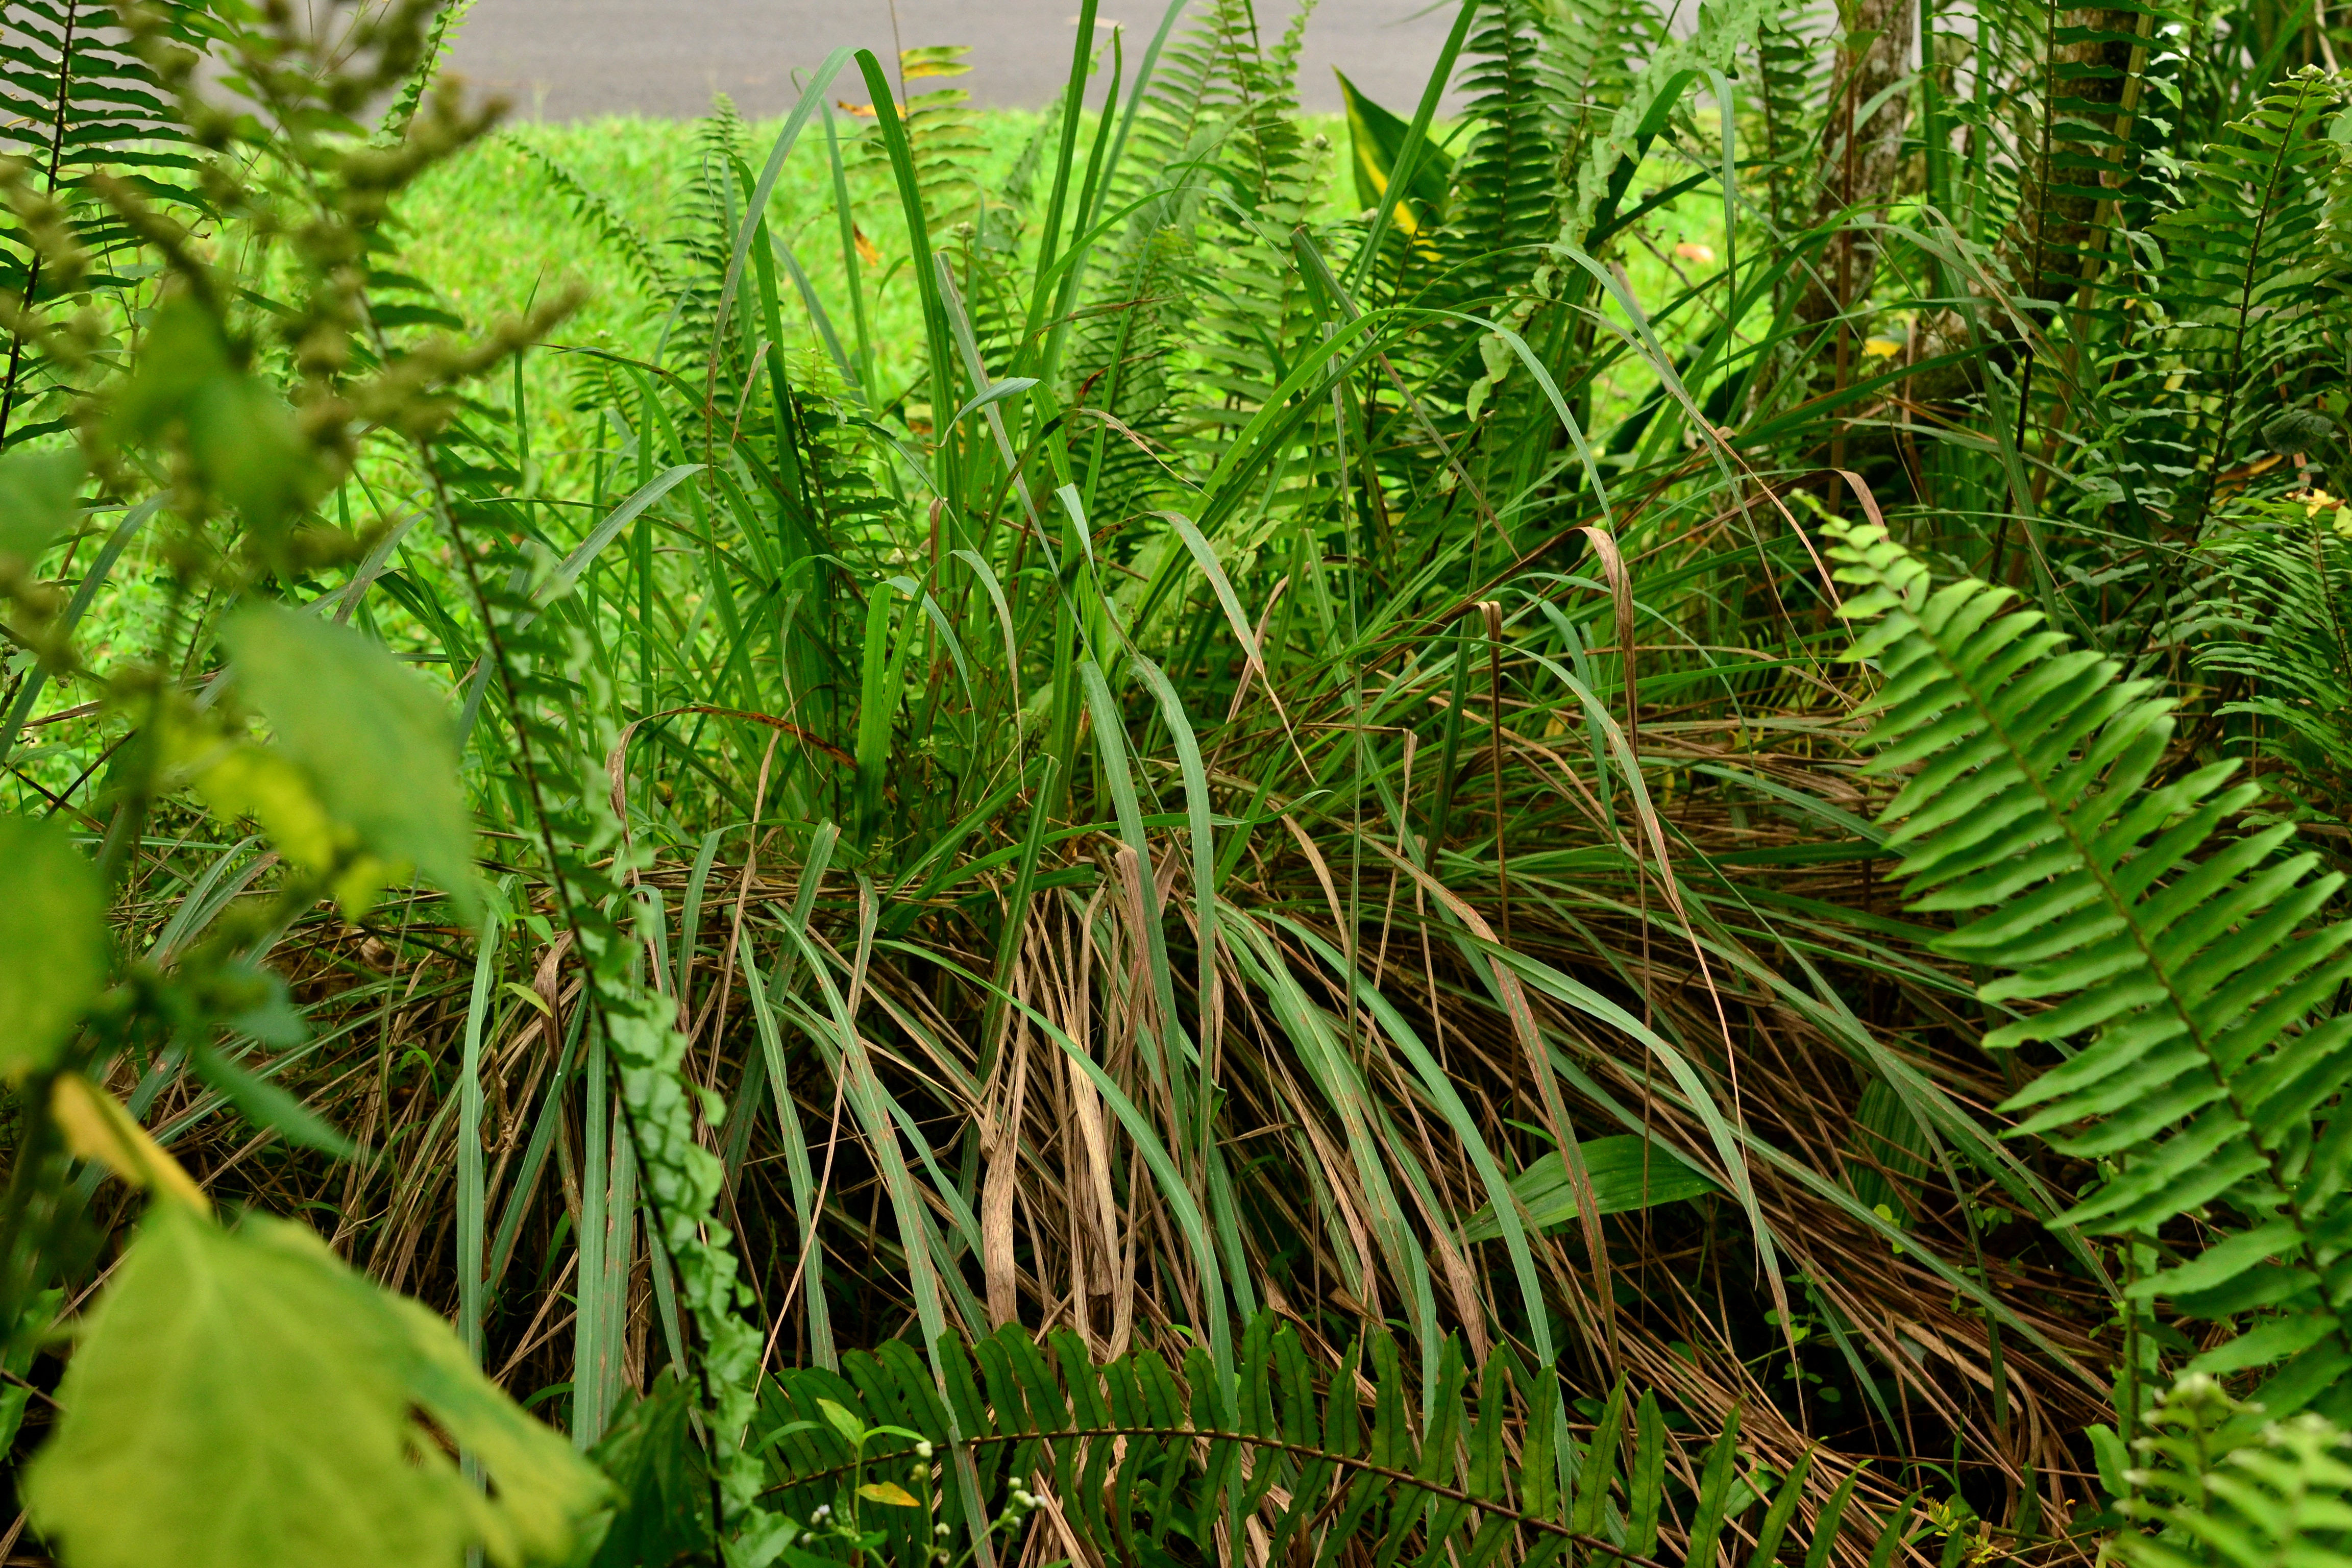
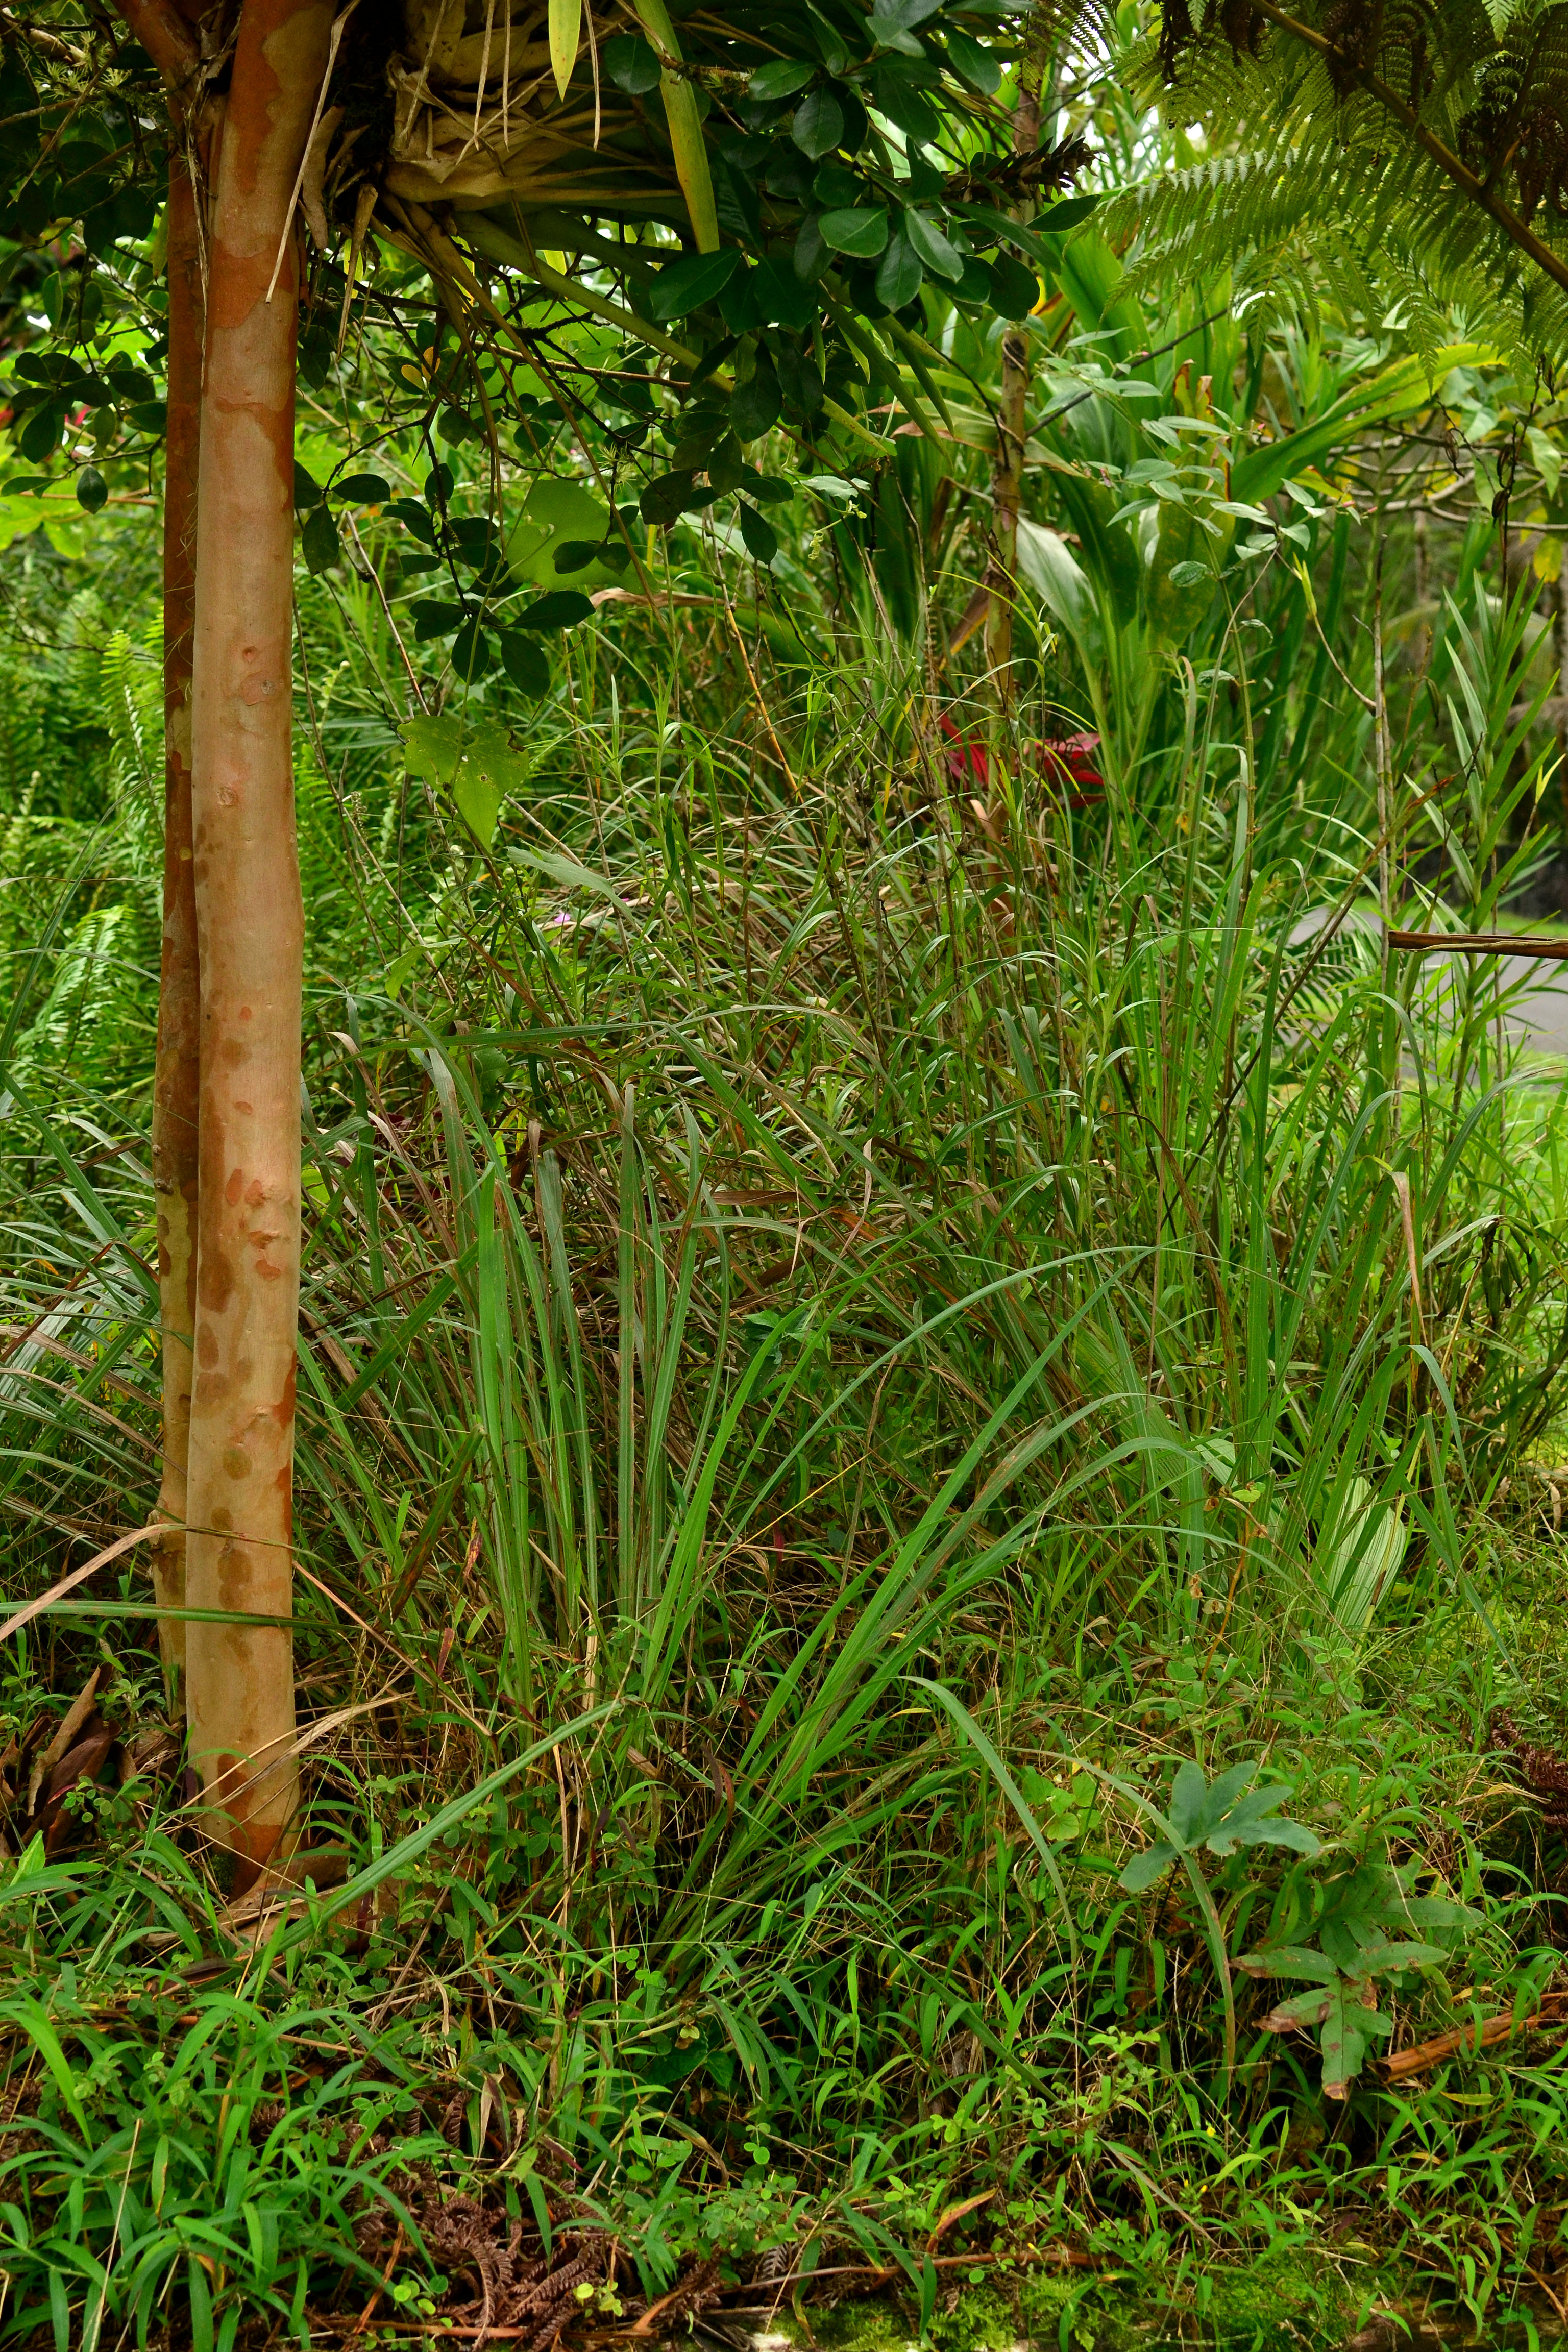
When I first moved onto the property I would cut the grass and get a strong scent I could never place. As I left the grass to grow, I would walk around and get poked by the flowers of this unmistakable plant. This plant would force me to cut the grass sooner than I would like because it would always poke me! One day I was at a plant sale and noticed this plant. I saw a photo of the flowers and looked at the leaves. I immediately realized this was the plant prolific in the grass at home. I noted the name and checked out the plant once I got home. Realizing this scent I associated with cutting the grass was cilantro like, or rather the pungent scent of culantro. I decided to up-plant this and move it into the herb spiral at home. This was about two years ago. Those plants are still growing strong in the herb spiral and still out there in the grass. Food and medicine are literally all around us without our knowledge!

DSC_0597

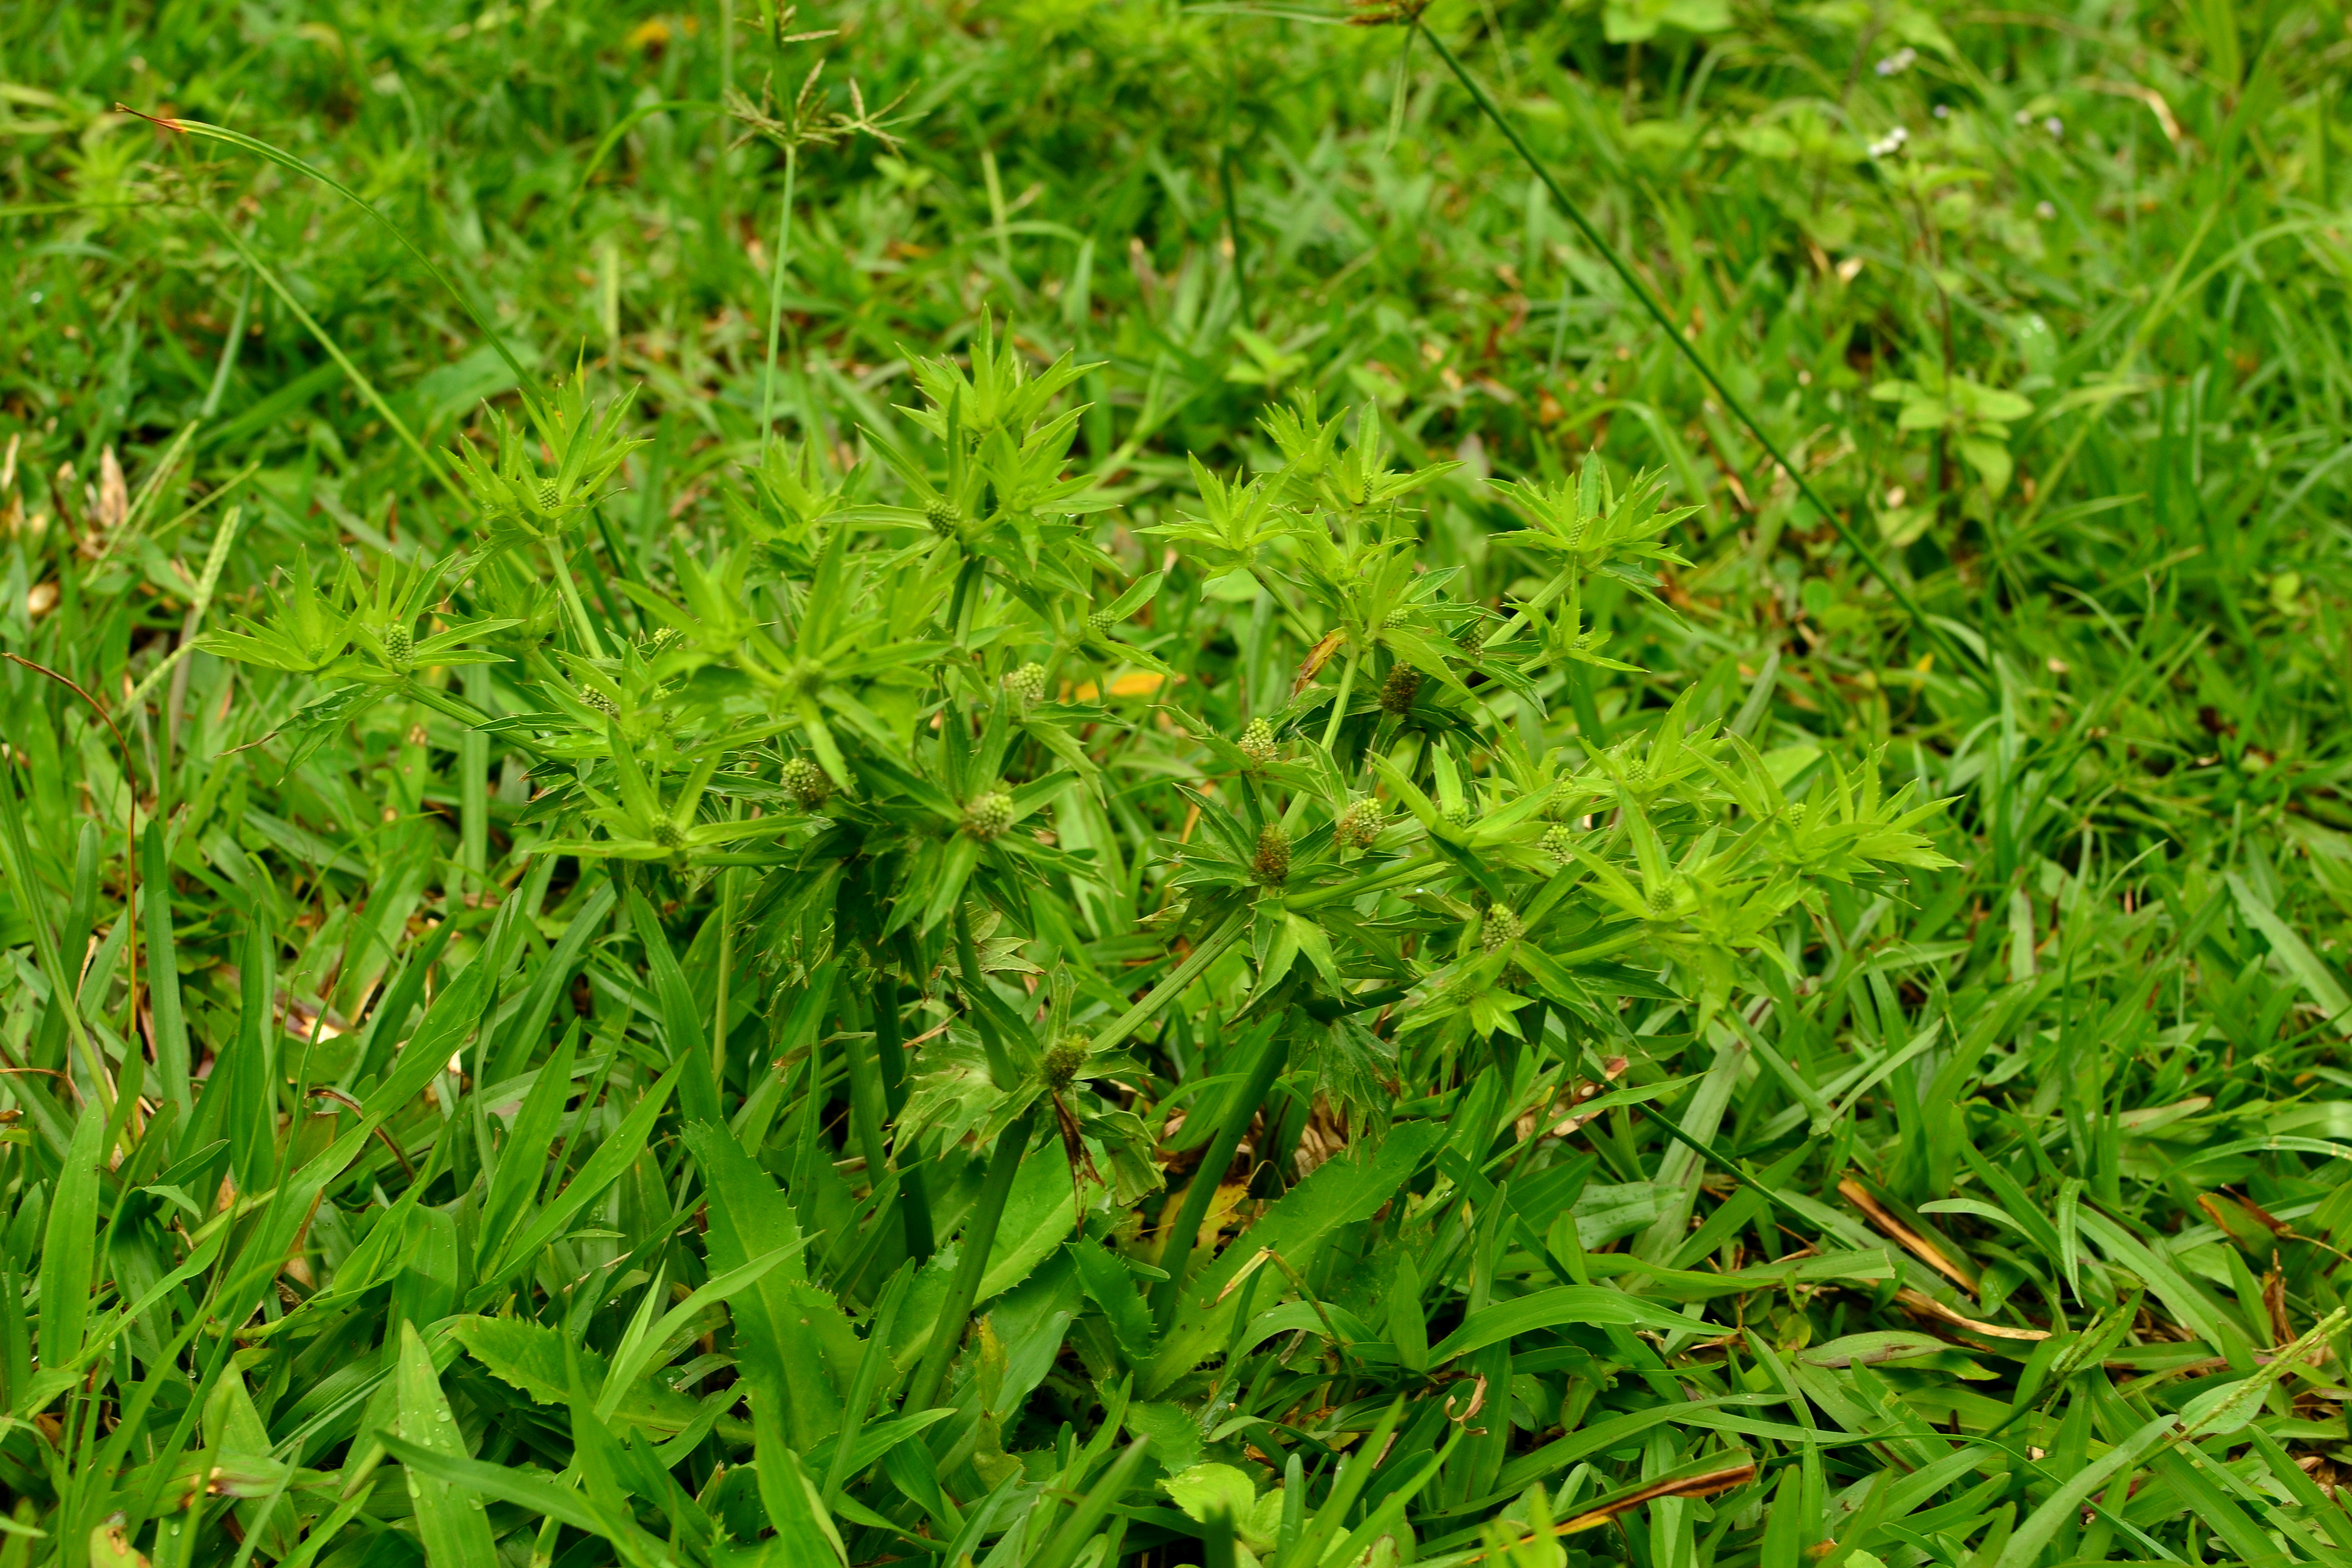
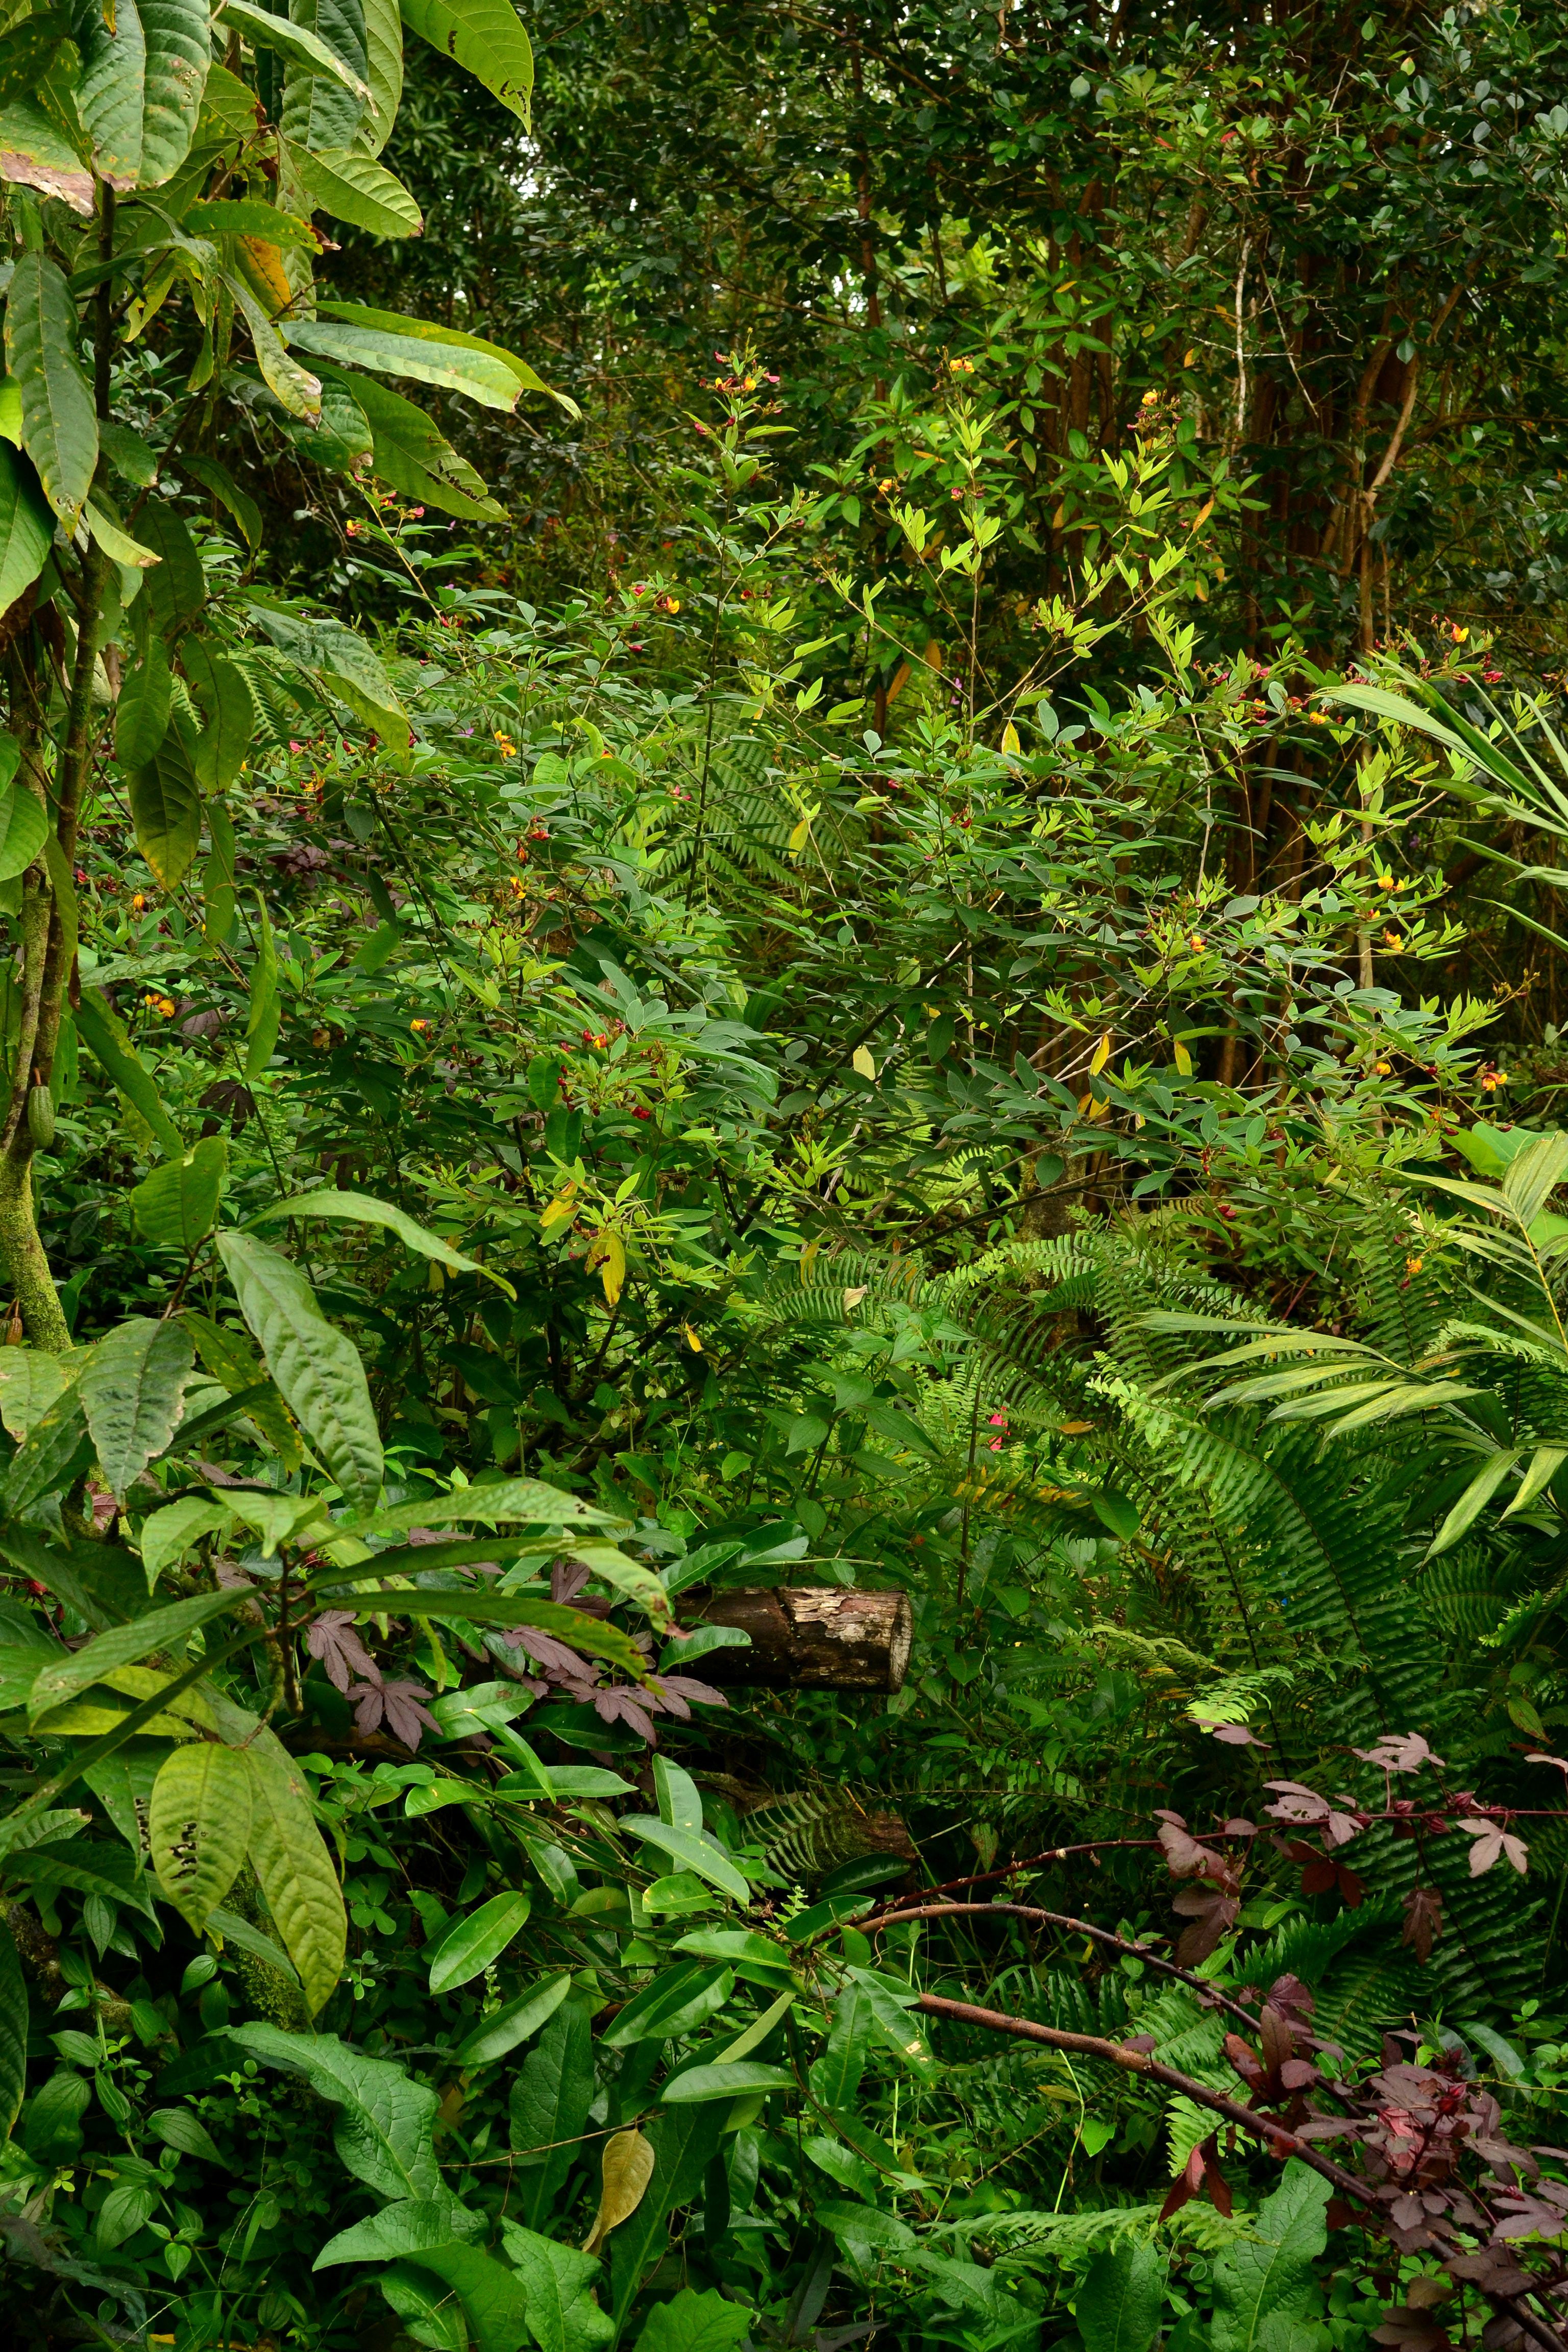
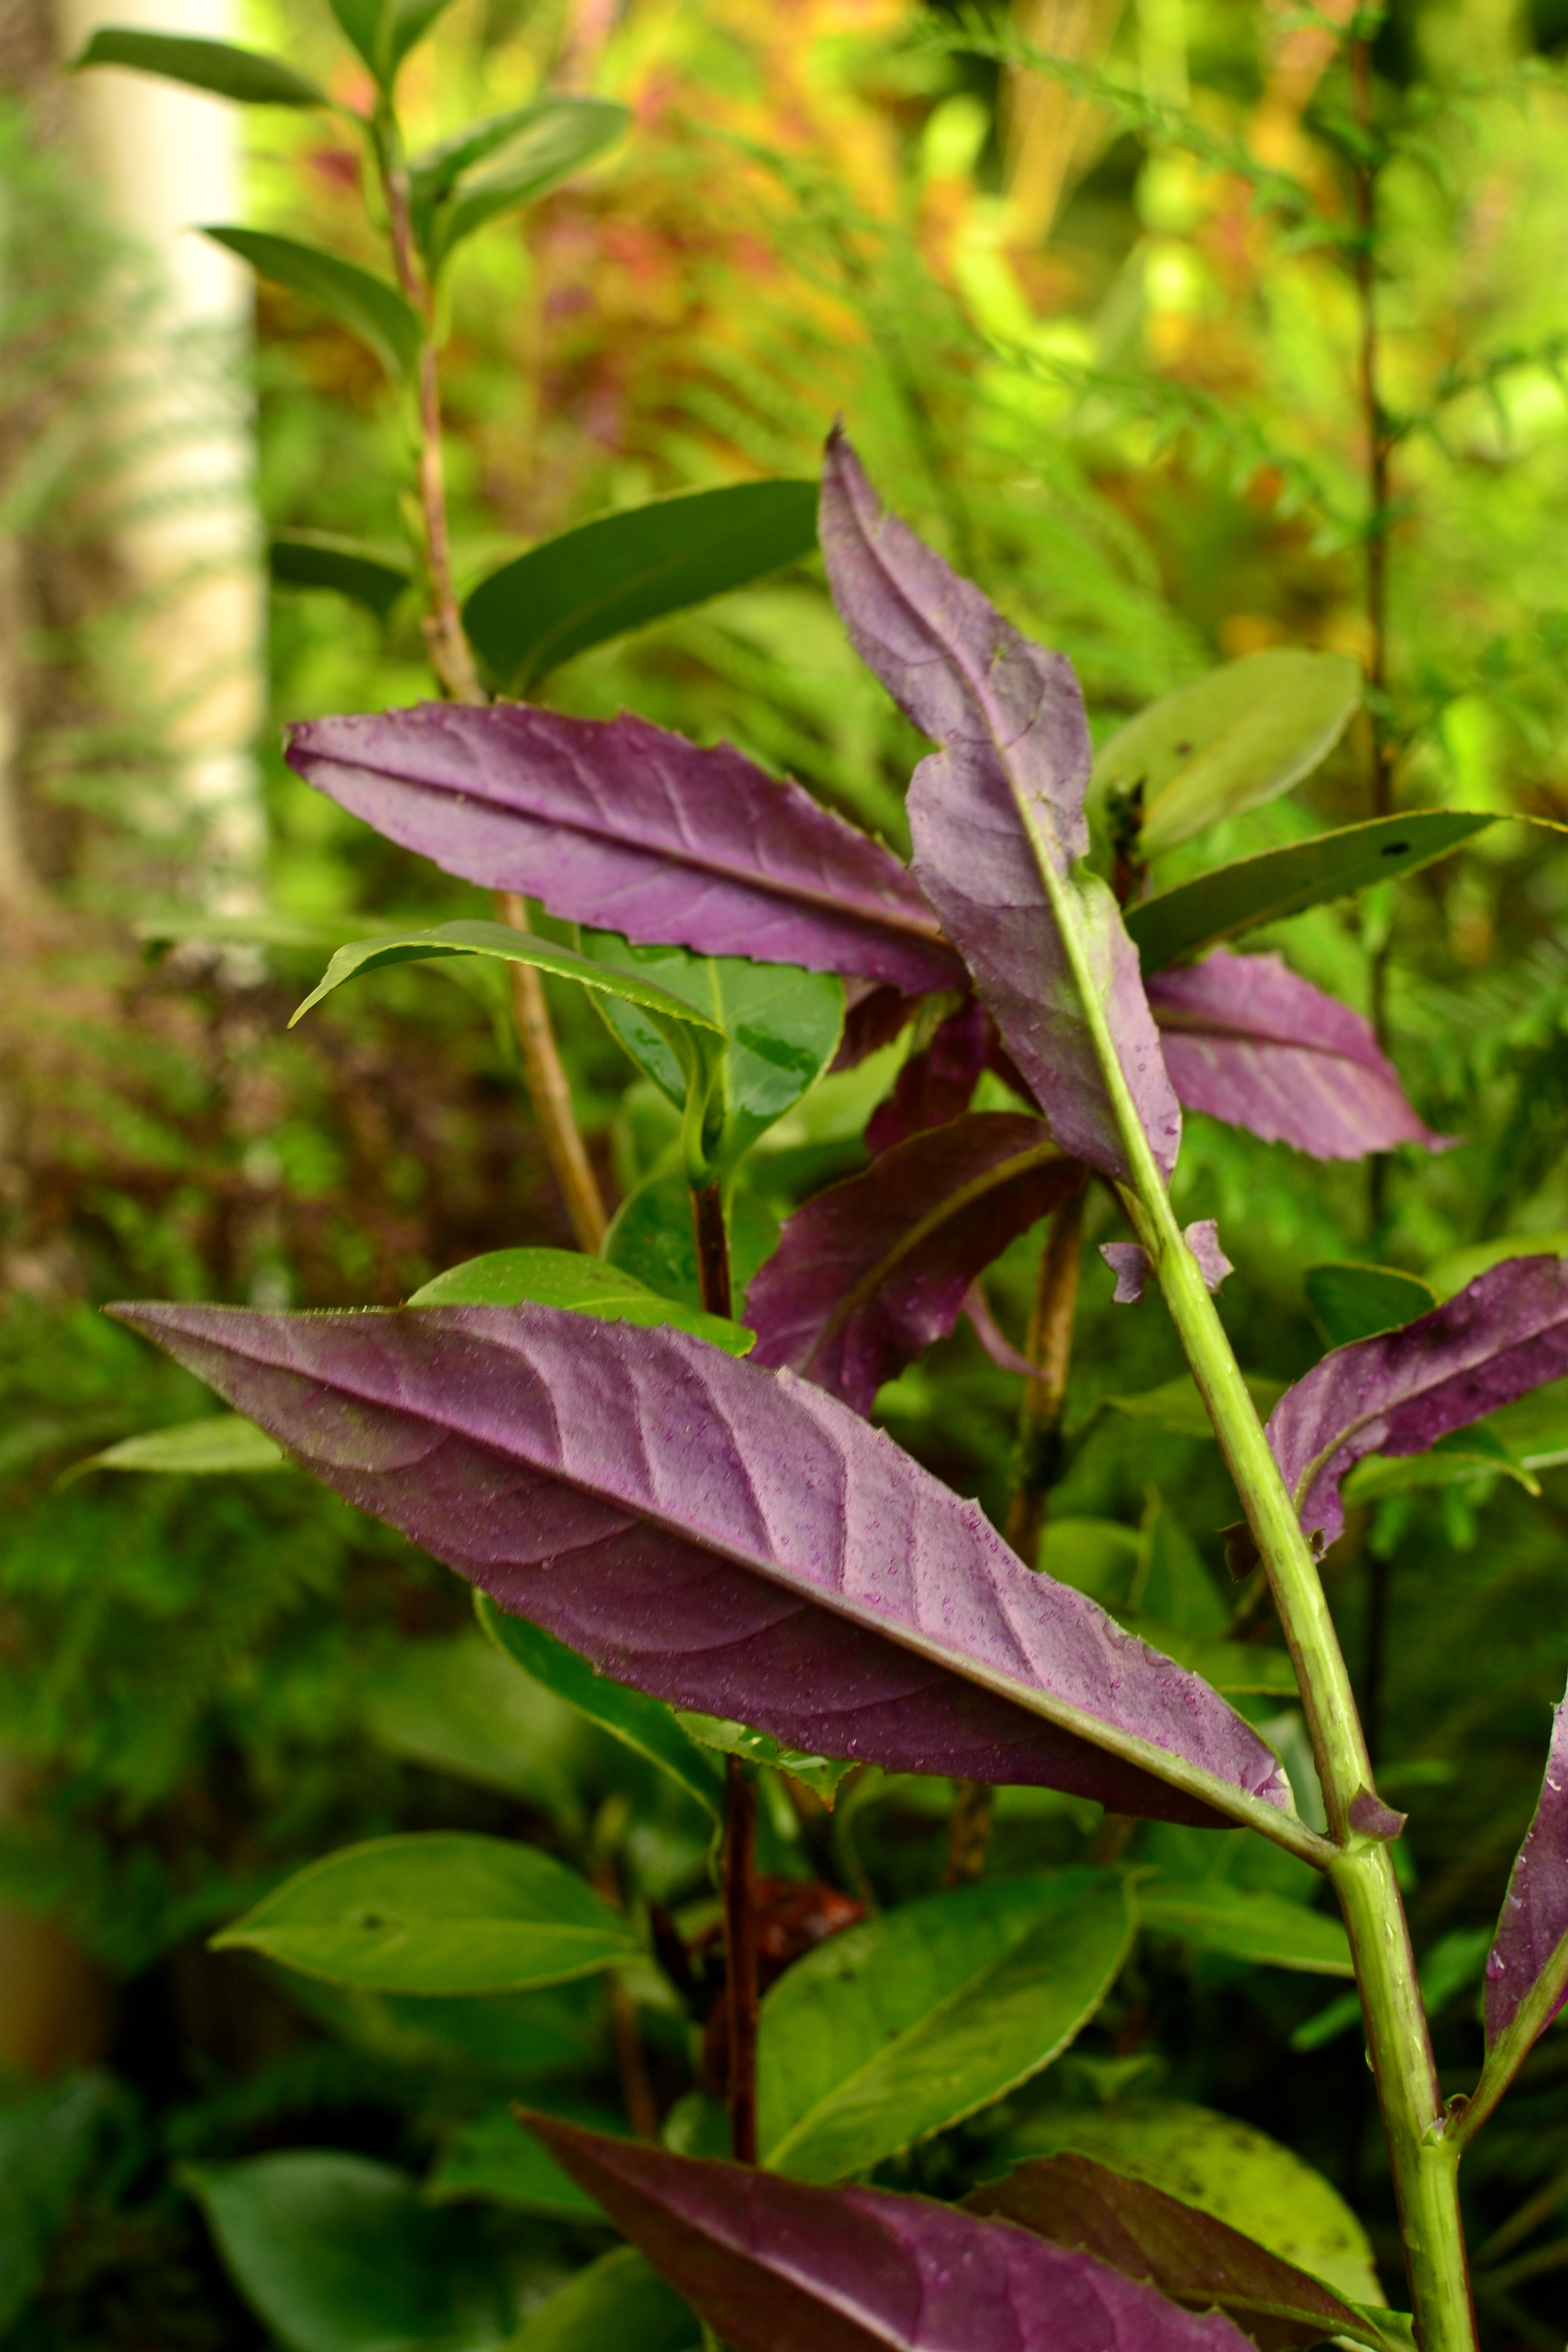
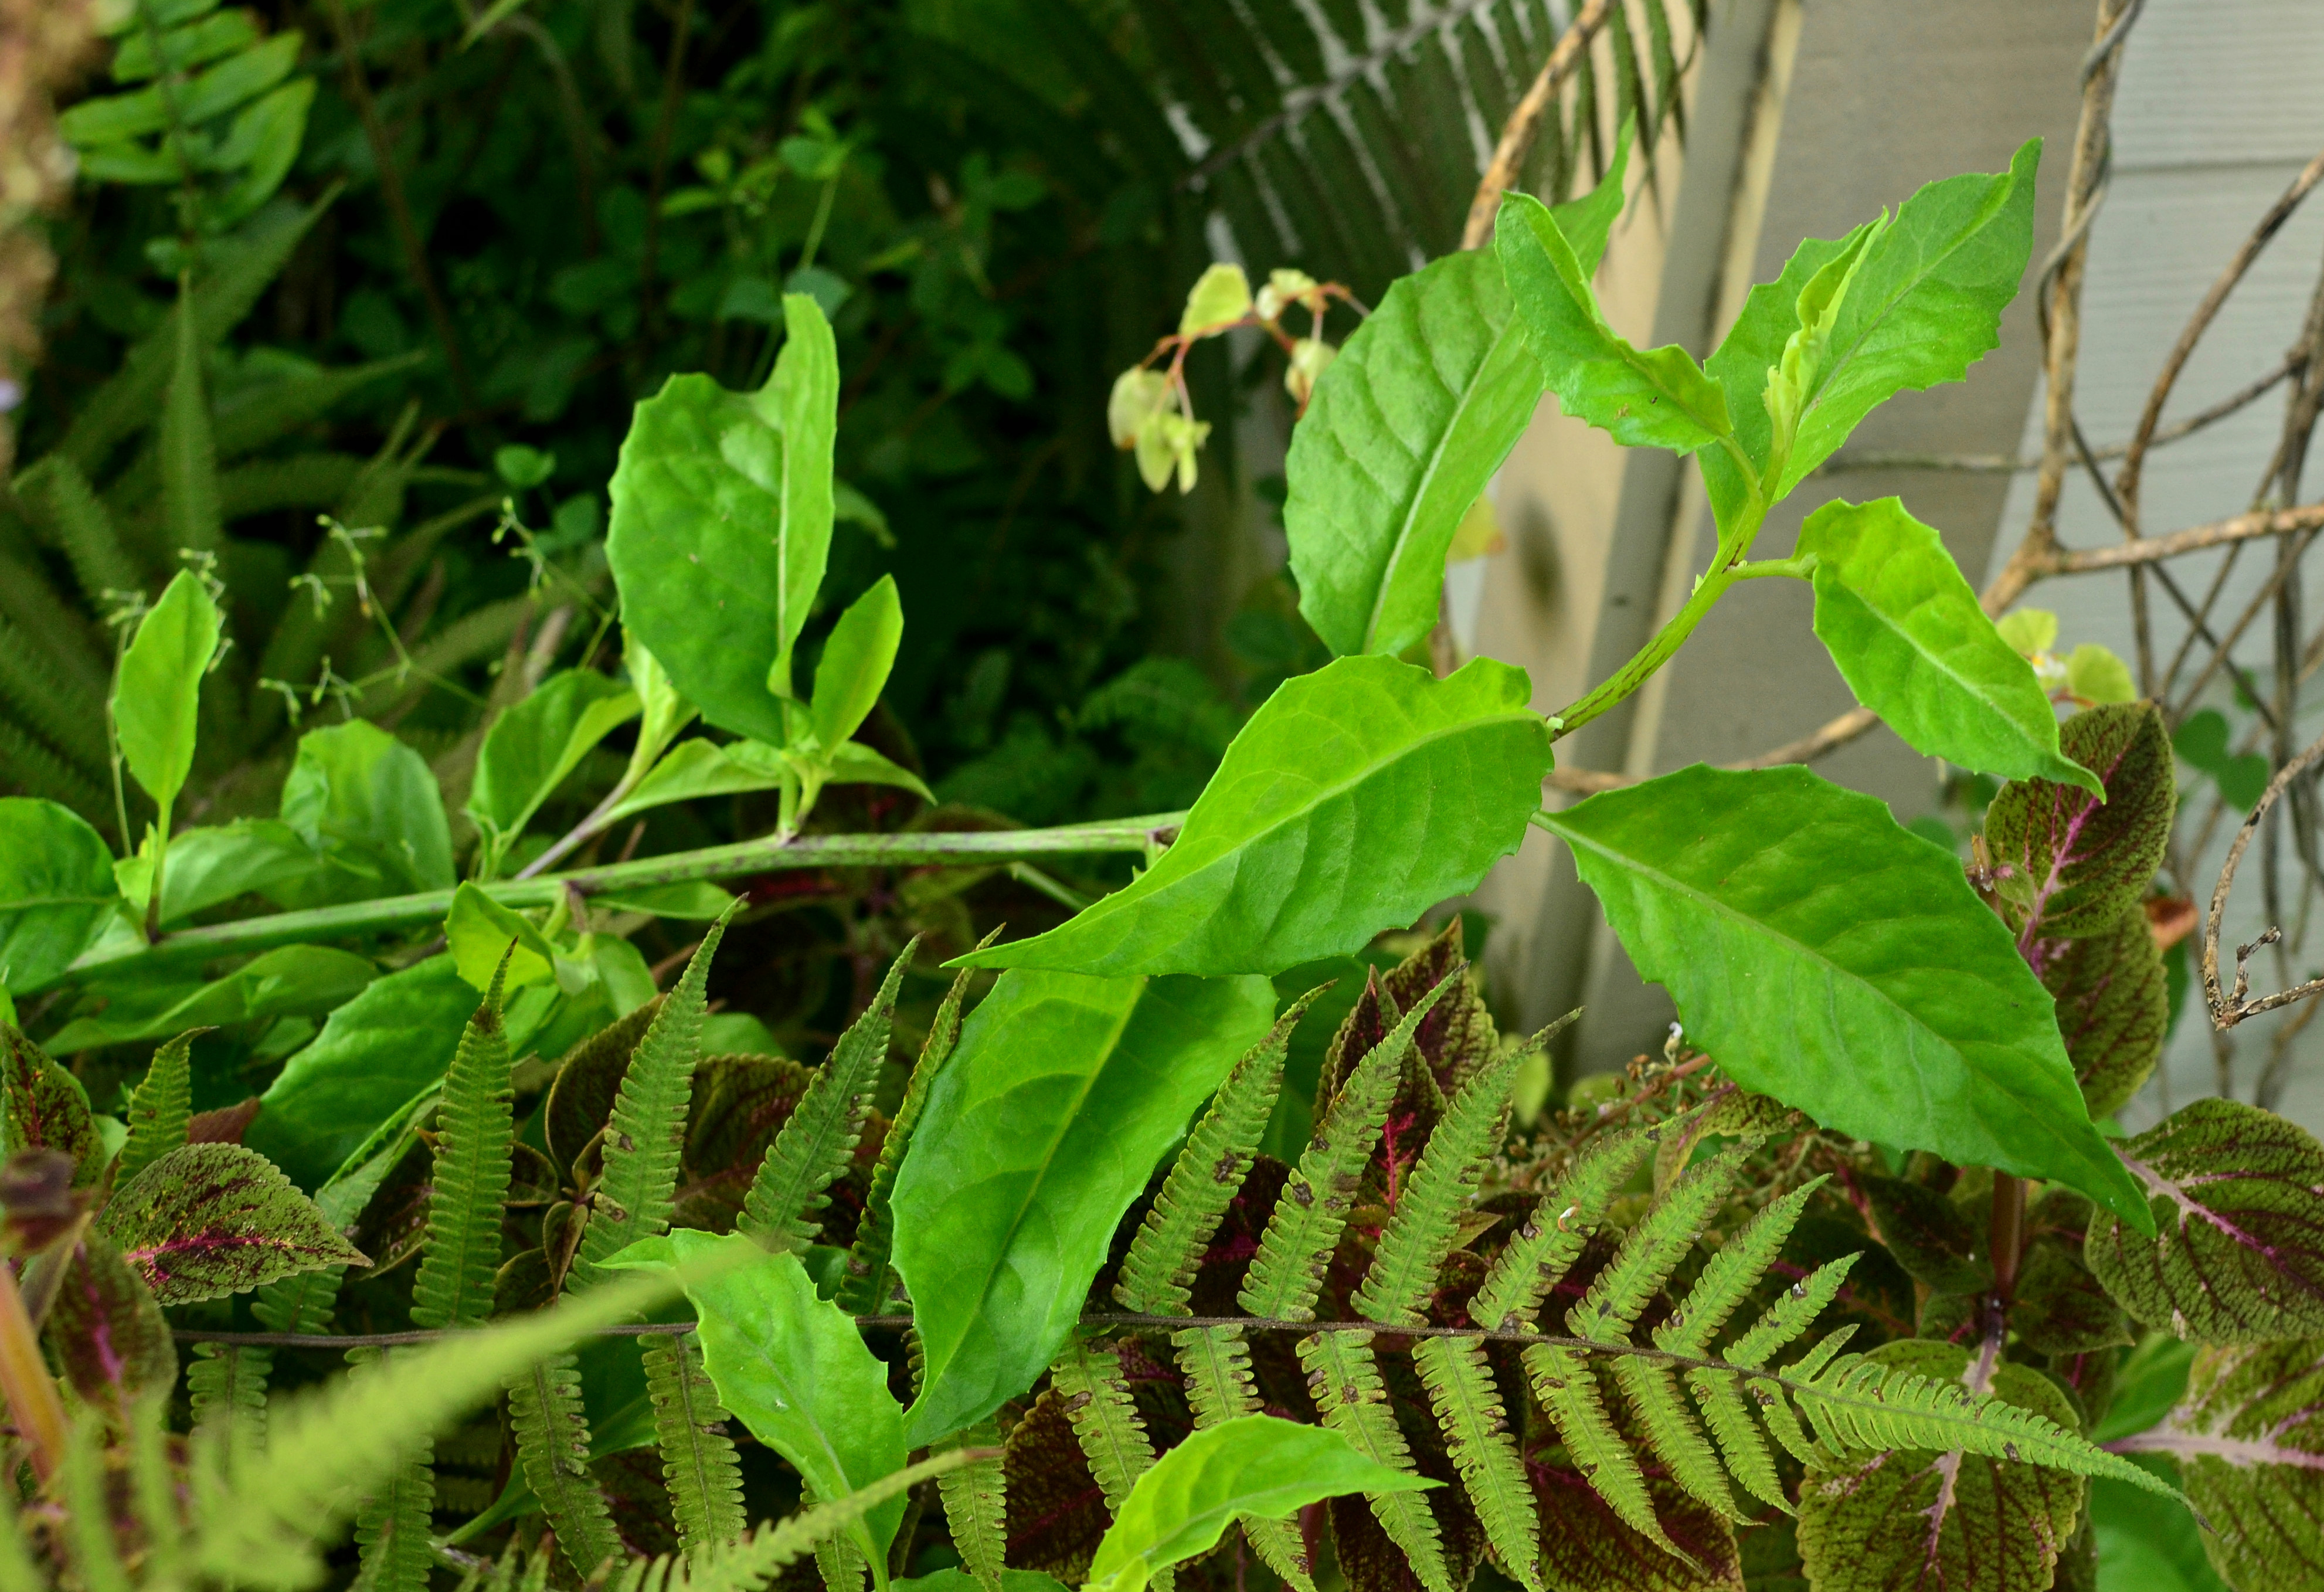
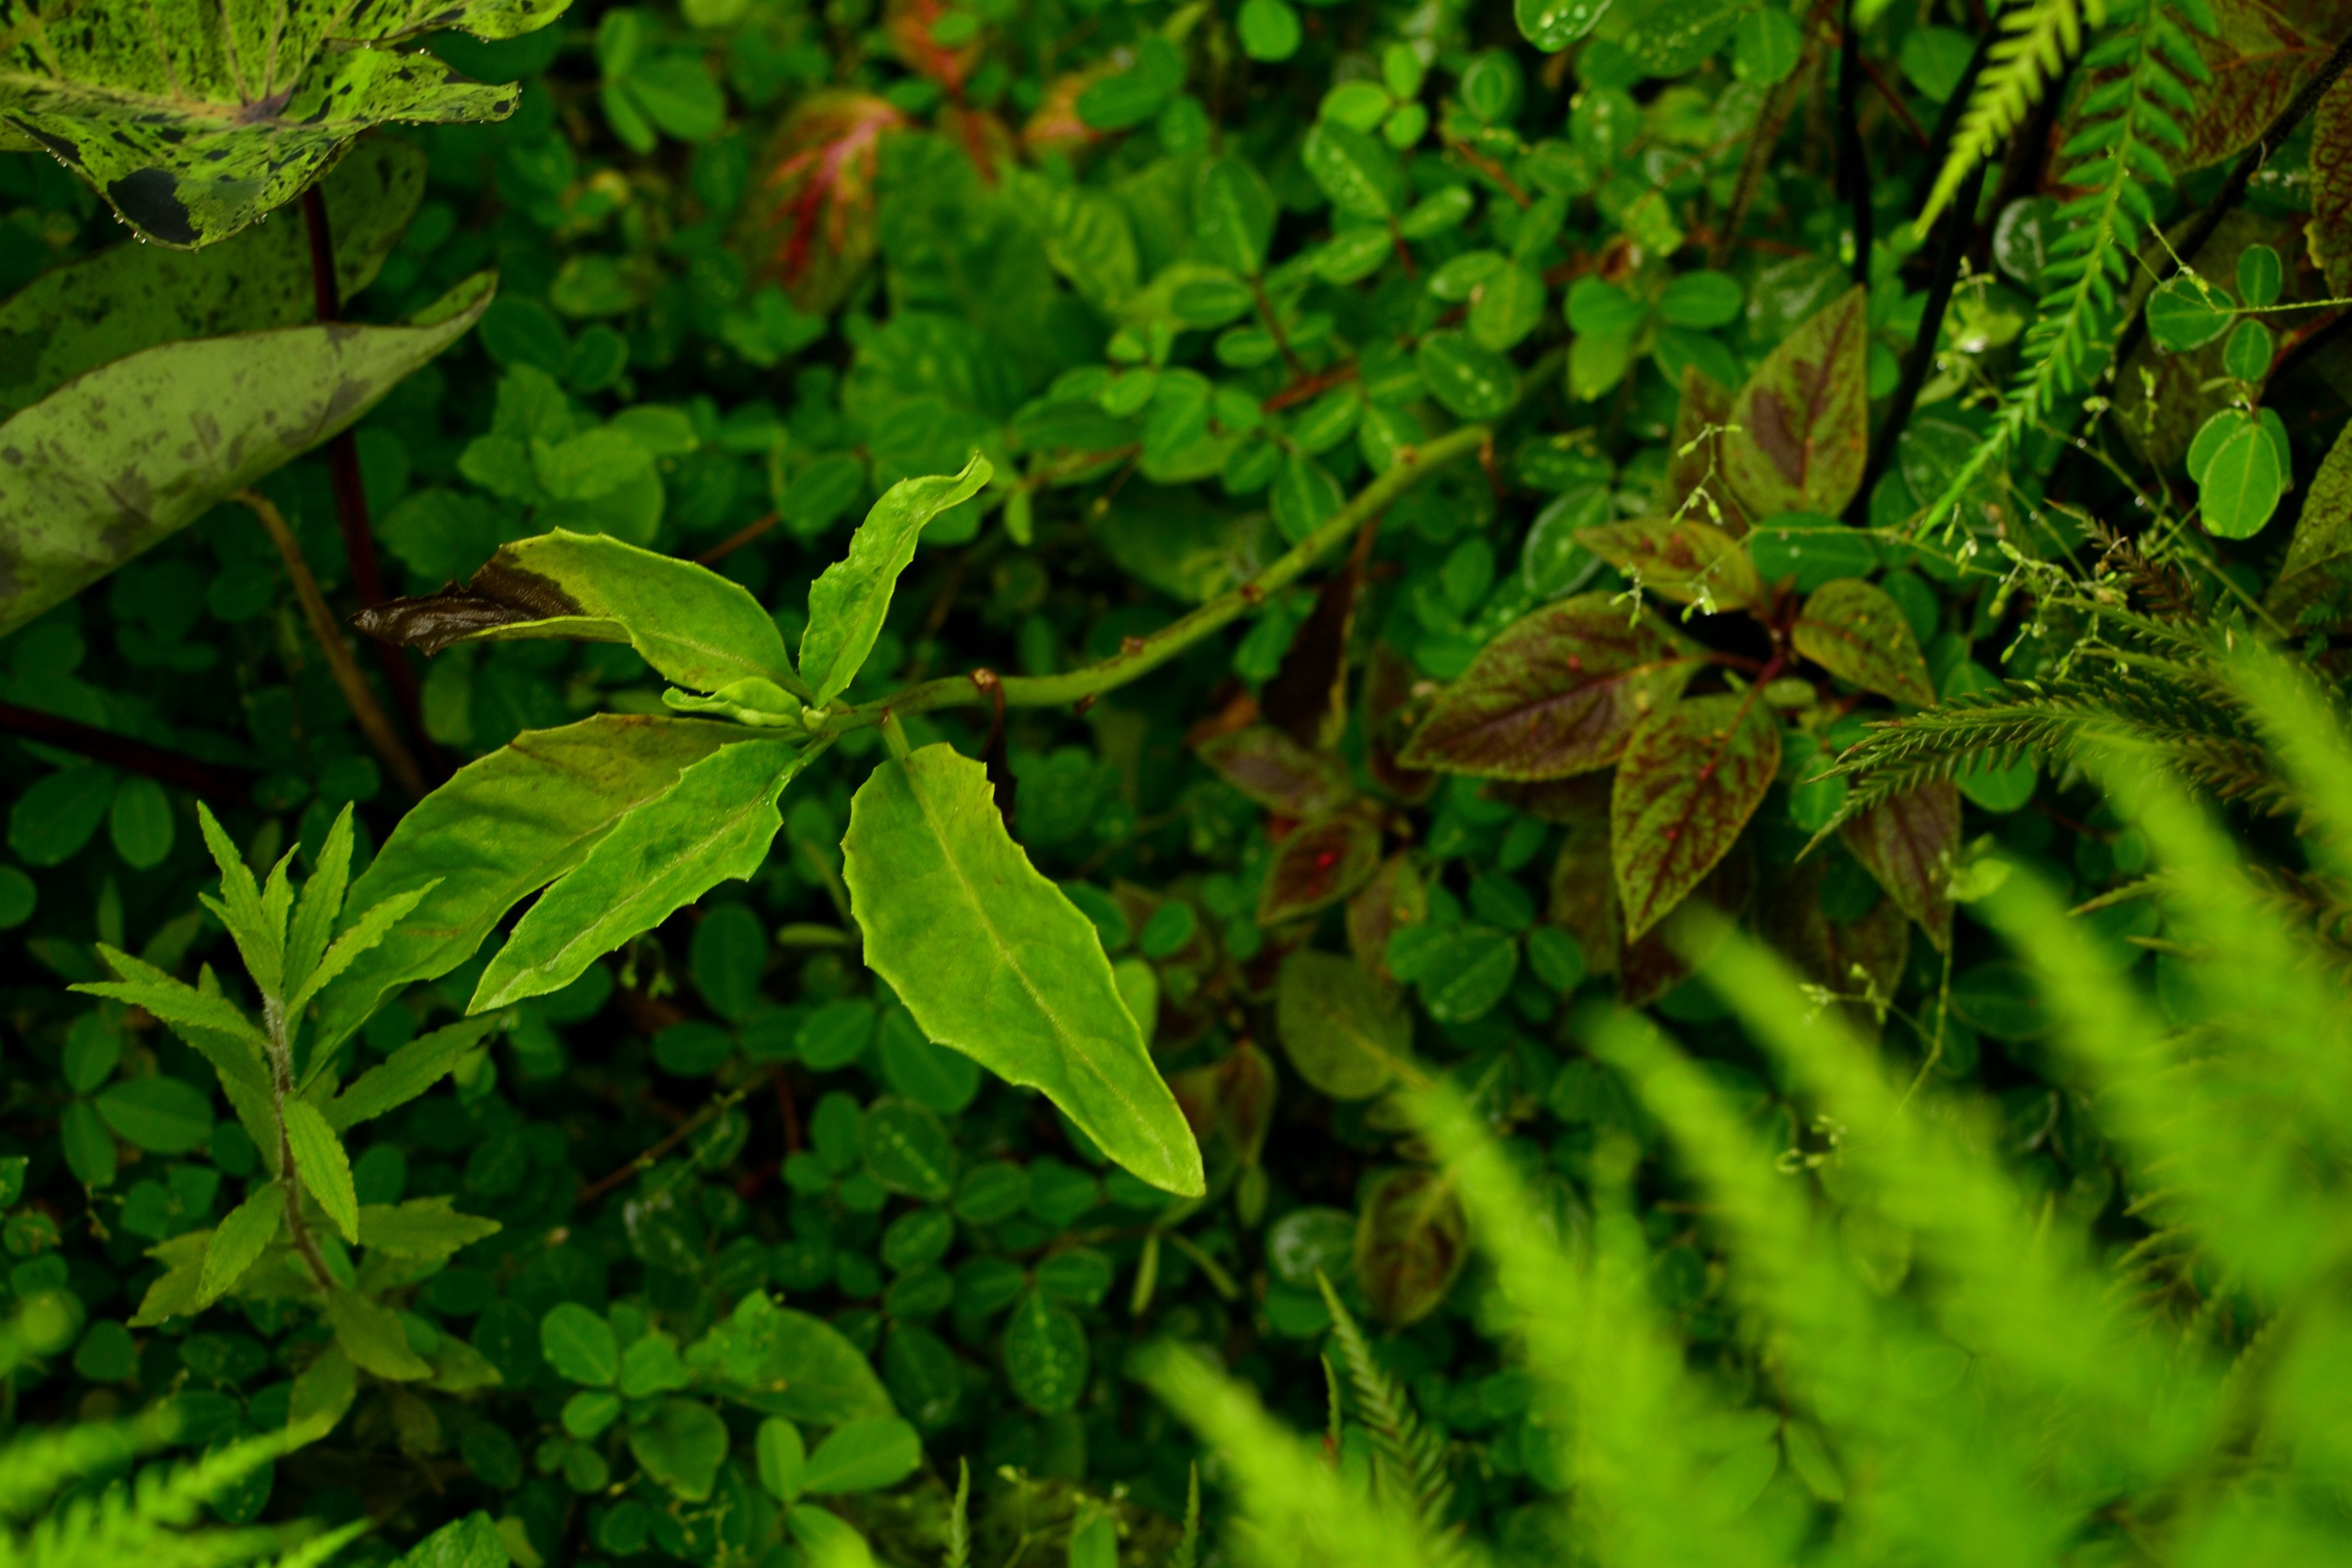
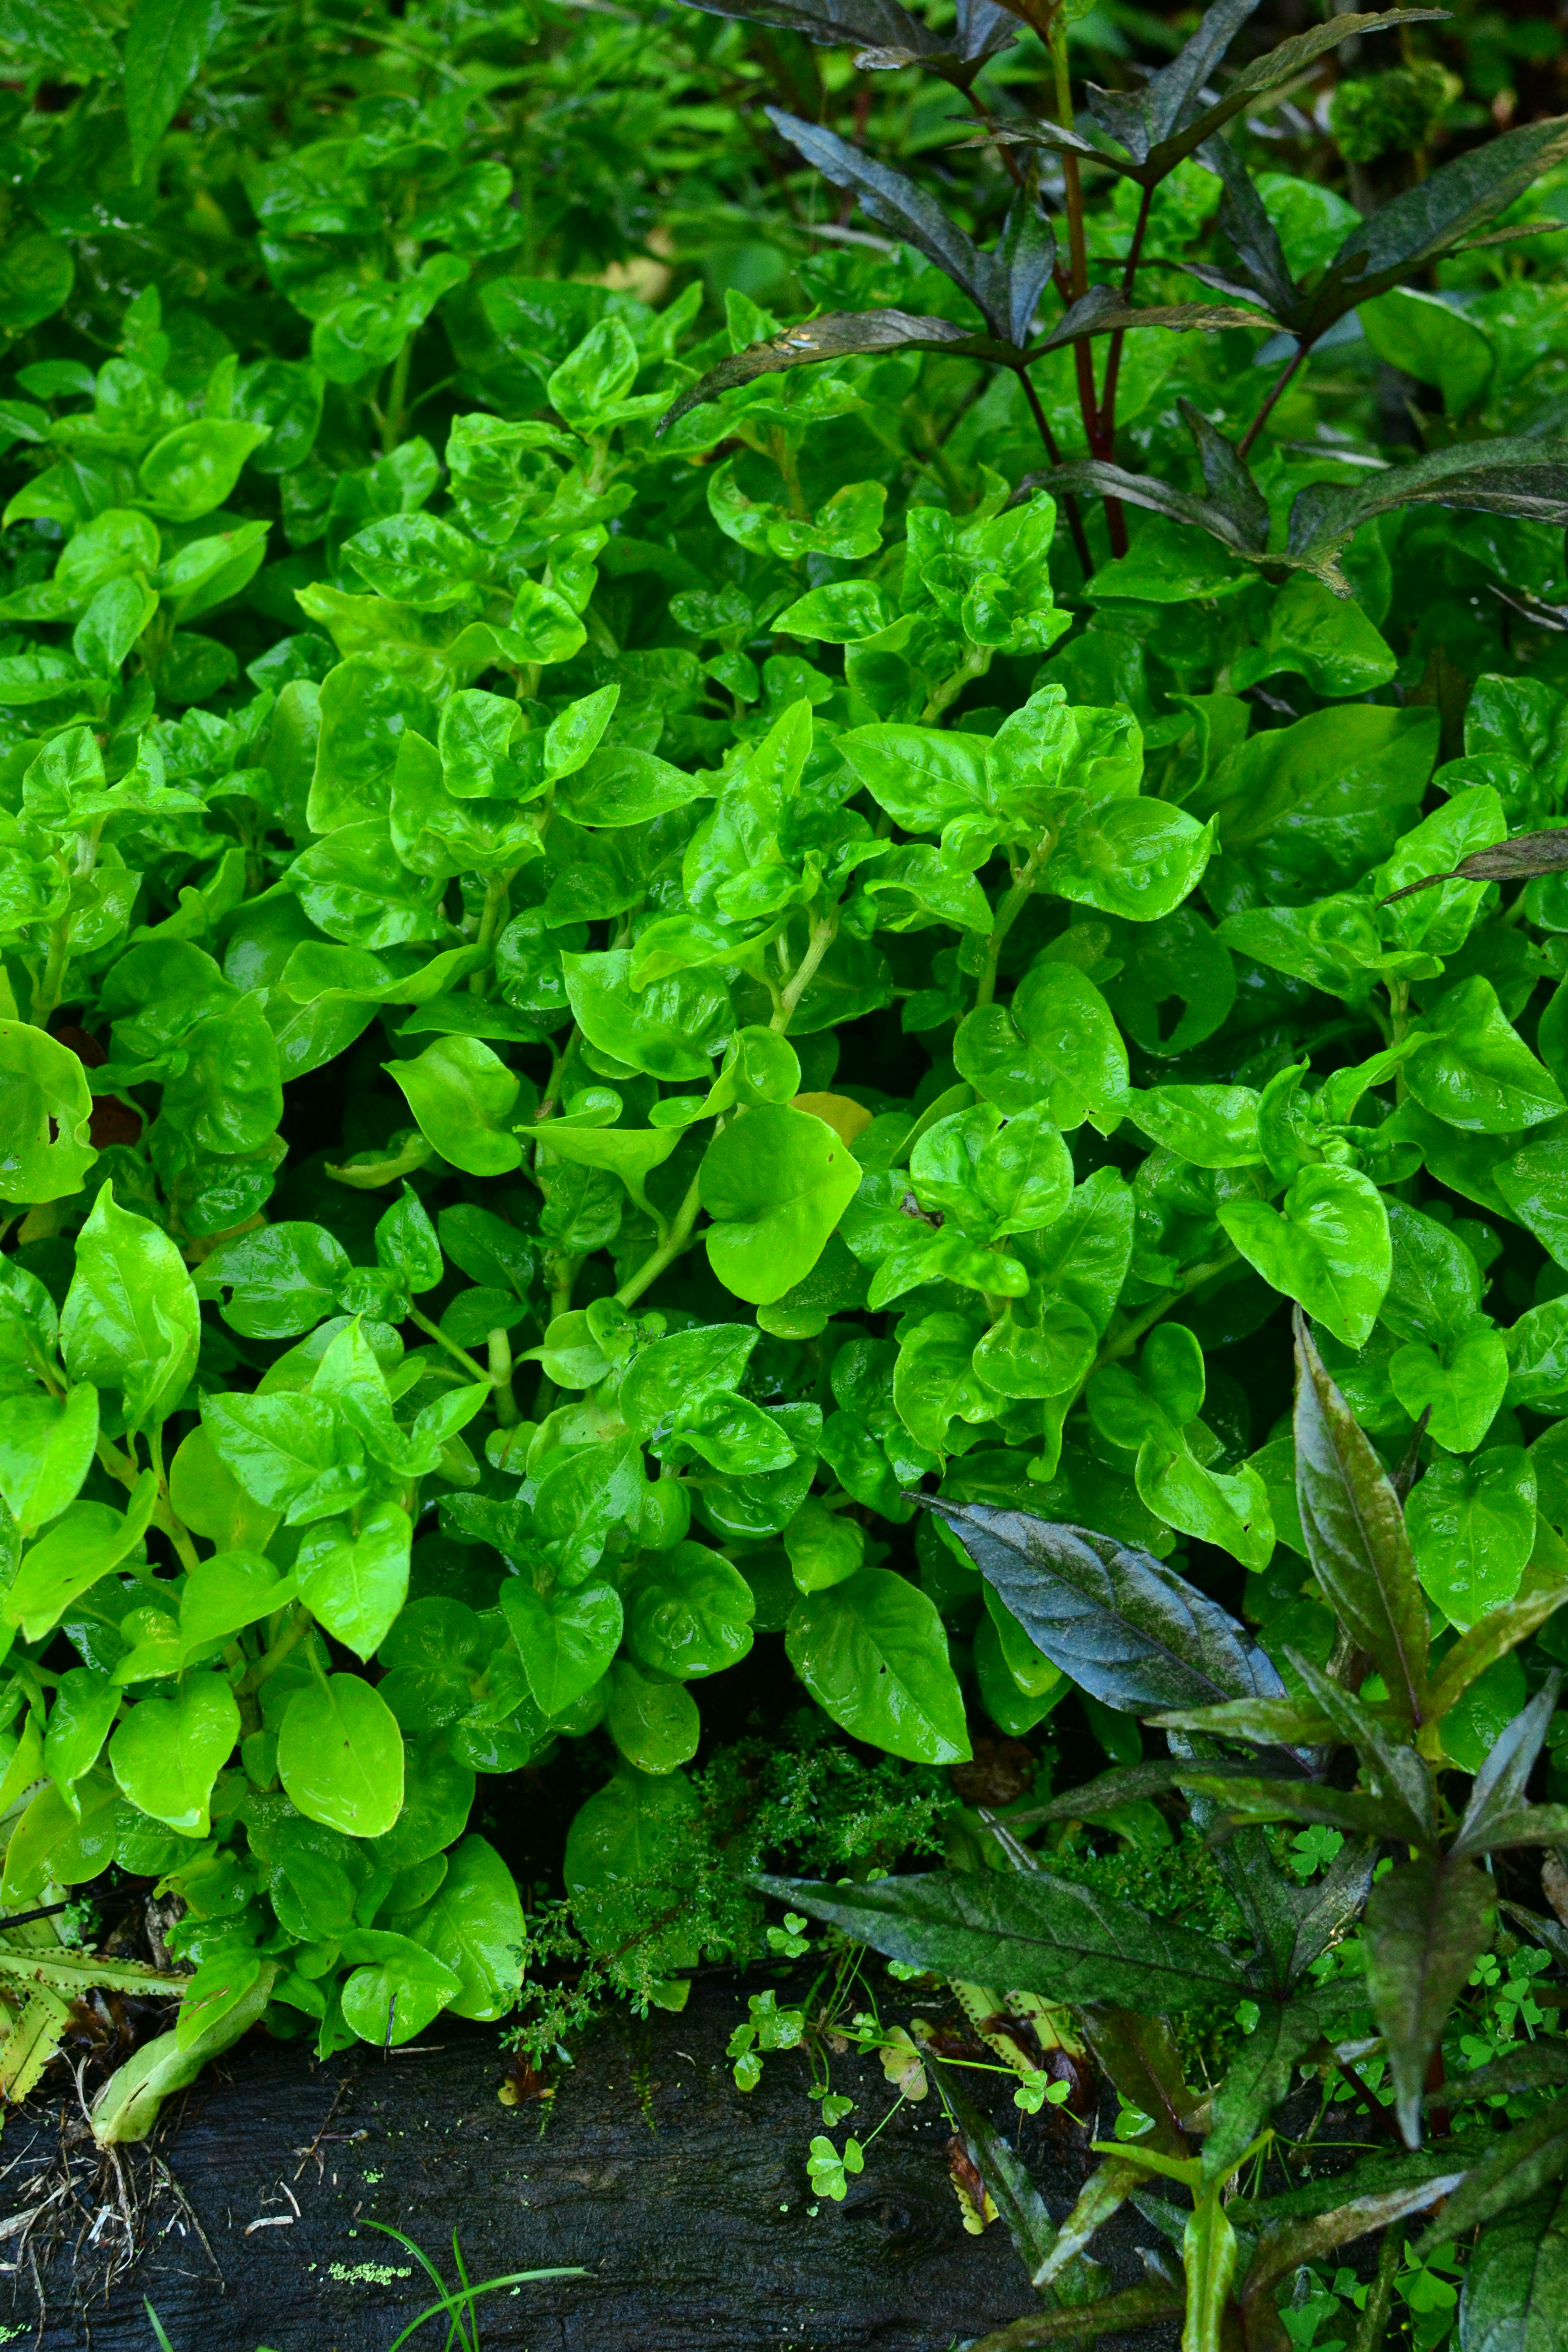
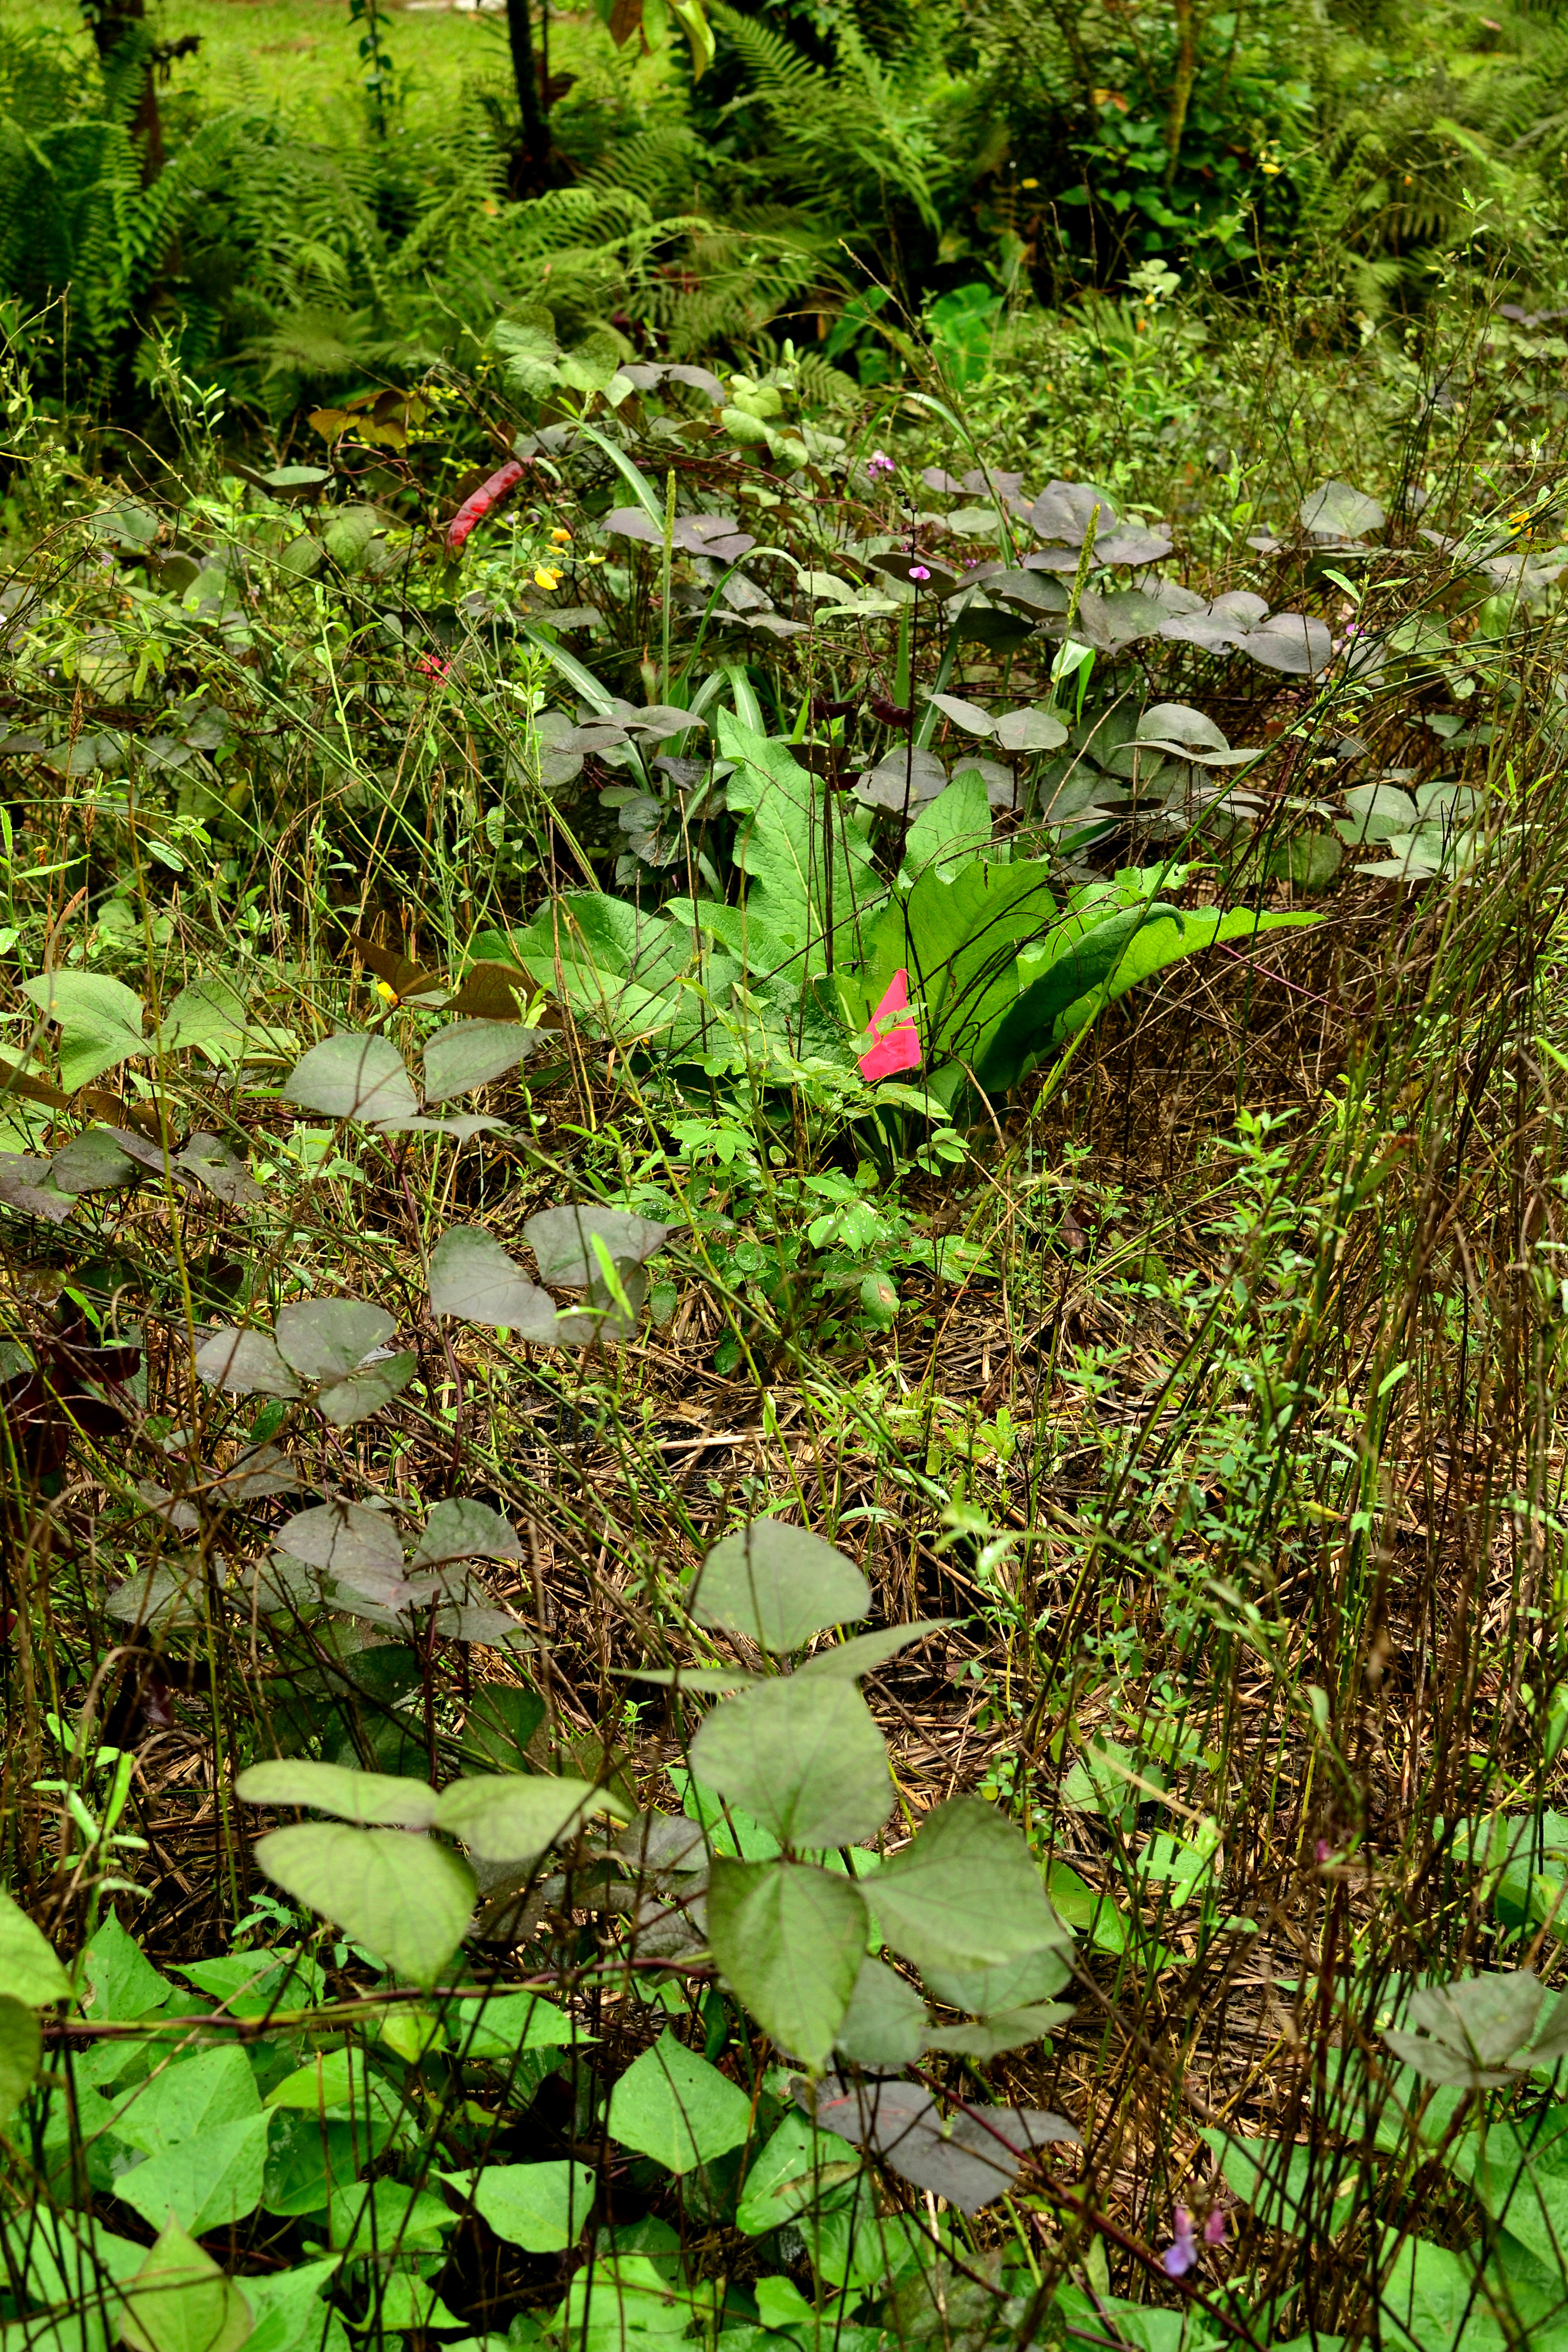
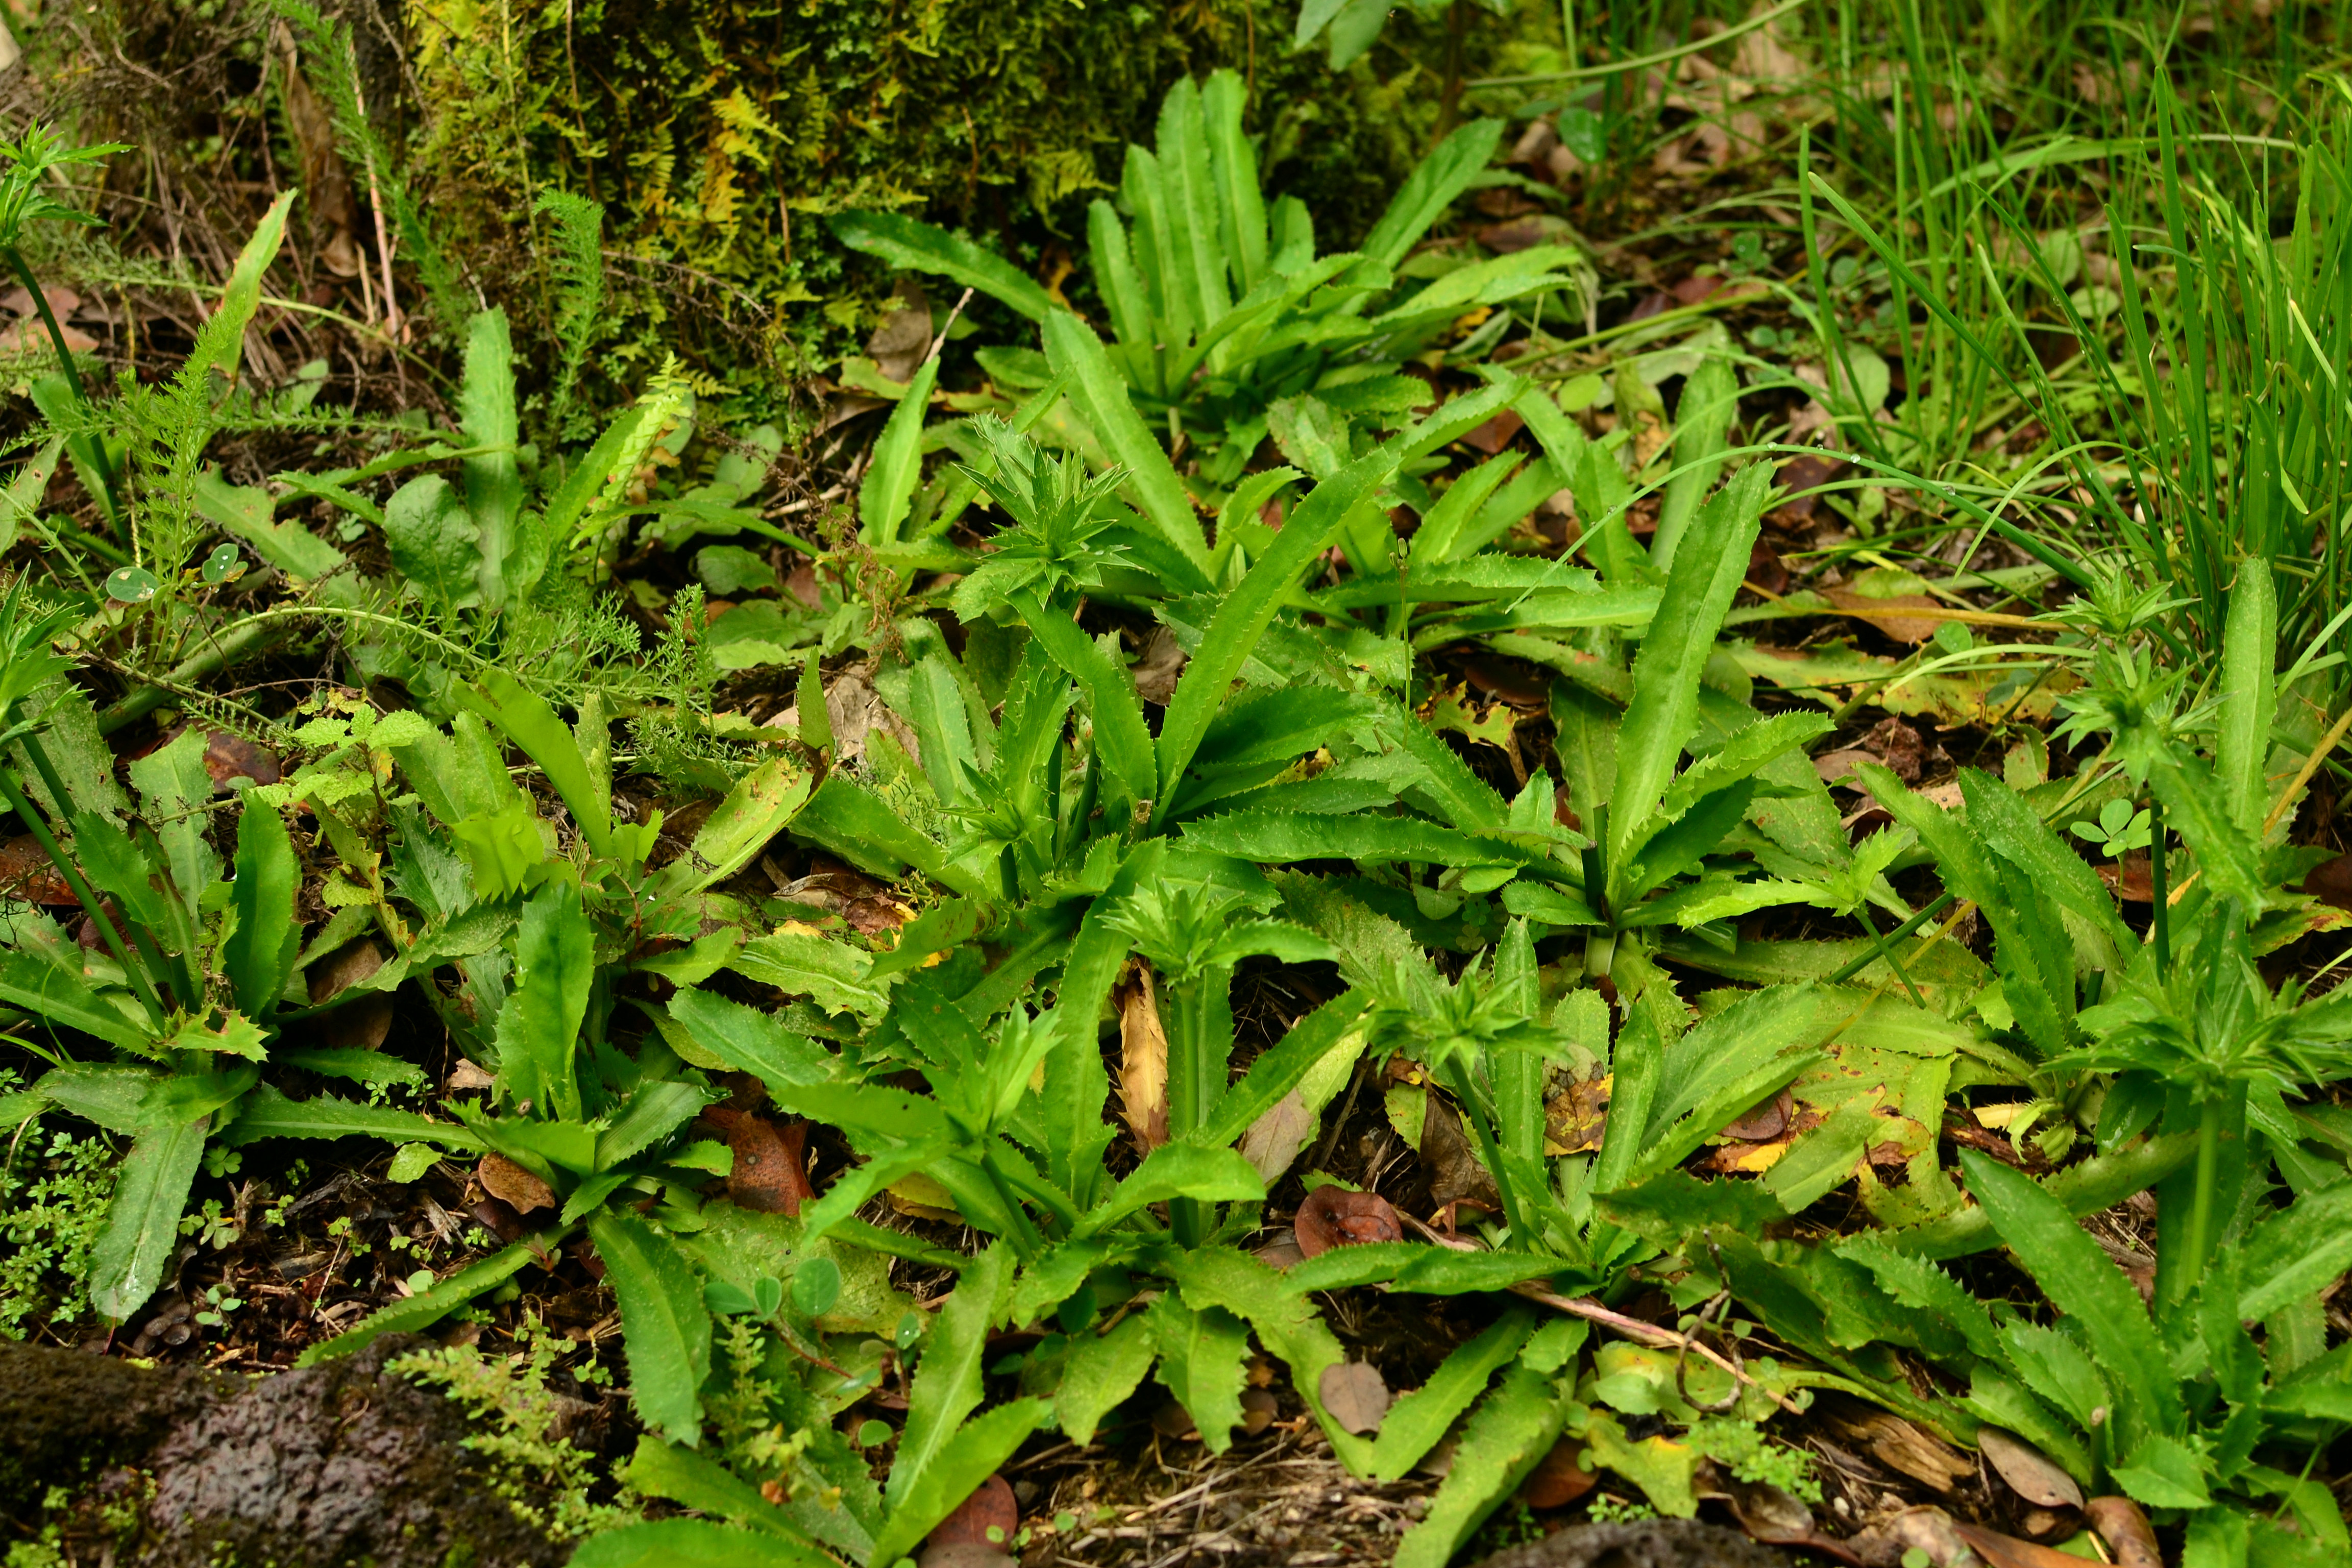
Culantro in the grass

DSC_0582

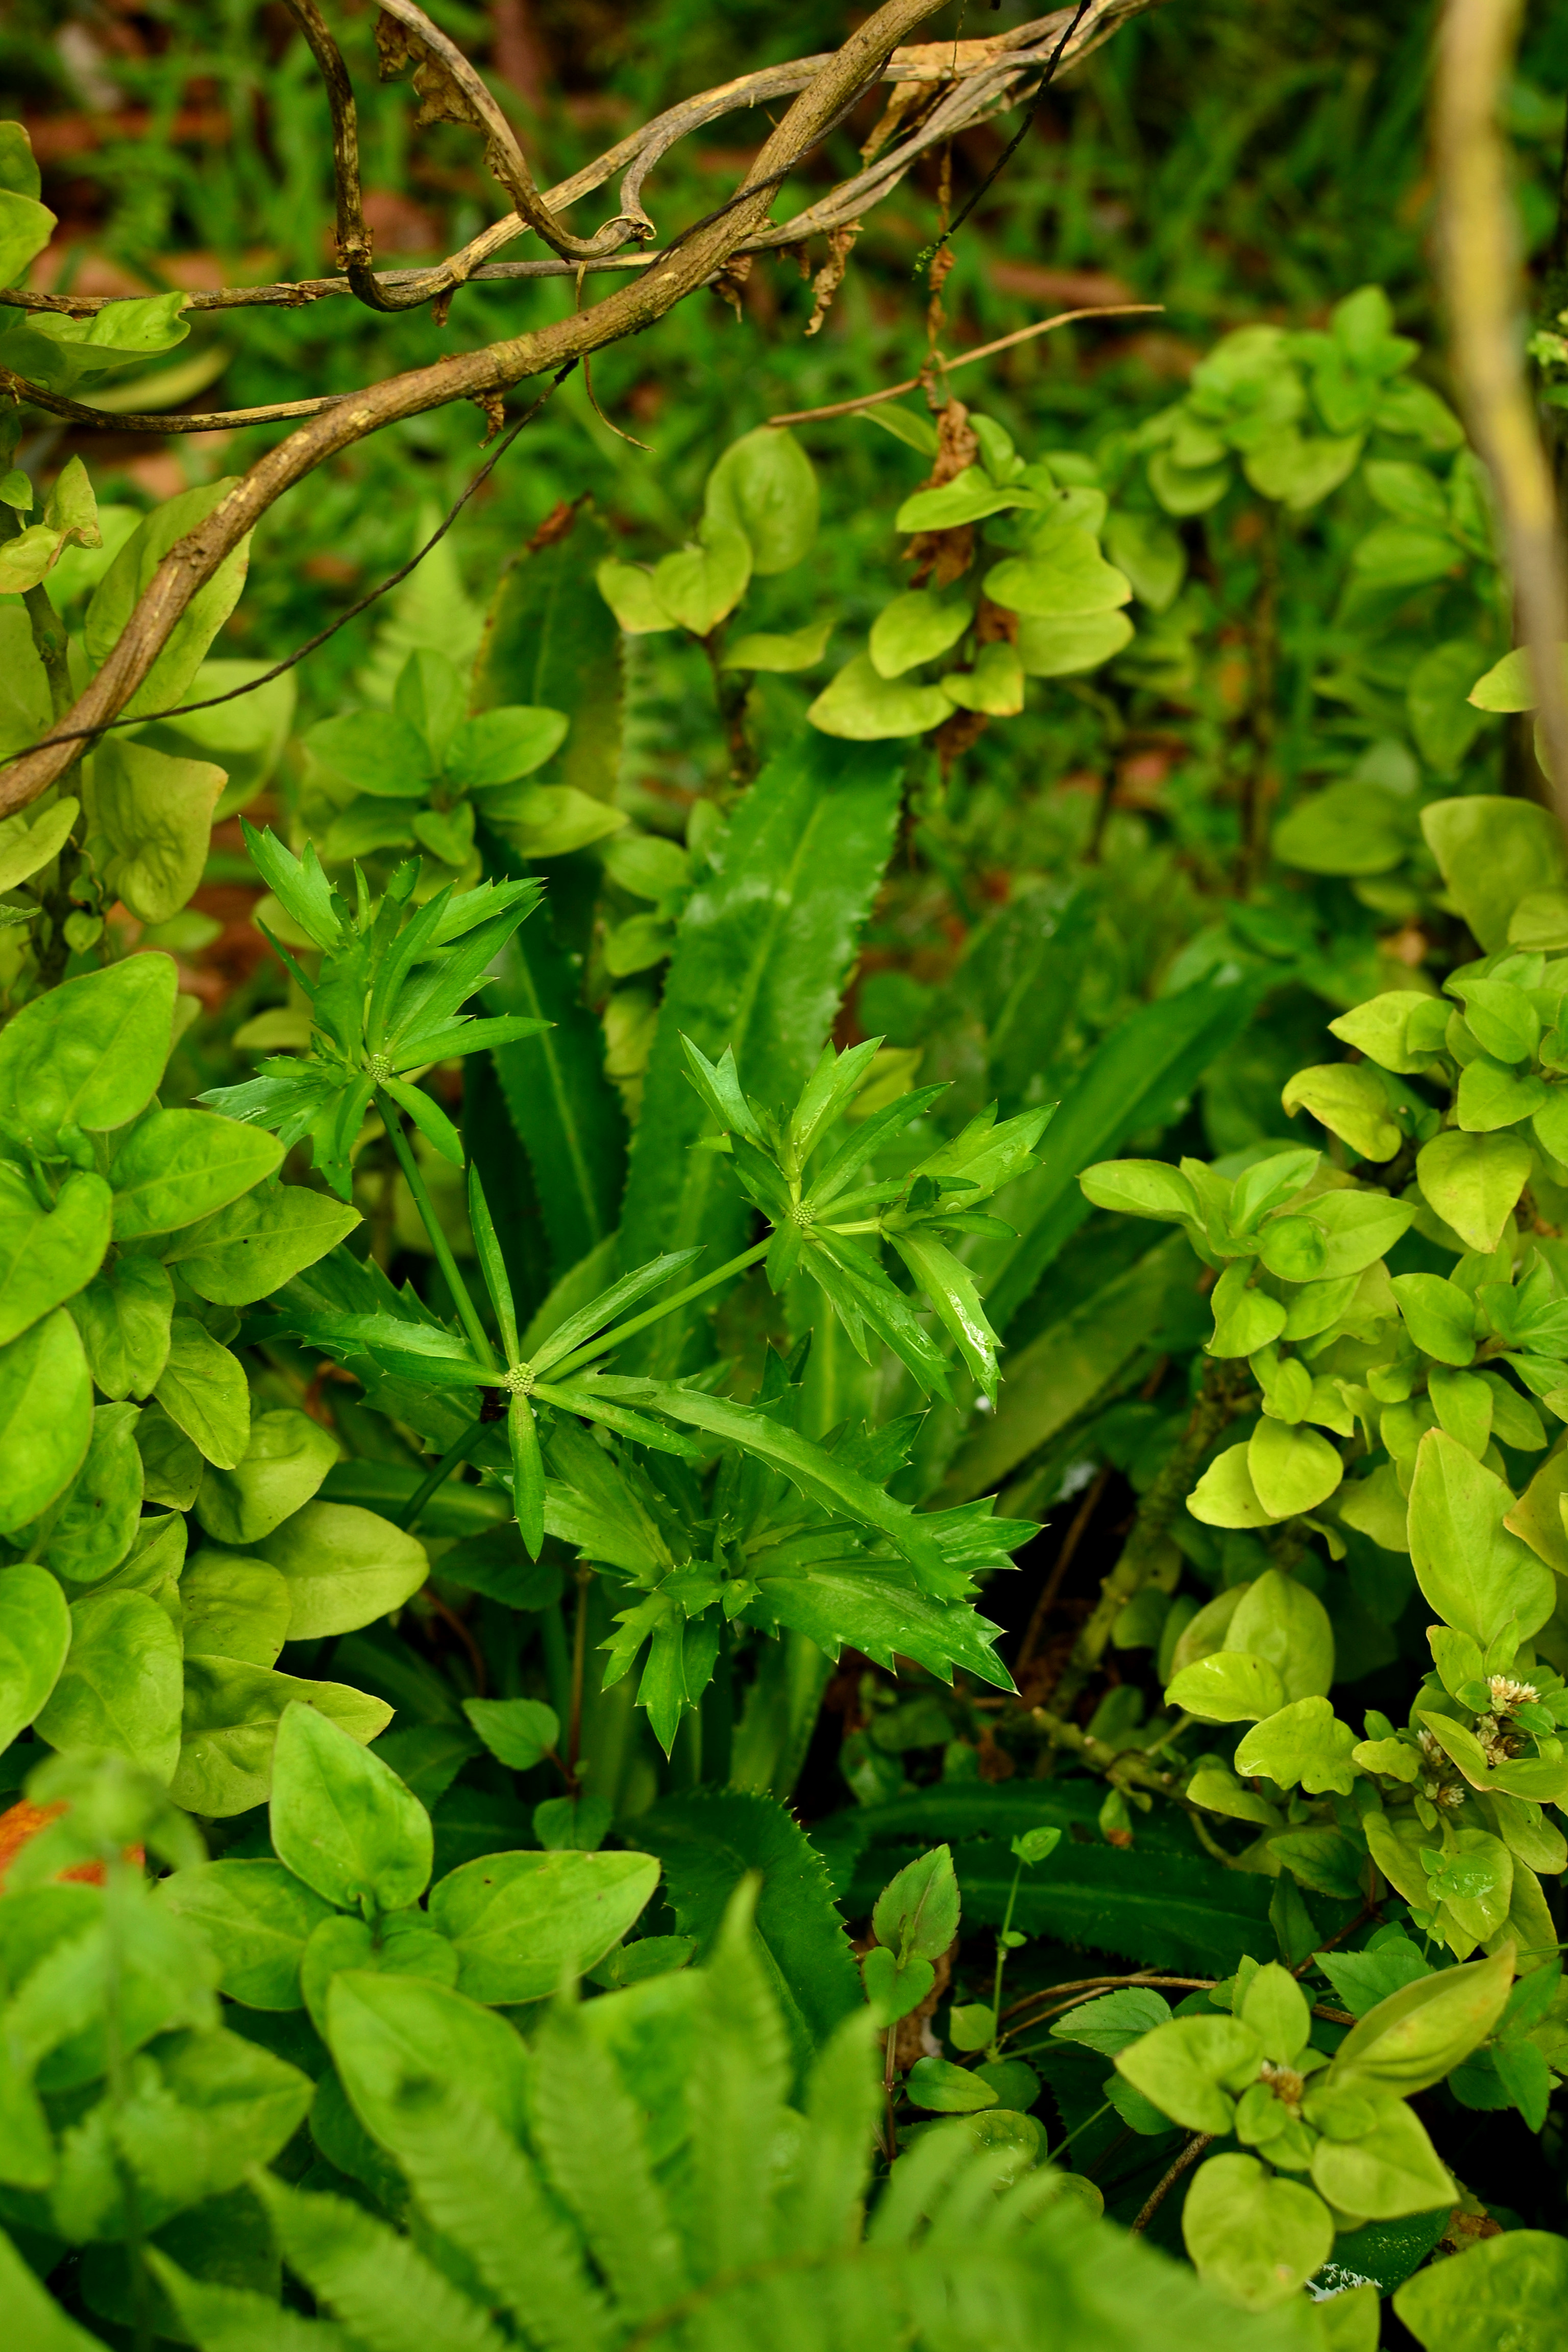
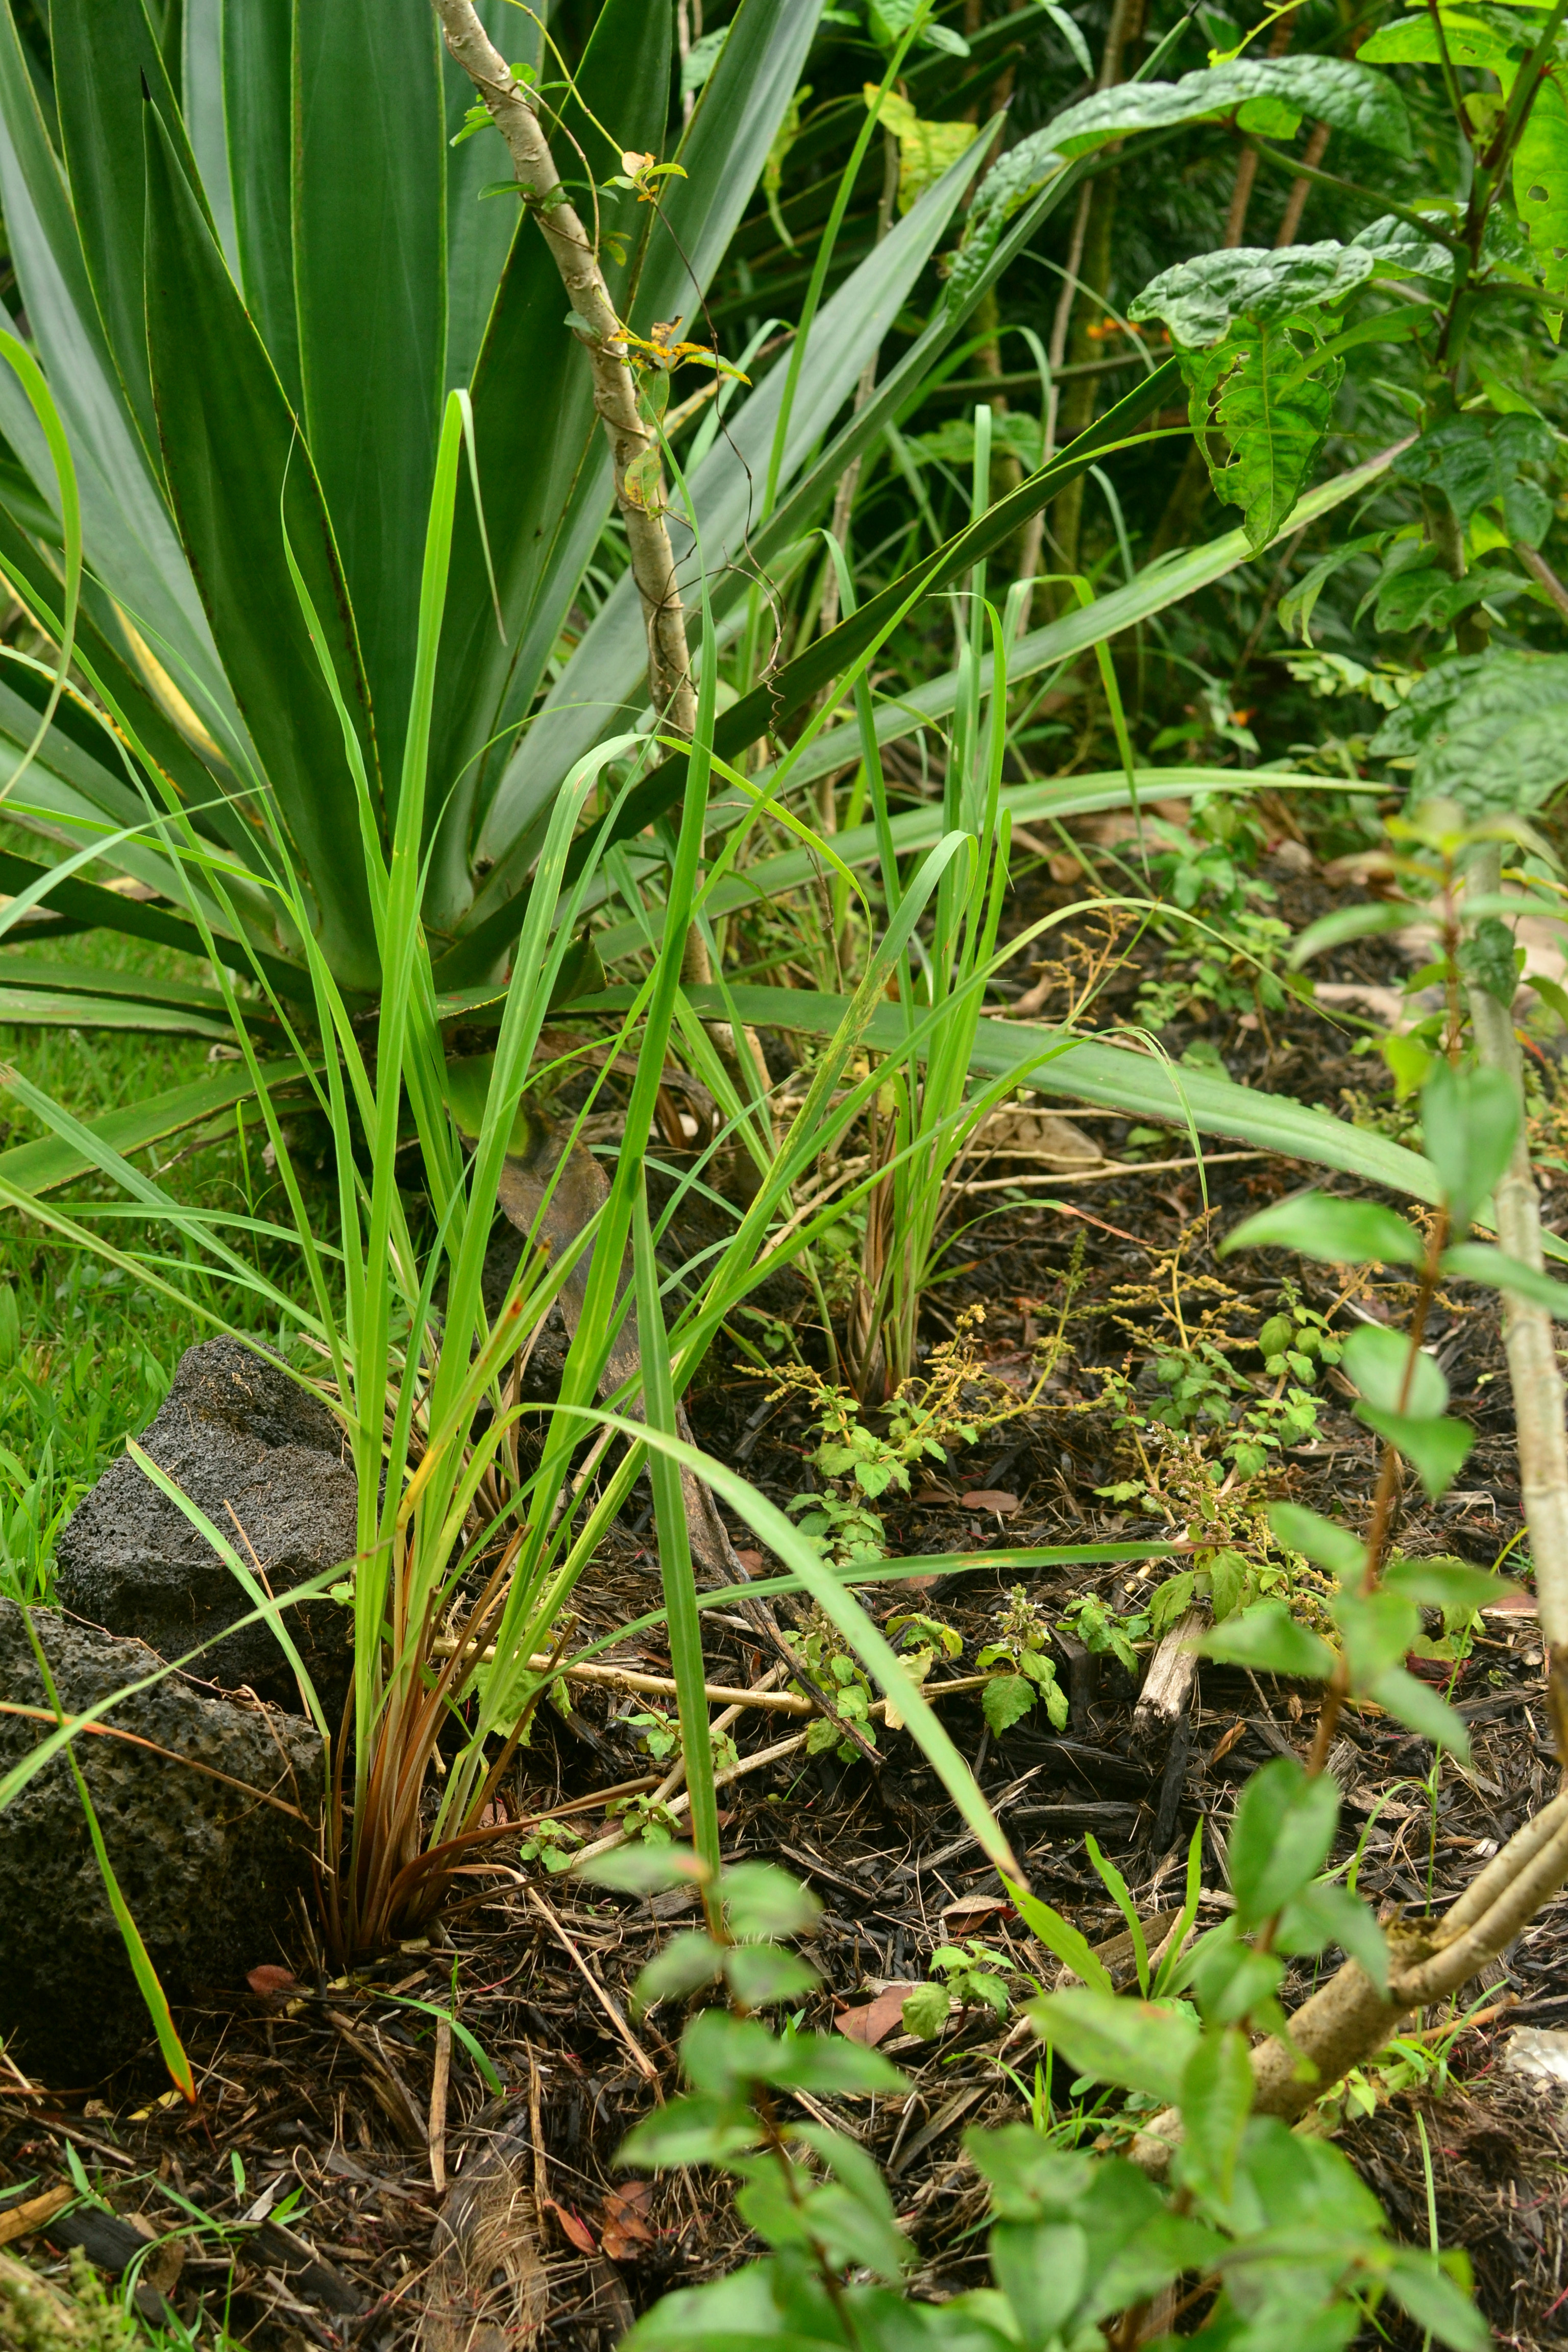
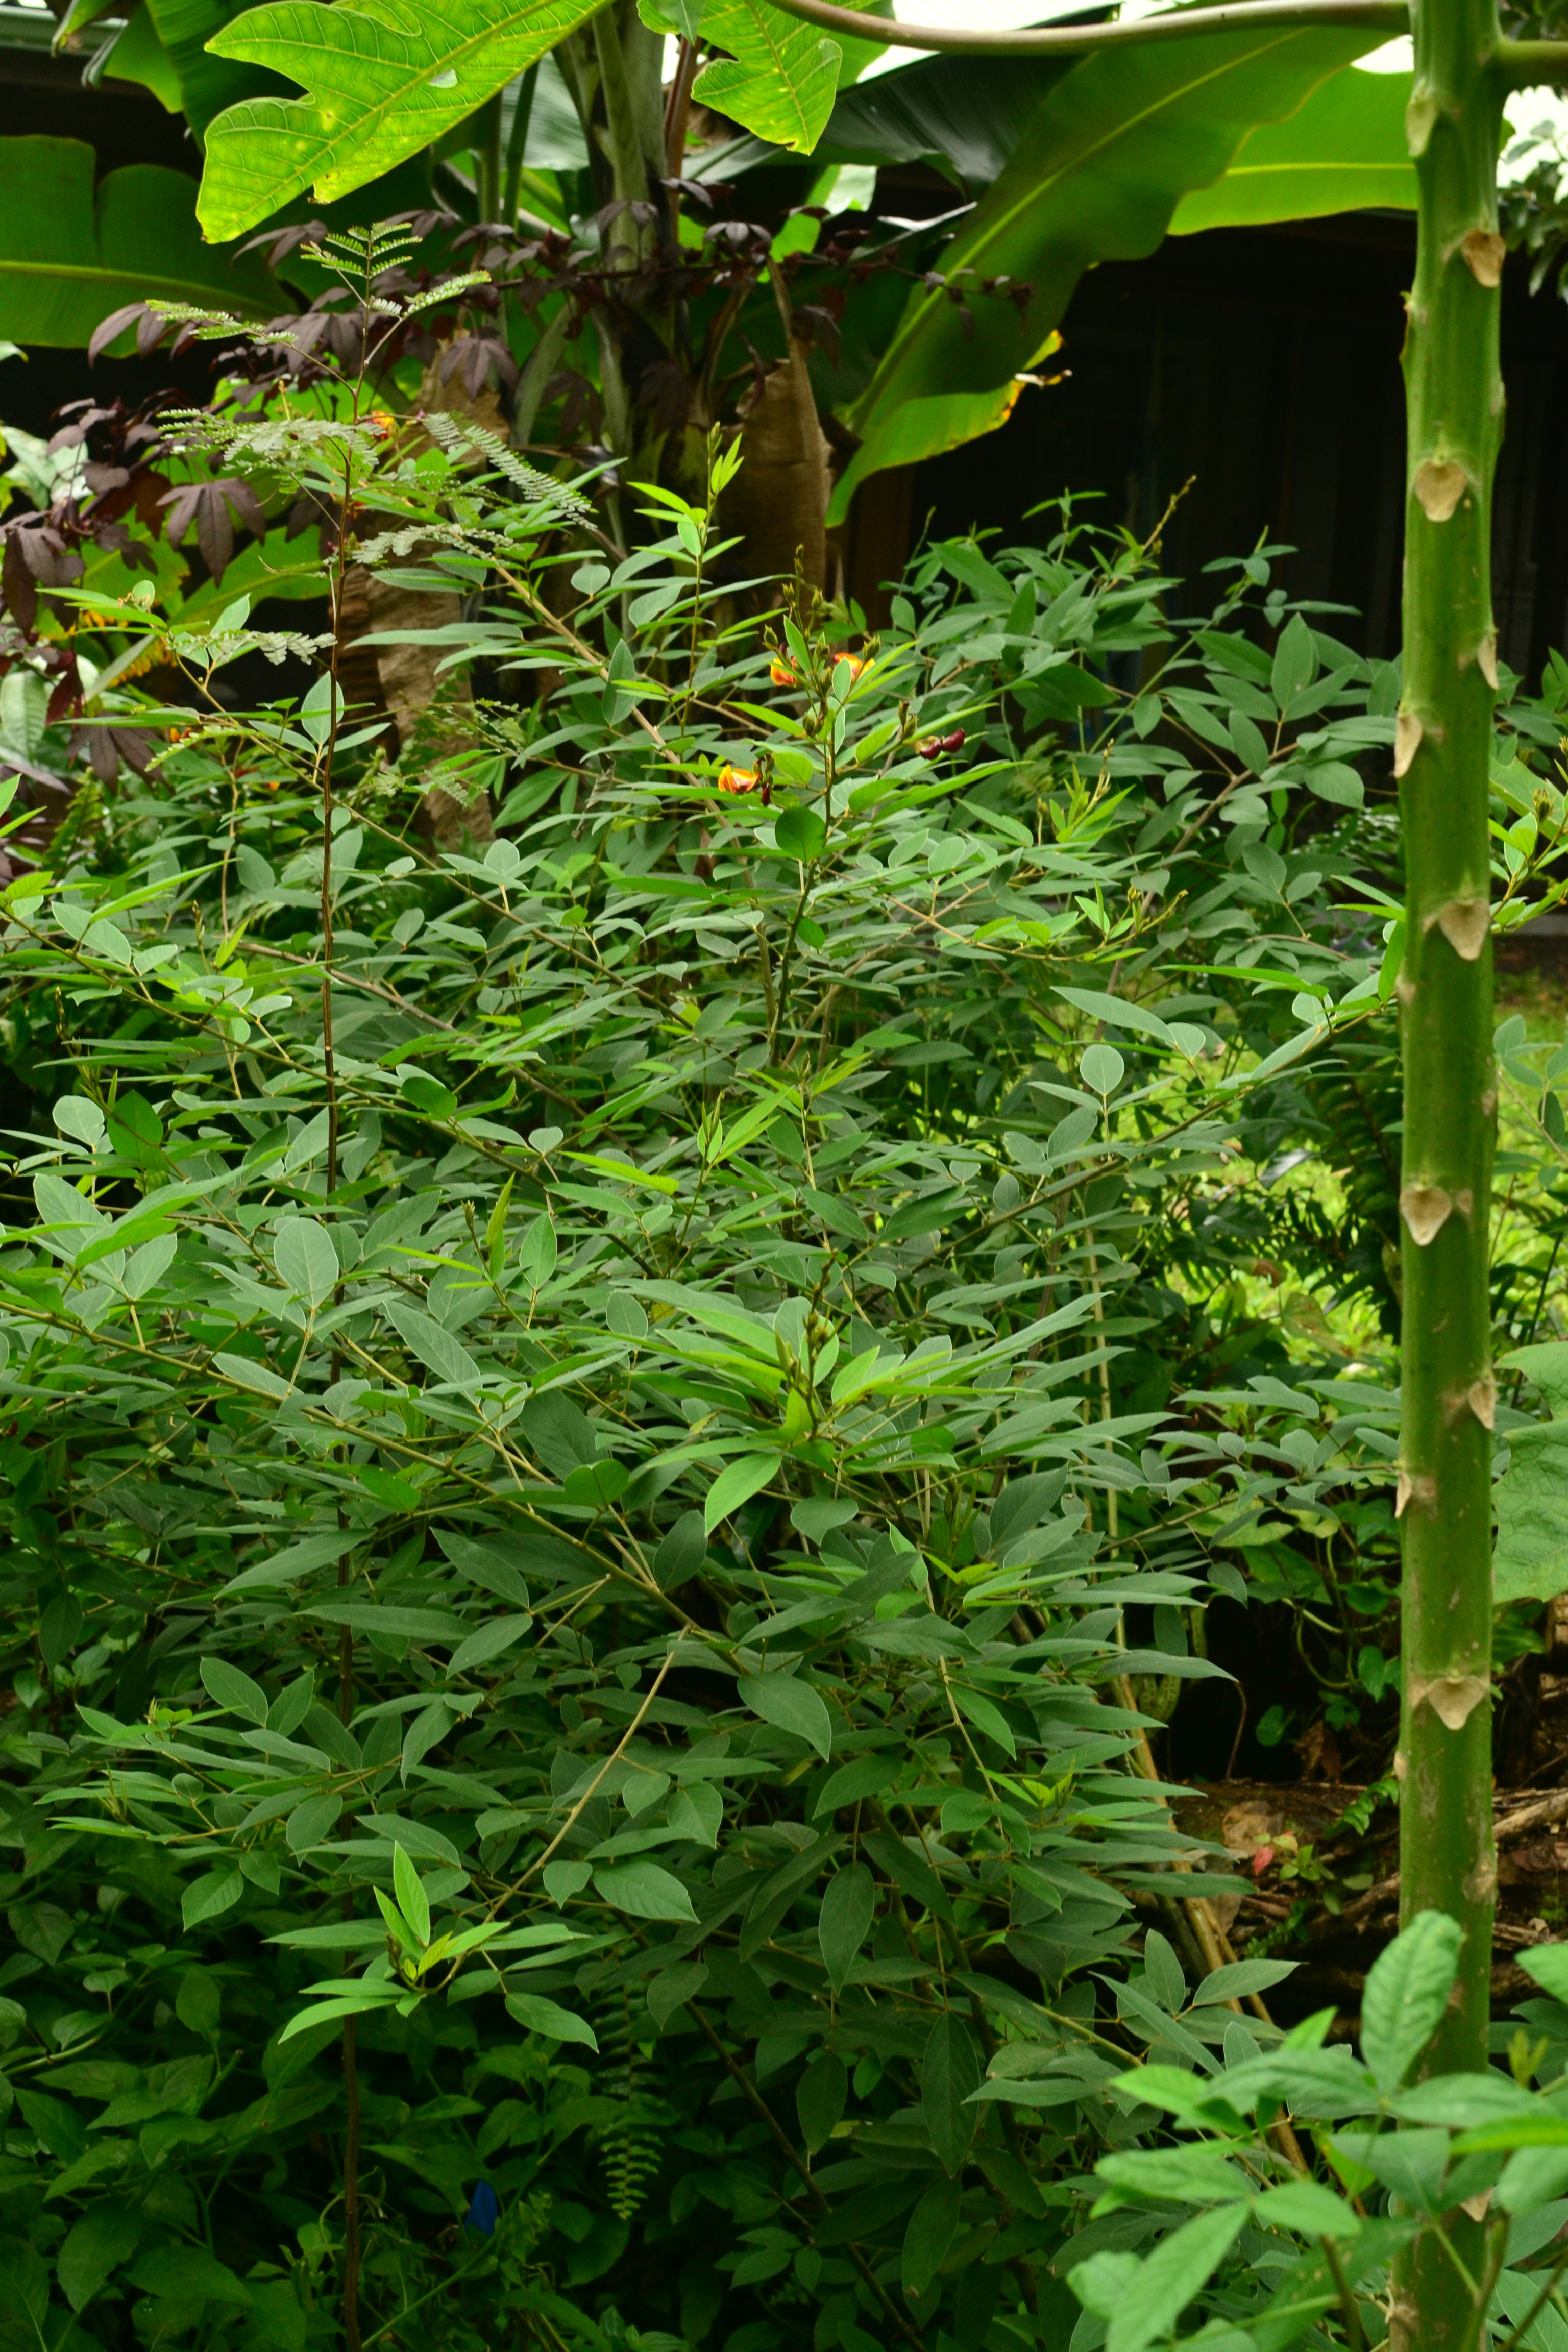
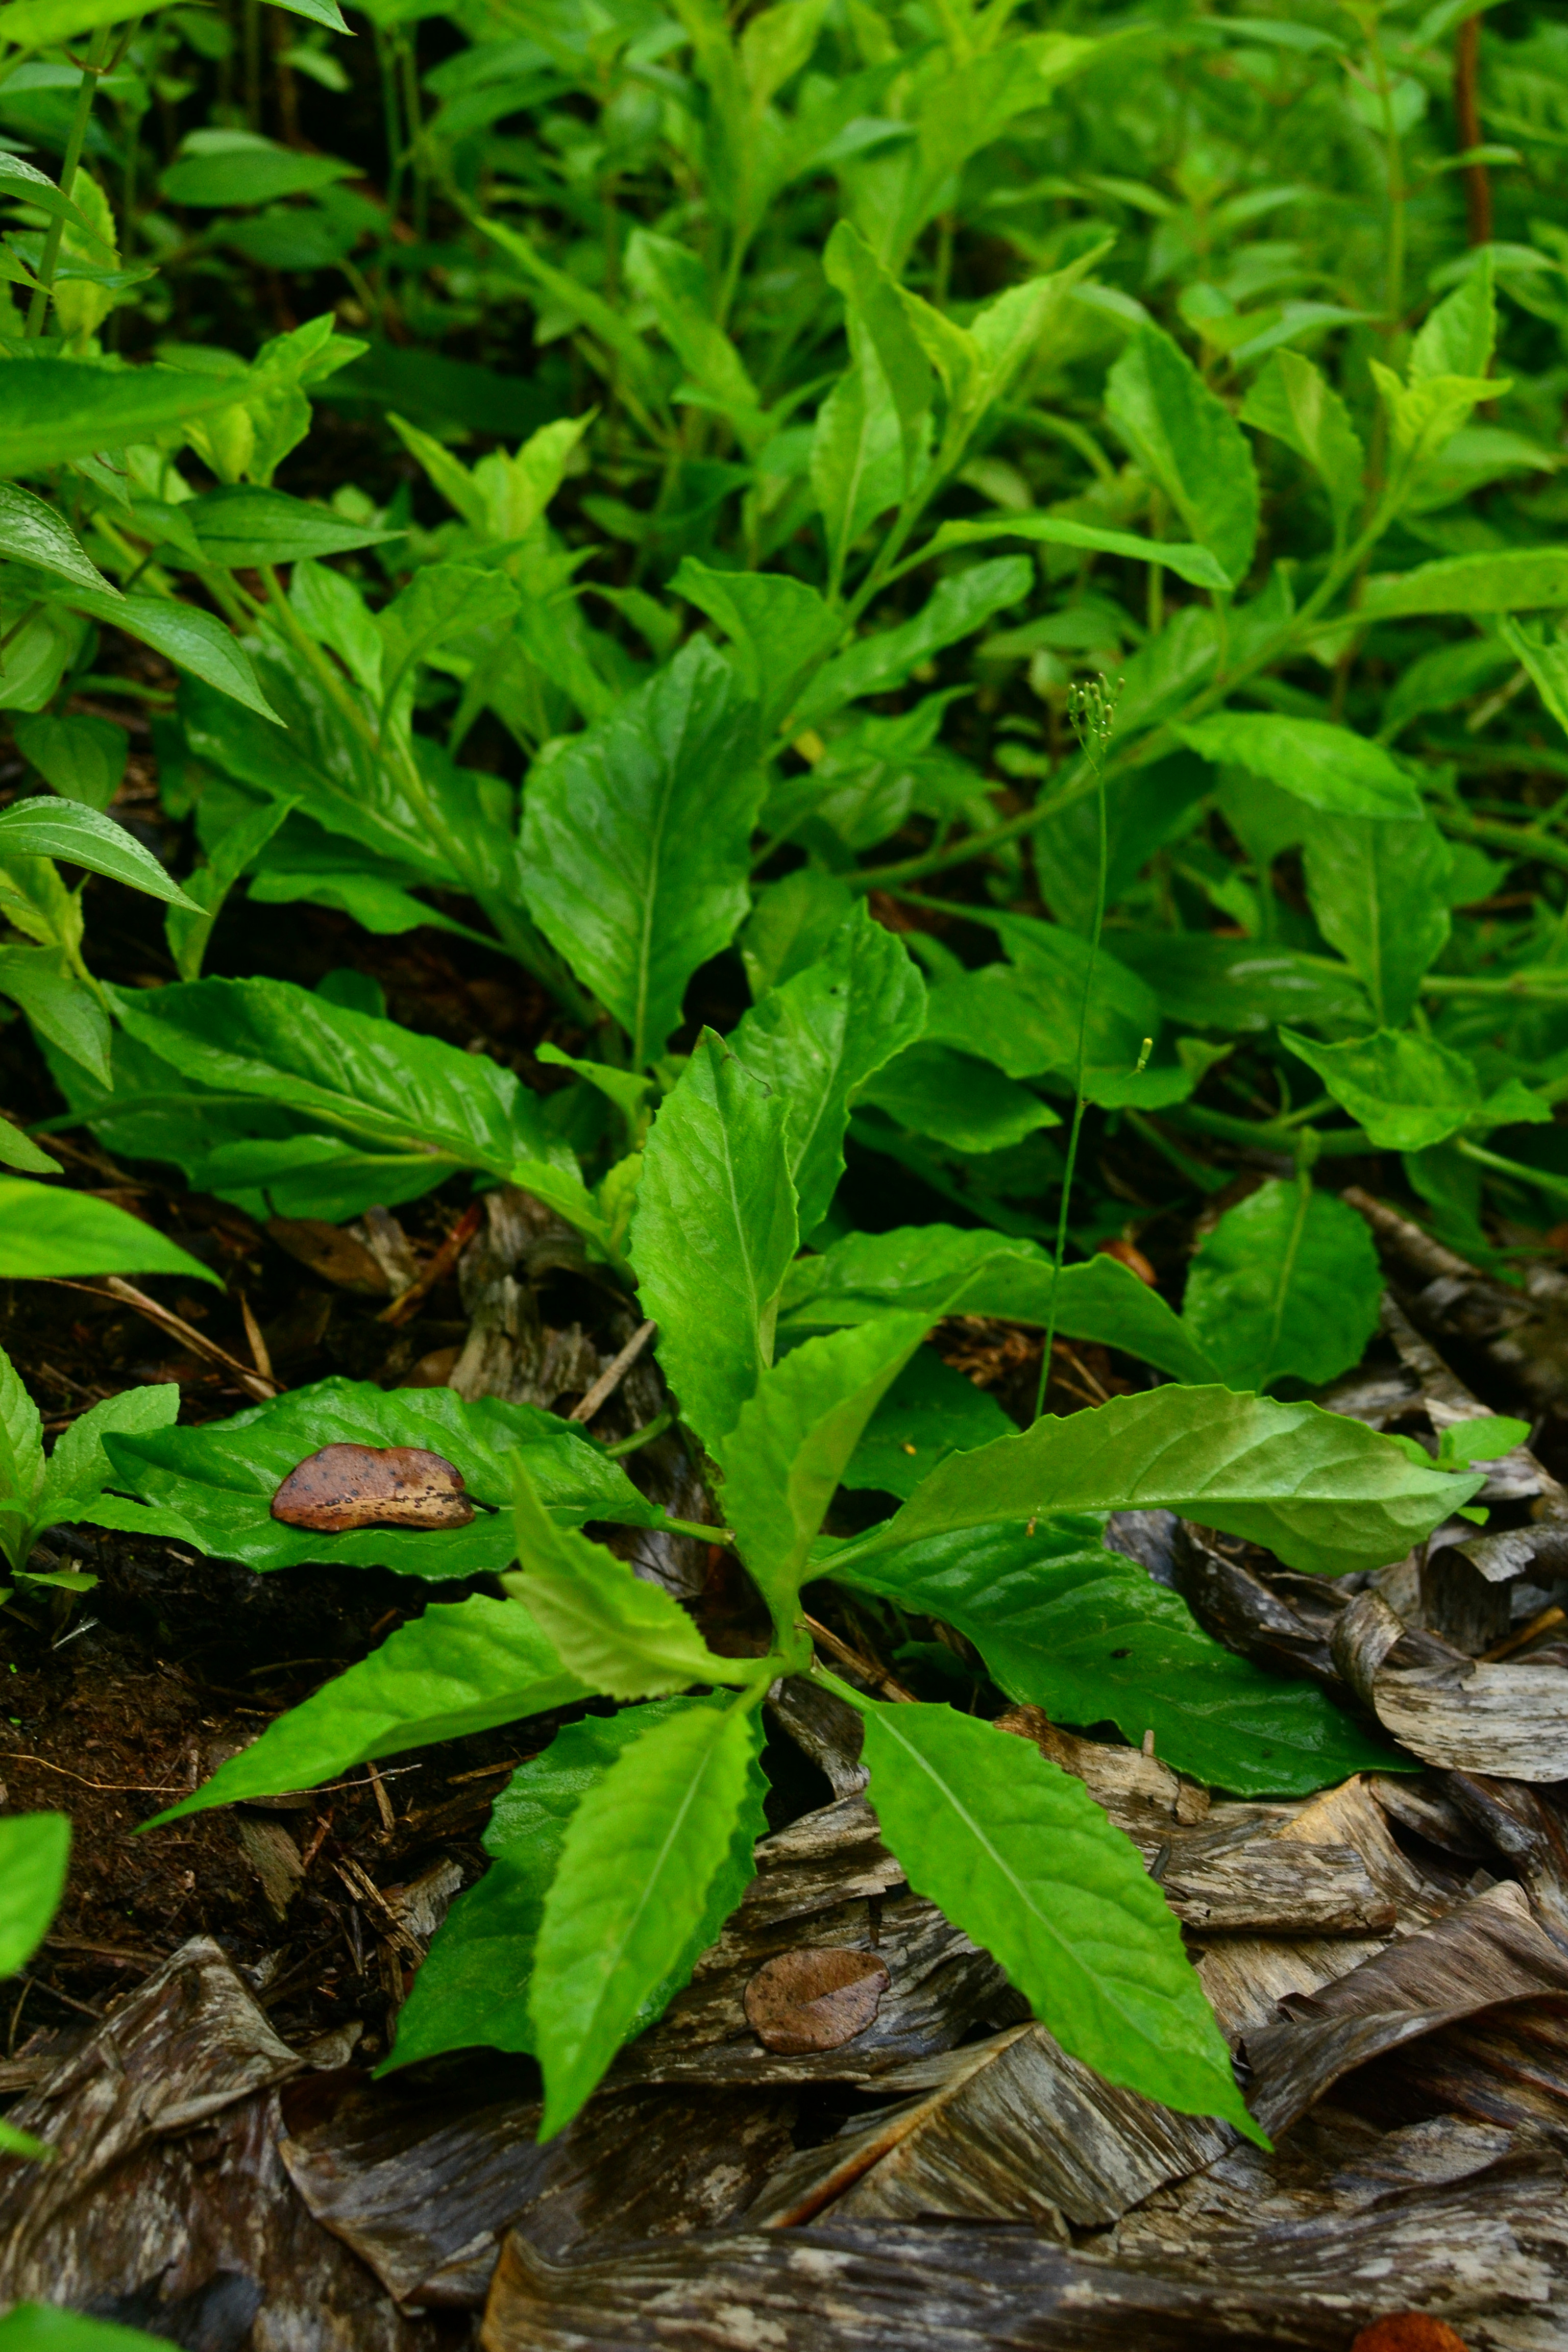
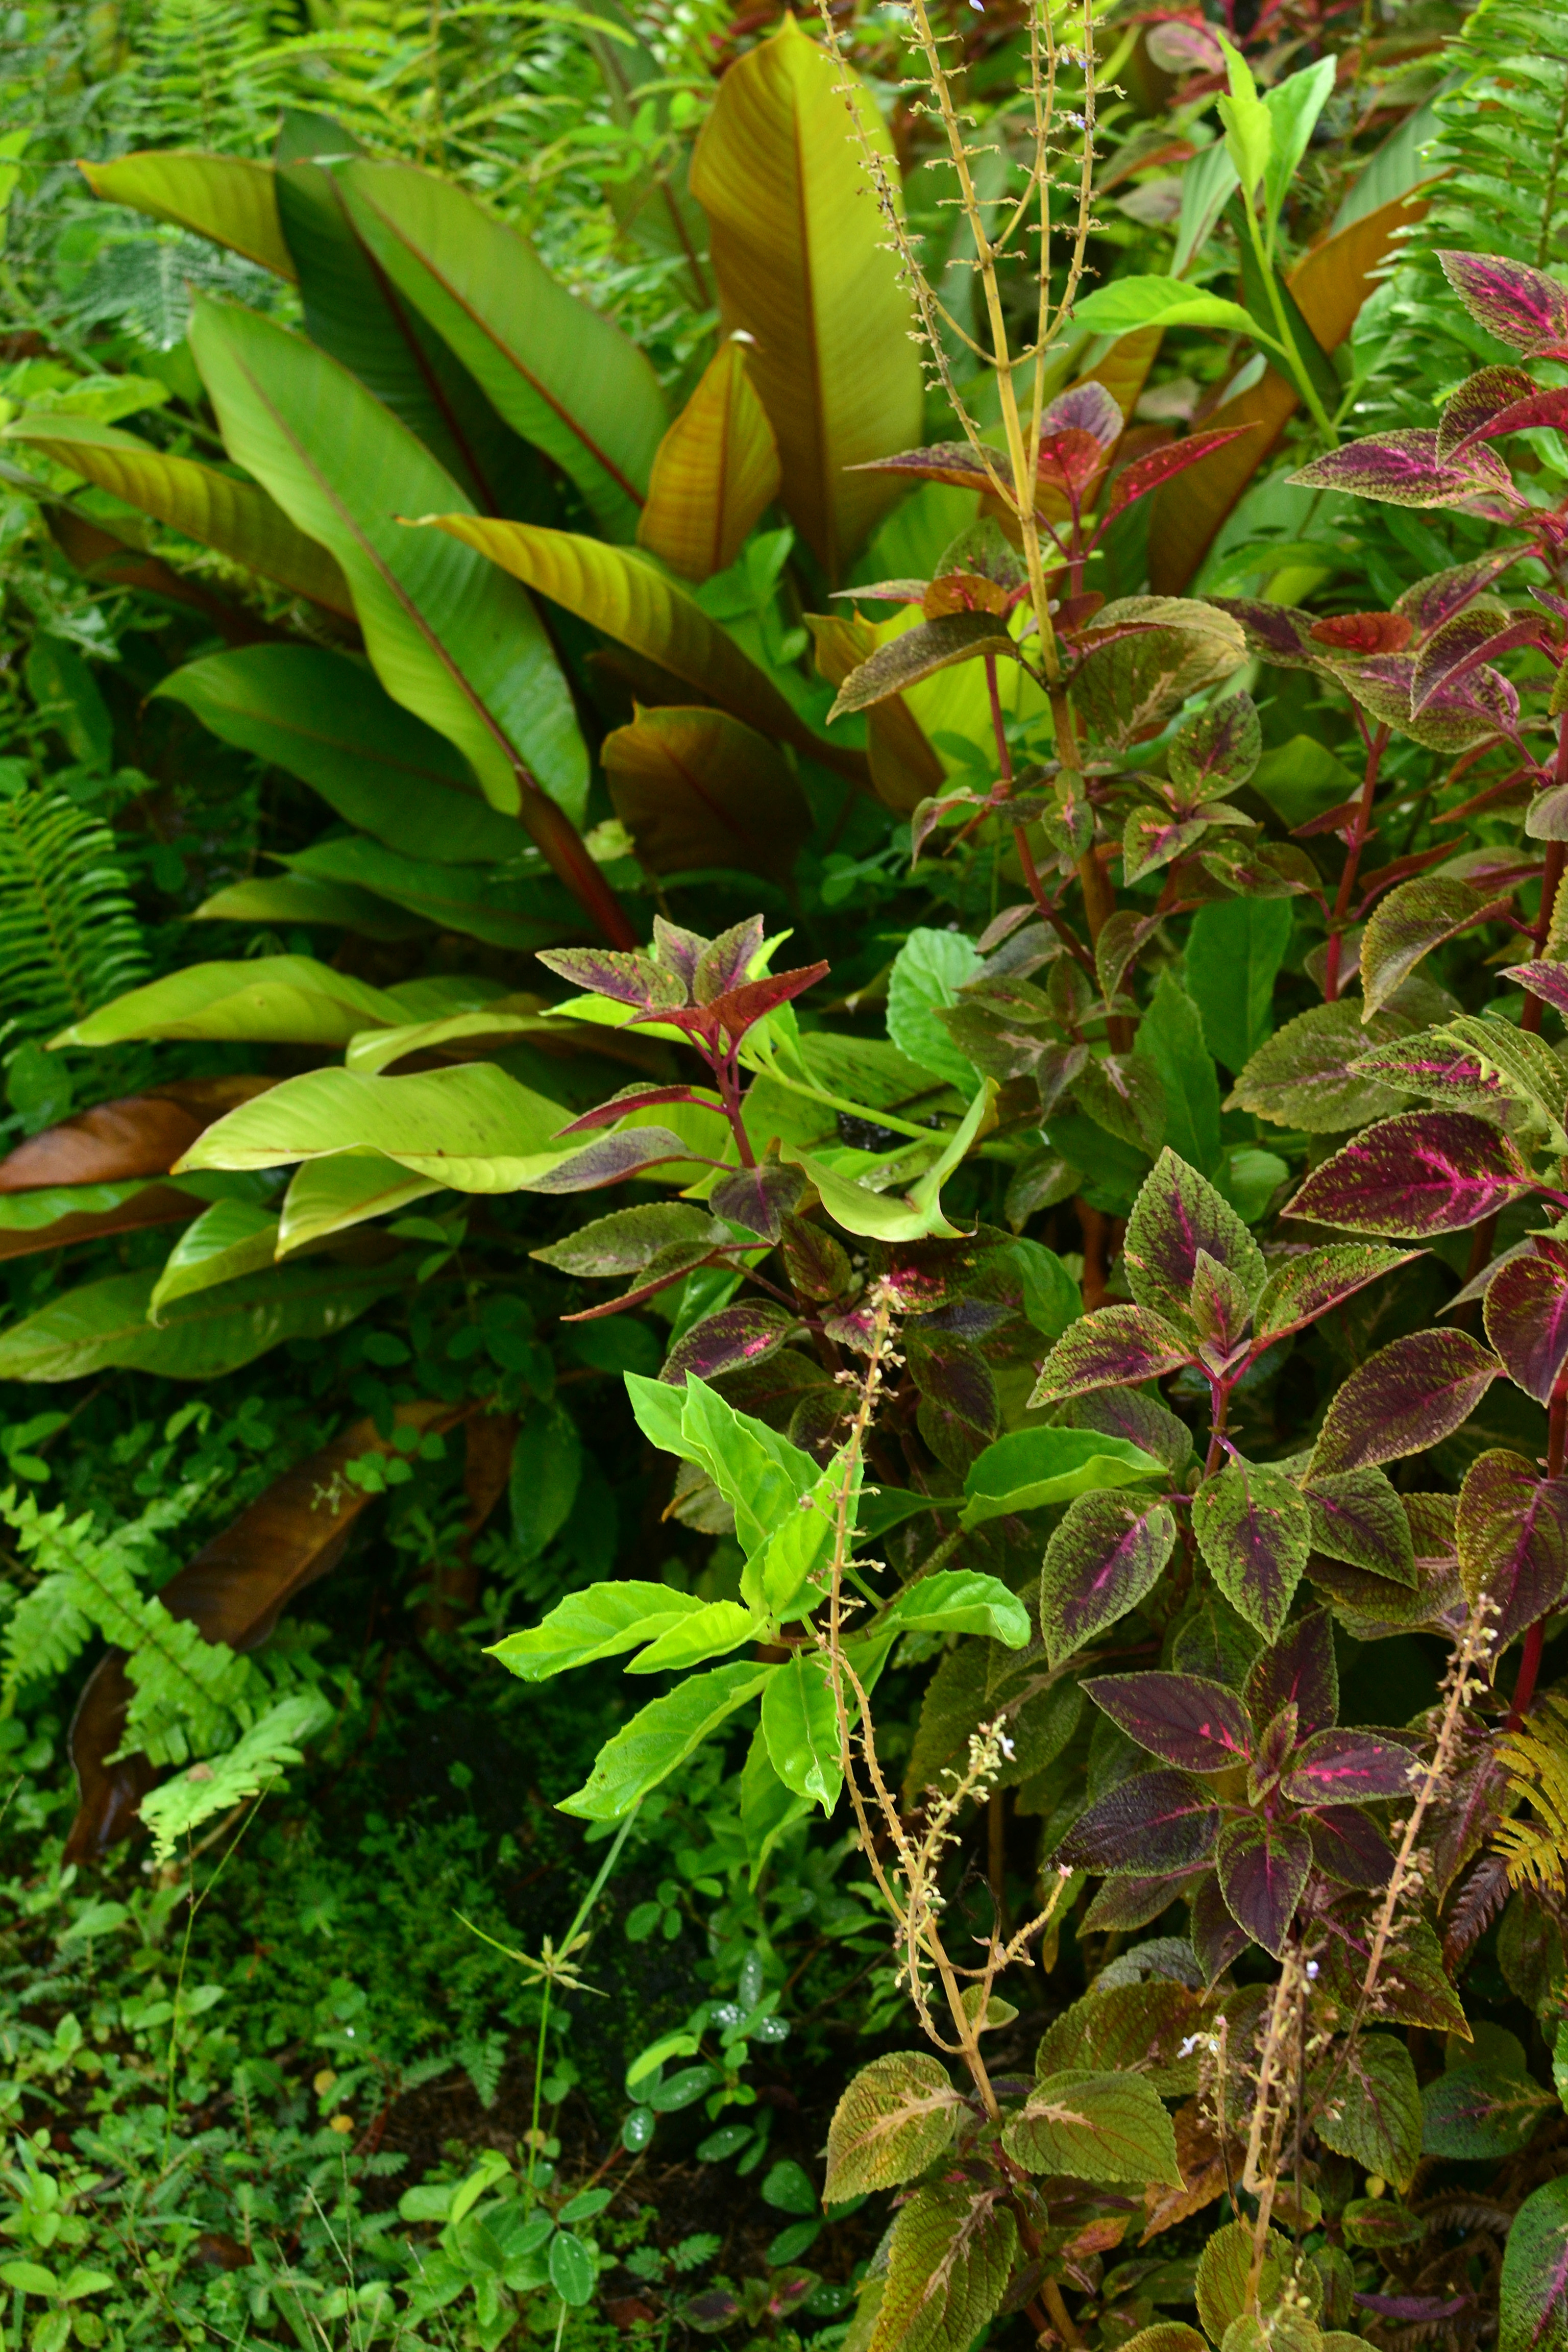
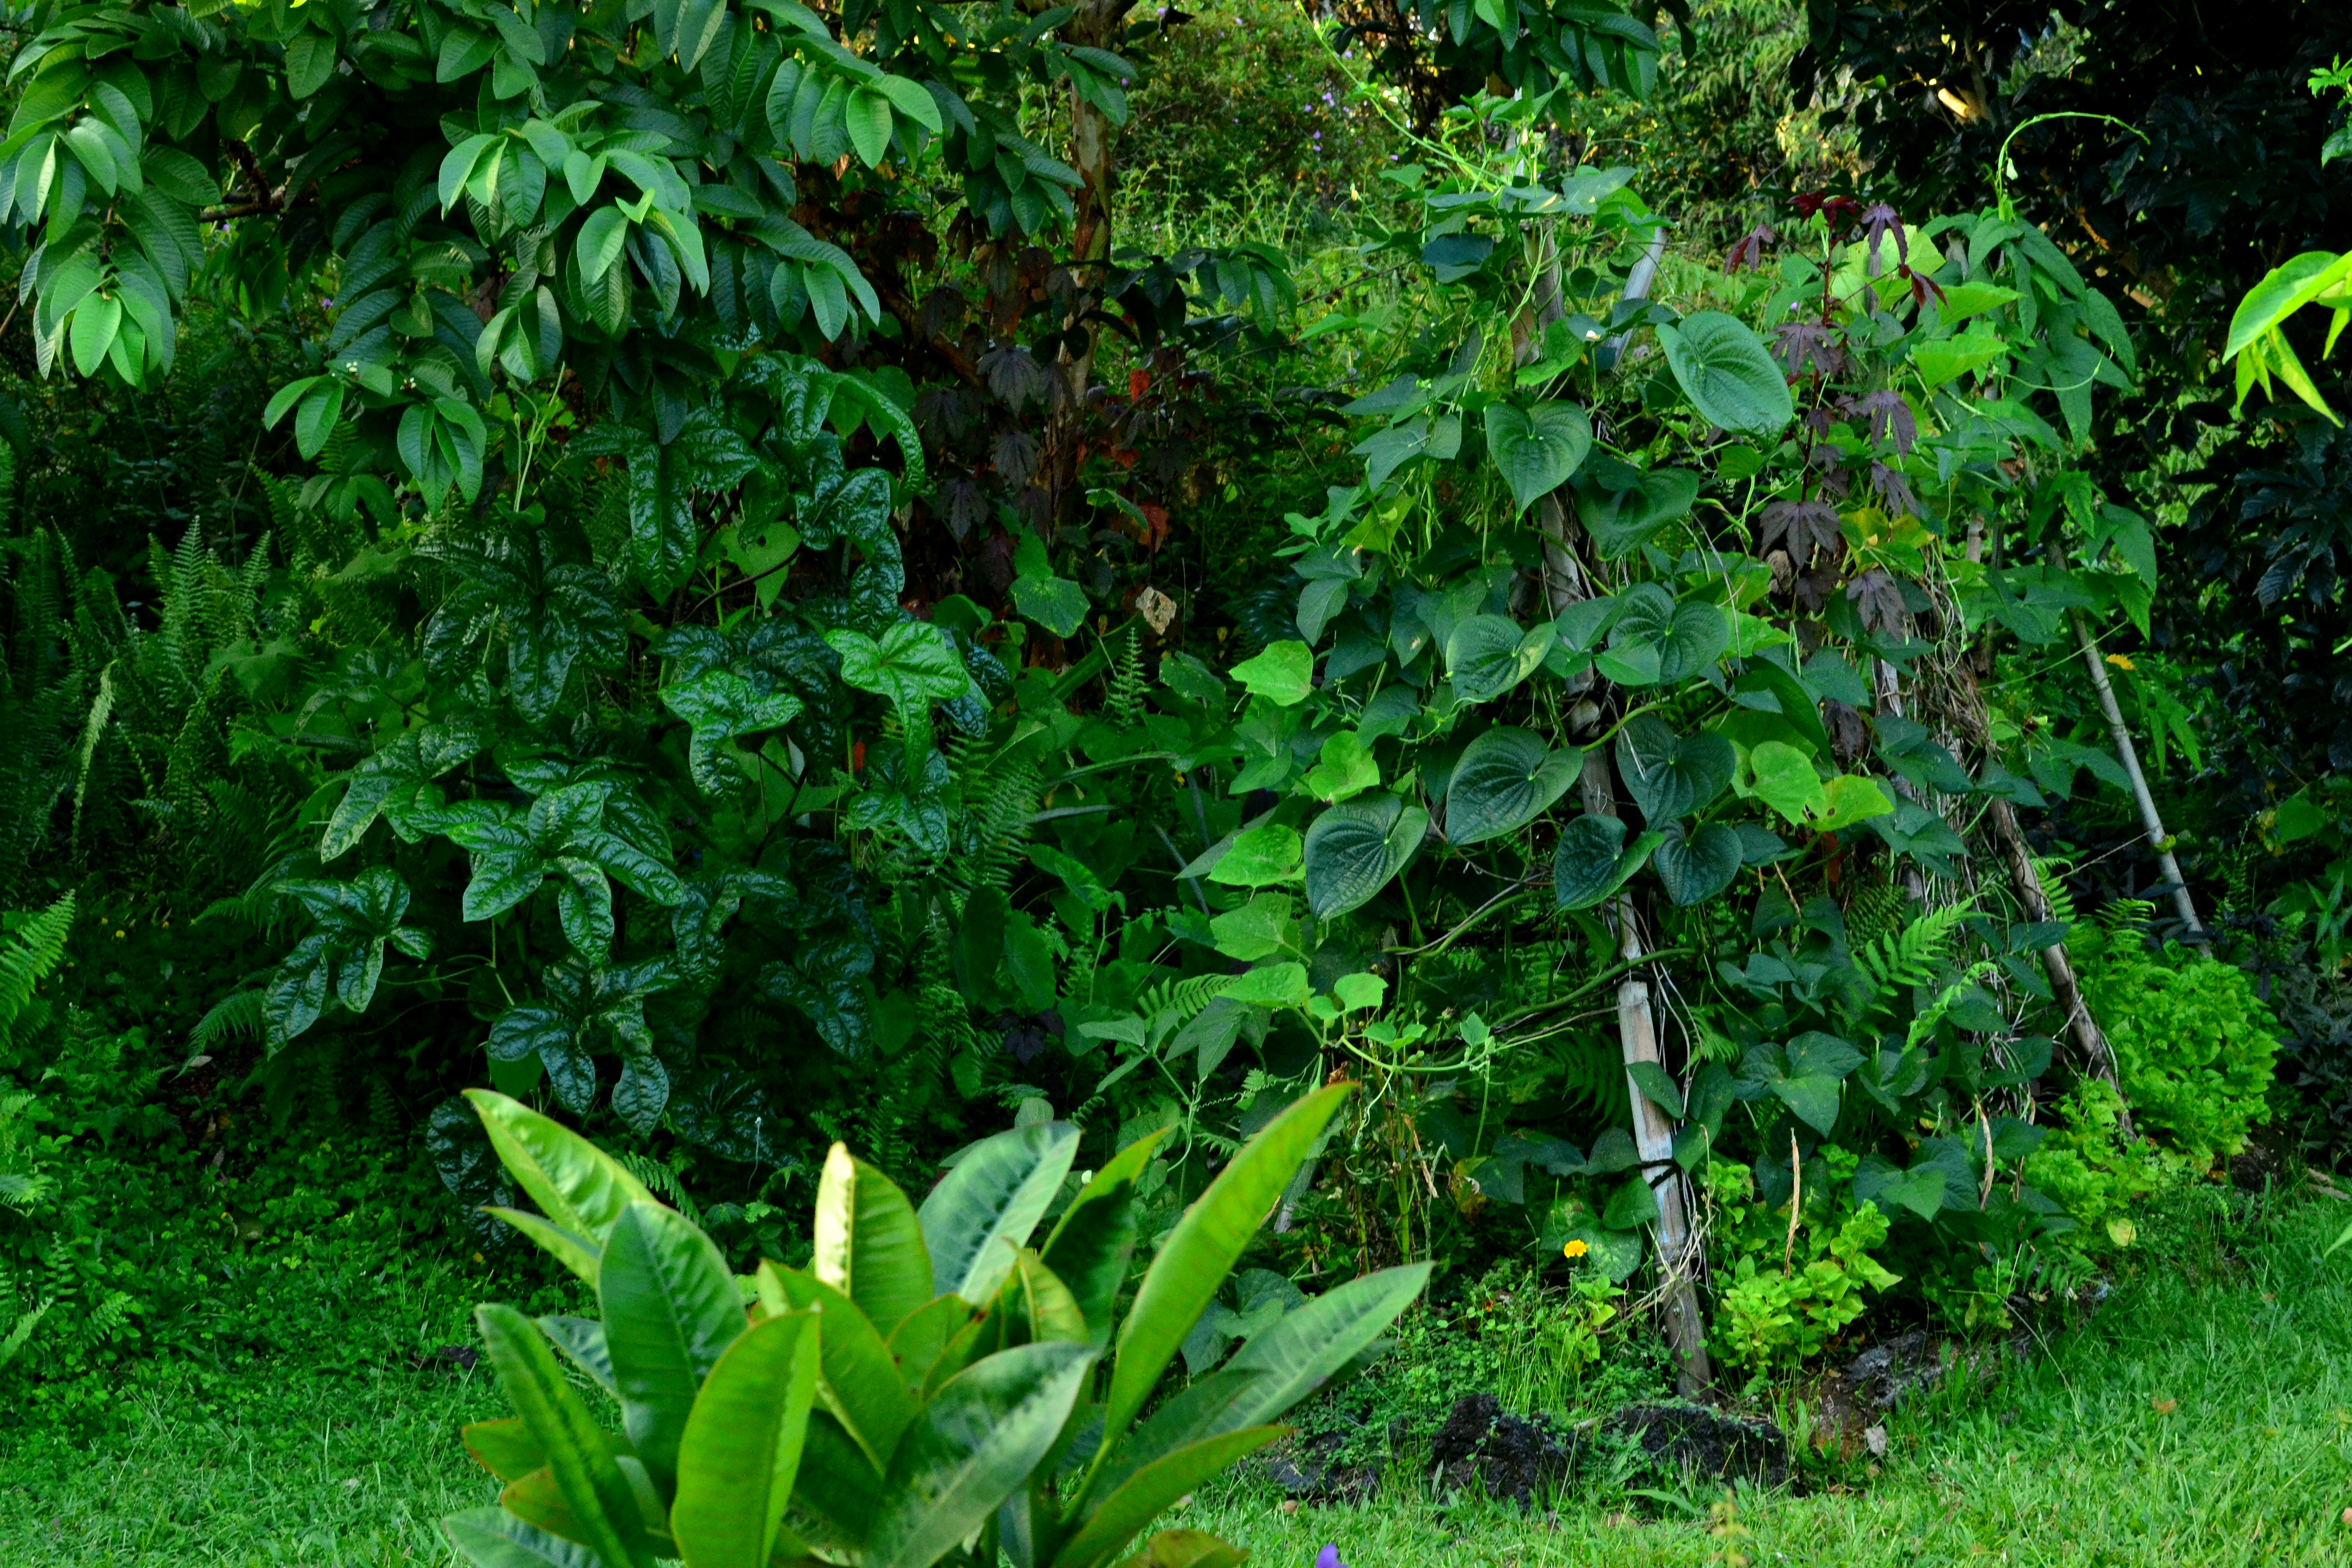
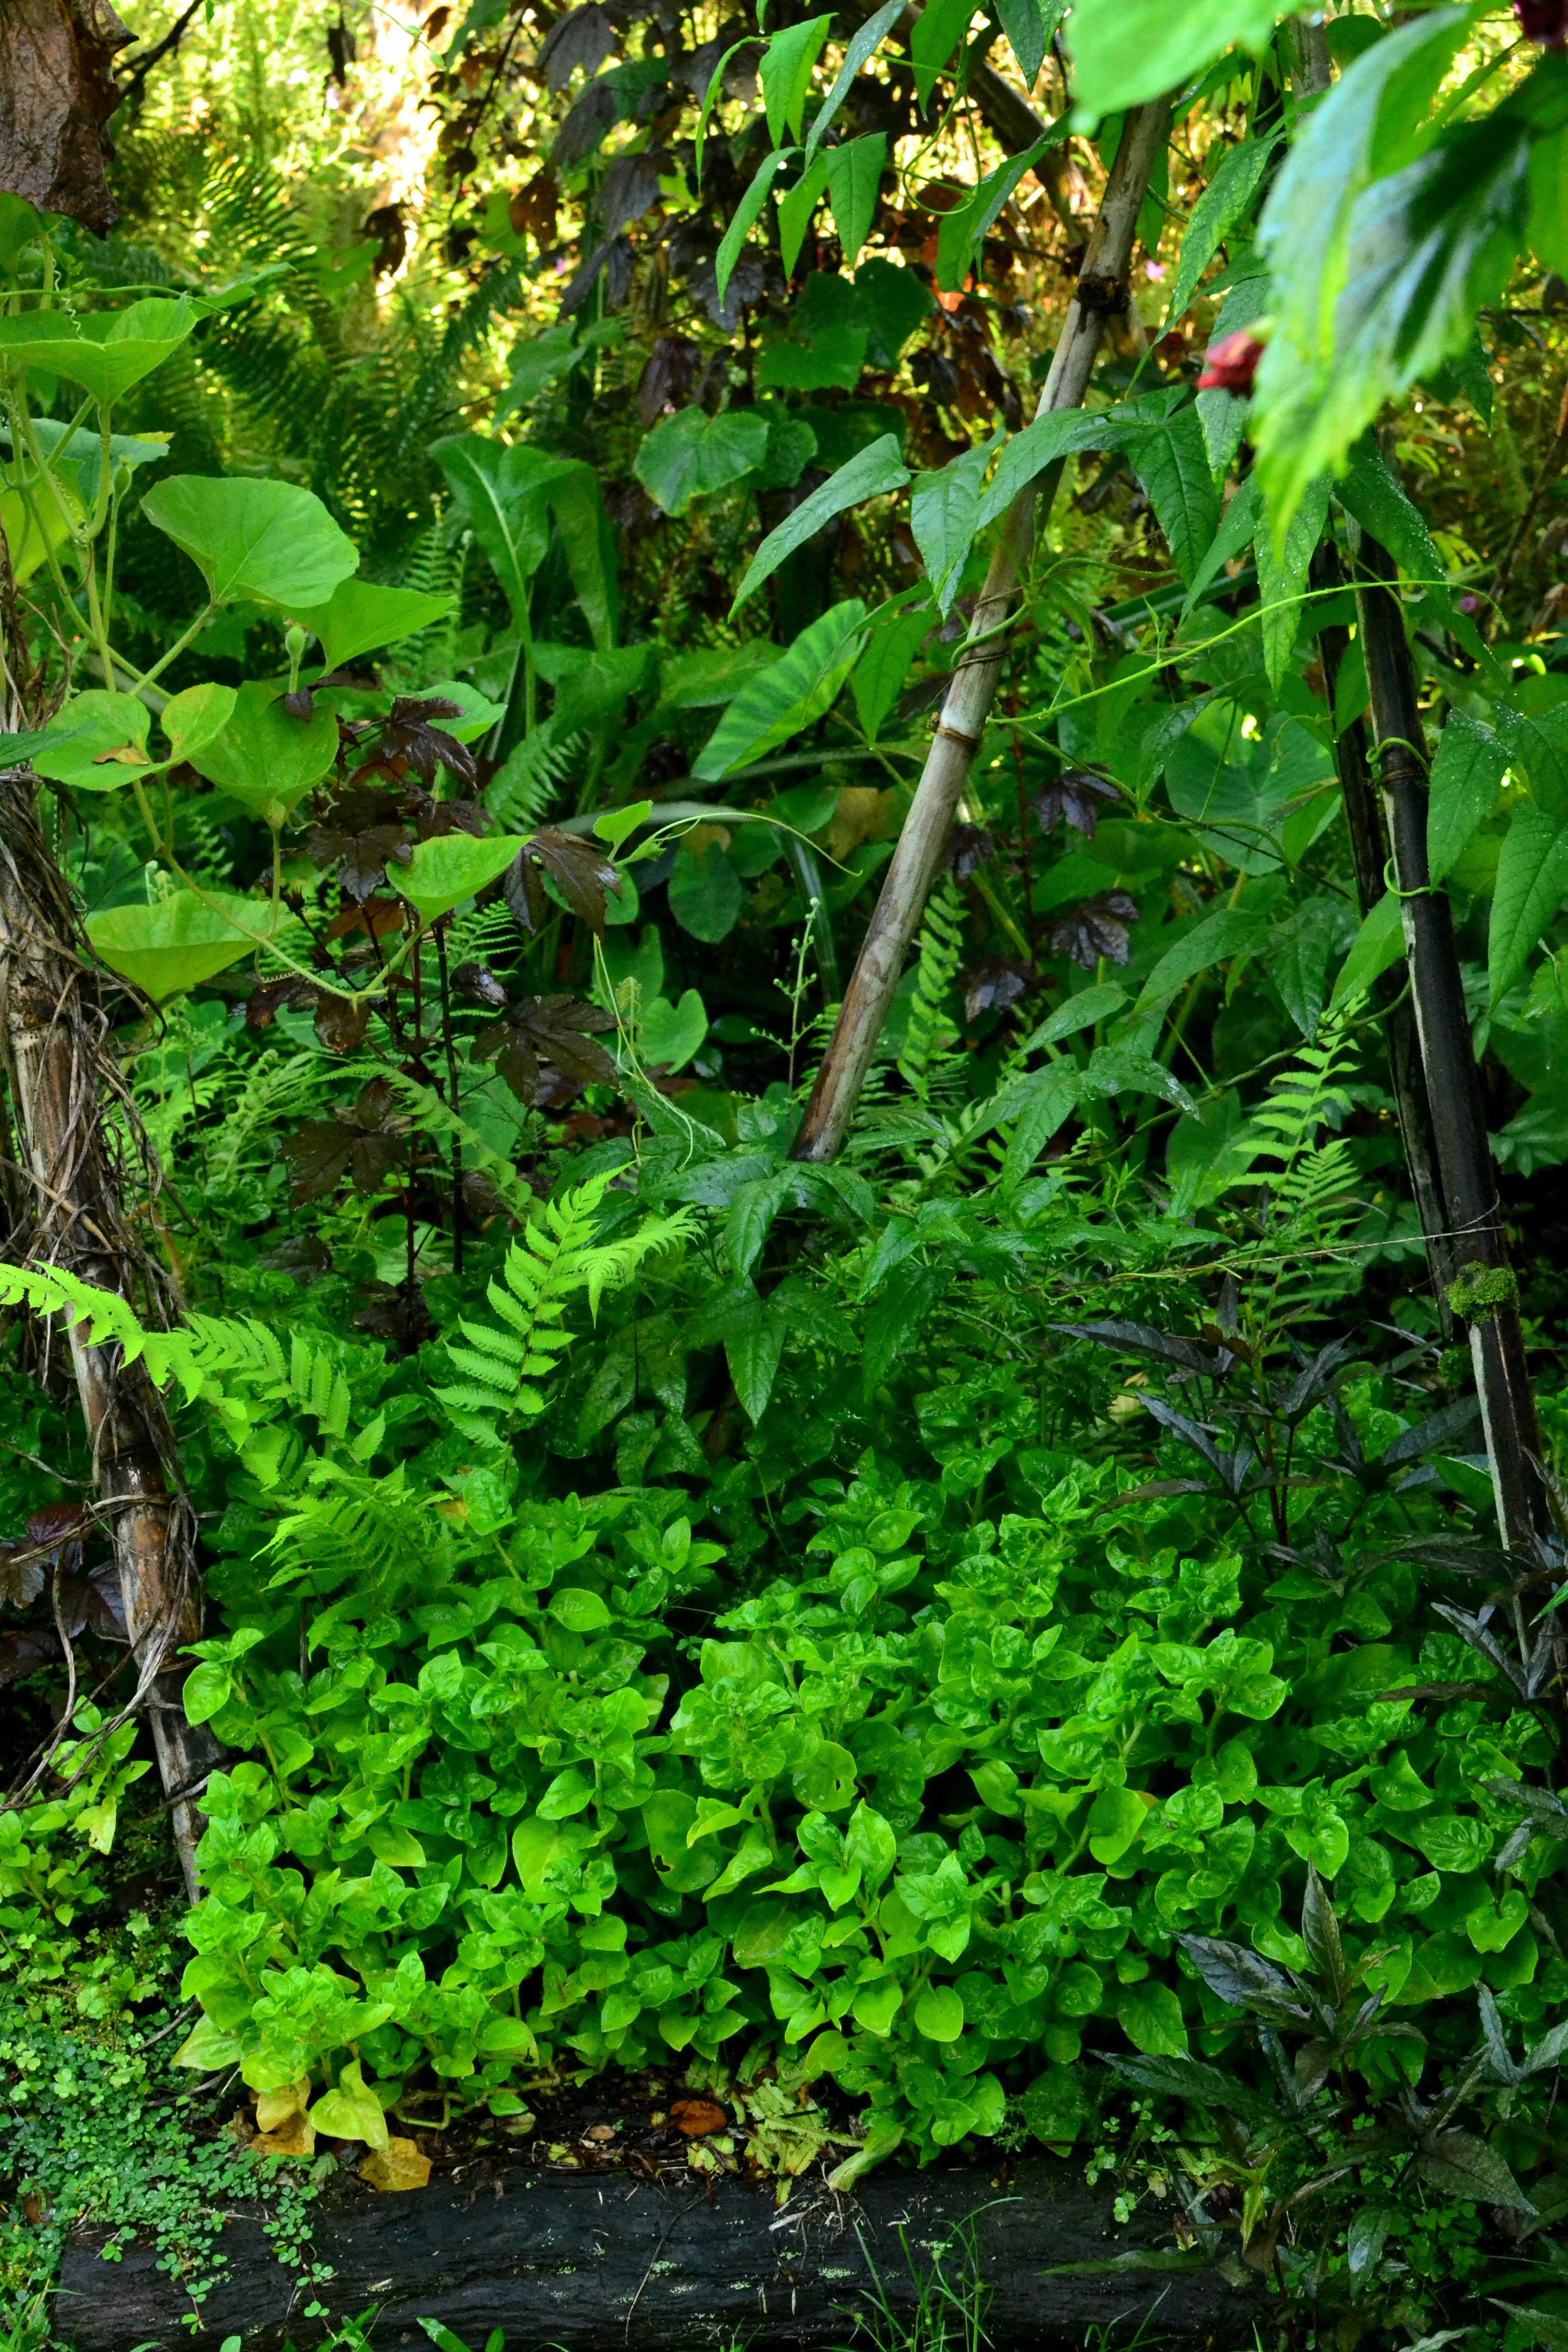
Culantro surrounded by Sisso Spinach and Winged Bean above


Happy Gardening!

ko’oko’olau (Bidens spp.)

Description

ko’oko’olau (Bidens spp.) is a medicinal native Hawaiian plant. The two species I will describe are Bidens menziseii subsp. filiformis, and Bidens hawaiensis, both endemic to Hawaii Island. There are over 200 species of Bidens worldwide, with many of them being highly medicinal. Medicinal properties include: promotion of good health, cleanse the body, prevents: strokes, diabetes, constipation, stomach, and liver problems. Basically good for everything, do some more research to identify more medicinal properties. This plant is also highly ornamental!

DSC_0132

Bidens hawaiensis

DSC_0170

Bidens menziseii subsp. filiformis

DSC_0312


Propagation

ko’oko’olau grows well from seed or cuttings. I prefer to grow them from seed so they have a stronger root system, as they tend to fall over when they get large.

Surface sow seeds and they should germinate within two weeks.

DSC_0148

sprouted seed

DSC_0140

keiki awaiting transplant

Care

It would be safe to call ko’oko’olau a weed, as it propagates readily and grows quickly. Needing no care at all. I have noticed ants love farming on menziseii but it doesn’t seem to affect them.

They prefer full sun but will grow in part shade. These two varieties grow from the coastline to about 8000’. And need good drainage, meaning add lots of cinder into the soil mix. Or grow them on straight cinder or straight lava like they grow in the wild!

Did I mention they are frost, drought, heavy rain, scorching sun, and high winds tolerant? Yeah, grow ko’oko’olau anywhere and everywhere!!

Bidens menziseii subsp. filiformis grows to about 15’ with the largest trunk diameter I’ve seen is over 5 inches!

Bidens hawaiensis grows to about 6’ in a more shrub like habit.

DSC_0158

Eating/Preparing

Grab a few leaves and throw them in boiling water. You could also dry the leaves first, 3 cups water to 1 tablespoon of dried leaves.

Where to obtain planting materials

I highly recommend sourcing seeds or cuttings from your local species as the islands of Hawaii contain 19 endemic species. Please grow the correct species, as keeping genetics pure will allow these species to continue to thrive in their endemic habitat. As some of these species are rare, it would be wonderful to promote and propagate them in the correct environment and hopefully seeds will spread and become more naturalized and hopefully spread from cultivated specimens and retake their landscapes.

If you live in puna contact me for a seed source. I will share when they are in season.

My Garden

I first learned of Bidens menziesii while working on Mauna Kea replanting the high elevation forest. Working closely with this plant gave me an appreciation of this species. On the mountain this seems to be the fastest growing species, making it the pioneer plant the mountain needs to become reforested once again. This is a keystone species that we plant with Sandalwood, as the host plant. This plant also goes to seed within half a year and sets seed vigorously. Perfect for a restoration plant. In the forest at home this plant grows well, but has not flowered yet. Possibly due to the amount of shade it receives.

I’ve only been growing Bidens hawaiensis for a little while now and do not have quite as much experience with it. Although it has already flowered, I was not able to catch seeds because the rain knocked them off.

DSC_0744

Enter a caption

DSC_0393

ko’oko’olau growing under mamane tree on mauna kea

DSC_0309

ko’oko’olau growing in the forest at home with hō’awa

Happy Gardening!

Lemongrass (Cymbopogon citratus)

Description

Lemongrass, Cymbopogon citratus, is a wonderful aromatic perennial multipurpose clumping grass. Lemongrass is an essential flavor in Southeast Asian cooking, but also a great mulch plant, being high in carbon makes it an excellent addition for your carbon ratio in your compost pile. It also works great as mulch around your plants; cutting the plant back to 6-12 inches tall it will regrow vigorously. The roots go deep and help prevent soil erosion as well. This plant is closely related to citronella grass, (Cymbopogon nardus), meaning that lemongrass also contains insect repellent properties (great next to your tomatoes or bell peppers). And finally lemongrass is a great barrier plant; most weeds will be stopped in their tracks trying to cross a lemongrass hedge.

DSC_0649DSC_0669

Propagation

Although lemongrass does grow from seed, it is better to get a non/low-seeding variety as it will be less likely to spread. The only way to know for sure if it is a non-seeding variety is to divide shoots, or grow cuttings, from a superior variety and grow a clone.

To take cuttings from an existent clump: pull off 2-3 shoots; trim the tops and stick into the ground 2-3 at a time. To create a hedge, plant them (2-3 shoots) 2 feet apart. They can also be rooted in water, but I’ve found they root just fine in the wet soil environment I live in.

Propagation by division: Find a mature clump (12 inch diameter) and pull the whole clump out of the ground. Divide the clump with a spade fork into 3-4 stocks each, and remove the top of the plant. Replant and water heavily.

They do take their time to establish with both methods. I regularly propagate by cuttings so I can continue harvesting for food while propagated plants establish.

DSC_0659

find center of clump

DSC_0650

push stock down – to pull off a few stocks

DSC_0651

trim top leaves

DSC_0662

stick into ground

Care

Lemongrass is a carefree plant once established. Water new propagations heavily until new growth appears. Full sun is preferred, however, they can be grown in light shade but do not grow at their full sun vigor and become spindly. Mature plants are about 3 feet tall and wide and can tolerate fairly poor soils.

Eating

Prepare stocks by cutting off long ends of tops and trimming the base. Then ‘beat up’ the fleshy shoots before cooking. Add the shoots whole into your dishes and remove before eating.

Tender hearts of stocks can also be eaten as a vegetable in rice dishes.

Upper leaves may be used as flavoring as well, but should be tied in a bunch during cooking for easy removal before serving.

Where to obtain planting materials

Ask a friend for a couple of shoots and replant them. Or look at the farmers markets, as fresh shoots will still be fine for planting, or plant sales.

My Garden

I started off buying a single lemongrass plant. Once it became large enough I started propagating it. I had some space to fill in a newly created section of the yard; it was at the very front of the lot along the road. I had a few trees growing there taking up canopy space but needed something to fill in the ground and mid level so the house wasn’t visible by the road. So I decided to try out the lemongrass hedge. I stuck them in the ground every few feet and waited. Now that those plants are nice and mature it created an amazing barrier. The grass on the lawn doesn’t try to jump into the space and the desmodium inside of the space doesn’t try to jump out over the lemongrass. As the trees grow and fill in even more canopy space I’m surprised that the lemongrass is growing really well in the shade. I also layered this hedge with patchouli in case the shade becomes too heavy and the lemongrass doesn’t succeeded, the patchouli can grow in complete shade.

I’ve followed this same method in a section I just created that has more sun than the previous. However, this time I planted a row of Surinam cherries too. So I should have the lemongrass and patchouli fill in along the boundary quickly, and the Surinam cherries taking their time to fill in the rest of the hedge creating another barrier between my neighbors lot and mine.

The key is to garden in layers and succession, filling in newly cleared areas so all niches are filled, therefore, weeds will not take over.

DSC_0643

barrier hedge

DSC_0644

barrier hedge (lemongrass, strawberry guava, hapuu, avocado, kou, pigeon pea, papaya, soursop)

DSC_0665

newly planted barrier hedge (lemongrass, patchouli, surinam cherry, naupaka, akala, aweoweo, kolomona, apple banana, edible hibiscus)

Happy Gardening!

Pigeon Pea (Cajanus cajan)

Description

Pigeon Pea, Cajanus cajan, is a gardeners dream. This 10 foot tall perennial bush produces beautiful clusters of bee buzzing blossoms, followed by pea pods with up to eight seeds. These seeds can be eaten immature, shelled like peas, or eaten at various stages of ripeness dependent on desires. Not only does this plant produce an abundance of pea pods, the tender leaves and shoots can be eaten as well! Pigeon Pea is also nitrogen fixing, gathering nitrogen from the atmosphere and ‘fixing’ it into the soil. Once they are cut back they release this nitrogen and make it available for other plants. This means they can be grown as a cover crop (cut back completely just as they start to flower) or used for coppicing (cut back periodically once woody between 1-6 feet to regrow later).

DSC_0296DSC_0200DSC_0346

Propagation

Pigeon Pea is propagated by seed. Harvest seedpods when completely dry on plant to save seed.

Check out seed propagation for tips

DSC_0344

Dried Pods

Care

Pigeon Pea tolerates shade but really thrives in full sun. They grow slowly at first, but once they become established they reach for the sky. Pigeon Pea is a pioneer species, meaning; it is the hardiest of plants growing in any climate or soils.

Eating

Young seeds are shelled and eaten like peas

Mature green seeds are eaten cooked, boiled.

Mature dried seeds are eaten split, cooked as a pulse, in soups, curries, sprouted, fermented, or ground for flour.

Tender under ripe pods can be cooked

Leaves and tender shoots are eaten as cooked greens (steamed, boiled)

DSC_0355

Seed at various stages

Where to obtain planting materials

Get seeds from someone you know or buy them

My Garden

I’ve been growing pigeon pea for a while now, trying it in various places to find its perfect preference. All of my plants start out slow taking at least 6 months before they reach 4 feet. At this stage they seem to start to bush out. The more sun they get the faster they grow. The varieties I have only flower in the shorter days of fall so this plant is not producing year round. I stick it around wherever I can and let it grow. I come by and trim the branches in the path and add them to the bases of my trees feeding them the biomass and the nitrogen in the soil. What a great food plant to have around!

DSC_0307

Pigeon Pea with: cacao, cranberry hibiscus, snake fruit, lilikoi, kalo, roselle, pepino dulce and comfrey

DSC_0304

Pigeon Pea with: papaya, banana, koaia, poha, cocona, cranberry hibiscus, okinawan spinach, dragon fruit, mamaki

Happy Gardening!

Air-Potato (Dioscorea bulbifera)

Description

The air-potato, Dioscorea bulbifera, is an incredible perennial plant. The edible tuber of the crop grows in the leaf axils of the vine, meaning the tubers hang in the air! Although this is called air-potato, it is truly a yam. There are toxic varieties that are highly invasive in some parts of the world; however, this variety is delicious and completely edible. The vine can grow 40’ or more in a season, and produces an abundance of tubers.

This is a fast growing vine that has the potential to become invasive. Please do not plant in, or near the native forest, as that ecosystem is too fragile to have another invasive species.

DSC_0132

DSC_0135

Propagation

Take a small aerial tuber, or cut off a section of a large one, and stick it in the ground. I’ve noticed they will not sprout until spring, but once they sprout they don’t stop growing until they die back in the fall/winter.

Any aerial tuber that falls to the ground and is not picked up will sprout, creating the potential for invasiveness.

Care

Stick into the ground. Wait for it to sprout. Guide onto a trellis. Consume tubers.

This is actually the easiest growing plant in my garden. If you are trying to keep it on a low trellis, you have to guide the vine daily or it will go crazy and jump anyway to get higher. I grow mine on a teepee trellis and just wrap the vine around the entire teepee.

The plant dies back after production of tubers in the fall/winter. The plant will regrow at the beginning of spring. No need to dig or touch the underground root.

DSC_0126

Eating

May be cooked just like any potato; baked, mashed, boiled. I’ve found removing the skin on the more mature tubers is beneficial.

Where to obtain planting materials

Ask someone you know who grows it for an aerial tuber. Make sure the person has eaten it and you are getting an edible variety.

My Garden

I’ve been growing air potato for two years now and I’m always surprised at the shapes and the angles of the aerial tubers! This plant is so fun to grow and show off to anyone that stops by! Air-potato is so easy to grow, easy to prepare and delicious. Everyone should be growing and eating this plant!

DSC_0124

Happy Gardening!

Poha Berry (Physalis peruviana)

Description

Poha, Physalis peruviana, Ground Cherry or Goldenberry, is a perennial garden berry that thrives with little attention or care. I have seen this plant thriving at 7000’ elevation and where I live at 800’, meaning this plant grows well all over Hawaii! This plant typically reaches 3-4 feet in height and spread, creating a nice mat of leaves and edible fruits. Poha is closely related to tomatillo and has the same papery husks, but the fruit itself is tart, sweet and delicious.

DSC_0096

DSC_0089

Propagation

Poha grows easily from seed or cuttings (Check out seed propagation for tips on seed).

Not all cuttings will root, seems about 1/3 of the cuttings will. So make sure to try multiple cuttings ensuring some will root. Or grab some cuttings with rootlets already established (look at the nodes).

DSC_0102

Rootlets at node

DSC_0101

Rootlets at node

Care

Poha grows well in full sun or partial shade.

Weed around Poha while it is getting established. Once it is large enough, it will take care of itself. Trellising would make harvest easier, but this could also make it more noticeable to the birds that love it, as well as preventing it from becoming a nice edible ground cover.

Poha thrives in poor soils, if you give them some nutrients they will grow even more crazily!! This plant is pretty weedy, which makes for a great food source. Seedlings may appear around your yard, decide which plants are in a good spot and encourage them.

Eating

The only edible part of this plant is the fruit. Harvest when papery sacks begin to brown and become slightly translucent. Their calyx acts as a protective layer, so they may be eaten even if picked off of the ground. I like to harvest them from the plant and let them ripen a few days until they’ve turned a green/golden color and become sweeter. You can make them into jams or juices or eat them raw. Berries kept in their papery calyx will store for a few weeks at room temperature.

DSC_0104

Ripe berries

Where to obtain planting materials

Grab some cuttings from a friend who is growing them in a similar climate to yours. Or keep an eye out at farmers markets and plant sales. They are a really common plant around here.

My Garden

I’ve been growing a single Poha for about two years. Originally, I had it planted in one of my garden beds. It would spread too much that I would constantly be pruning it have having to cut off flowers and undeveloped fruits just to keep it in its space. Making the harvest smaller and smaller. This plant wants space! Once I finally figured out a good place to grow them, I took some seed from my fruits and planted them. I ended up with four young healthy plants. I took these four plants and planted them about 2 feet apart around a lava feature. After about three months of being in the ground they started flowering and fruiting. I harvest about 50 berries weekly. As these plants get older they only produce more. I guess it’s about time to start making jelly!

DSC_0060

4 Poha planted 2 feet apart around rock feature. Also around: Heatless habanero, mamaki, papaya, dragon fruit, cocona, edible hibiscus, okinawan spinach, crotolaria, all filling in space until the ulu tree is large enough to produce

DSC_0082

also within this guild is banana, koaia, kului, cranberry hibiscus, and popolo

DSC_0070

Happy Gardening!

Okinawan Spinach (Gynura bicolor)

Description

Okinawan Spinach, Gynura bicolor, is another leafy green that everyone should grow. This plant is a highly ornamental, low-growing perennial, which produces an abundance of leaves and tender shoots. The yellow/orange flowers attract butterflies and the leaves are high in protein and have cholesterol-lowering properties. Plants are shrubby sprawlers that attain heights of about four feet. Perfect for an edible landscape or as a weed suppressing ground cover. There are two different varieties, a fully green one and a green and purple one. The purple variety seems to thrive in deeper shade.

I will also include Longevity Spinach, Gynura procumbens, in this post because they are extremely similar plants, grown and eaten the same way with a slightly different taste and nutrition content.

DSC_1452

Green variety

DSC_1432

Purple variety

DSC_1455

Longevity Spinach (larger leaves)

Propagation

Okinawan Spinach is grown from cuttings.

Stick into the ground and it will root in about a week.

DSC_1460

Cut stem

DSC_1462

Remove older leaves

DSC_0001

stick into the ground

Care

Plants prefer part shade, and will grow easily and effortlessly.

Regular pruning promotes branching; therefore, creating an abundance of tender shoots and leaves for consumption!

Eating

The leaves are best eaten mixed with other greens to avoid an overtly strong flavor.

Tender leaves and shoot tips may be eaten raw, steamed, stir fried, sautéed, or used in soups, stews or tempura.

Older tougher leaves should be cooked and are less palatable. However, over cooking may lead to sliminess.

Where to obtain planting materials

Ask anyone you know growing Okinawan Spinach for cuttings. You may also find them at a farmers market or a plant sale.

My Garden

Okinawan spinach is one of the first plants I started growing here at the house. I just stuck it into the ground in cinder, and forgot about it. Nearly two years later, it’s still thriving and is a keystone ornamental next to the front entryway. I typically forget about the plant and whenever I’m in need of some crunchy greens, I bump into it. Stumbling through the dense vegetation looking for the sprawling stems, they typically find the shadiest places in the understory and emerge through the top layer of the shrubs and fall back down toward the ground. Making it extremely easy to grab a running ‘vine’ and cut it off to eat the leaves. This, in-turn, gives me propagation materials, I then take them and stick them into the ground in the food forest. Generating an overabundance of high quality leafy greens for consumption. Wow, I love tropical gardening!

DSC_1413DSC_1429DSC_1444DSC_1456

Happy Gardening!

Luffa (Luffa spp.)

Description

Luffa (Luffa spp.) or angled gourd is another useful multipurpose plant. The small immature fruit may be eaten and mature fruits, once dried, are luffa sponges, great for dishwashing or bathing! Like most cucurbits, the buds, flowers, young leaves and tender shoots are also edible. The fibrous interior of mature fruits can also be used as filters to remove oil from water. Although it is an annual, this plant lives for a long time, creating tons of fruit!

This is one of the few cucurbits I can grow successfully that doesn’t get attacked by the pickleworm, and is virtually pest free, giving me a useful product as well as food. If you have trouble growing squash, cucumbers, gourds, or melons; try luffa and chayote (see previous post).

DSC_1270DSC_1286

Propagation

Luffa is grown from seed; direct sowing works well, as does transplanting. If transplanting, put into the ground as soon as possible, as not to allow them to become root bound.

DSC_1303

Care

This plant grows moderately fast, so give it someplace to sprawl, or climb and forget about it. Once you see prolific flowering, check periodically for young fruits, to harvest for consumption. If you plan to use them as a sponge, harvest when fruits are 1-3 feet long.

Fruits grown on a trellis, or allowed to climb, will become elongated, creating large straight fruits. It will be easily harvestable if grown this way.

If allowed to grow on the ground, fruits may become curved and create a more snake like shape. Fruits grown like this are harder to find for harvest, harder to prevent rot and check up on. Fruits growing directly on the ground should be lifted off the ground somehow; put on a rock or log/stick so moisture doesn’t collect and rot out the fruit prematurely.

Eating

Young fruit (up to seven inches) may be eaten raw or cooked like zucchini. Larger fruits if still tender, must be peeled and cooked. Great for stir fry and soups.

Processing

During the dry season fruits will dry perfectly fine on the plant, however, during the rest of the year when we get constant rains, harvesting the fruit ensures product consistency.

This is how I process my mature fruits into sponges. First, harvest mature fruit when 1-3 feet long, a good indicator is to wait until the green fruit turns yellowish. Second, I leave the fruit on the dashboard of my car for about a week. Once the skin of the fruit is brown, crispy and cracks when you apply pressure, it’s ready. Next, pop off the stem and some of the skin and smack around the fruit to knock loose the seeds; pouring them into a convenient place. Then crack and peel the skin off the fruit and use as a sponge!

DSC_1291

Drying. Dried. Peeled.

Where to obtain planting materials

You could ask anyone growing luffa for some seeds, as one fruit gives at least 50 seeds, anyone would be happy to give them away. You could buy a luffa from the farmers market and take out those seeds and plant them. Or you could buy a seed pack online or at the local garden store.

My Garden

Like I mentioned earlier, this is one of the few squash I can grow successfully. So, I’ve been planting it all around the yard. First, I tried growing it as a ground cover, but it doesn’t grow profusely enough to cover and shade the ground, and its always finding a way to sneak and climb up something! But the plant is delicate and has a moderate enough growth, that I can allow it to grow up some trees and around other places I can maintain, but allow to grow on its own. It is also an annual, so it will die back and allow the tree to grow without the stress of a climber once the squash has lived out its life-cycle. Fruits do get heavy on the vine, so make sure the vine doesn’t climb young trees as it could snap branches. I grow my vines year round always having sponges and food. This is a great carefree plant that everyone should be growing. Who wouldn’t want chemical free sponges, grown from home?

DSC_1310

DSC_1284

Happy Gardening!

Sissoo Spinach (Alternanthera sissoo)

Description

Sissoo spinach, Alternanthera sissoo, or Brazilian spinach is the perfect edible perennial groundcover. Sissoo forms dense mats a foot thick and shades out the soil, making weed seed germination nearly impossible. The leaves are purely crunchy without any slimy texture. This plant grows thick, lush, and roots when nodes touch the soil, what a perfect plant. Sissoo loves the shade too!

DSC_1237DSC_1245

Propagation

Take some rooted stems and throw them on the ground. Literally. I like to stick the cut end into the soil, maybe add some mulch and forget about it.

Sisso does not produce viable seeds. The only way it will spread is from the original planting.

DSC_1239

Cut off stem

DSC_1242

Remove bottom leaves and stick into the ground. It will root overnight

Care

Sissoo prefers 50% shade and will grow deep green, tender leaves. If grown in a sunnier location it will grow well but not as lush and tender. Perfect under a tree!

It also likes to be pruned back for vigorous growth, making harvesting a must to keep the plant looking healthy.

I’ve found that planting a cluster rather than a single plant produces a dense ground cover, and pruning the plant often, adding the cuttings right around the parent plant.

This plant also loves organic matter, so be sure to enrich the soil a few times a year.

Eating

The leaves may be eaten raw, sauteed, steamed or boiled. This spinach does contain small amounts of oxalic acid, meaning if you eat large (large) quantities, you should cook them. They do cook quickly though.

Where to obtain planting materials

Ask a friend growing sissoo for some cuttings. It may also be found at some farmers markets or plant sales.

My Garden

One of my neighbors gave me a ton of cuttings a few months ago (thanks!), and I used them to really establish an area. Since this area has taken off, I’ve been eating a bunch of these leaves. It has great flavor and is actually one of the best ground covers I’ve used. In the shade not much can compete with it. It was the perfect addition to my perennial bed in the main garden. Including air-potato, winged bean, cranberry hibiscus, Malabar spinach, culantro, and with watermelon, and long beans. As this planting matures I will gladly spread cuttings to other areas I wish to have a carefree ground cover. Basically everywhere!

DSC_1201DSC_1232

Happy Gardening!

Lablab (Lablab purpureus)

Description

Lablab, Lablab purpureus, is another prefect multipurpose plant to grow. Not only is this a beautiful plant, but its leaves, flowers, tubers, pods and beans are all edible! Lablab is a vine that grows up to 18 feet tall, making a great trellising plant or ground cover. There are perennial and annual varieties available, so make sure you find a perennial, they live for about three years. Oh yeah, did I mention it’s nitrogen fixing?

DSC_0949

DSC_0255

Propagation

Lablab is grown from seed. Stick seed into the ground 1/4 – 1/2 inch deep.

Seeds are easy to save. Just allow to dry on the plant and harvest.

DSC_0245

Dried Bean Pods

DSC_0261

De-shelled beans ready for eating or planting

DSC_0309

Seedling

Care

Lablab is an extremely easy plant to grow. Grow in full sun/part shade. Plant your seed and wait for harvest.

It does tolerate heavy pruning if growing on a low trellis. I prefer to grow them as an edible ground cover and just take time to make sure they aren’t climbing up young plants.

Eating

Immature pods can be eaten like green beans/peas raw or cooked.

Once beans are starting to develop, I remove the pods, due to the fibrous nature, and use immature beans in soups or curries (takes some time, but well worth it!).

Fully mature beans are poisonous raw. But can be eaten like dry beans, changing the water twice and throwing it out once cooked. May also be used for tofu or tempeh.

Seeds may be sown and eaten raw as a sprout (comparable to mung beans).

Flowers and young leaves are edible raw or cooked. Older leaves should be cooked.

Tuber is cooked boiled or baked.

May also be used as a fodder plant for animals.

DSC_0249

Immature Pods

Where to obtain planting materials

Ask someone you know growing it for some seed. Or buy seed online.

My Garden

I started growing Lablab on a trellis under the eve of the house. I would have to constantly cut it back so it wouldn’t climb onto the house. After eating the beans for a while, I decided to let some mature on the plant so I could save the seed. Now I have tons of seeds and have been sticking them in the ground everywhere in the food forest. They sprout quickly and start growing fast. Perfect for a ground cover. The purple variety I am growing, I haven’t eaten yet, but the green kind is delicious. And both are beautiful. Heres some photos around the yard:

DSC_0247

DSC_0312

Food Forest: Lablab, sweet potato, comfrey, rattle pod, sunn hemp, desmodium, corn, taro, sissoo spinach, katuk, poha, basil, tea, cardamom, kava, chaya, cranberry hibiscus, watermelon, luffa, edible hibiscus, banana, cassava, papaya, blood orange, star-apple, hawaiian cotton, avocado, gliricidia, allspice, finger lime, wi, hala, starfruit, mangosteen, loquat, gamboge, white sapote, tree tomato, ice cream bean, jackfruit, brazilian cherry, bacupari, breadfruit, and acerola.

Happy Gardening!