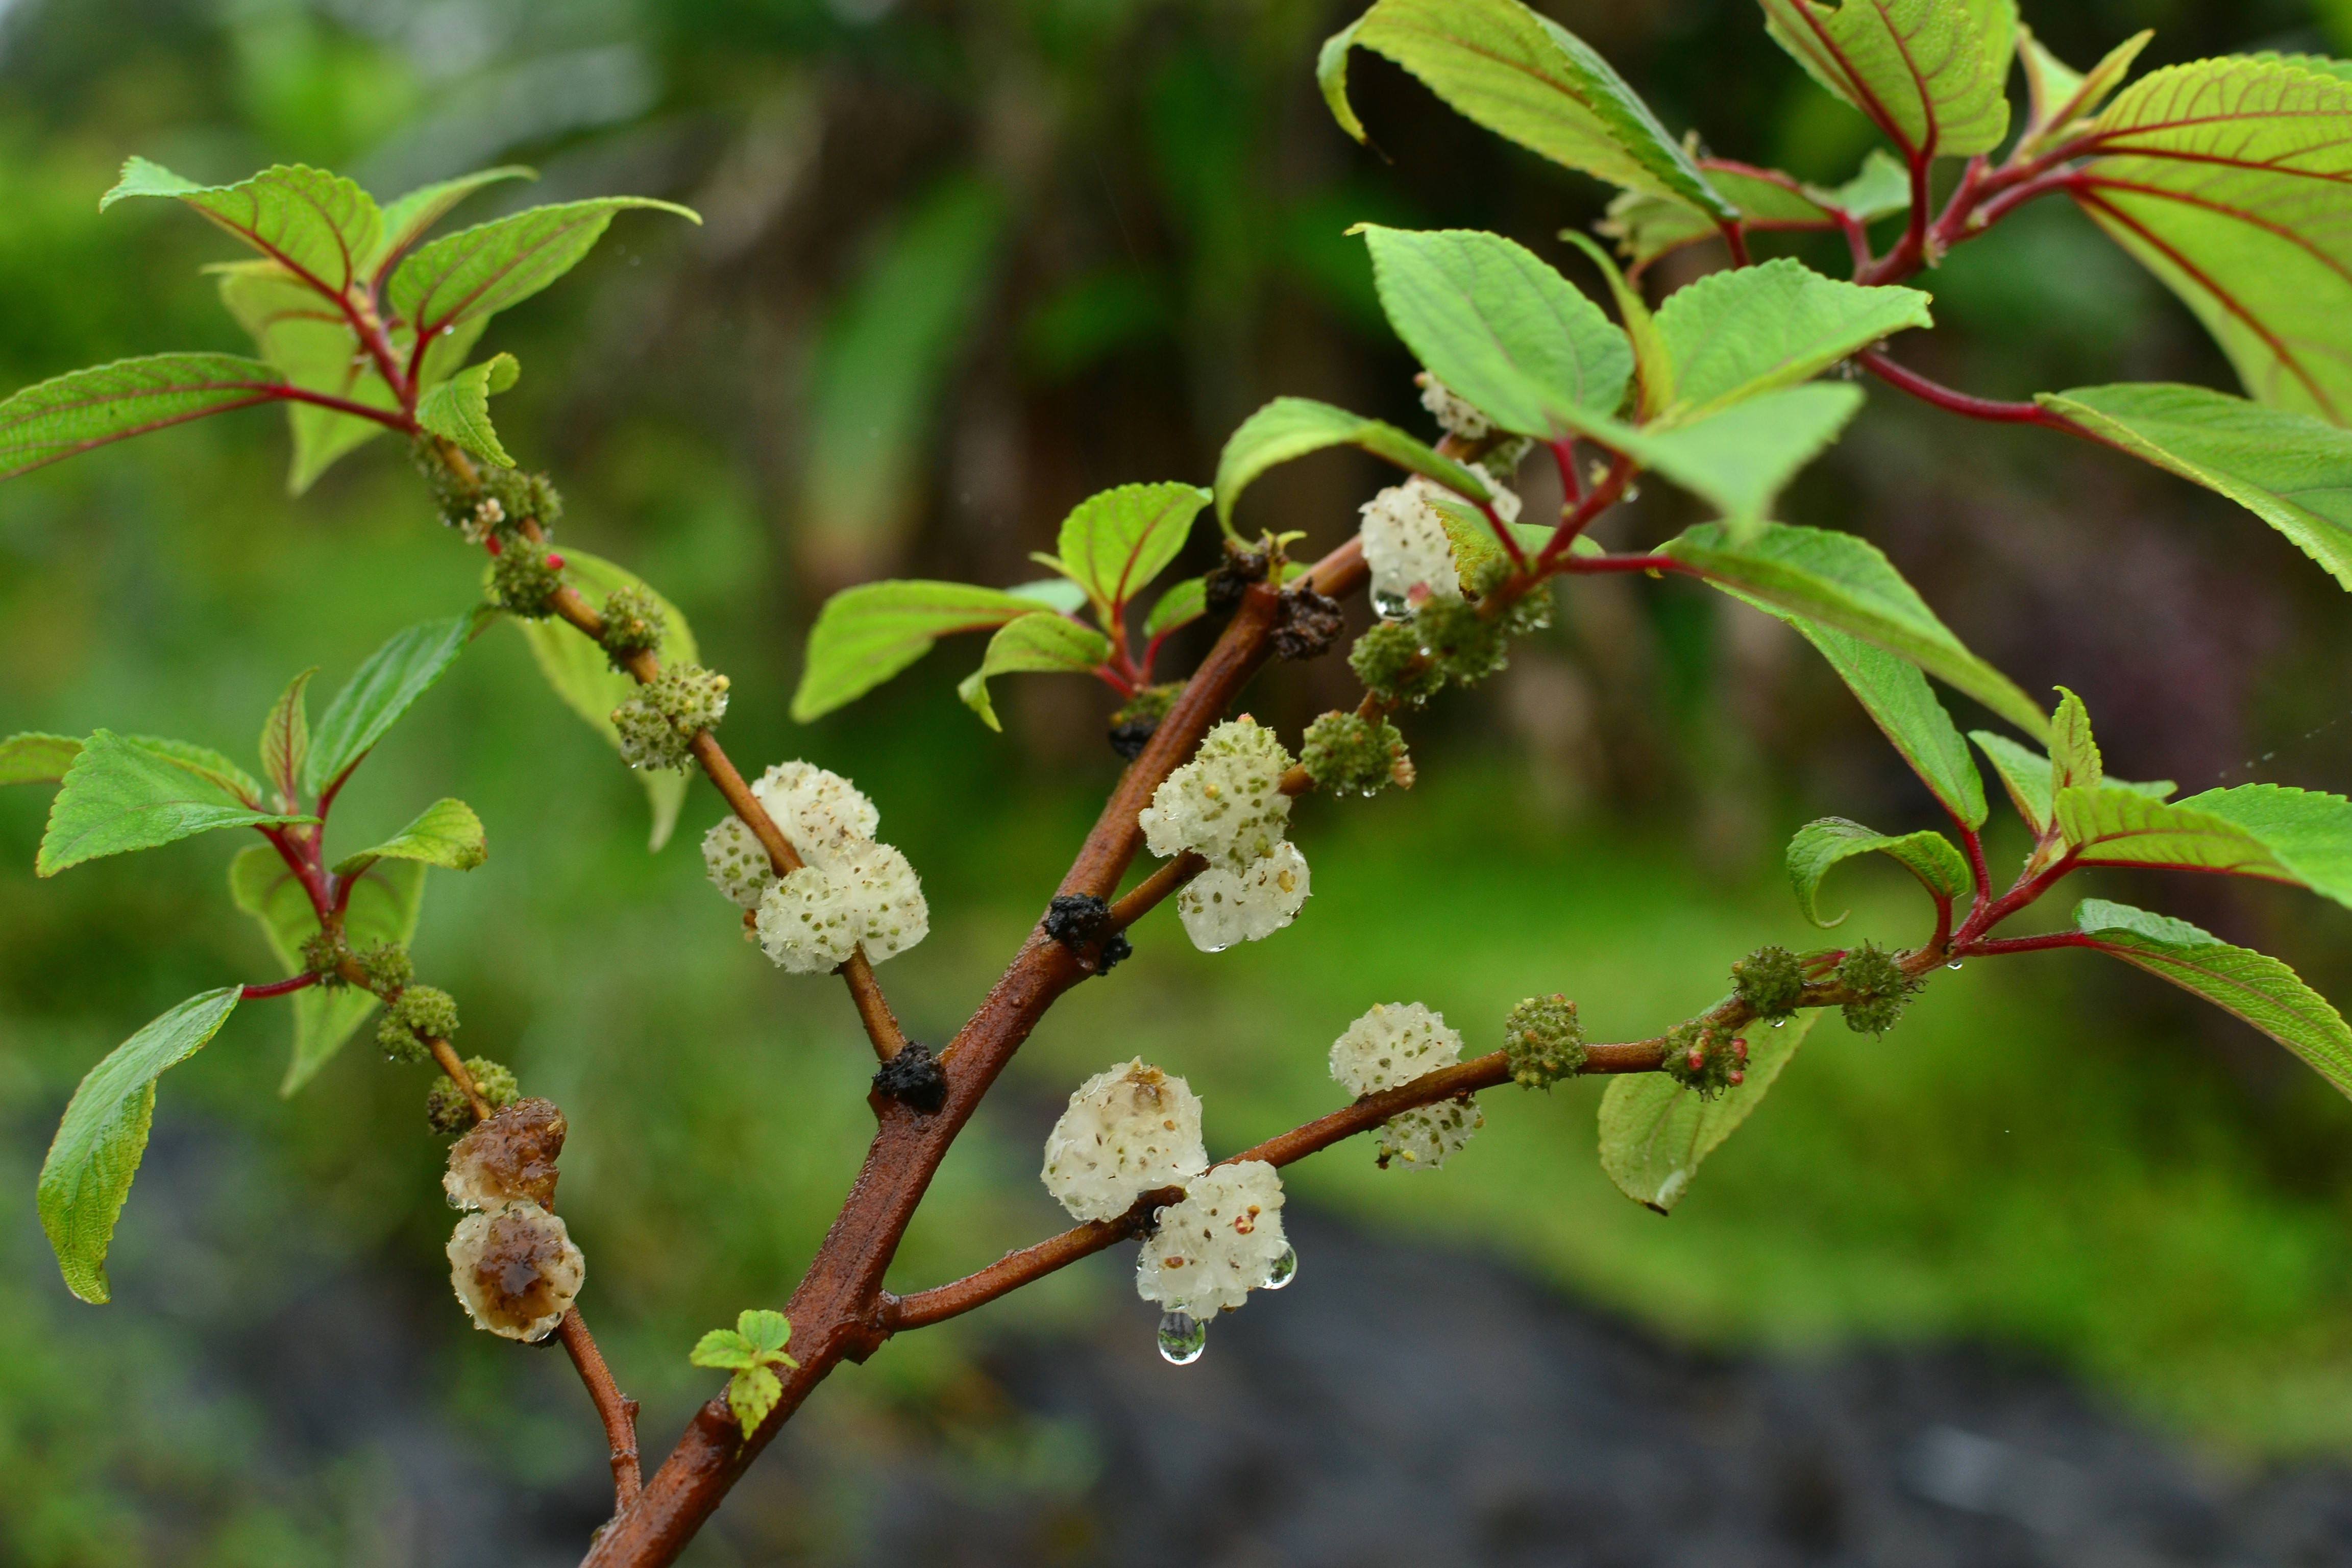
Description
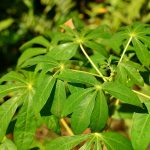
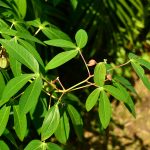
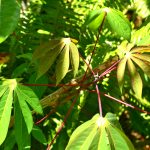
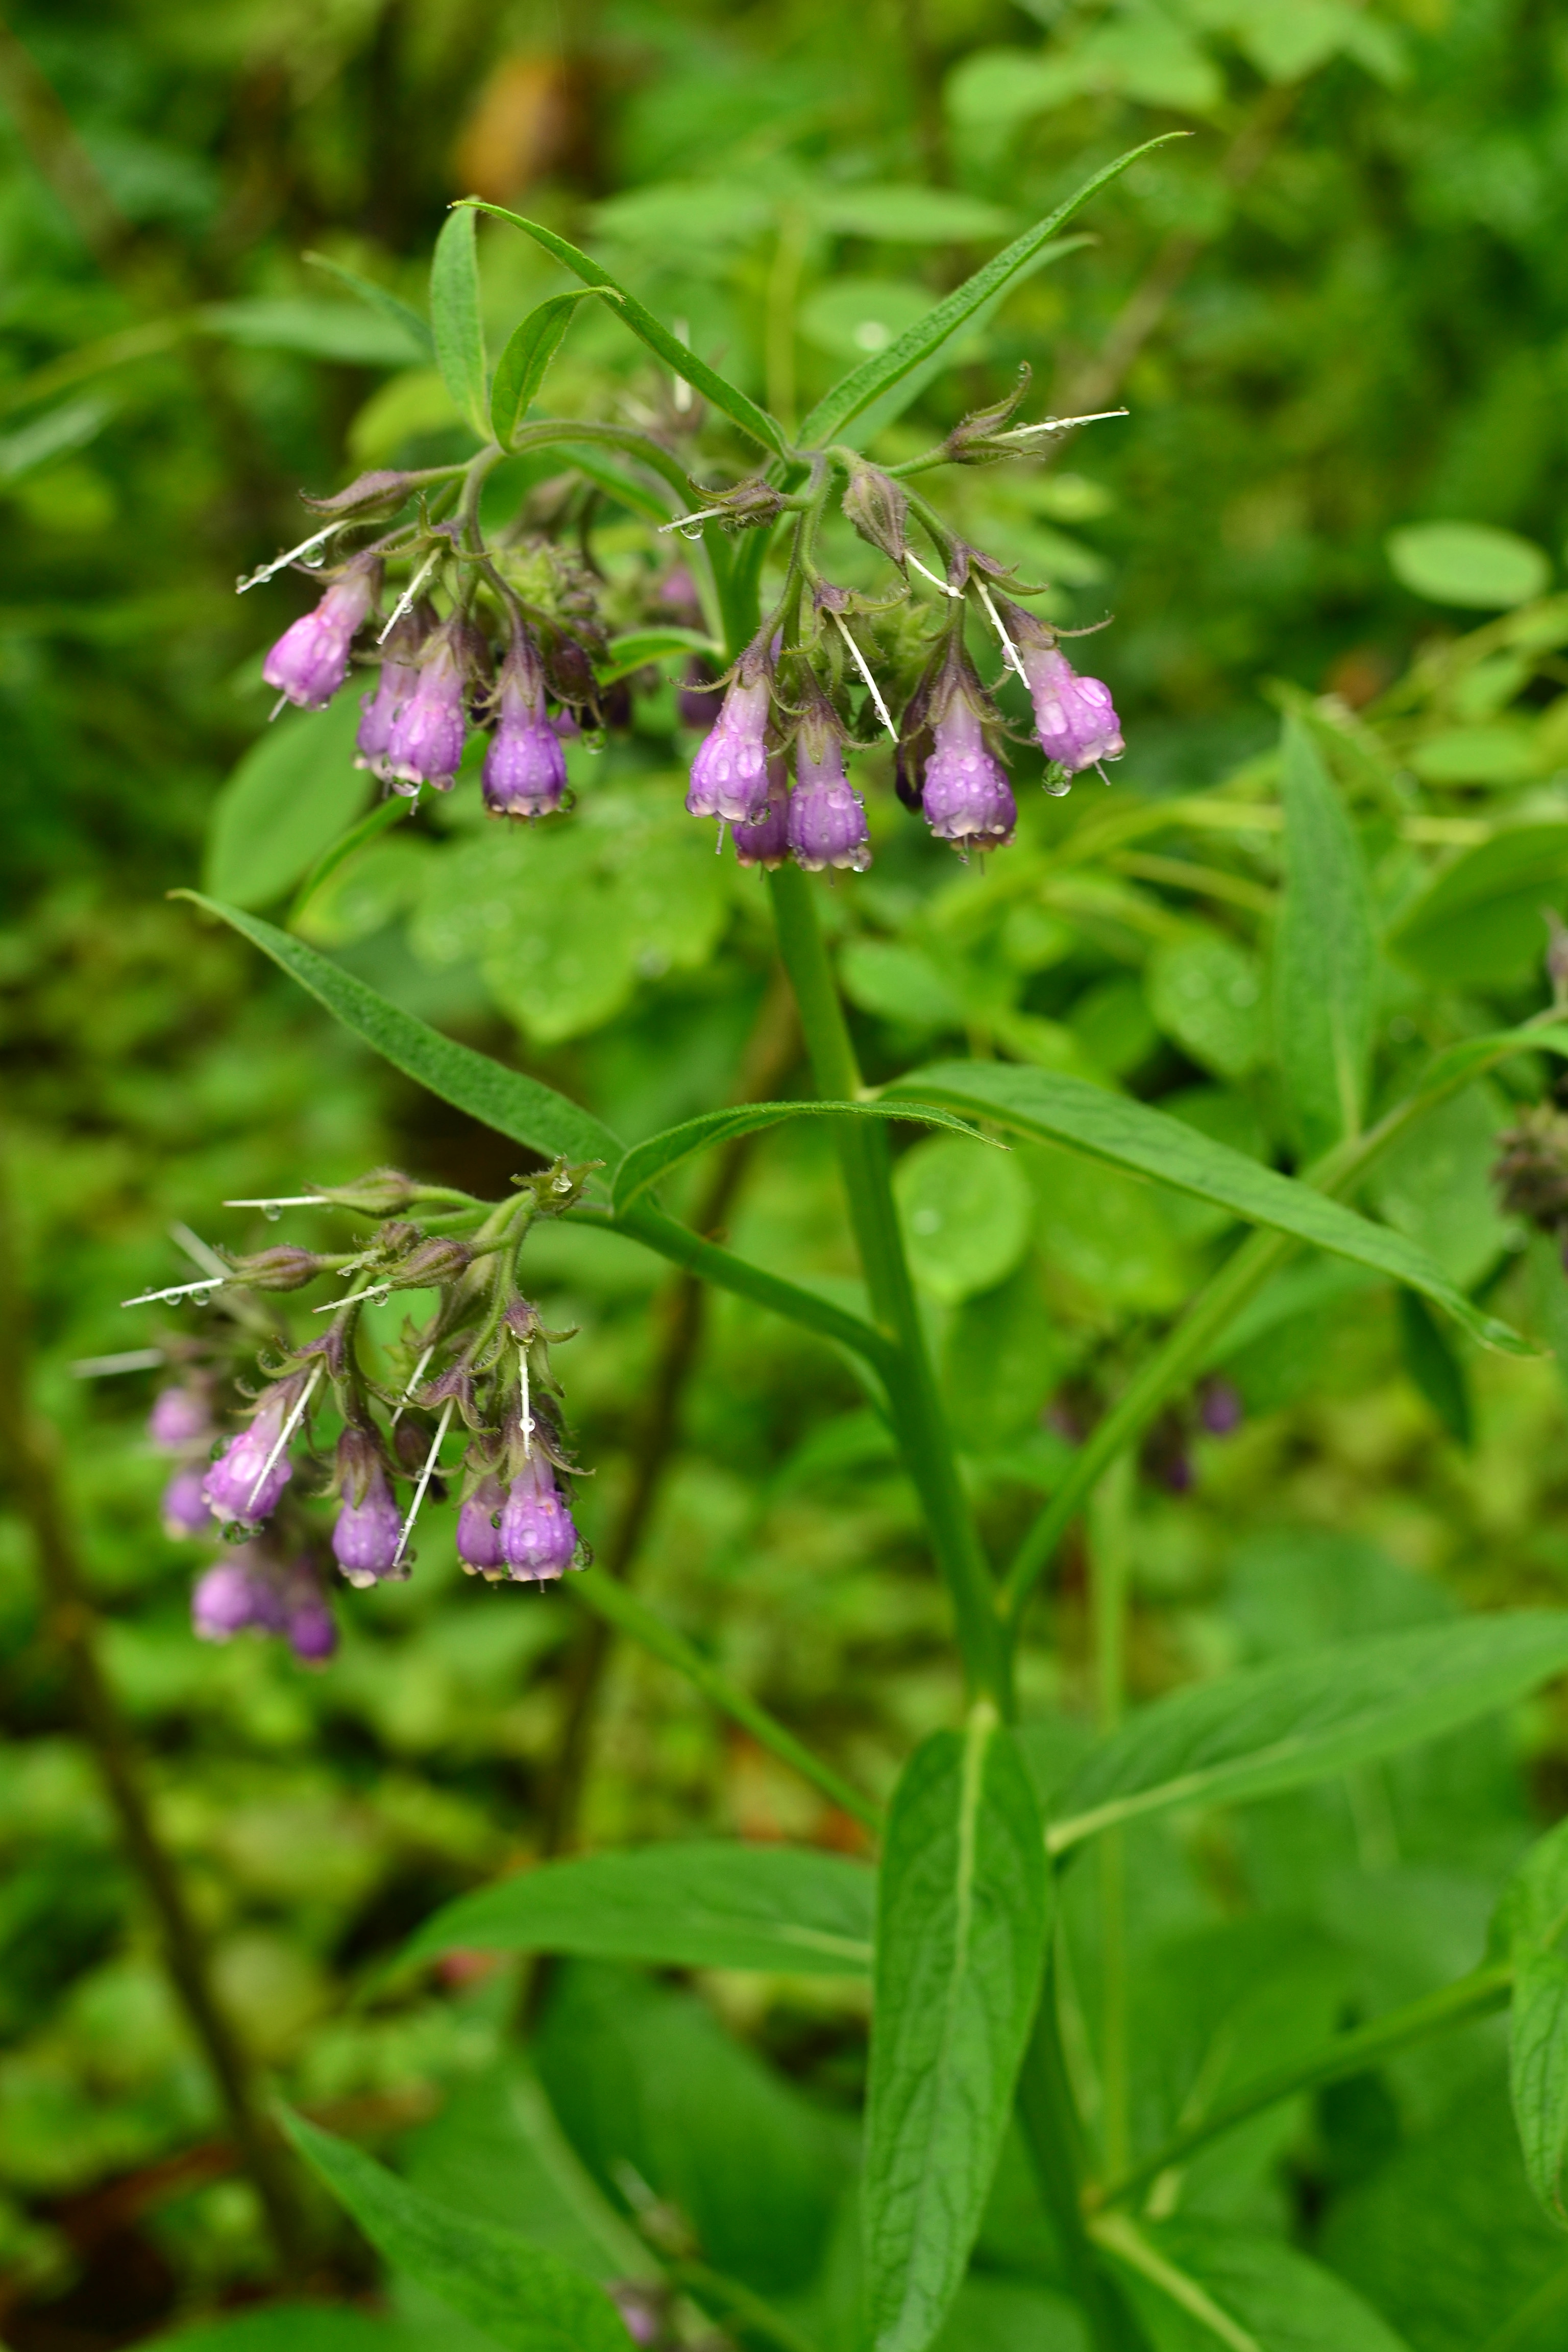
Heart of palm is a well-known vegetable taken from the terminal bud (youngest leaf shoots) from many different palms. This entry will focus specifically on the coconut tree (cocos nucifera); however, most palms can be processed the same way. Taking the heart of palm does kill a coconut tree, so please only cut down a coconut if it is in an undesired location, like too close to the house. Other species grown for heart of palm generally have a different growth habit and a single plant will produce multiple trunks, which can be harvested without killing the entire plant. Taking the heart out of the palm is a lot of work, but the younger the tree the easier it will be. This was the first time I’ve processed heart of palm and I very quickly realized this is my new favorite vegetable! It is so versatile!
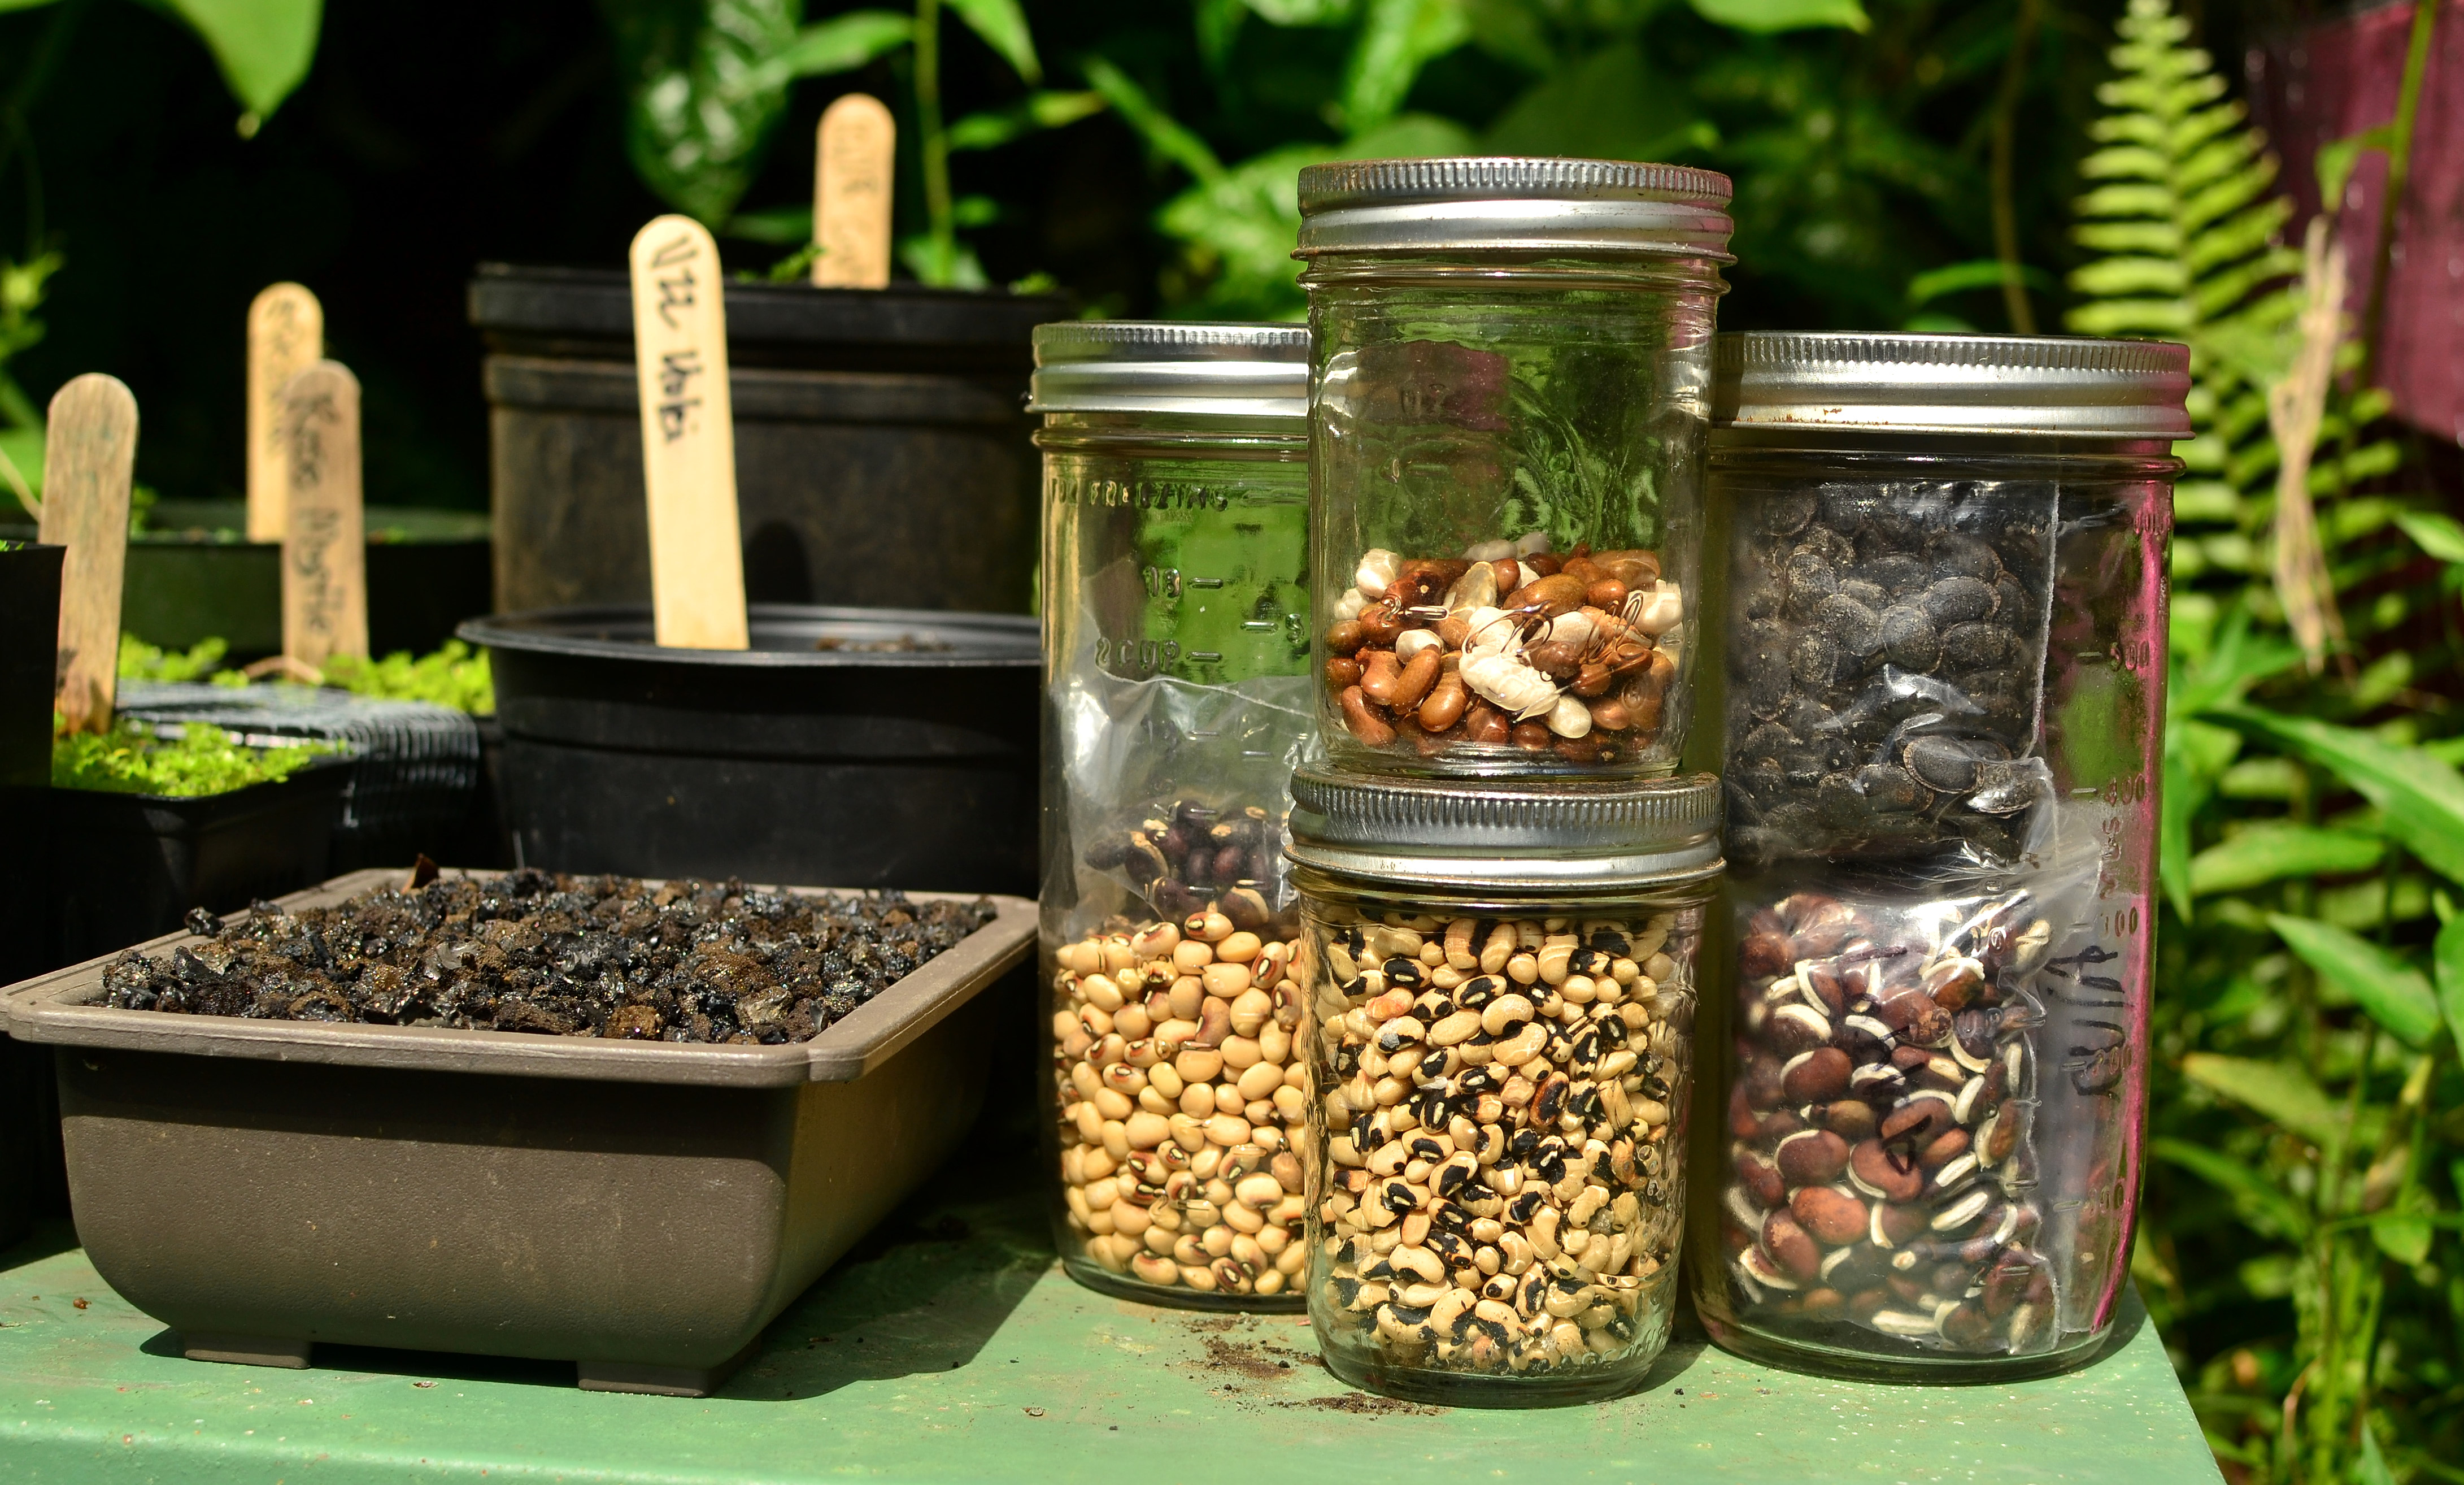
Propagation
Coconuts are grown from seed. Literally place an unopened coconut on the ground. Give it time.
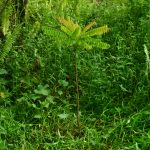
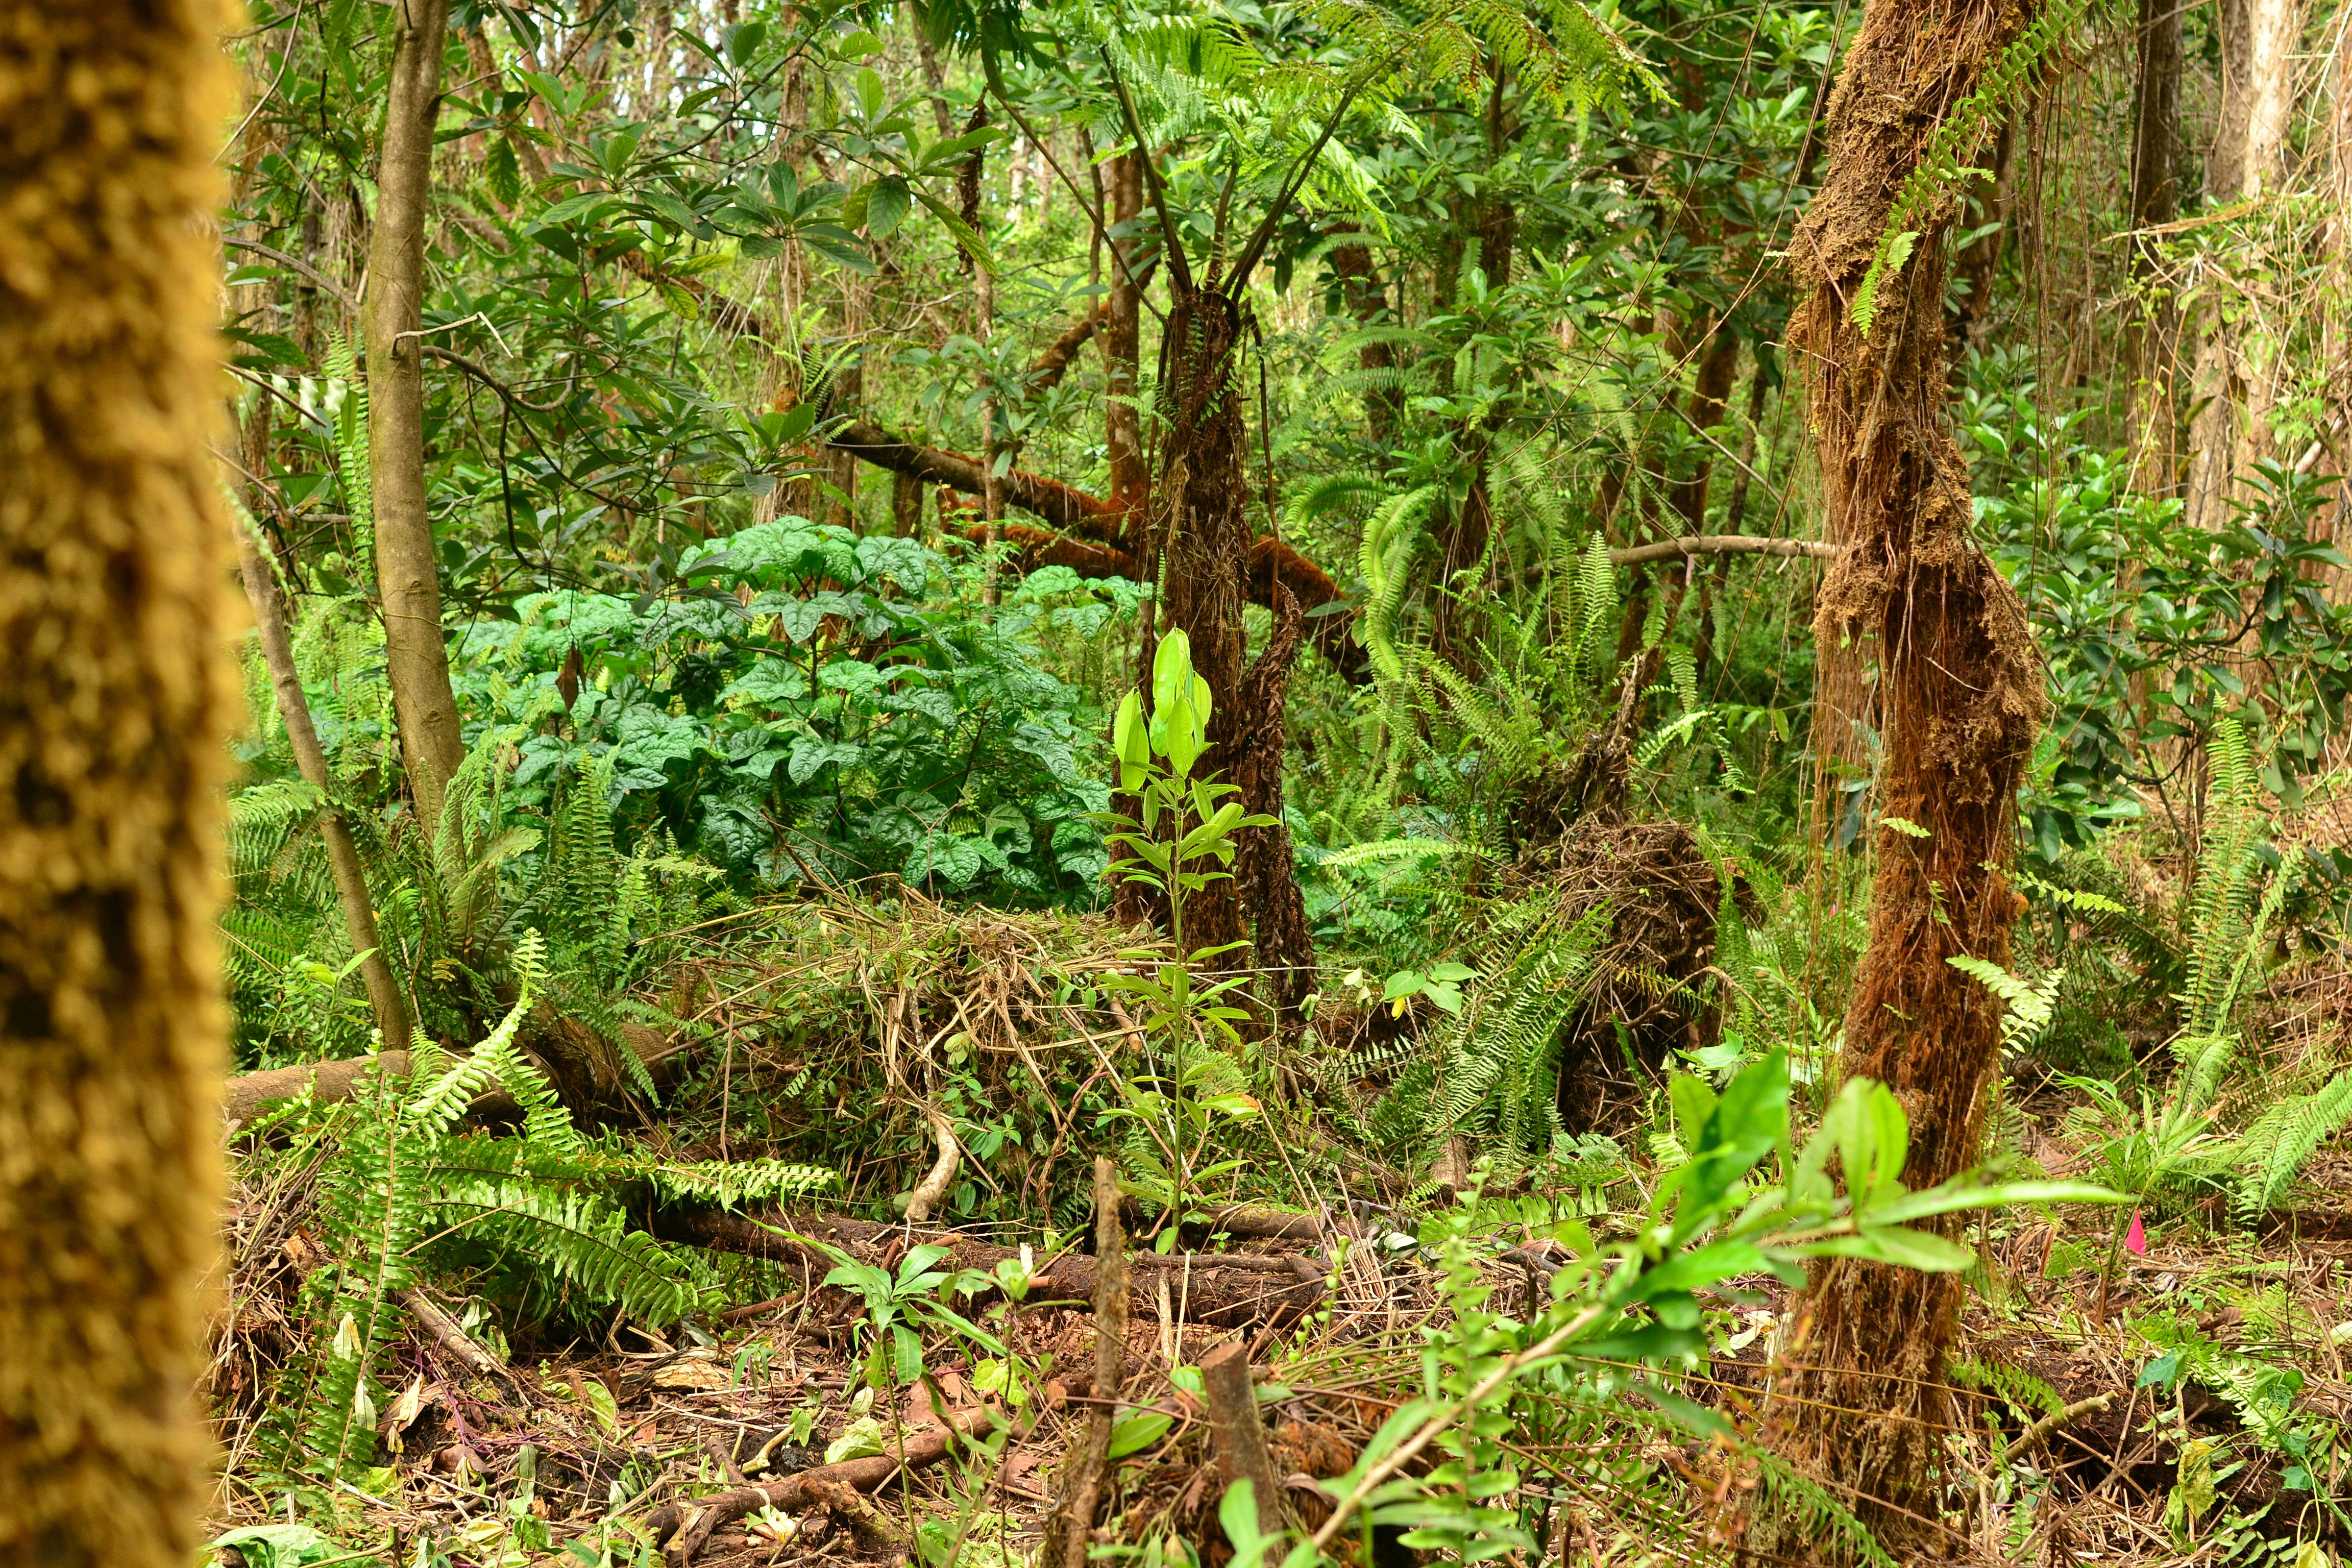
You can grow them in a patch and let them grow for a year or two and come in and harvest the palm of the really young trees. That way you’re growing them for their hearts and you don’t need to allow them to have the space they need as full mature trees.
Harvesting
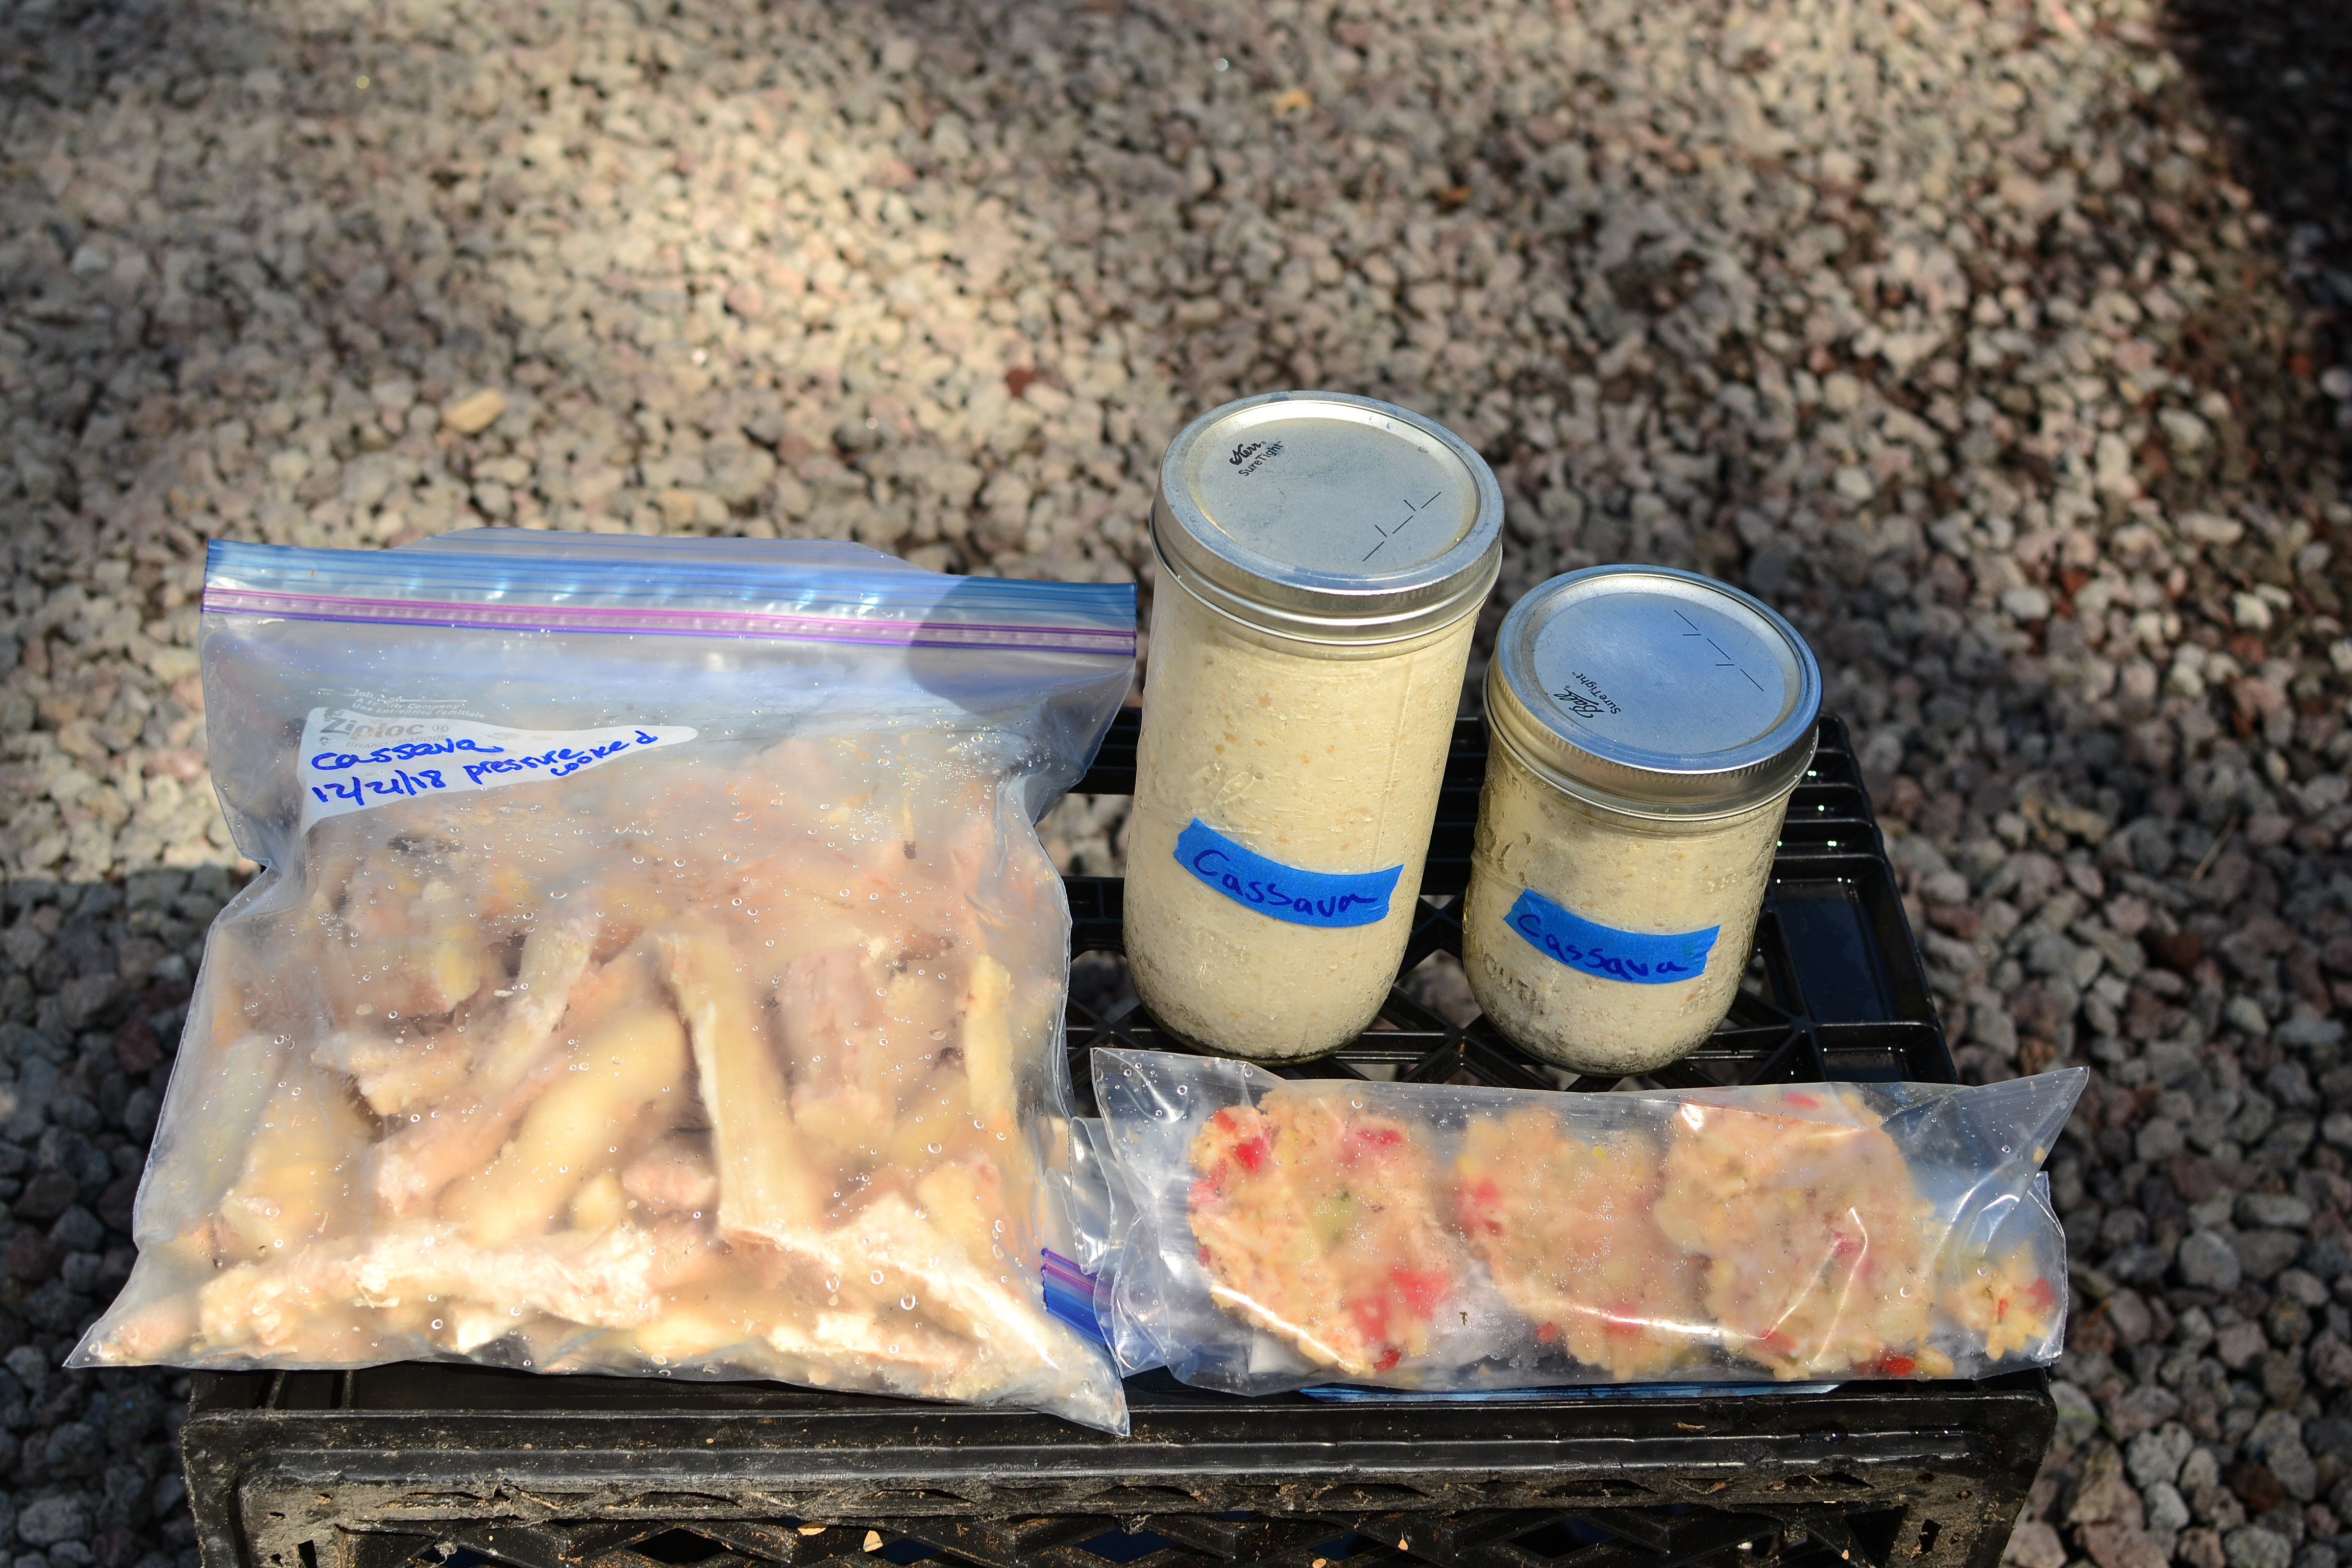
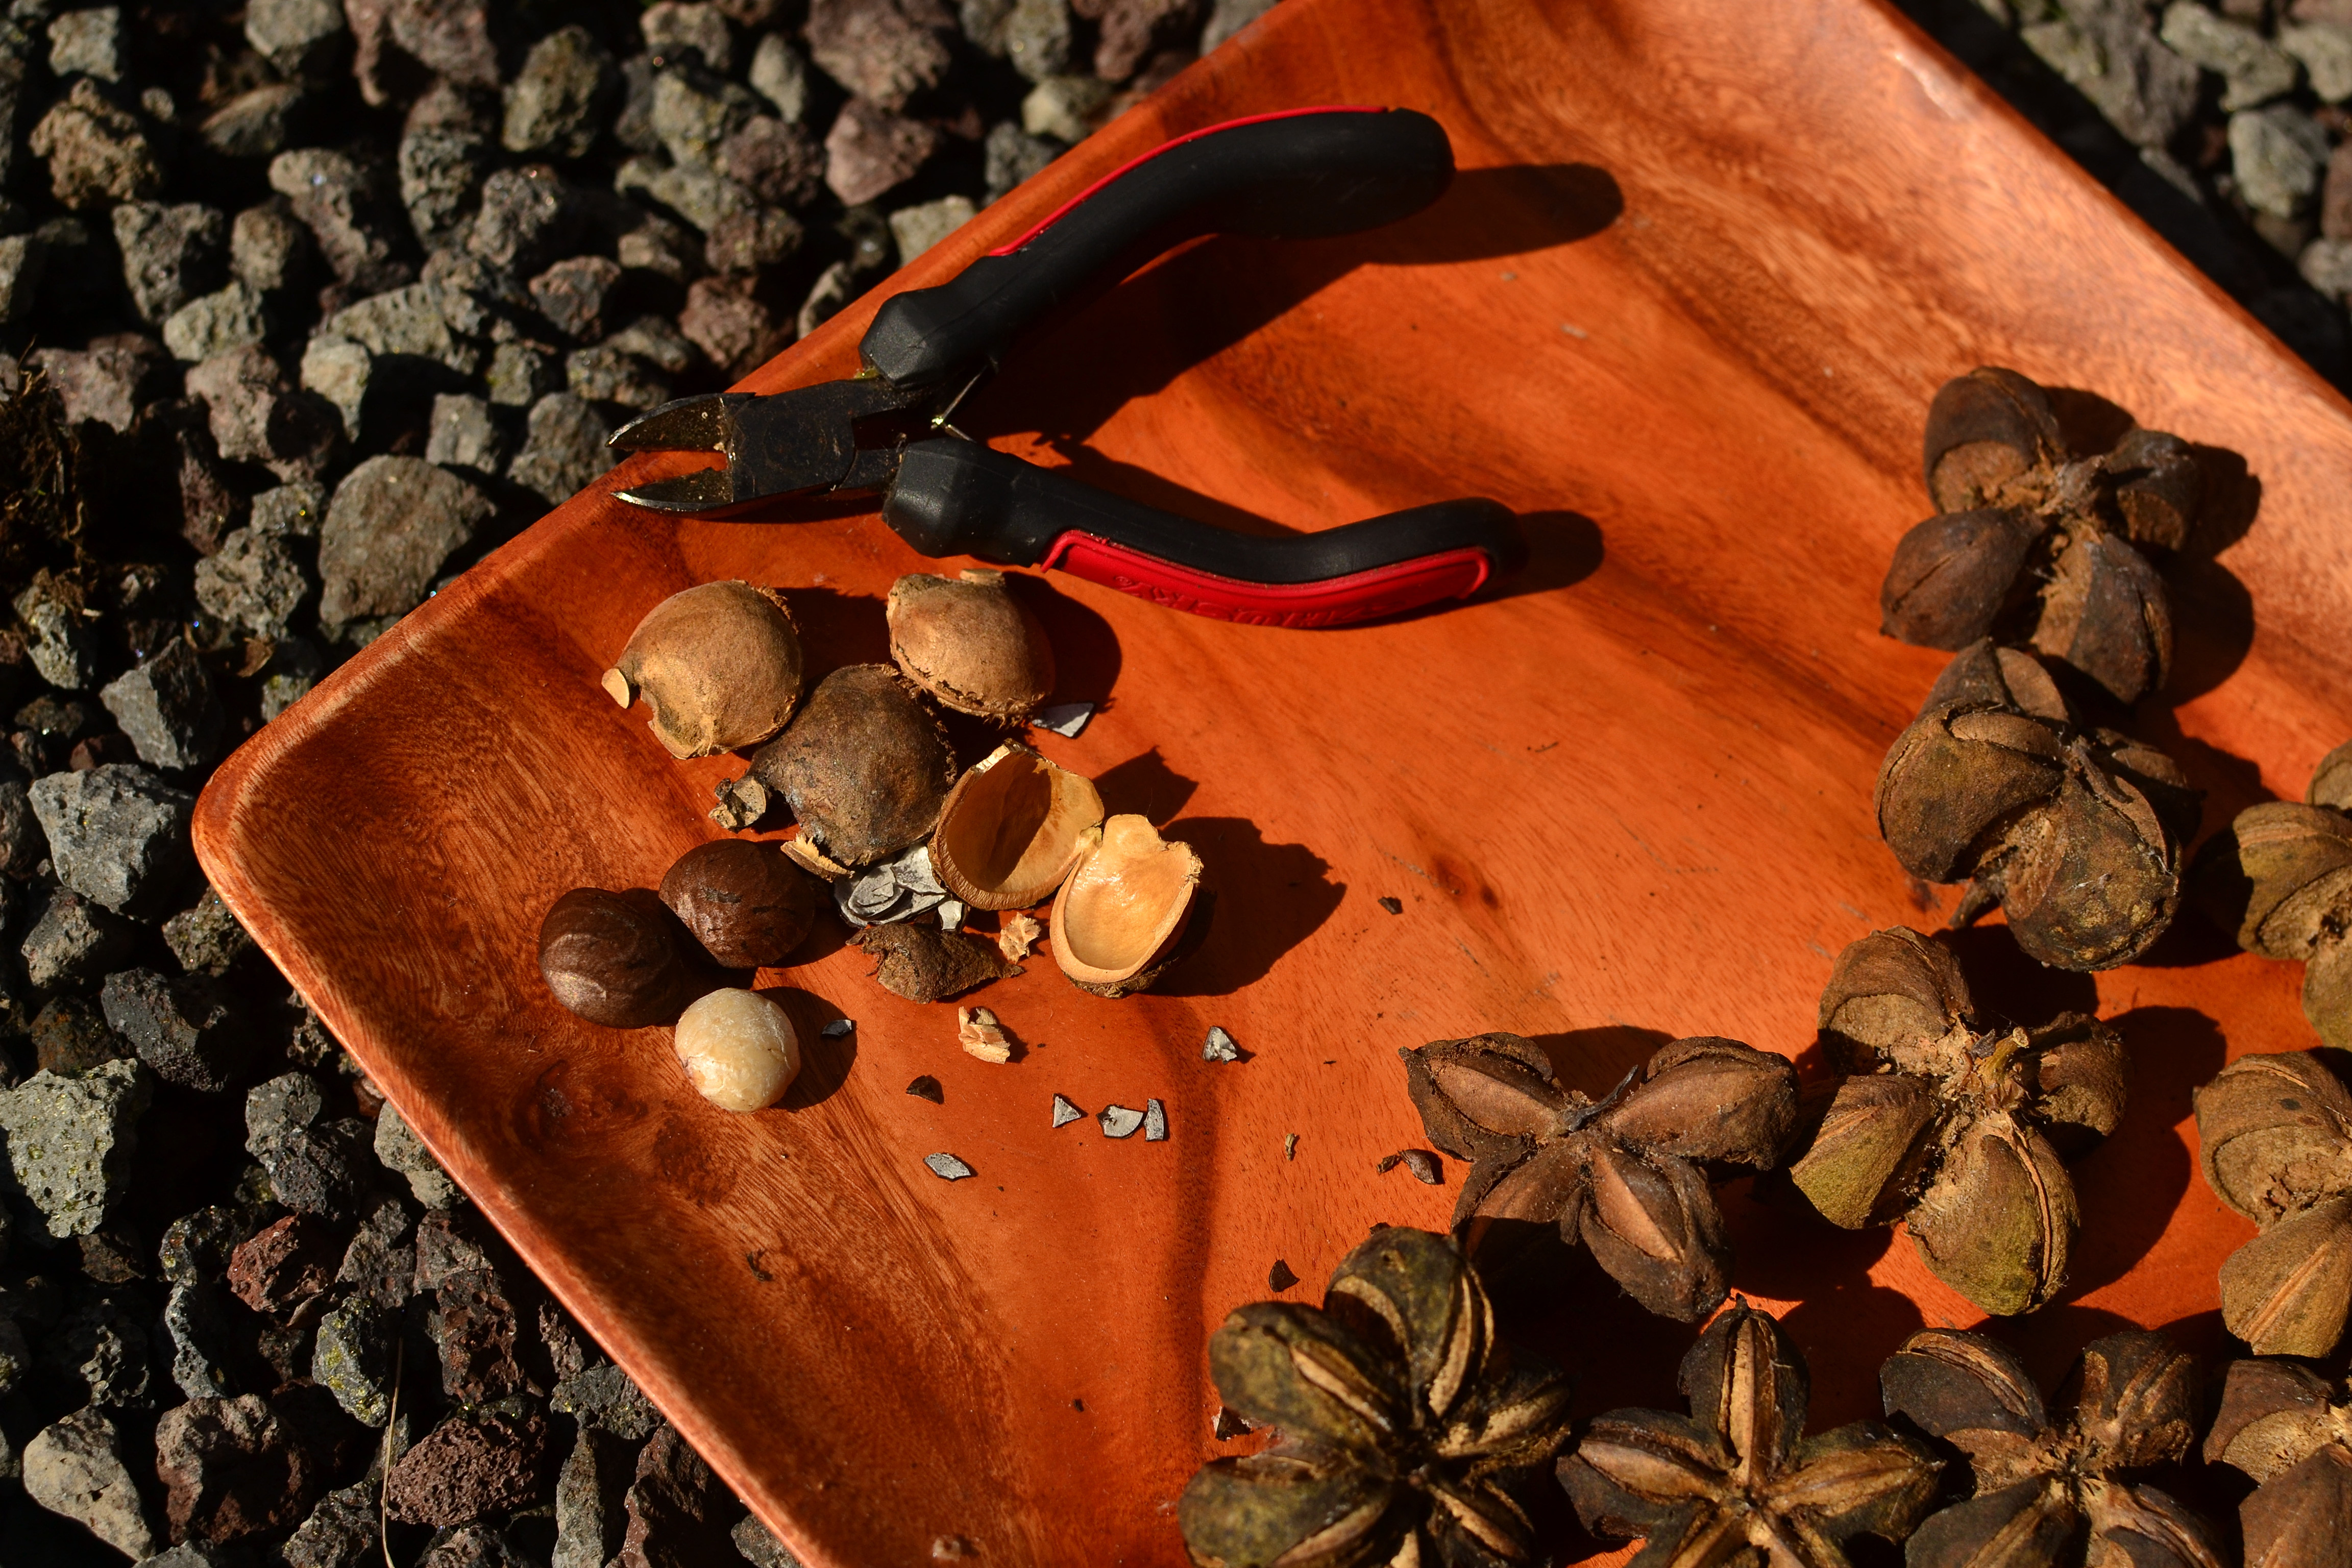
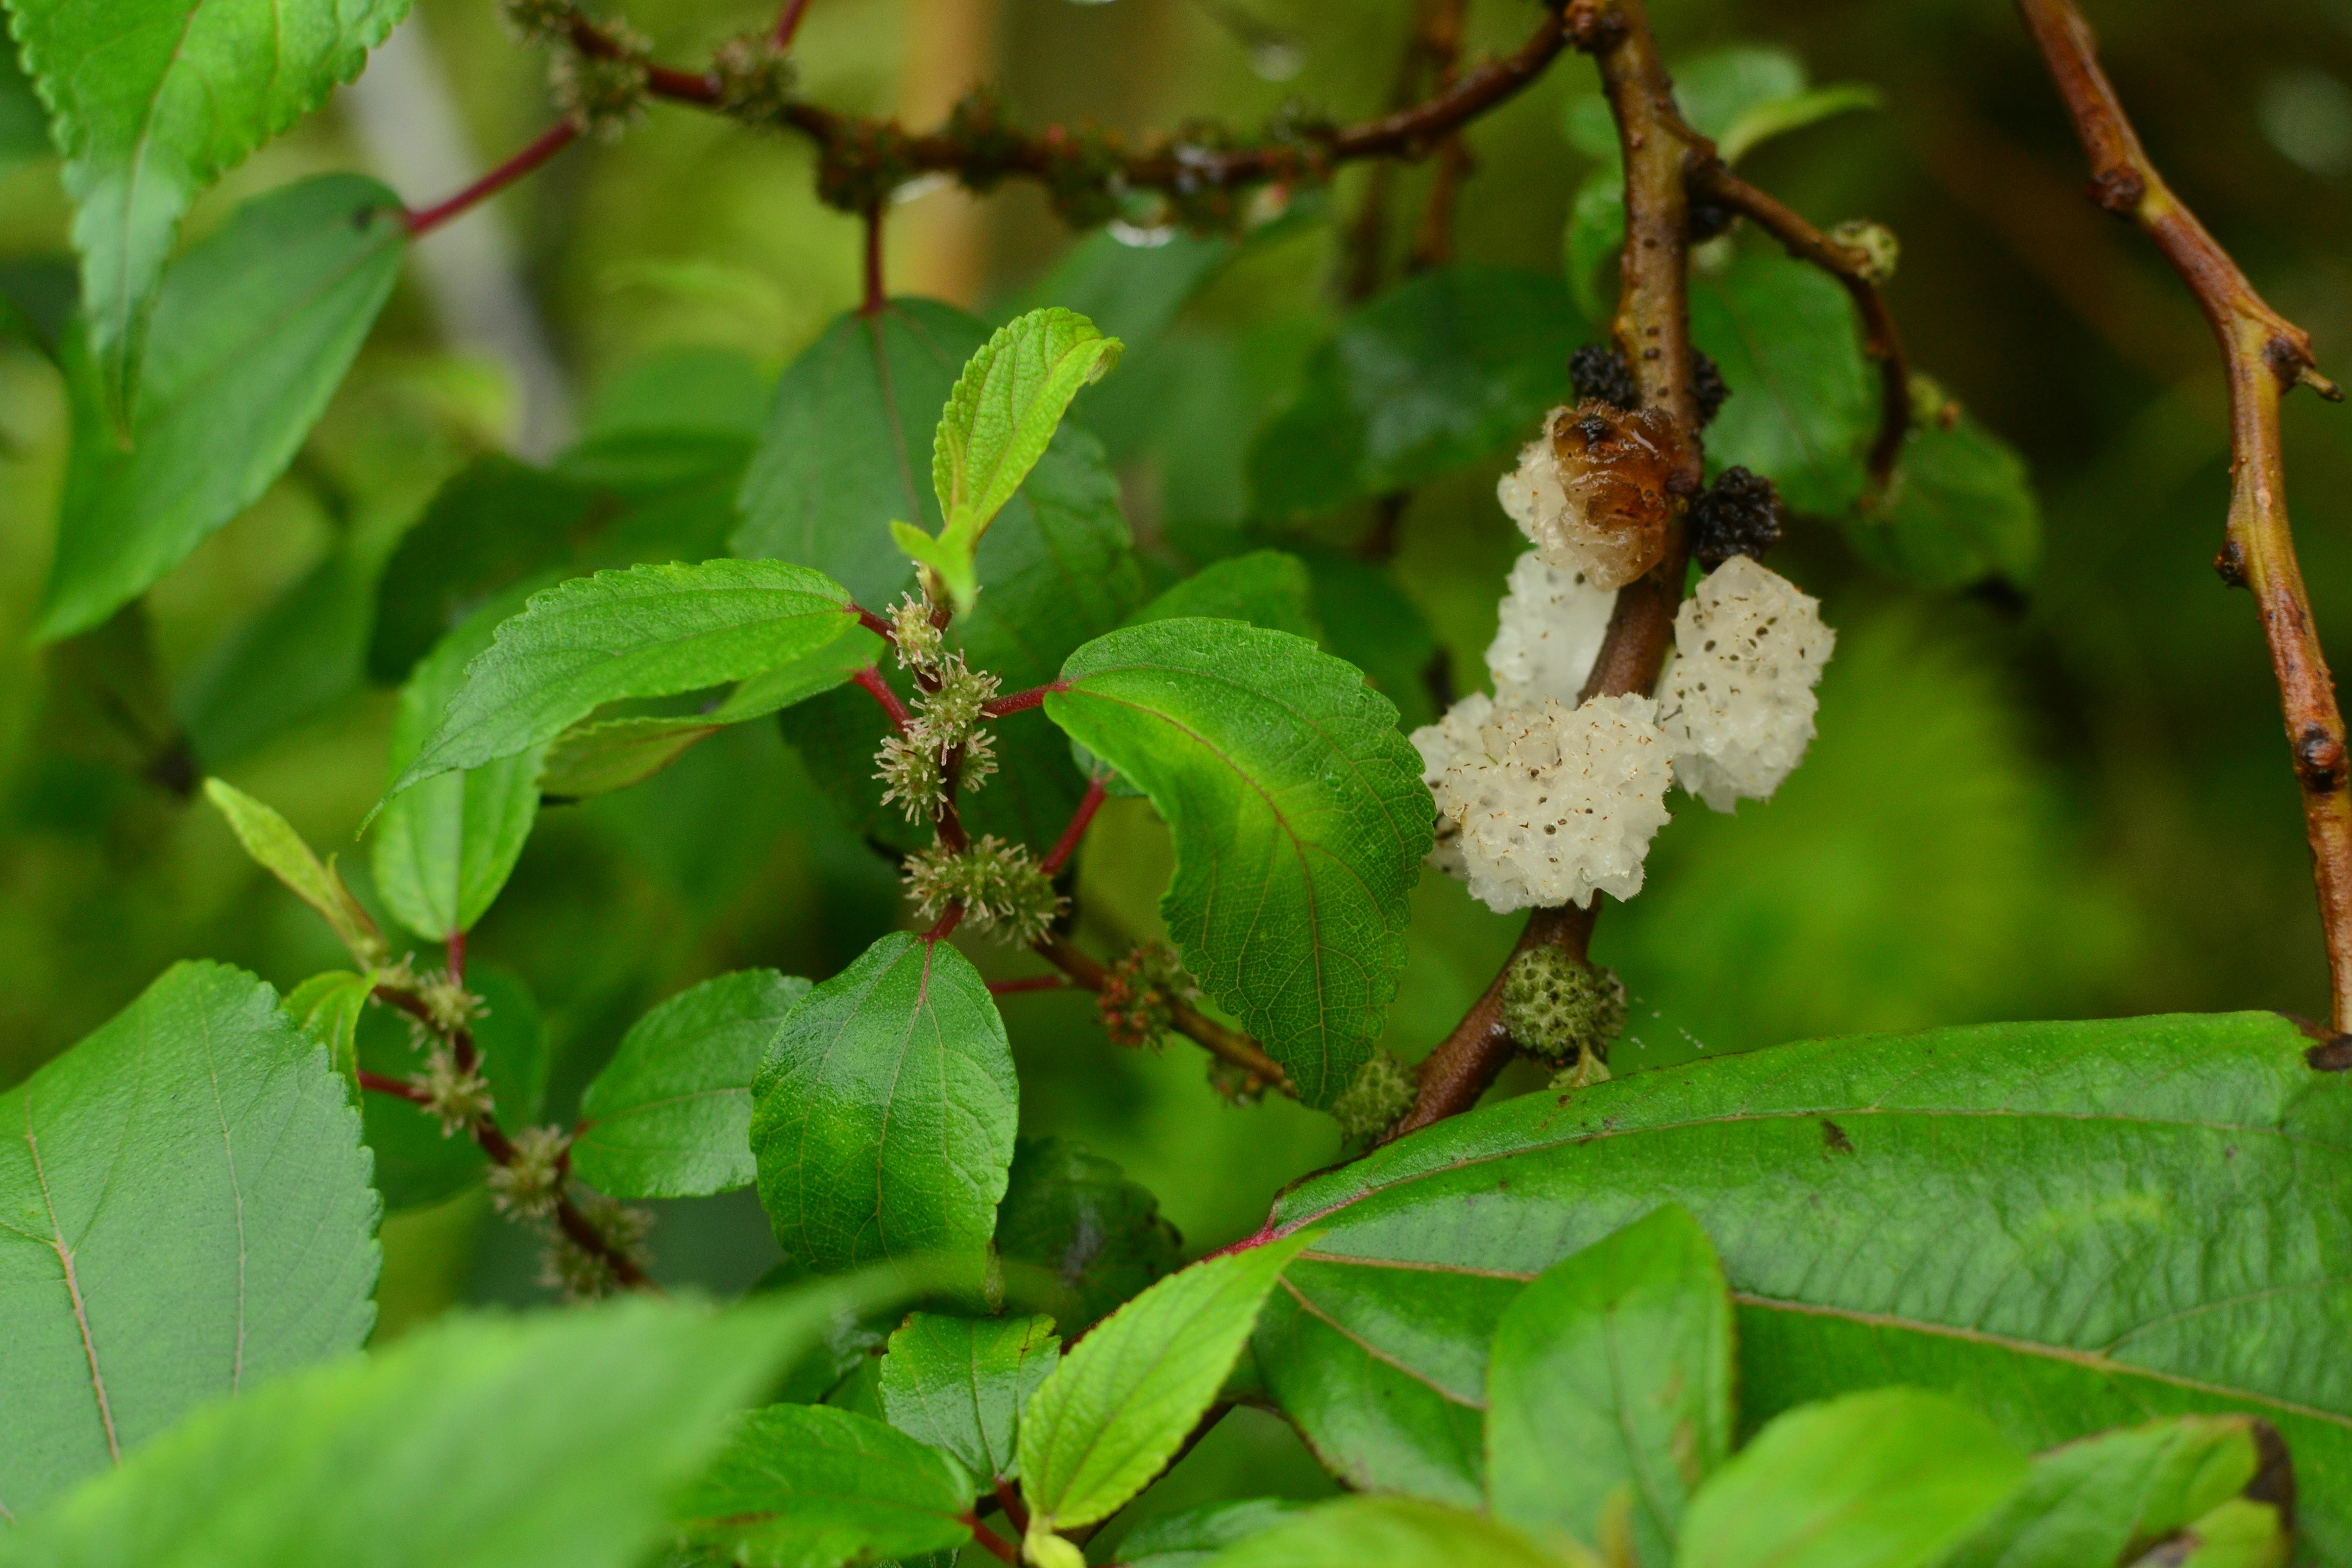
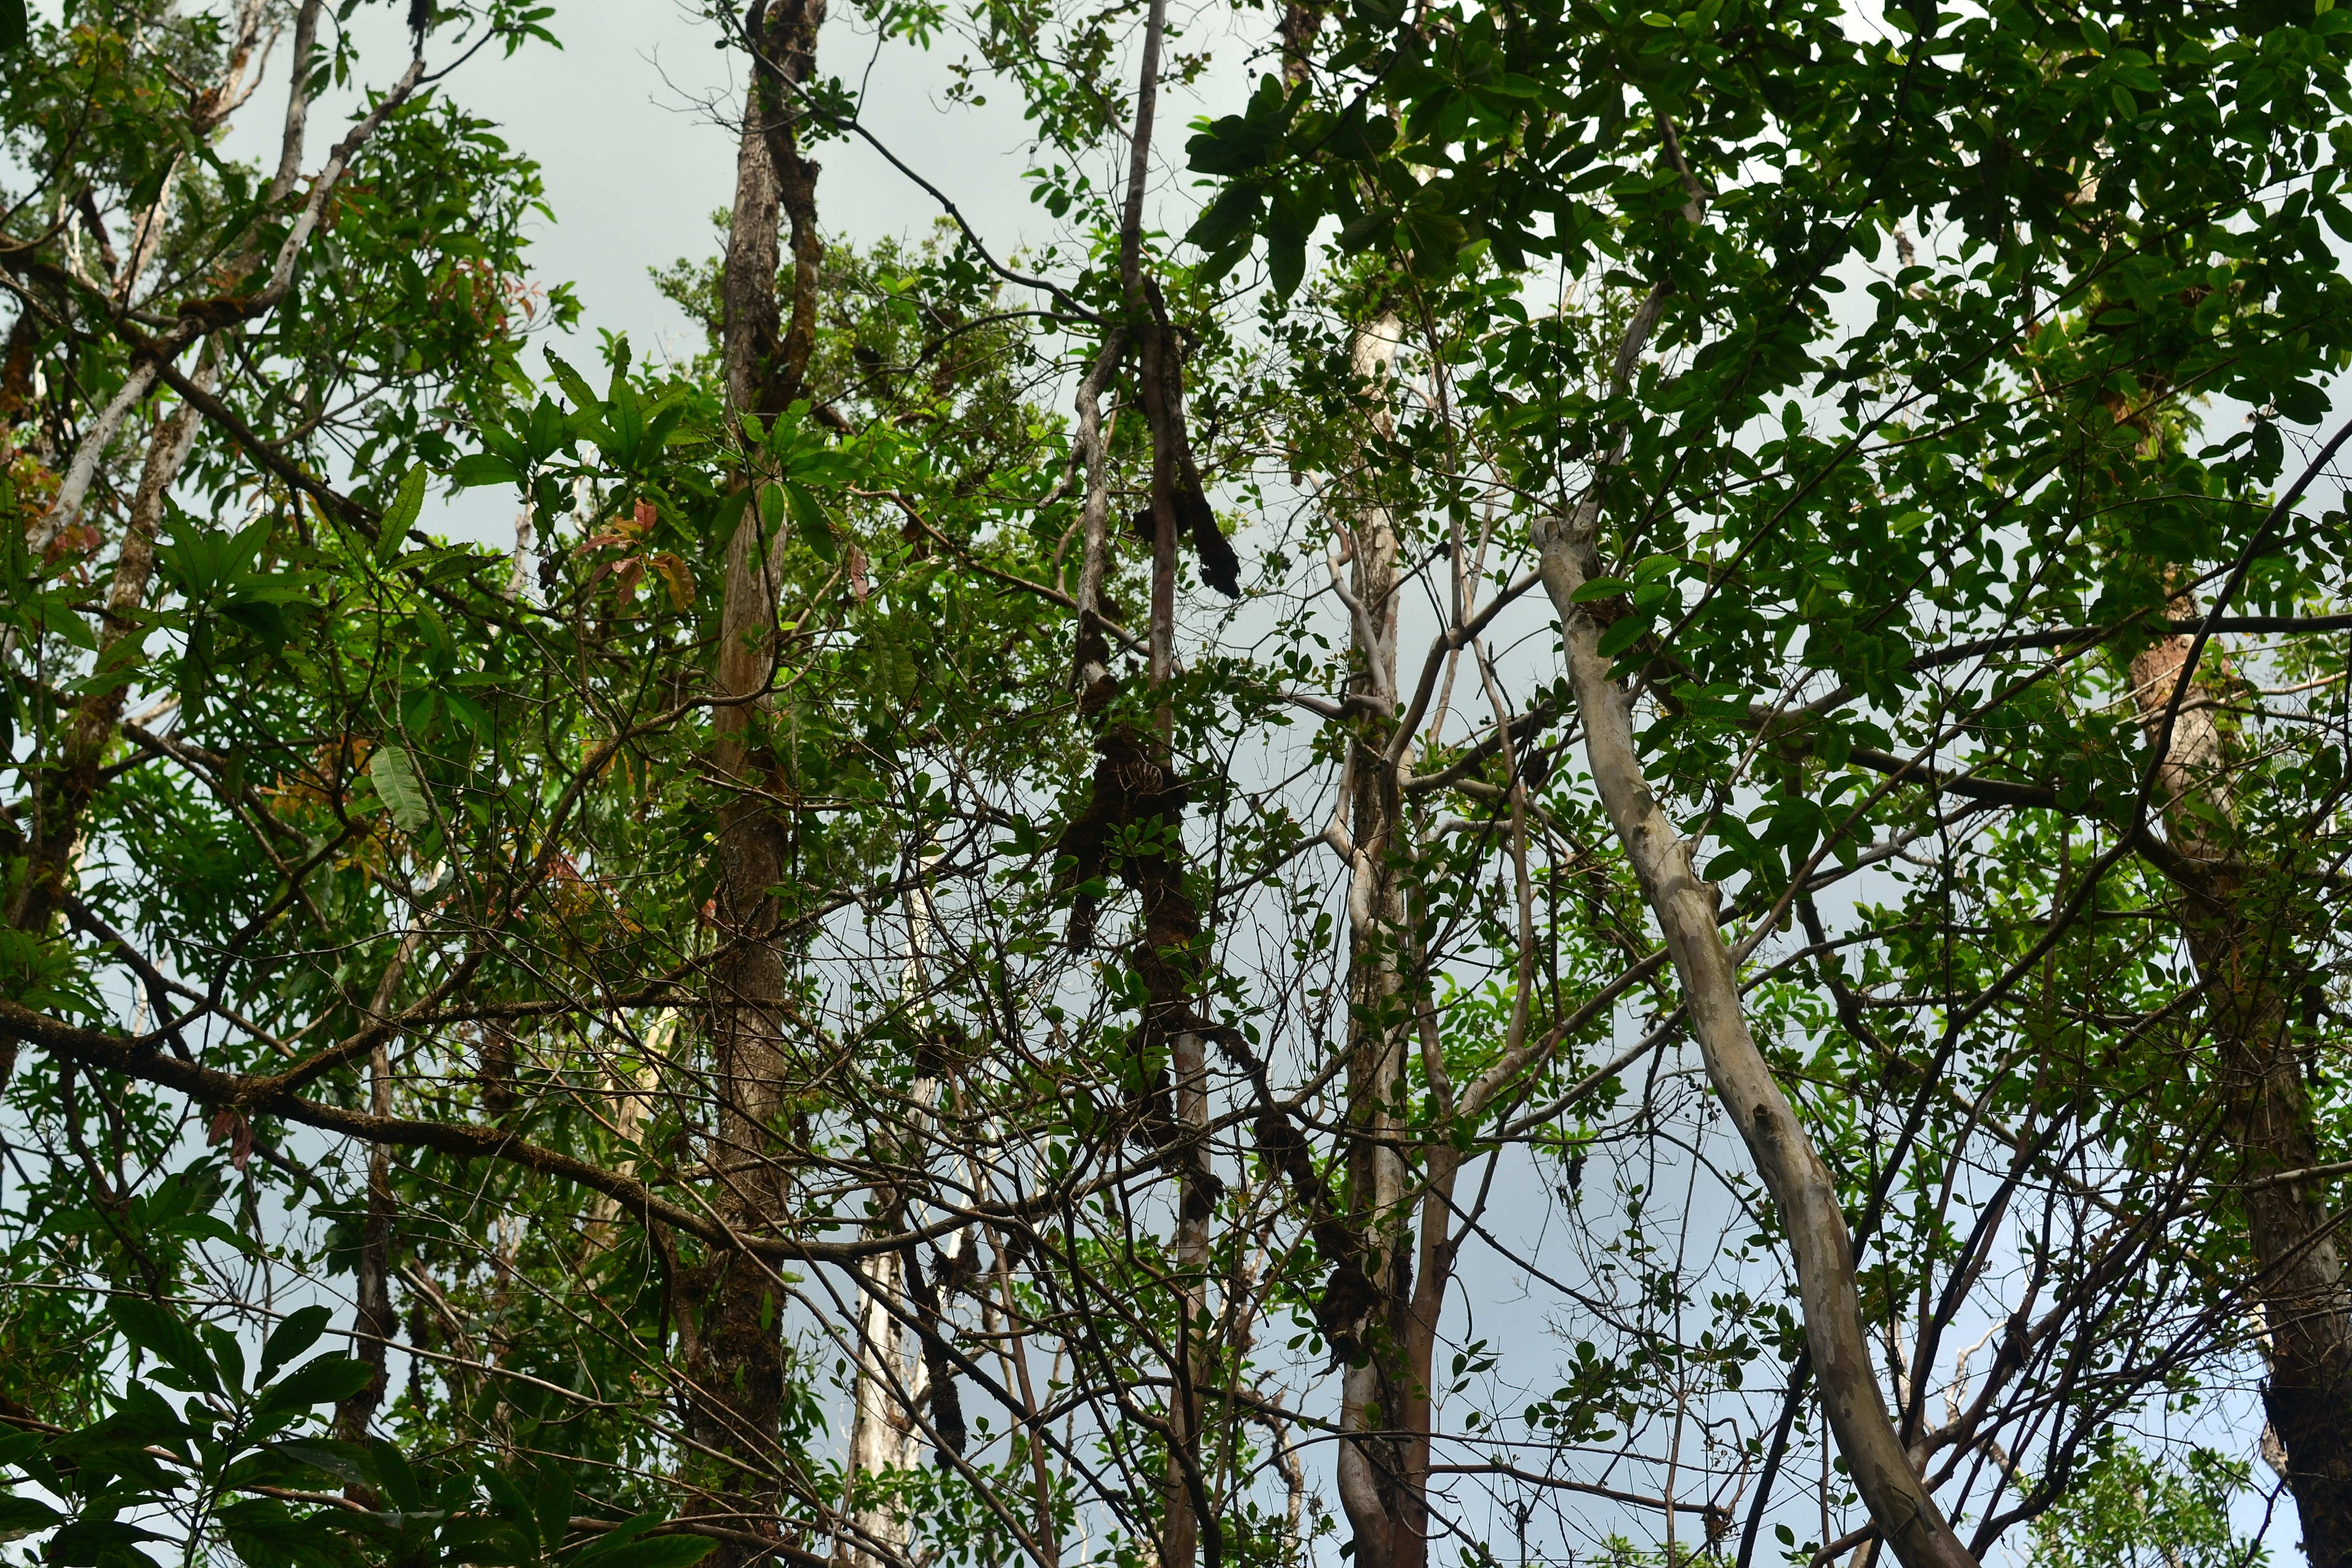
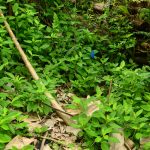
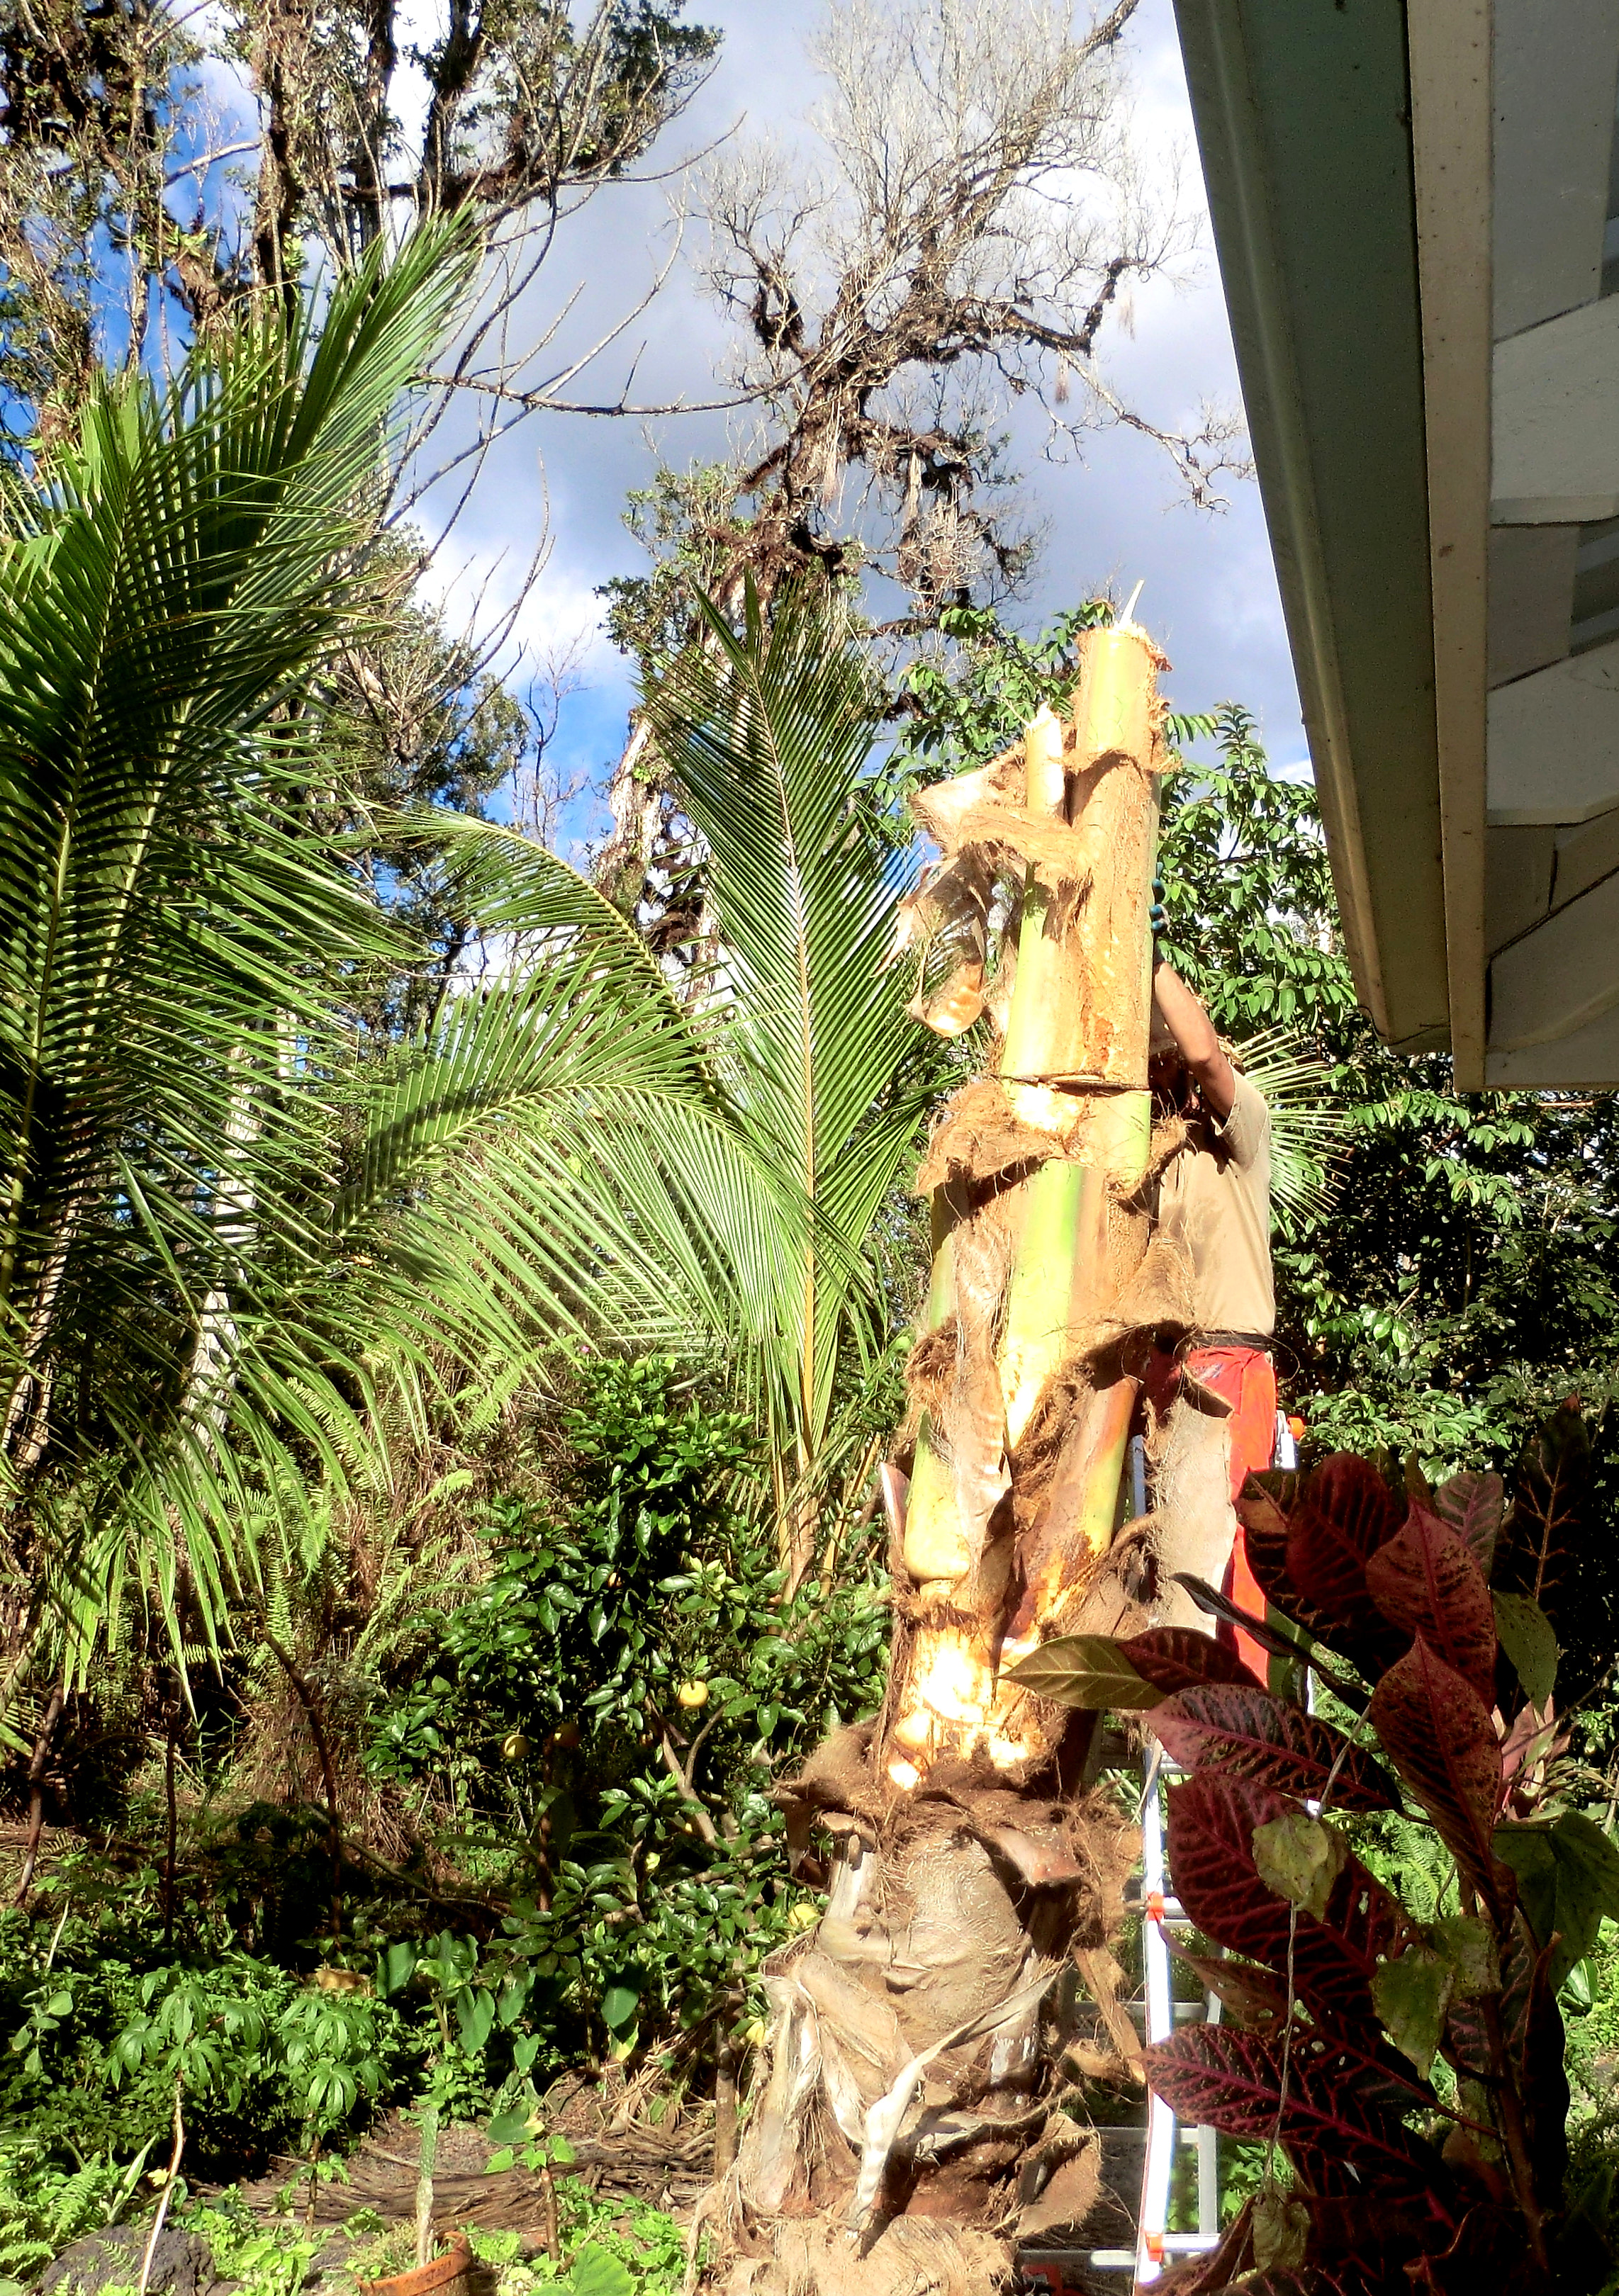
Never cut down a coconut in the wild or on someone else’s private property. Coconuts are the tree of life and have more uses for humans than any other plant on the planet. These are very very special and important trees. With that being said, if the palm endangers or is in the wrong place, go ahead and work it. The smaller the tree the safer and easier it is to work with. Do not take on this project with a large palm if you don’t have the capabilities of using a chainsaw. Coconuts are dense and hard to work; a handsaw just won’t work for the trunk (I tried). Heart of palm is very perishable. Work the palm quickly and efficiently and do not open the heart until you are ready to eat it. It oxidizes immediately. Take it into the kitchen to store it right away and do not leave in the sun. You may refrigerate or freeze fresh once harvested.
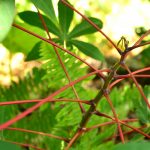
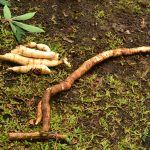
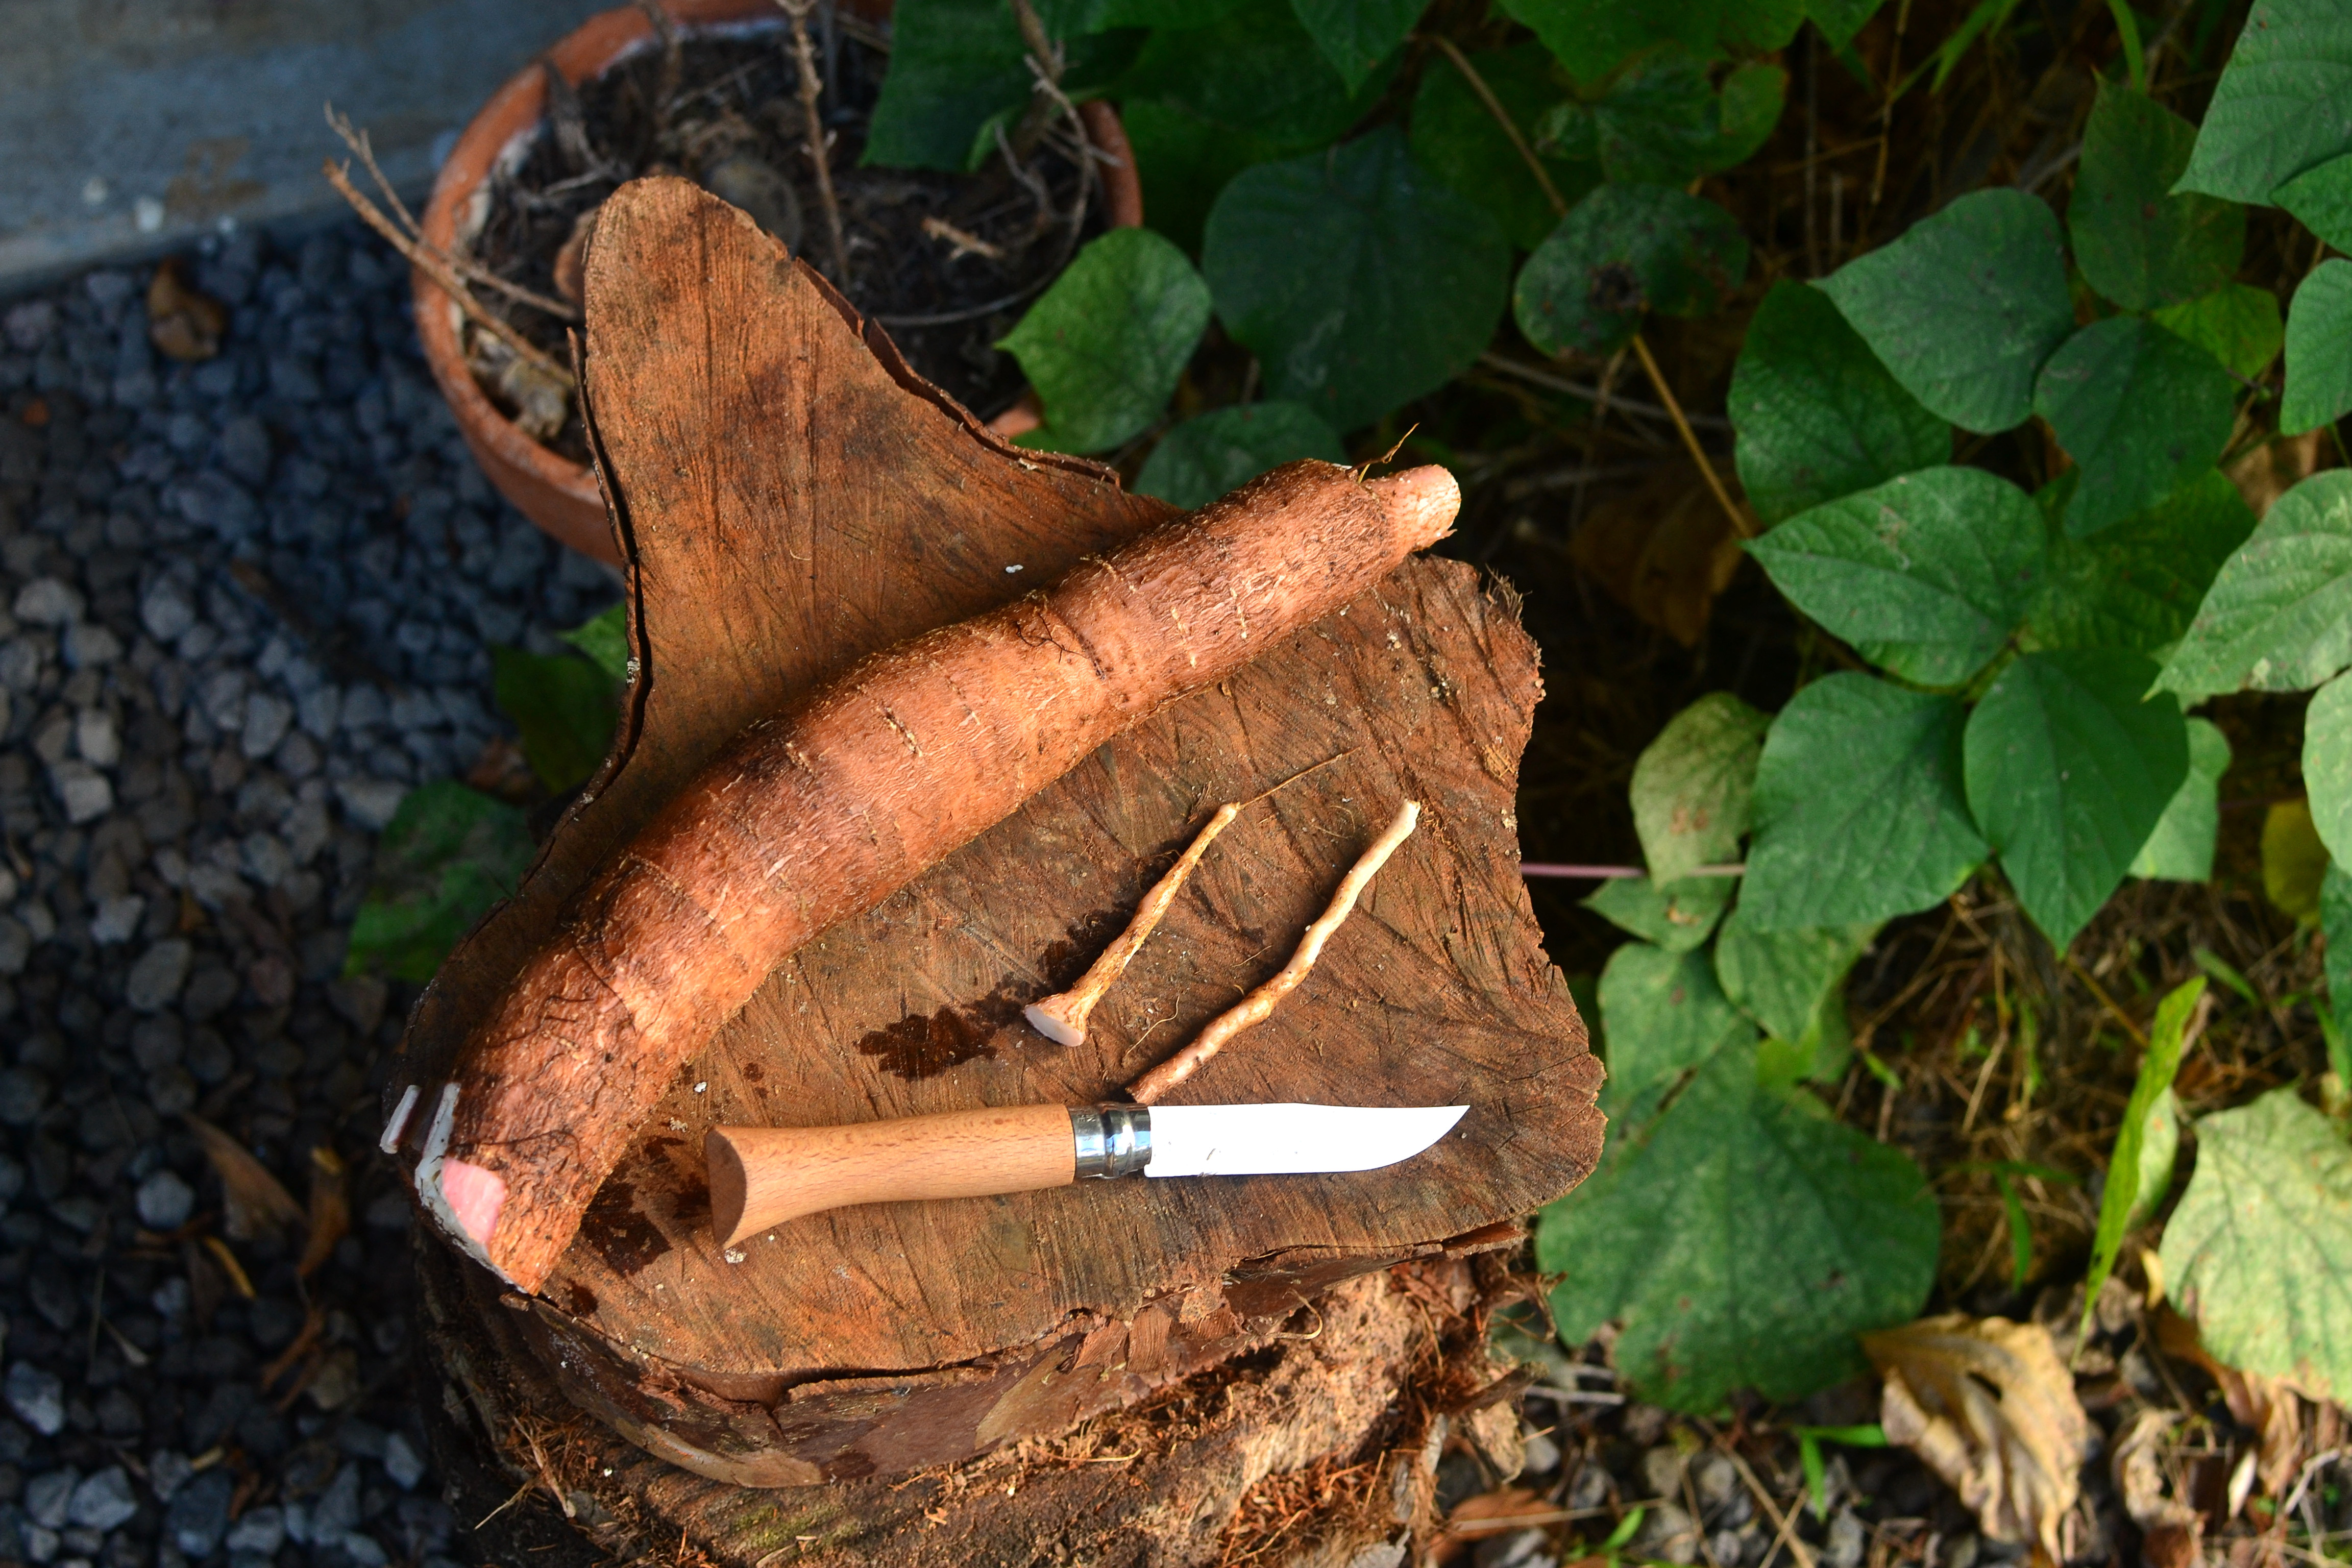
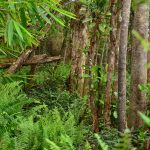
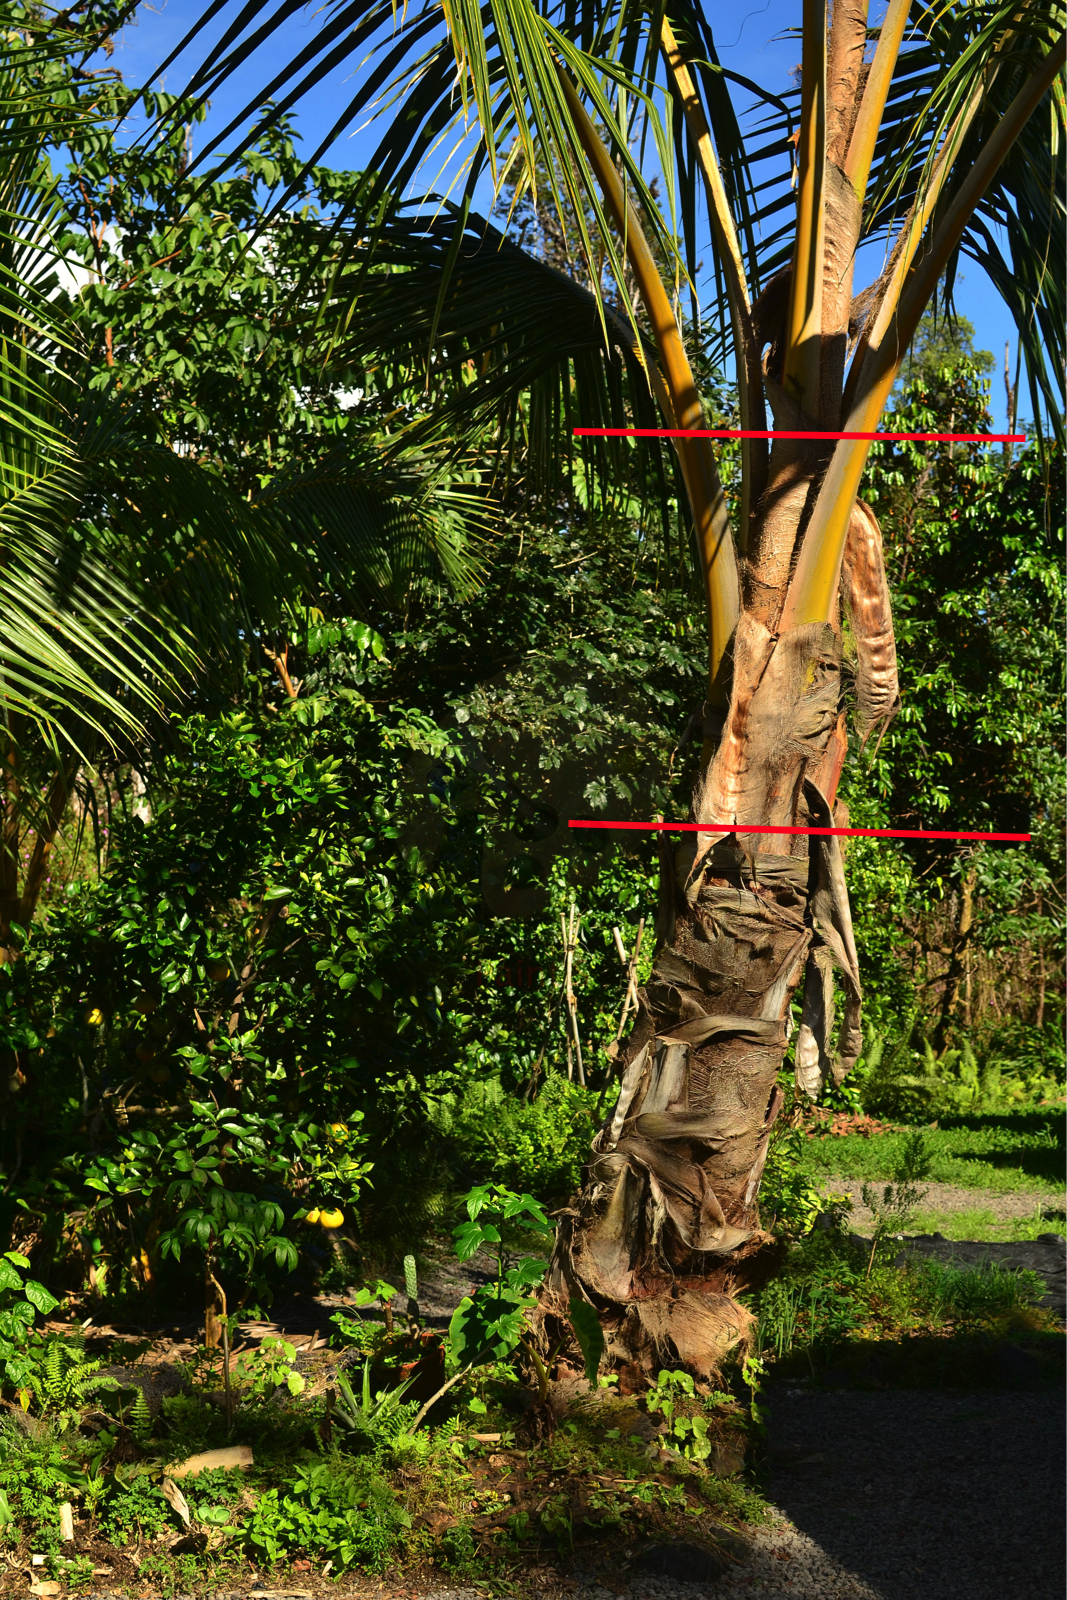
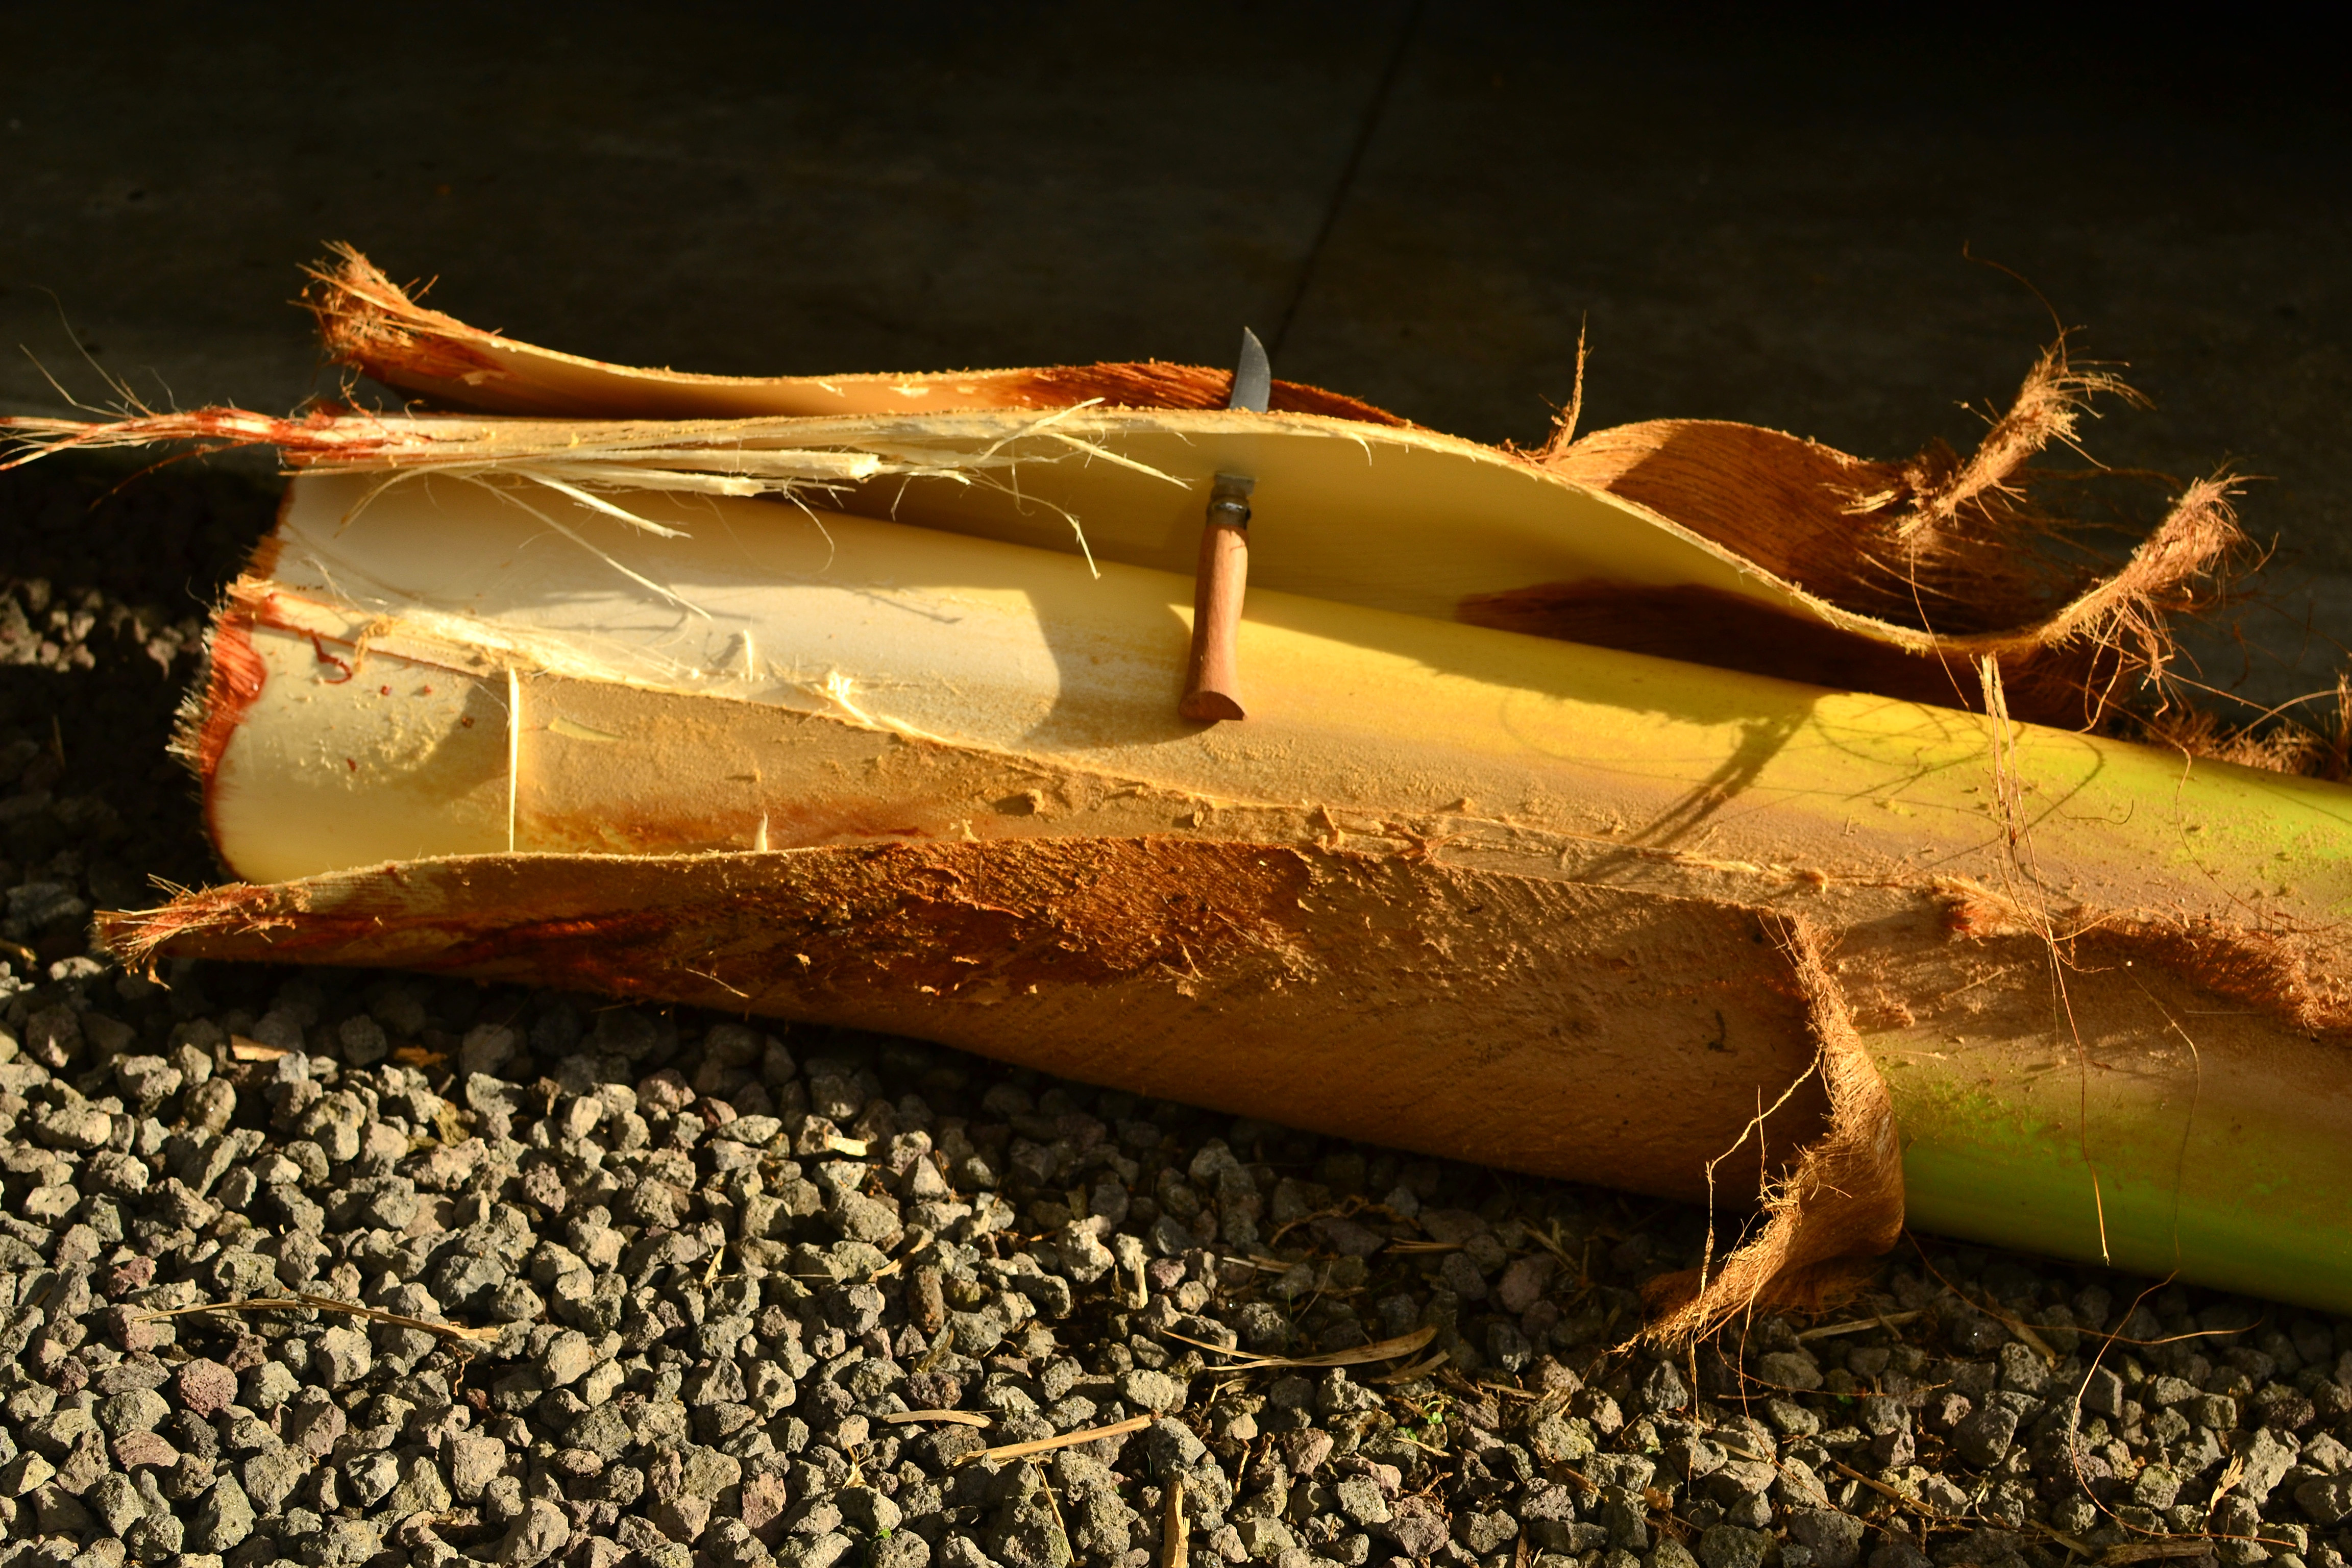
This is the section of the palm where the heart is located. The rest of the palm is woody and has older fronds. Cut down the entire trunk and cut off this section to work it separately.
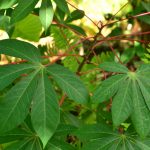
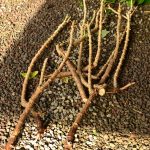
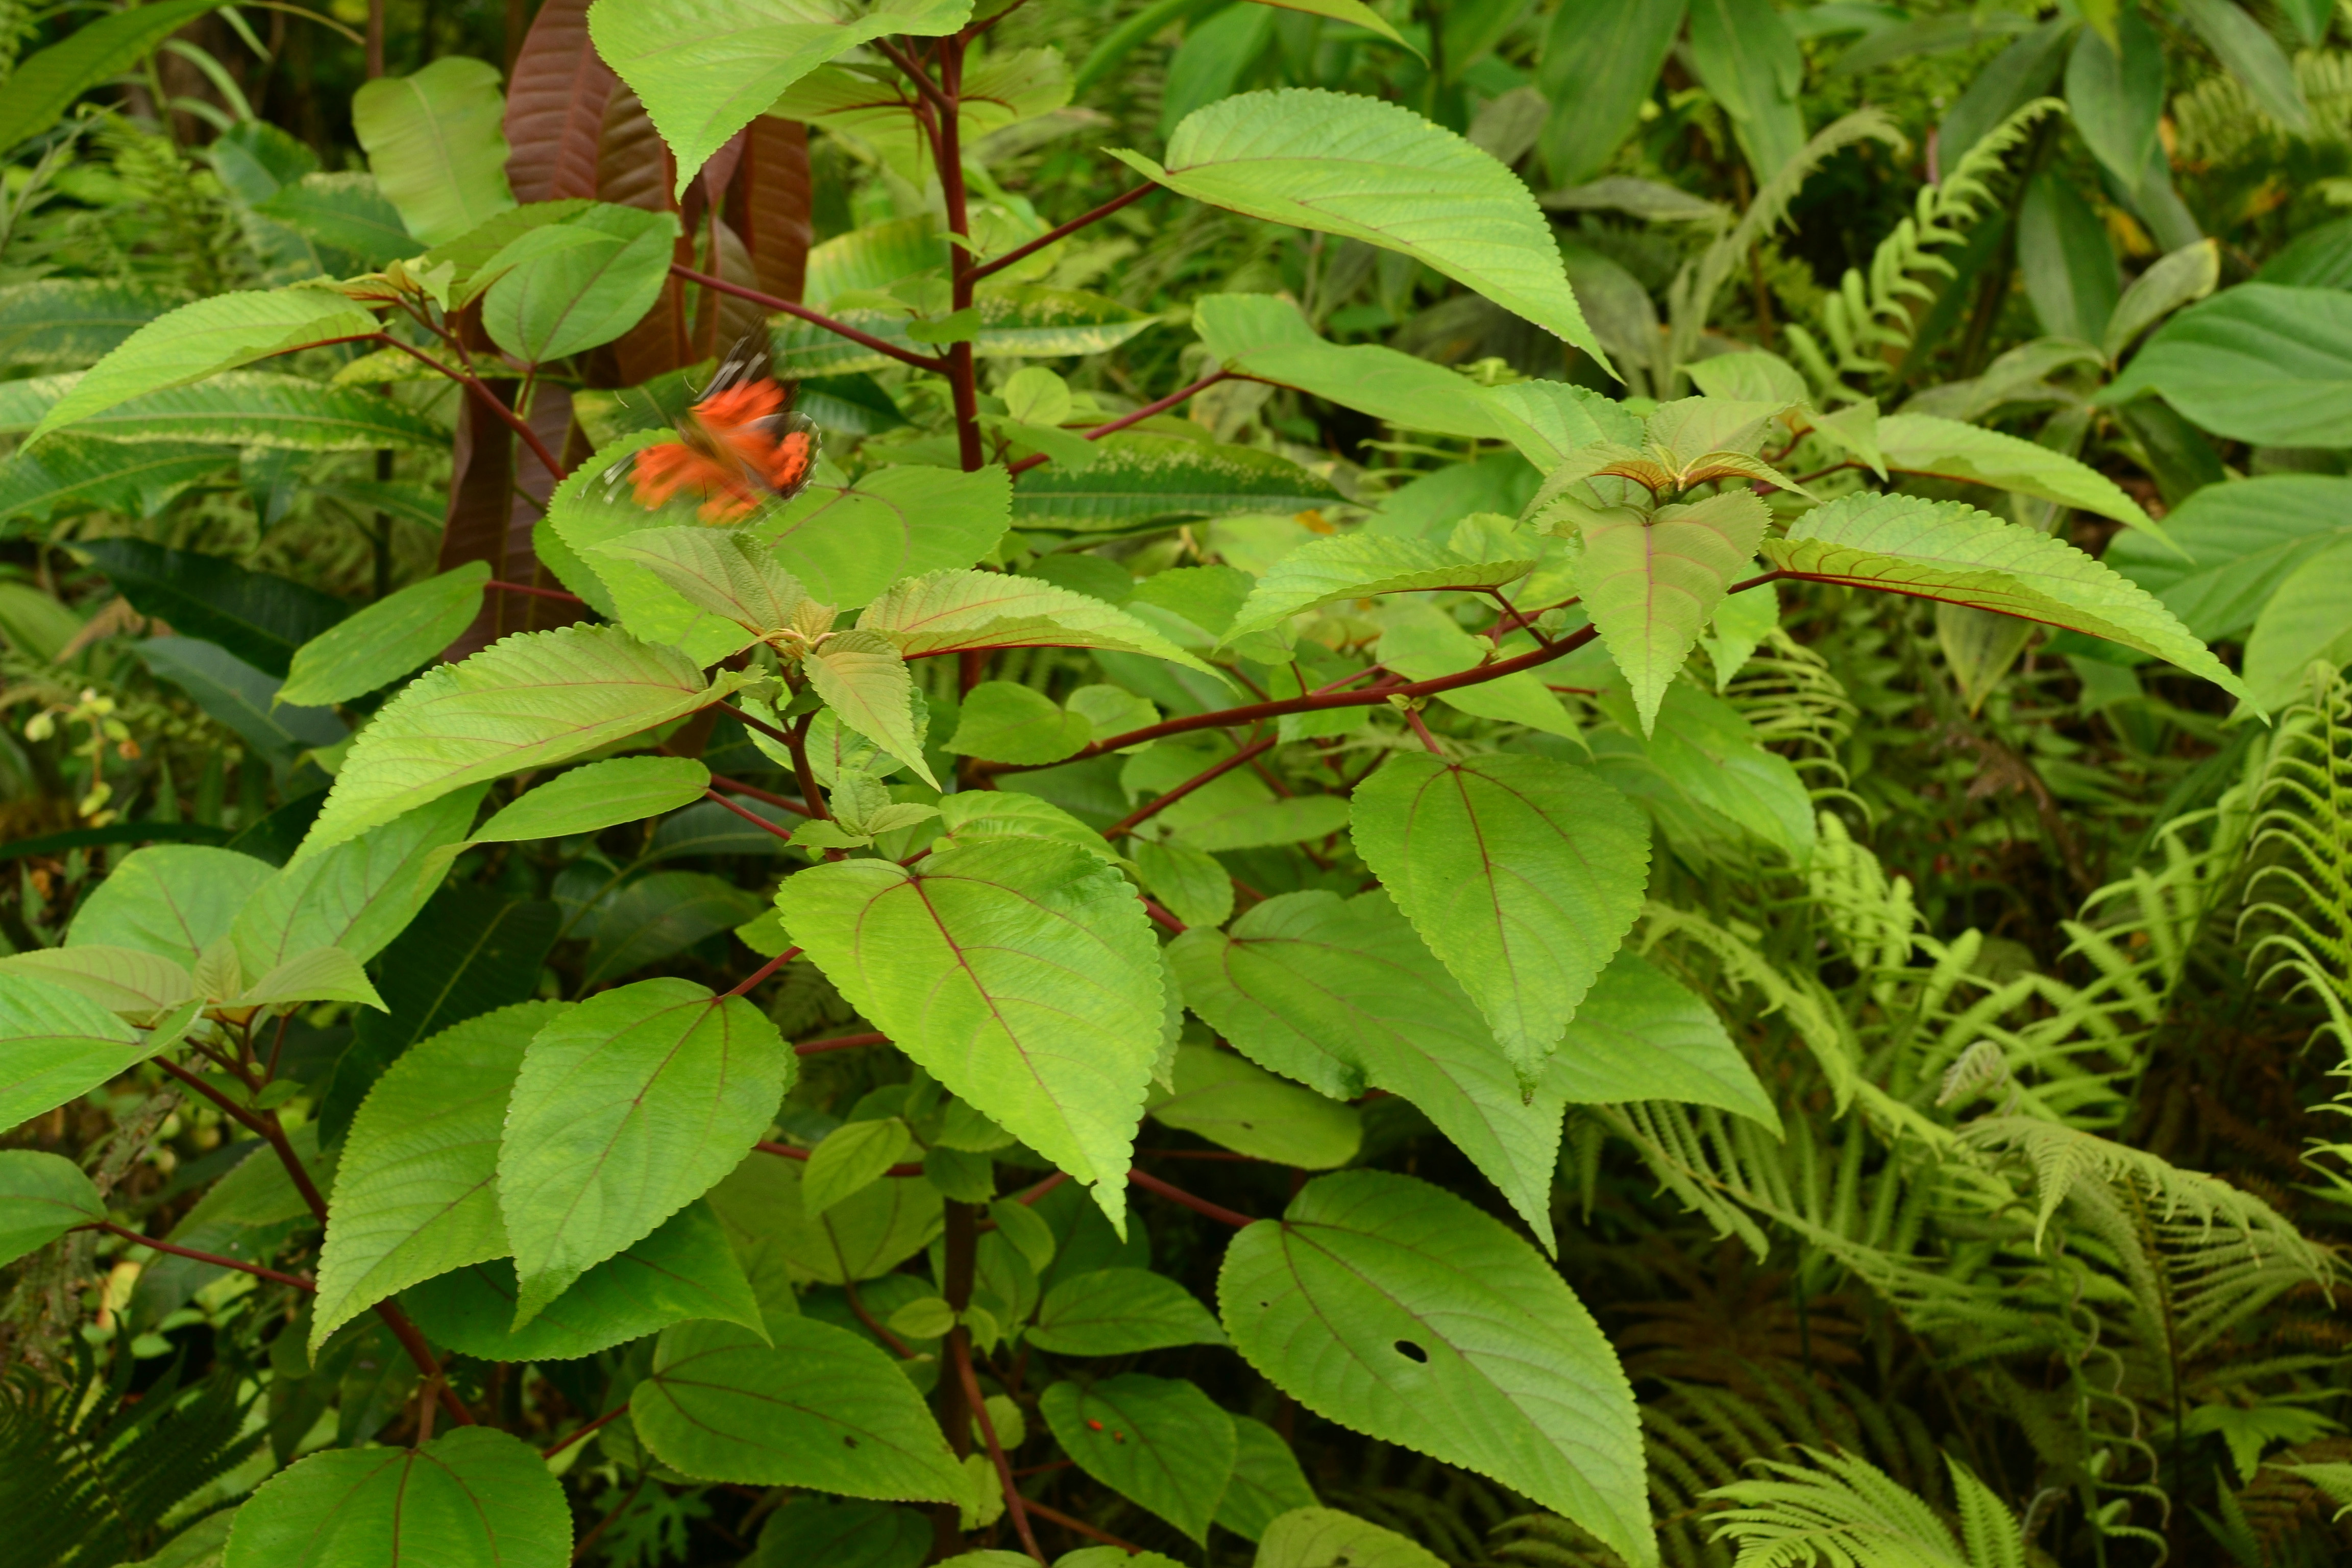
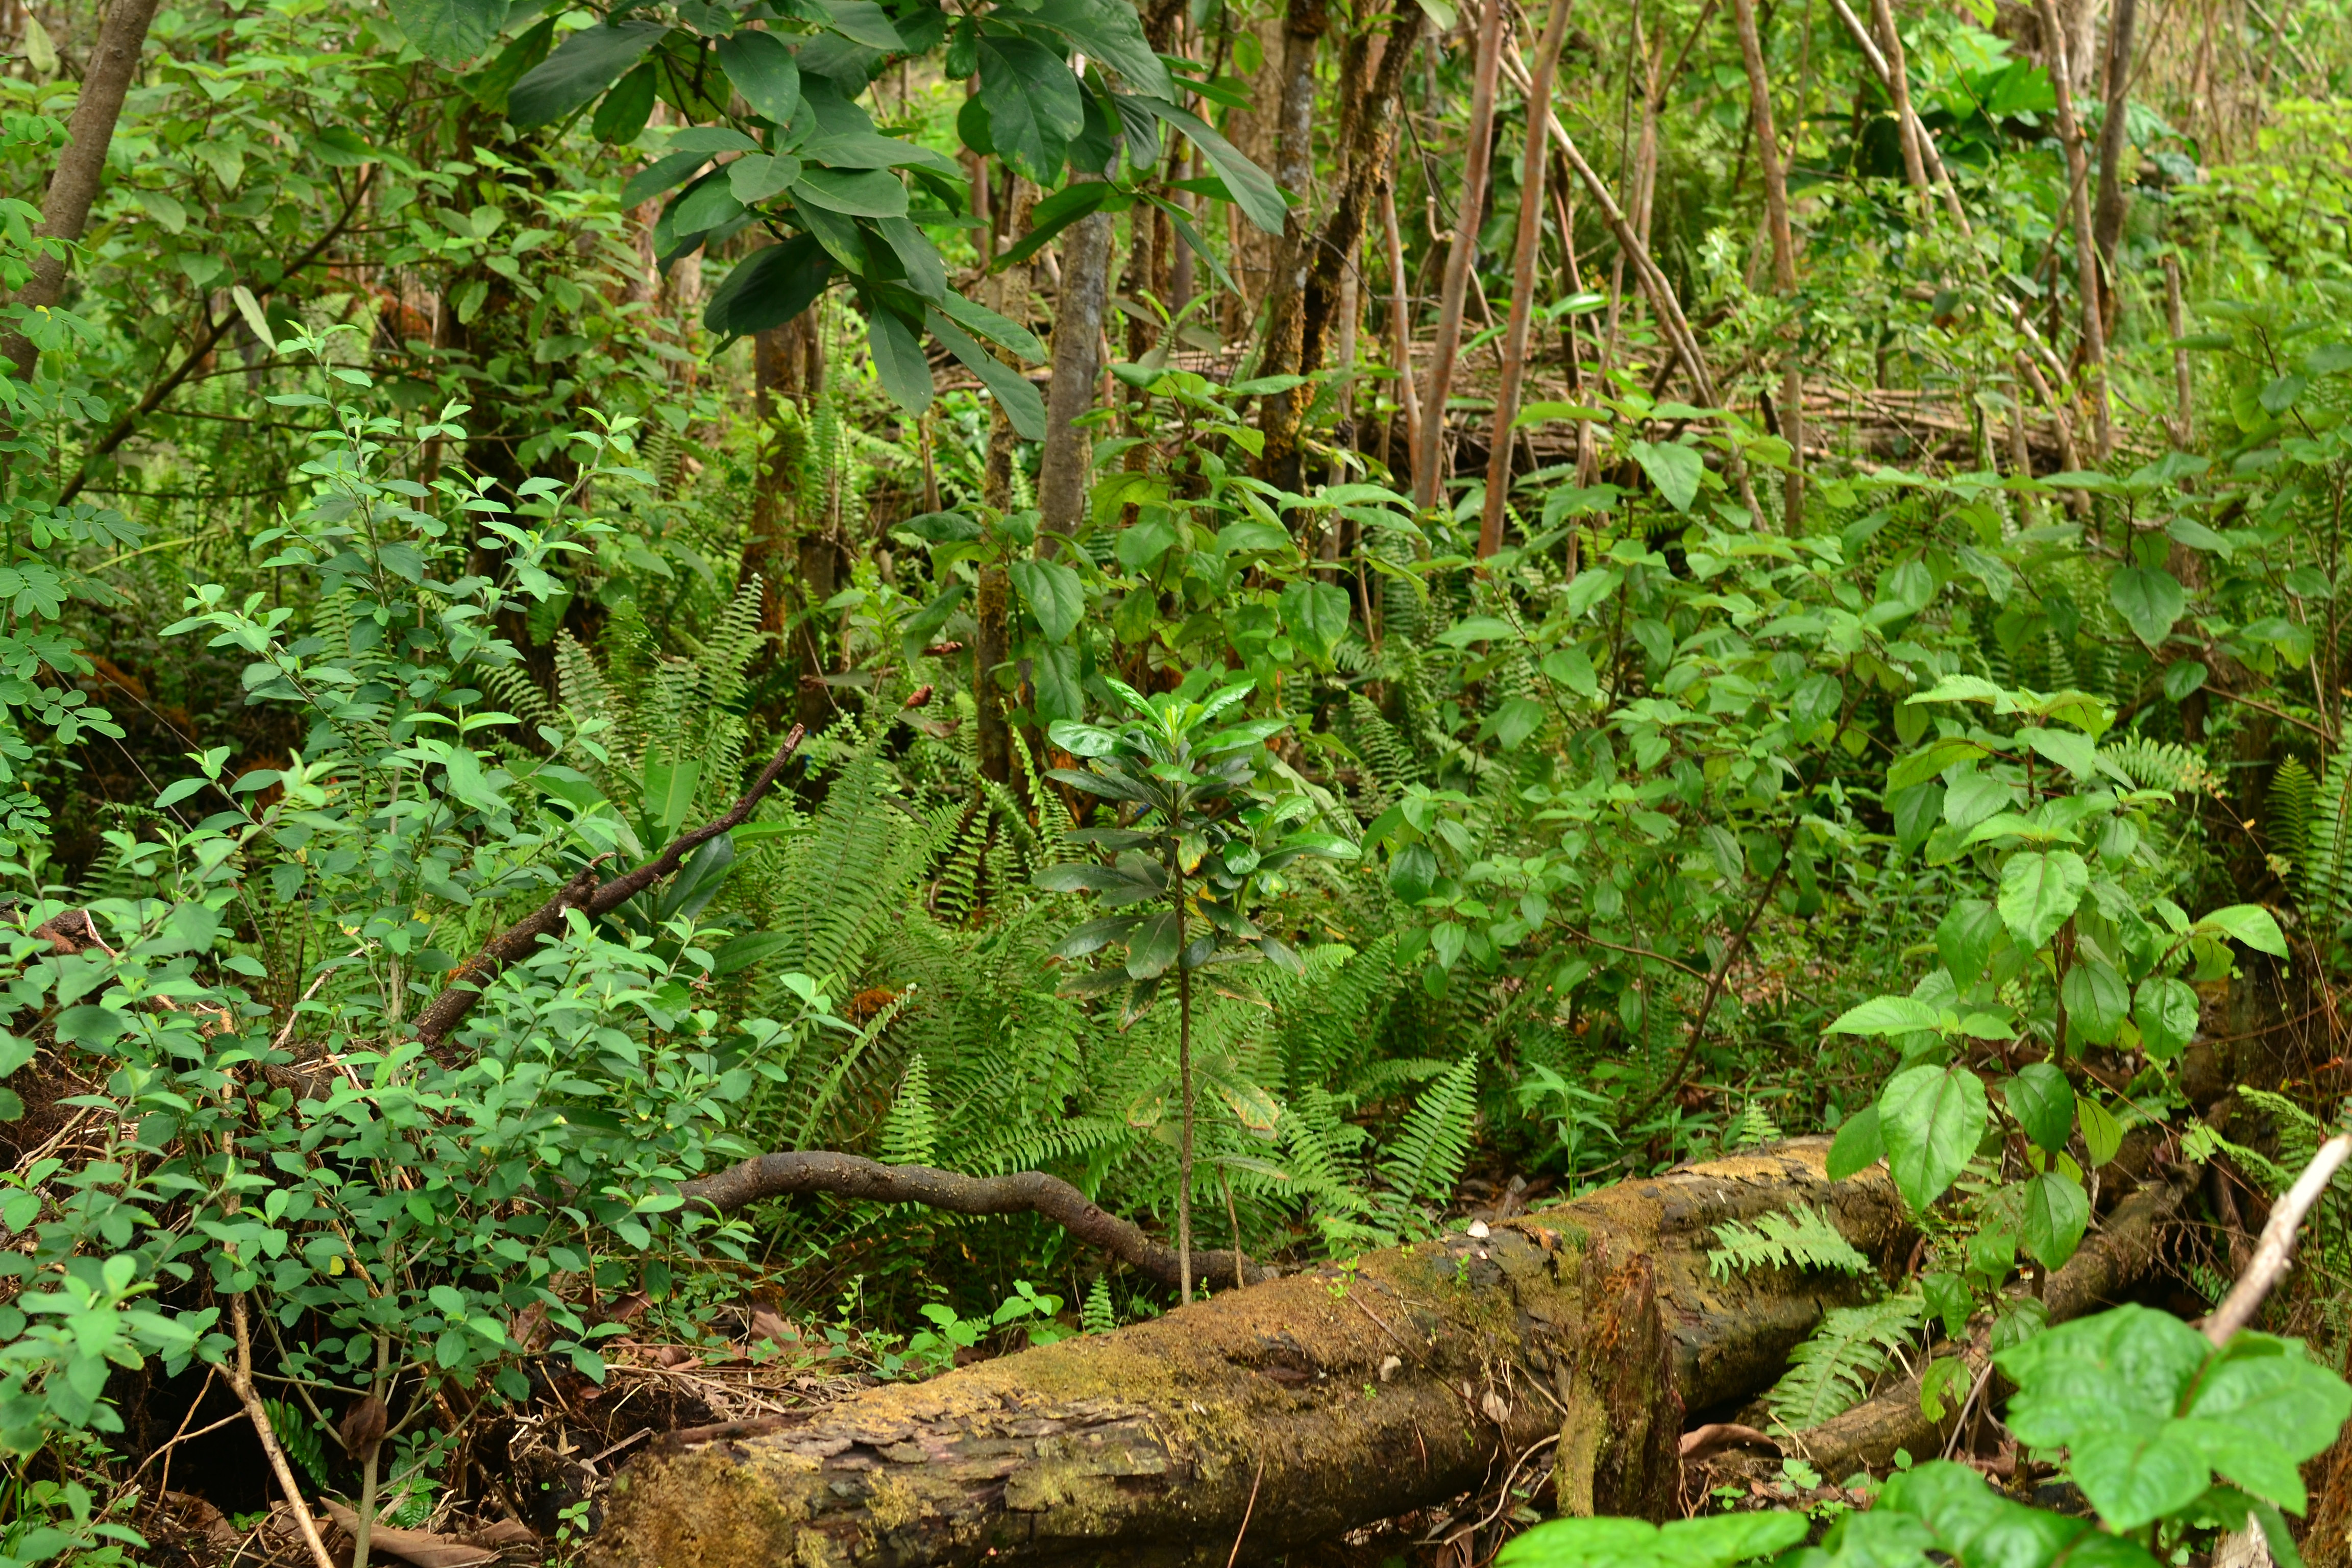
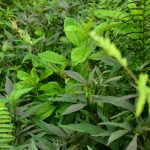
Buck up the rest of the trunk into sizeable pieces and distribute them as borders or around trees for mulch. Utilize fronds however you would like, I mulched them heavily around an orange tree then in areas to suppress grasses. So many uses from this plant!
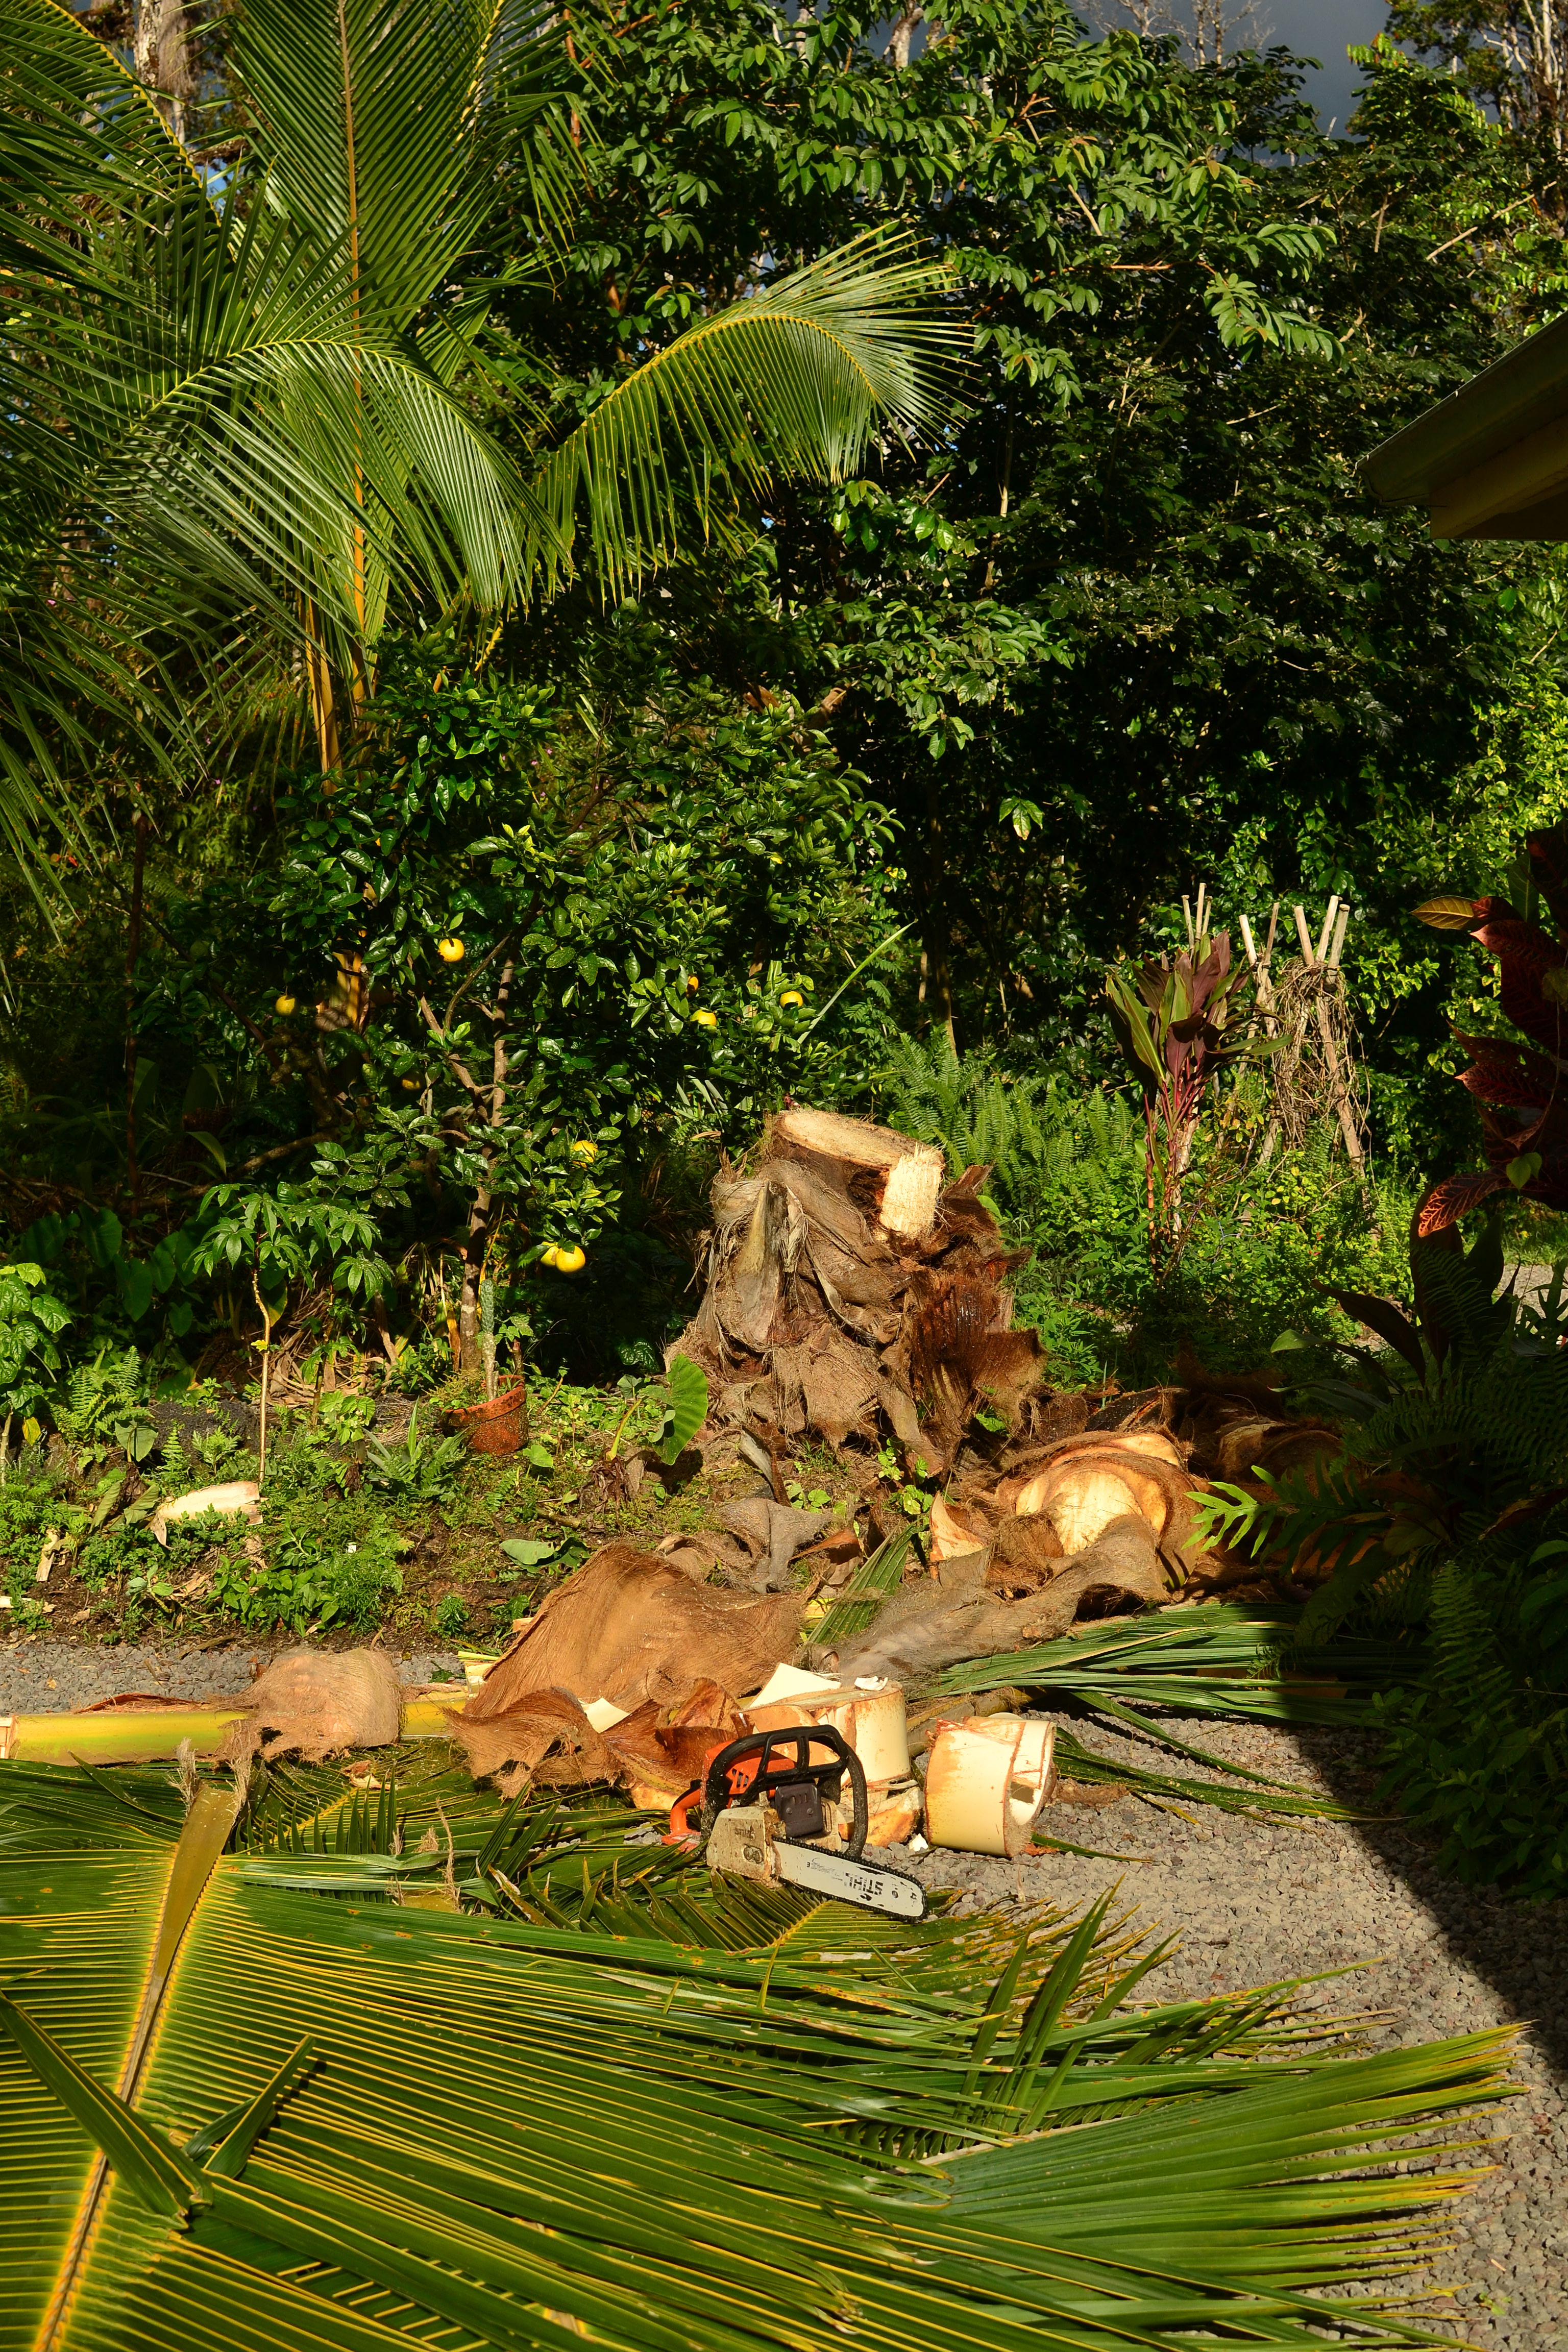
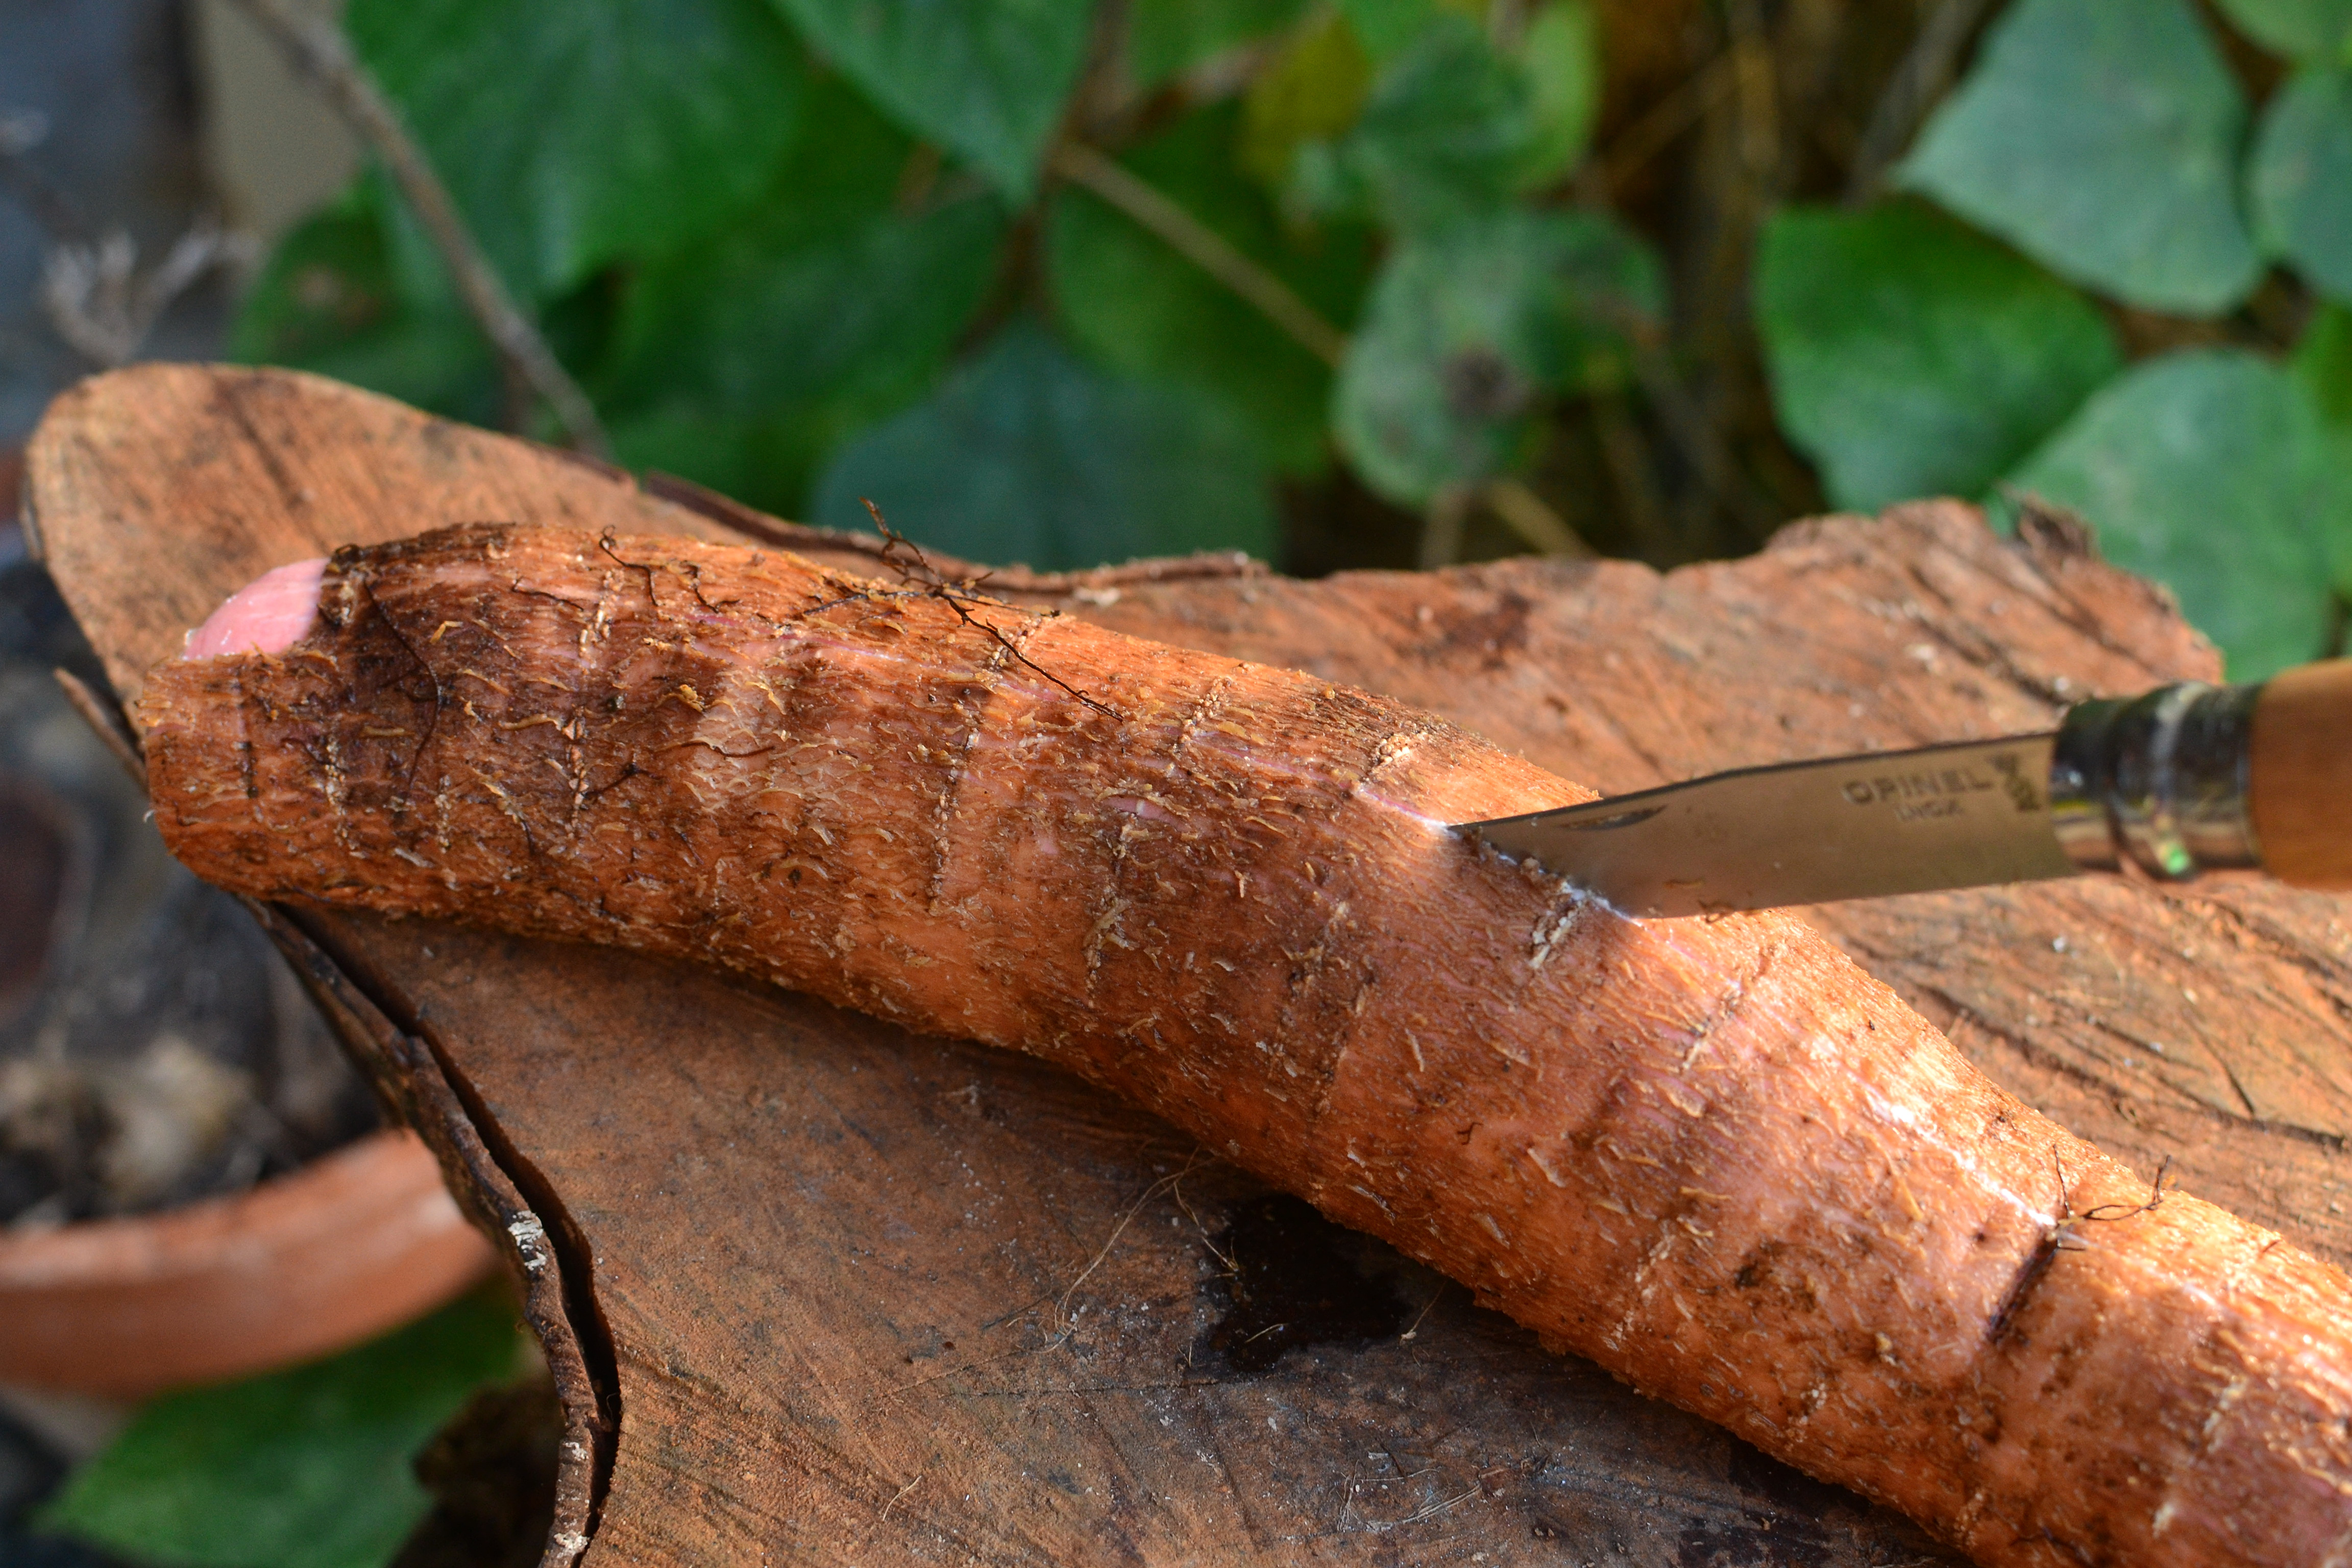
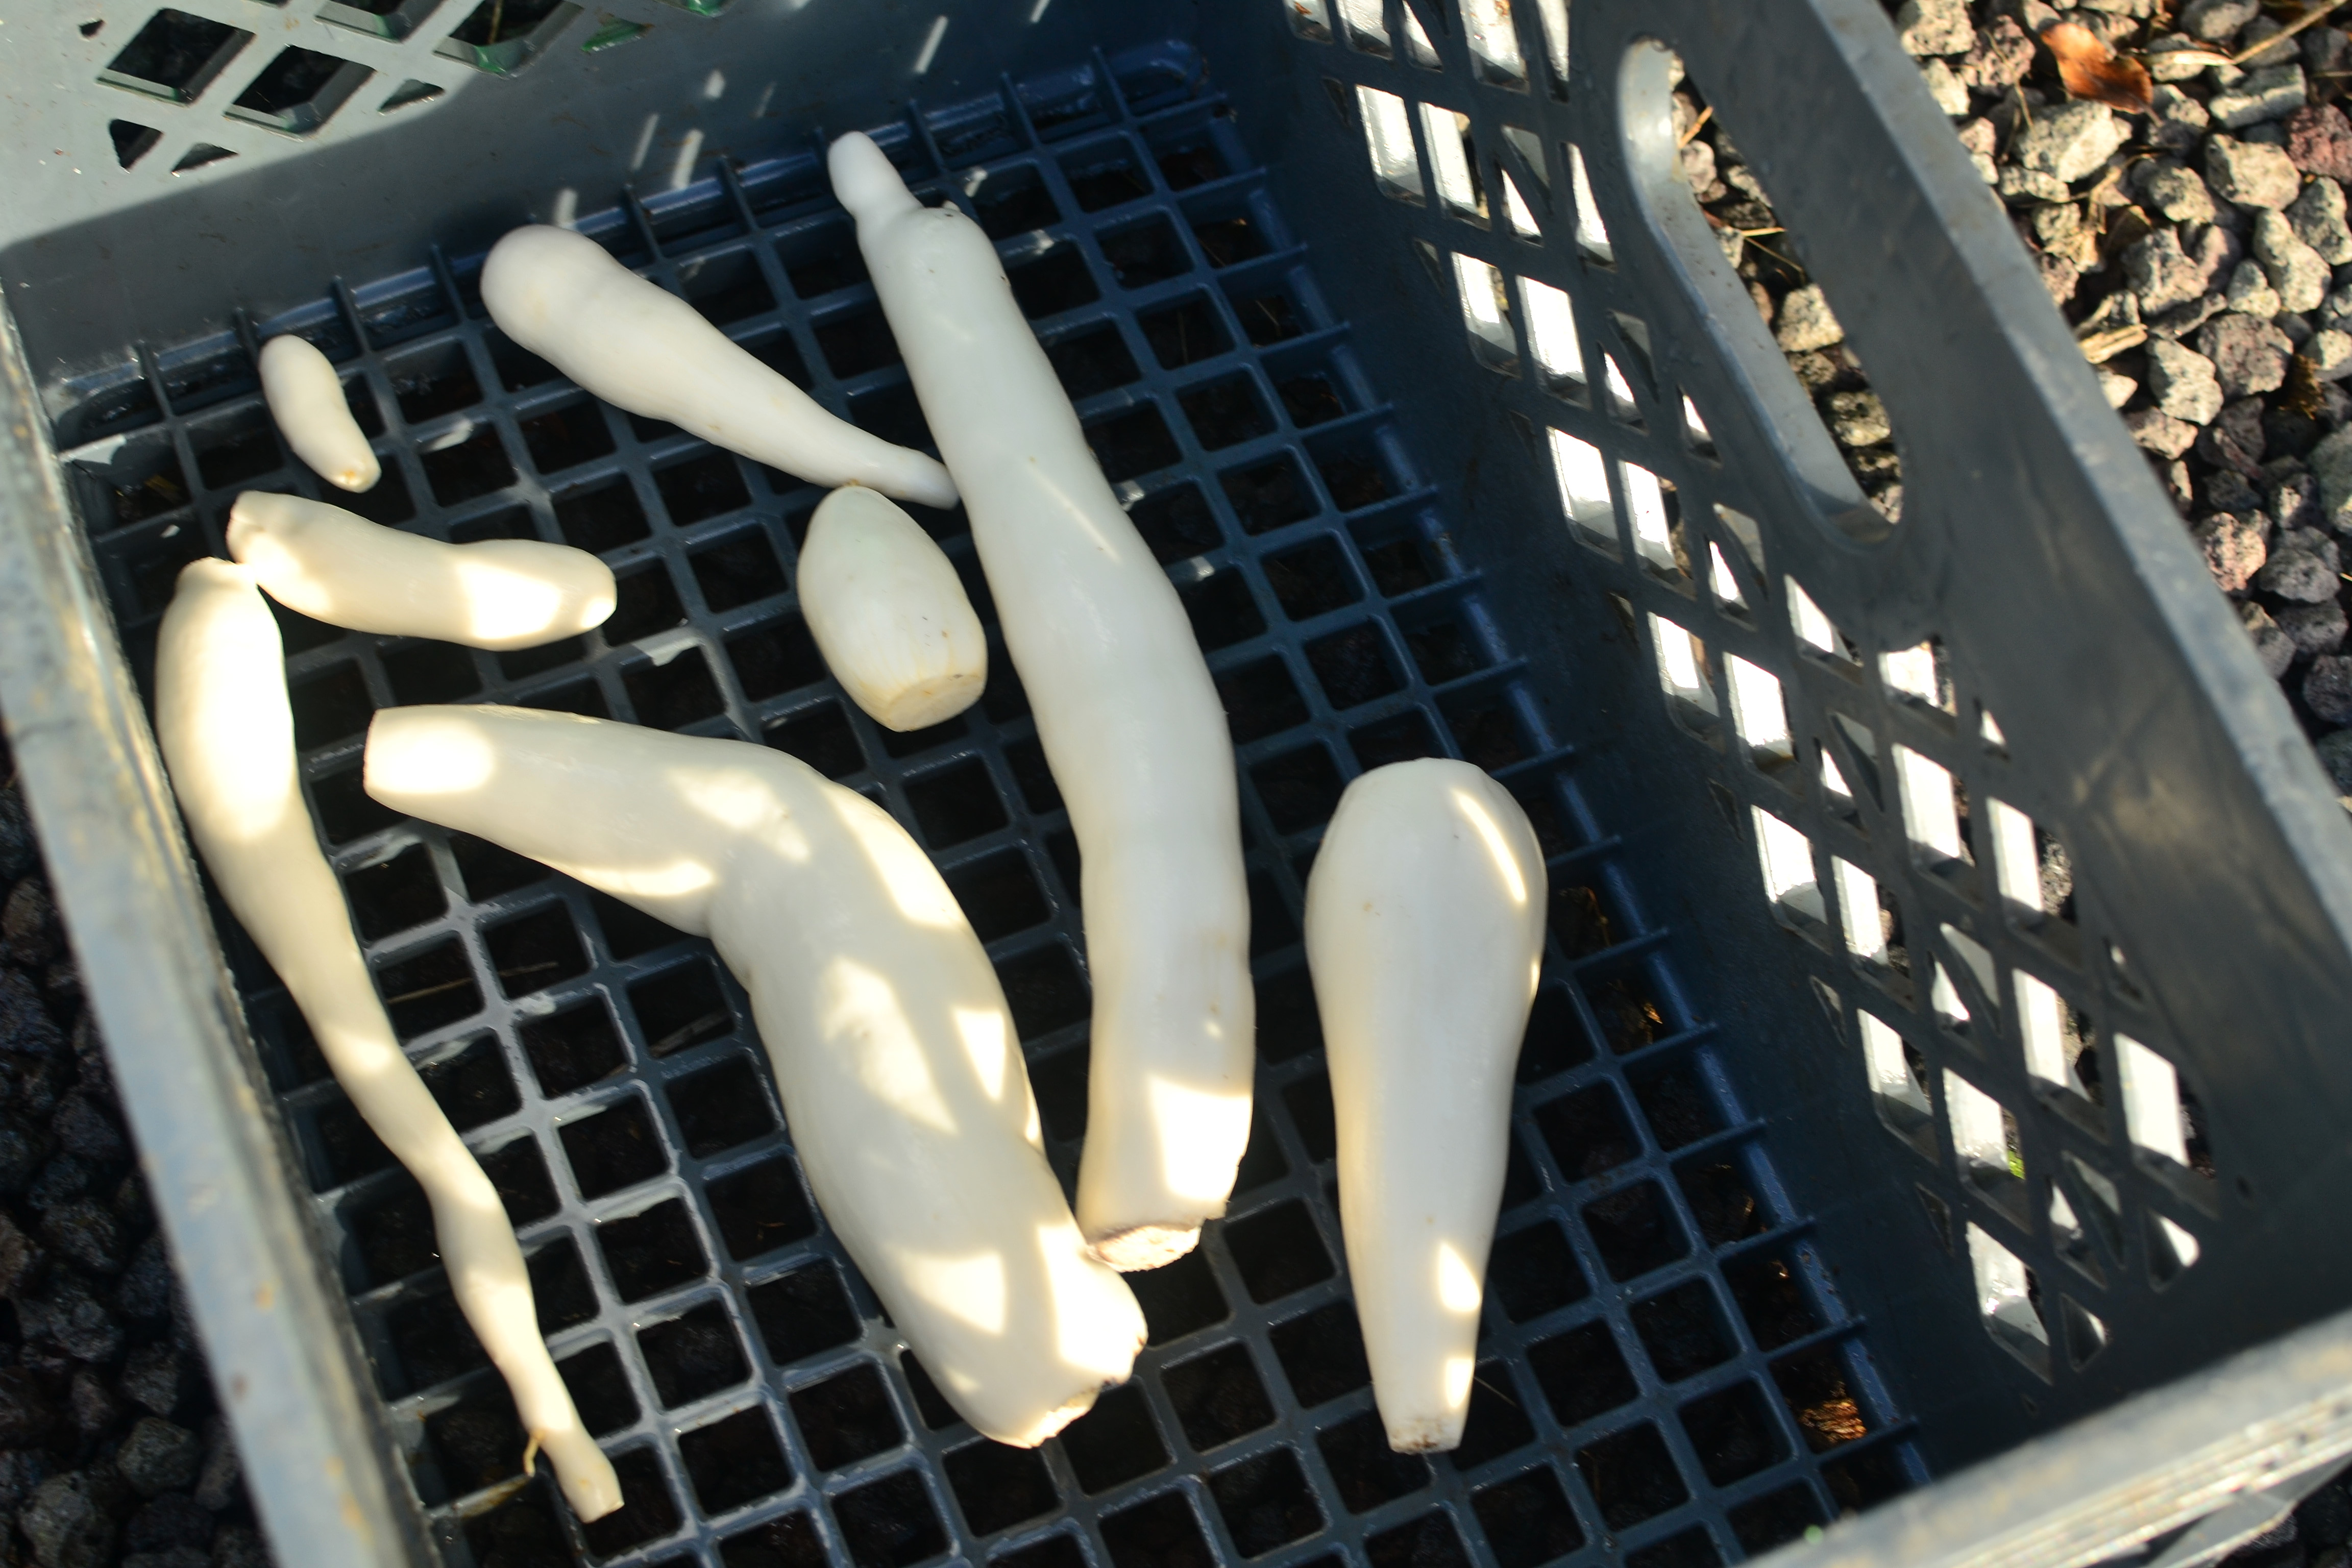
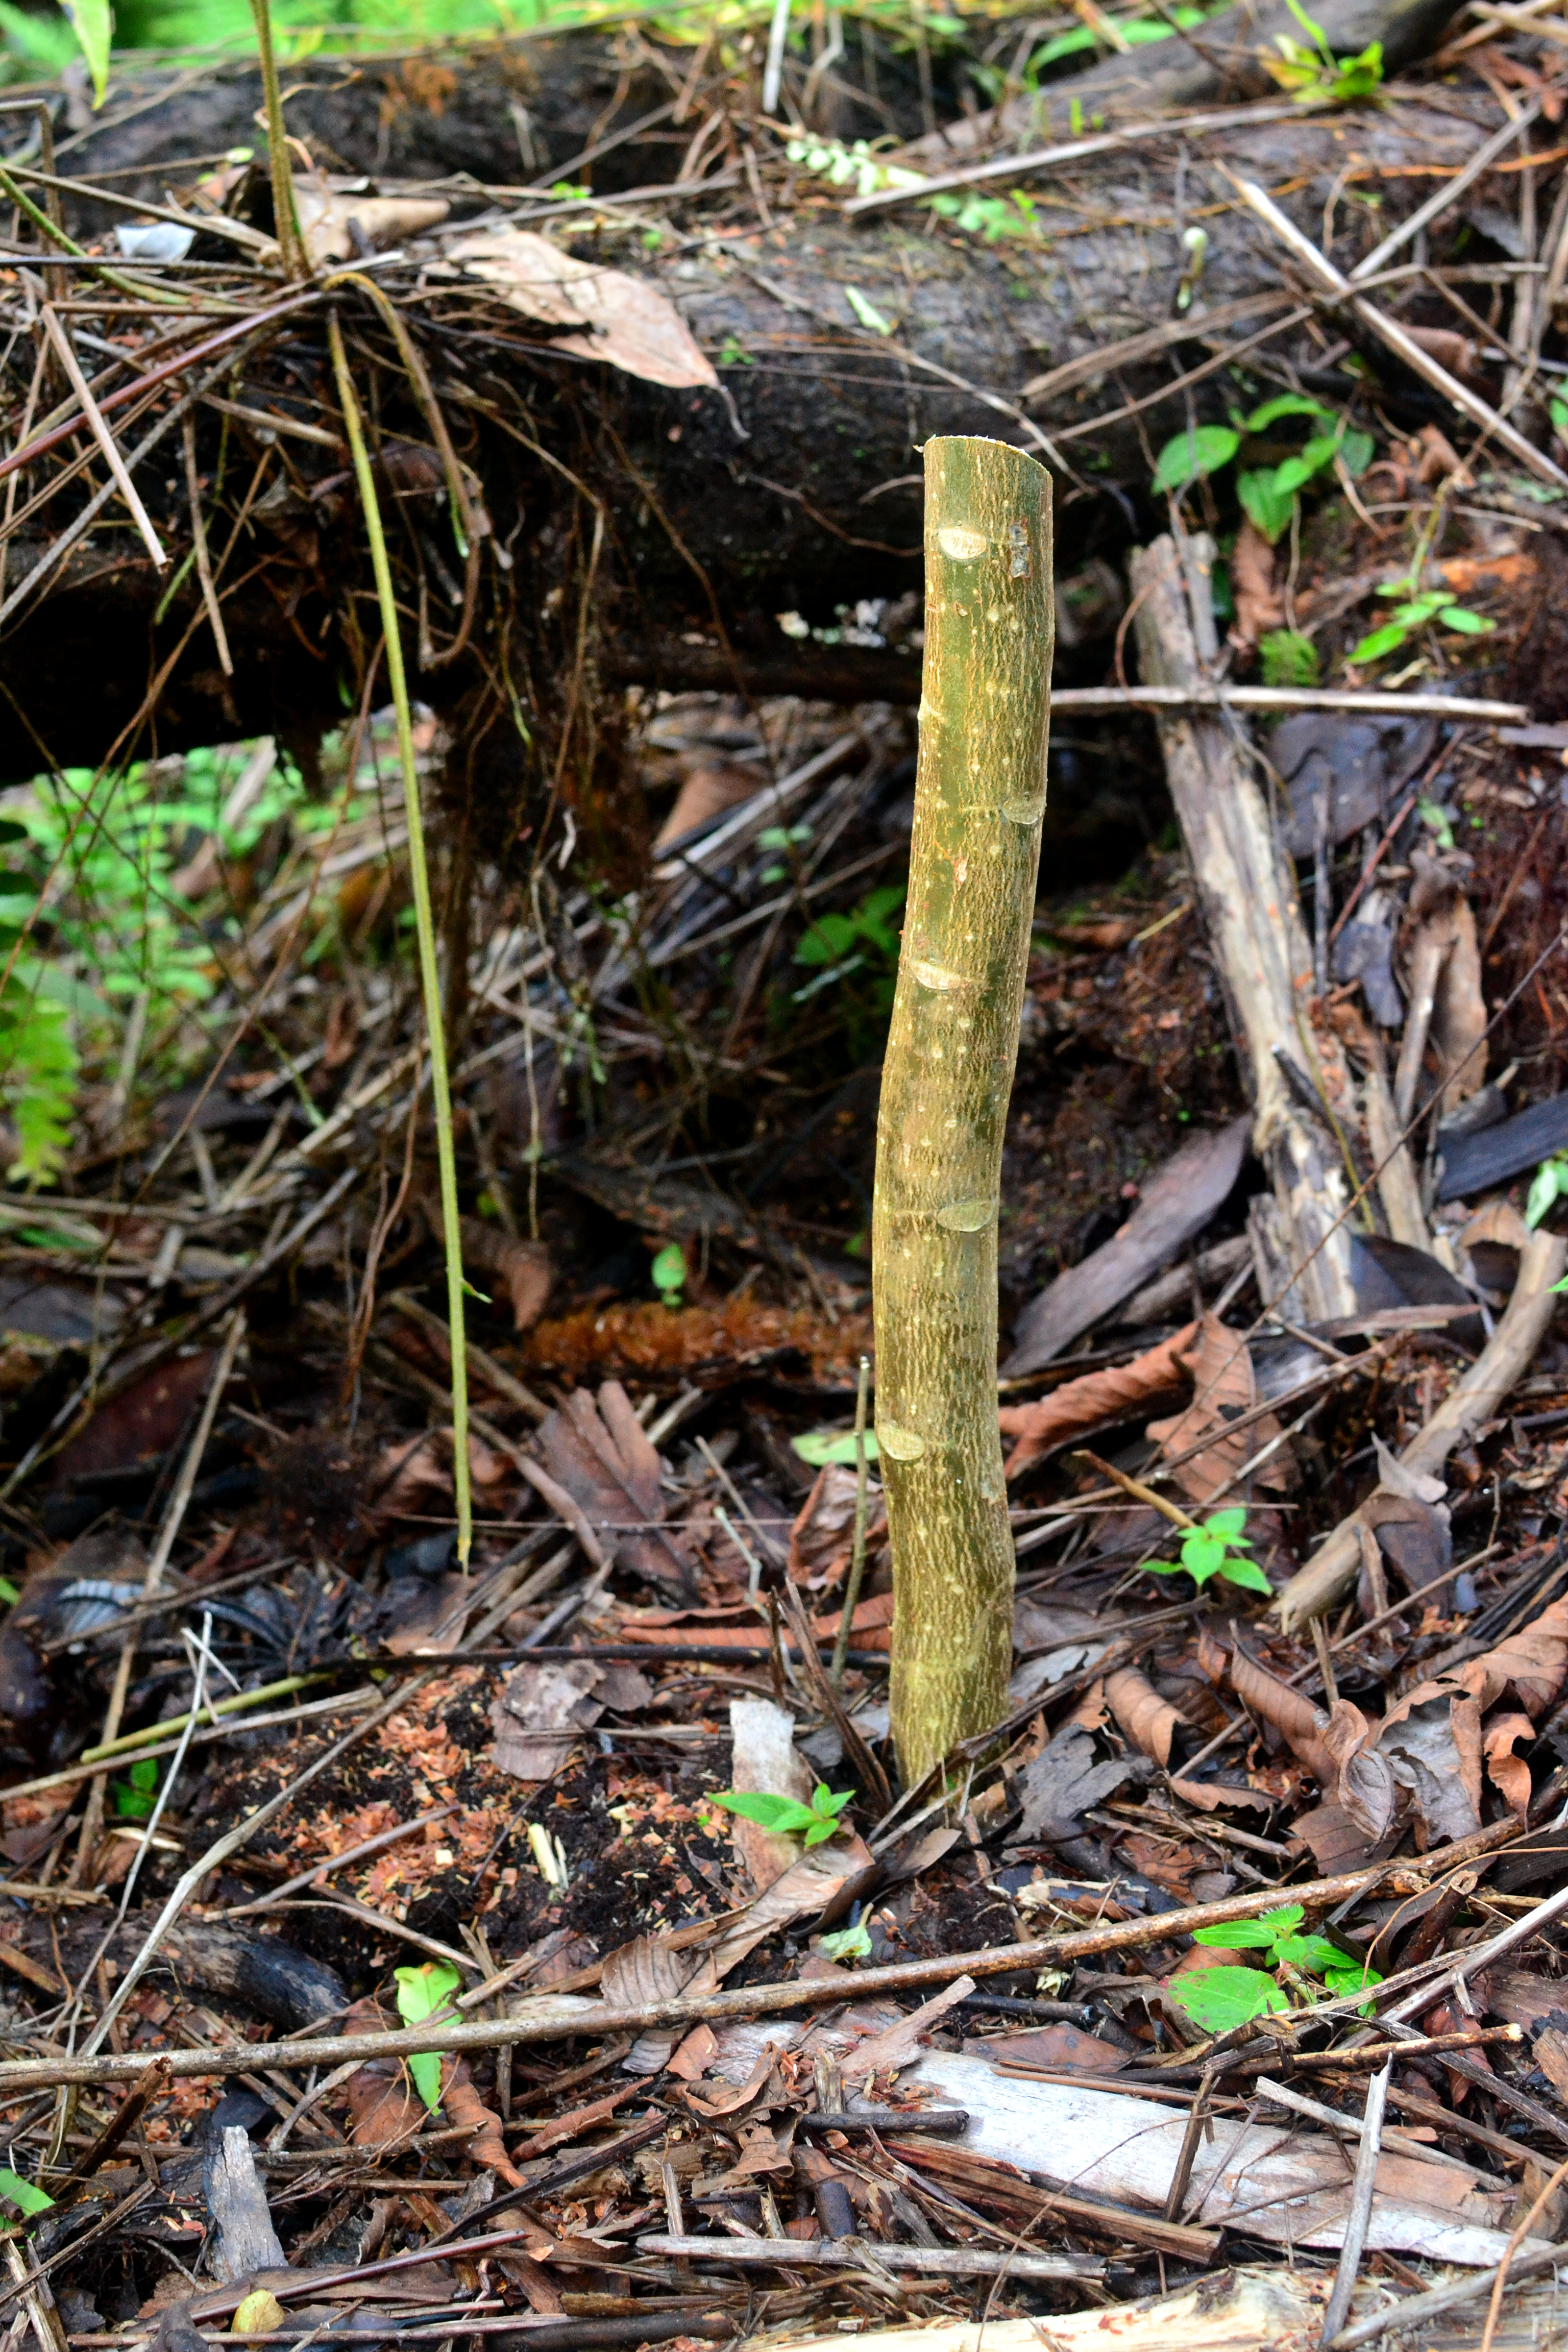
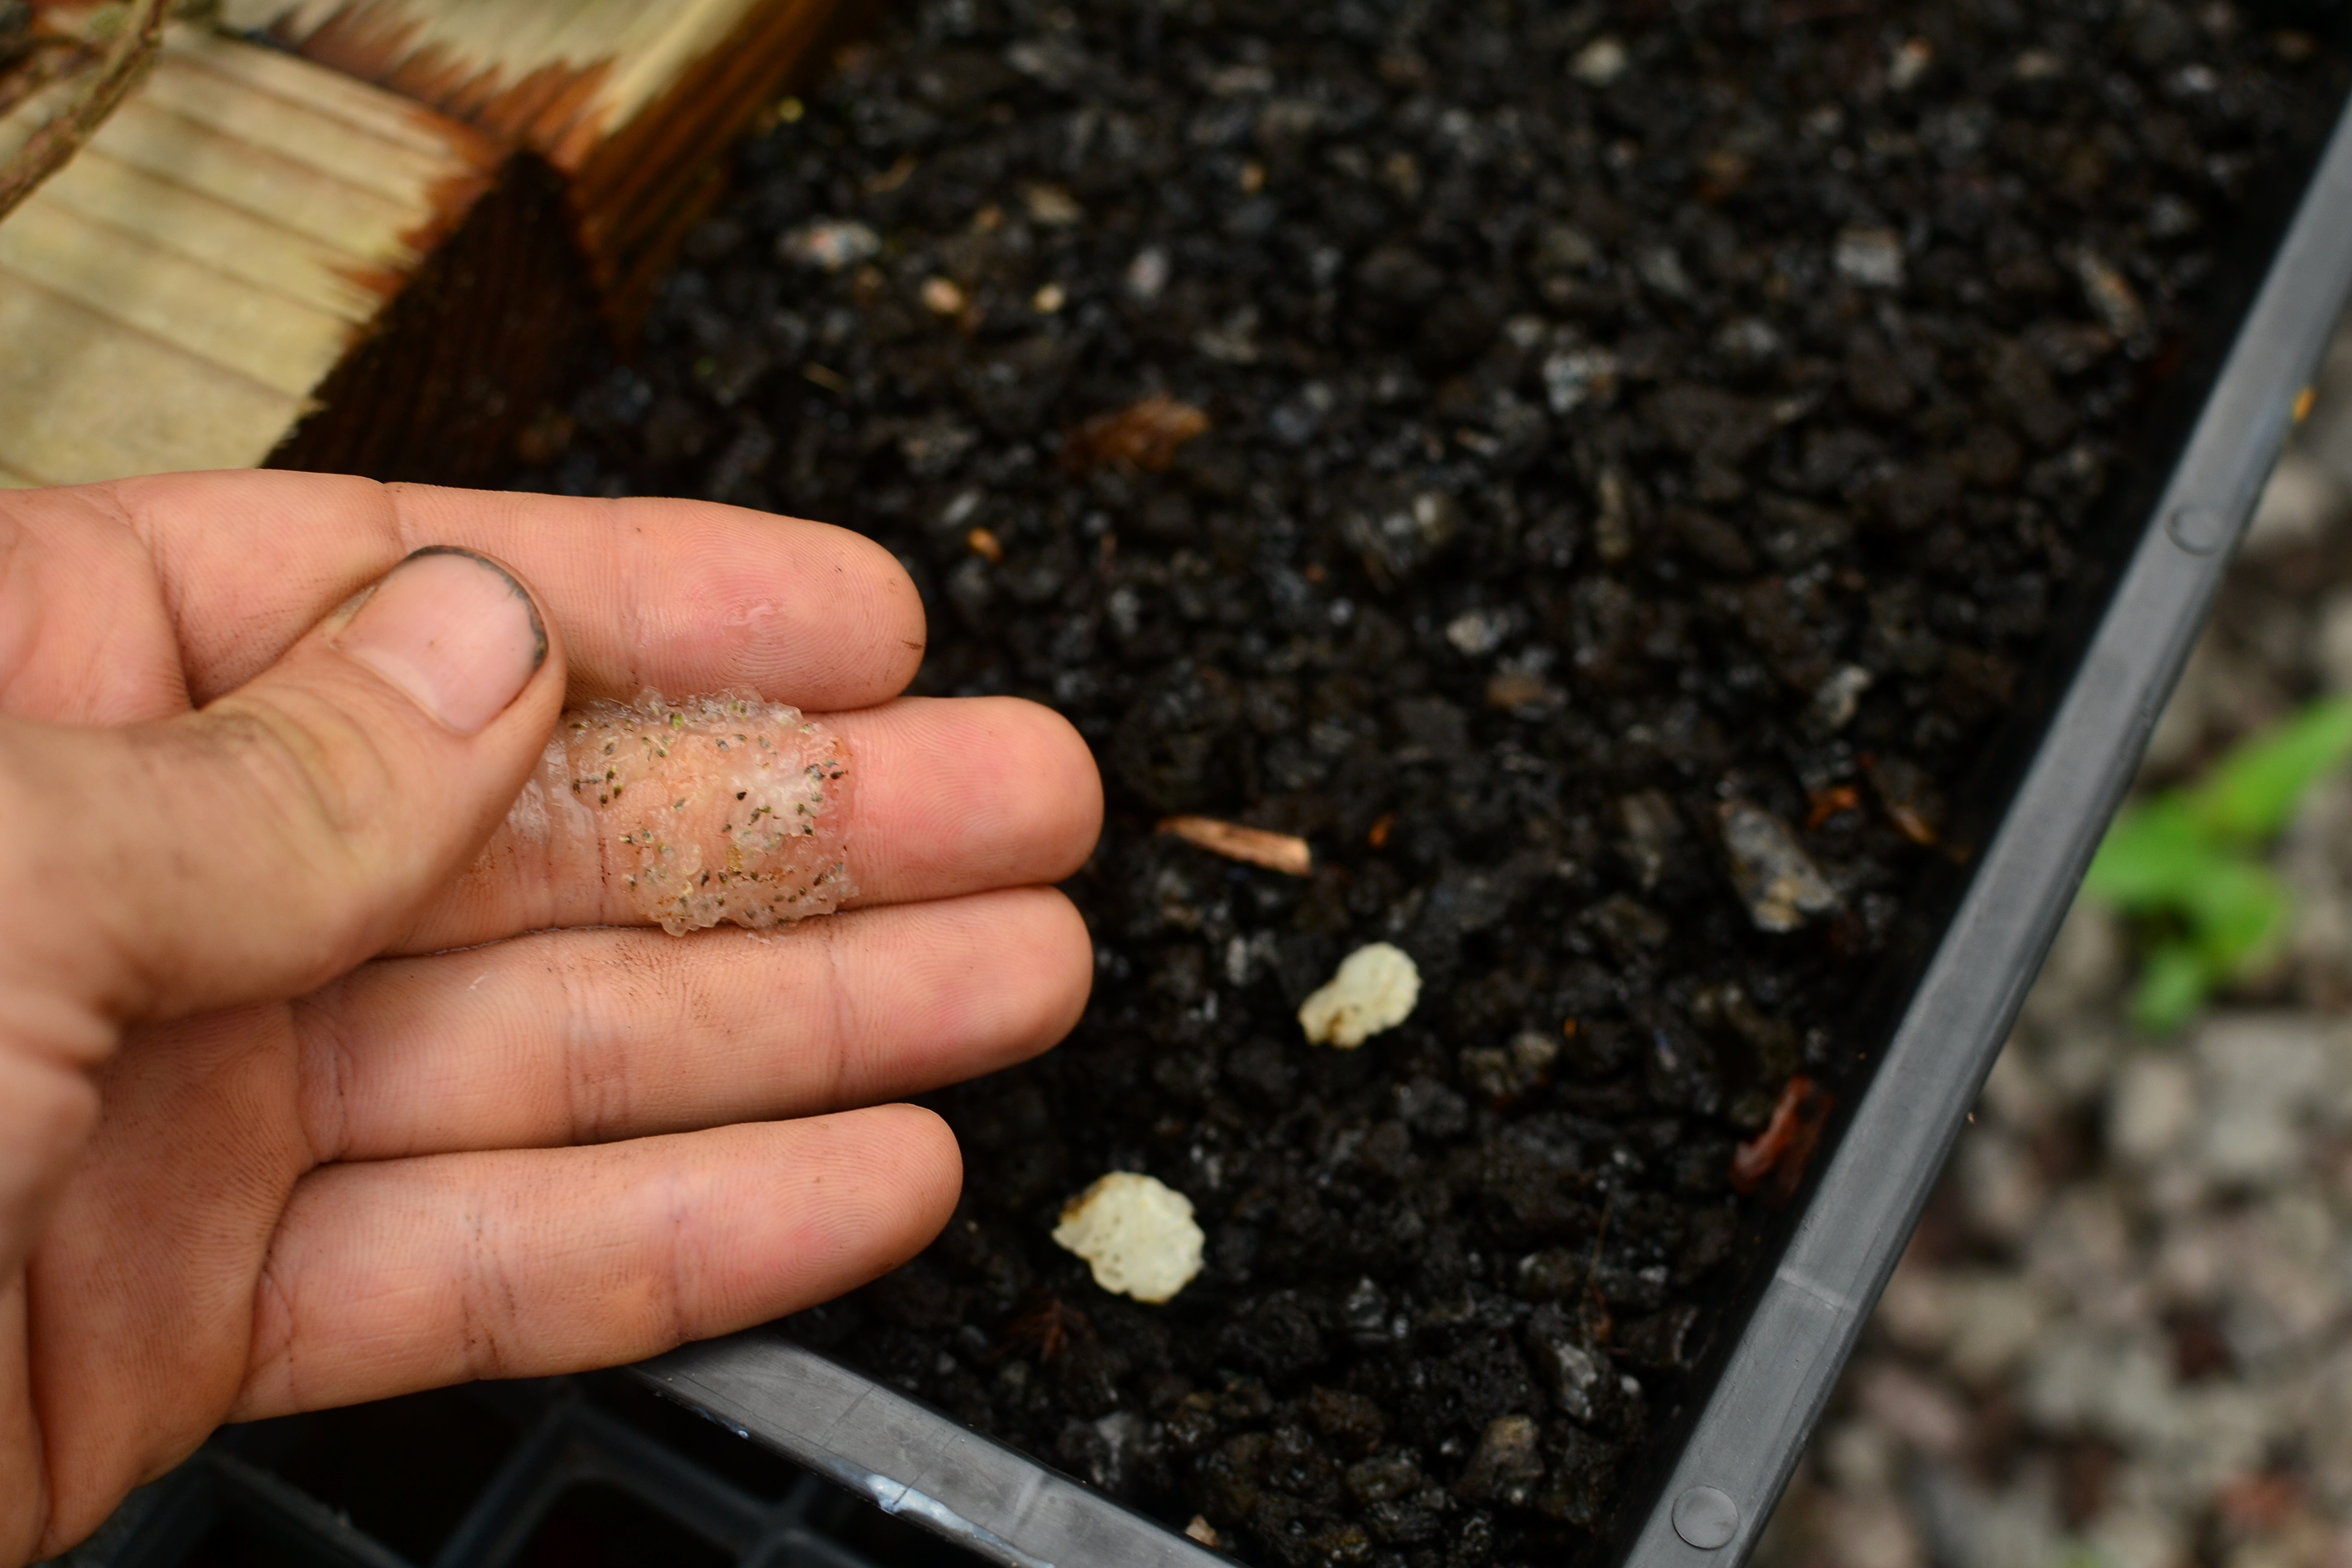
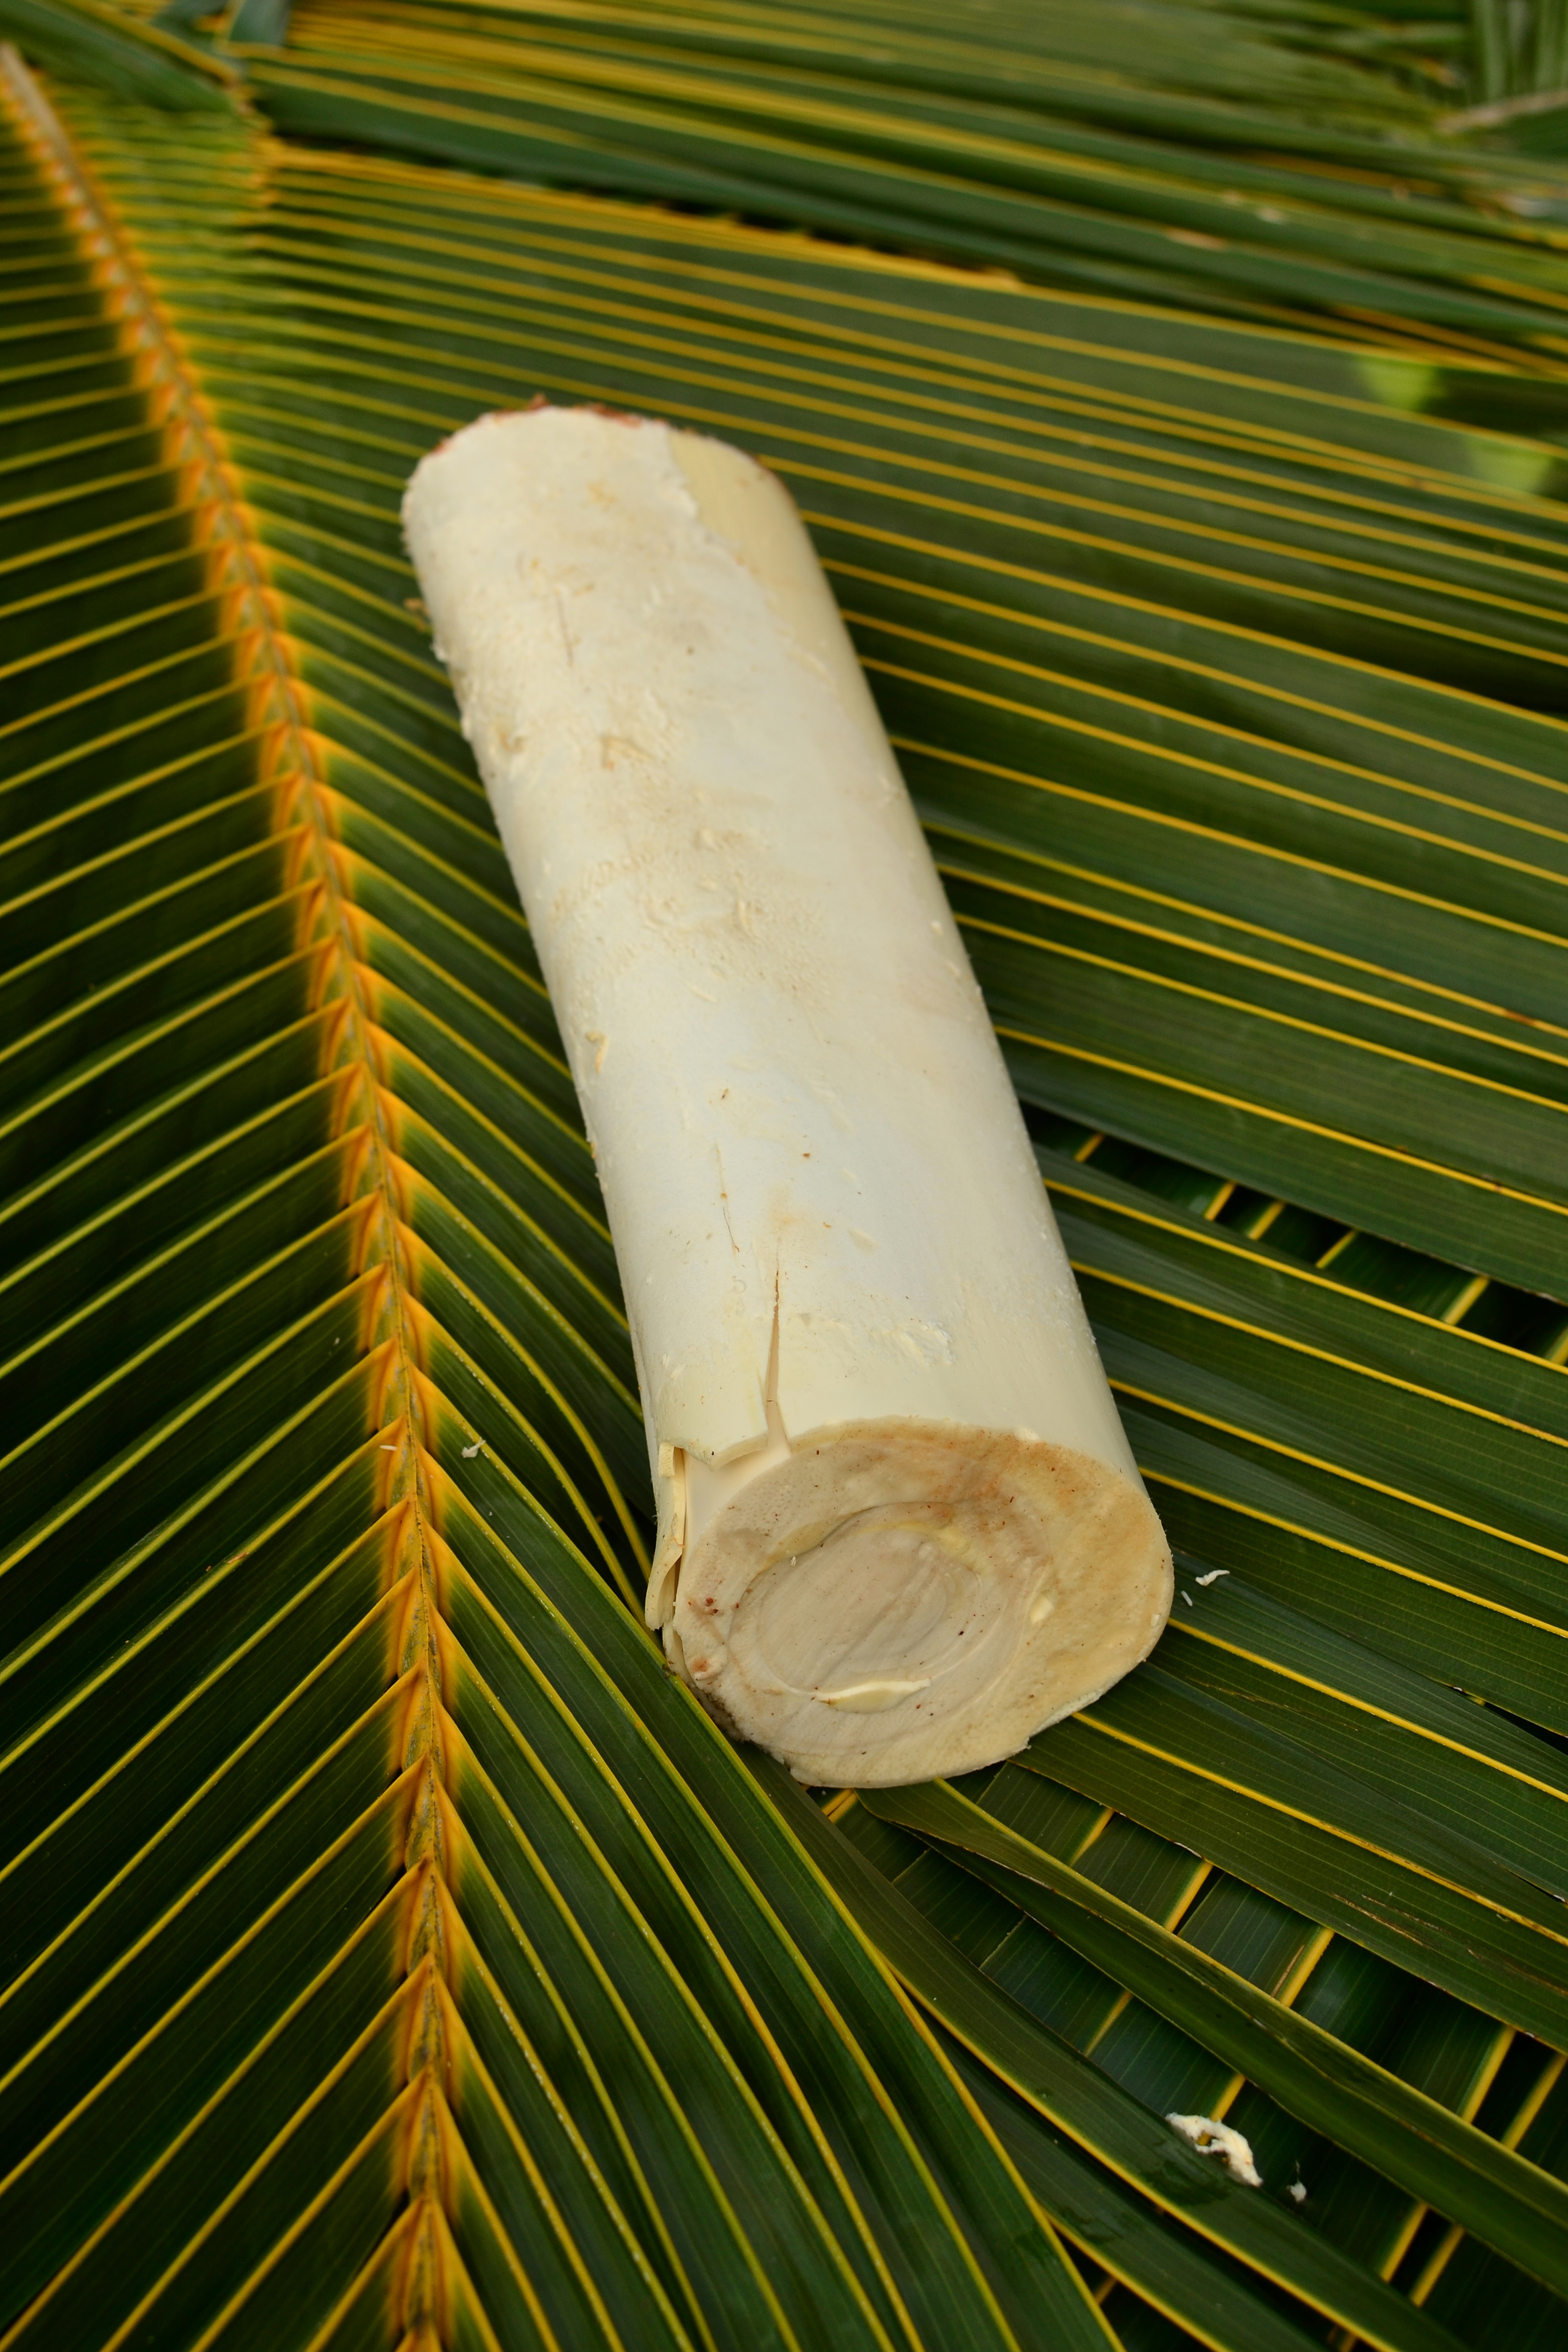
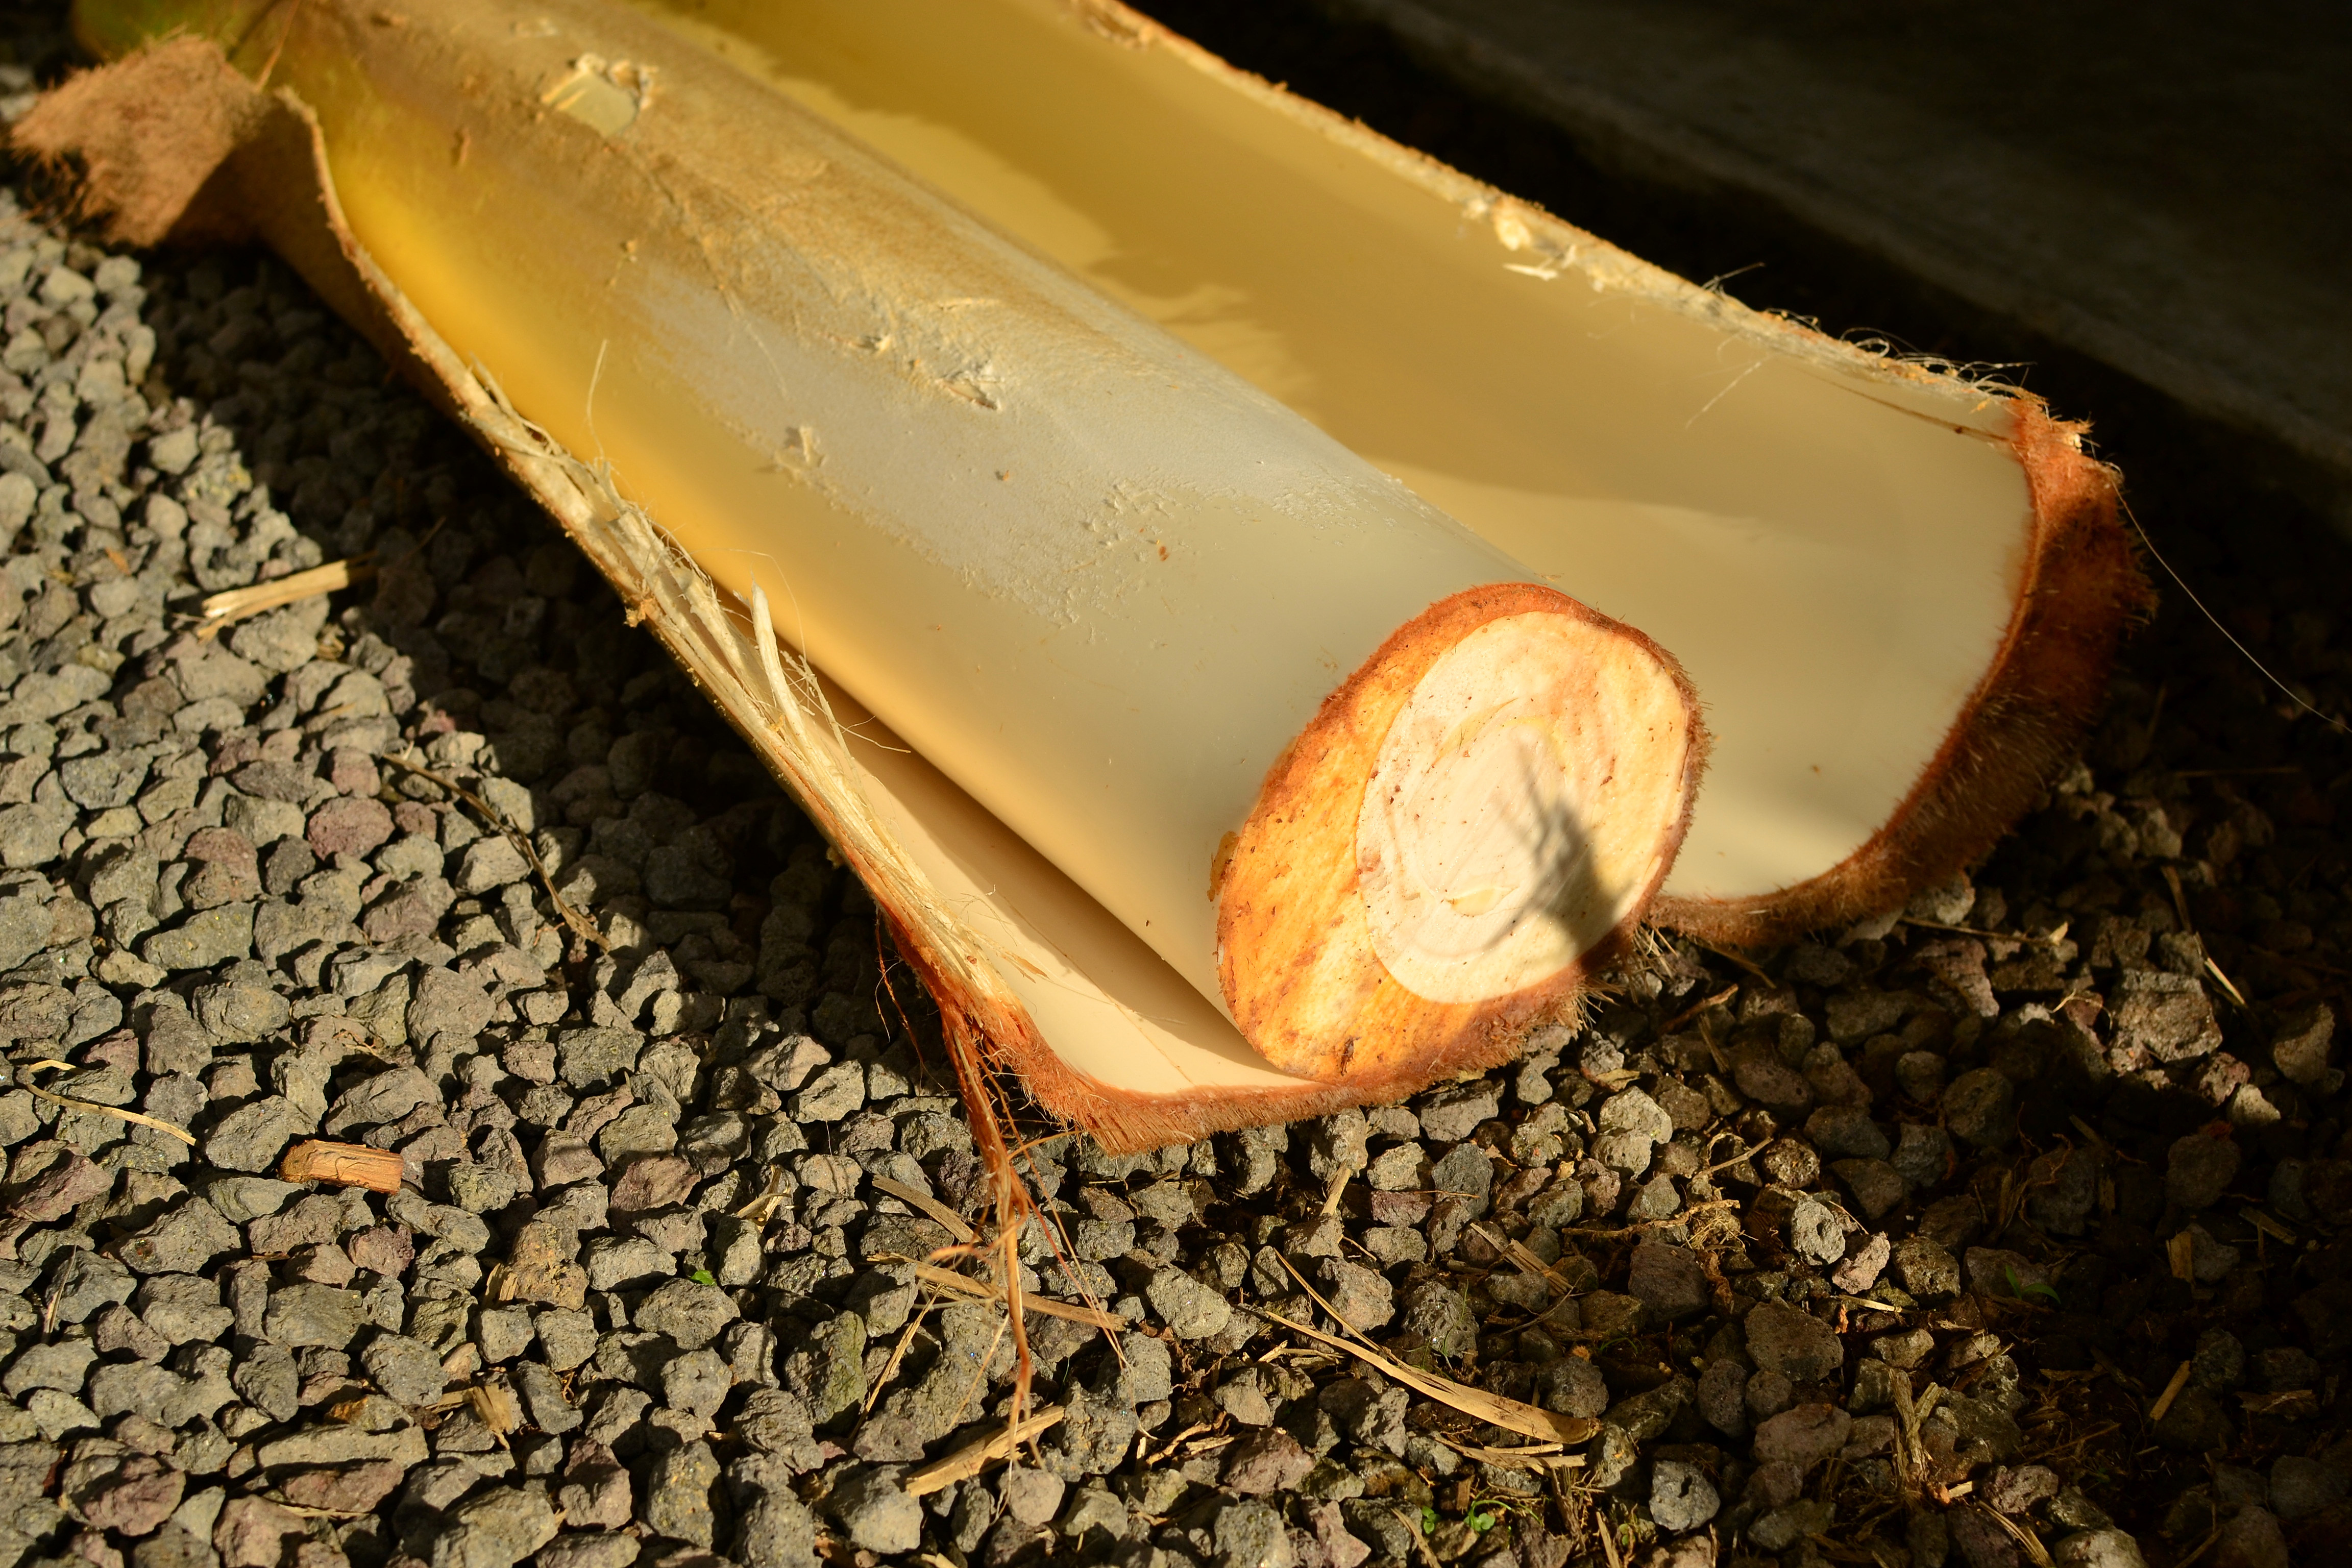
Work the heart out of the palm by cutting cross sections of both sides of the heart until you notice a difference in texture and color.
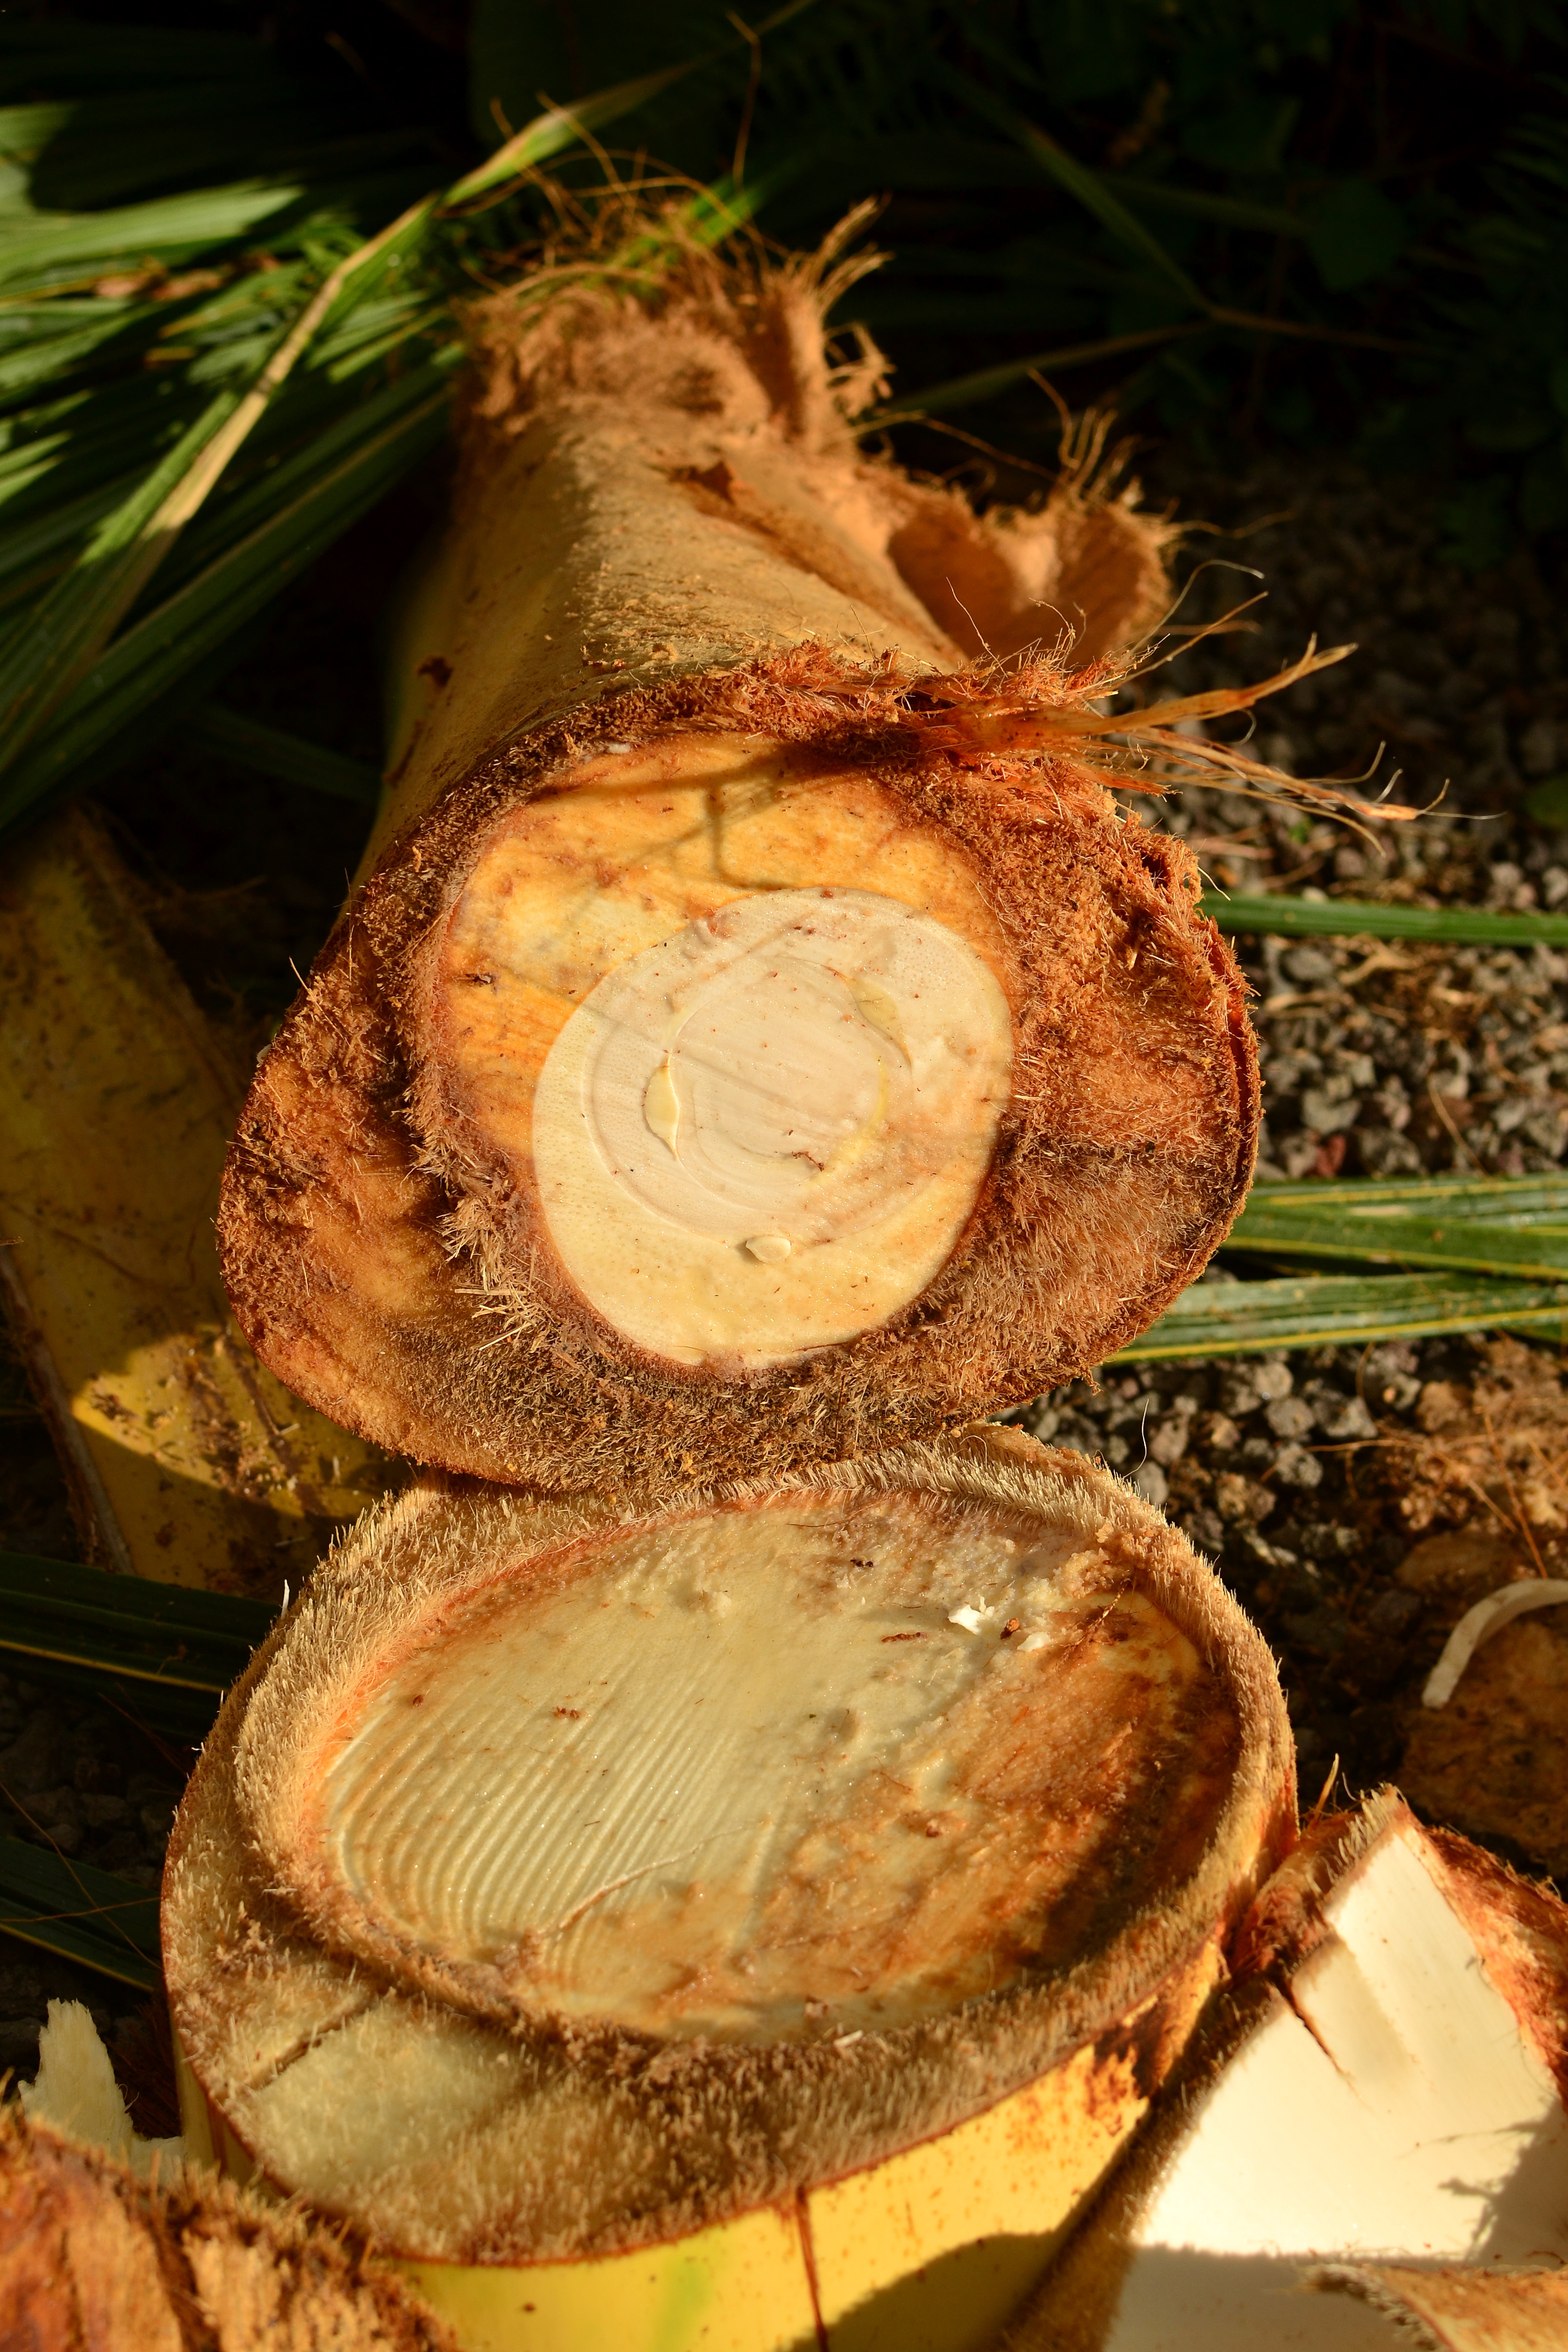
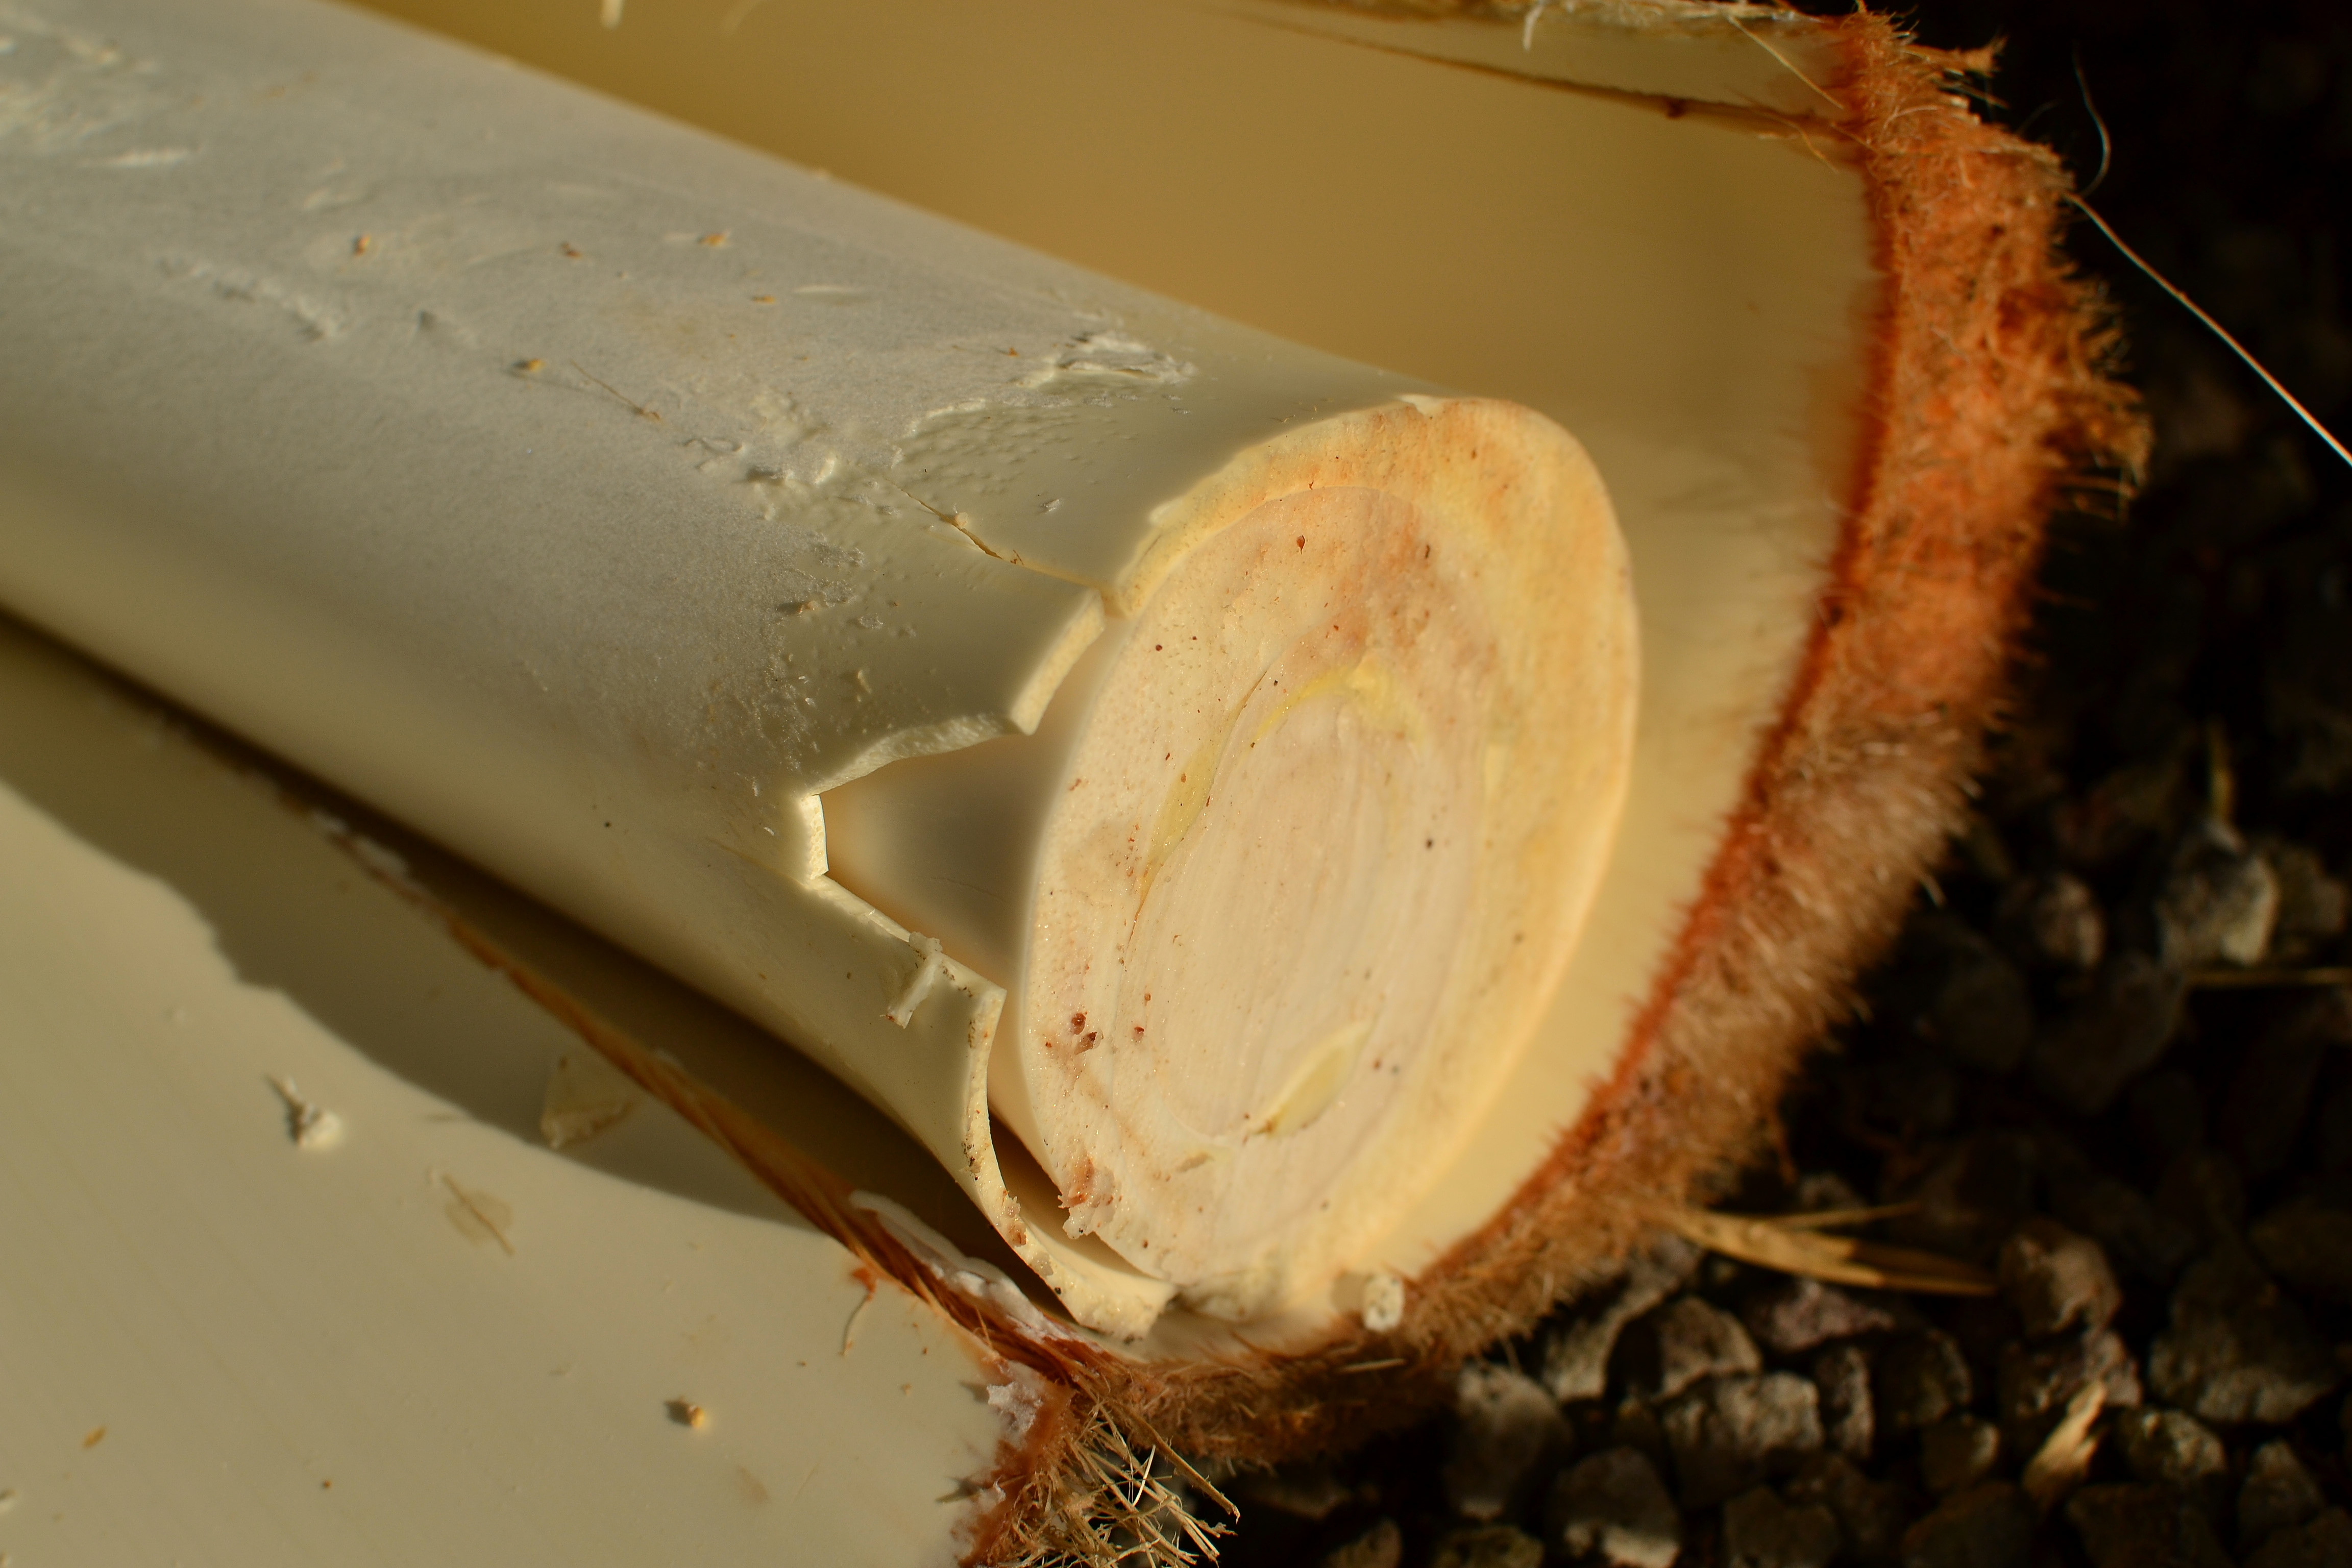
Bottom Section of HOP
-
- Top section of HOP cut cross setion
-

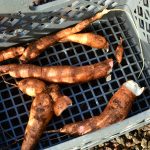
- This is what the edible portion looks like from the top part of the HOP
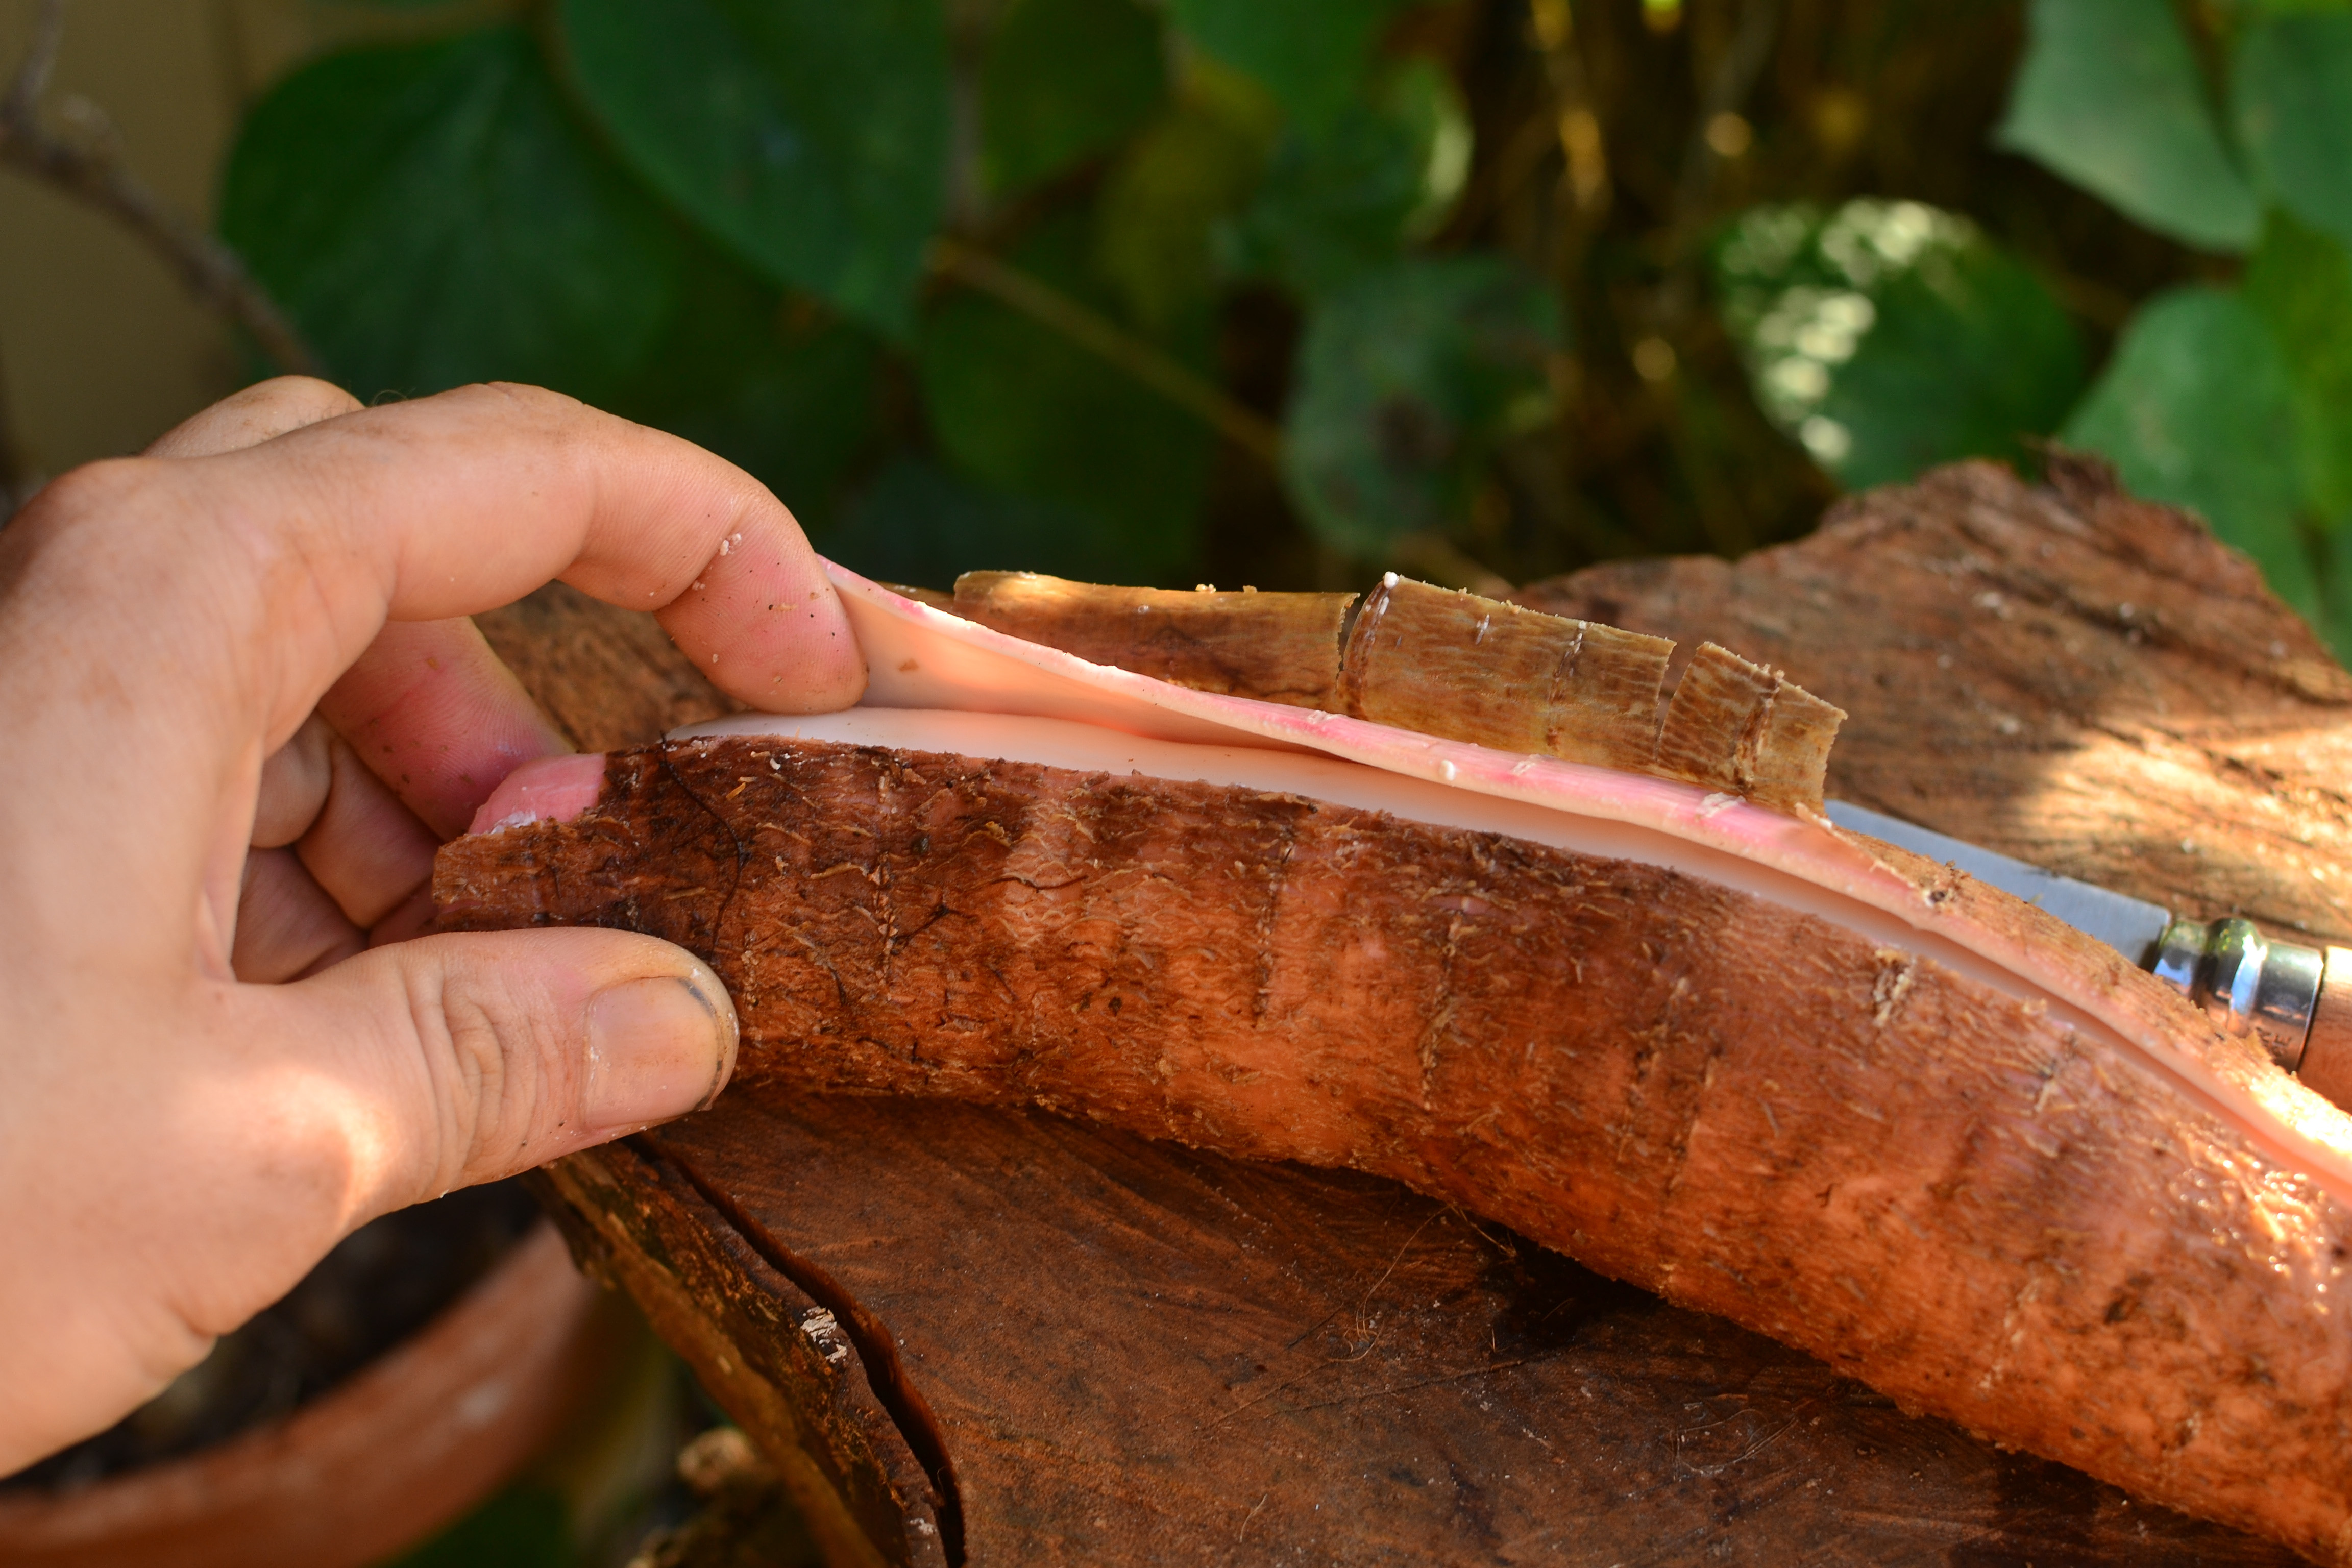
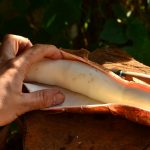
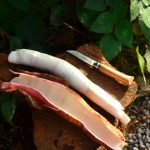
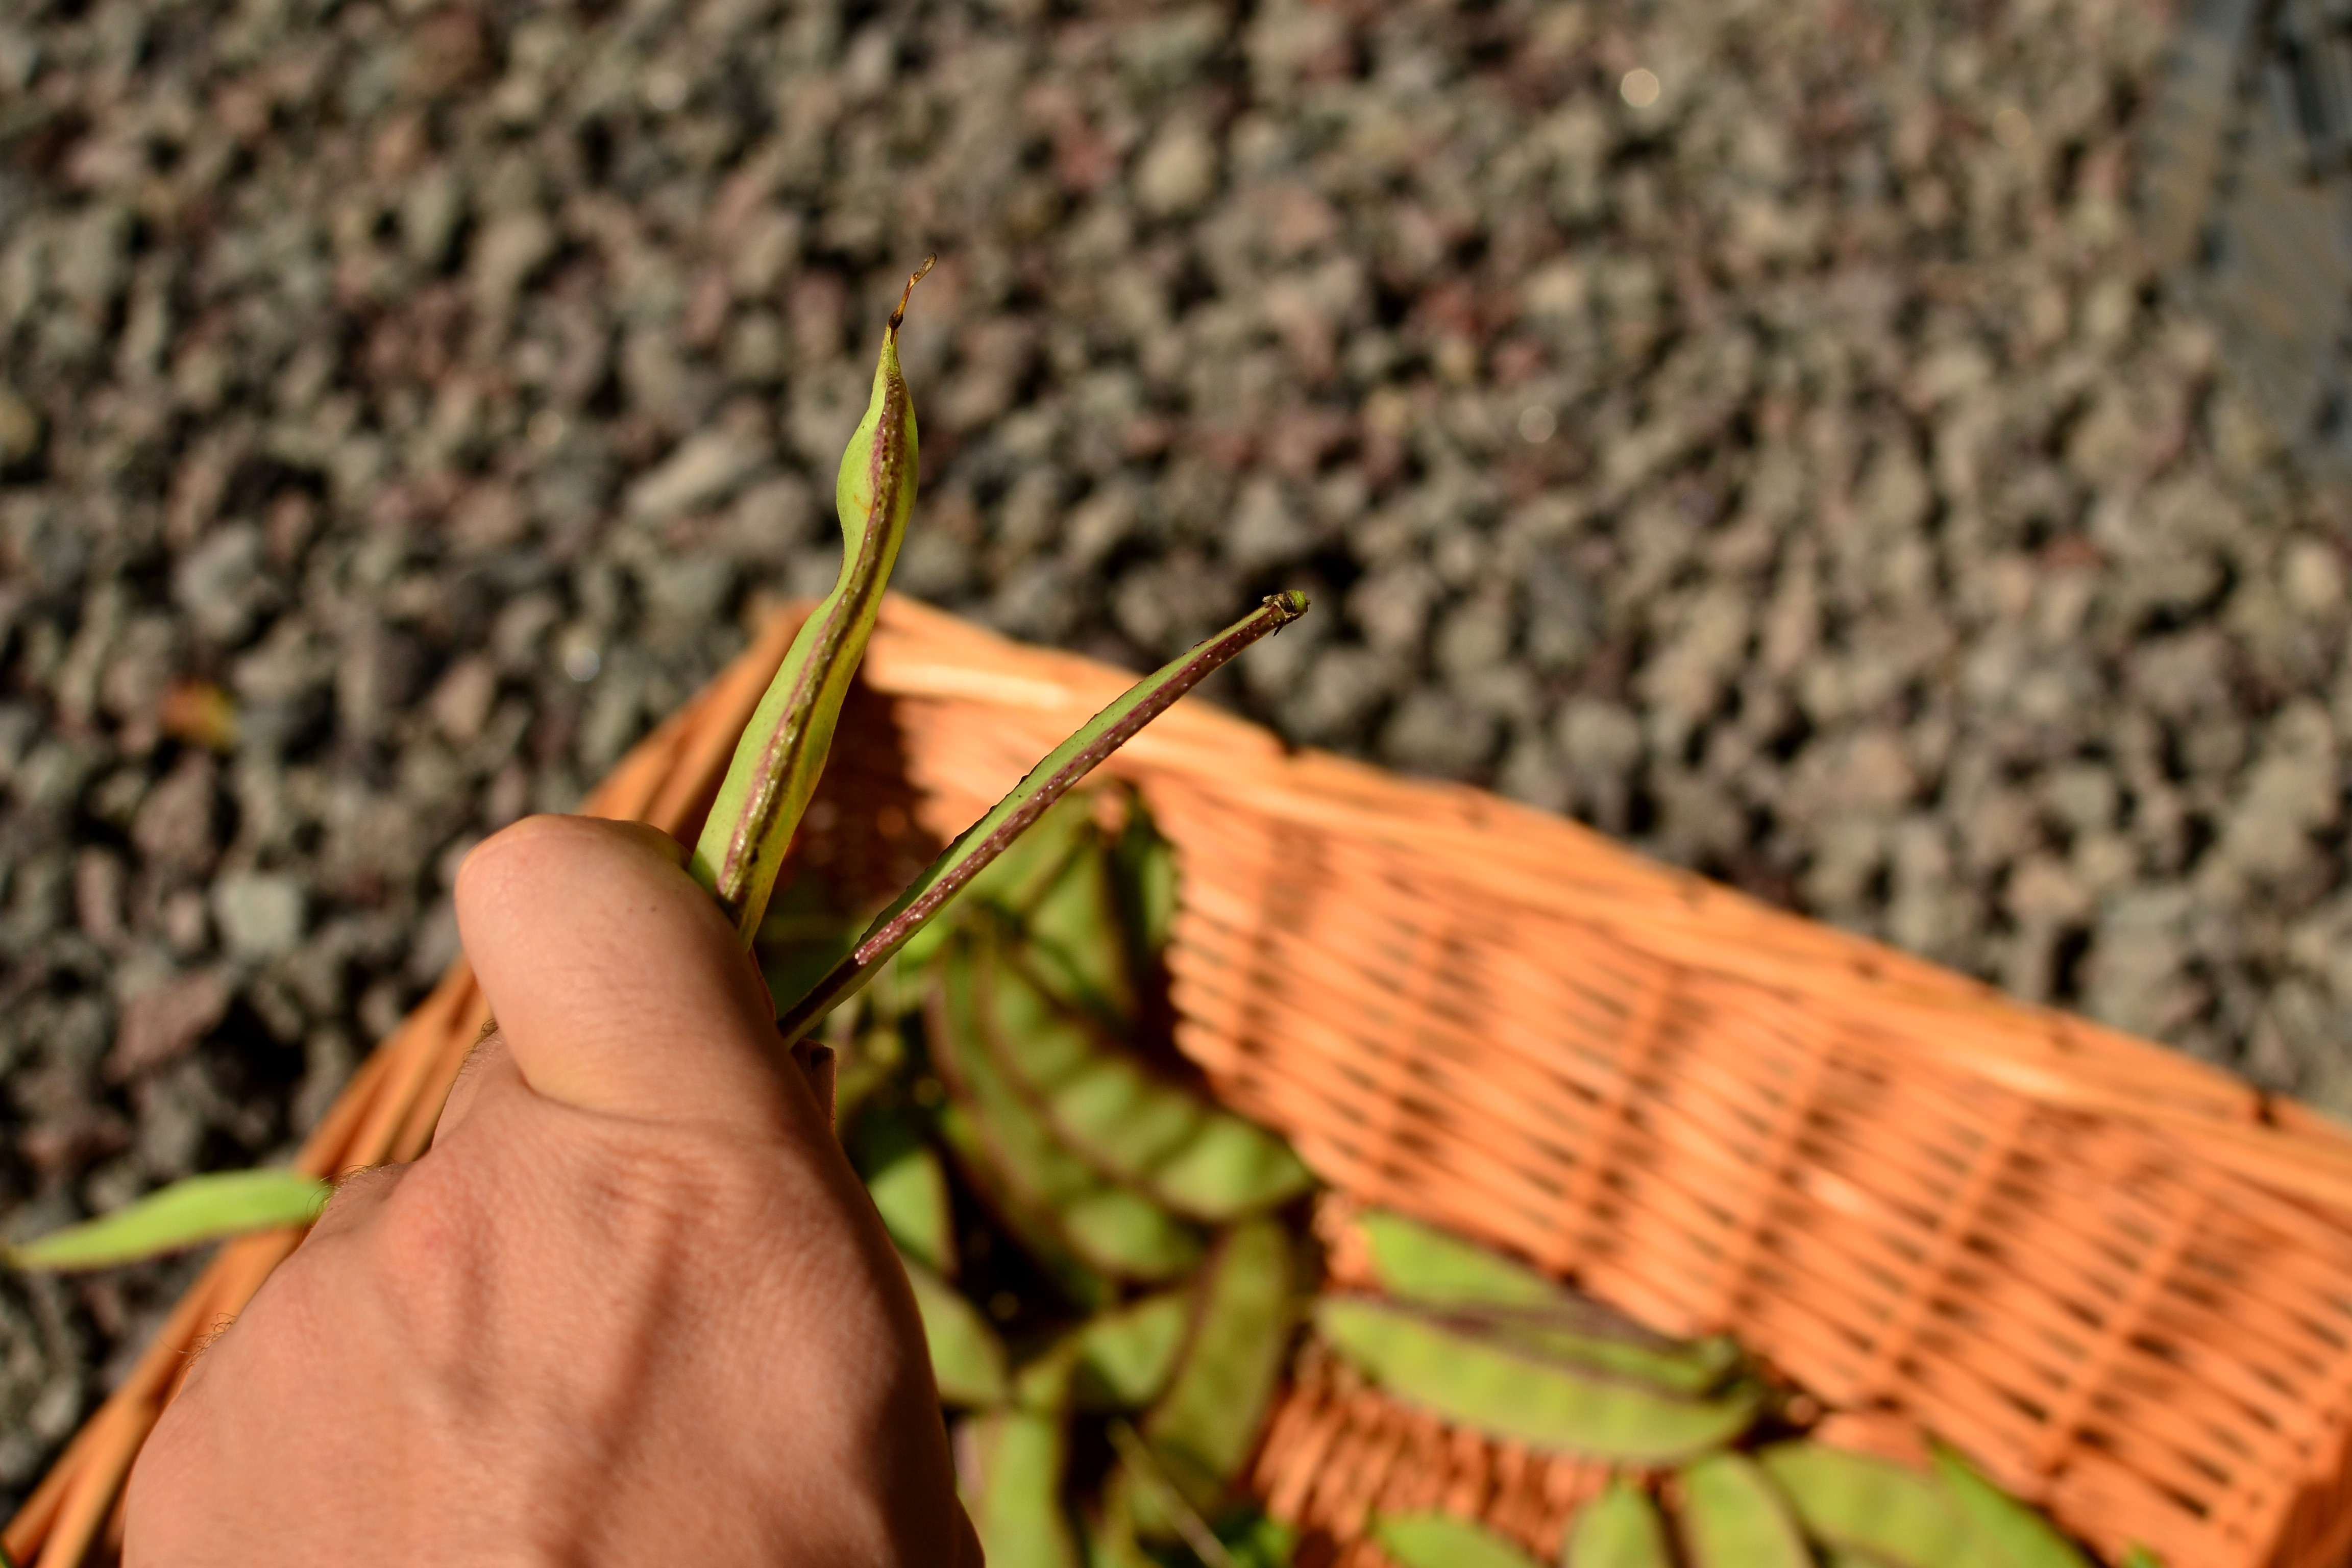
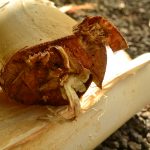
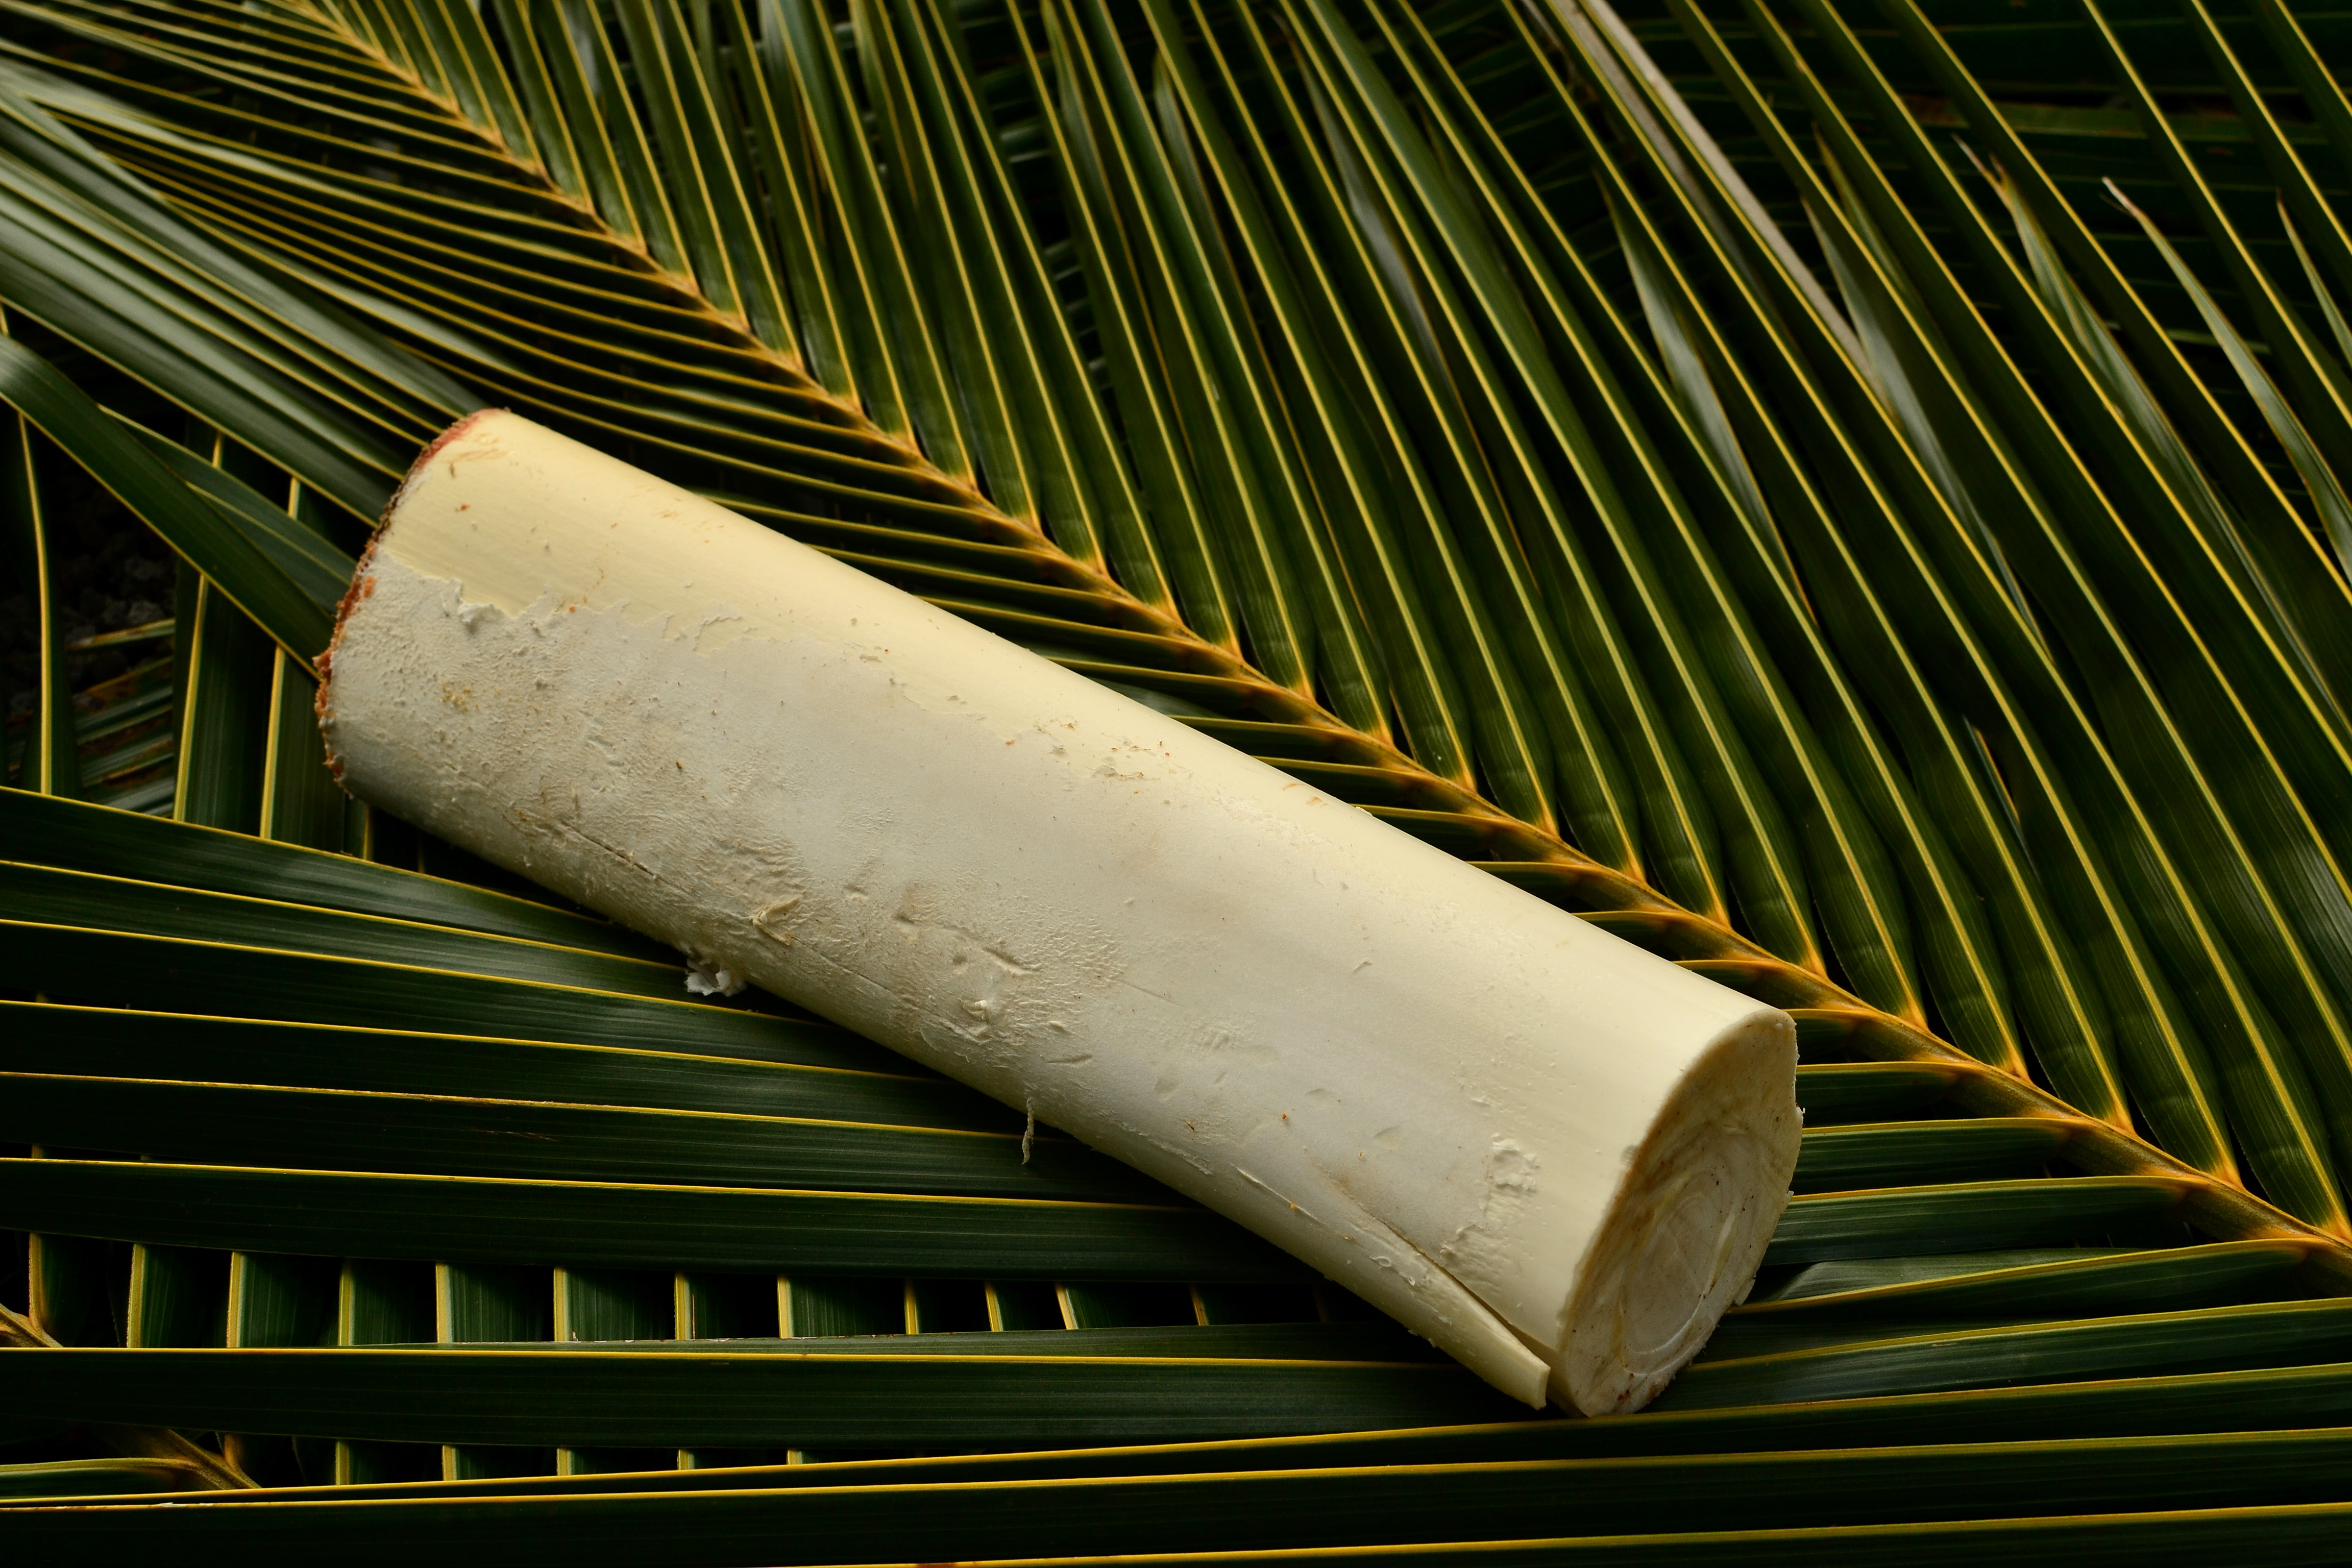
Once you notice the difference, begin to peel off the sheaths. It’s all edible at this point so begin trying pieces to determine if it’s bitter or not. If it is bitter, peel off another sheath and get down another layer. Try it again and see from there. Once you have gotten past the bitter part and into the delicious sweet heart you’re ready to bring it inside.
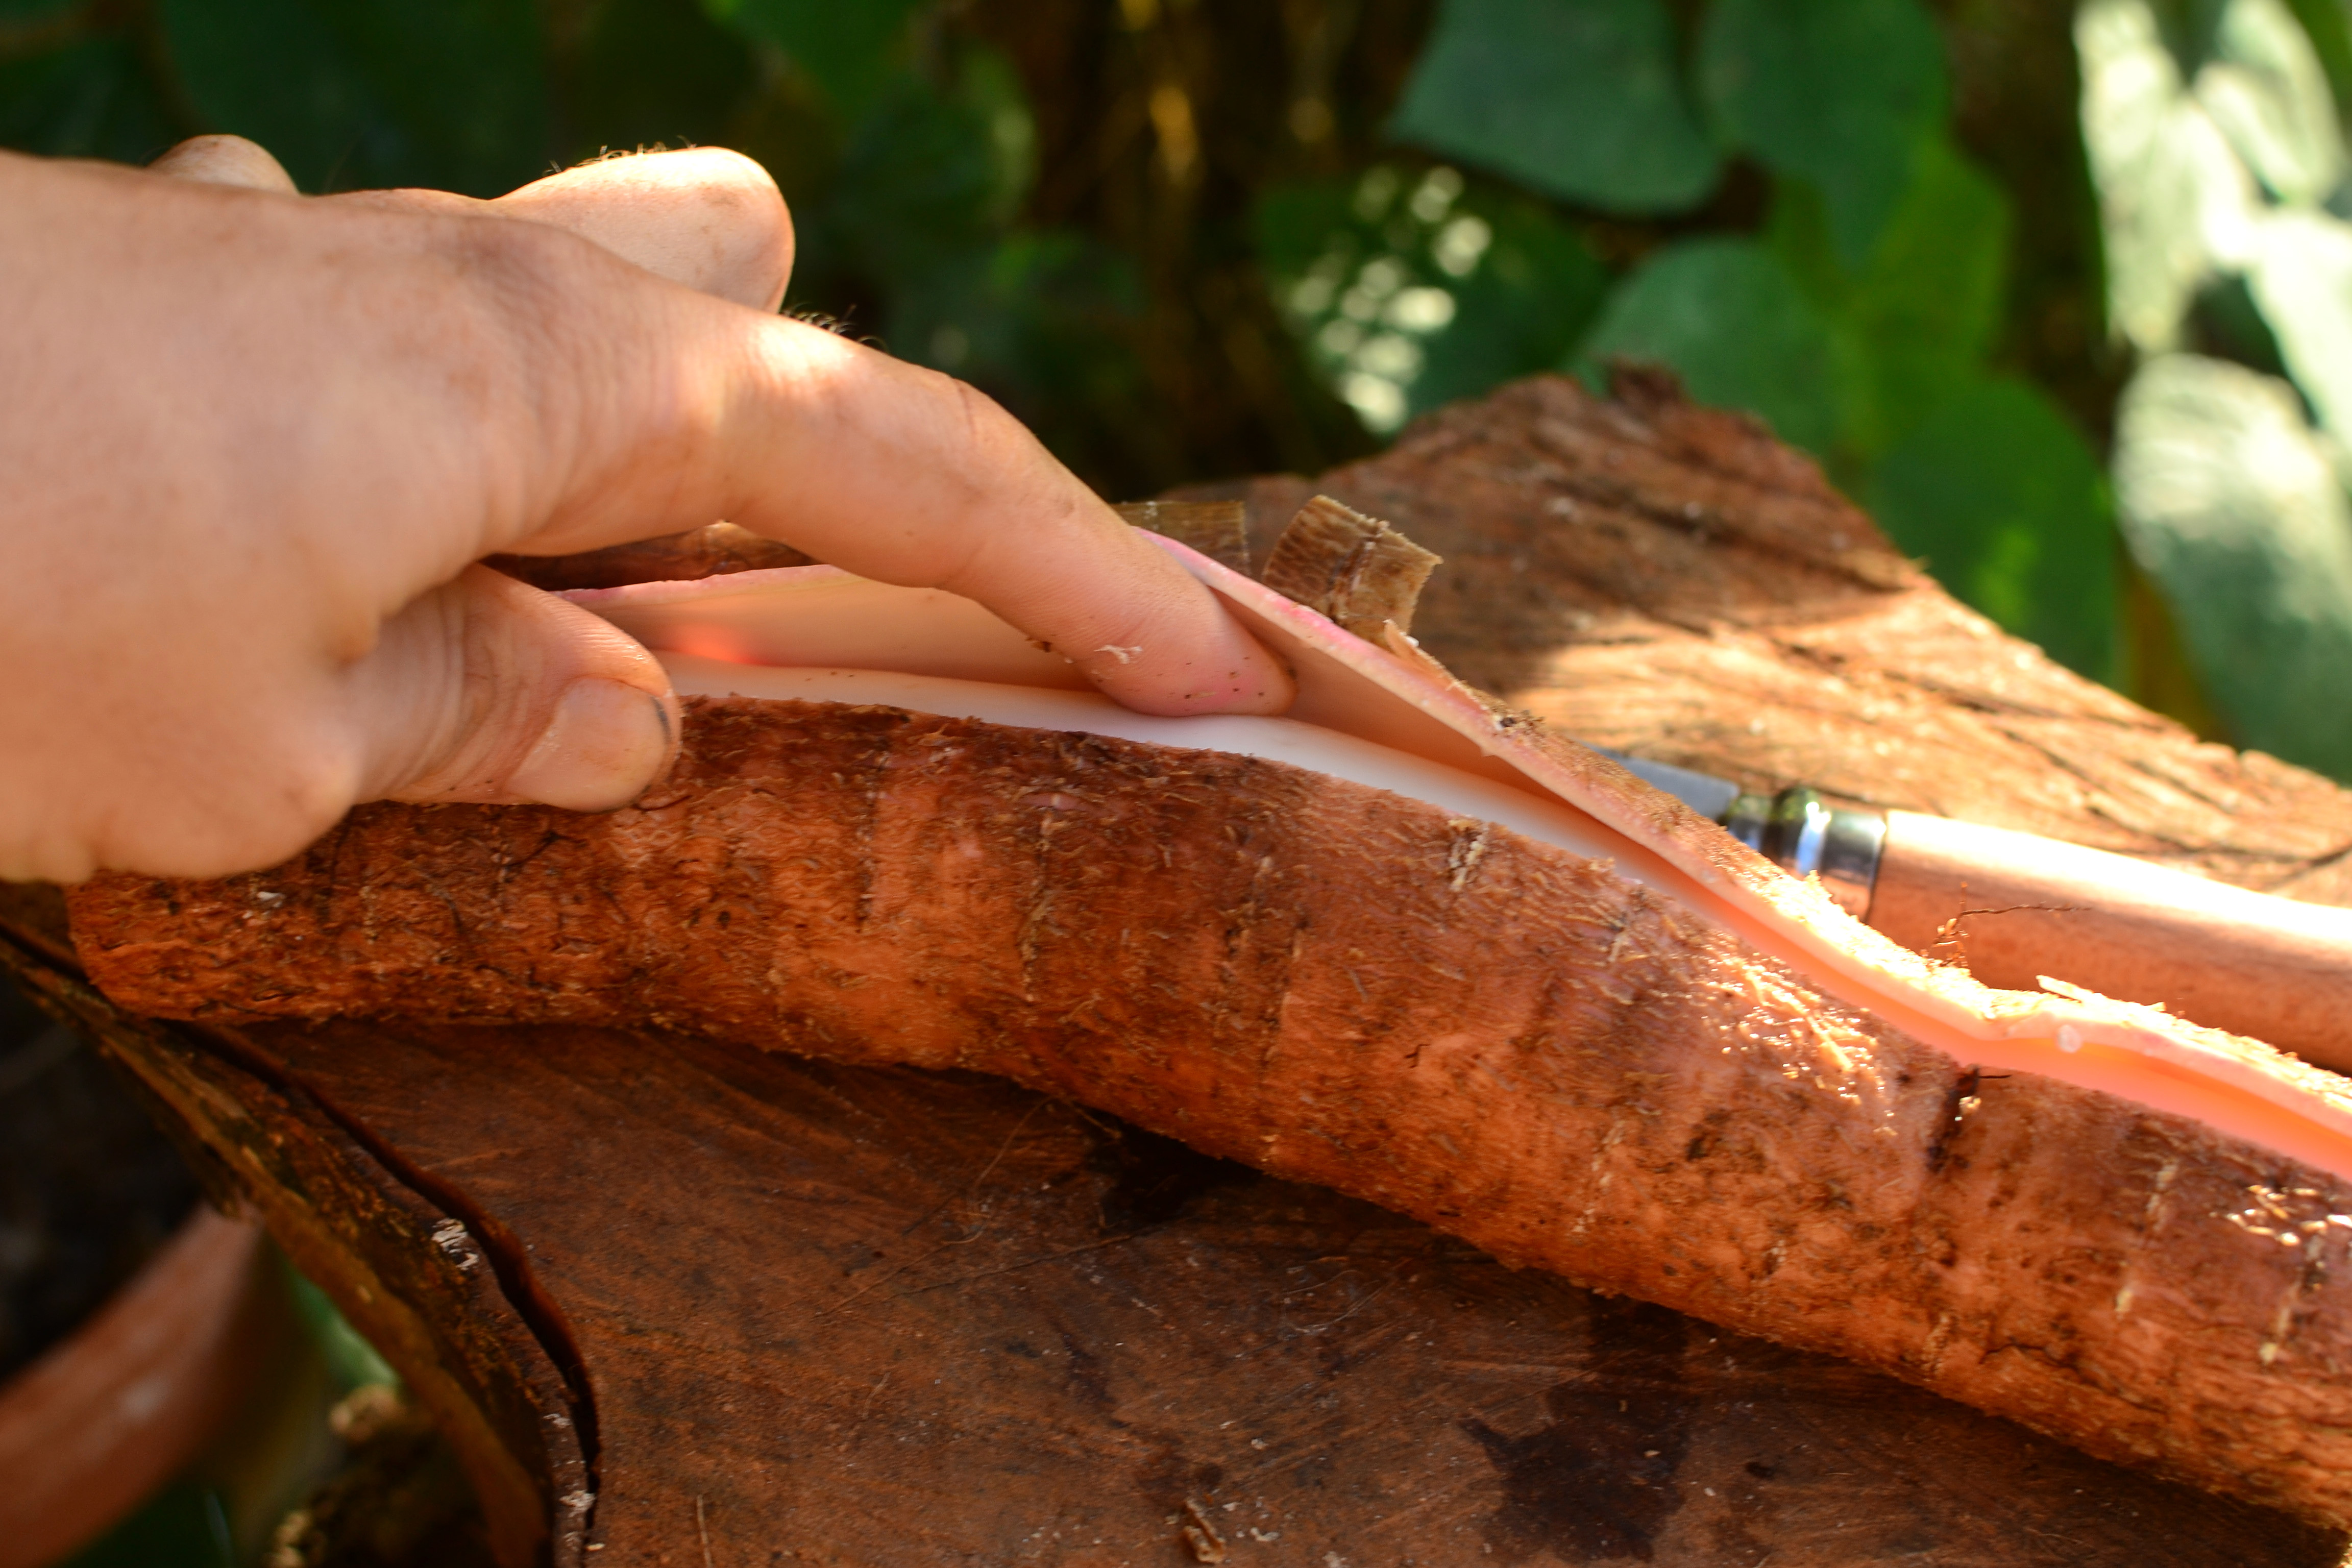
Slice lengthwise to take off layers
keep on going
now you can begin to taste for bitterness
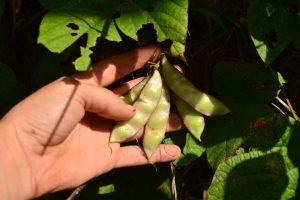
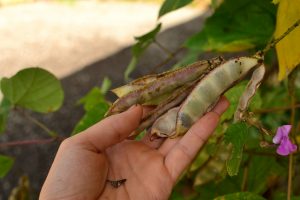
Now you see why heart of palm has such a high value, it is a lot of work and does kill certain palms.
Eating
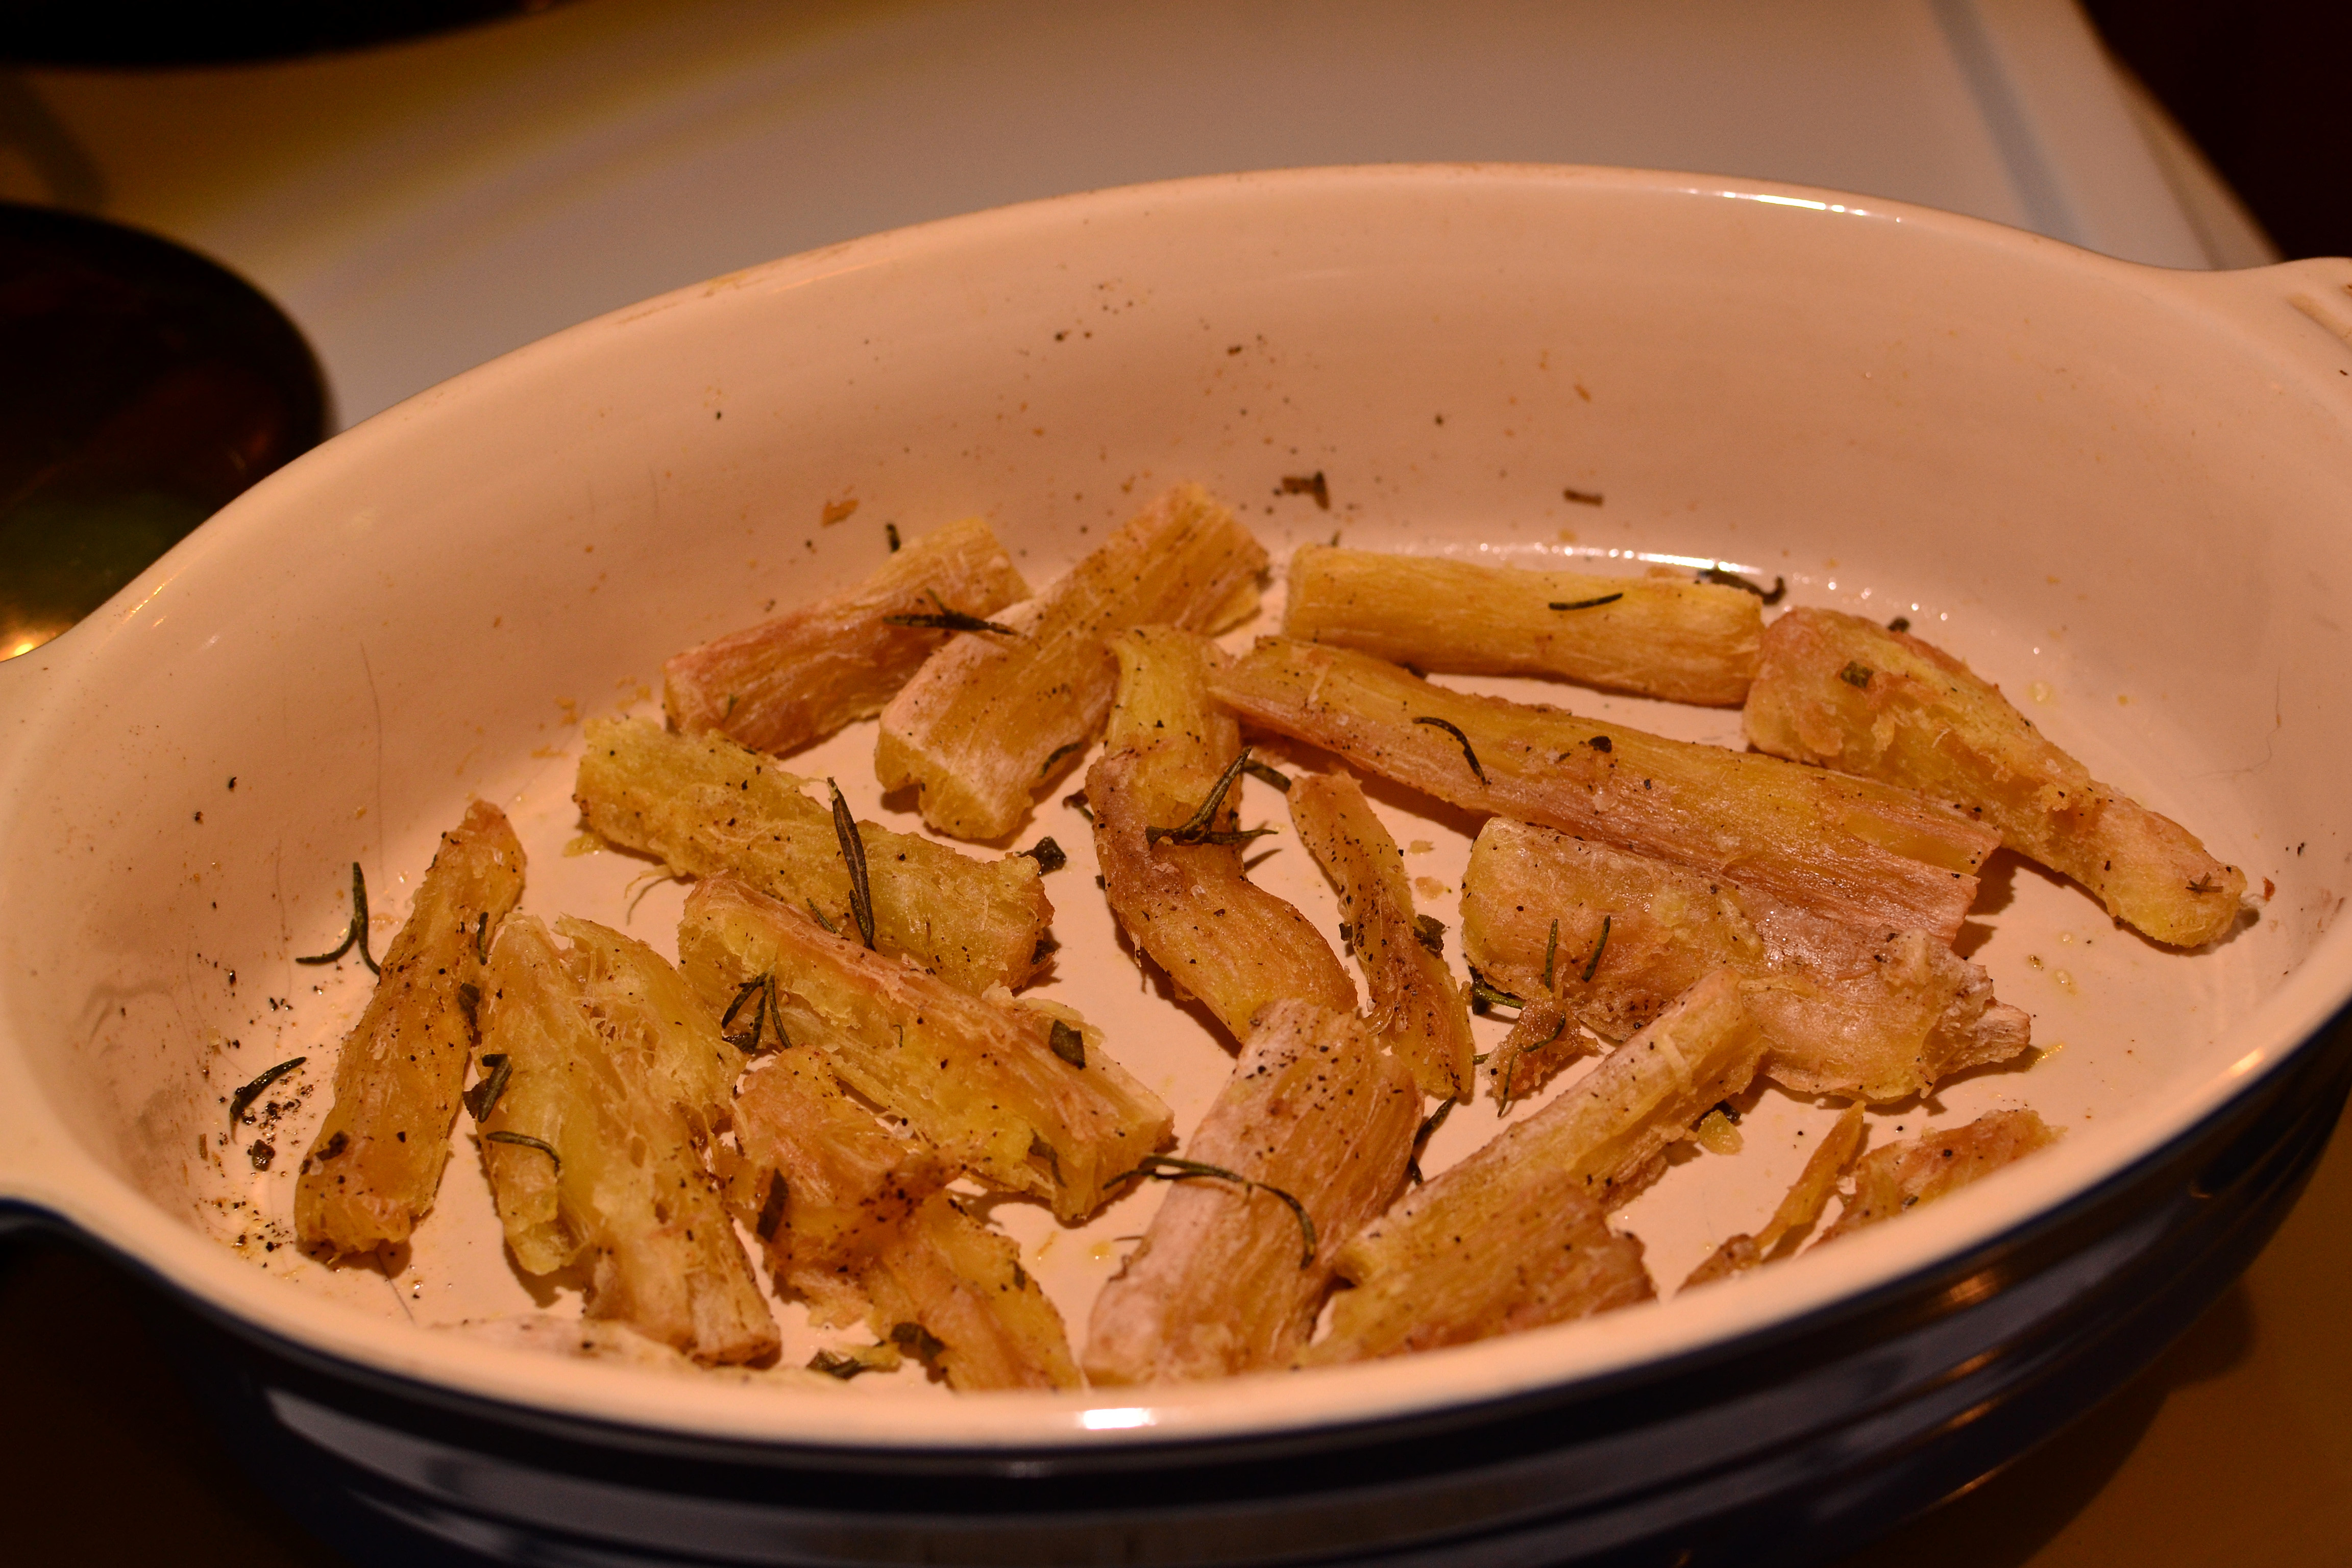
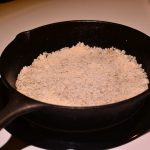
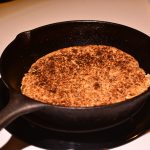
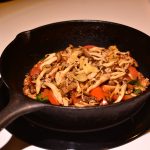
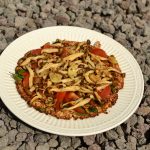
Heart of palm may be eaten raw or cooked. This is where things get really interesting. I found that there are a few different pieces and textures within the heart. The main part people eat is the small cylindrical very center. But I really enjoy the larger chunks outside of this portion that come along with it. These remind me of fish fillets. Even when you cook them, we broiled them and added a little lemon and it was literally like eating a piece of white fish. We made ‘crab cakes’, ‘ceviche’, ‘mashed potatoes’ and raw salads with it. You can make creamy soups, sauté, pizza, omelets, curries, chutneys and salsas as well.
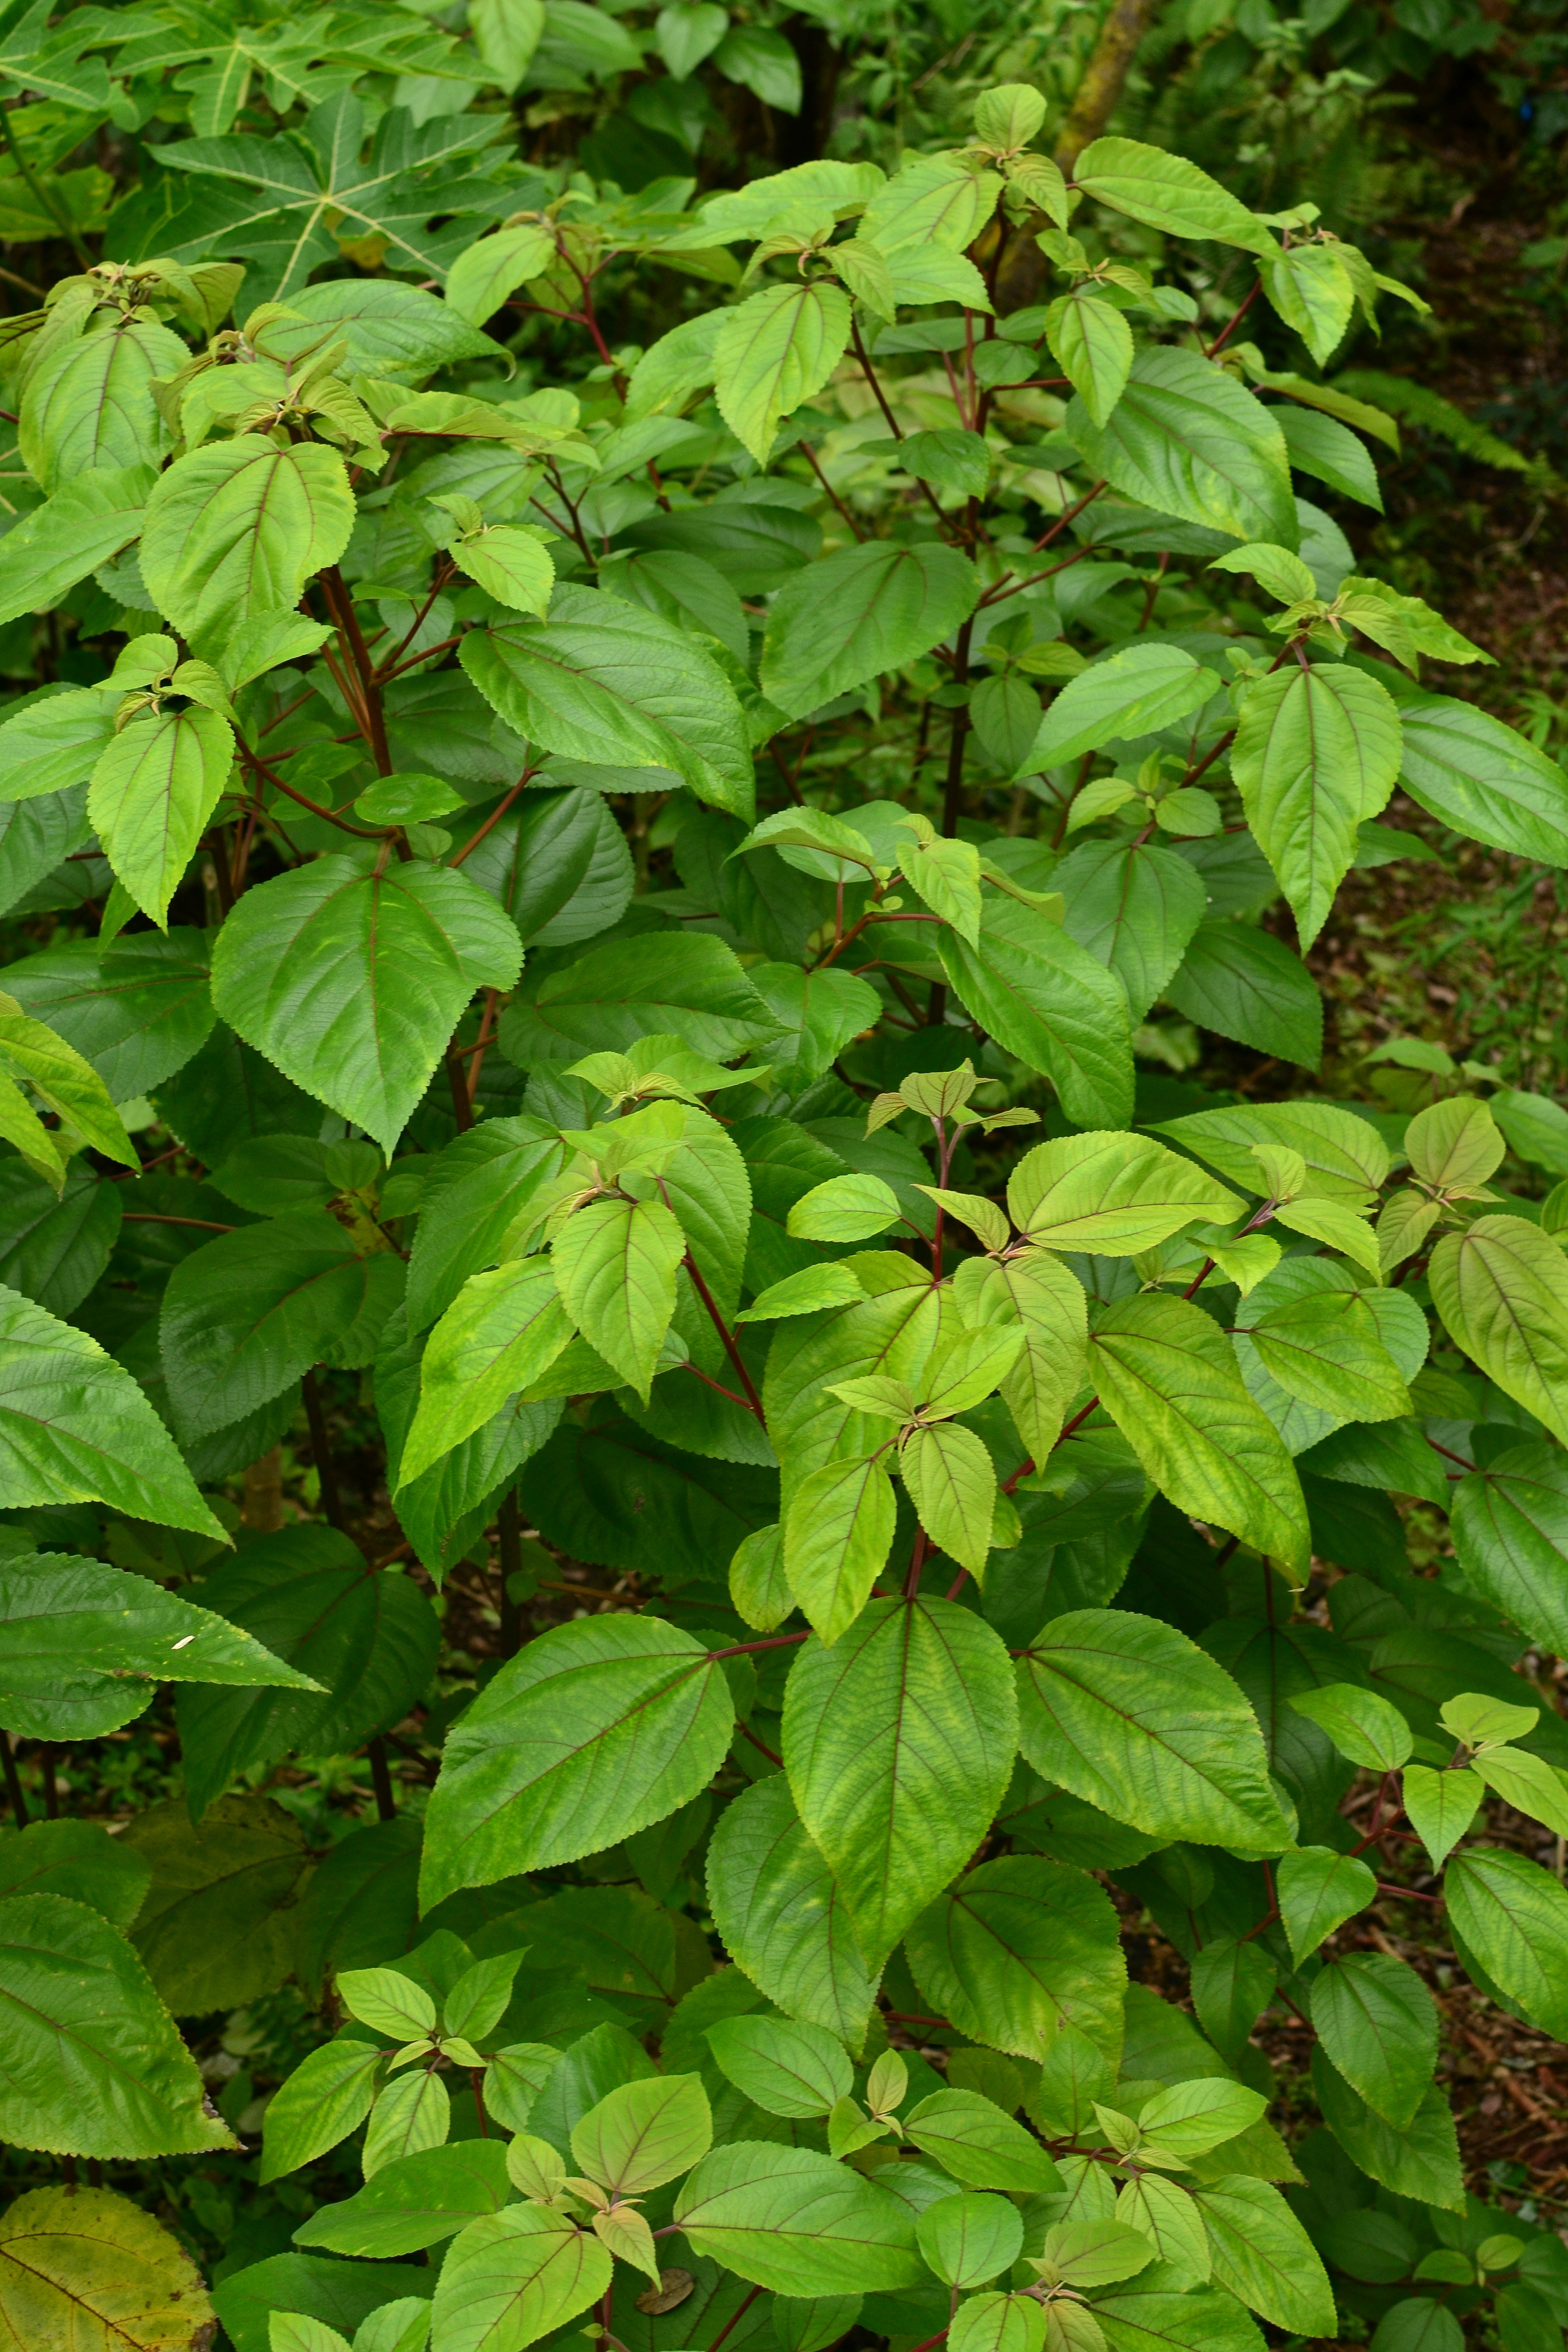
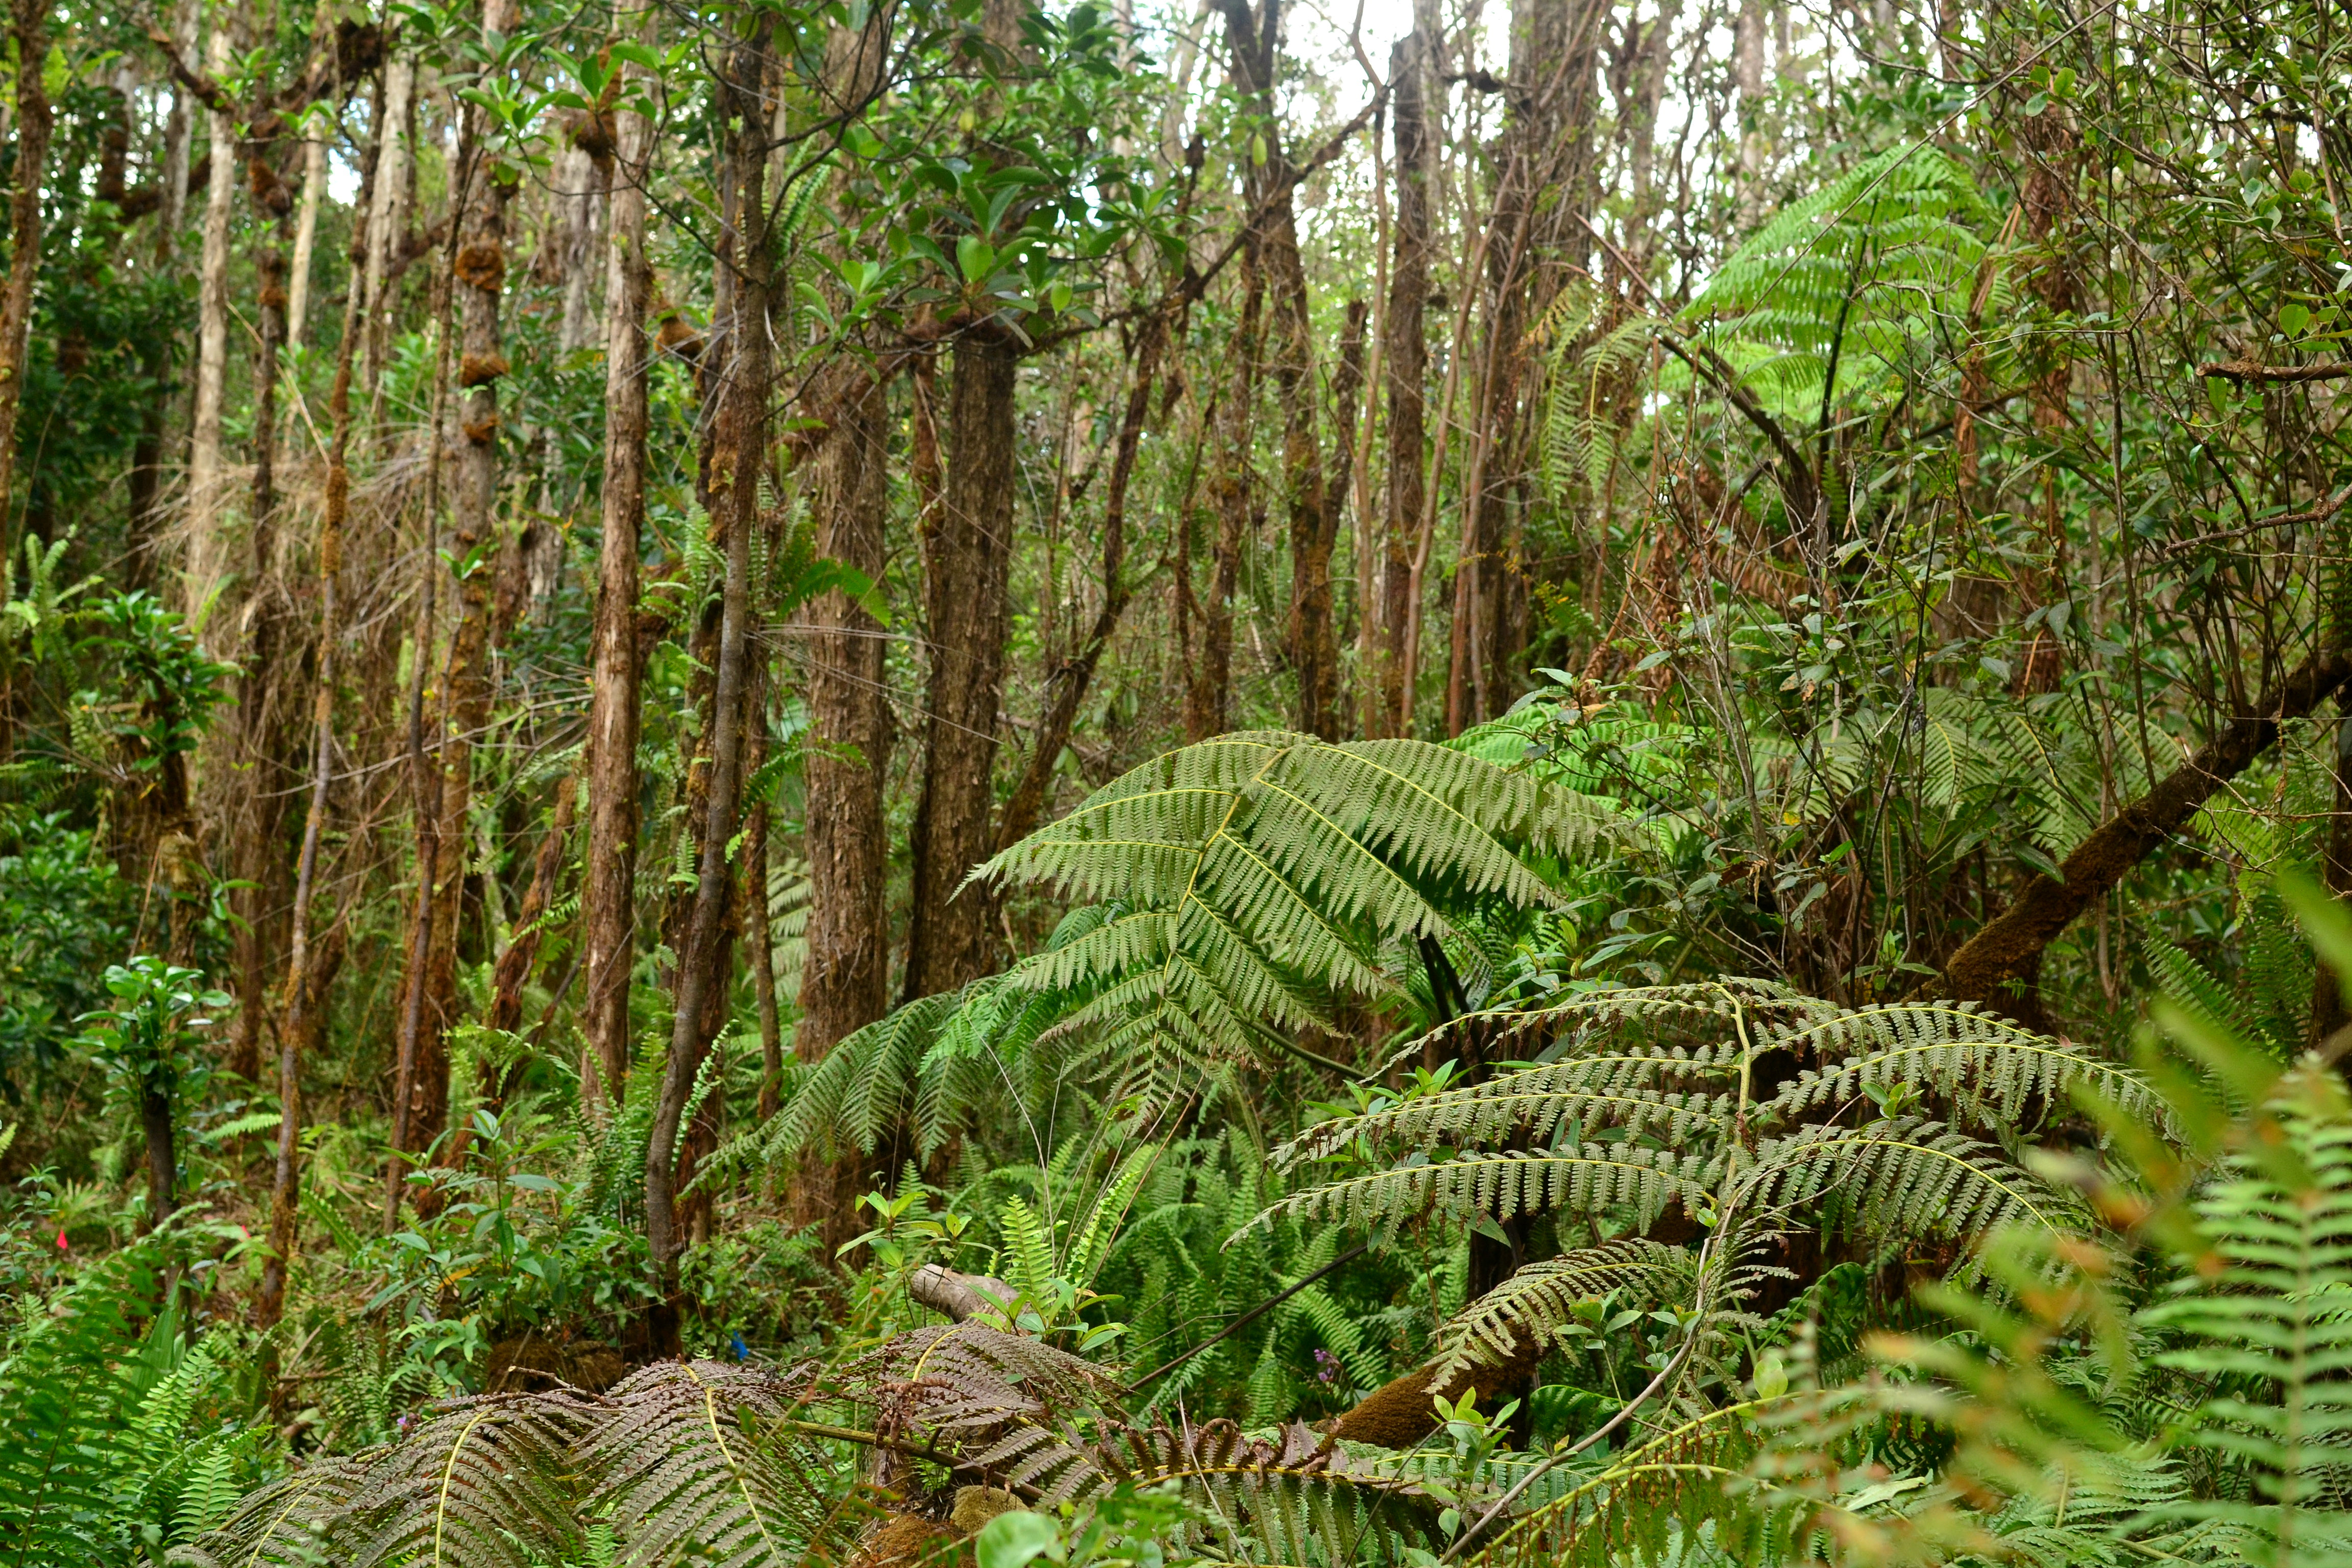
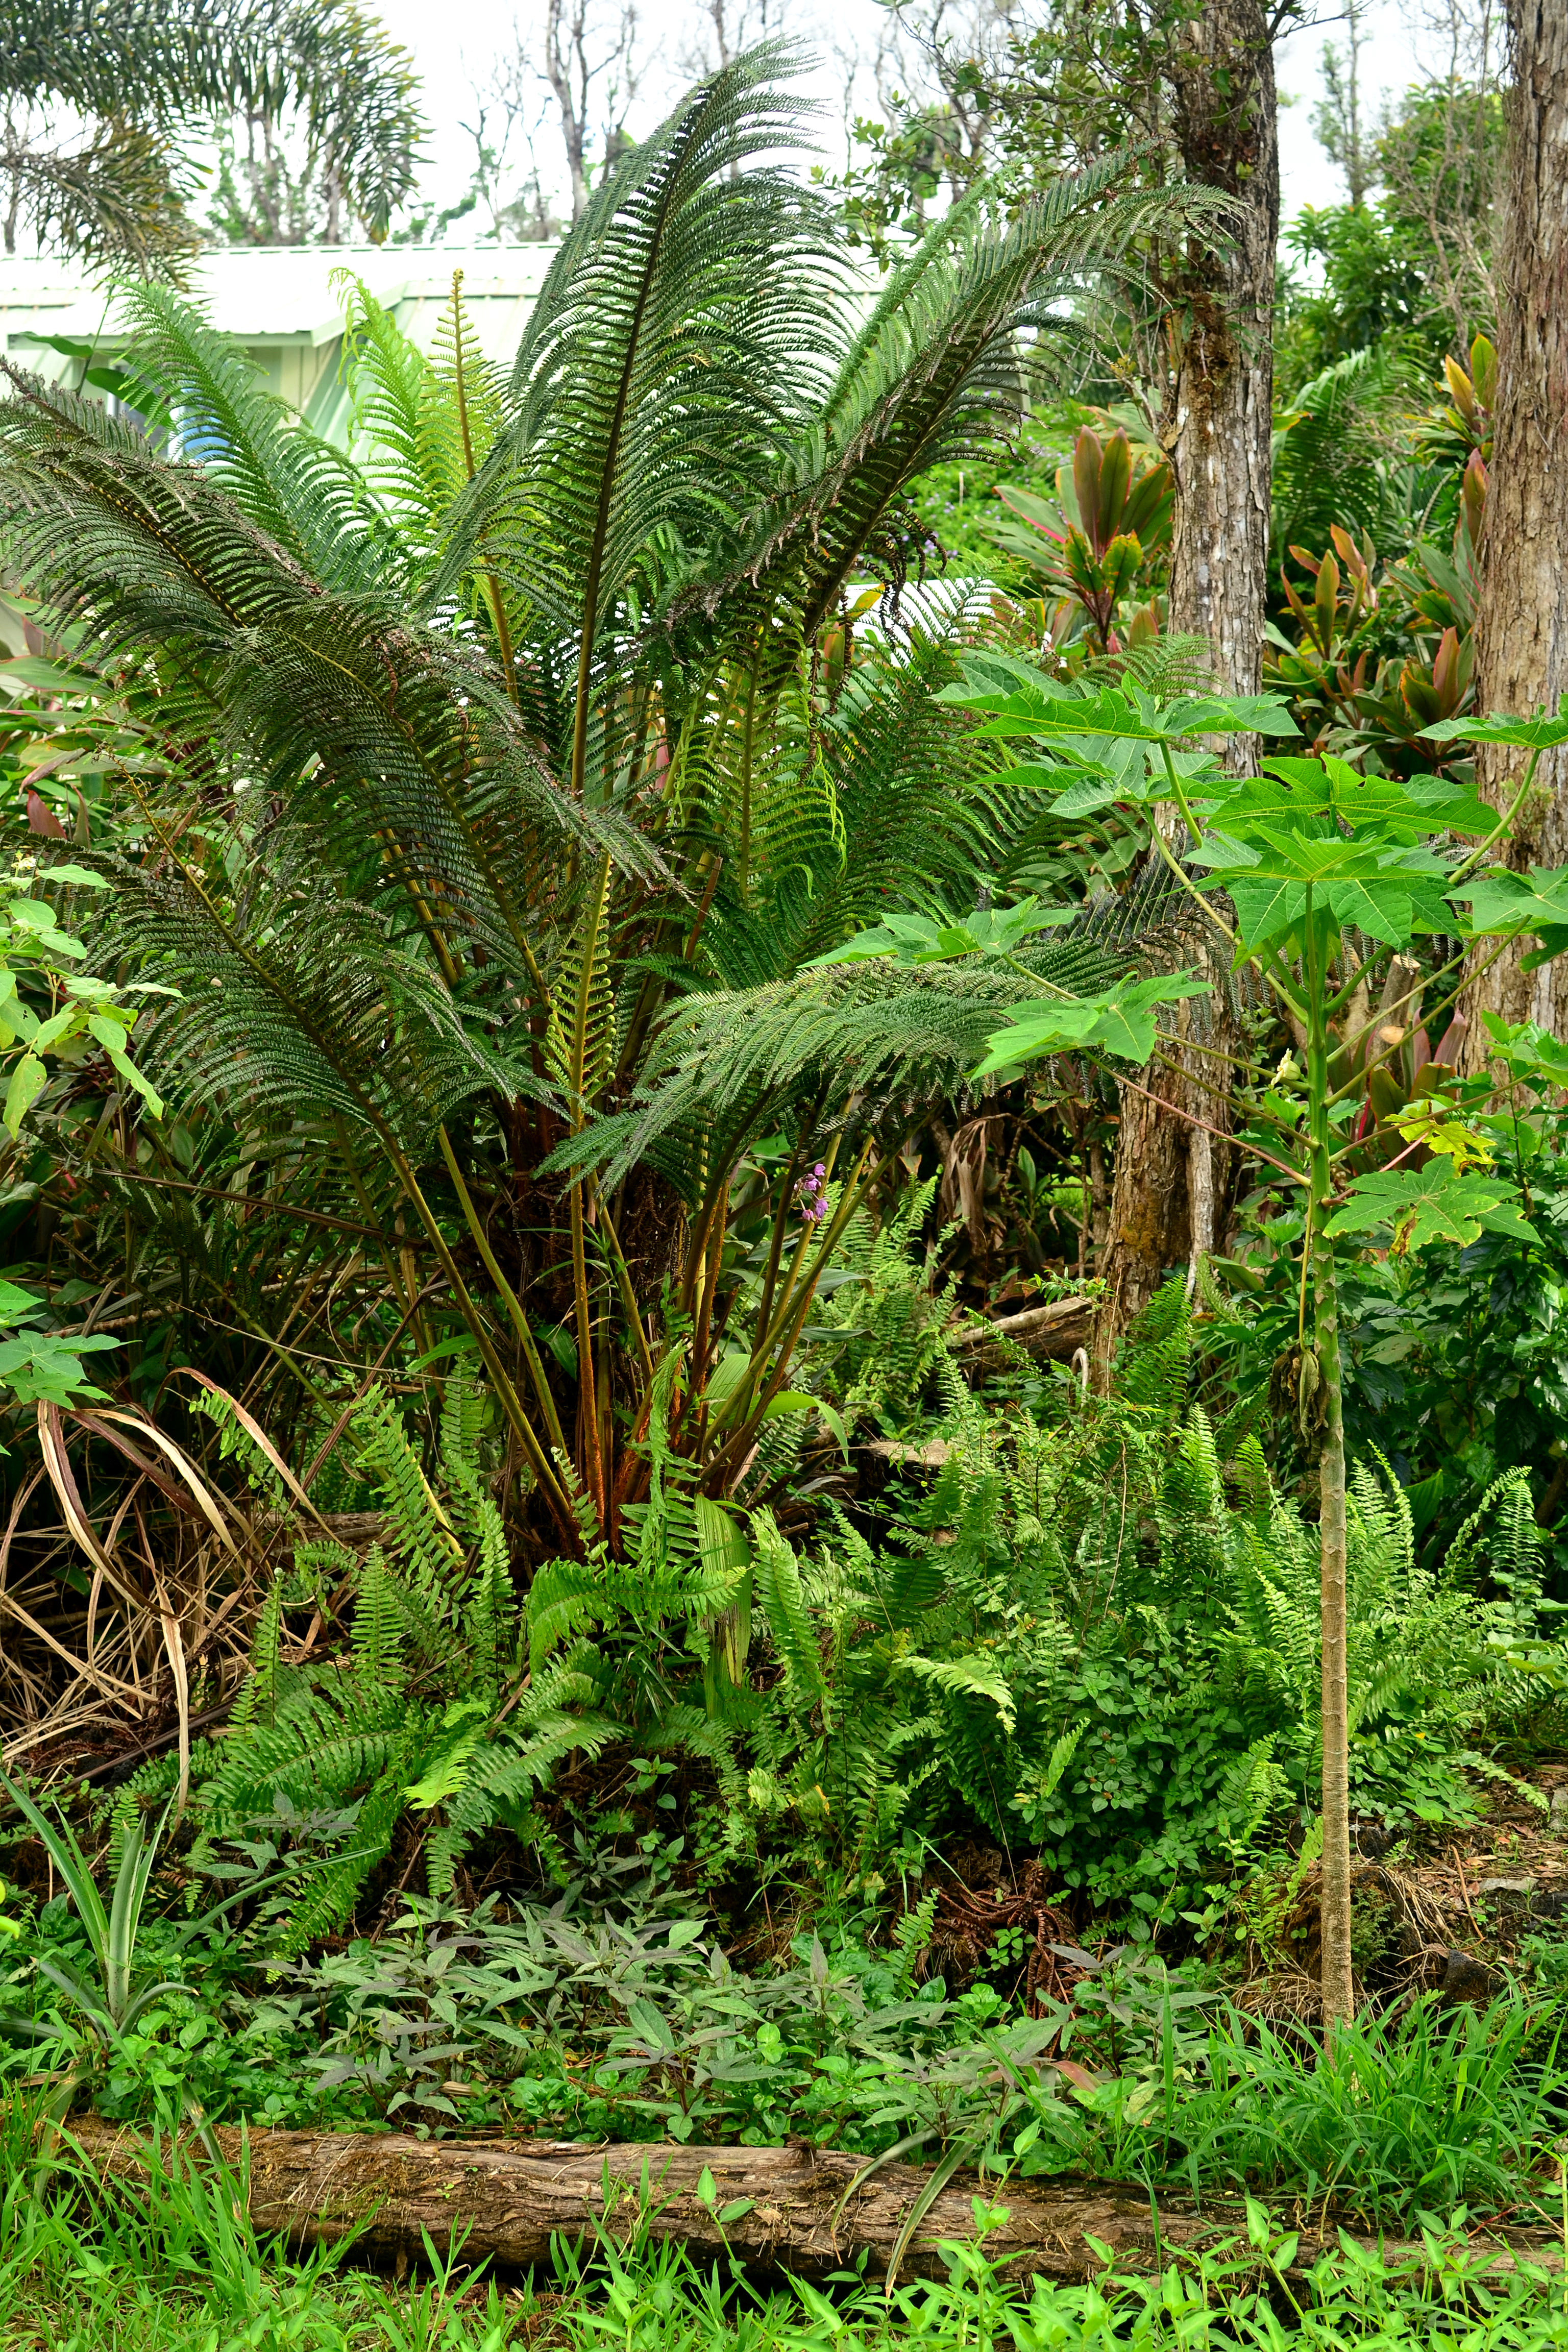
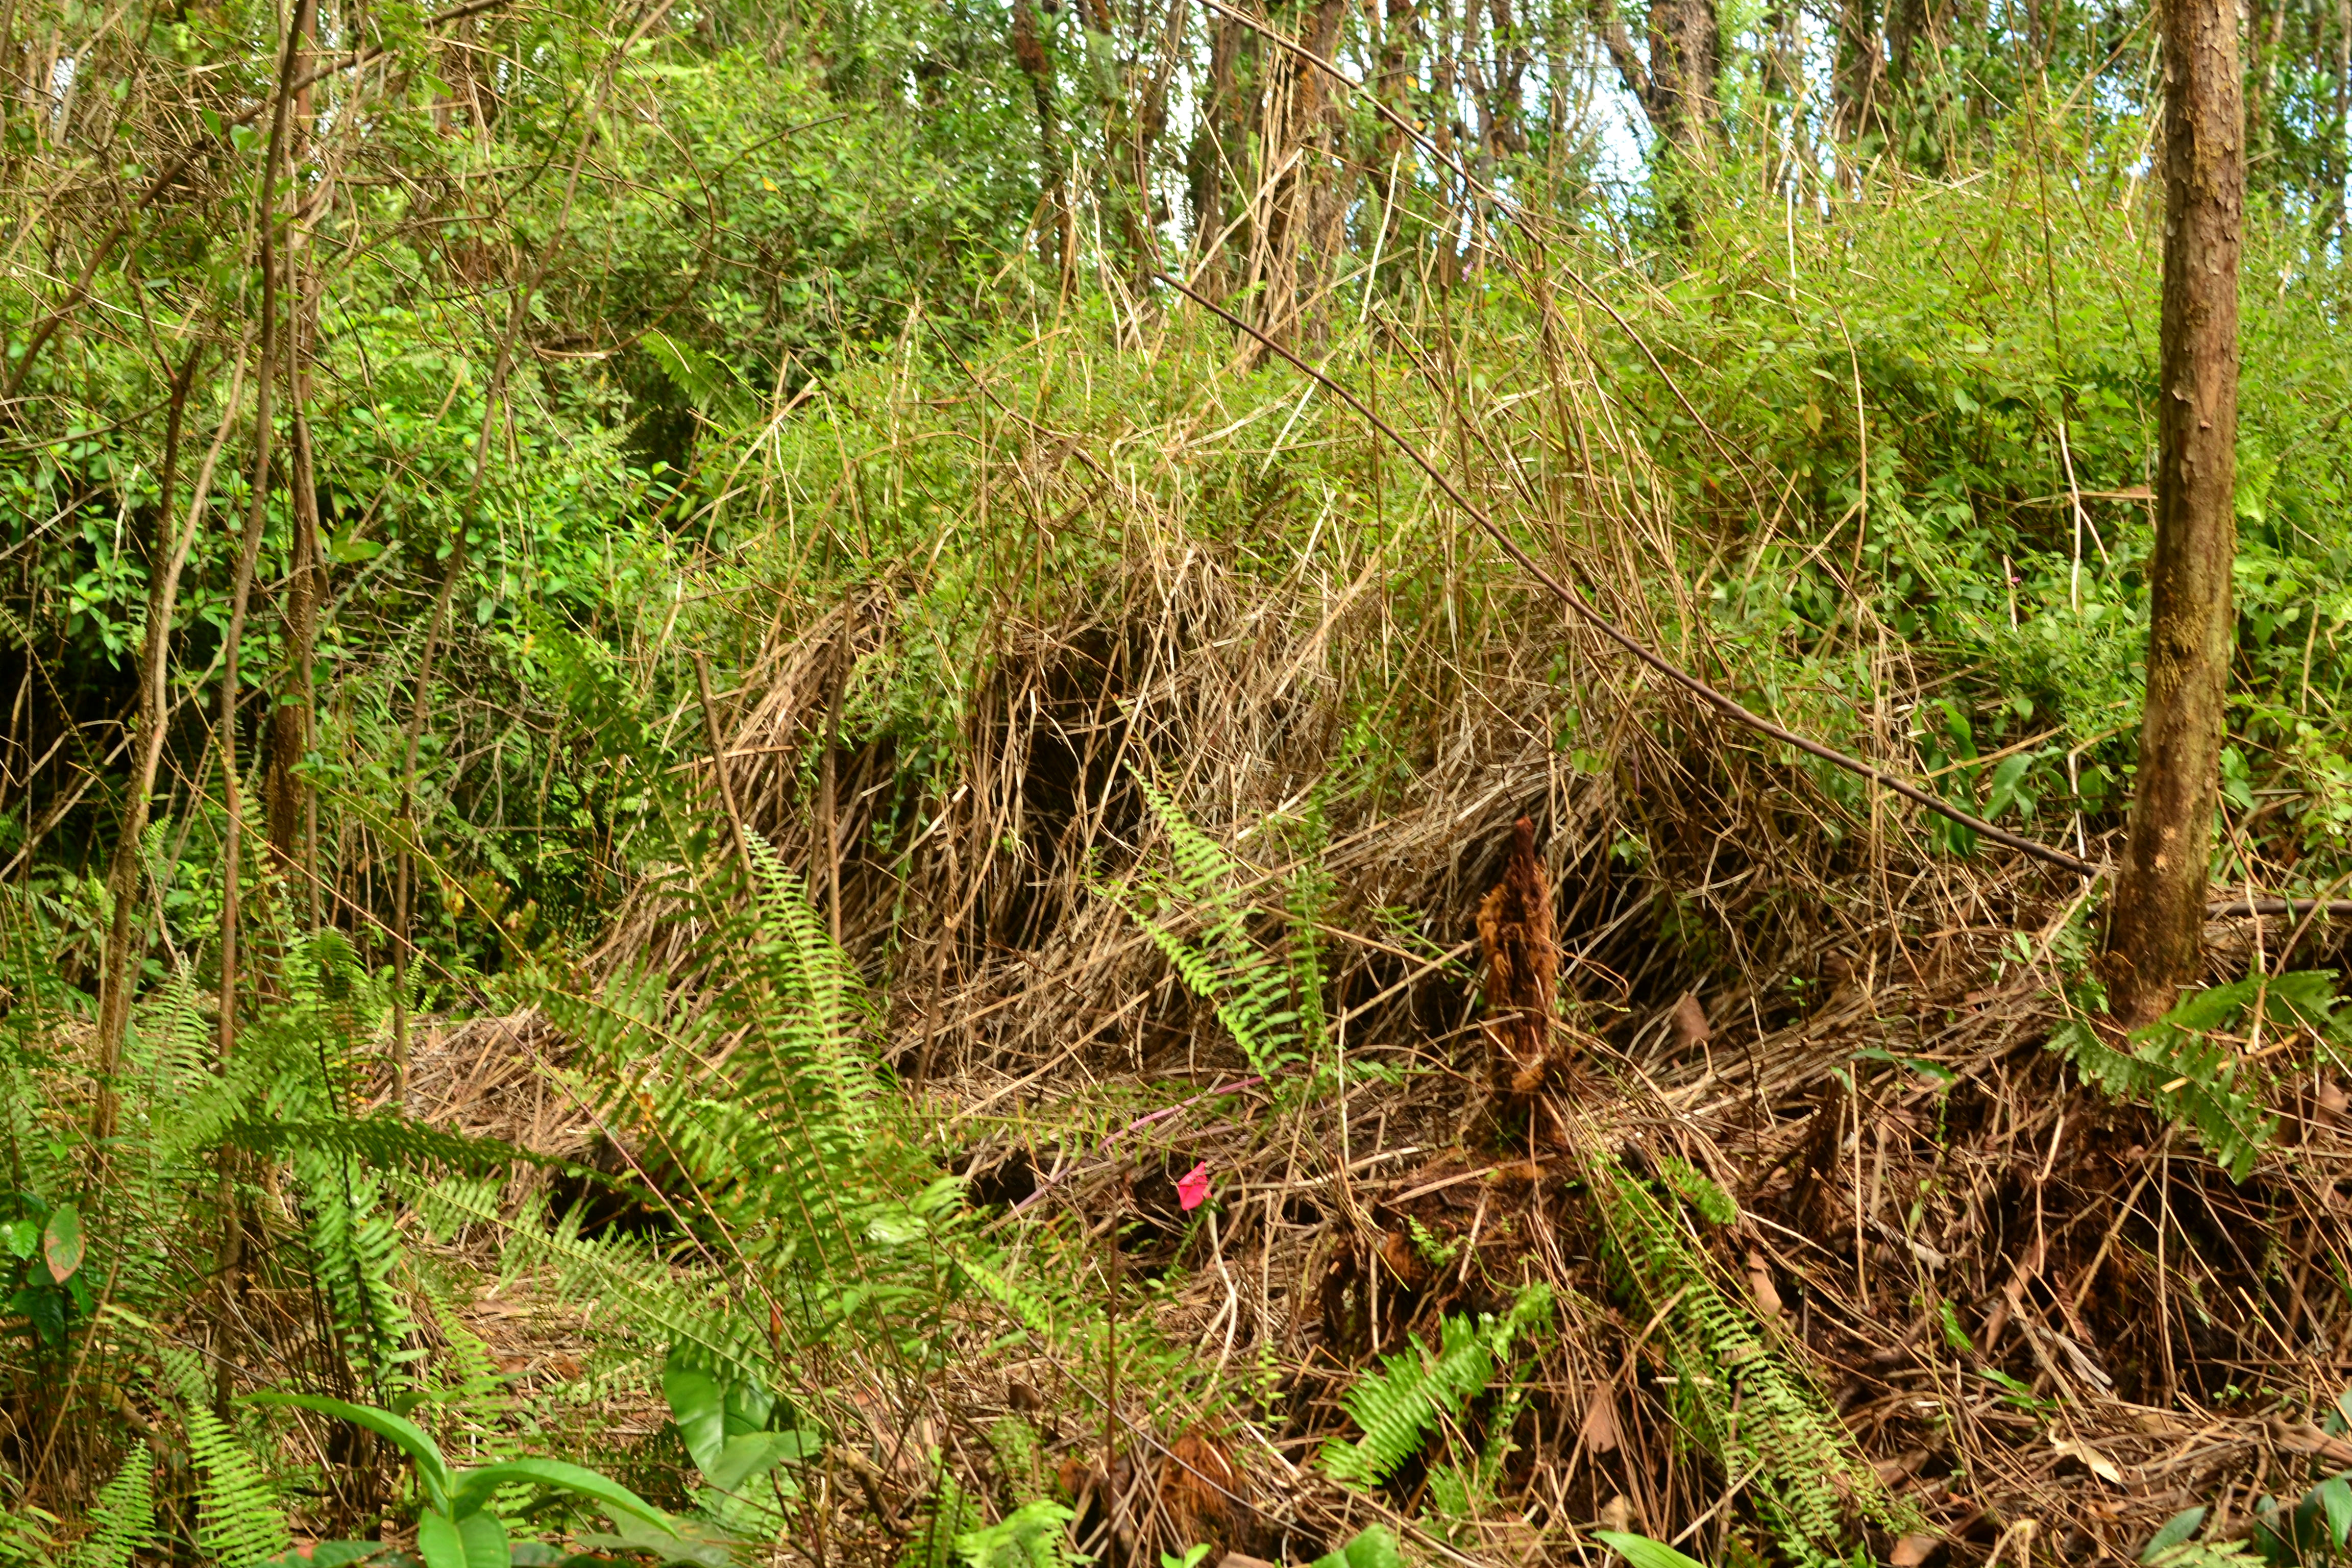
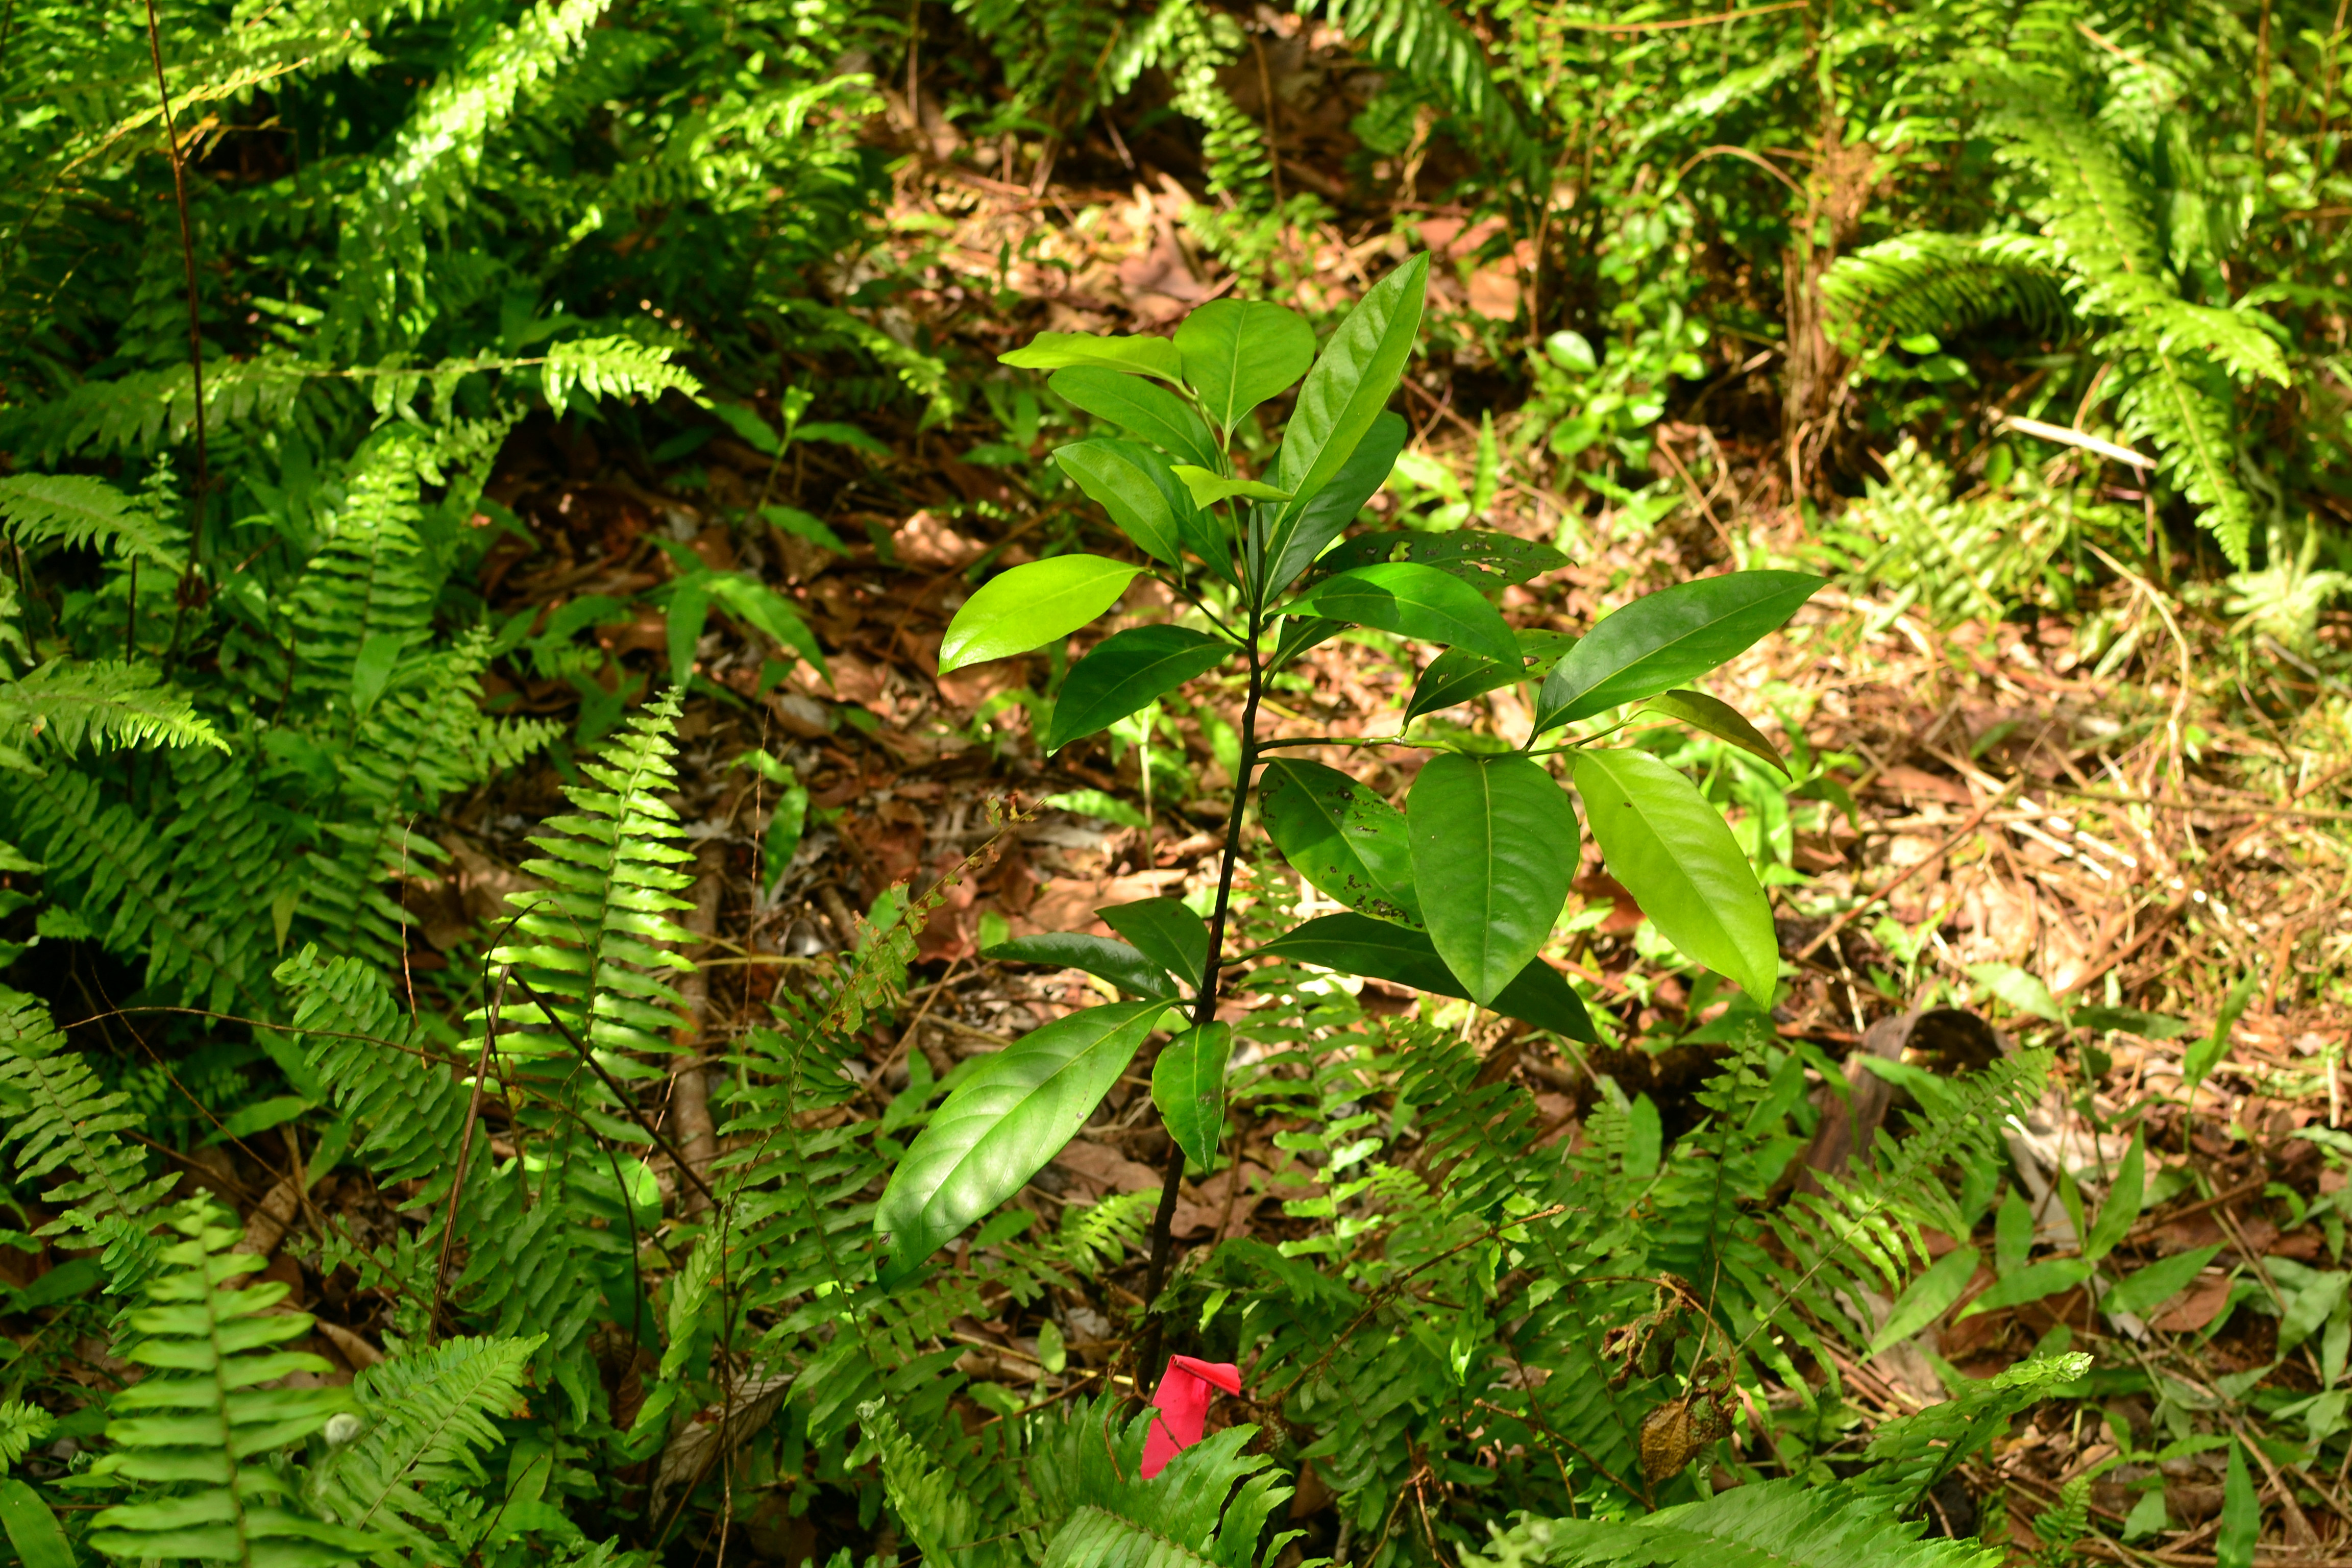
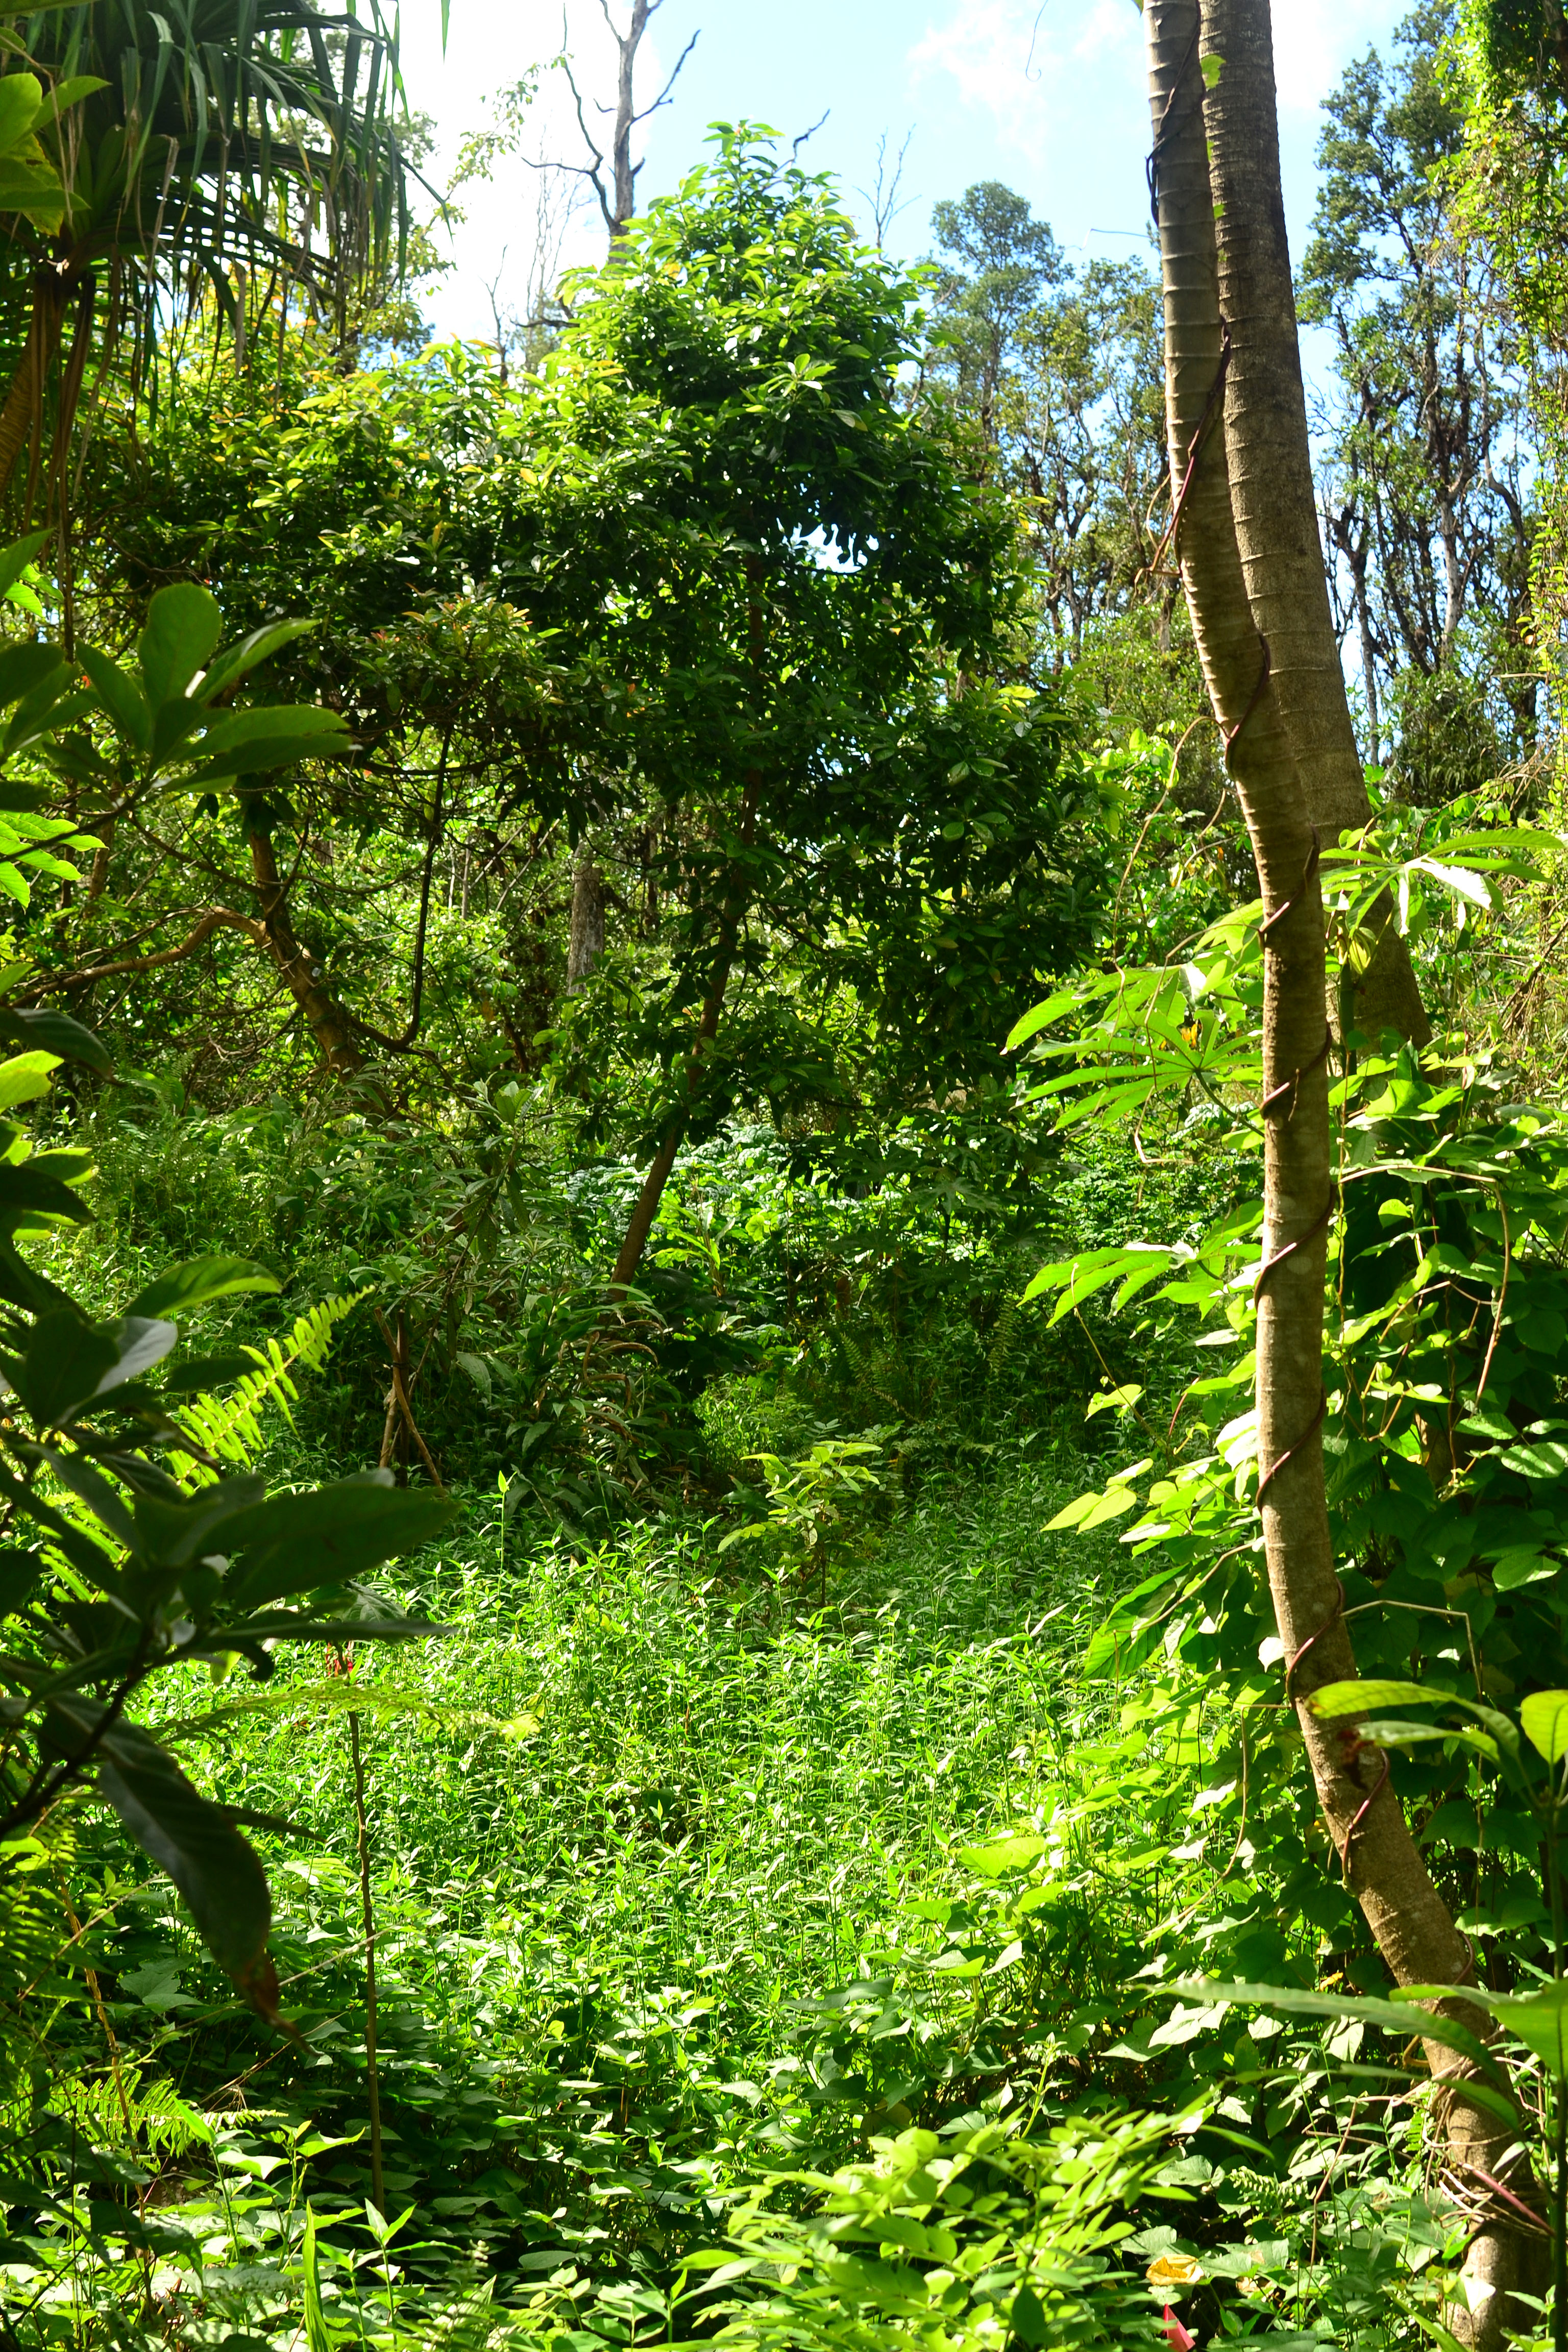
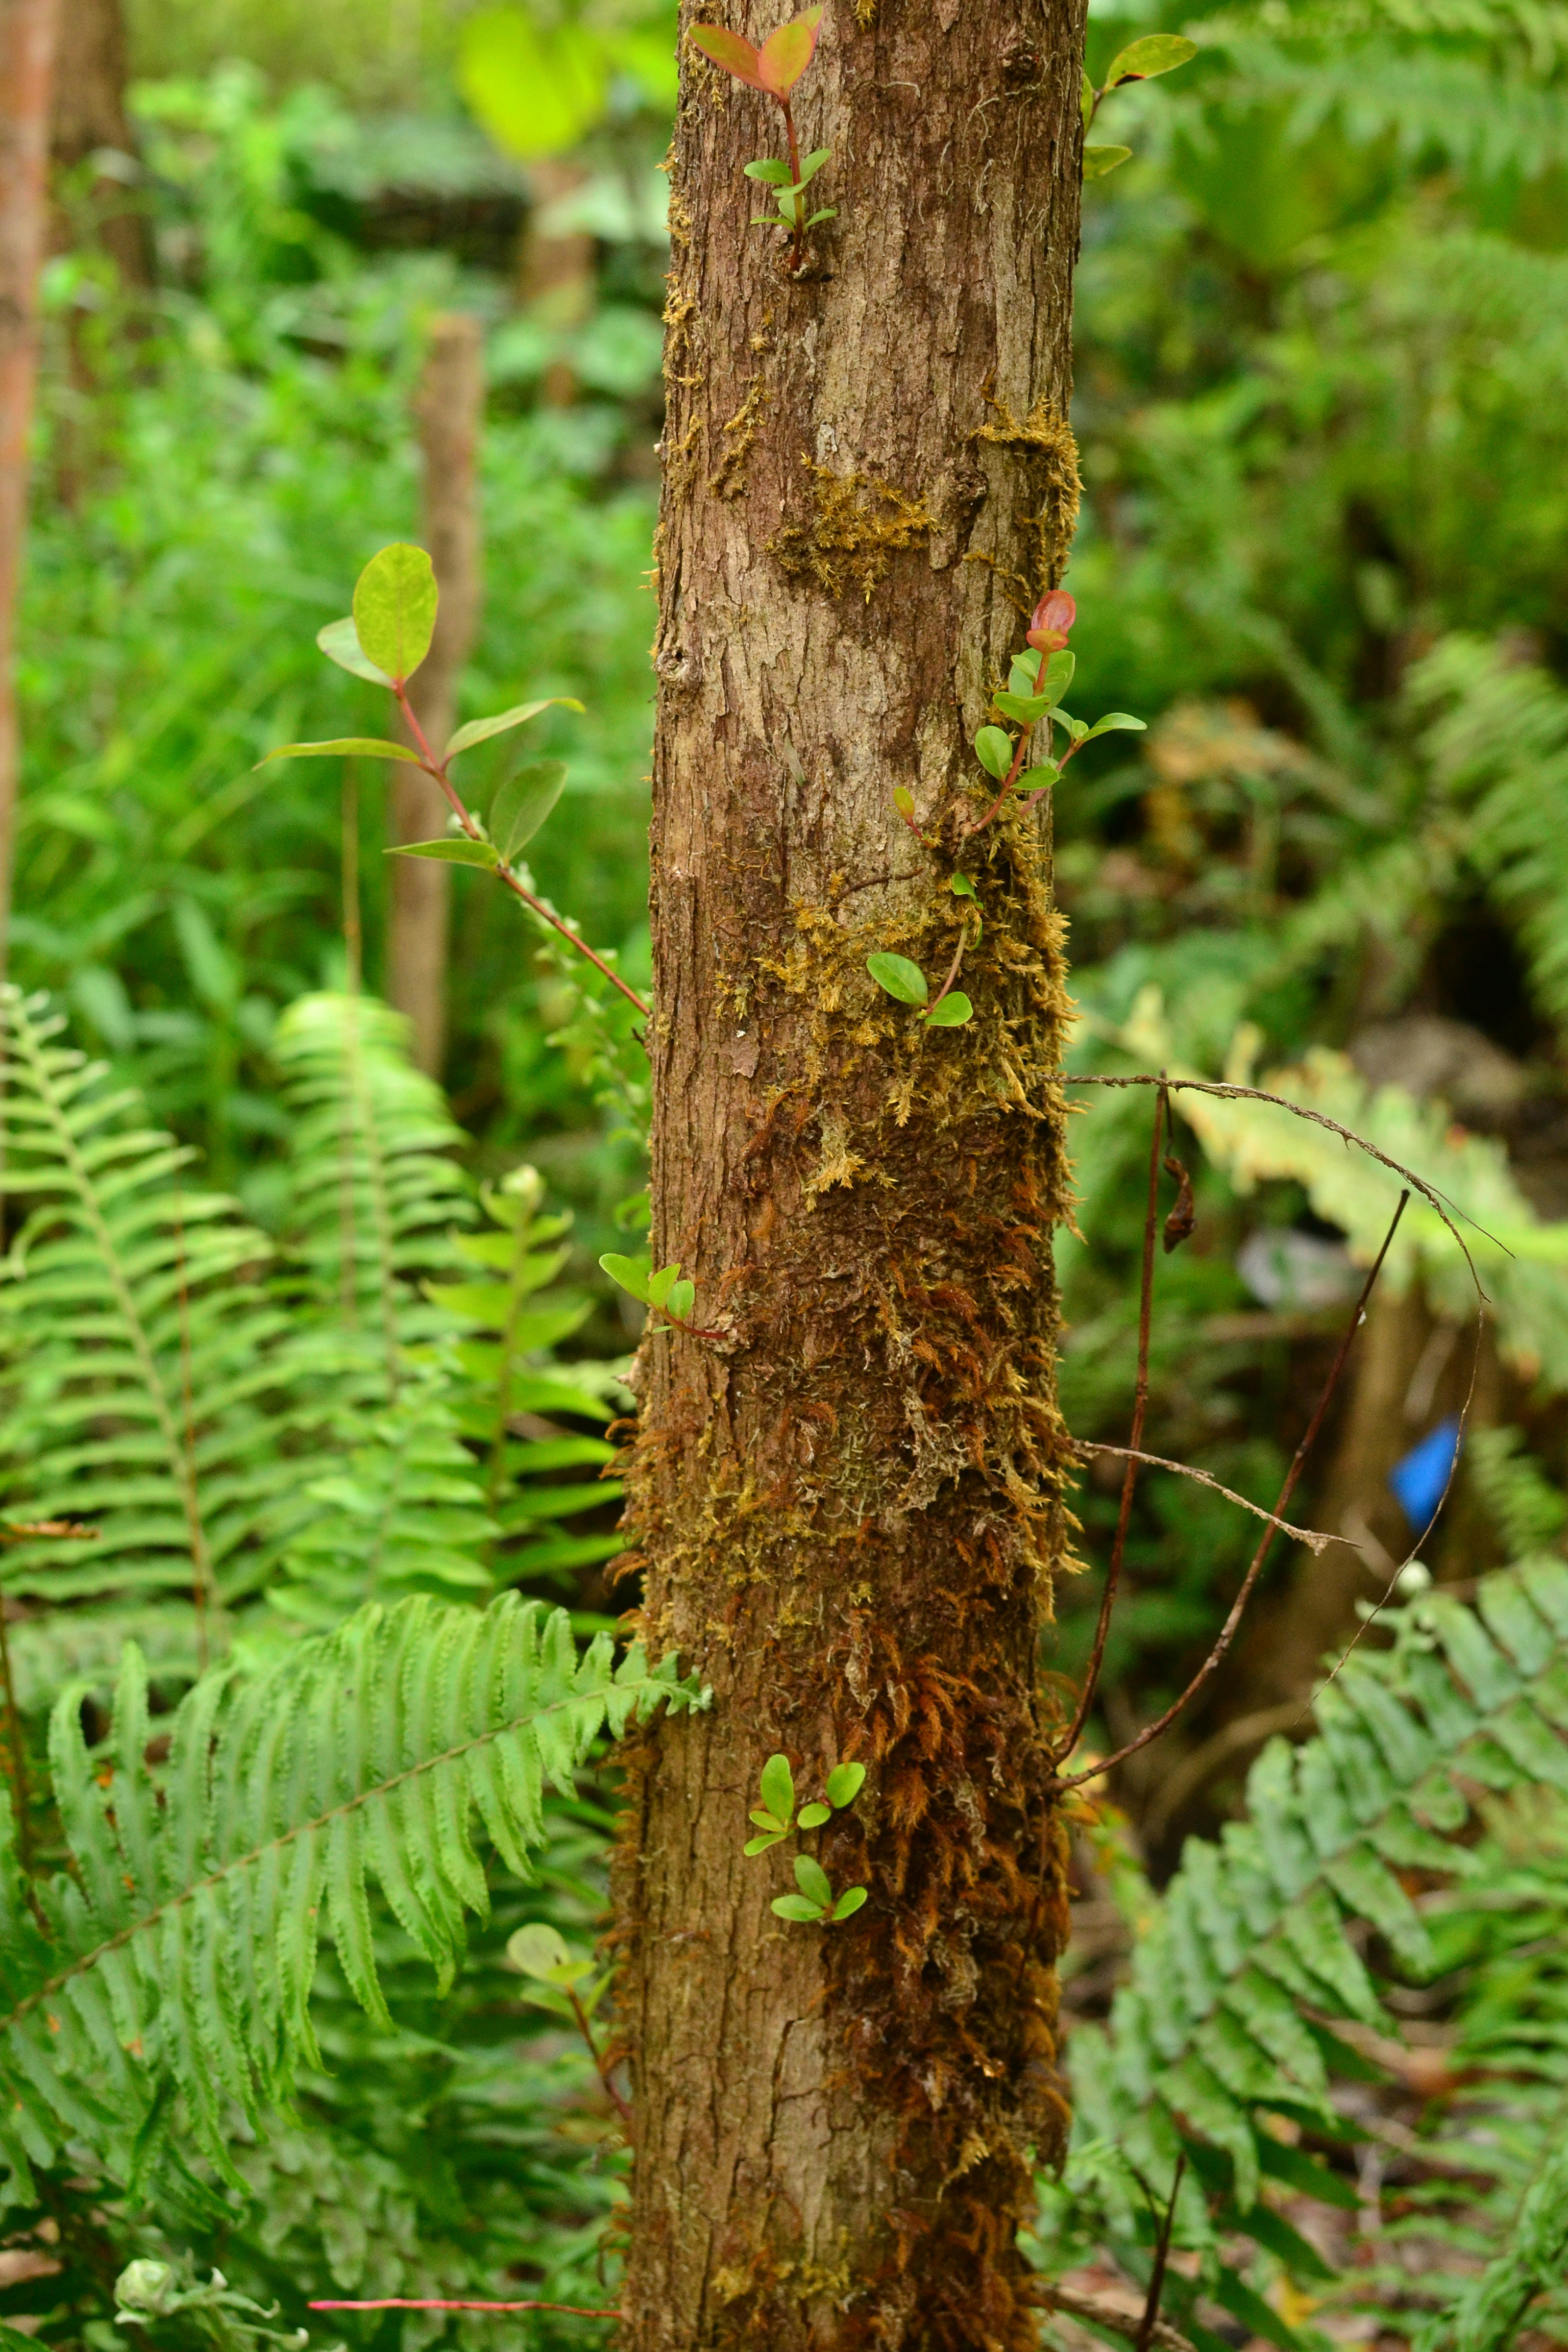
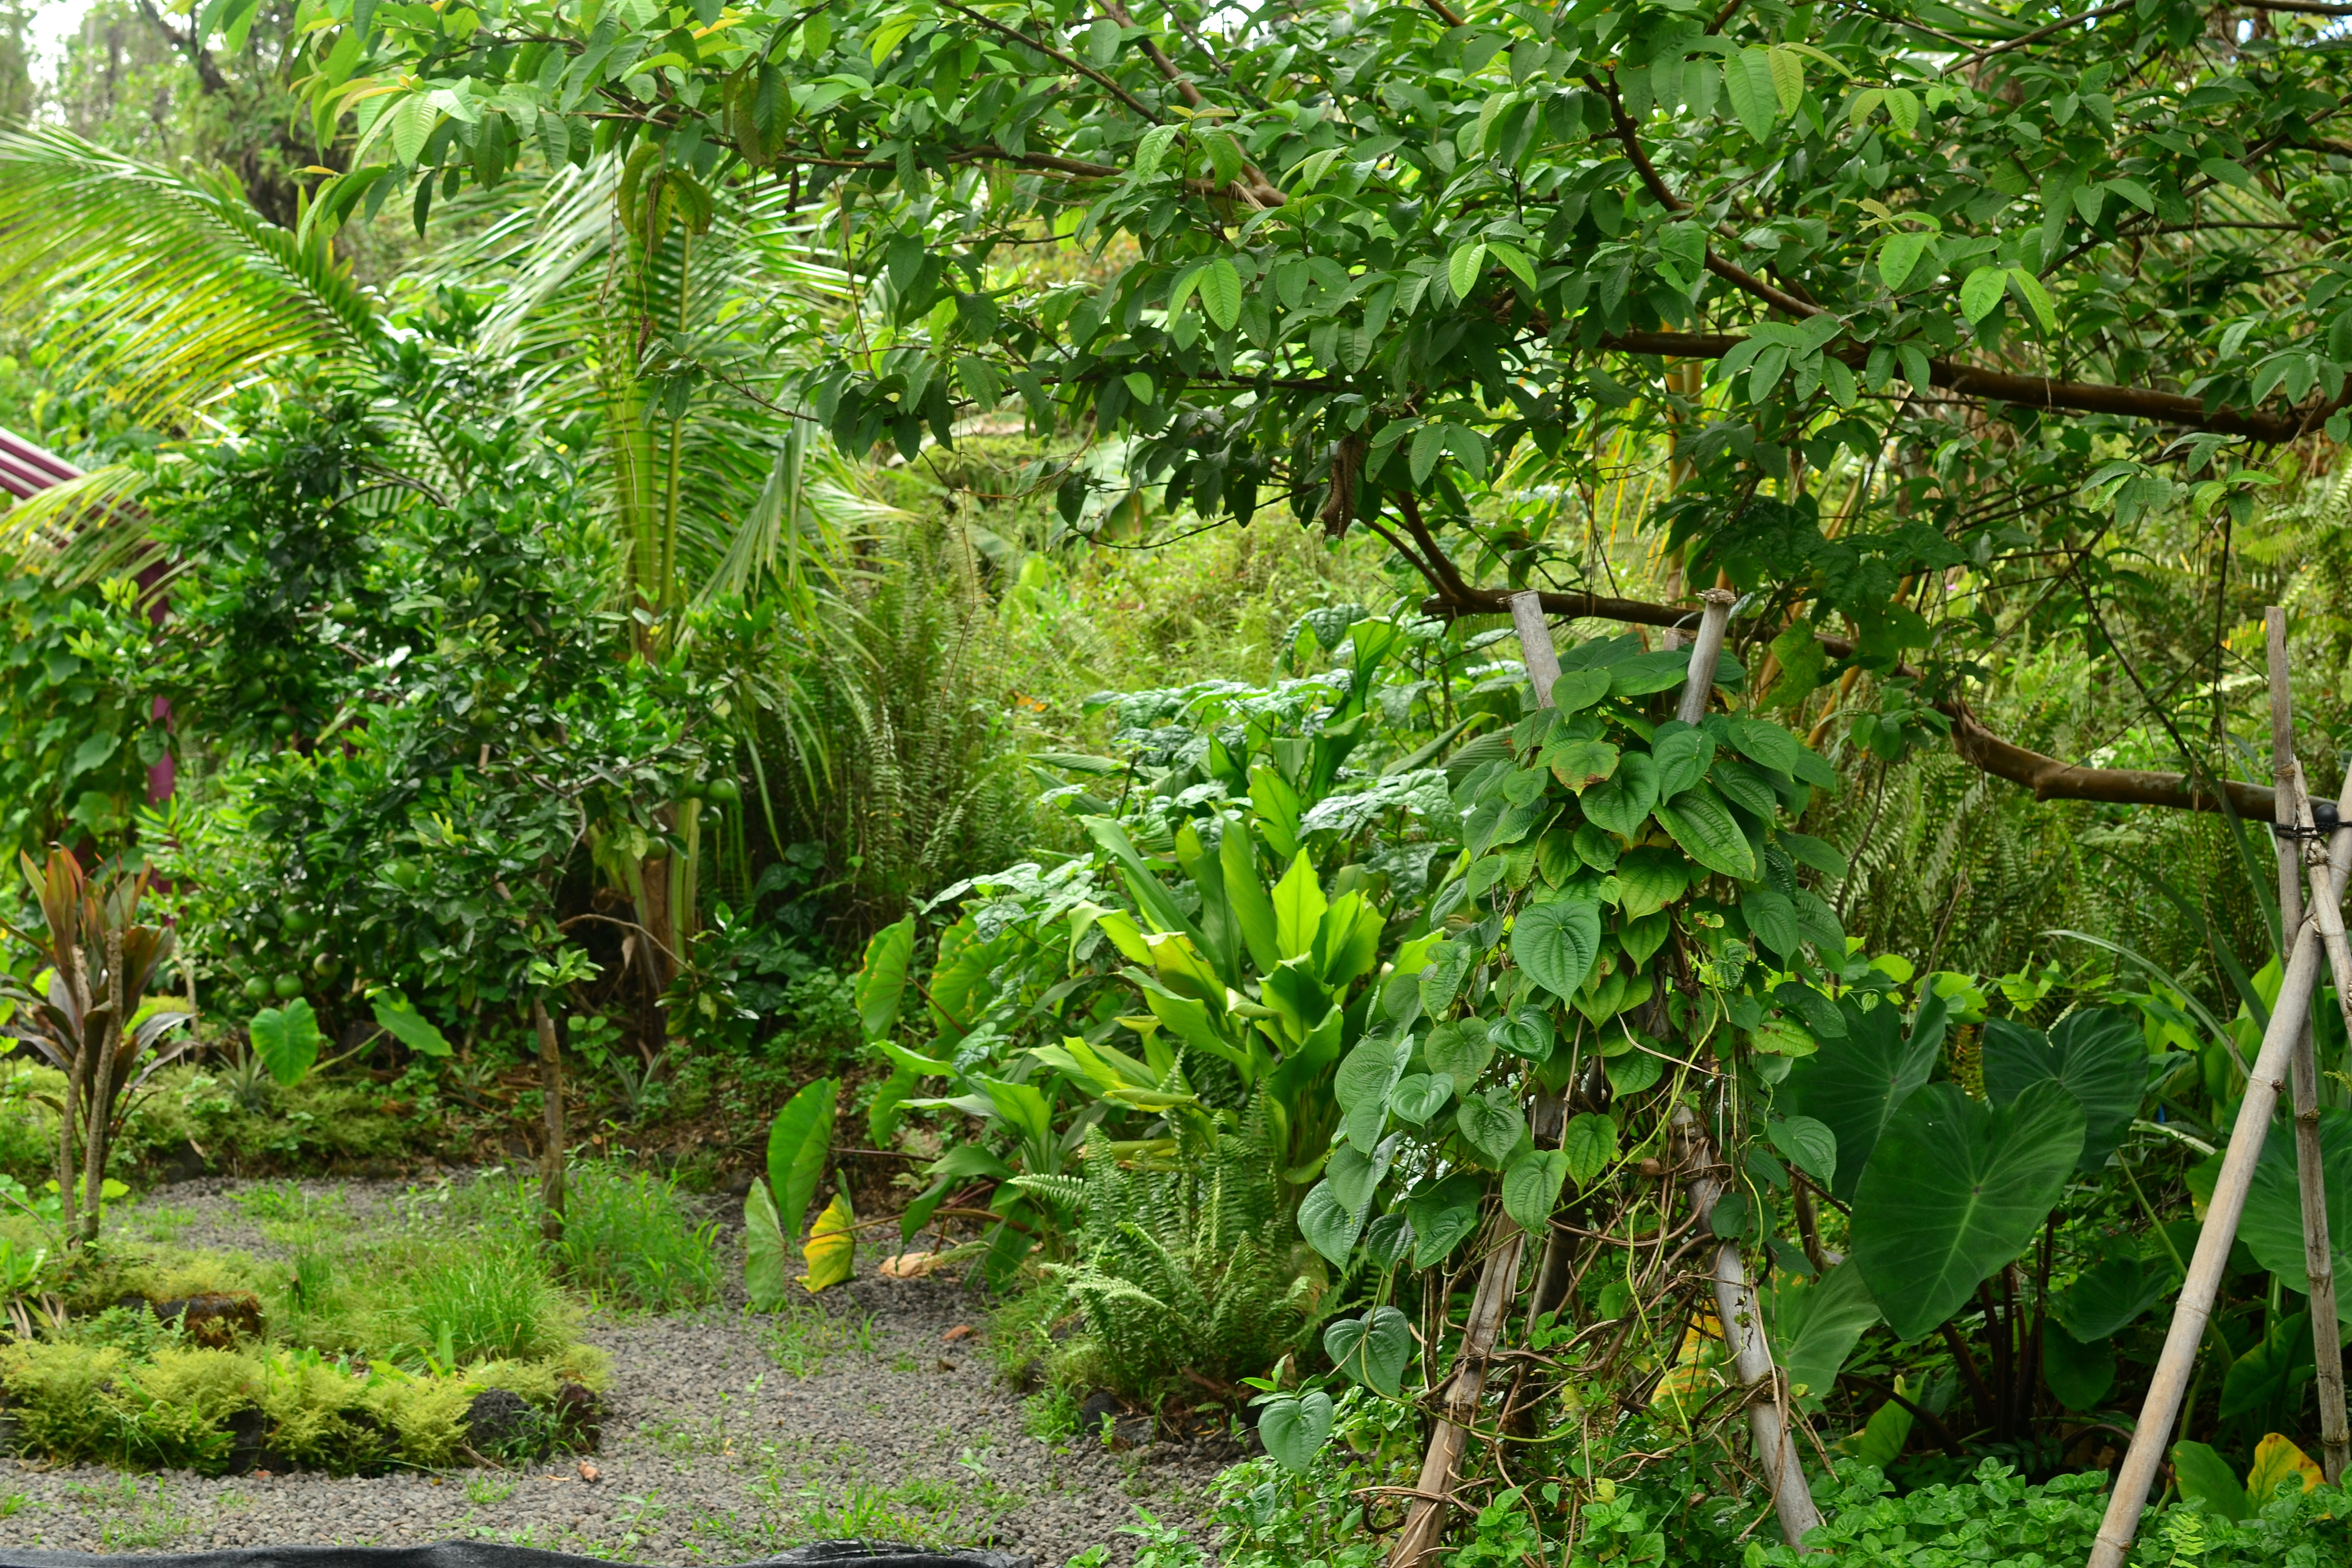
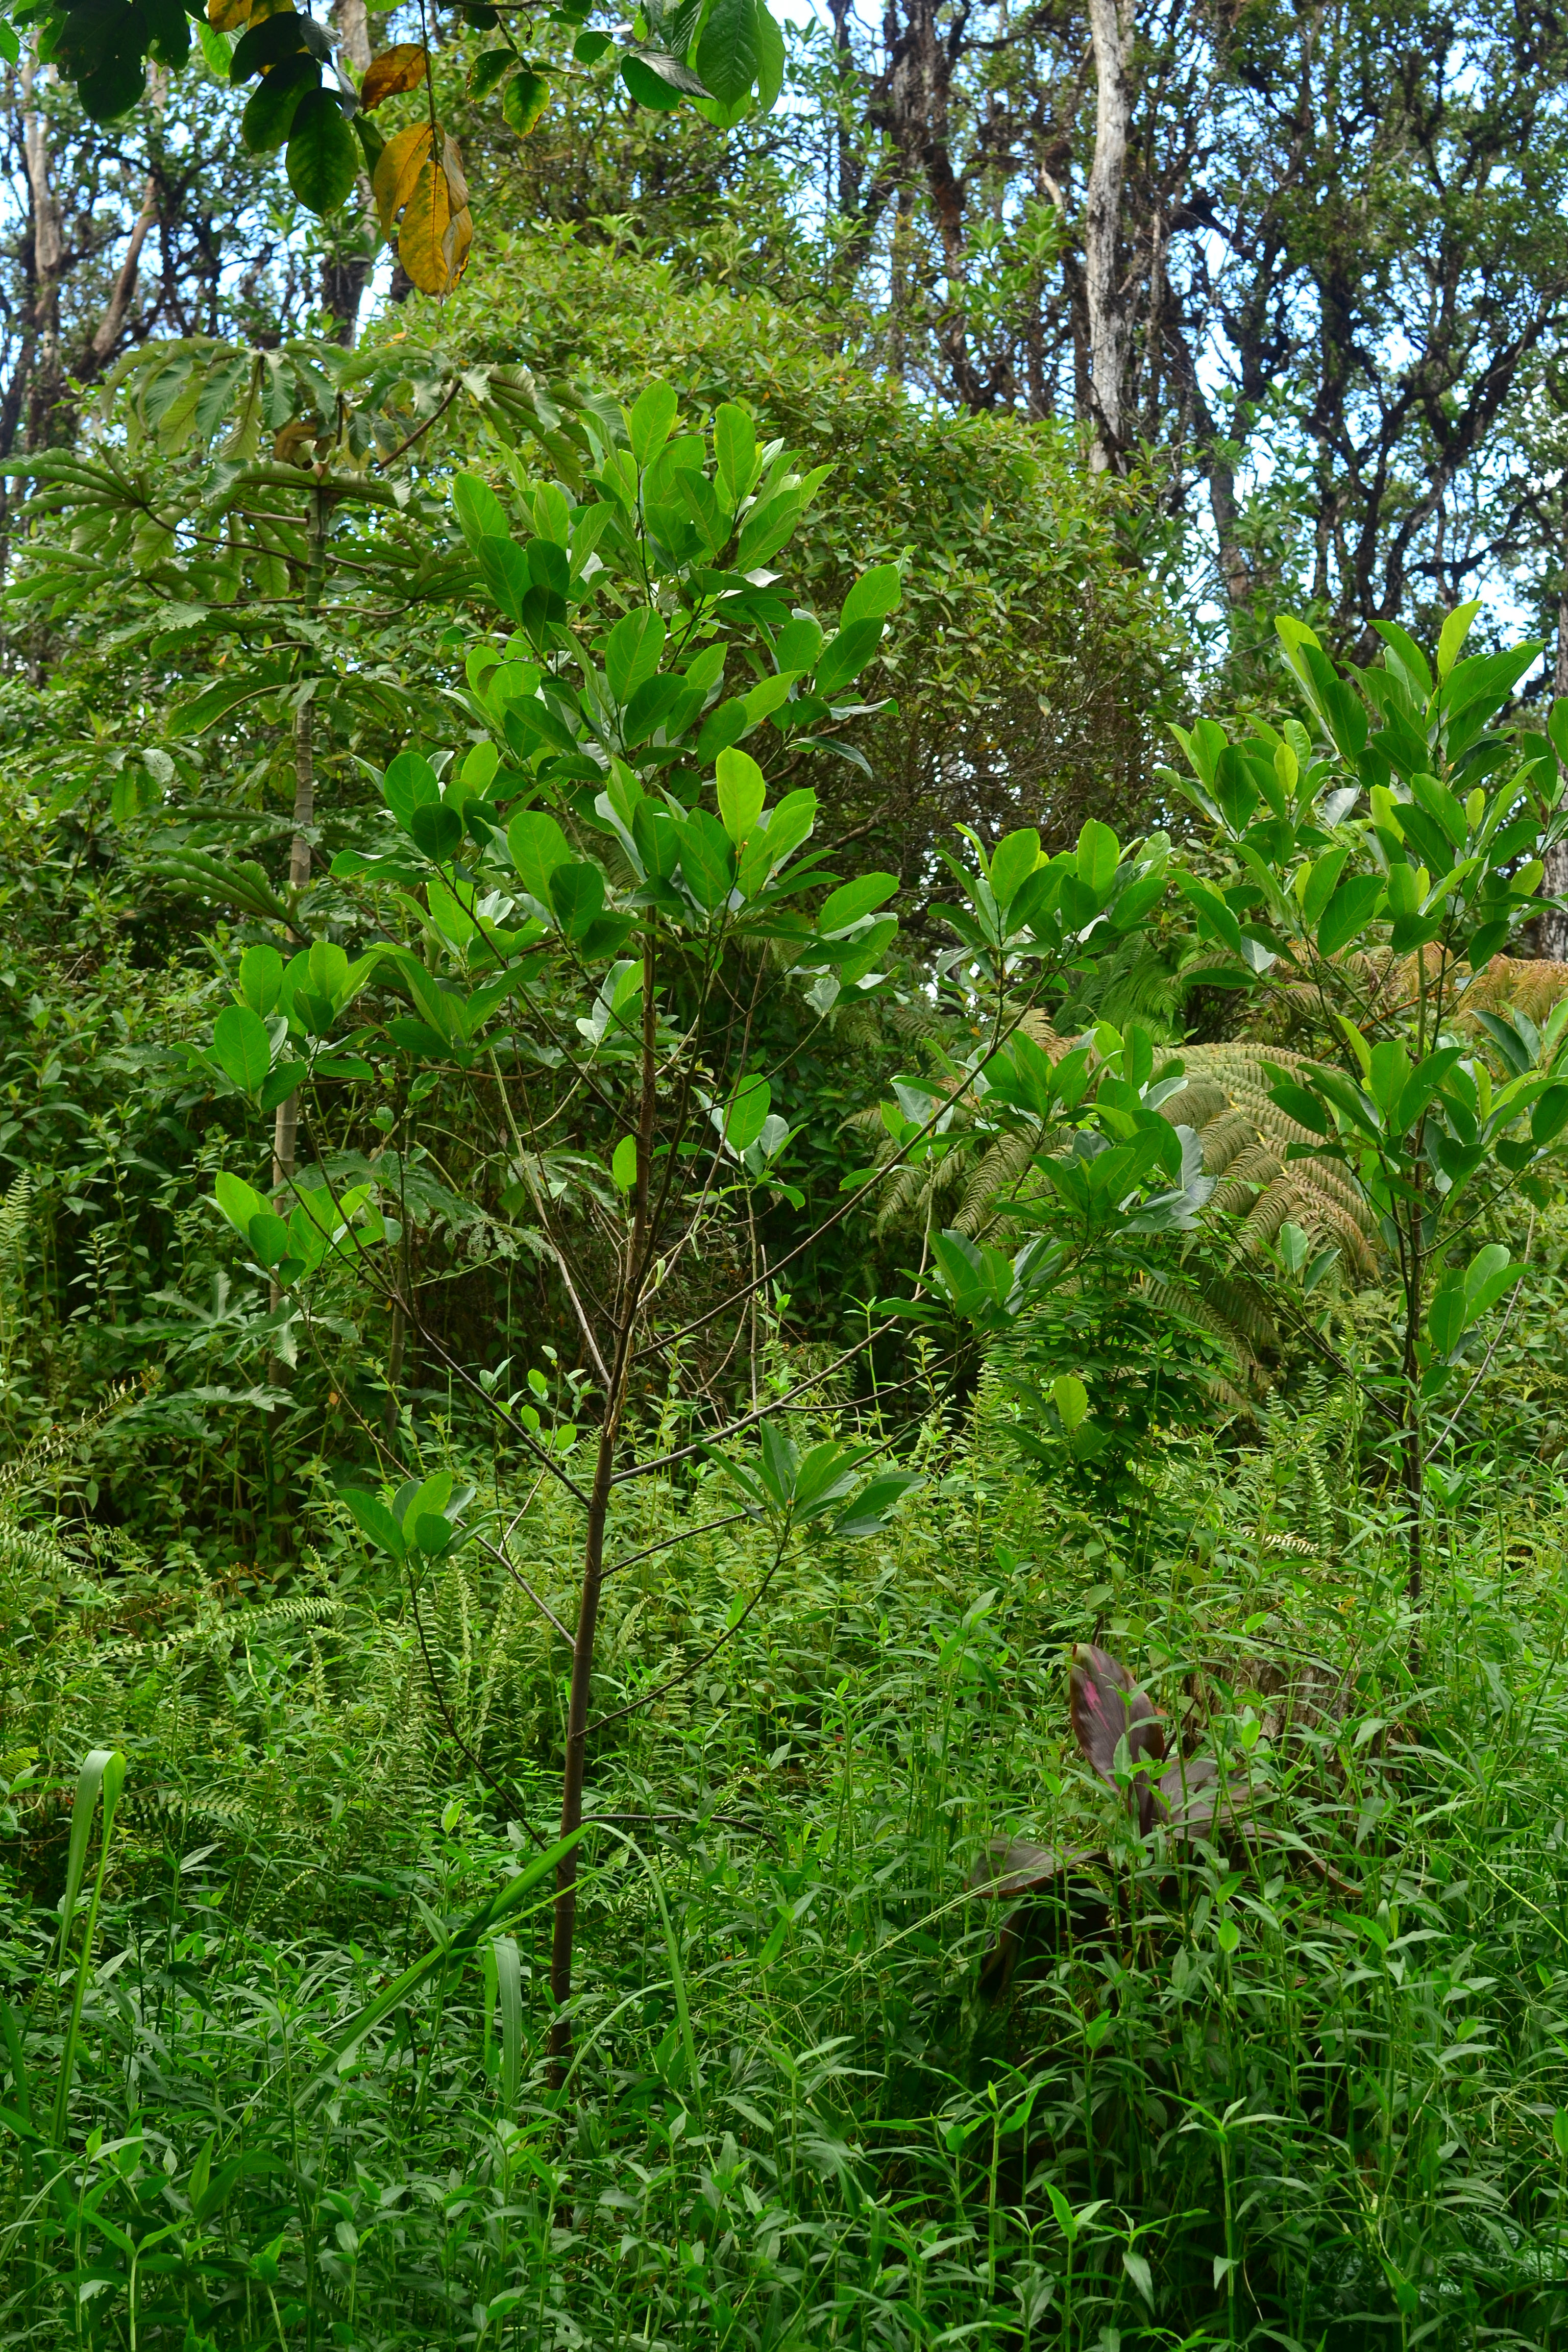
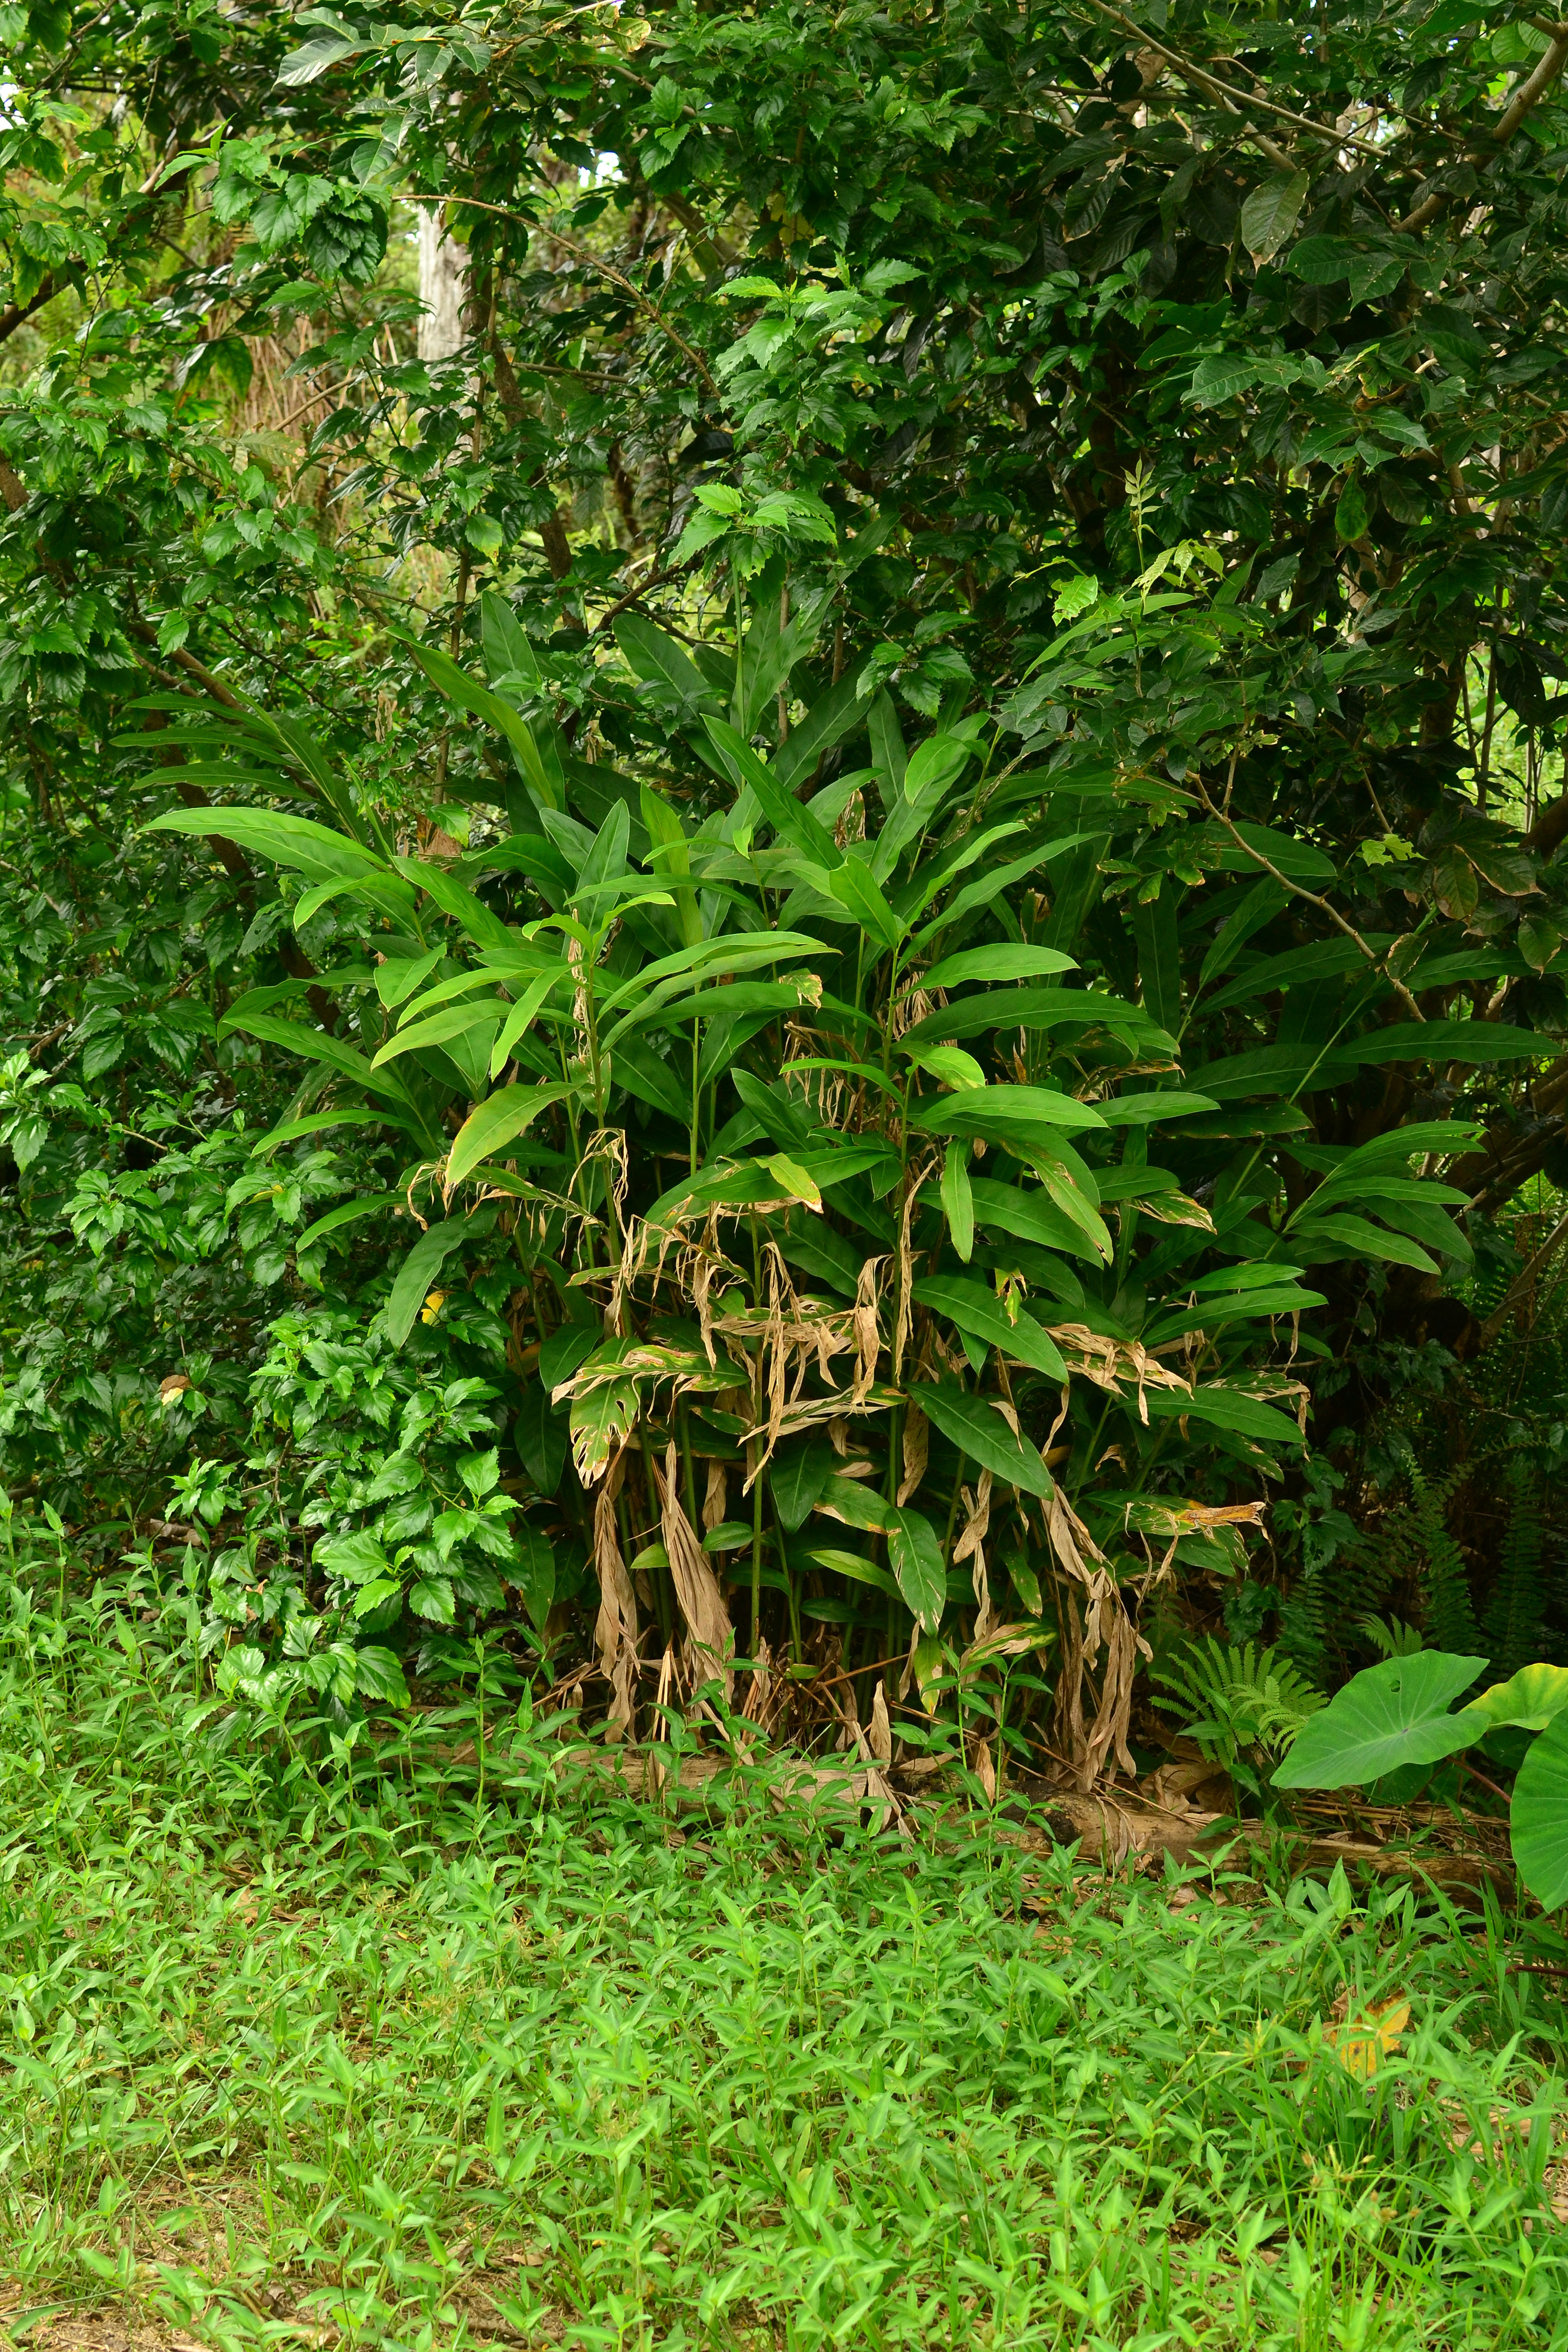
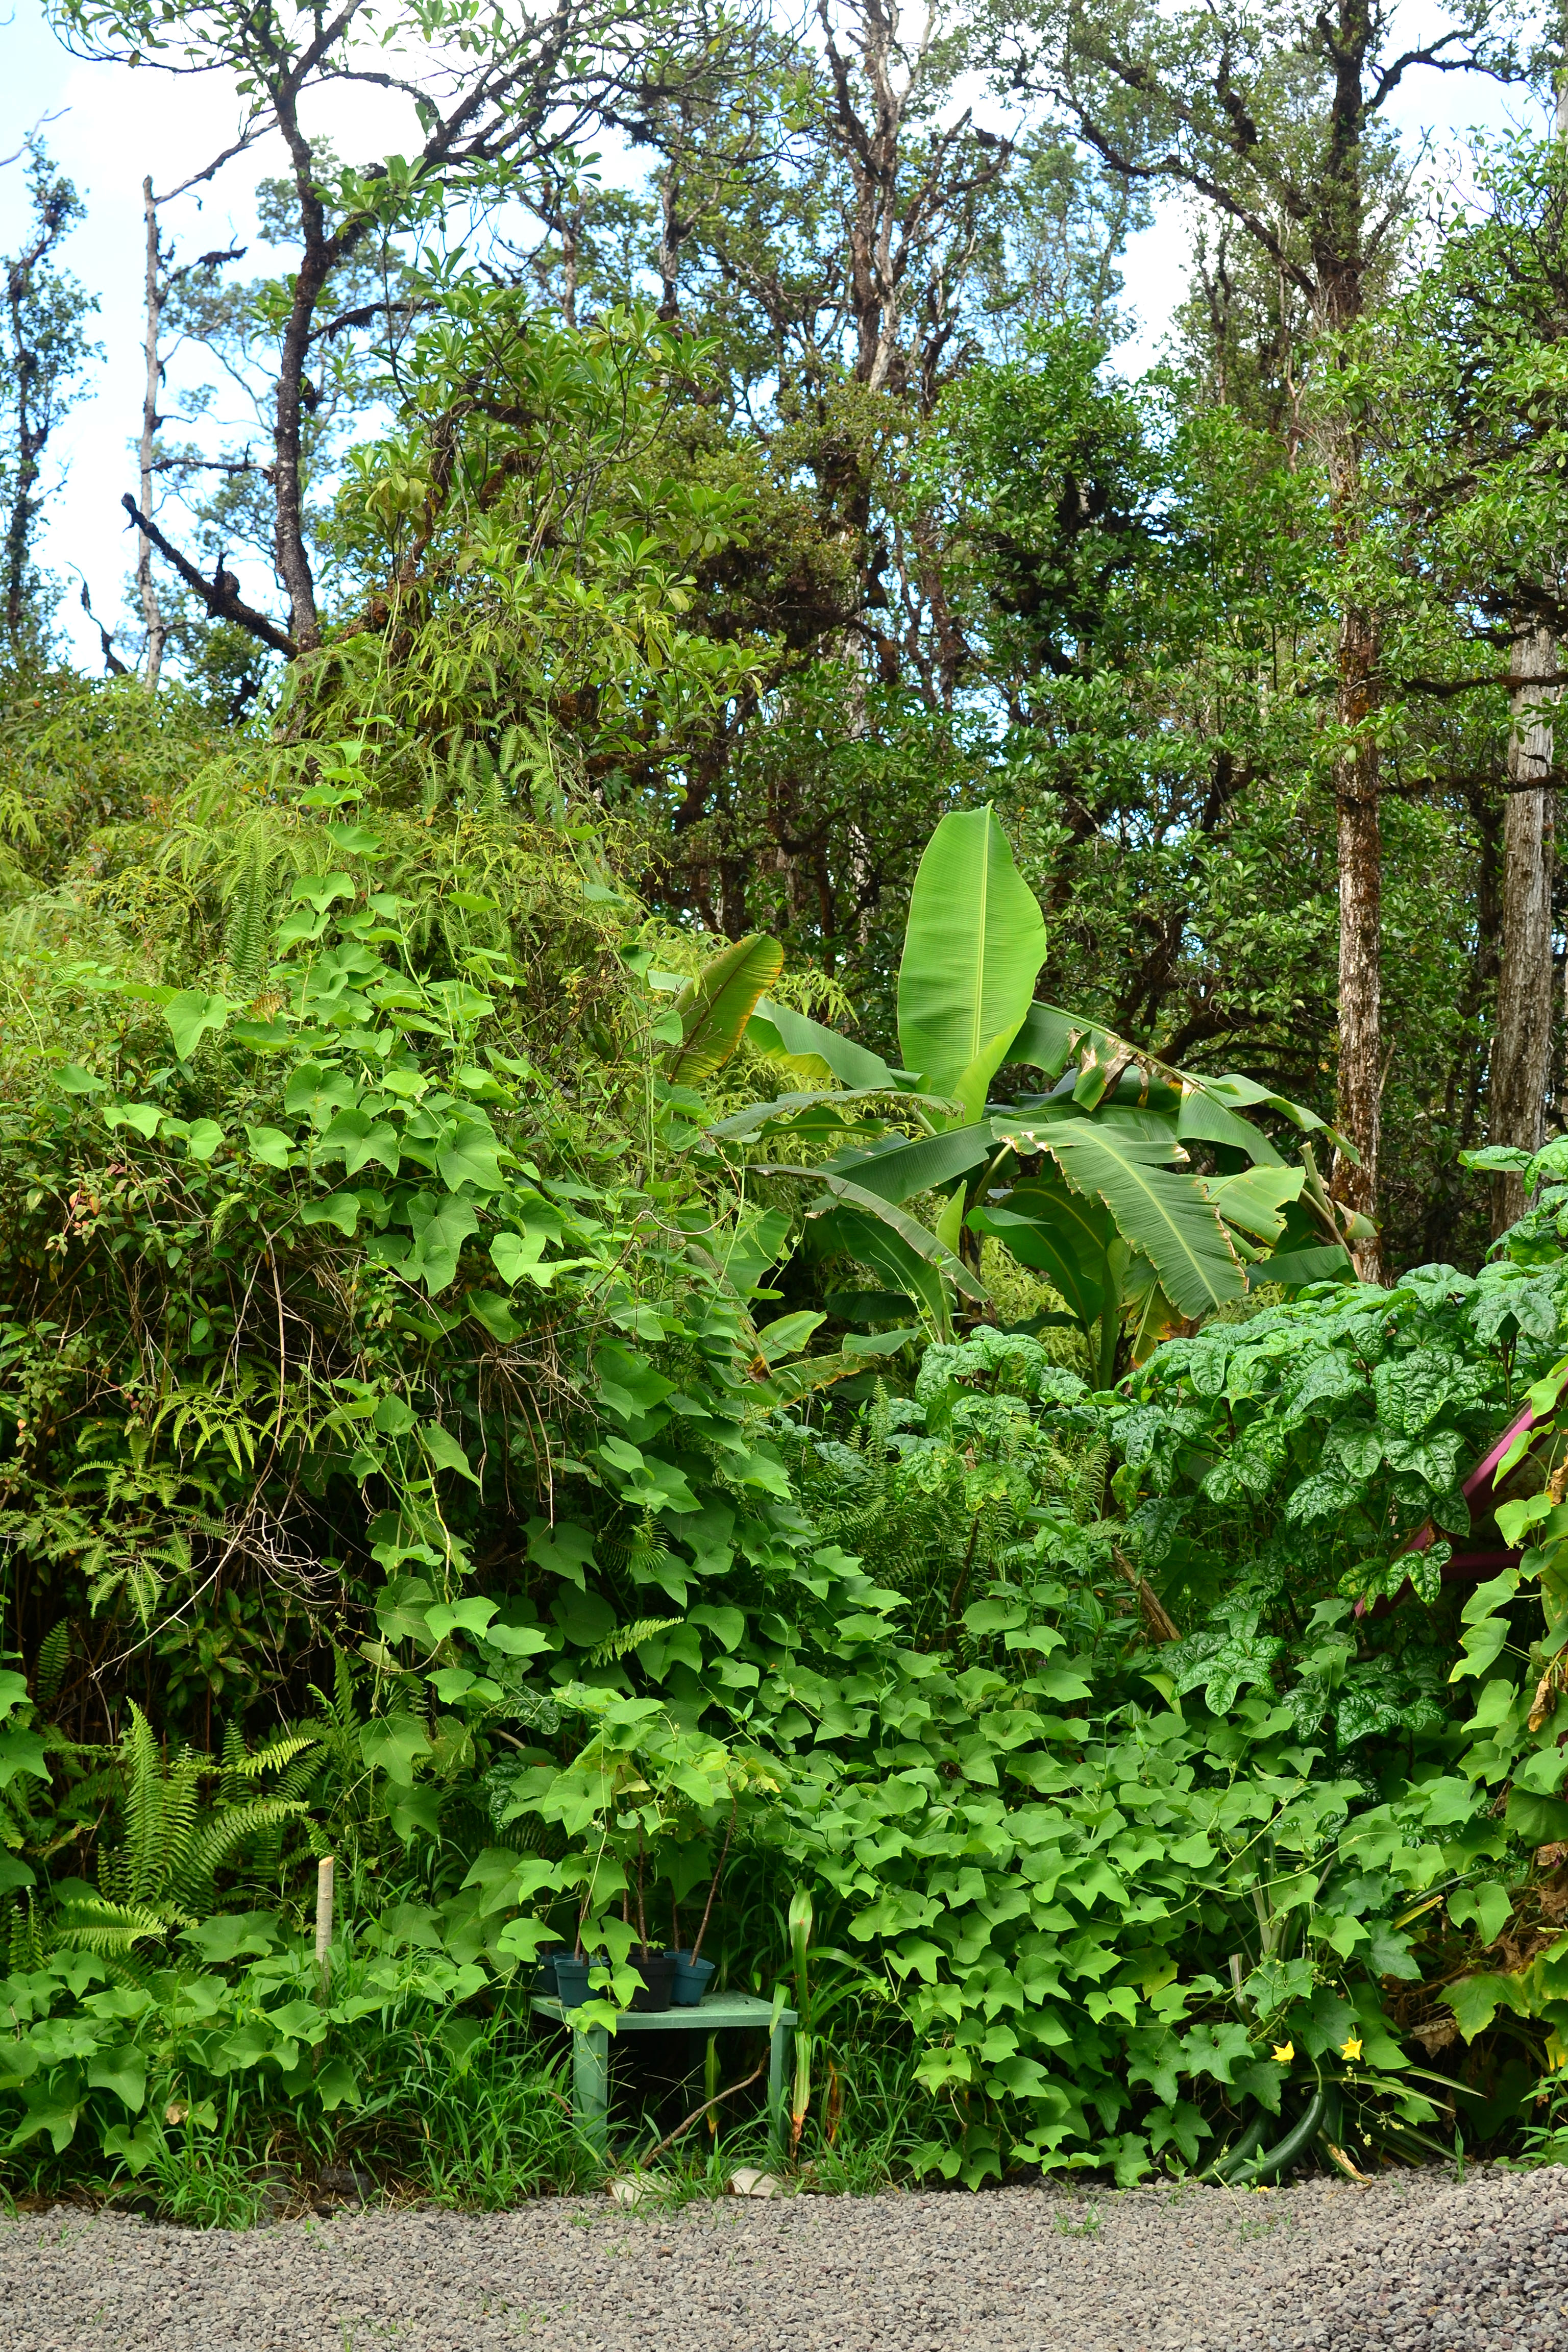
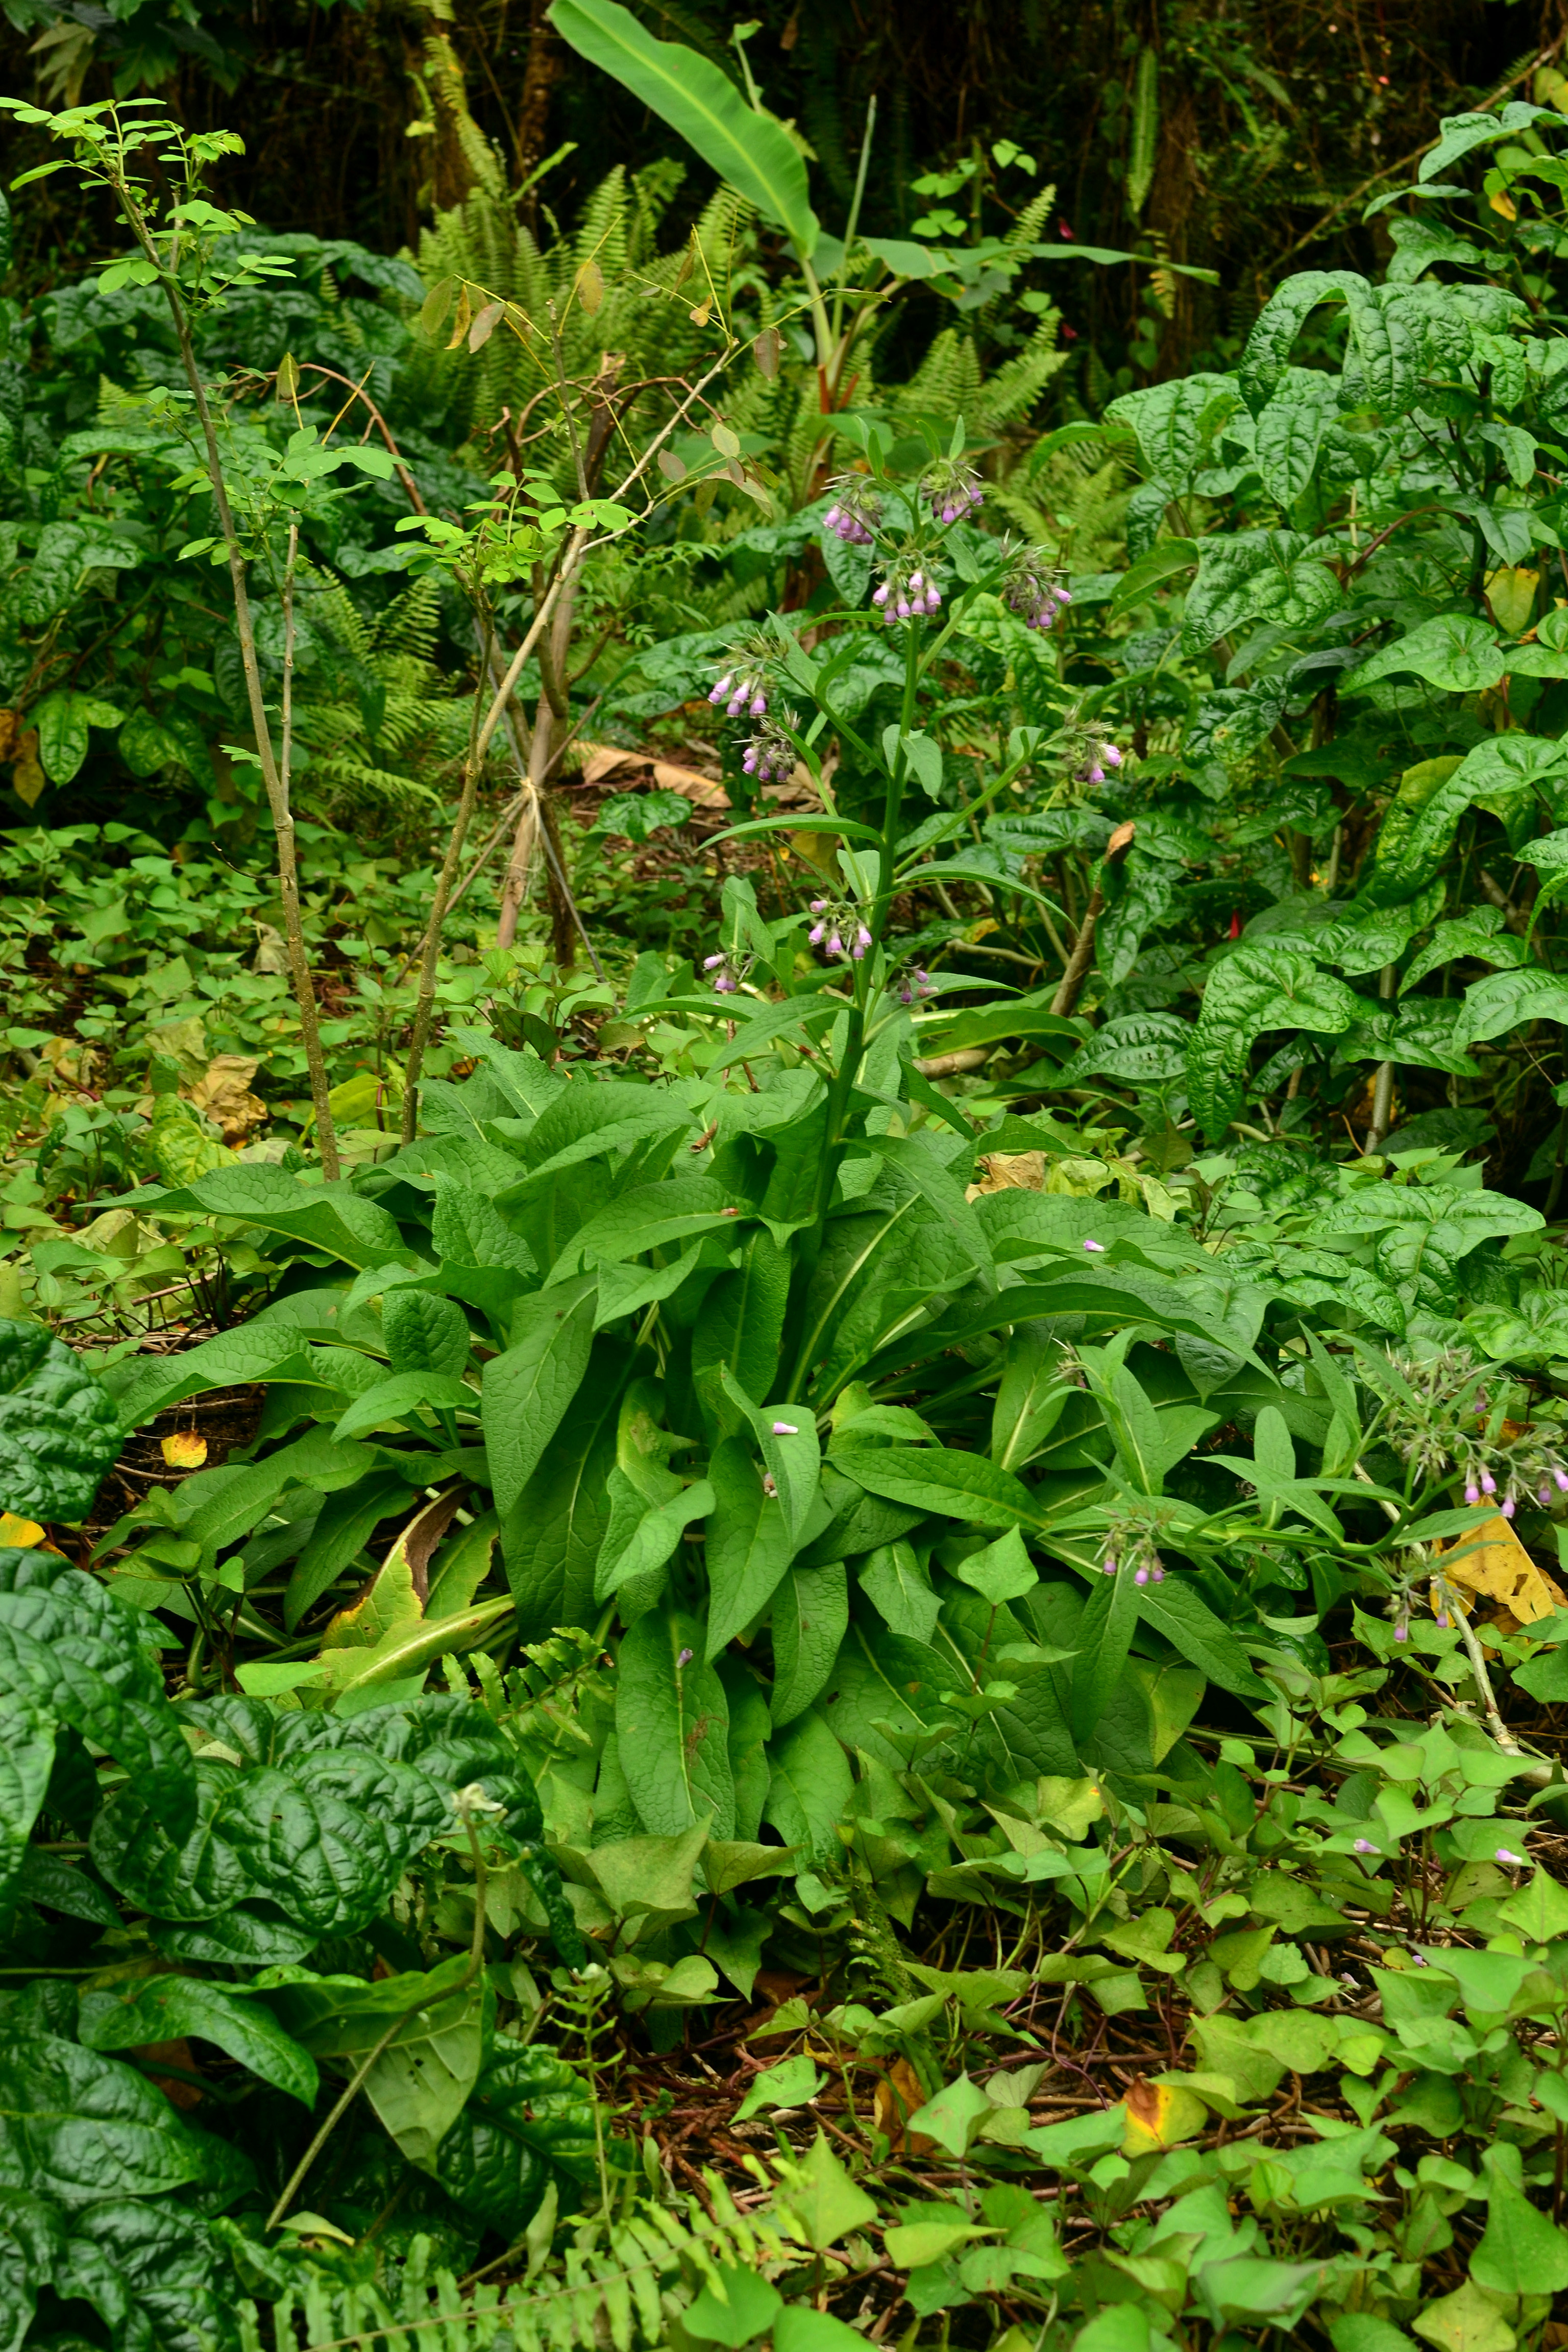
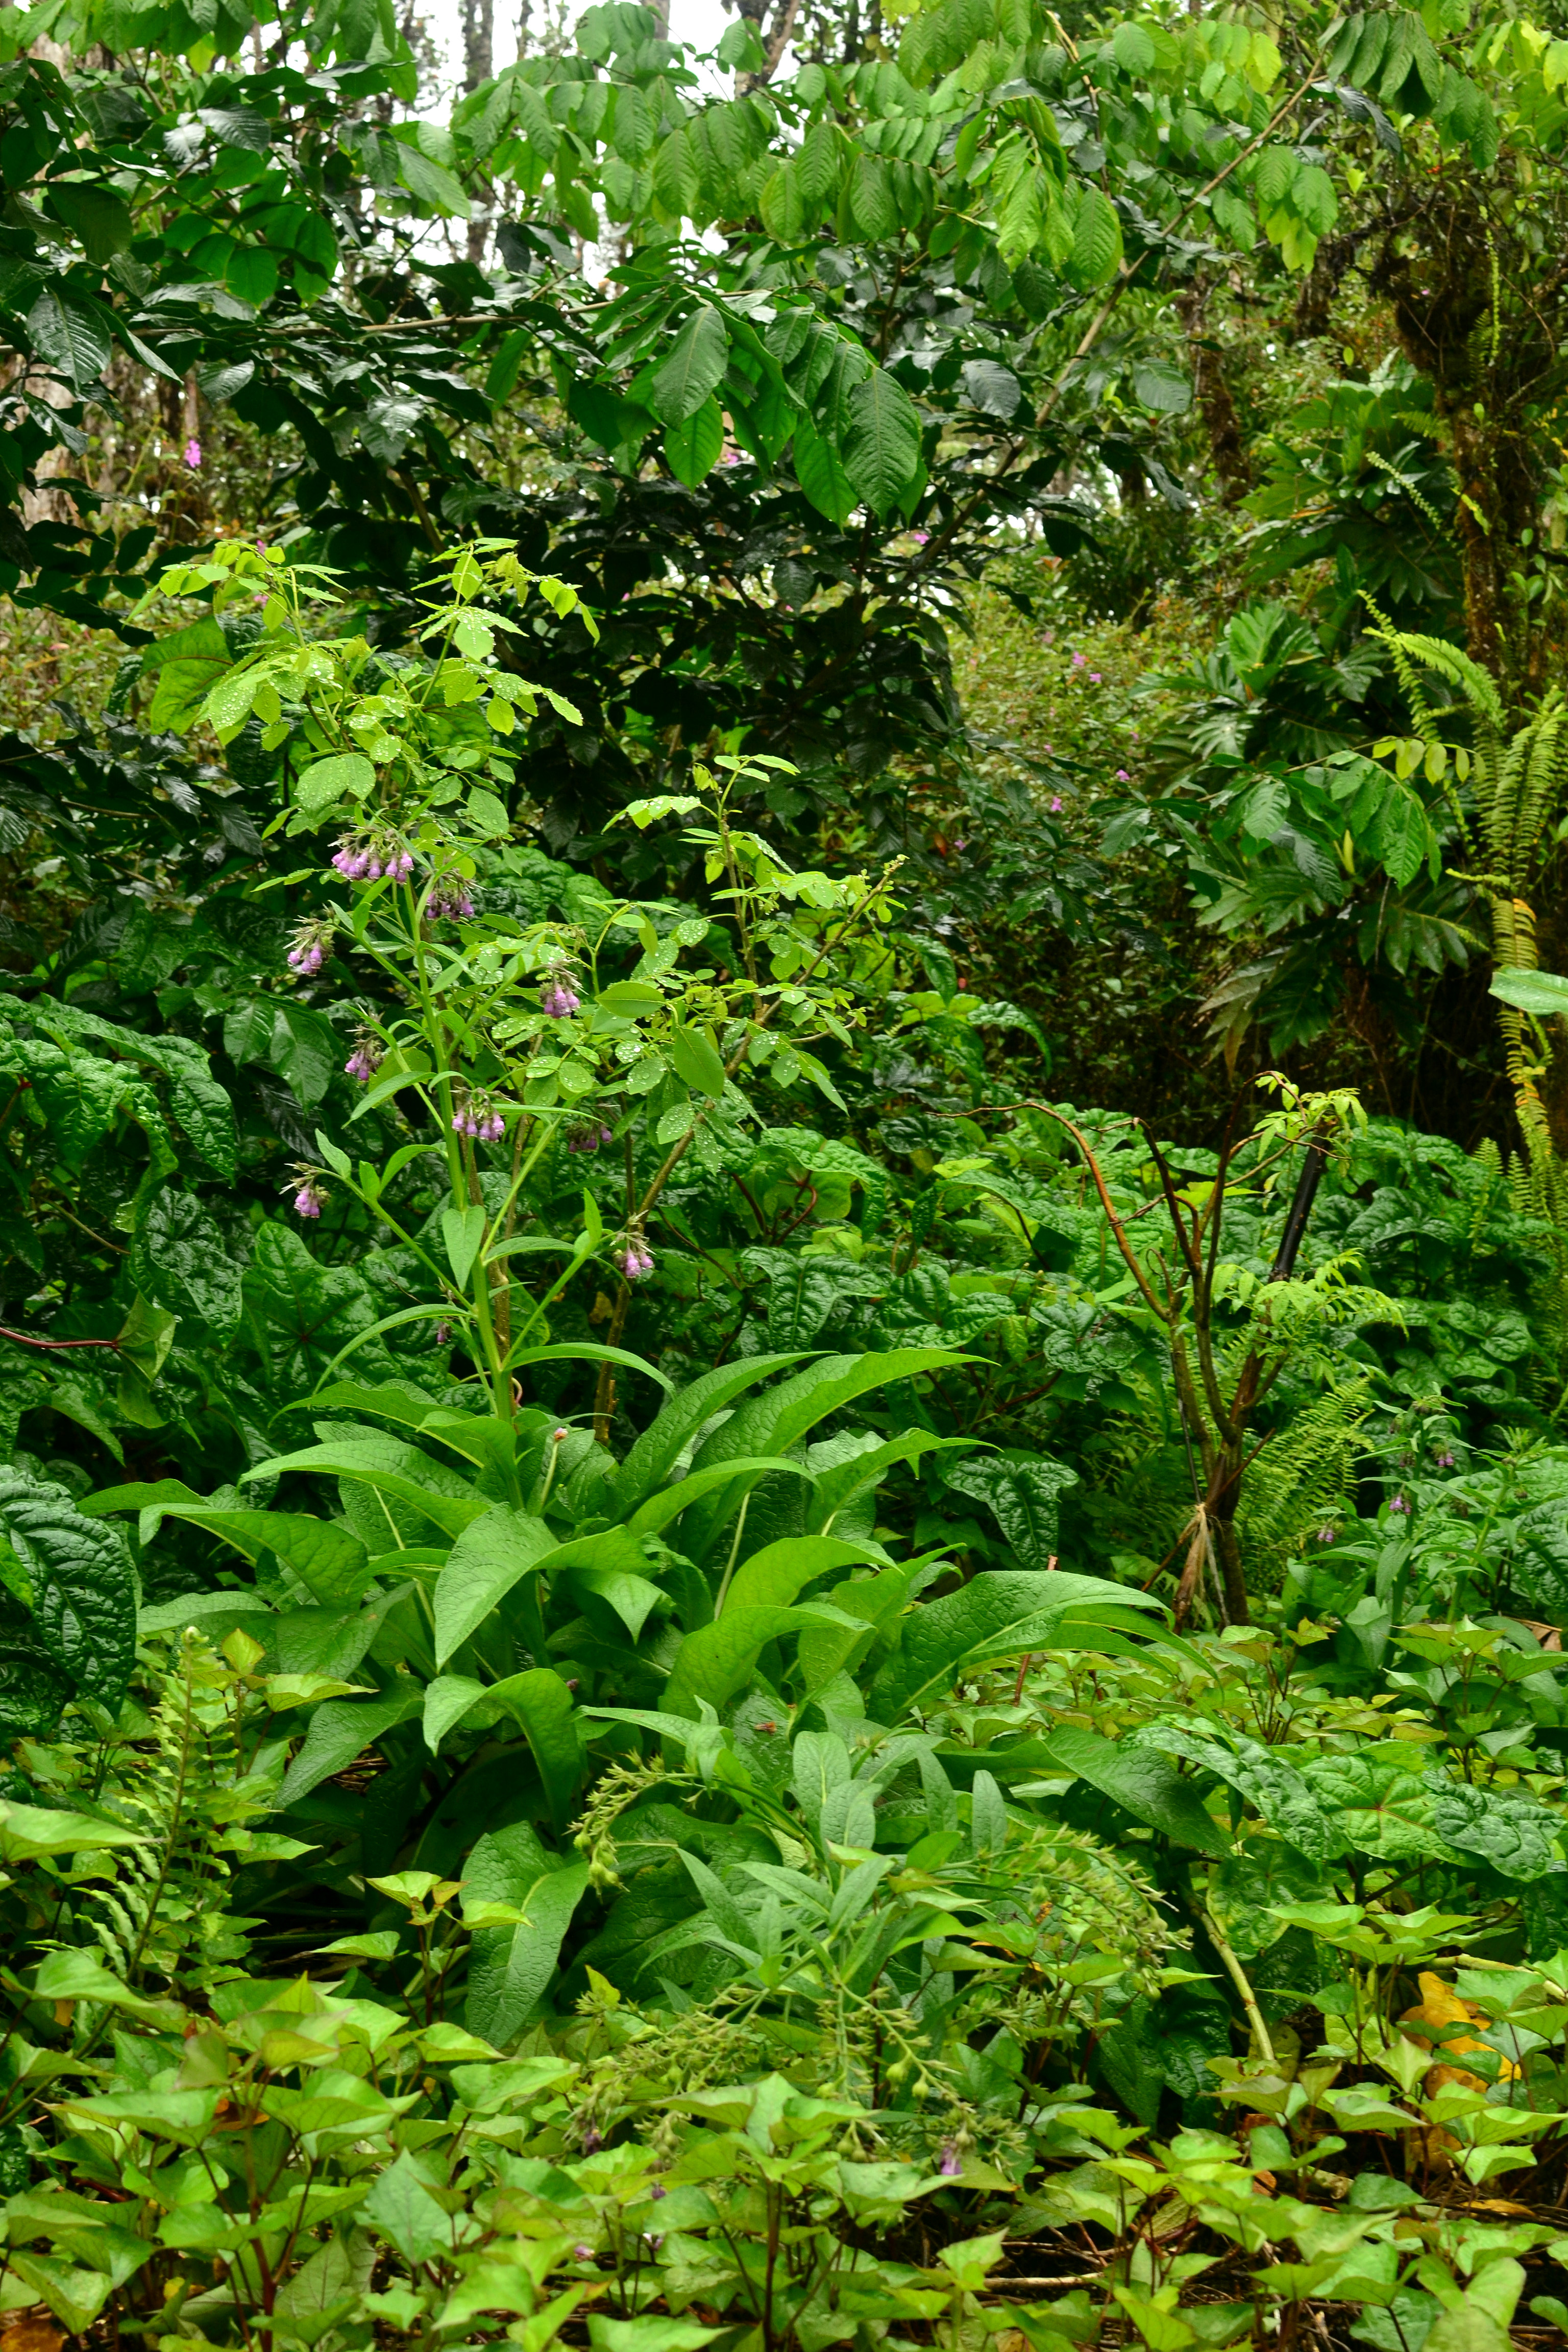
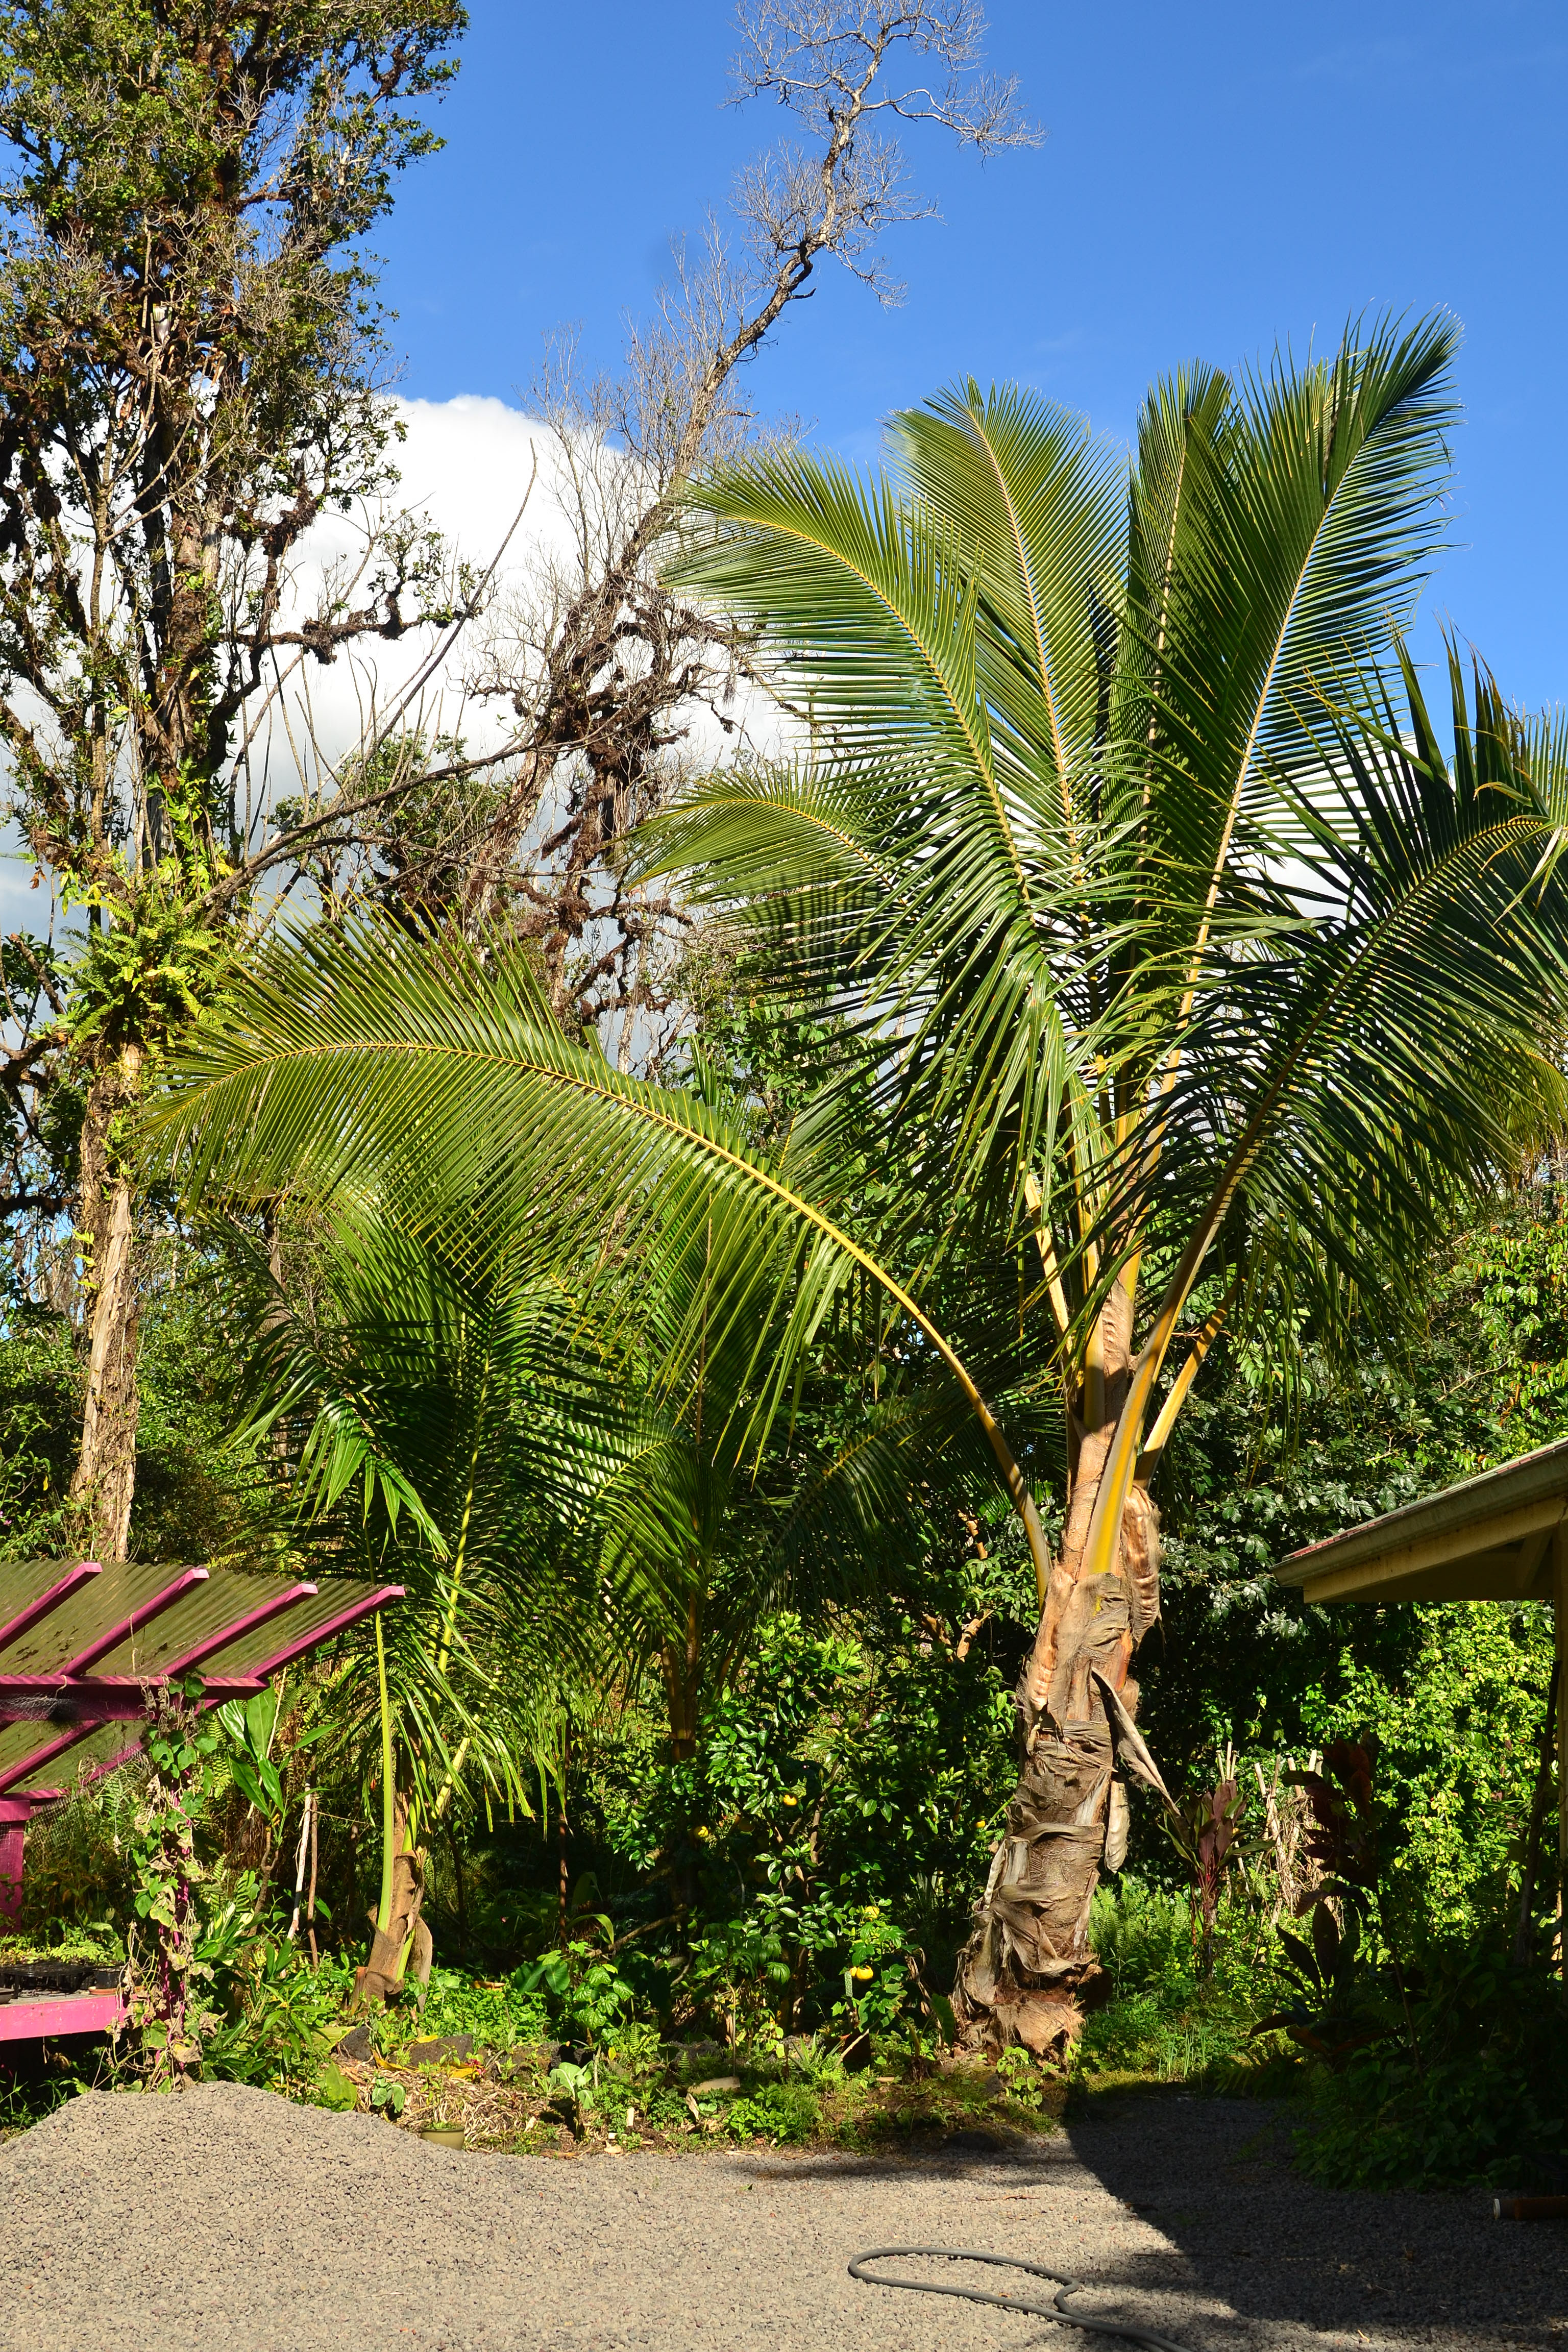
My Garden
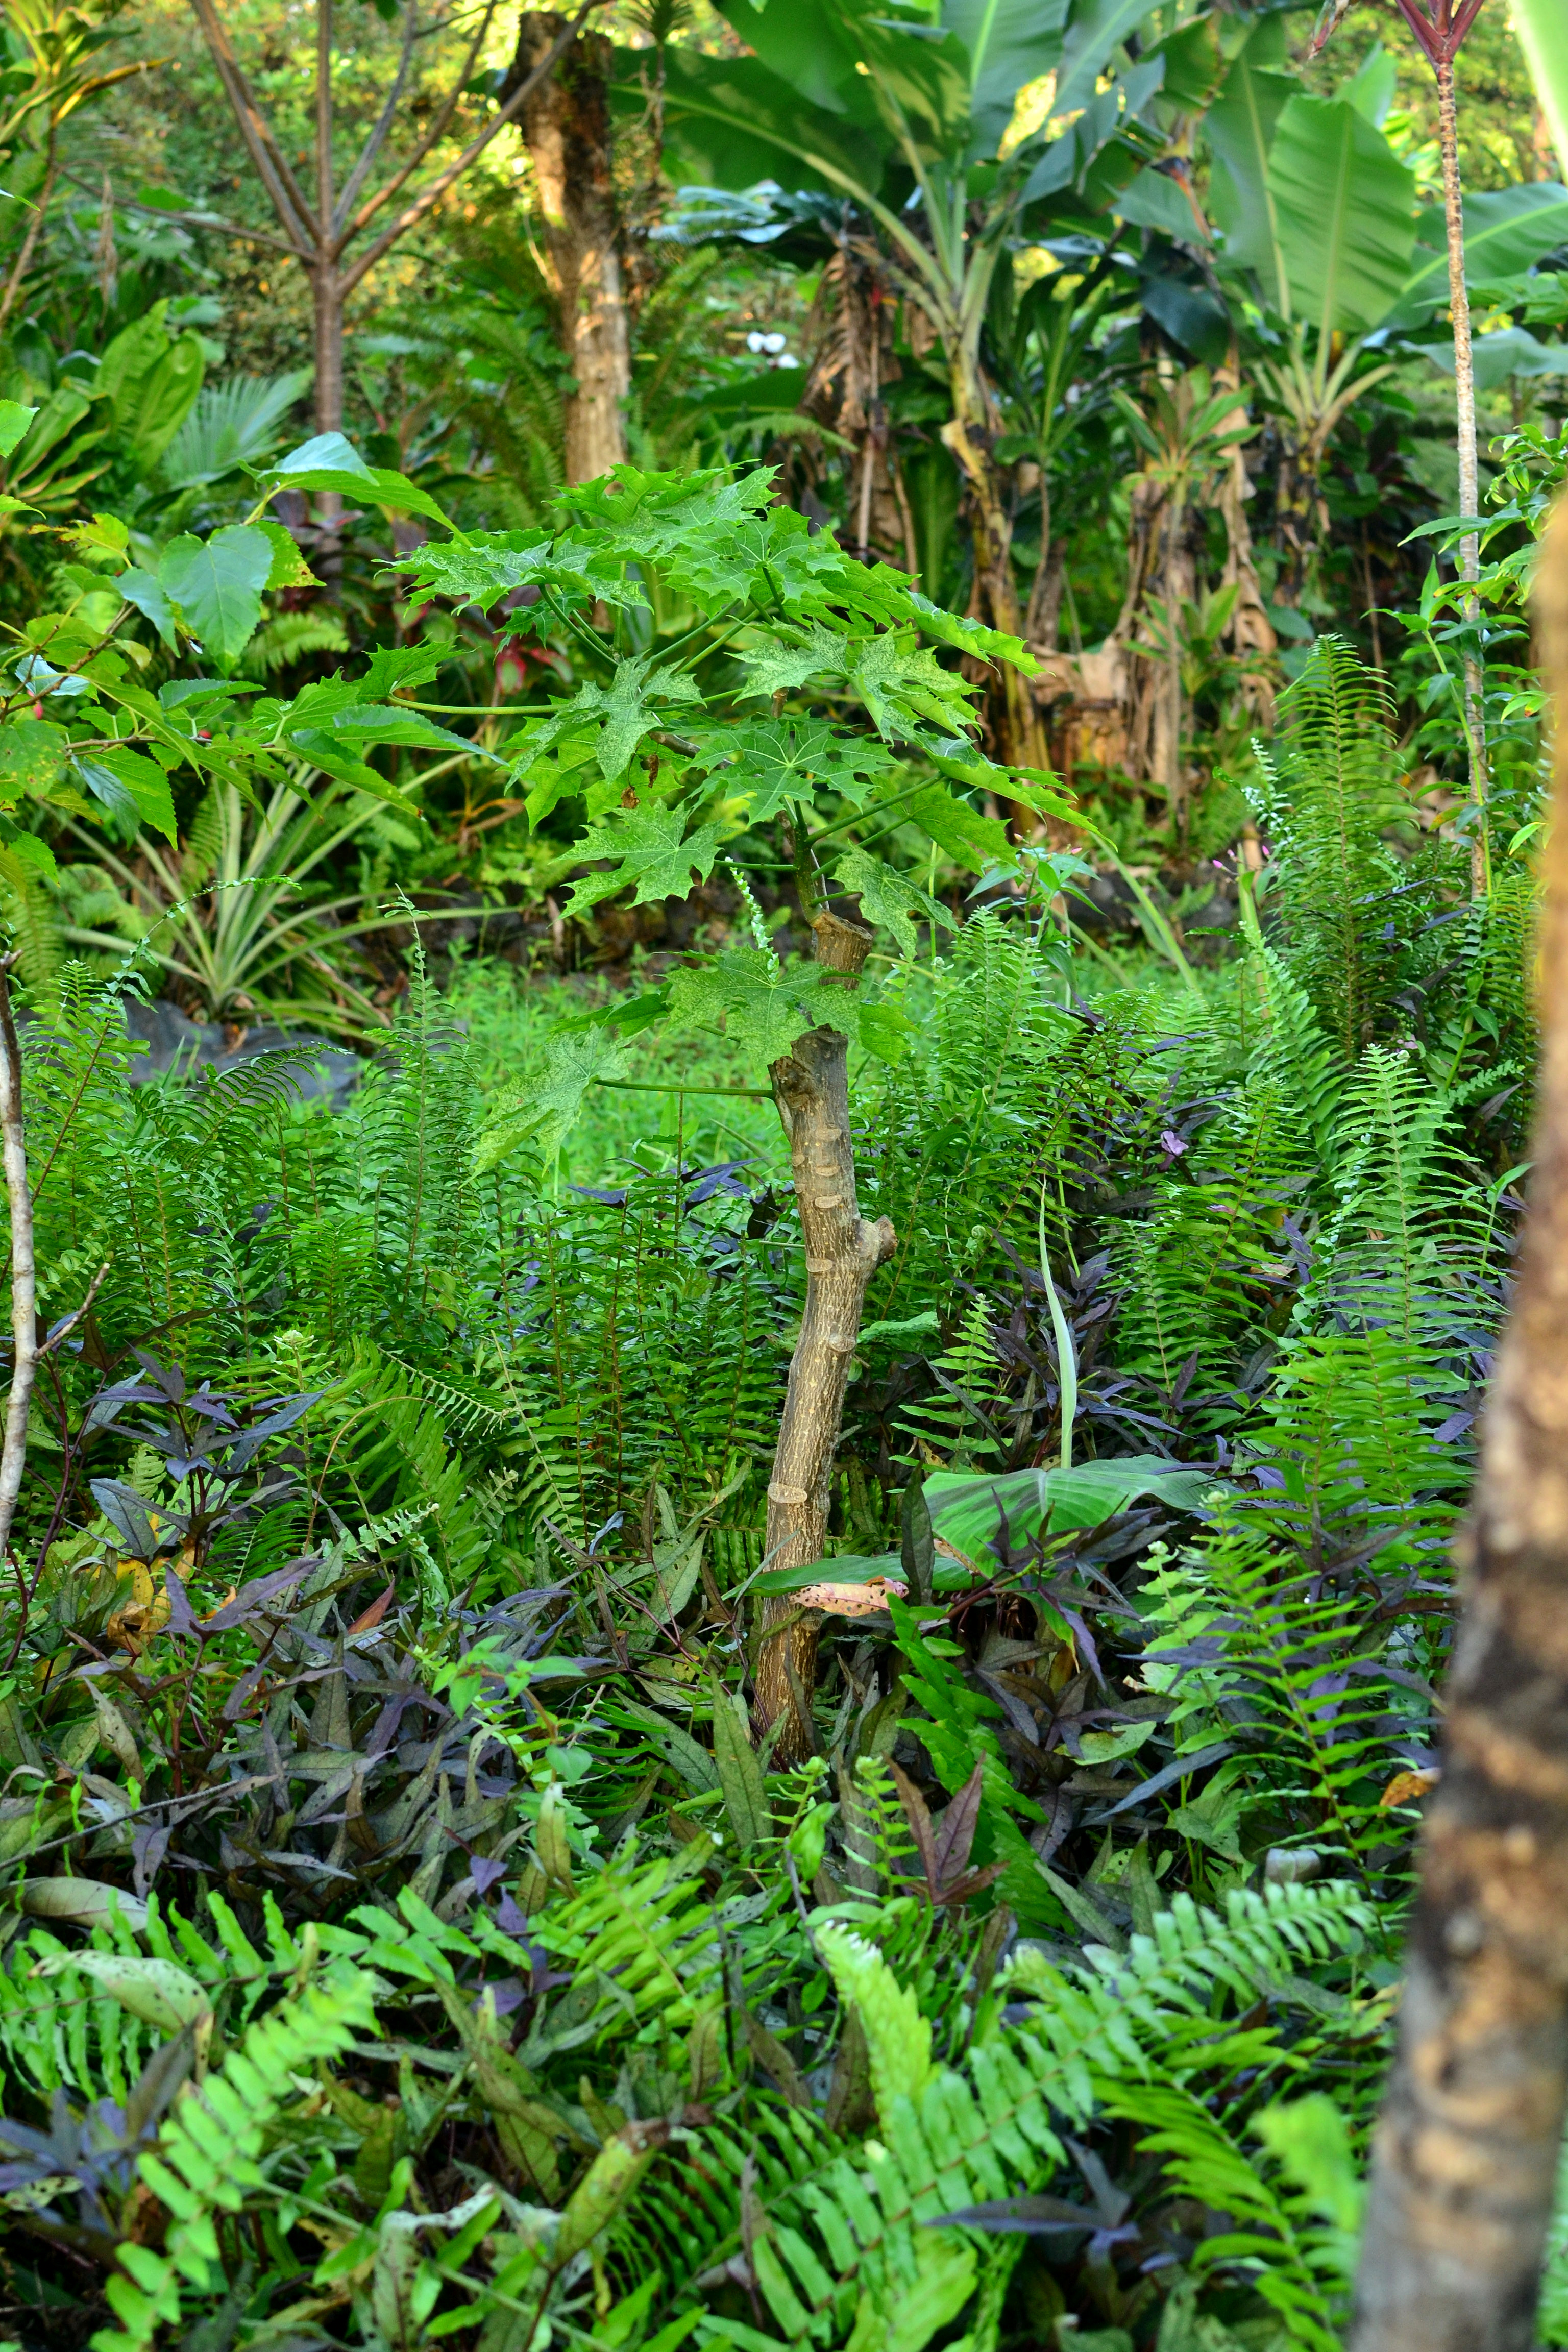
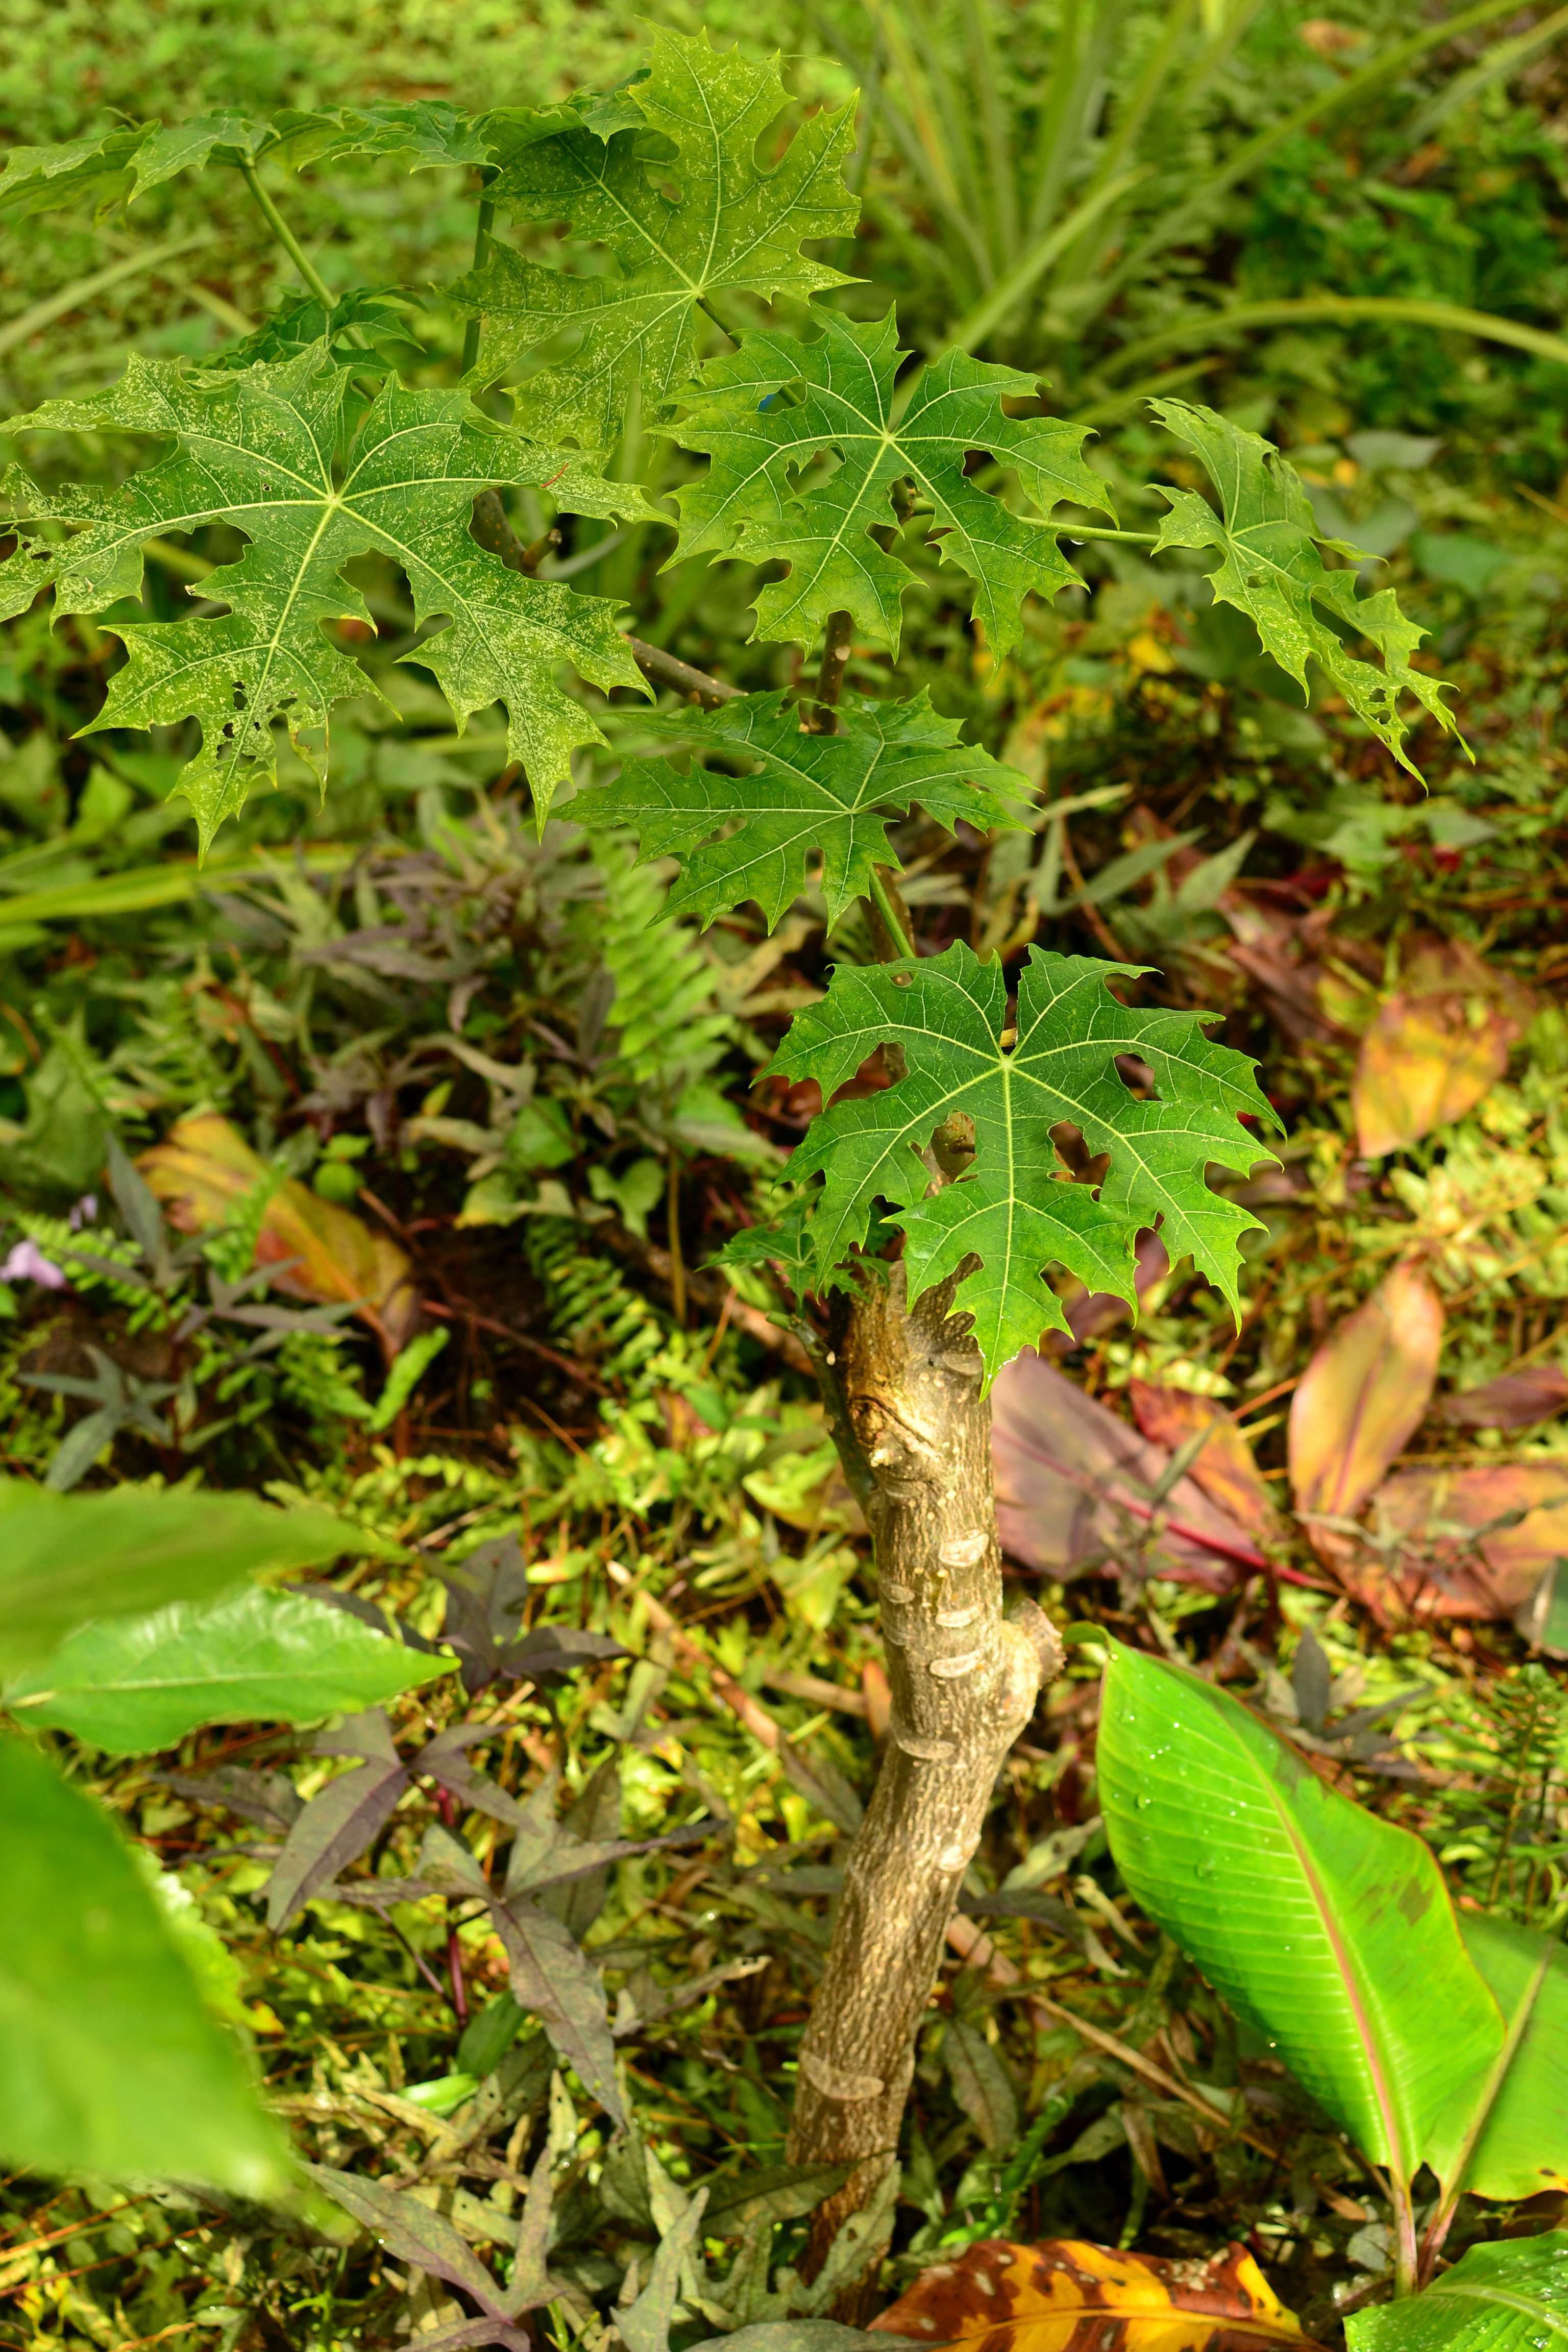
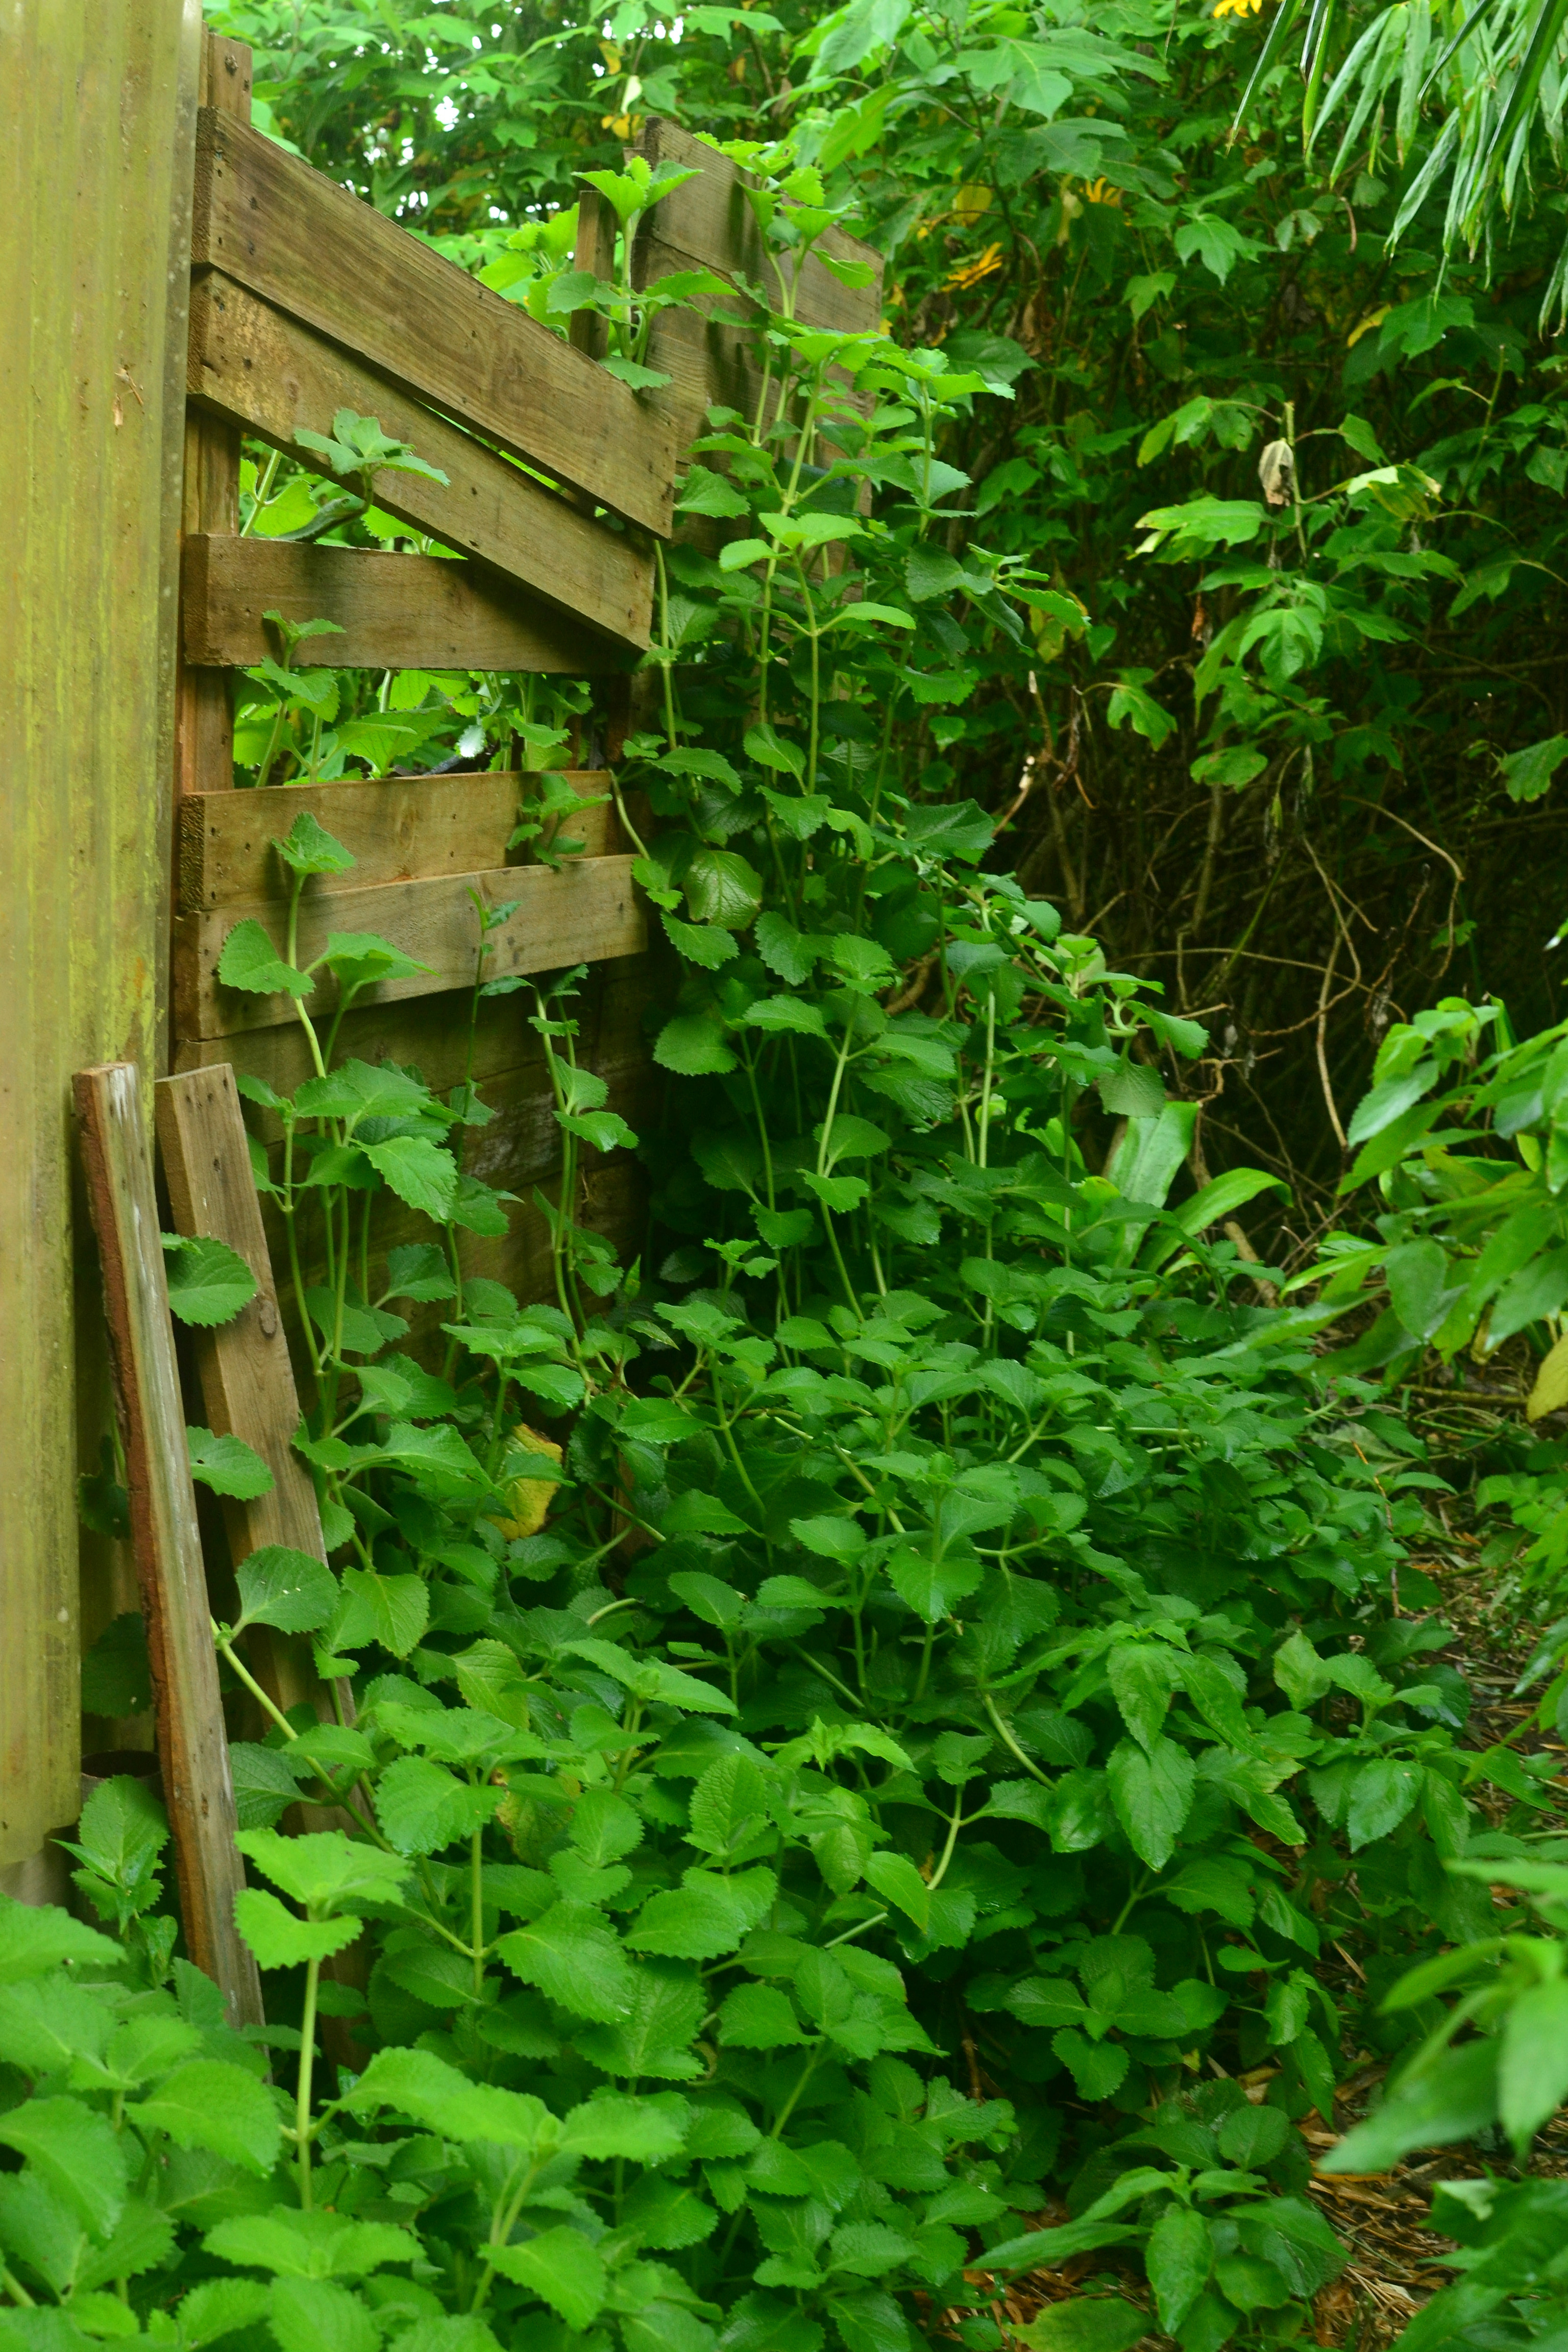
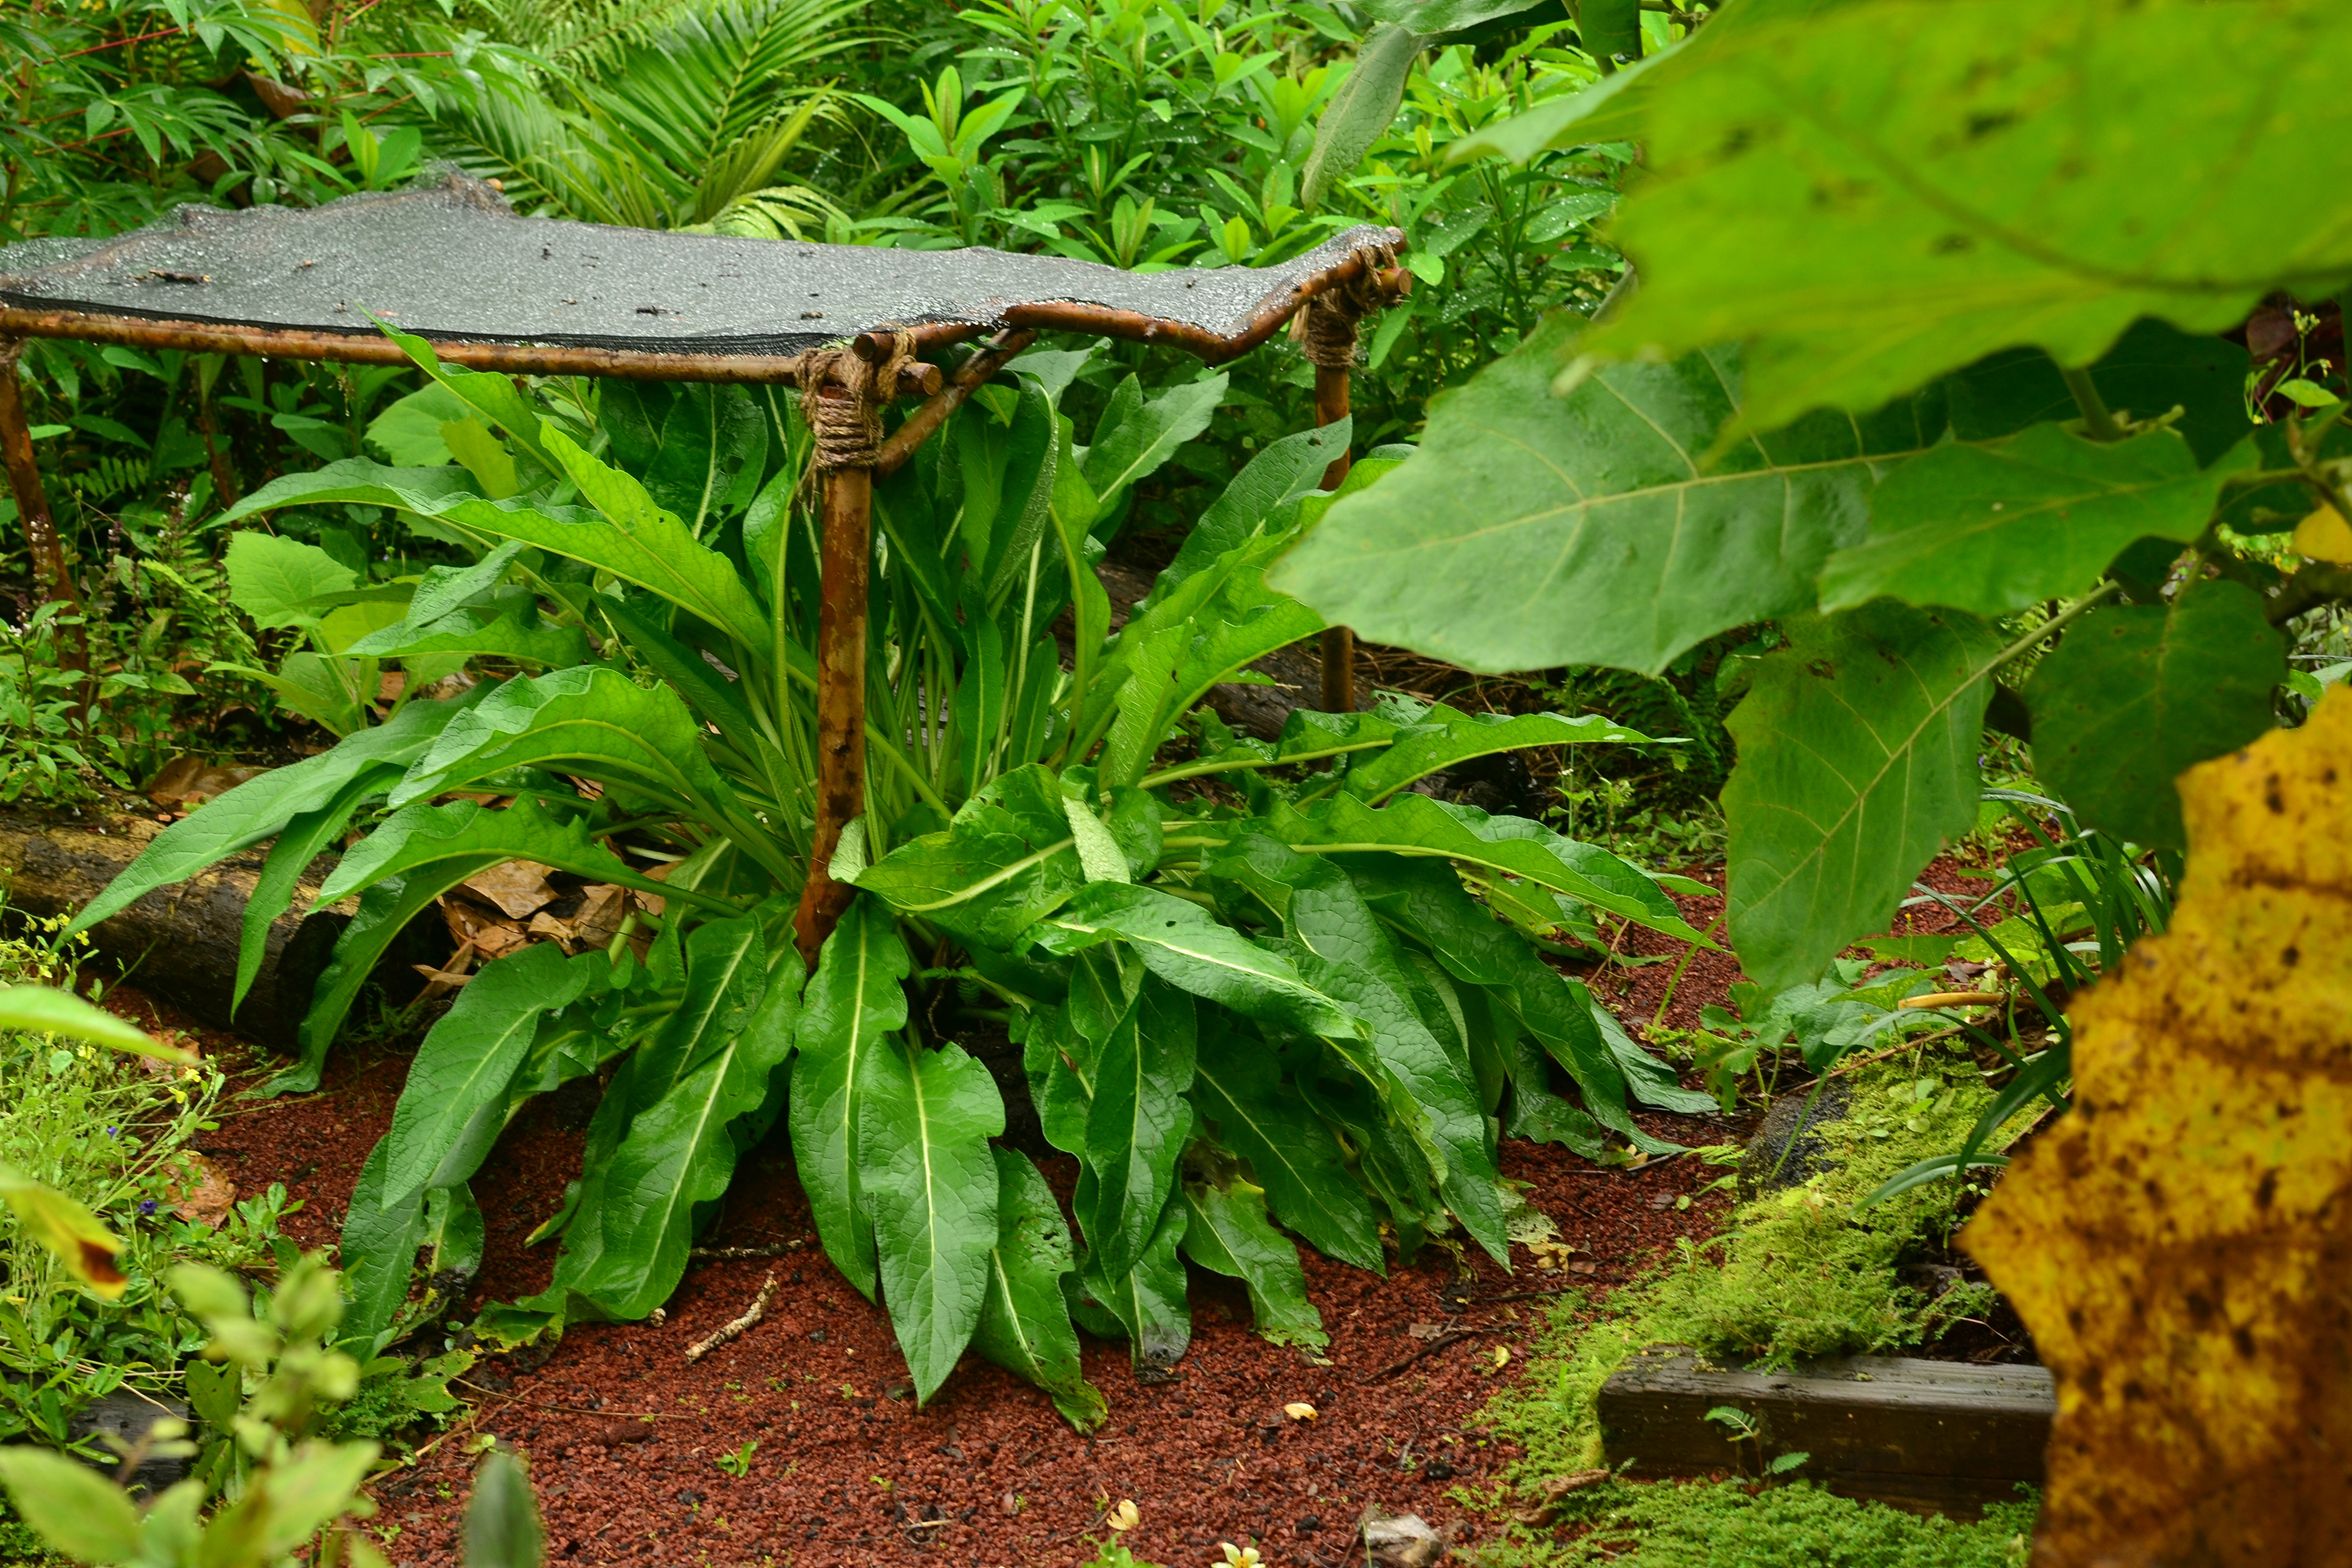
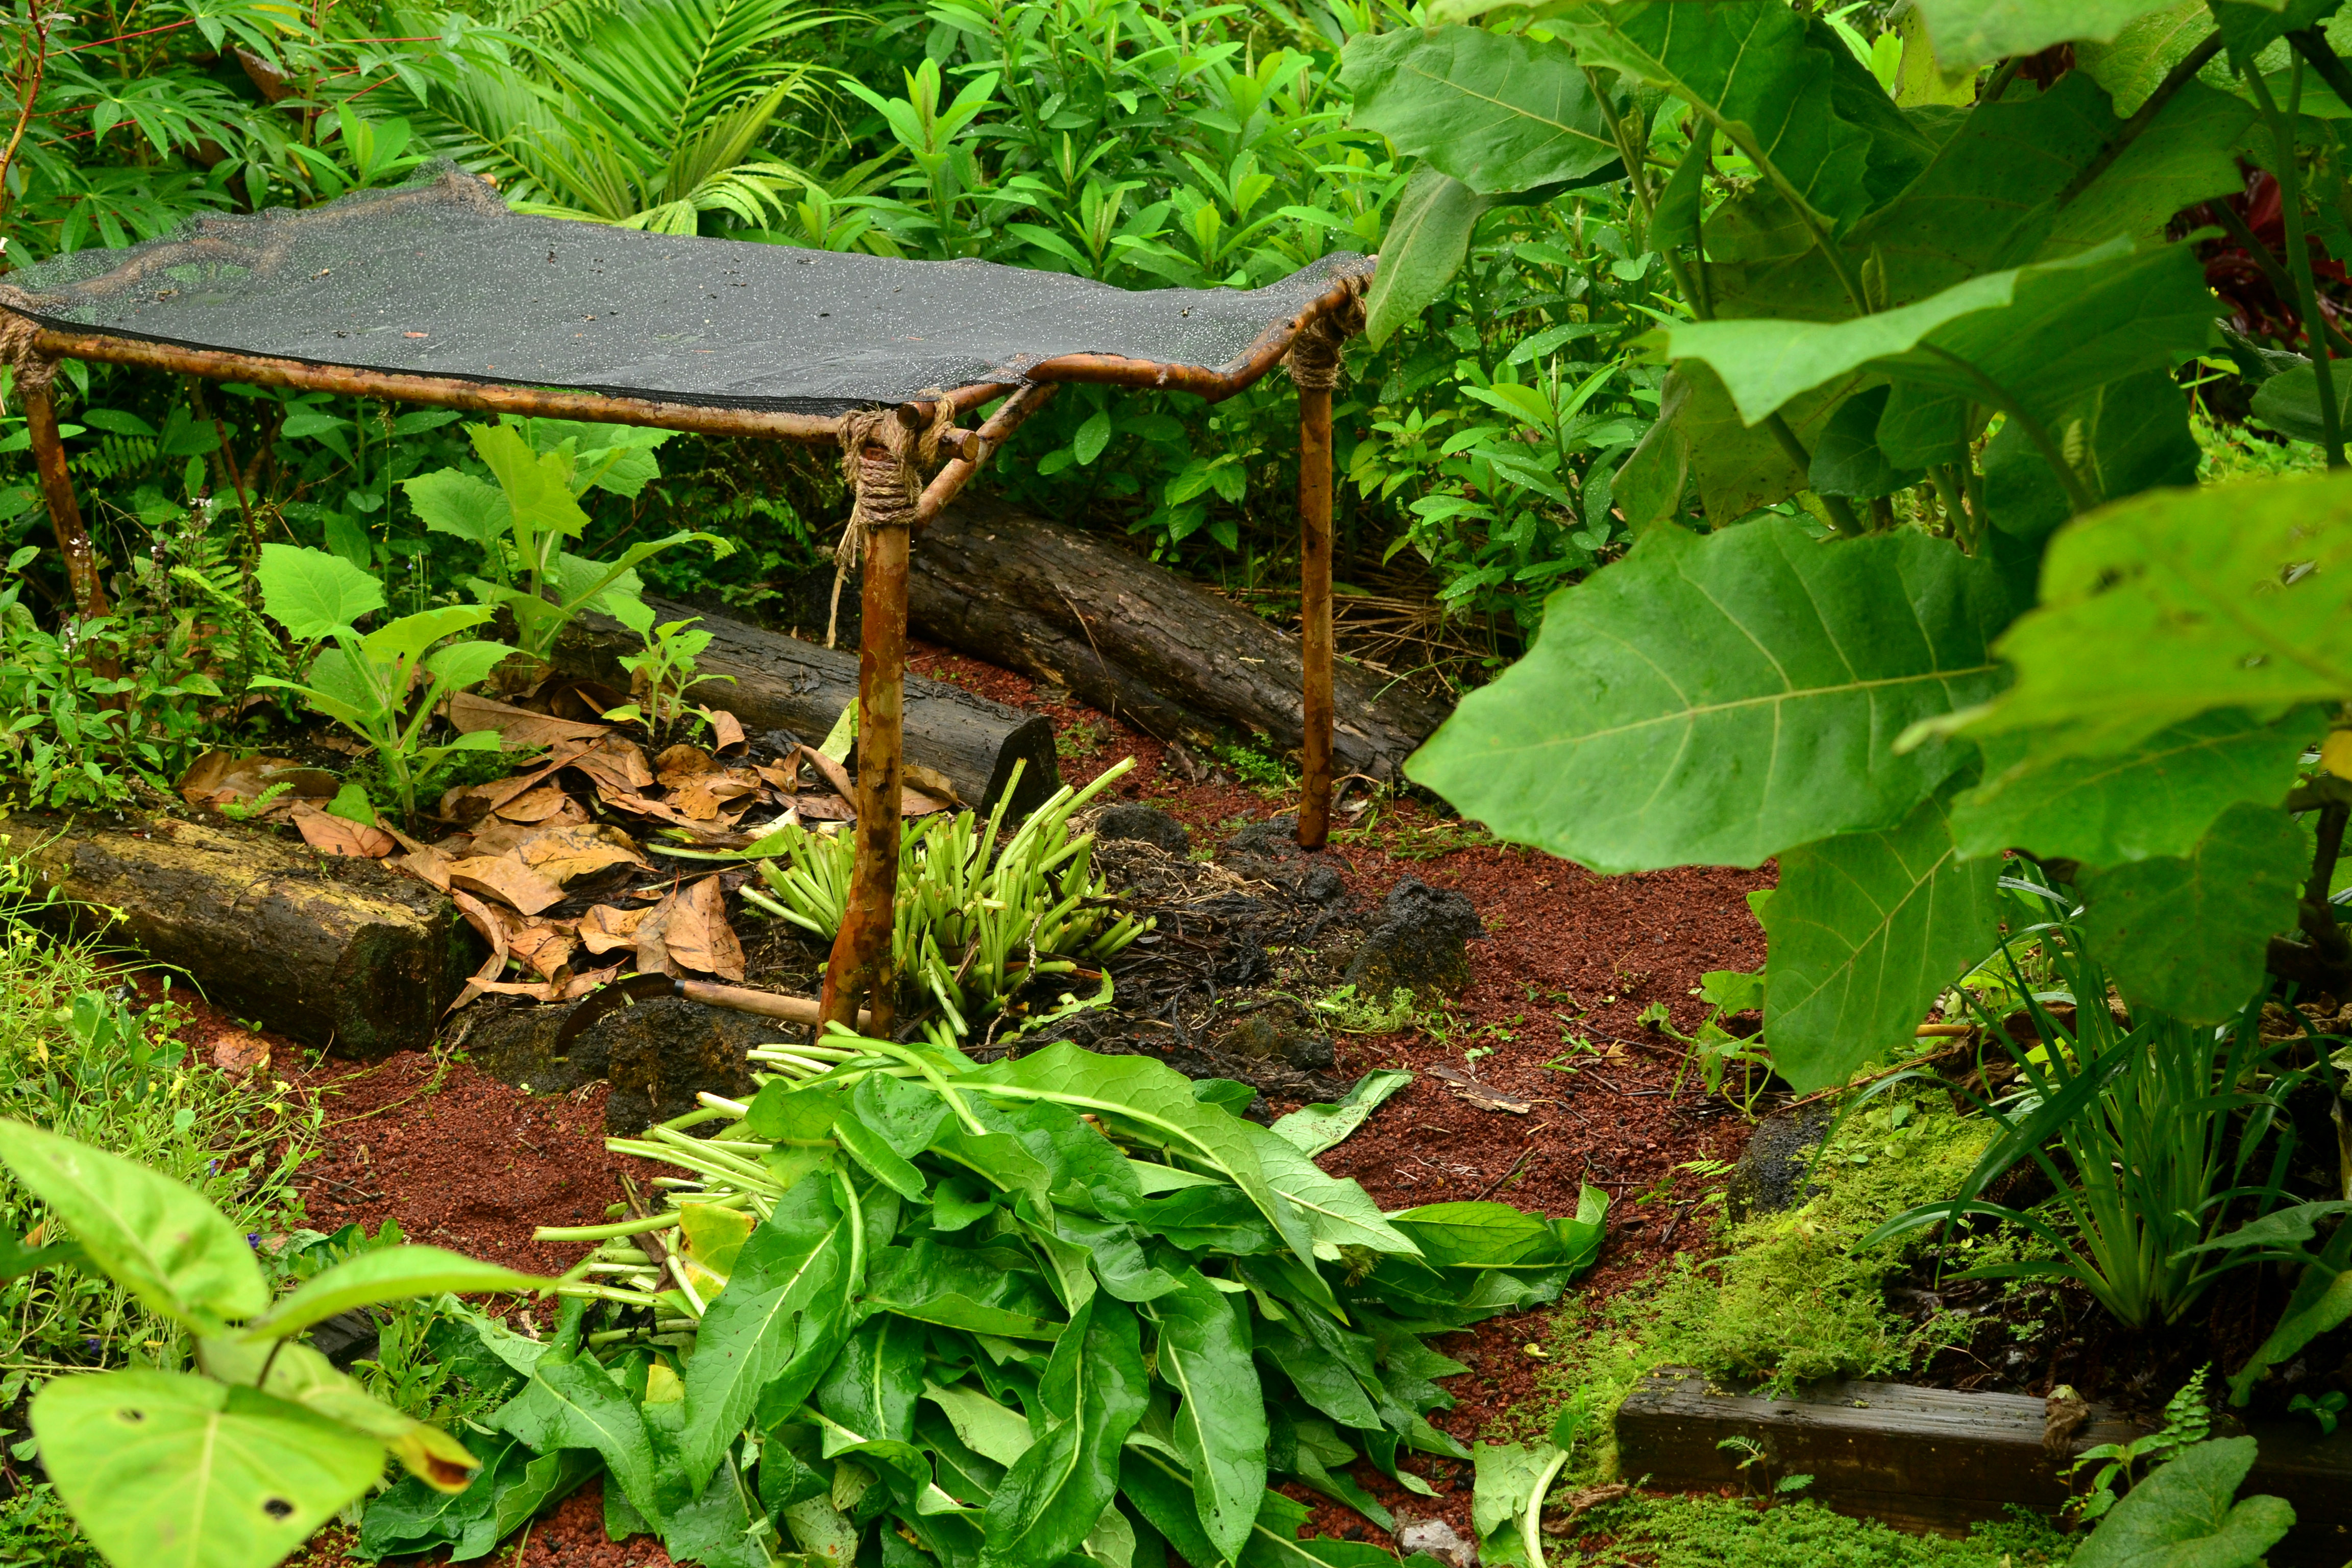
Someone planted coconuts too close to the house. As I’ve lived here, I’ve slowly watched the coconuts get larger and larger. At this point one developed a nice trunk and started leaning toward the house! I knew one day the time would come to cut the tree down before it gets too large and becomes a danger to the house. And of course if you let it get too large, it will grow directly over the house (searching for all that reflective light like the ocean) and drop fronds and nuts on the house. The house would quickly become damaged. I was talking to a friend one day telling him my woes about cutting down the palm. He said, ‘why don’t you eat it?’ That changed it all. So the day came to cut her down. I got a huge heart of palm harvest and now I use the dead stump to tie string for a trellis. The roots of the coconut are now starting to break down and turning the soil into incredibly fertile soils. The coconut used to suck up all the moisture and nutrients from the surrounding beds, now I see the other side of it and the coconut heavily feeding my beds and plants that are directly next to the stump. Allow the nutrient cycling to continue!
Happy Gardening!