This months entry is a little bit different than those in the past. Instead of talking about a specific plant, I’m going to describe how soils are made, and how I create soil and garden beds.
When I use the word organic, I mean organic matter, or natural earth made materials that will naturally decompose over time. “It is matter composed of organic compounds that has come from the remains of organisms such as plants and animals and their waste products in the environment.” Not to be confused with the the label ‘organic’ meaning that it has been certified by an organization.
First of all, soil is the most important part of growing anything. More important than the plant itself.
I live in Puna, Hawaii. Here our active volcanoes dictate our landscape. I live in a region where the most recent lava flow through was 3-500 years ago. Meaning our forest has had some time to recreate itself and build soil (4-6 inches of beautiful rich organic matter).
Learn from observation
Let’s take a lesson from the forest, a self regulating entity, to learn how to create soils.
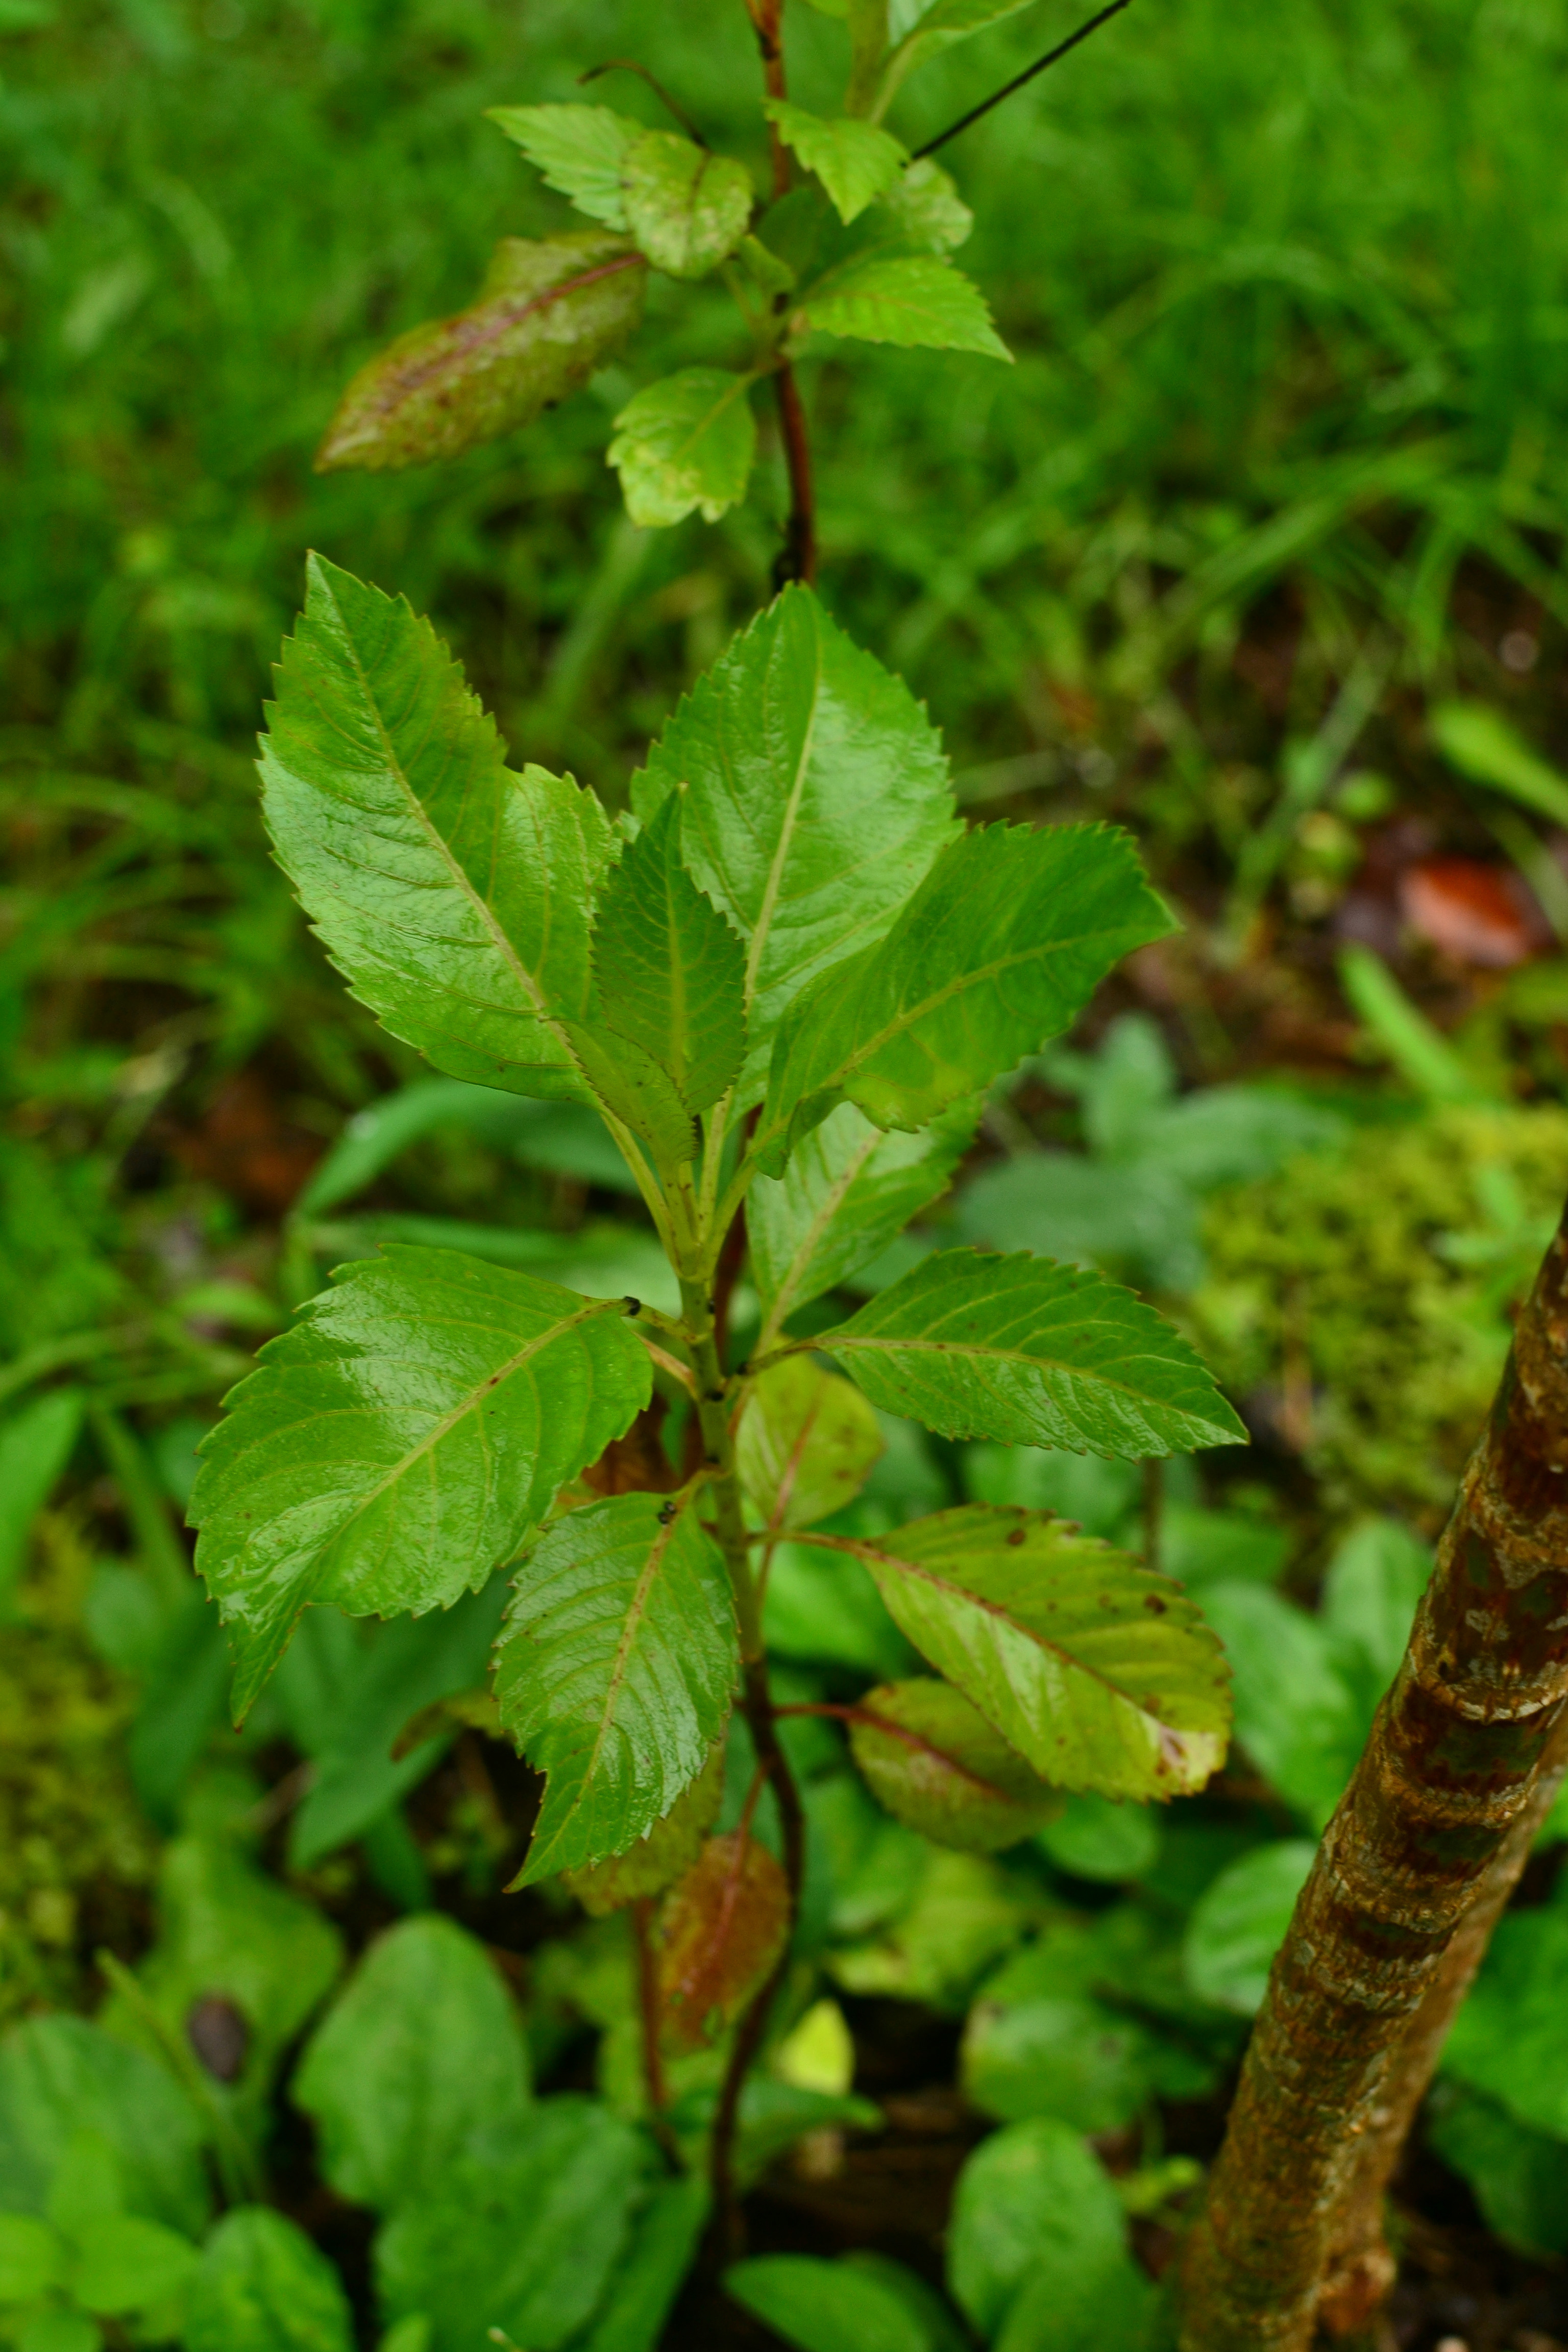
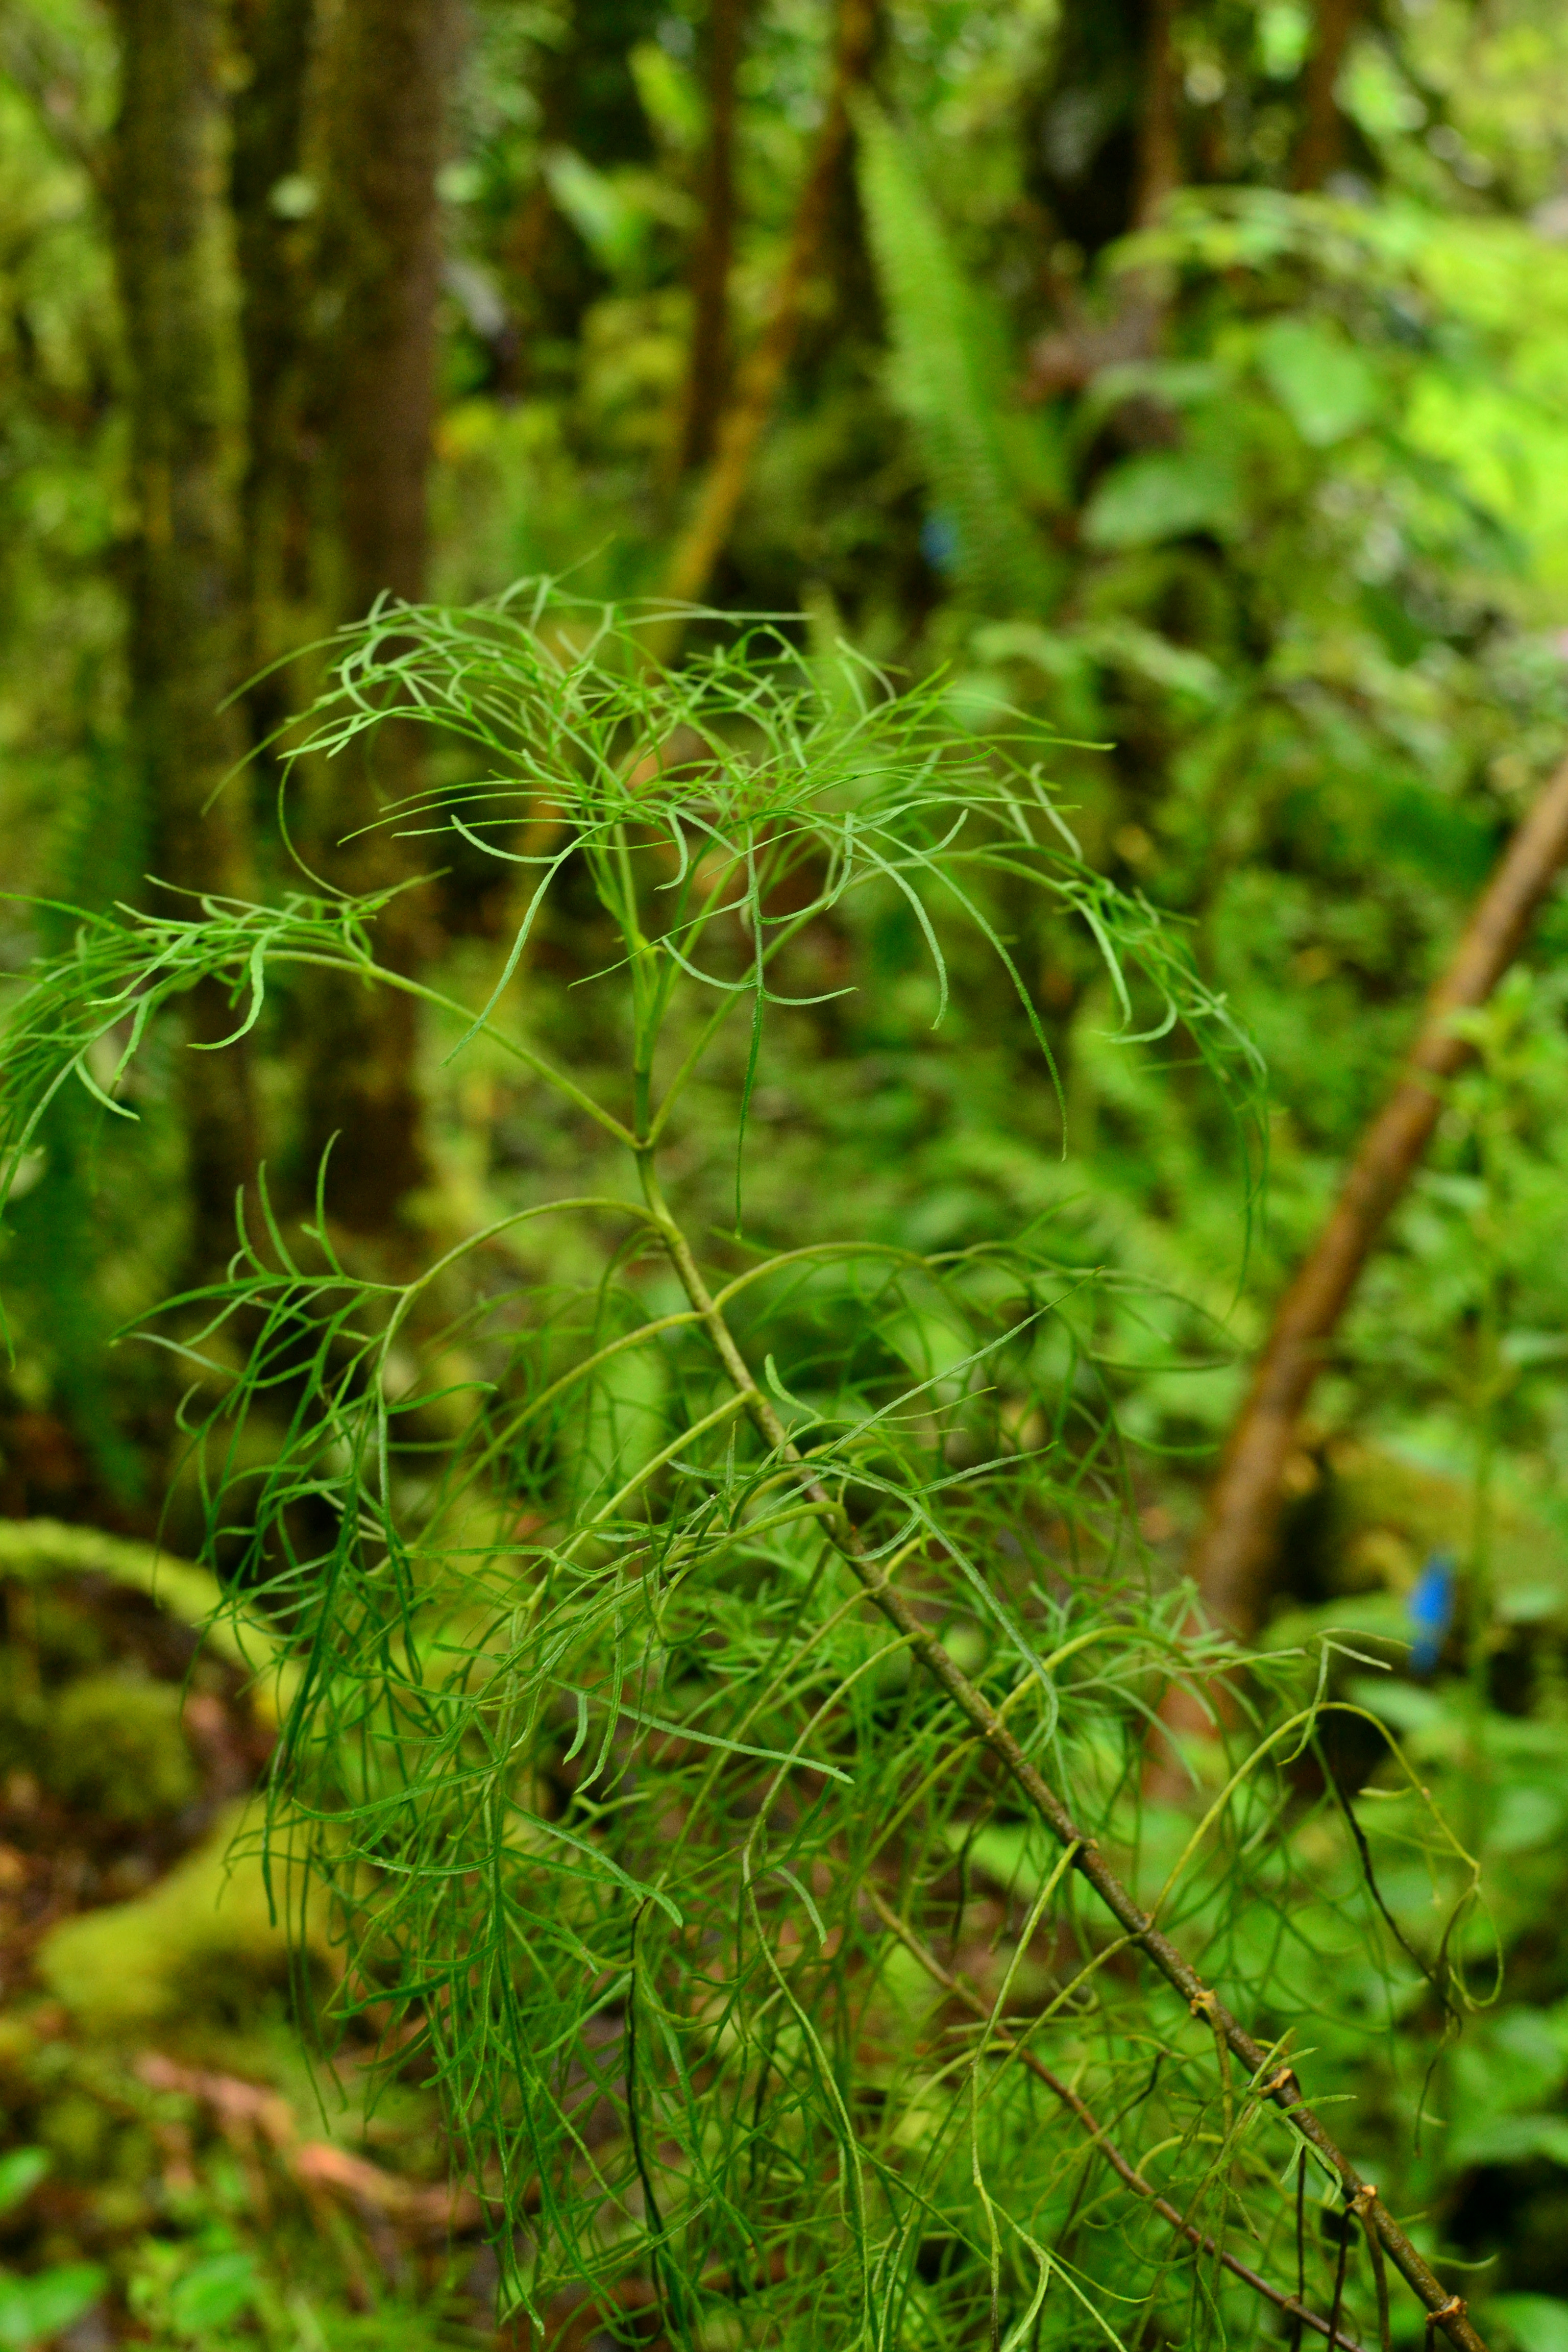
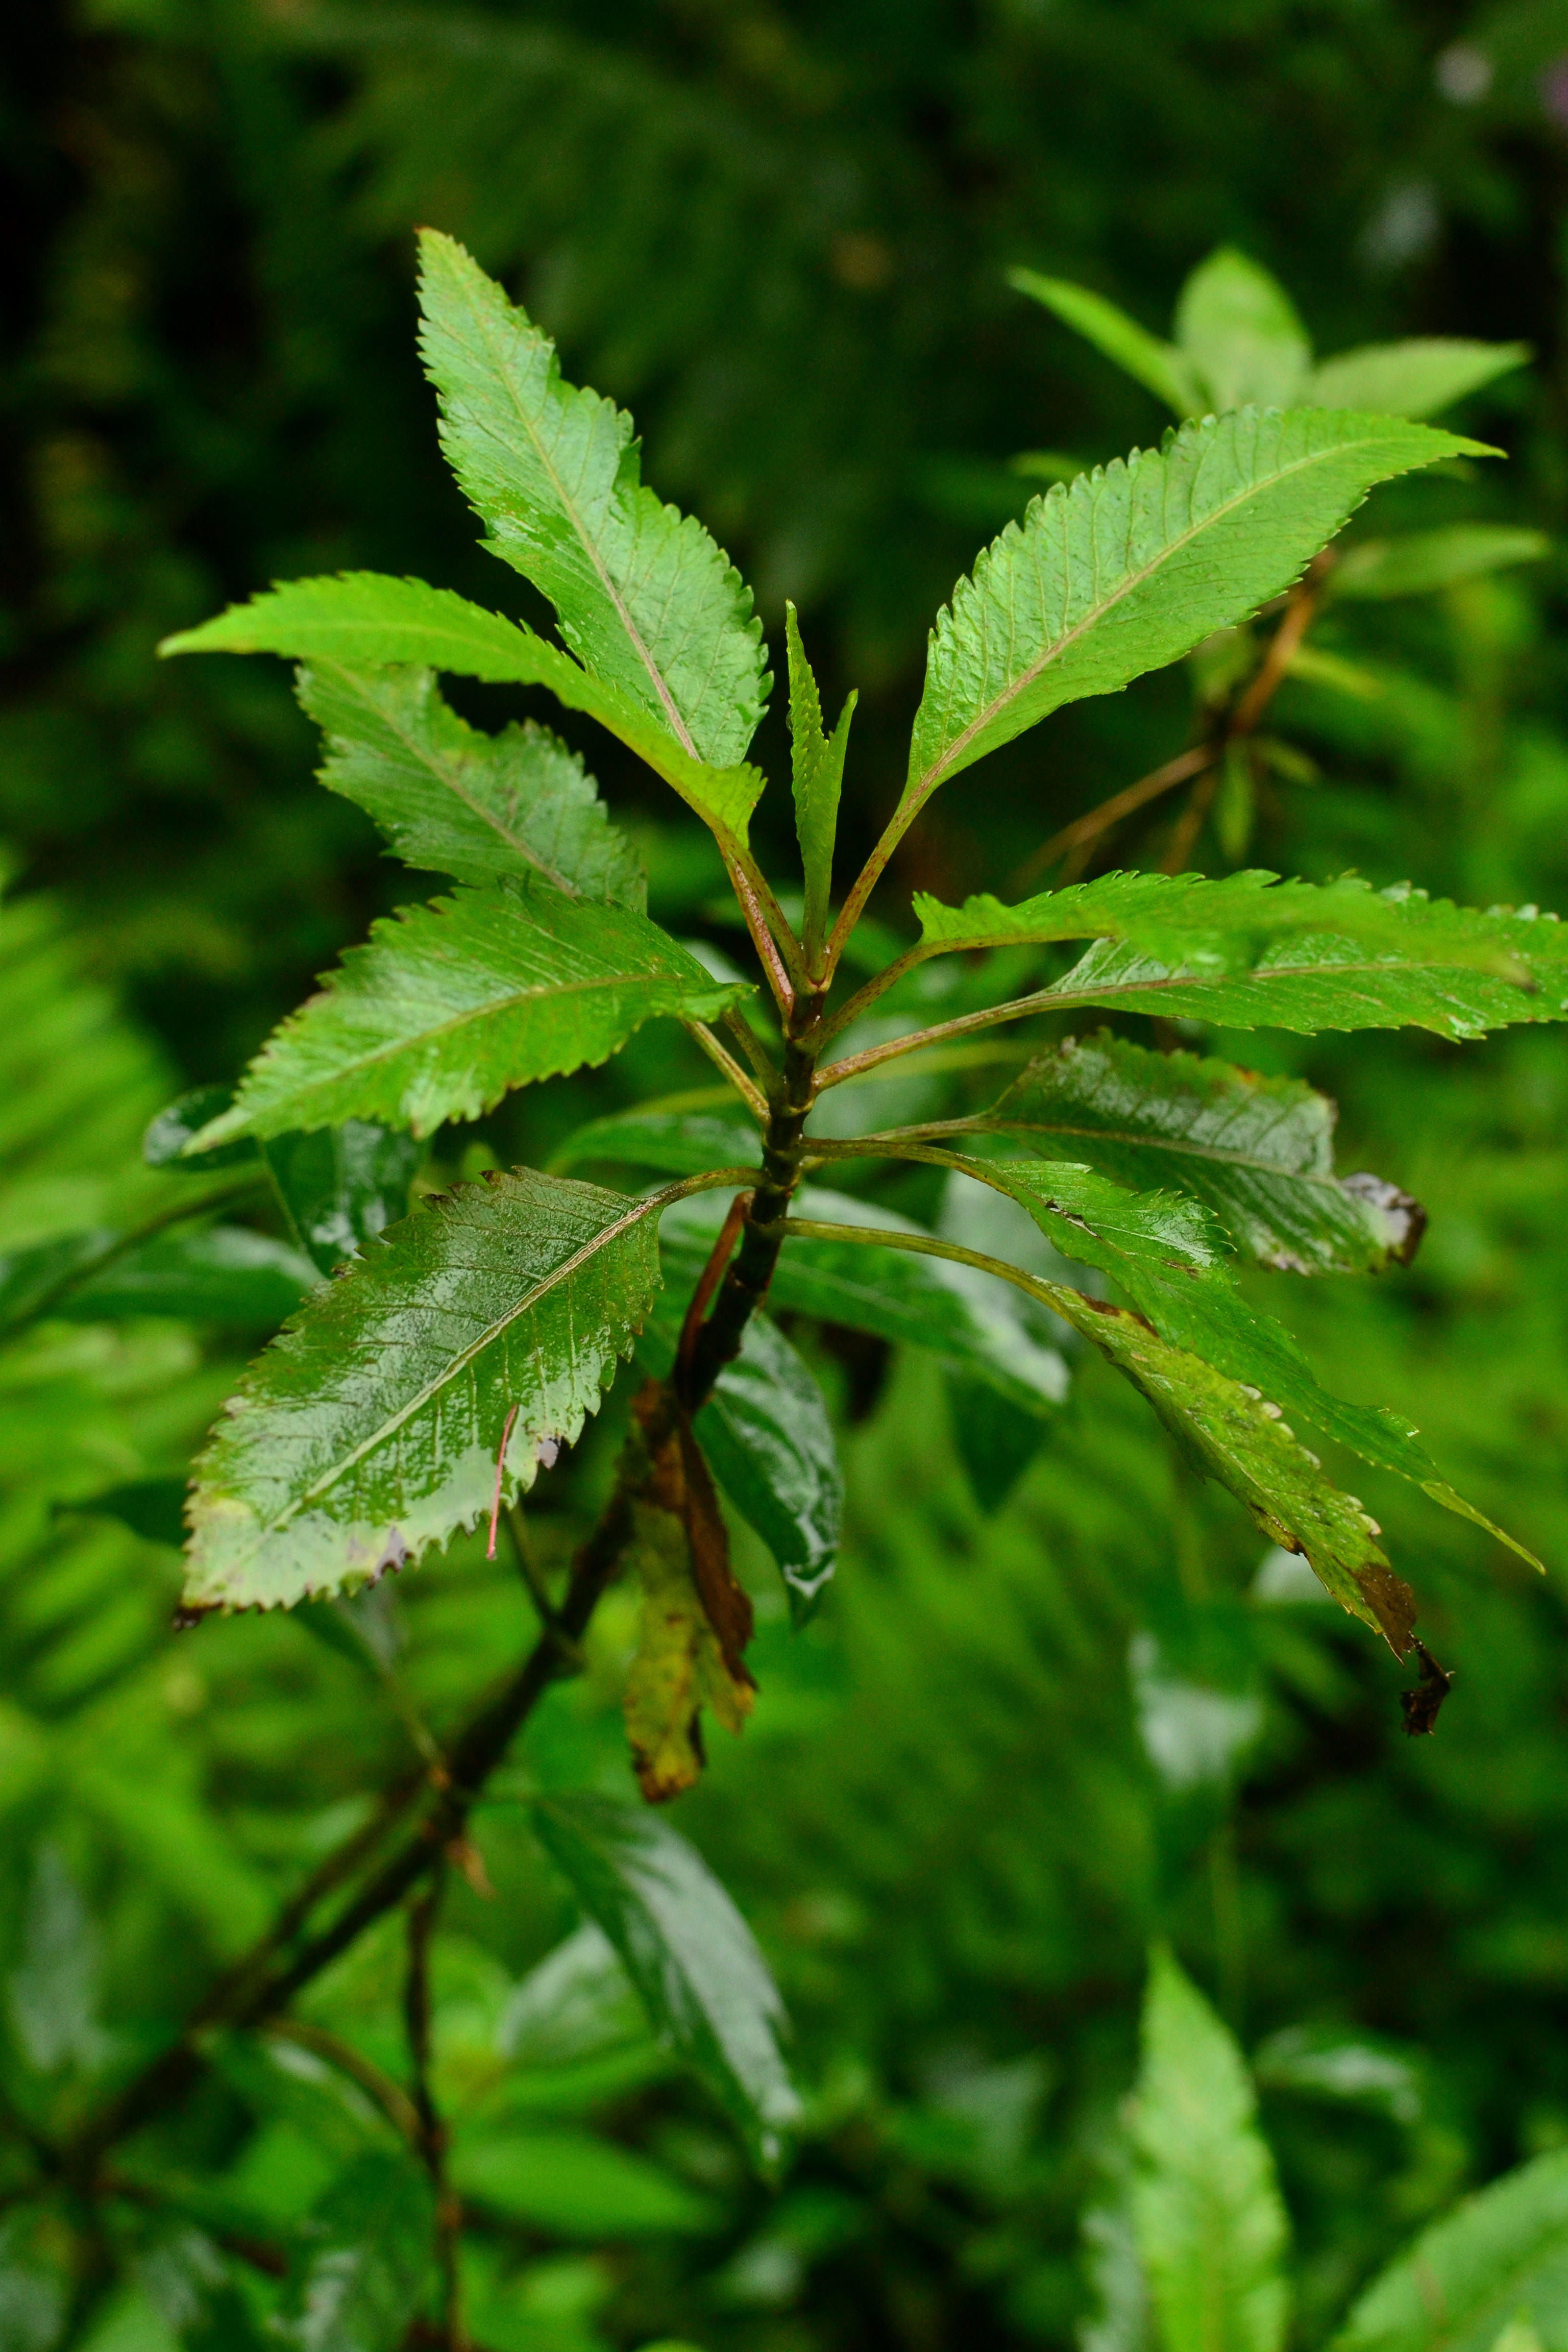
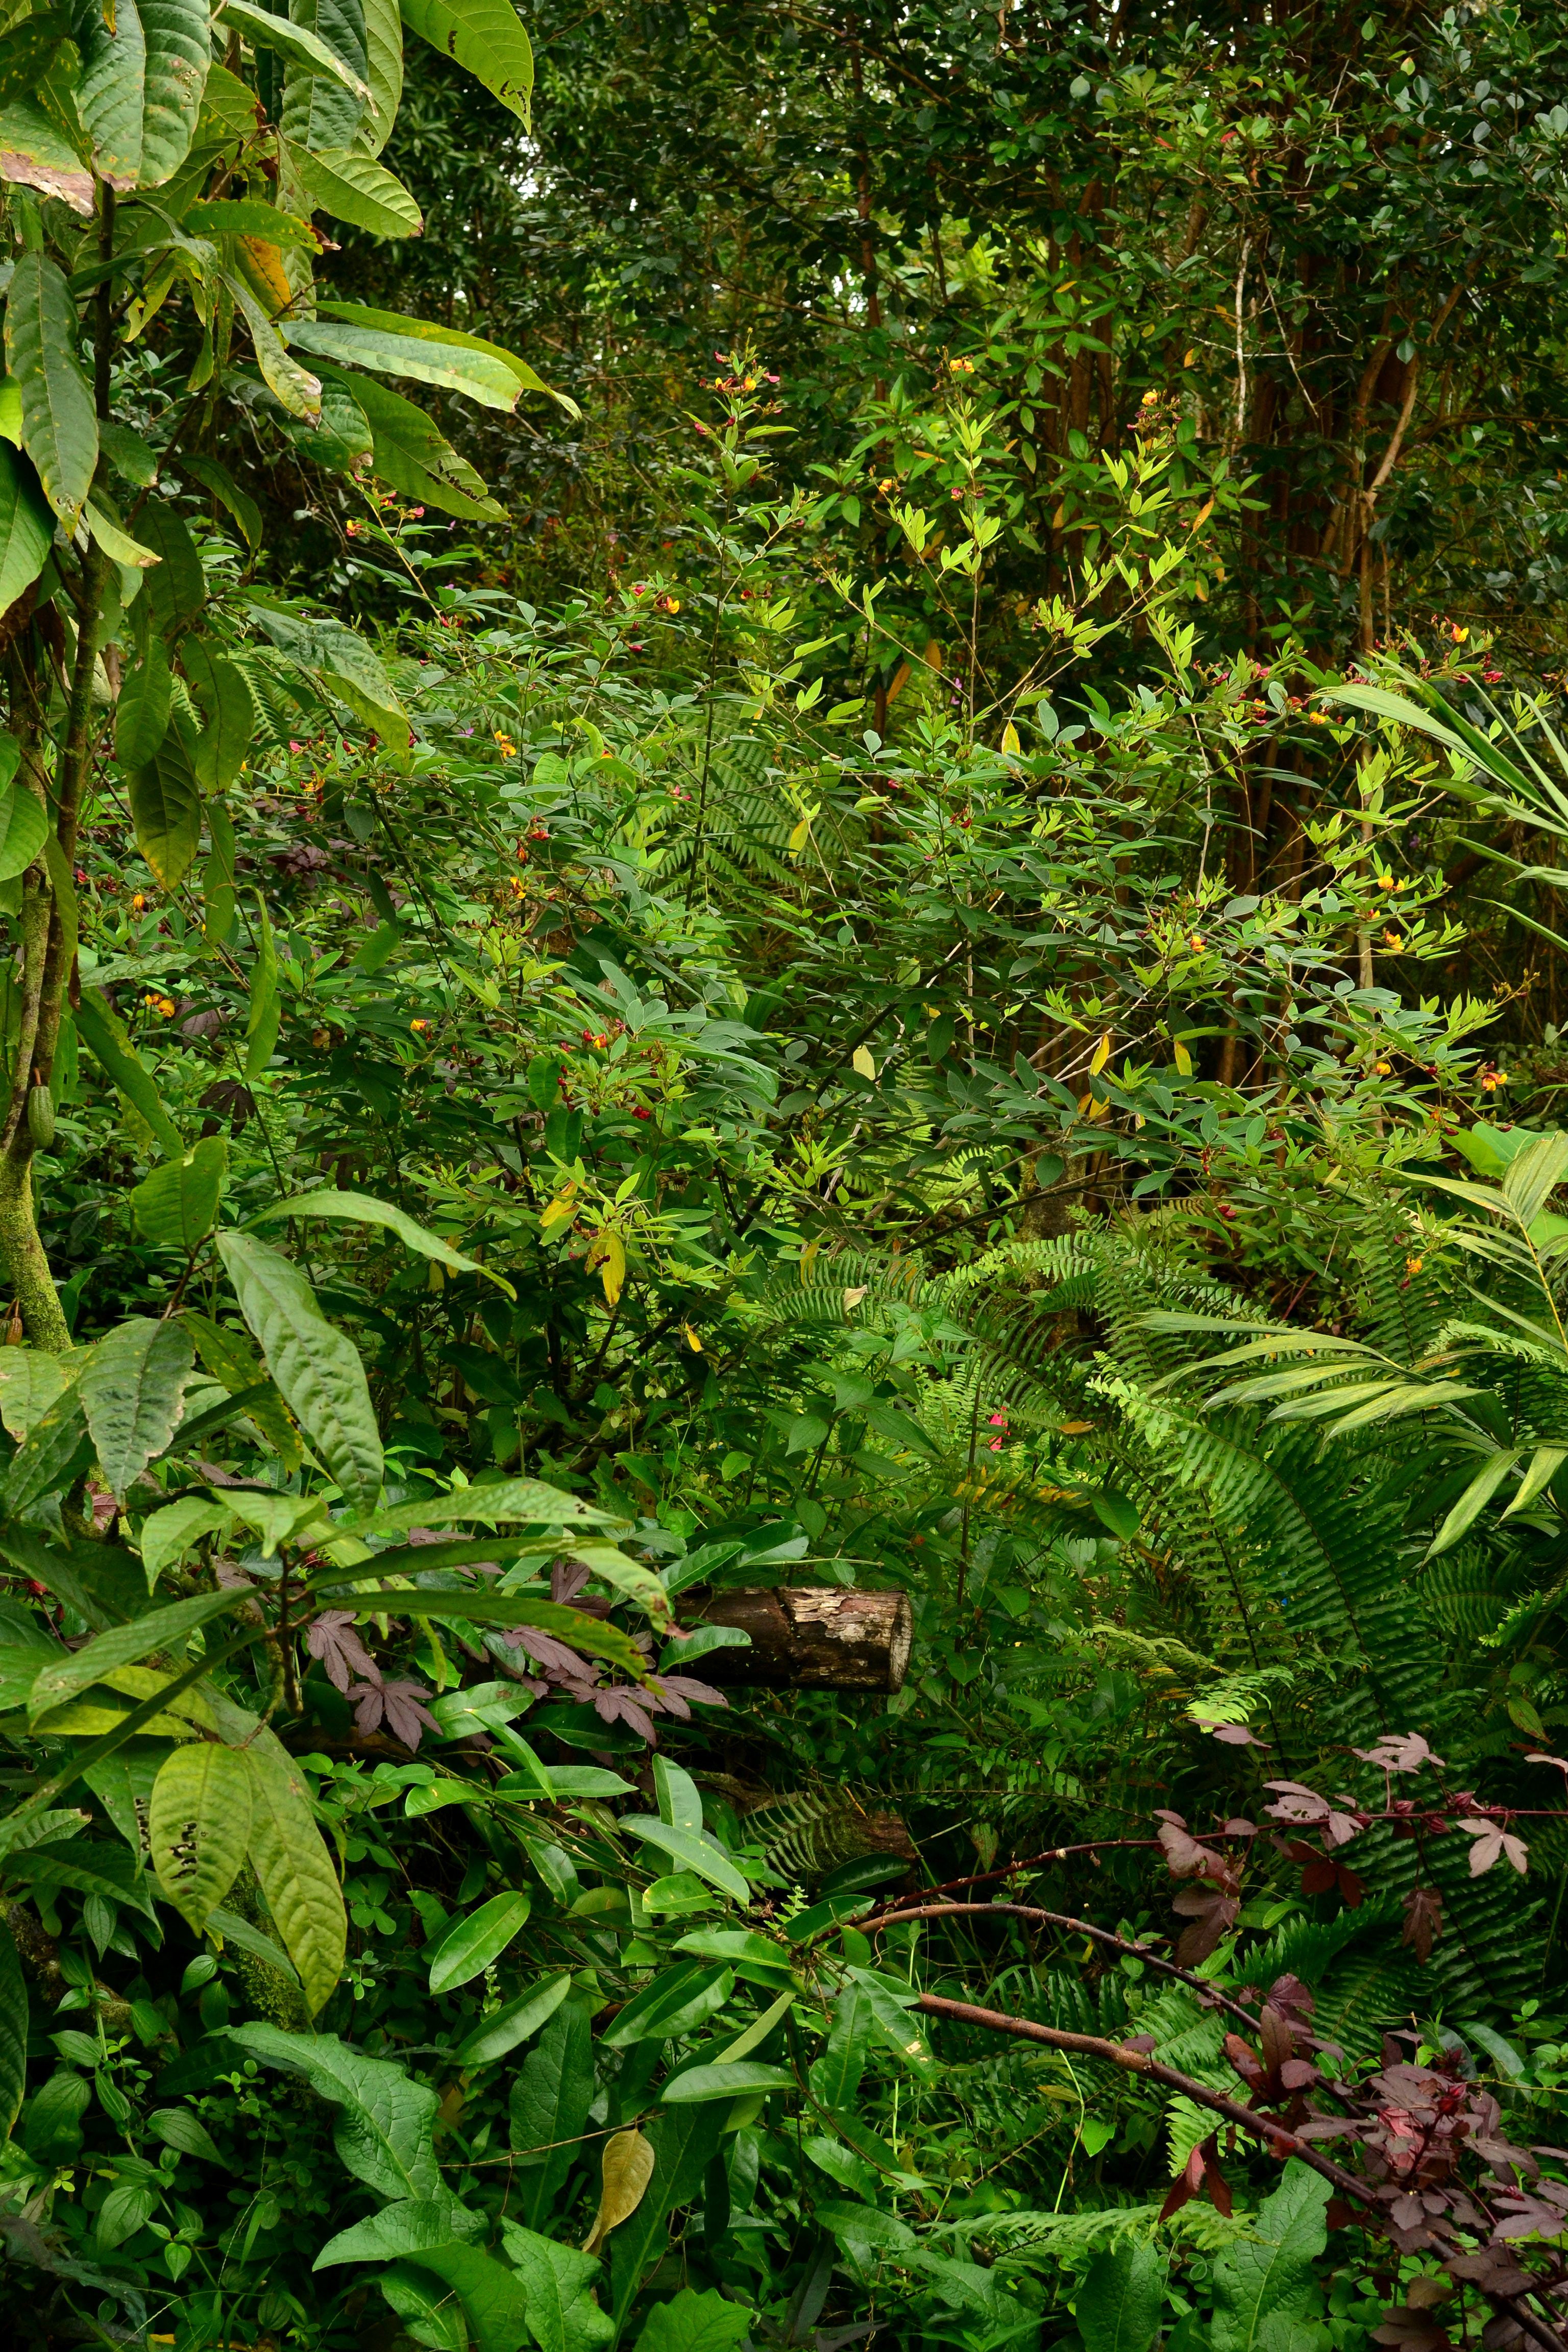
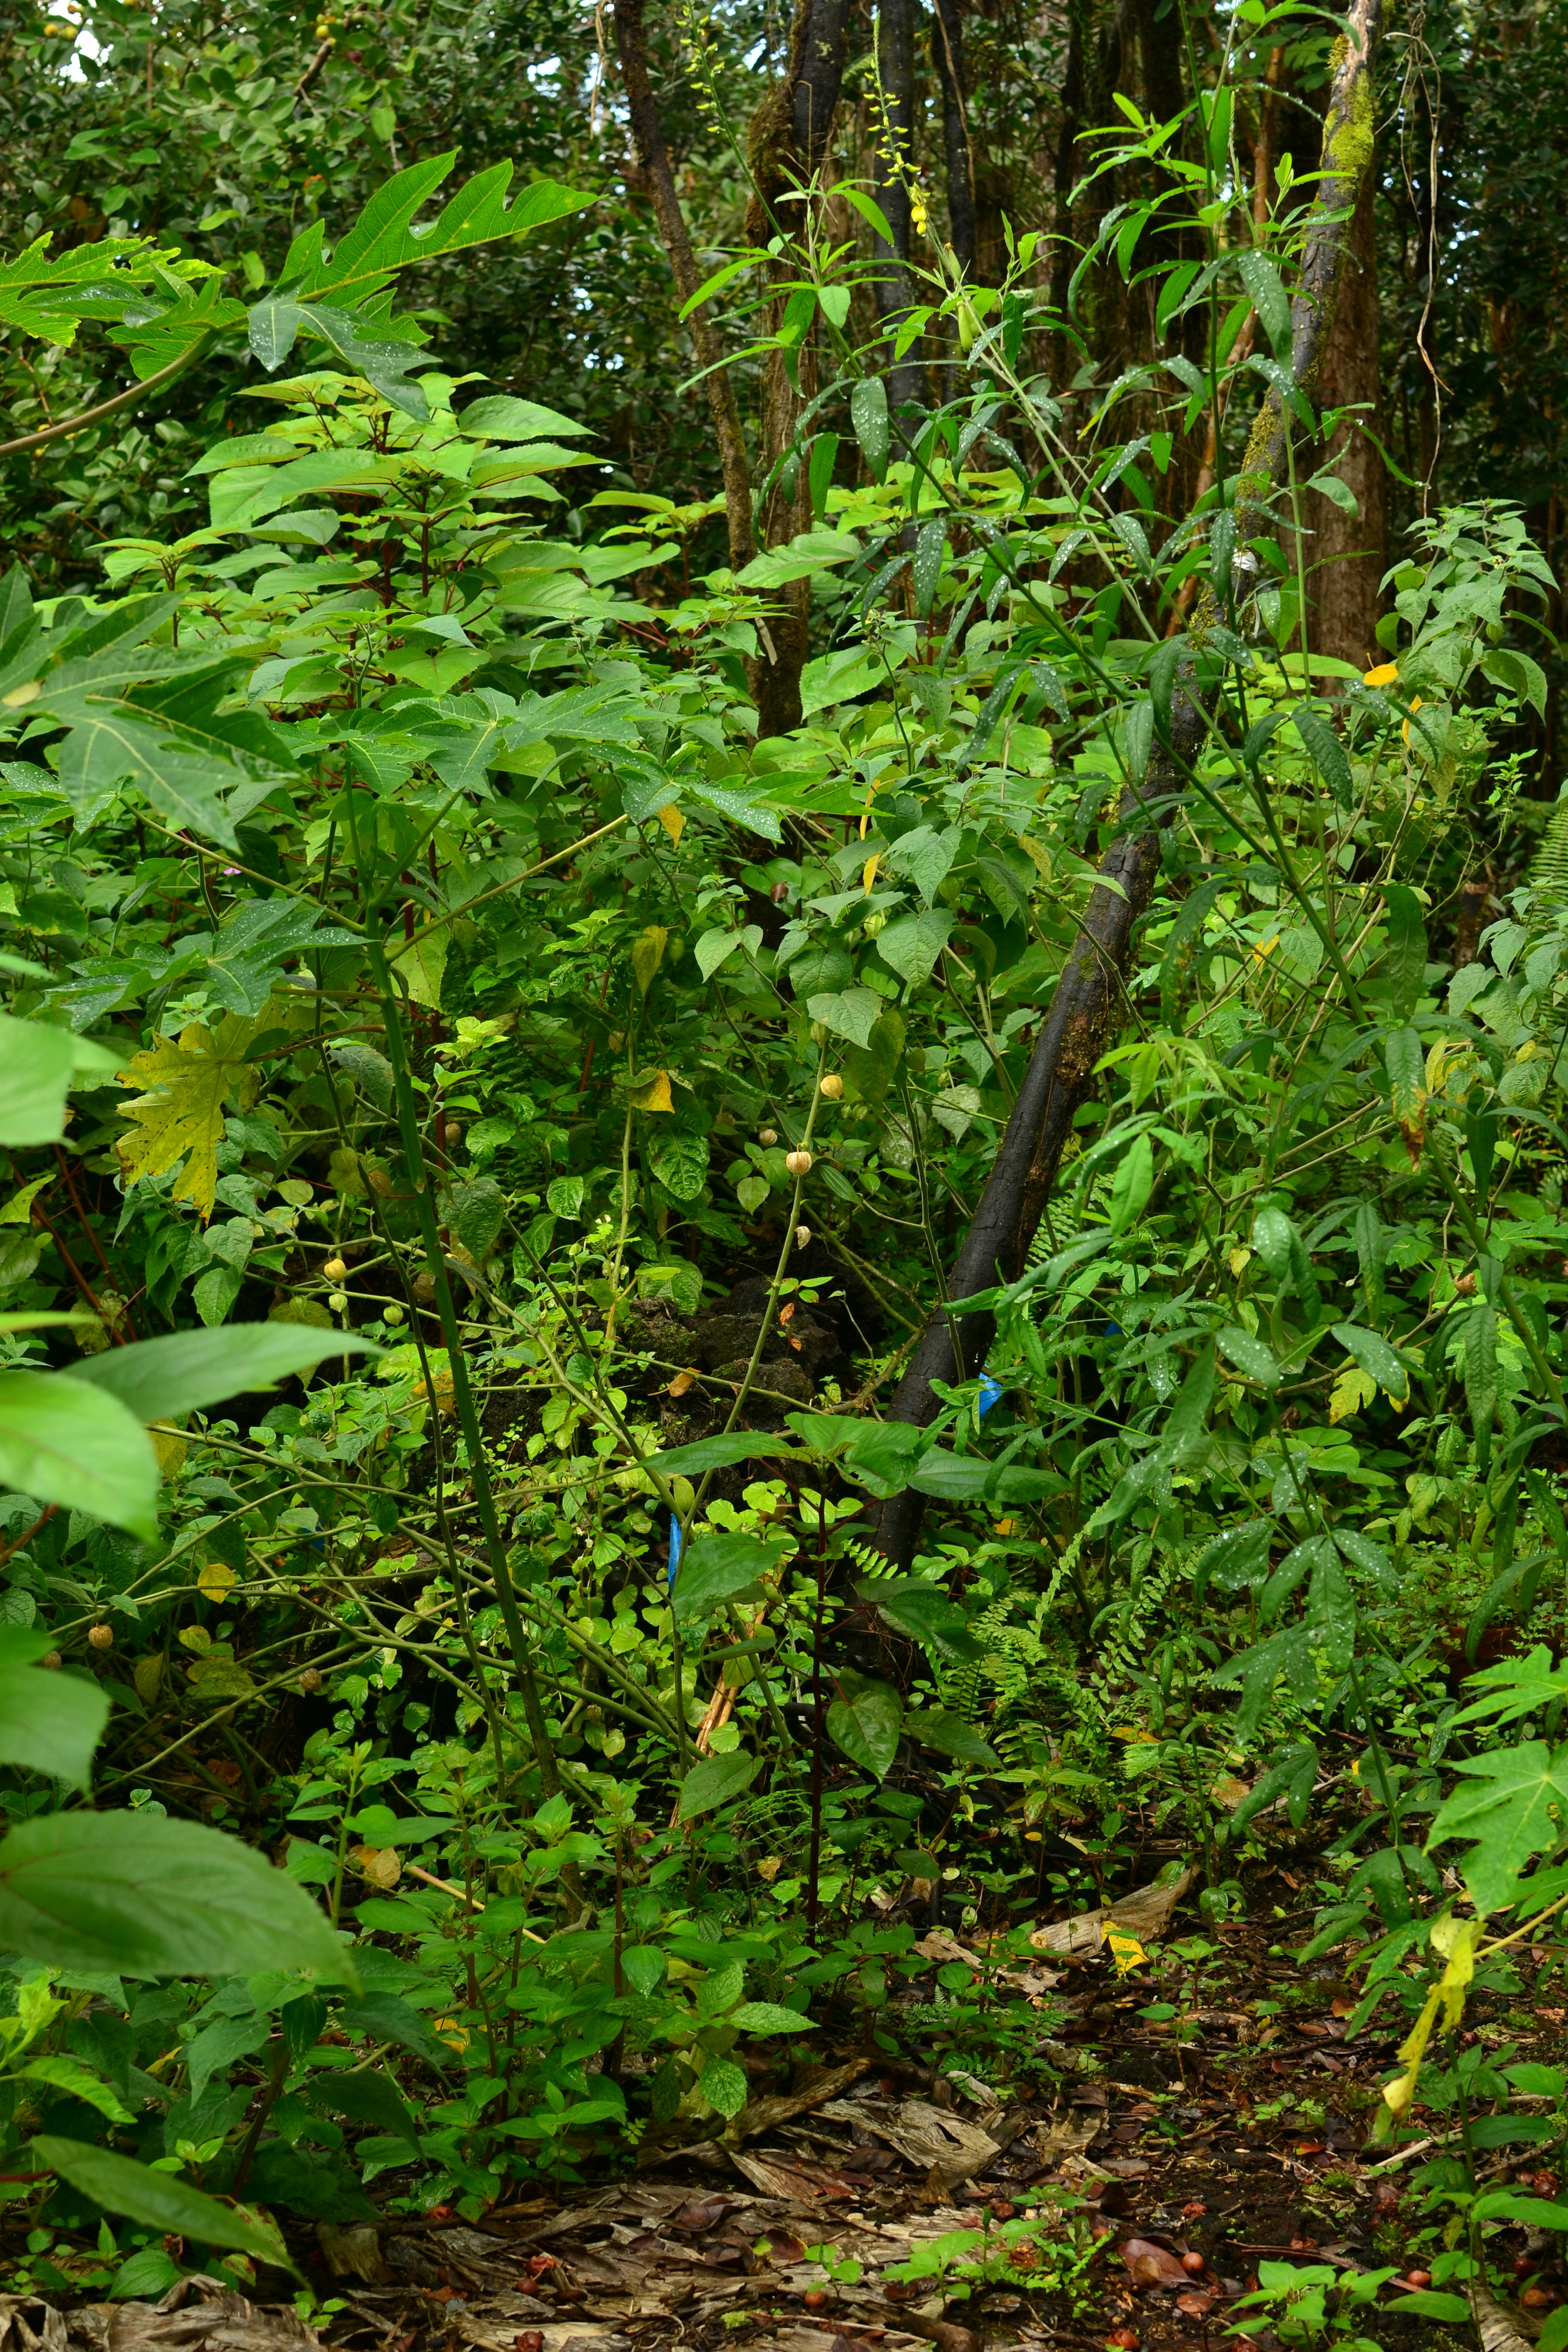
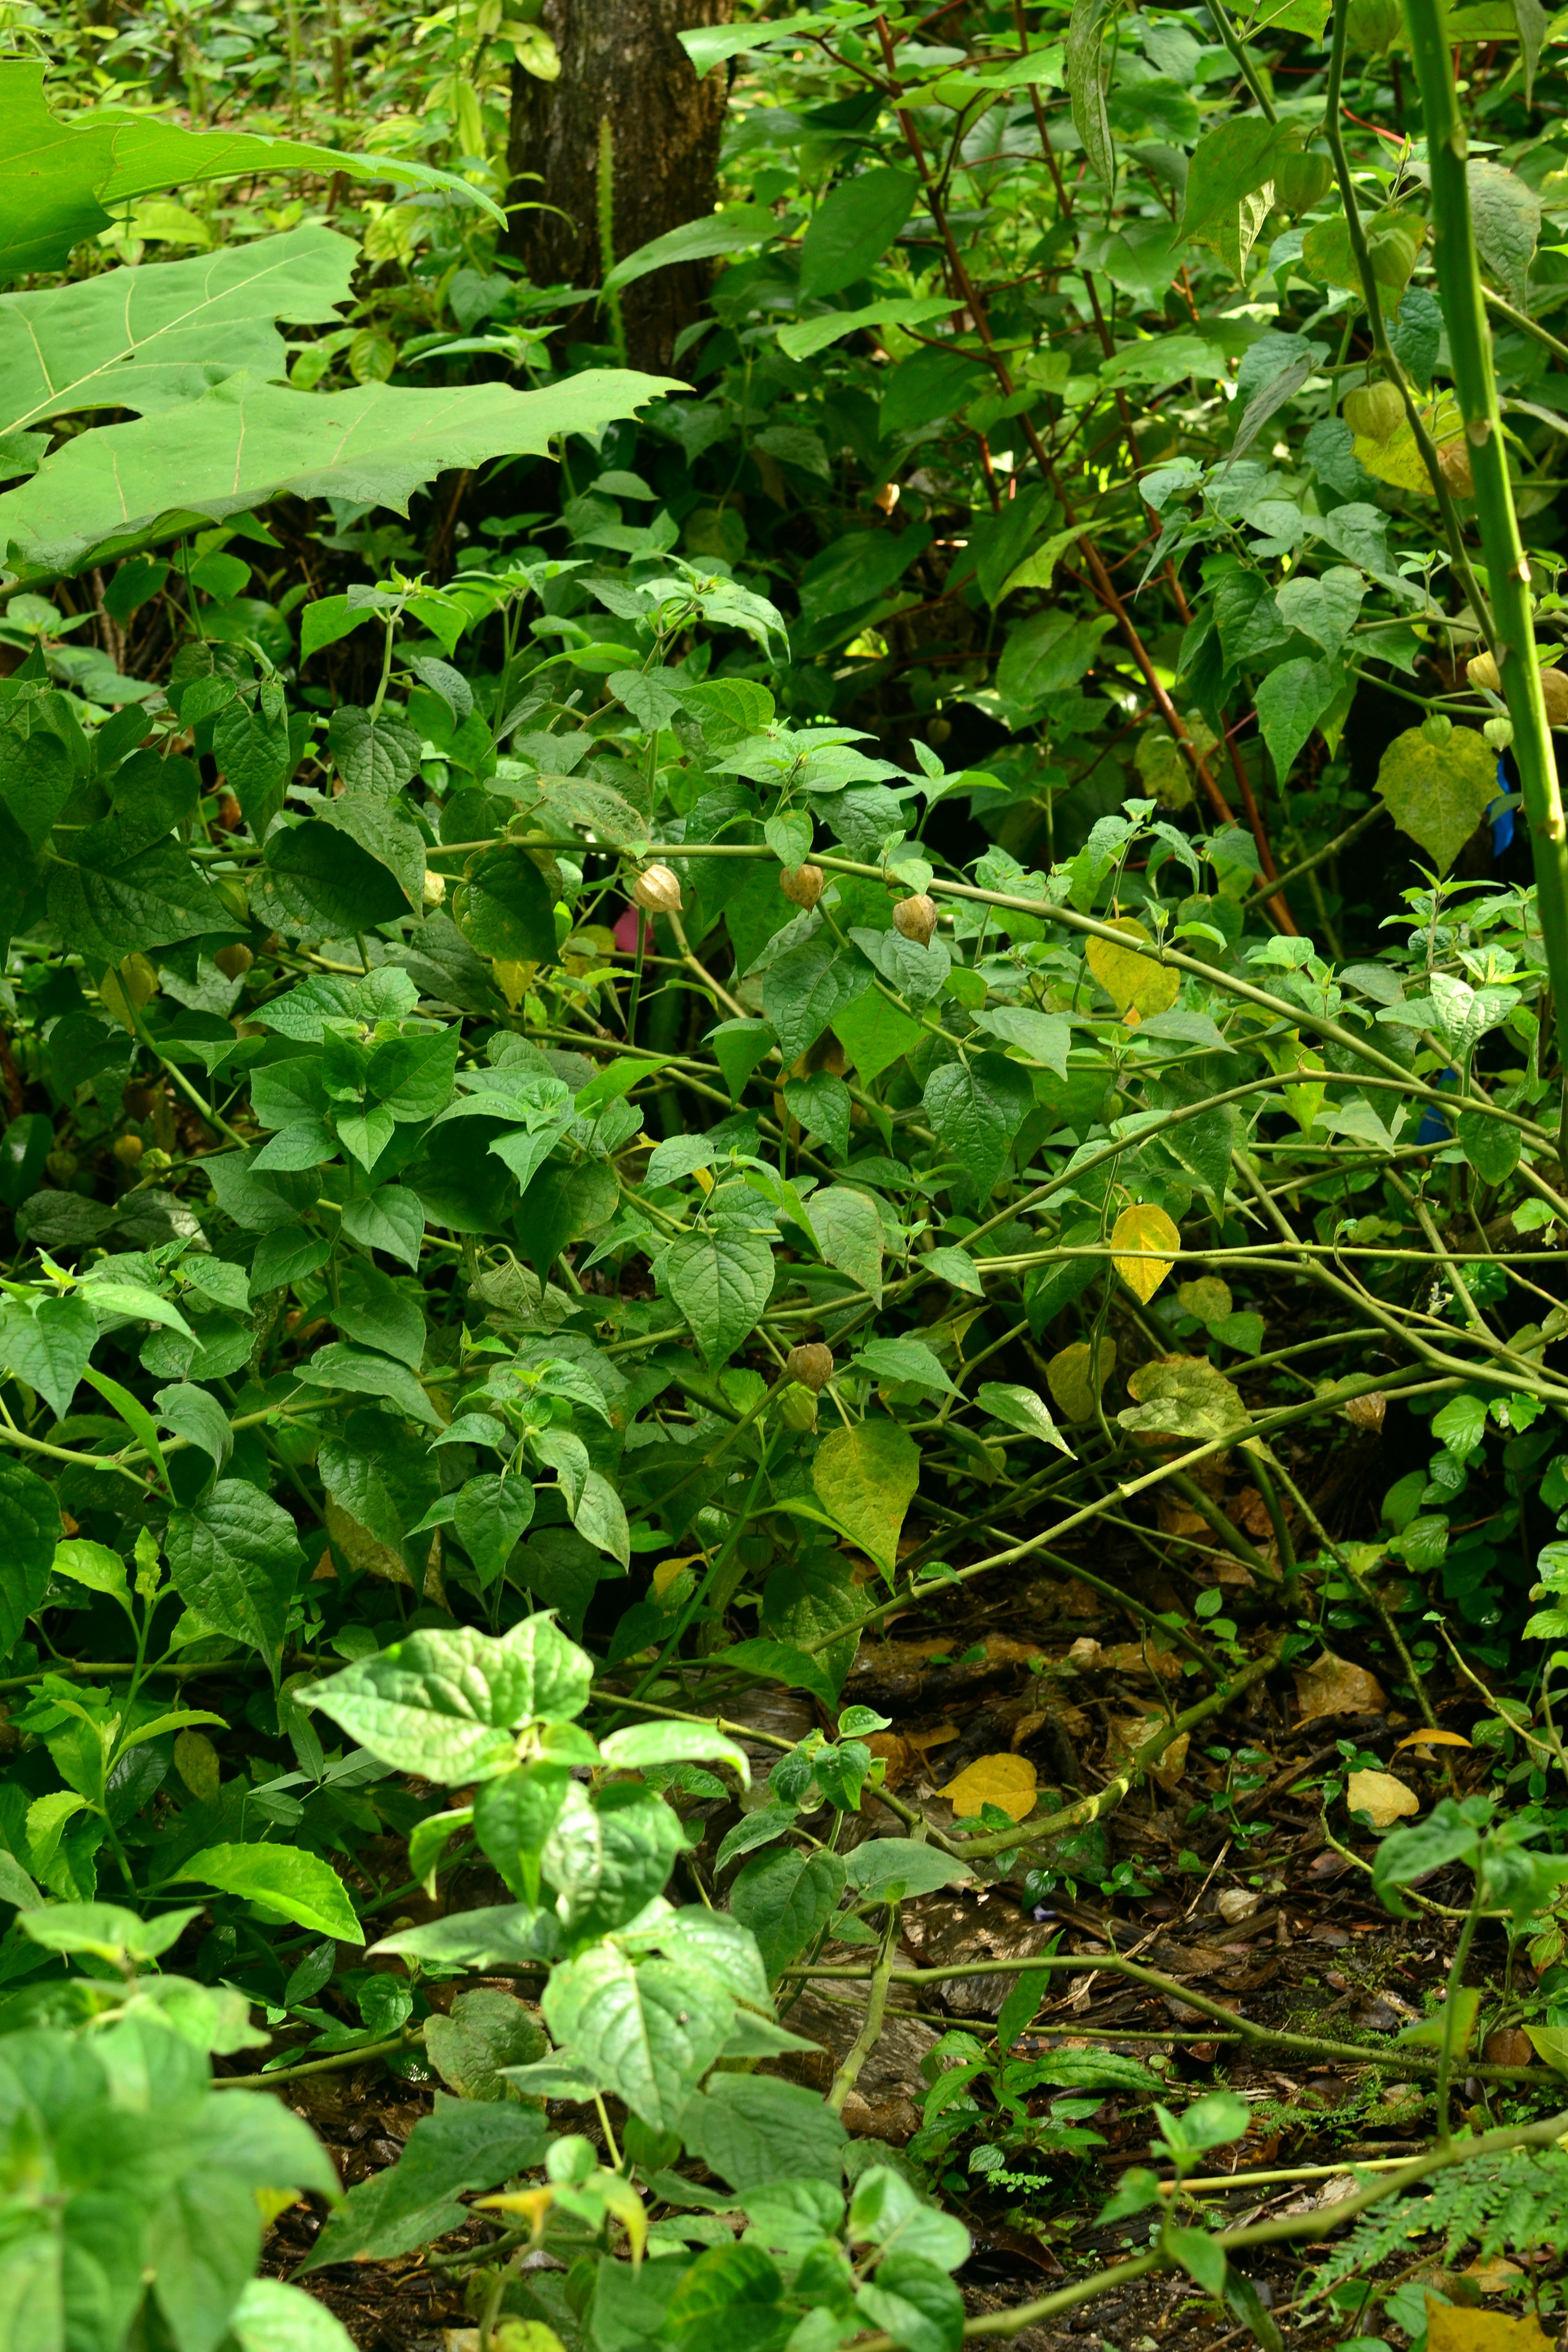
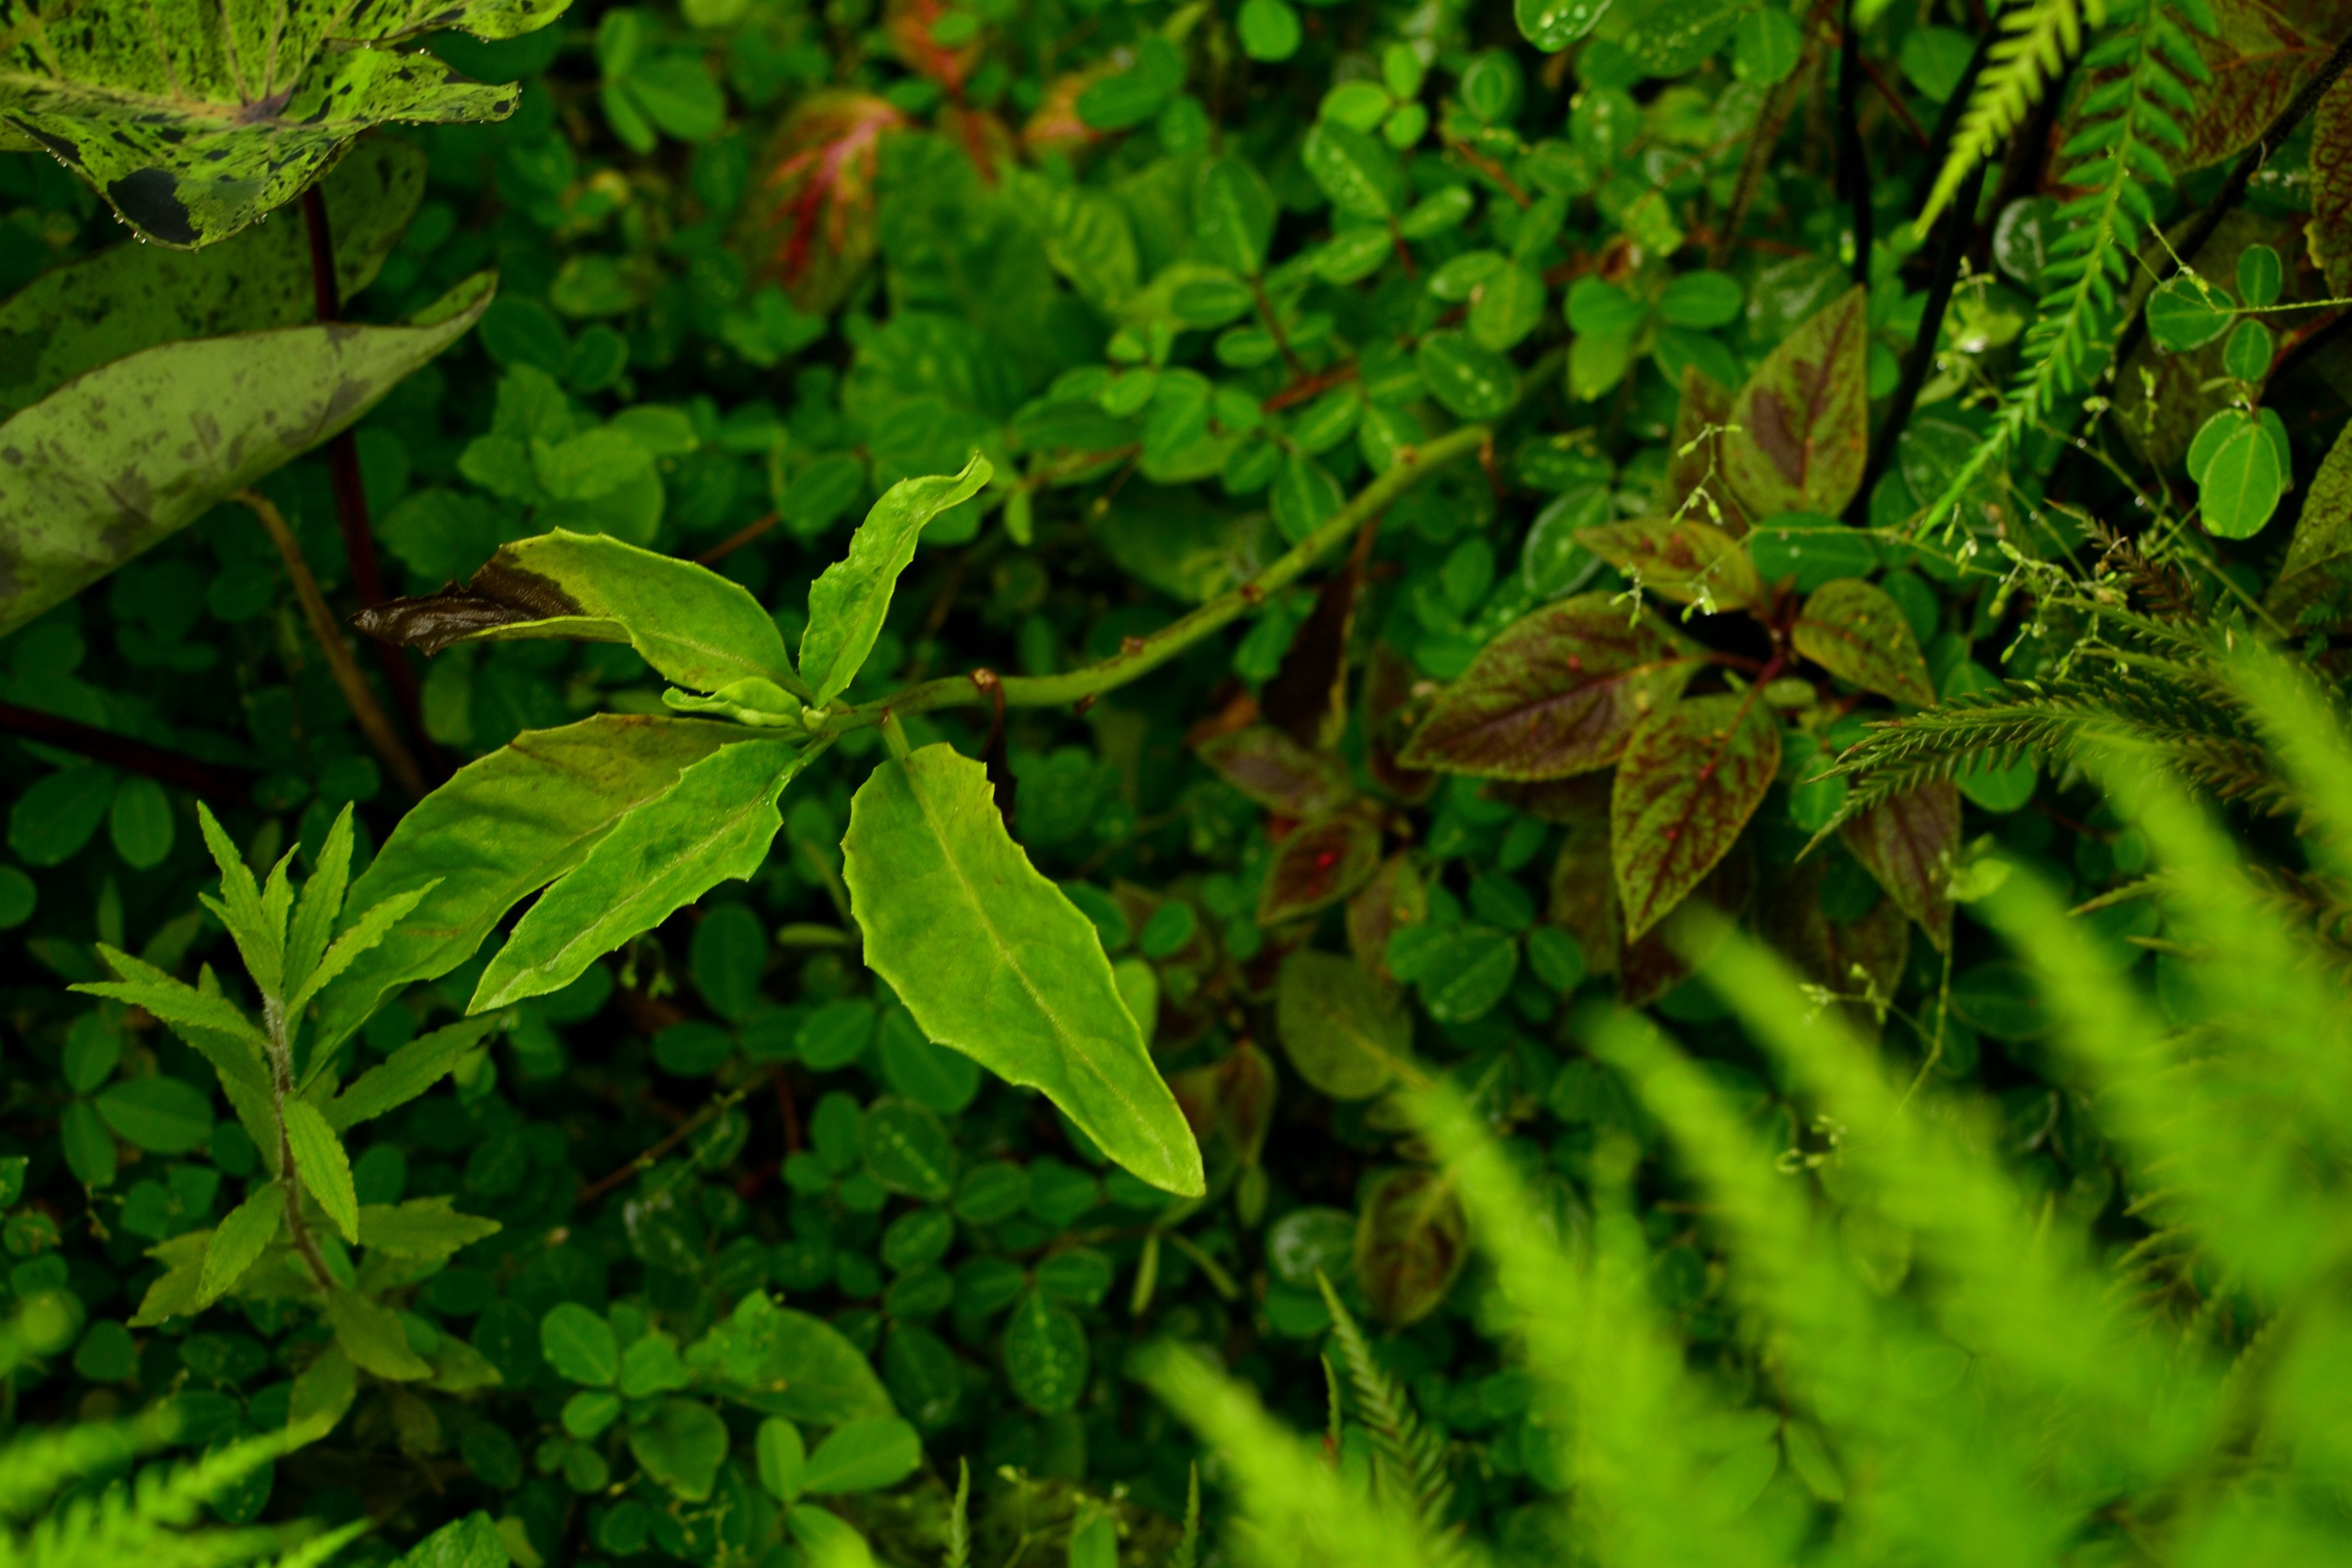
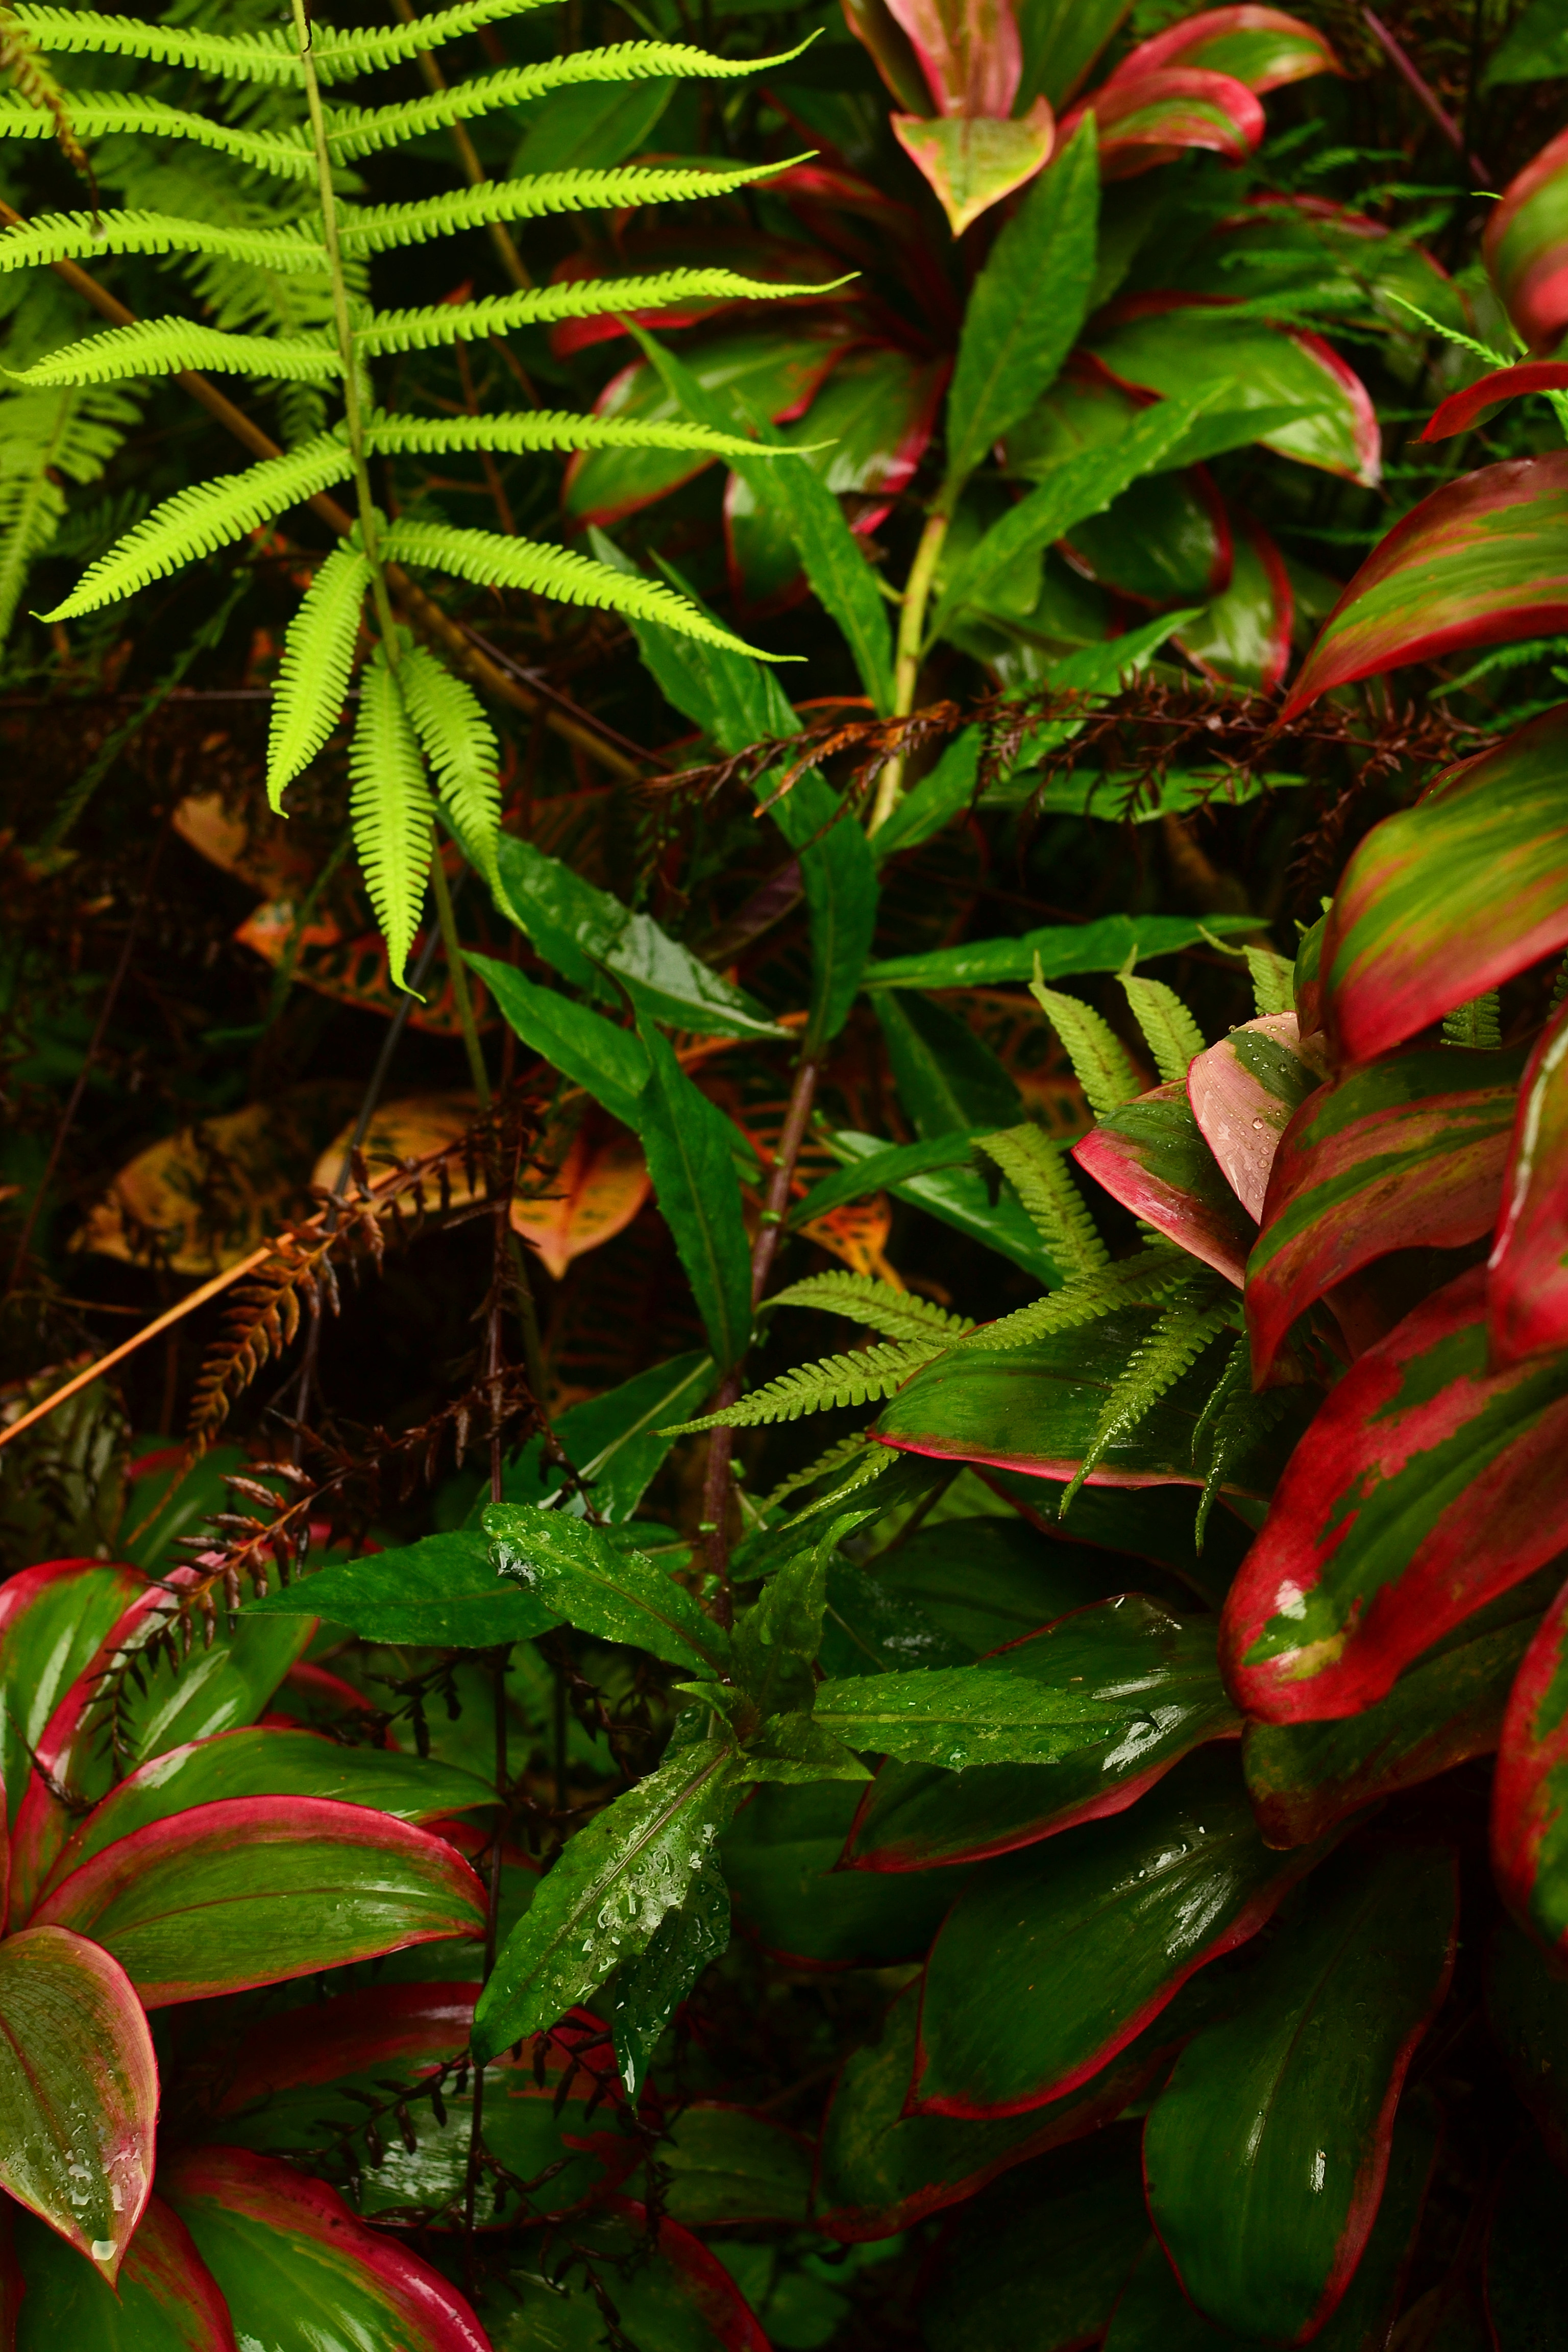
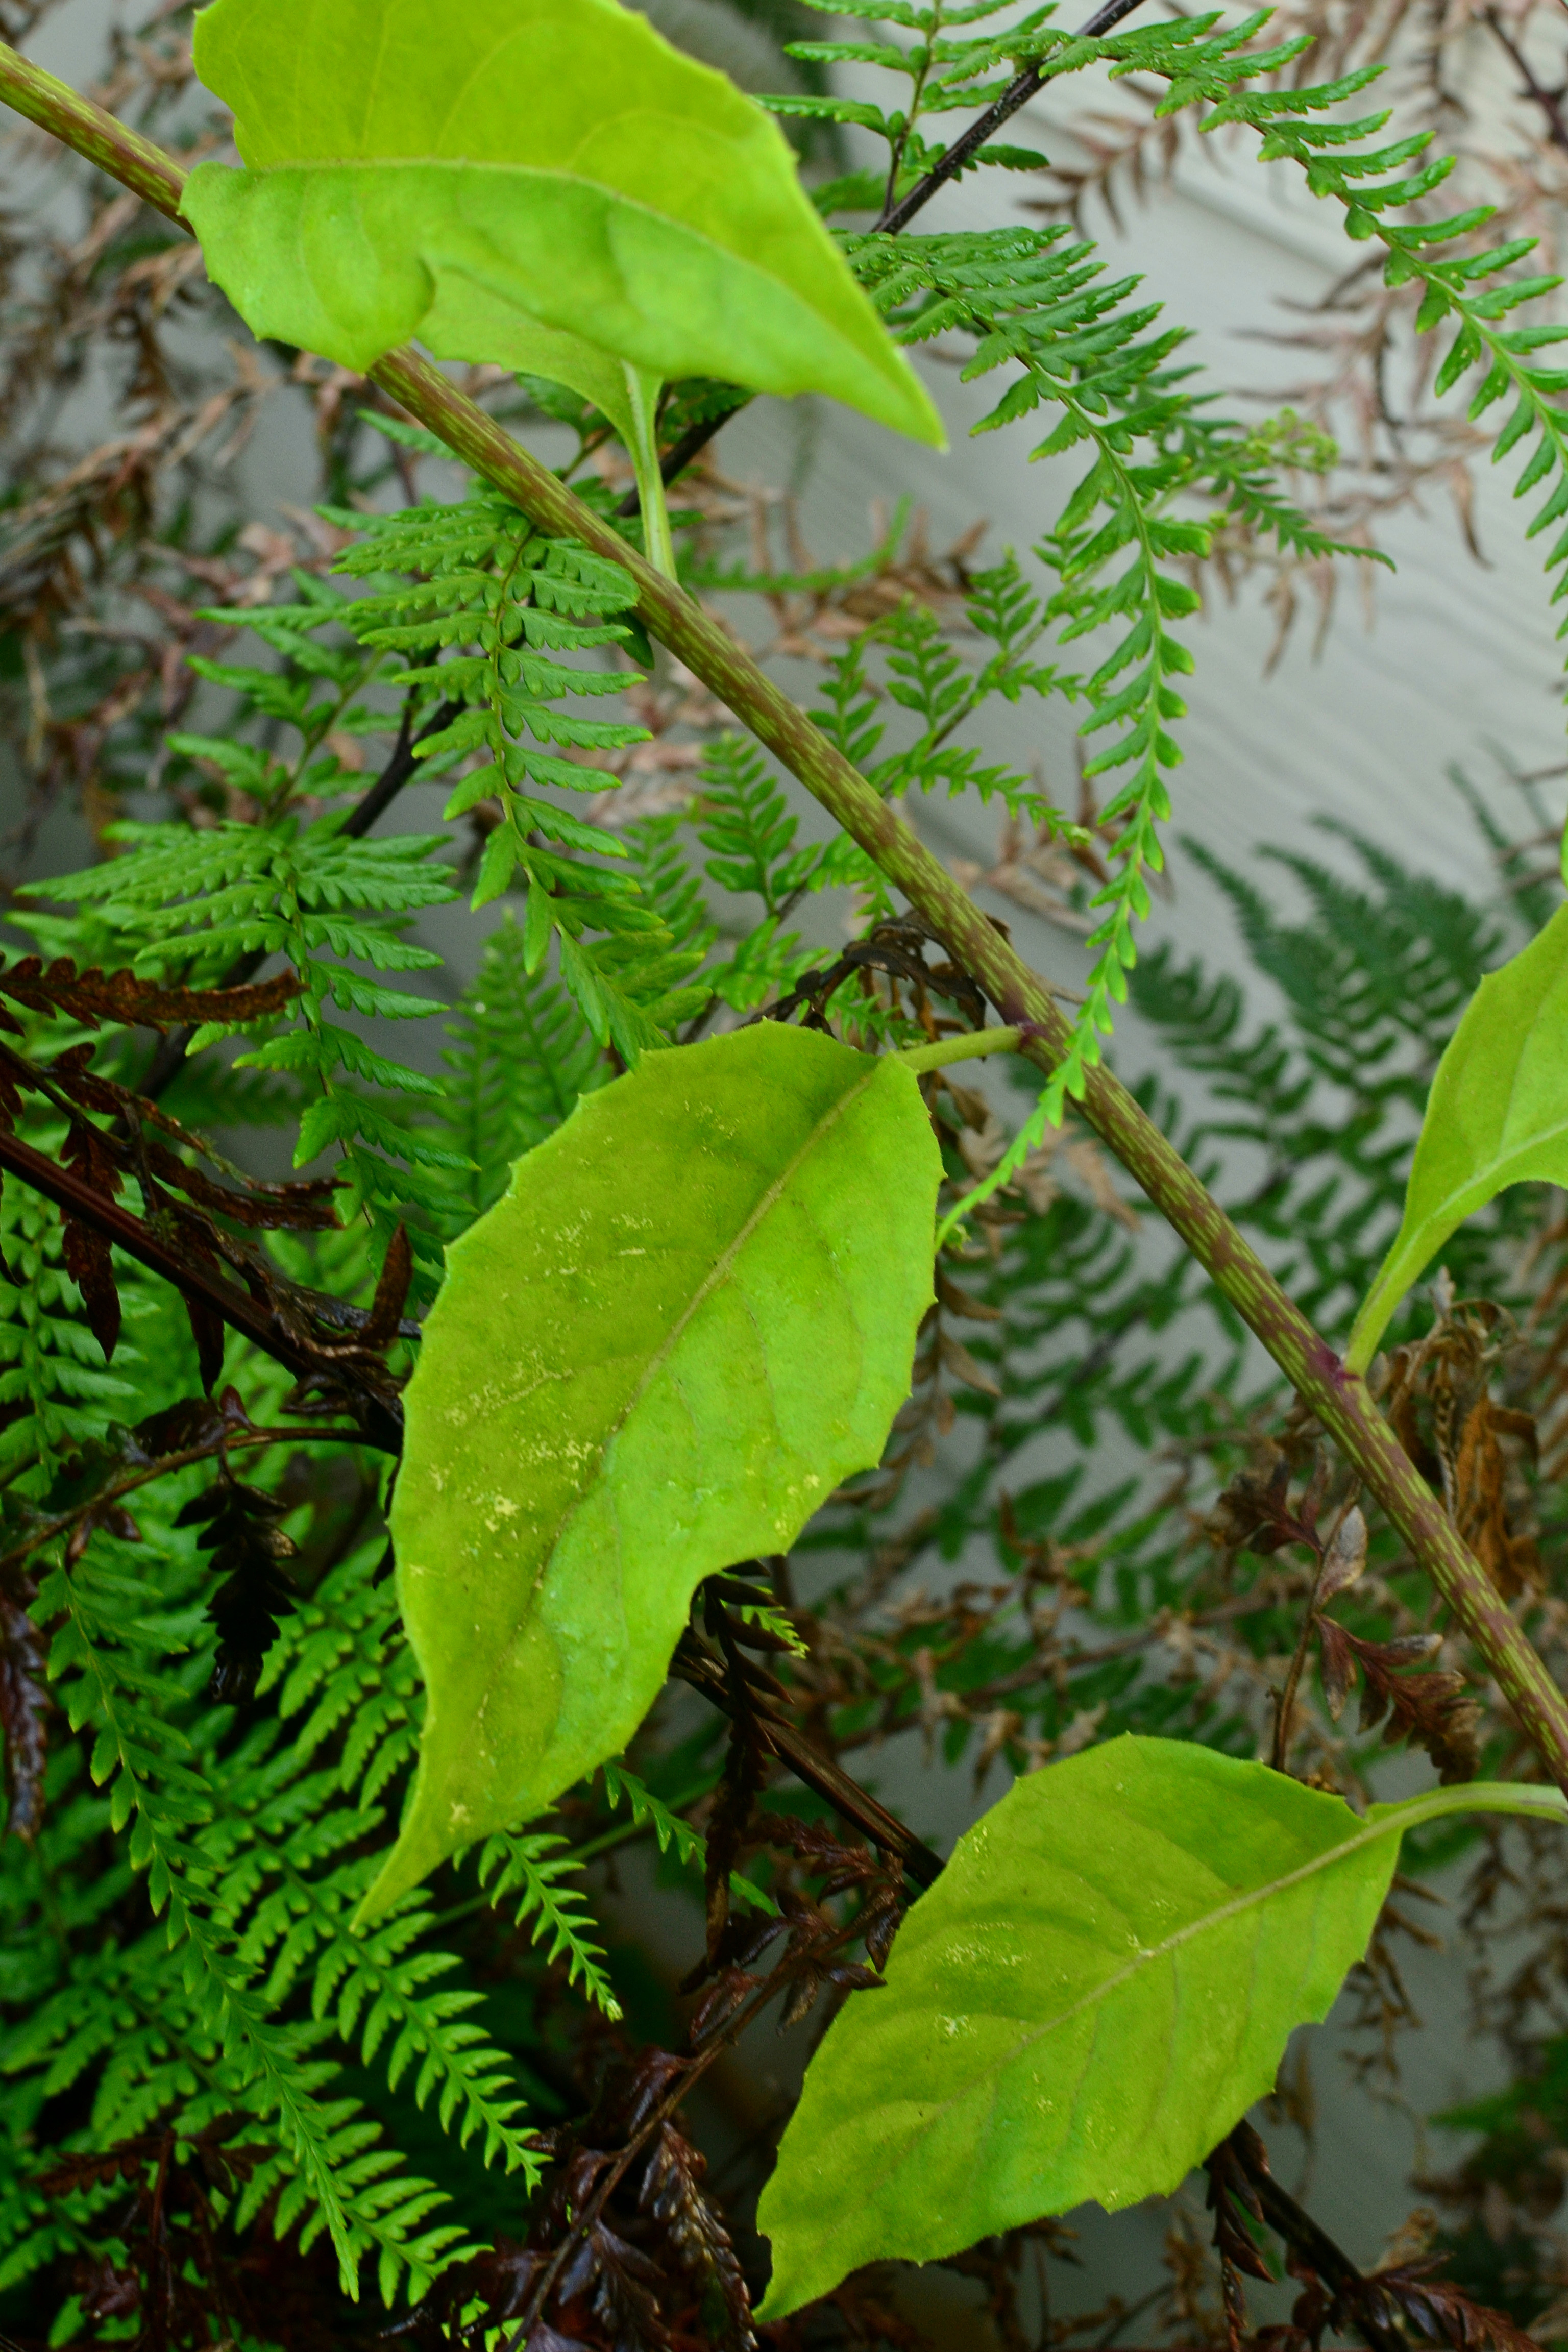
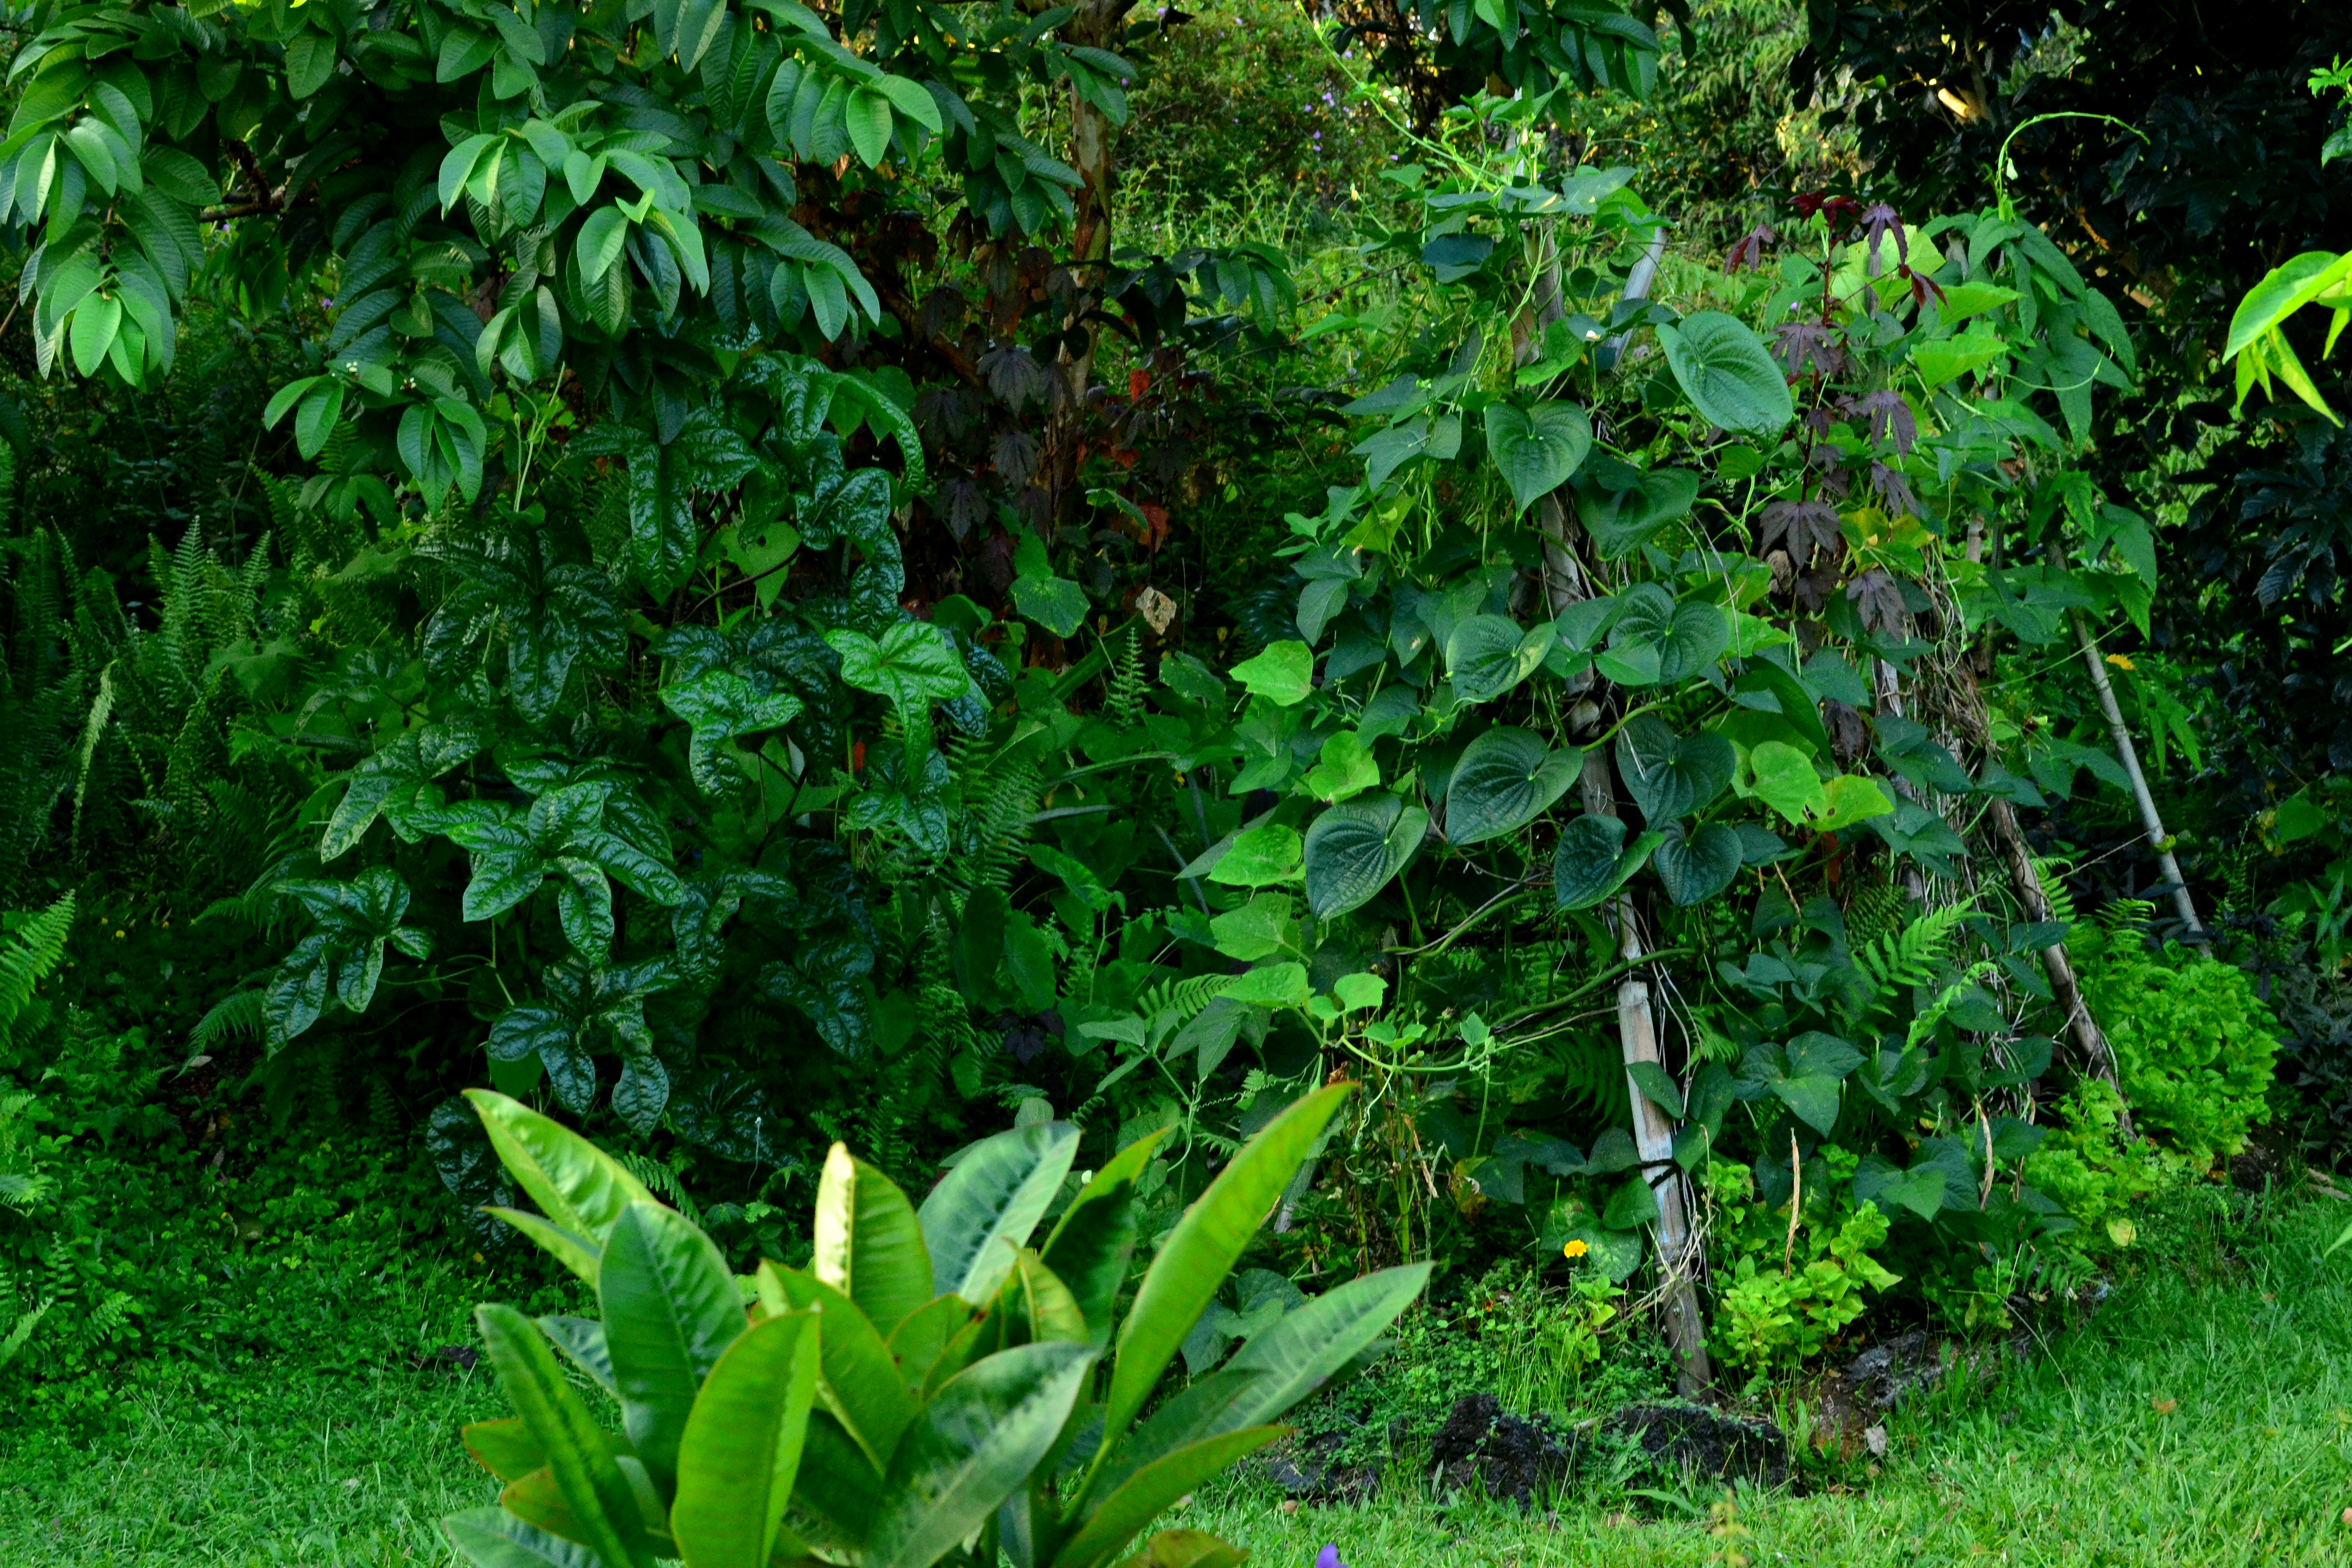
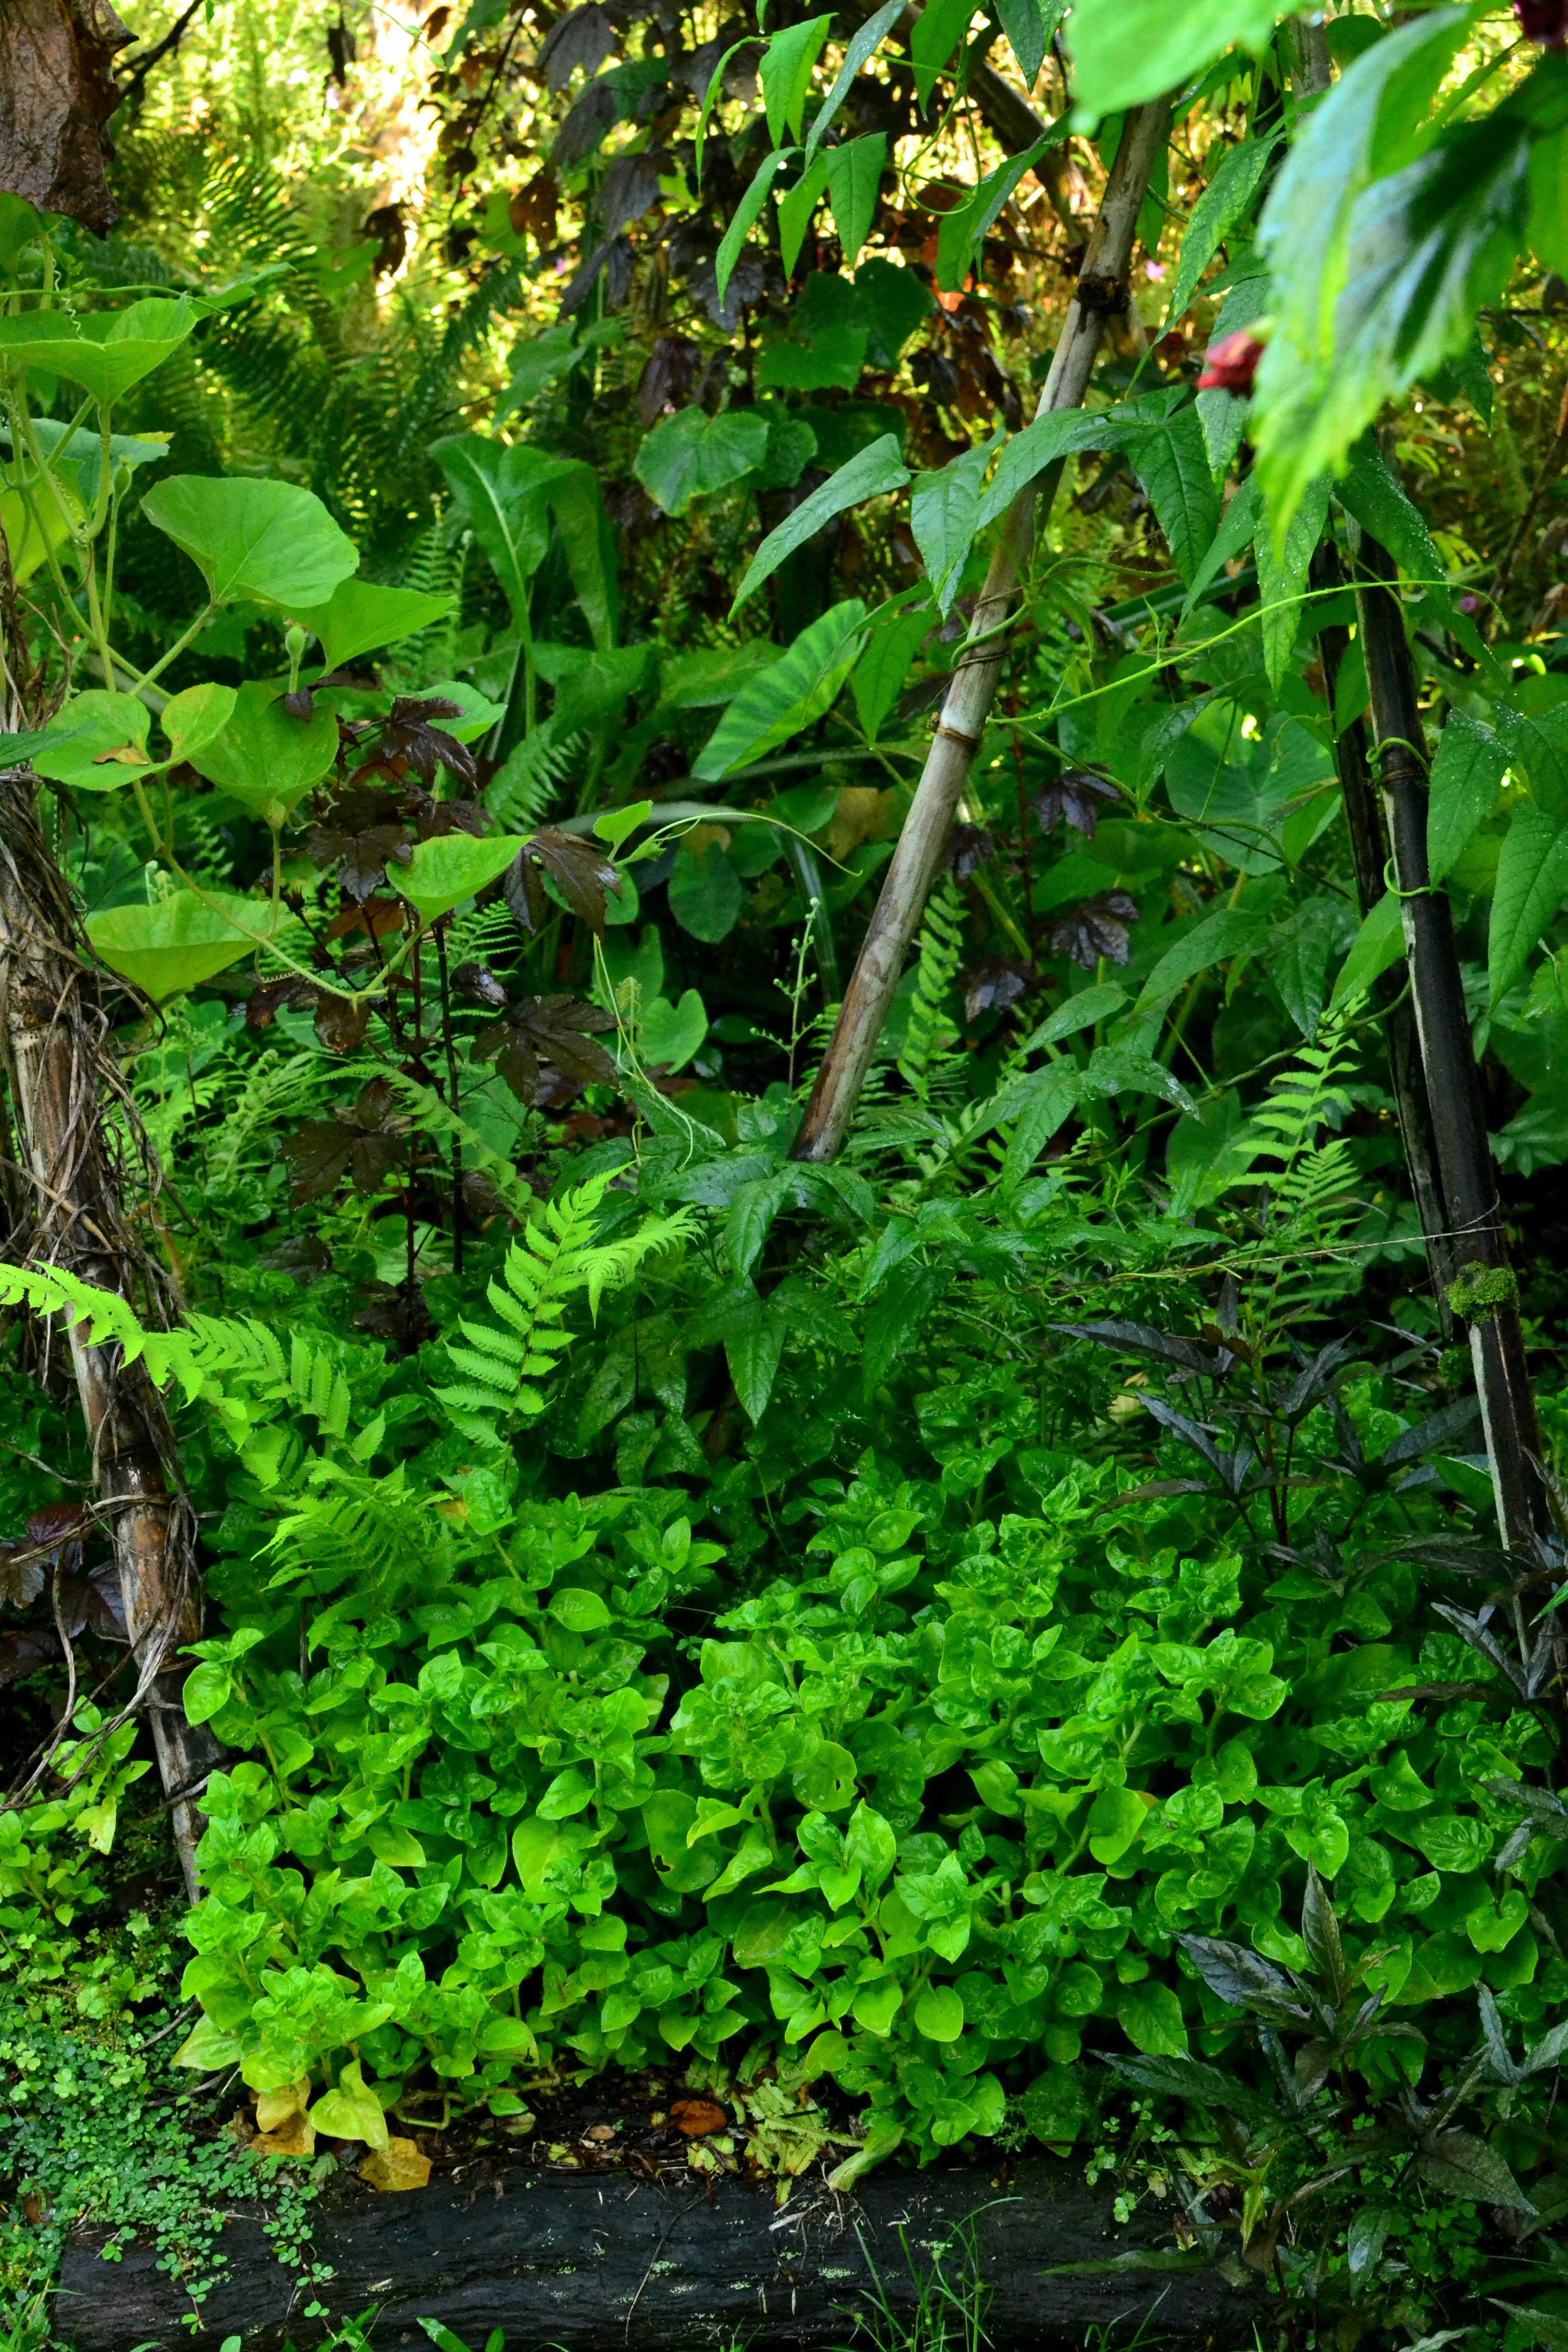
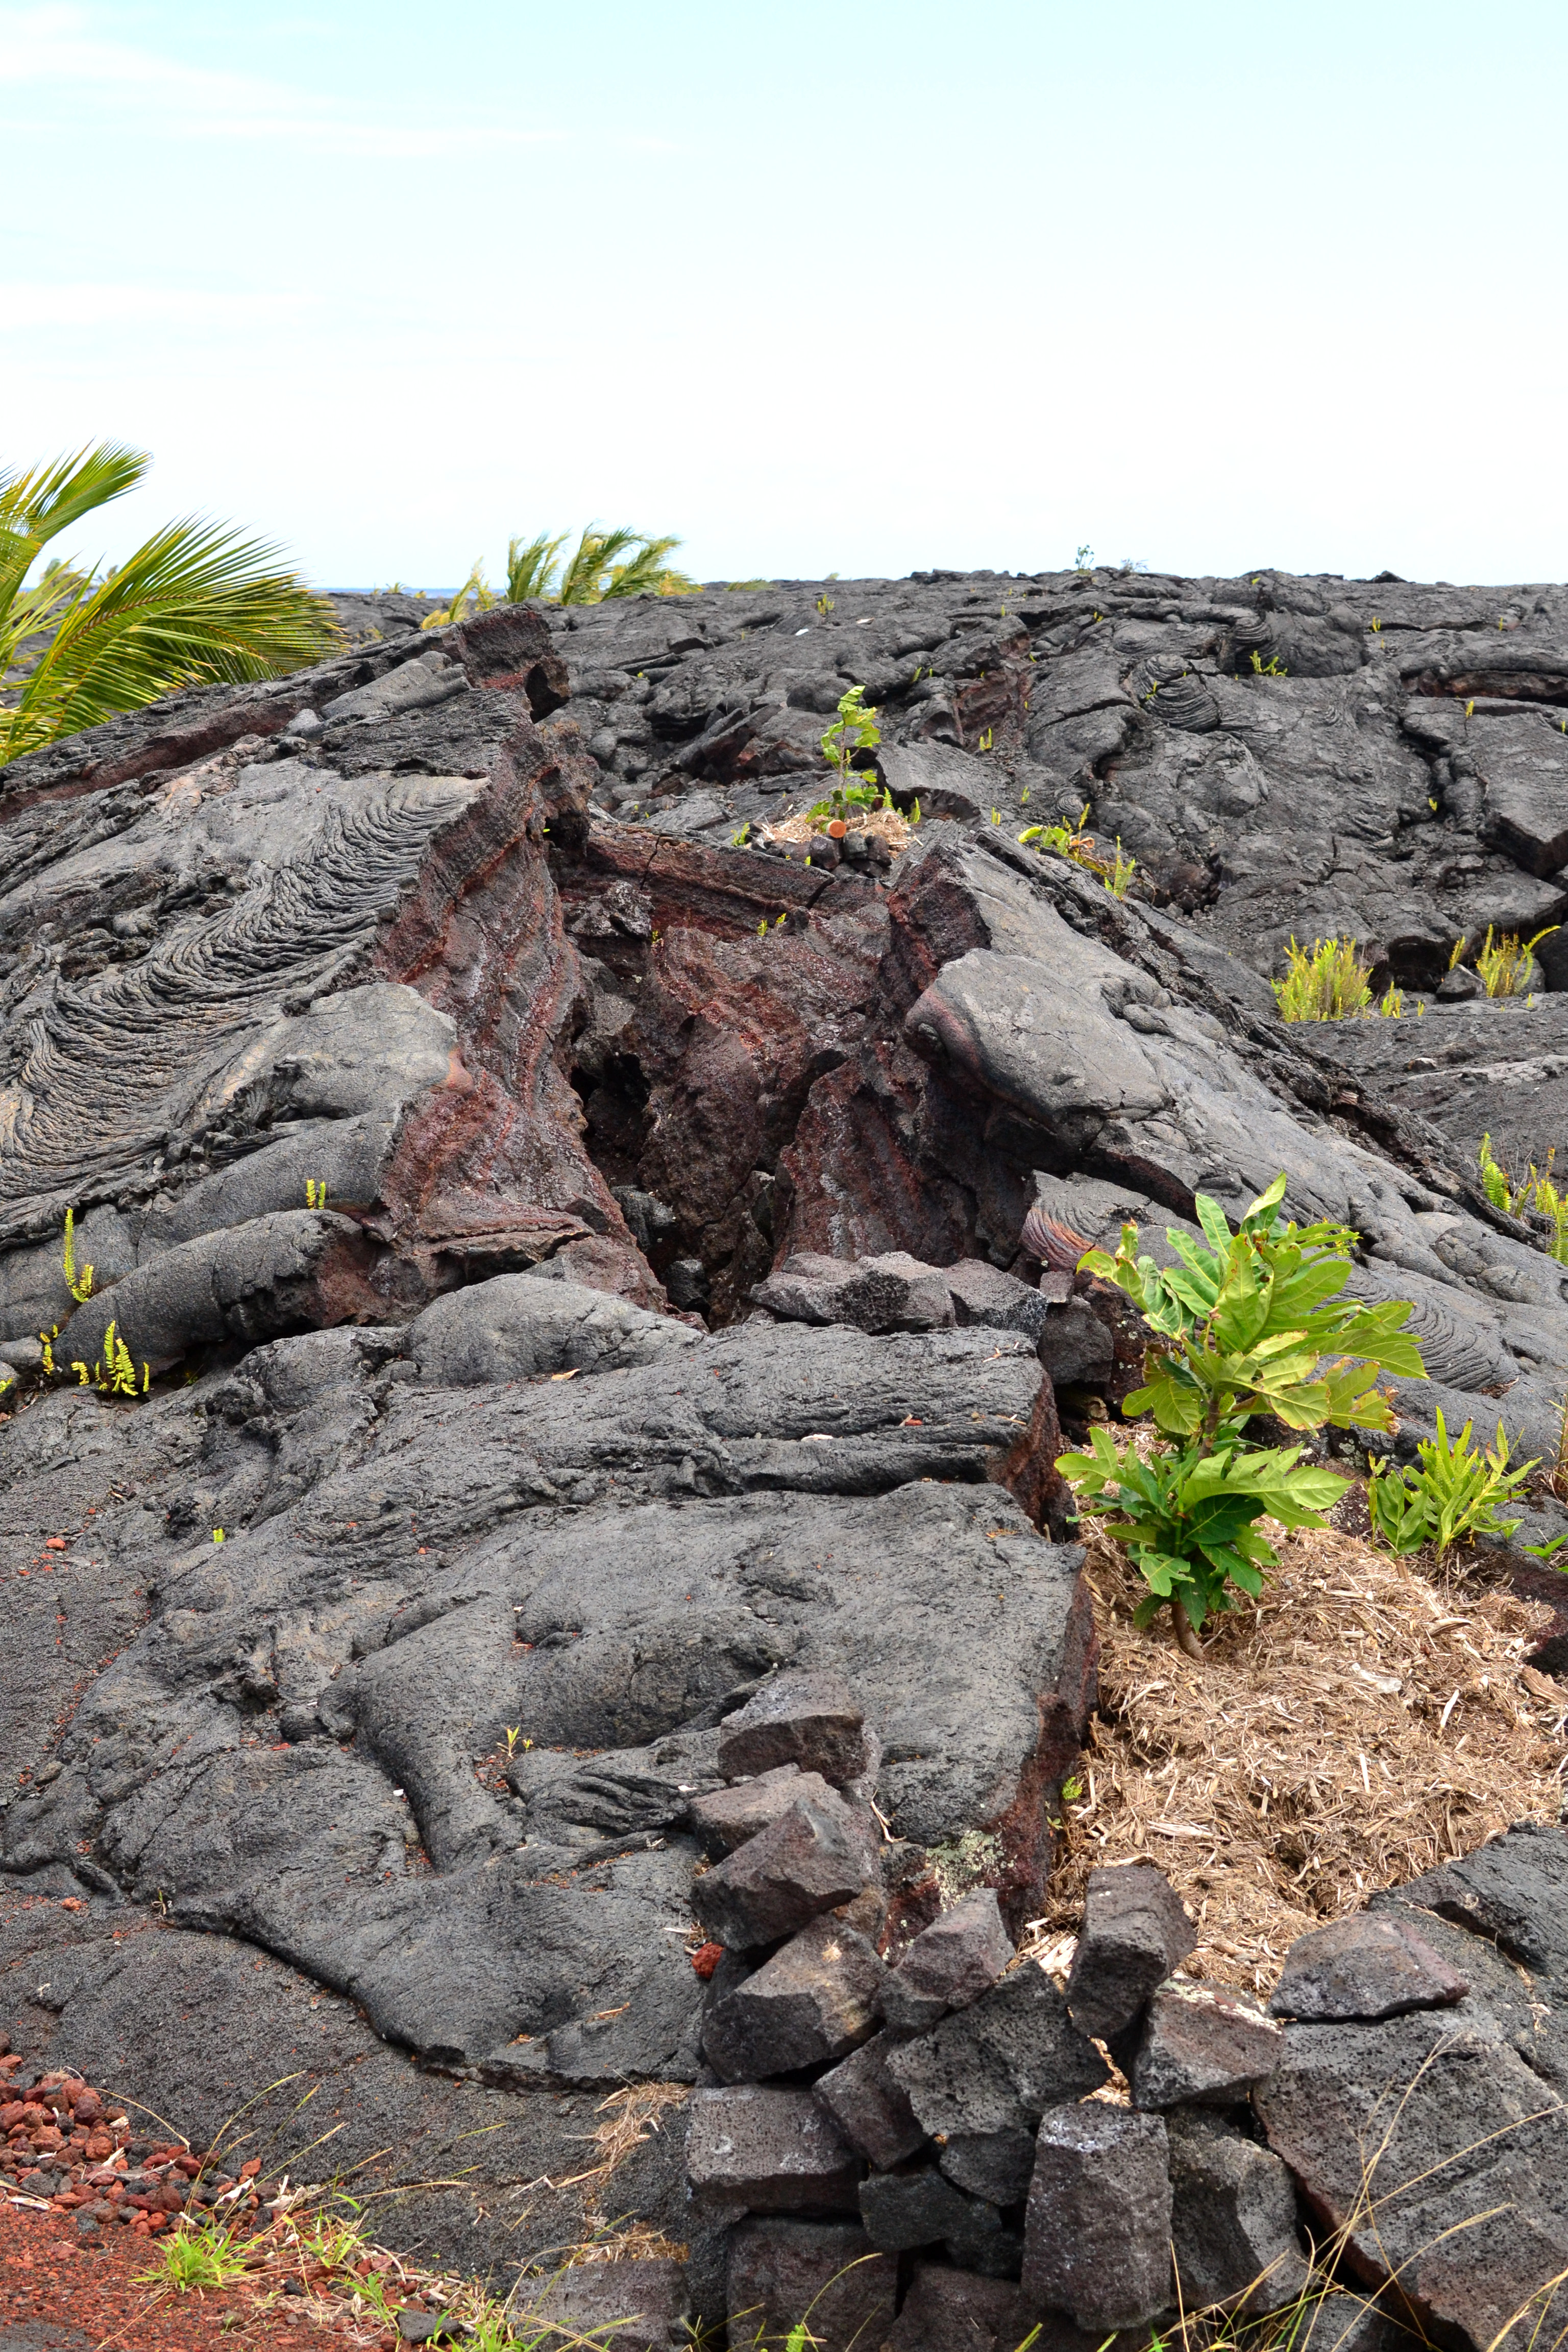
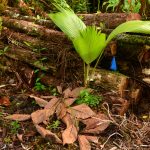
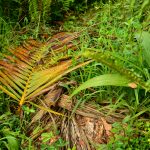
As you look around young lava flows, what do you see happening? You see ōhiʻa lehua, Metrosideros polymorpha, repopulating the open landscape: finding a crack, growing, dropping its leaves, building soil and making habitat for other plants to move in. In the early stages of the forest you notice only two plants really thriving, ōhiʻa lehua and uluhe fern, Dicranopteris linearis. These two plants shed tons of organic matter, resulting in leaf litter covering the ground, and uluhe sprawling expansively covering the ground acting as a living mulch. This happens for a few hundred years until the trees grow large enough to shade out the fern, allowing open areas for other tree species to populate. In a native Hawaiian landscape, birds and wind disperse seeds of other species to grow. However, in our current environment we’ve lost most of our lowland native birds to extinction, resulting in almost no dispersal of native trees. Allowing the dispersal of alien plants to move in and take over the forest. Creating a forest nonetheless.
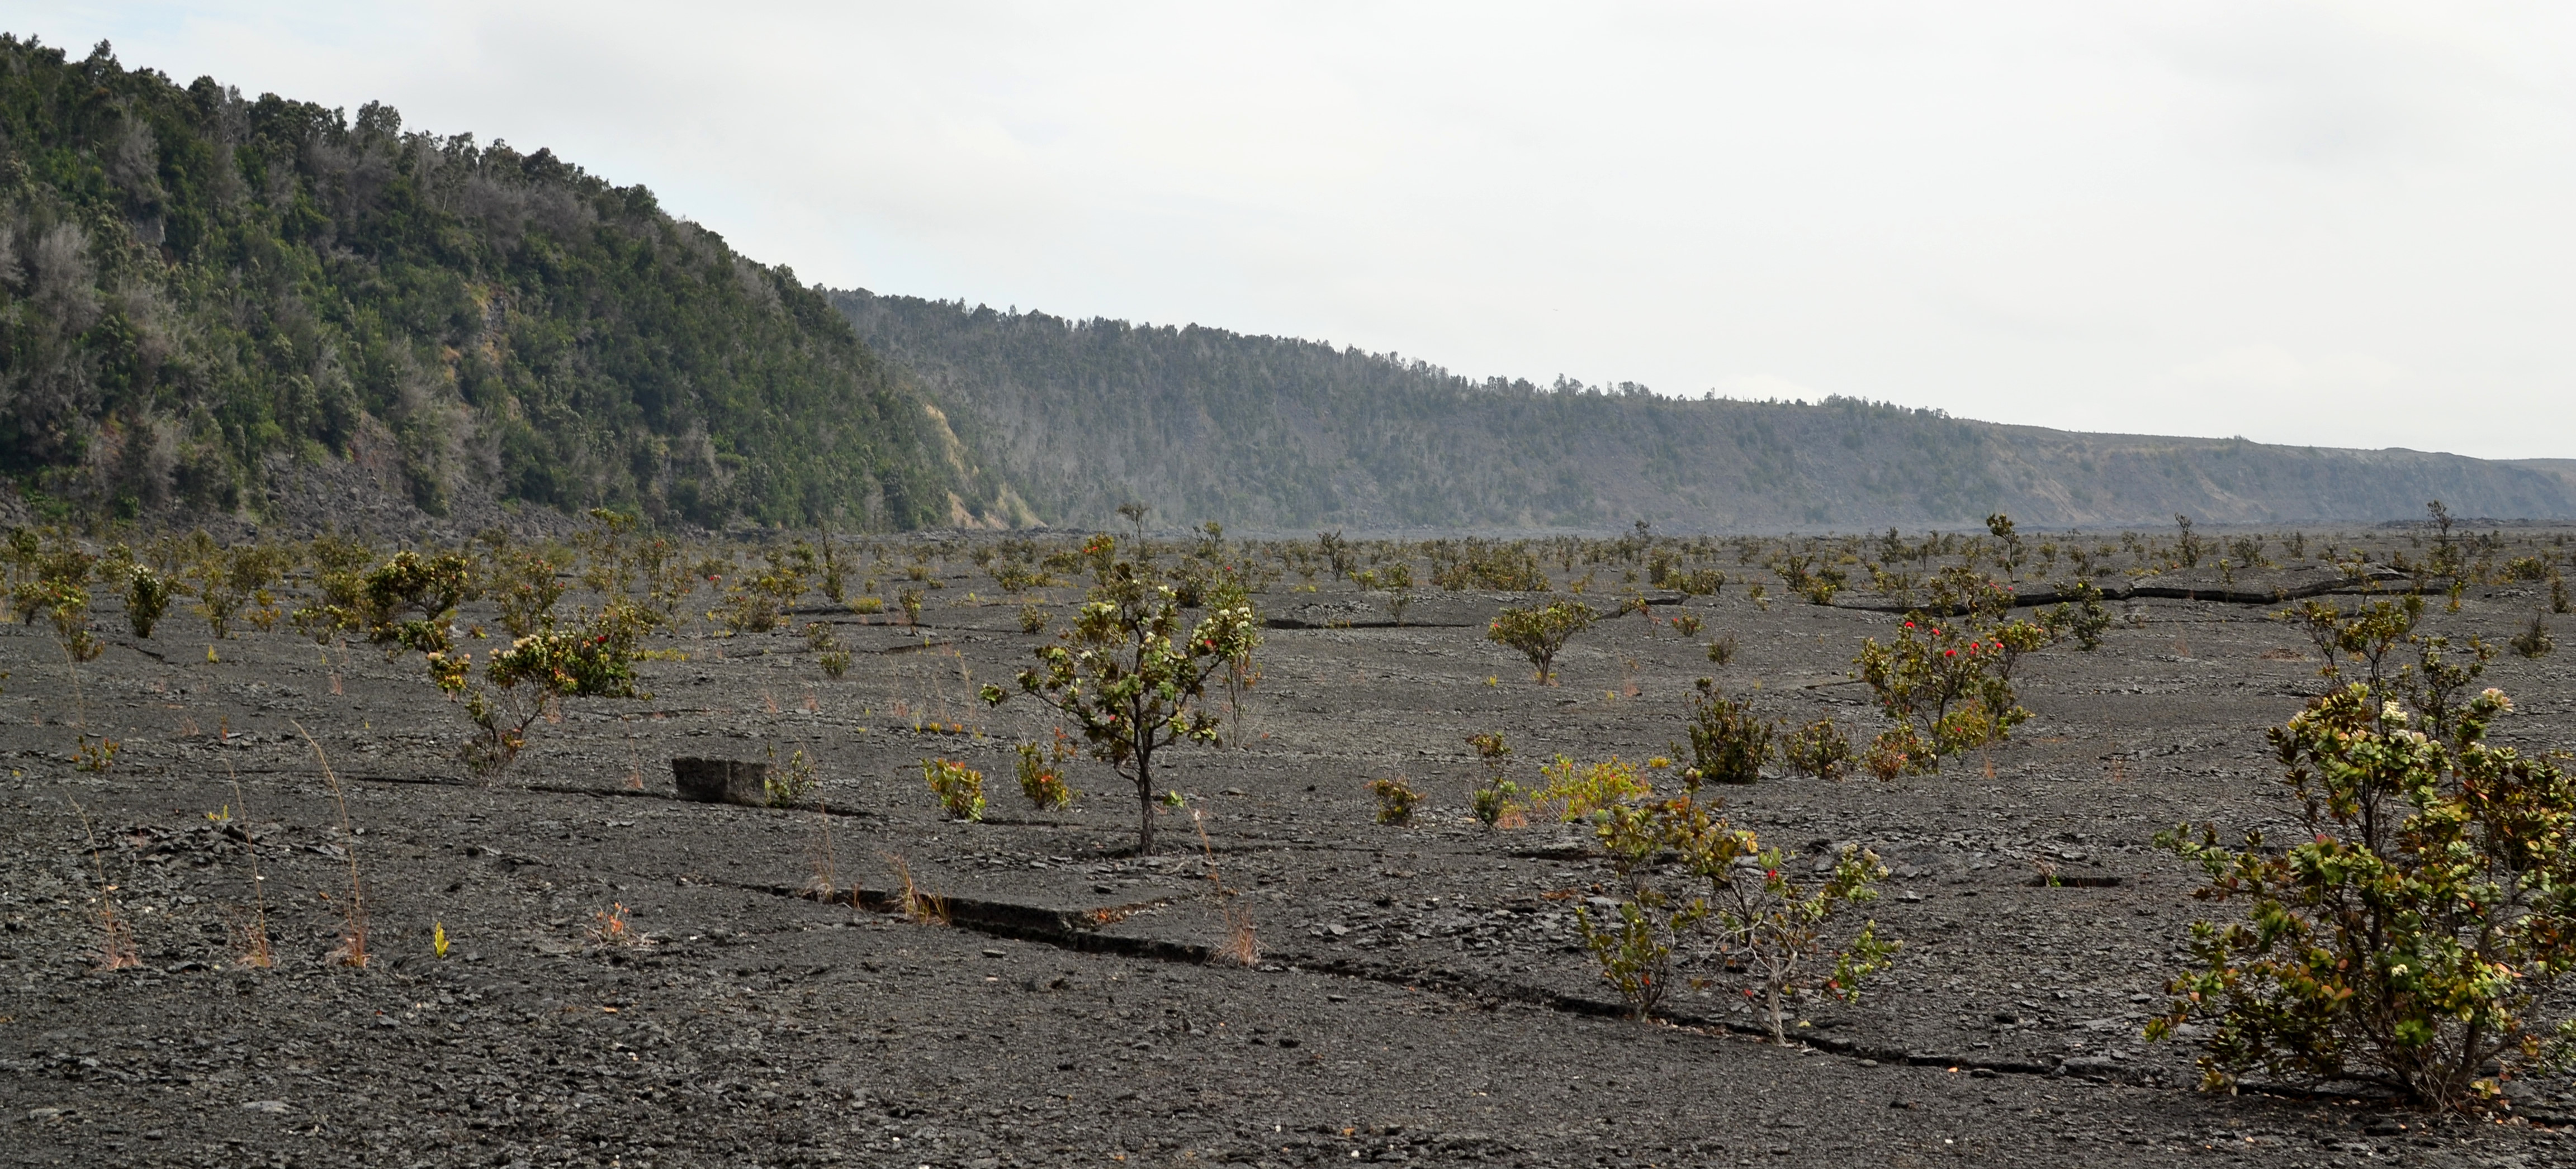
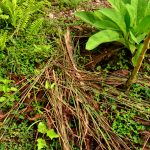
Beginnings of a forest (ōhiʻa lehua)

uluhe
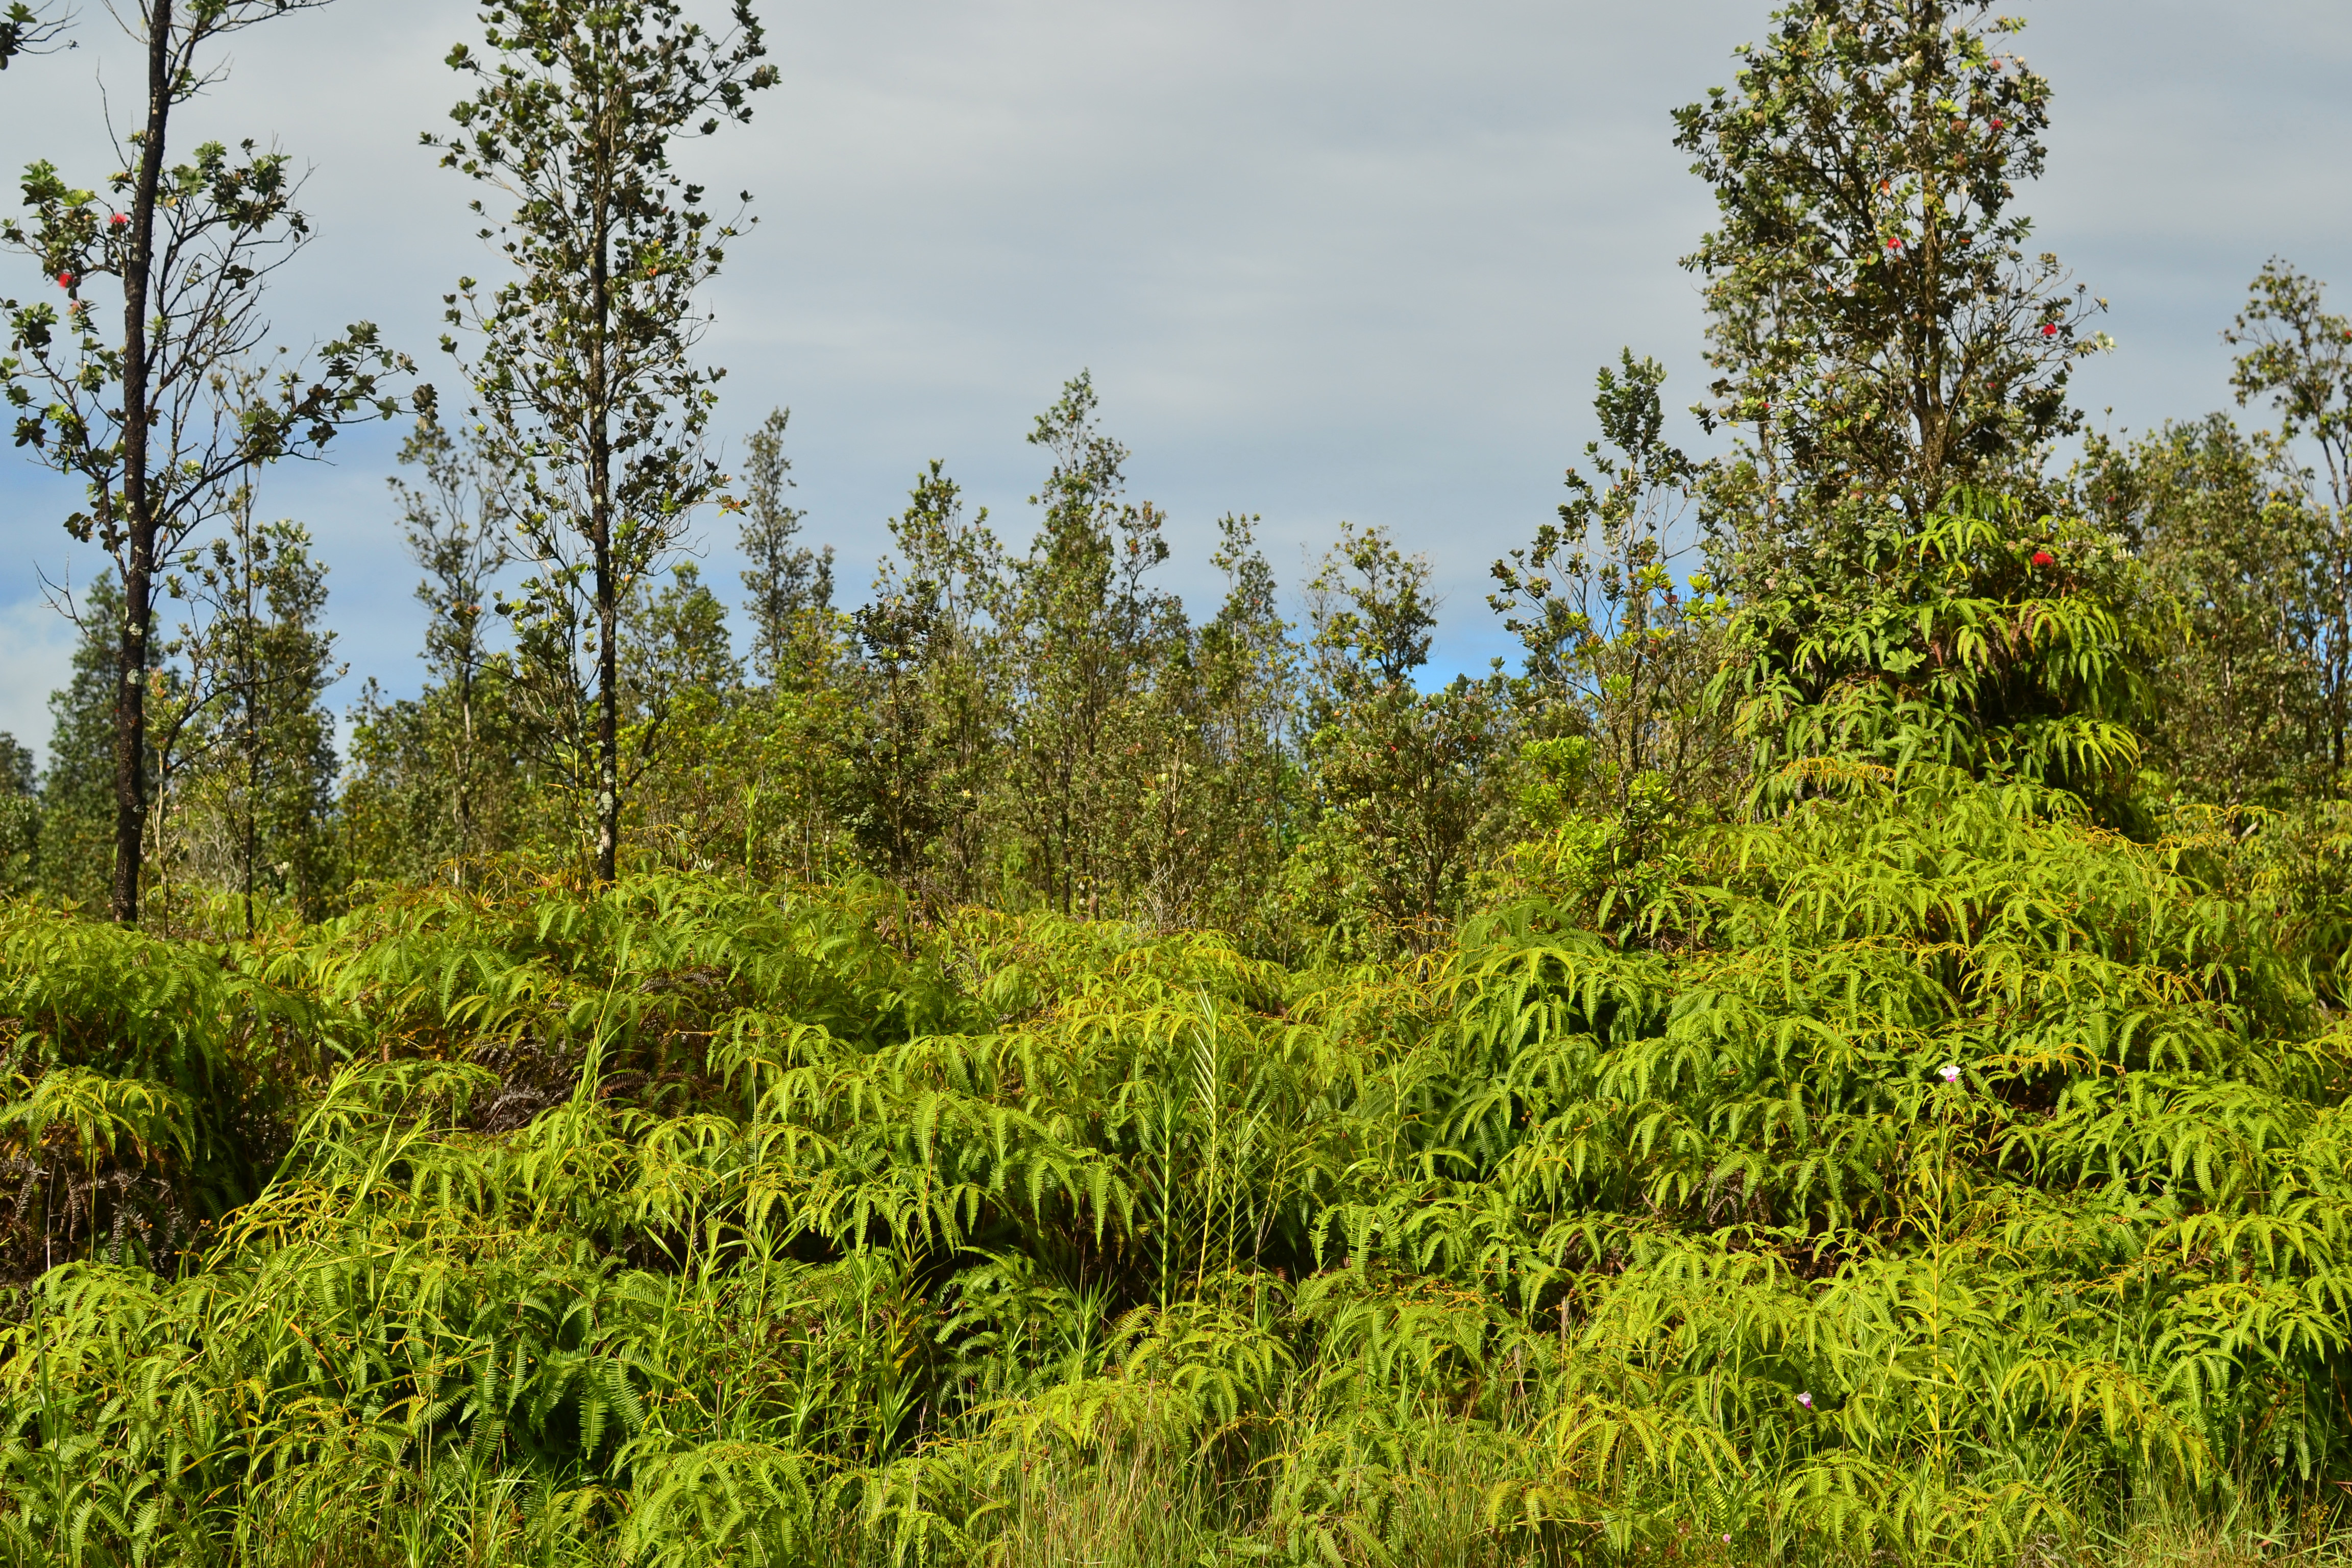
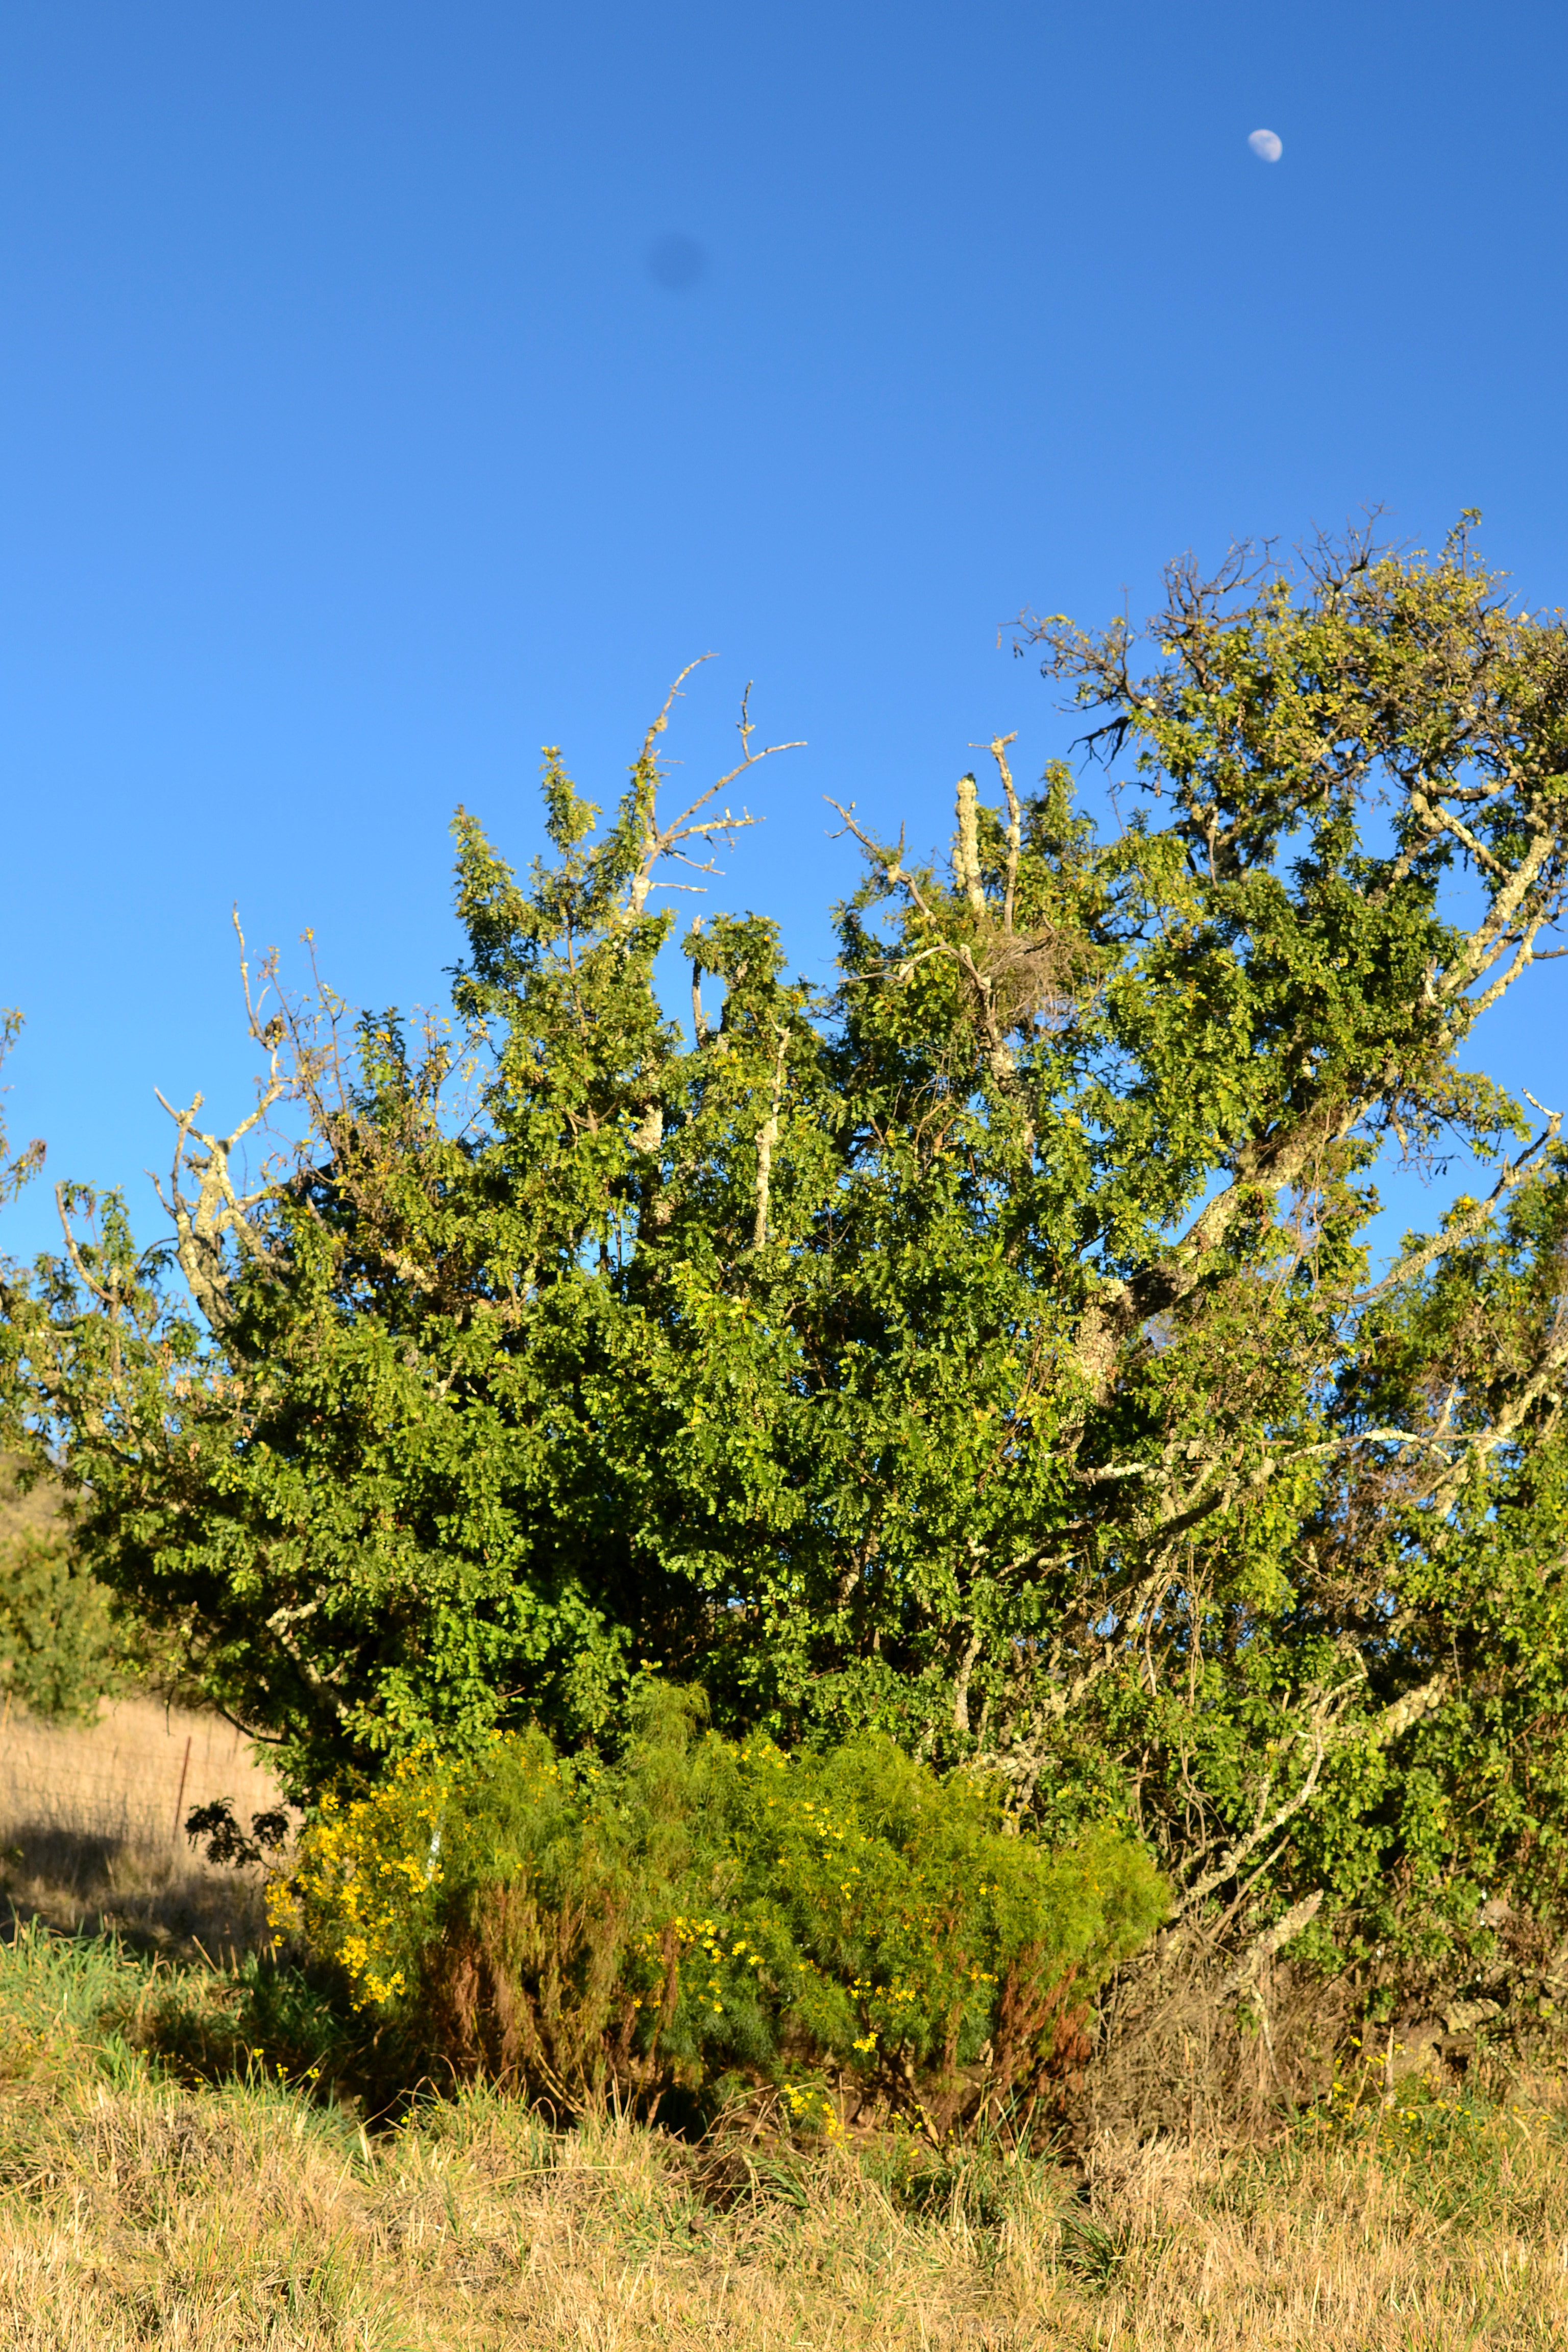
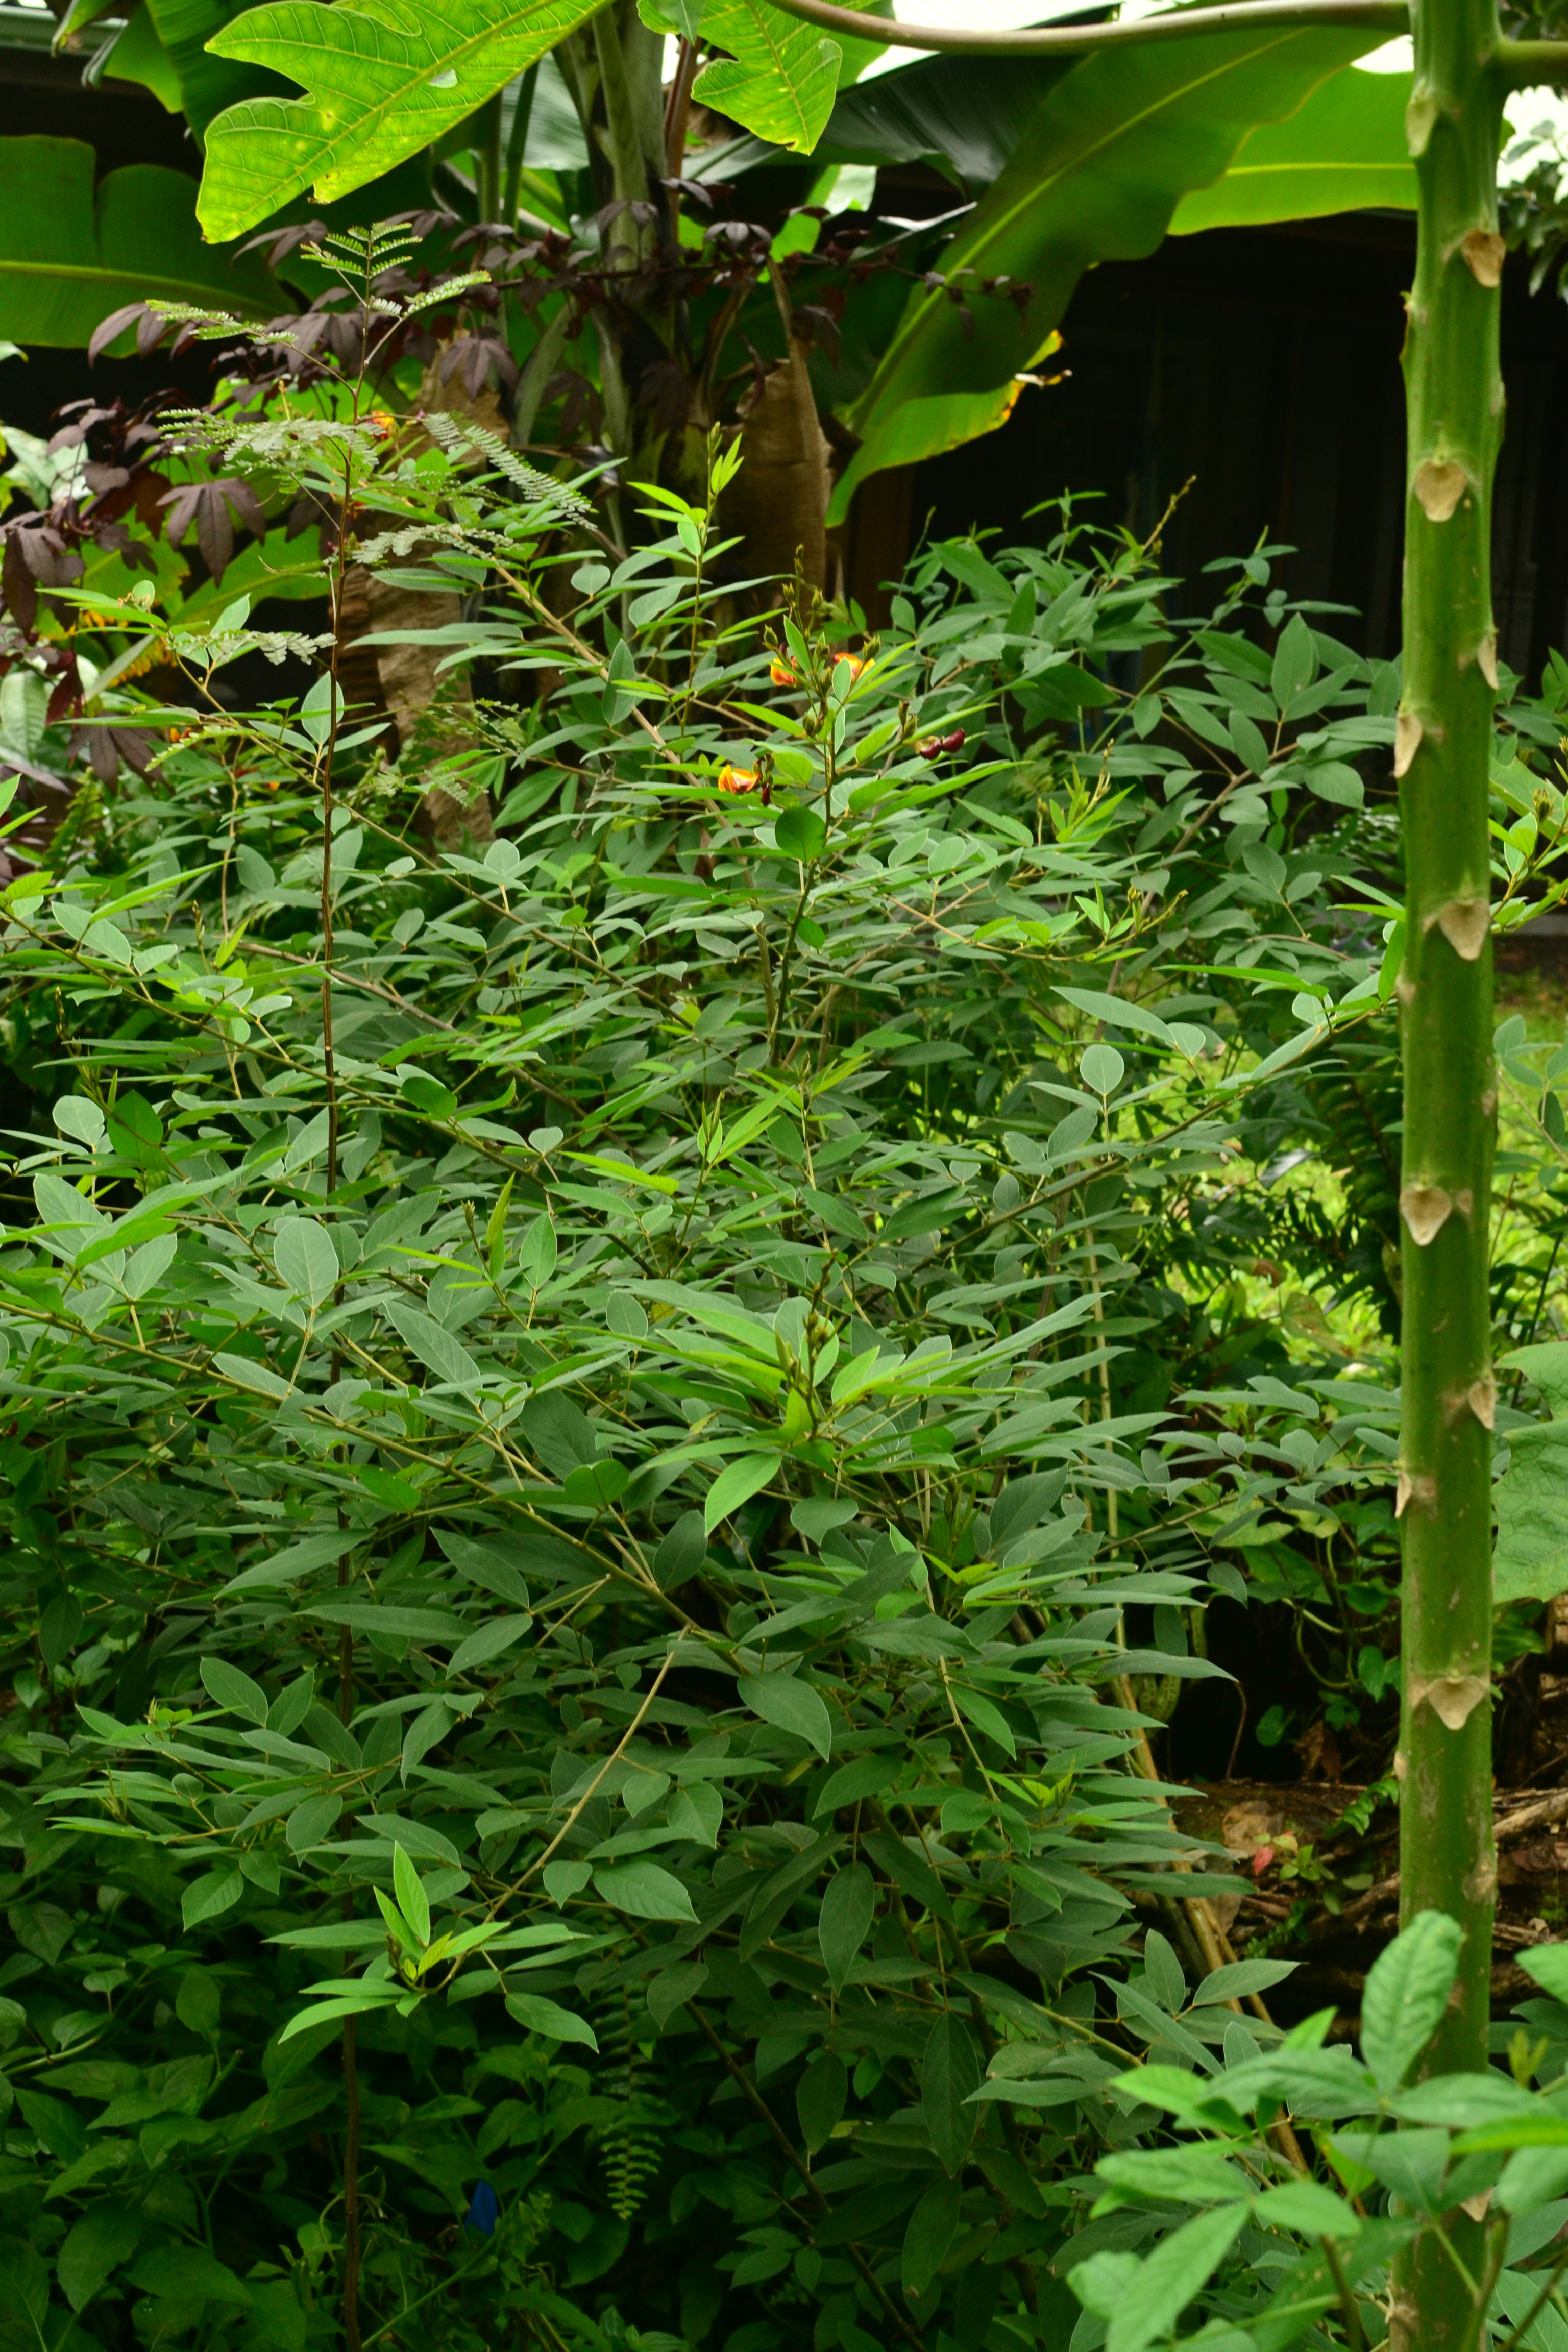
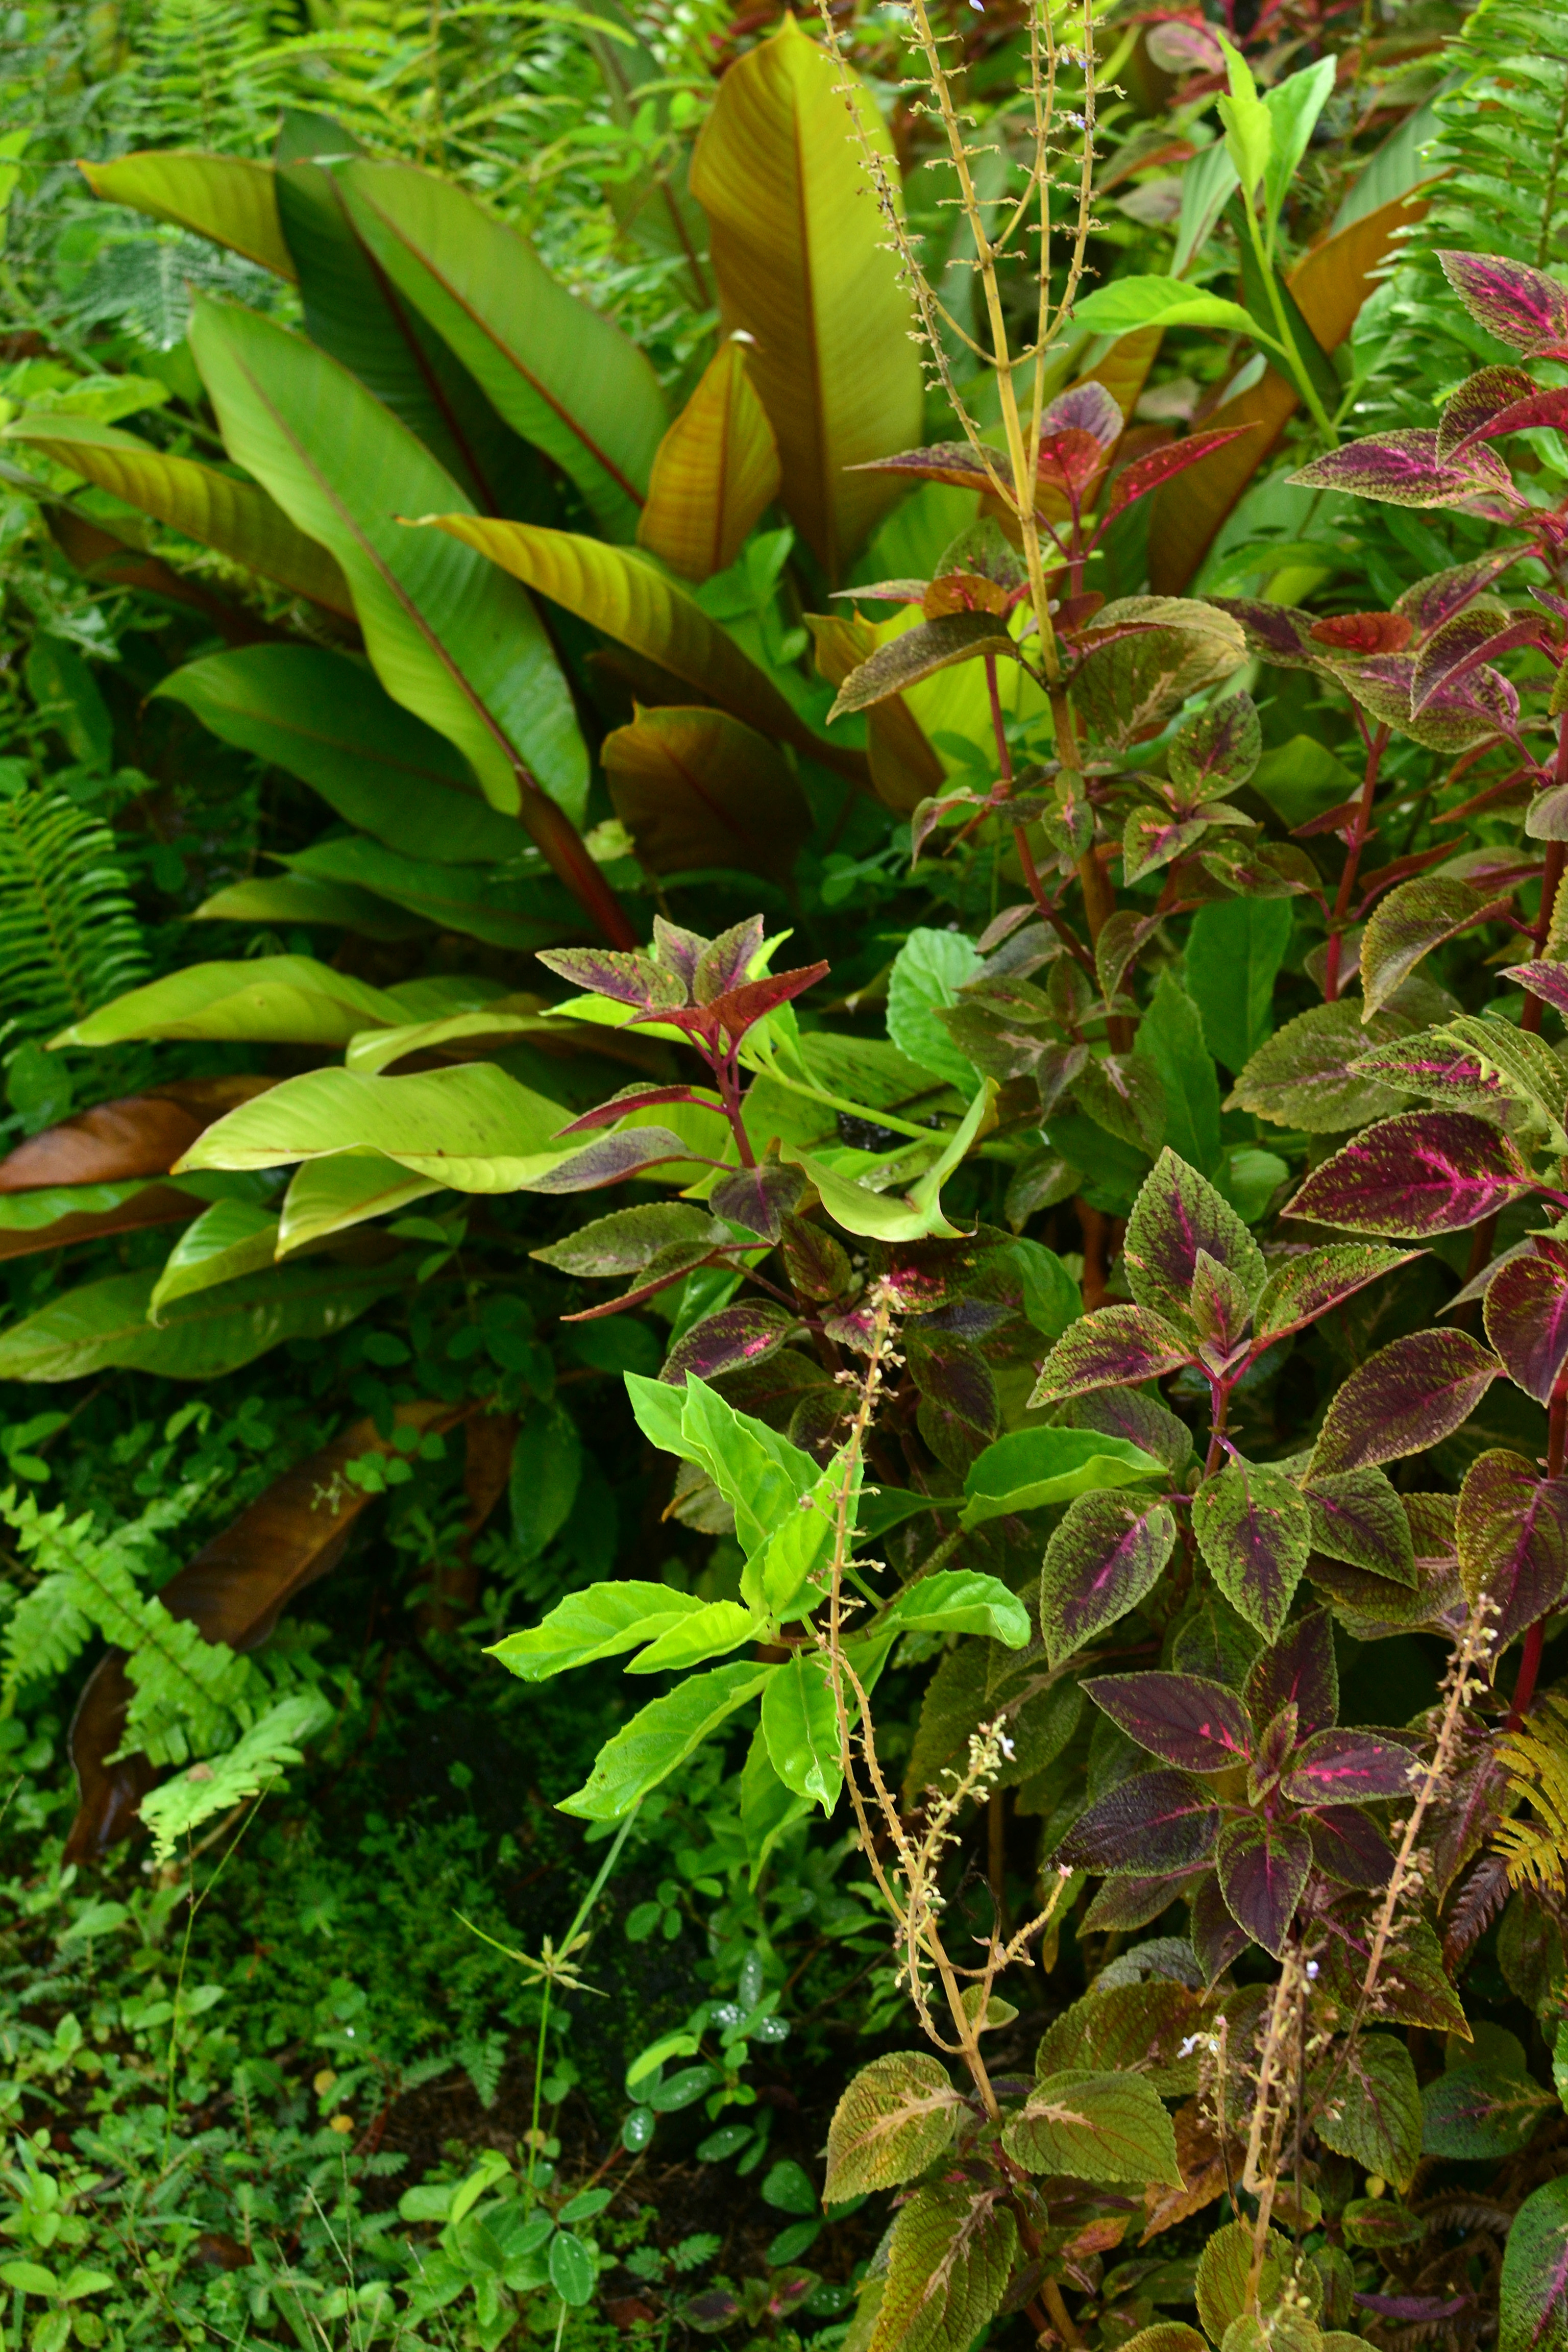
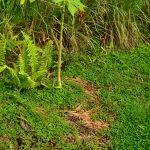
Young forest (ōhiʻa lehua and uluhe)
Planters at Kaimū following natural cycles. Speeding up the process and growing food plants (Breadfruit and coconut)
Let’s think about what the plants are doing to create soil in this new forest. They are dropping leaves, plants may die, and everything falls to the ground eventually. Now this is where things get interesting. Microscopic life, fungus, bacteria, insects, lichens, whatever you can think of, start doing their work. They decompose all this matter, including rocks, into rich soils. A warm, moist, shaded environment speeds up this process. Through these soils, plants obtain their nutrients and live out their life cycle.
Resource Management
Now, let’s translate this into building soil for our own benefits. First off, all plant matter is a resource. Remember that. That is the MOST IMPORTANT factor to think of in your garden. I never take materials to green waste (unless they are diseased). All those pesky weeds, albizia, waiwi, arthrostemma, and everything else are valuable resources ready to take part in soil building.
So, how do we use these resources? Think about a compost pile, the basic components are nitrogen (green) and carbon (brown) based materials. What happens over time? The materials break down and turn into organic matter.
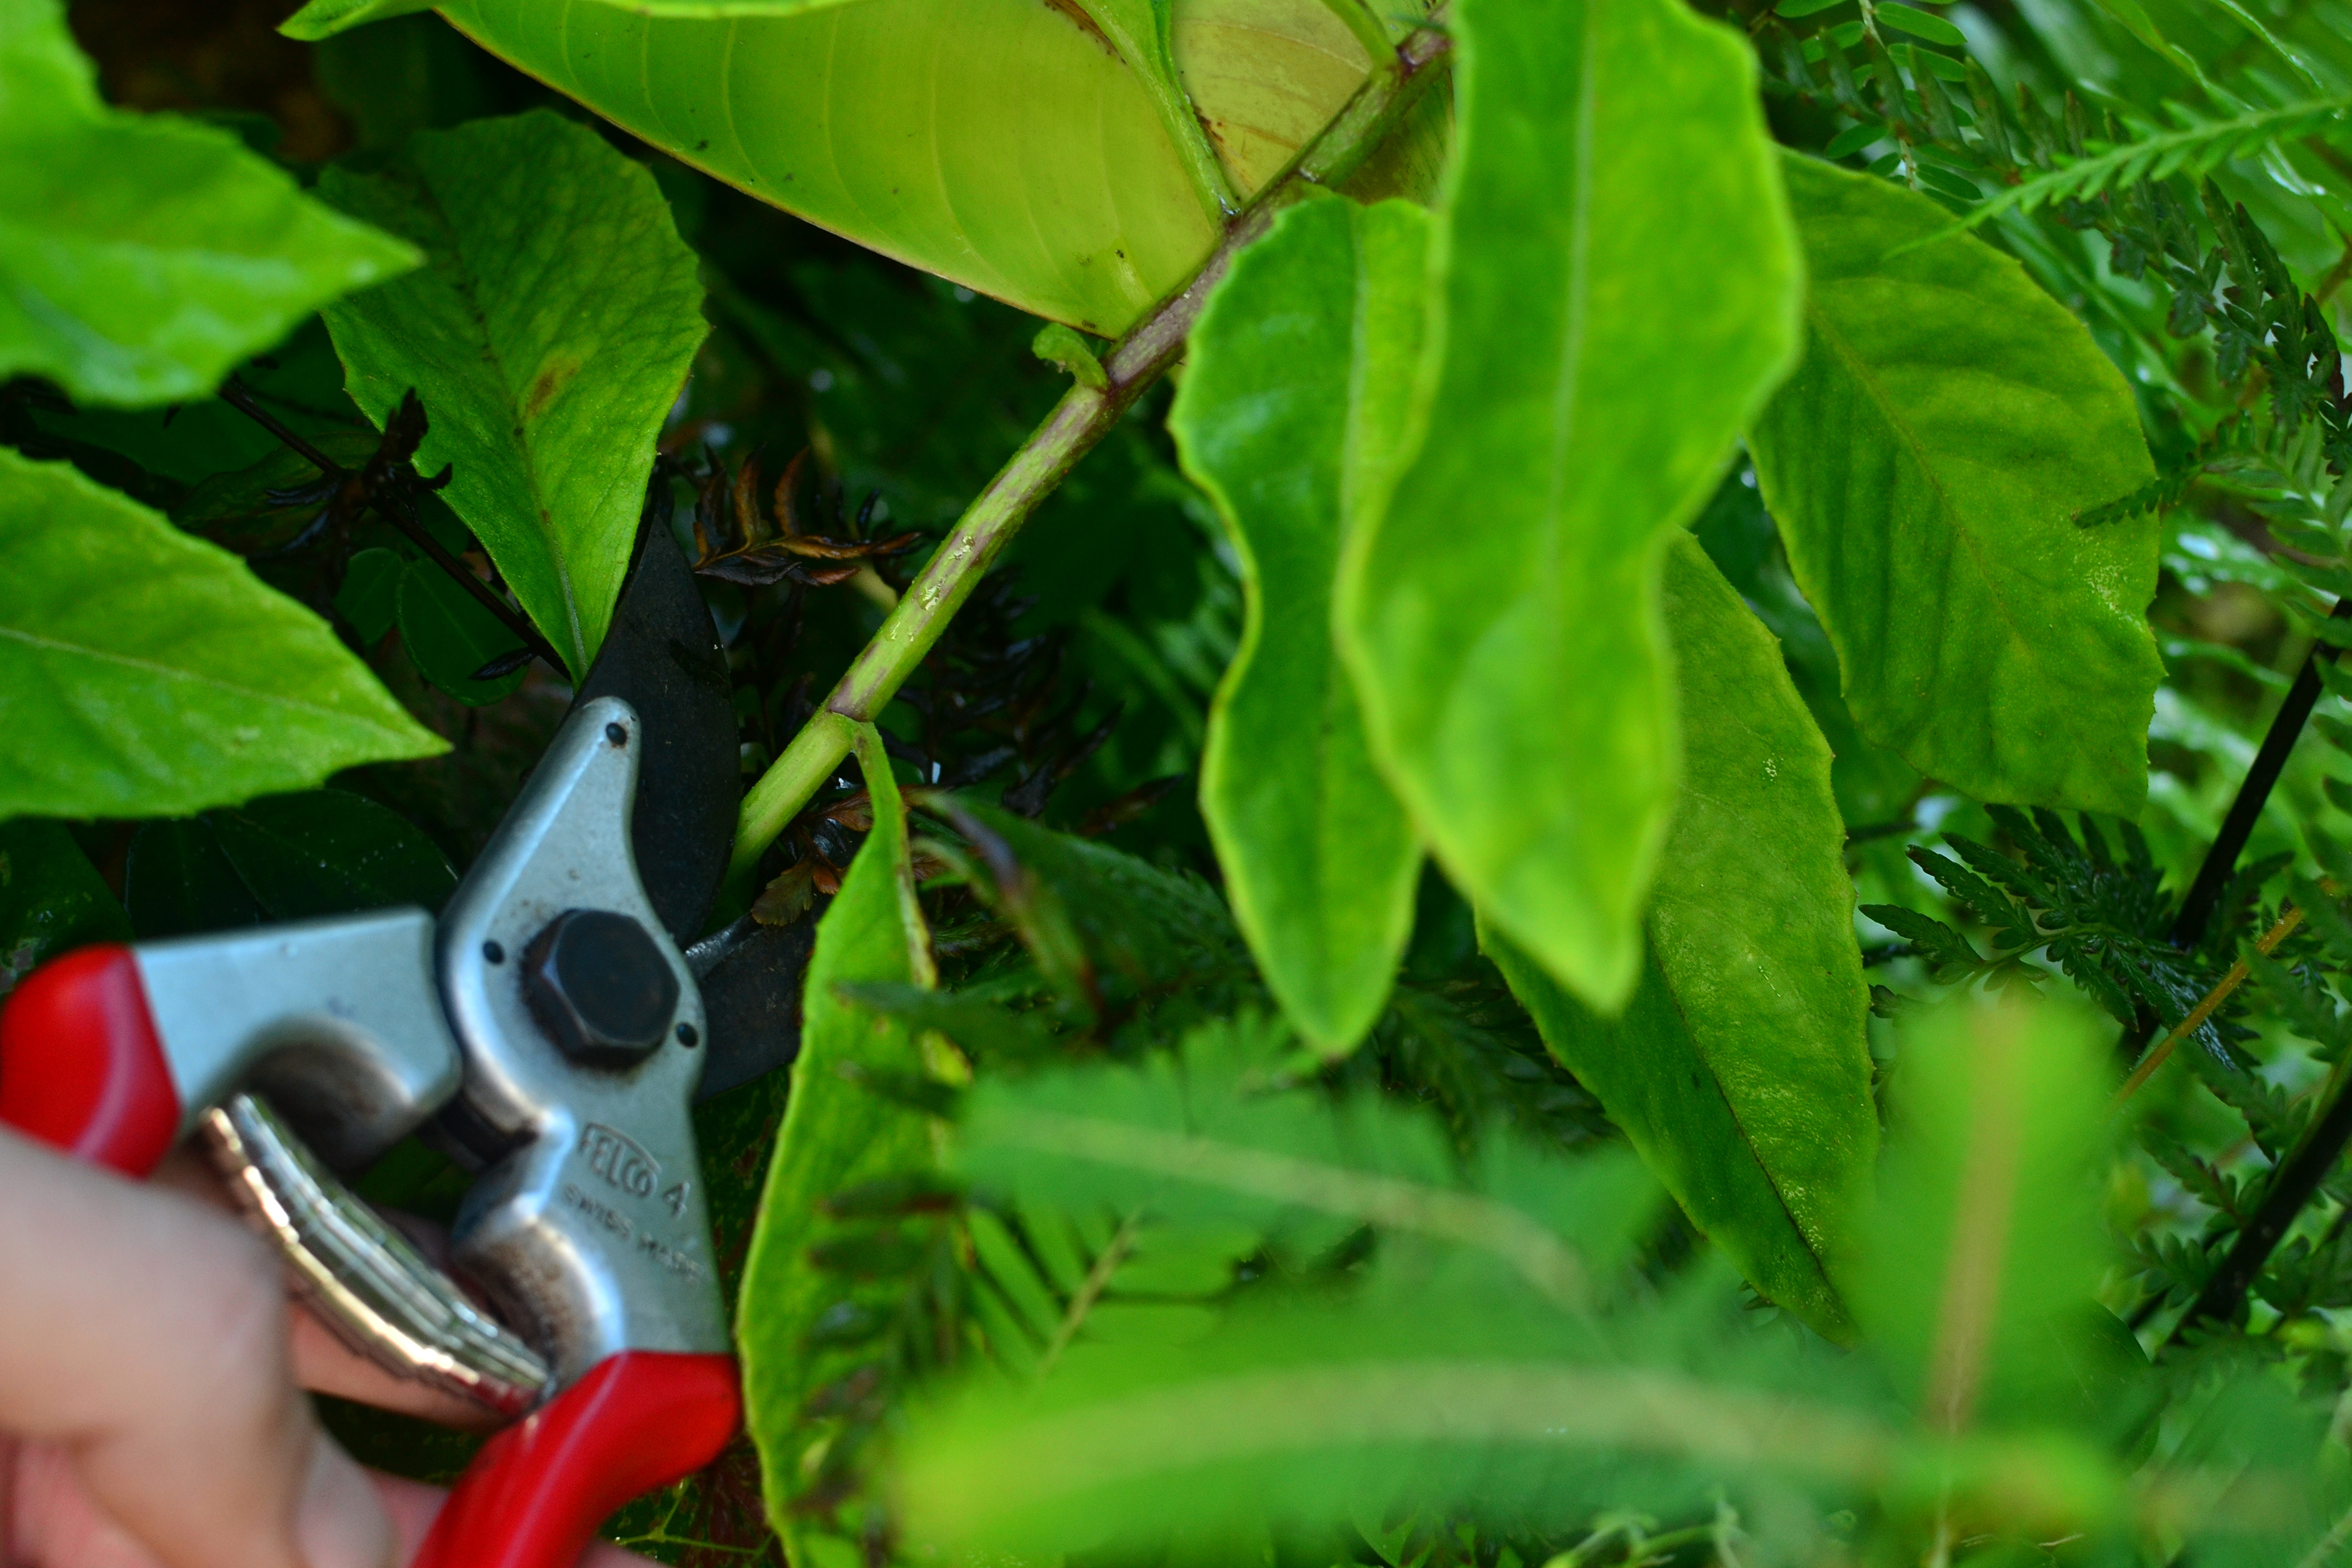
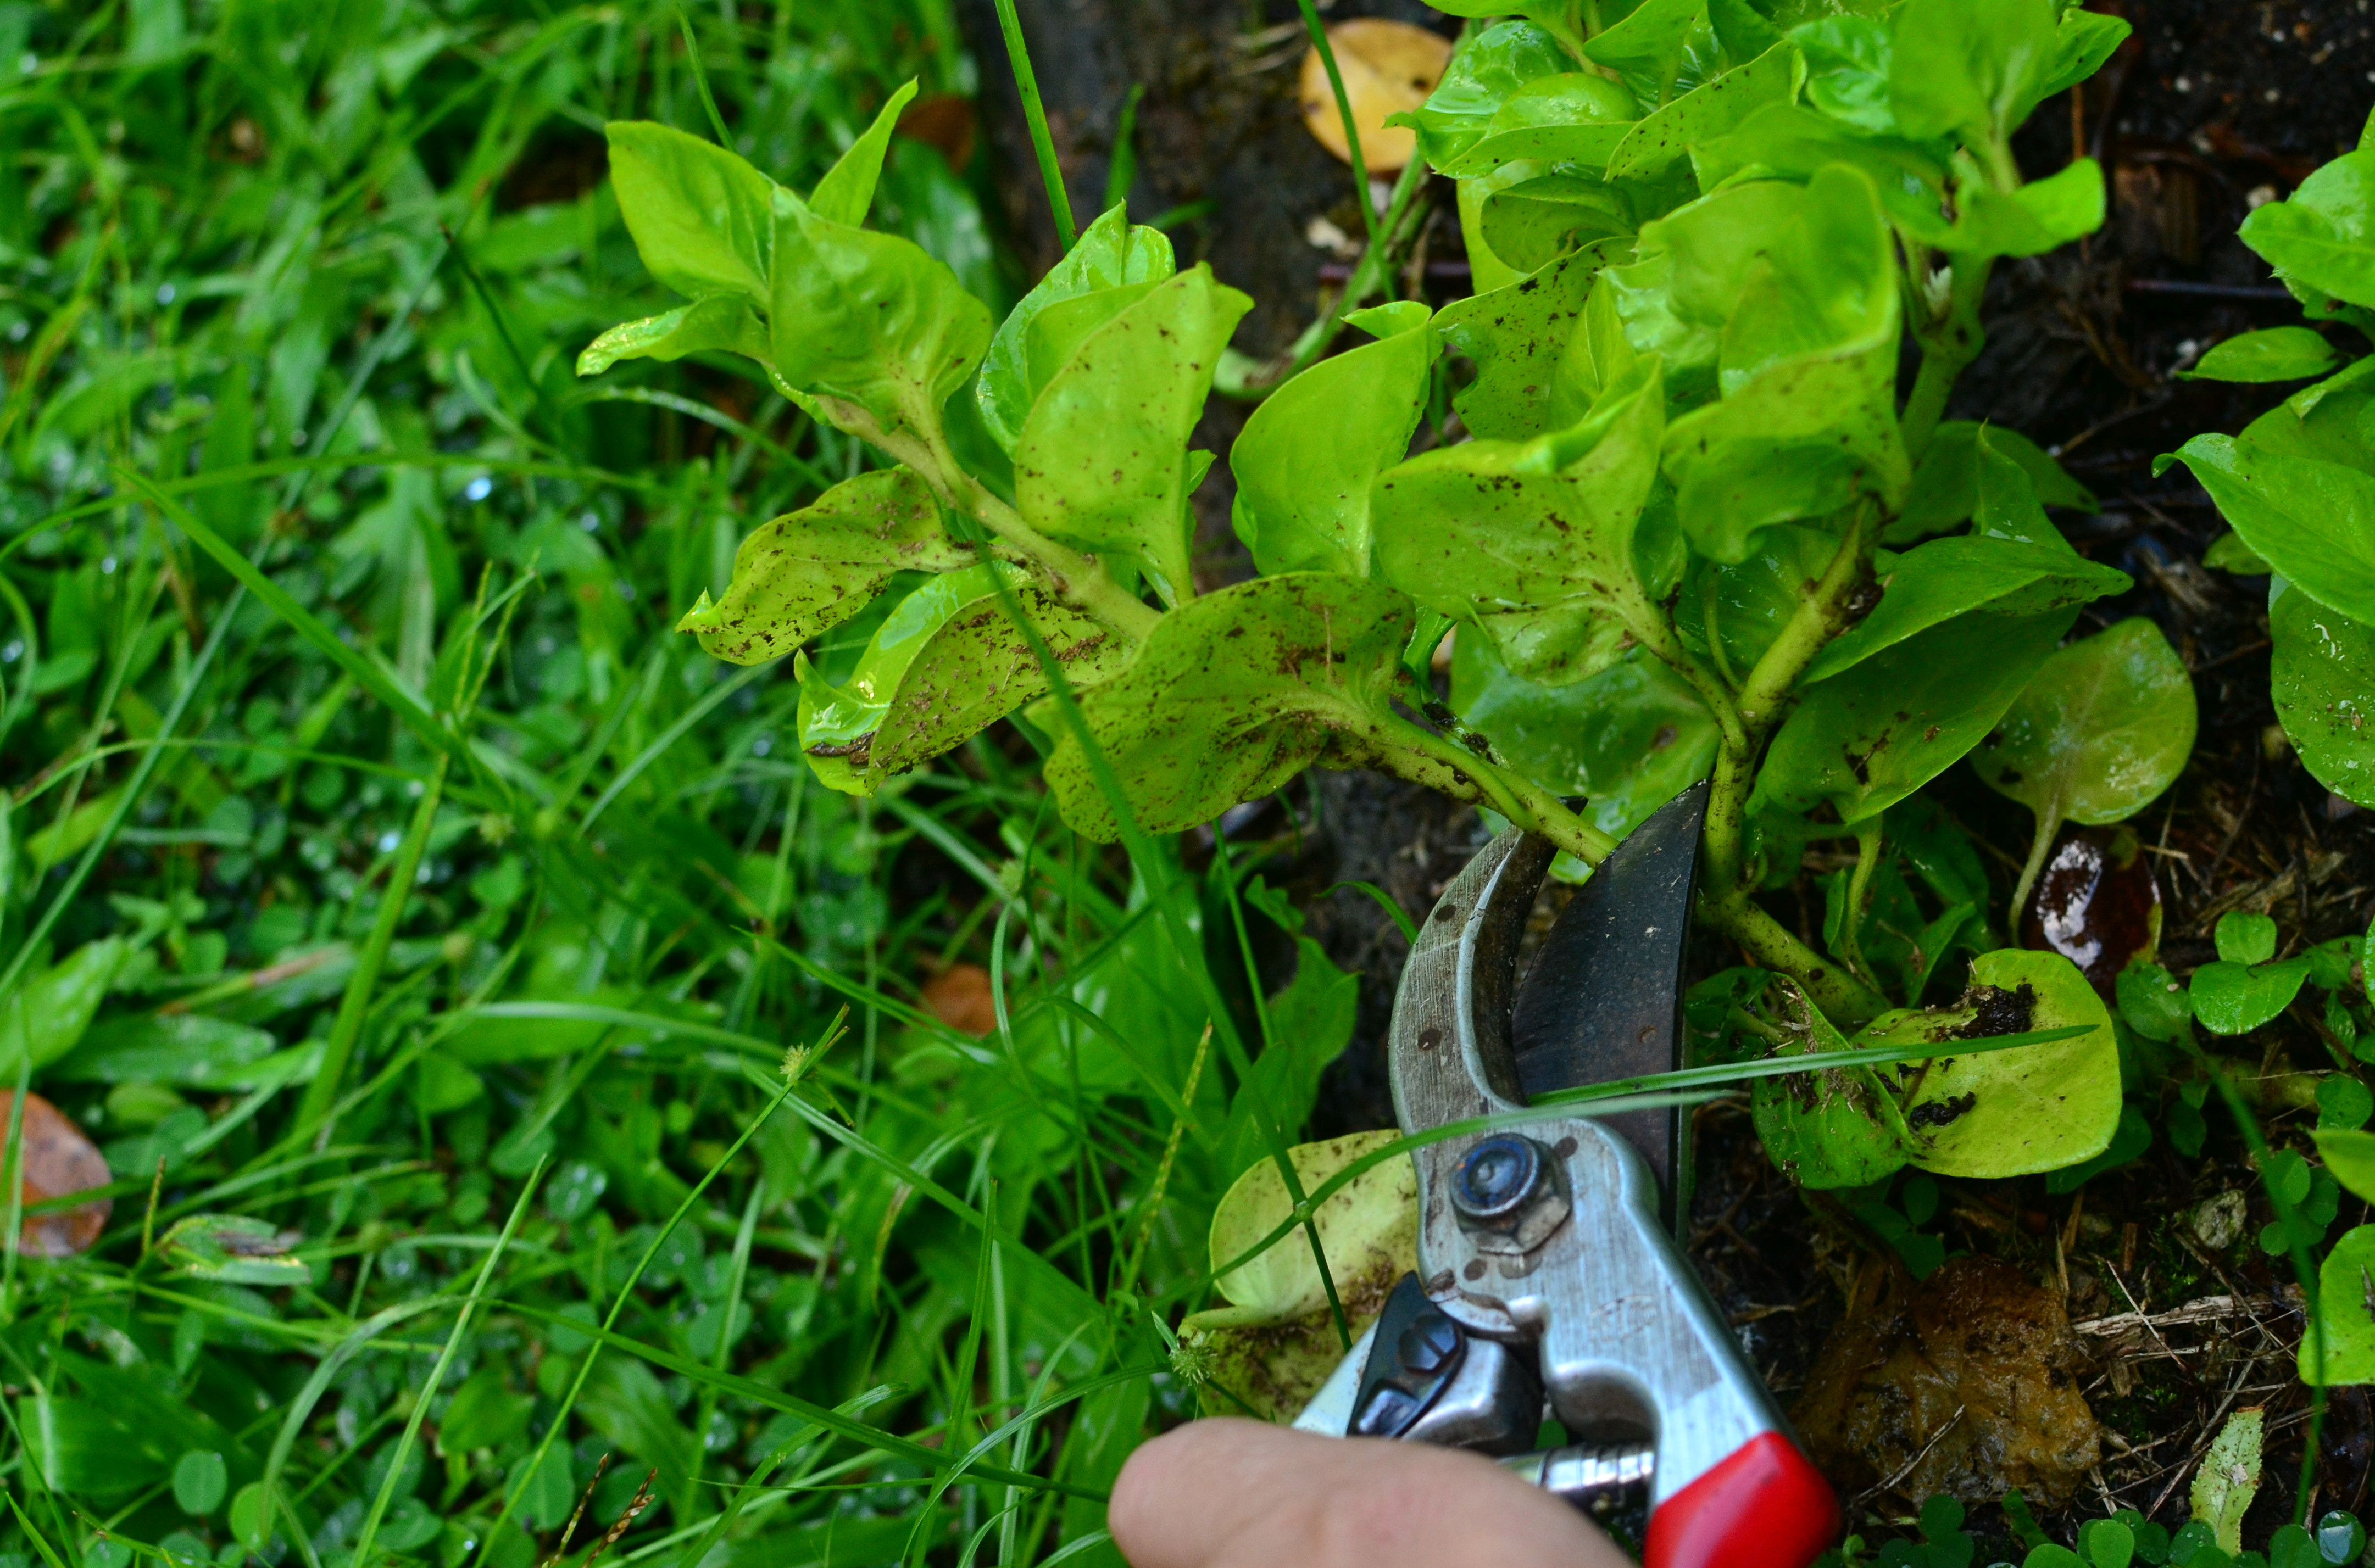
Hint: Did you know that albizia (Falcataria moluccana) is a nitrogen fixing tree? One of the most important macro nutrients for plants. Have you thought about ways to use its ability to fix nitrogen for your favor? How about coppicing? Literally cutting the tree back hard, as soon as it reaches a desired height. Once the tree is cut it releases its nitrogen from the soil because the roots are larger than the above ground parts and it loses them to compensate for the loss of trunk. Leaving this nitrogen available for other plants to take up. The leaves of the tree are high in nitrogen as well, so using them as mulch around you plants also feeds them, just be careful not to add mature branches or trunk pieces as they will re-root if they are touching the soil. A little bit more work than poisoning the trees, however, you have long term fertility for free. If you have large trees, I would recommend getting them professionally cut and not poisoned, and therefore you can manage them afterward, and cut their new trunks when they reach an inch or two in diameter. This will eventually kill the tree, but you may as well use it for its benefits while its still alive and growing! ****Please do not use this method in native forests, the plants there evolved in low nitrogen soils, adding nitrogen will make environments more favorable for invasive plants.
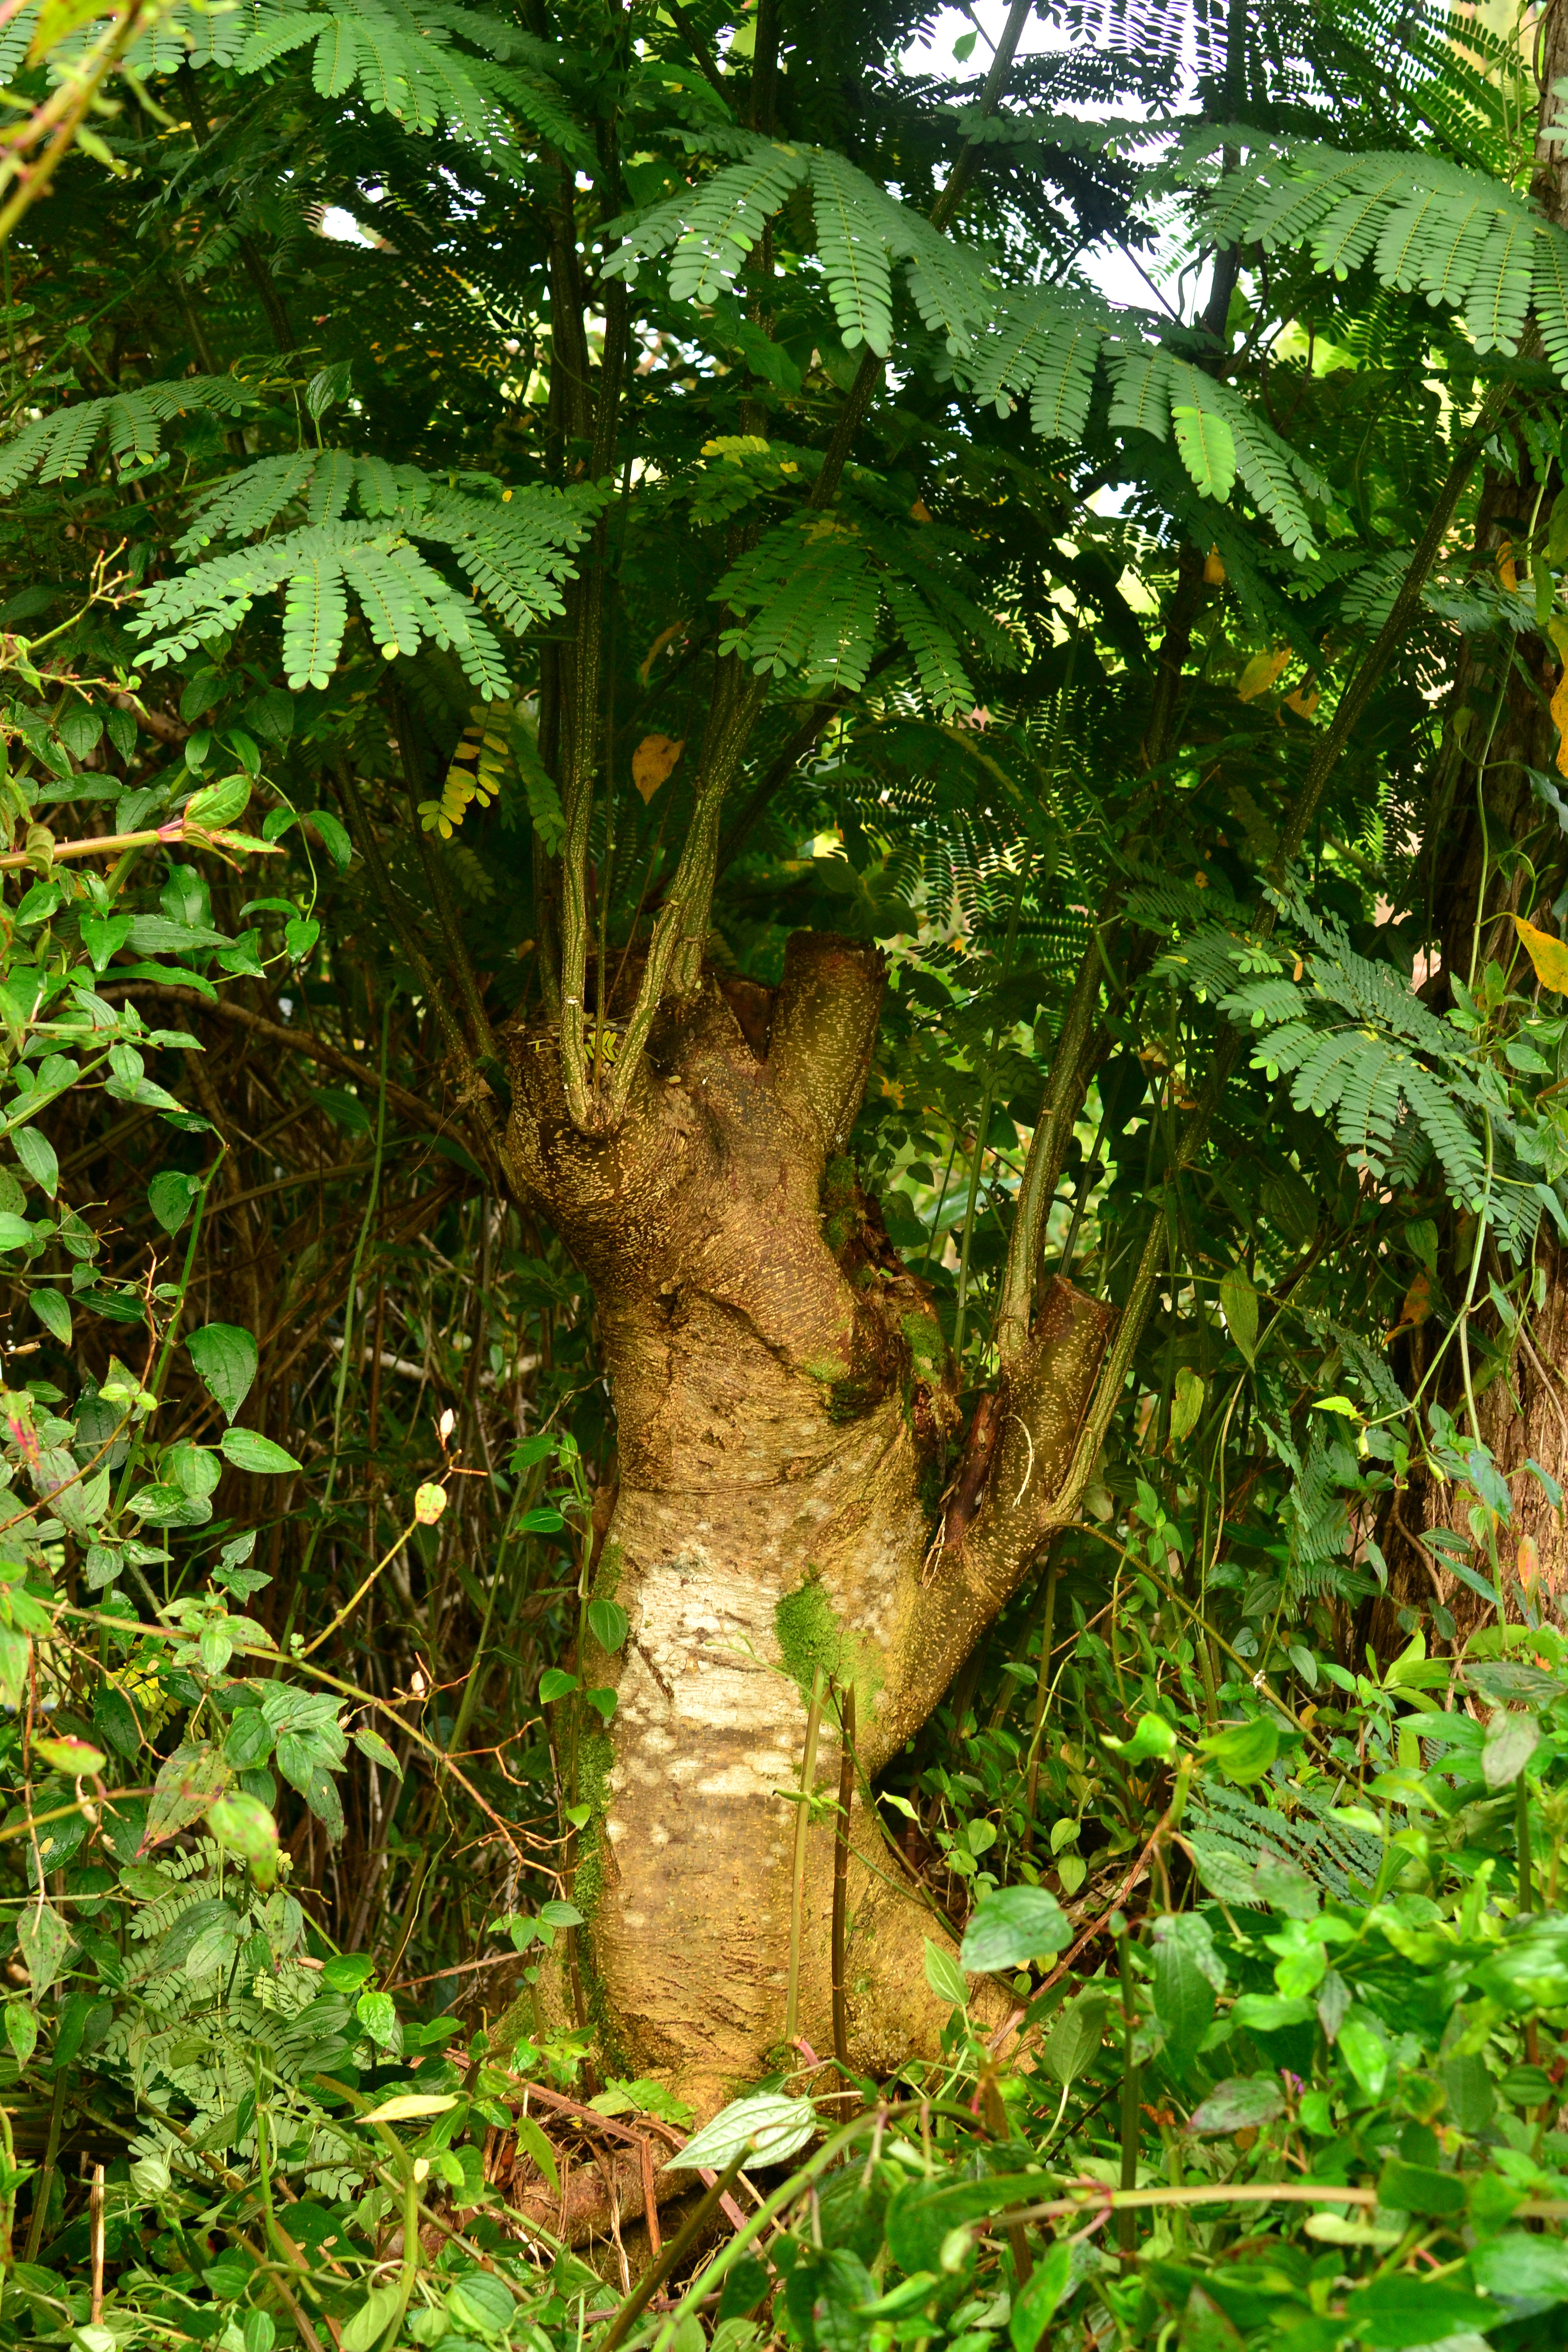
Coppiced albizia
Soil Making
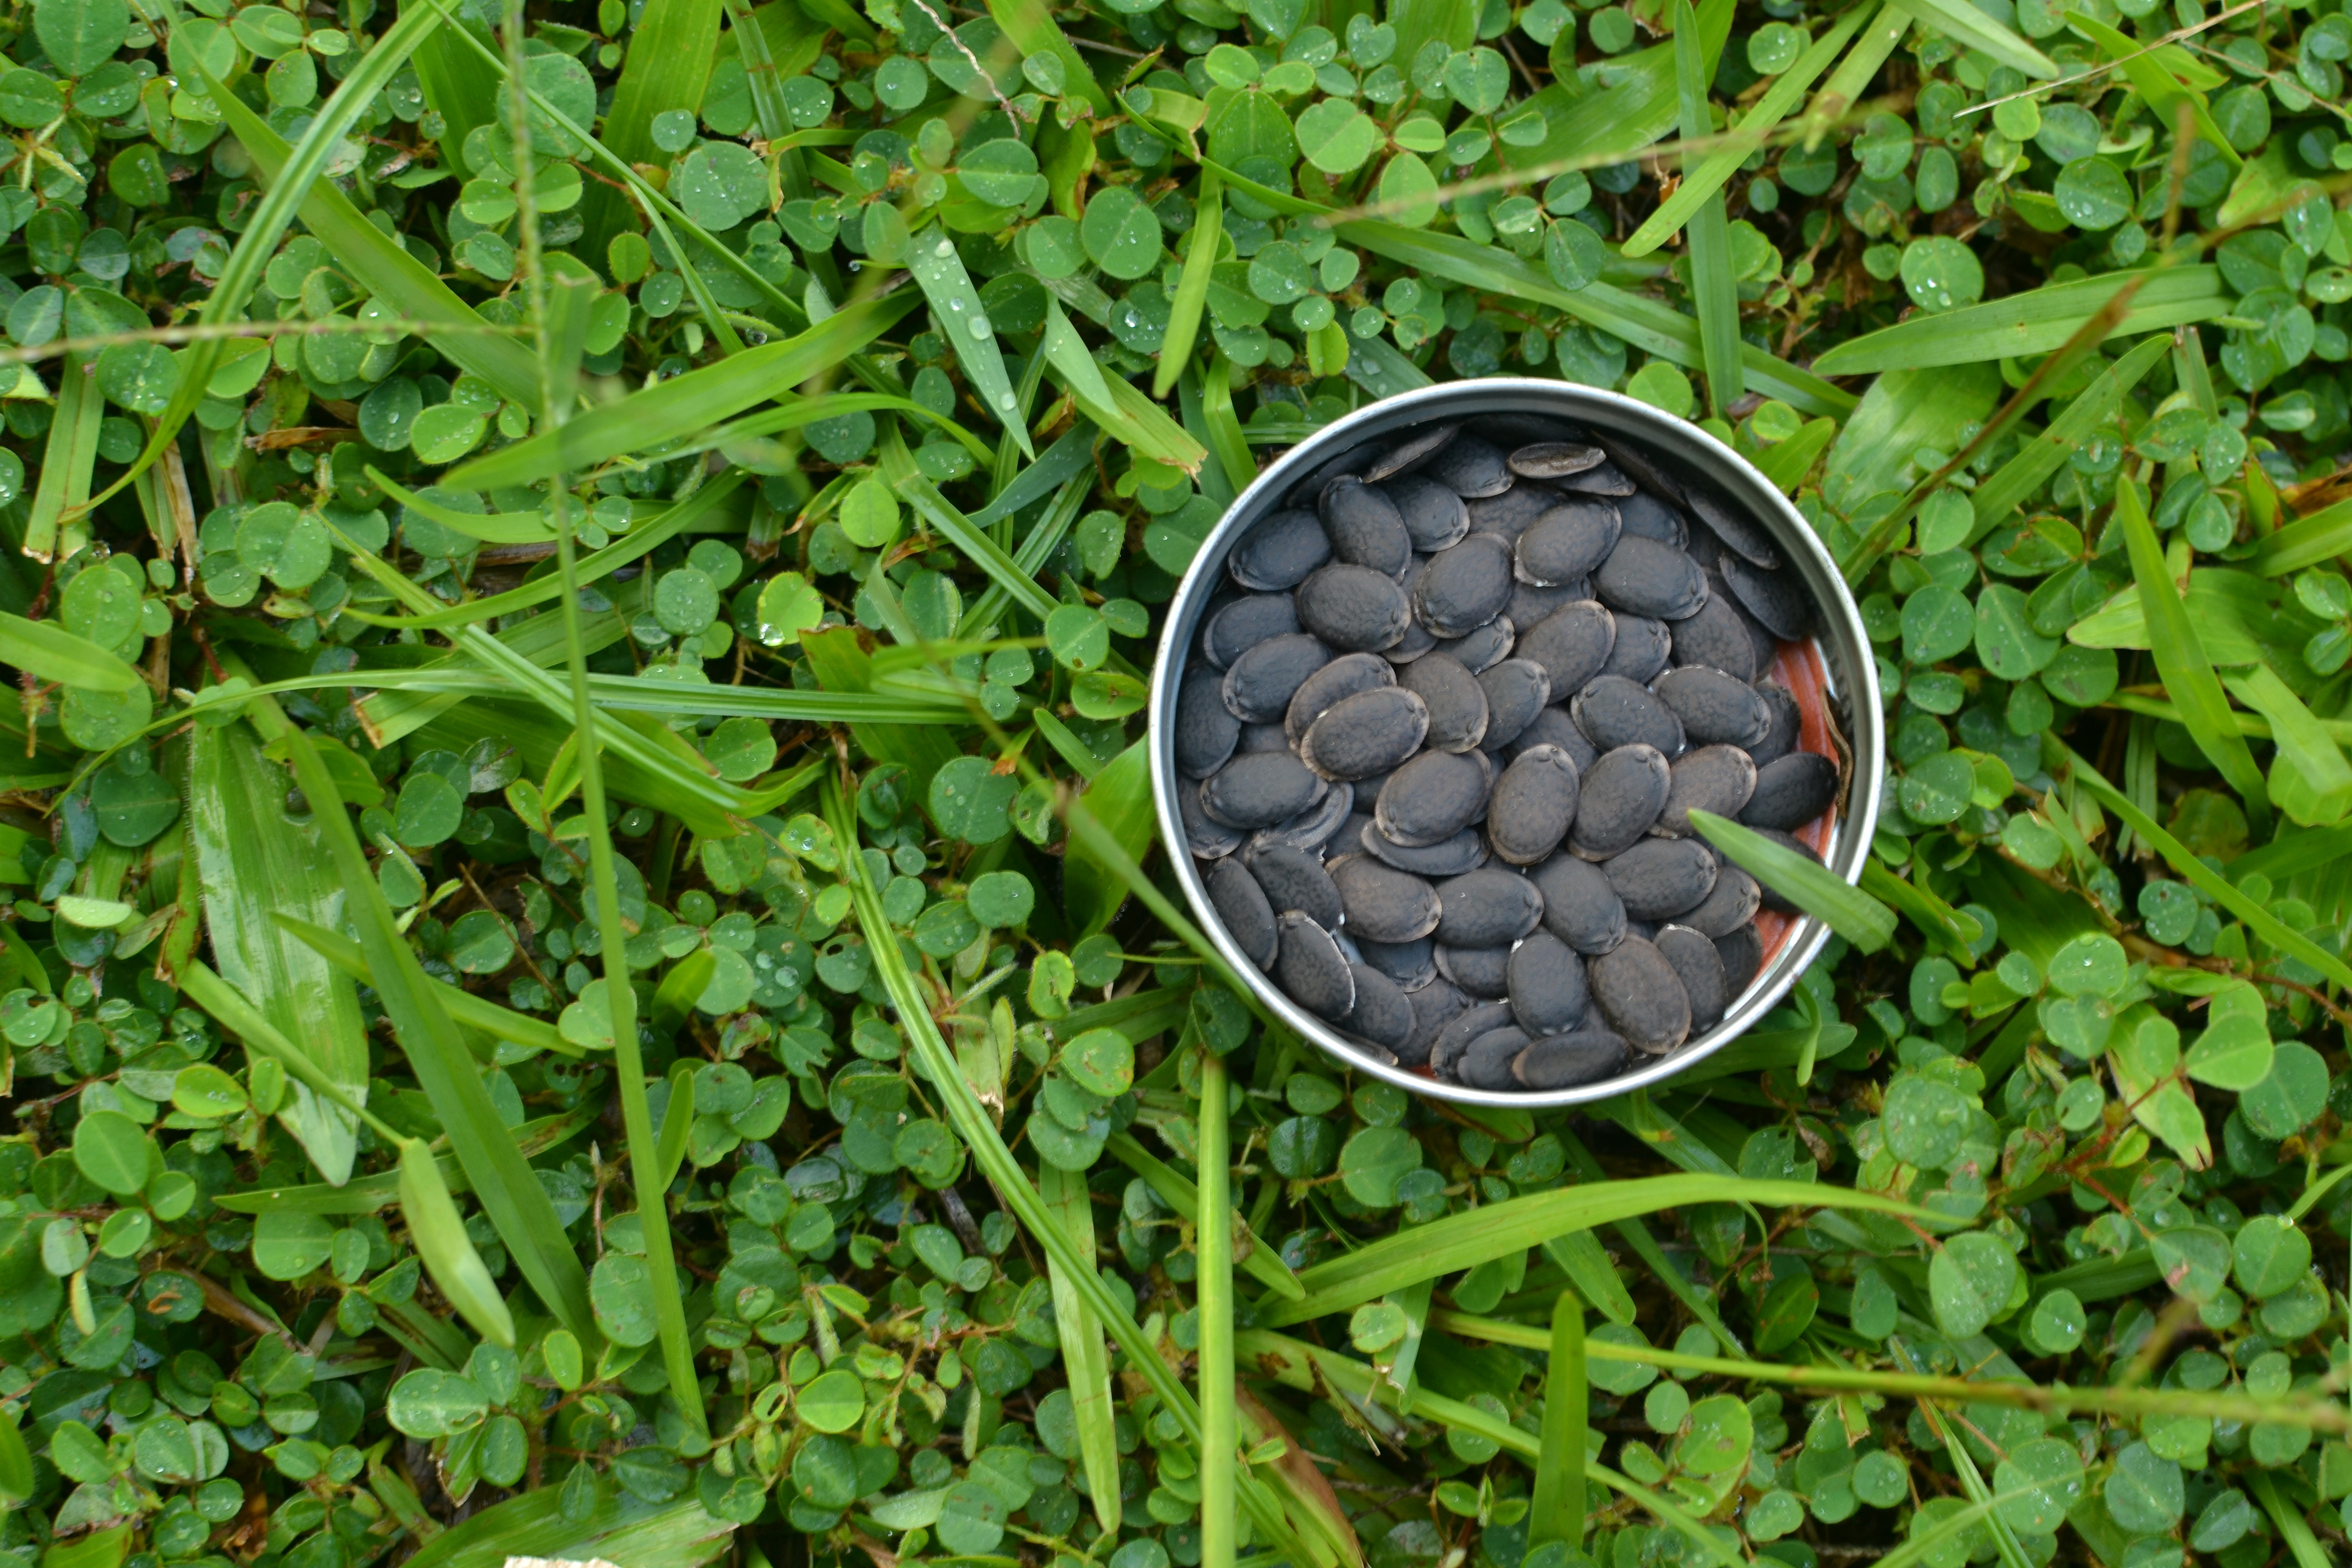
This is how I create soil, taking care of all my leafy weedy plants. I simply throw them all in a pile at least 3 feet by 3 feet by 3 feet (a cube). Taller and wider is acceptable, but it must be at least those dimensions for proper sped up decomposition. I build my piles as tall as I can, stomp them down for decompression, then simply cover them (tarp, weed mat, cardboard, whatever) for 6-9 months. Yes this is a while, but in all honesty that is really quick for soil making. What do you do after this time? Check under the tarp and look at your black gold. The pile will have shrunk considerably, but what you have left is pure organic matter ready to start life again.
I make two kinds of piles. One is a large pile that is covered, and the other I add weeds to over time as I pull them from the garden. The covered one is left alone and will become soil more quickly, but I constantly have materials that need to go somewhere, so why not add them to a pile. These piles are separate from my compost pile, which is managed for a quicker turnaround. I wont go into detail on my compost because I’m still trying to figure out a better method.
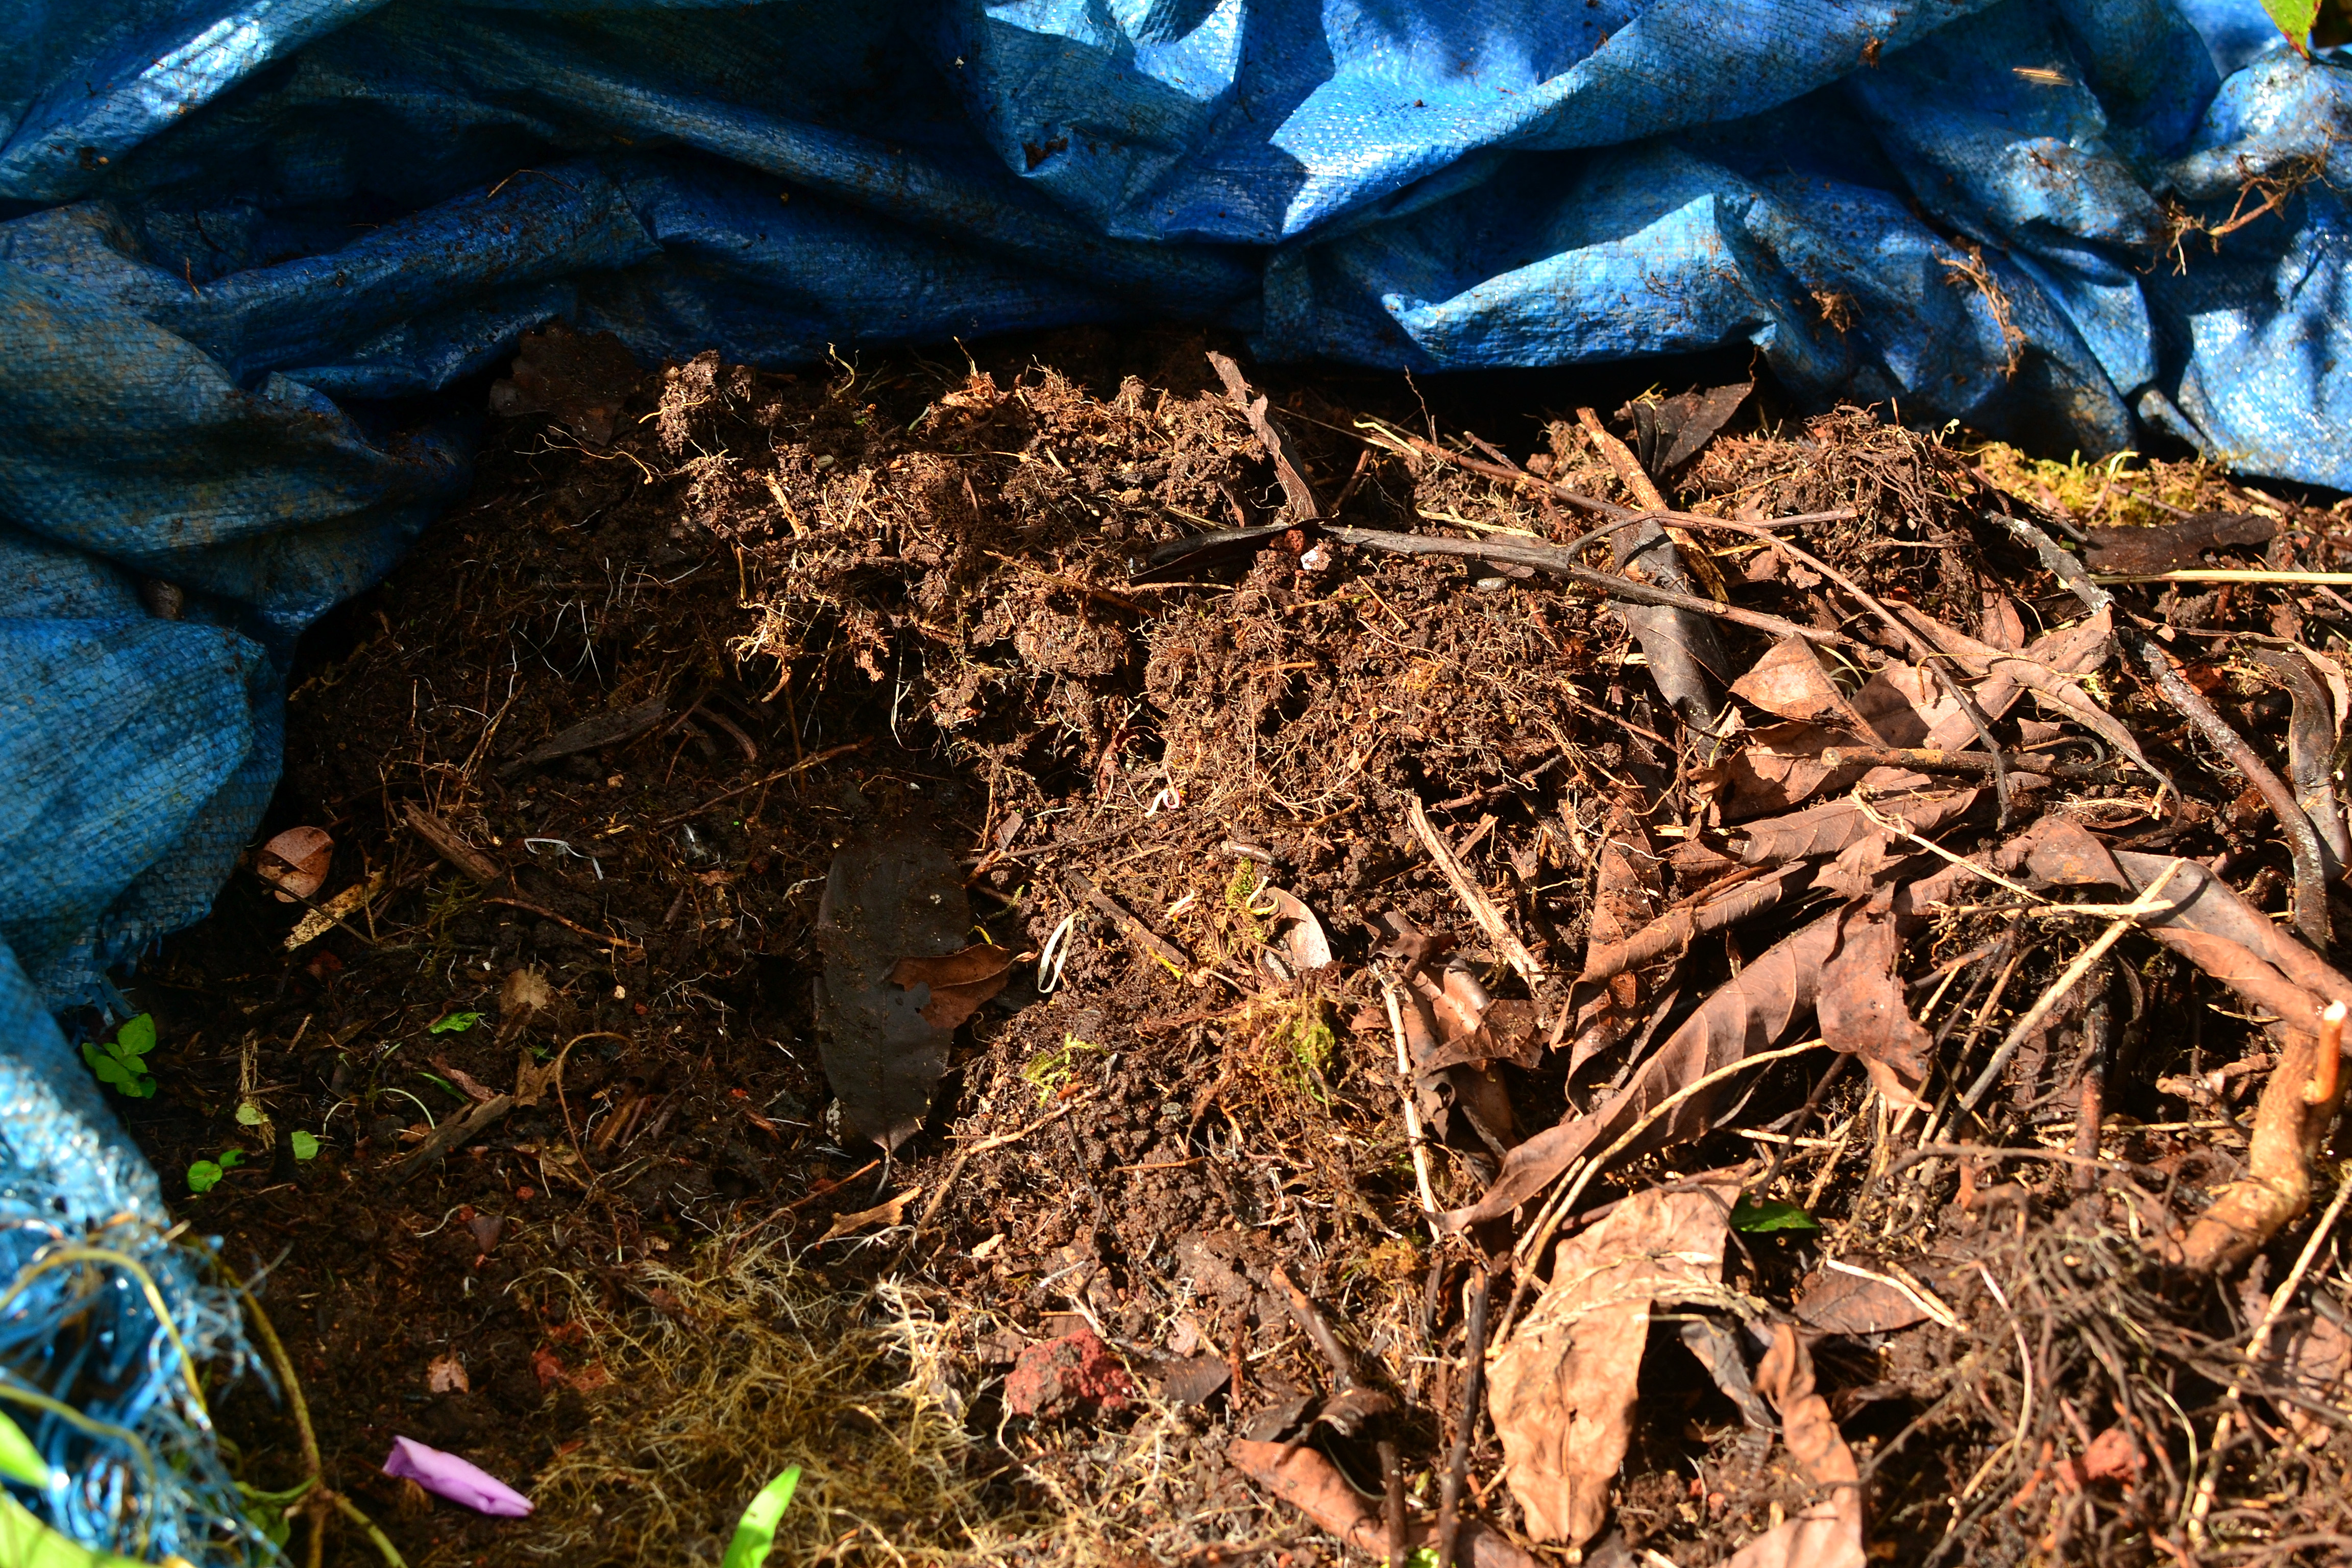
‘black gold’ – completed pile
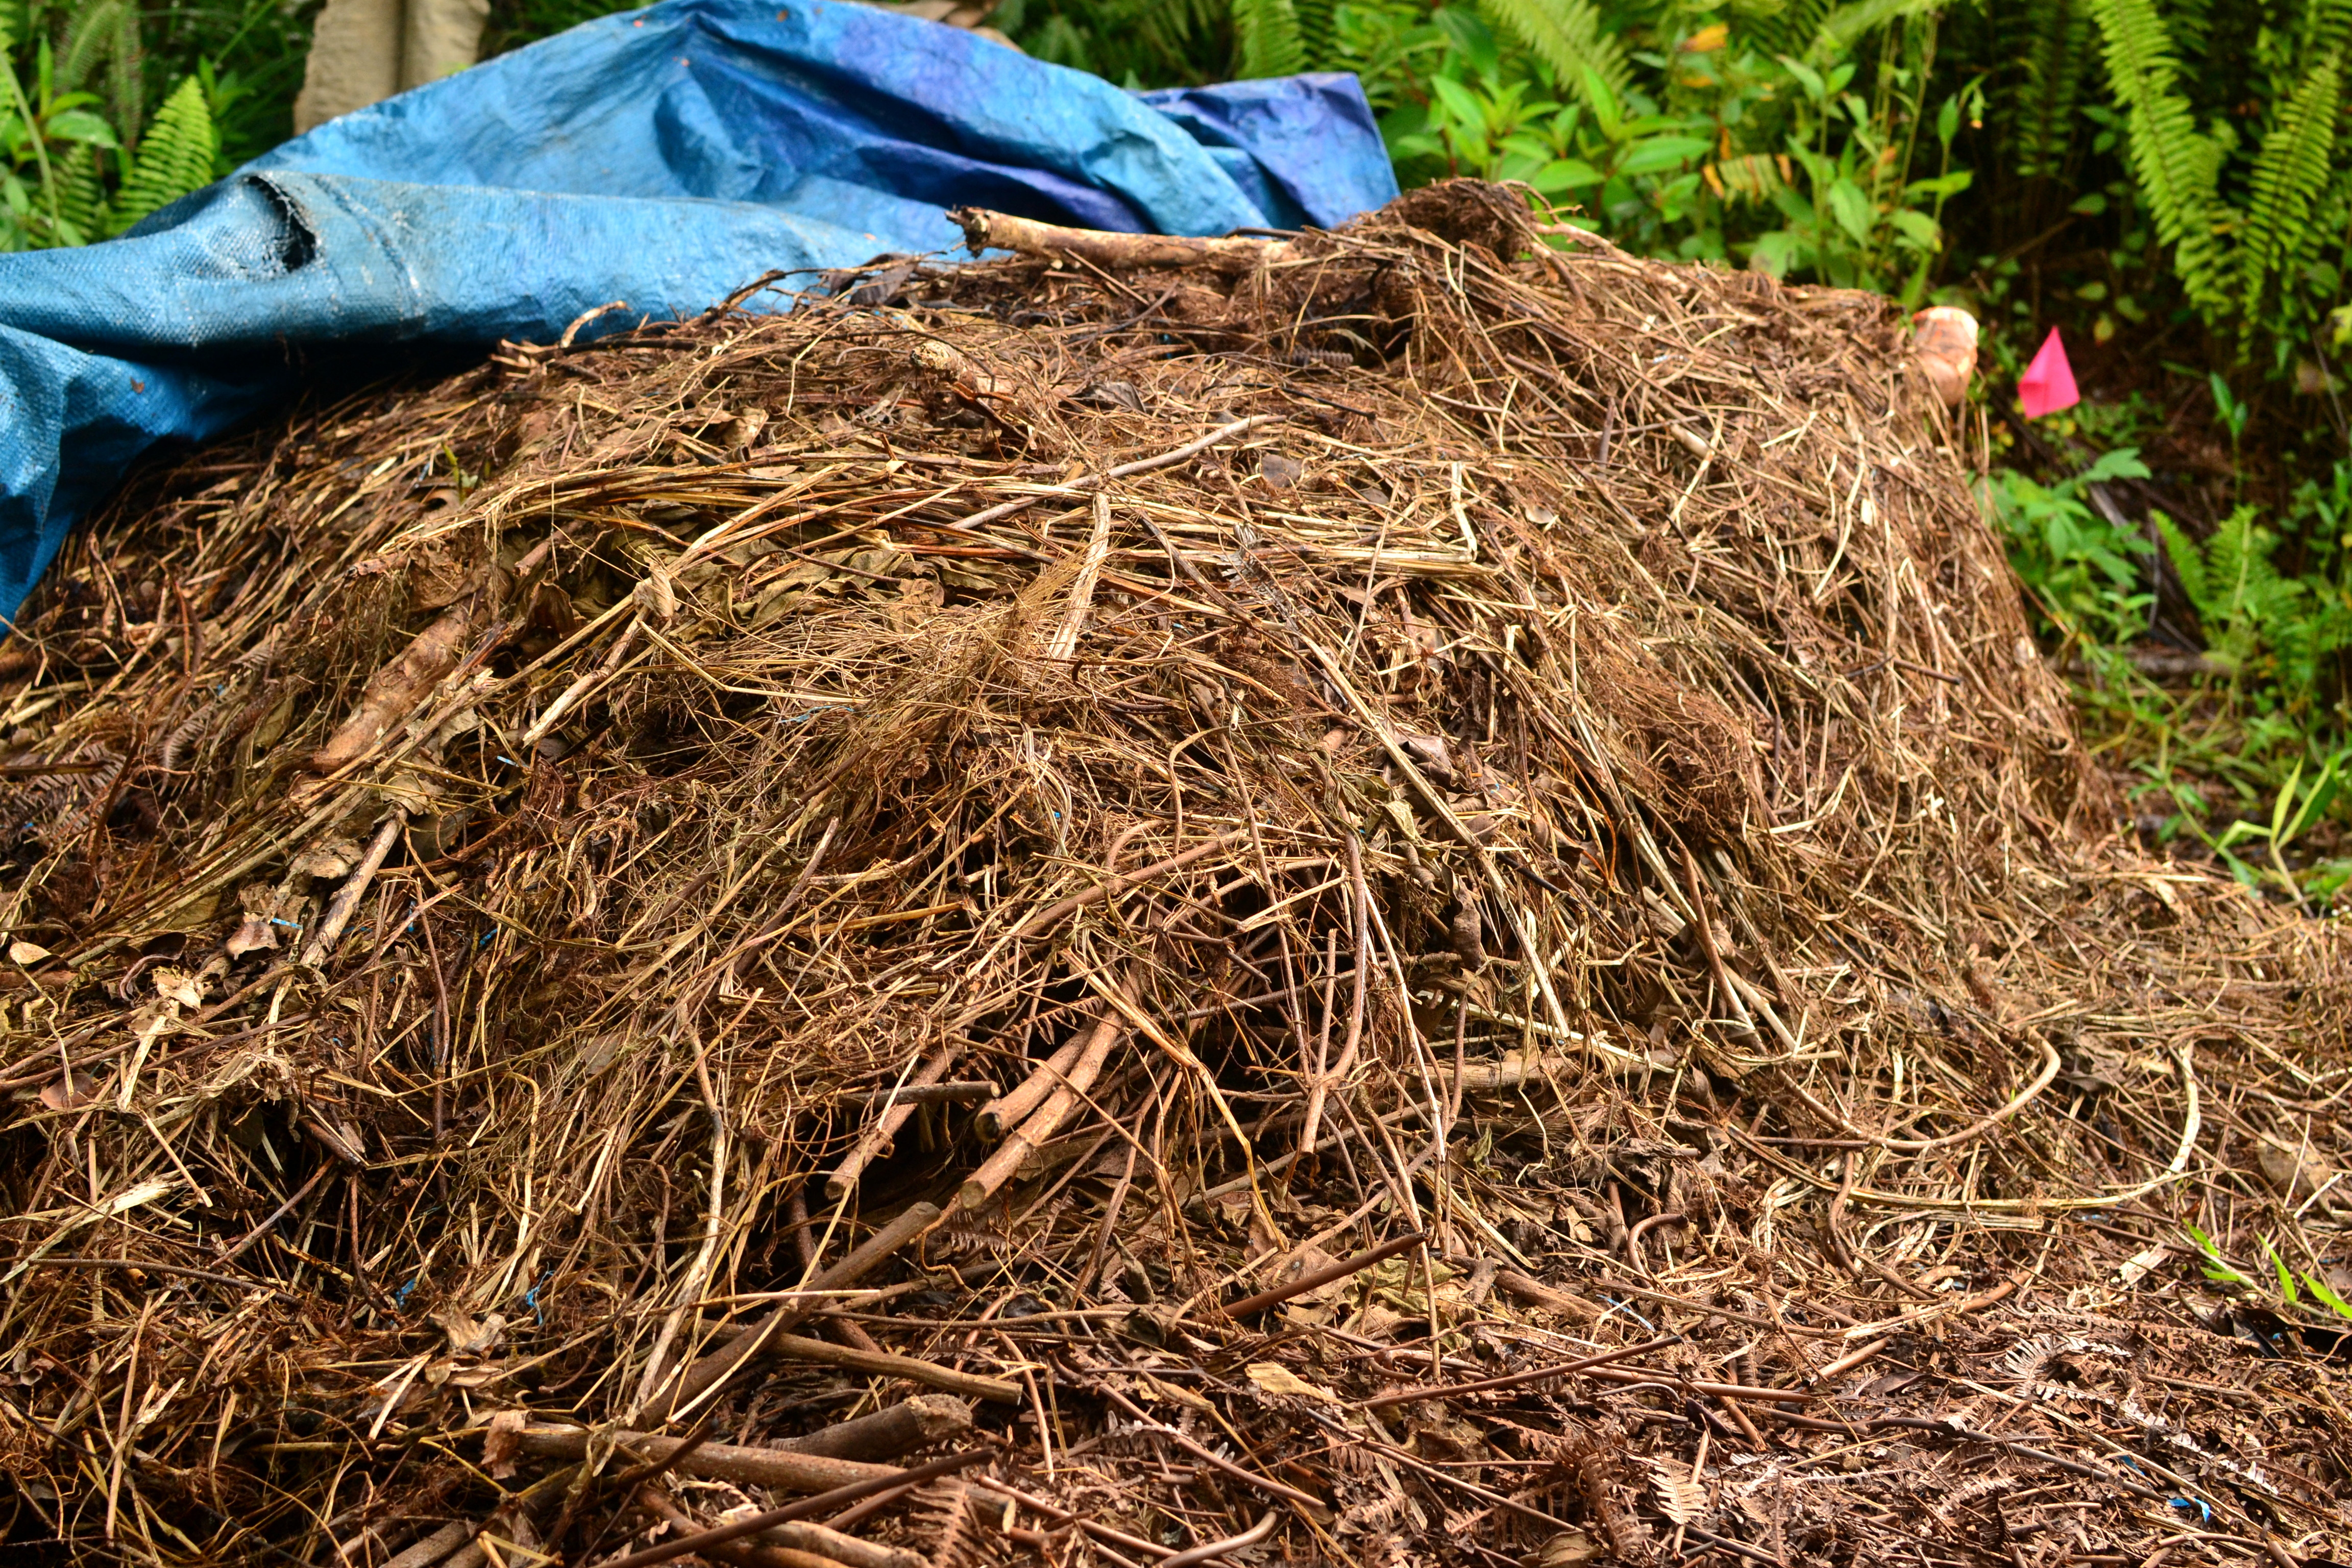
covered large pile
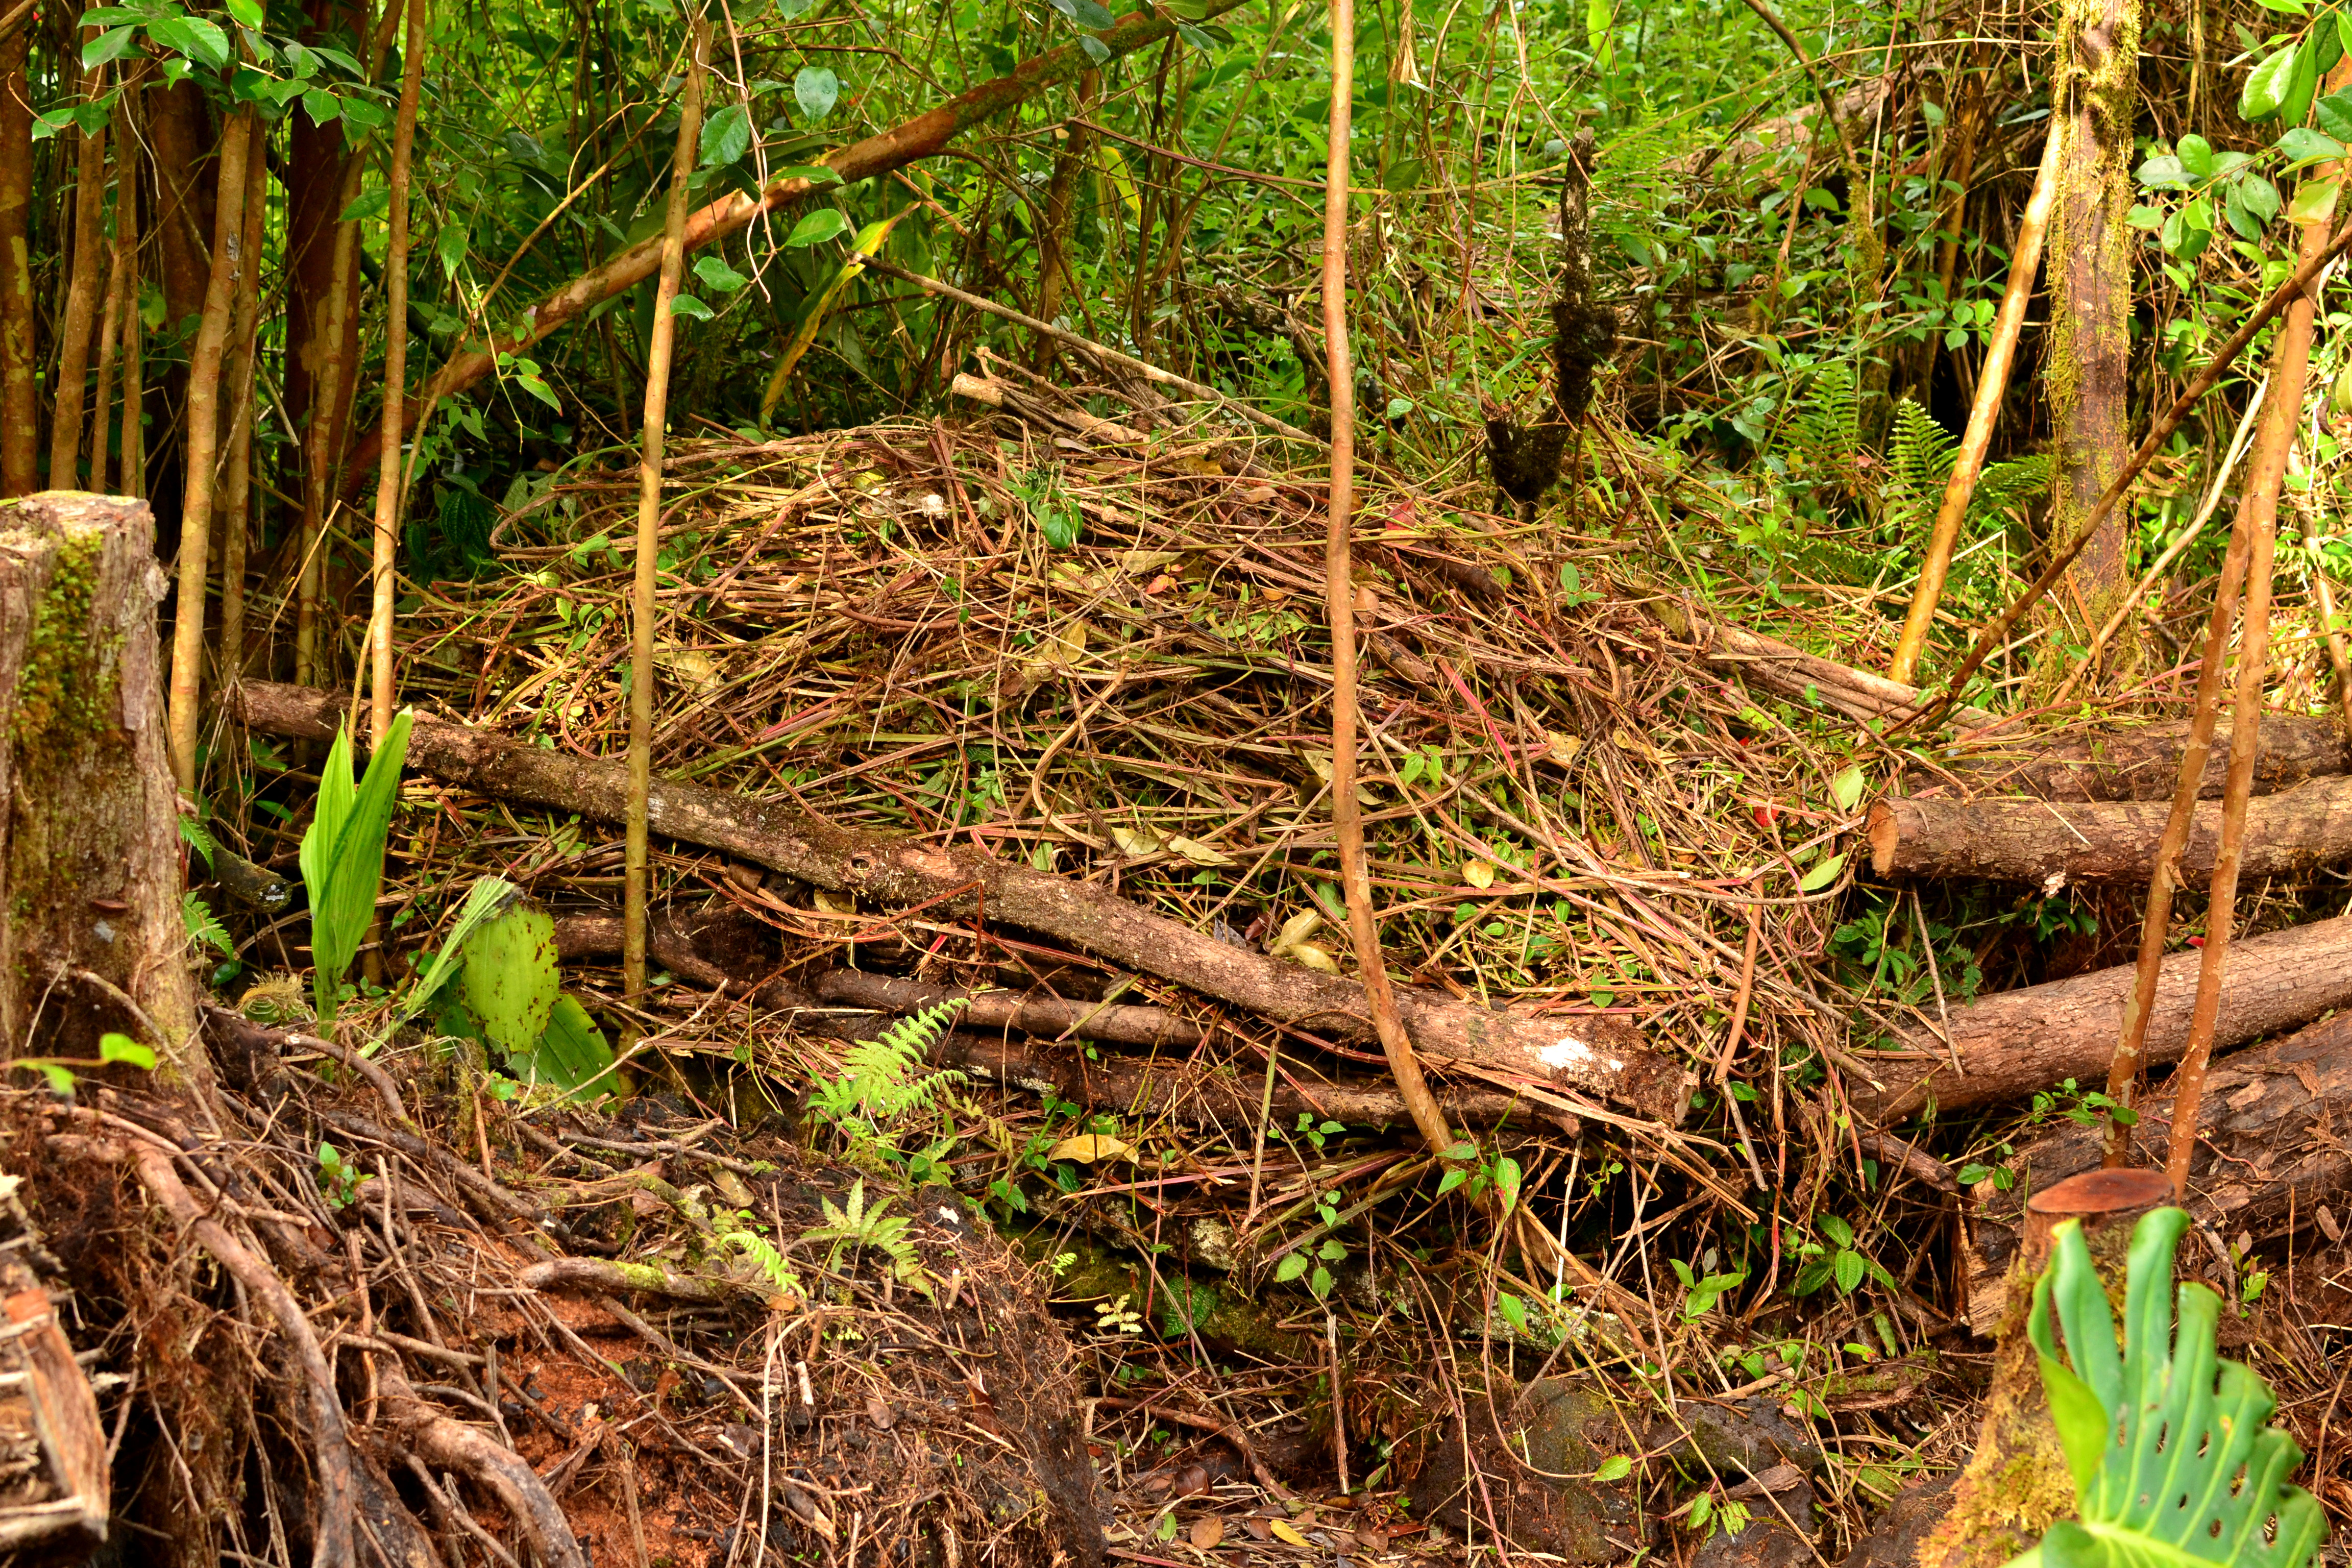
uncovered add-on pile
Key Factors Gardening in the Tropics
Due to our heavy rains, nutrients are leached quickly from our soils, and our soils are acidic. Which is fine for most tropical plants because they too evolved to thrive in acidic soils, but in your veggie garden, where things prefer neutral soils we have to amend to raise pH.
Because our nutrients are leached out quickly from the subsoil, plants themselves contain precious nutrients that are unavailable elsewhere. So mulching and chop and drop are highly recommended to cycle nutrients to other plants. And our richest soils are on the surface, creating the organic layer where most plants will obtain its nutrients. Therefore, creating no-till systems will retain highest availability of nutrients.
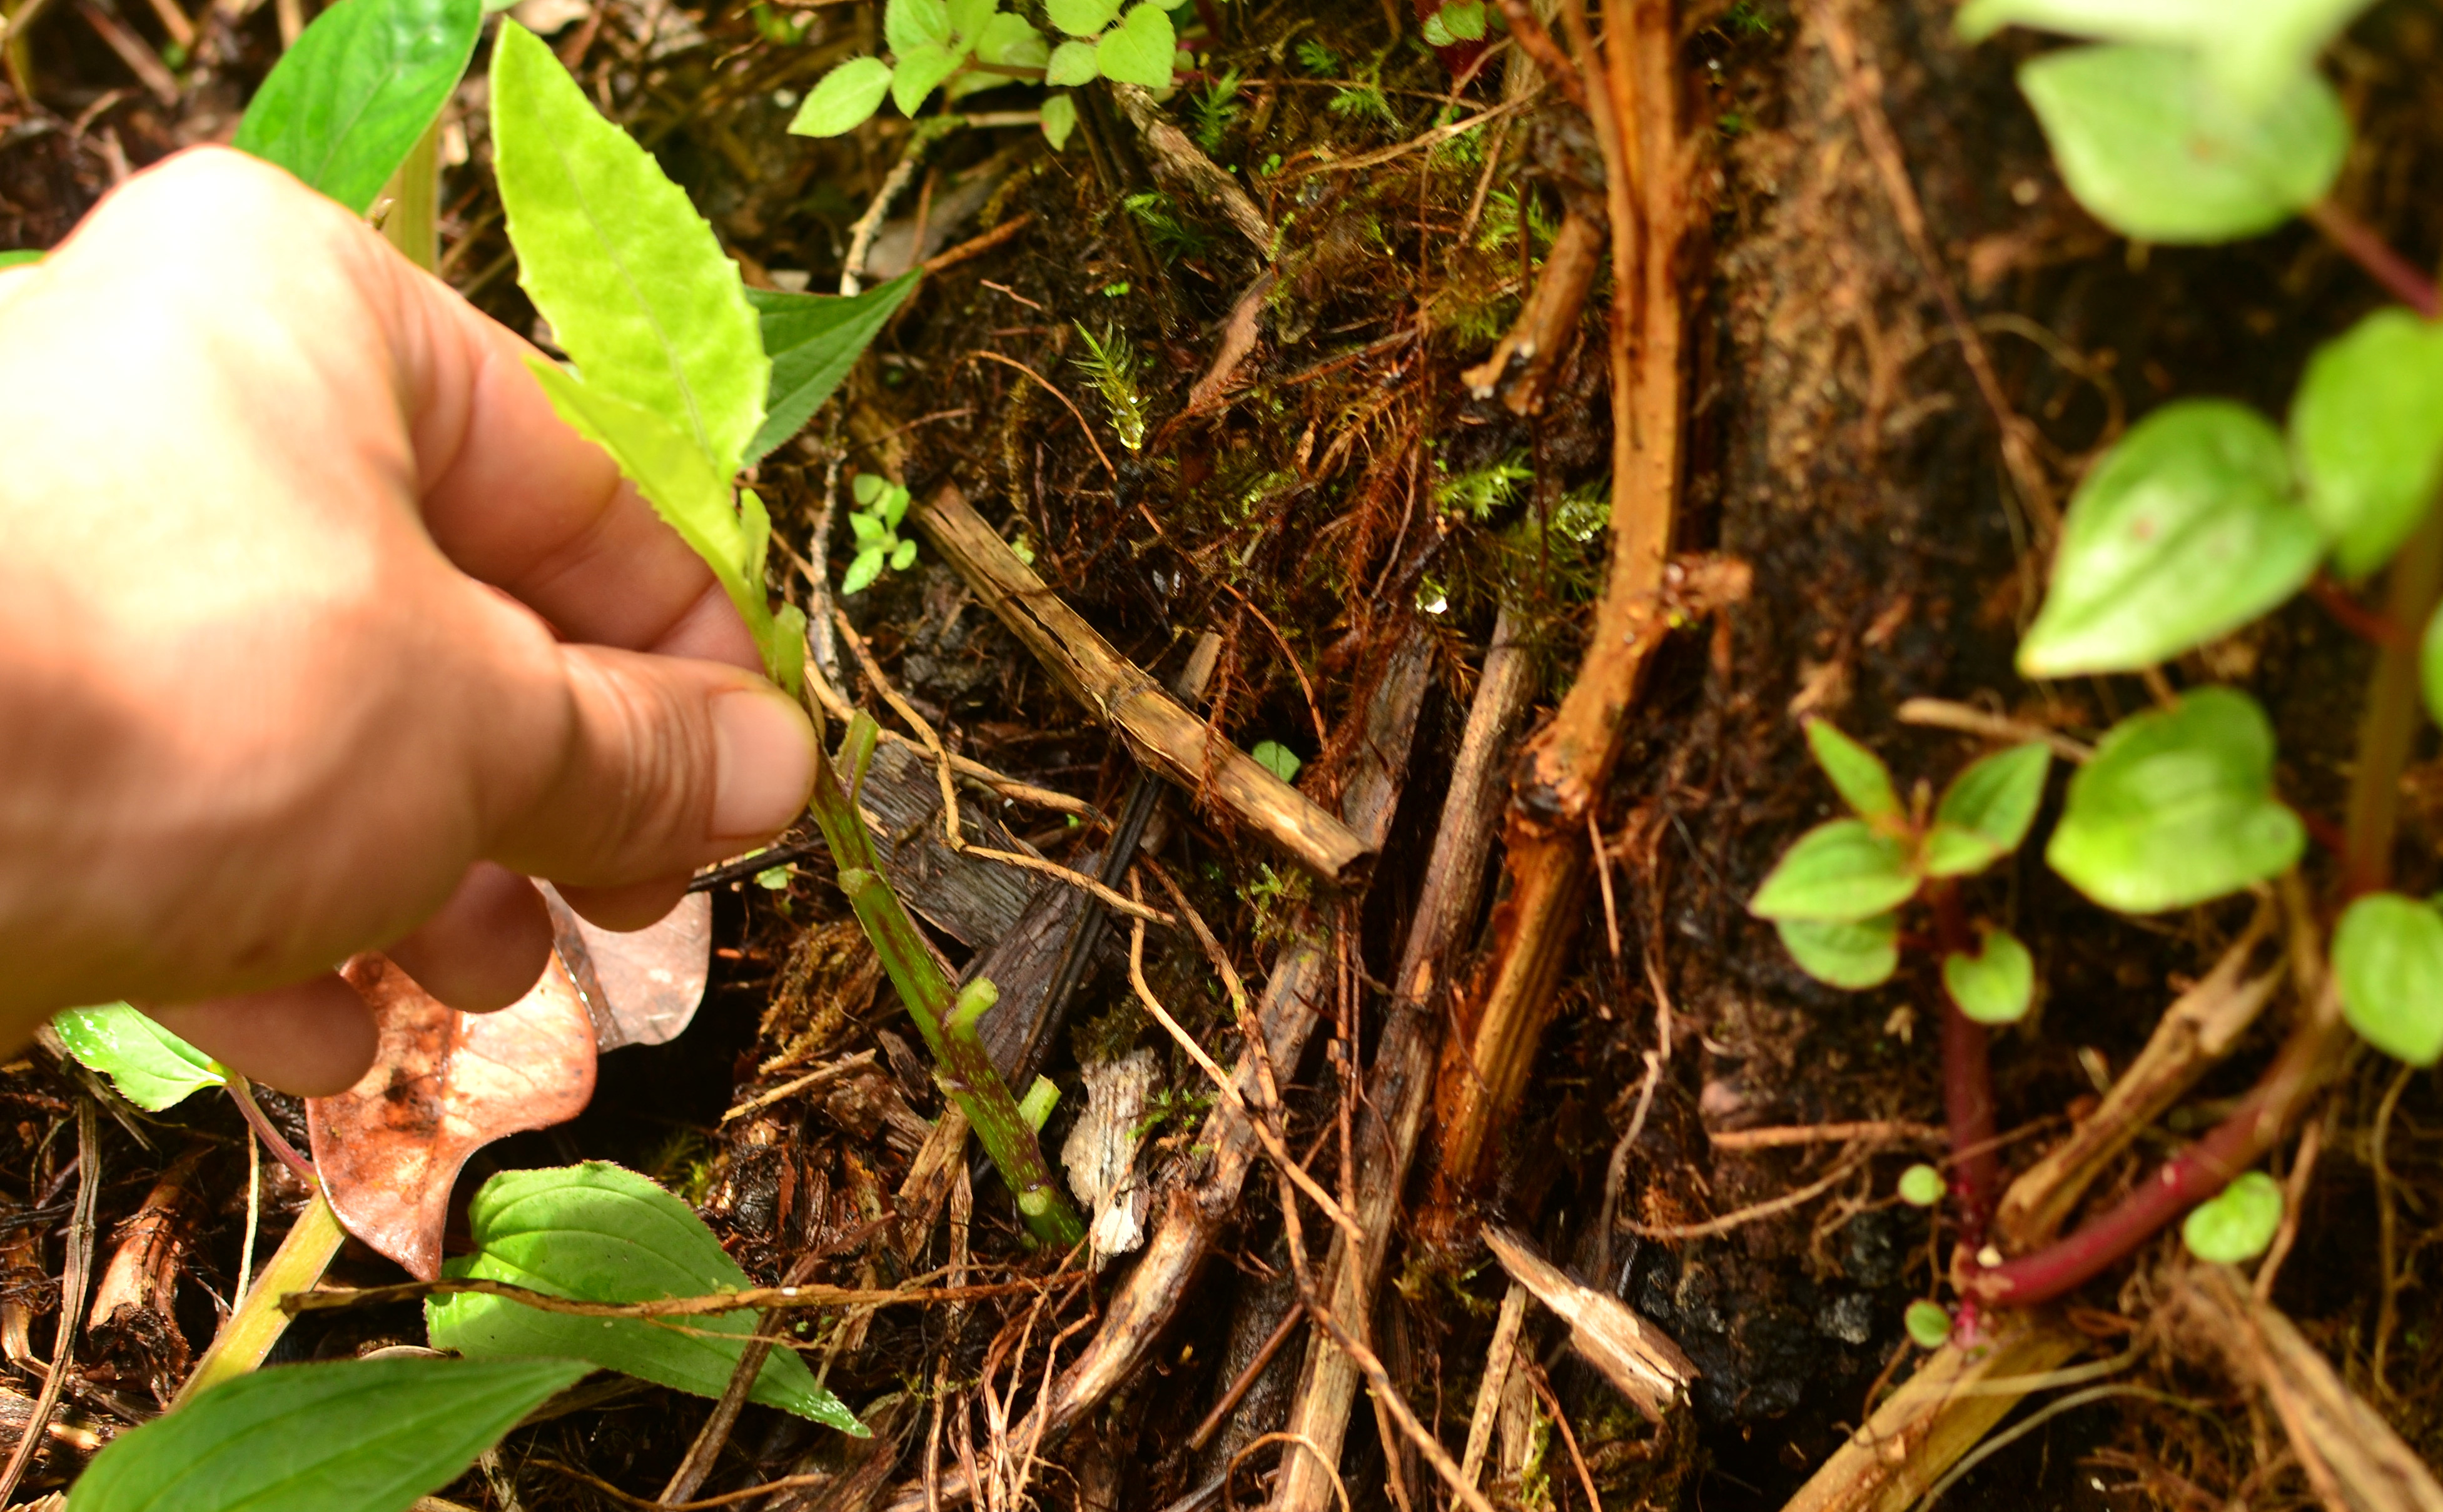
Chop and drop examples:
-
-
avocado
-
-
coconut
-
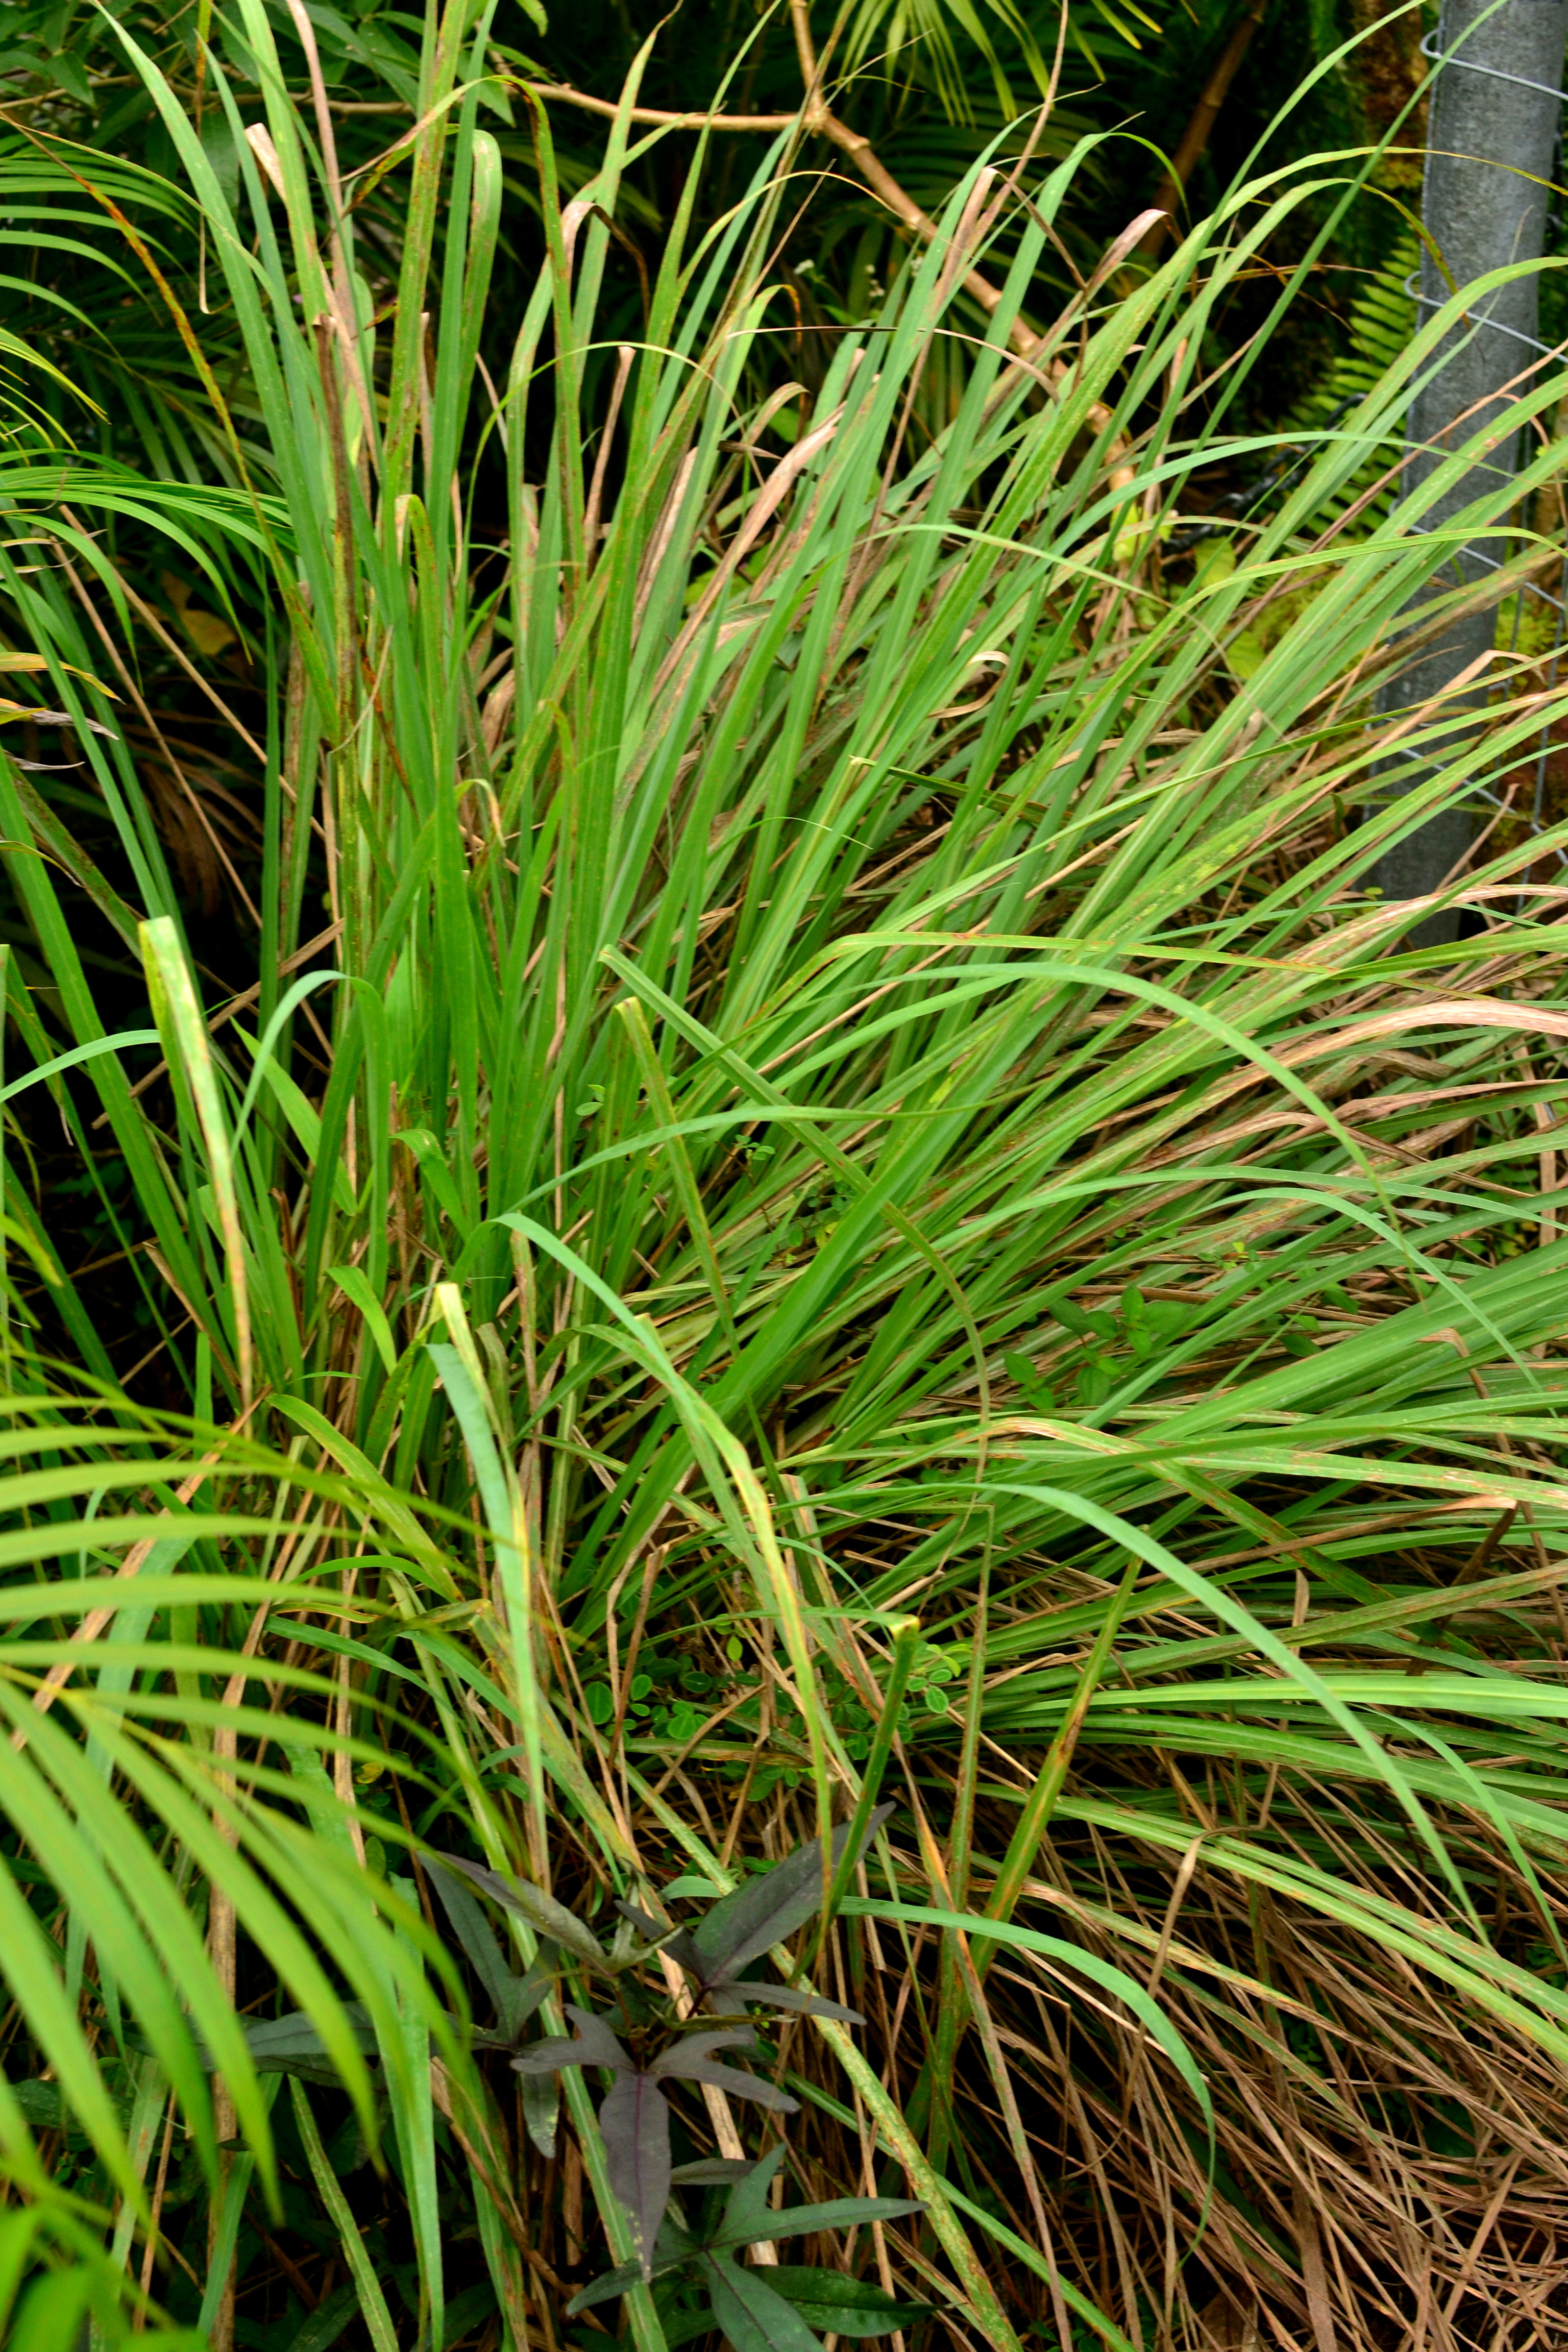
-
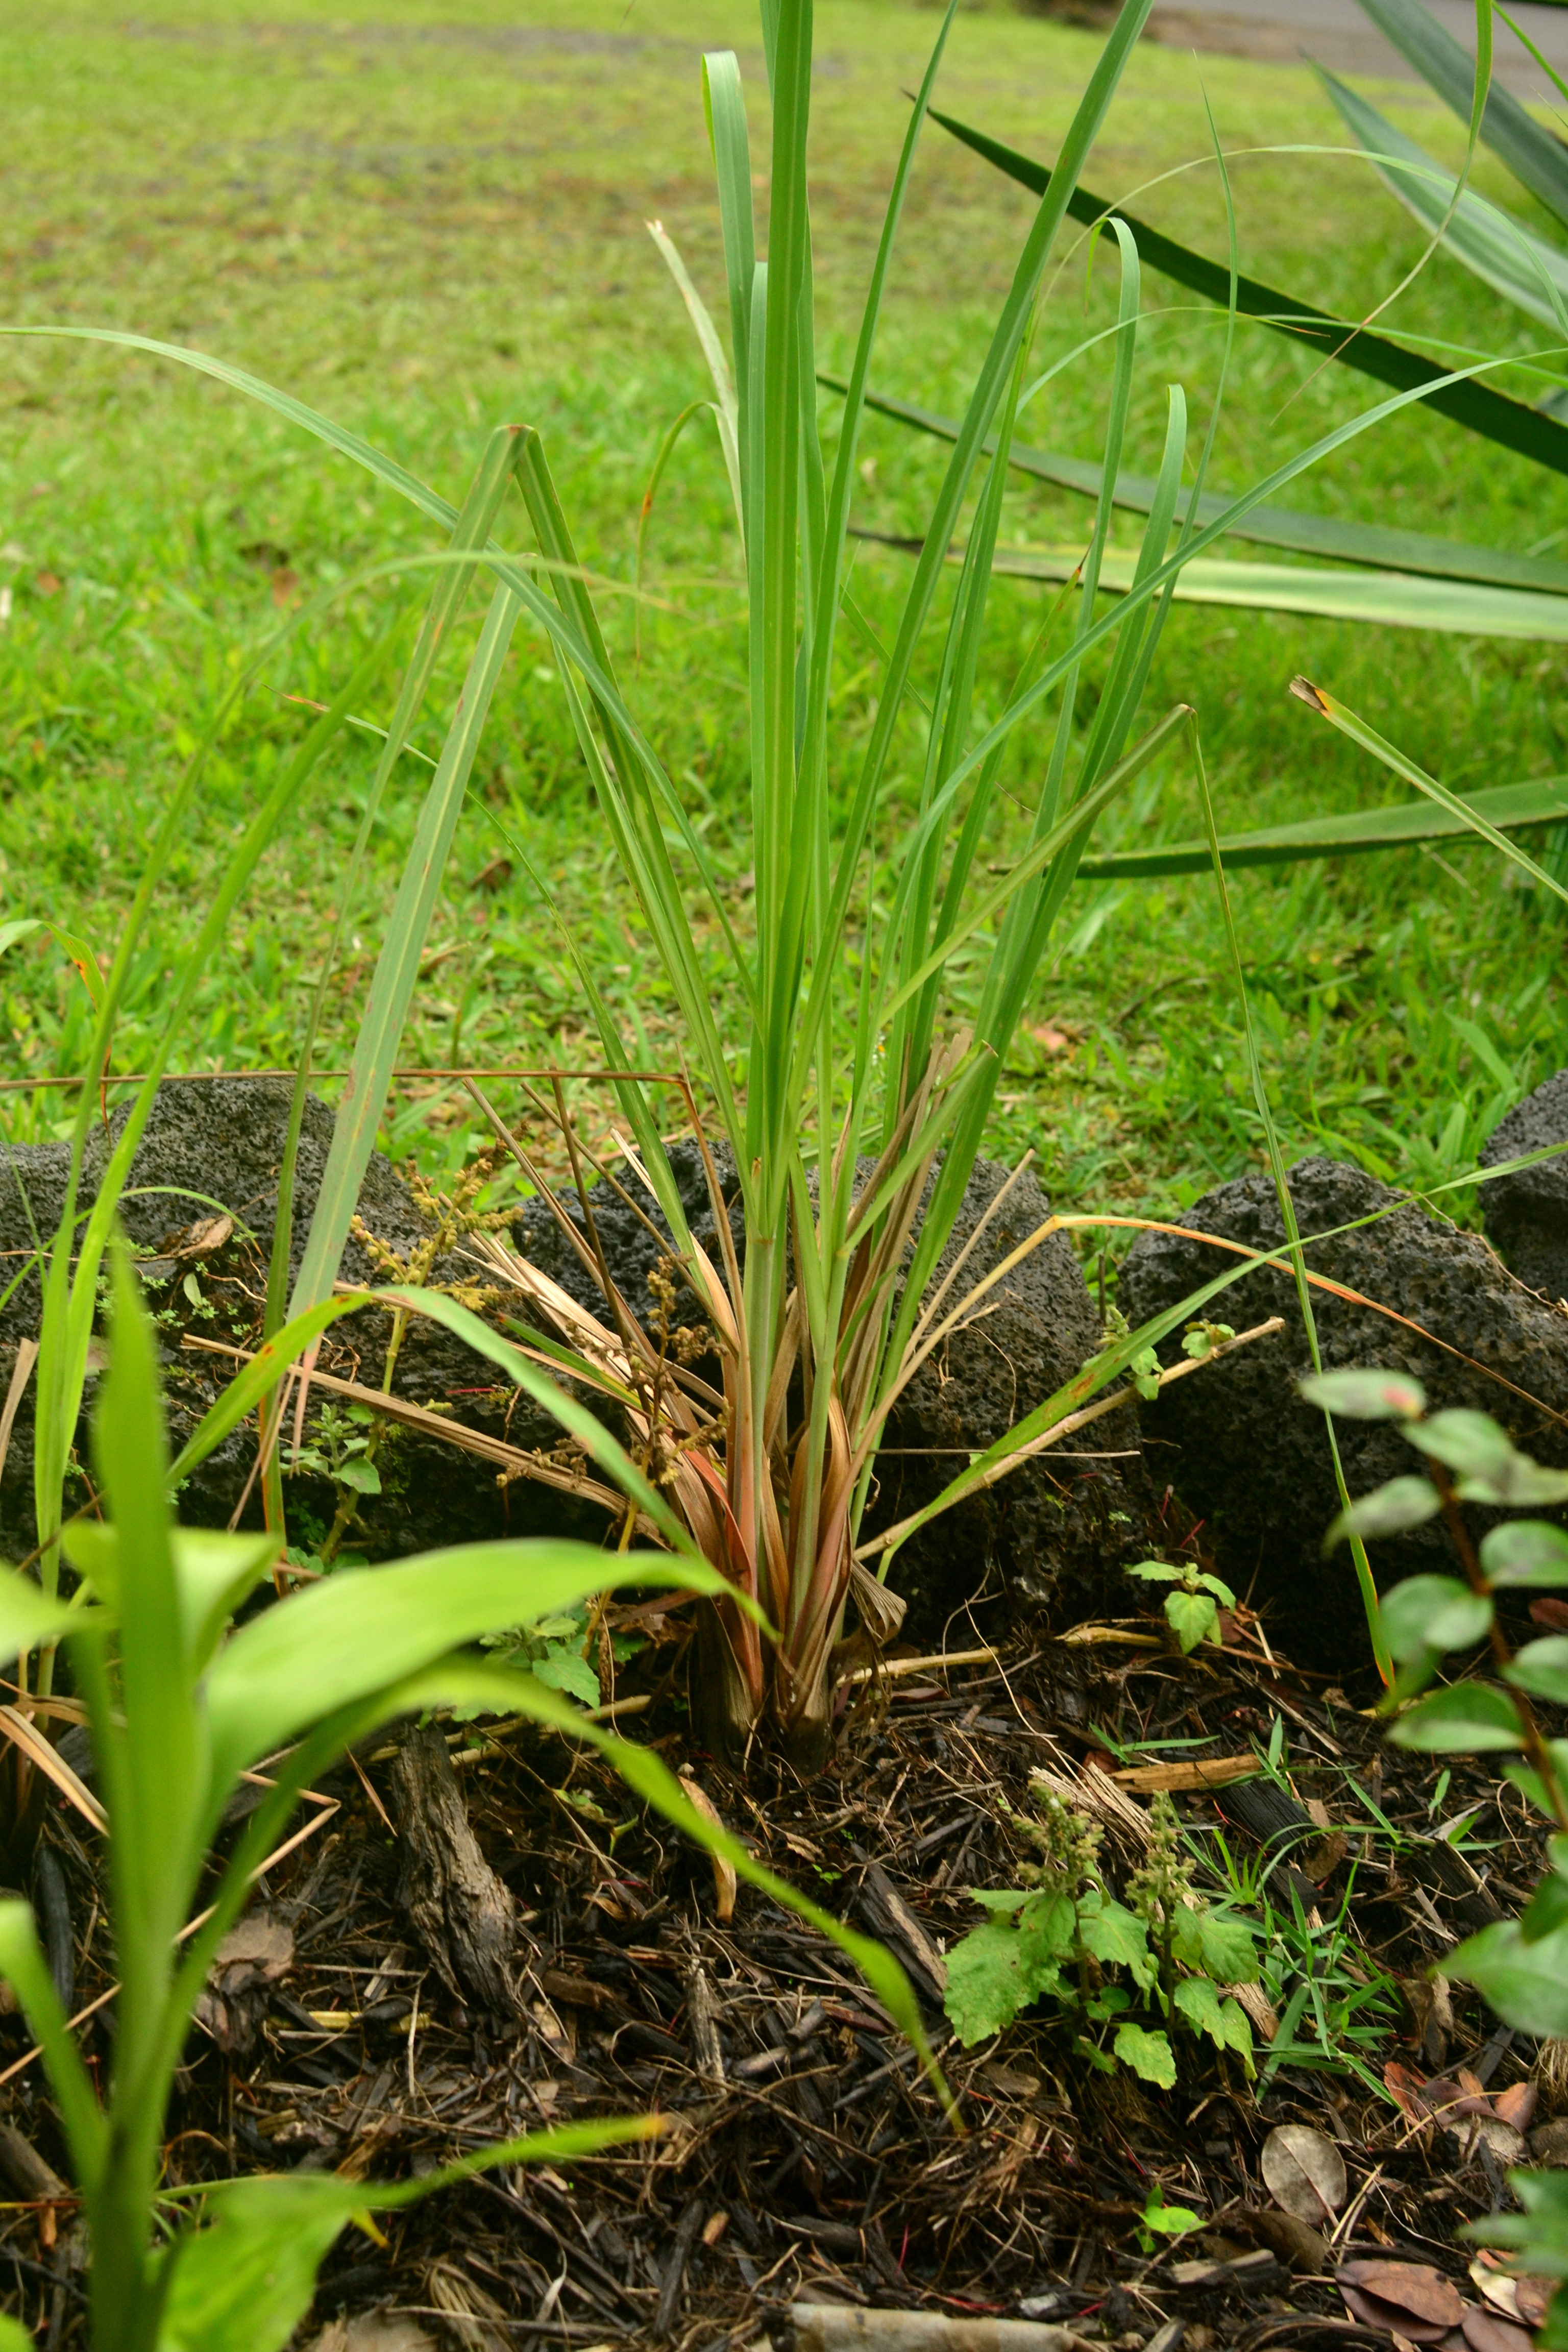
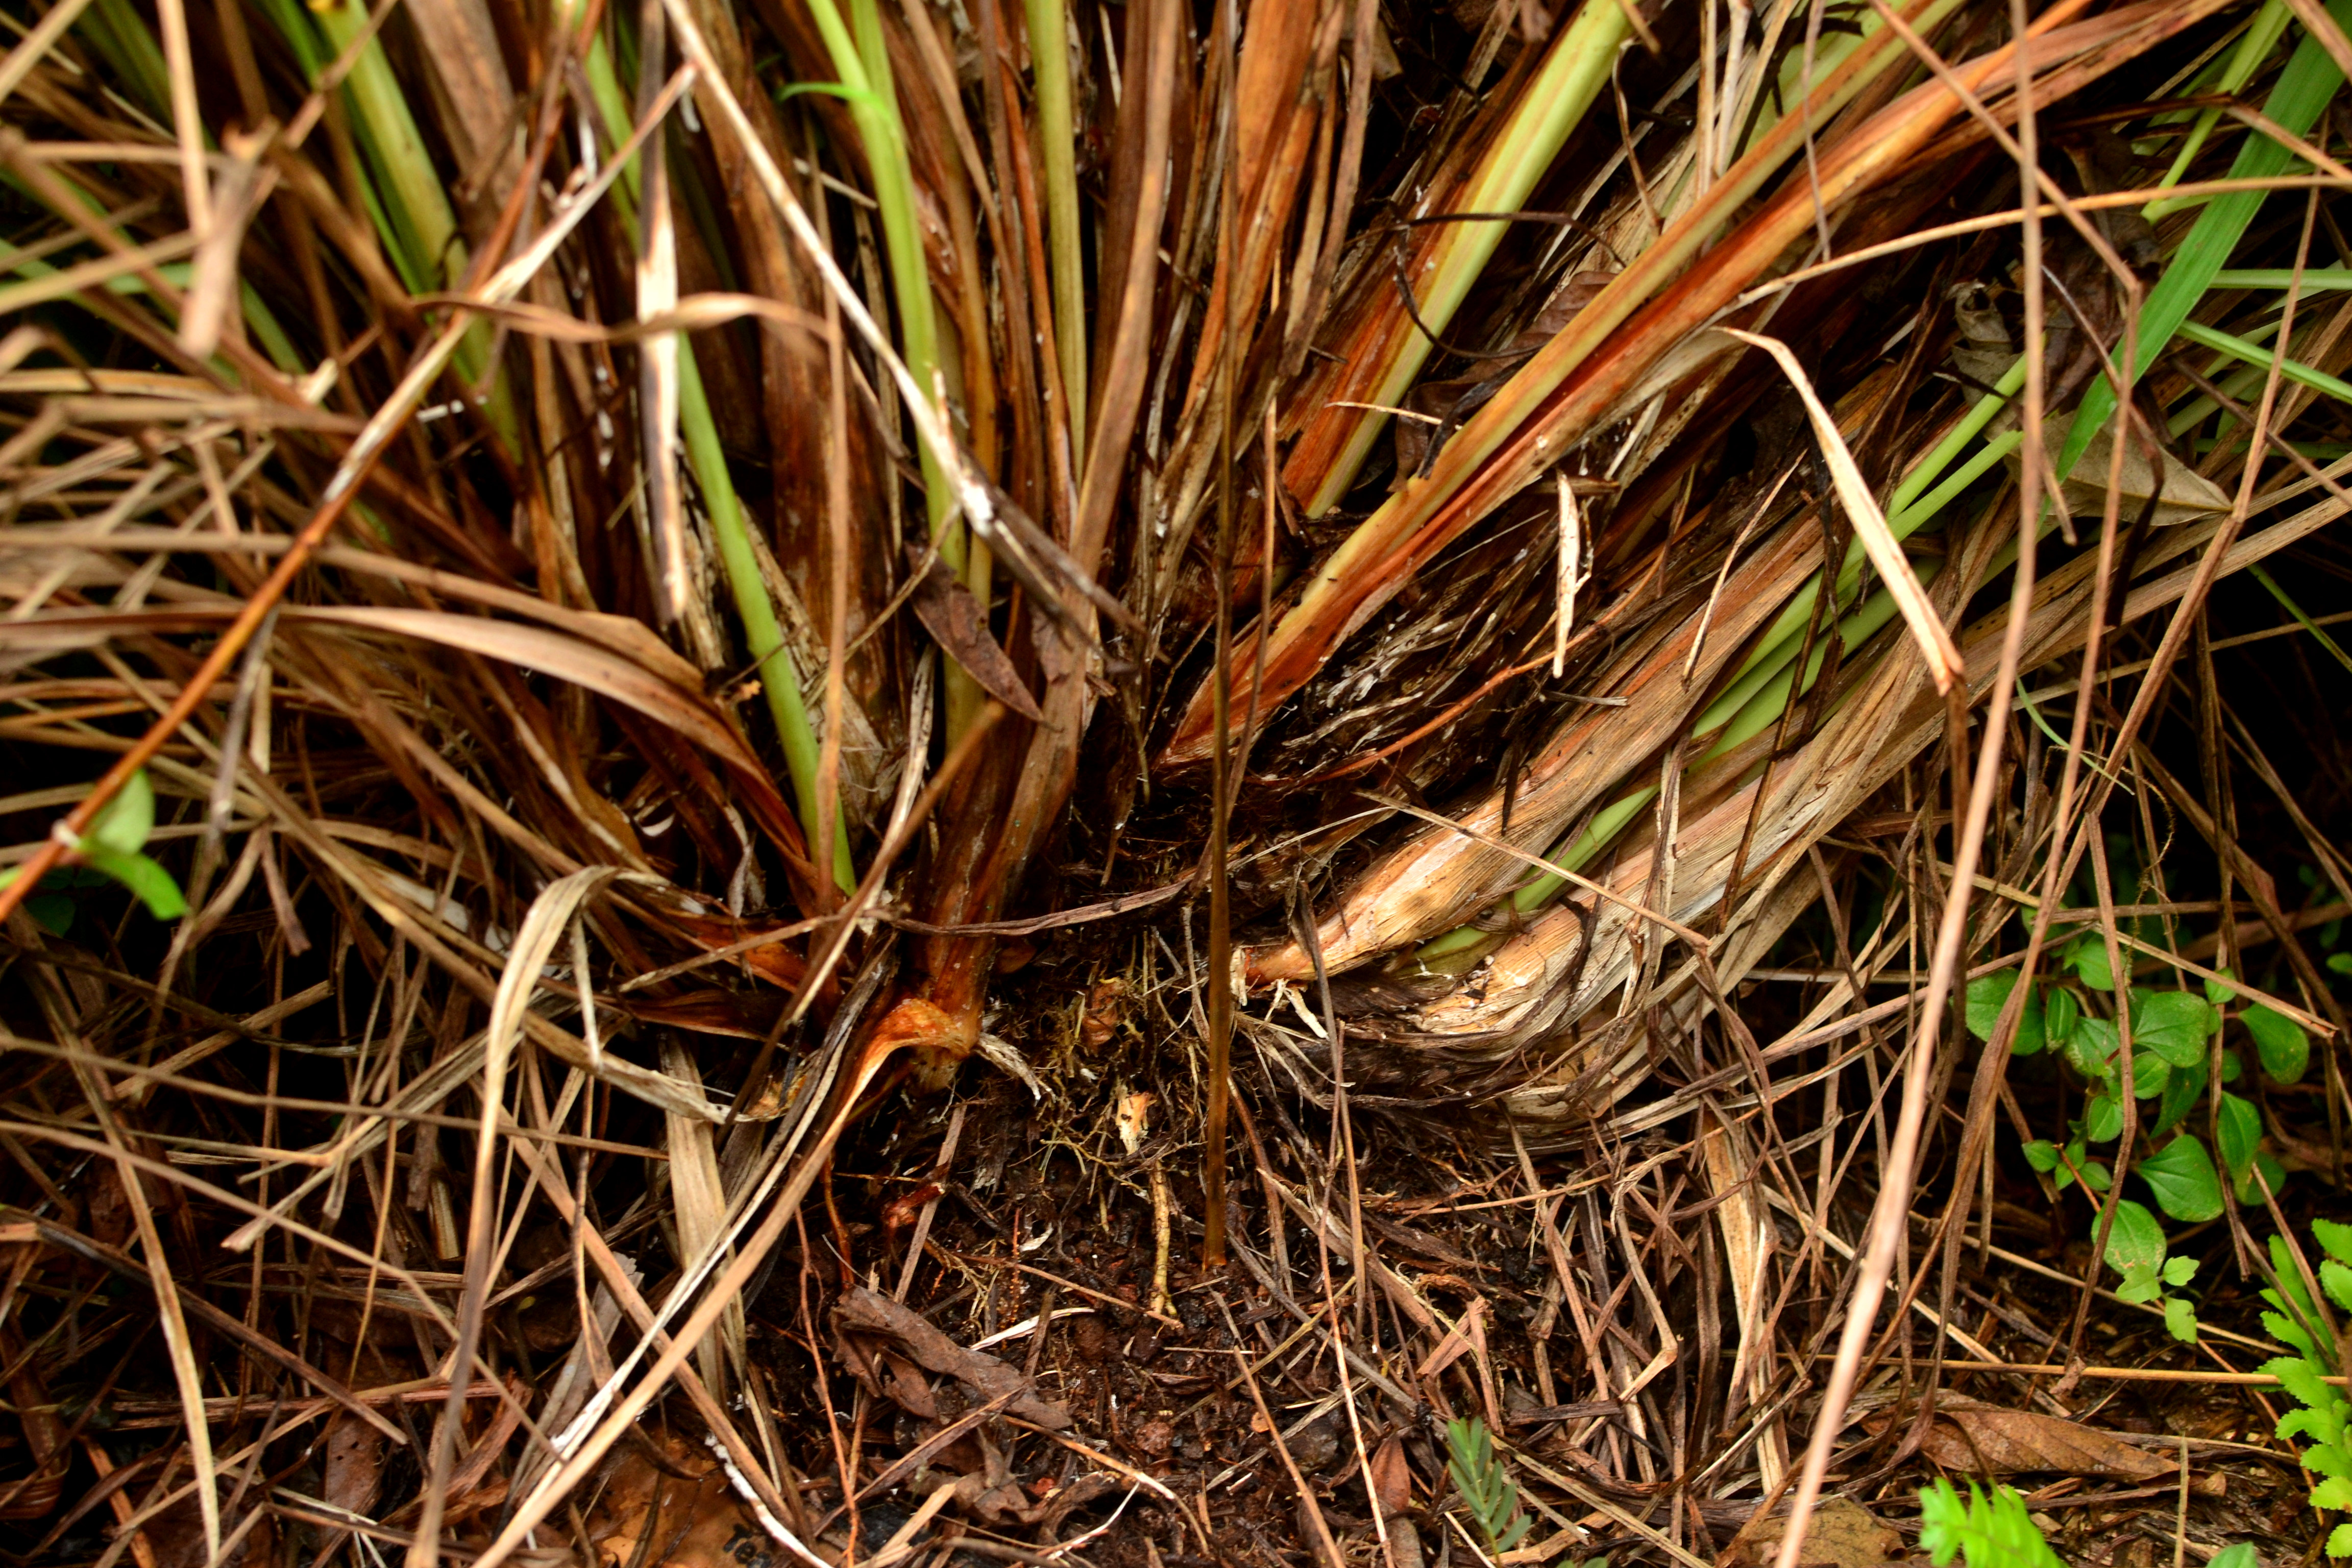
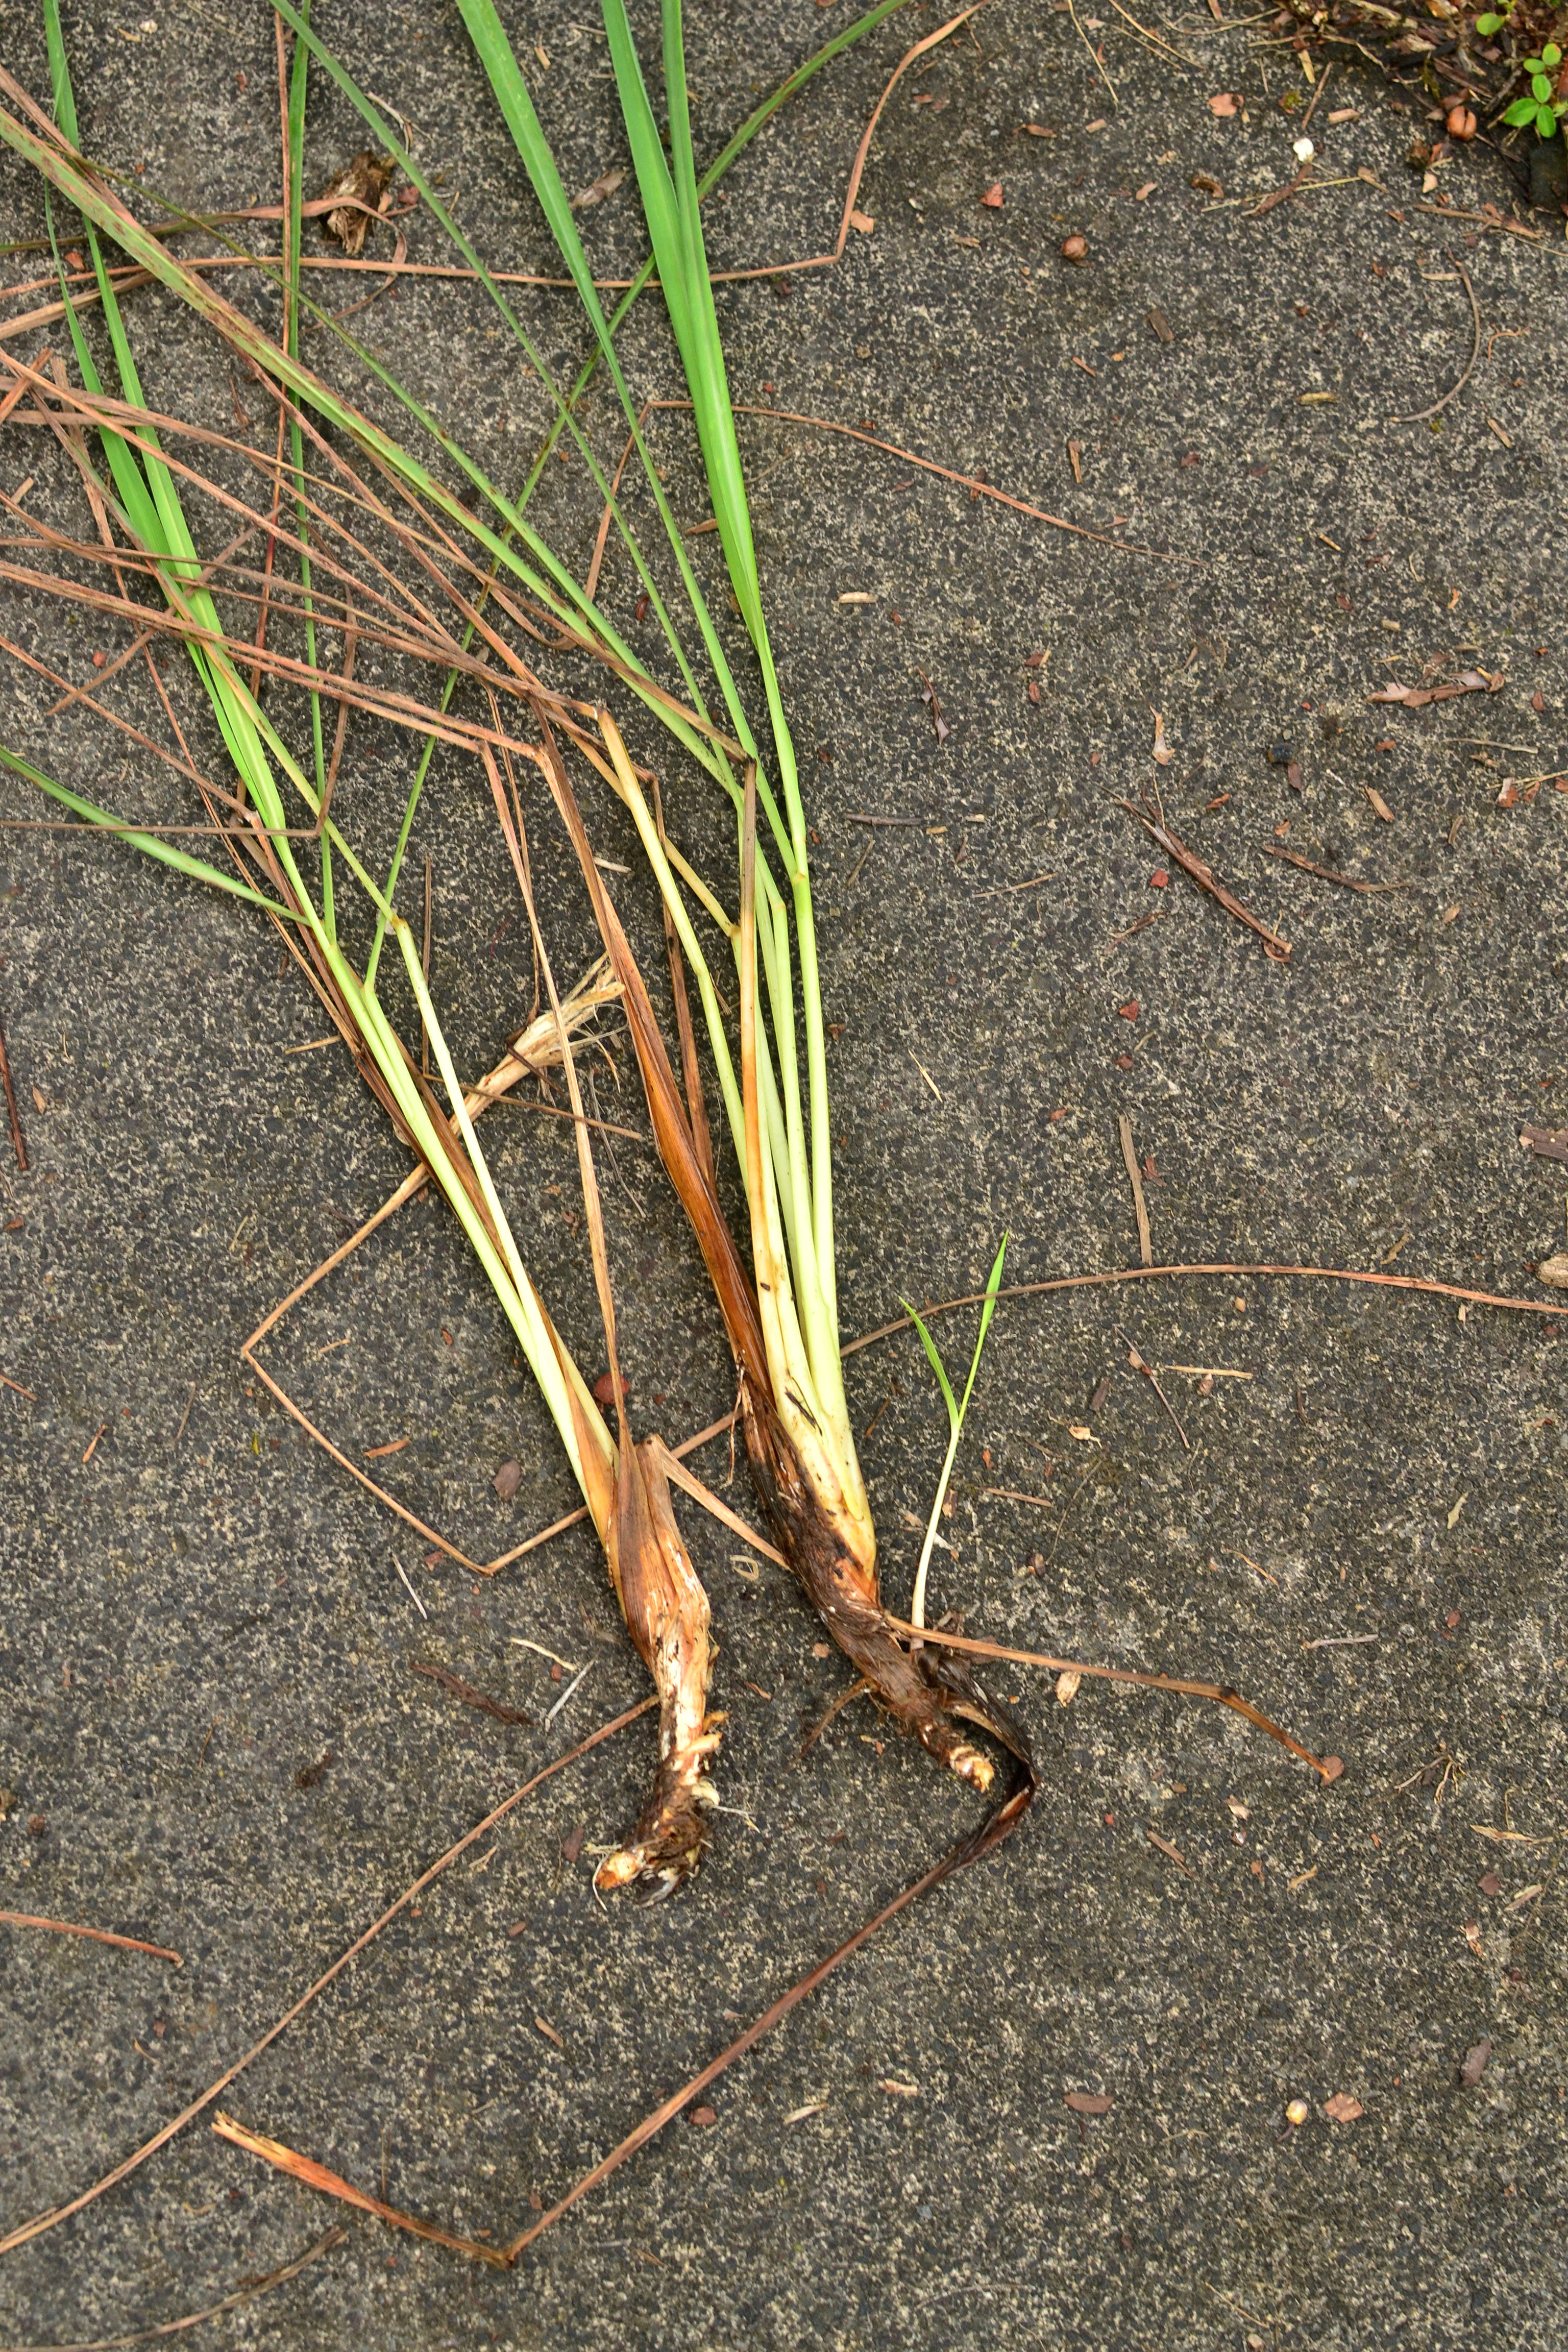
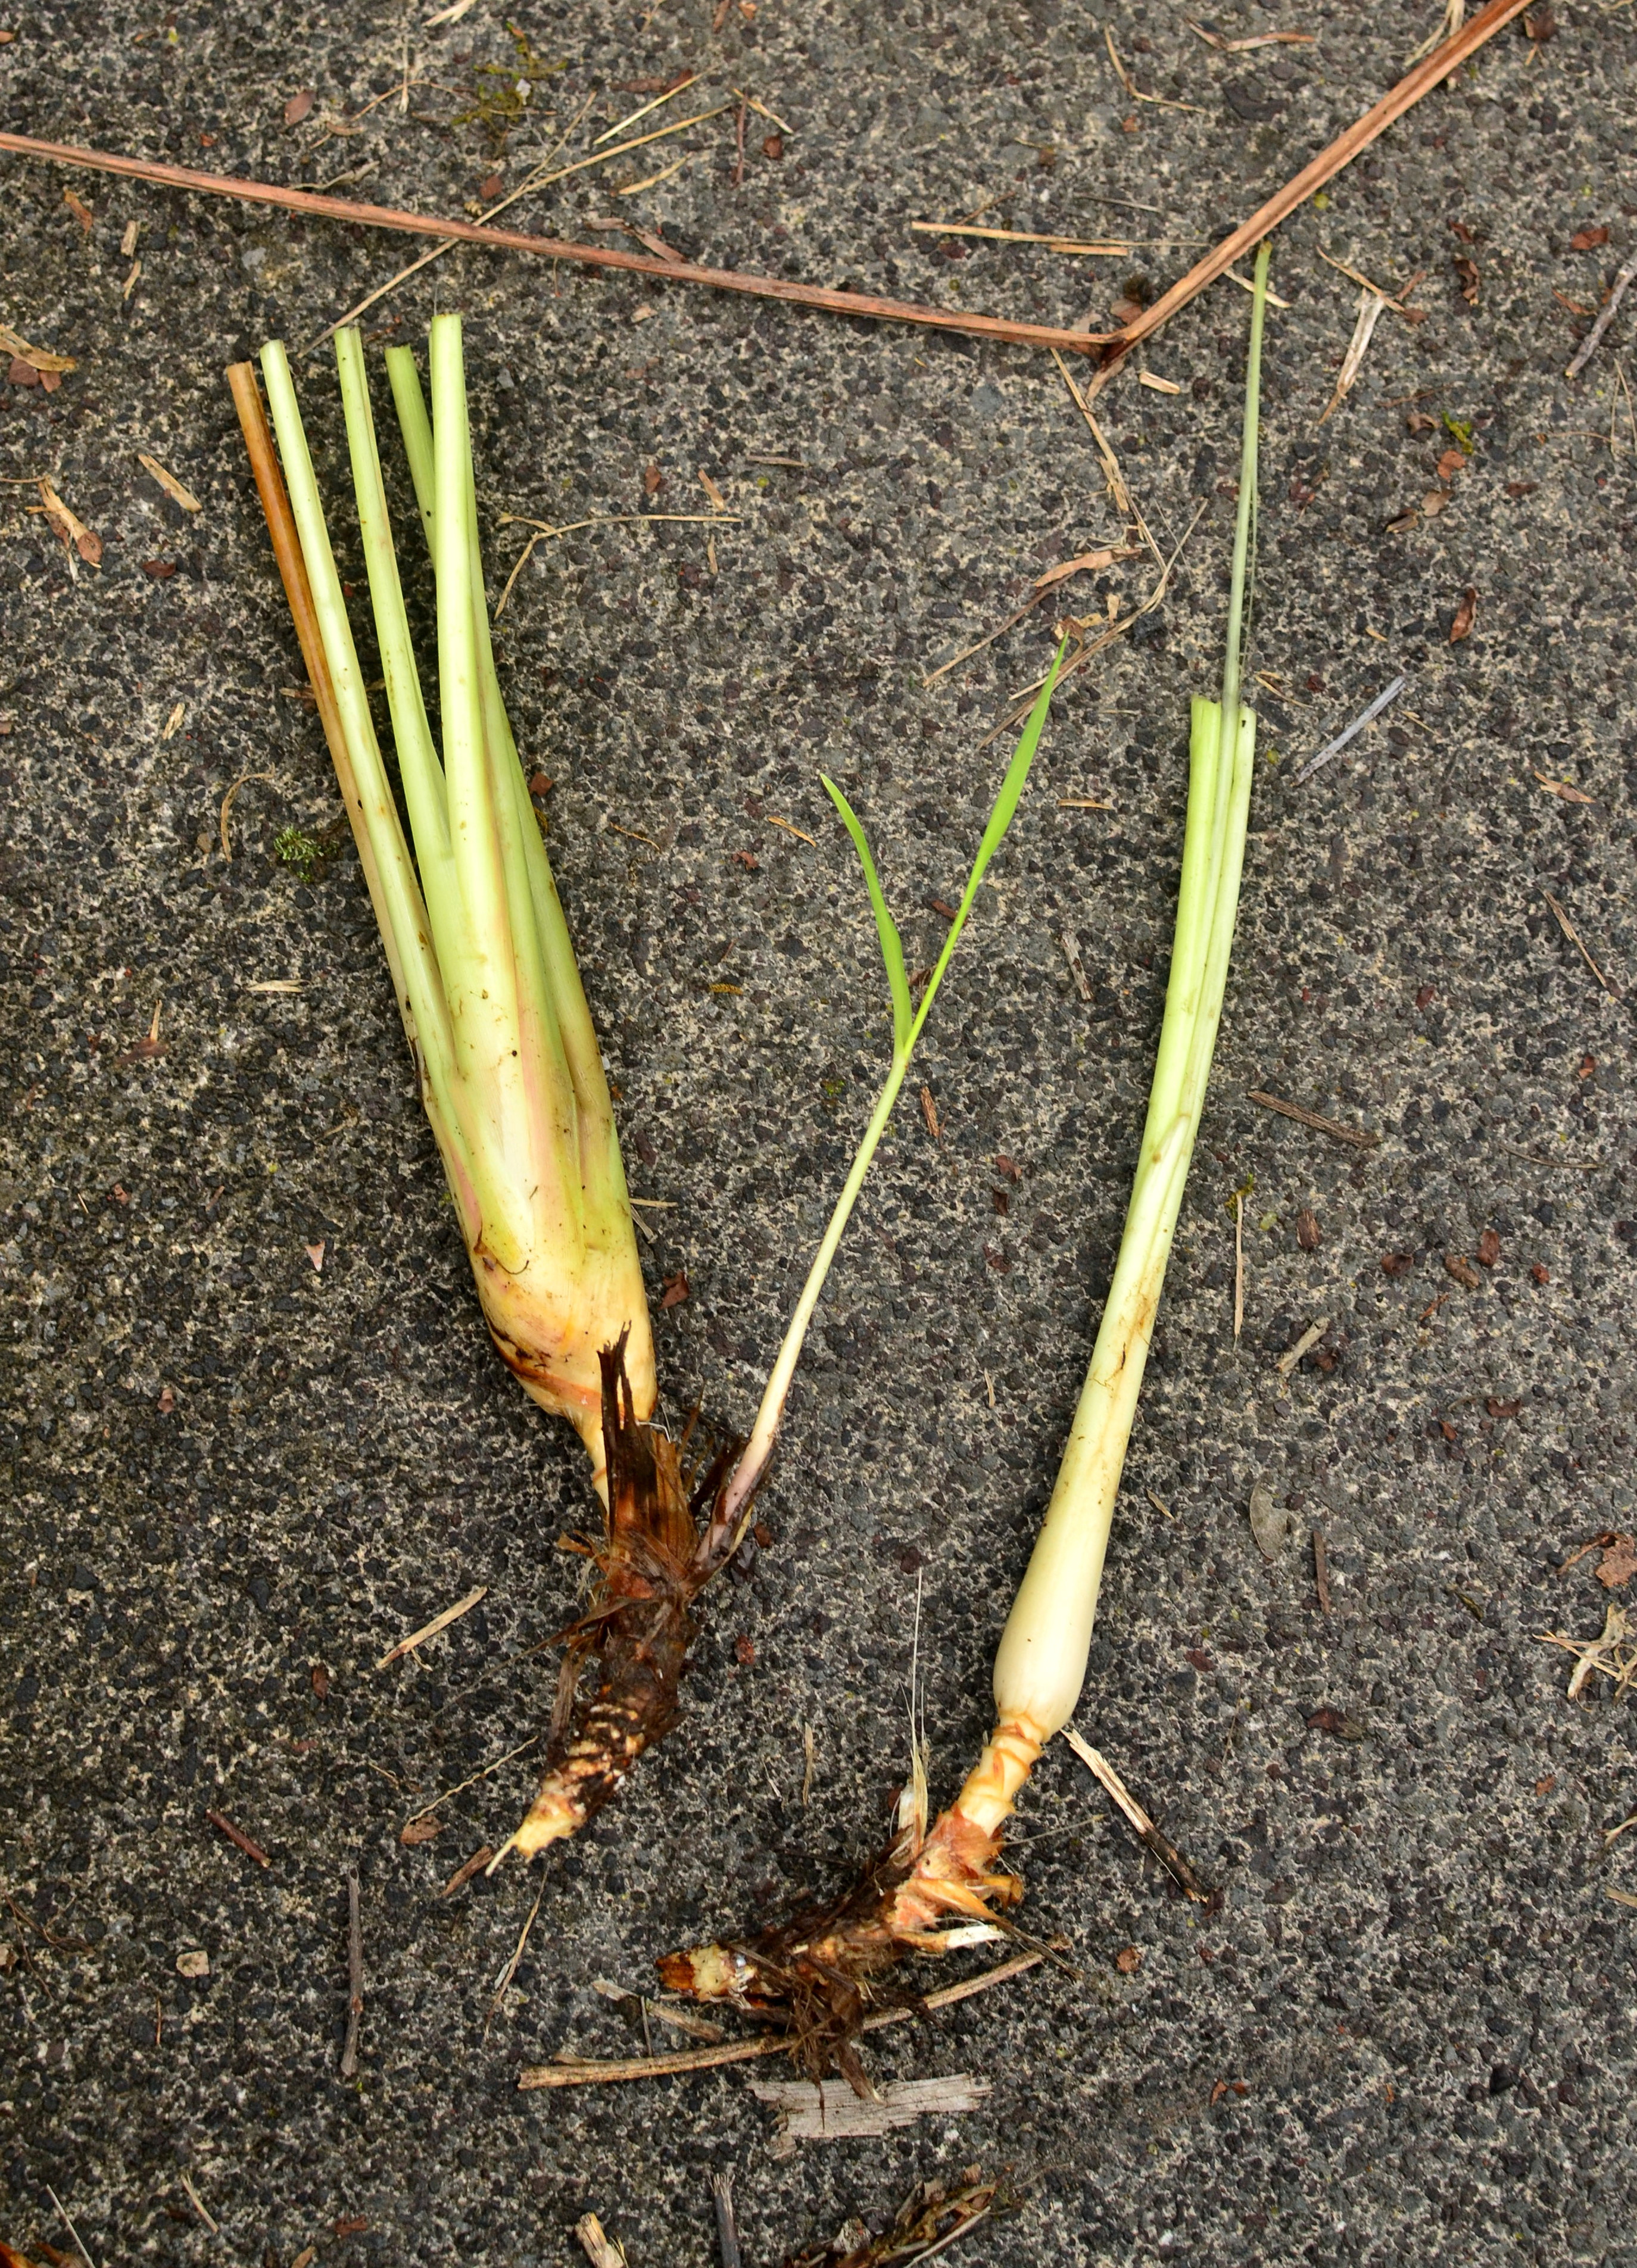
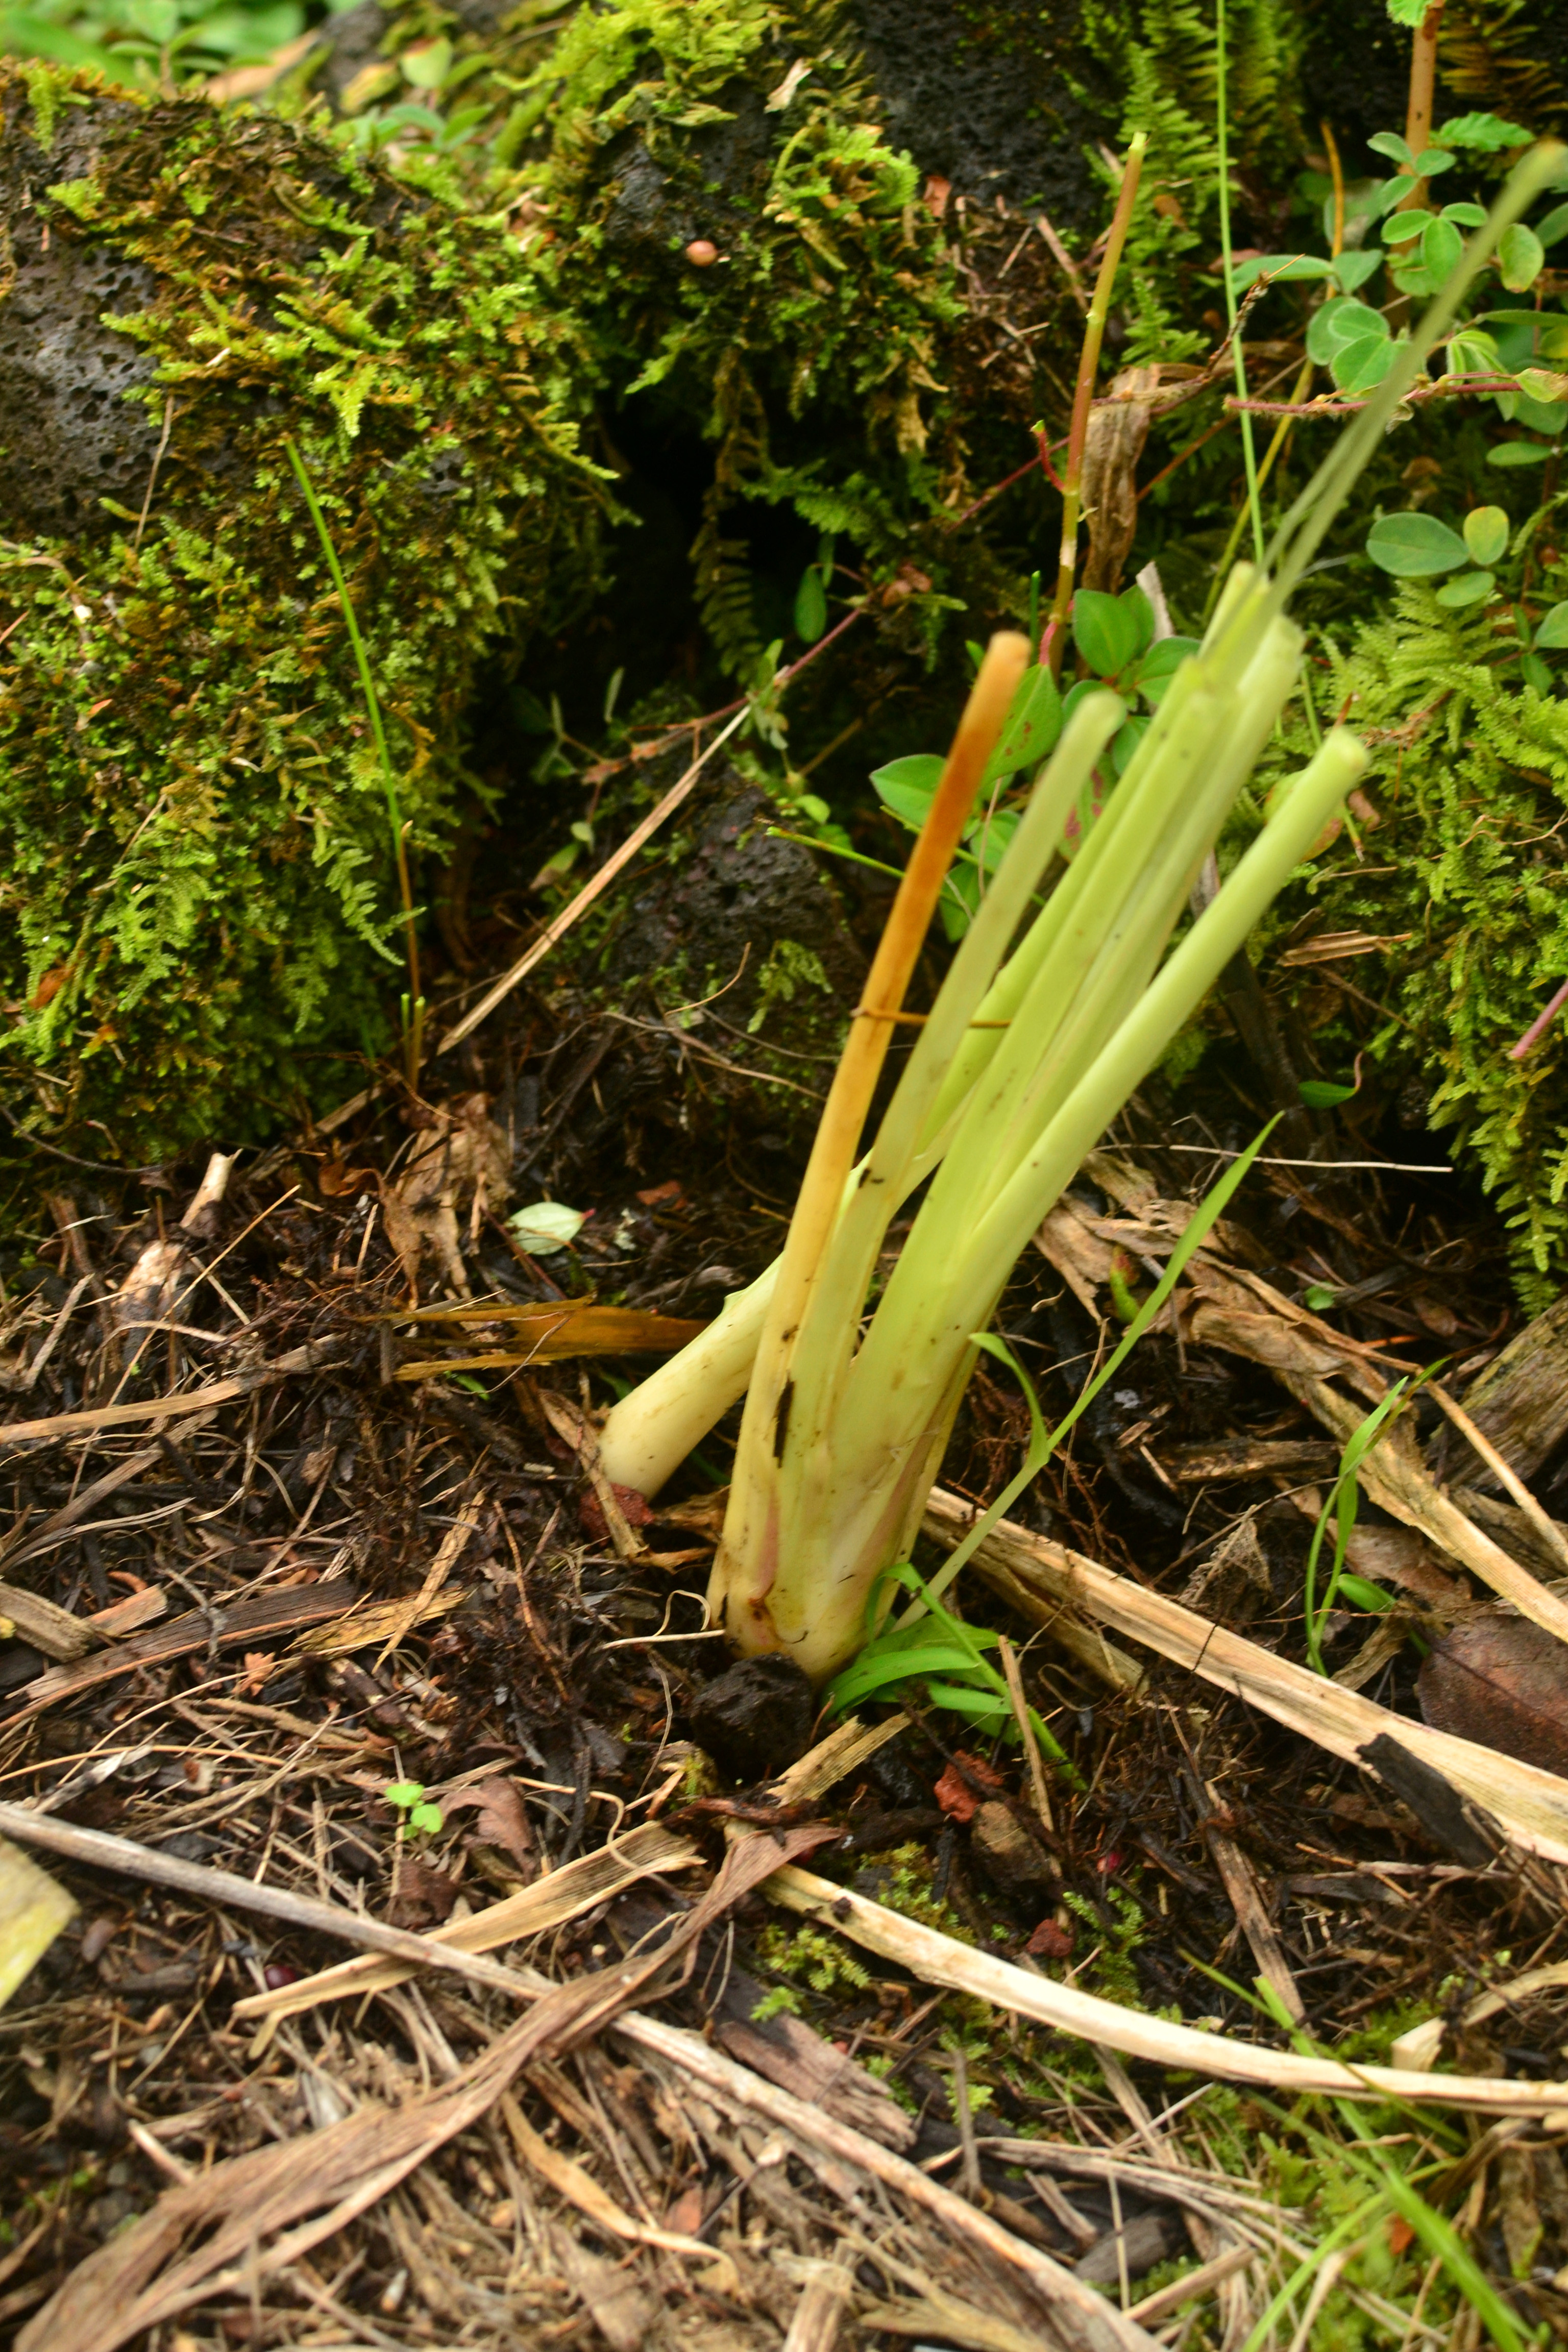
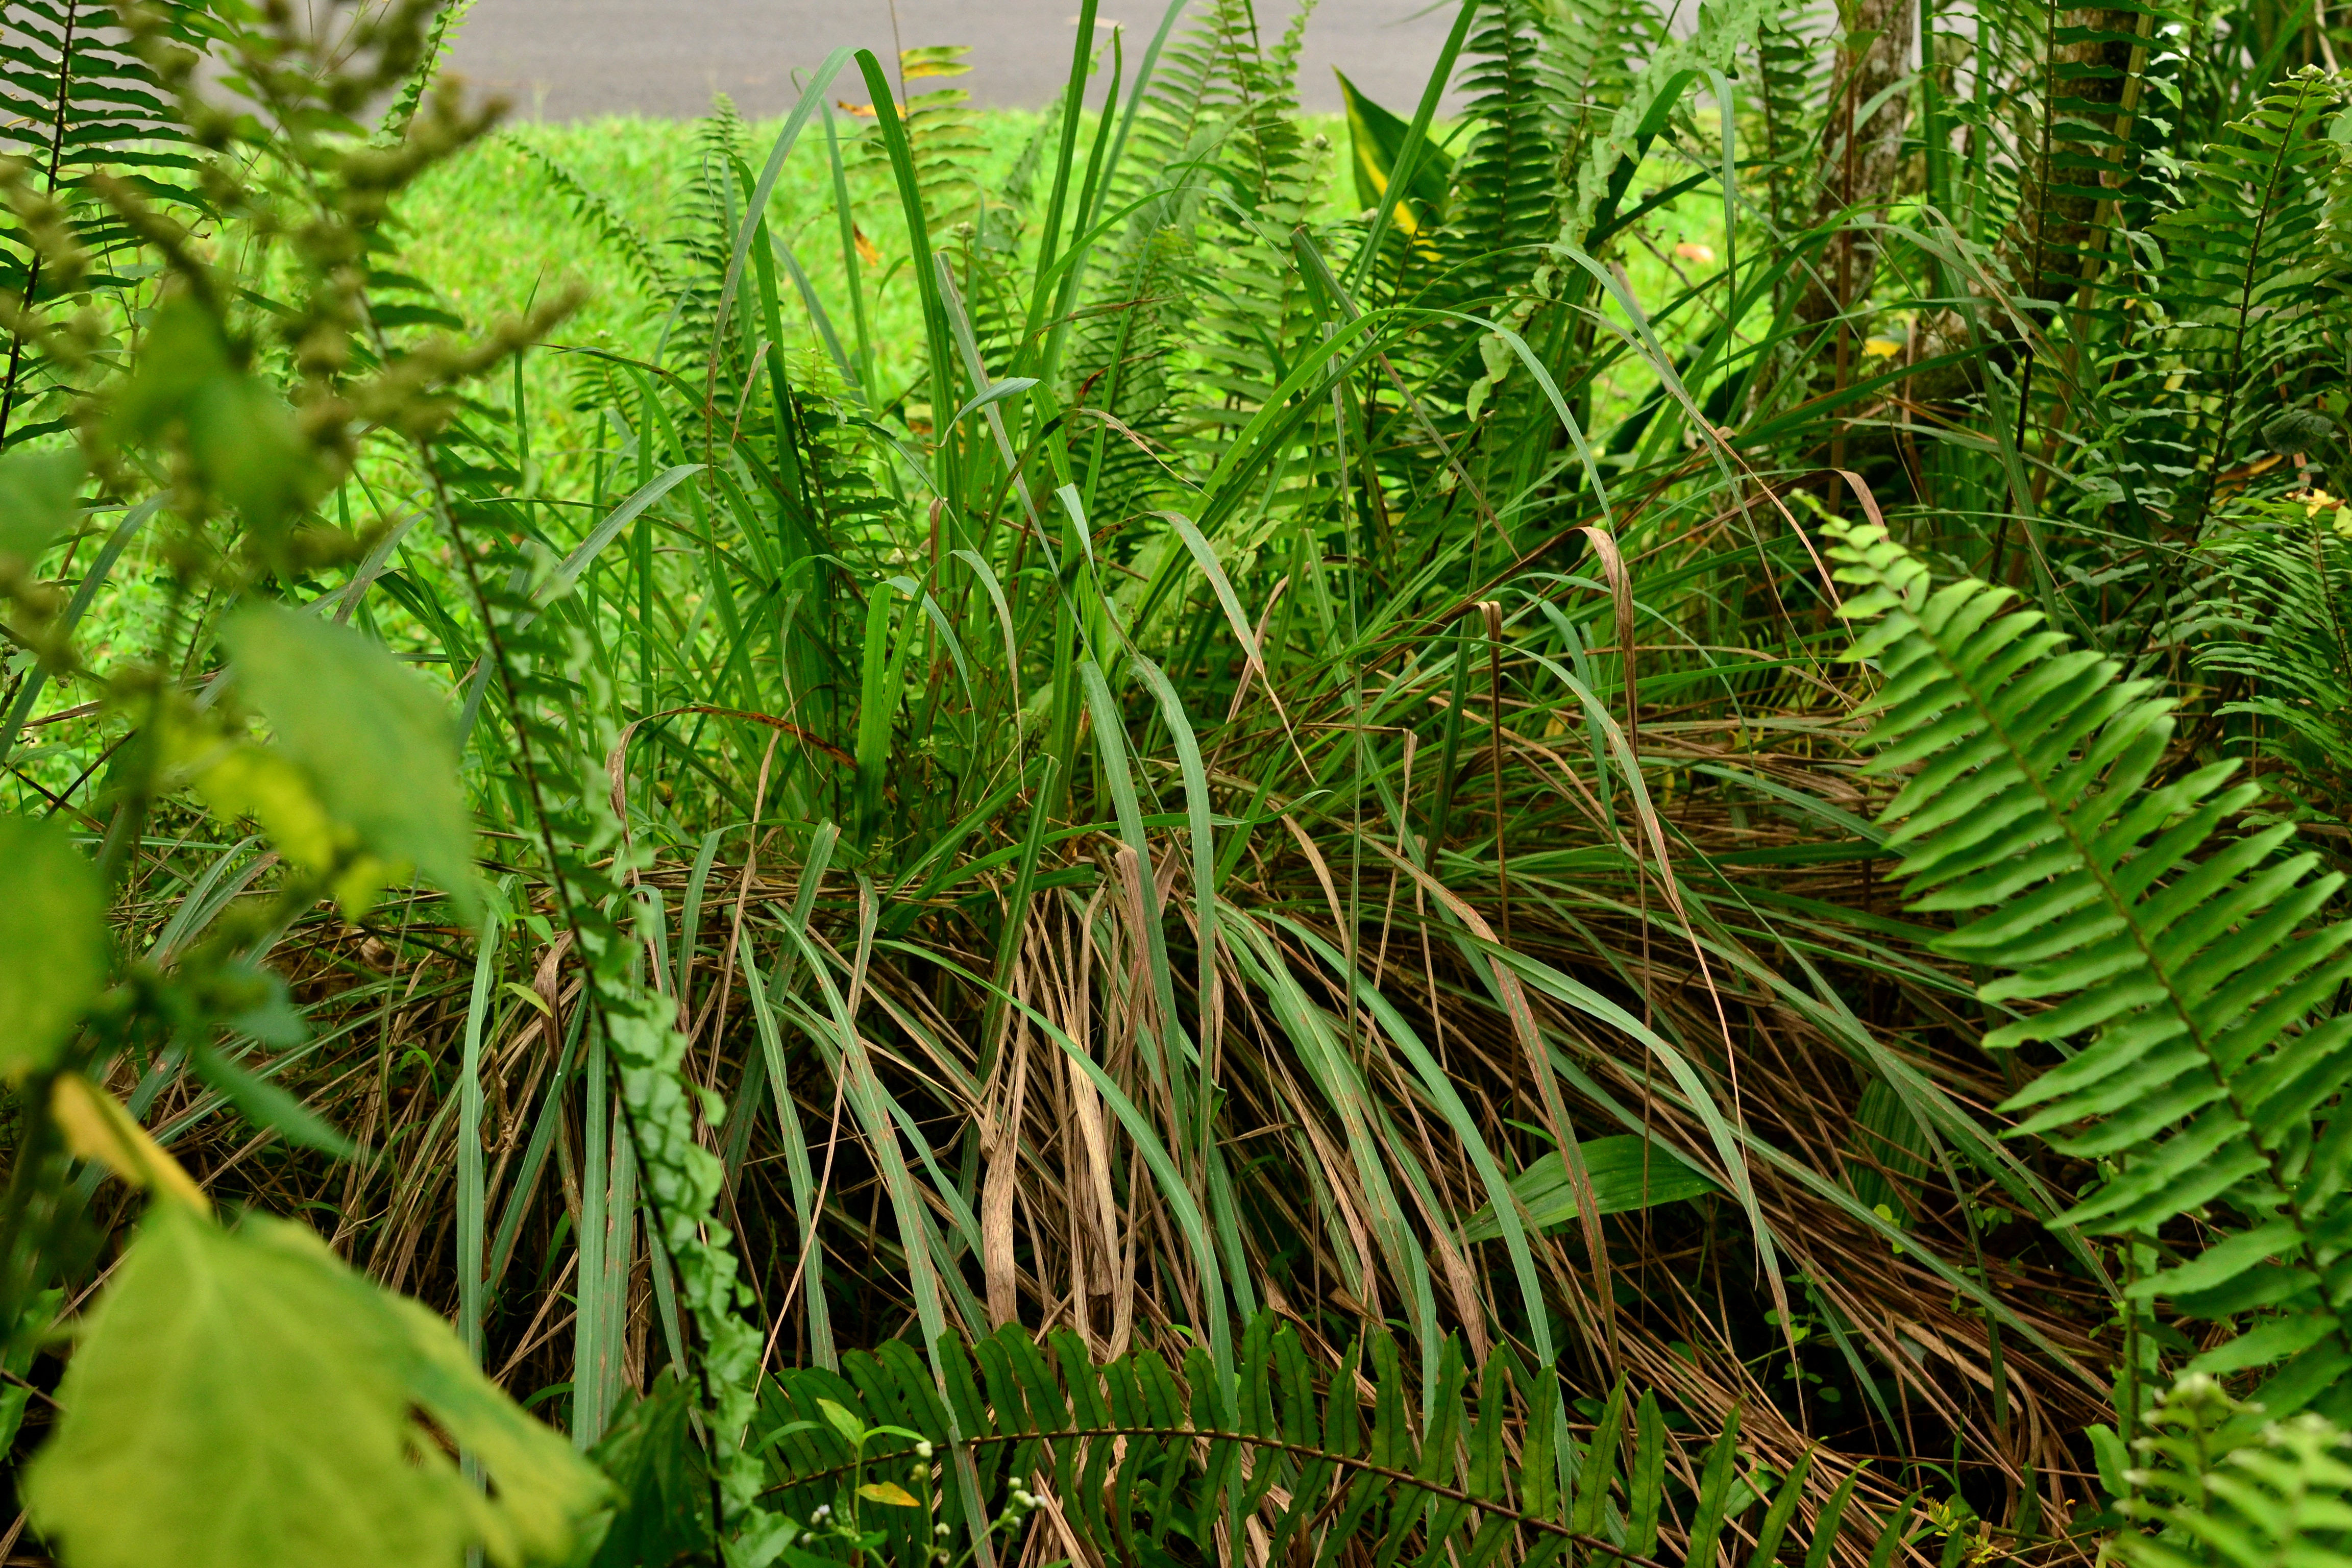
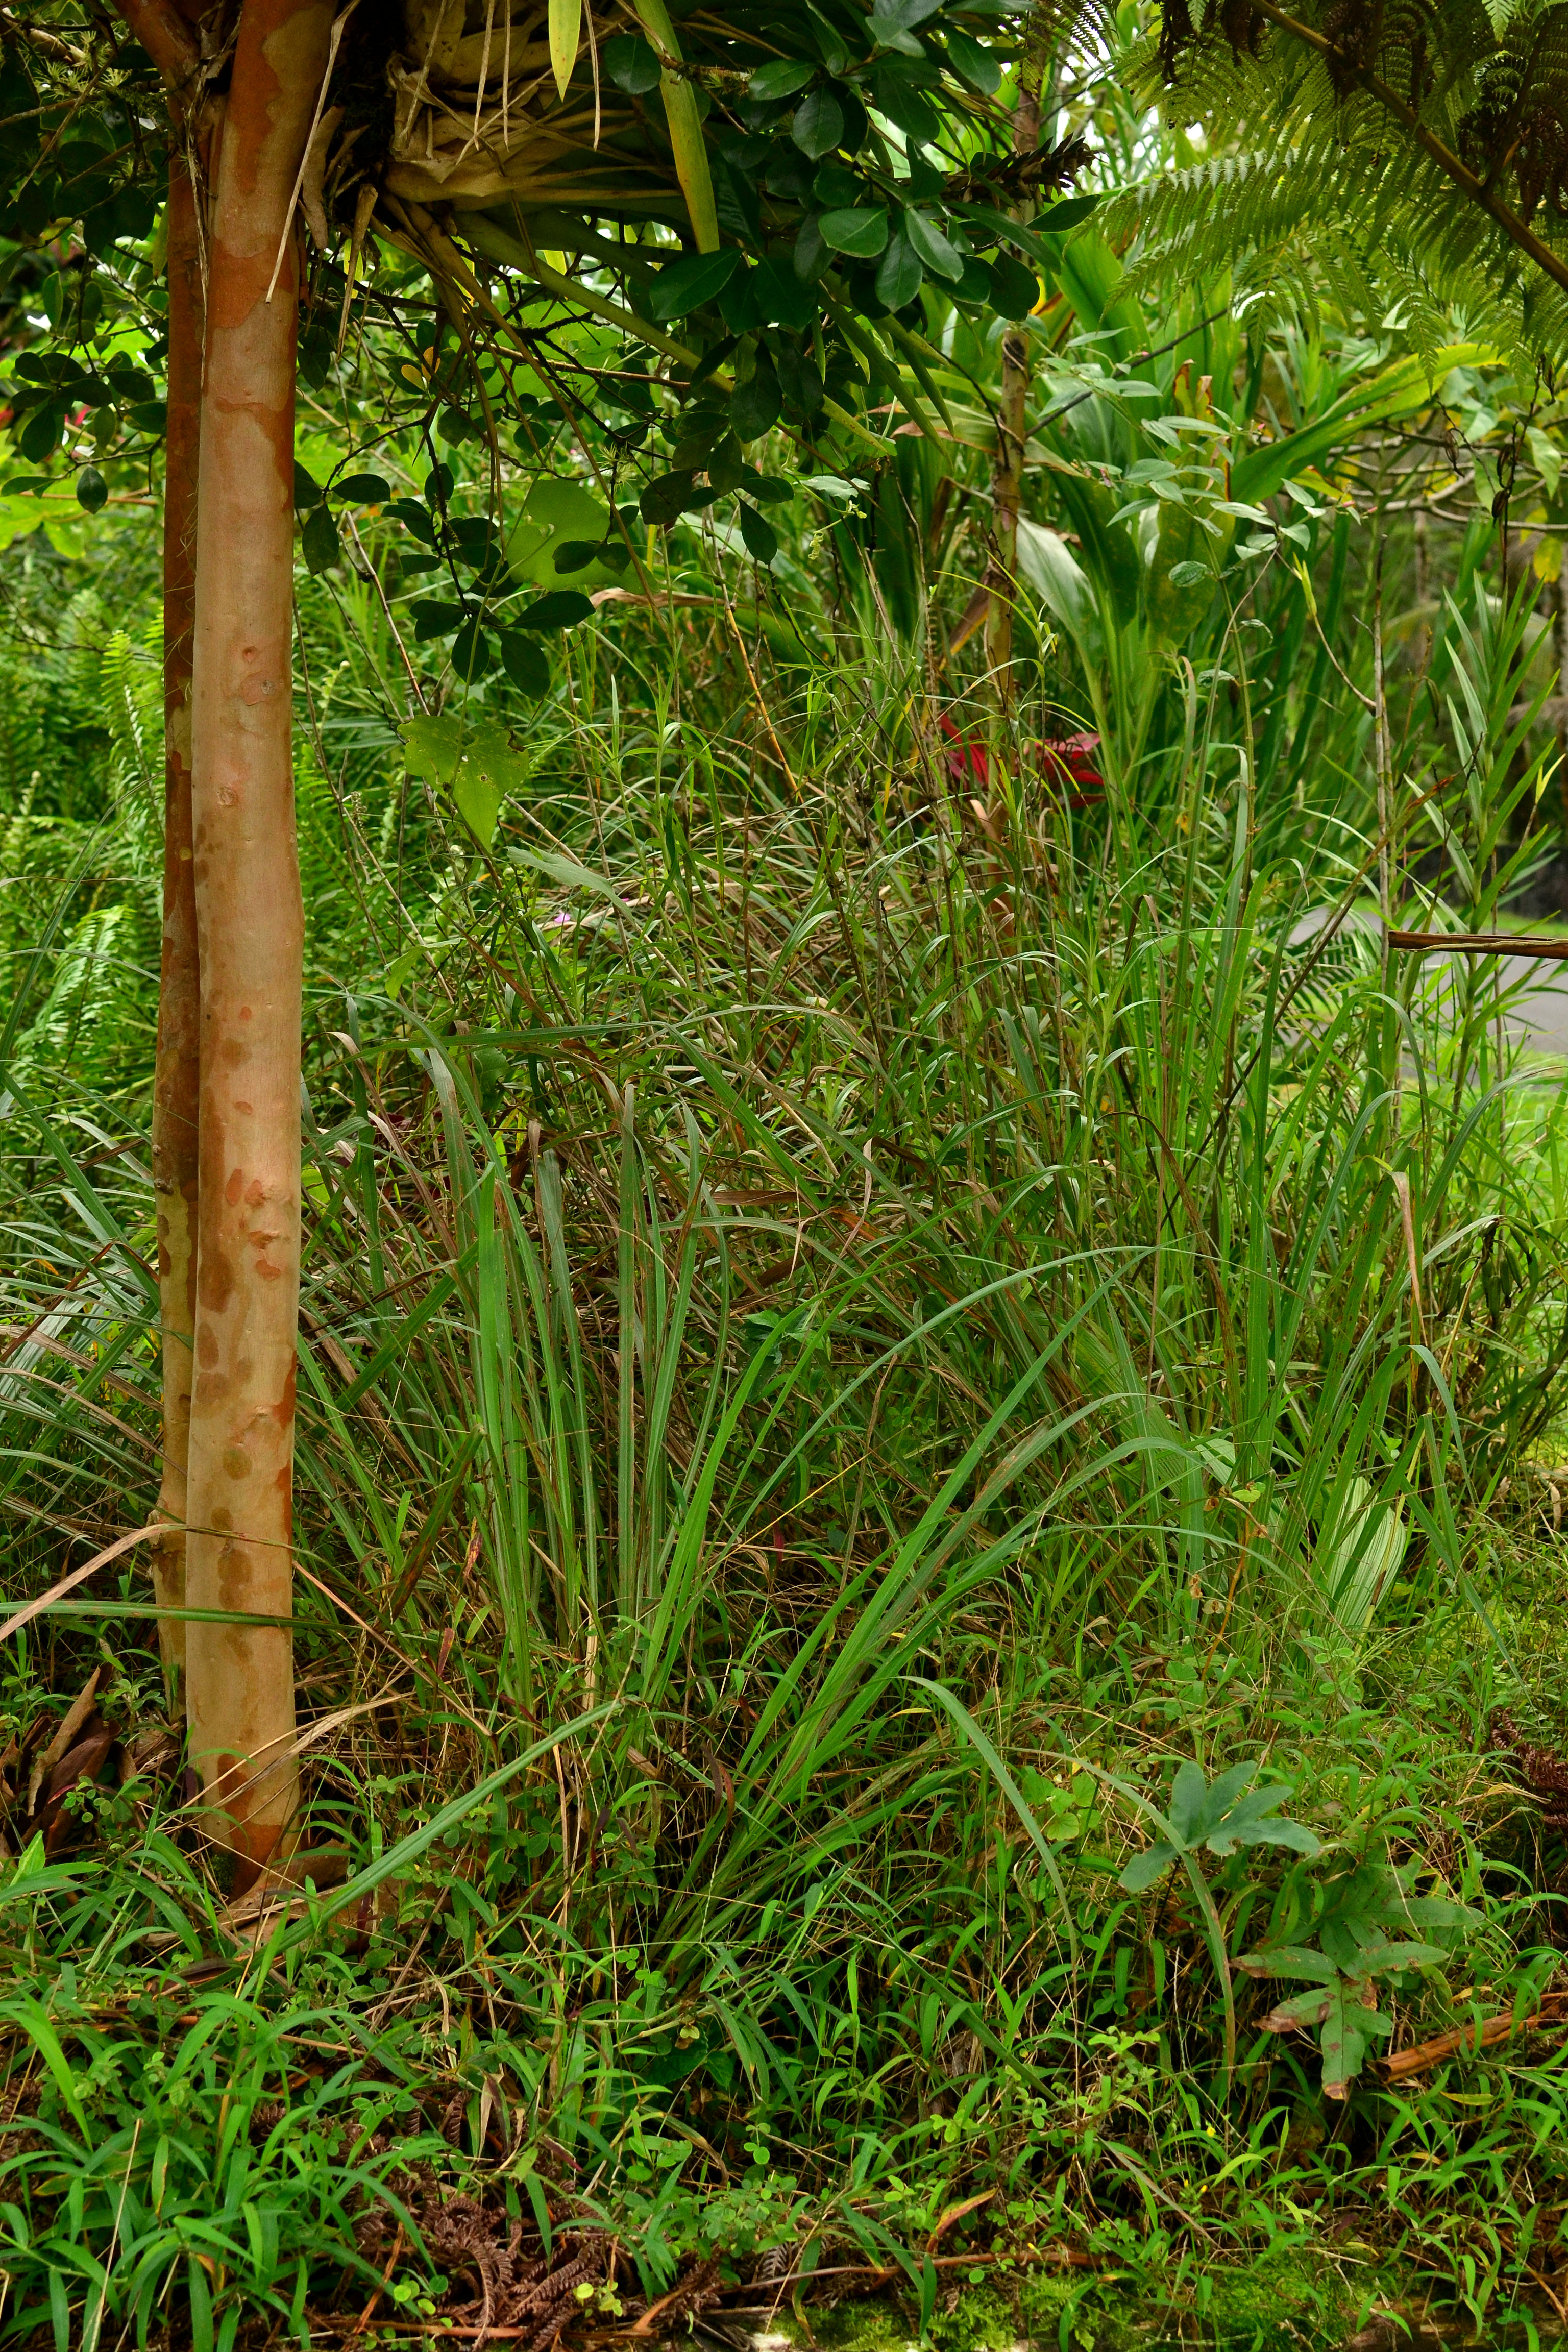
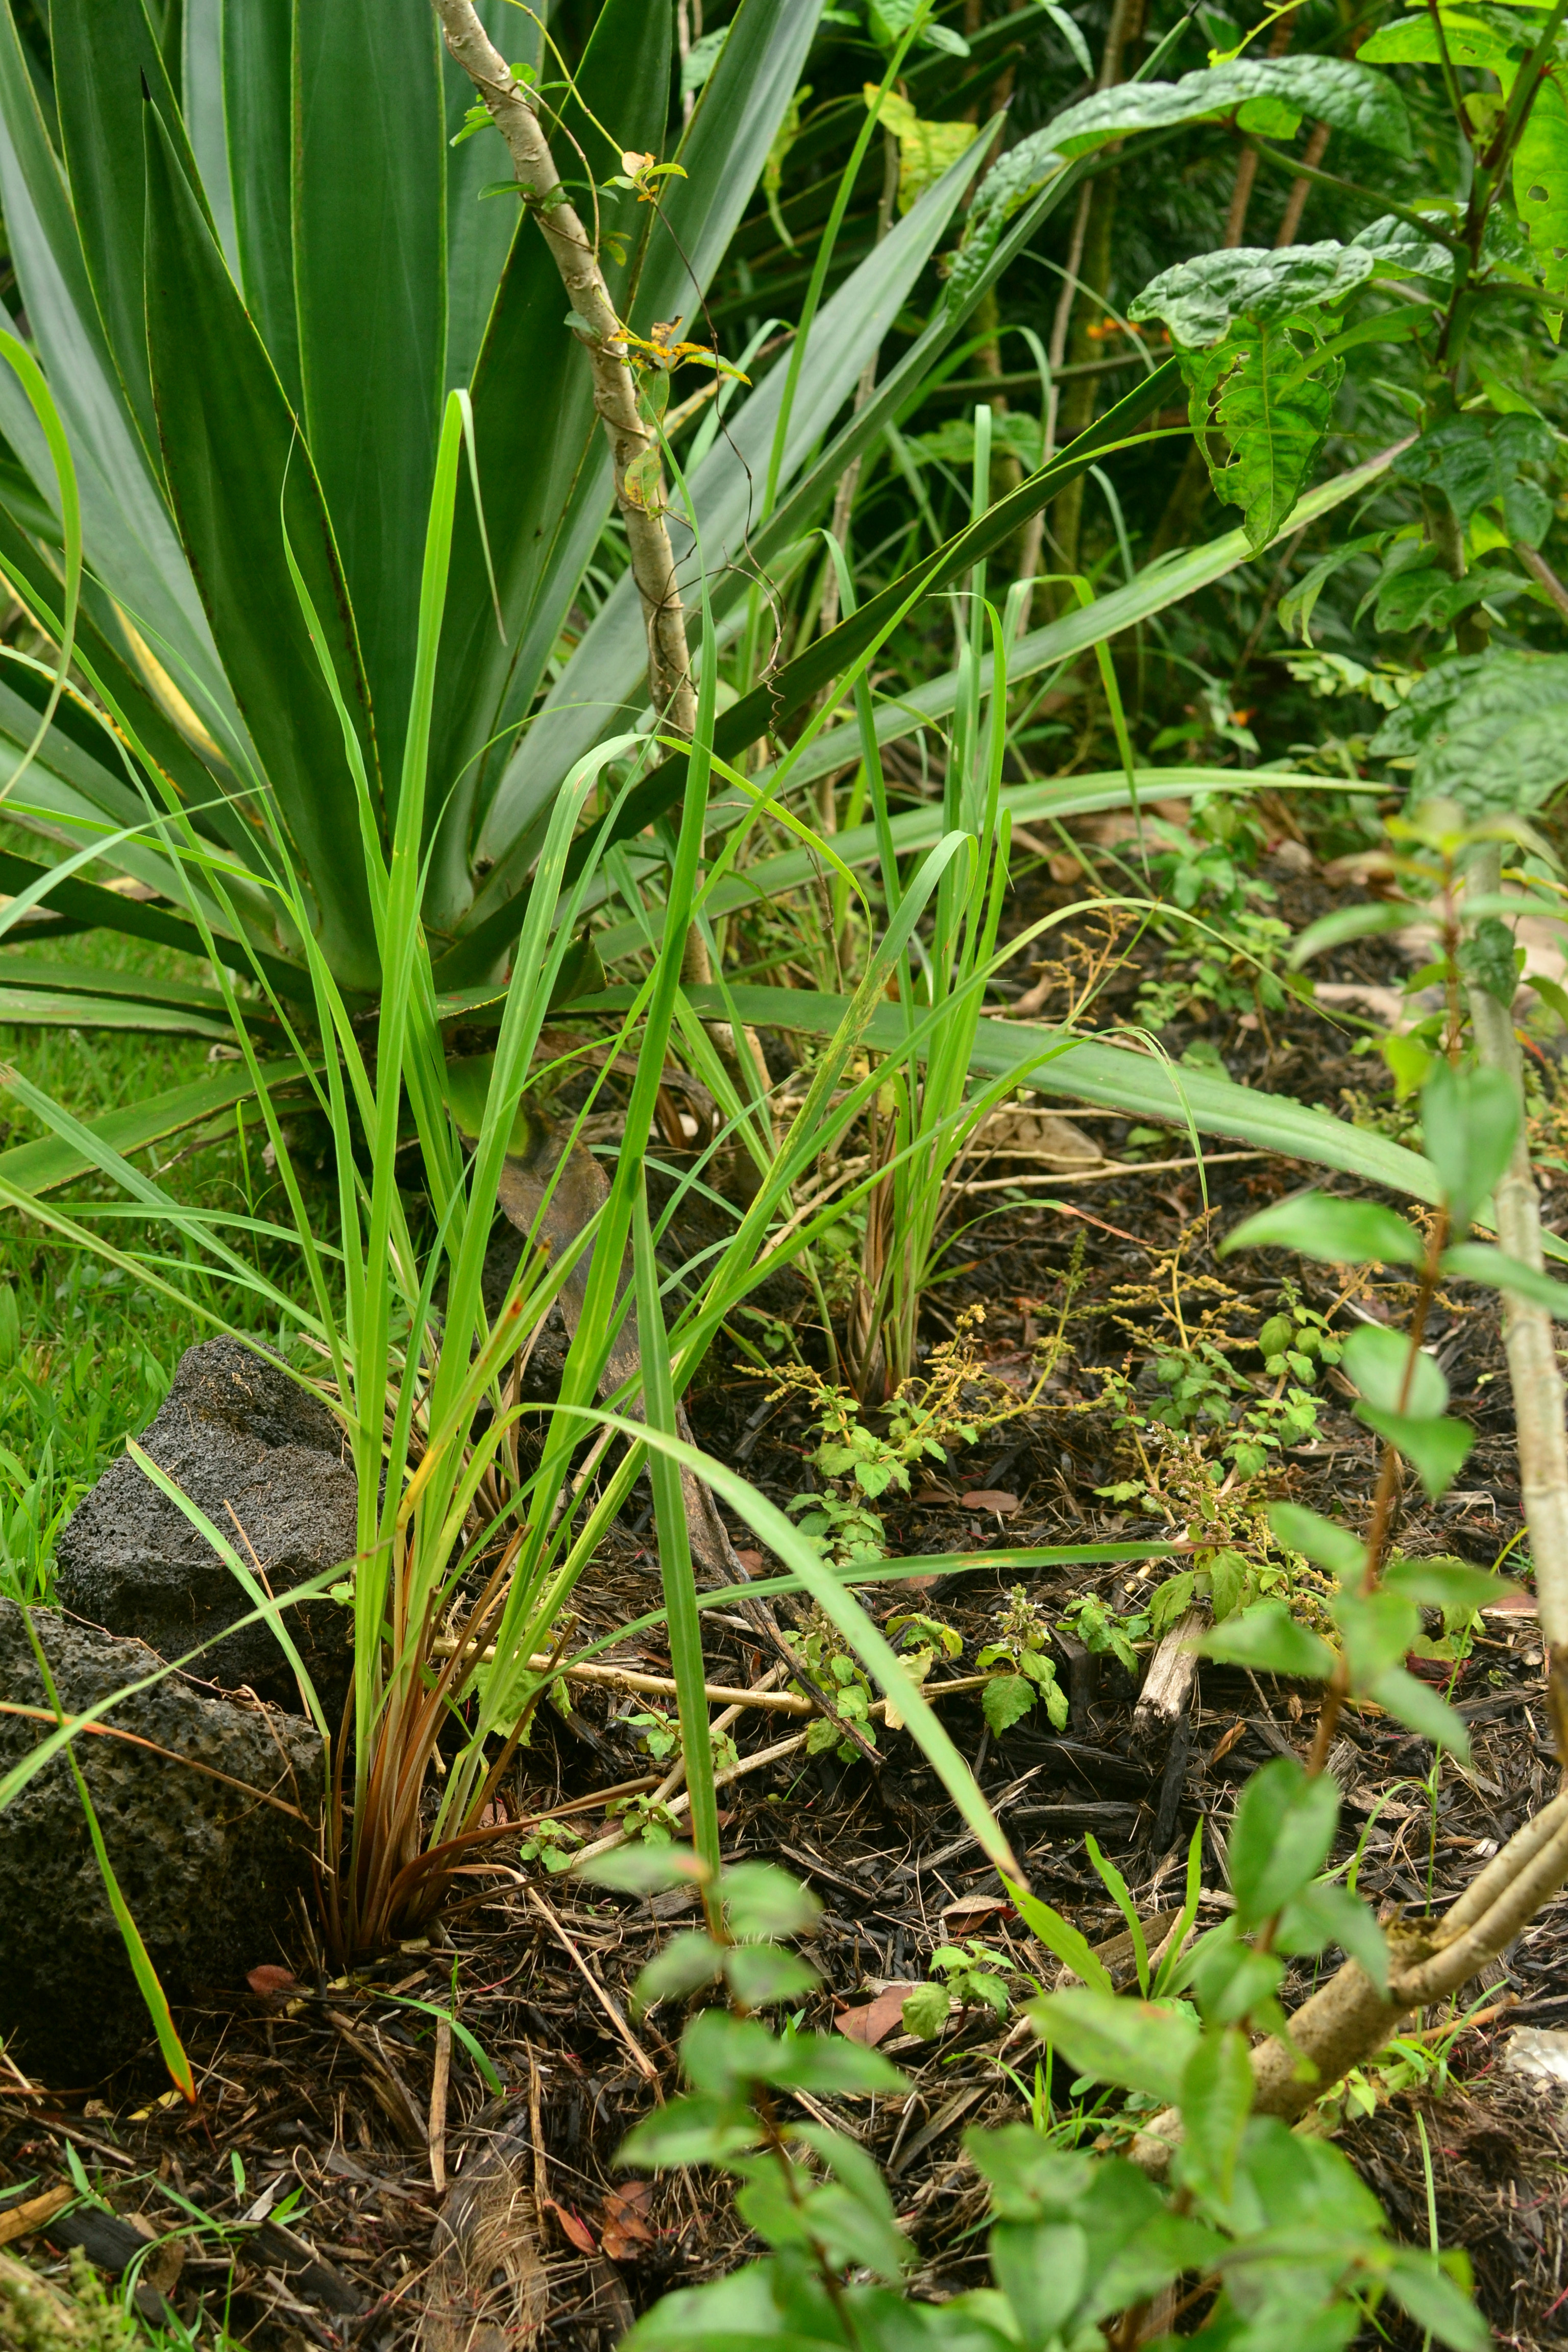
lemongrass
-
-
dracaenaceae
Bed Making
All of my beds are raised beds. I use rocks and logs as my borders and mound the soil in my beds. Know what you’re going to grow in that bed. Maybe just sweet potatoes, maybe a veggie garden, different plants have different needs. If growing a mixed veggie garden give it lots of nutrients. My bed making style is a mix between huglekulture and sheet mulching. I’ve found this method to be effective in building nutrients and using plant materials.
- I always lay down cardboard first. Weed suppression is key. Remove tape from cardboard before you put it down, or remove it as you see it in the future.
- Shape beds with whatever materials around, rocks and dead trees seem to be the most abundant resources I have.
- Add layer of any raw organic matter. Leaves, branches, whole plants, tree trunks, it doesn’t matter, as long as it will decompose over time and feed nutrients into the soil. (huglekulture style). Adding problematic weeds at this stage will prevent them from regrowing because they will be completely covered and unable to grow at all.
- Depending on what you are growing: amend to raise pH. I use dolomite lime because it gives me magnesium as well as raising pH. Spread a layer recommended by label. Lime and dolomite are two minerals found around the world. They are found naturally and contain no chemicals, so there’s no need to be worrisome about poisoning your bed. (dolopril or calcium carbonate work as well)
- Add soil. Unless you have a supply of soil ready to go, I would pick up some cinder-soil from a quarry, and to be honest you may as well get the cheapest one available, as they are all leached soils, no reason to pay more for that degraded top soil. But cinder is important in heavy rain areas to promote drainage.
- Add compost, self made soil, indigenous microorganisms (IMOs), biochar, chicken manure, potting soil, or any other organic amendments on top layer. You may mix the organic matter and cinder-soil, but I wouldn’t mix them too deep as the top layer is the most important.
- Add mulch. Any materials that will cover the soil works. Banana leaves, coconut leaves, mulch from the transfer station, fern leaves. Anything really.
- Plant into your bed. If its dry season I would water the bed as you make it. If its rainy season, let the bed get rained on and plant away.

Steps 1 & 2. Lay down cardboard and shape bed

Step 3. Add organic matter (any raw plant matter will do, trunks, branches, leaves, weeds)
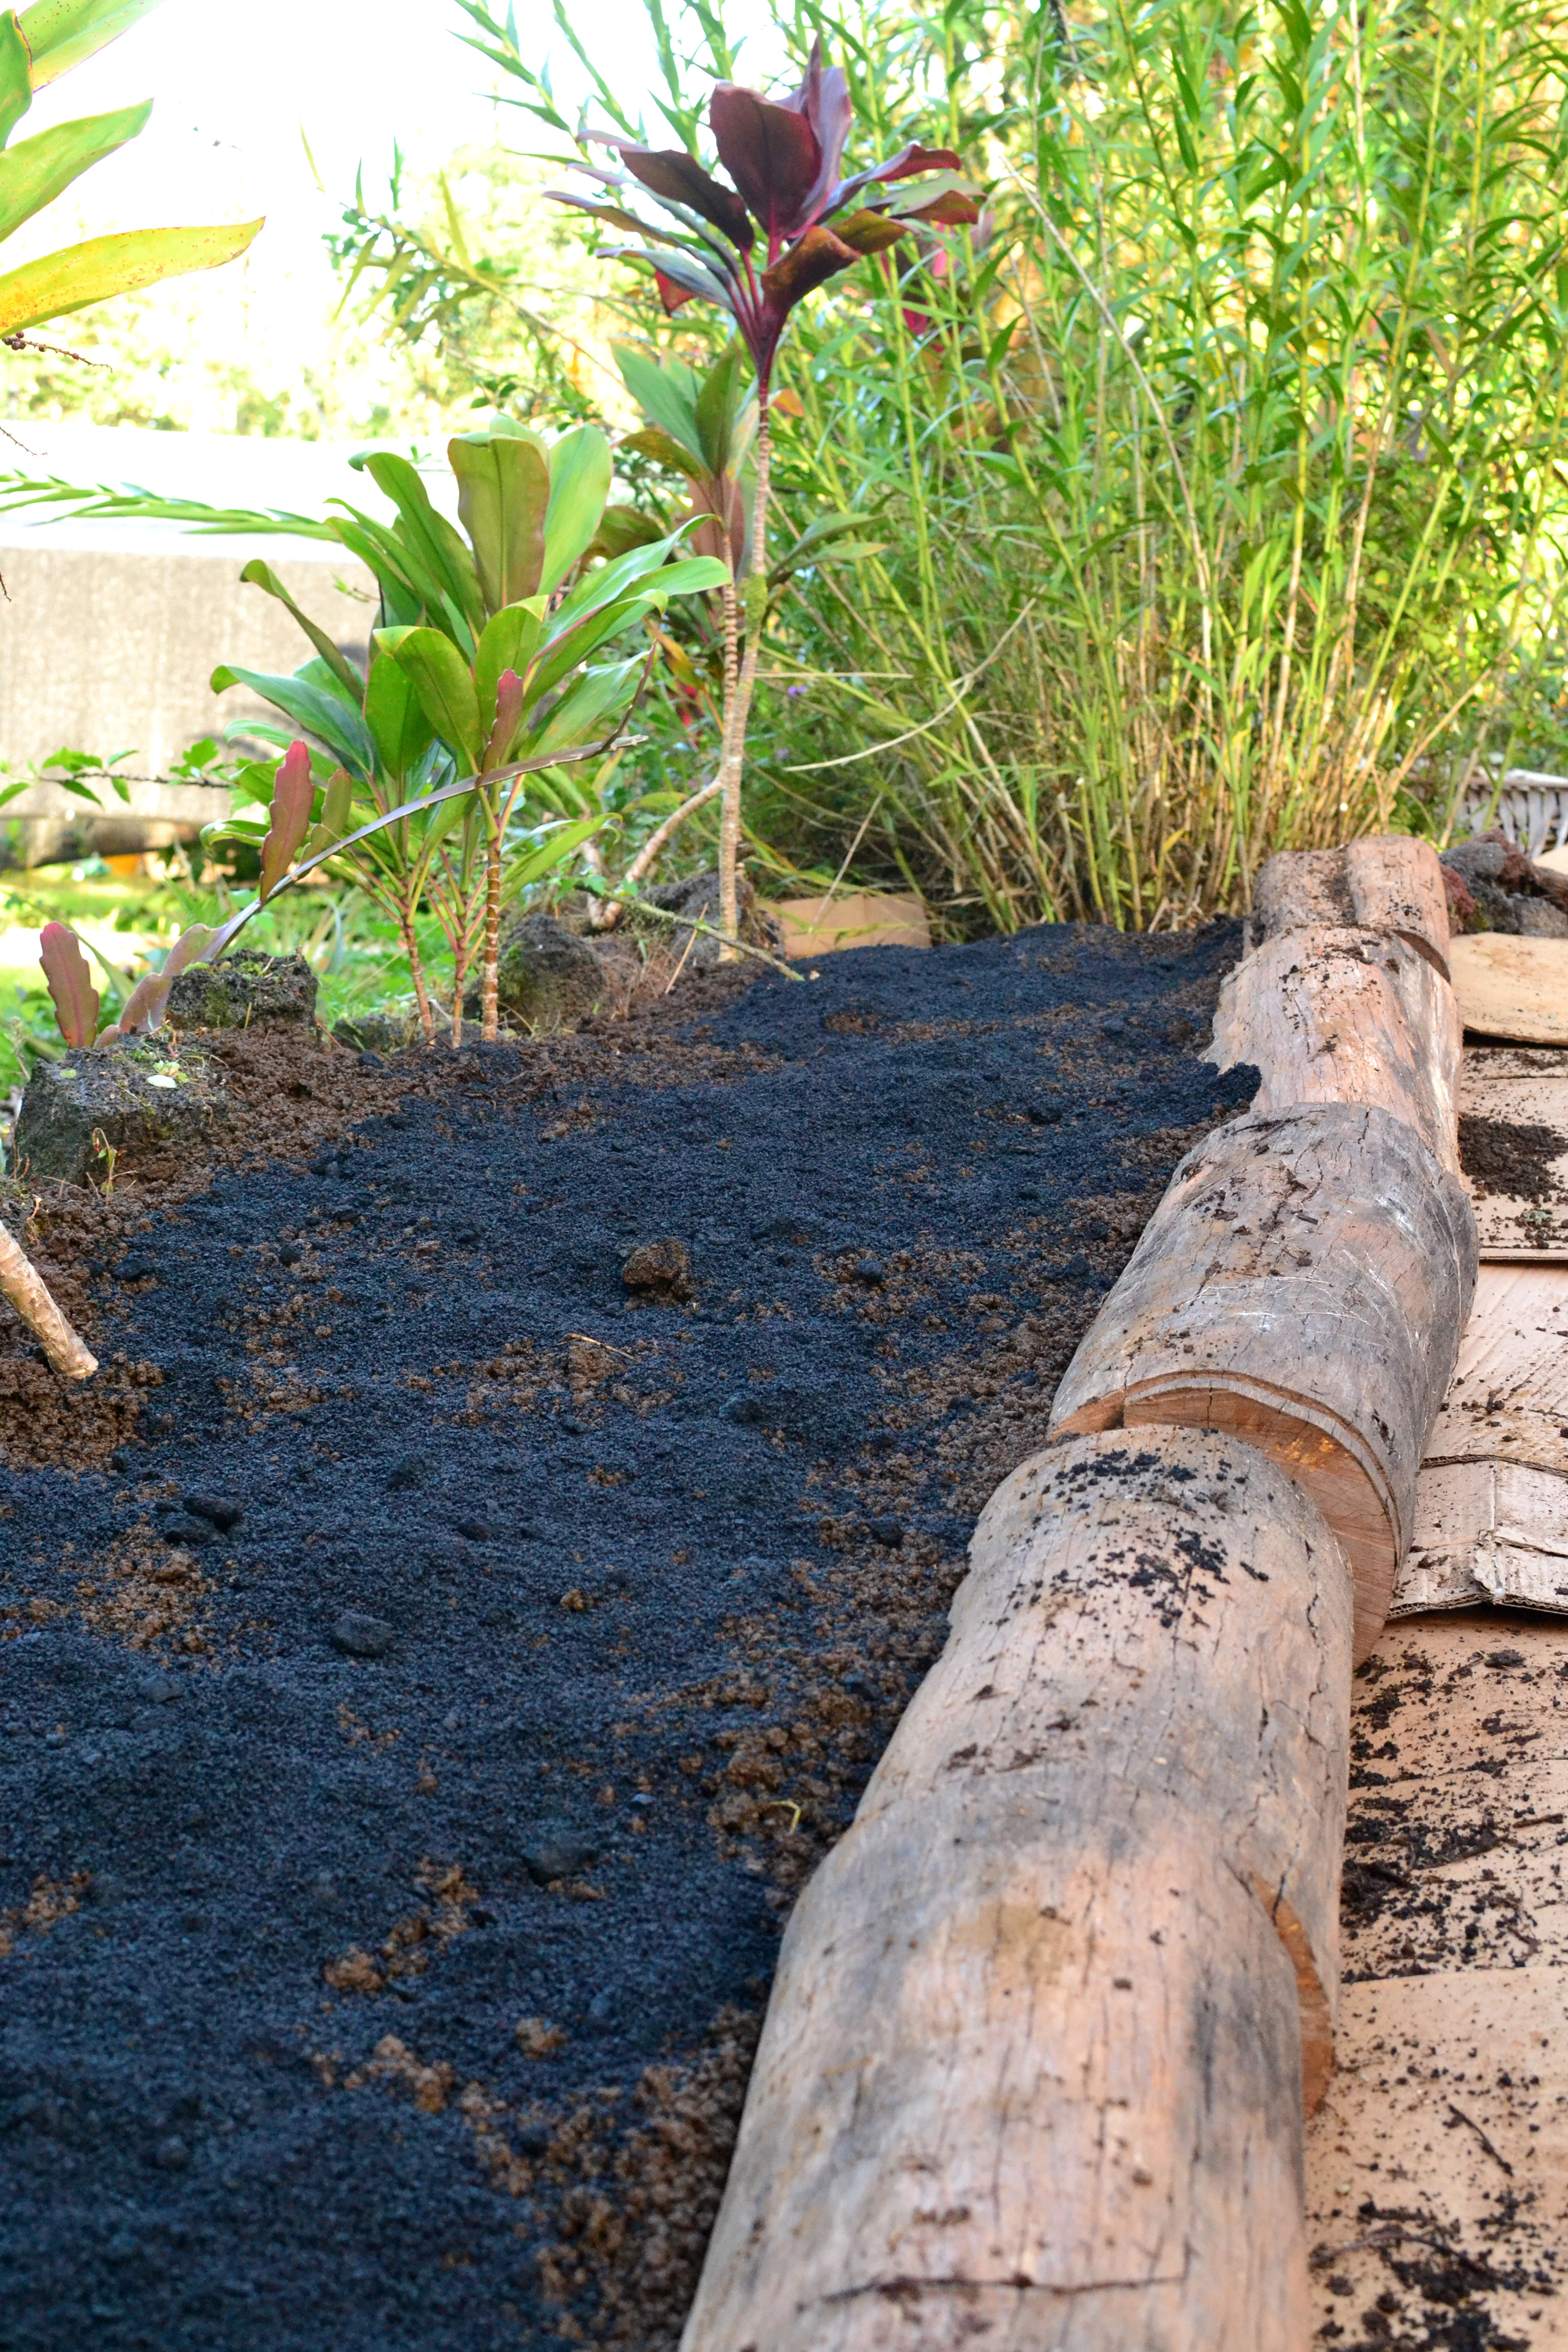
Step 4-6. Add soil and amendments (biochar)
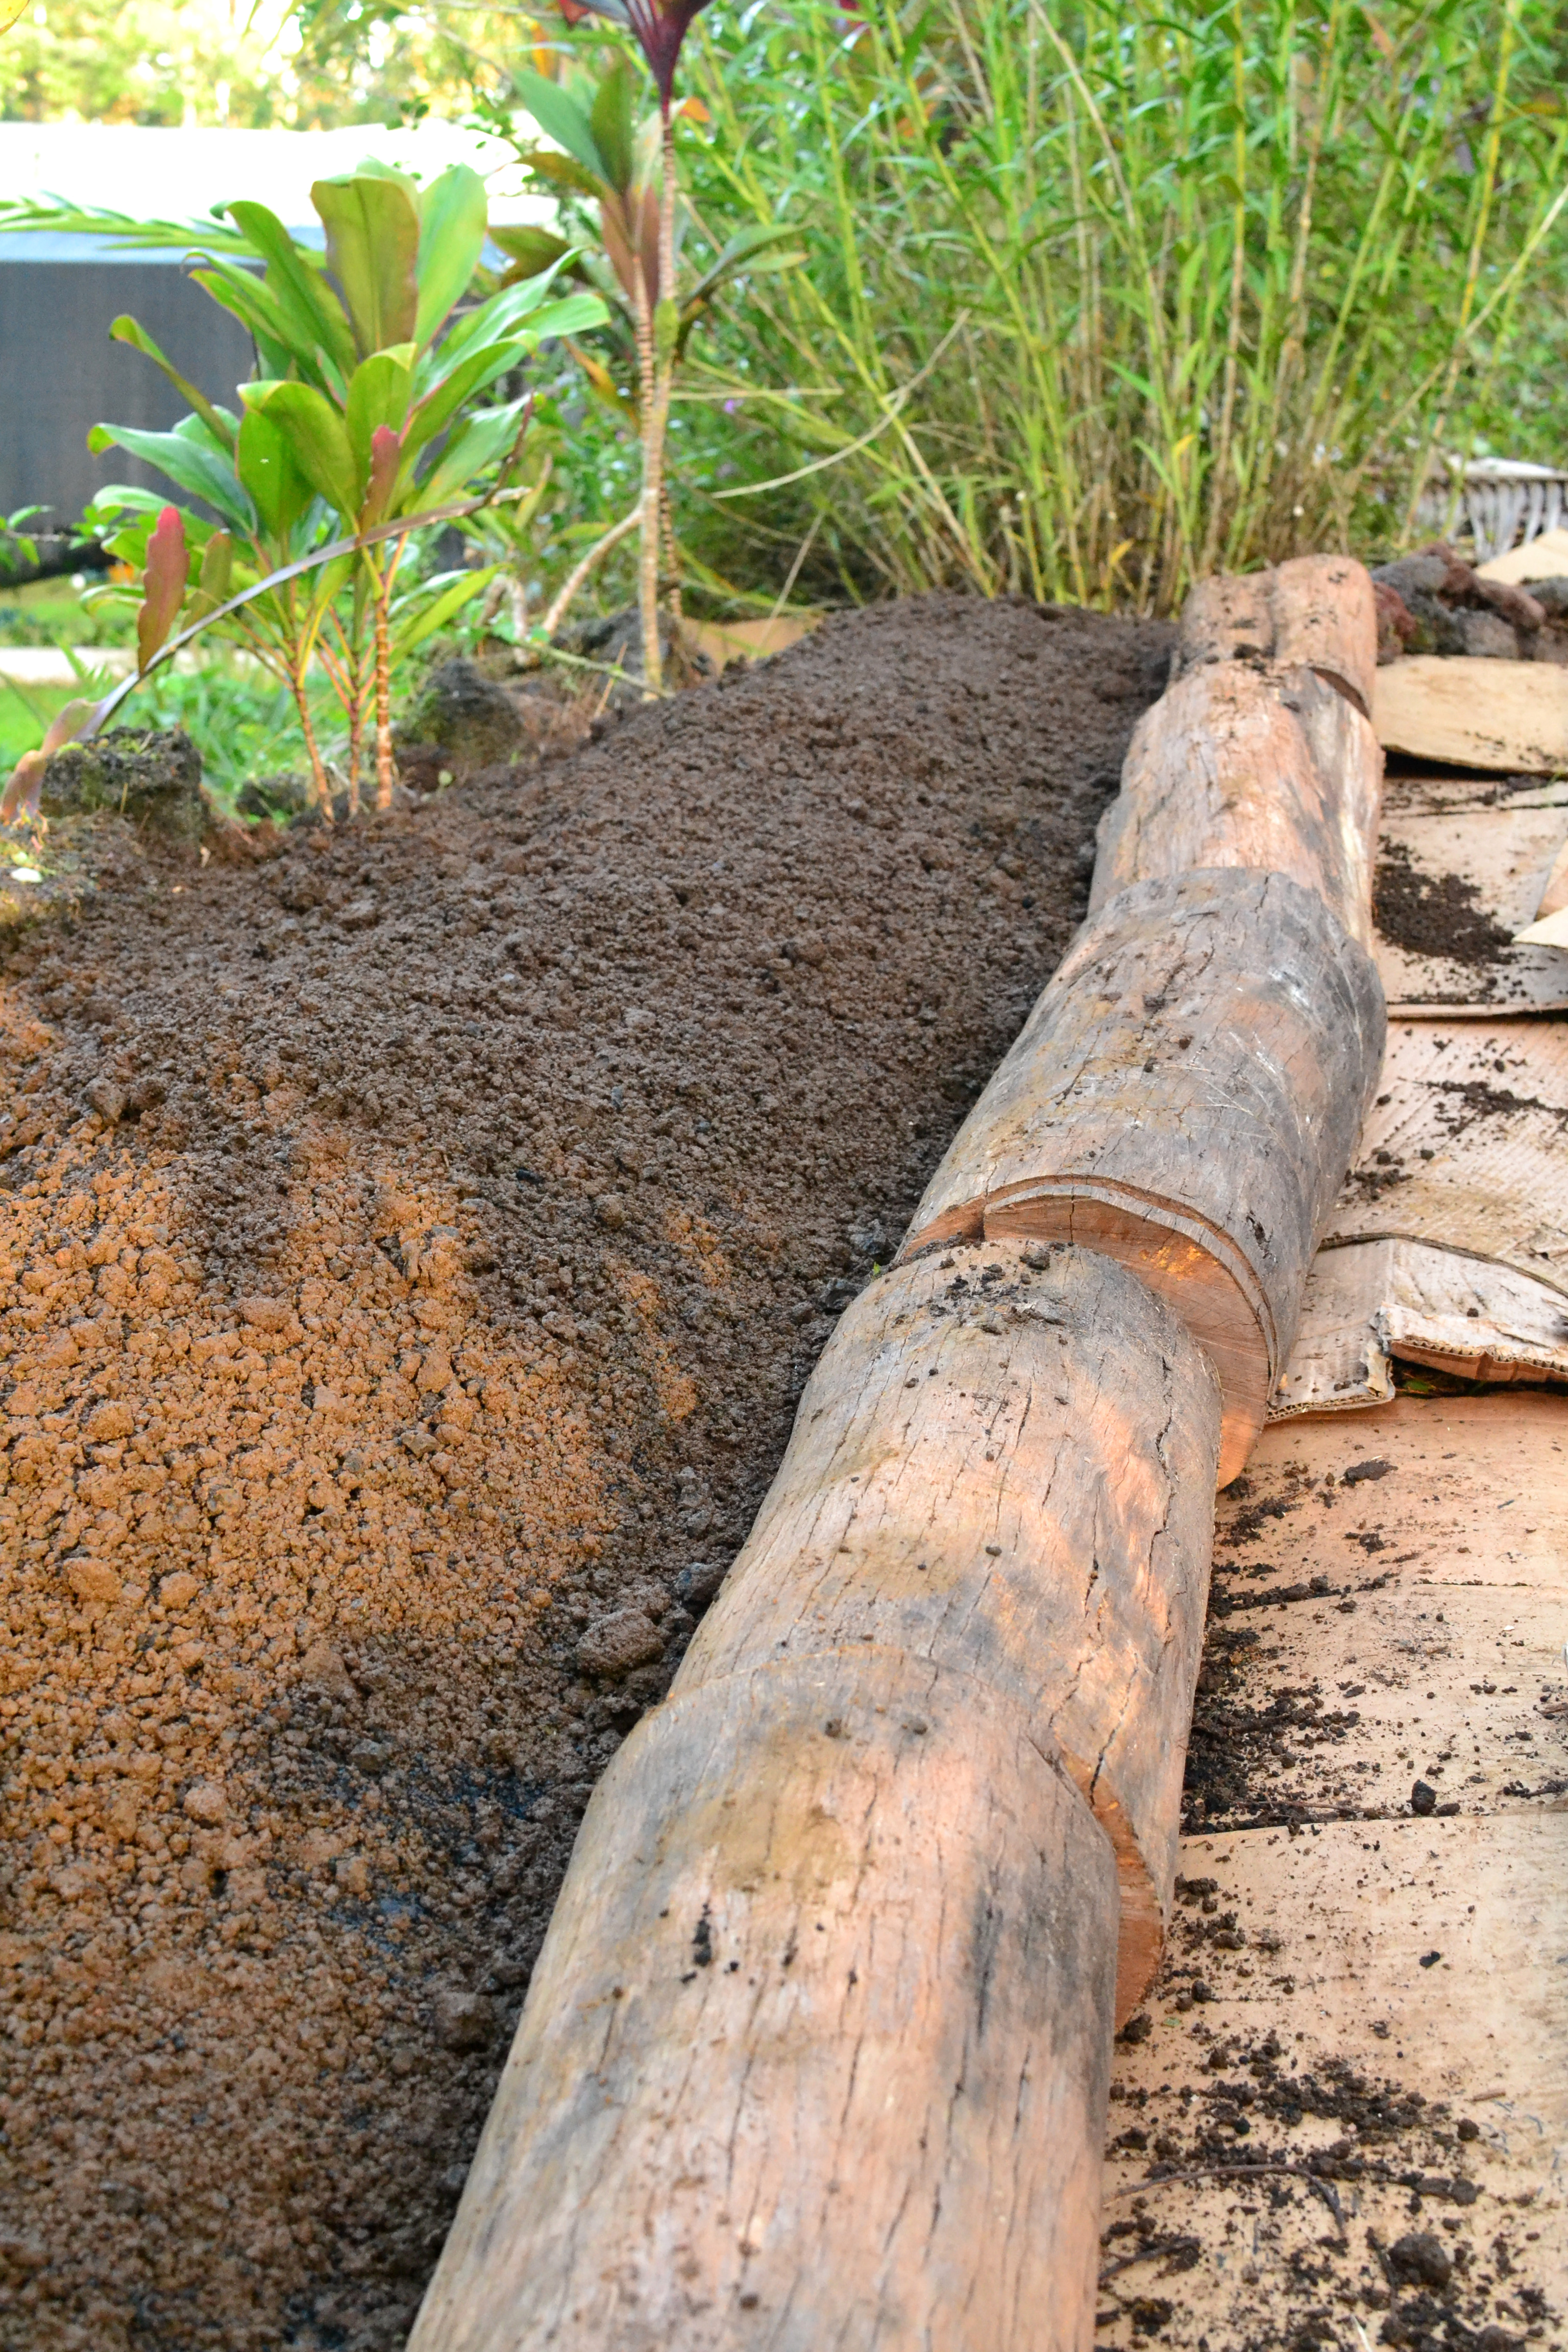
Step 4-6. Add final amendments and mix top layer
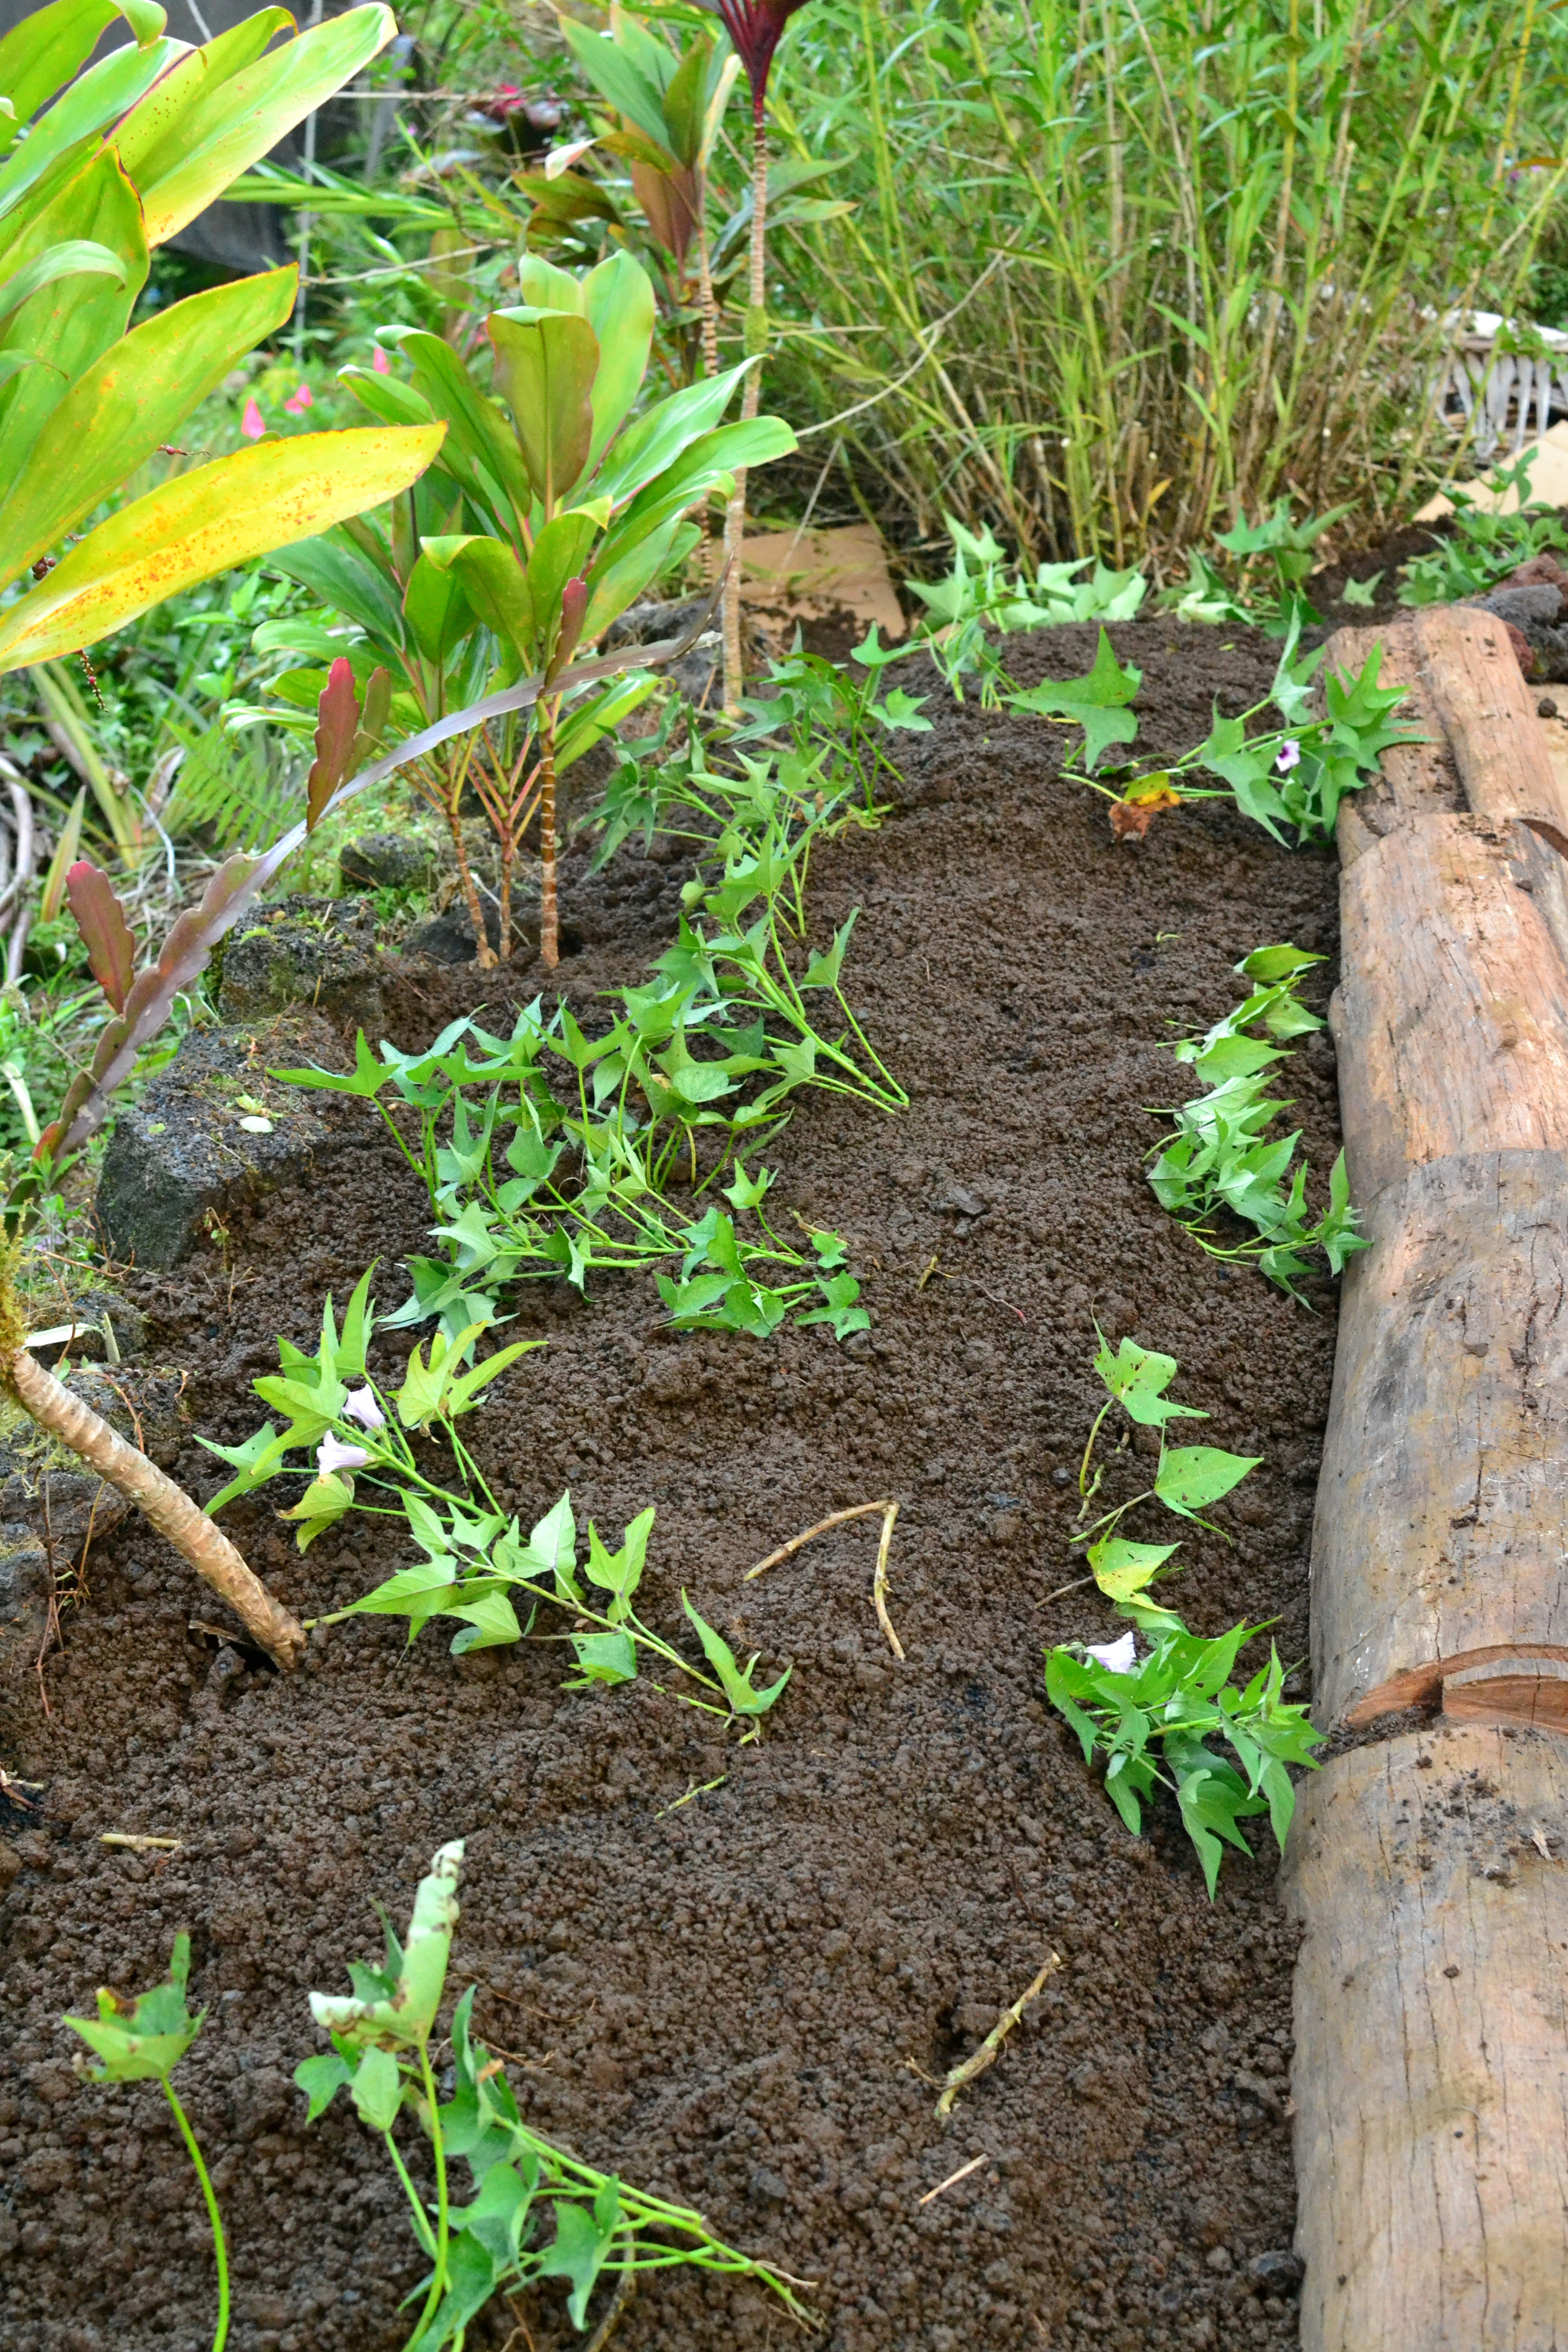
Step 8. Plant (sweet potato cuttings)
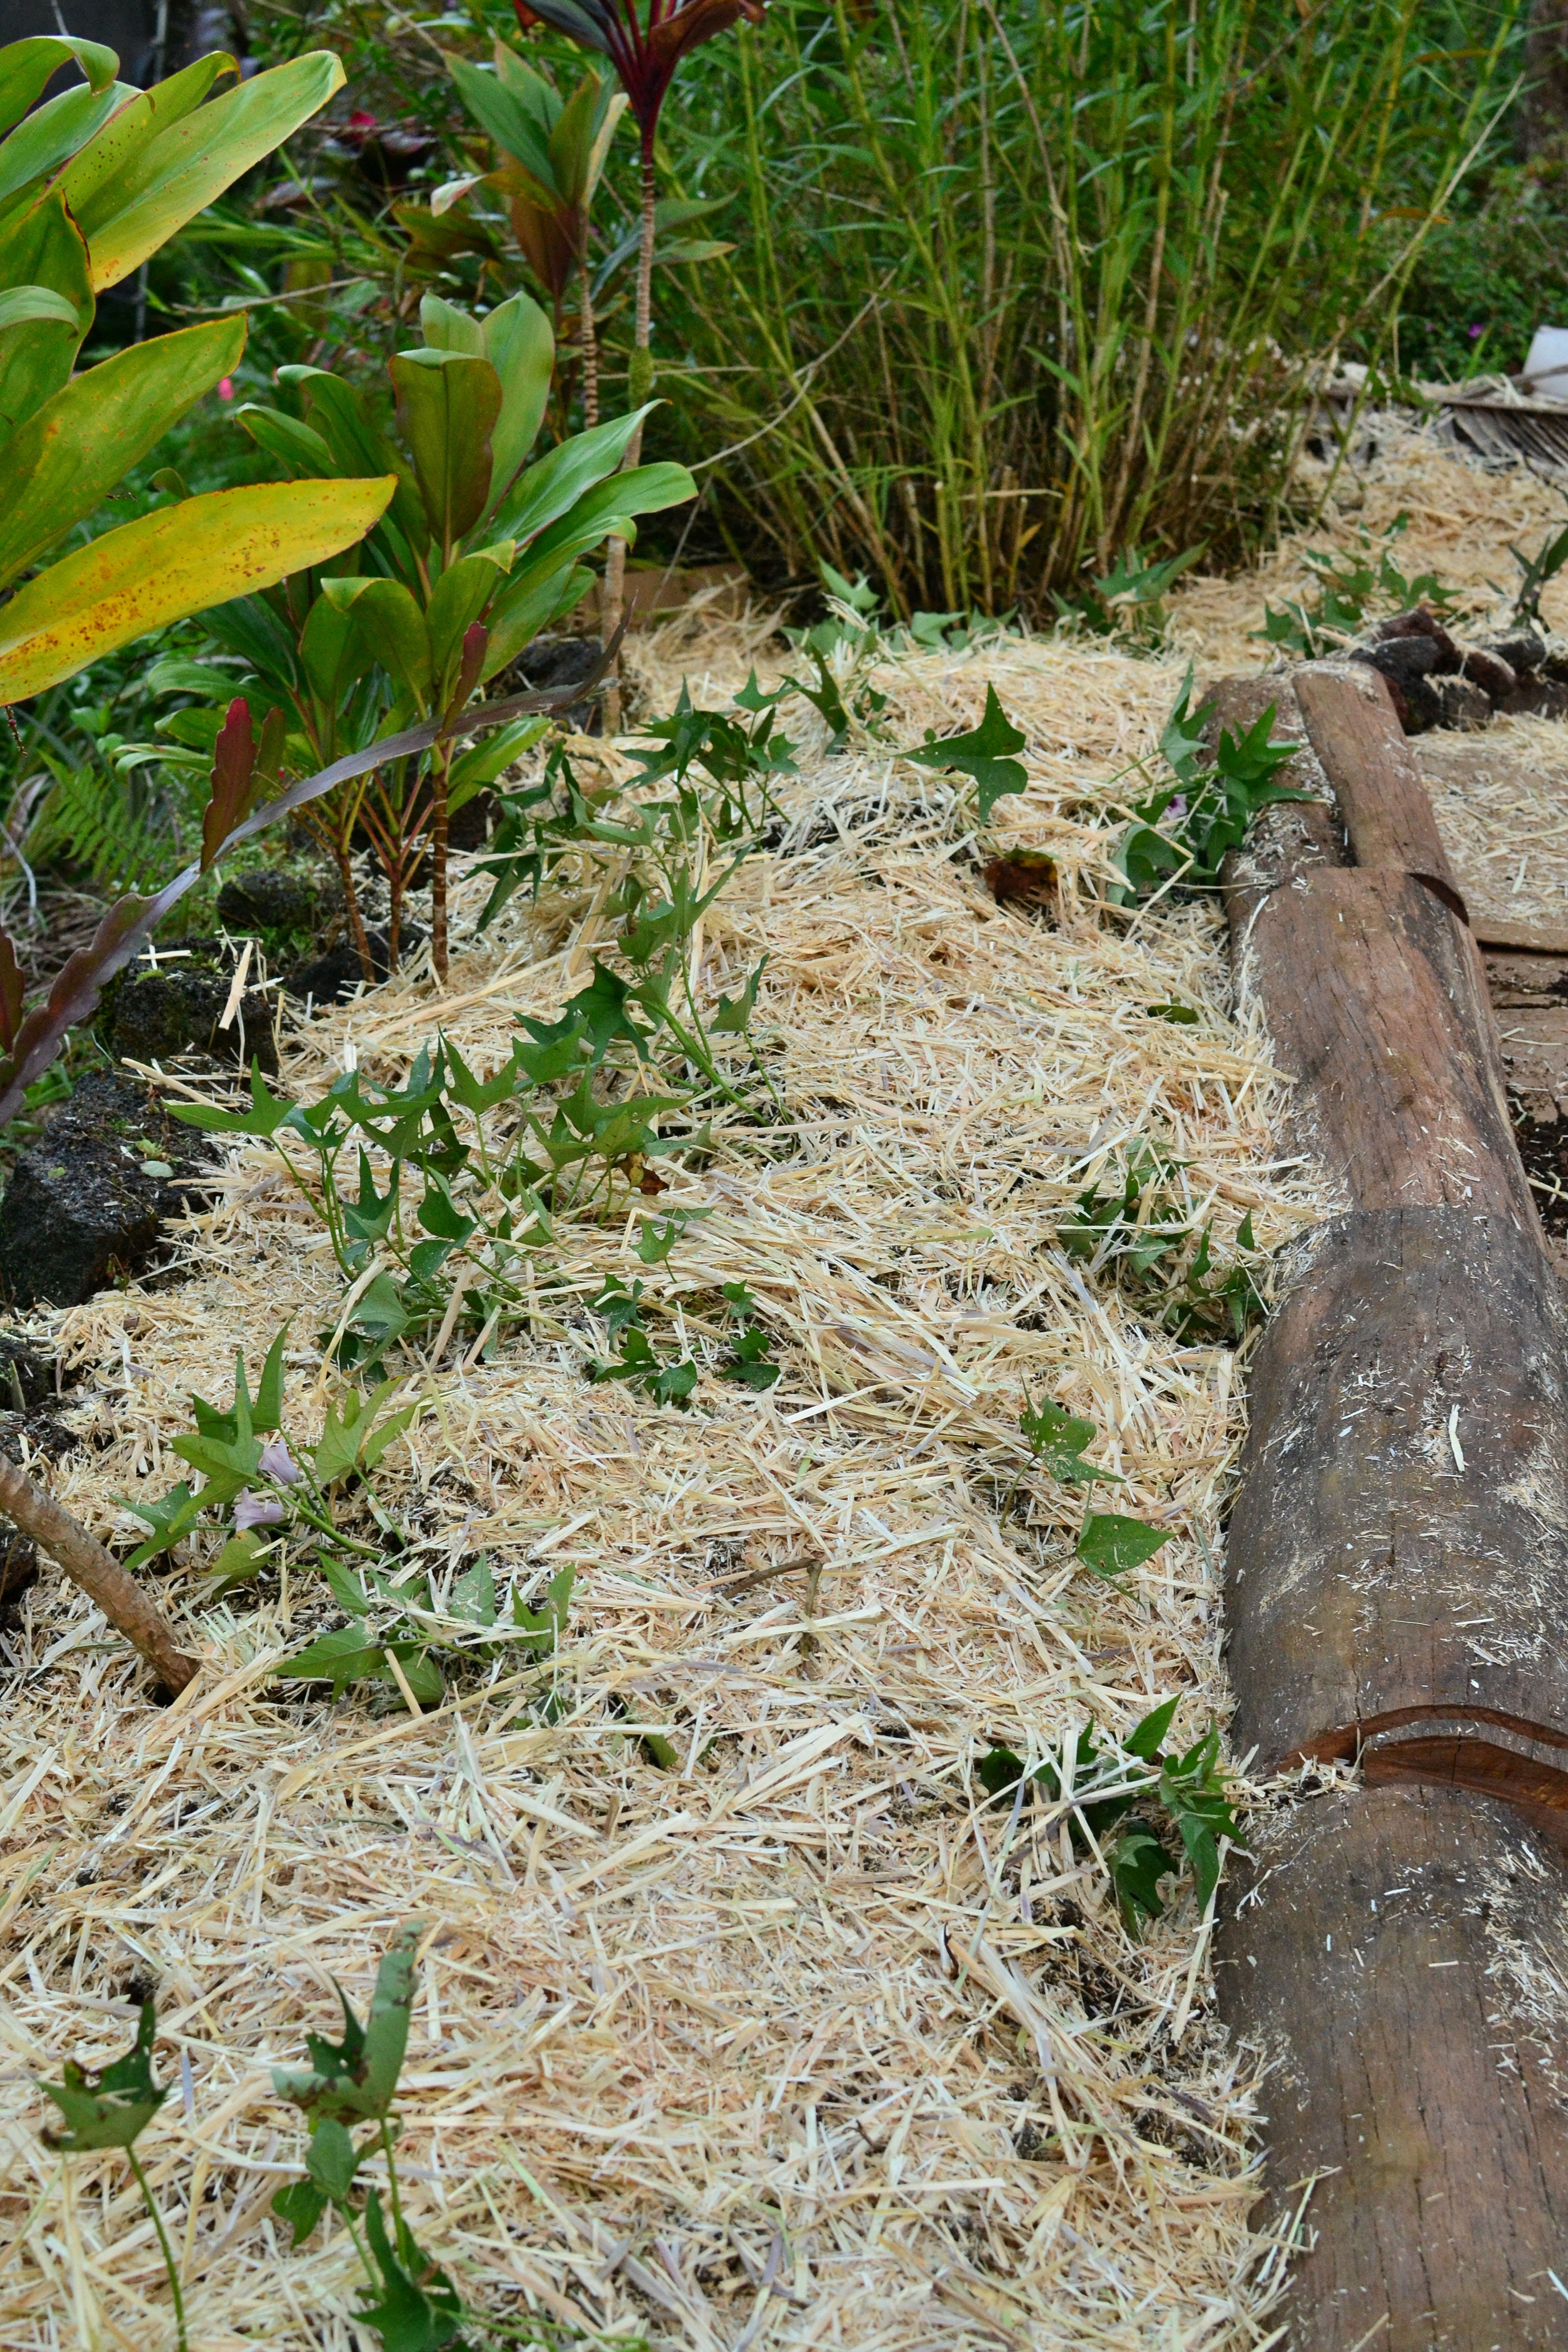
Step 7. Add mulch
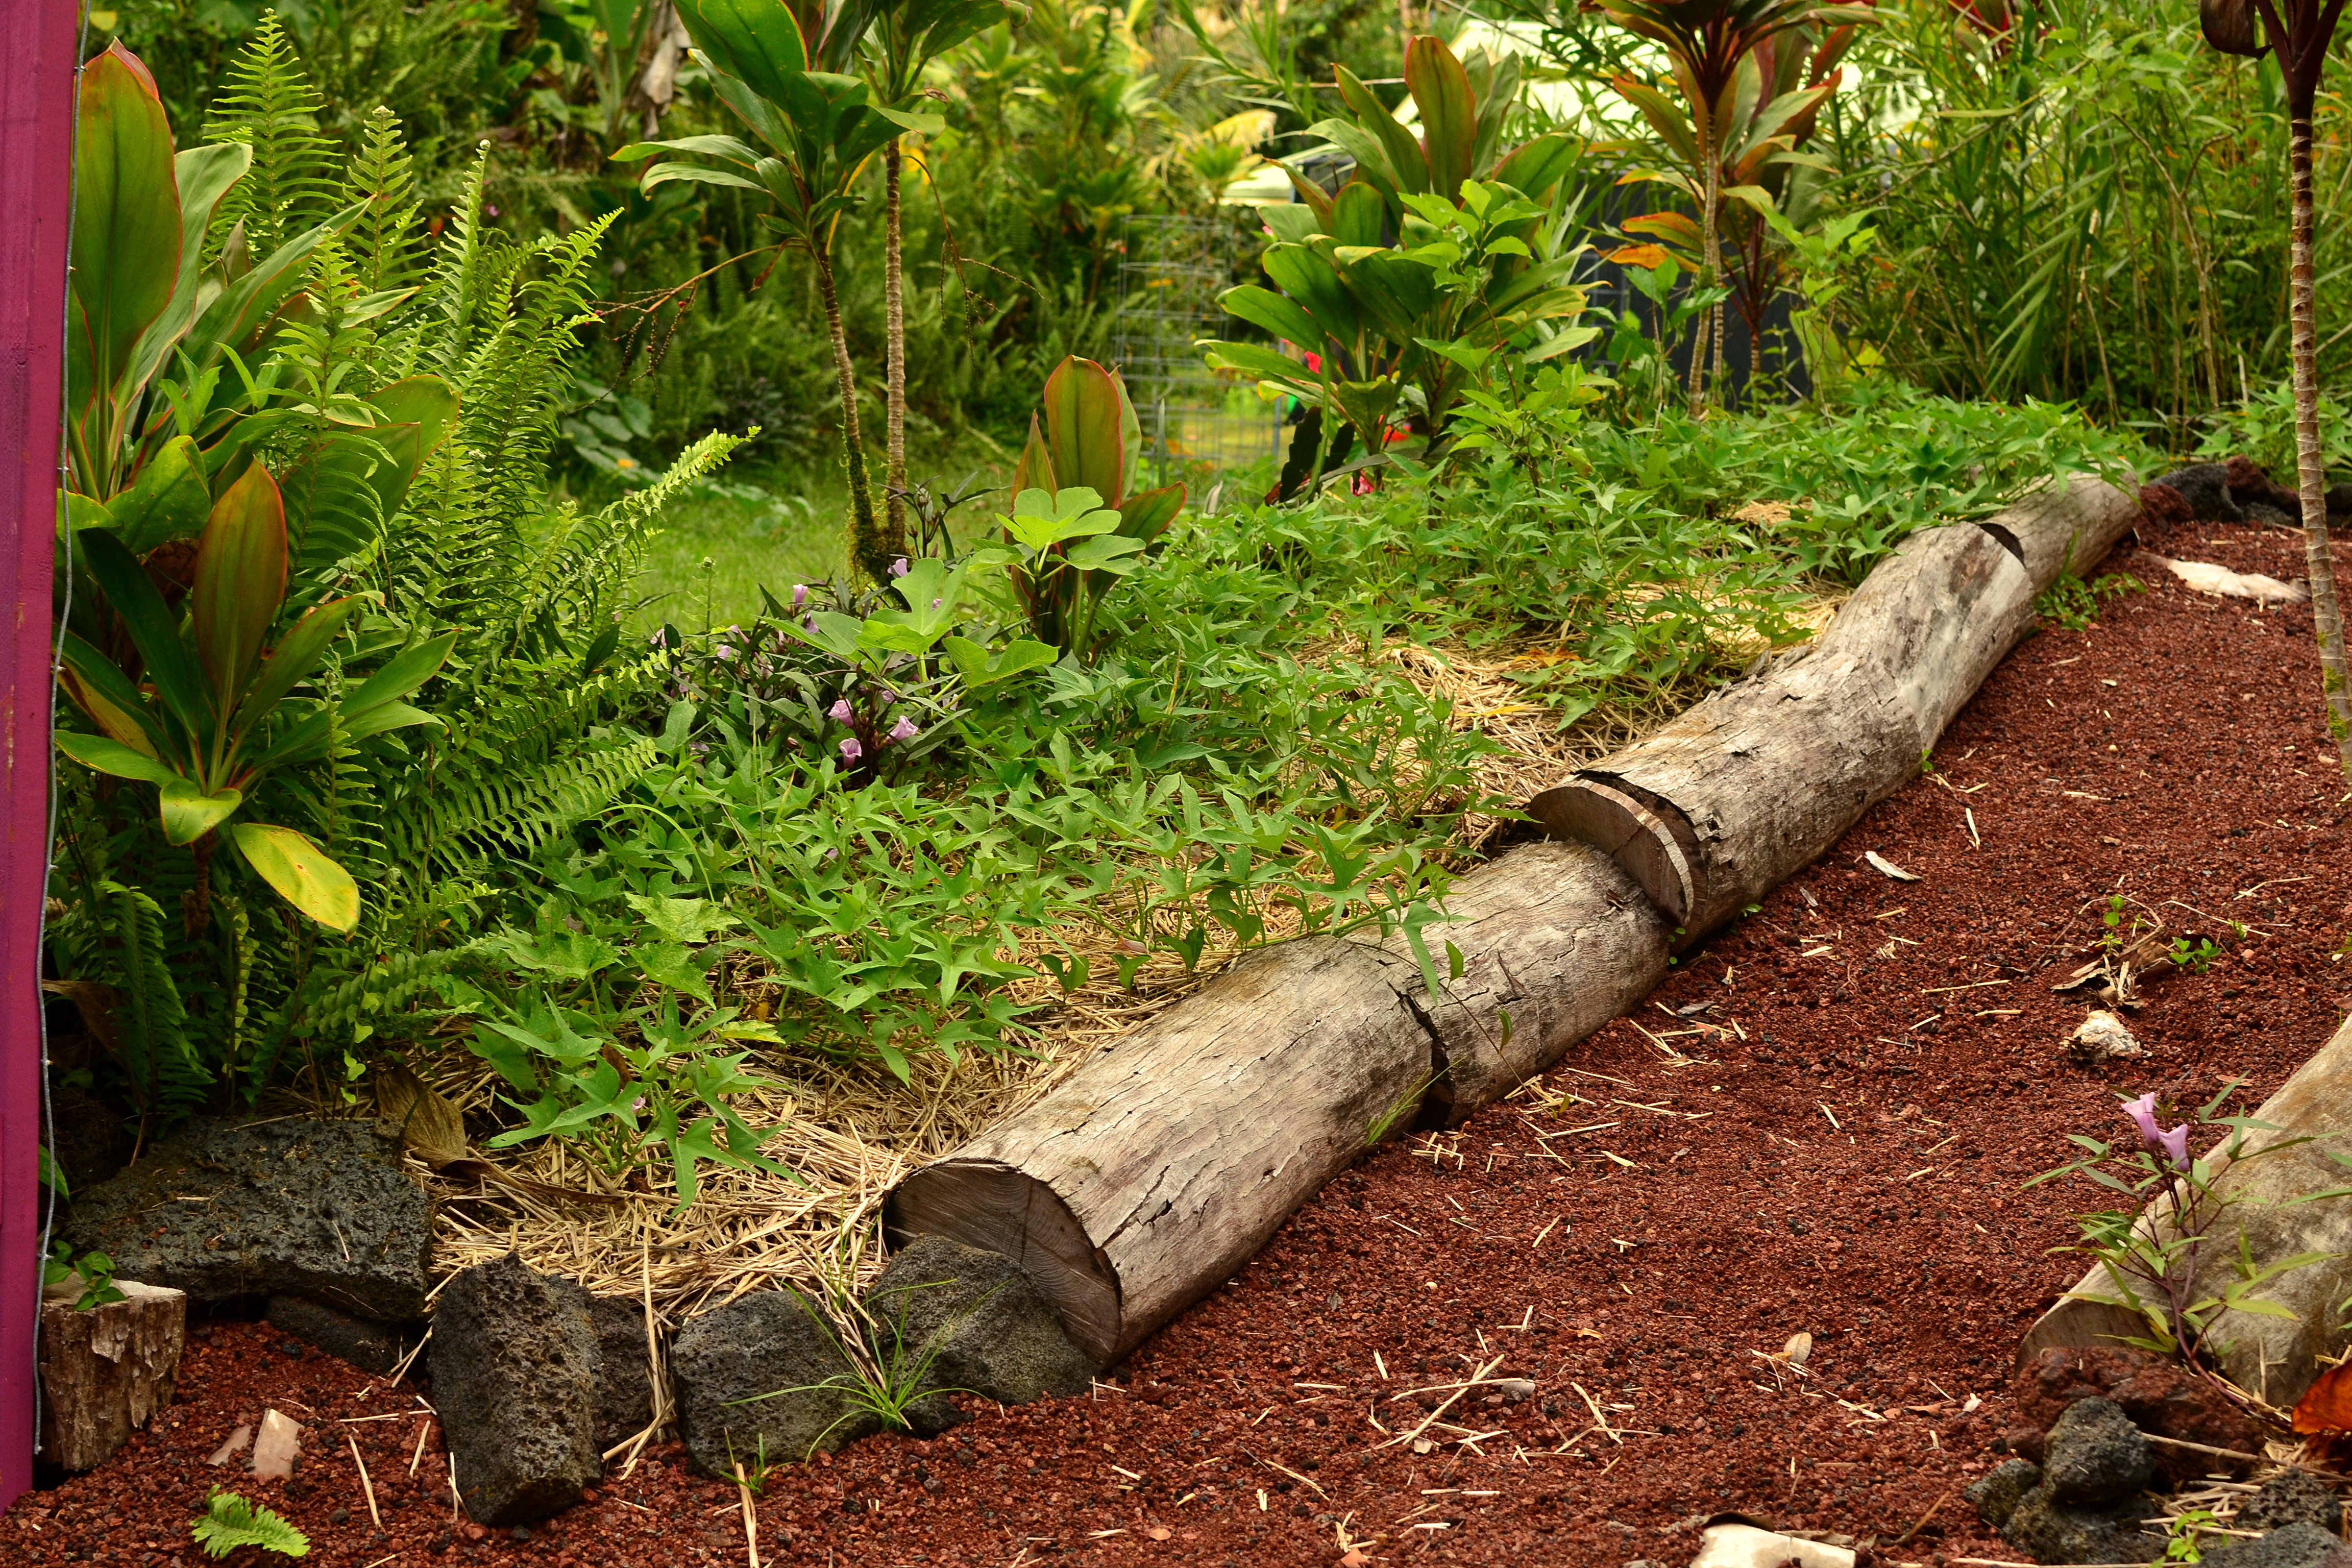
Bed a few months later. (sweet potato, mulberry and fig)
Happy Gardening!