Description
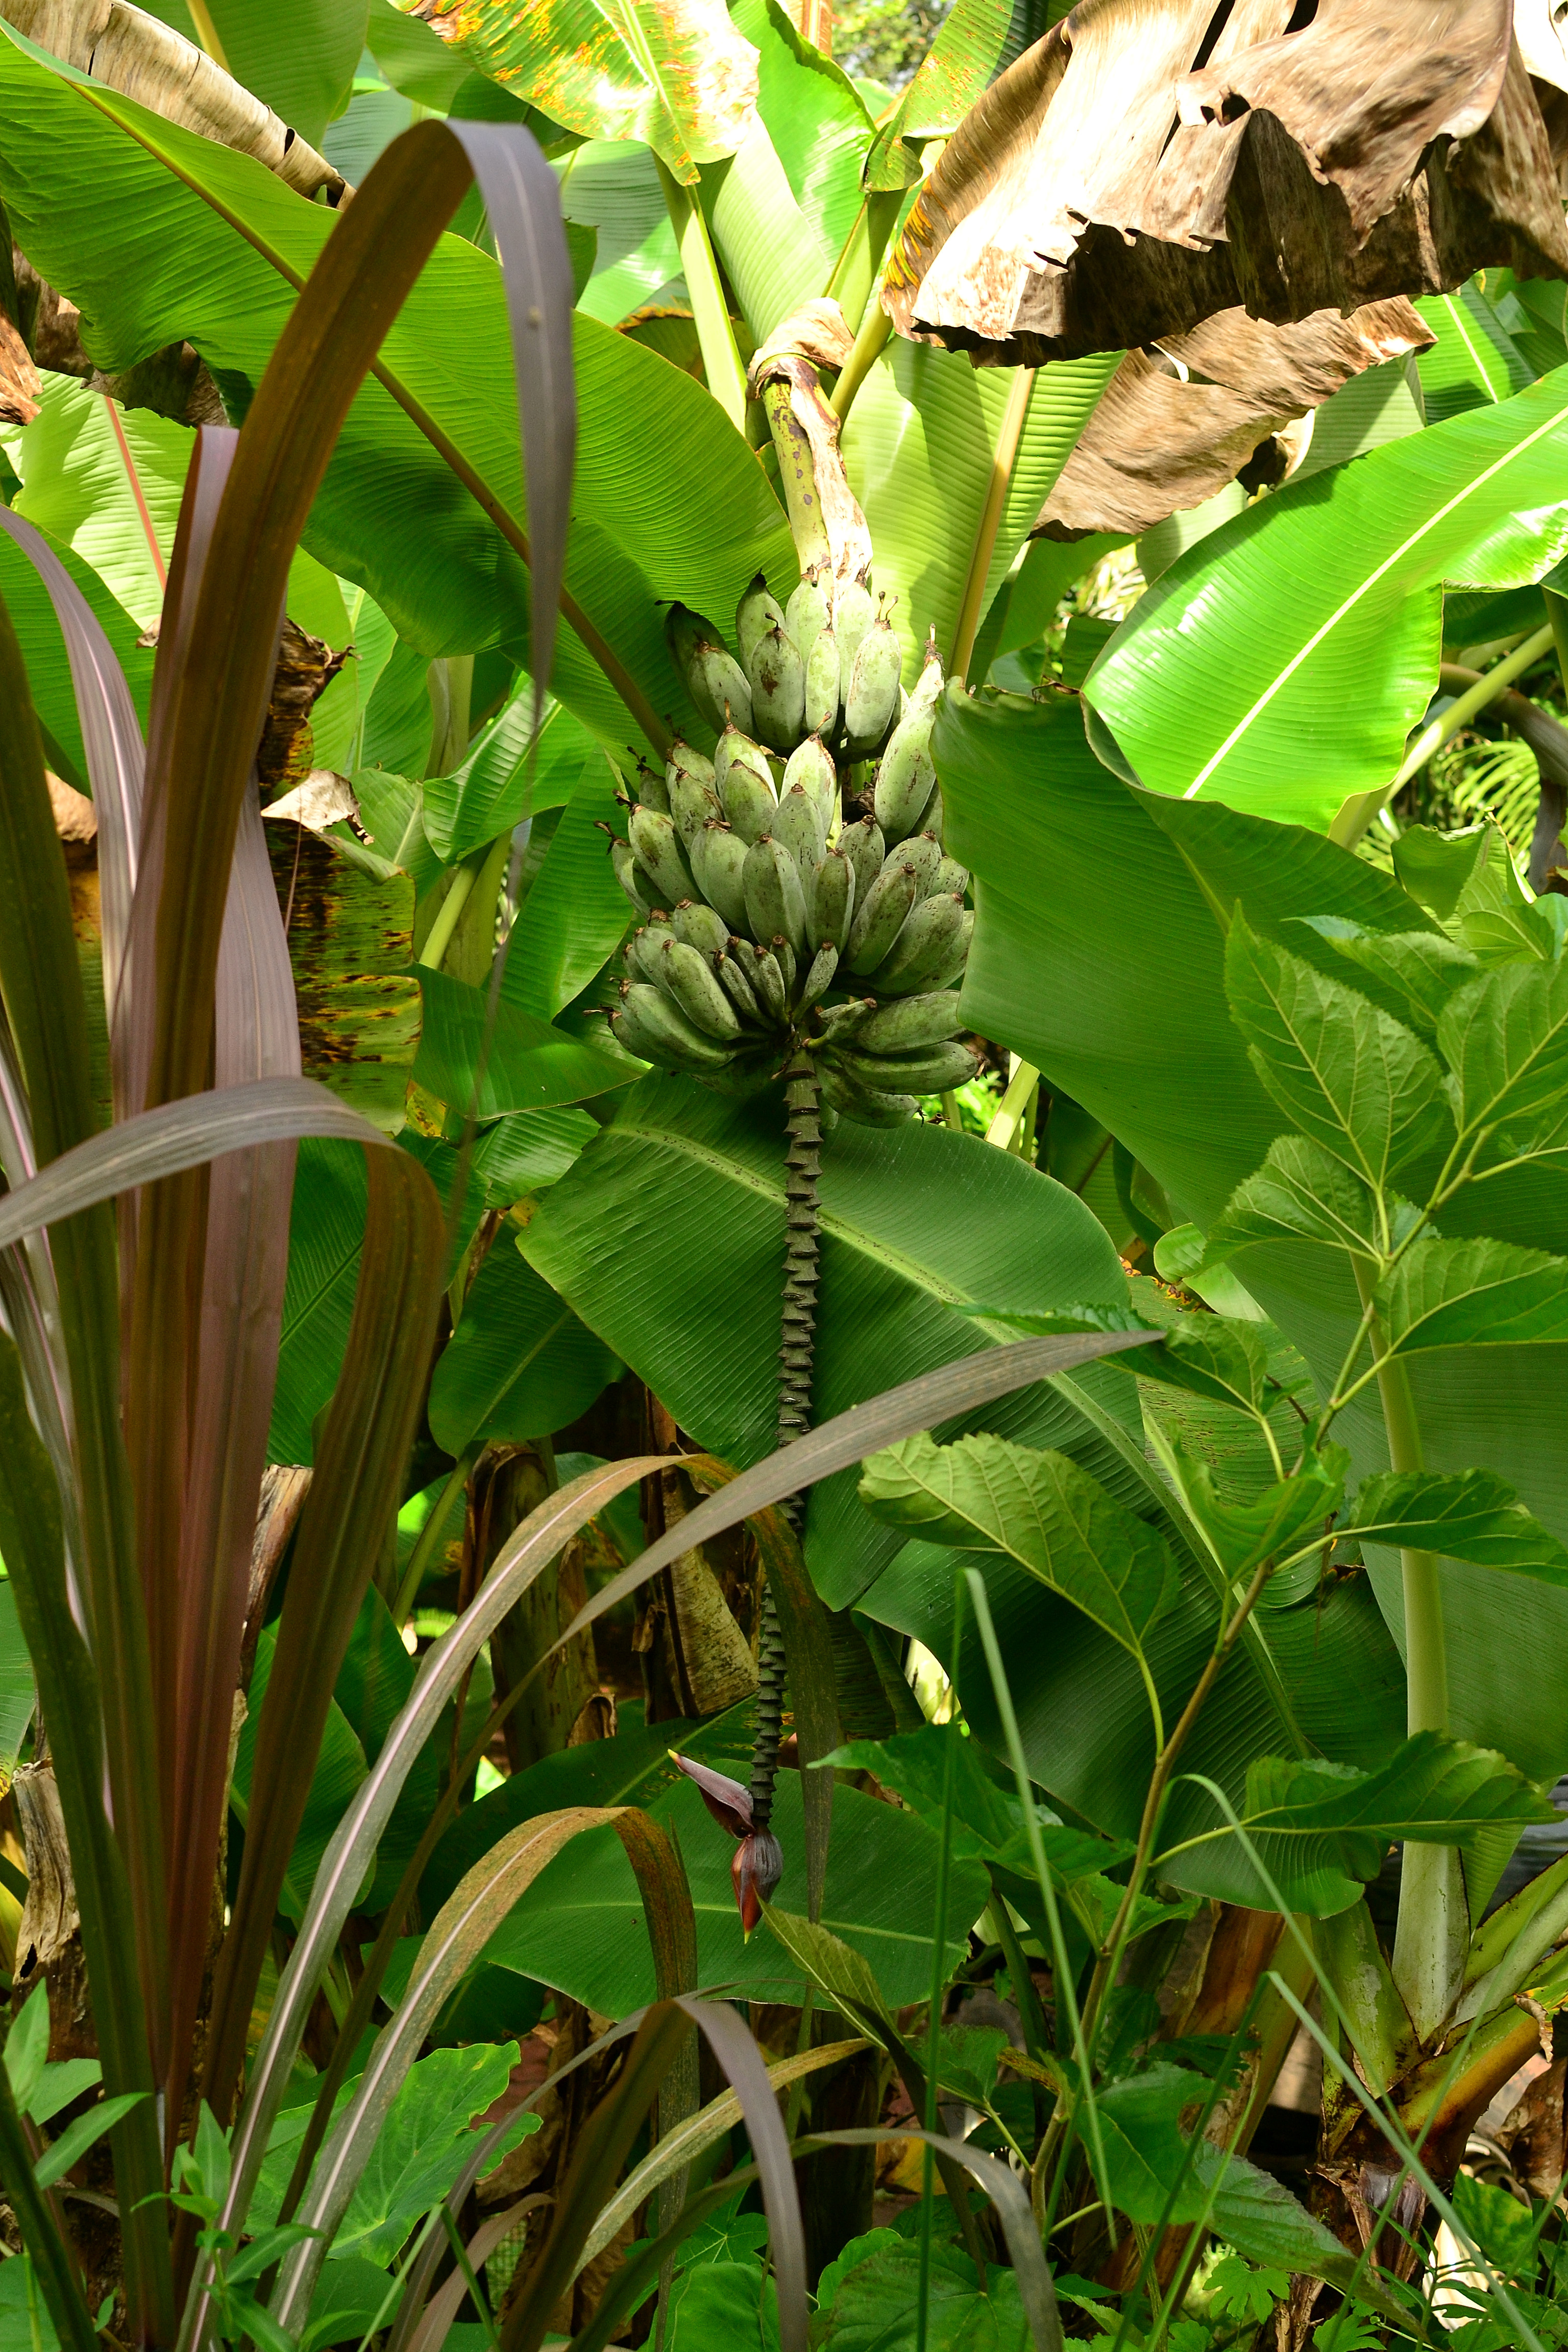
Banana, Musa spp., plantain, mai’a, and known by other names, is another extraordinary tropical or subtropical plant. There are two main ‘types’ of bananas; there are the cooking bananas and the dessert bananas. Bananas come in many shapes, sizes and varieties, being over 300 known domesticated varieties! They are large herbaceous plants from 6-35 feet tall. The life cycle from small plant to mature fruit takes from 9-18 months depending on variety. Bananas grow in clumps producing new herbaceous stocks from common underground corm and roots. Once a stock has flowered it will cease to put out new leaves and use up the last bits of its energy producing the fruits. Once the plant fruits, and is ready for harvest, you cut down the entire stock and the next generation from that corm will have already sprouted, continuing the life of the plant. Not only are the fruits edible but also the flower bud and the center of the stem is too. The leaves are used in various cooking methods as wrappers for steaming or baking other dishes, and the leaves are also used as biodegradable plates. The plants can also be used for mulch, thatching, livestock feed, clothing, containers, twine, medicine, dye, turned into alcohol, vinegar and wine. Wow! What a plant.
Propagation
Domesticated bananas do not produce seeds, so the only way of propagation is from suckers, also called pups. To propagate you take a sharp shovel or machete and cut or separate between ‘mother’ stock and smaller plants. Once removed you could let it dry for a few days, to reduce rot, or plant it right away. If transplanting, remove the leaves so the plant can focus on rooting. If you do not plan on planting bananas in another location, you could let the bananas do all the work and reproduce in one continuous place for years, thinning out, as you feel necessary.
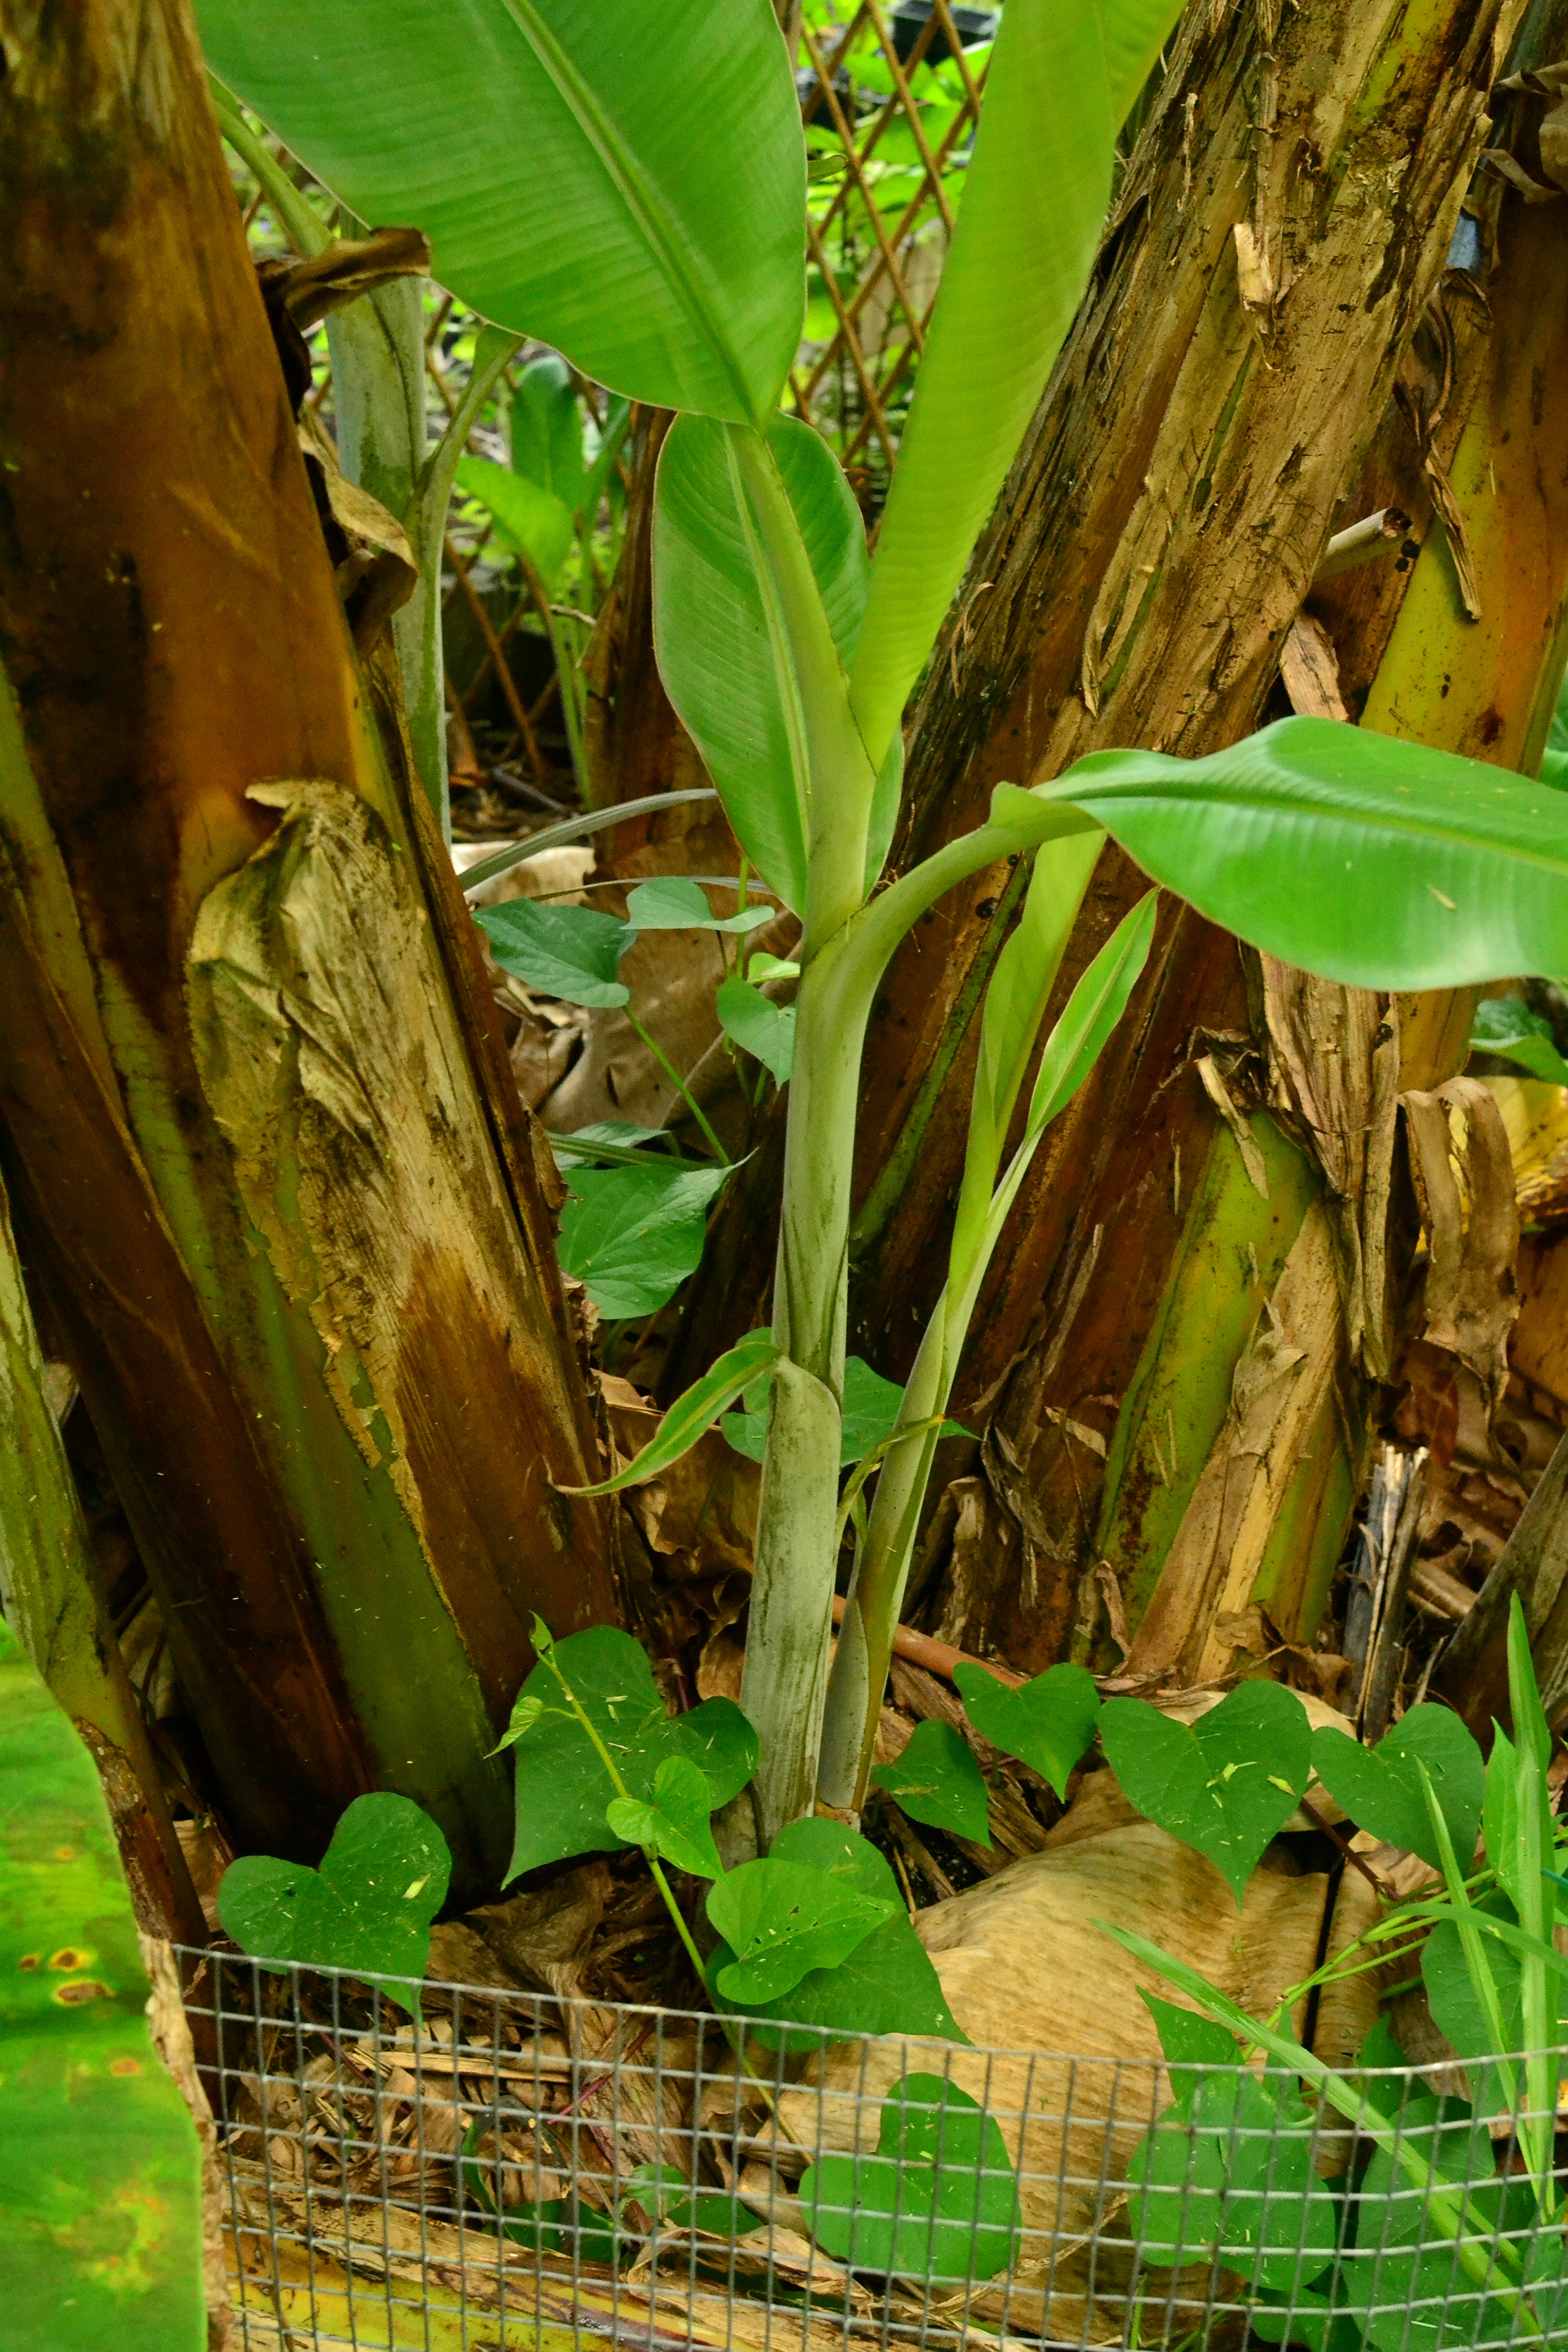
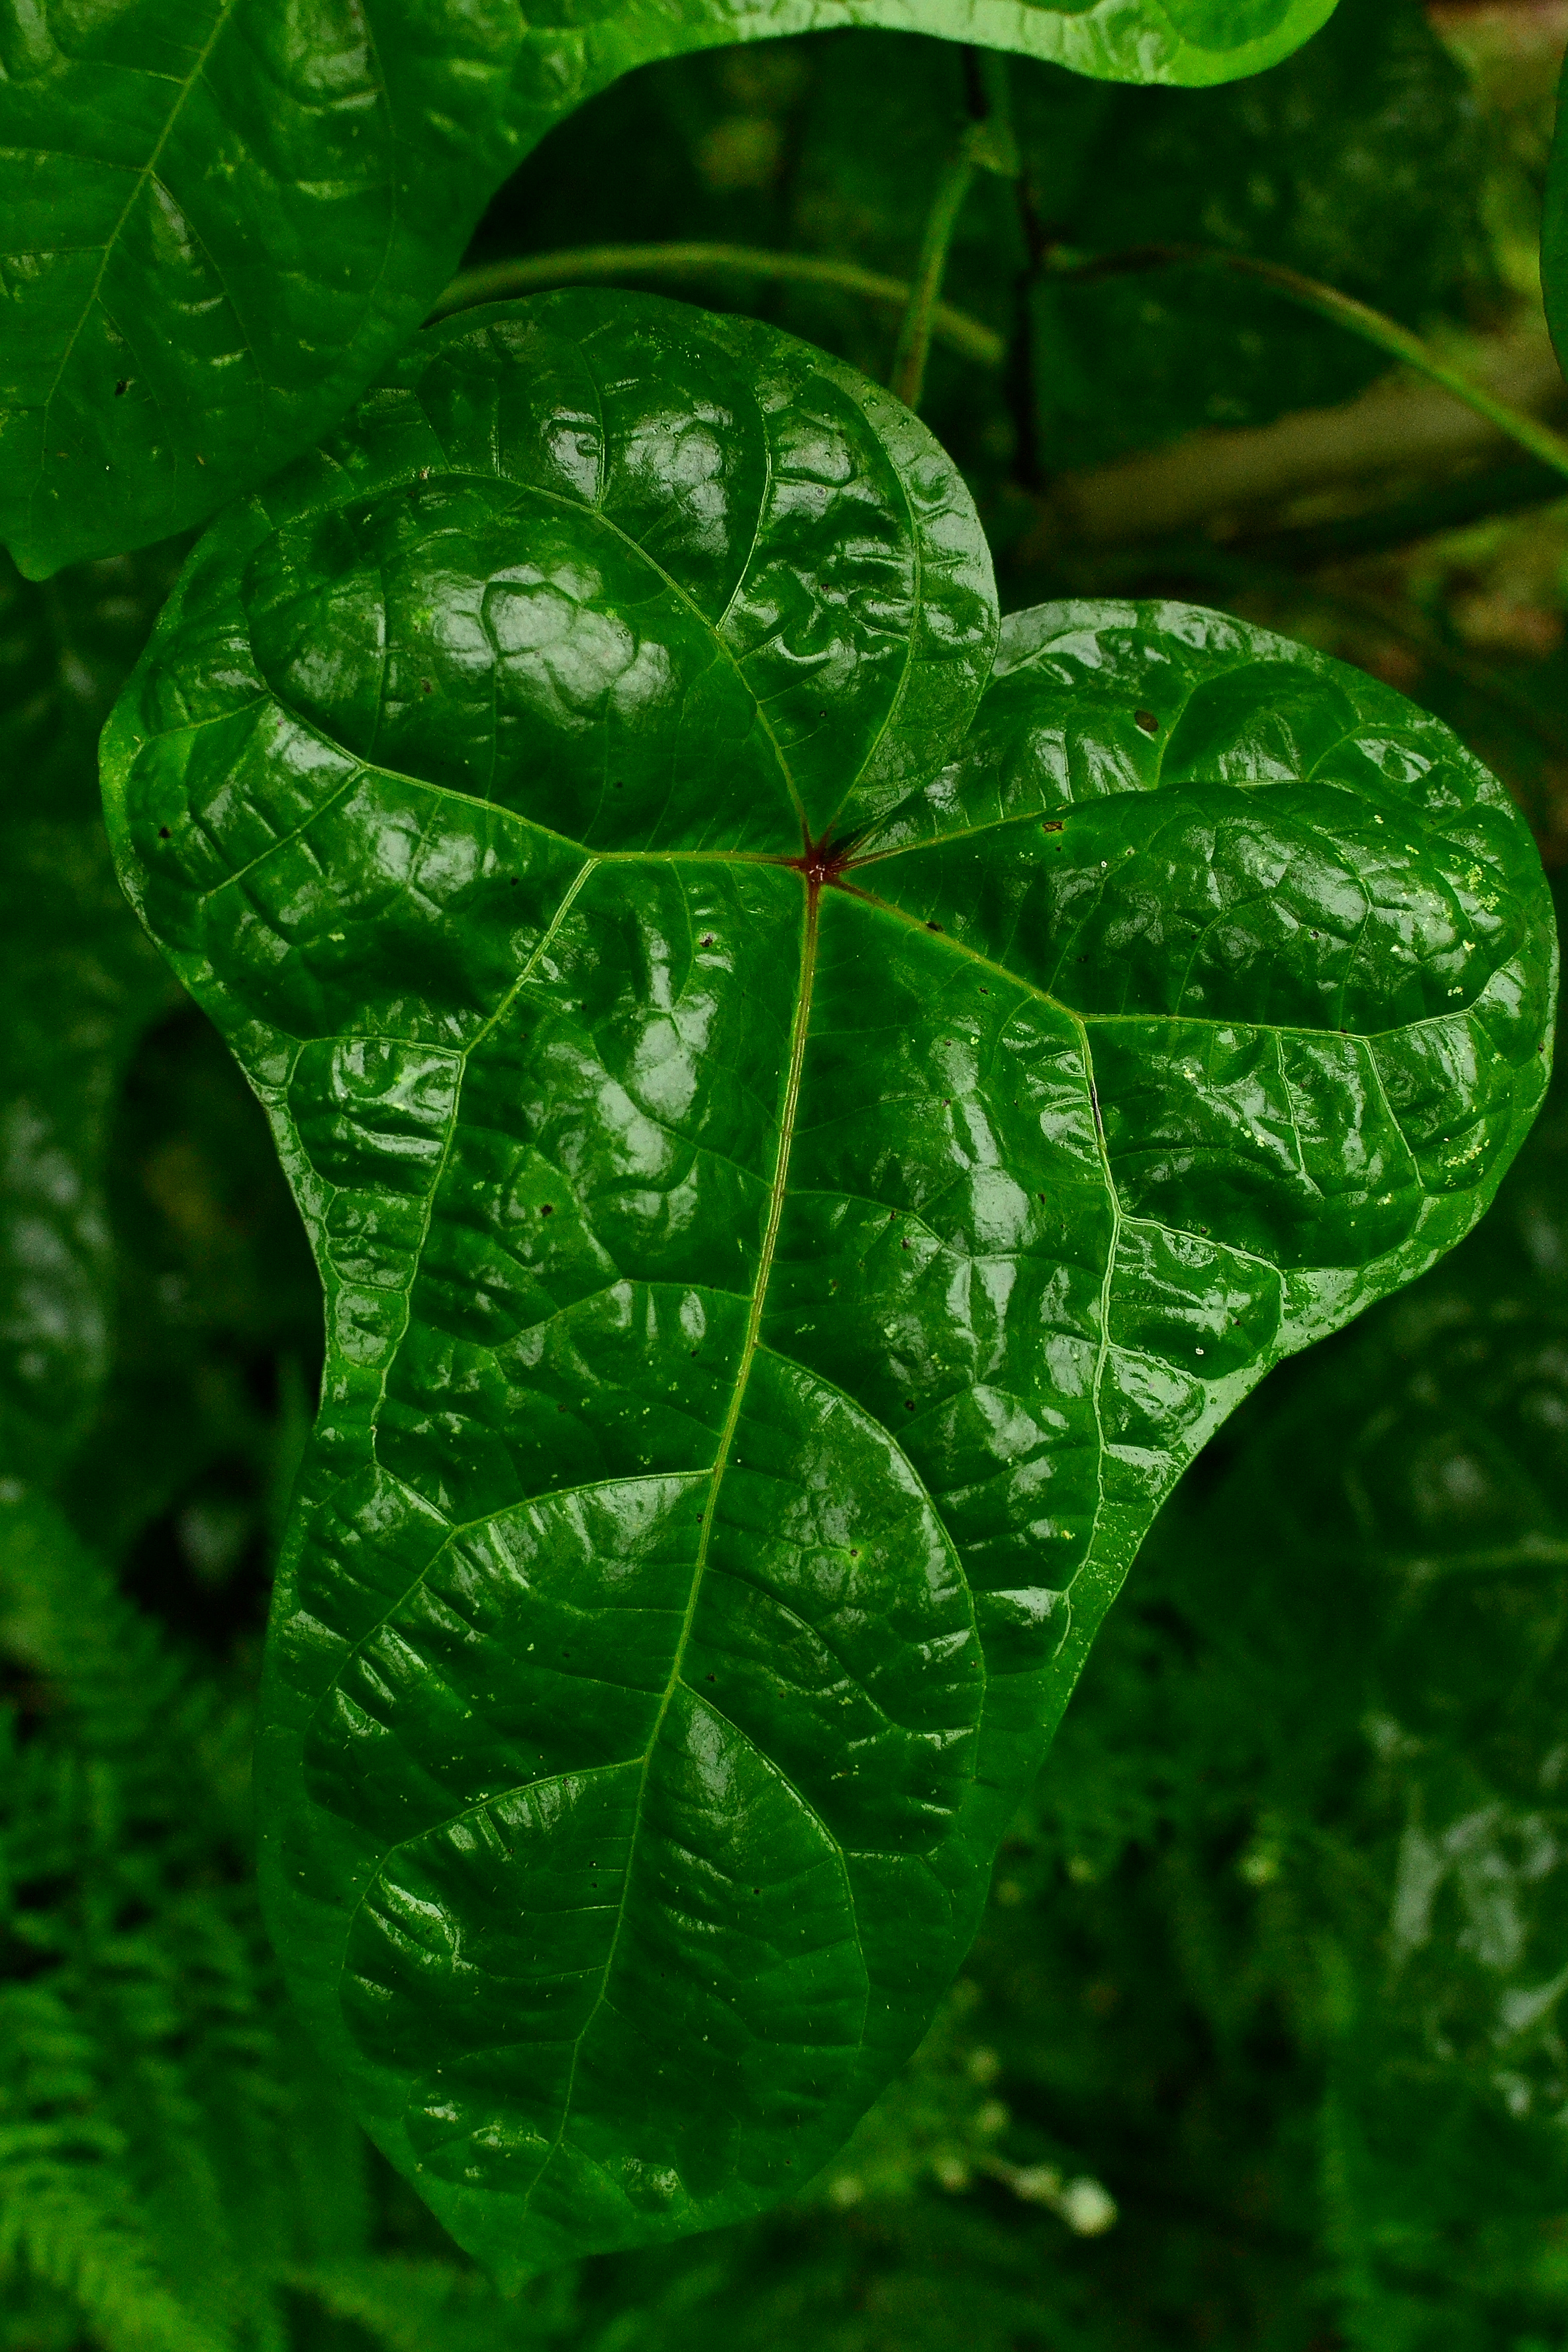
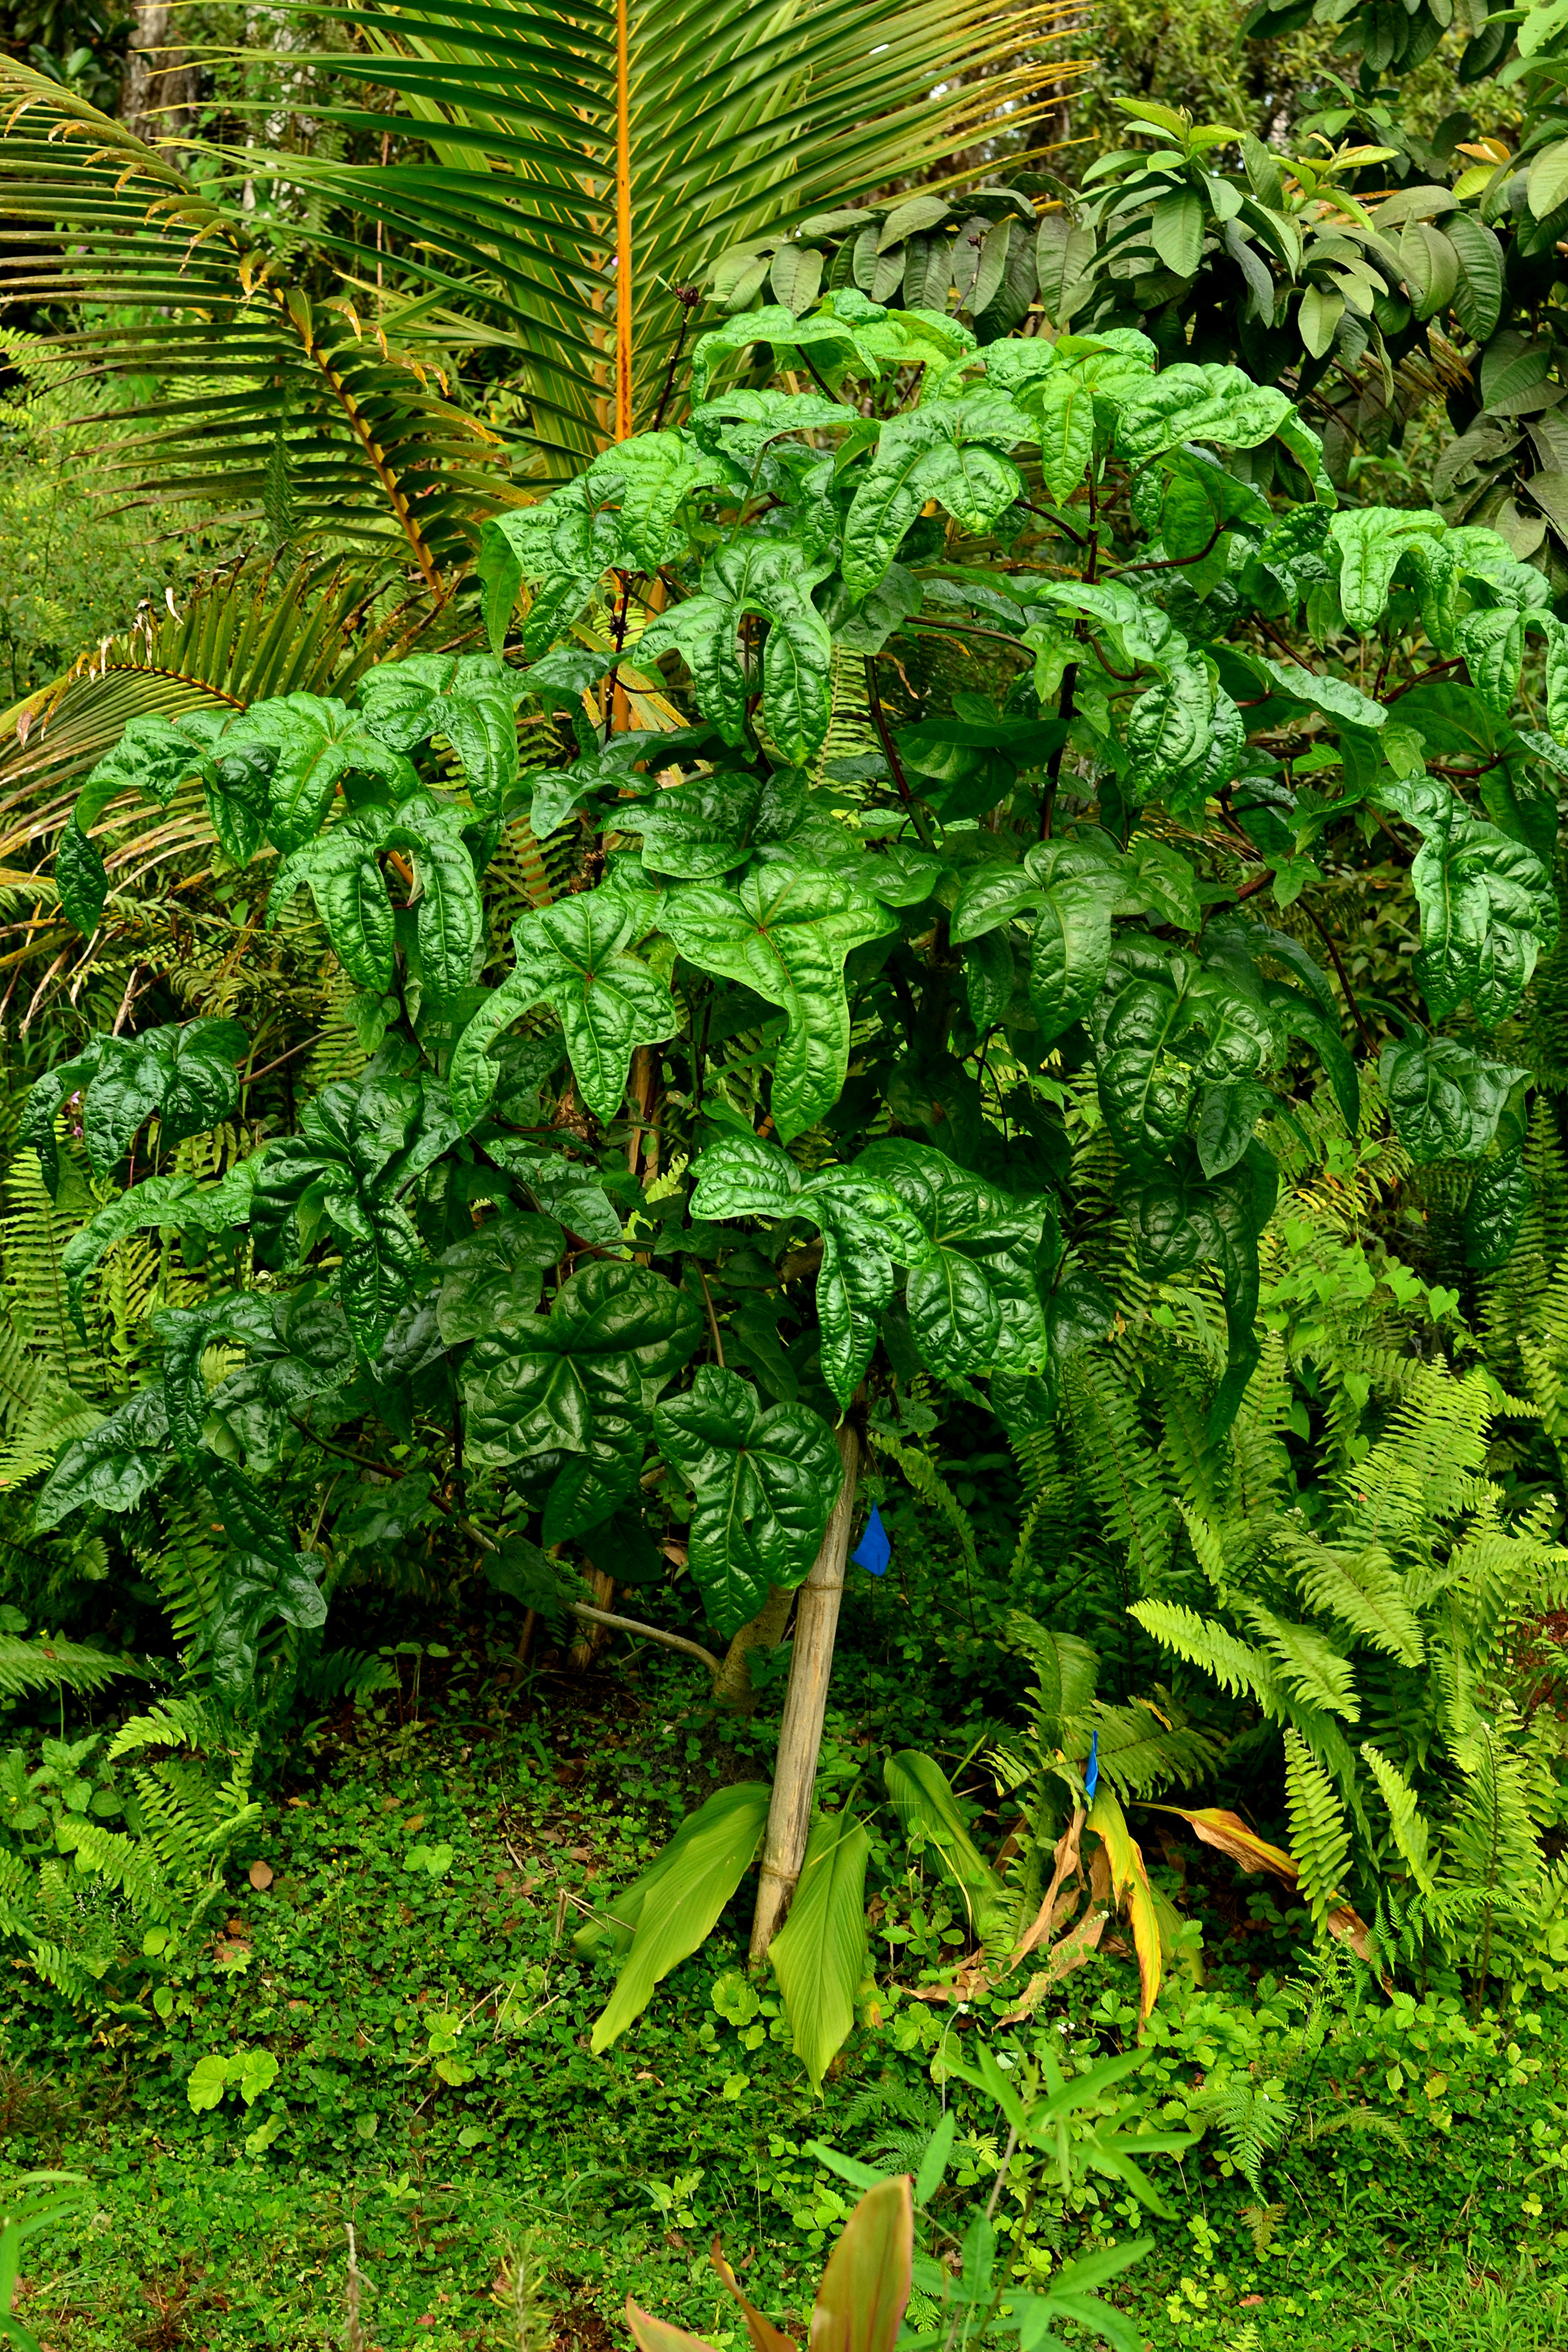
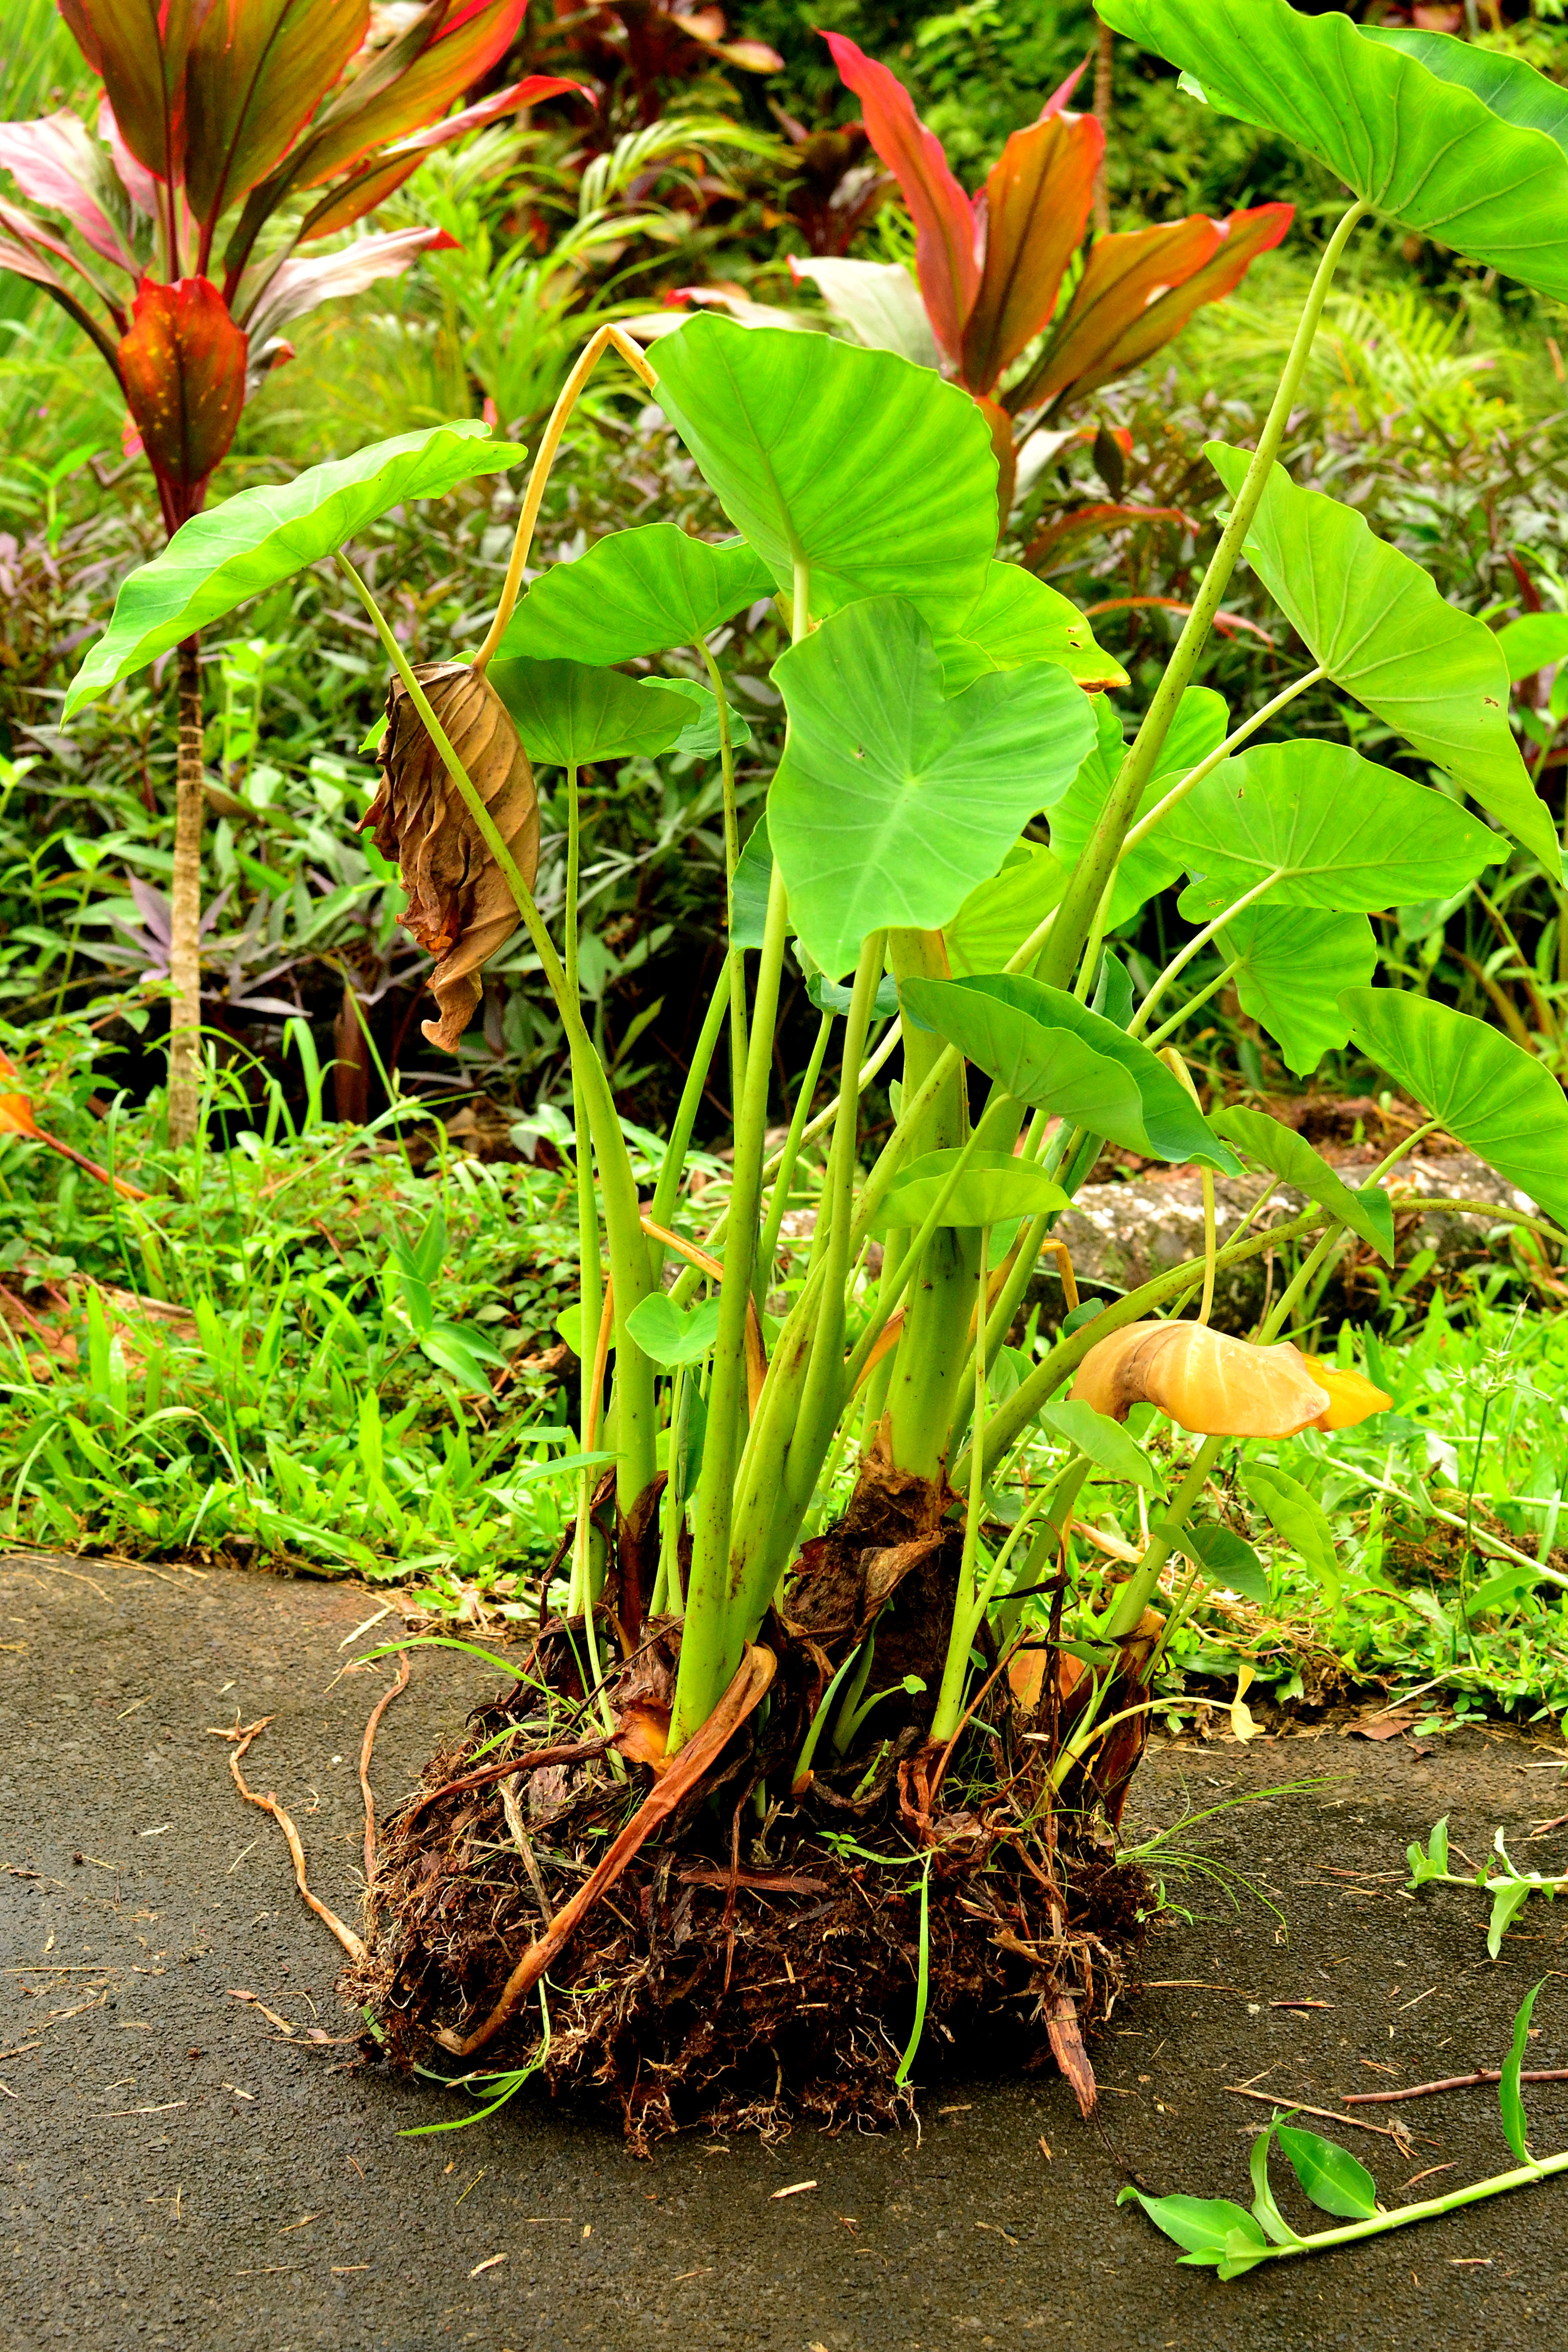
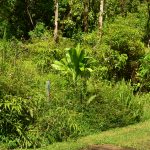
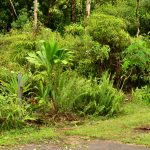
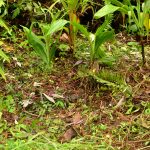
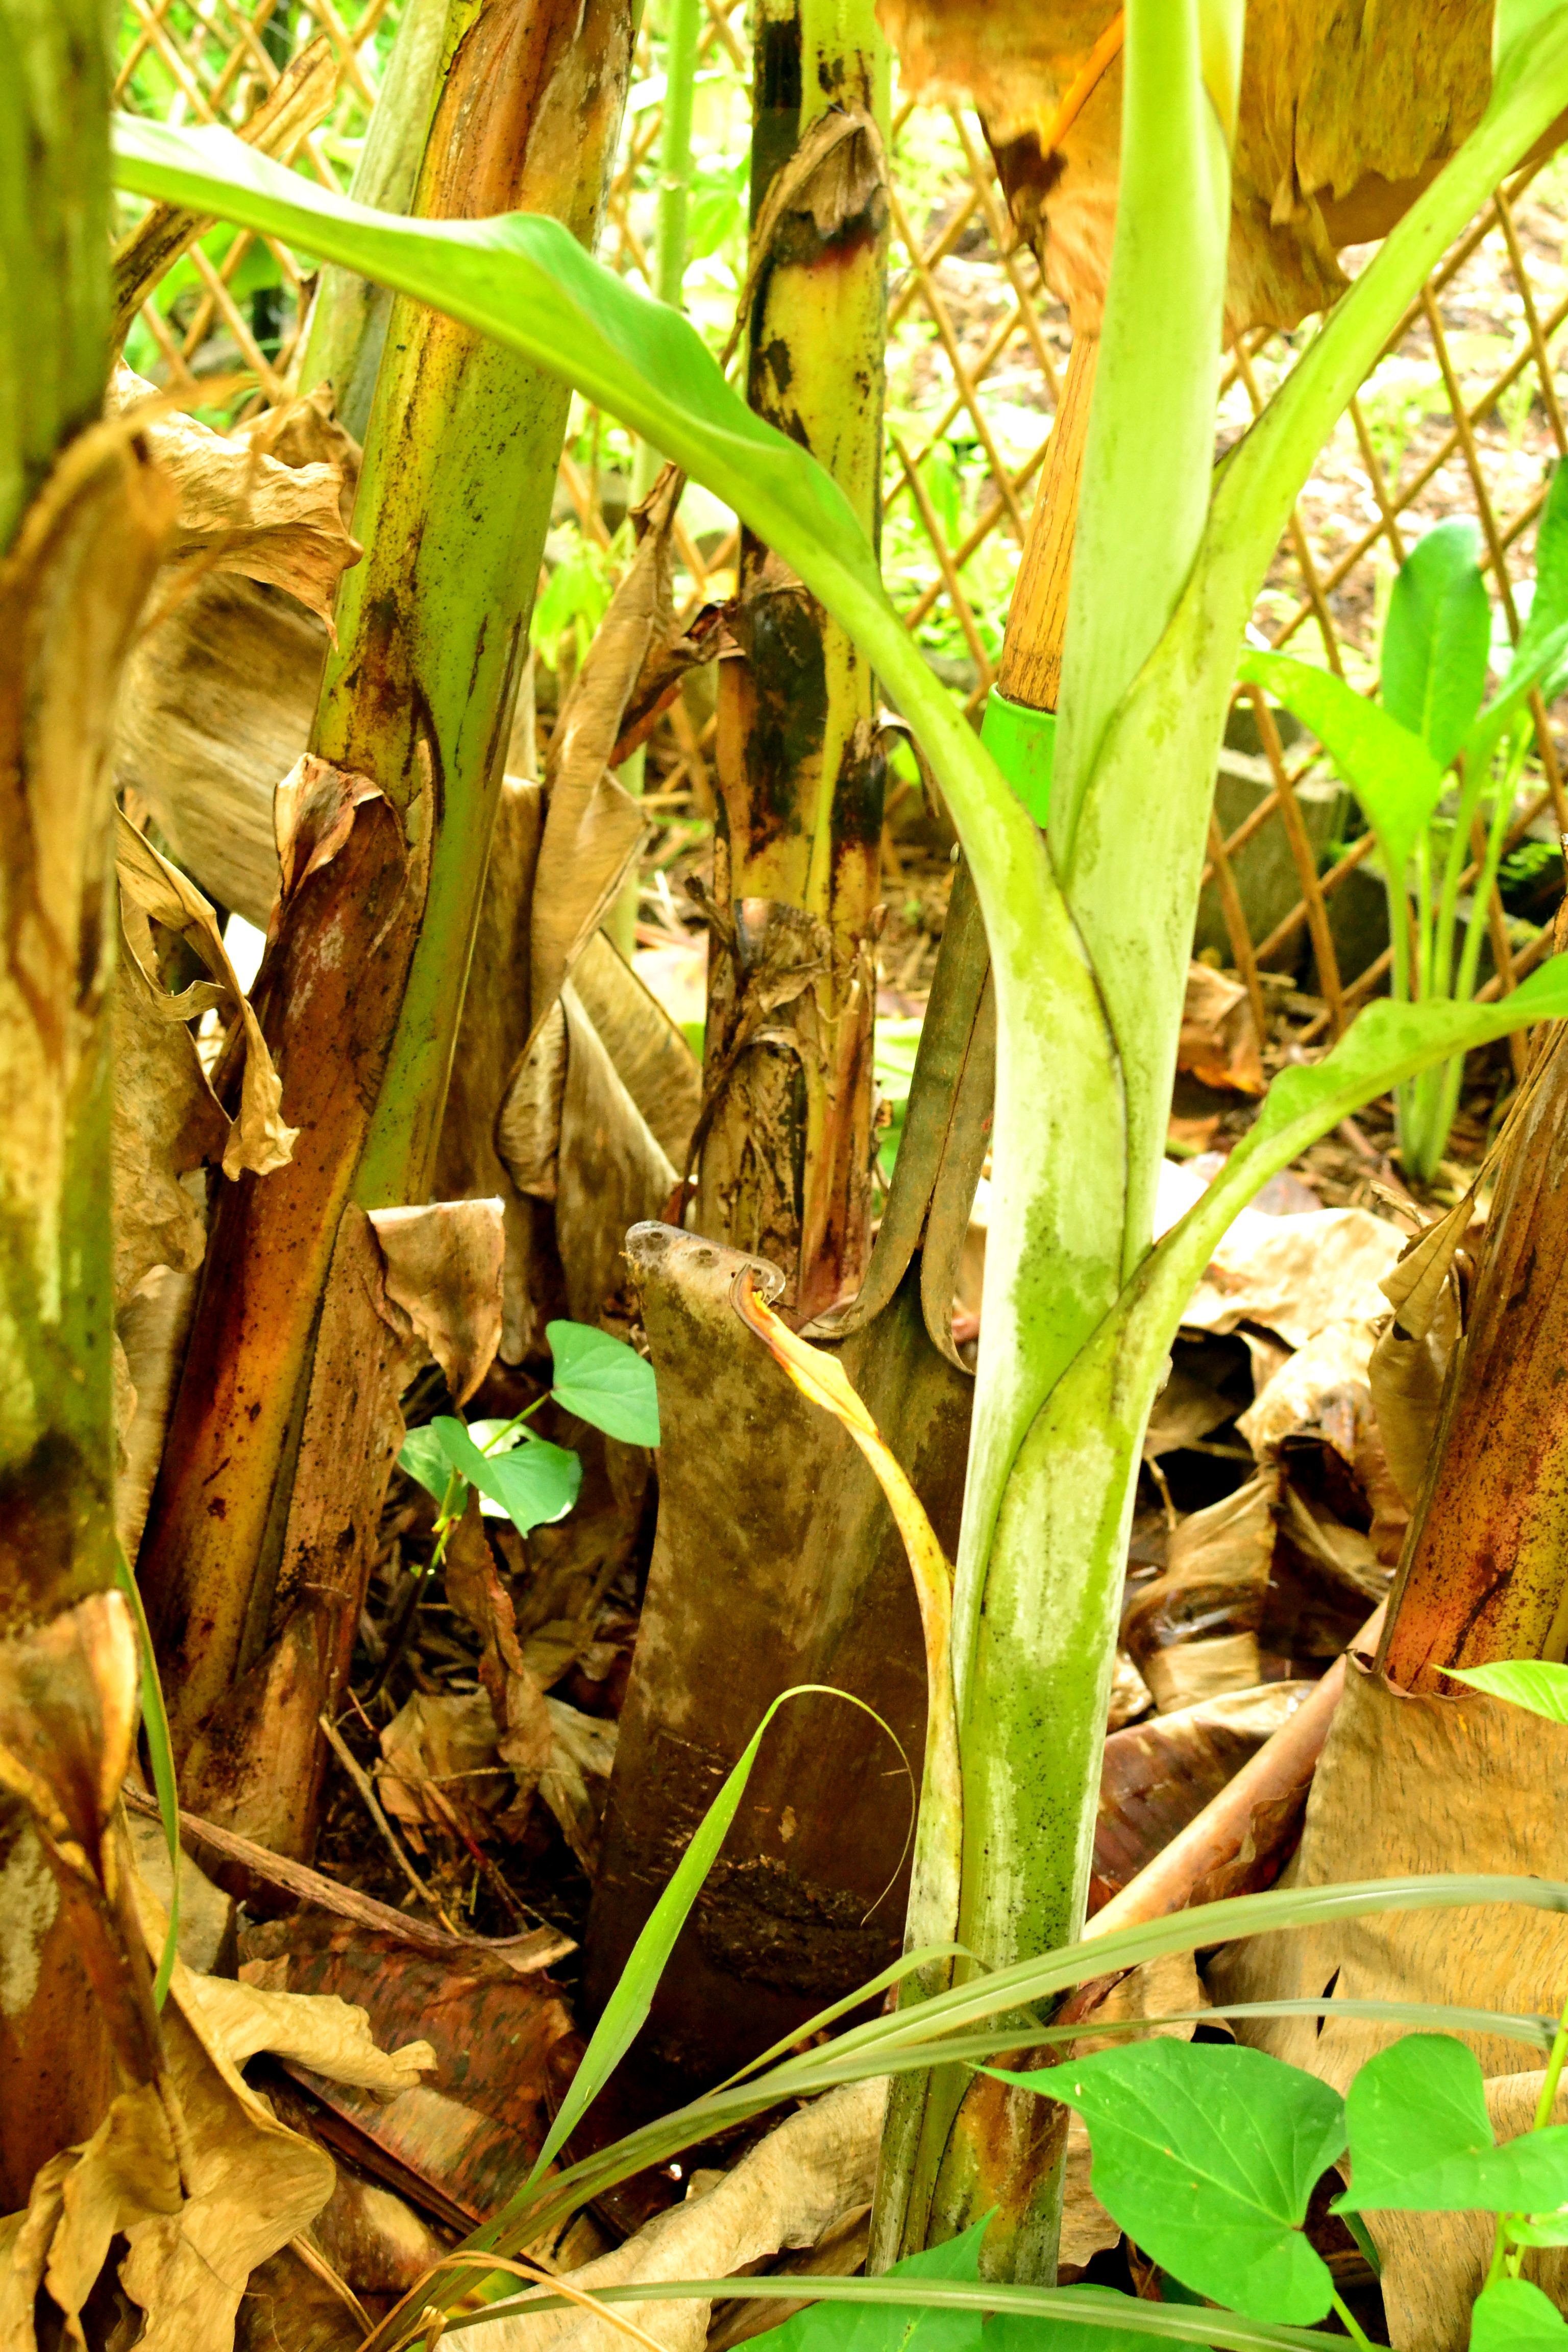
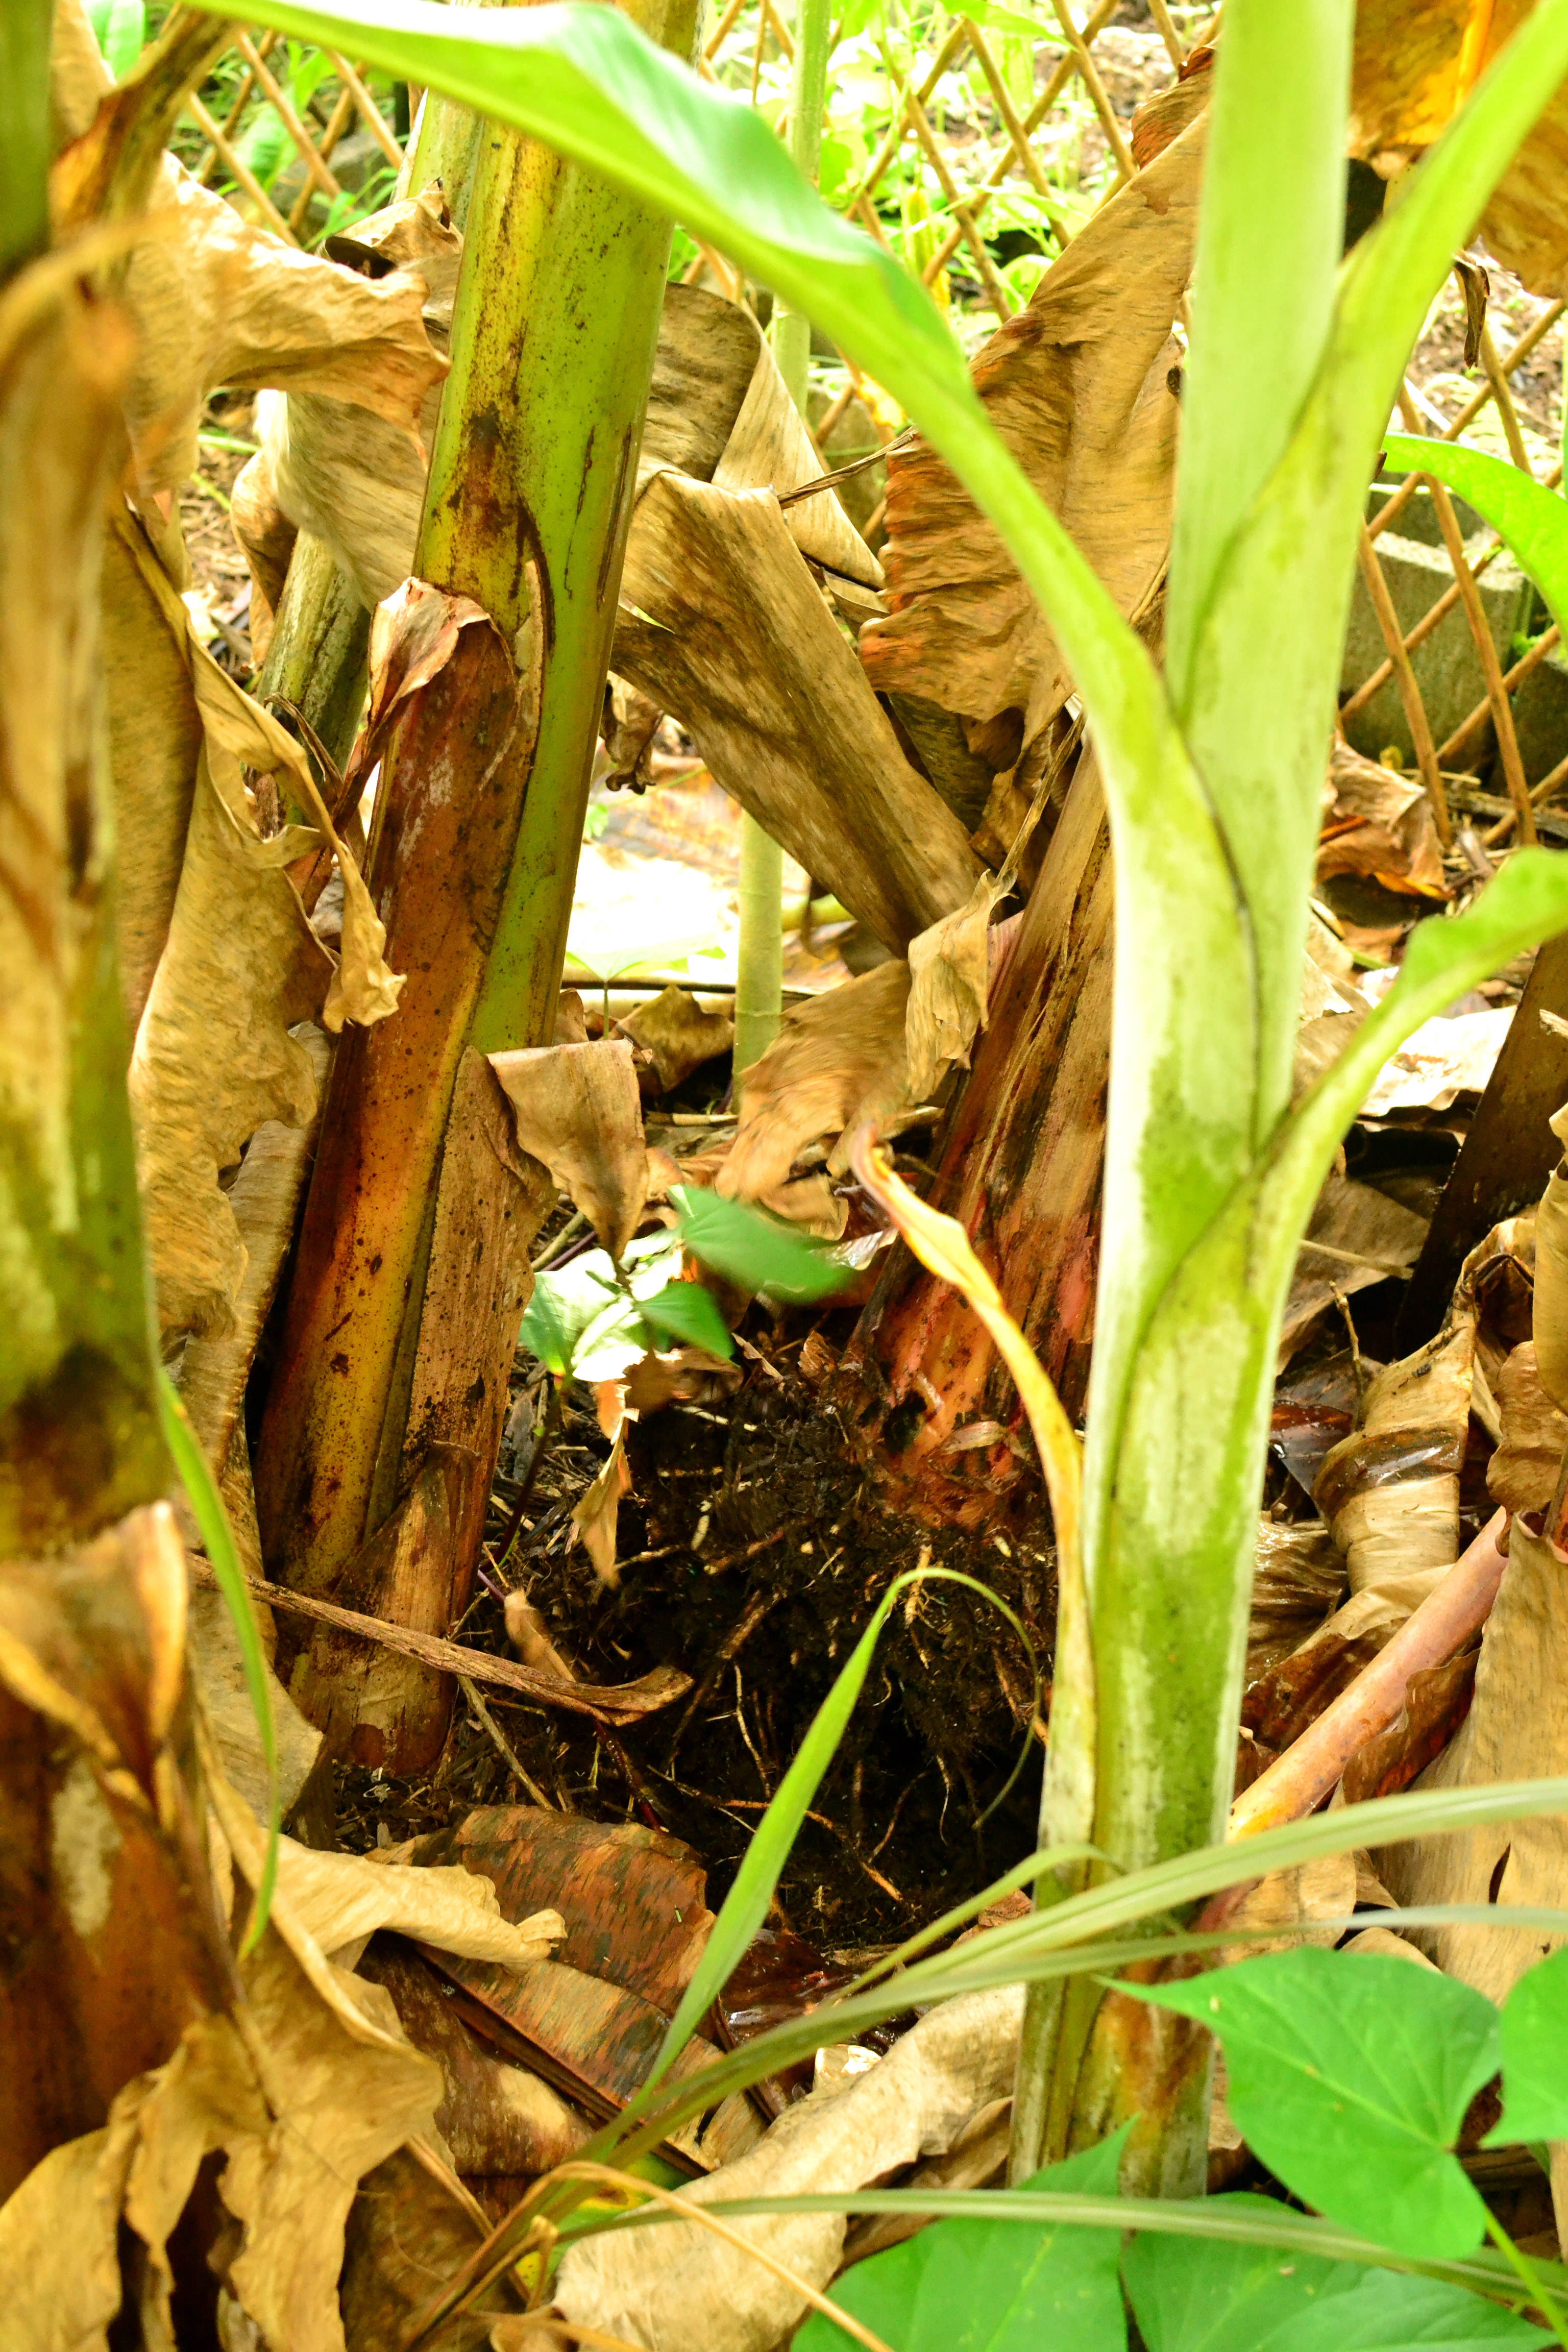
Find pup to transplant
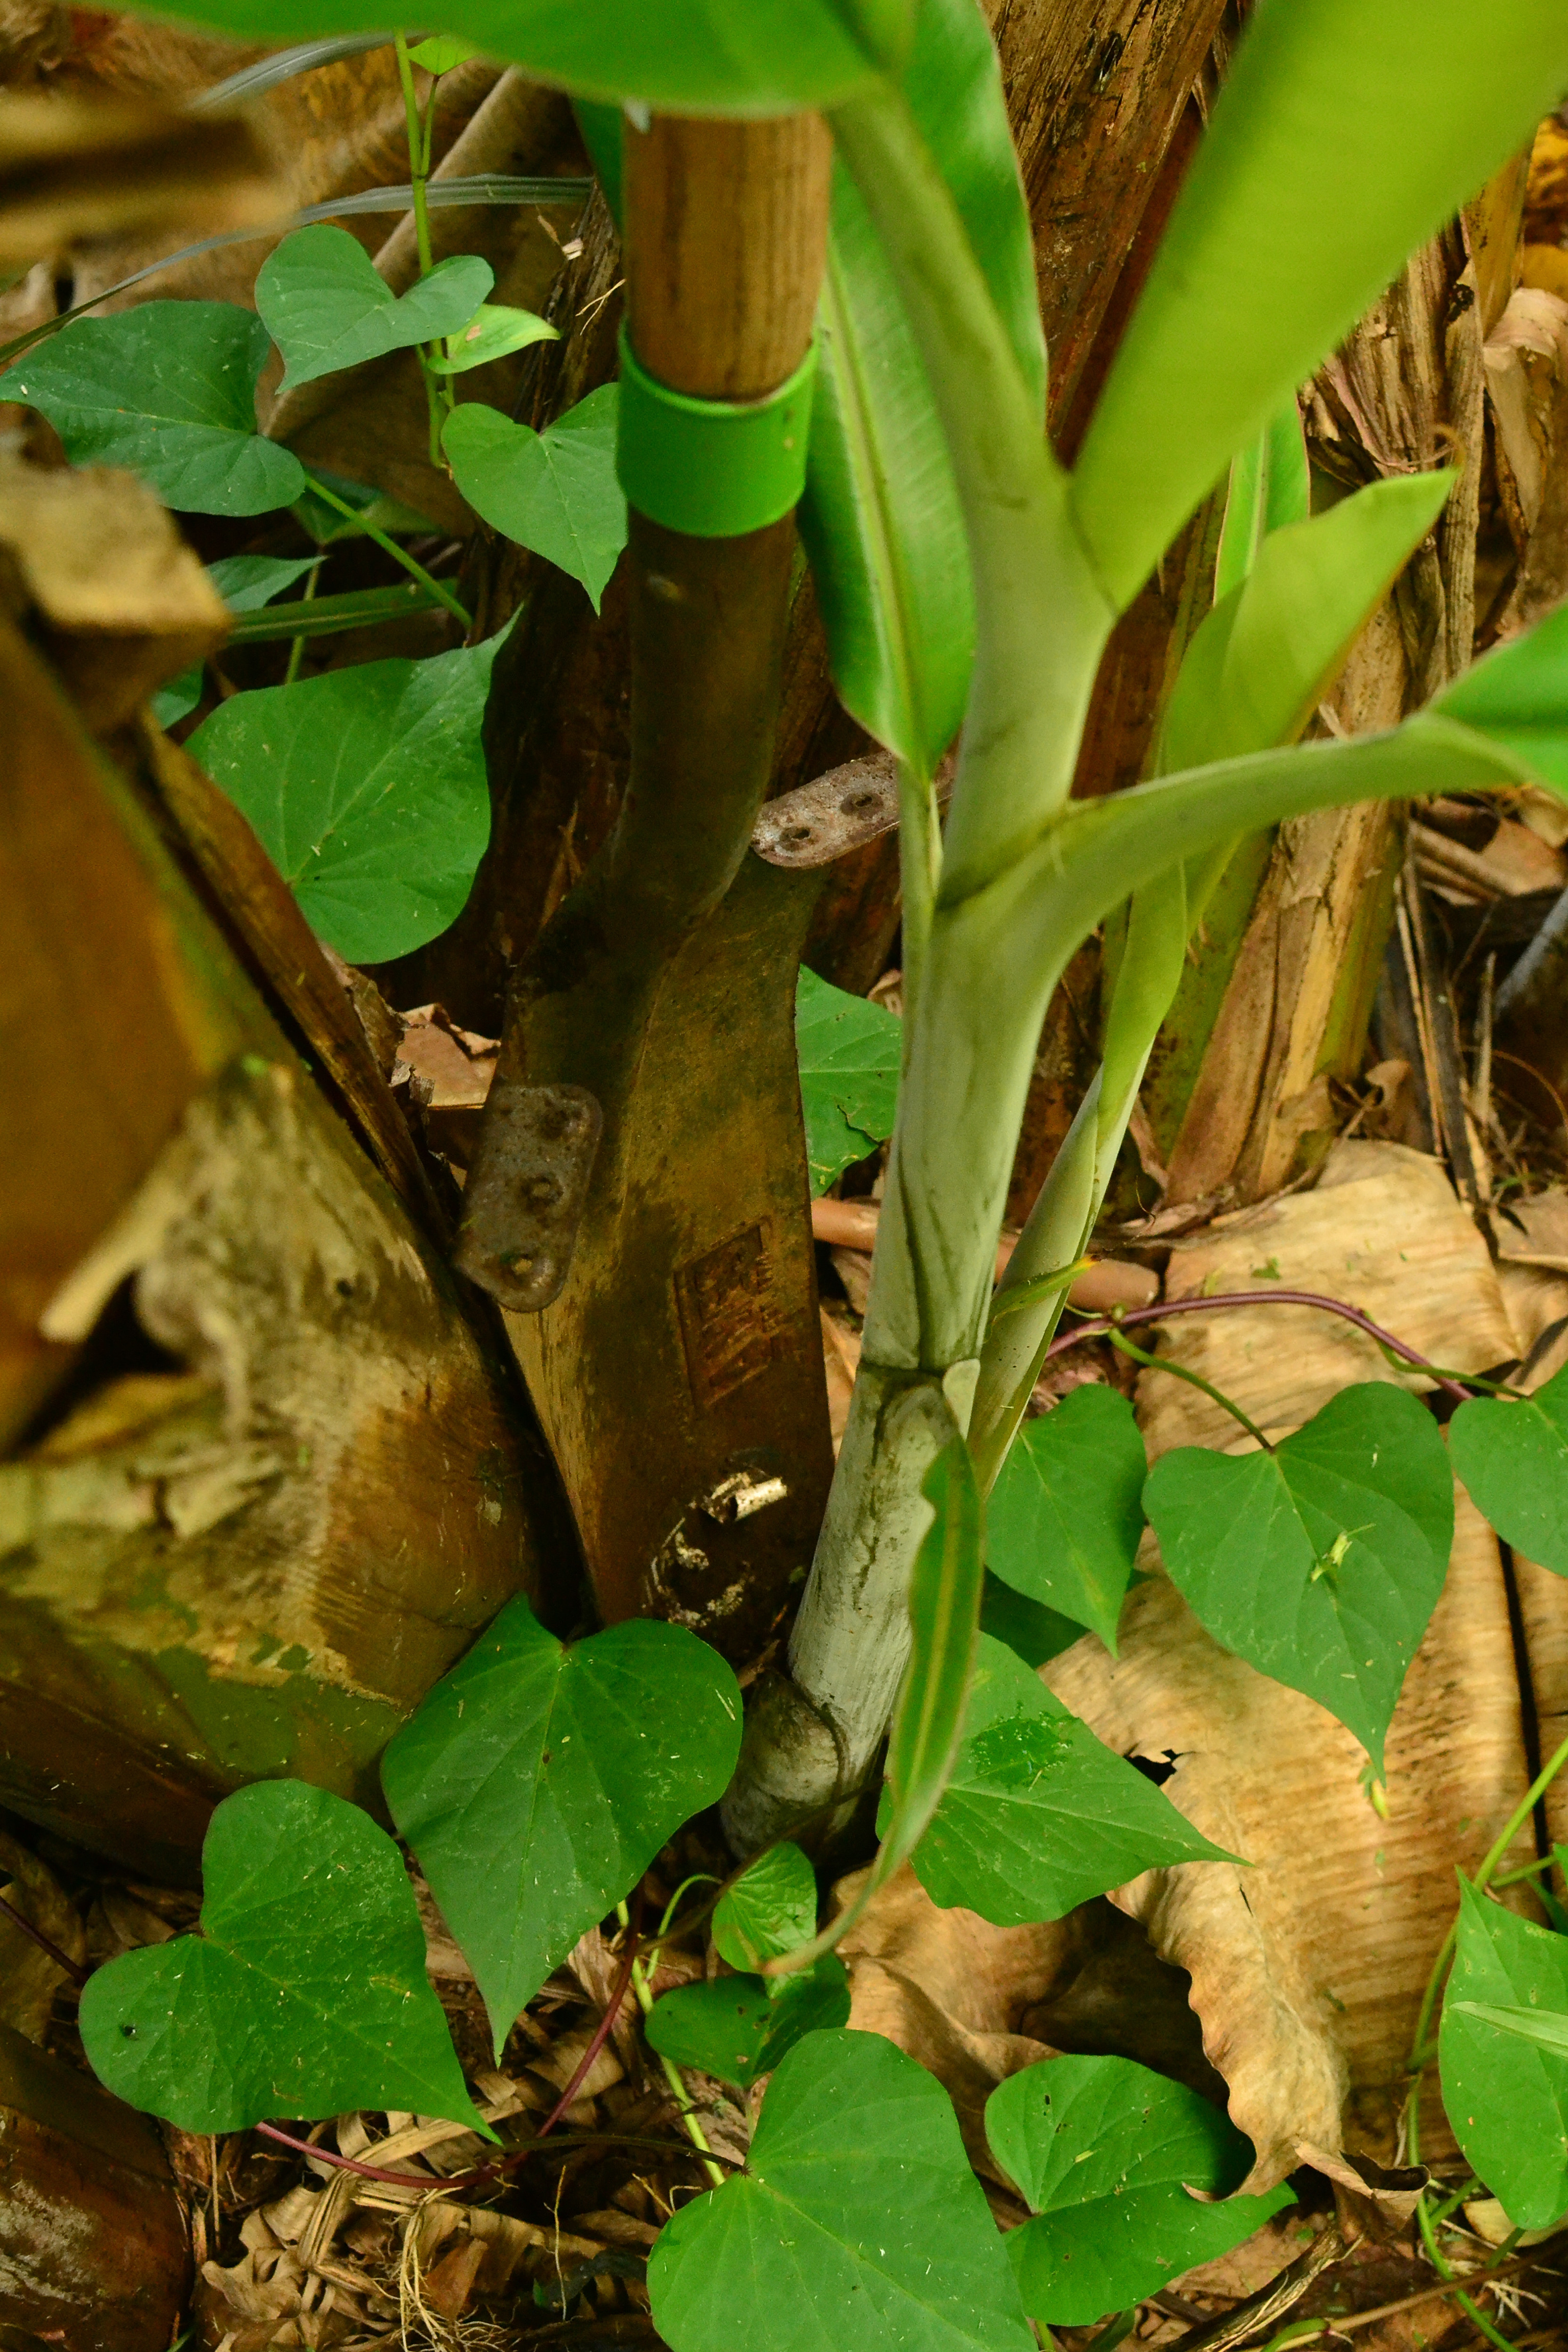
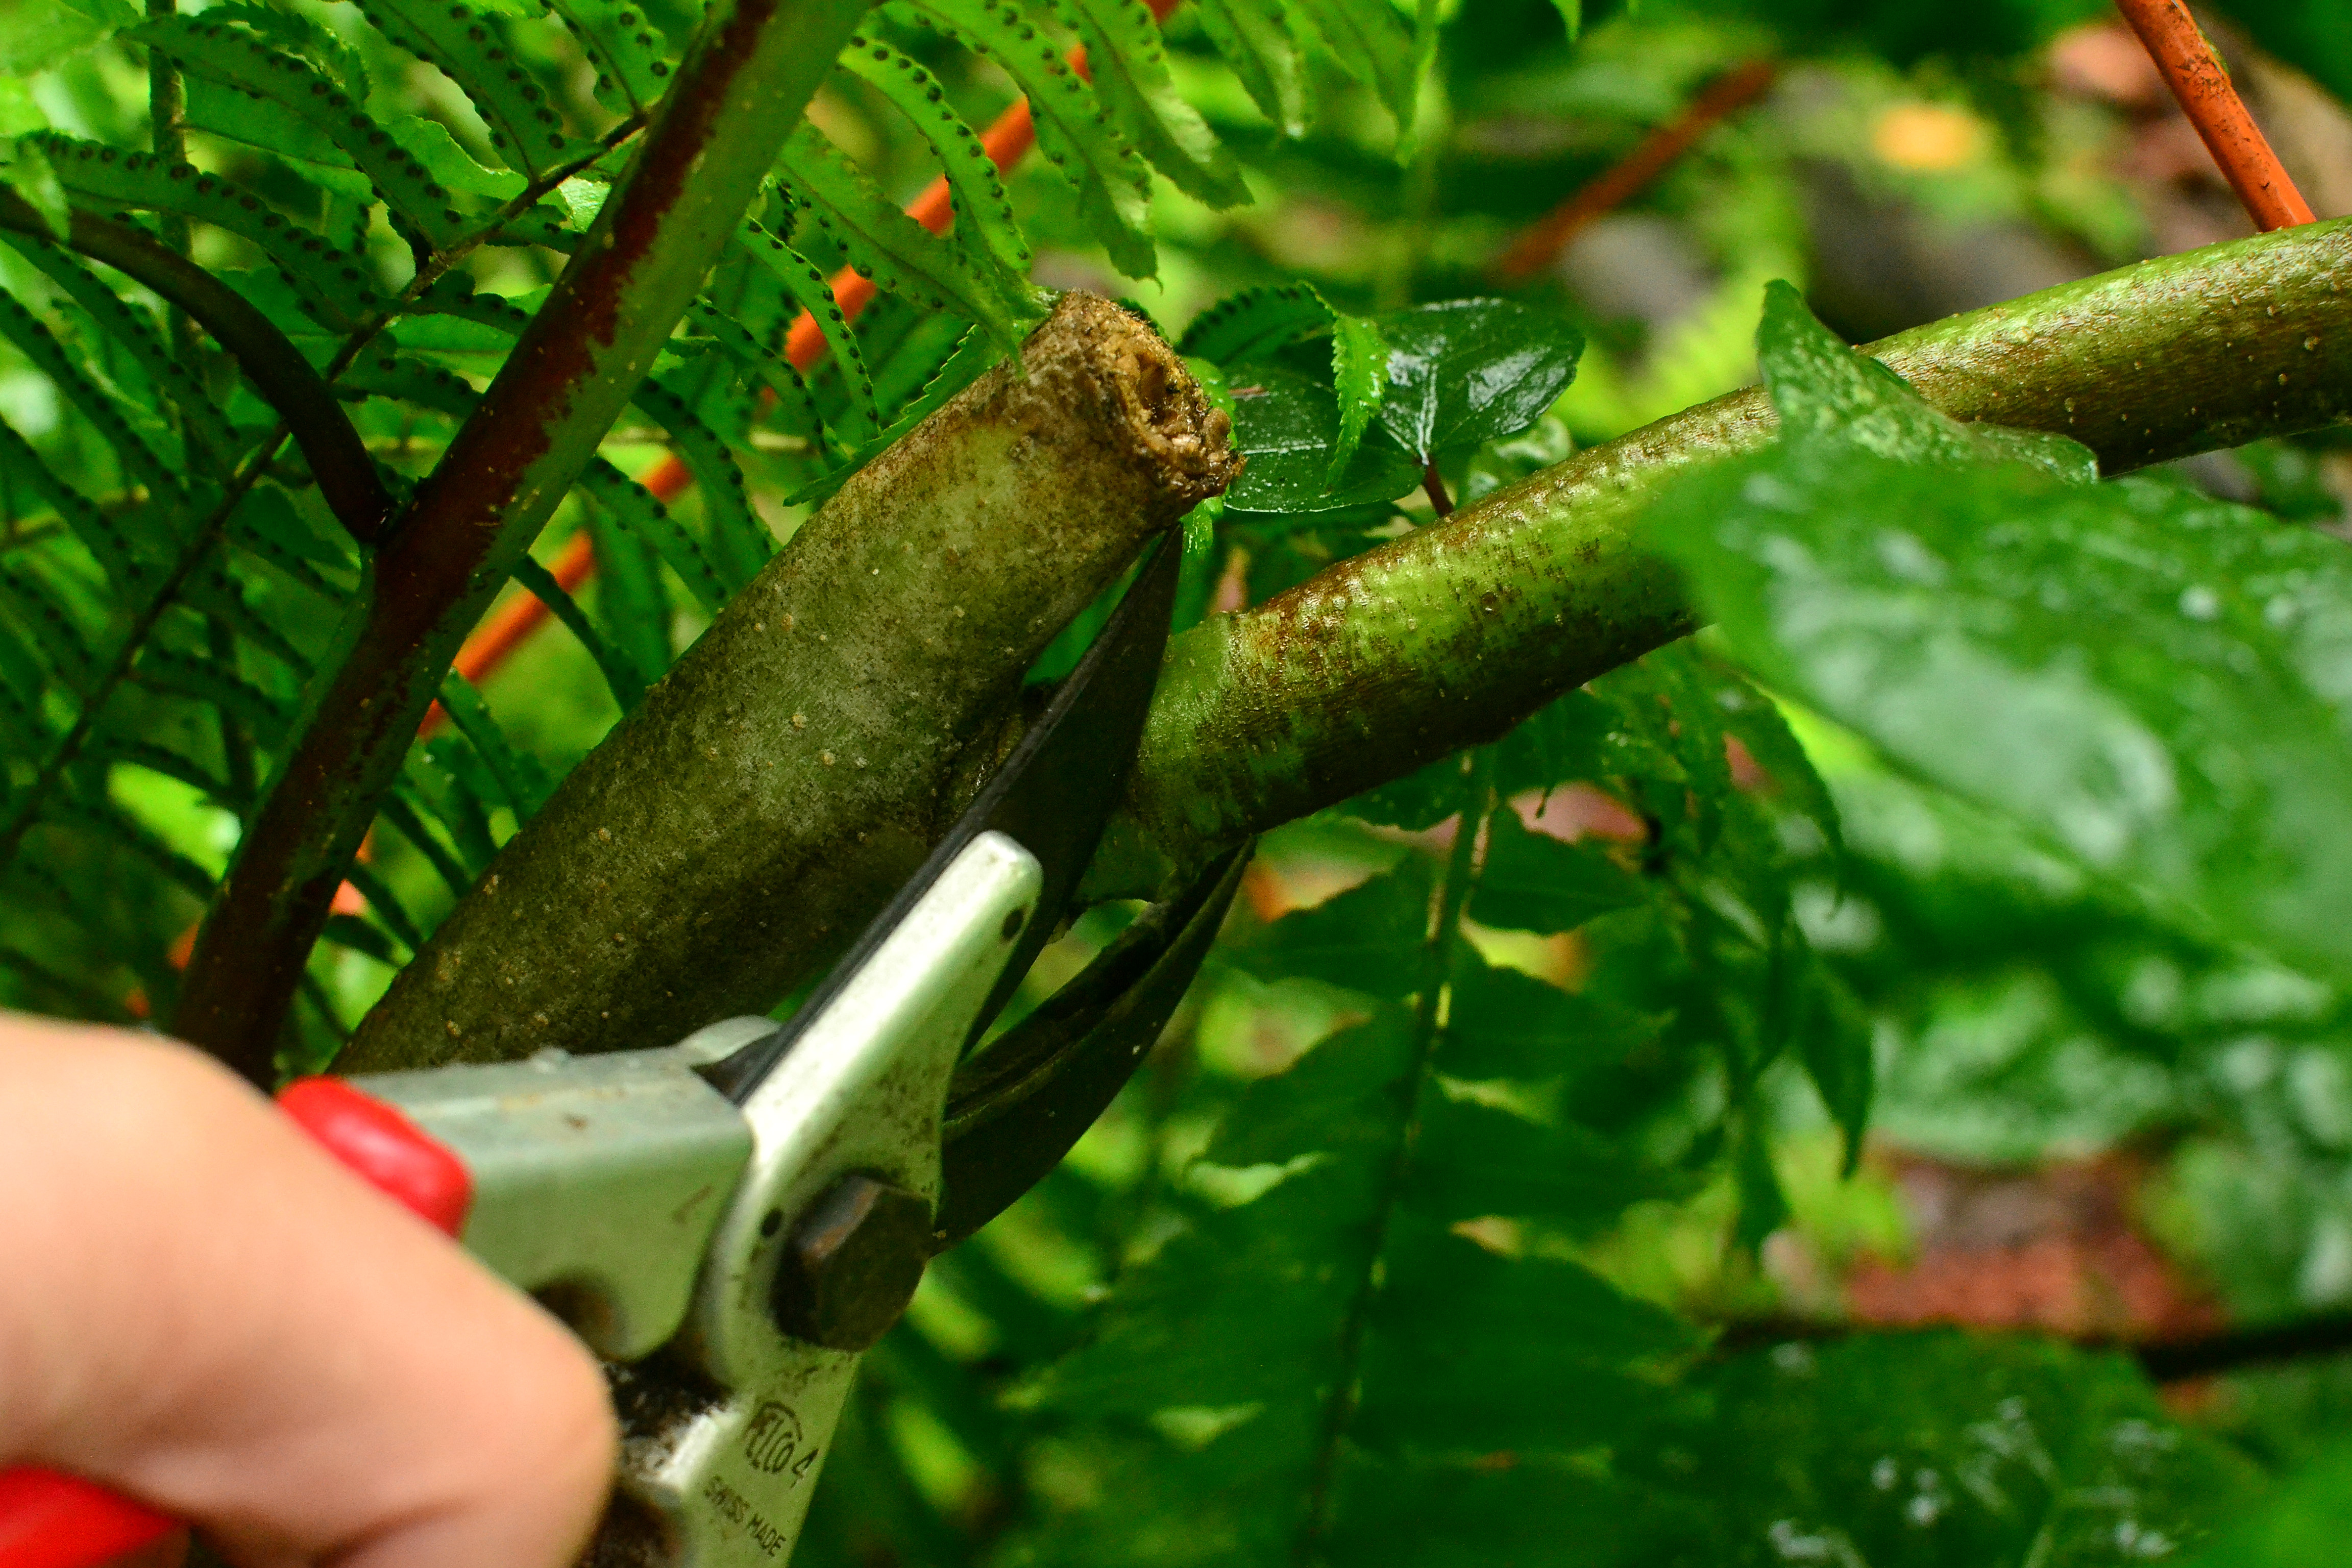
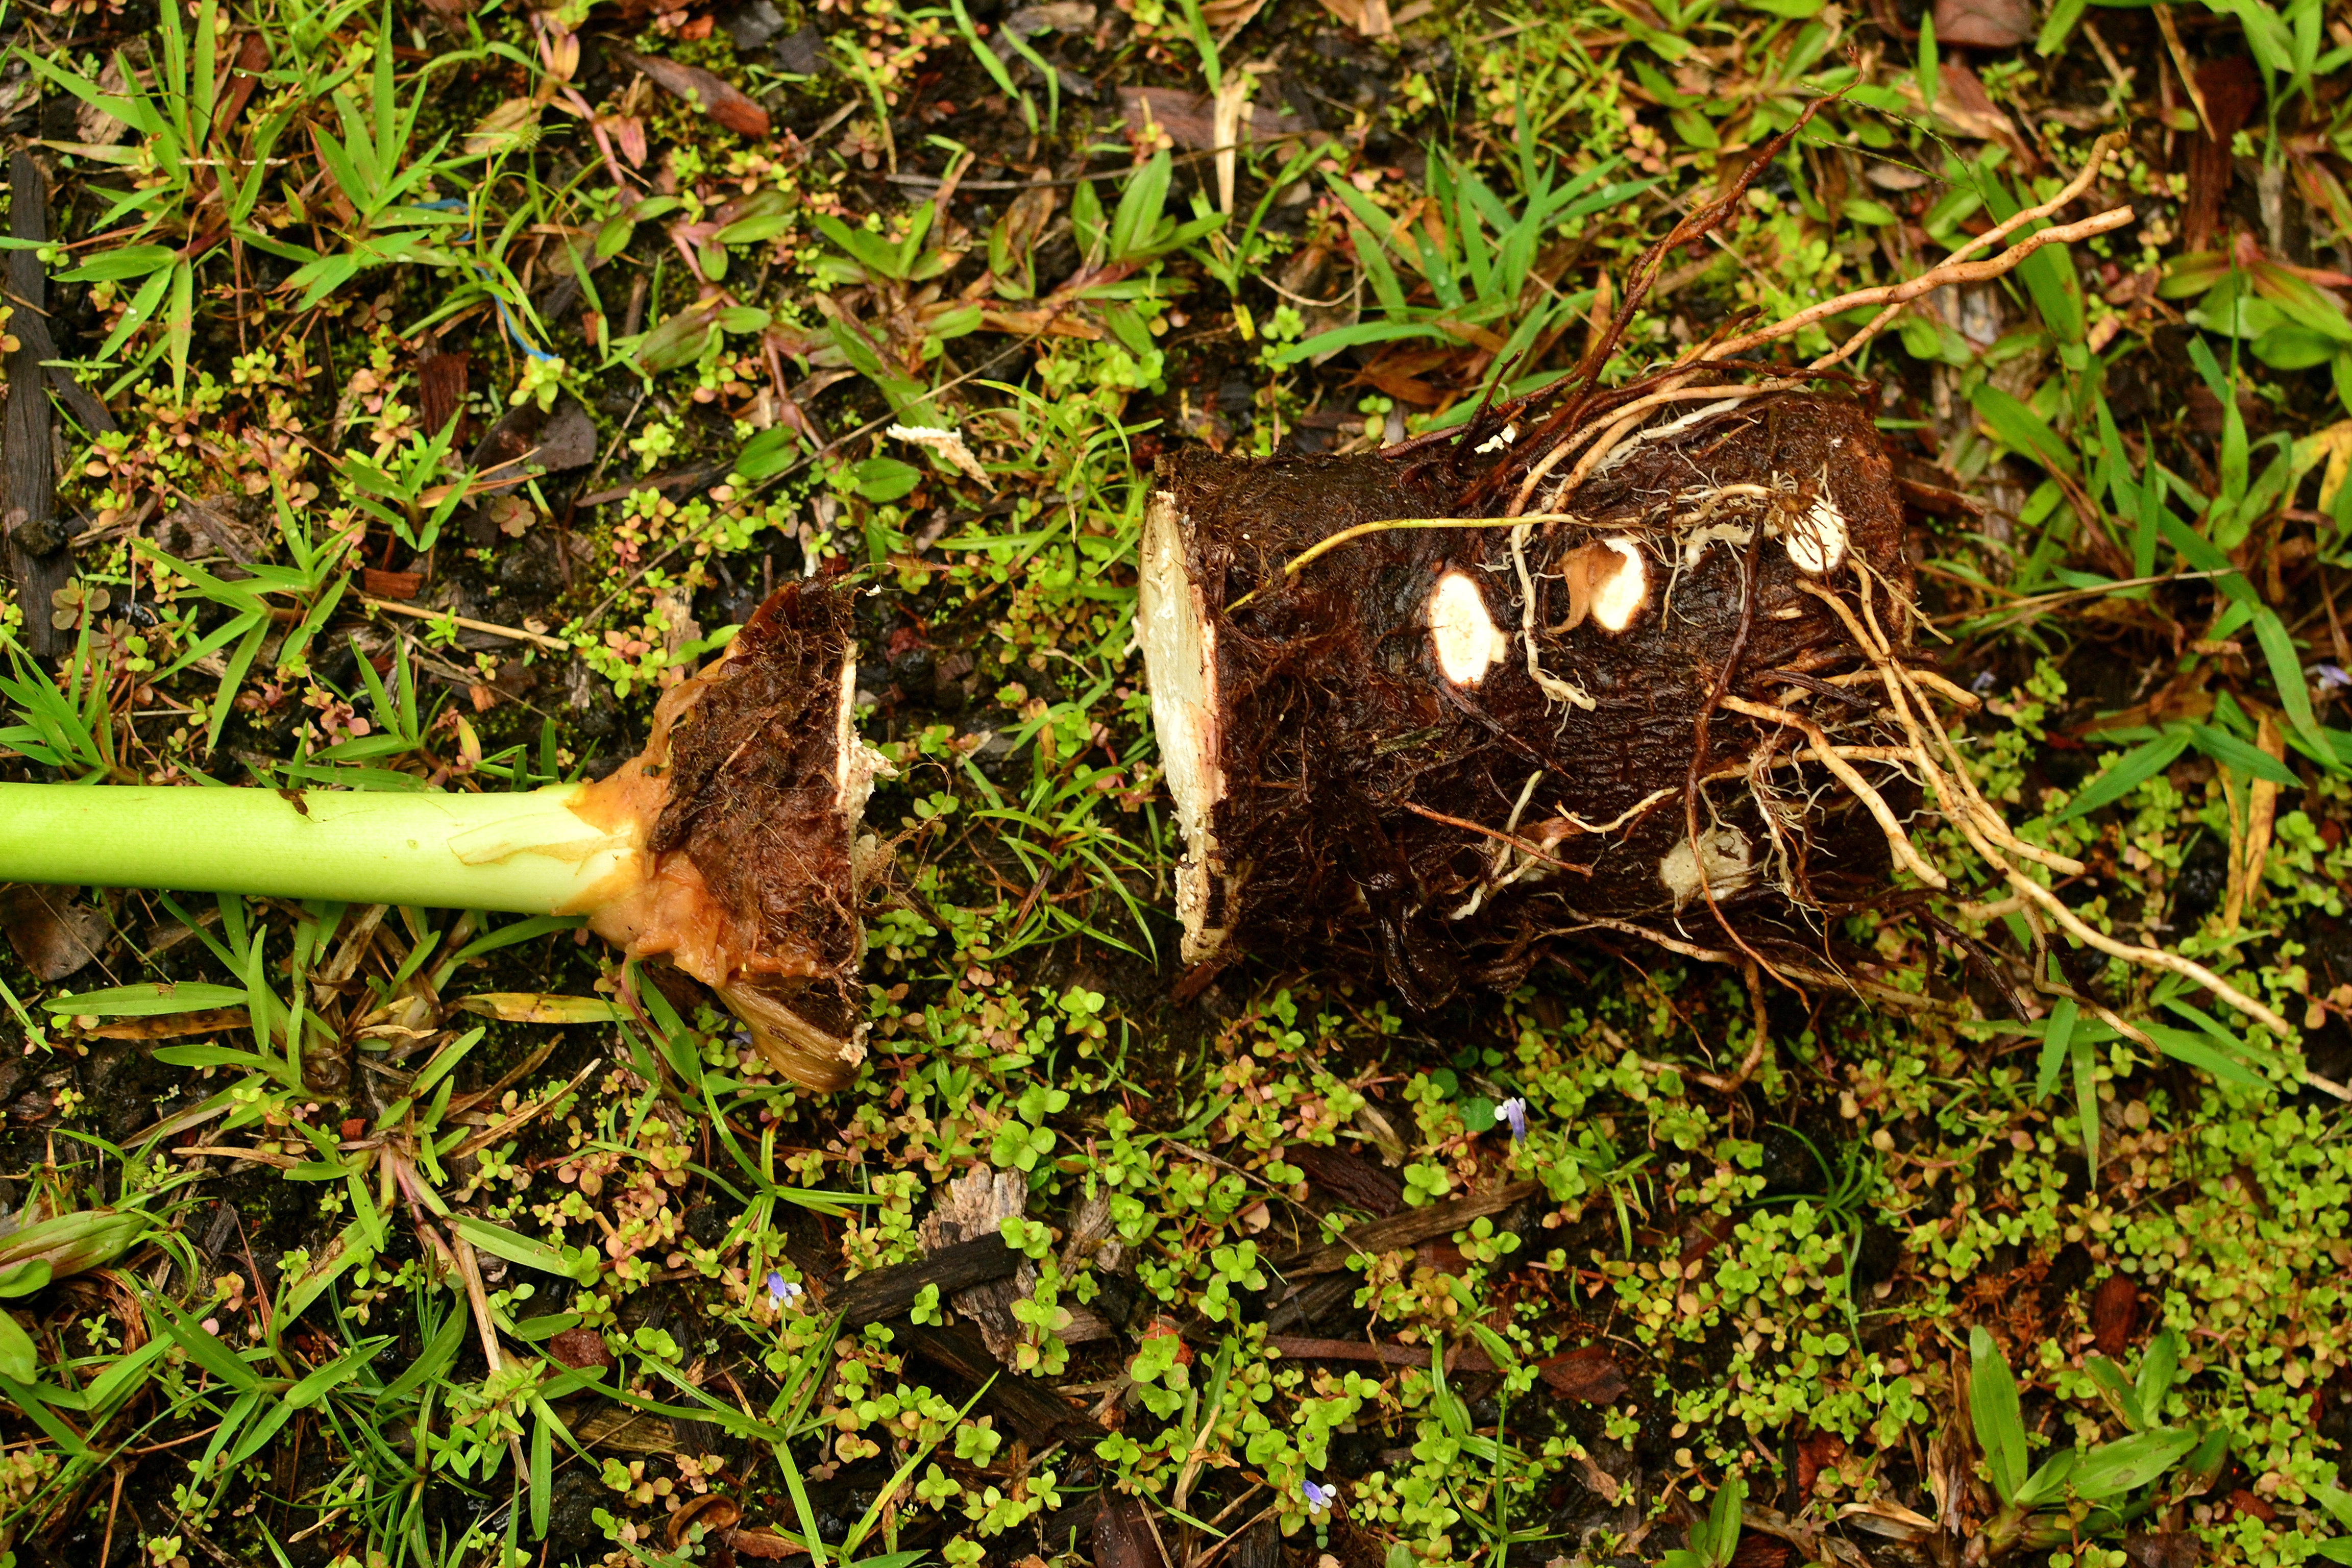
Use sharp shovel to remove pup from mother corm
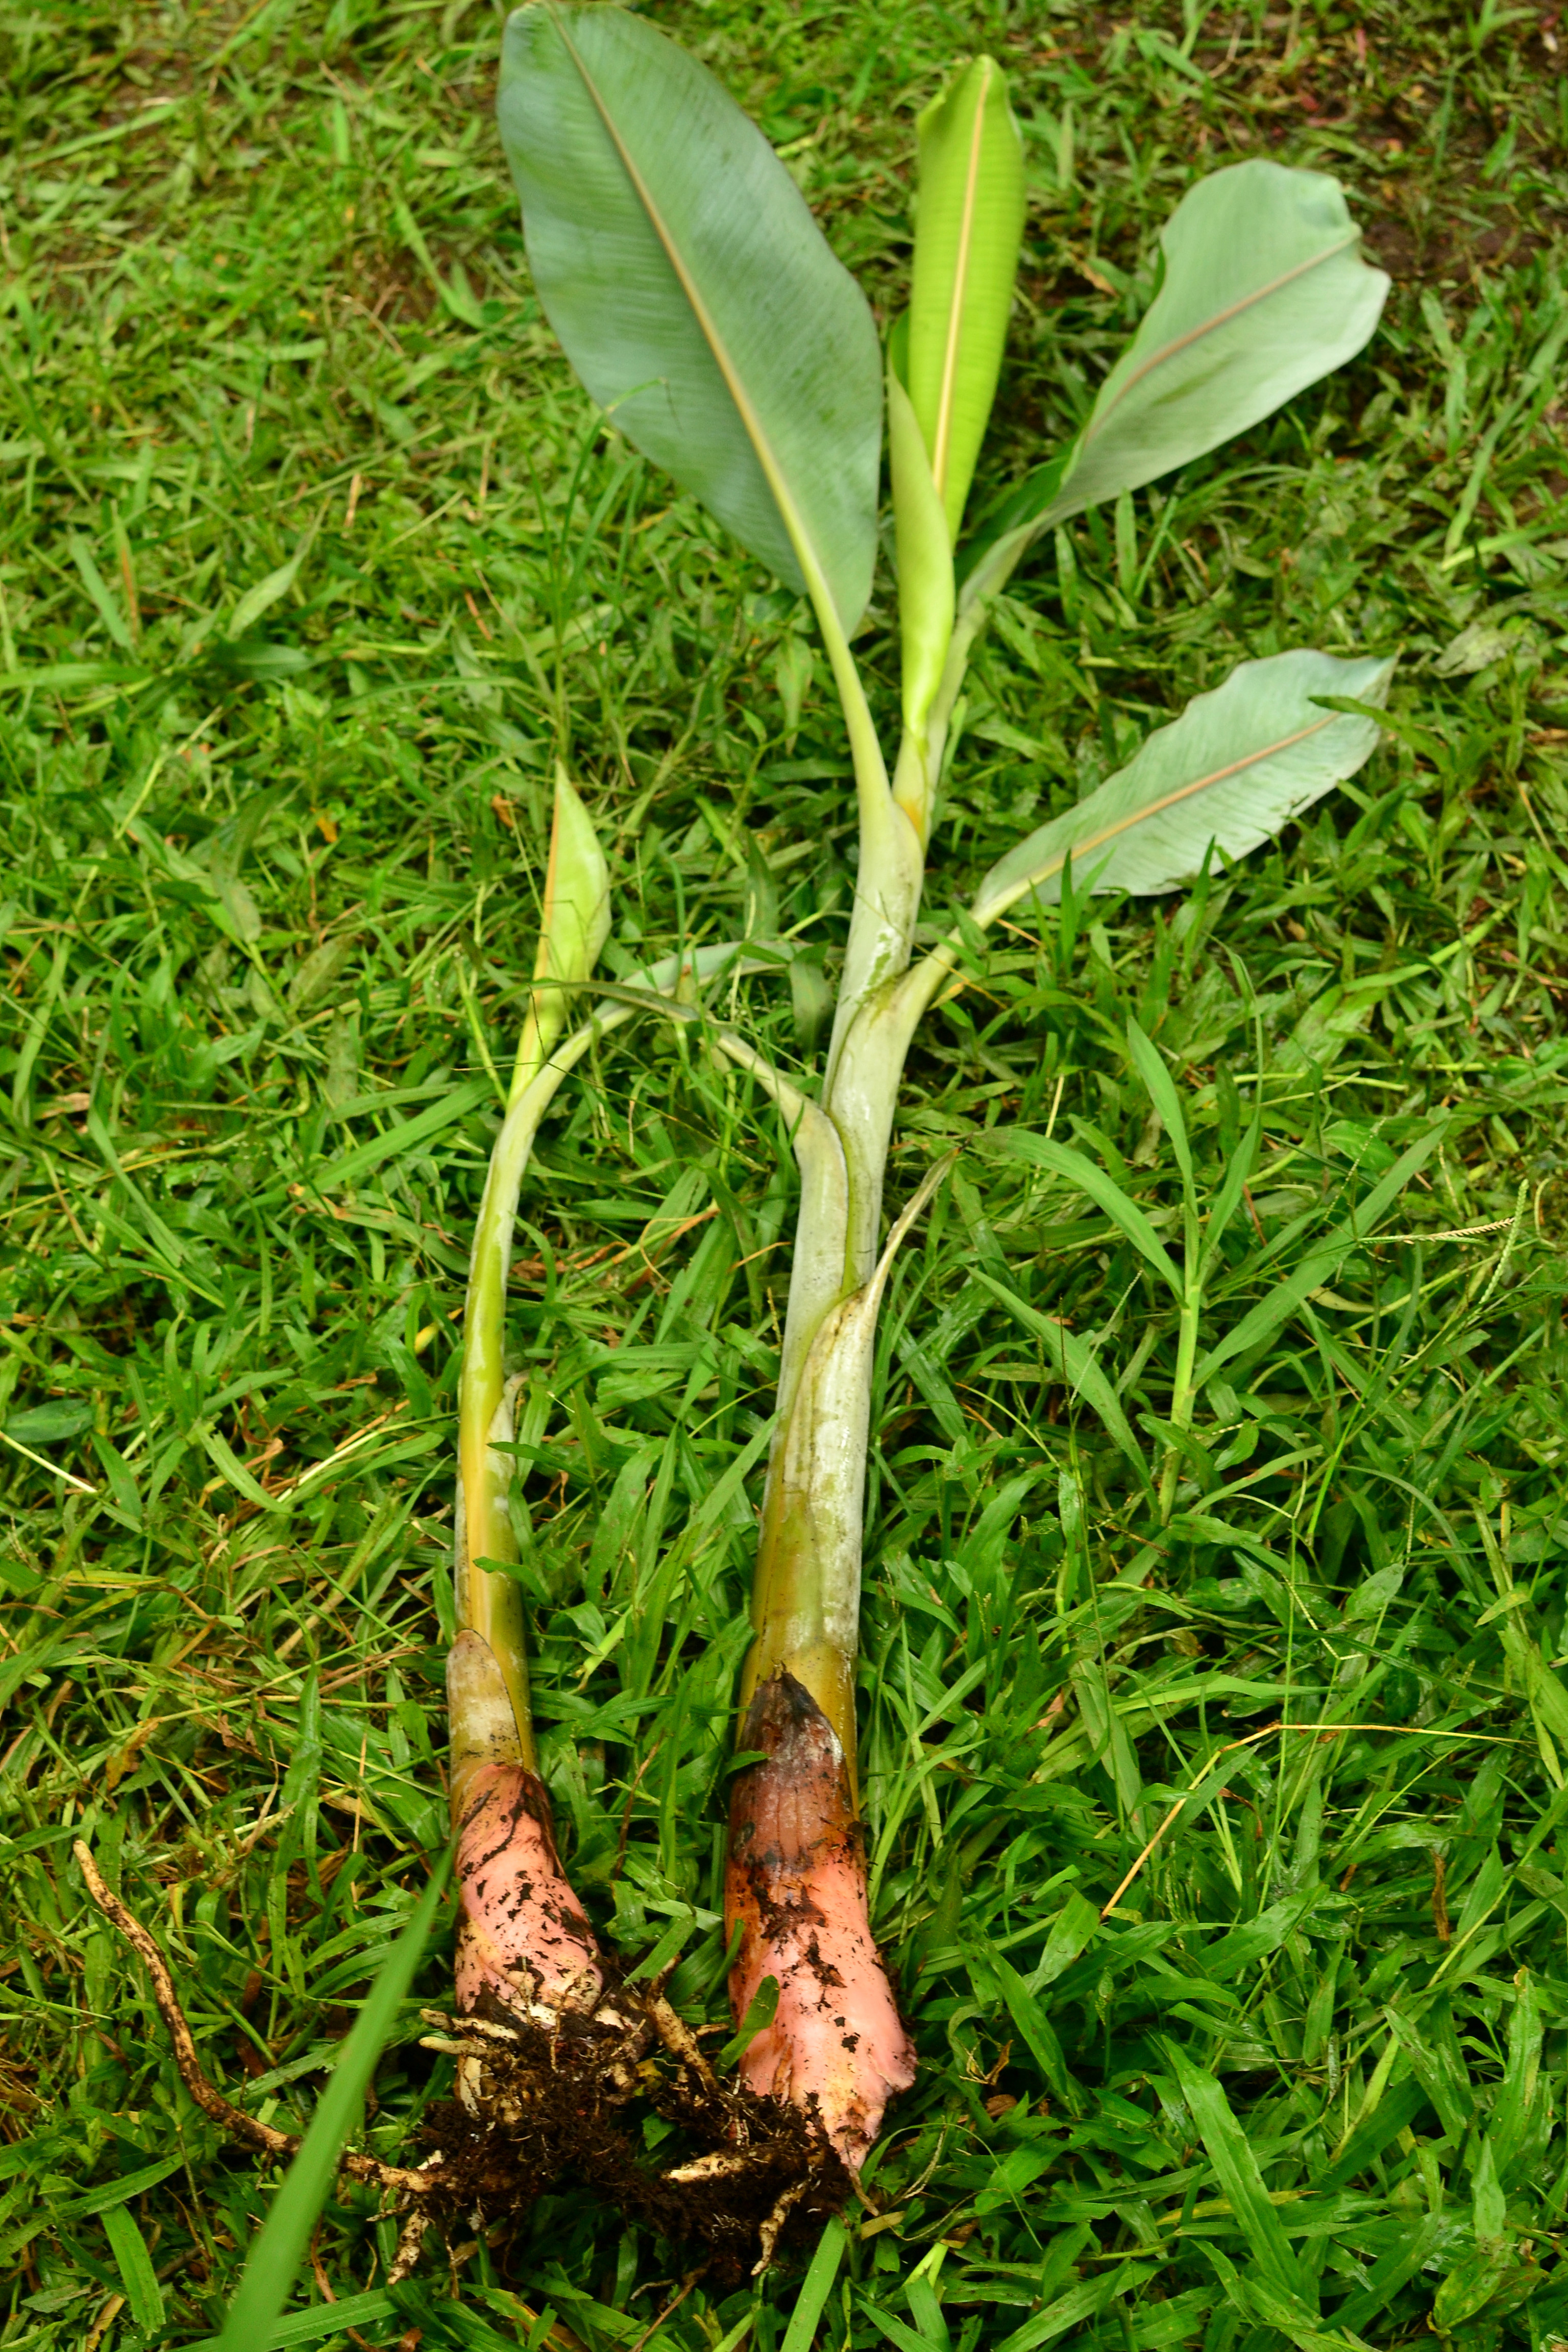
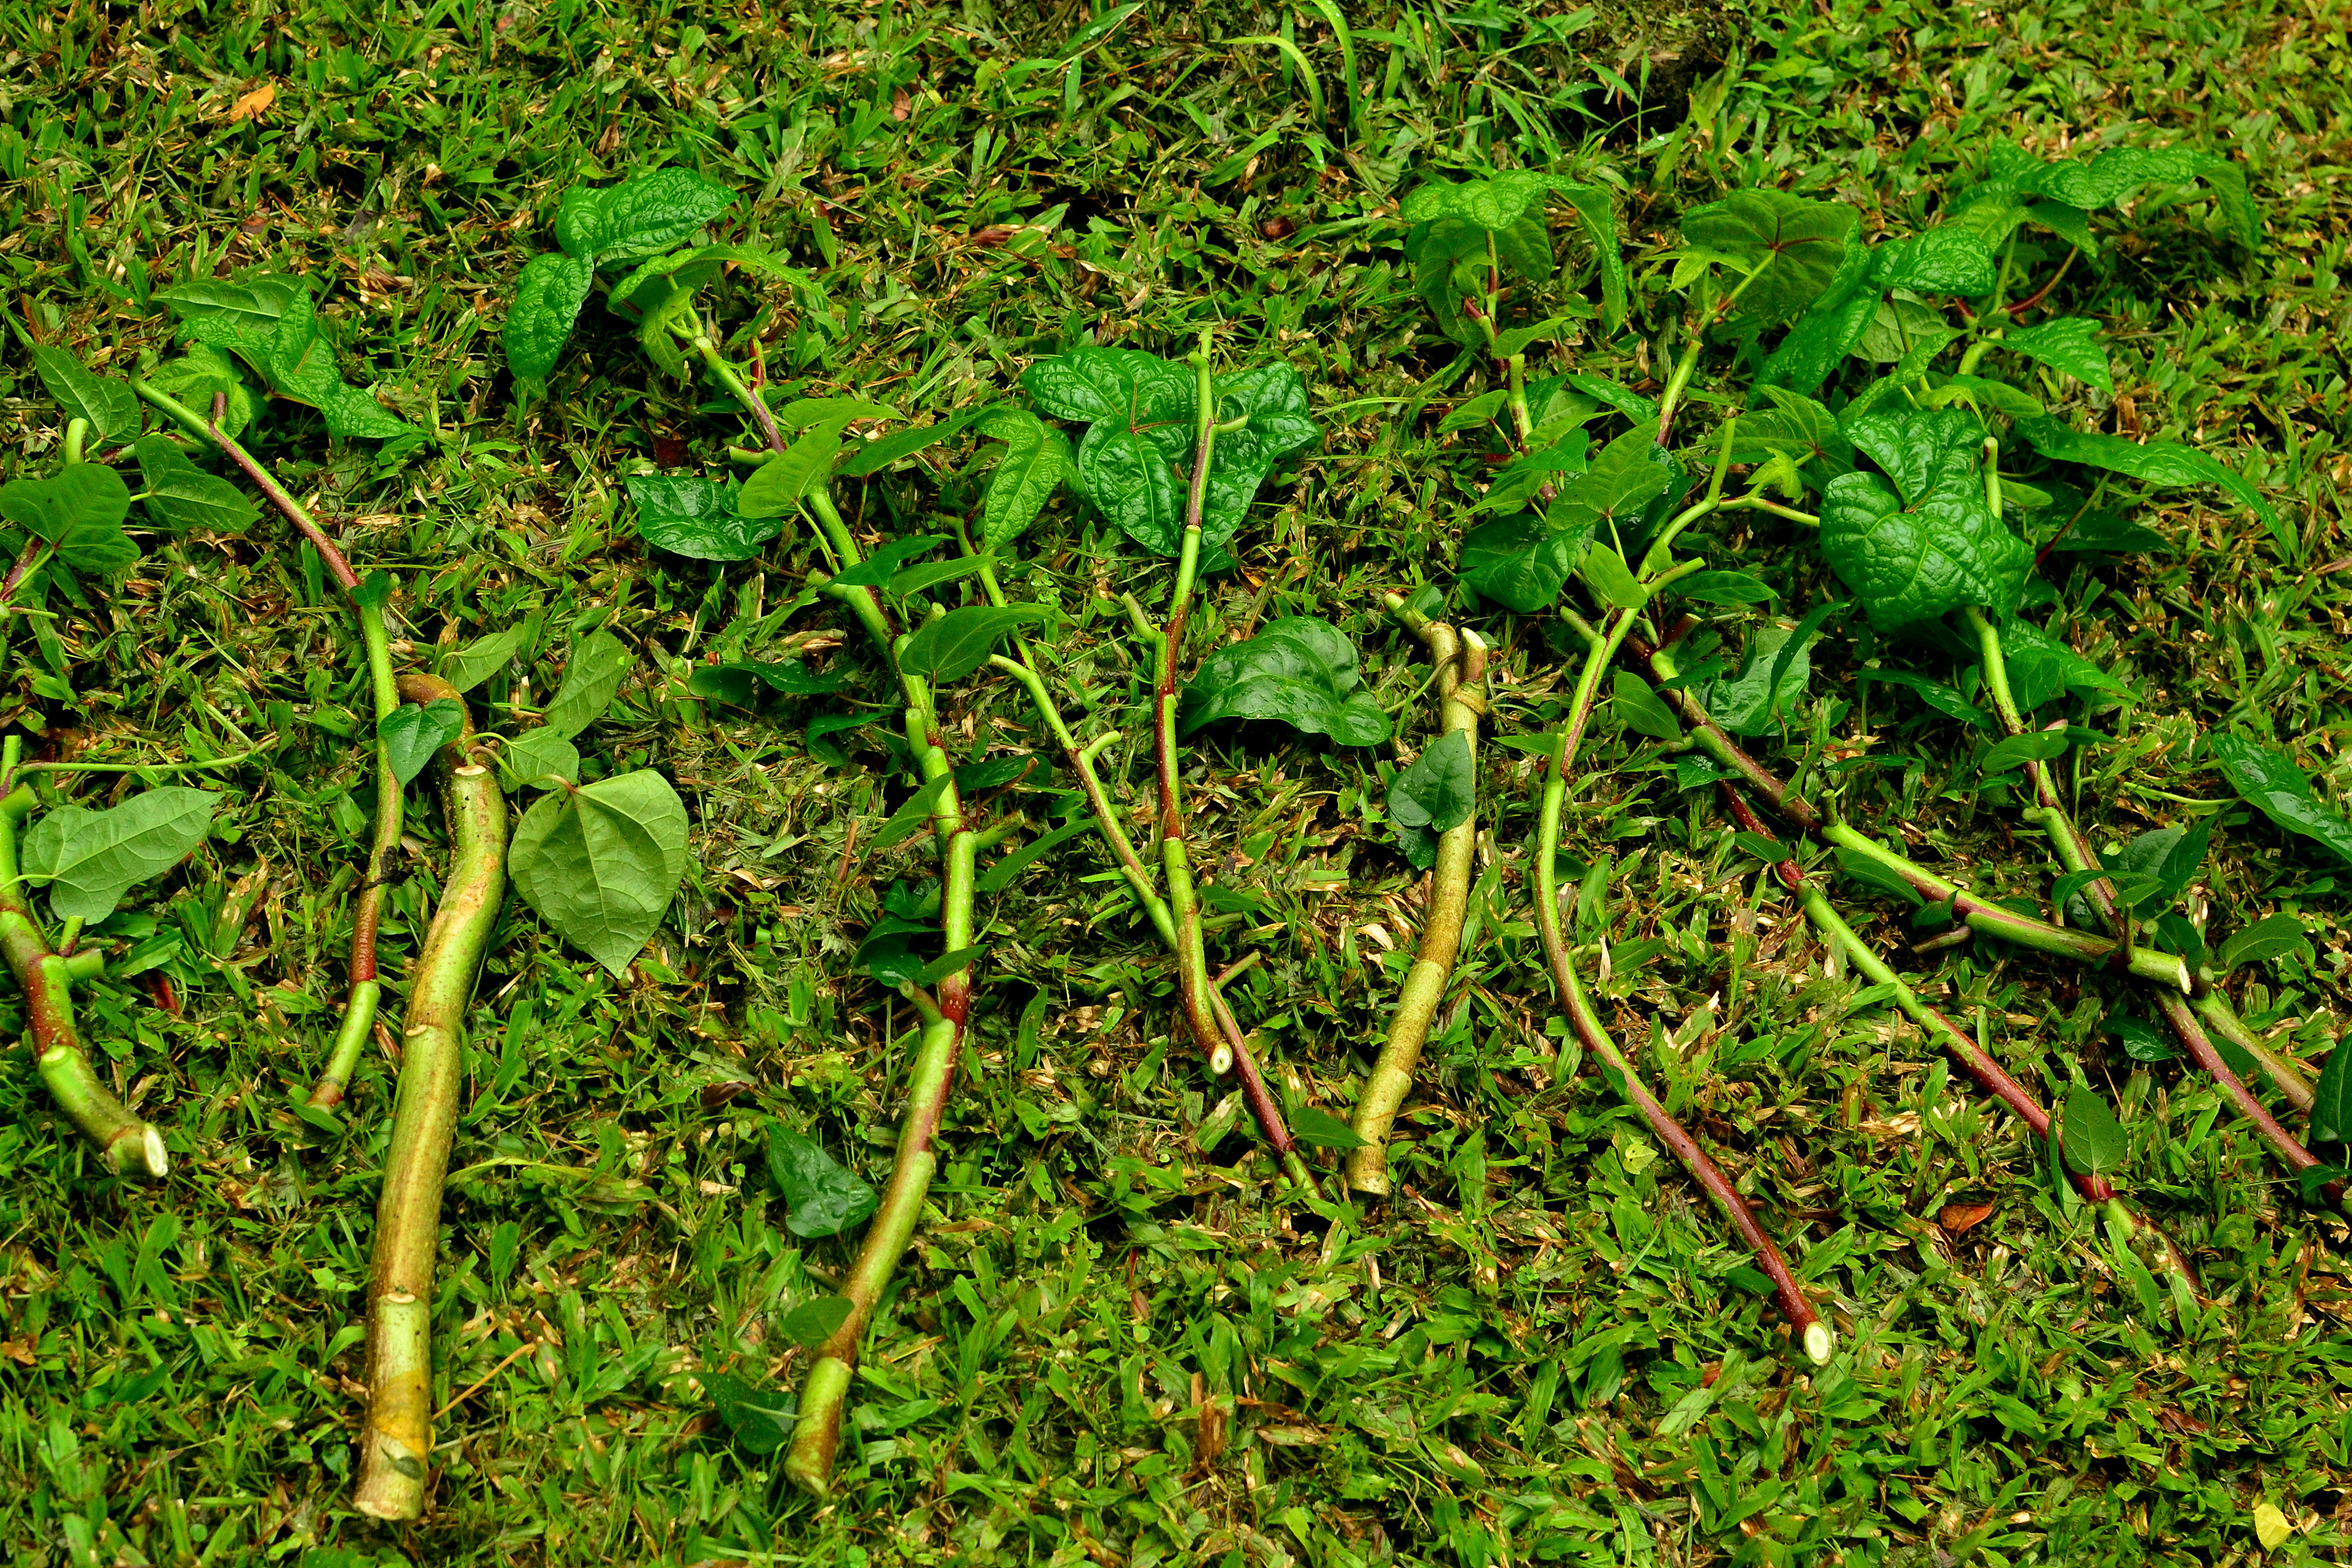
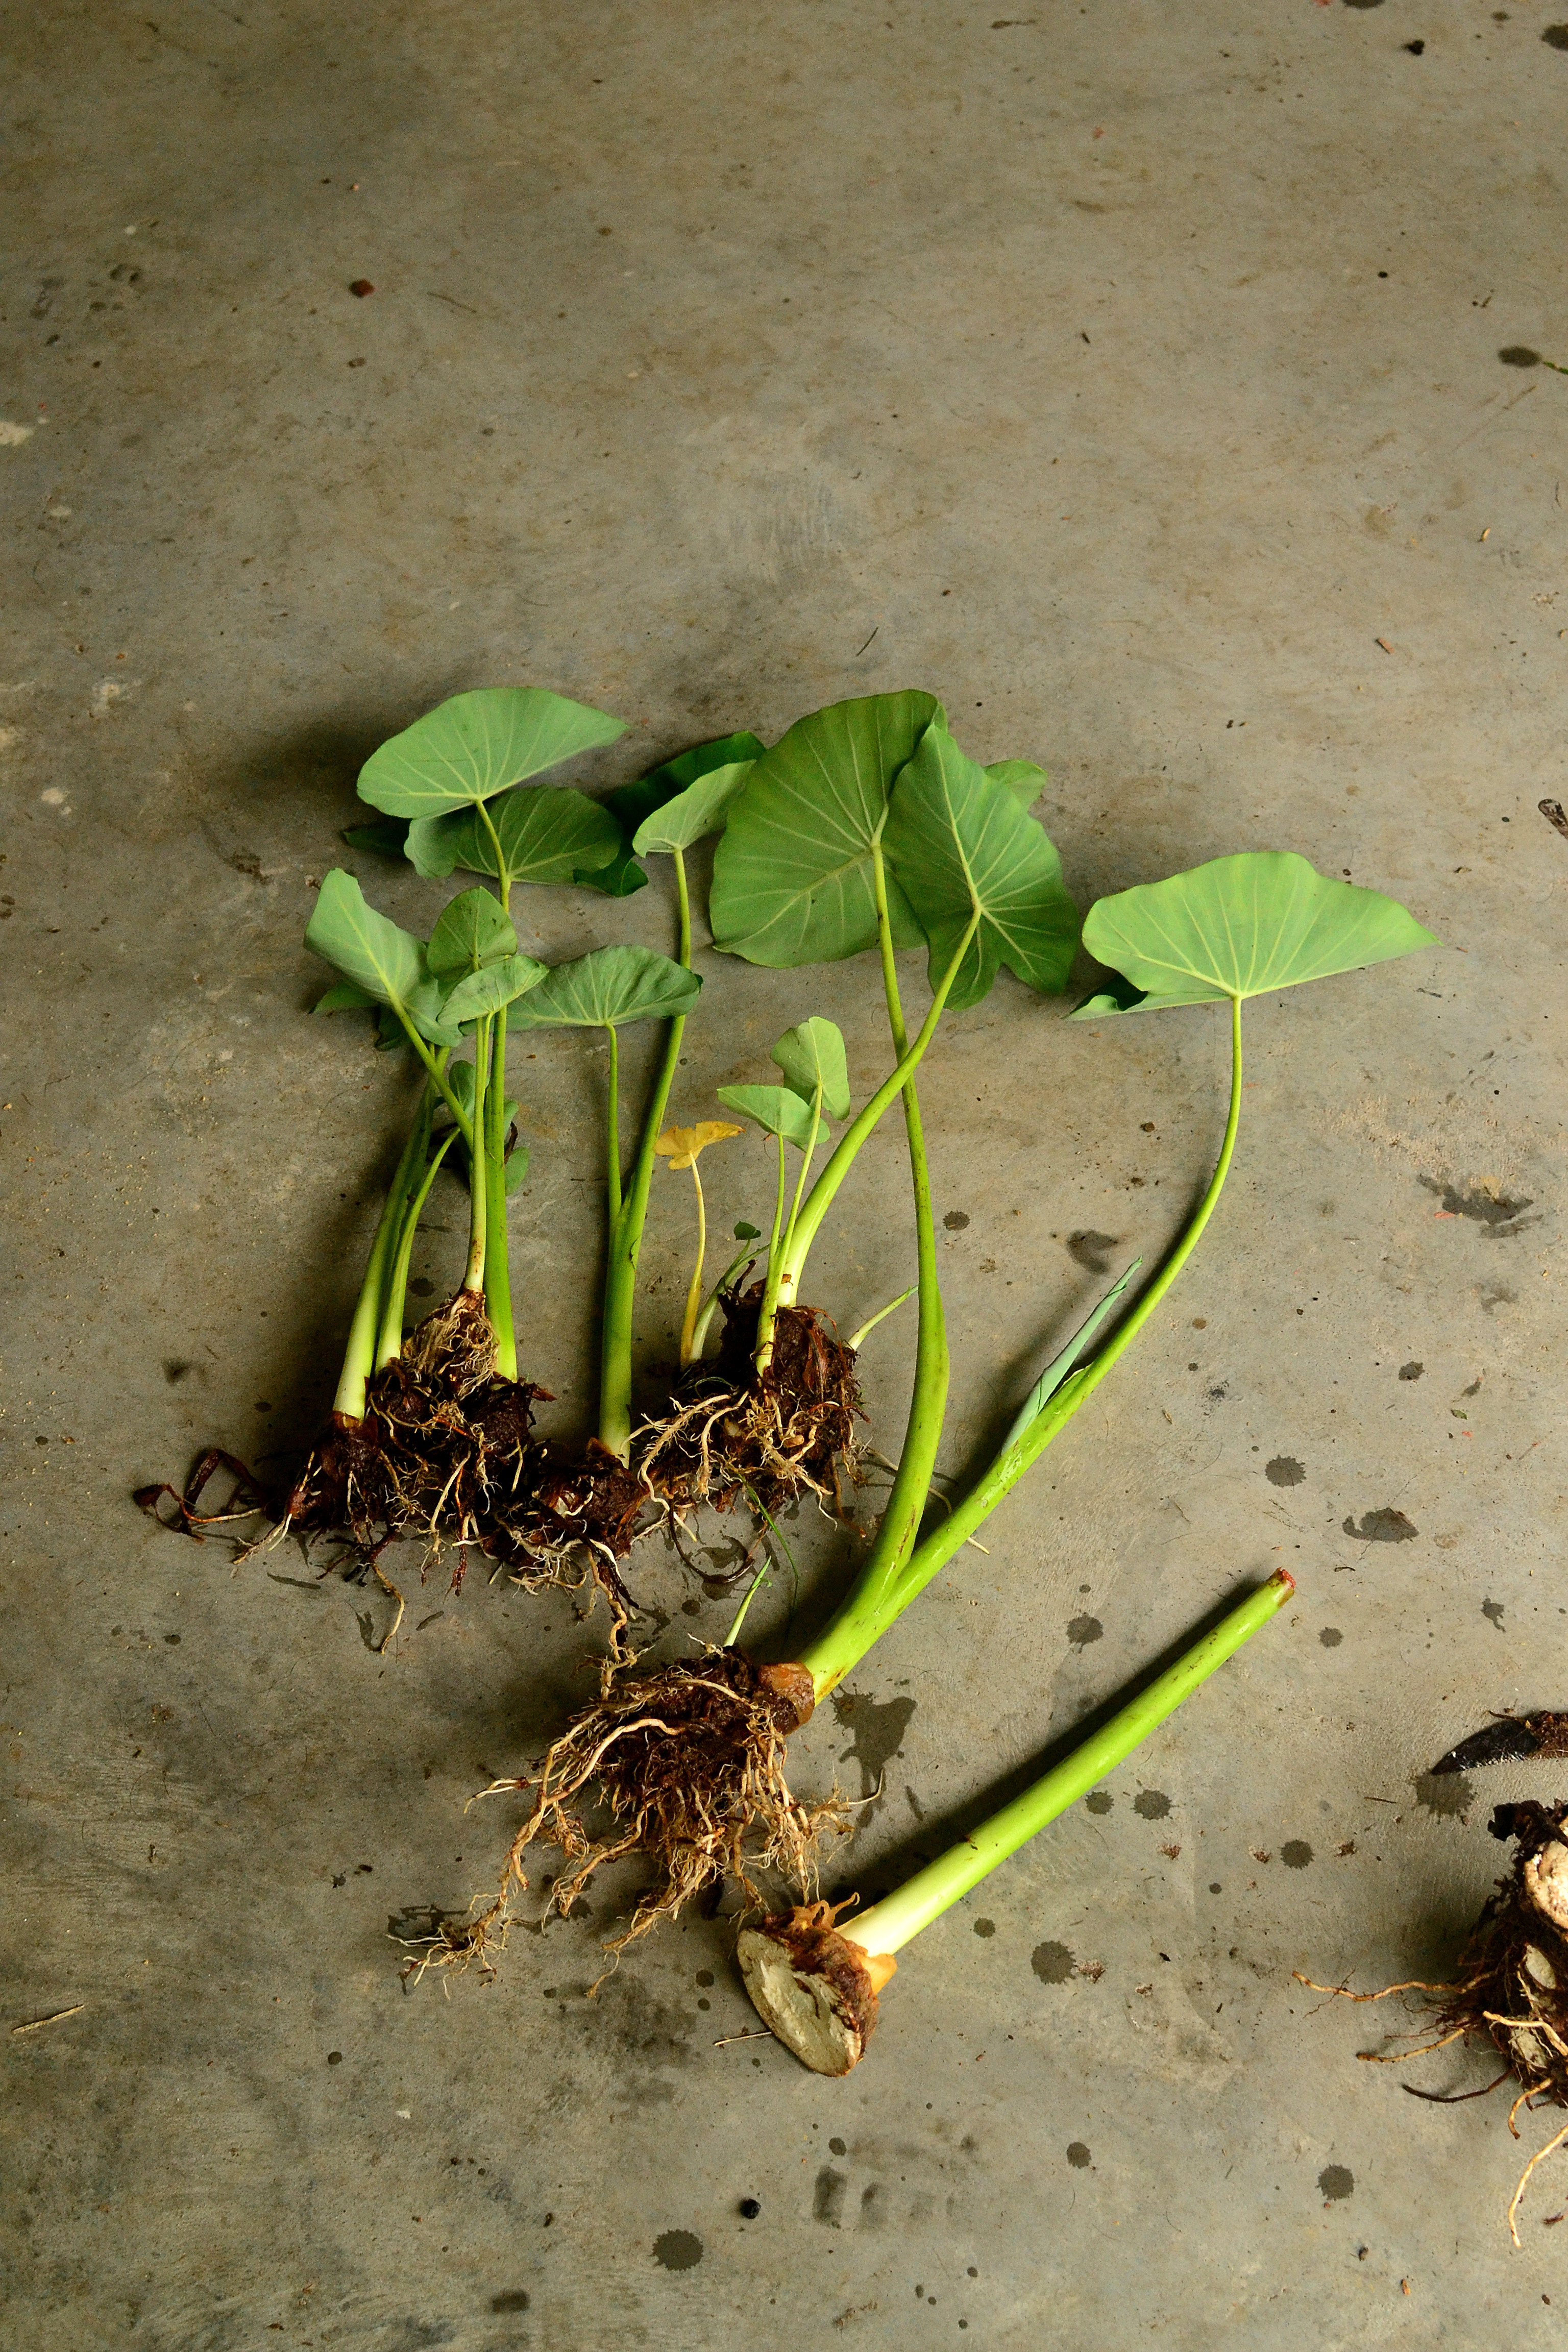
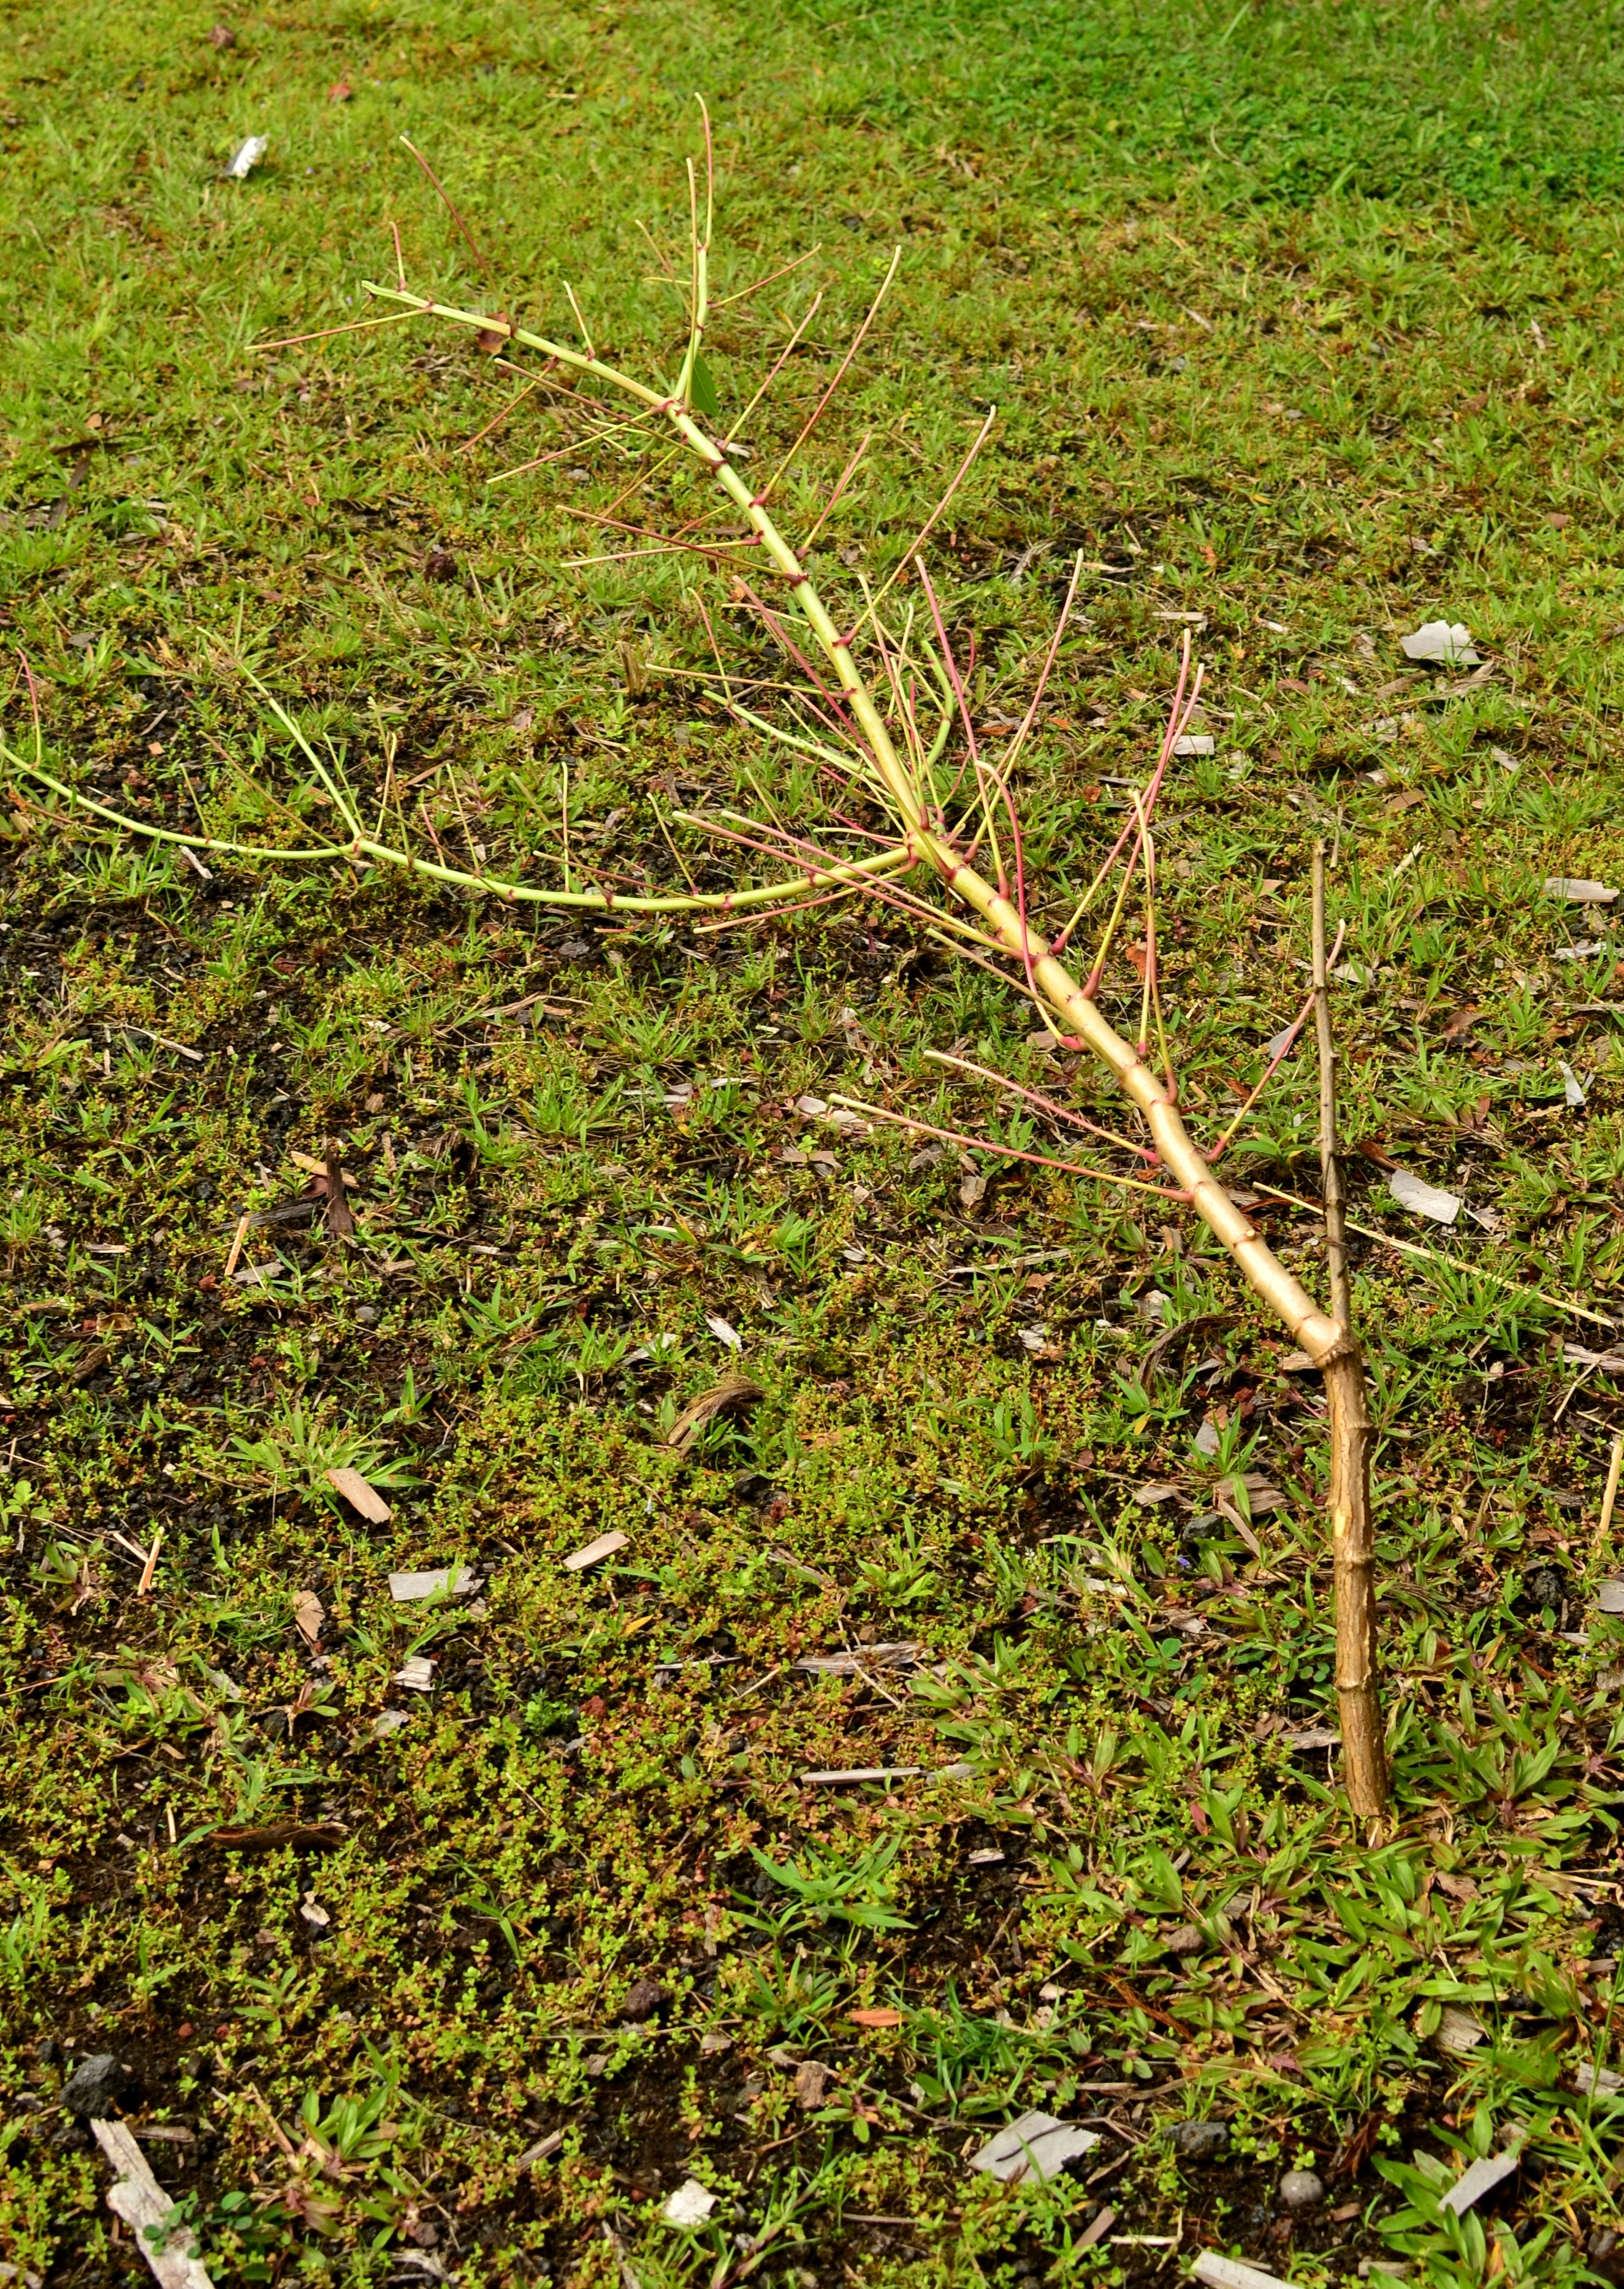
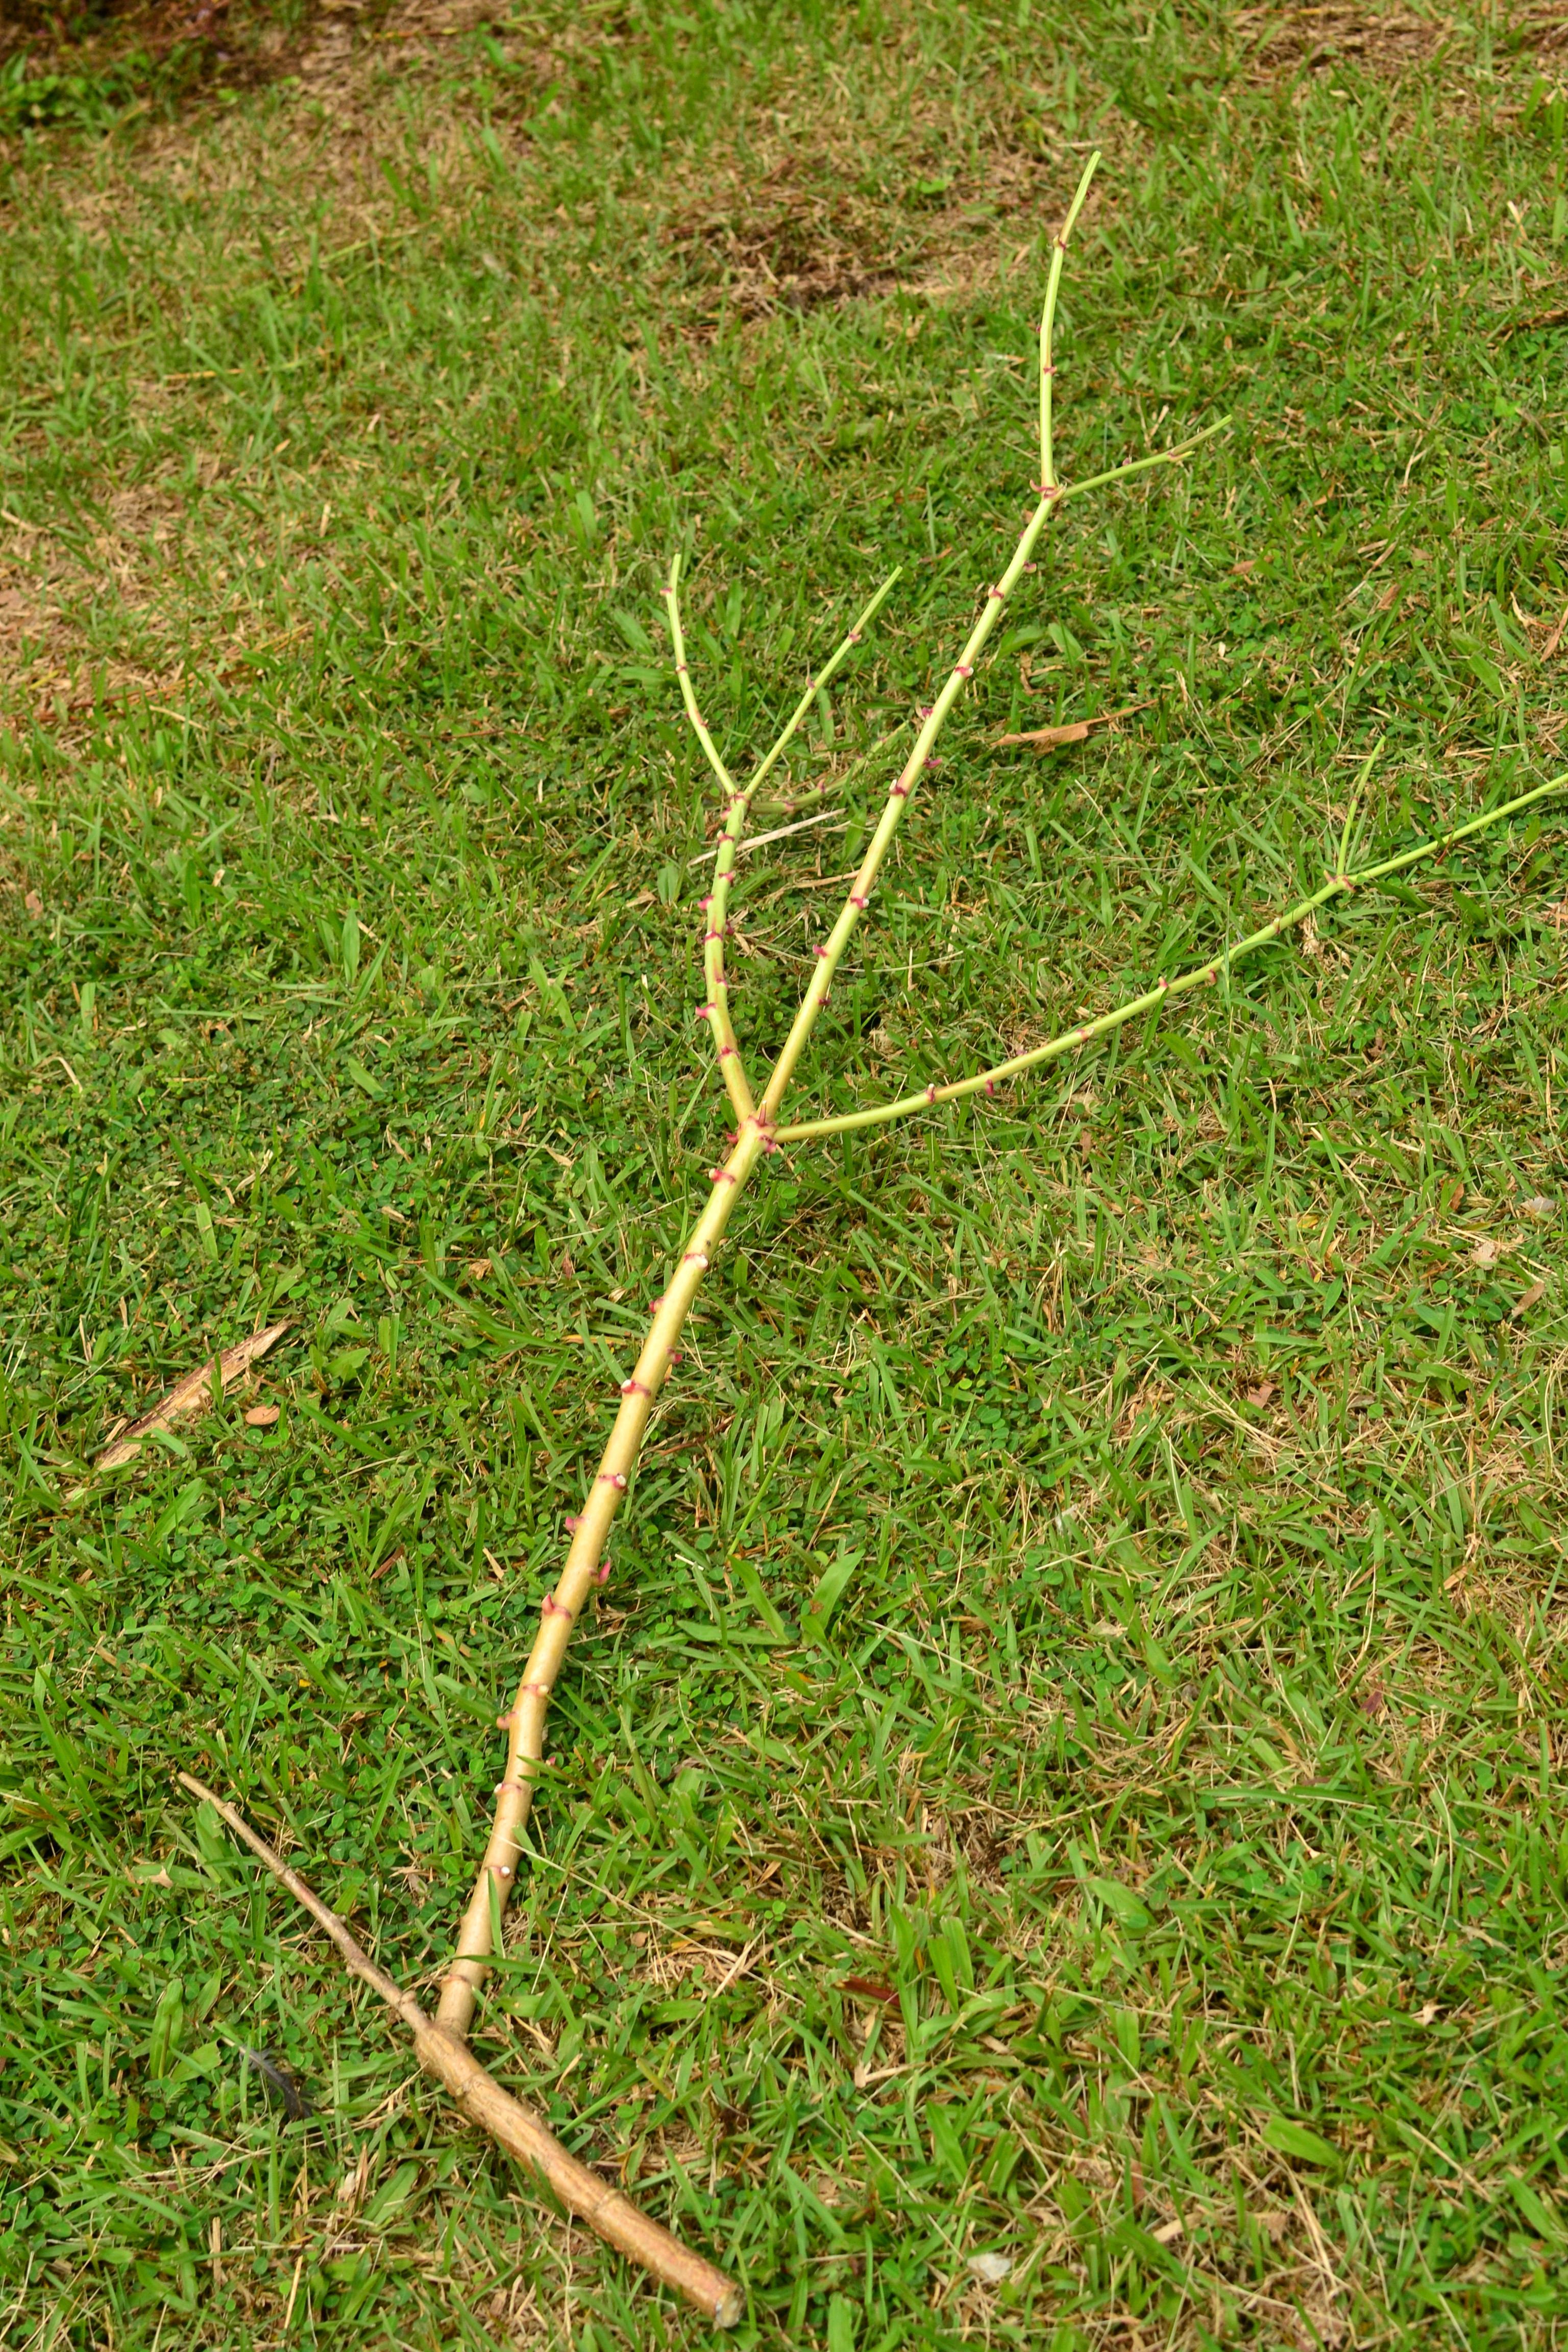
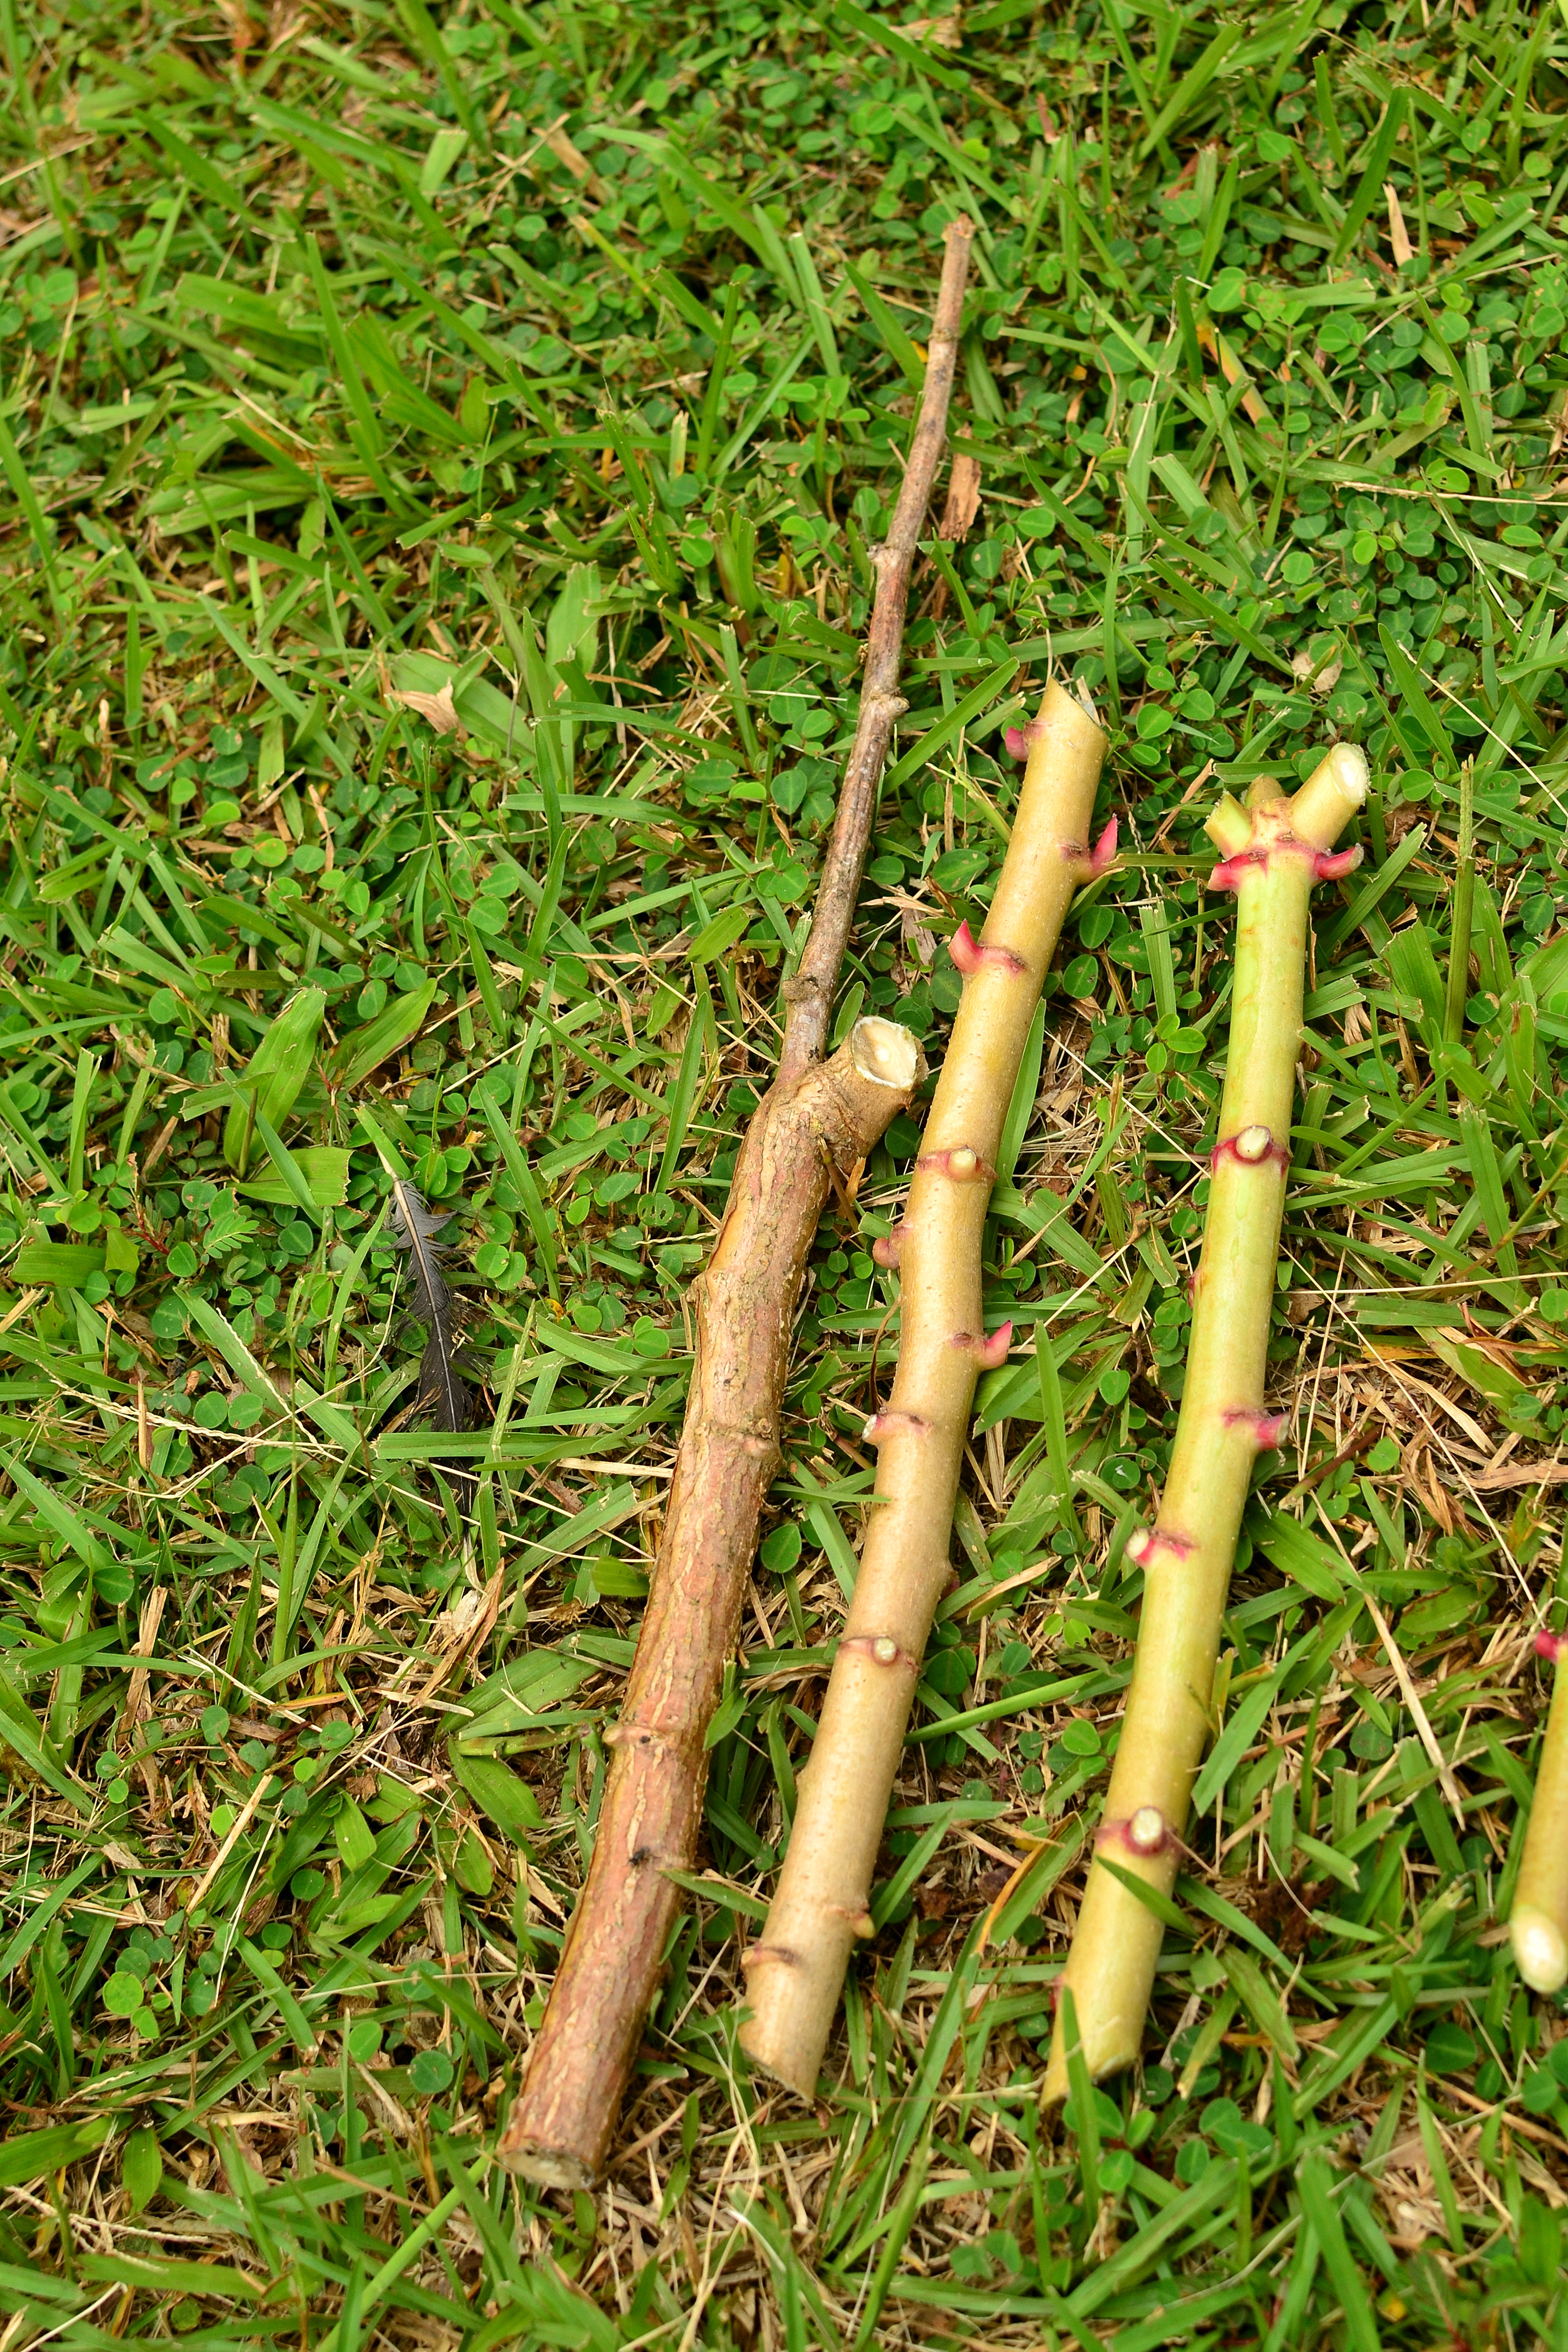
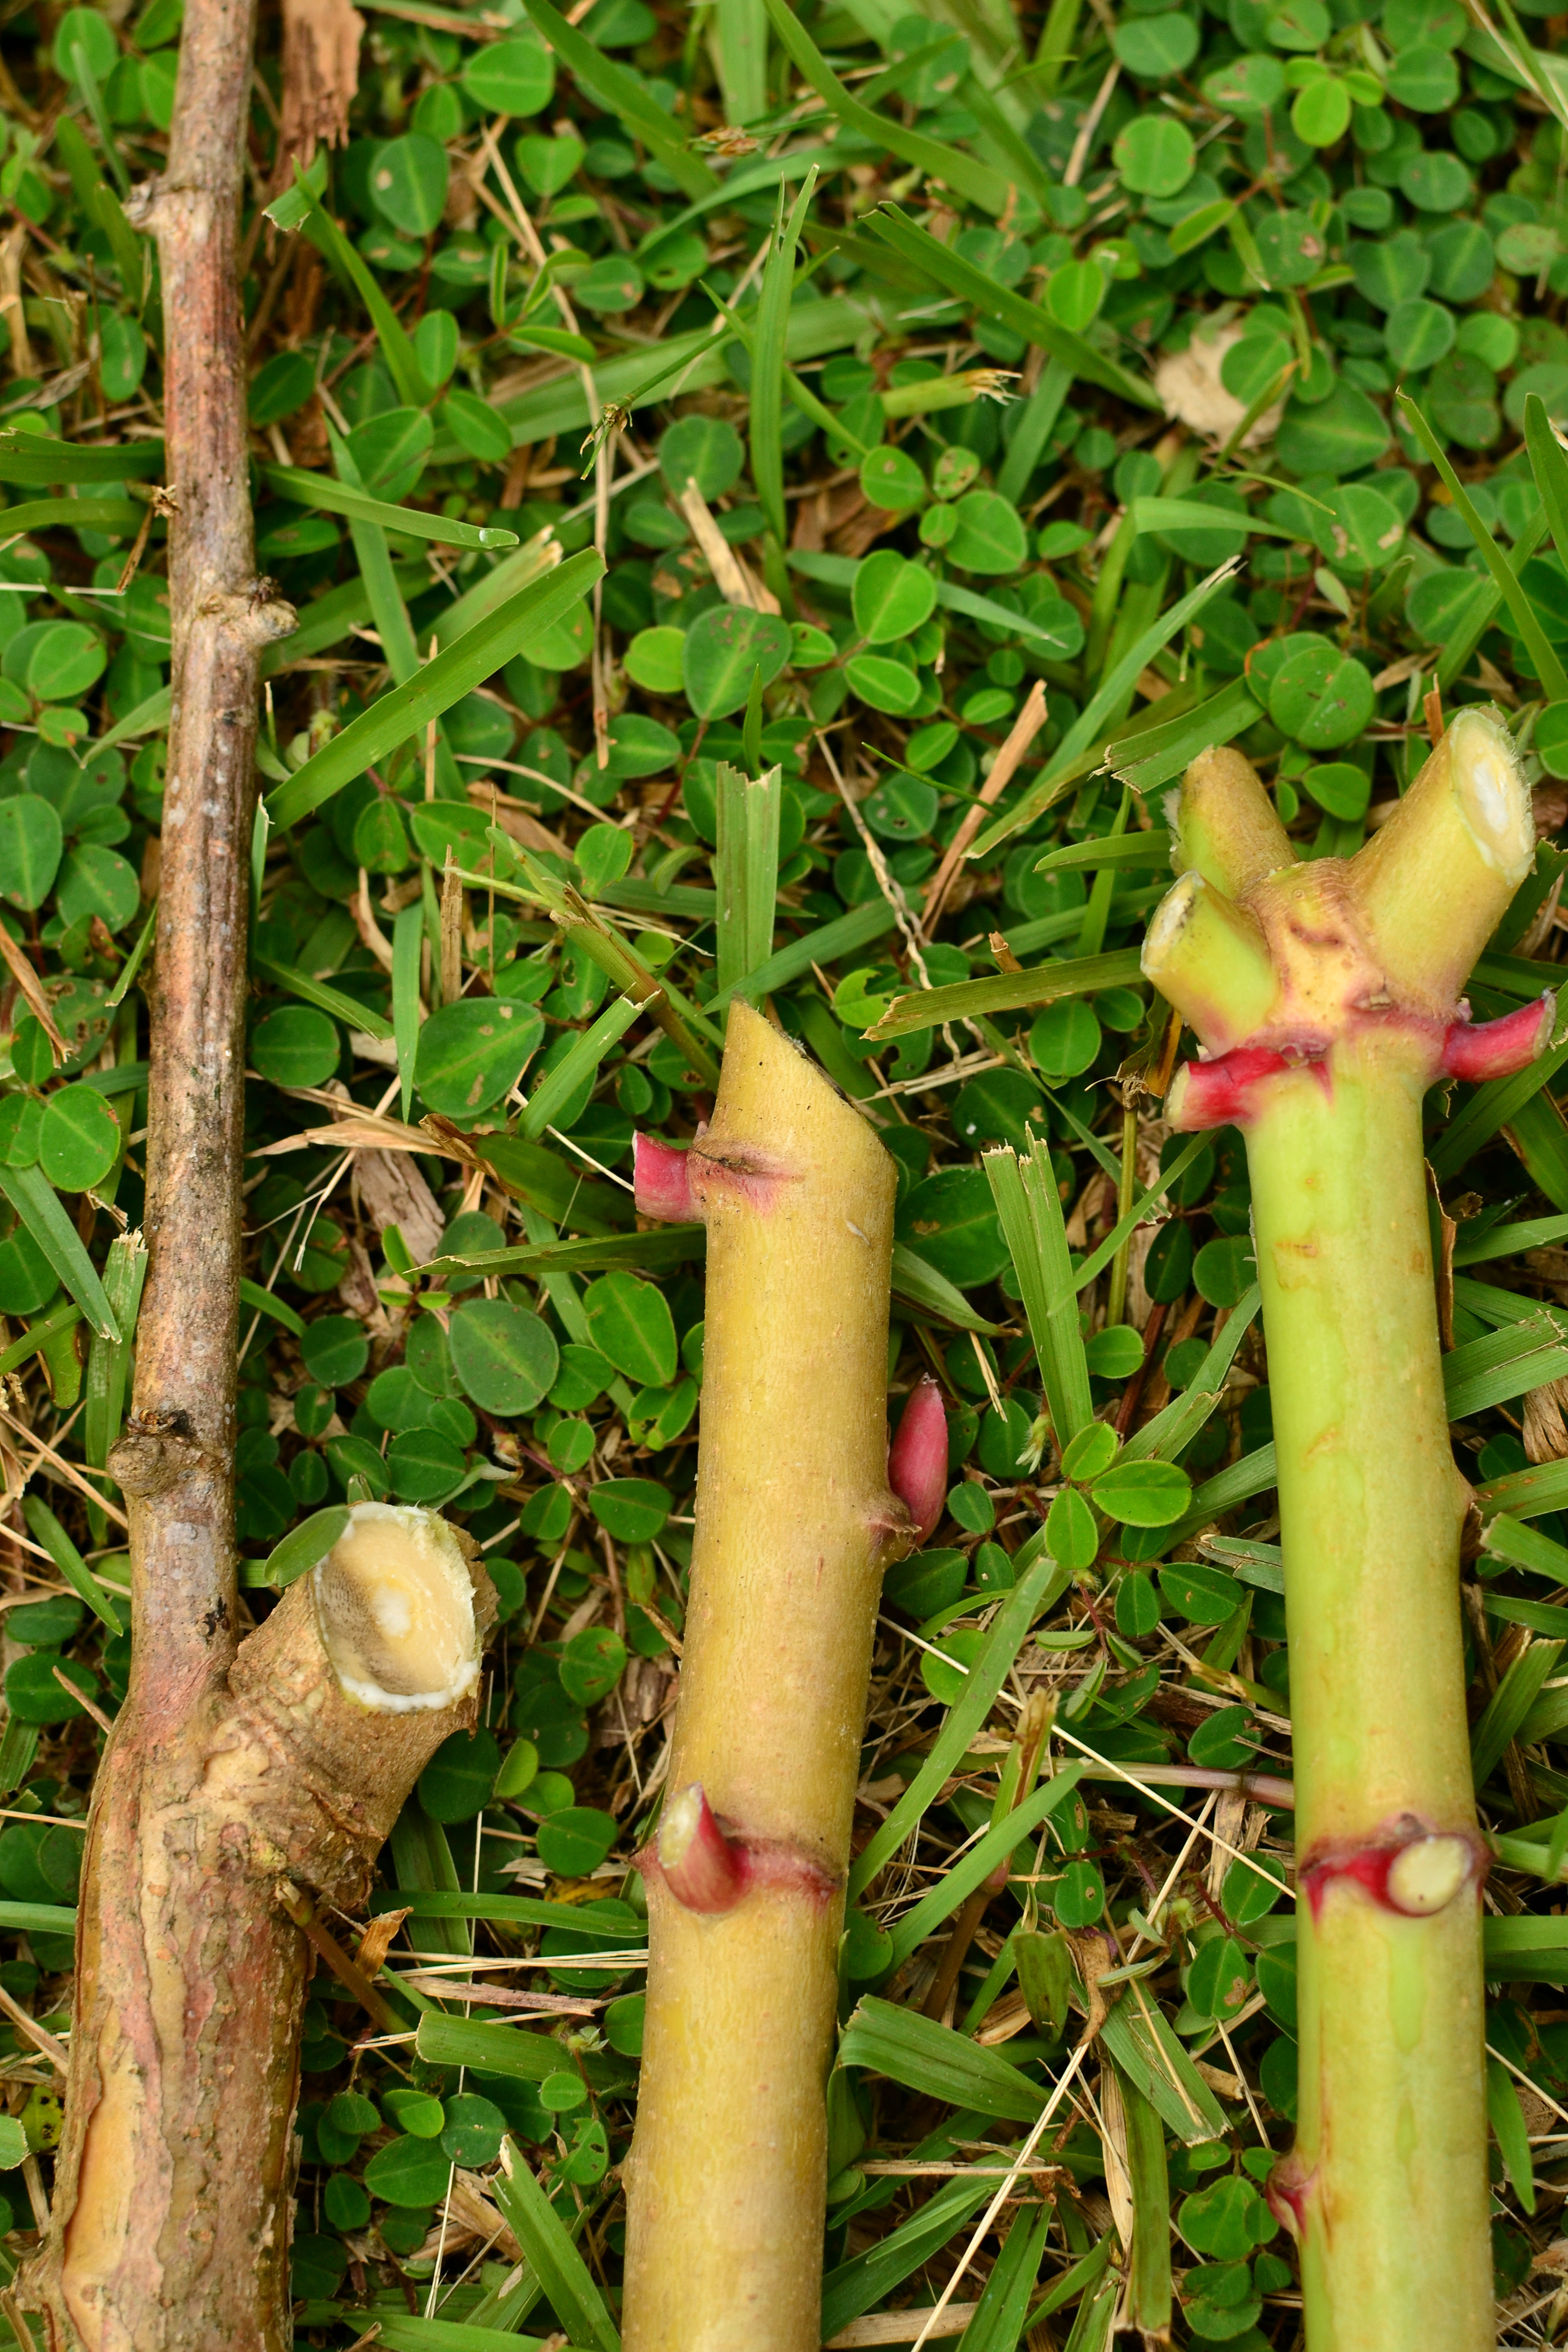
Removed pups
Another example

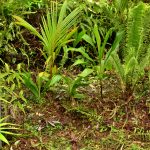
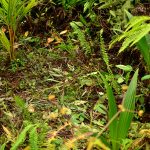
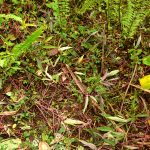
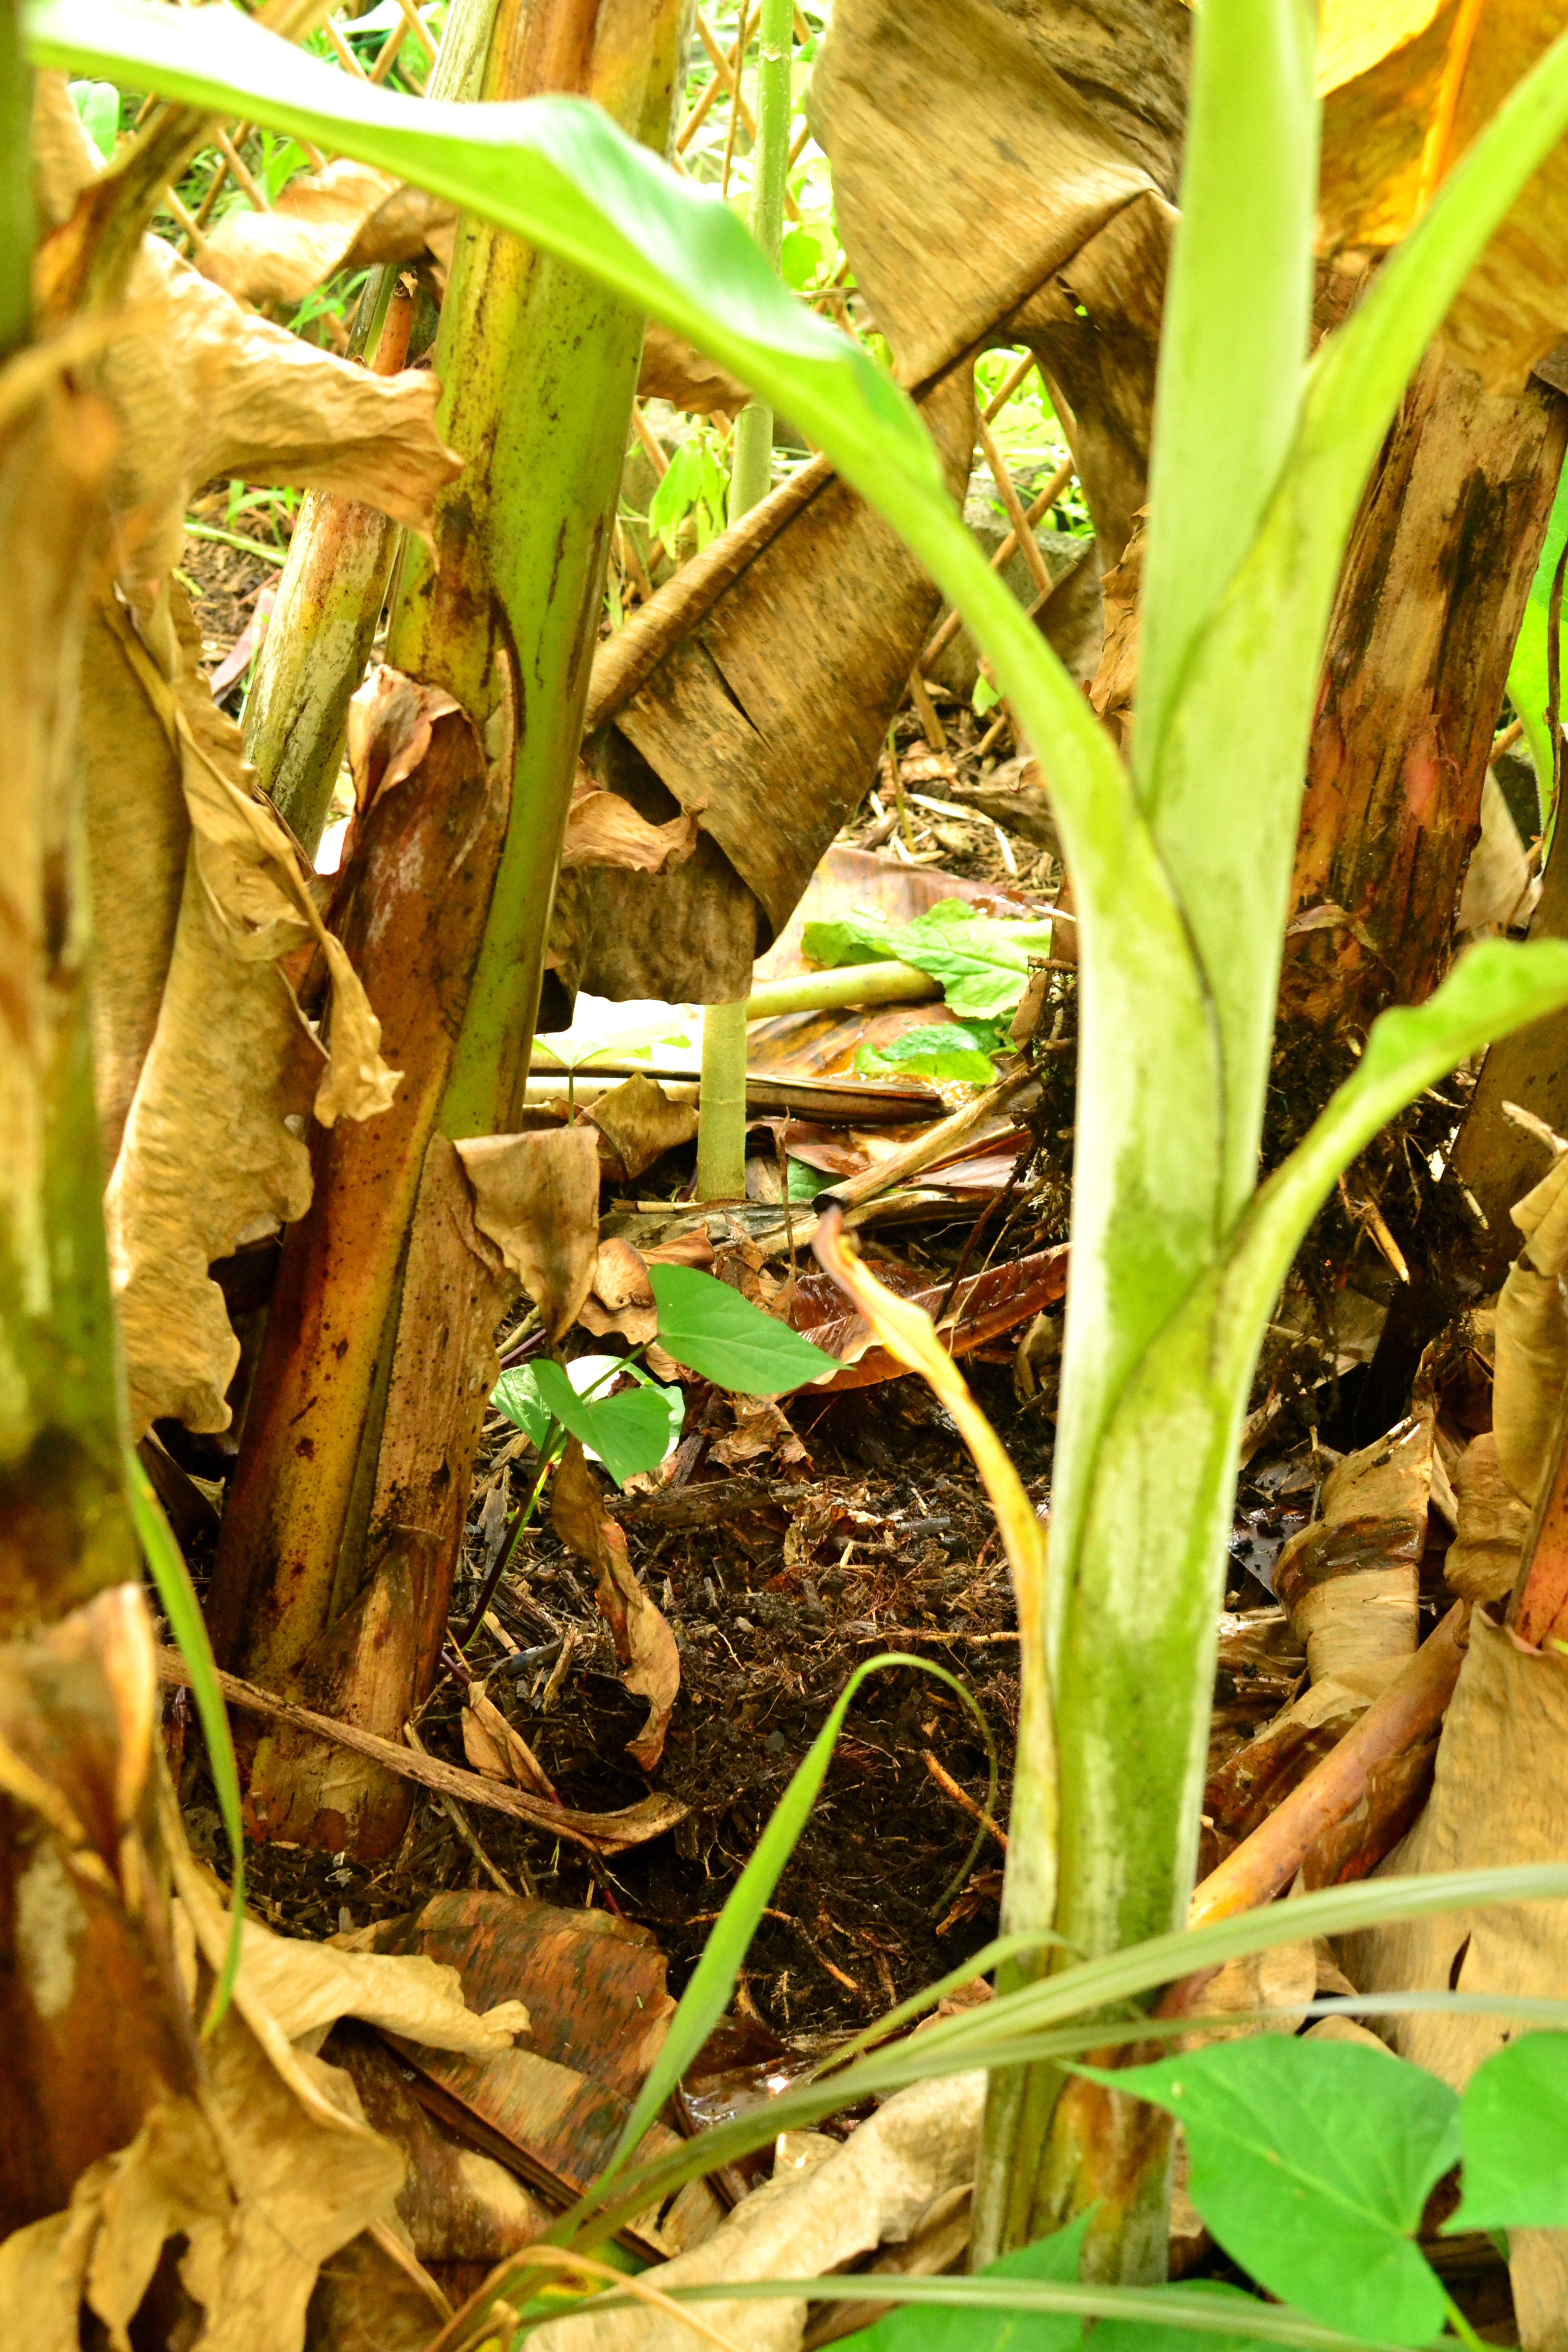
Find pup to transplant
Use sharp shovel to remove pup from mother corm
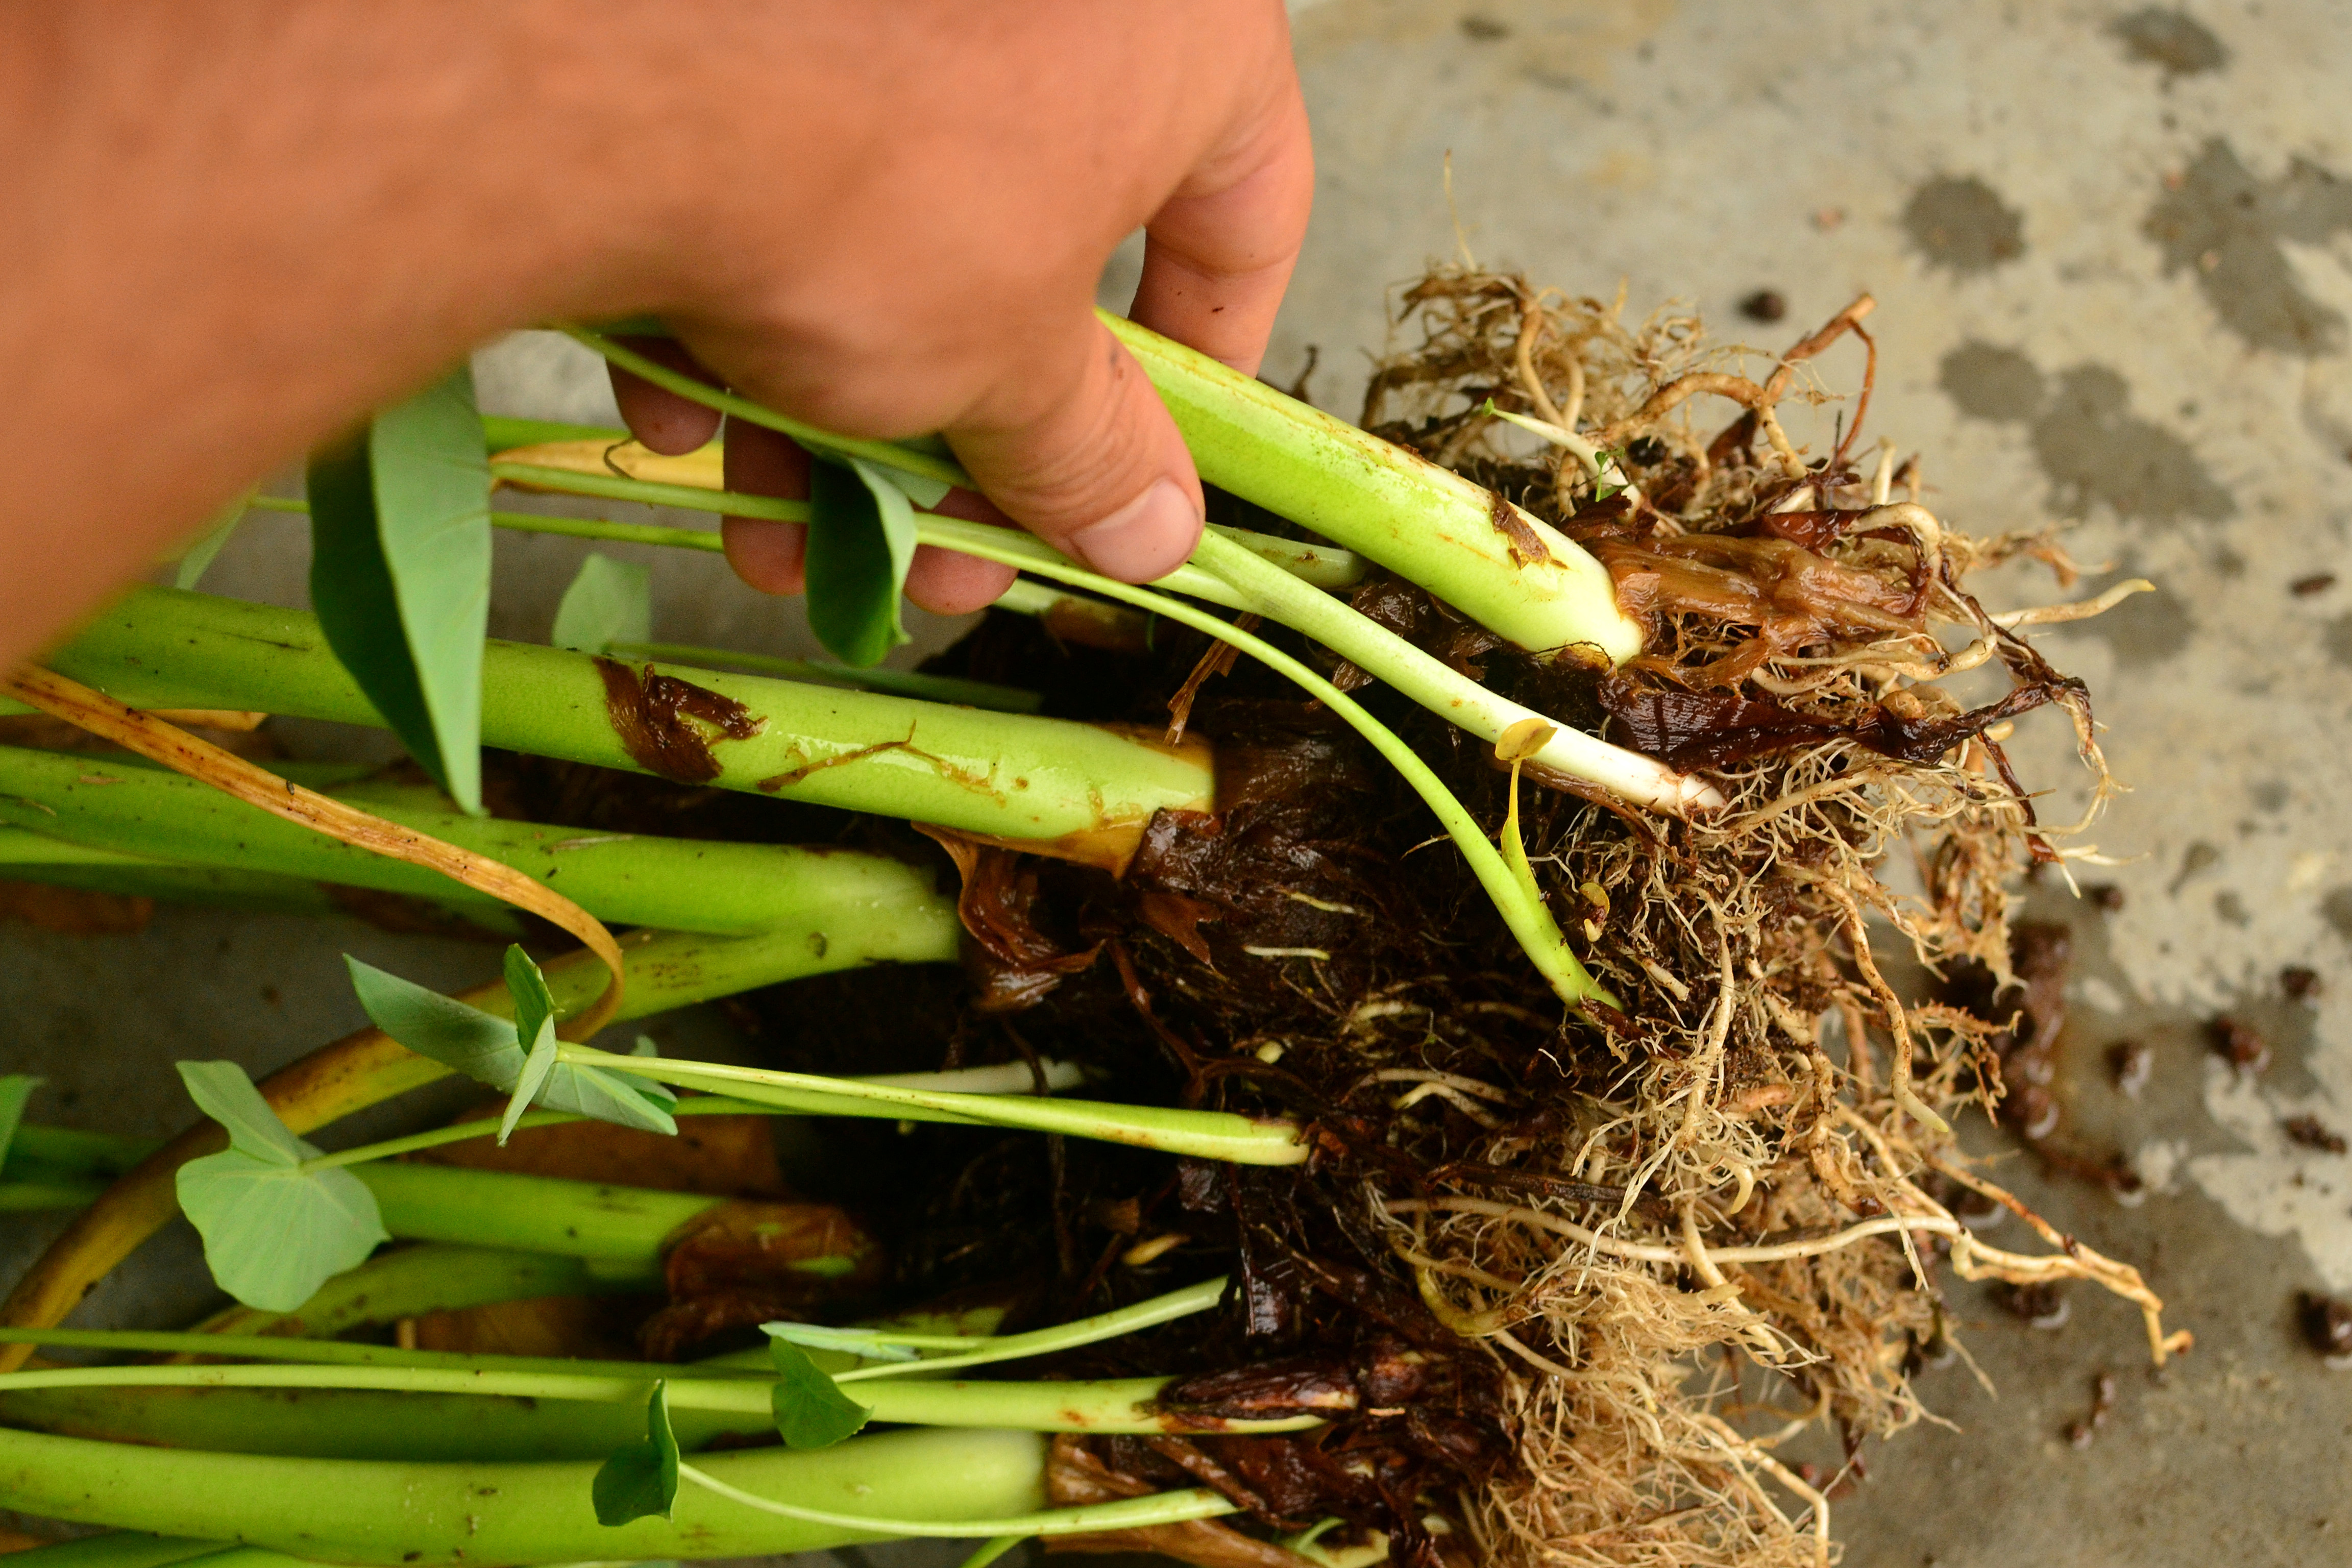
Pull out once removed
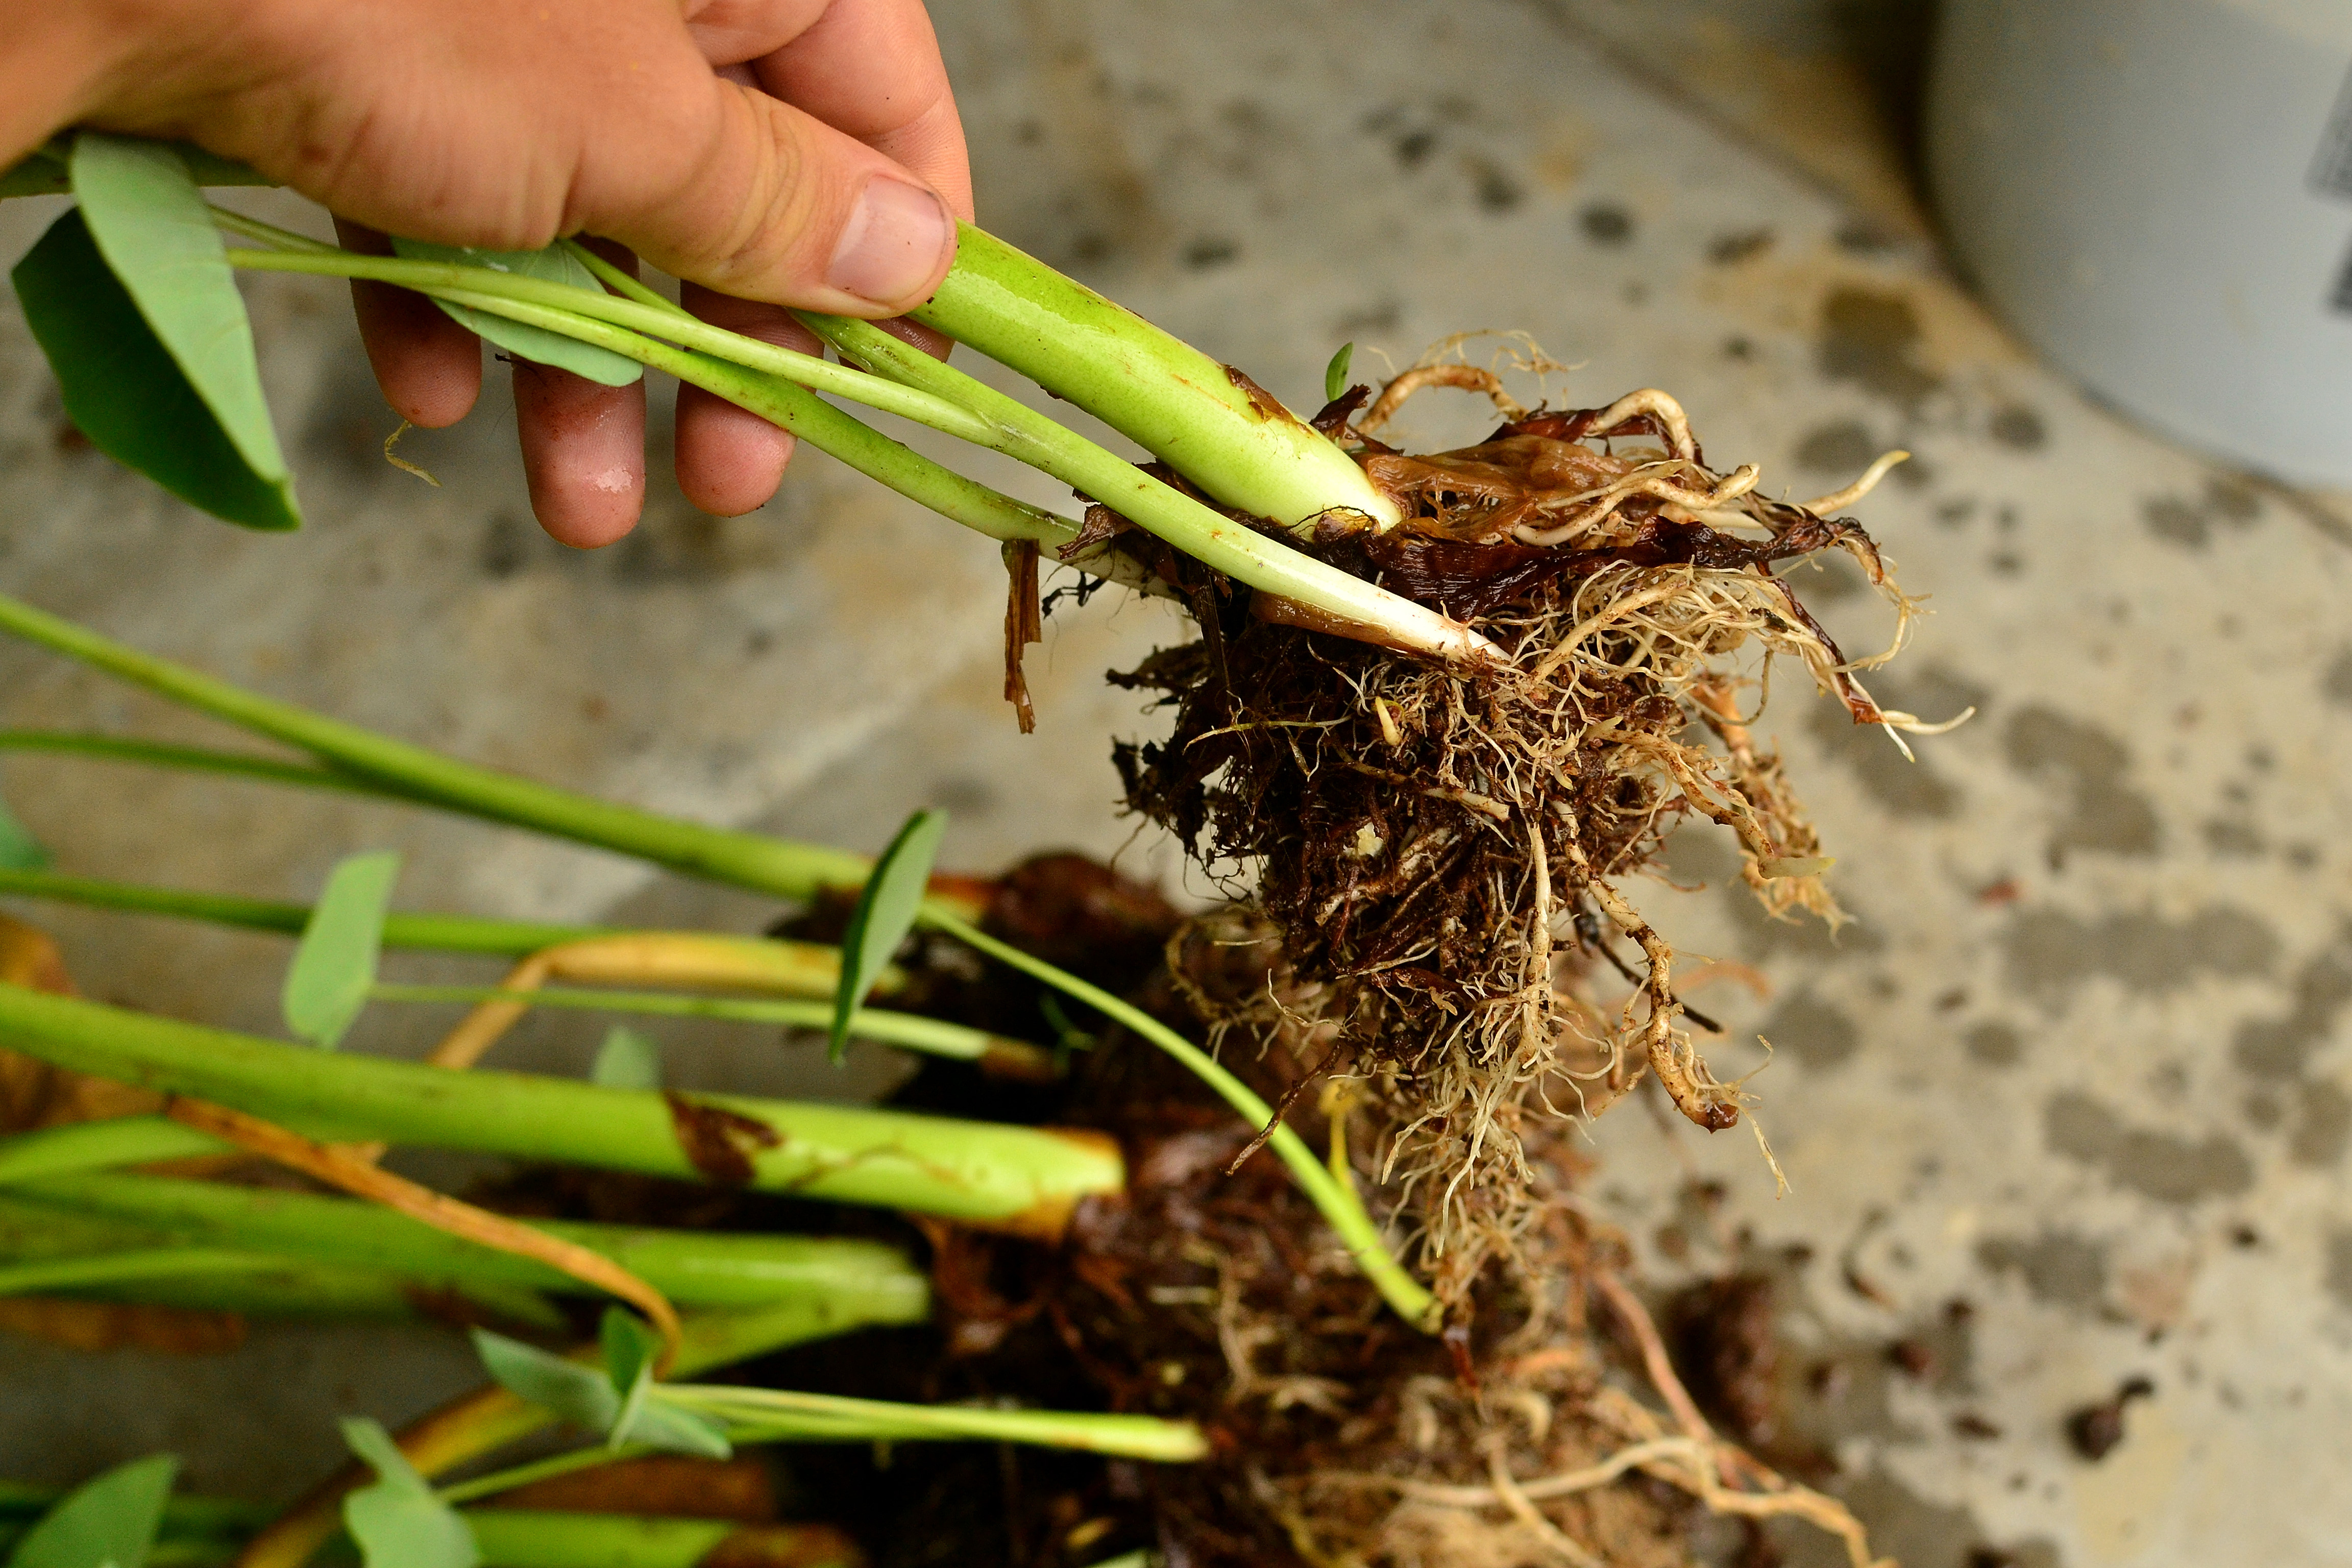
Removed Pup
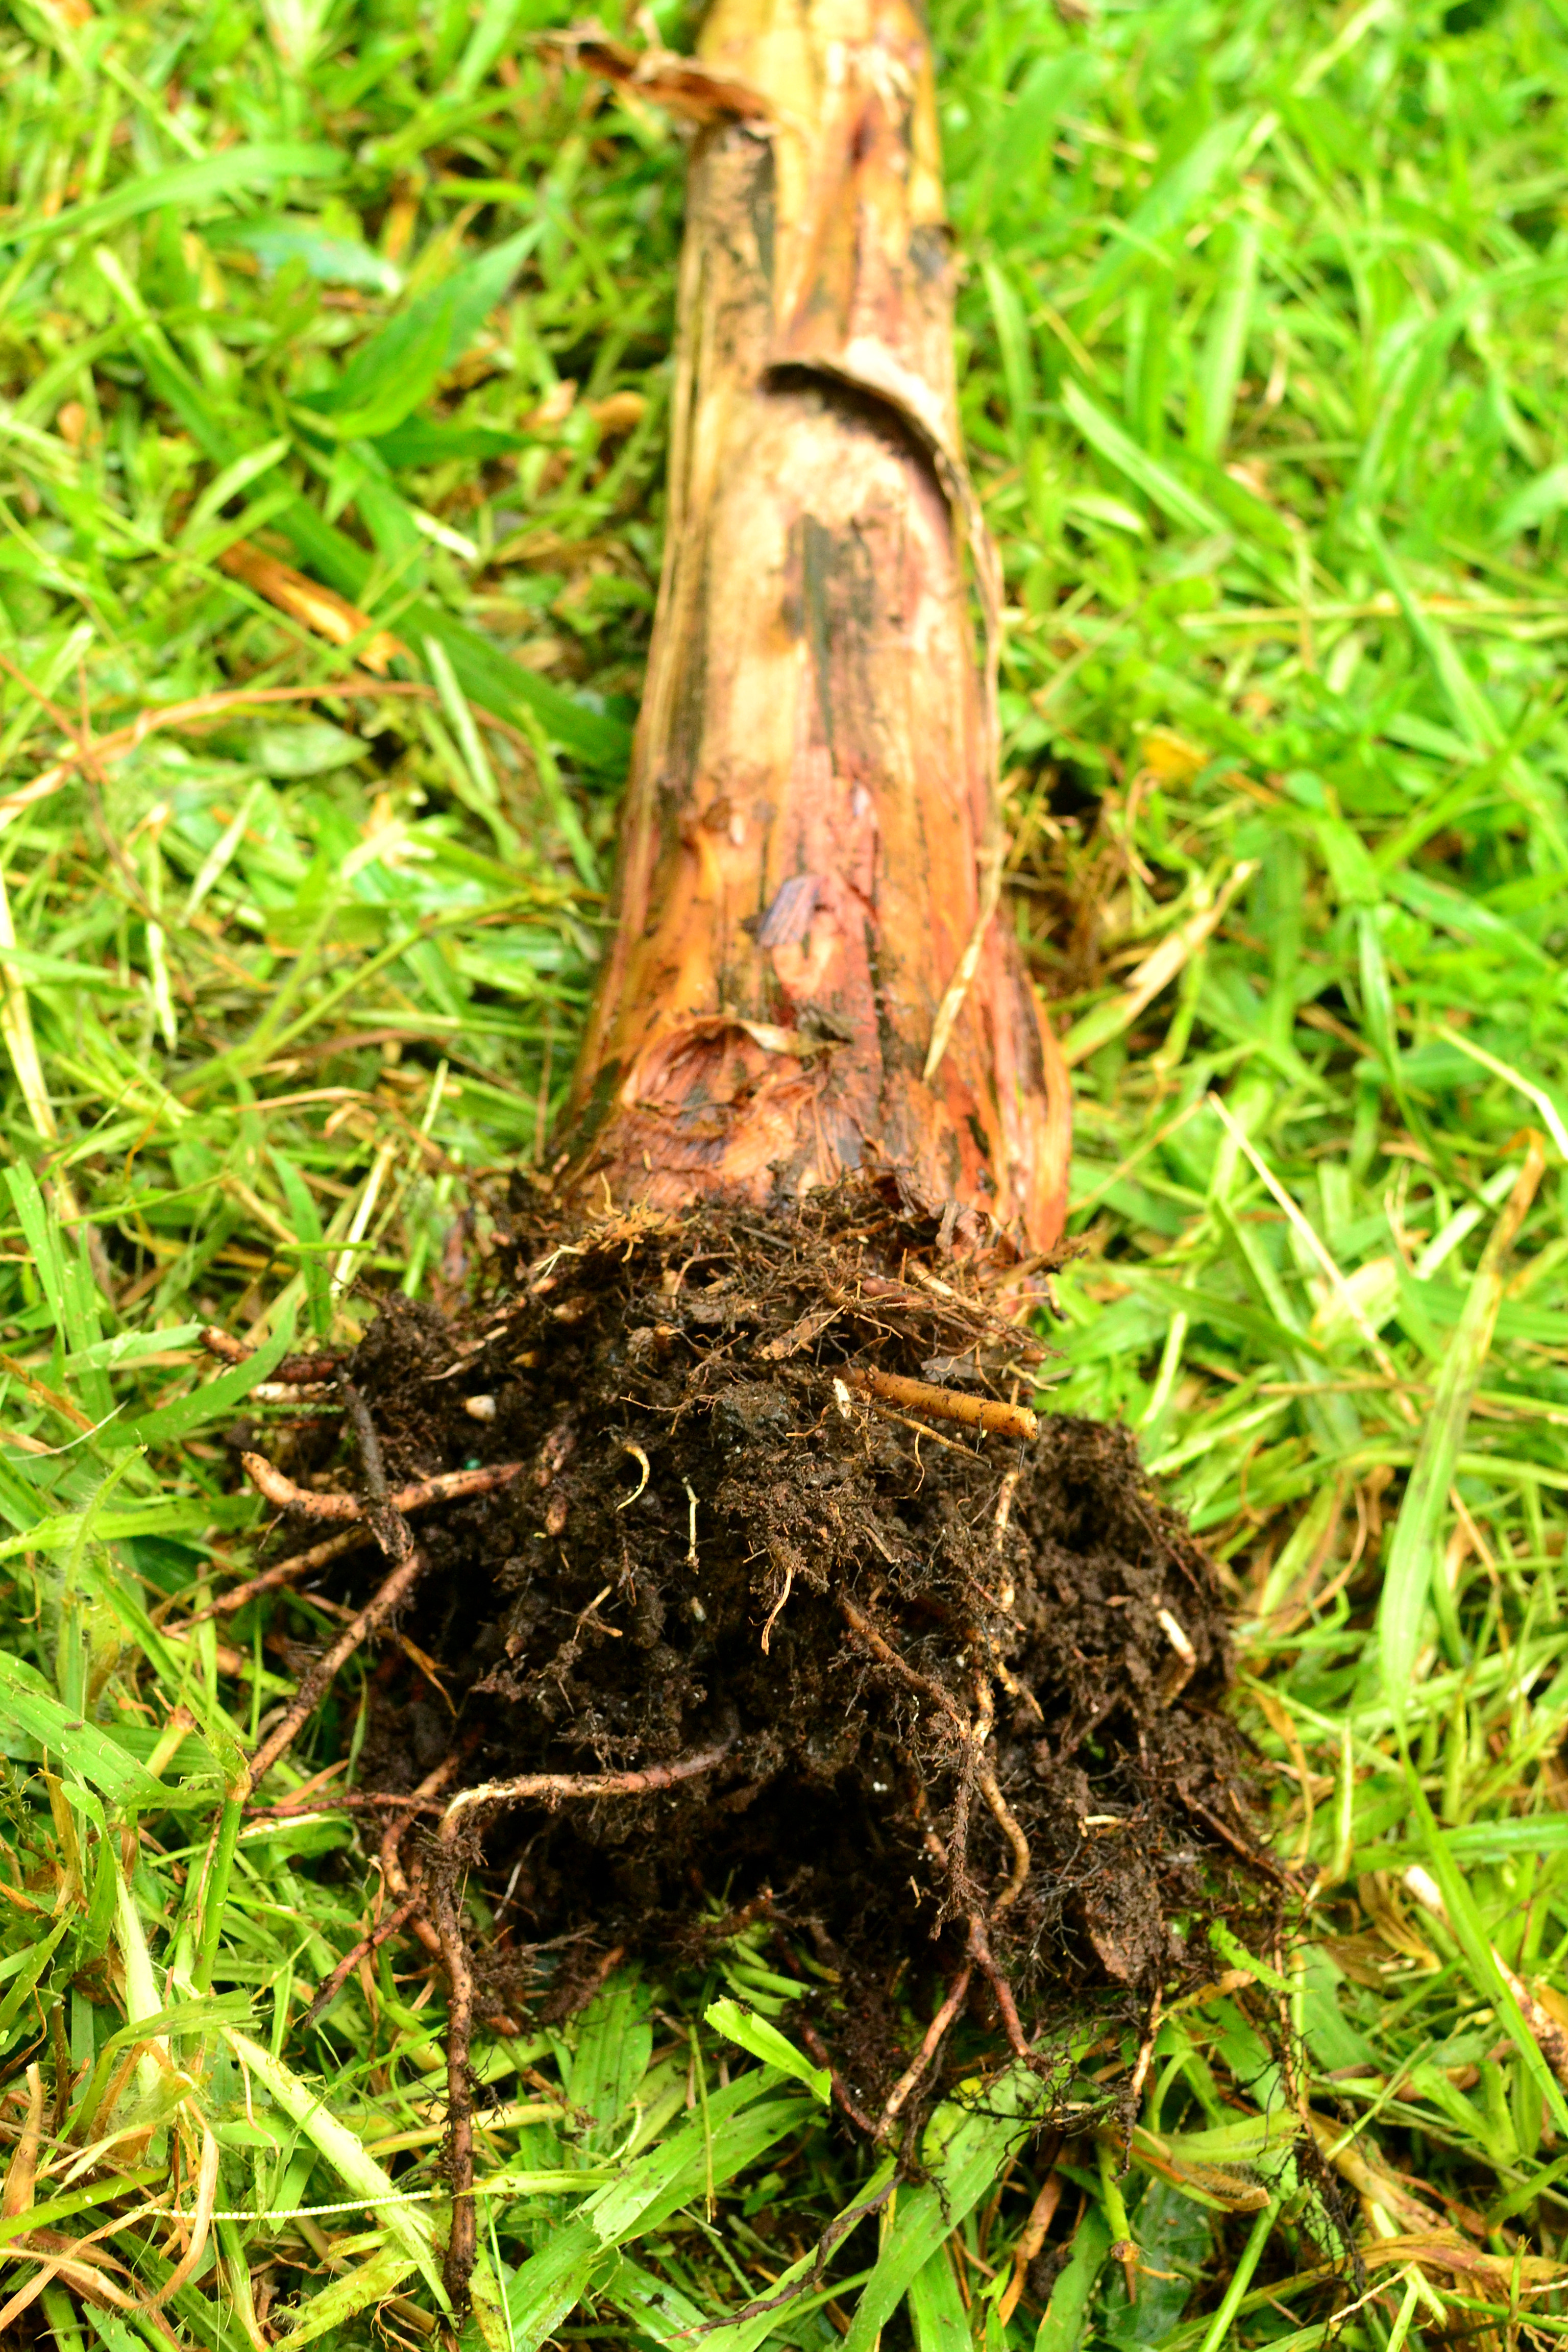
Root ball ready for transplanting
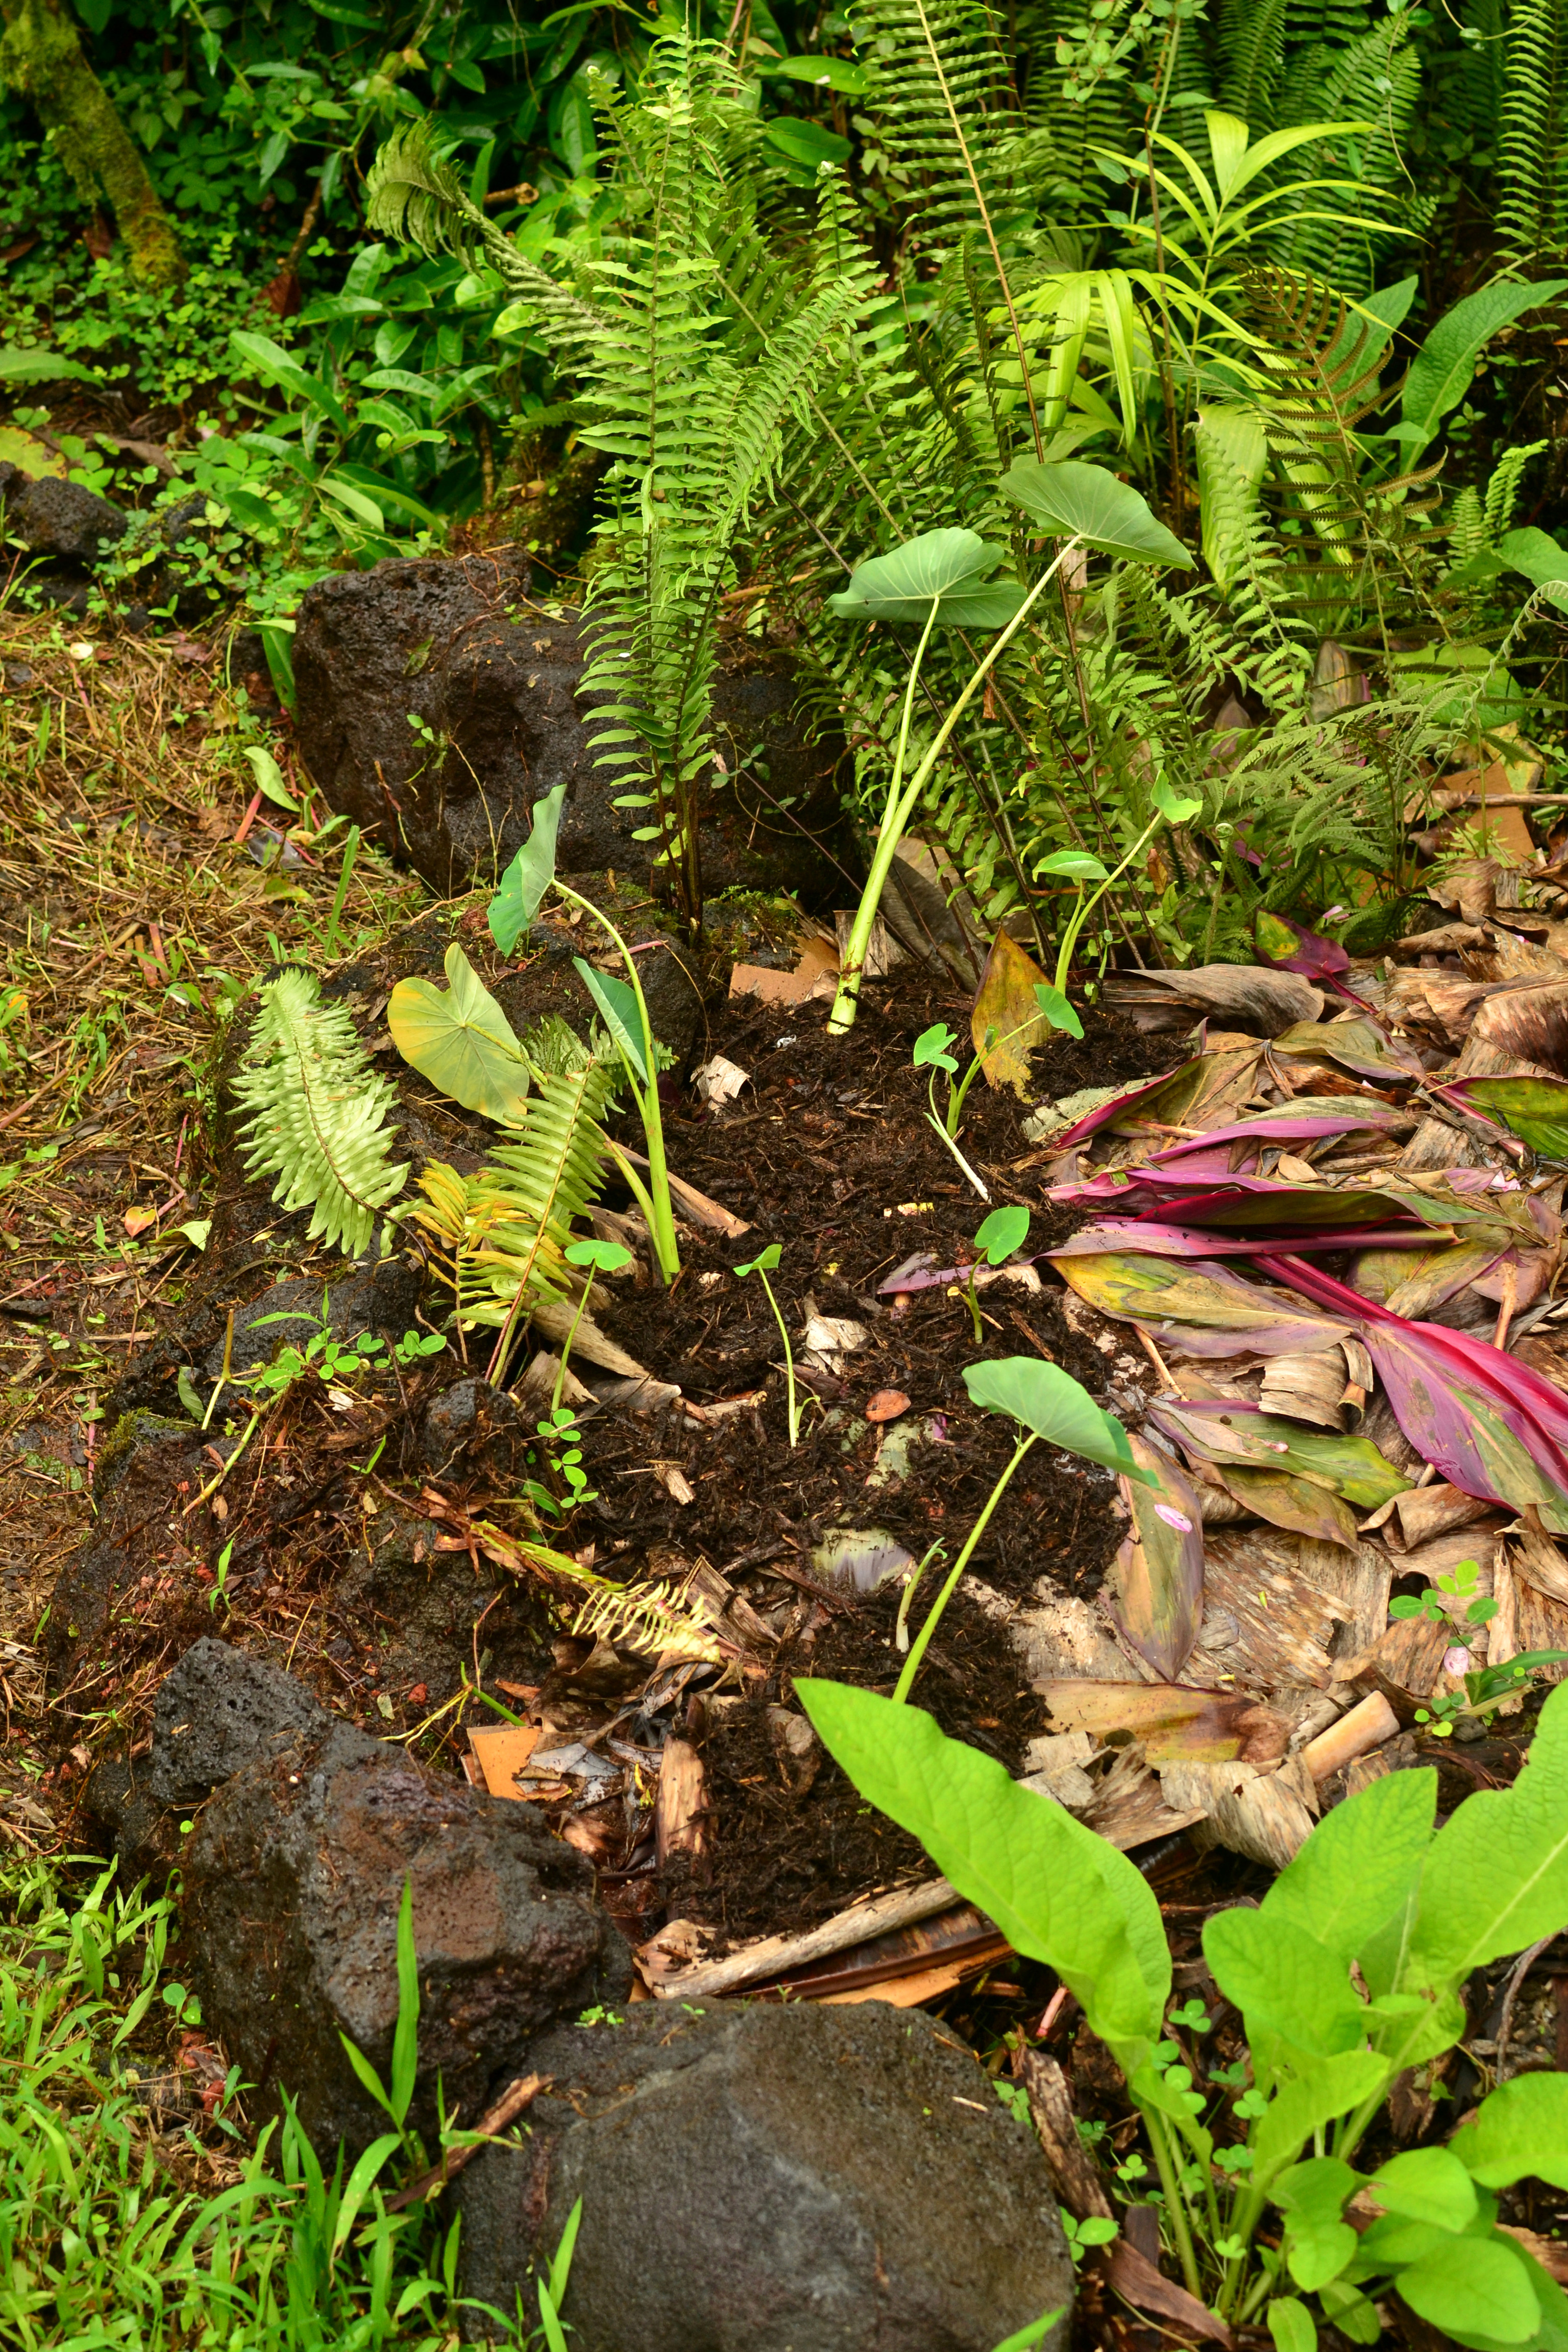
Find place to transplant. Dig hole.
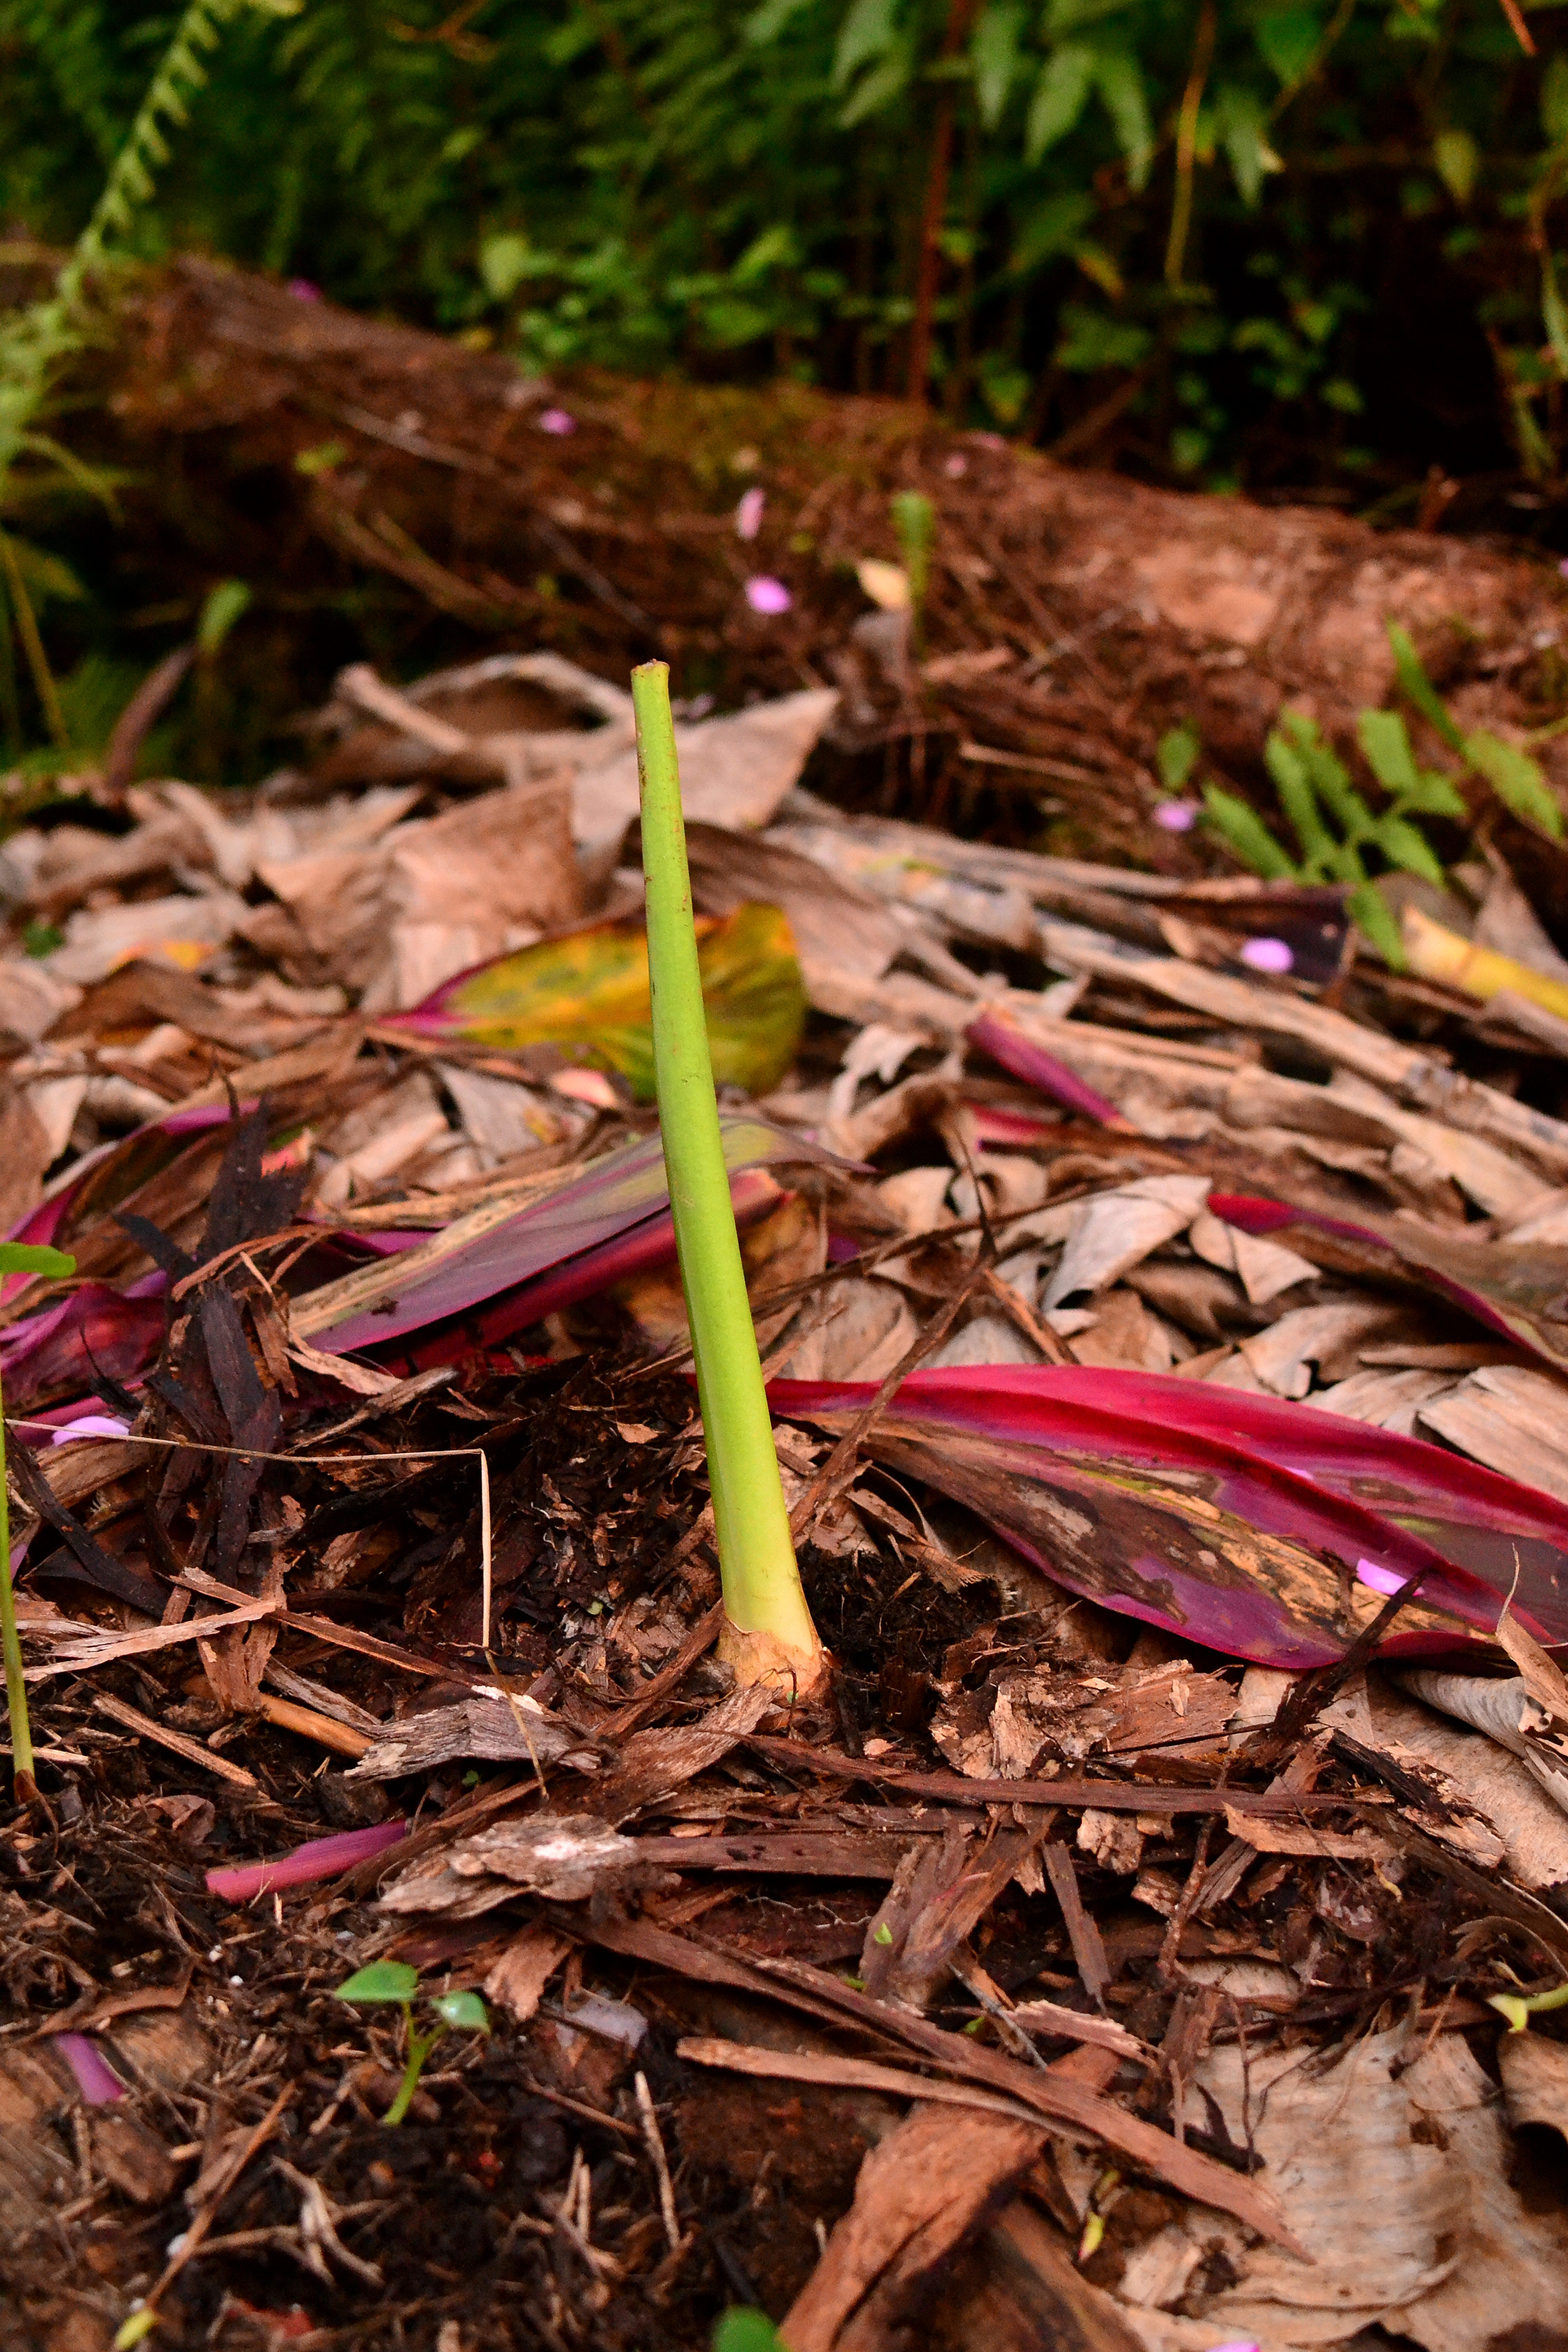
Place plant in nutritious soil. Mulch
Care
Plants can fruit all year long, so with careful planning you could have harvestable bananas throughout the year. With proper maintenance an original bunch of a single banana plant could last up to 50 years! Bananas are heavy feeders, meaning they take up lots of nutrients. Before planting adding rotted manure or compost to planting area is necessary. I like to grow clovers (perennial peanut would be better) around them so they also have a continuous source of nitrogen for their life. Adding mulch and nutrients as you can. Removing dead leaves helps prevent disease, and the leaves are a great source of mulch, or ‘carbon’ in your composting system.
Bananas thrive in full sun, but will grow in partial shade, and prefer some wind protection, as high winds tend to shred the leaves, making photosynthesis more difficult. Bananas need a ton of water!
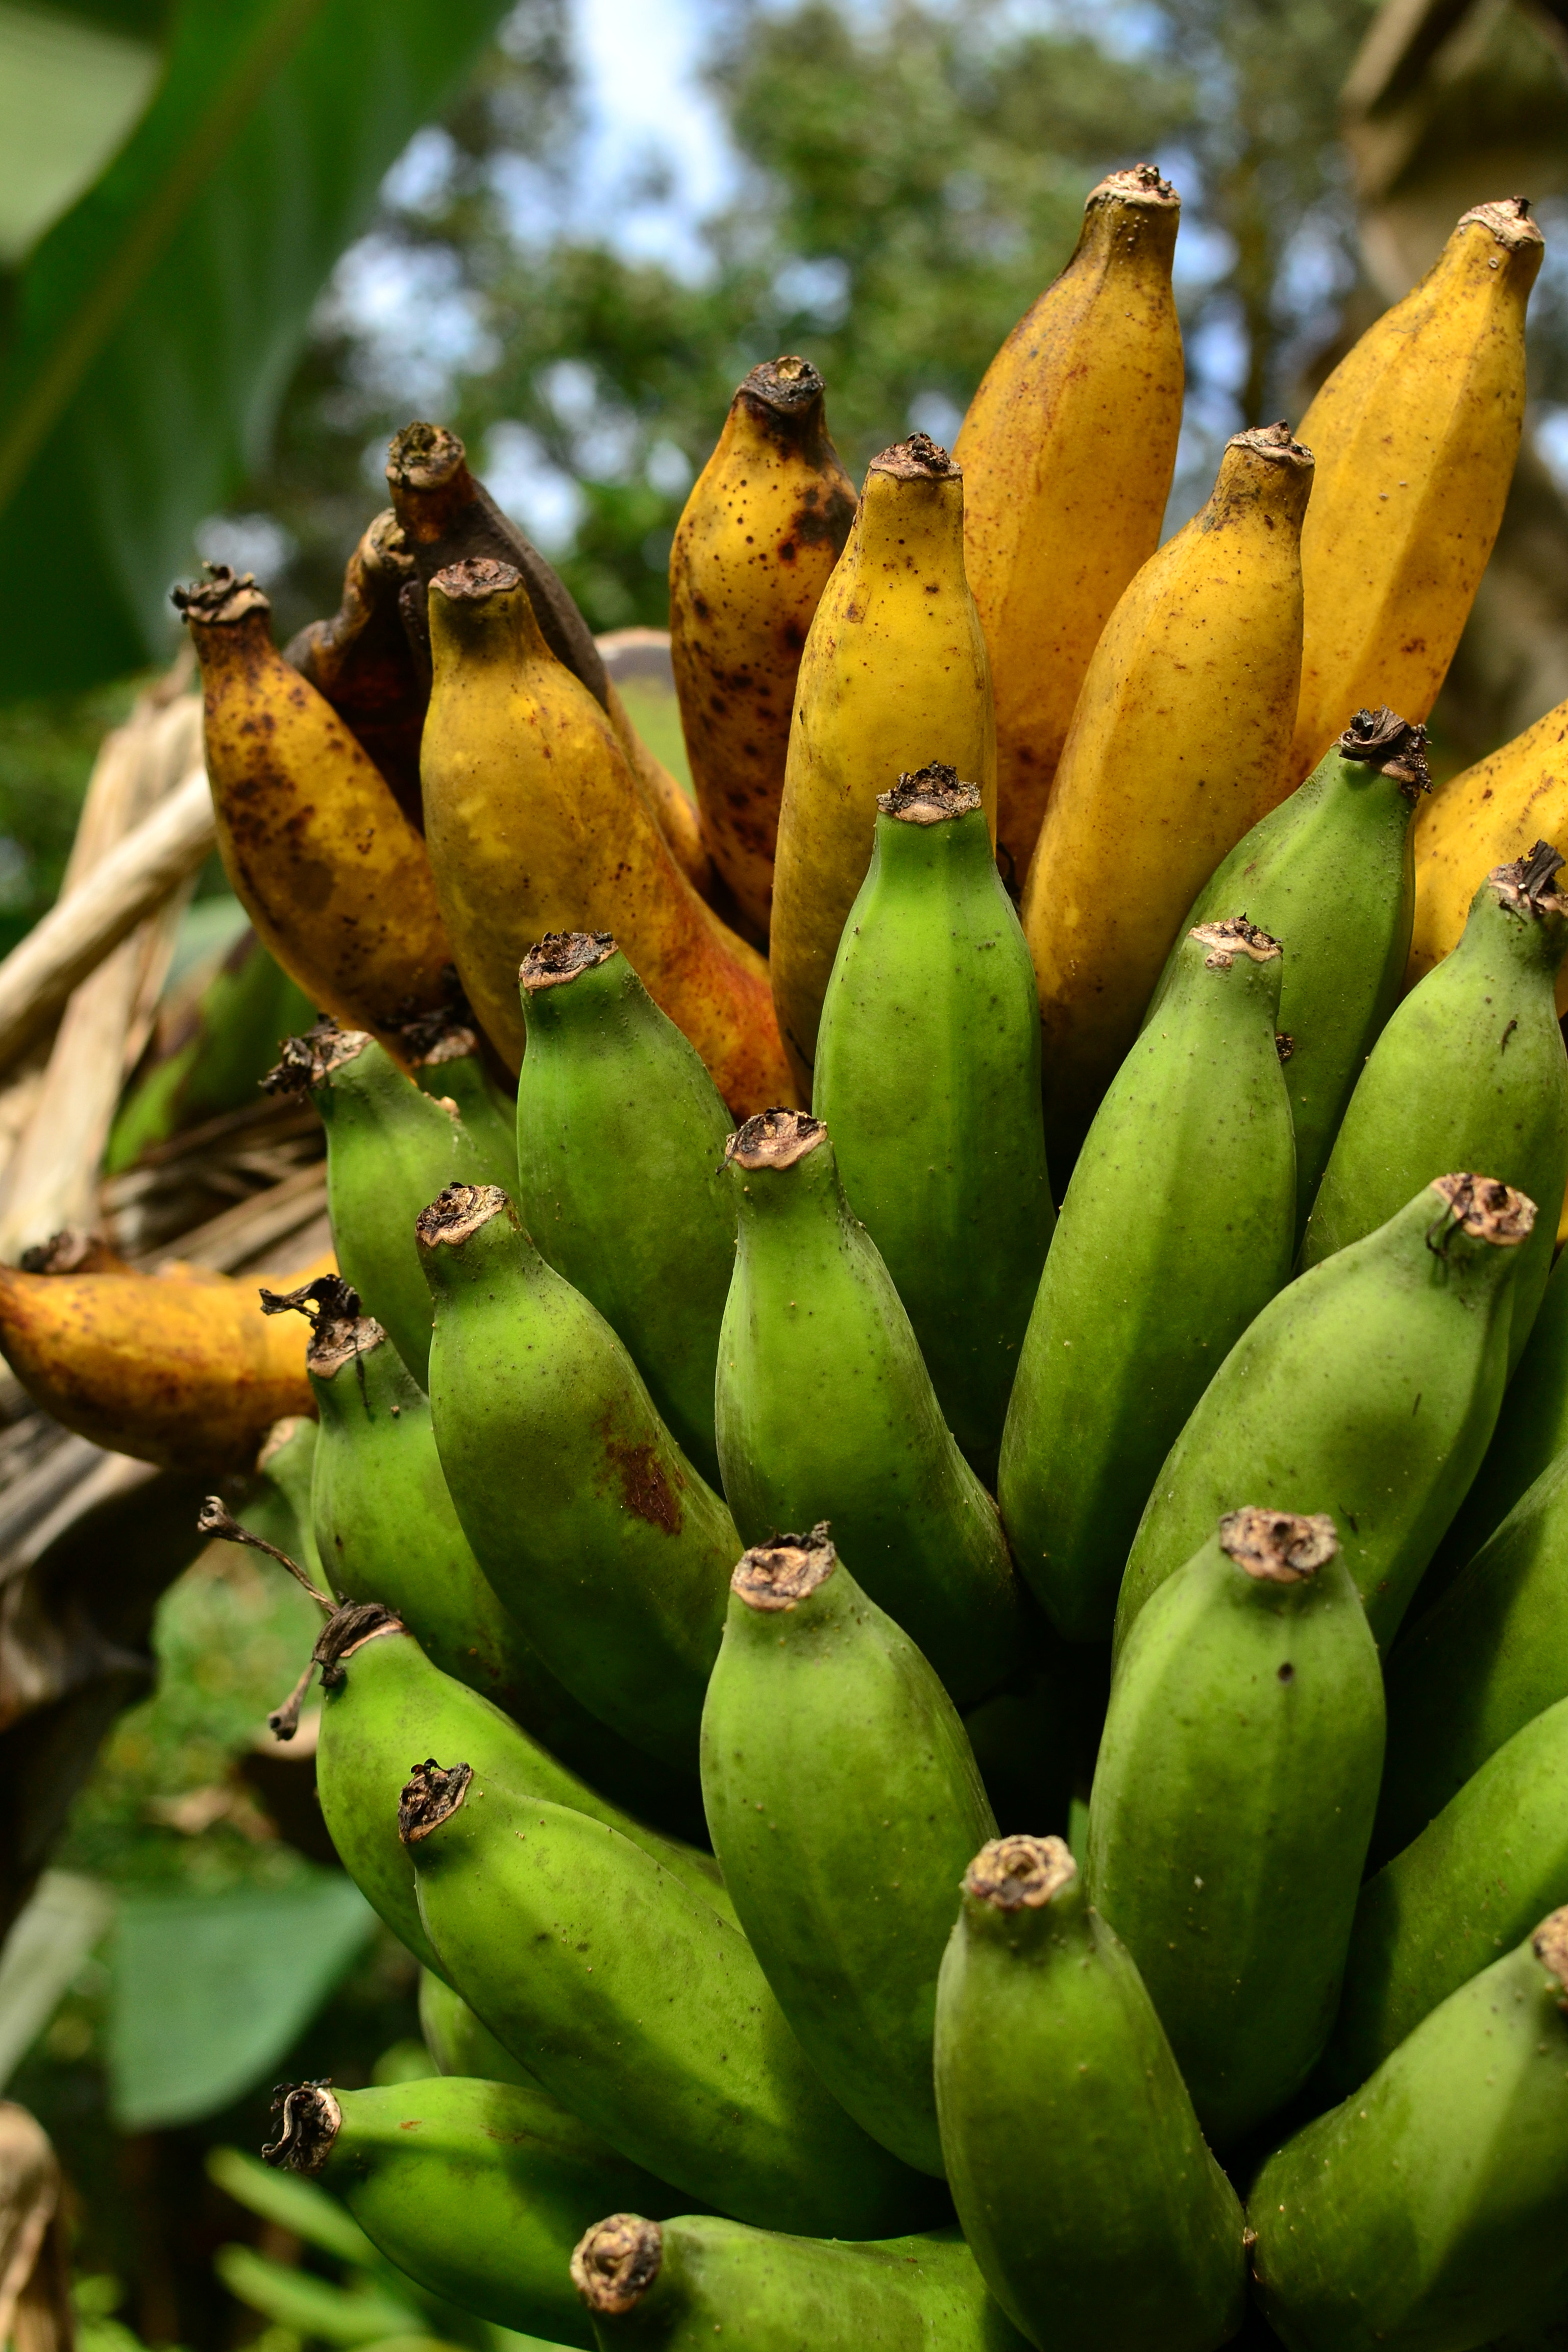
Harvest your banana rack when the lines of the fruit have gone from rigid lines to smoothed roundness. Another key to look for when to harvest, is when a single fruit has started to yellow, or turn the color of ripe fruits per variety, as the rest of the rack will follow quickly. Look at the highest fruits as they mature first. Banana sap will dye and create unremovable stains on clothing, so when cutting down a rack and stock be sure to wear appropriate clothing. When I harvest a rack I cut the stem of the rack a foot above the tops of the fruit so there is somewhere to tie a rope to while the rest of the fruits mature. Rumor has it, that if you hang your rack upside down, the mature fruit from the top of the rack will fall first and will not harm the other maturing fruits. From flower production to harvest-able fruit is about 3 months, unless it is during the dry season, then it will take longer.
Harvest is simple. However, you may need multiple people if it is a tall plant. Cut the stock of the fruiting plant a few feet from the ground. Cut slowly so you can watch the stock bend with the weight of the rack, yes they are heavy! Once the rack has lowered enough gently, they are fragile, hold the rack while someone else cuts the stock of the rack away from the rest of the plant. Freeing the rack you may hang it up immediately or cut the rest of the plant down. Once you cut the rest of the plant down, you may chop it up for faster decomposition, or simply place it somewhere you want to let it decompose. Its full of great nutrients, add it to a bed, under the soil, in a compost pile, or anywhere else.
I like to hang my racks from the house in the shade to drip onto the ground for a few days. Once the dripping has stopped, I move the rack into a screened area, or put some kind of netting over it, so fruit flies and birds don’t get the harvest.
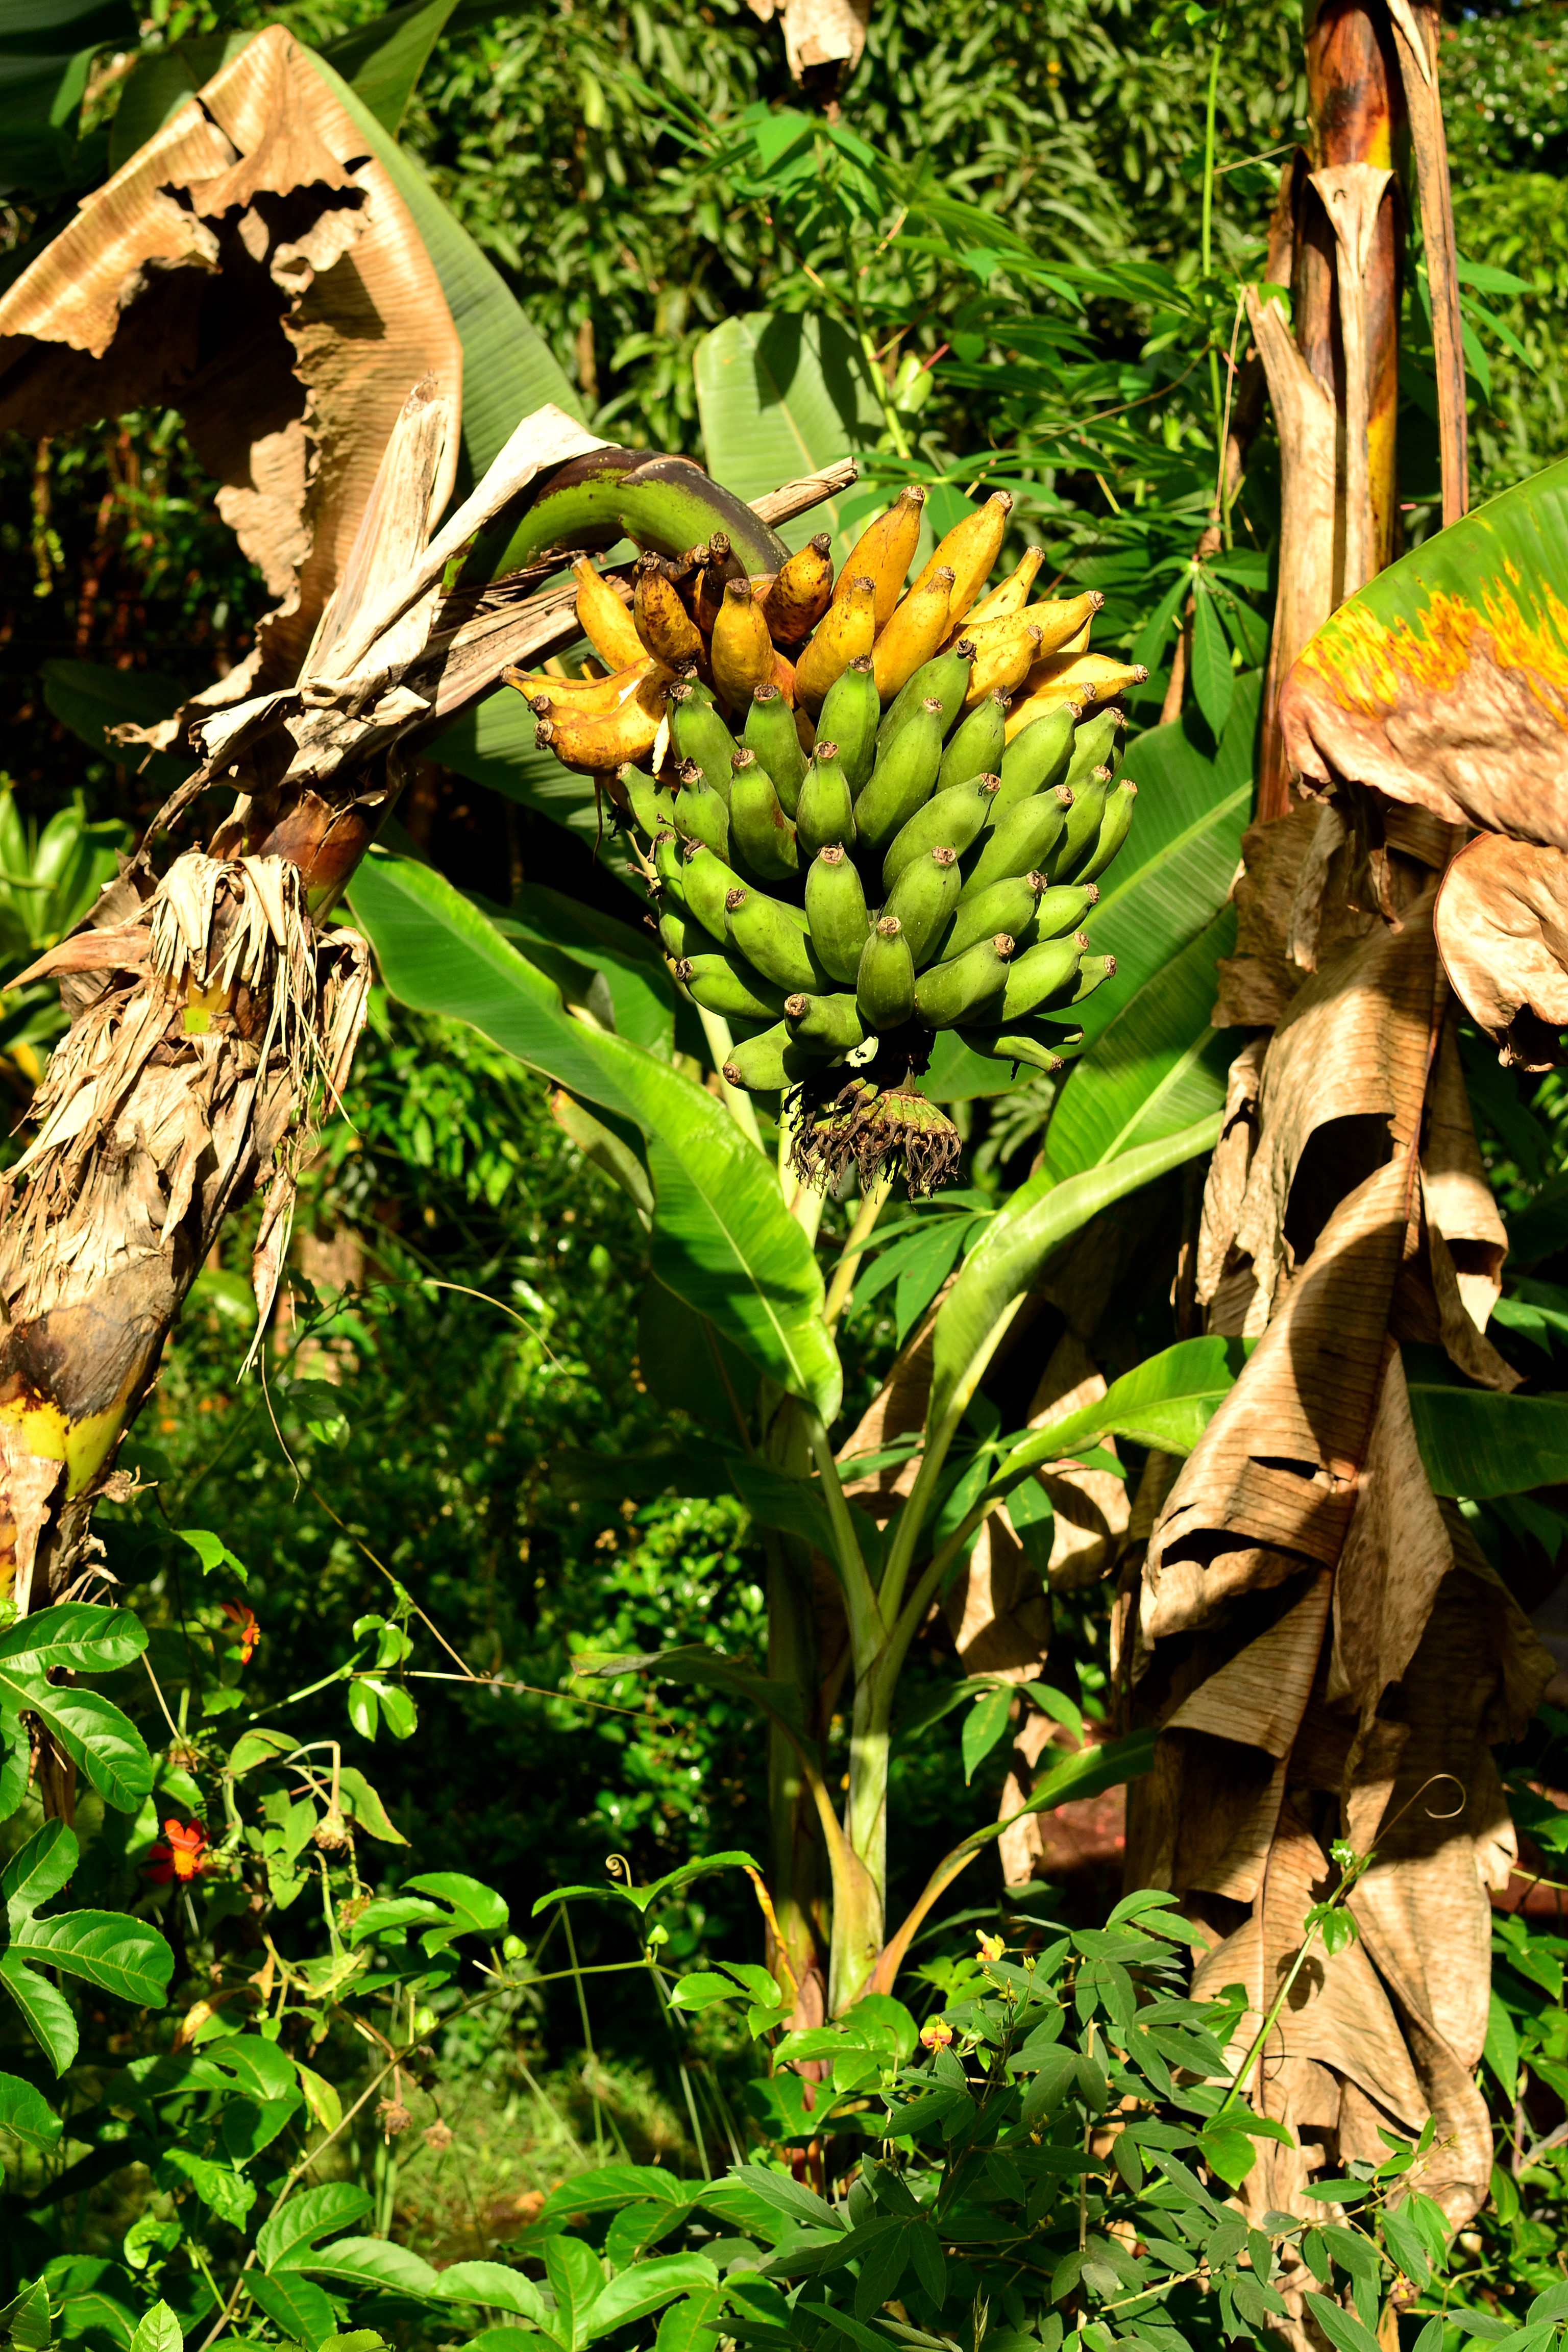
Make sure your rack is ripe
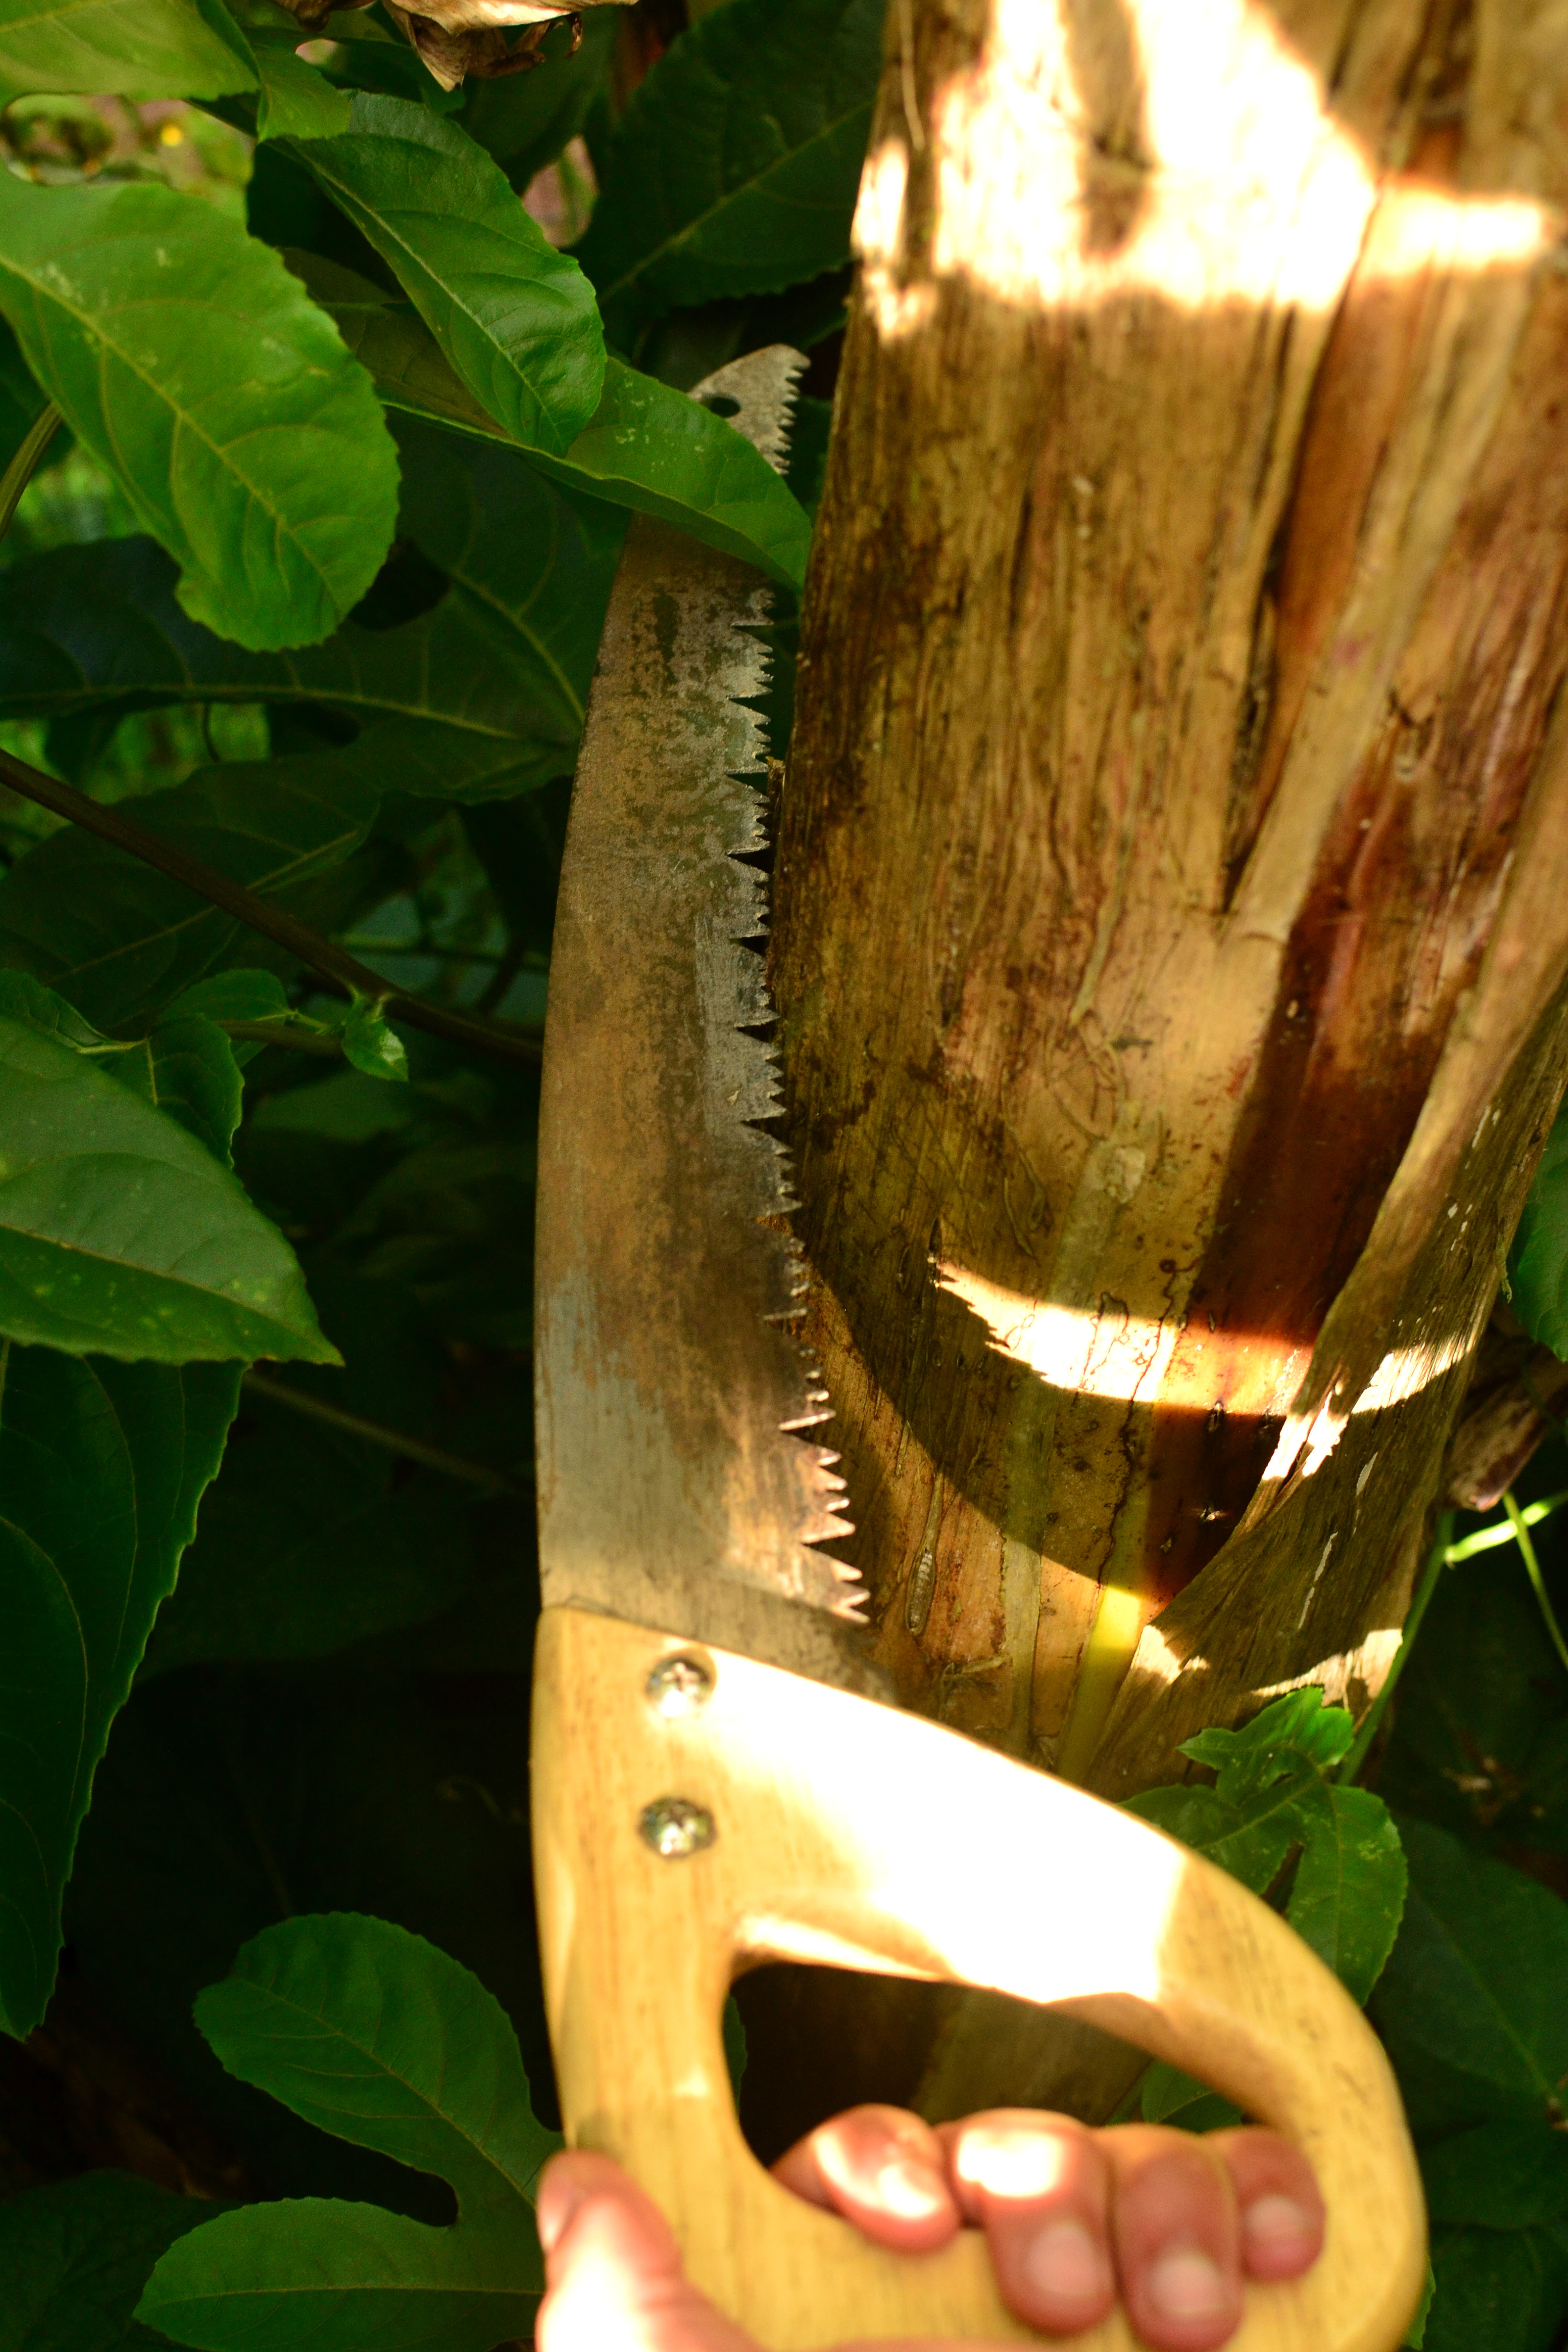
Cut the stock of the fruiting plant a few feet from the ground slowly so it bends with the weight of the rack
Once the stock has bent far enough. You cut the stock of the rack a foot from the top of the fruit
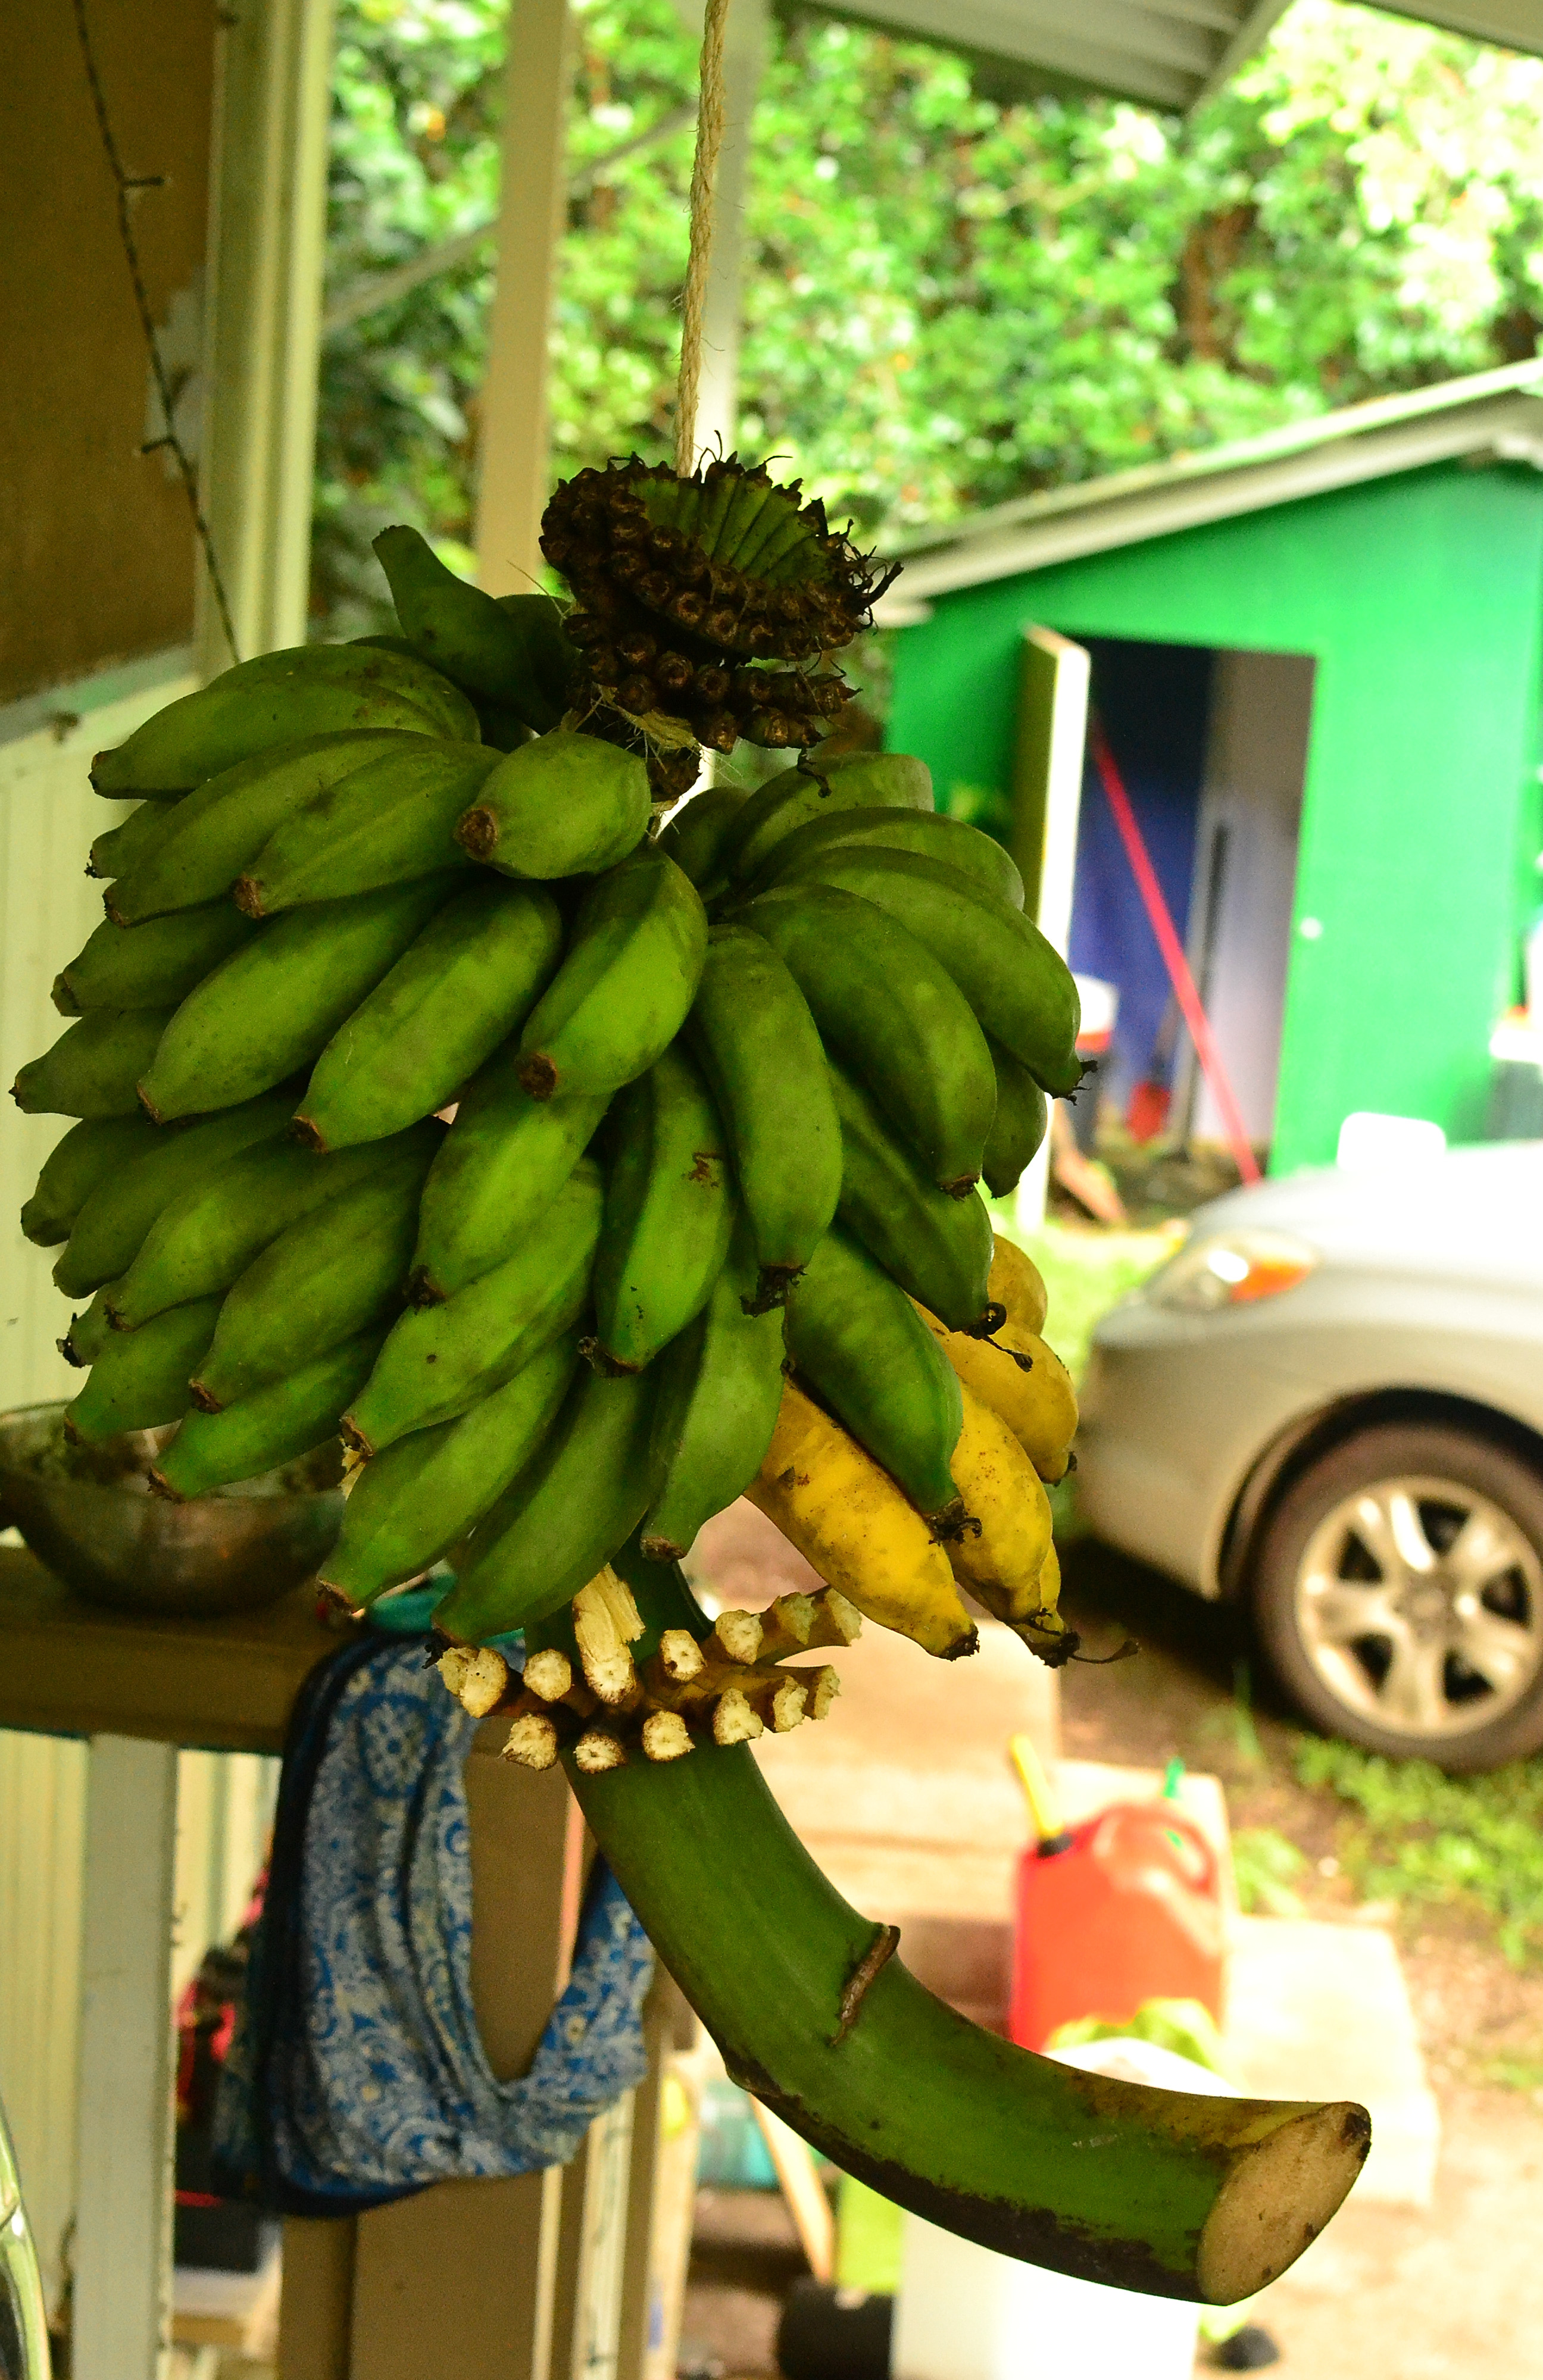
Hang somewhere safe

Cut down plant
Tip: You could literally google about bananas forever. They are used in numerous ways in permaculture design too, due to their necessity for nutrients, use in banana circles, composting pits, polyculture designs and guilds. A perfect permaculture plant. The information is endless, follow whatever methods you desire, as there are many ways to grow and harvest bananas. Just grow them! You only have one day of work for the entire plants life-cycle and that’s during the harvest!
Eating
This is where things get interesting. Did you know that bananas are grown around the world mostly for its cooked starchy fruits and not for raw dessert varieties? Fruits are very versatile; you can cook them like potatoes in many ways, in soups, curries, mashed, fried, used raw in milkshakes, smoothies, breads or cakes. You may cook them when green, yellow, or brown depending on the texture you’re looking for and the recipe followed. Dessert varieties may also be cooked but tend to lose their texture with cooking, making them mushy. And cooking bananas may be eaten raw, but having a high starch content making them less desirable. Unripe fruit may be dried and ground into meal and used for a beverage like coffee.
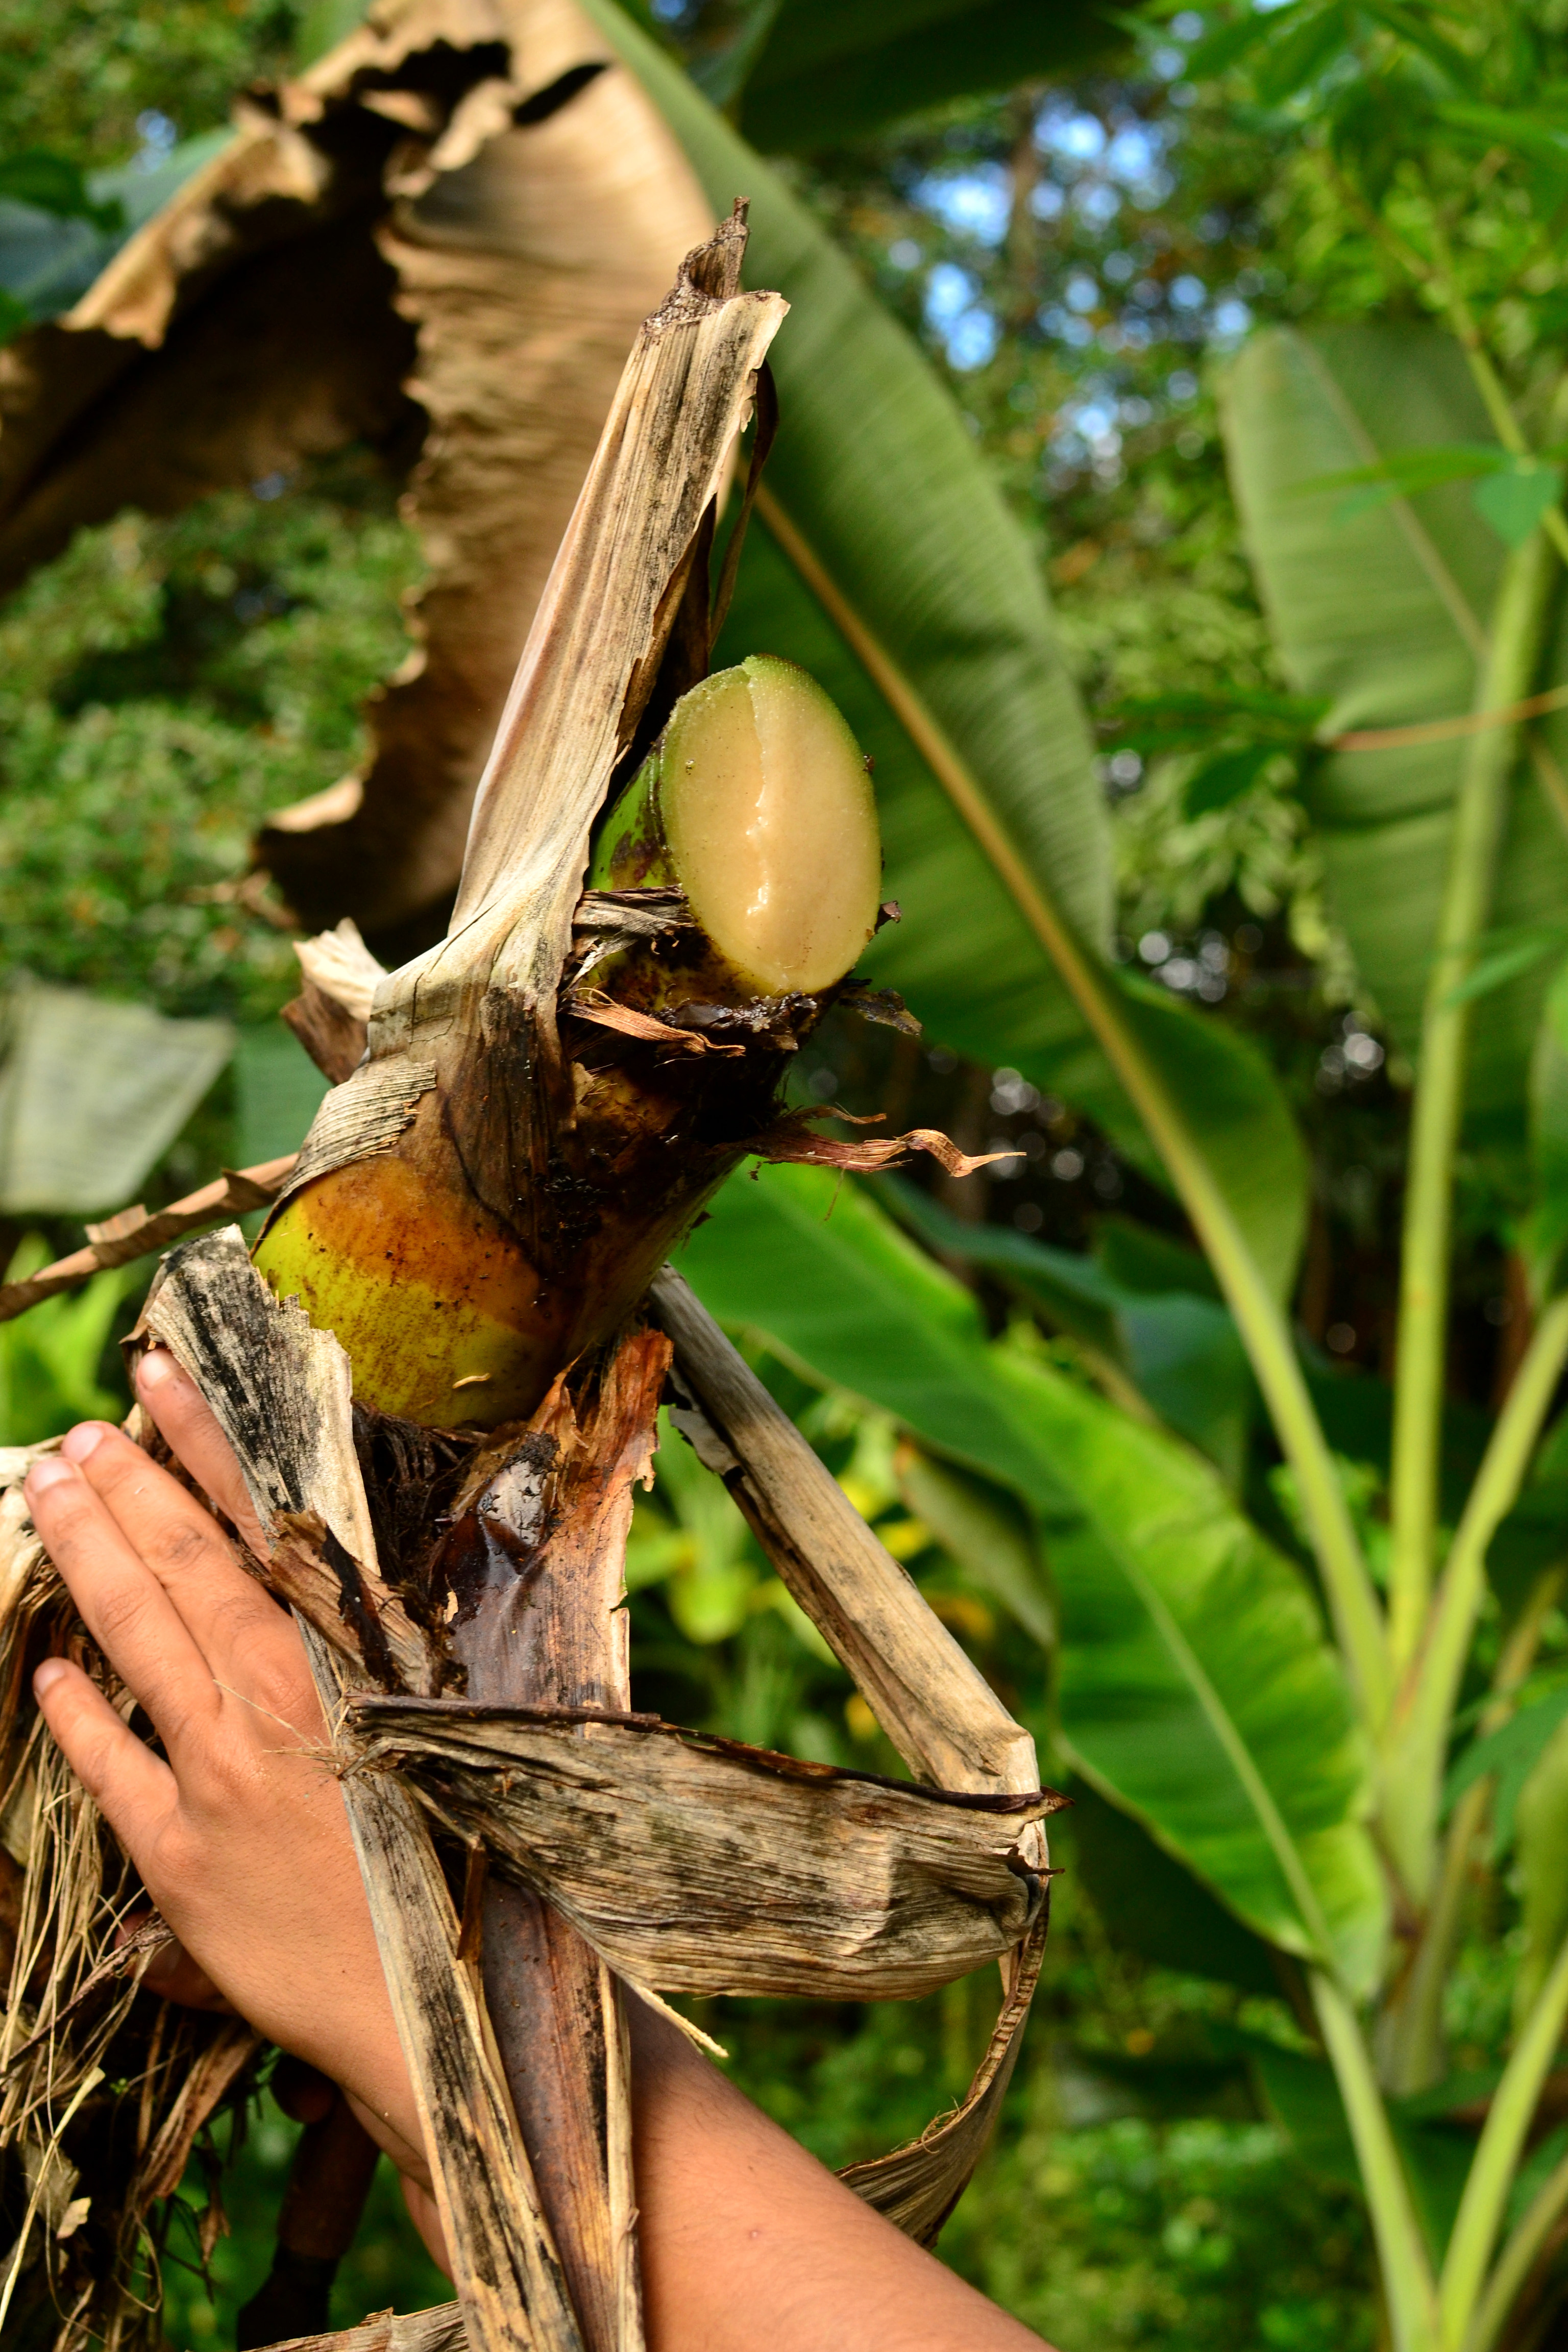
Flowers for eating are cut as soon as the final bud has opened creating the final hand of the rack. Then the outer leaf sheathes of the bud should be pulled off with the blossoms until the pinkish white heart is revealed. Then cut the bud lengthwise into four and prepare for specific dish. Apparently the heart is reminiscent of artichokes. I have no experience with cooking the flower buds yet, but next flower that grows I will try it out. So research some recipes and try it out for yourself, apparently different varieties flowers taste different, some tasting better than others and particularly cooking bananas flowers are better textured and flavored.
Where to obtain planting materials
Obtaining banana plants can be costly. Here in Hawaii the prices seem to range from $5 to $90+ depending on rarity. What a range! Good varieties to start off growing that grow hardy and quickly are the common apple and dwarf Brazilian varieties. Some varieties produce more keikis or suckers than others, so growing these varieties could get you established with a crop while your other varieties are establishing themselves. Your plants will grow for many years, so obtaining the initial plants is the only cost investment. If you can find a friend or abandoned banana plants you can propagate for free.
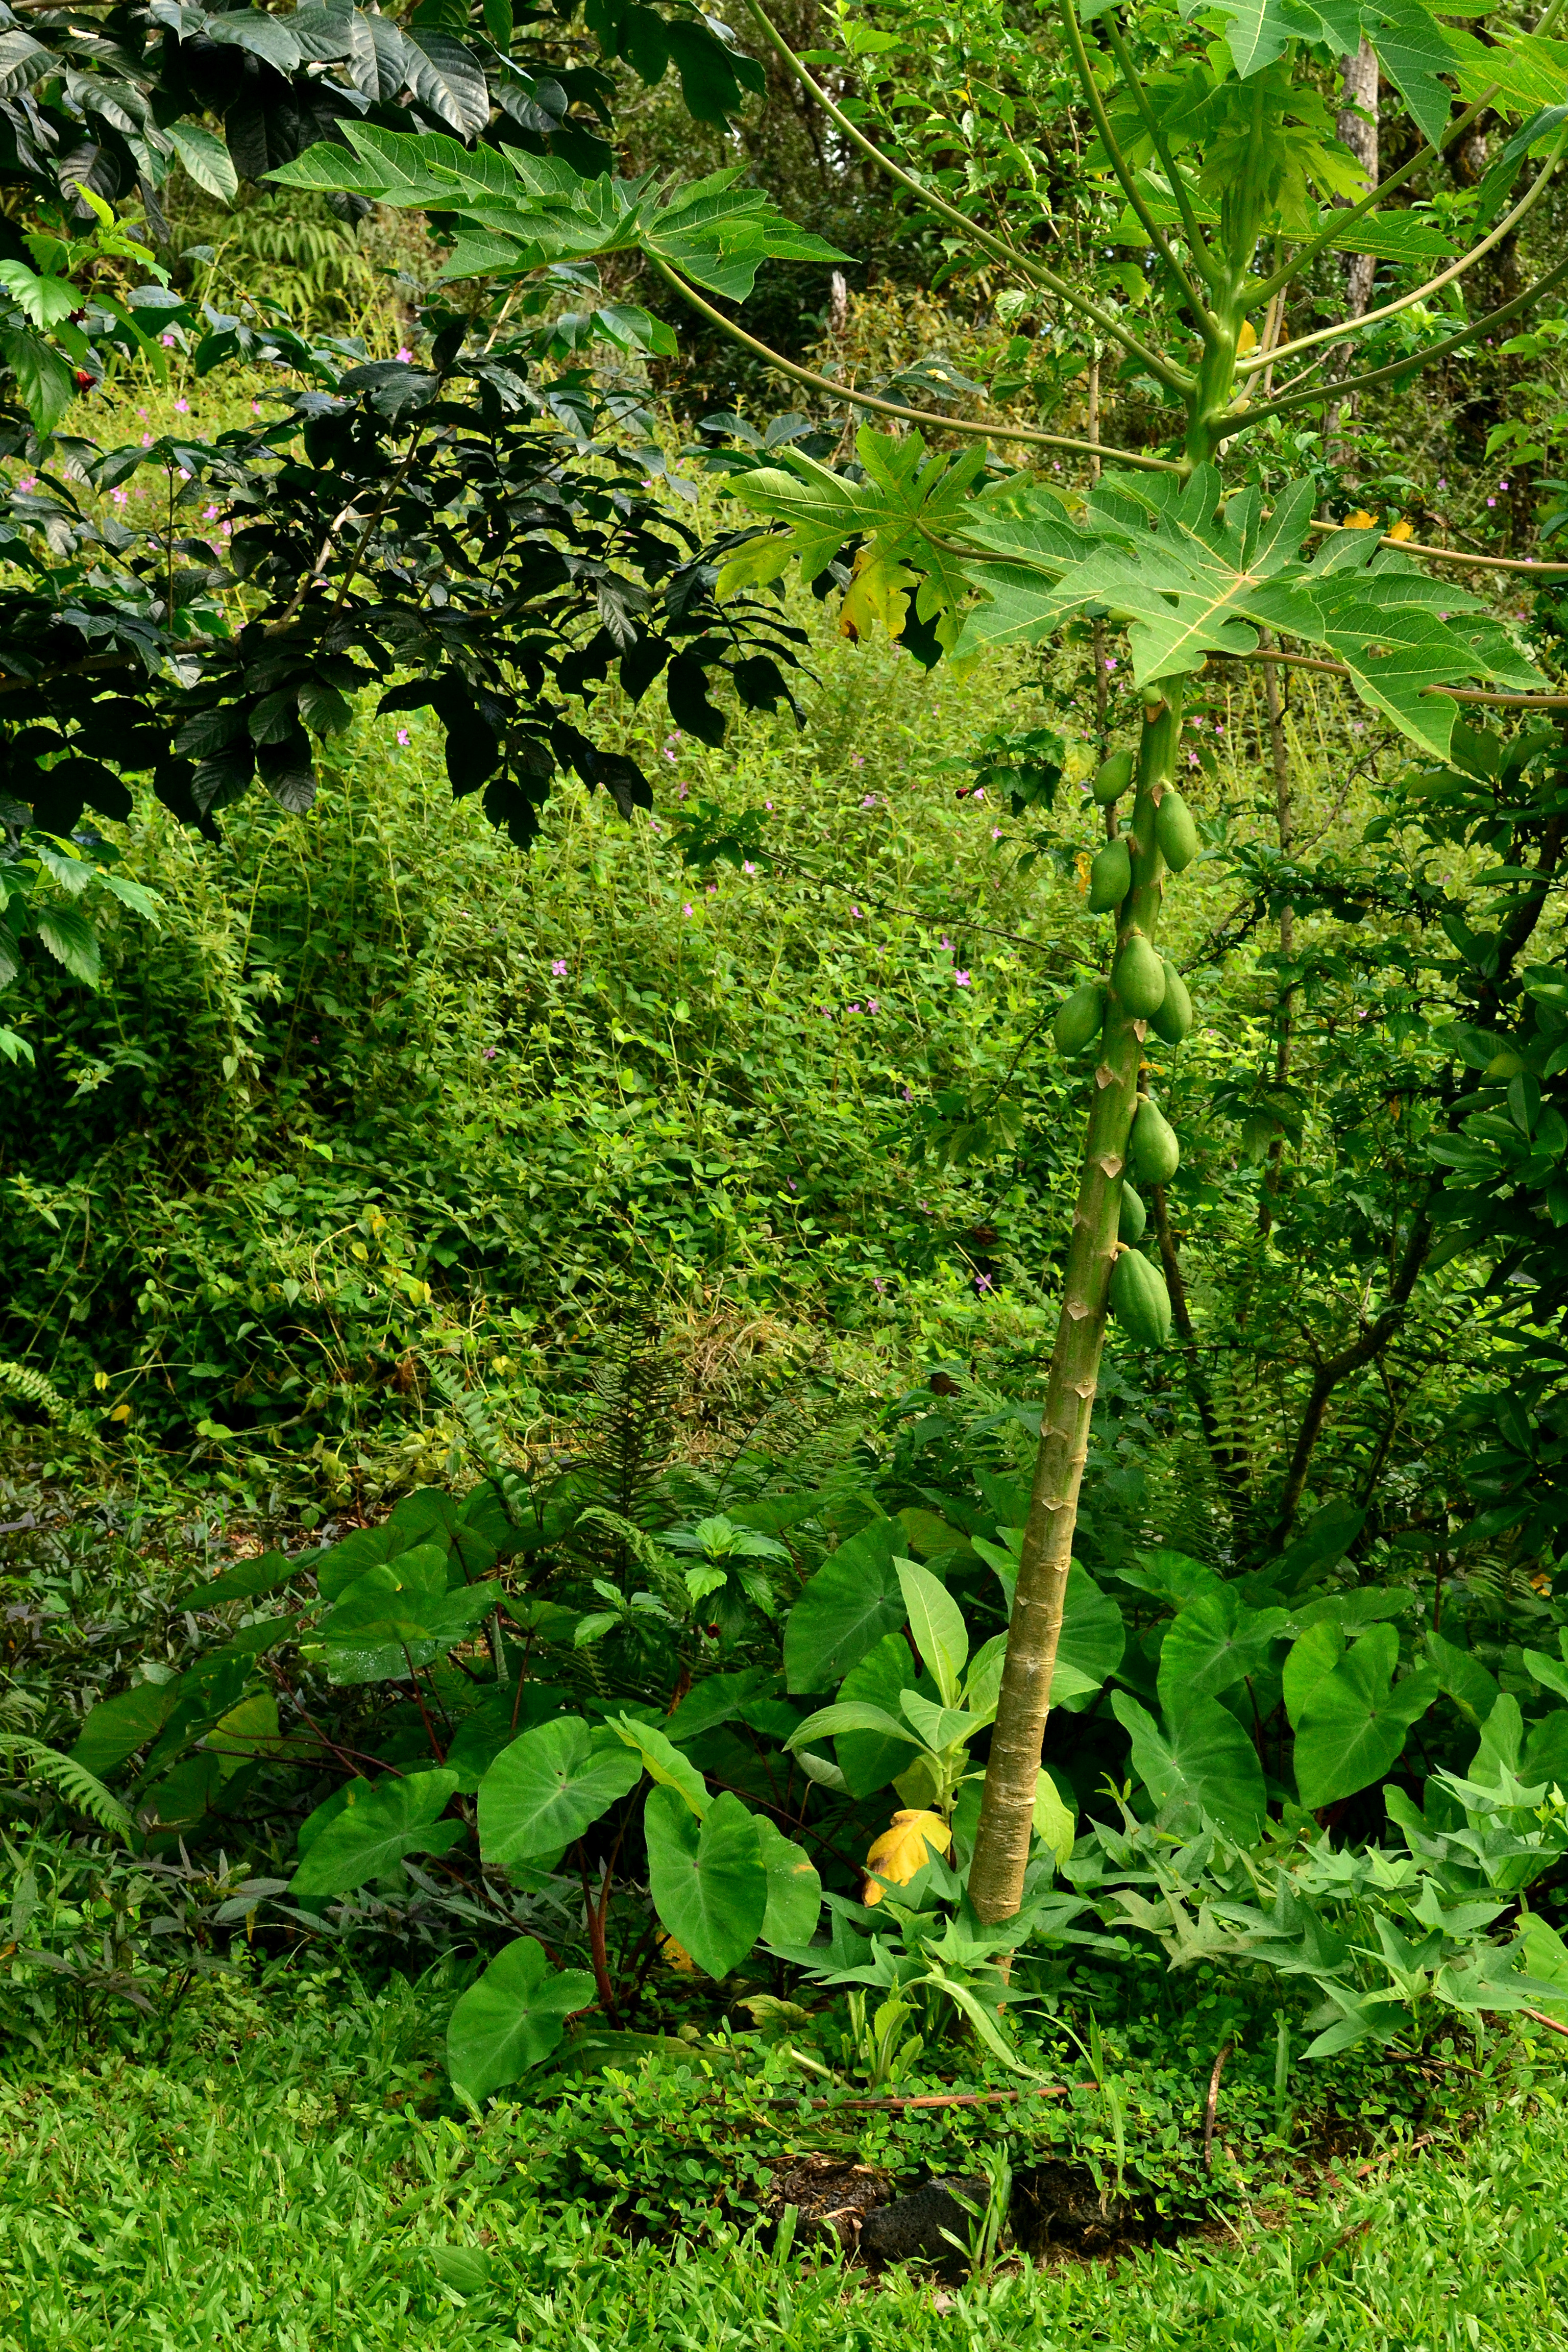
My Garden
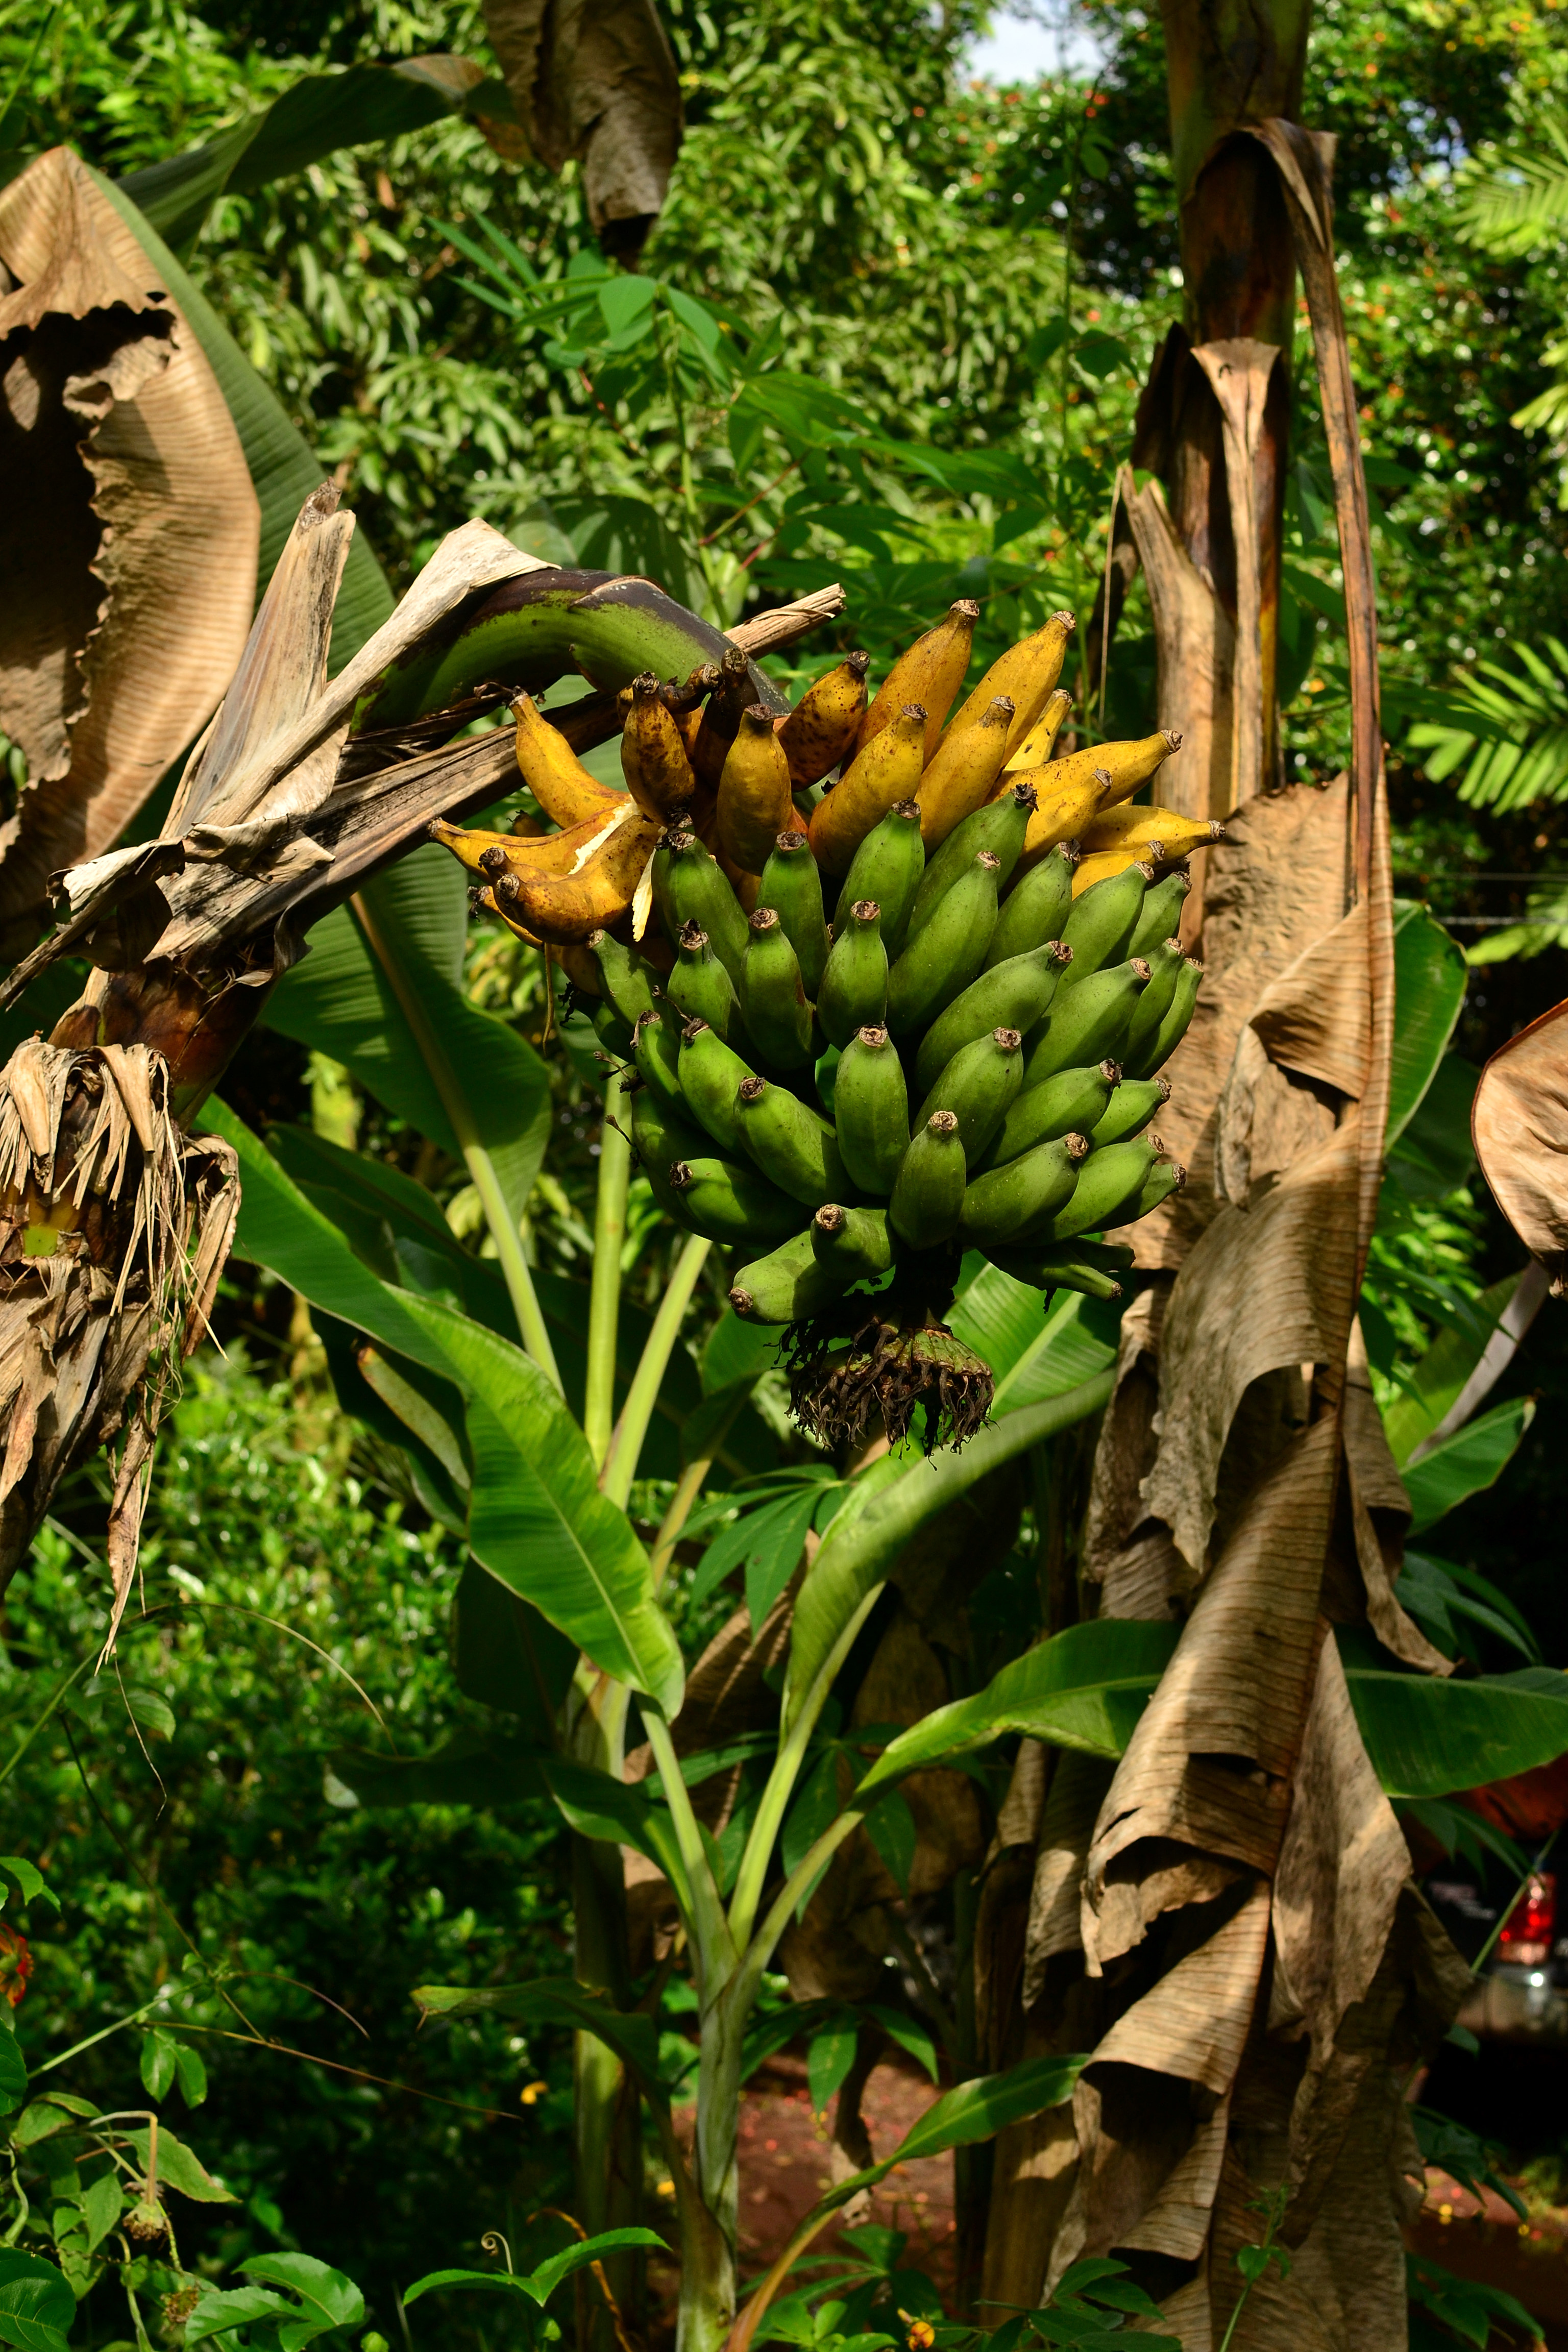
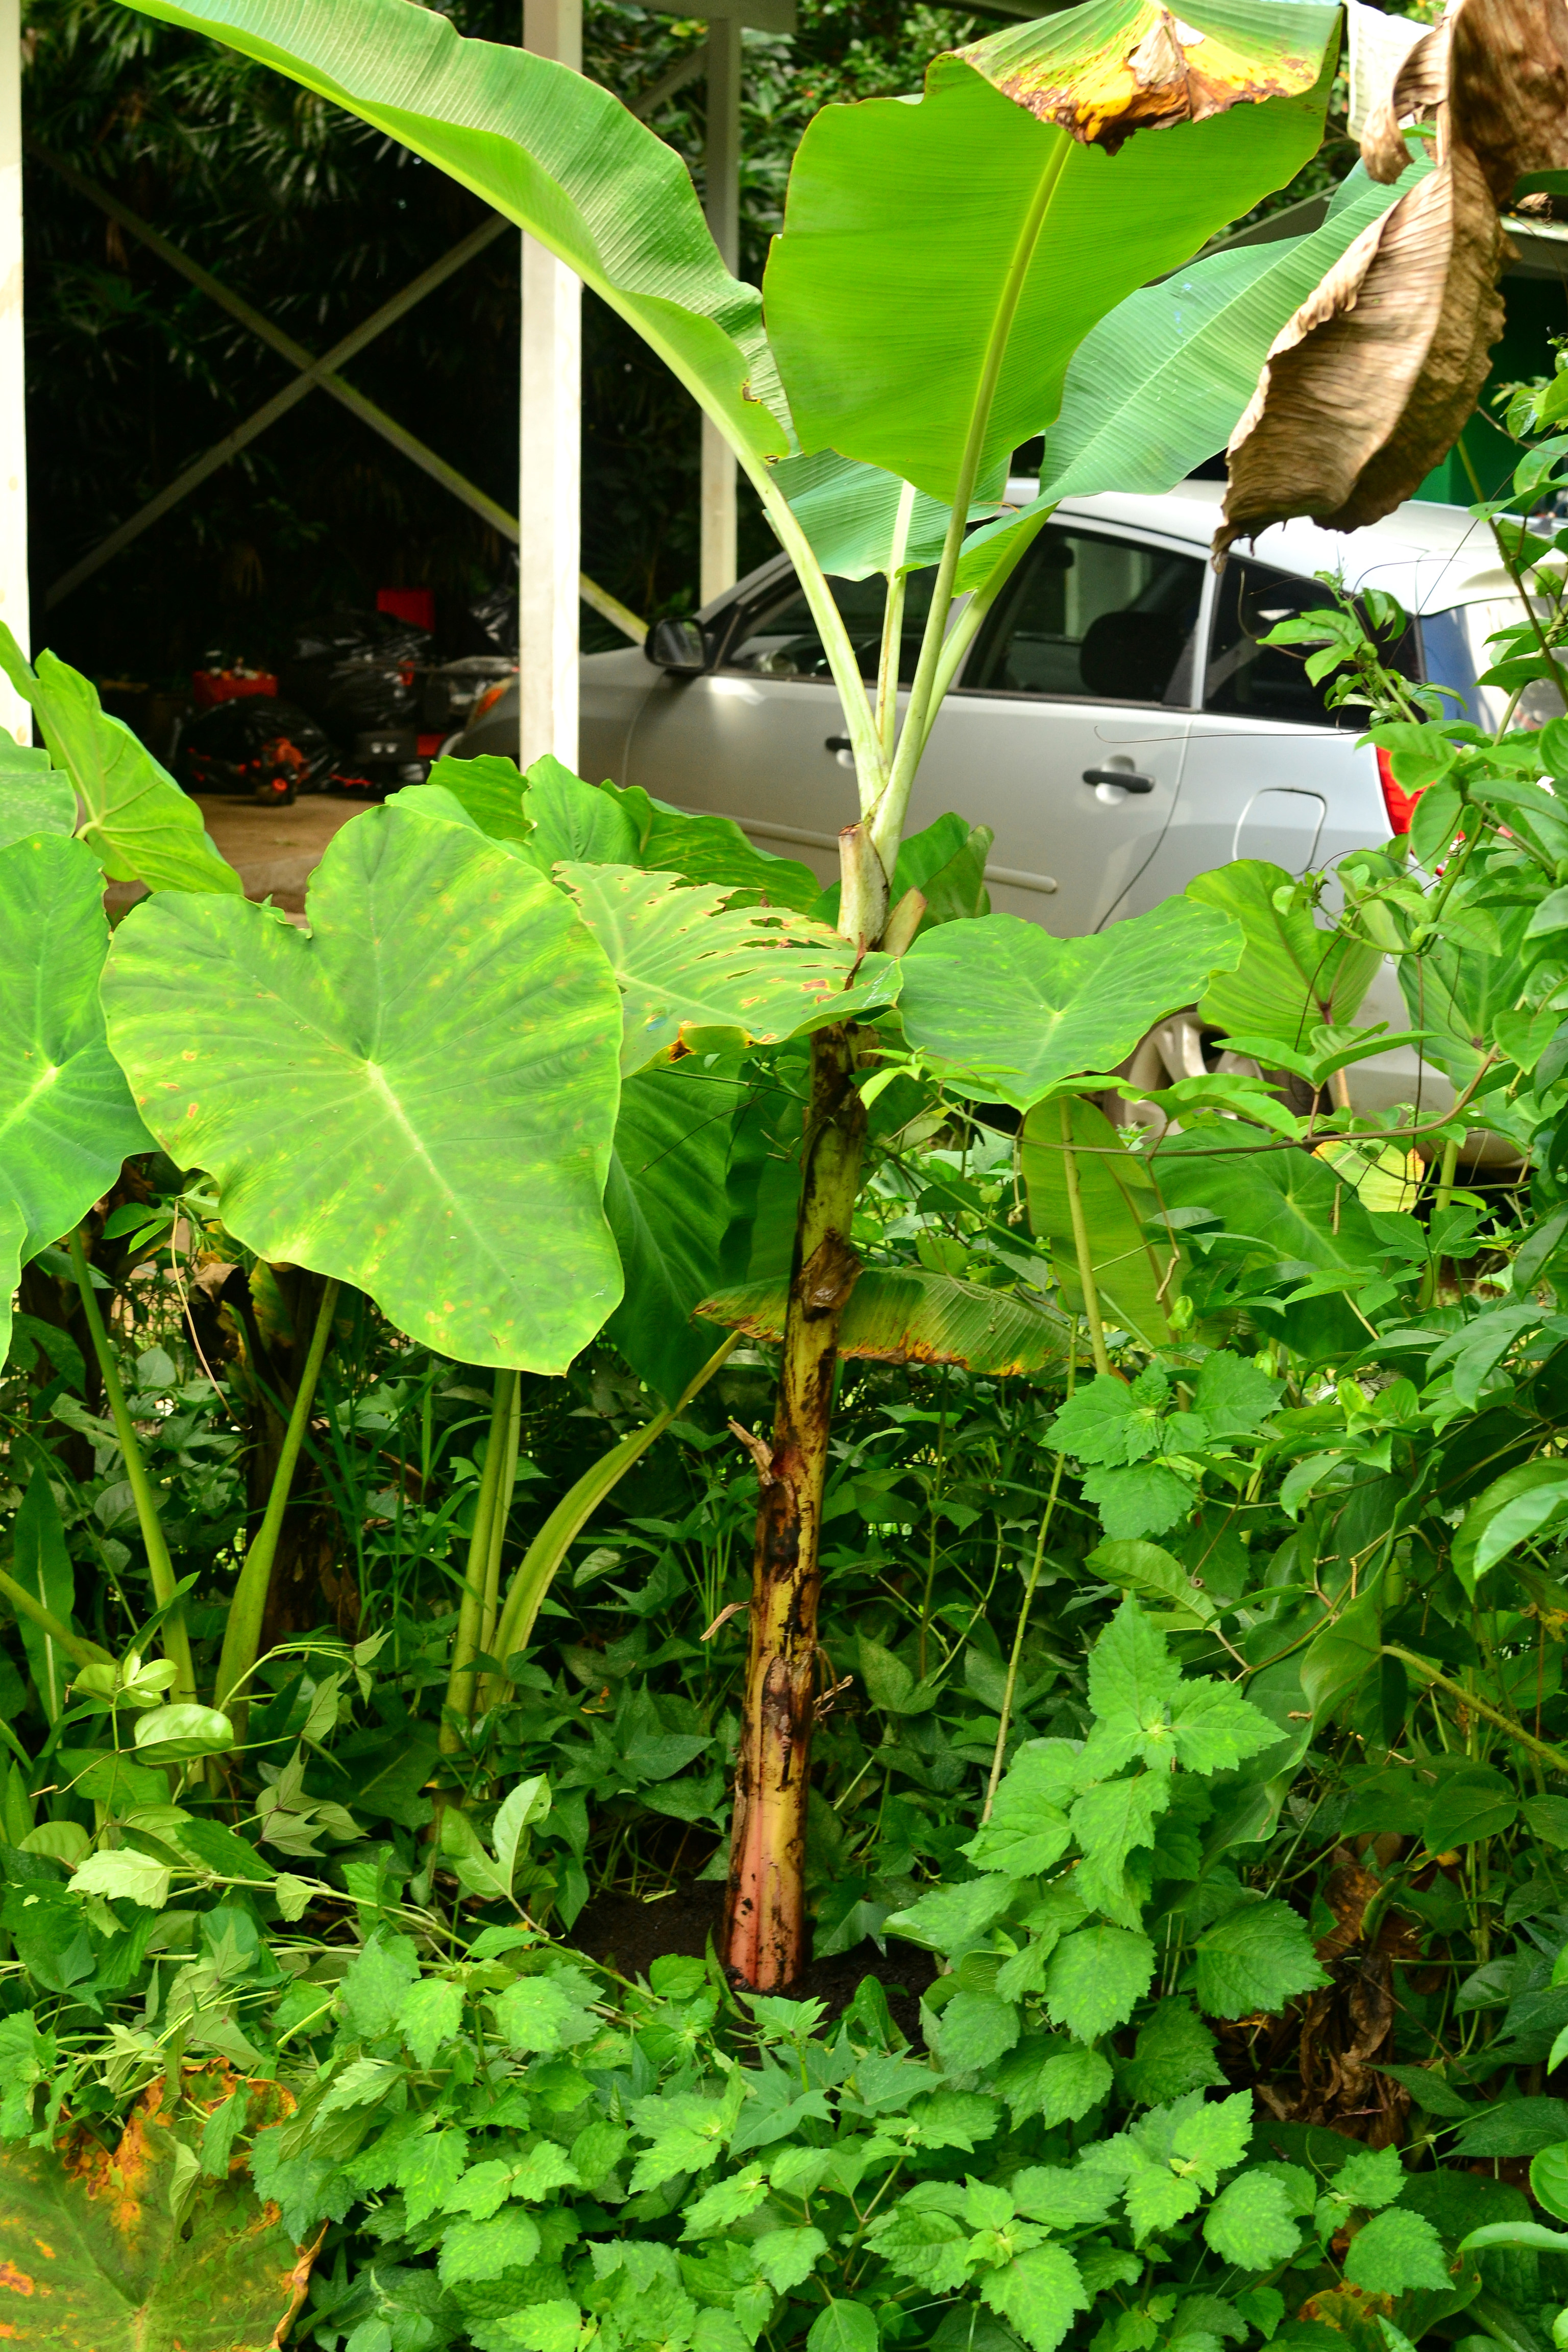
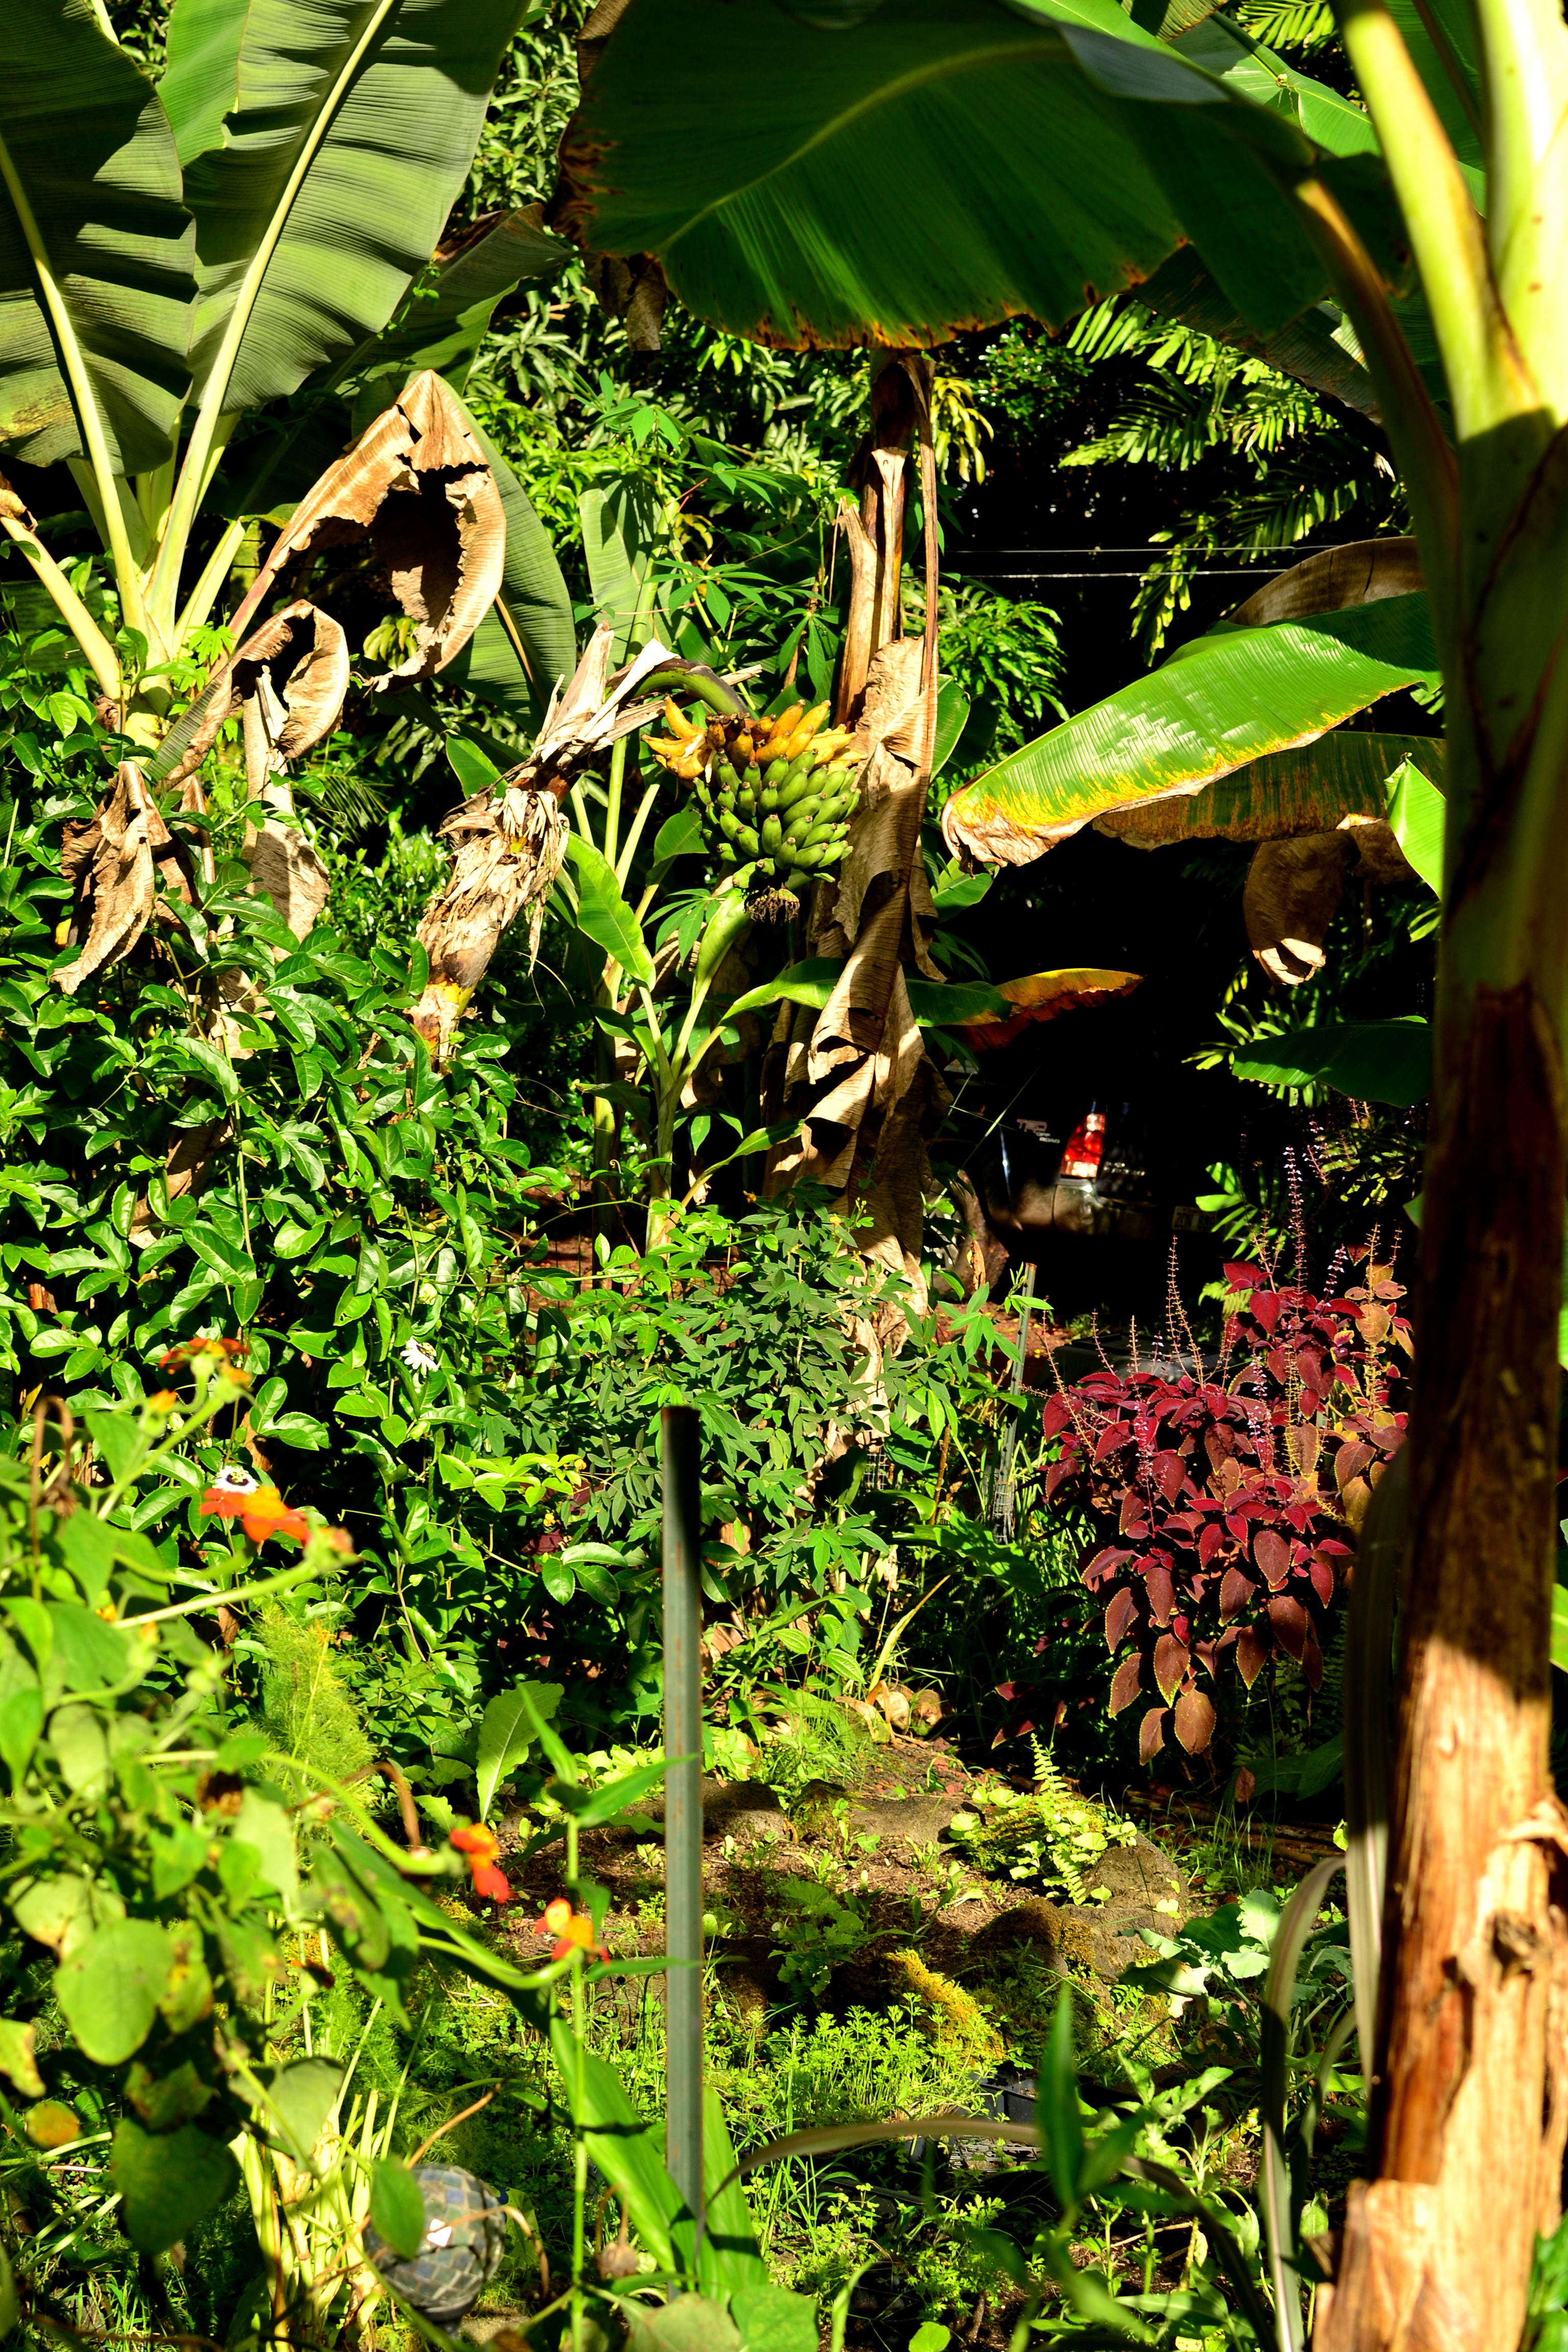
When I moved into this property there were two clumps of bananas already growing and I planted more varieties and I am waiting for them to fully establish themselves. So for this section I will focus on my friends garden, which has much more established banana plants. He allowed me to help him out with harvesting and propagation and using his garden for a blog entry. His bananas are going off right now, tons of fruits growing, flowers opening, harvestable racks, and natural regeneration or propagation.
-
-
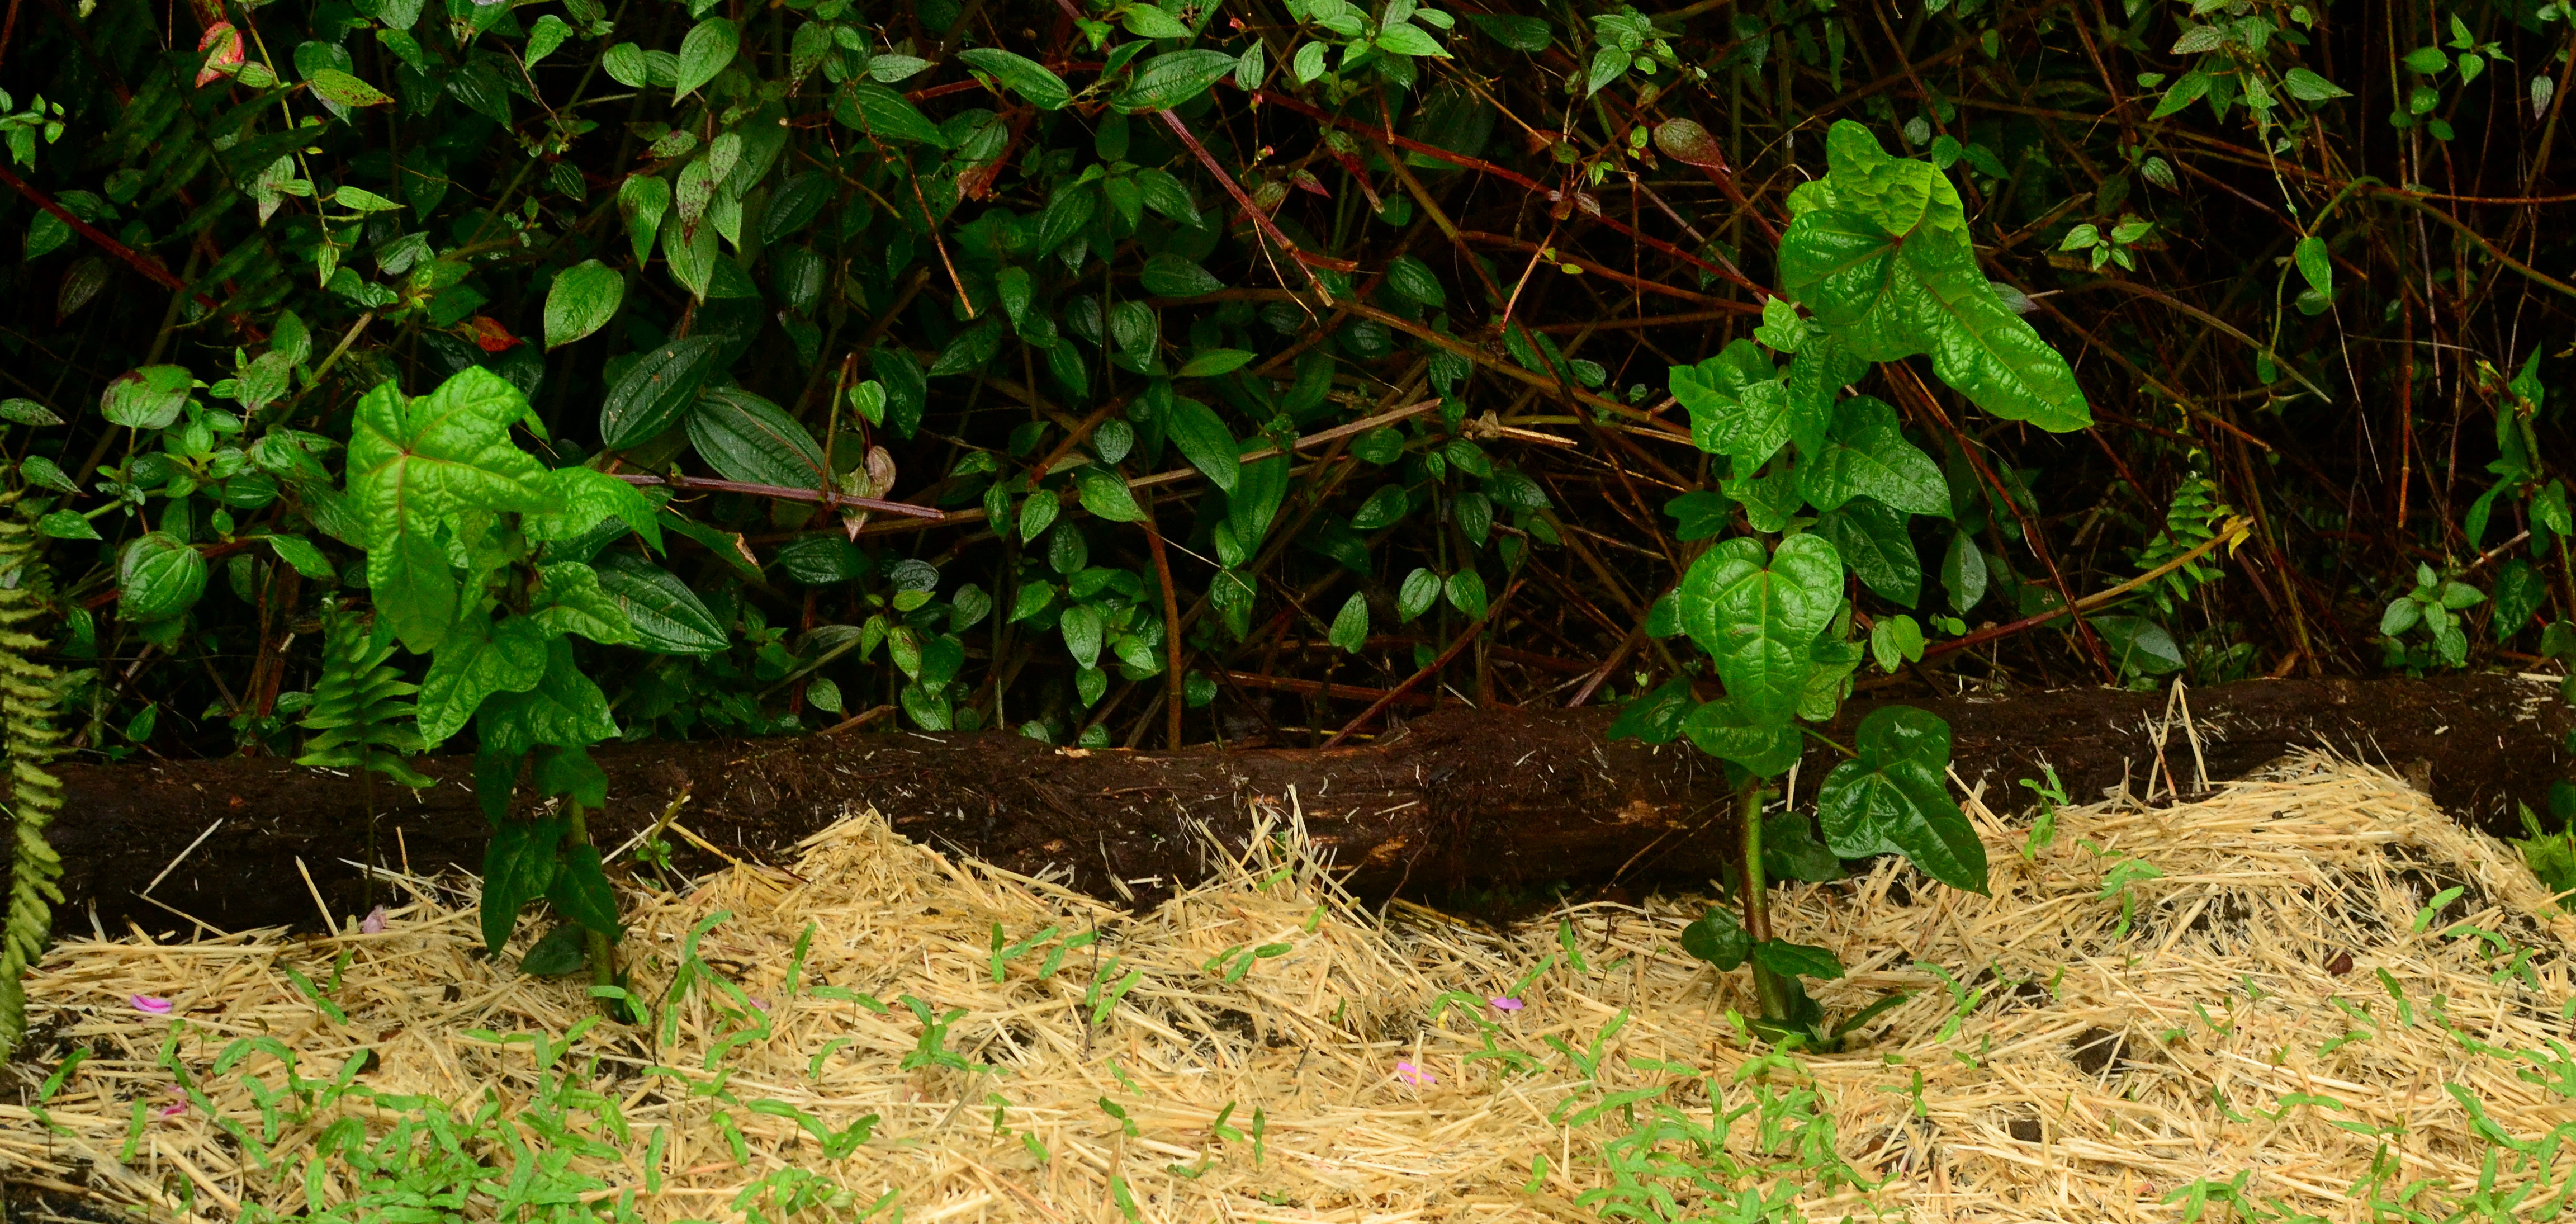
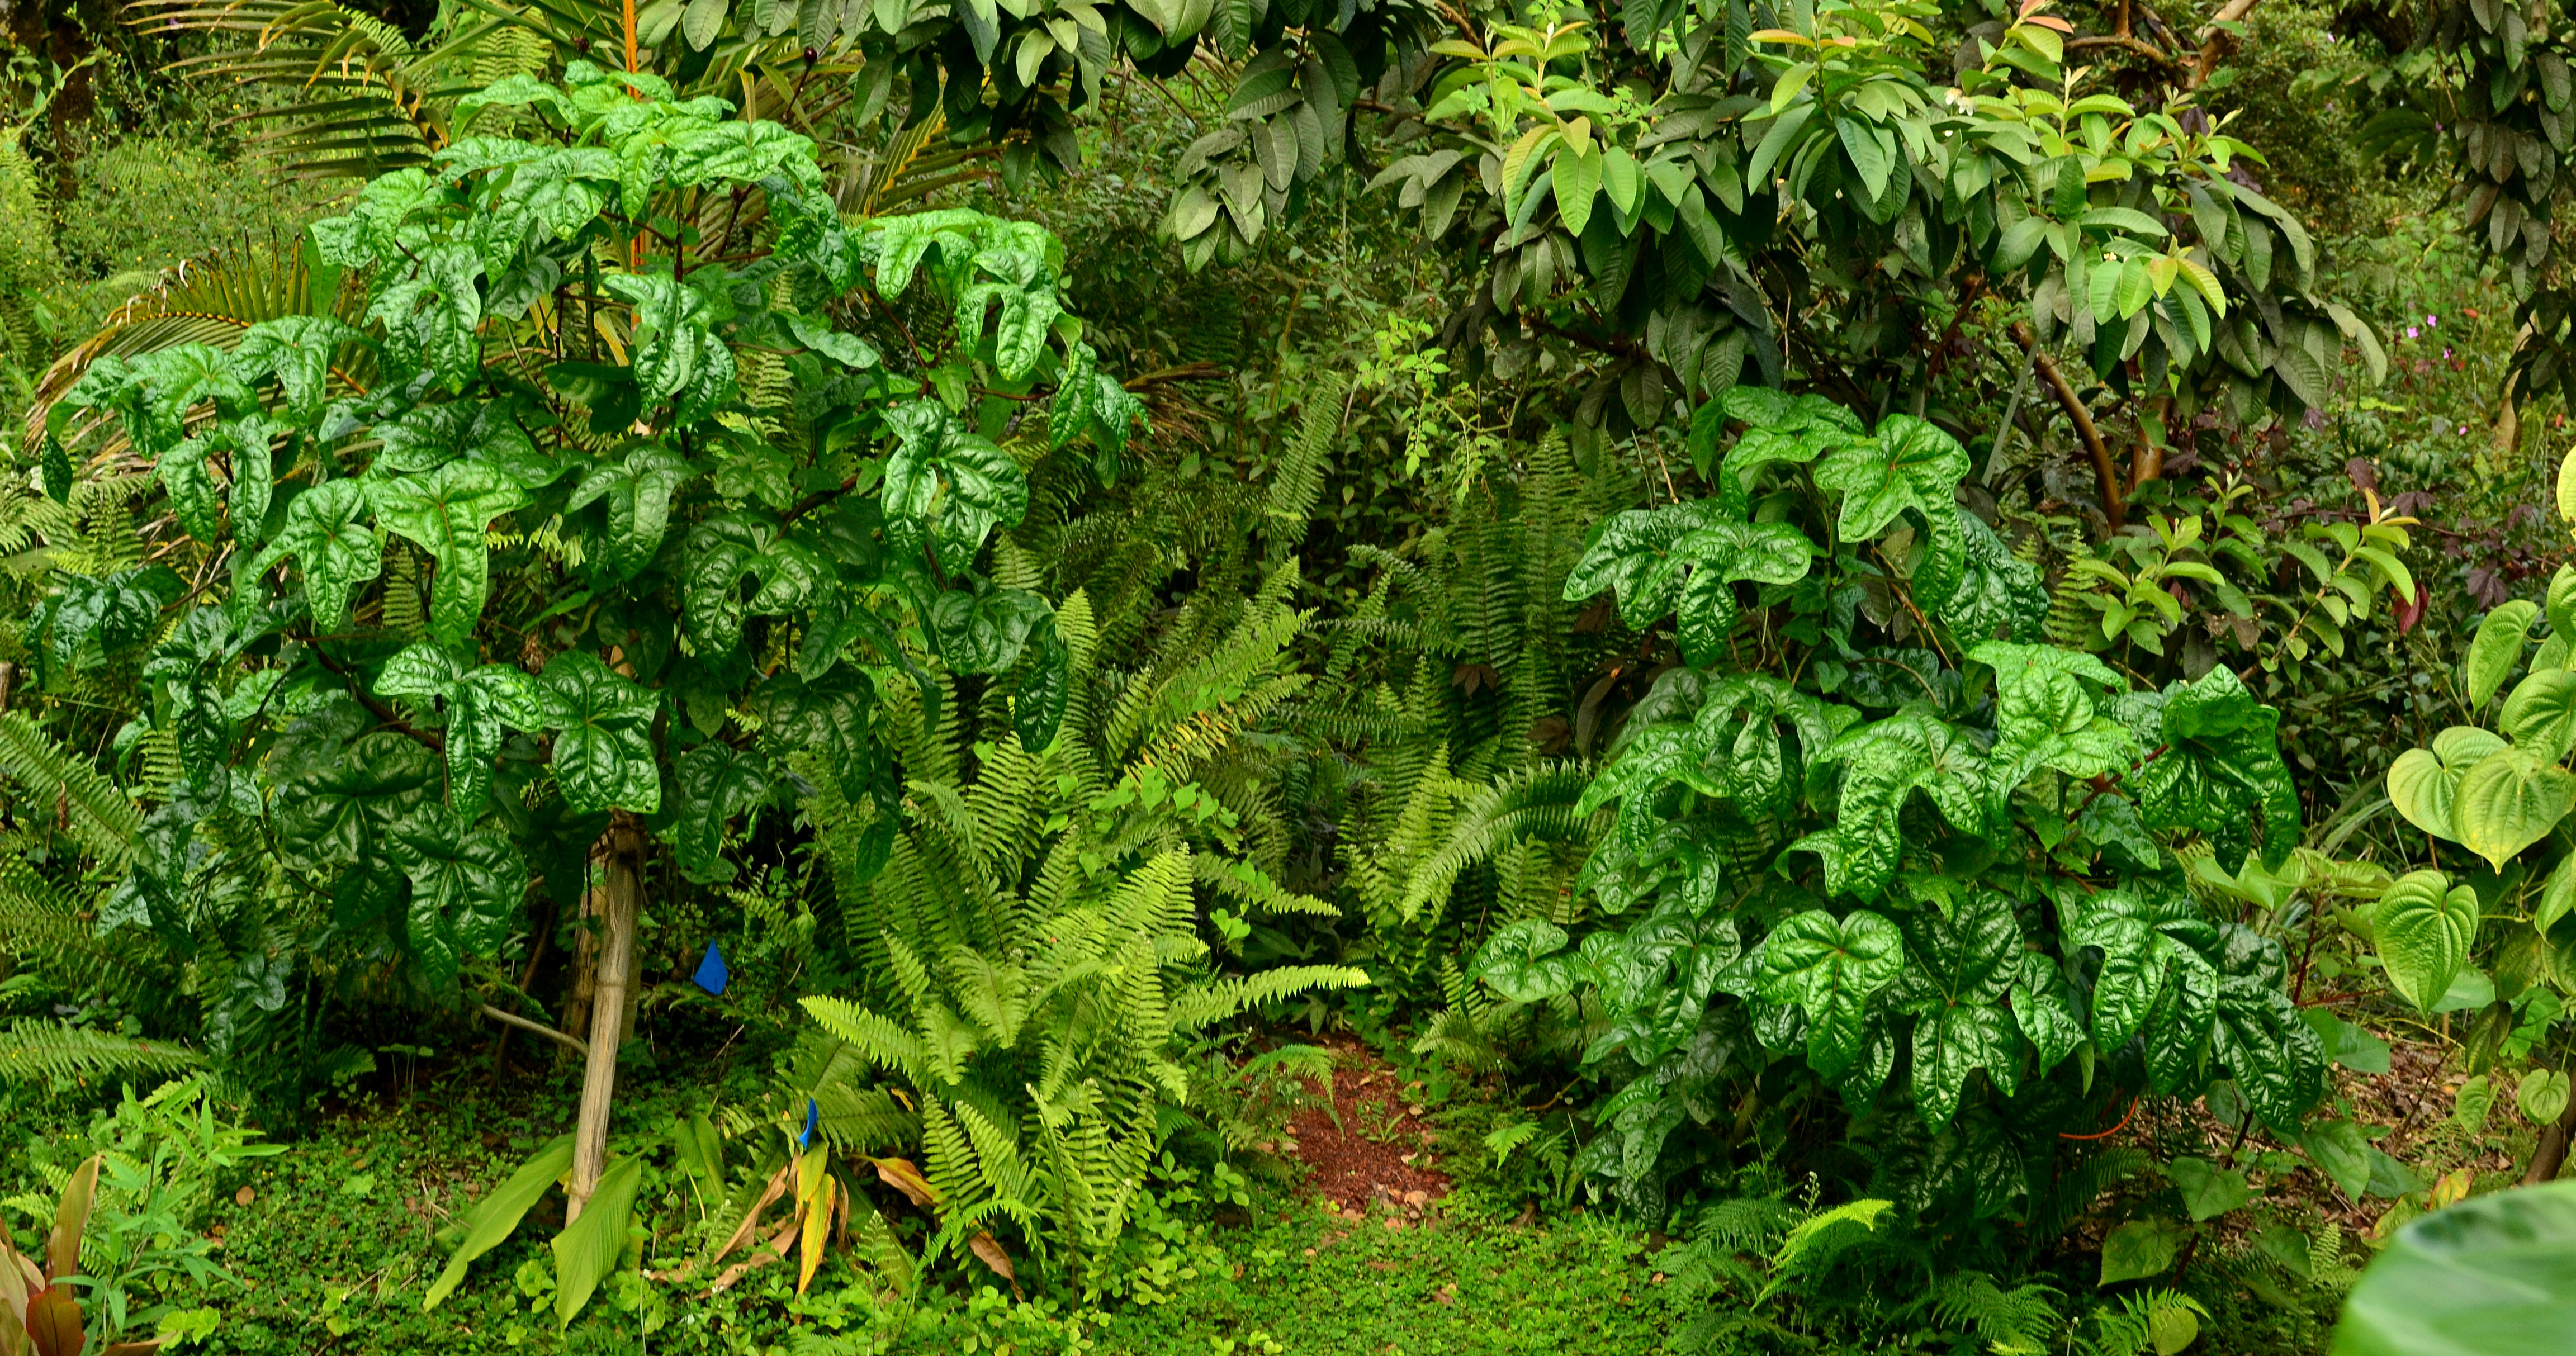
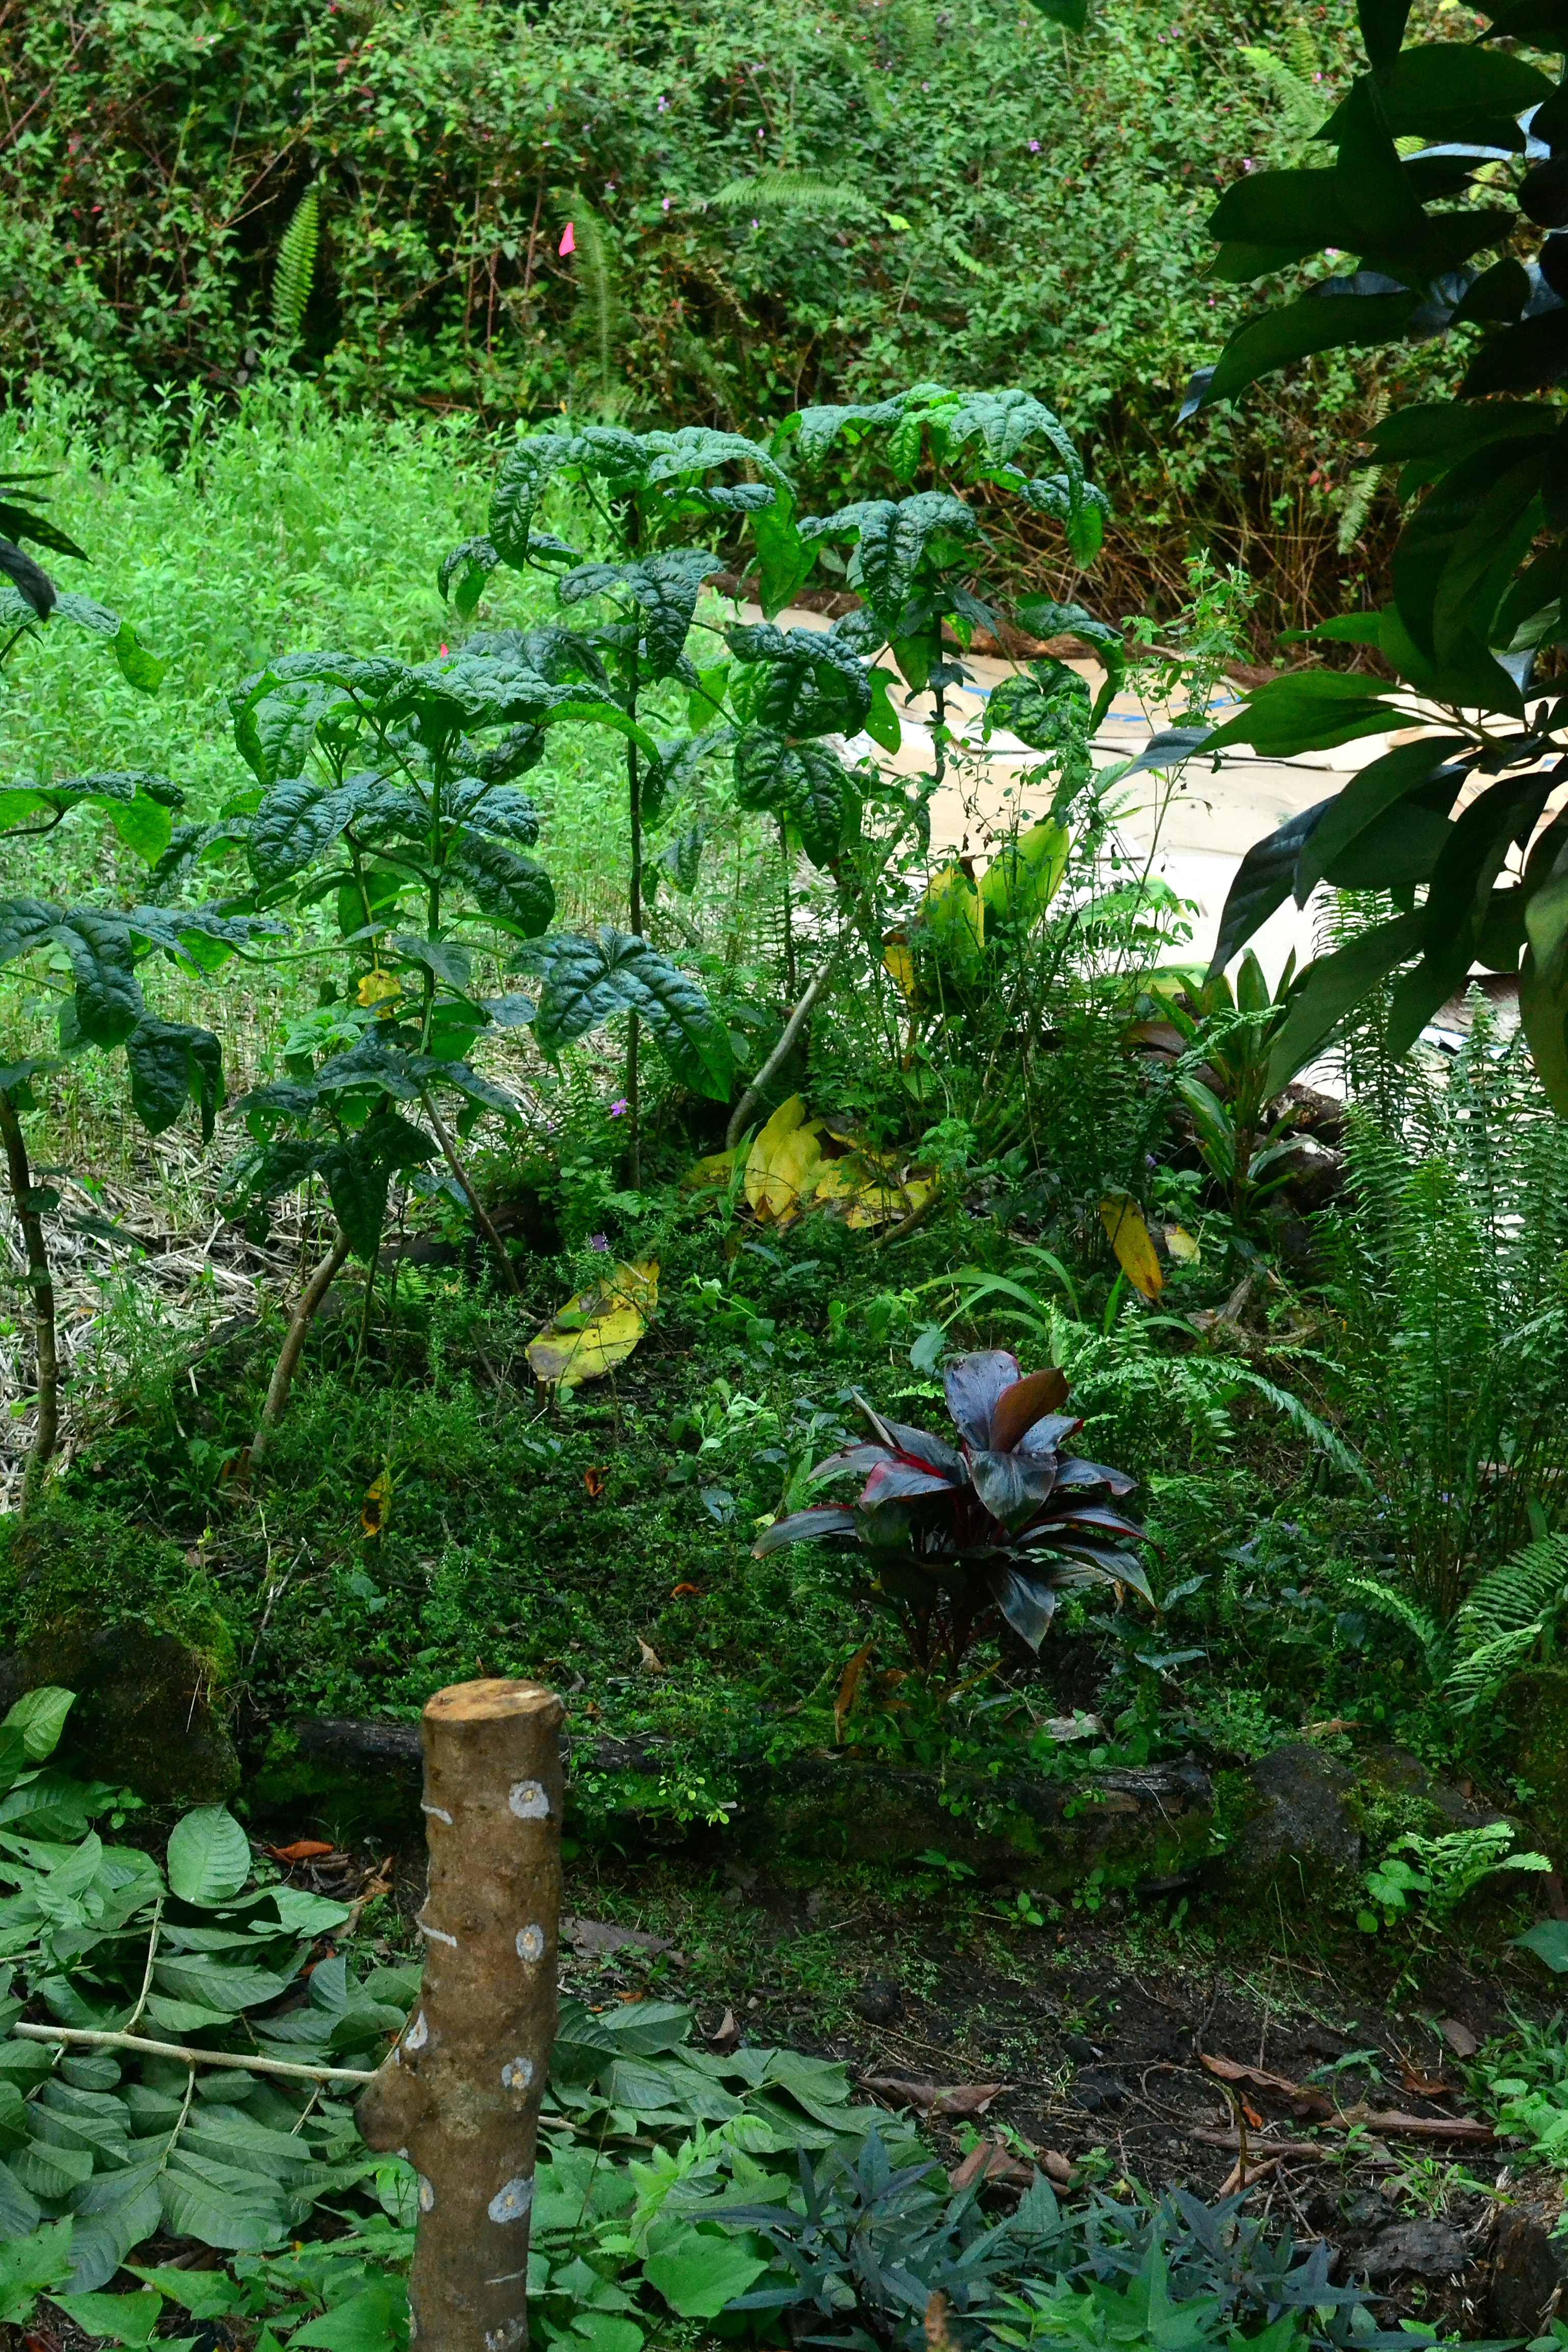
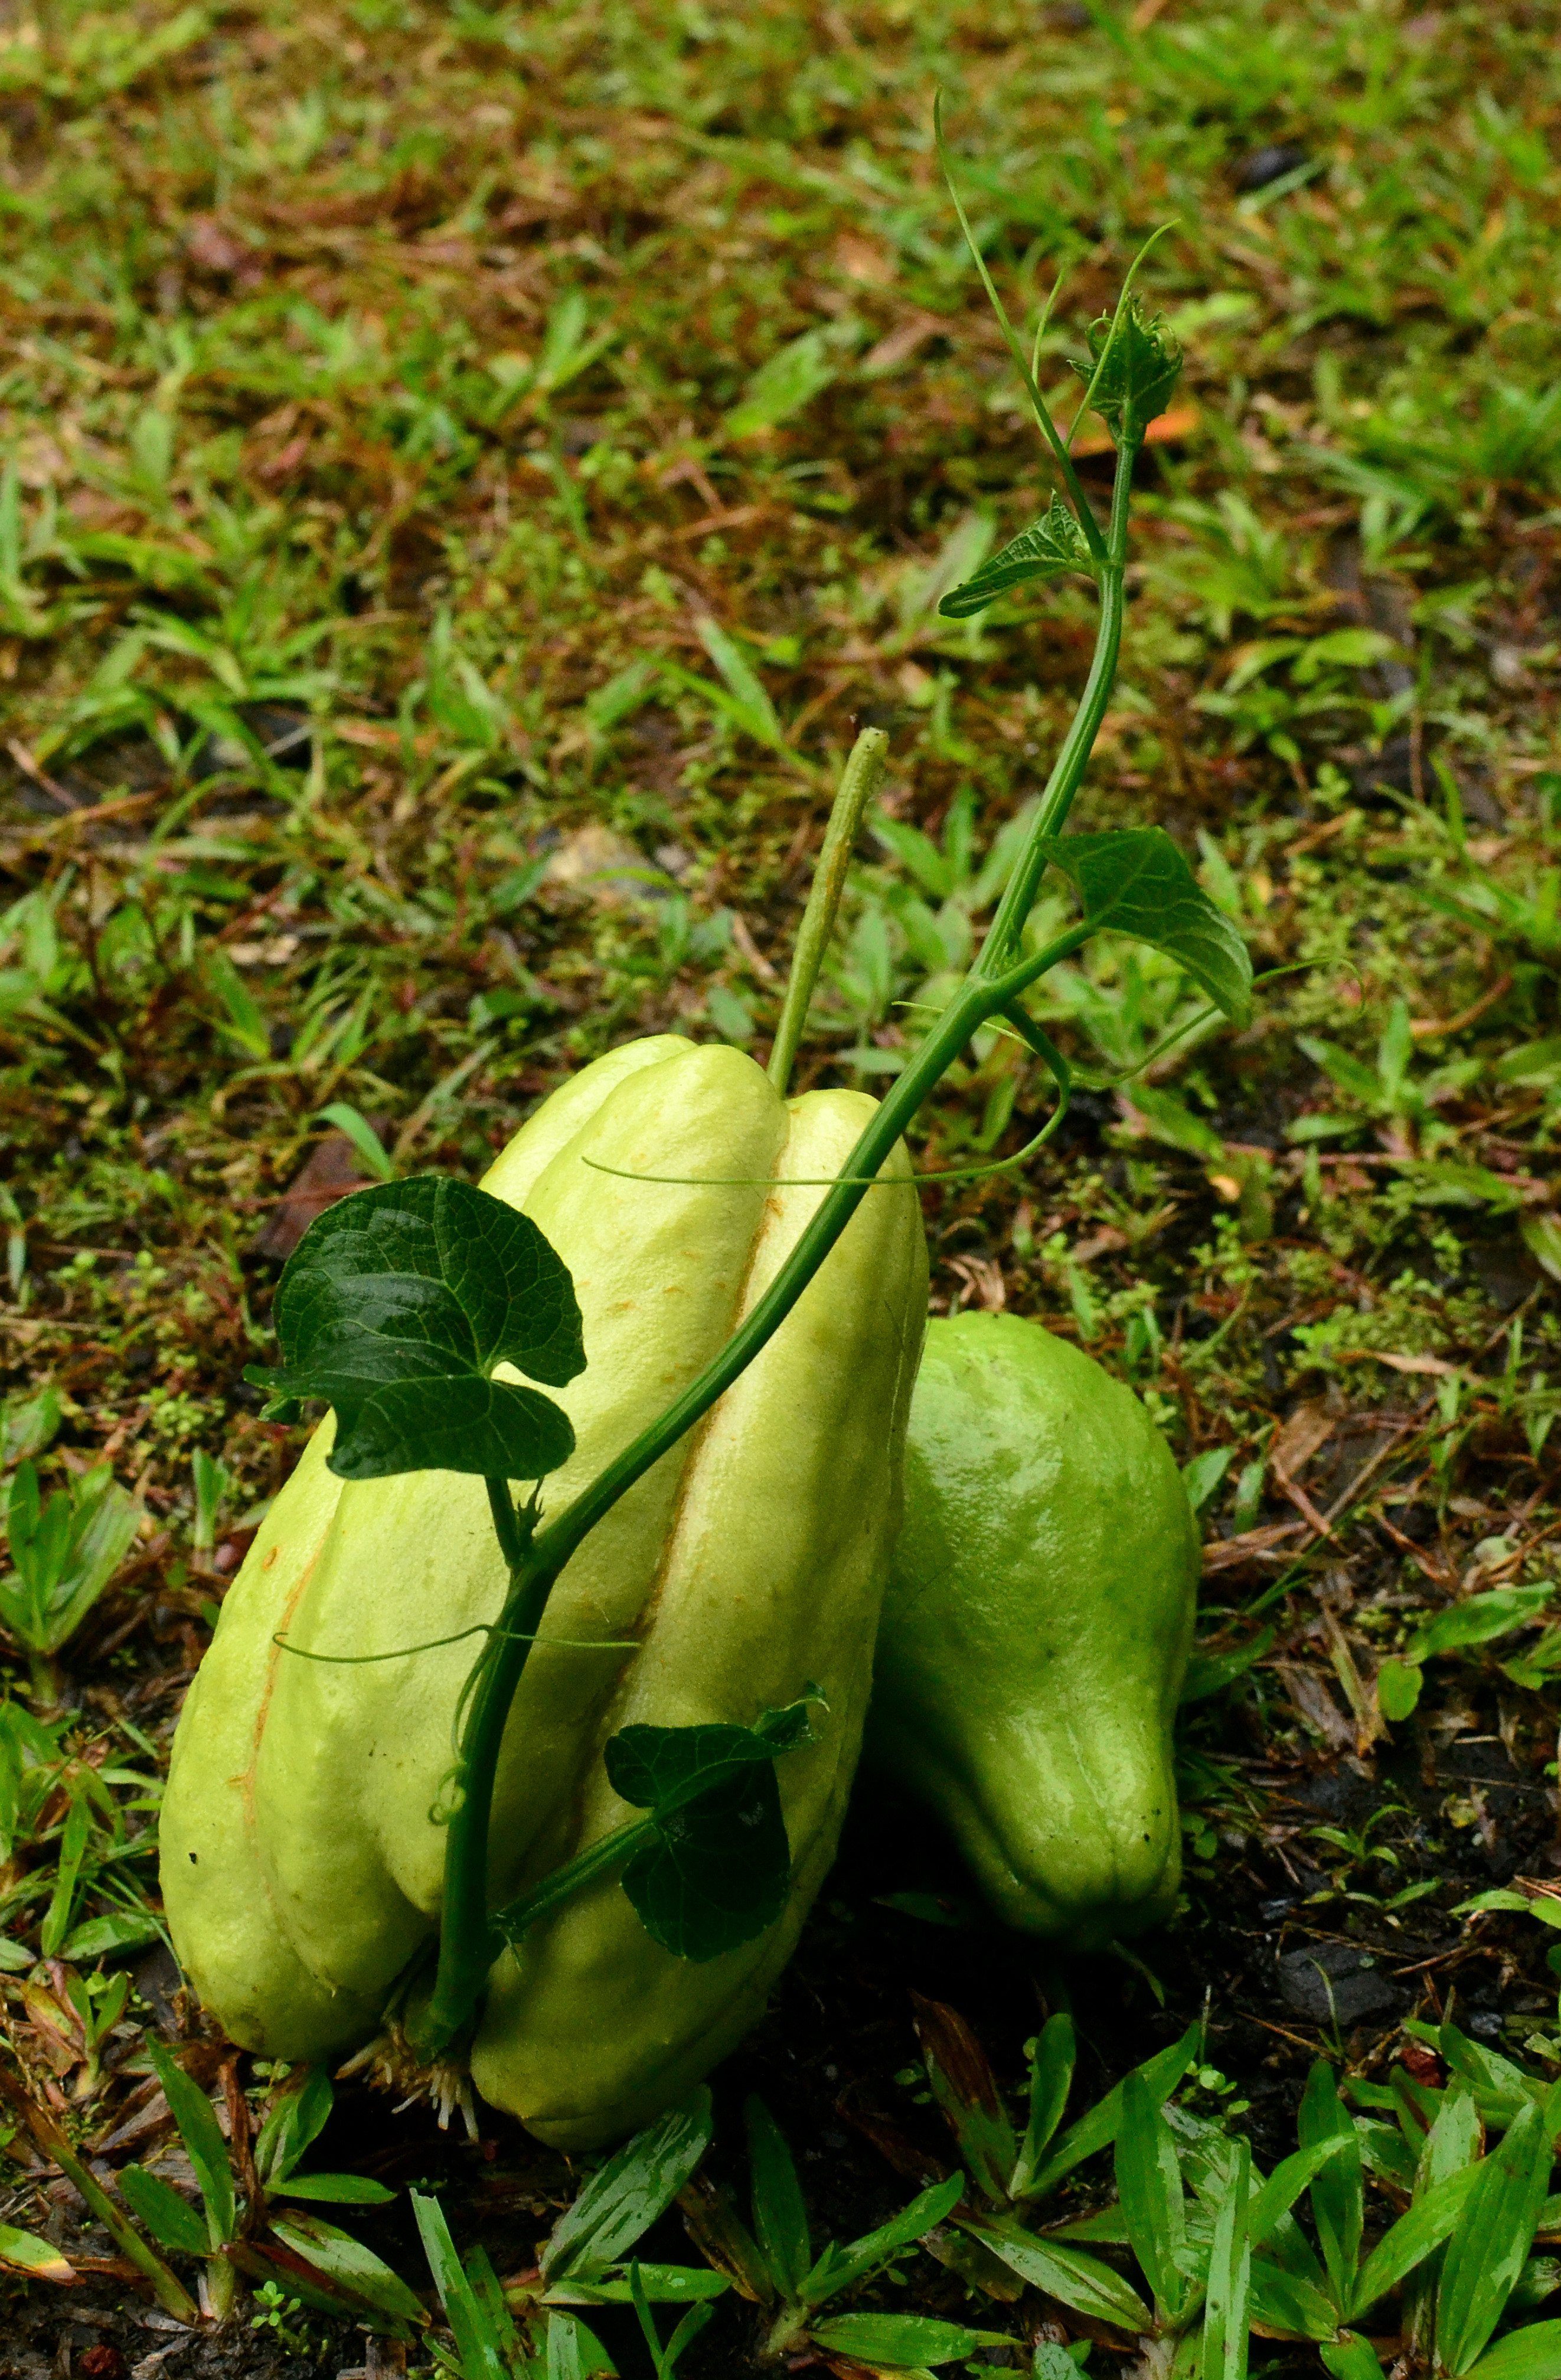
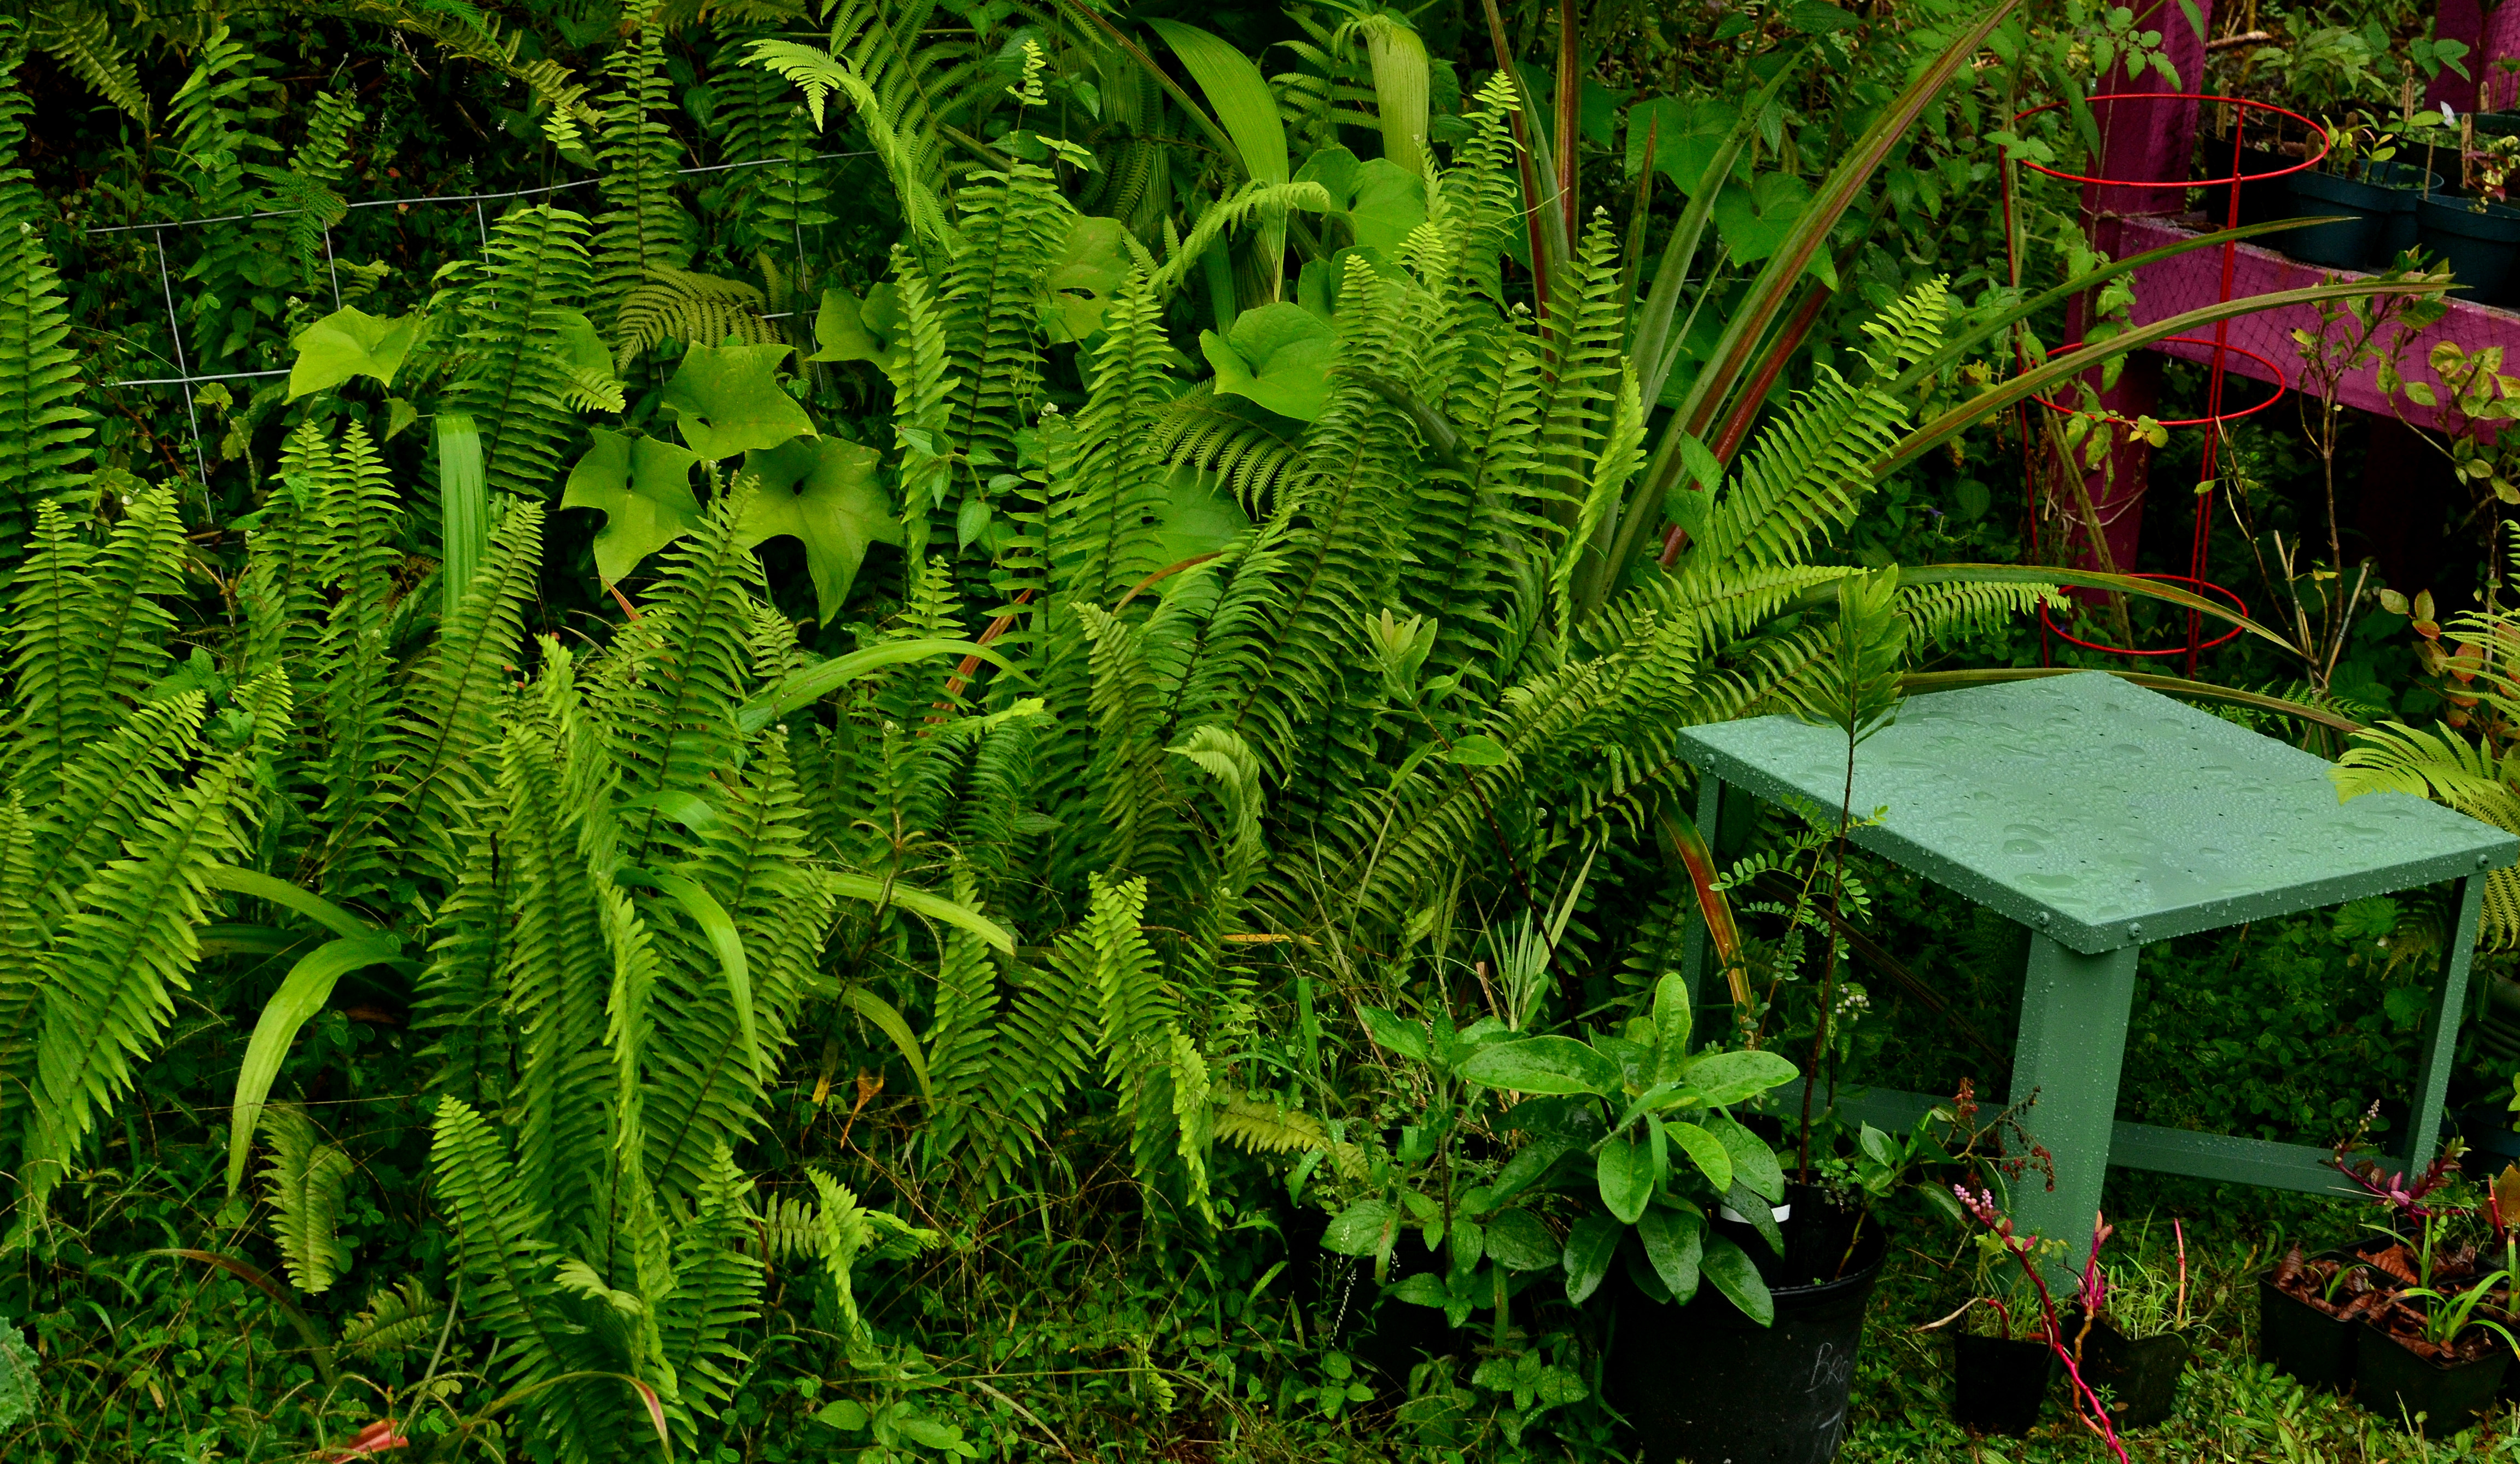
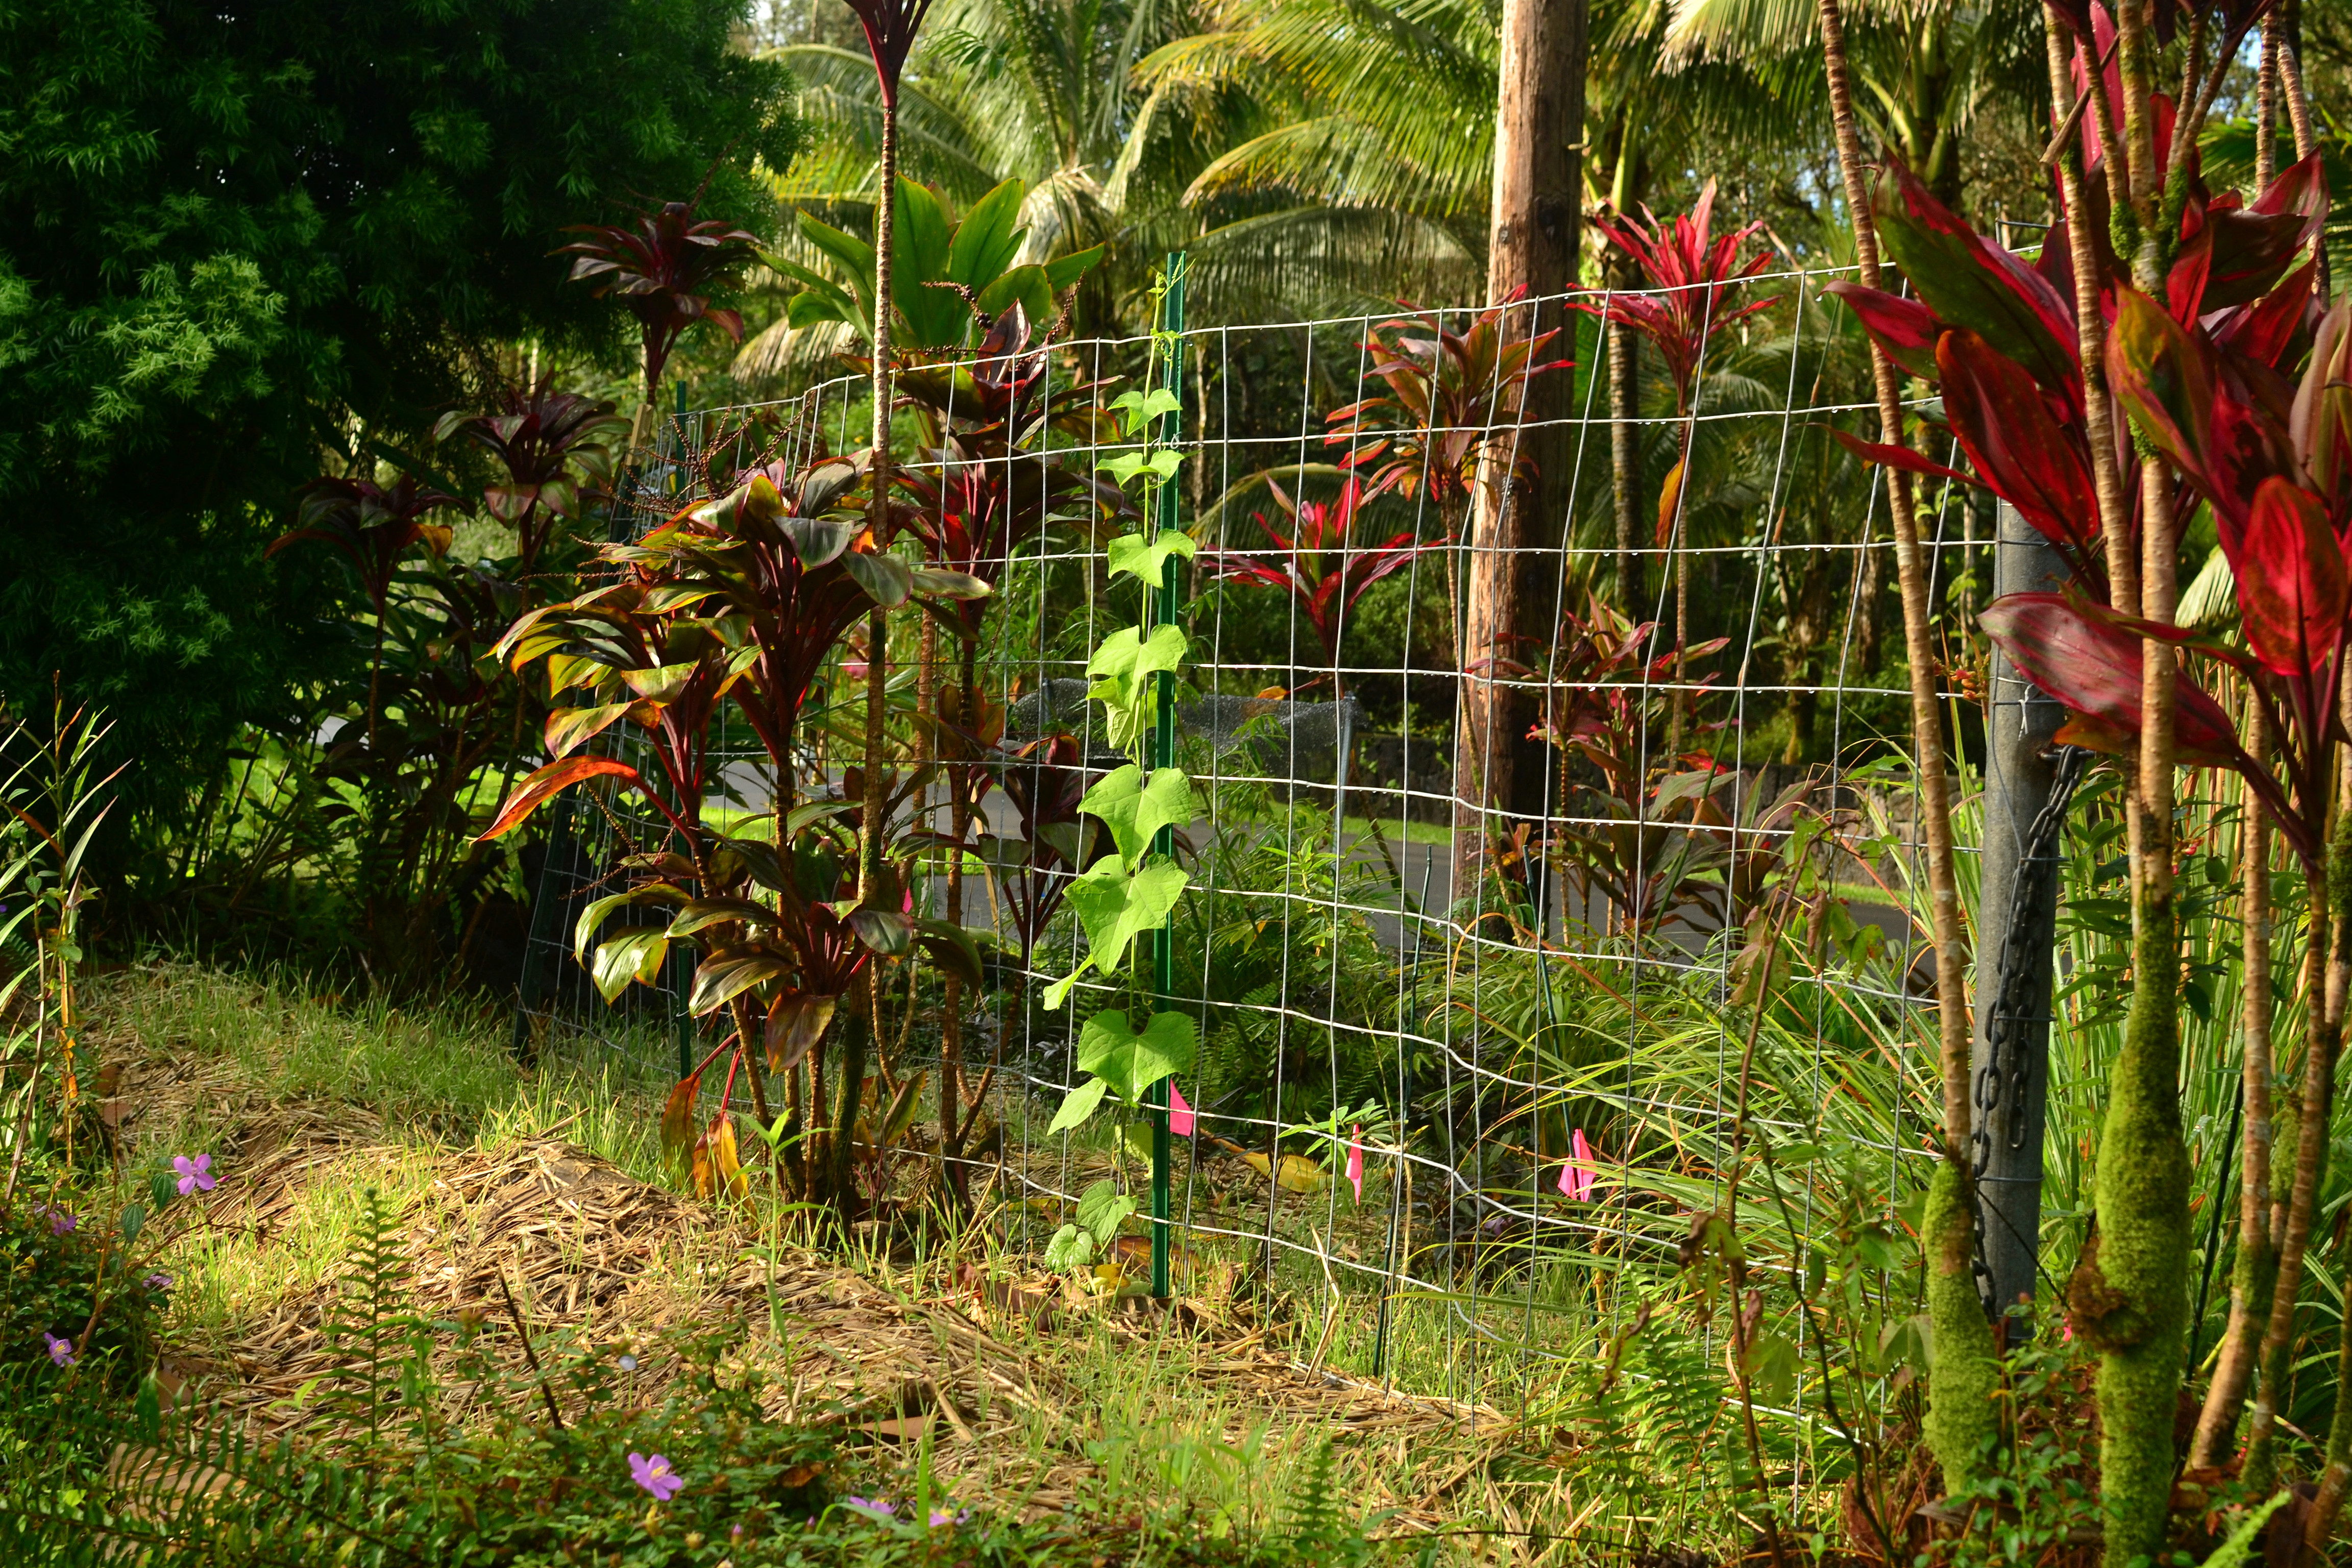
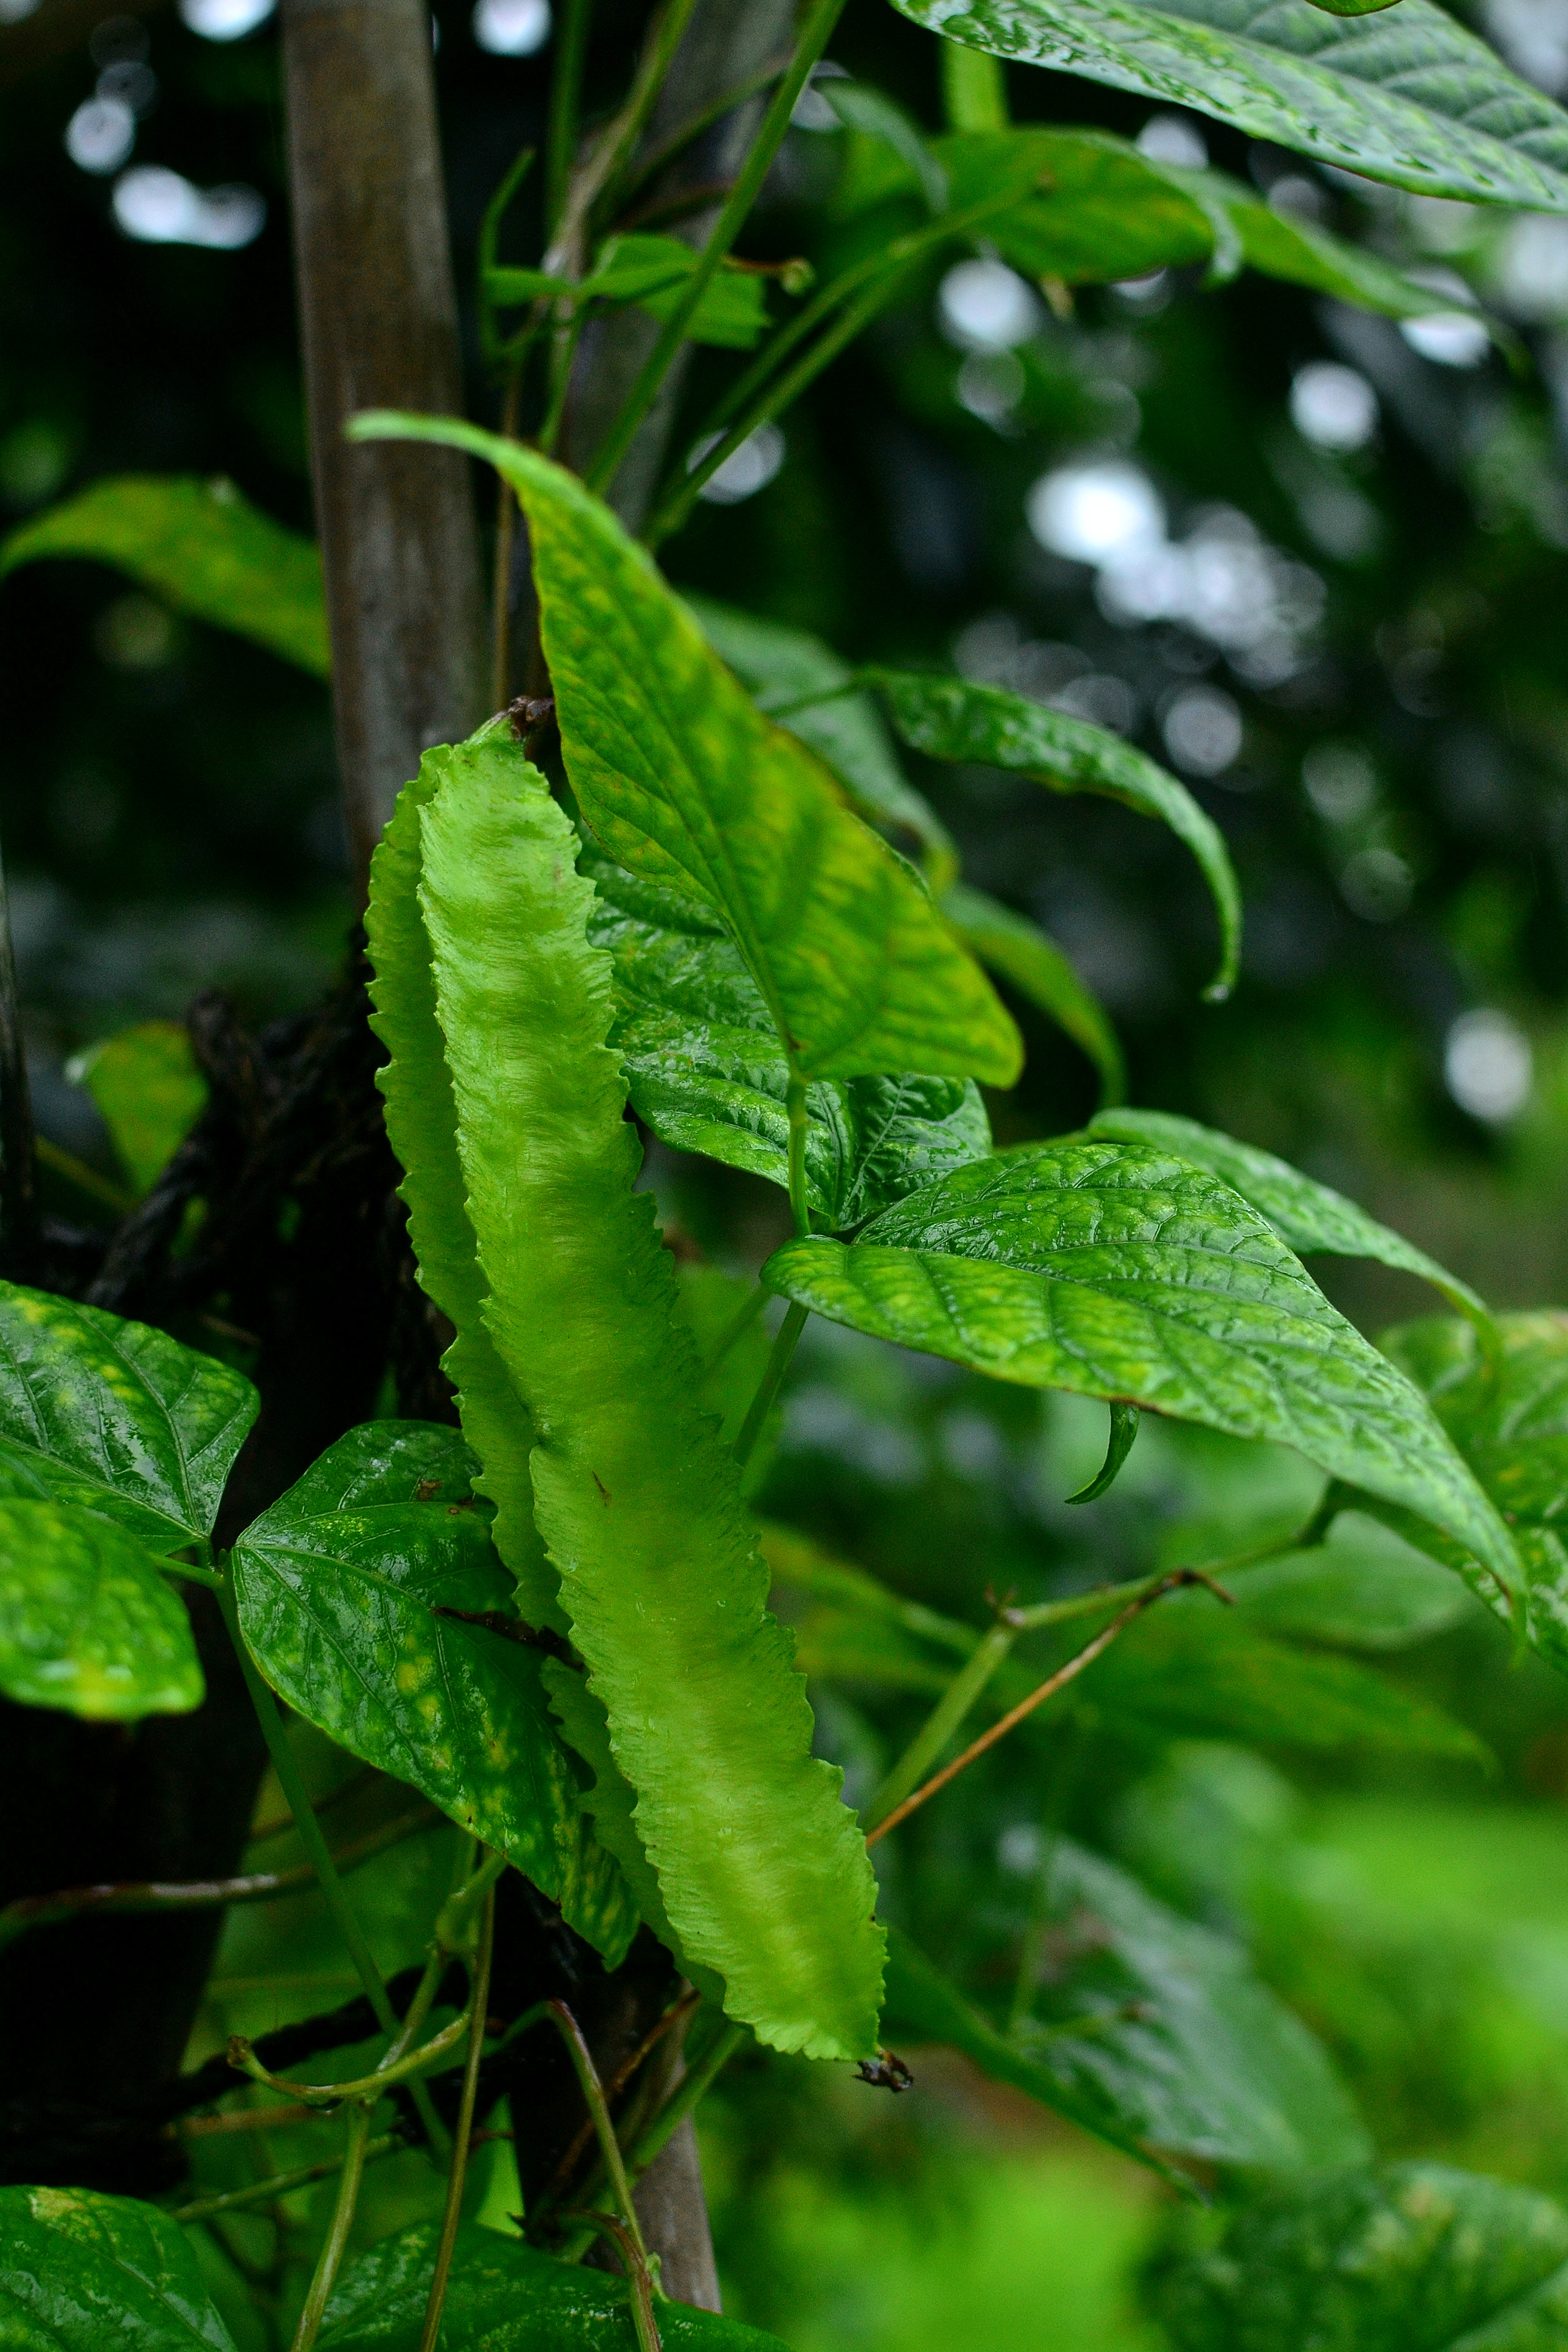
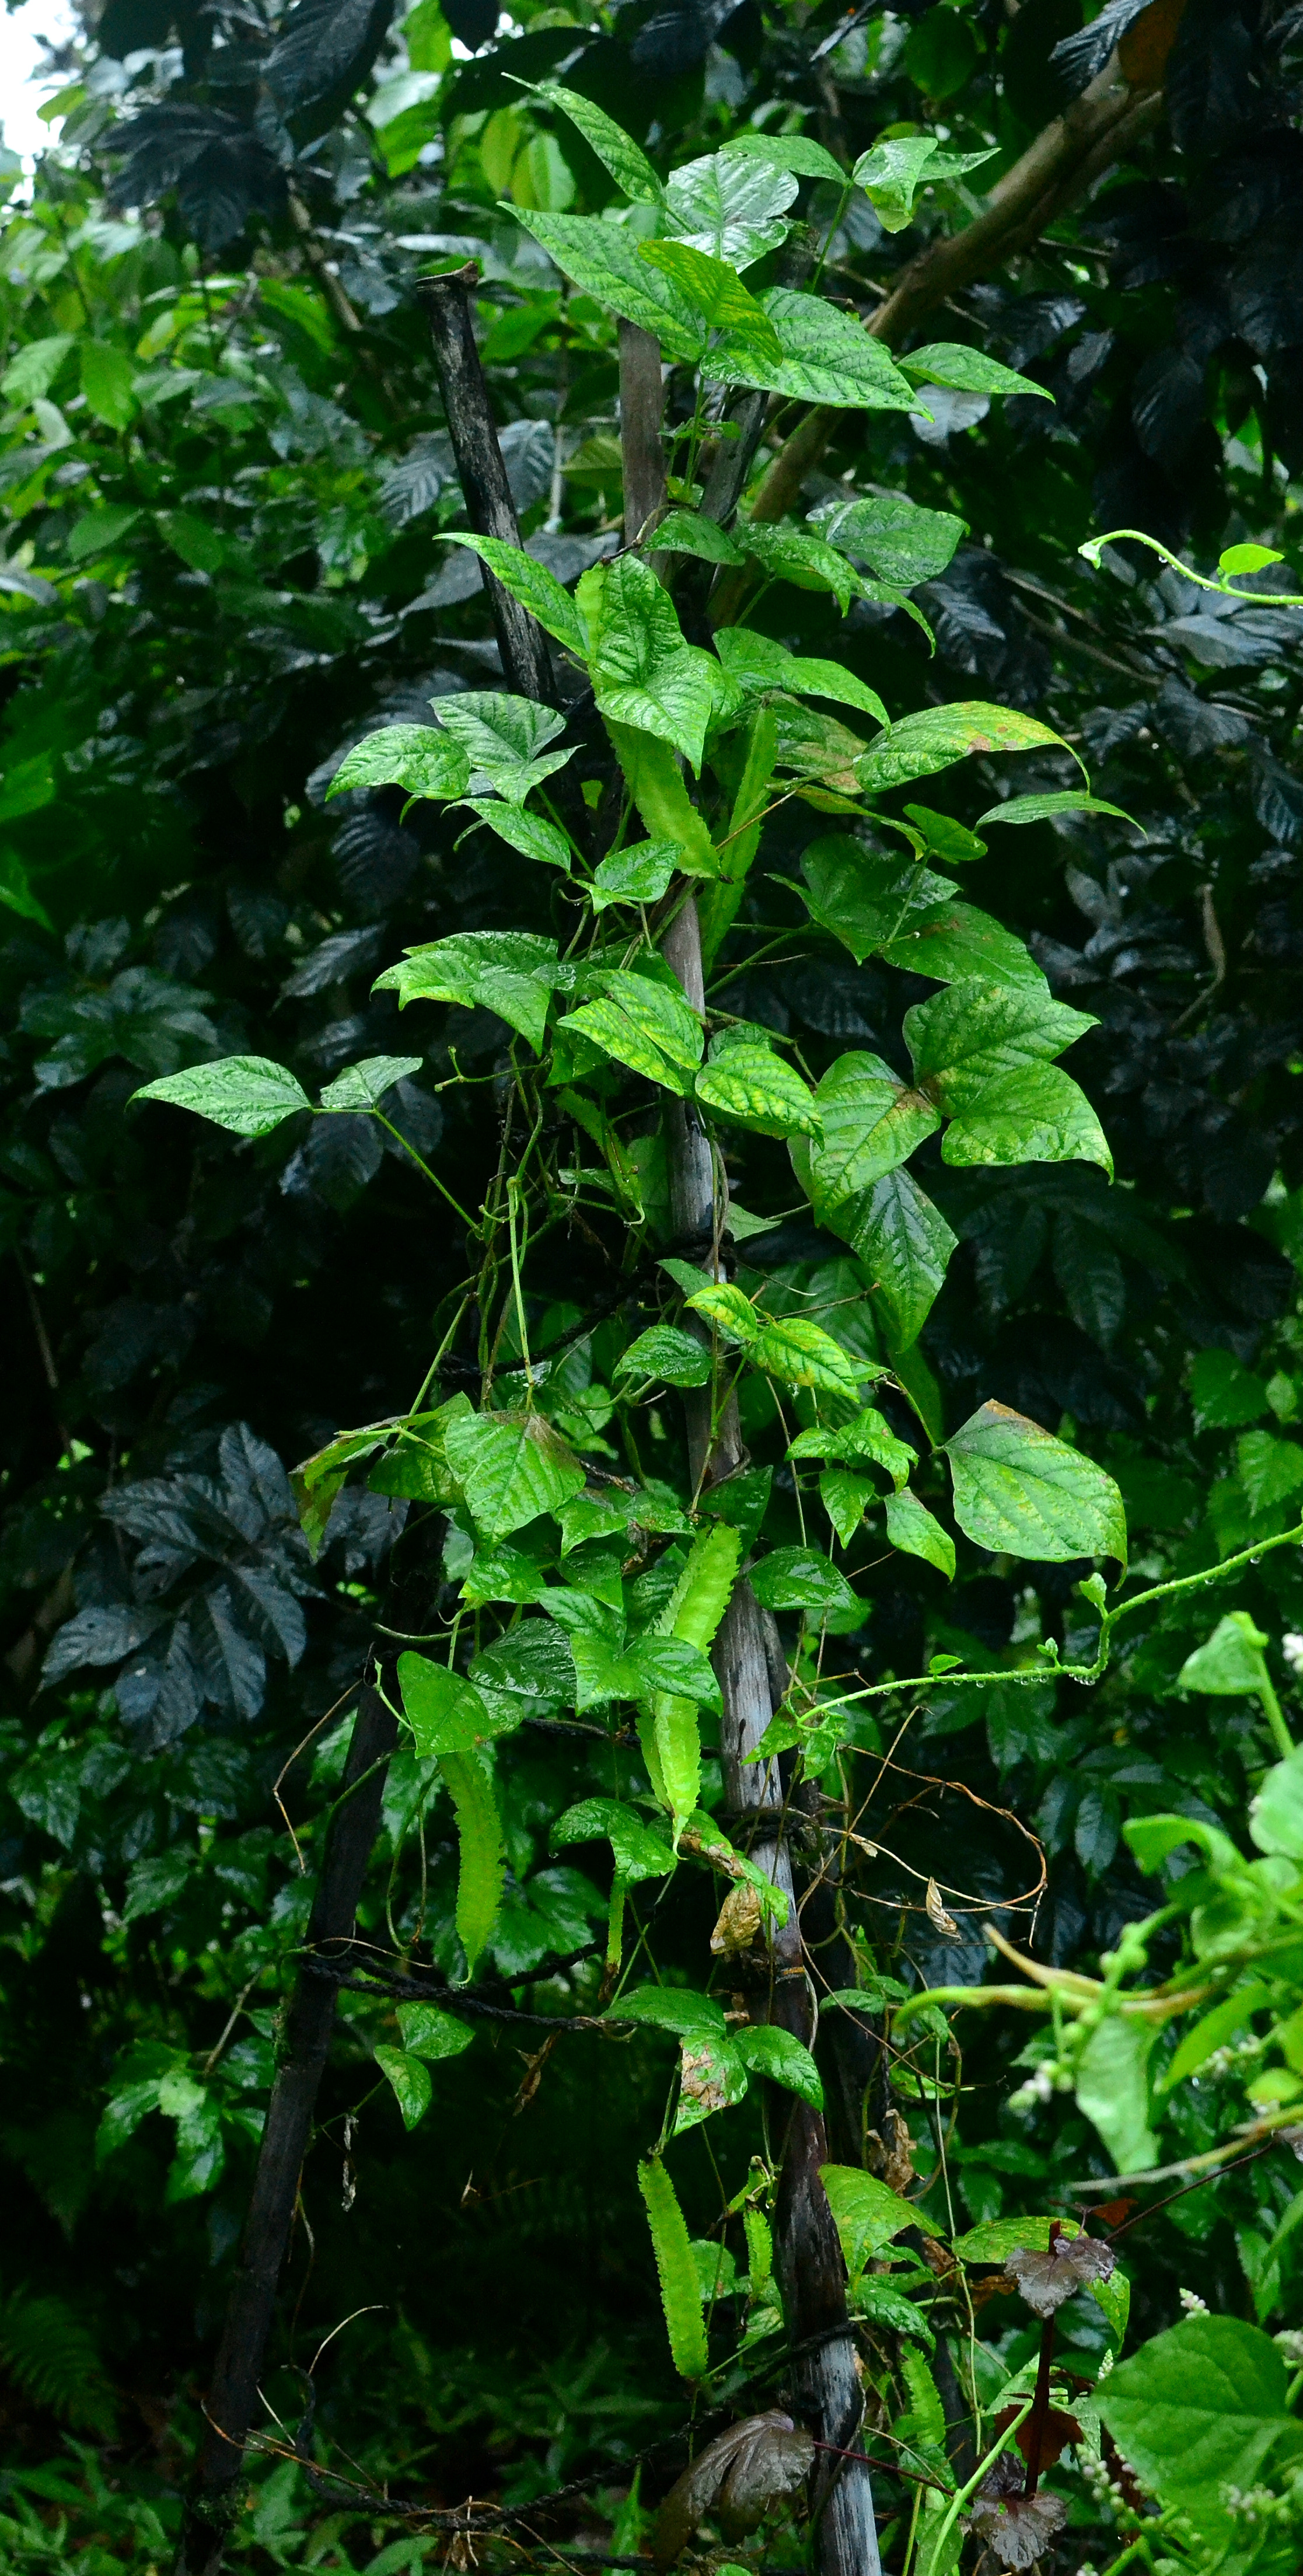
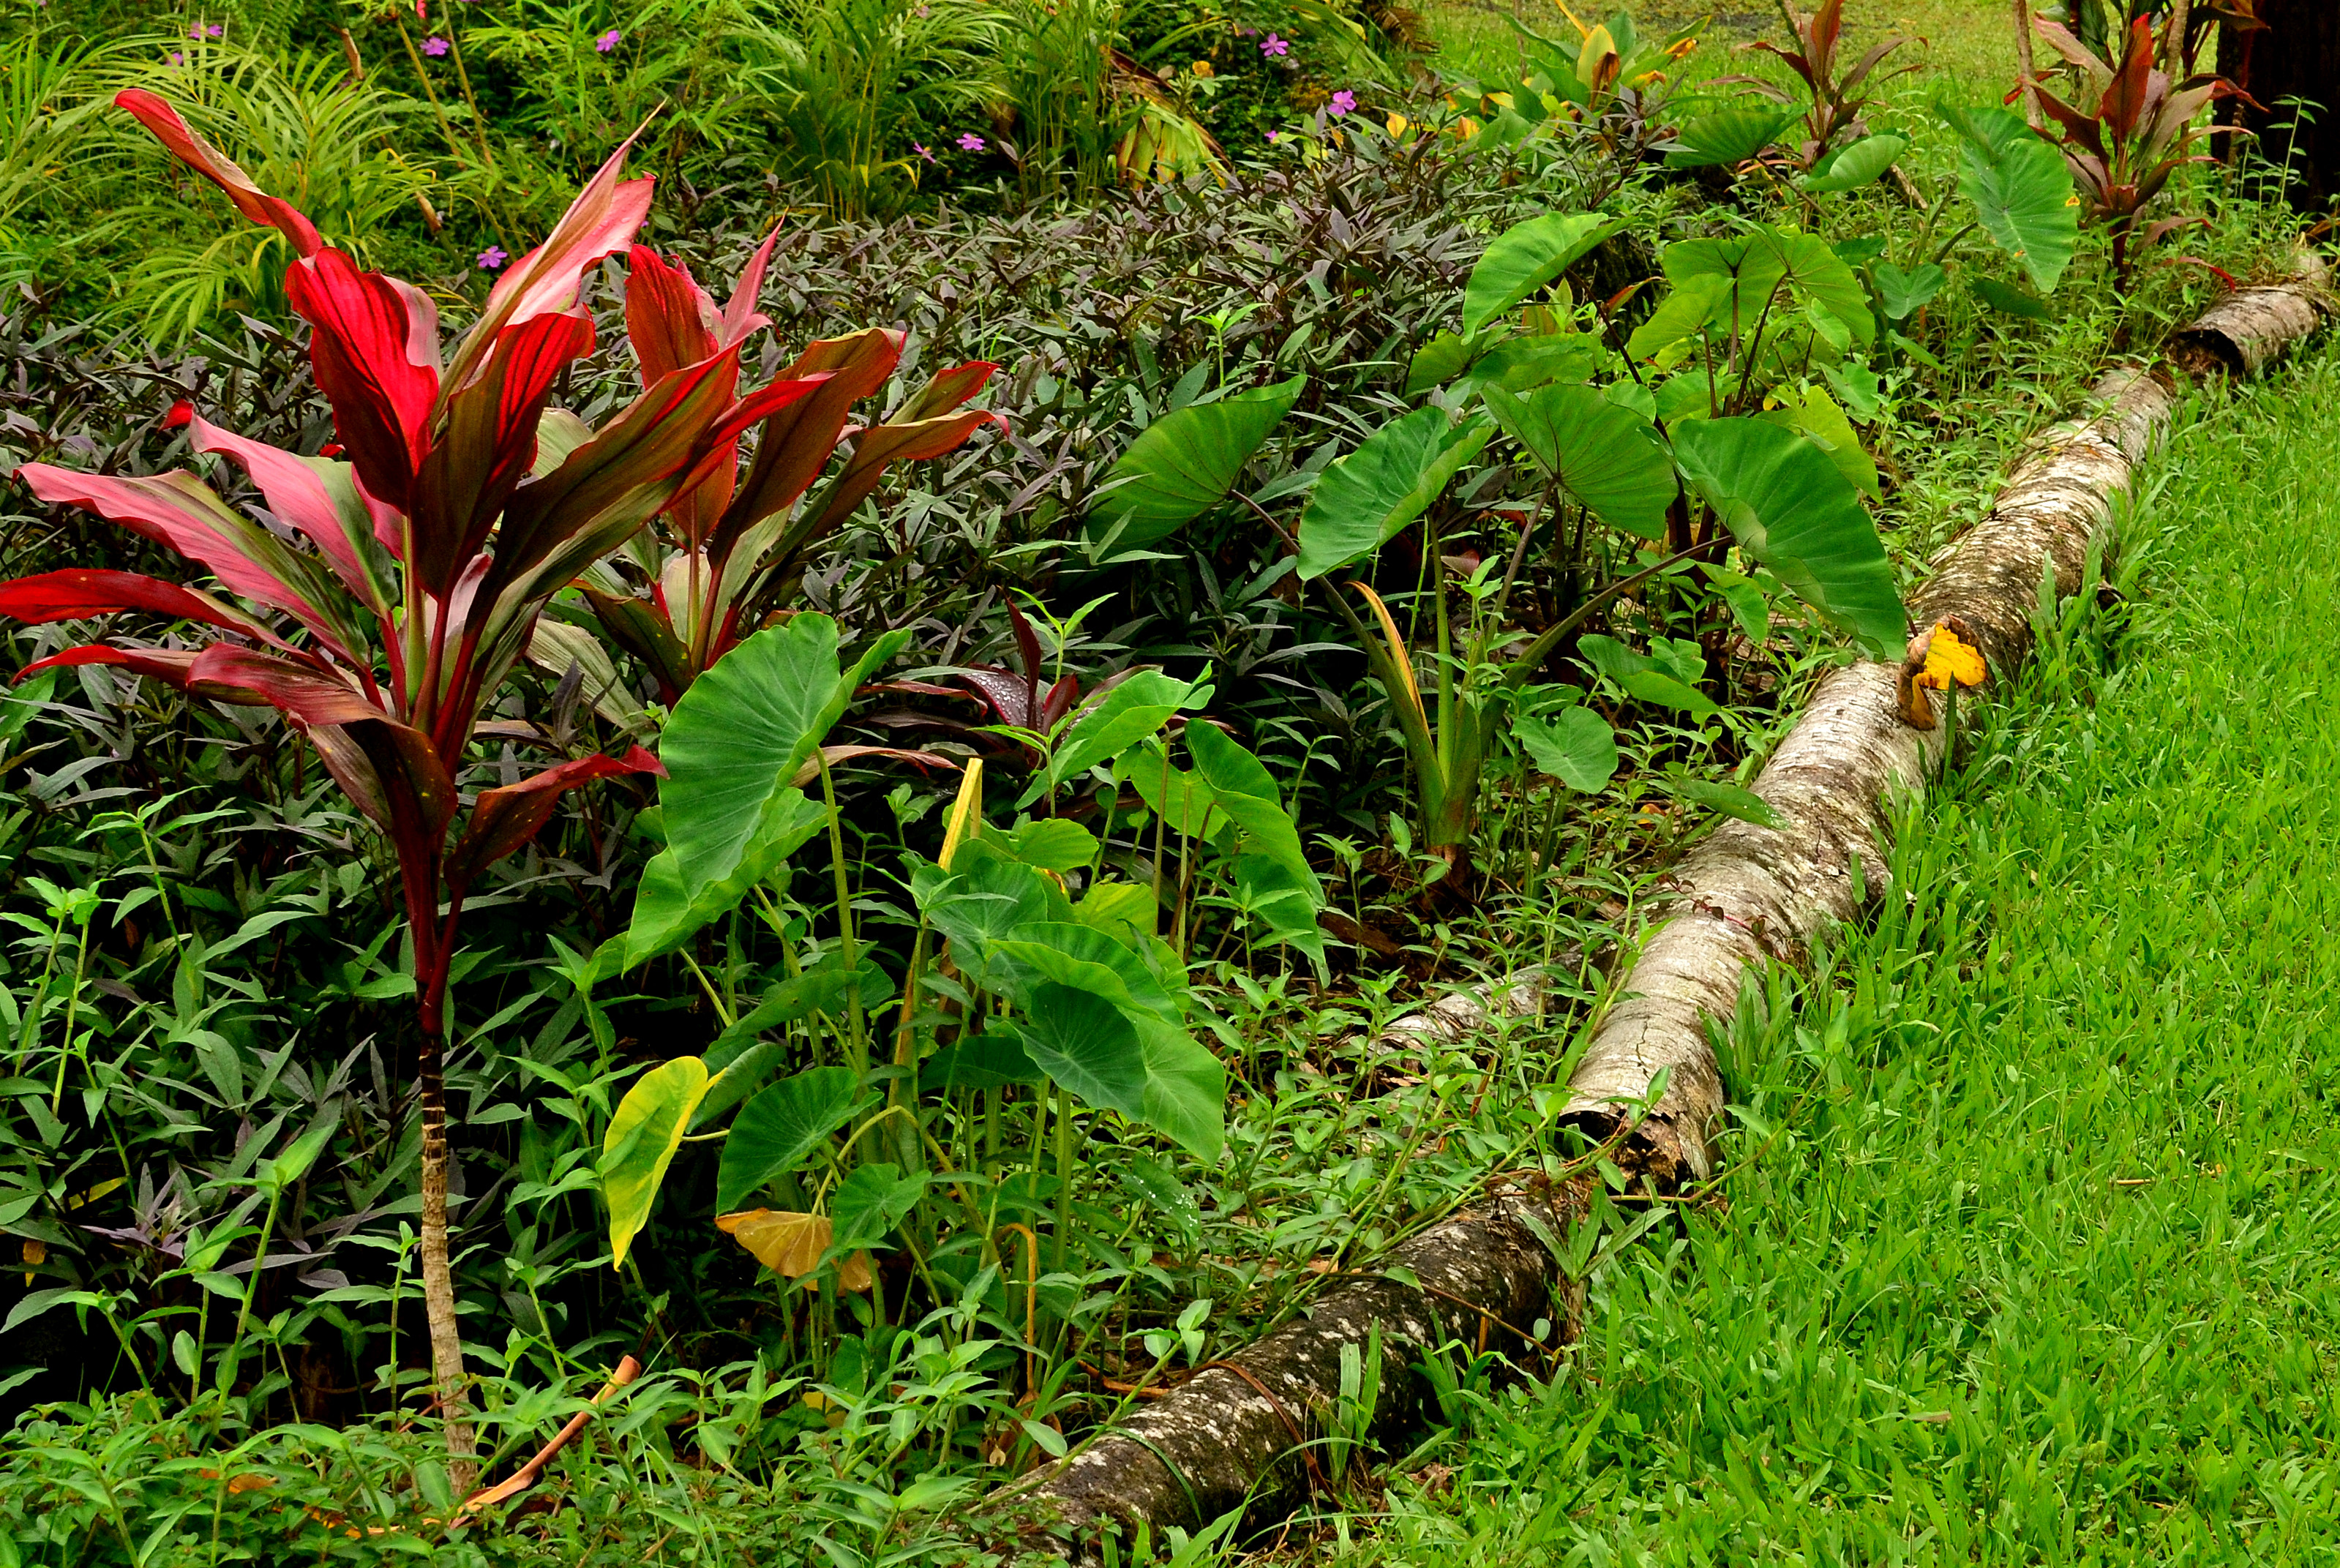
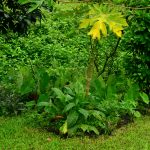
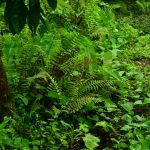
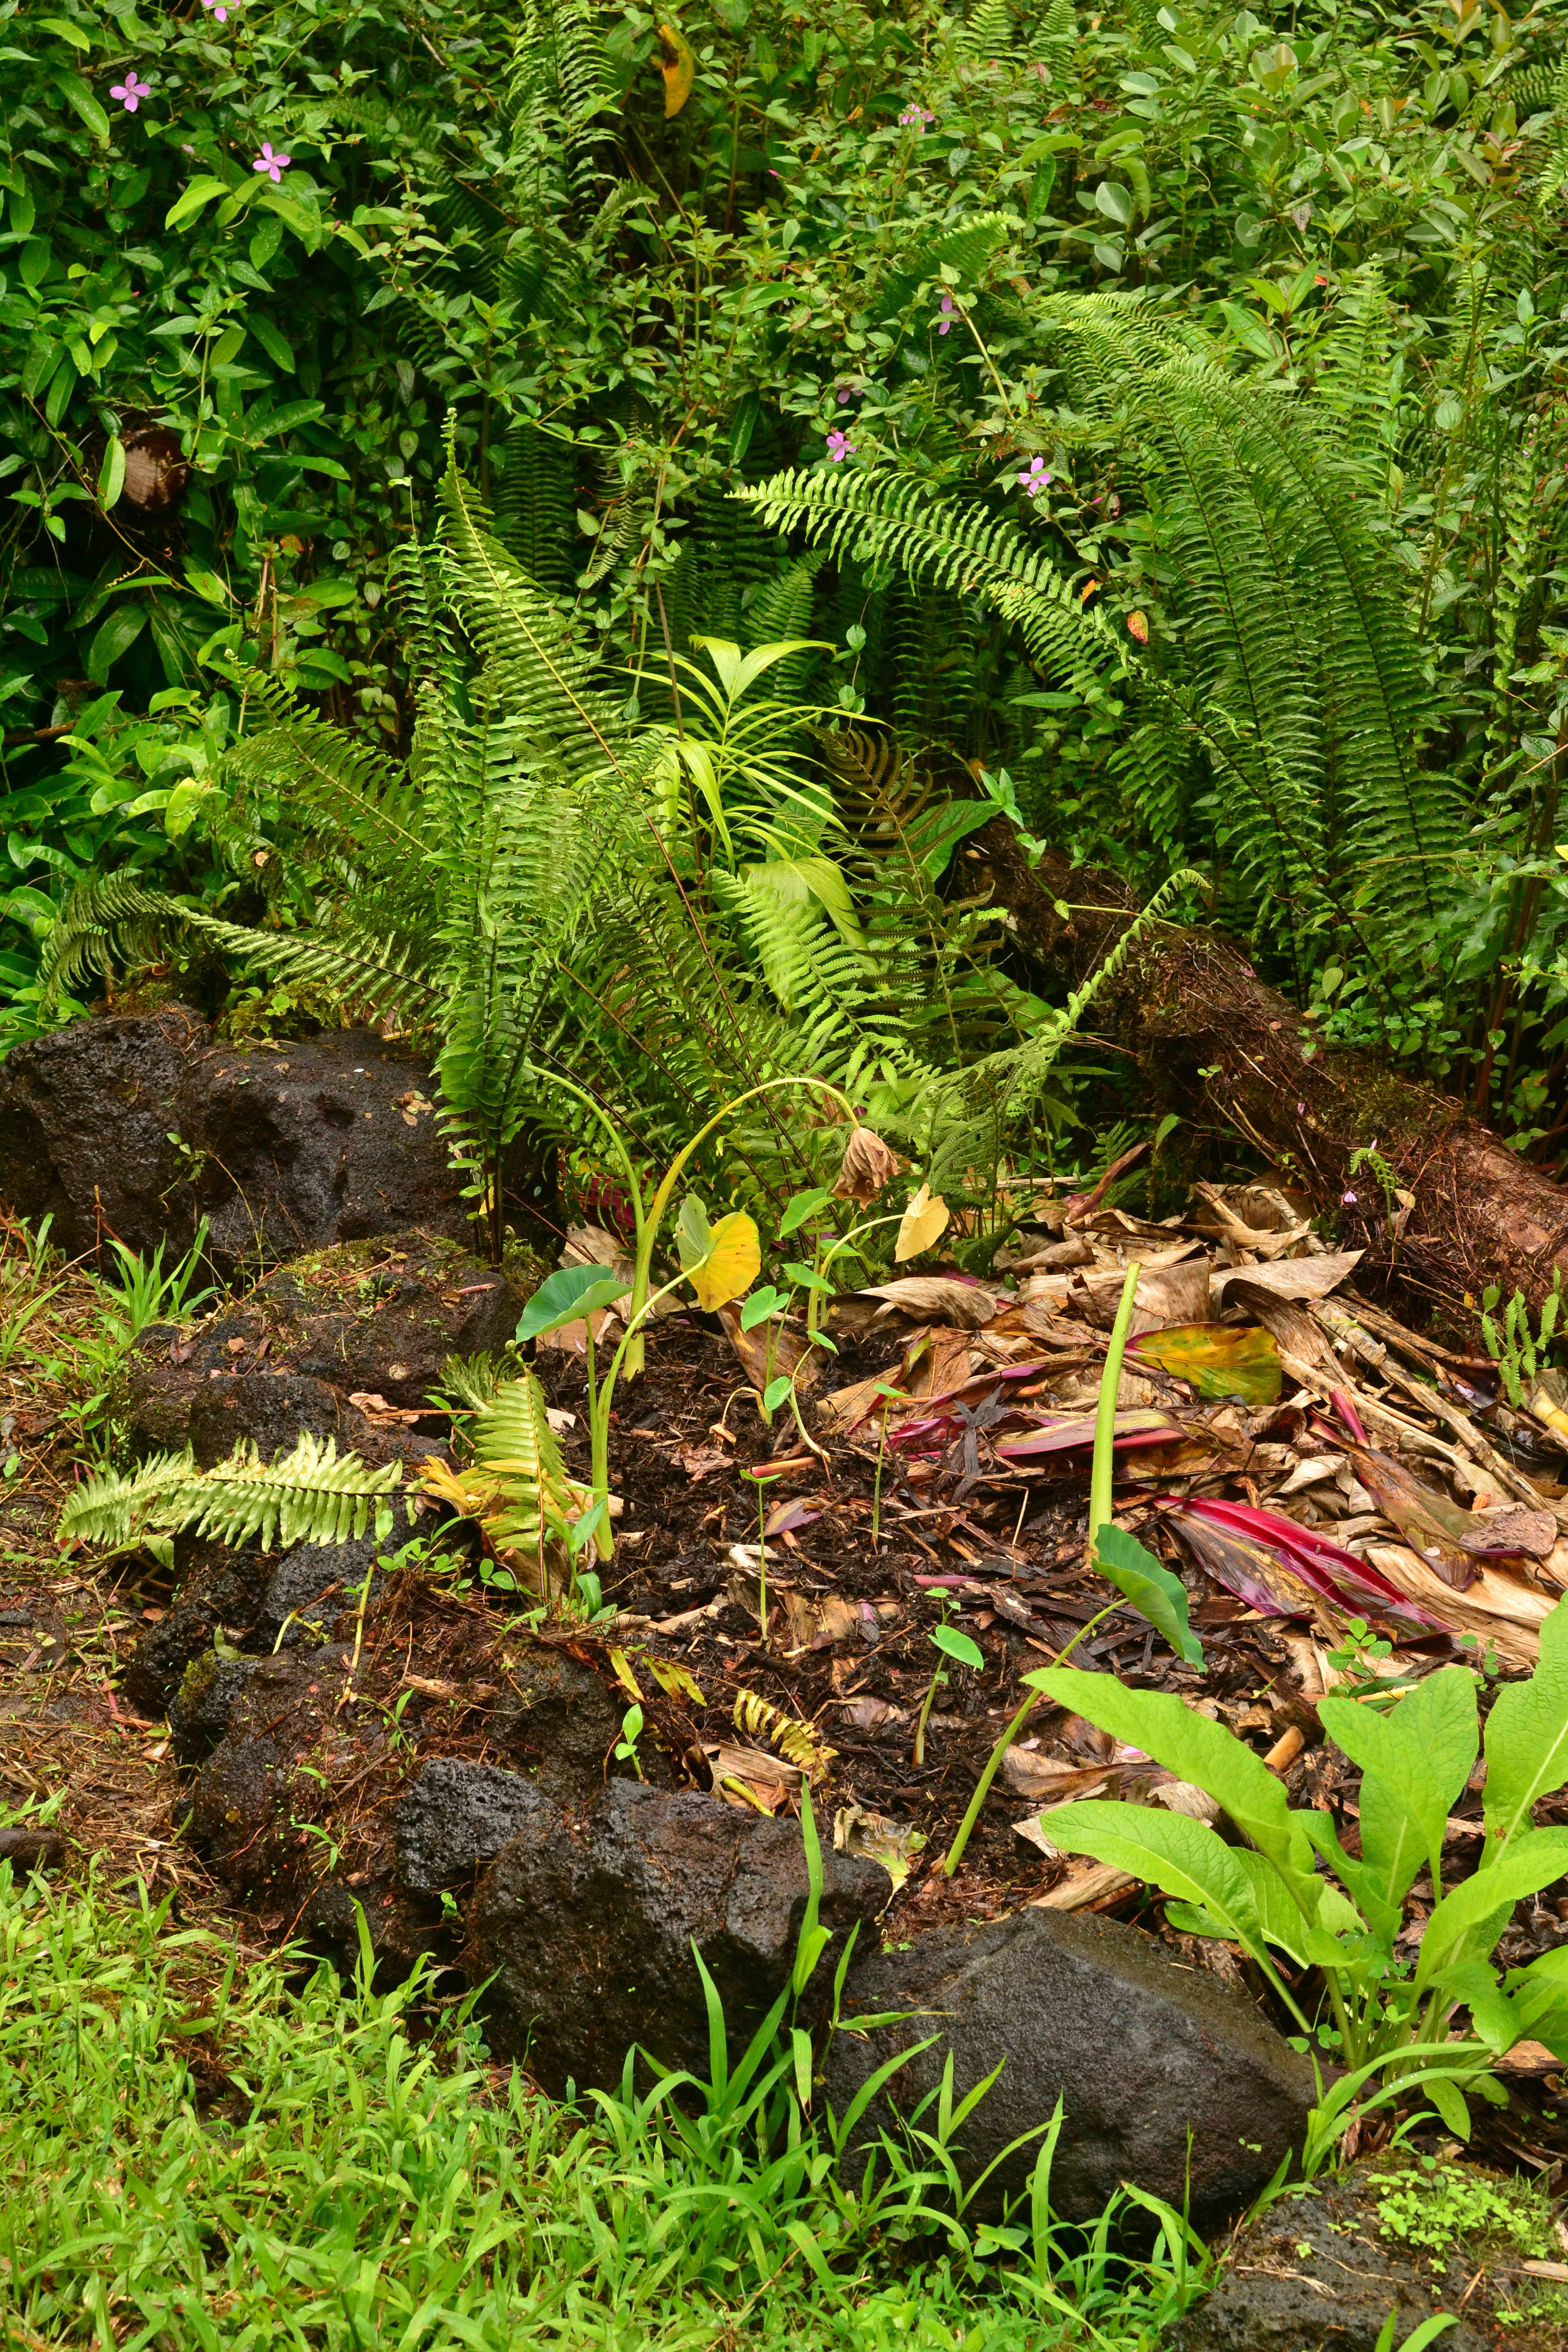
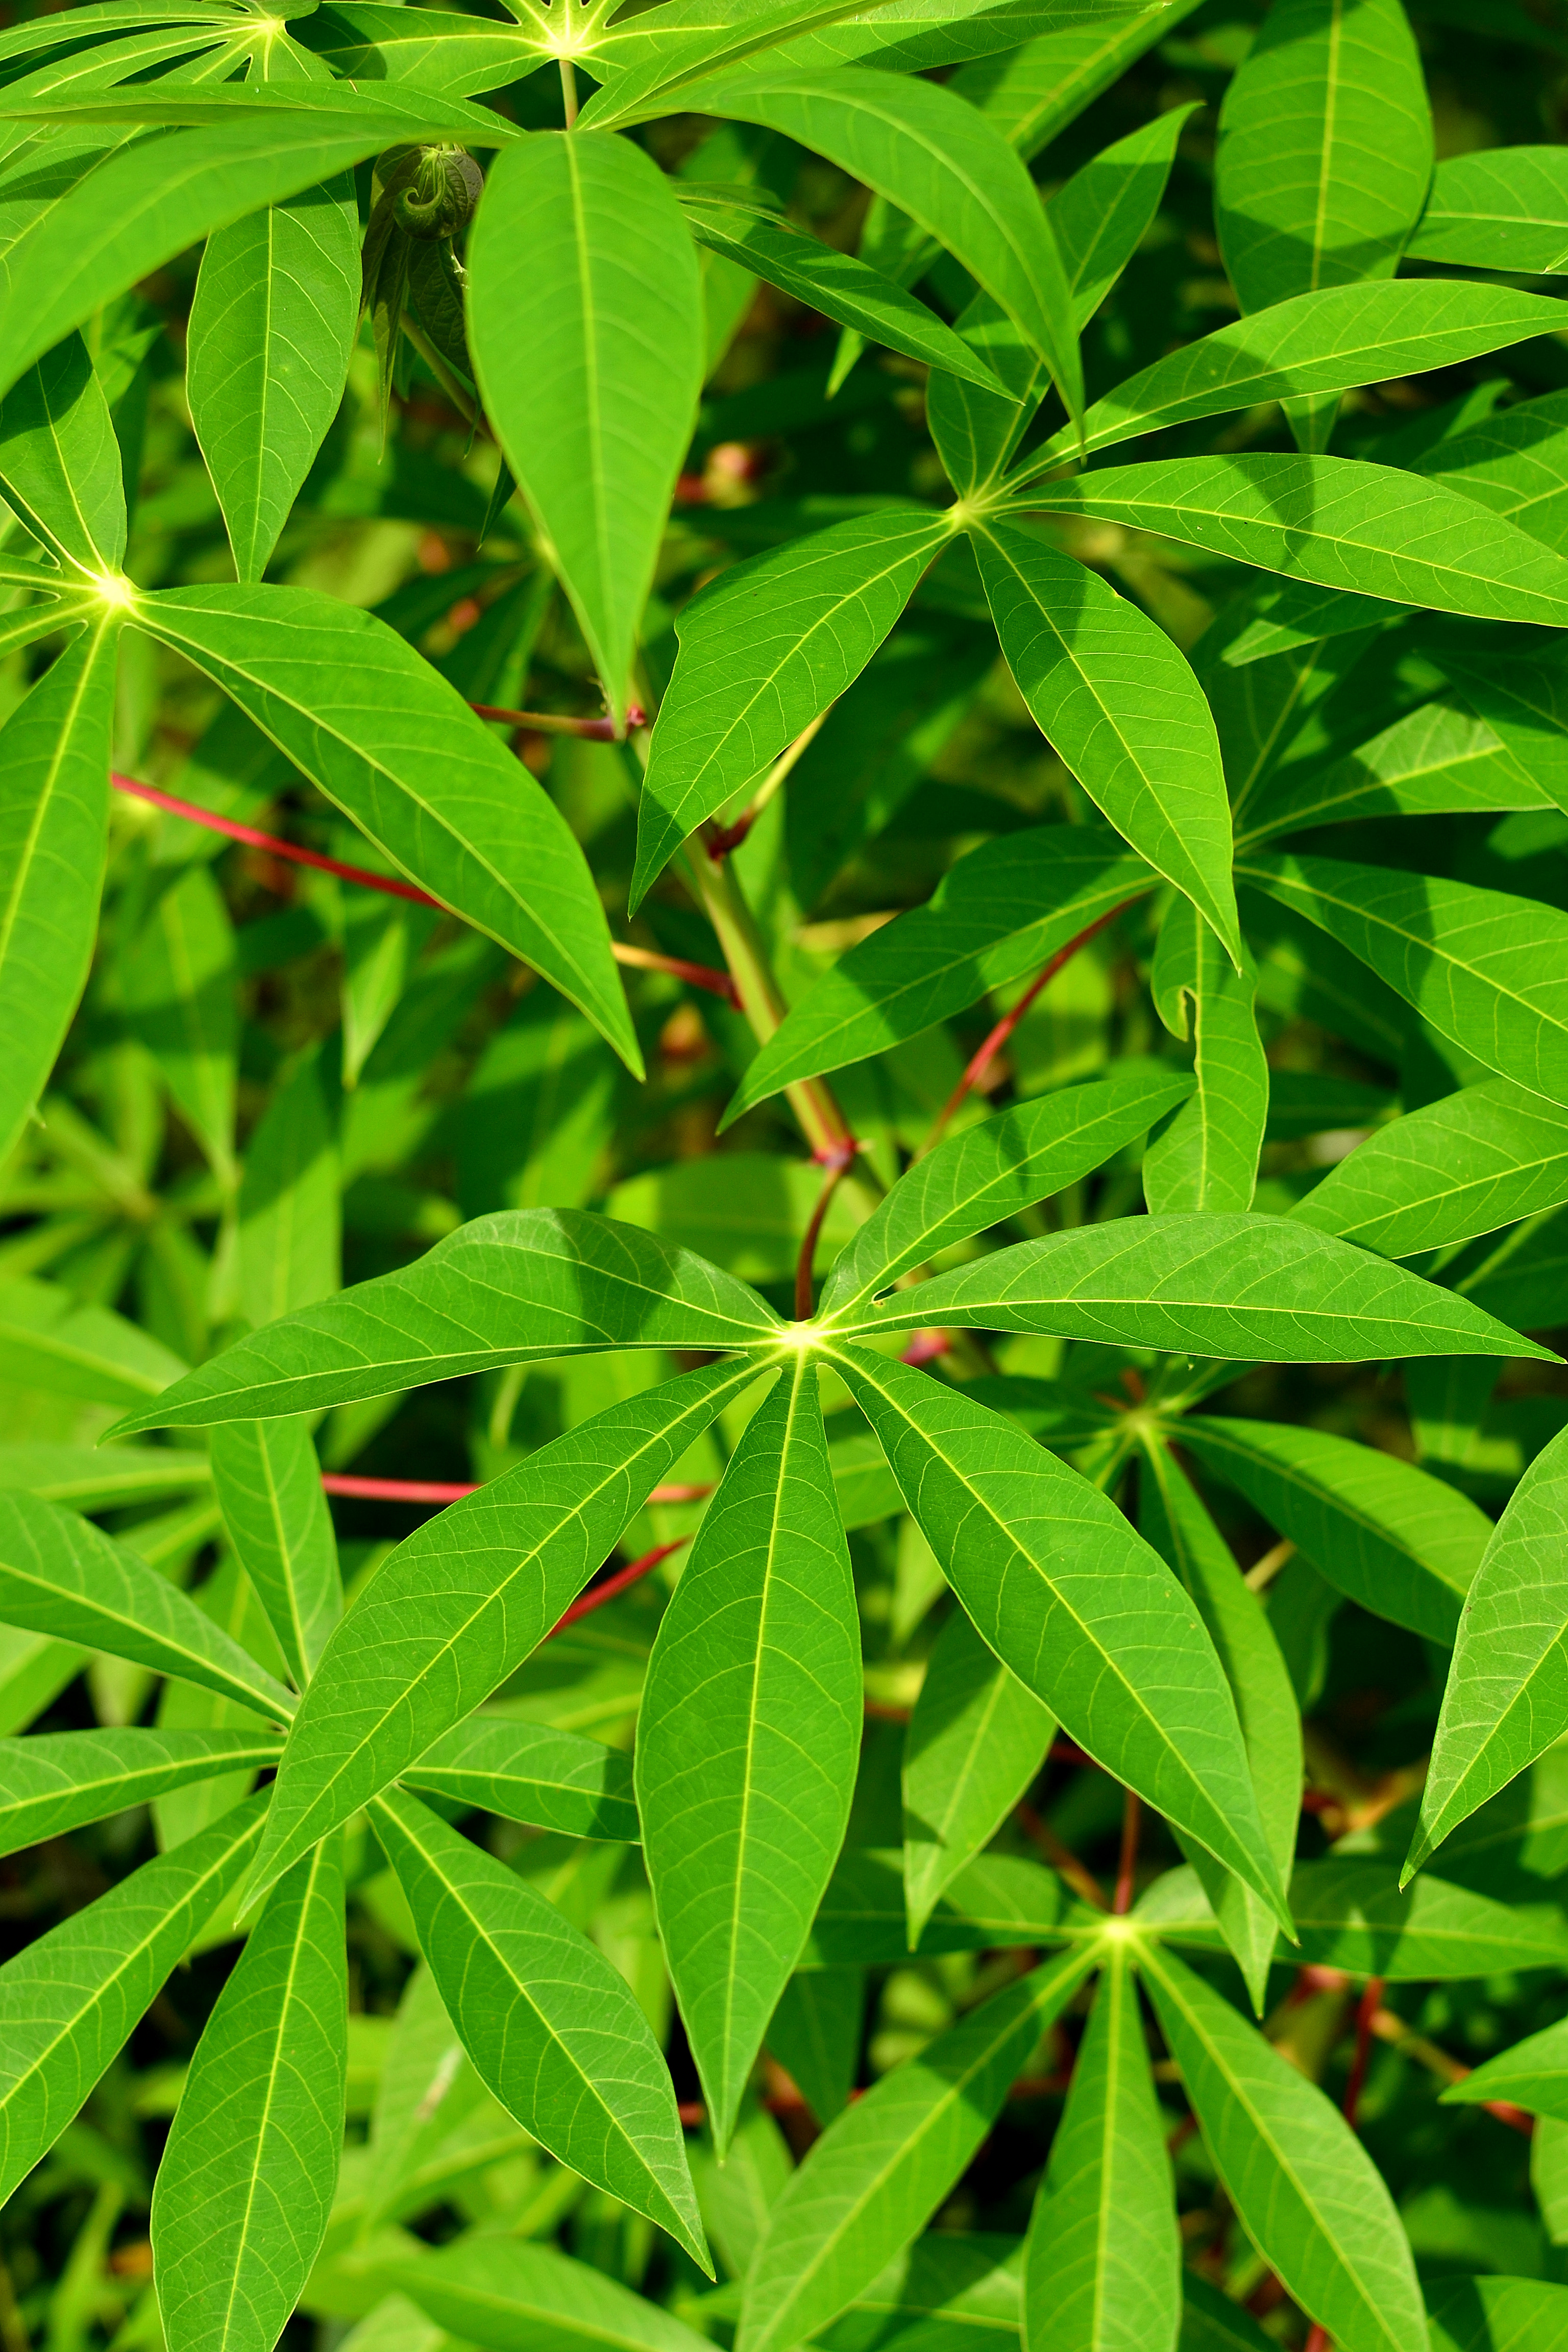
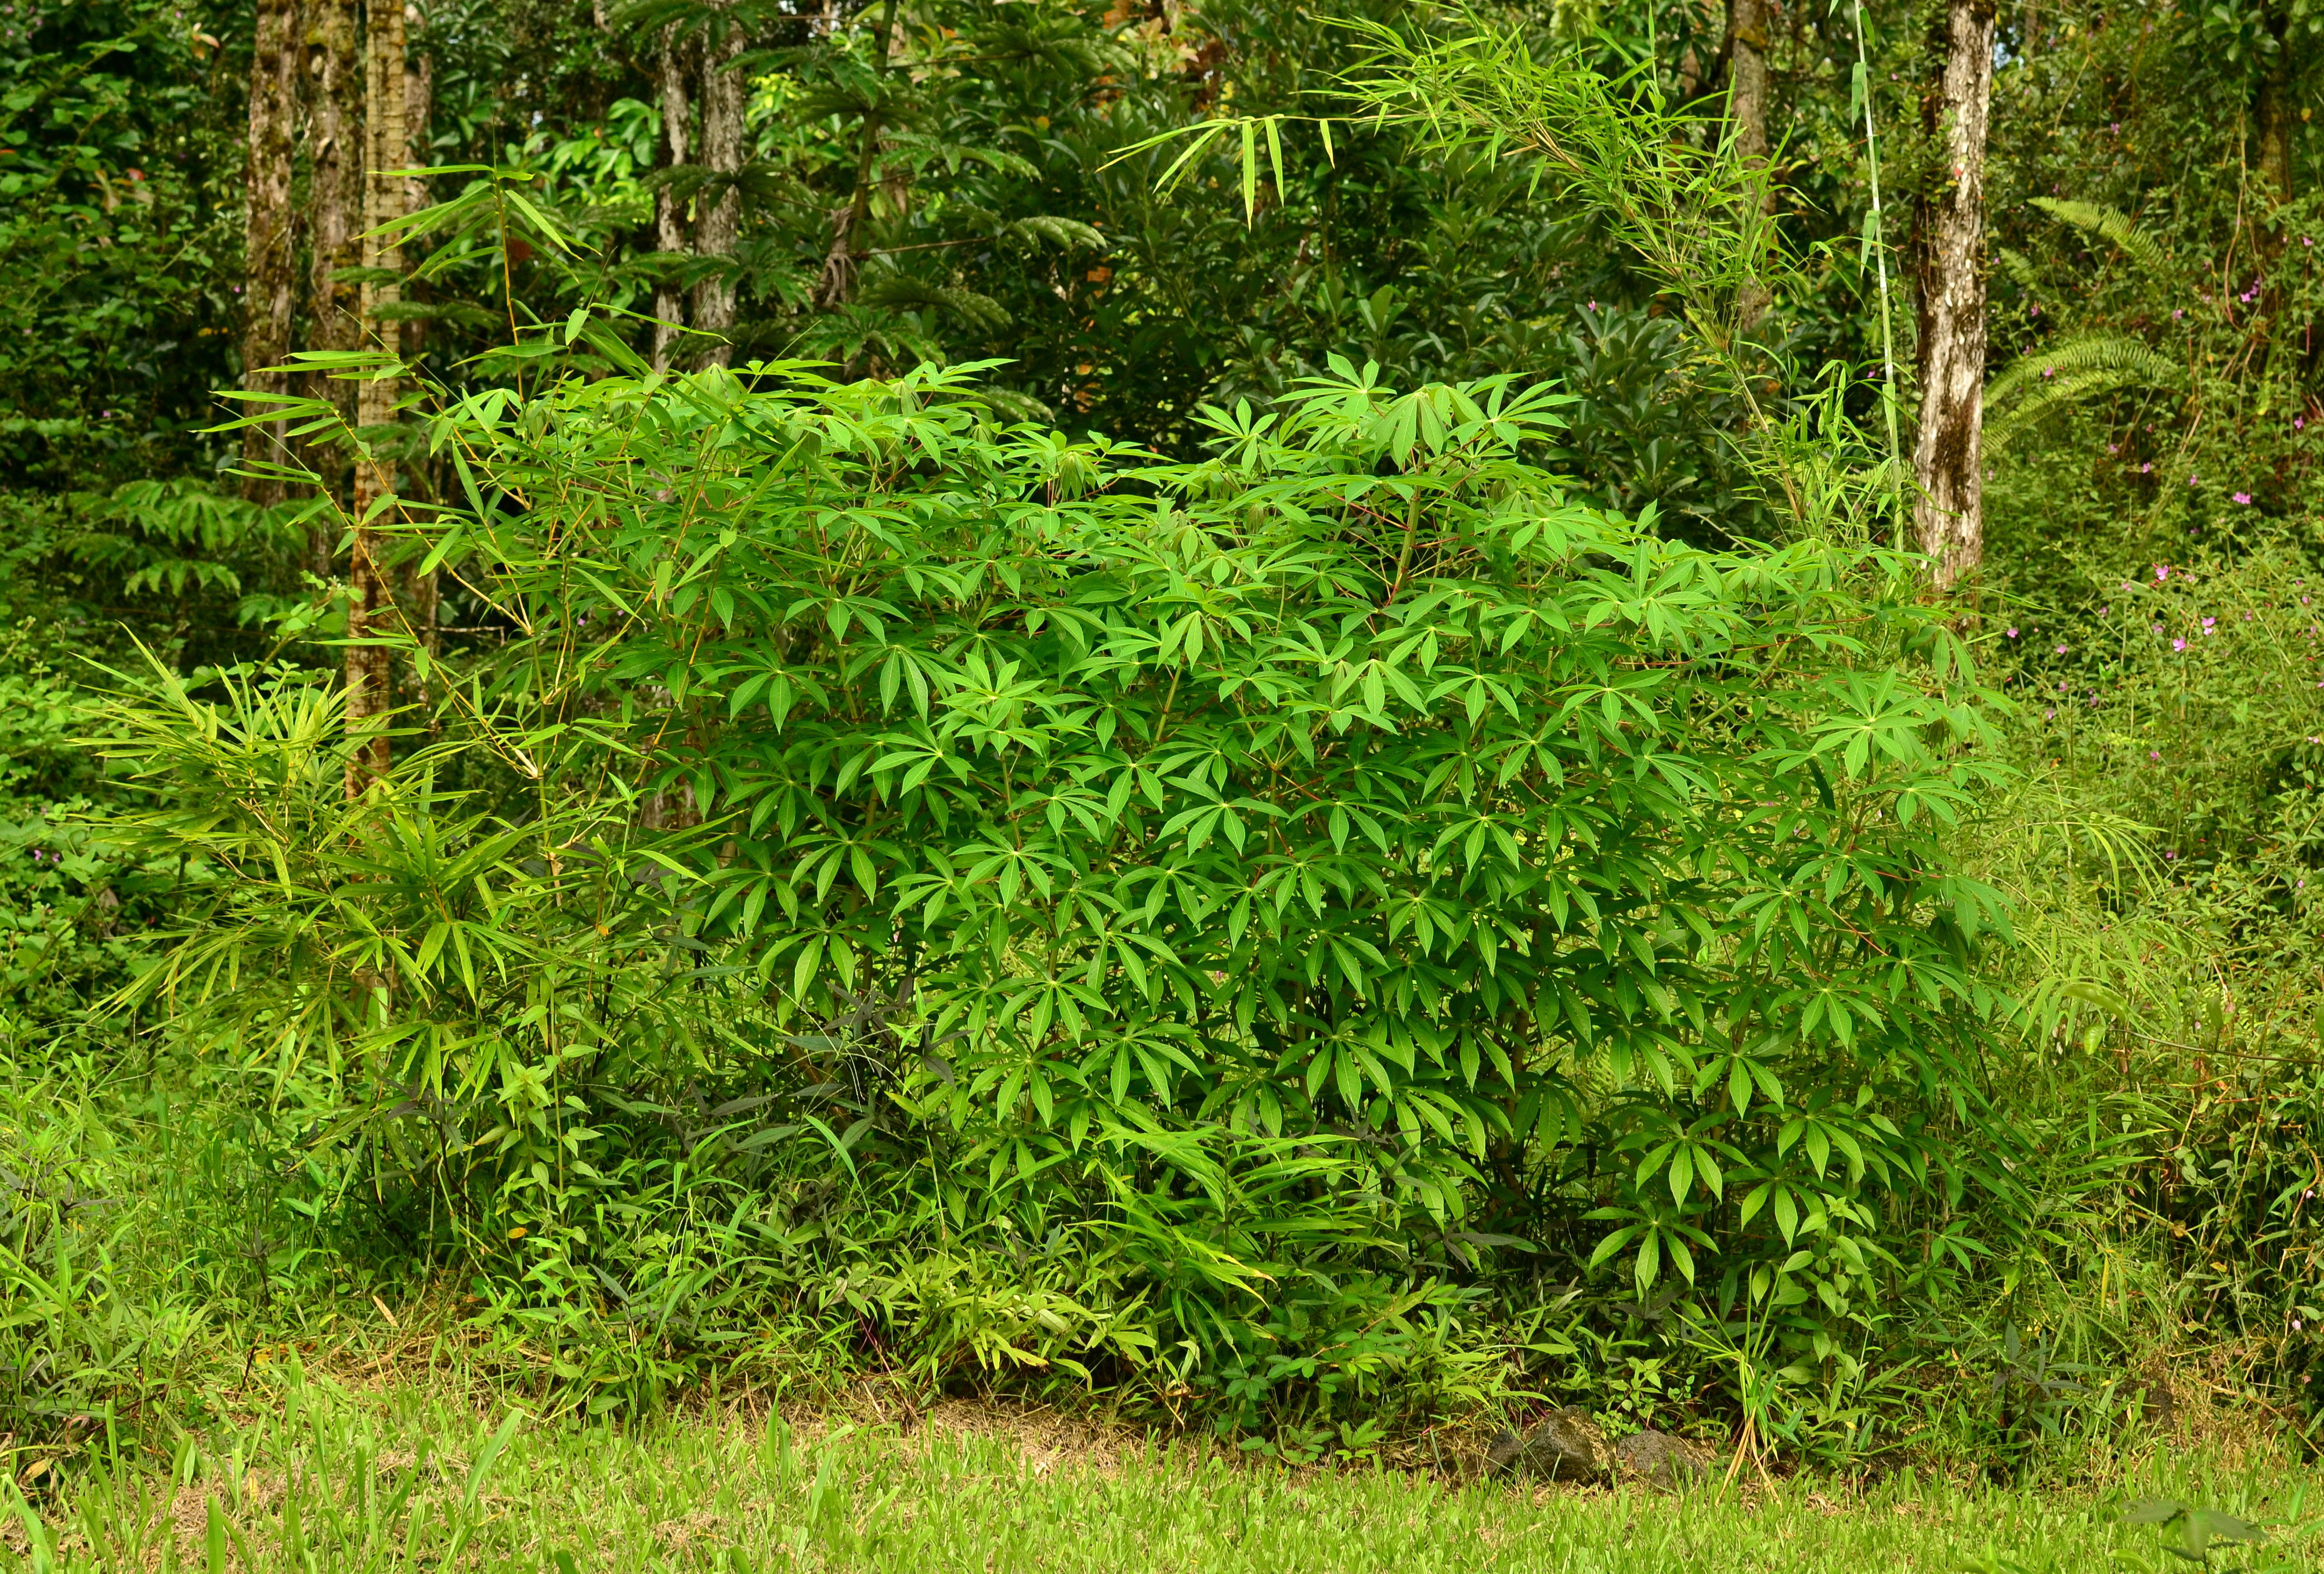
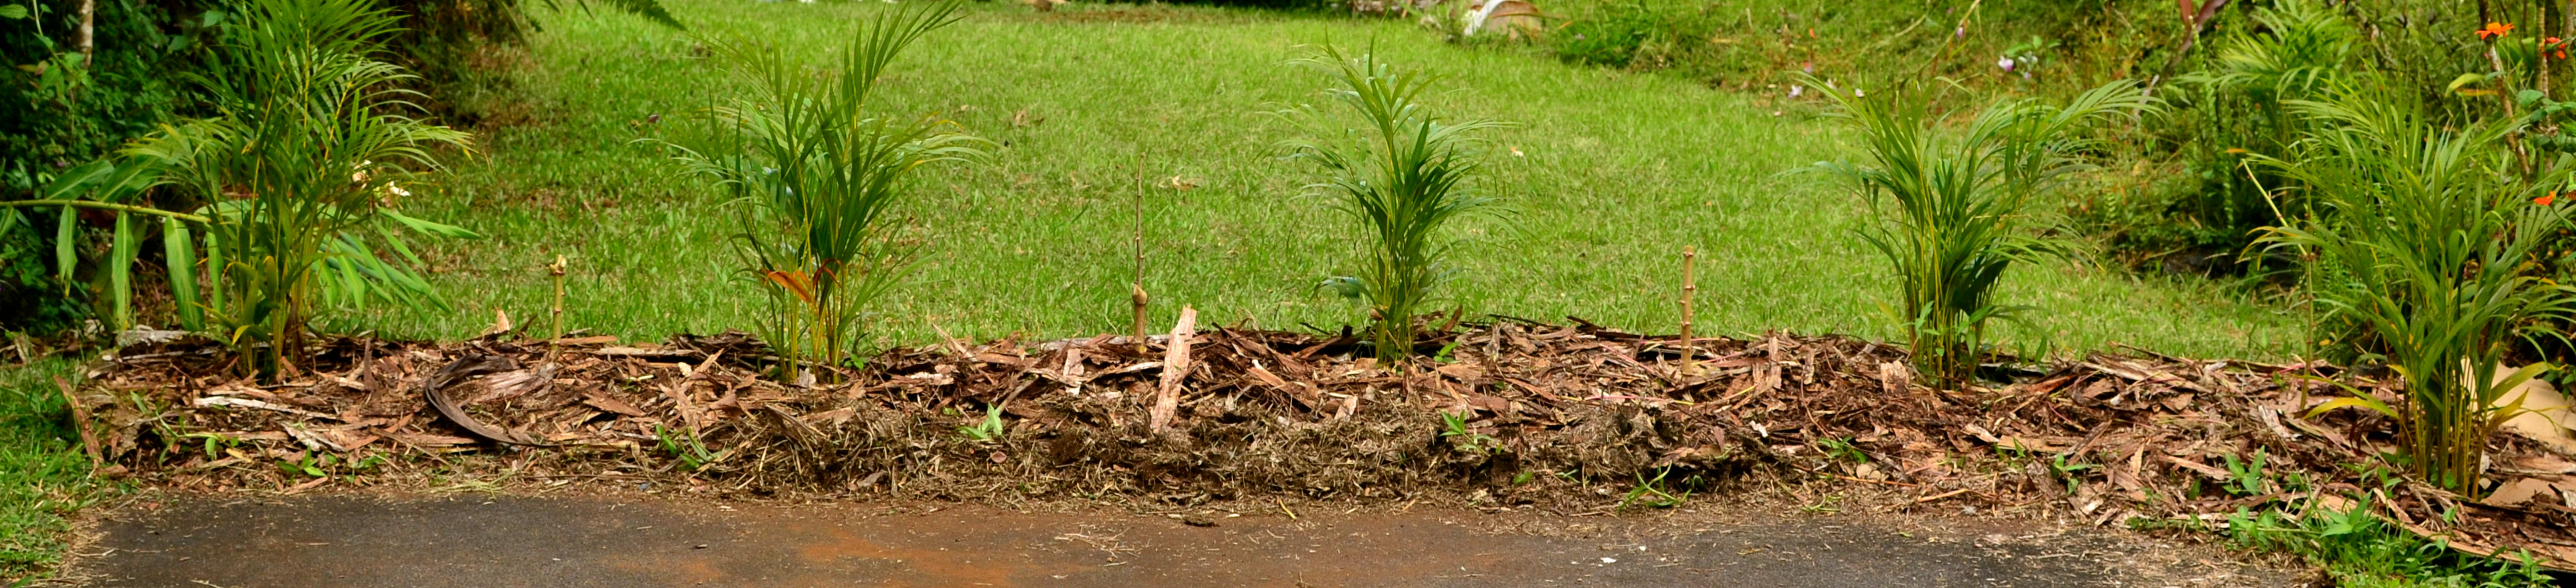
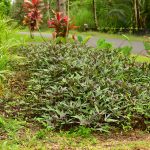
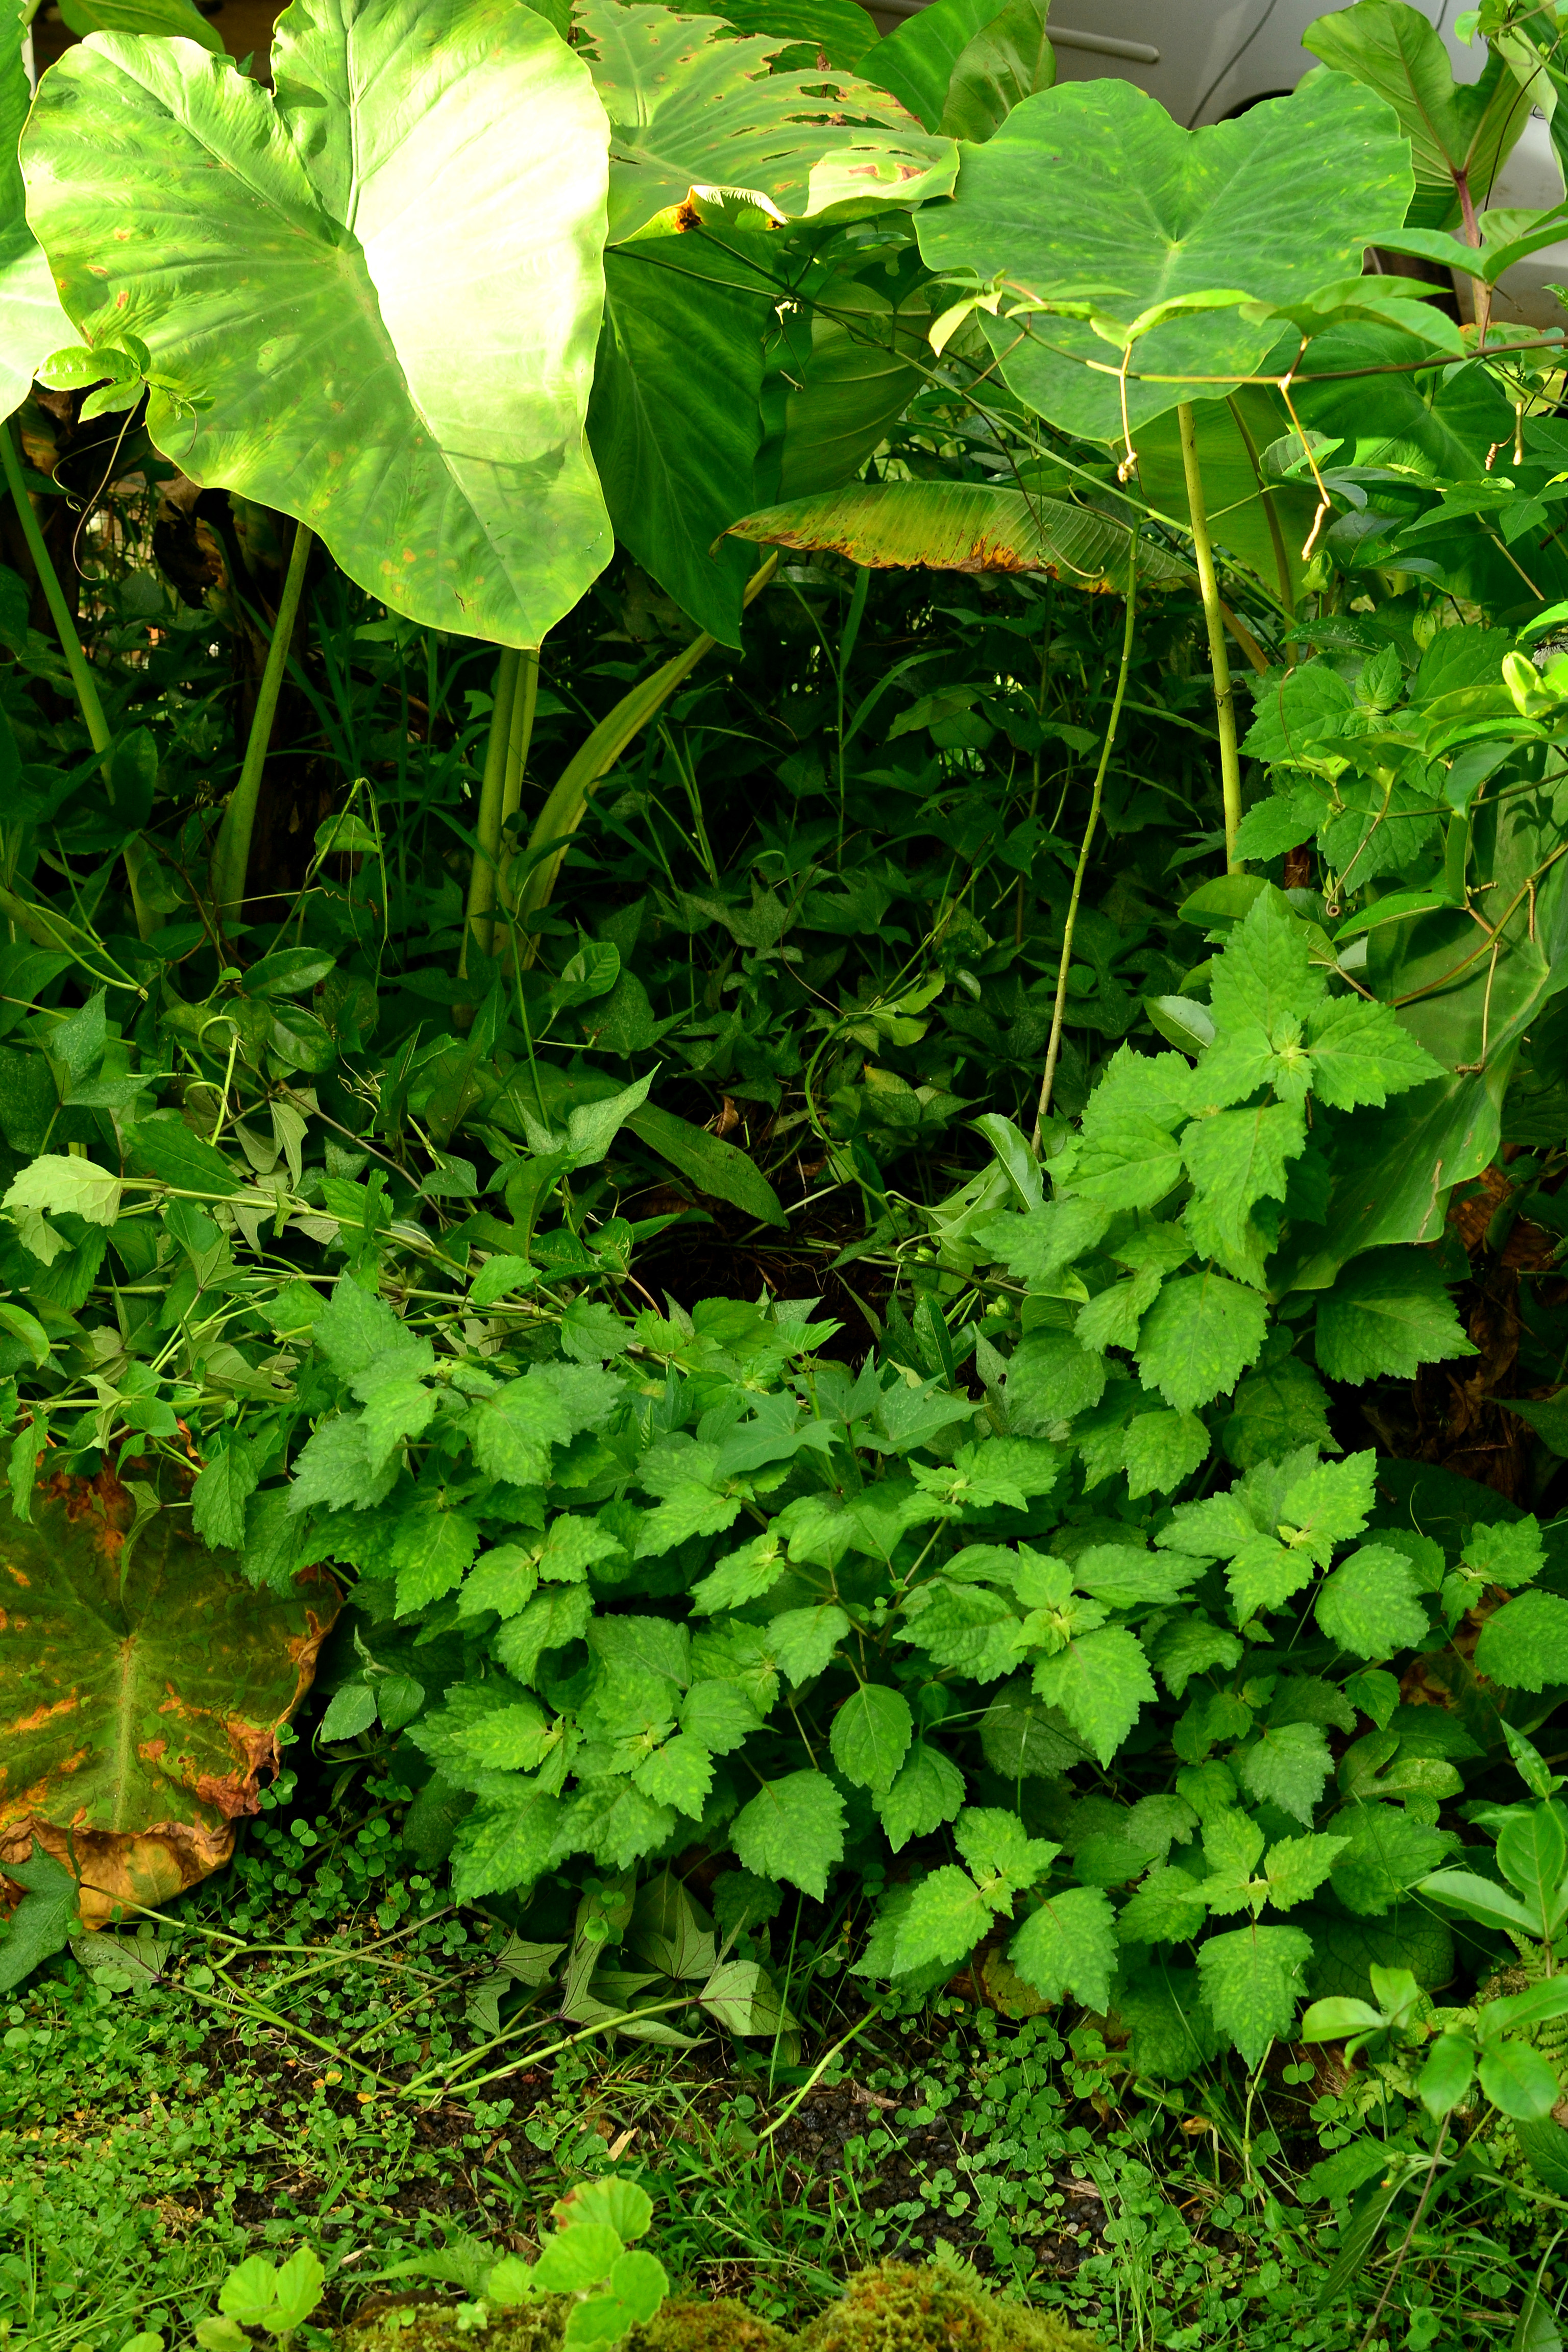
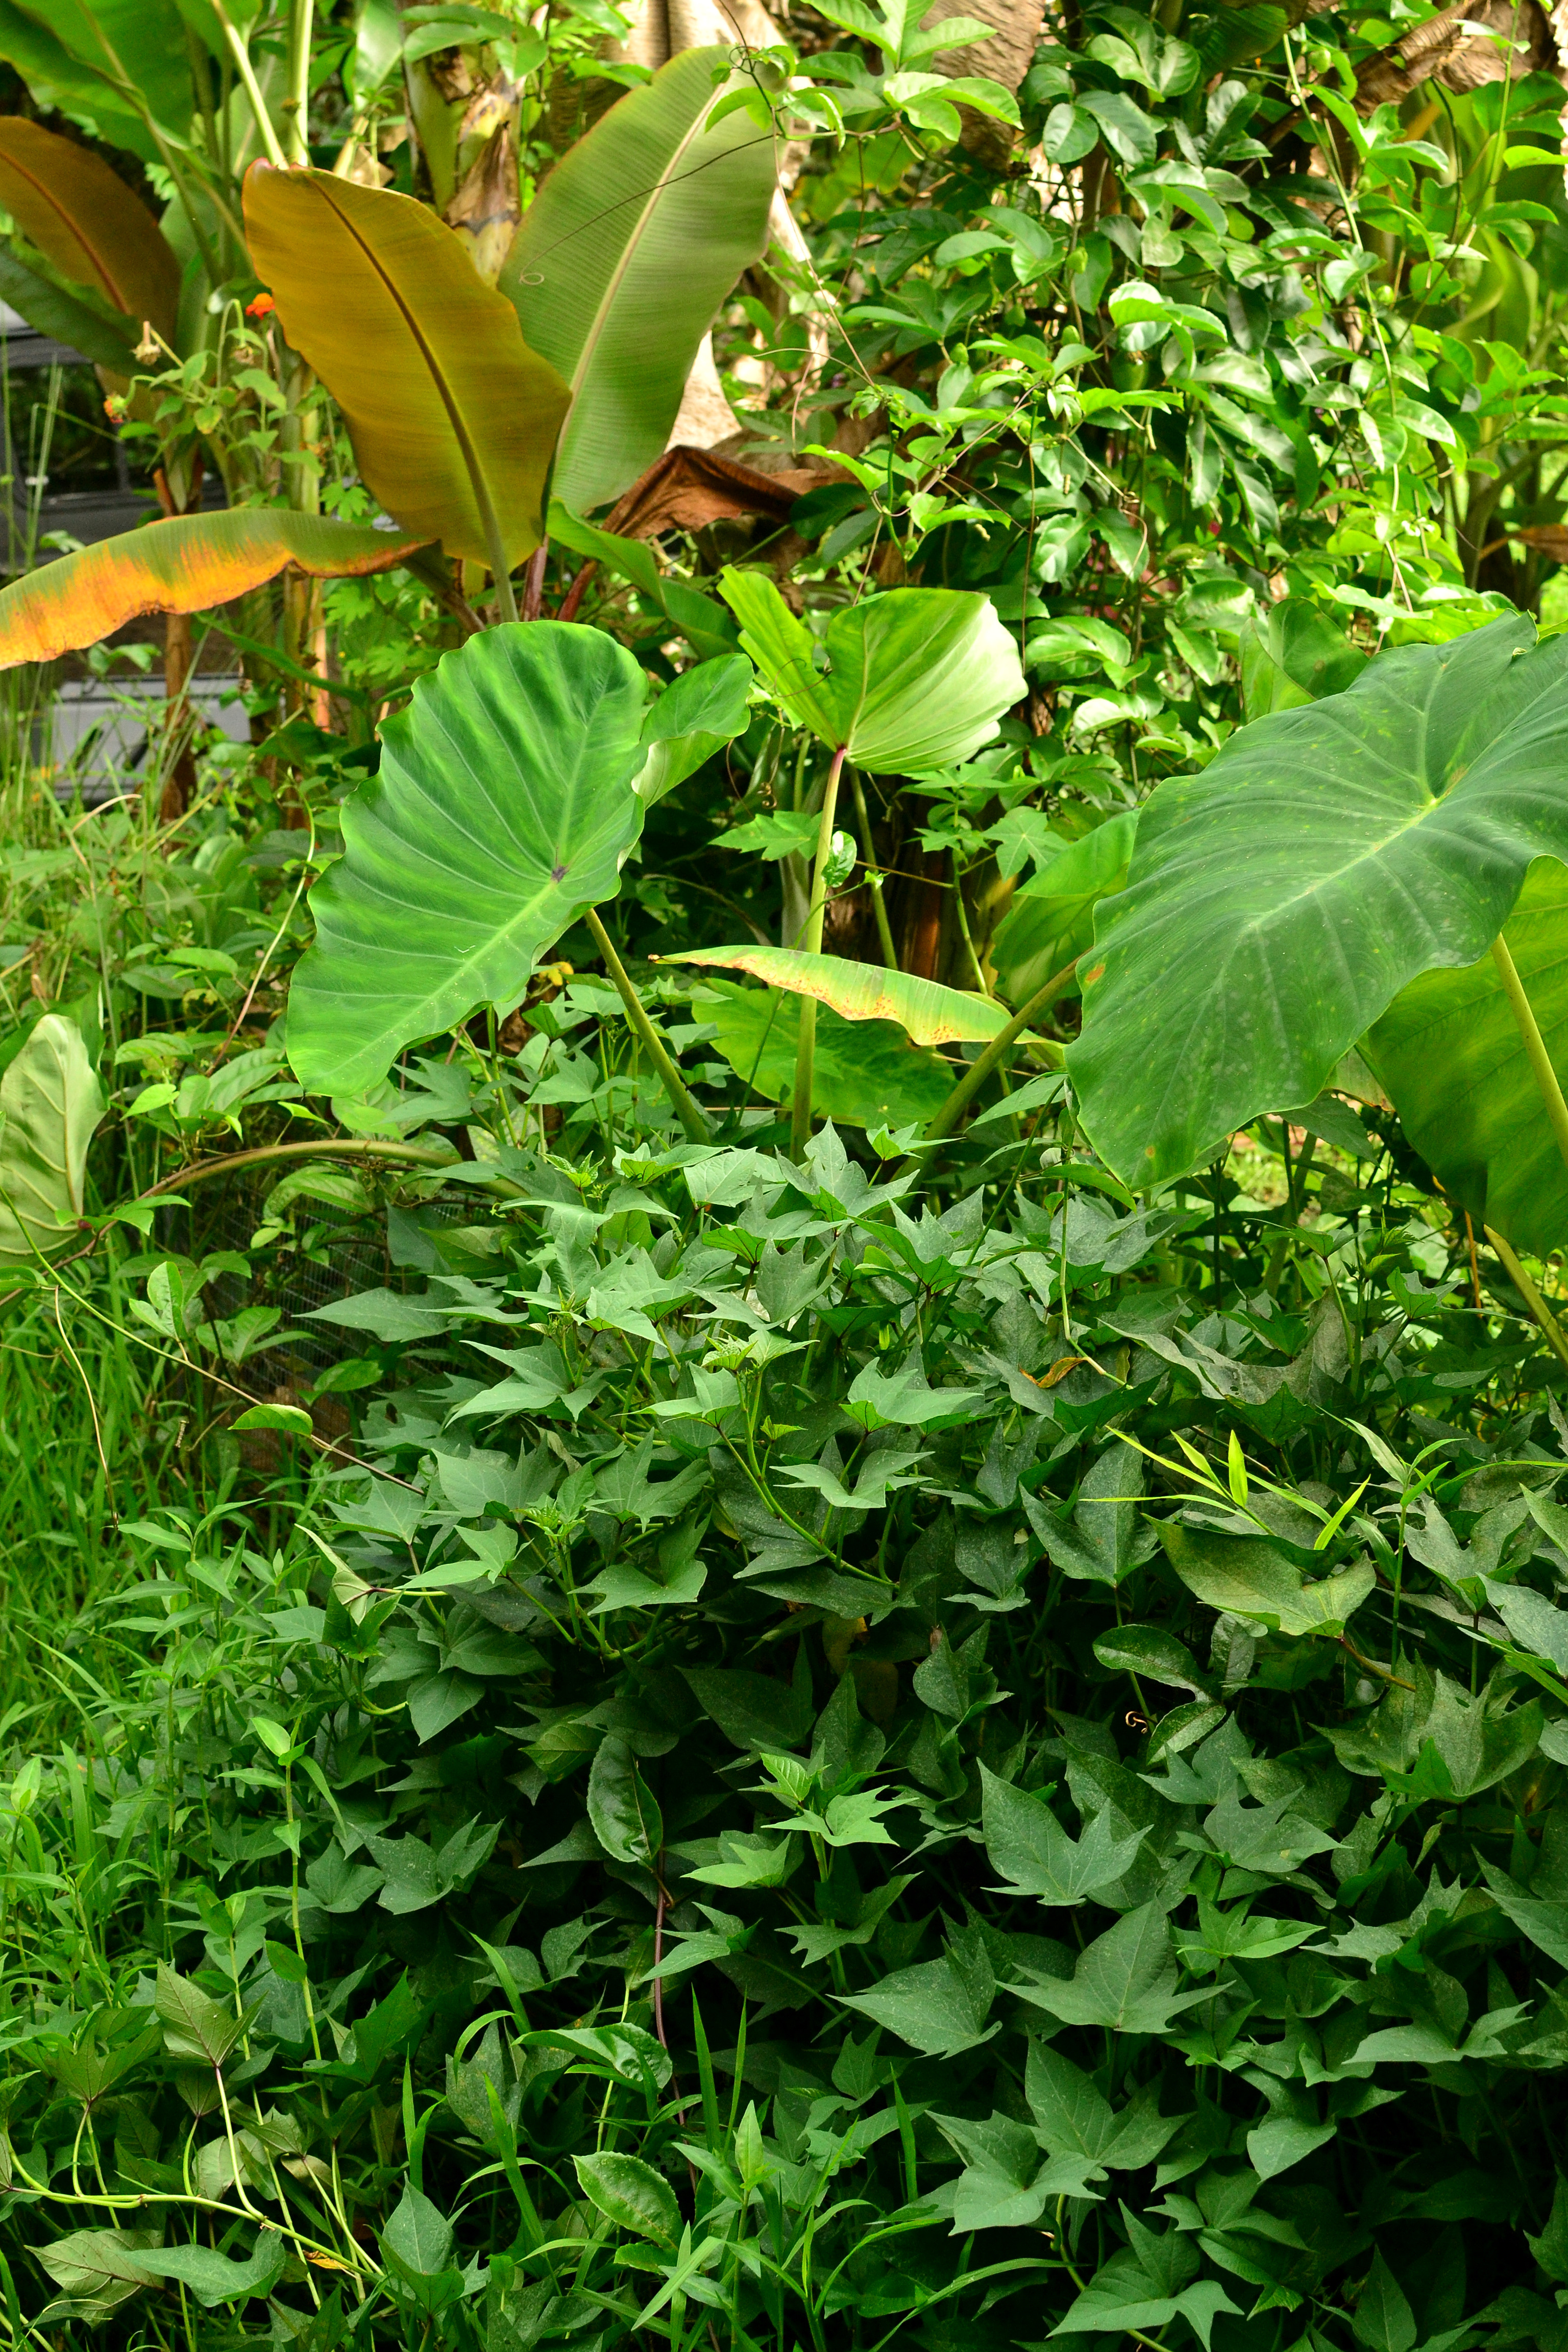
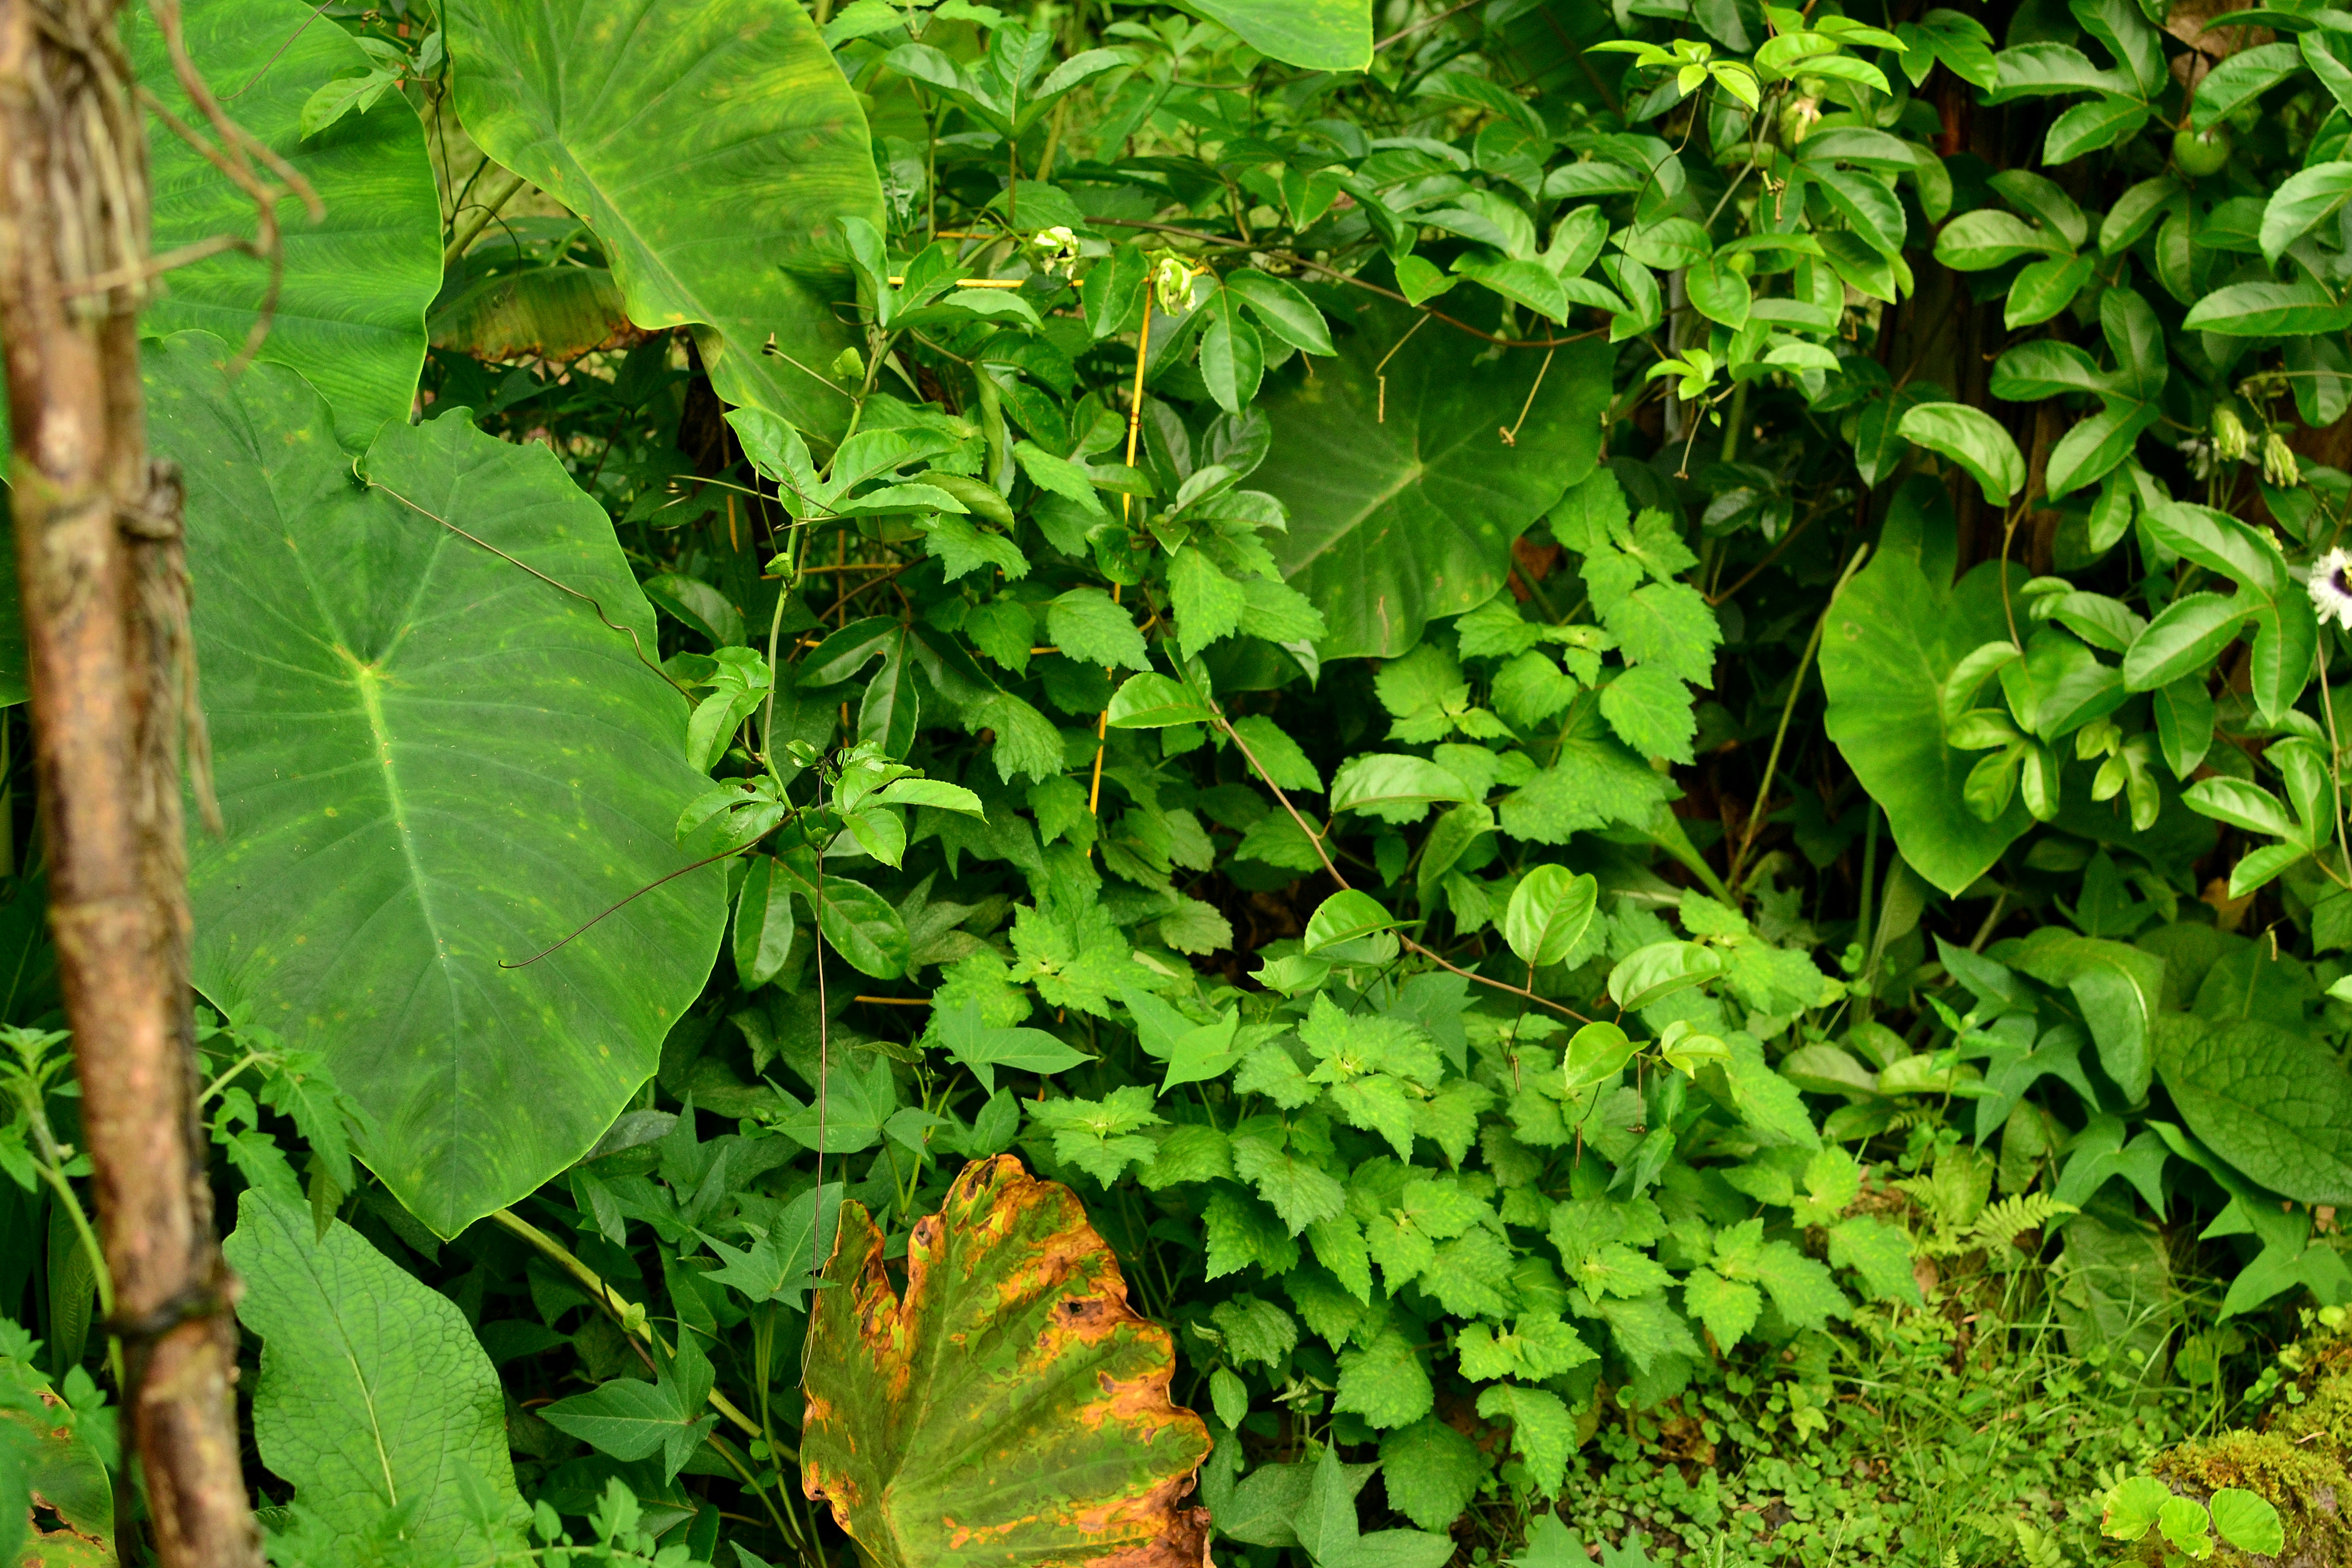
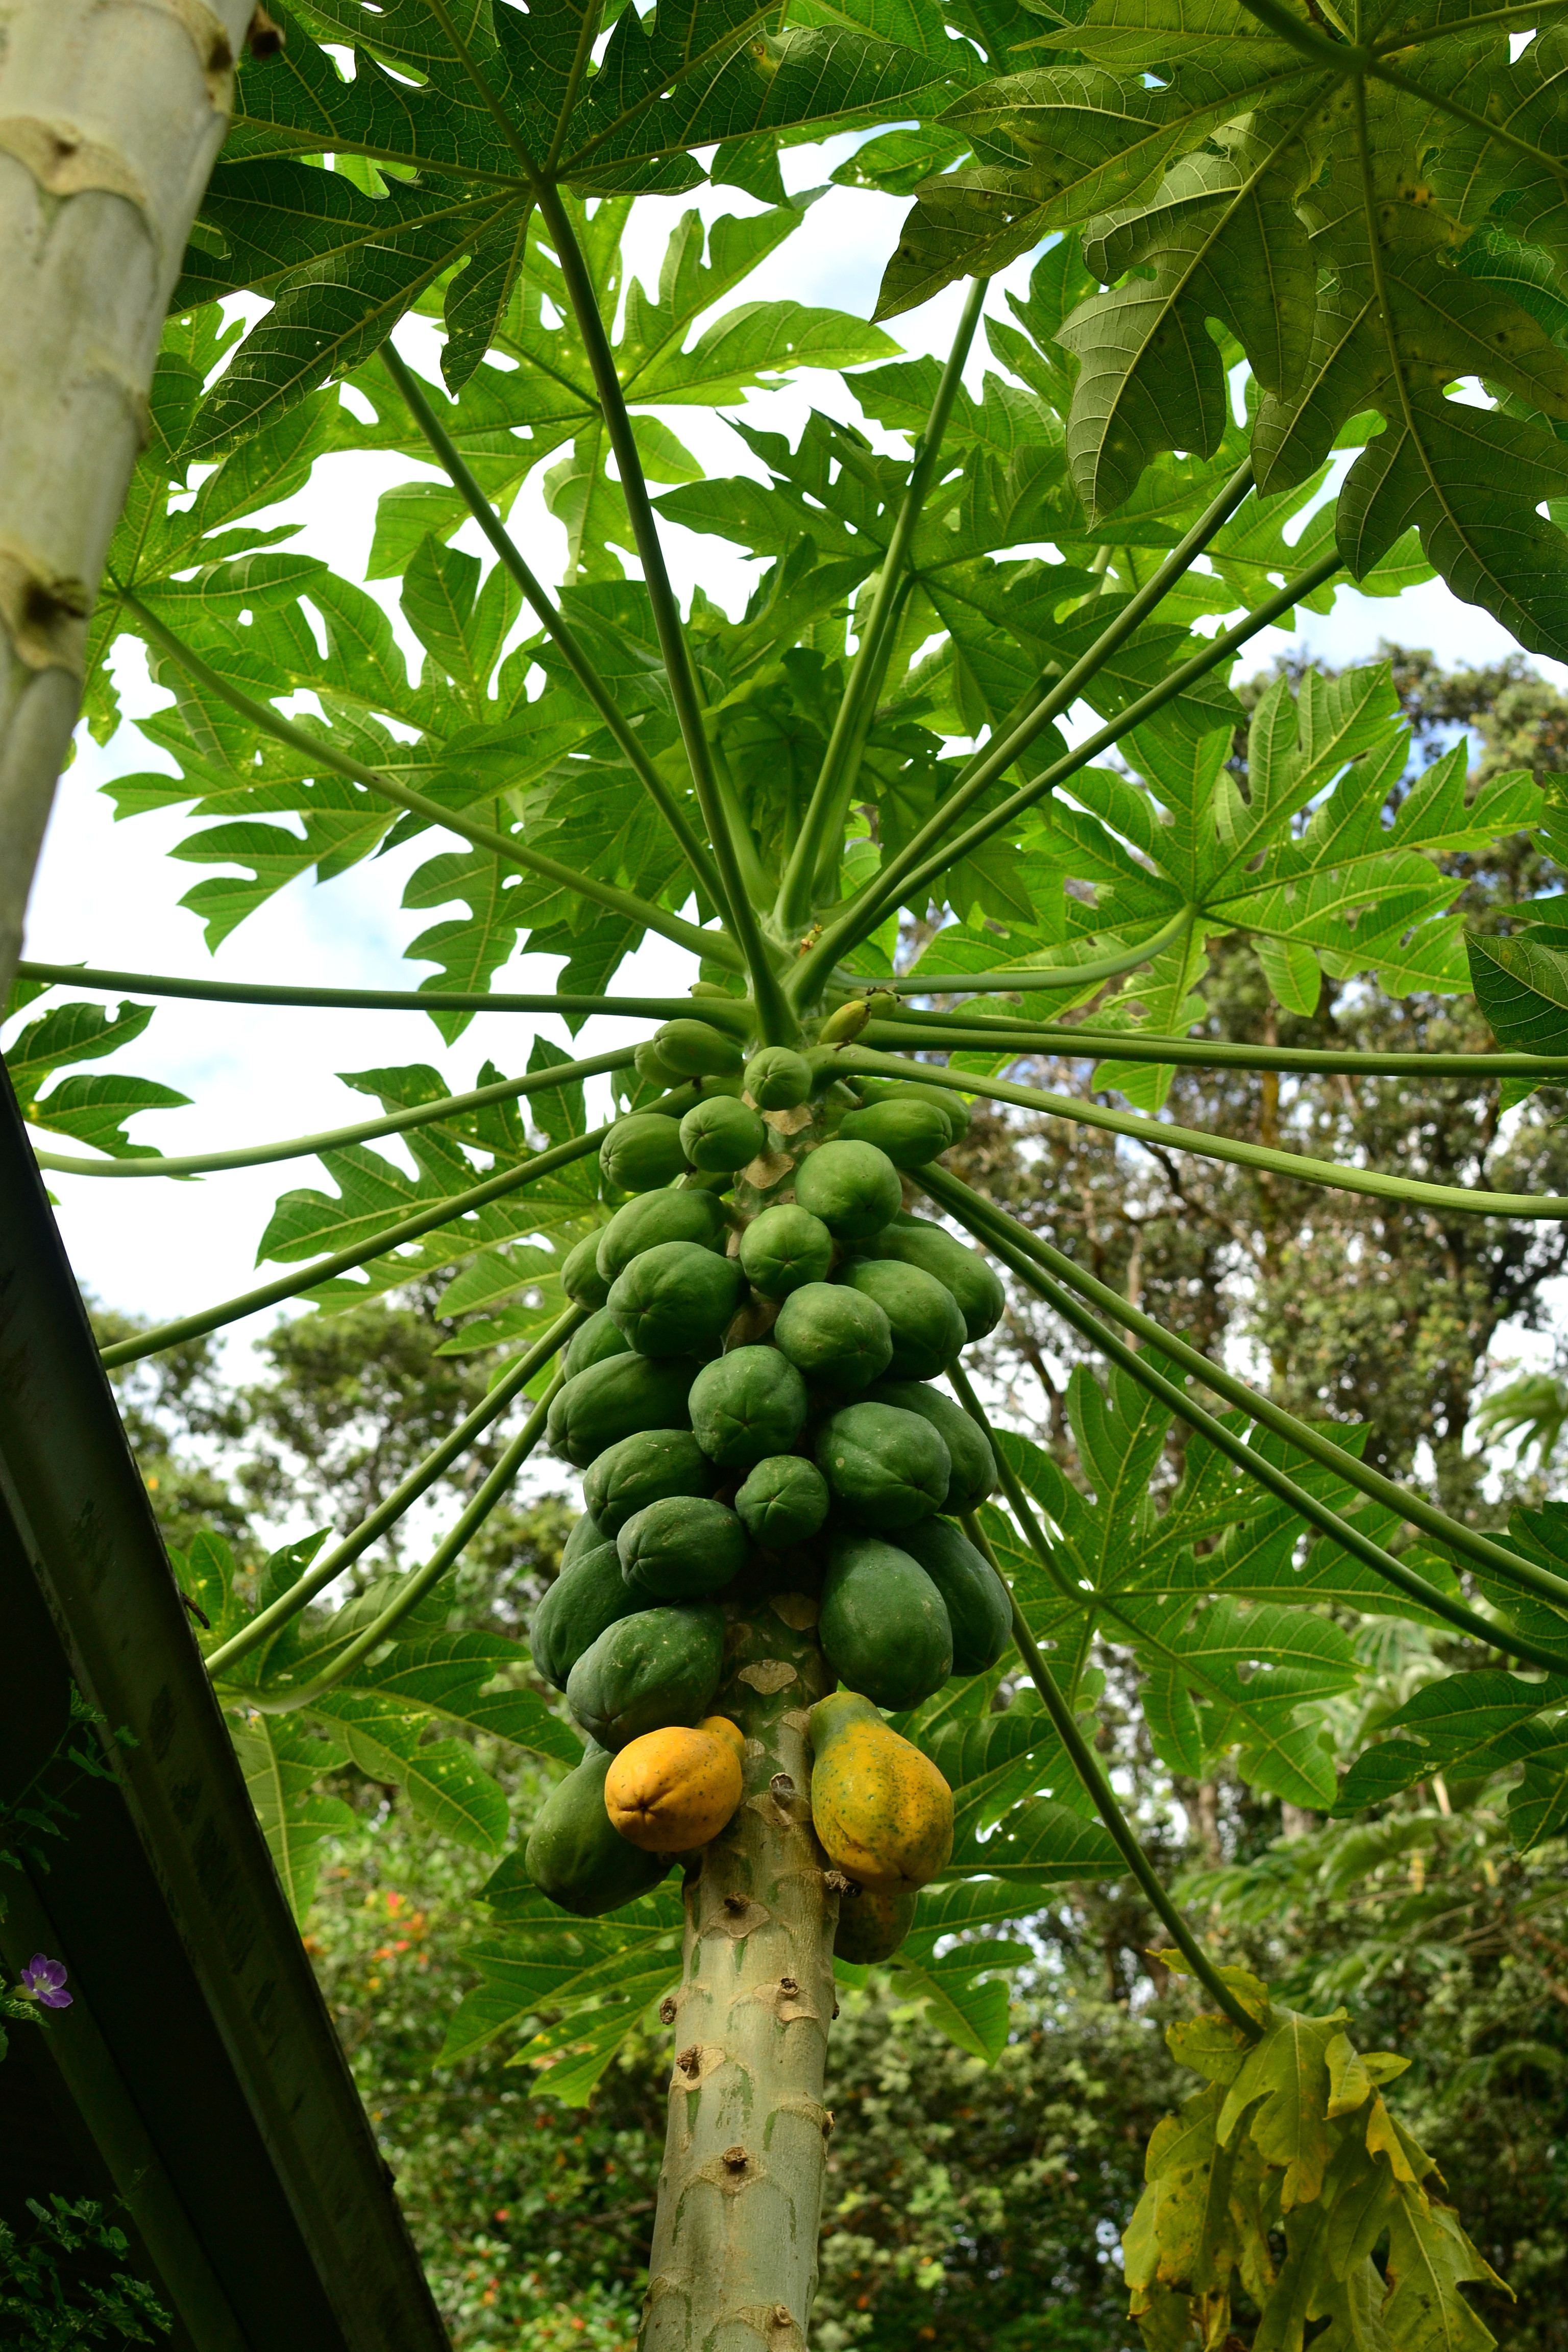
He has planted numerous banana varieties around his garden plot as the border, mixing: taro, sweet potato, sugar cane, bitter melon, liliko’i (passion fruit), cassava, mulberry, pigeon pea, patchouli, comfrey, turmeric, tomato, avocado, papaya, sunflower, ginger, coleus, squash, ti and burdock (yes that’s just his border around his garden!!!). There is a small fence around this border to prevent animals from entering, and uses vetiver, Chrysopogon zizanioides, around the fence to prevent grasses from entering the garden. Then within this border of plants he has his normal crops growing in their beds, peppers, tomatoes, fennel, strawberries, carrots, lettuce, kale, roselle, and rosemary. Allowing a large production of foods from a small space. Outside of this section he has an established orchard giving him tons of fruits throughout the year, and also a shade house for seedlings and tender sun-sensitive plants. His garden is less than a year and a half old and you can see its lushness and abundance. He started small, in a maintainable space, learning tropical gardening and seeing what works at his location and has been quite successful! His garden is the perfect example of what every home gardener should have, an amazing abundance of fruits and vegetables of starches and nutrient rich plants stacked in a small space.

Since he has different crops growing from me and at different stages of growth, we are able to share our abundance and reduce wastes. Making connections and bartering is necessary in a self-sufficient lifestyle.
Happy gardening!