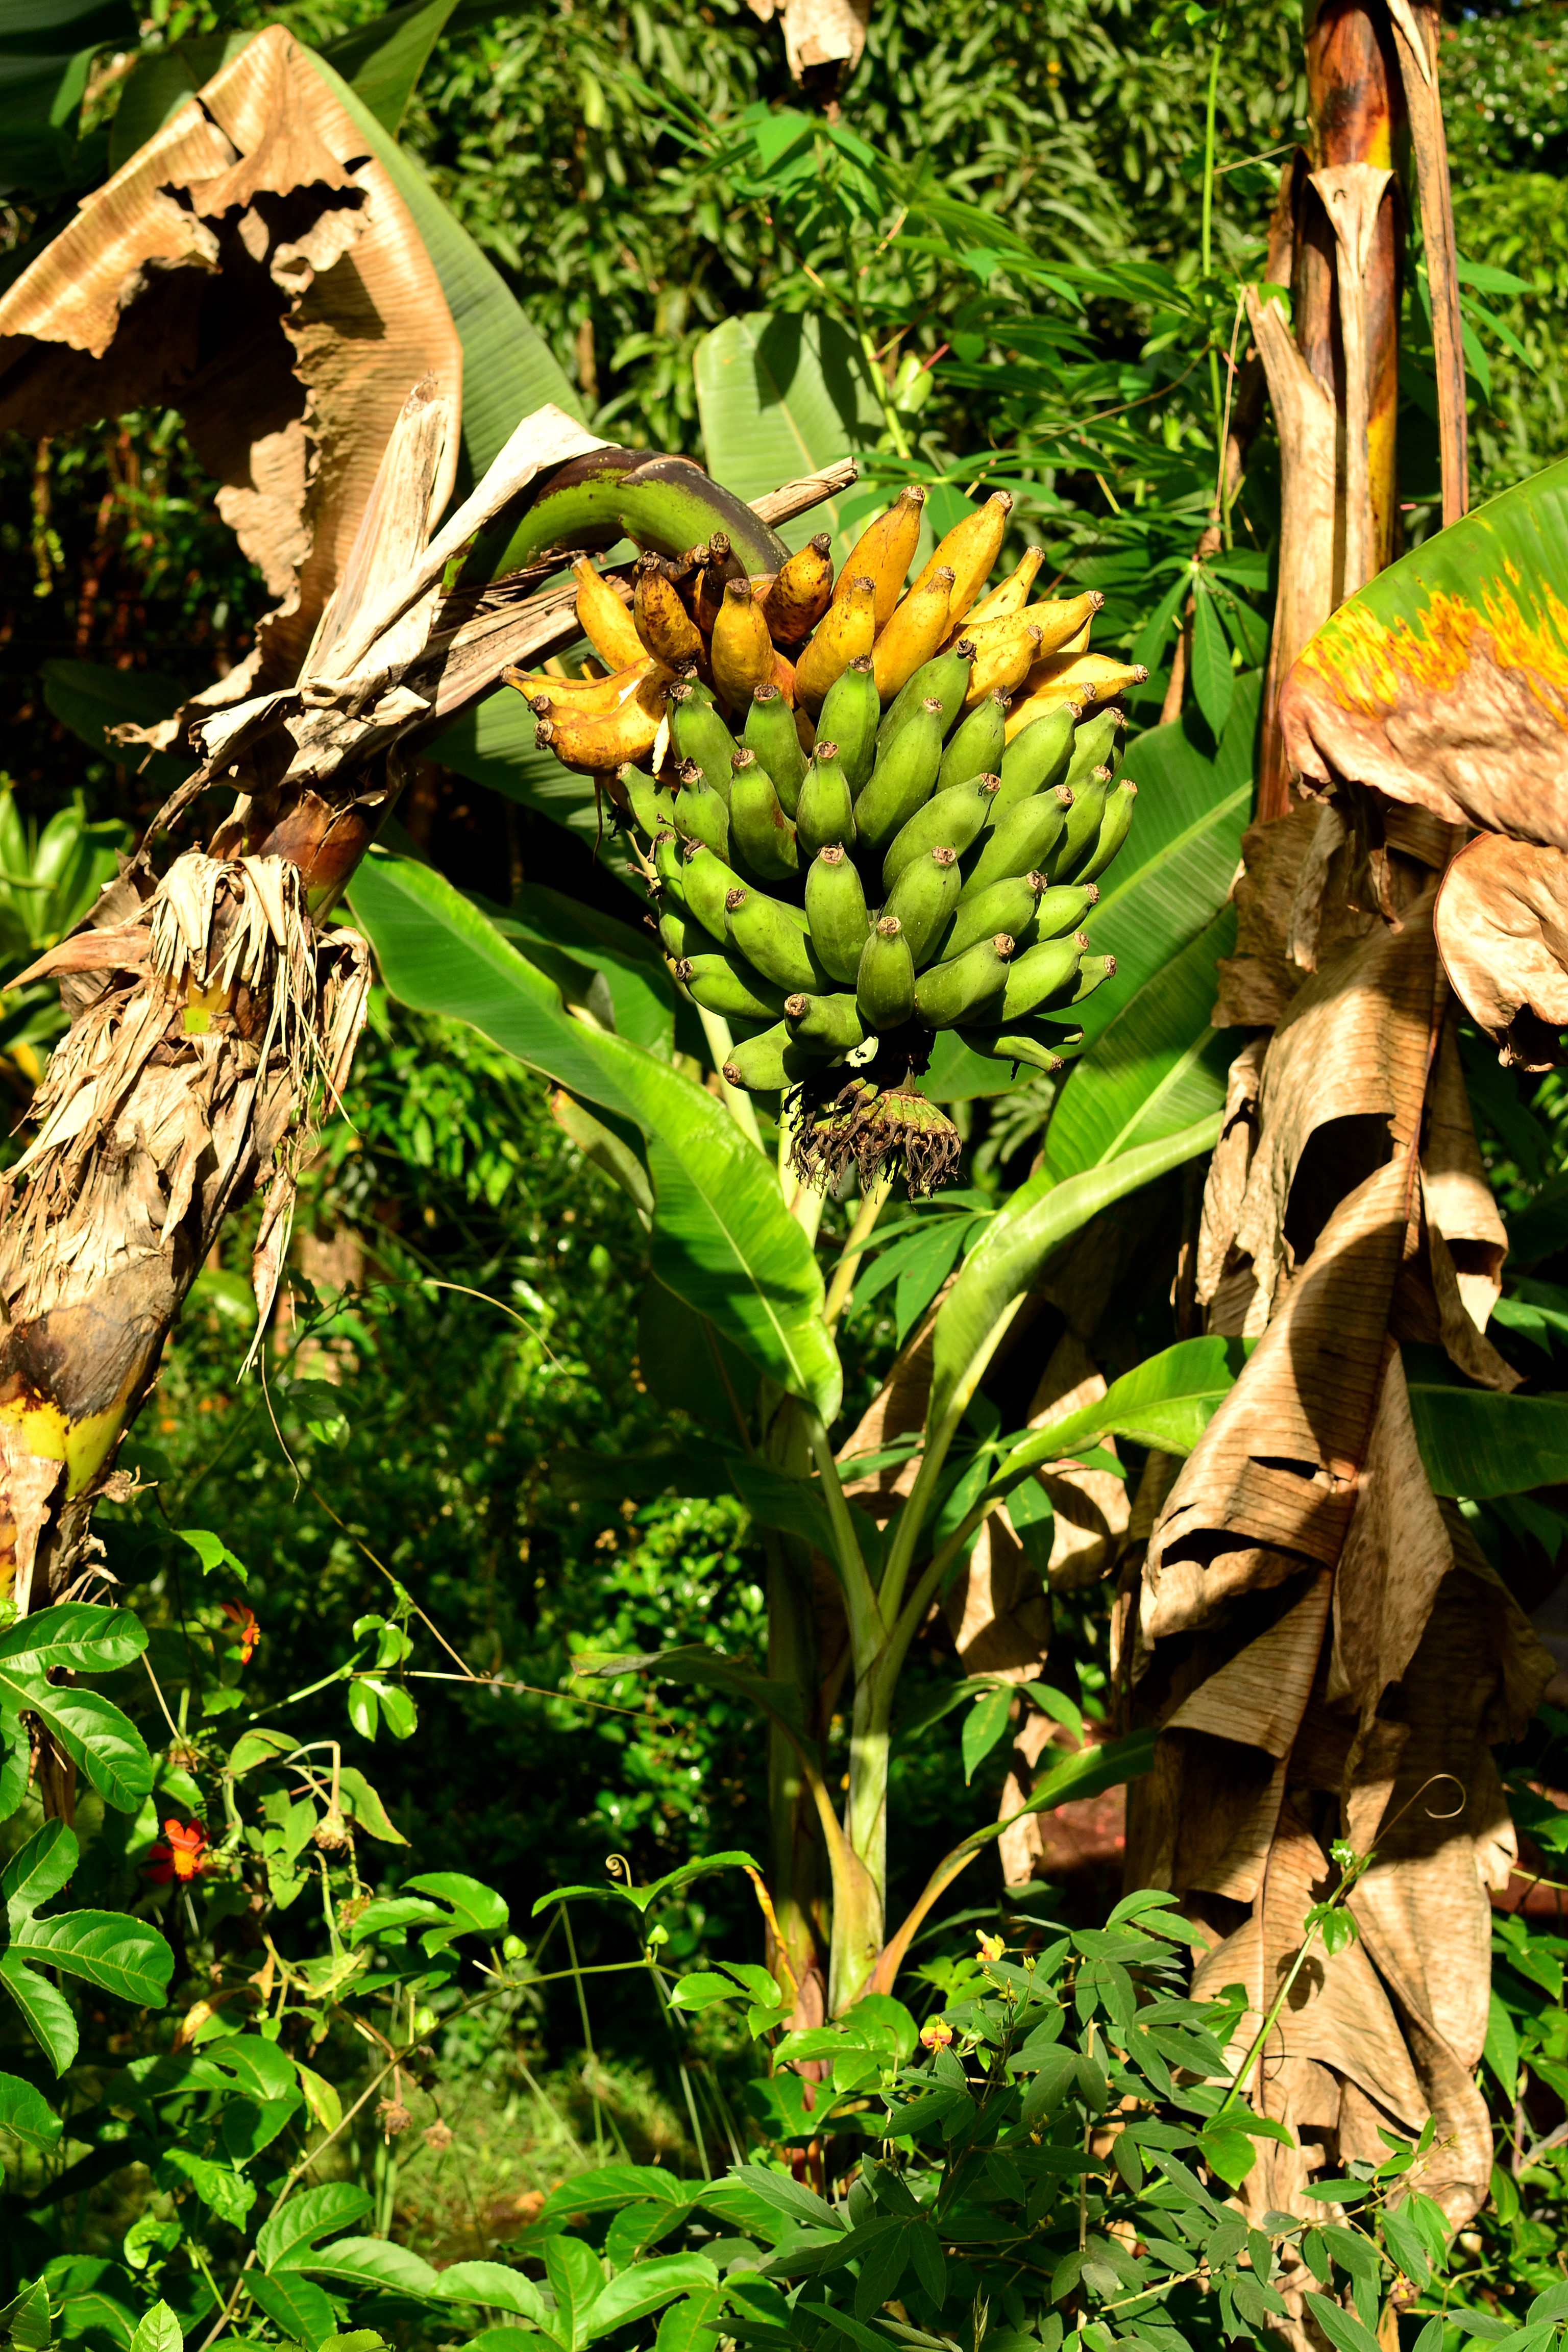
Papaya (Carica papaya)

Description

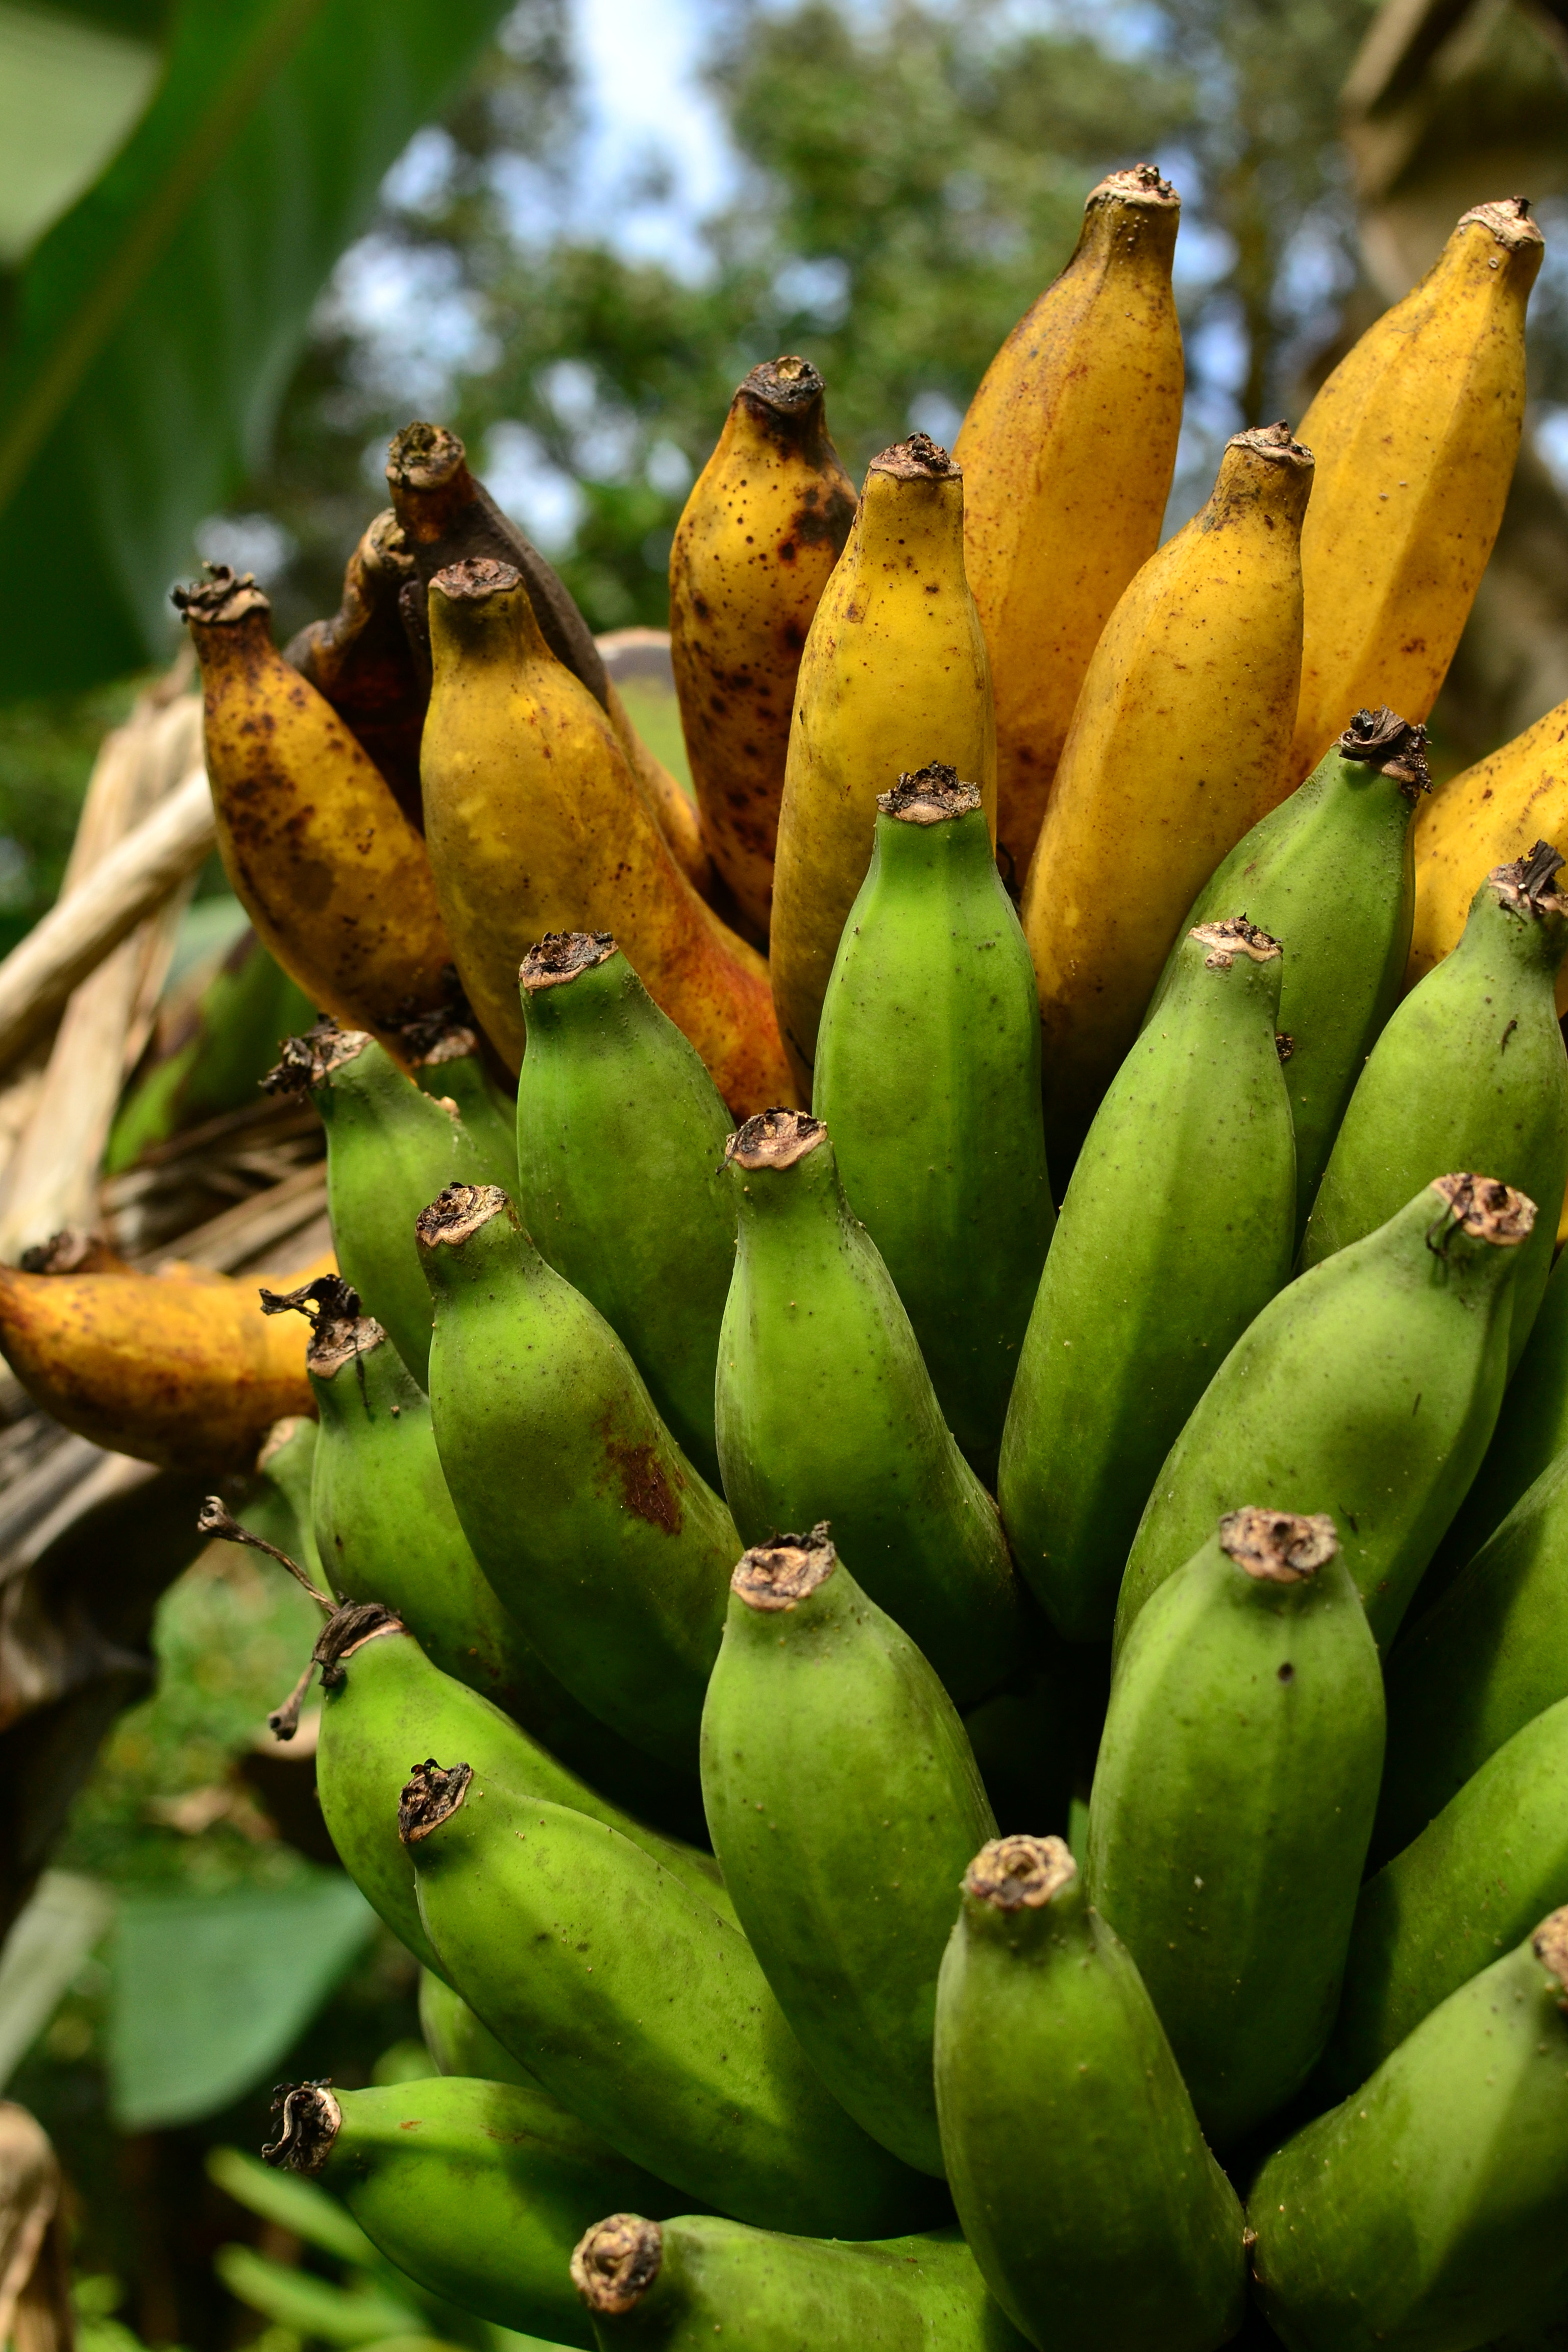
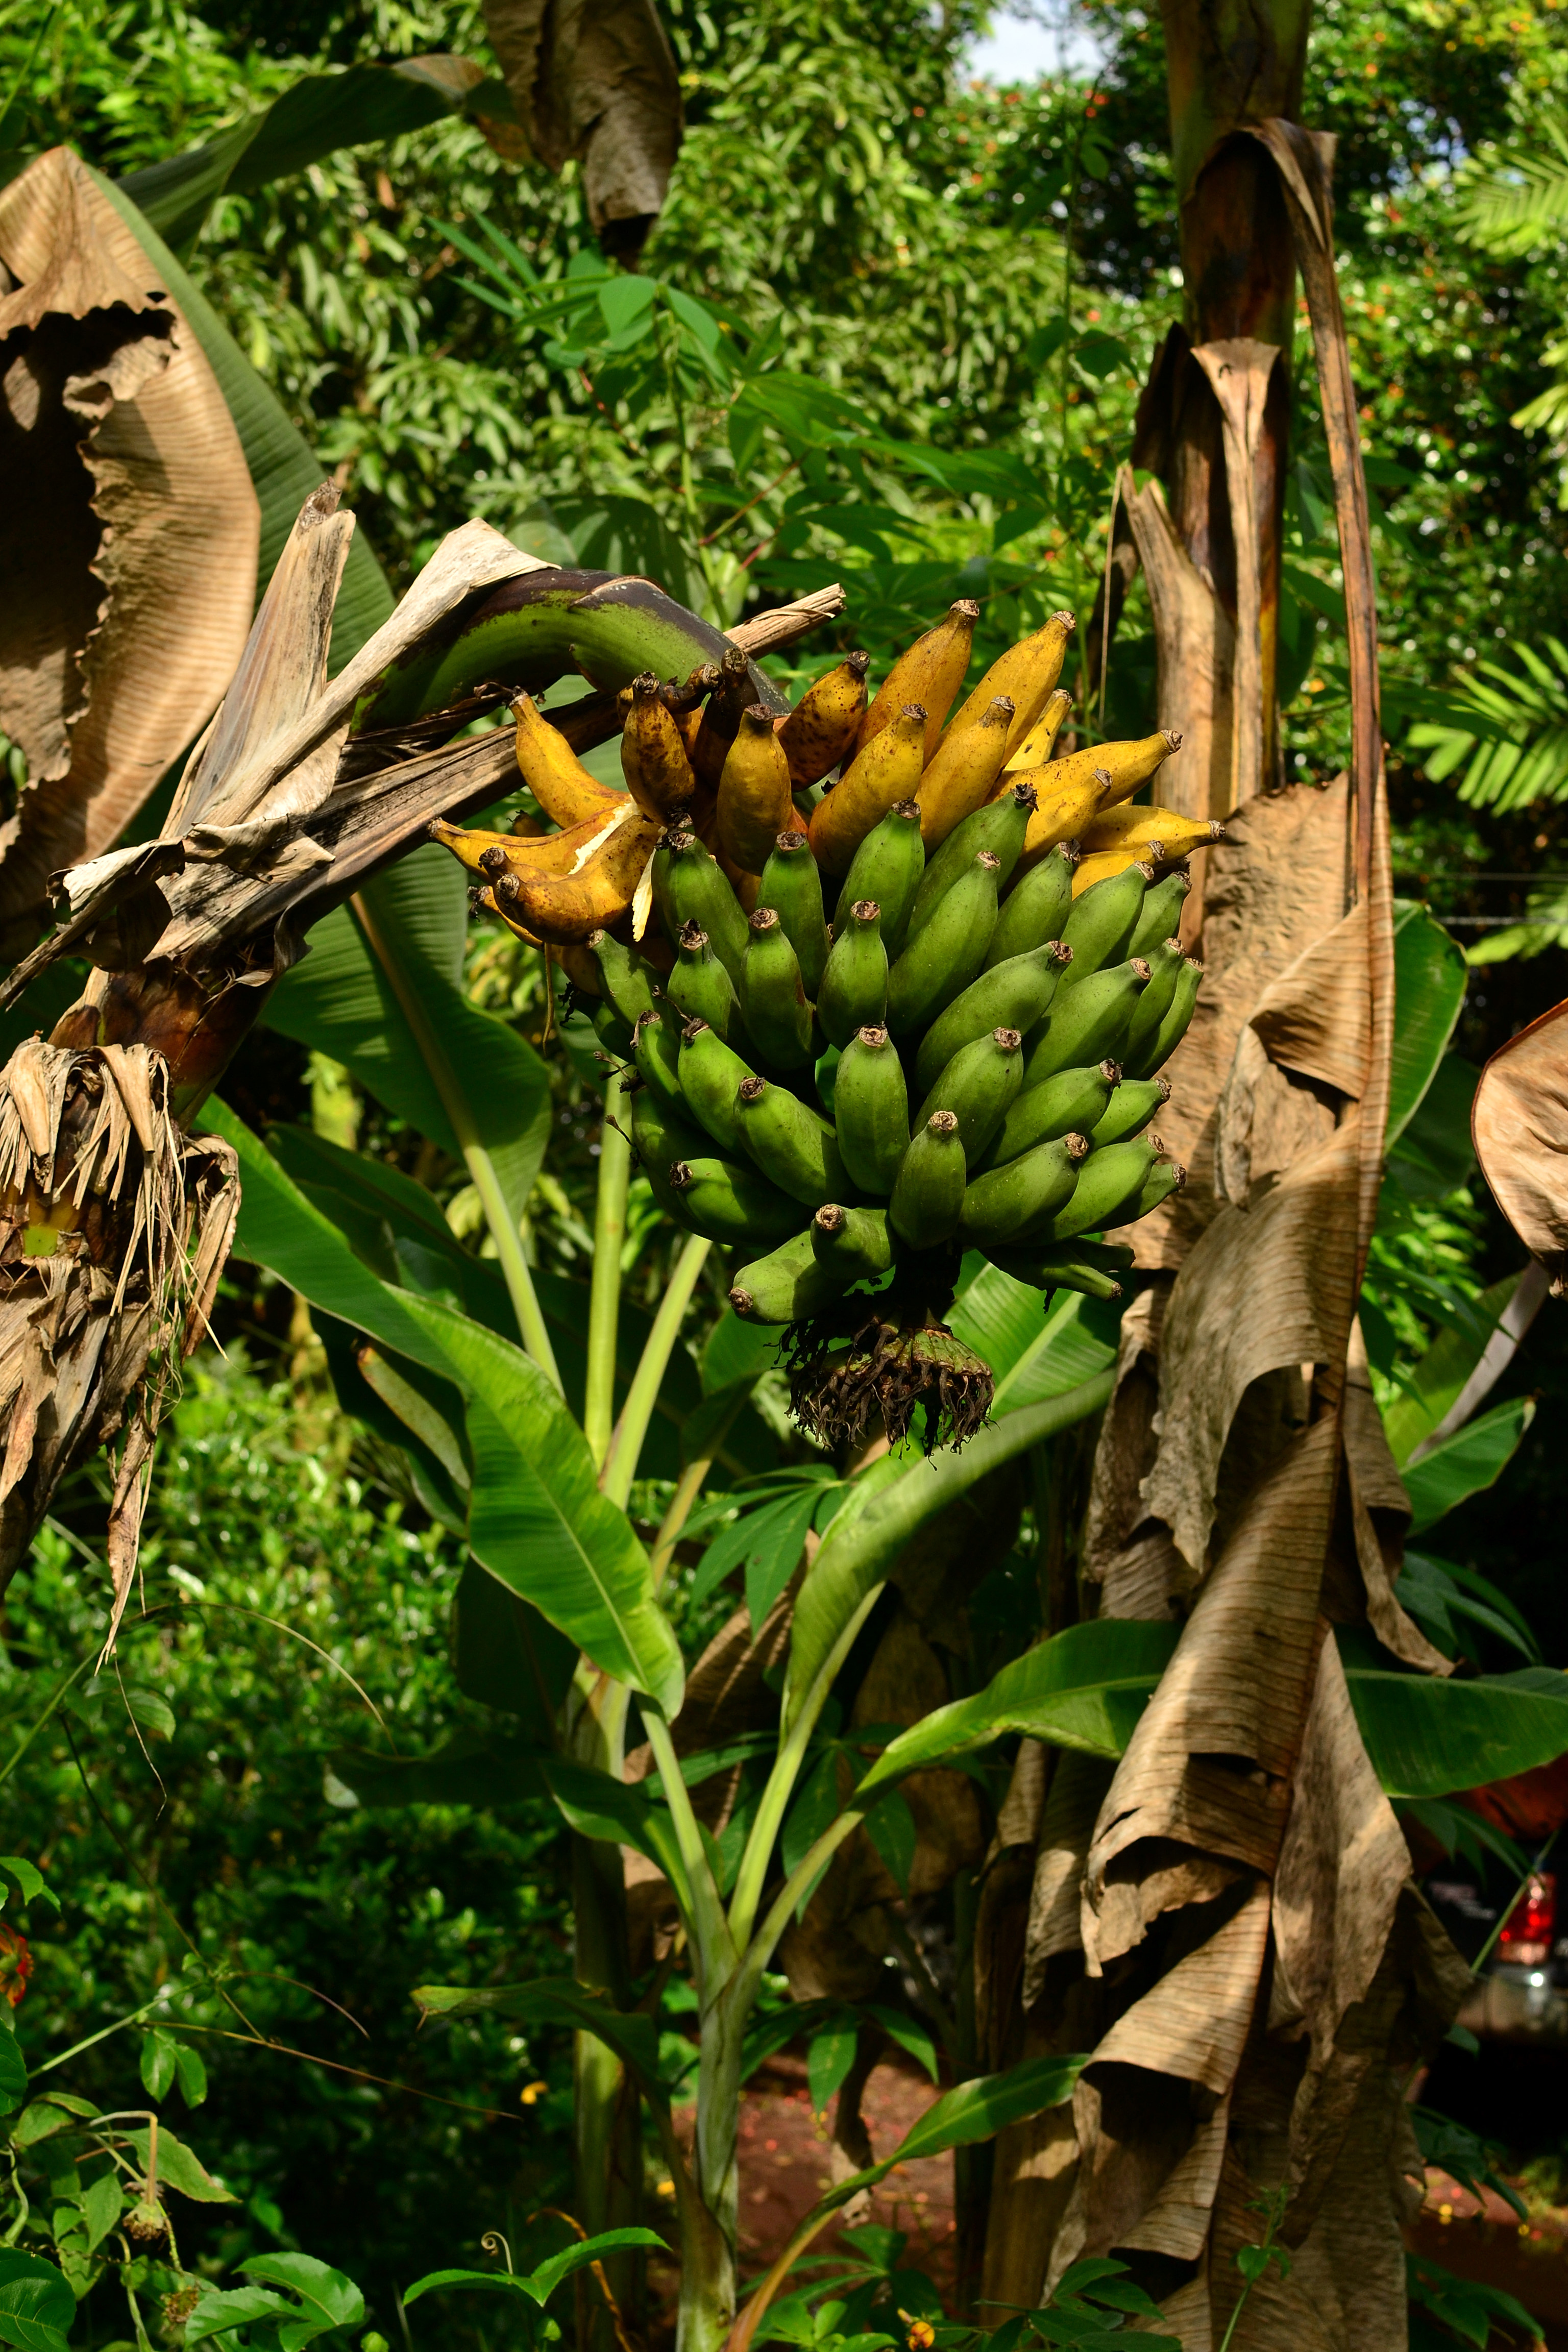
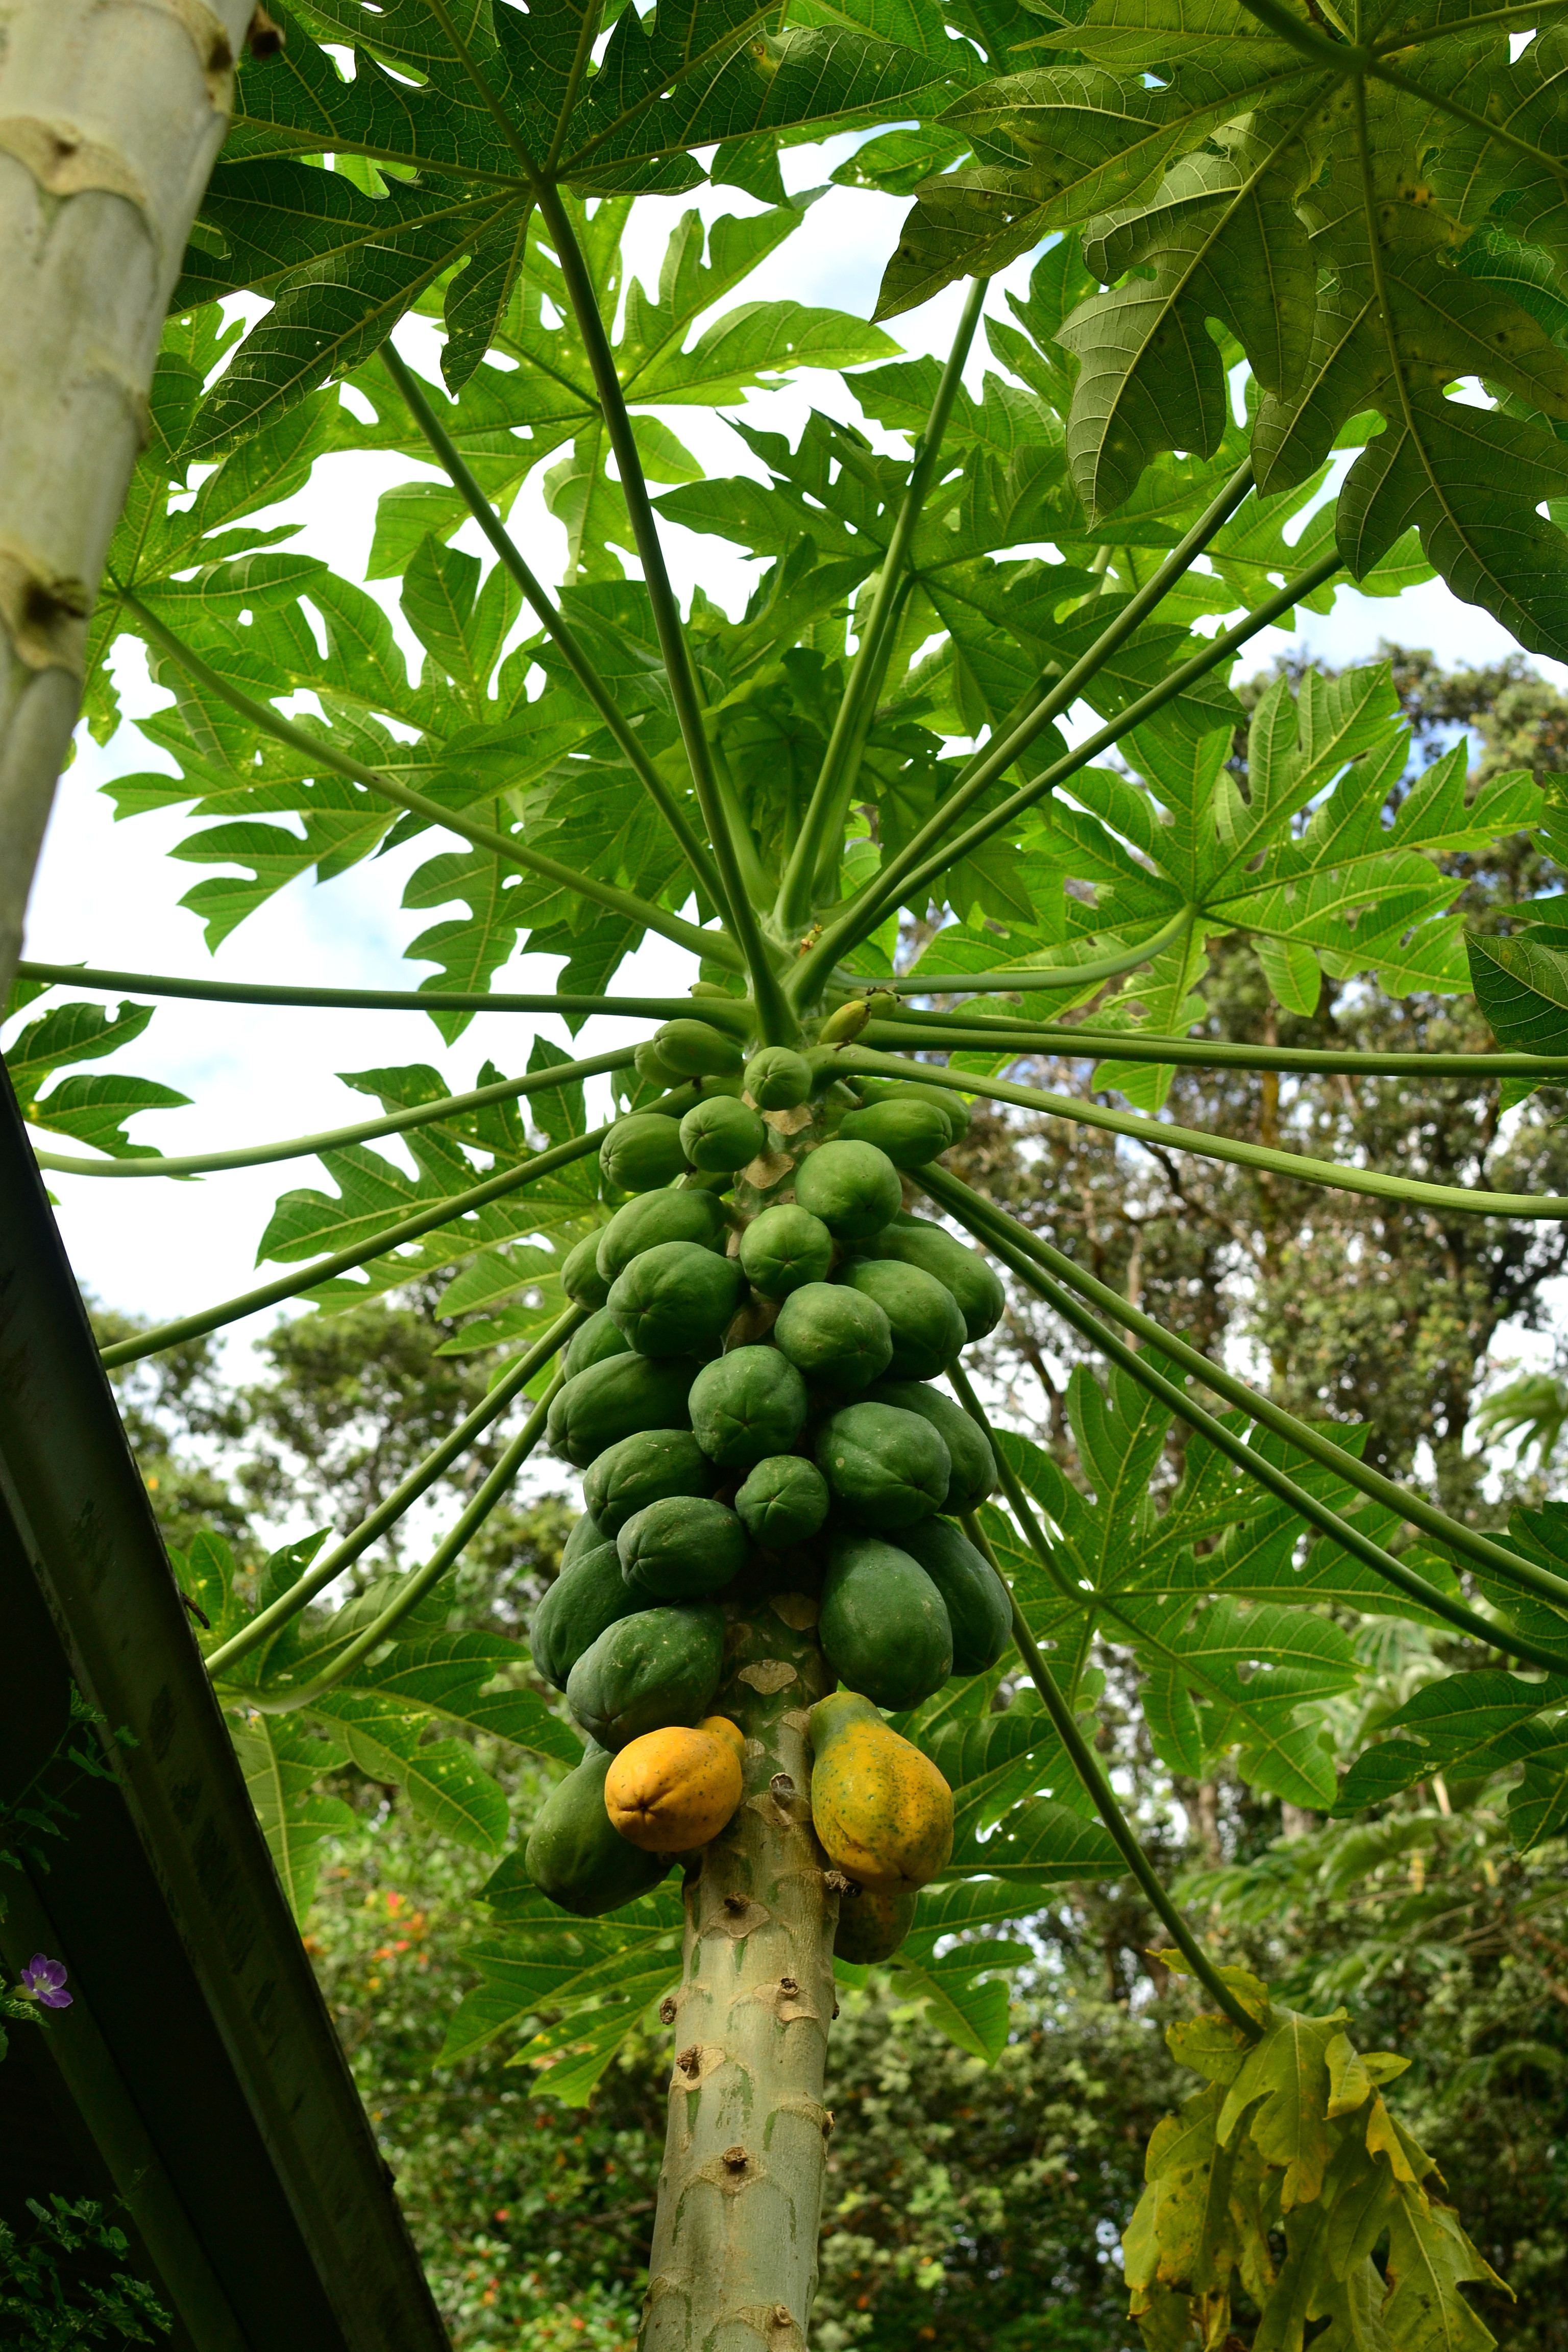
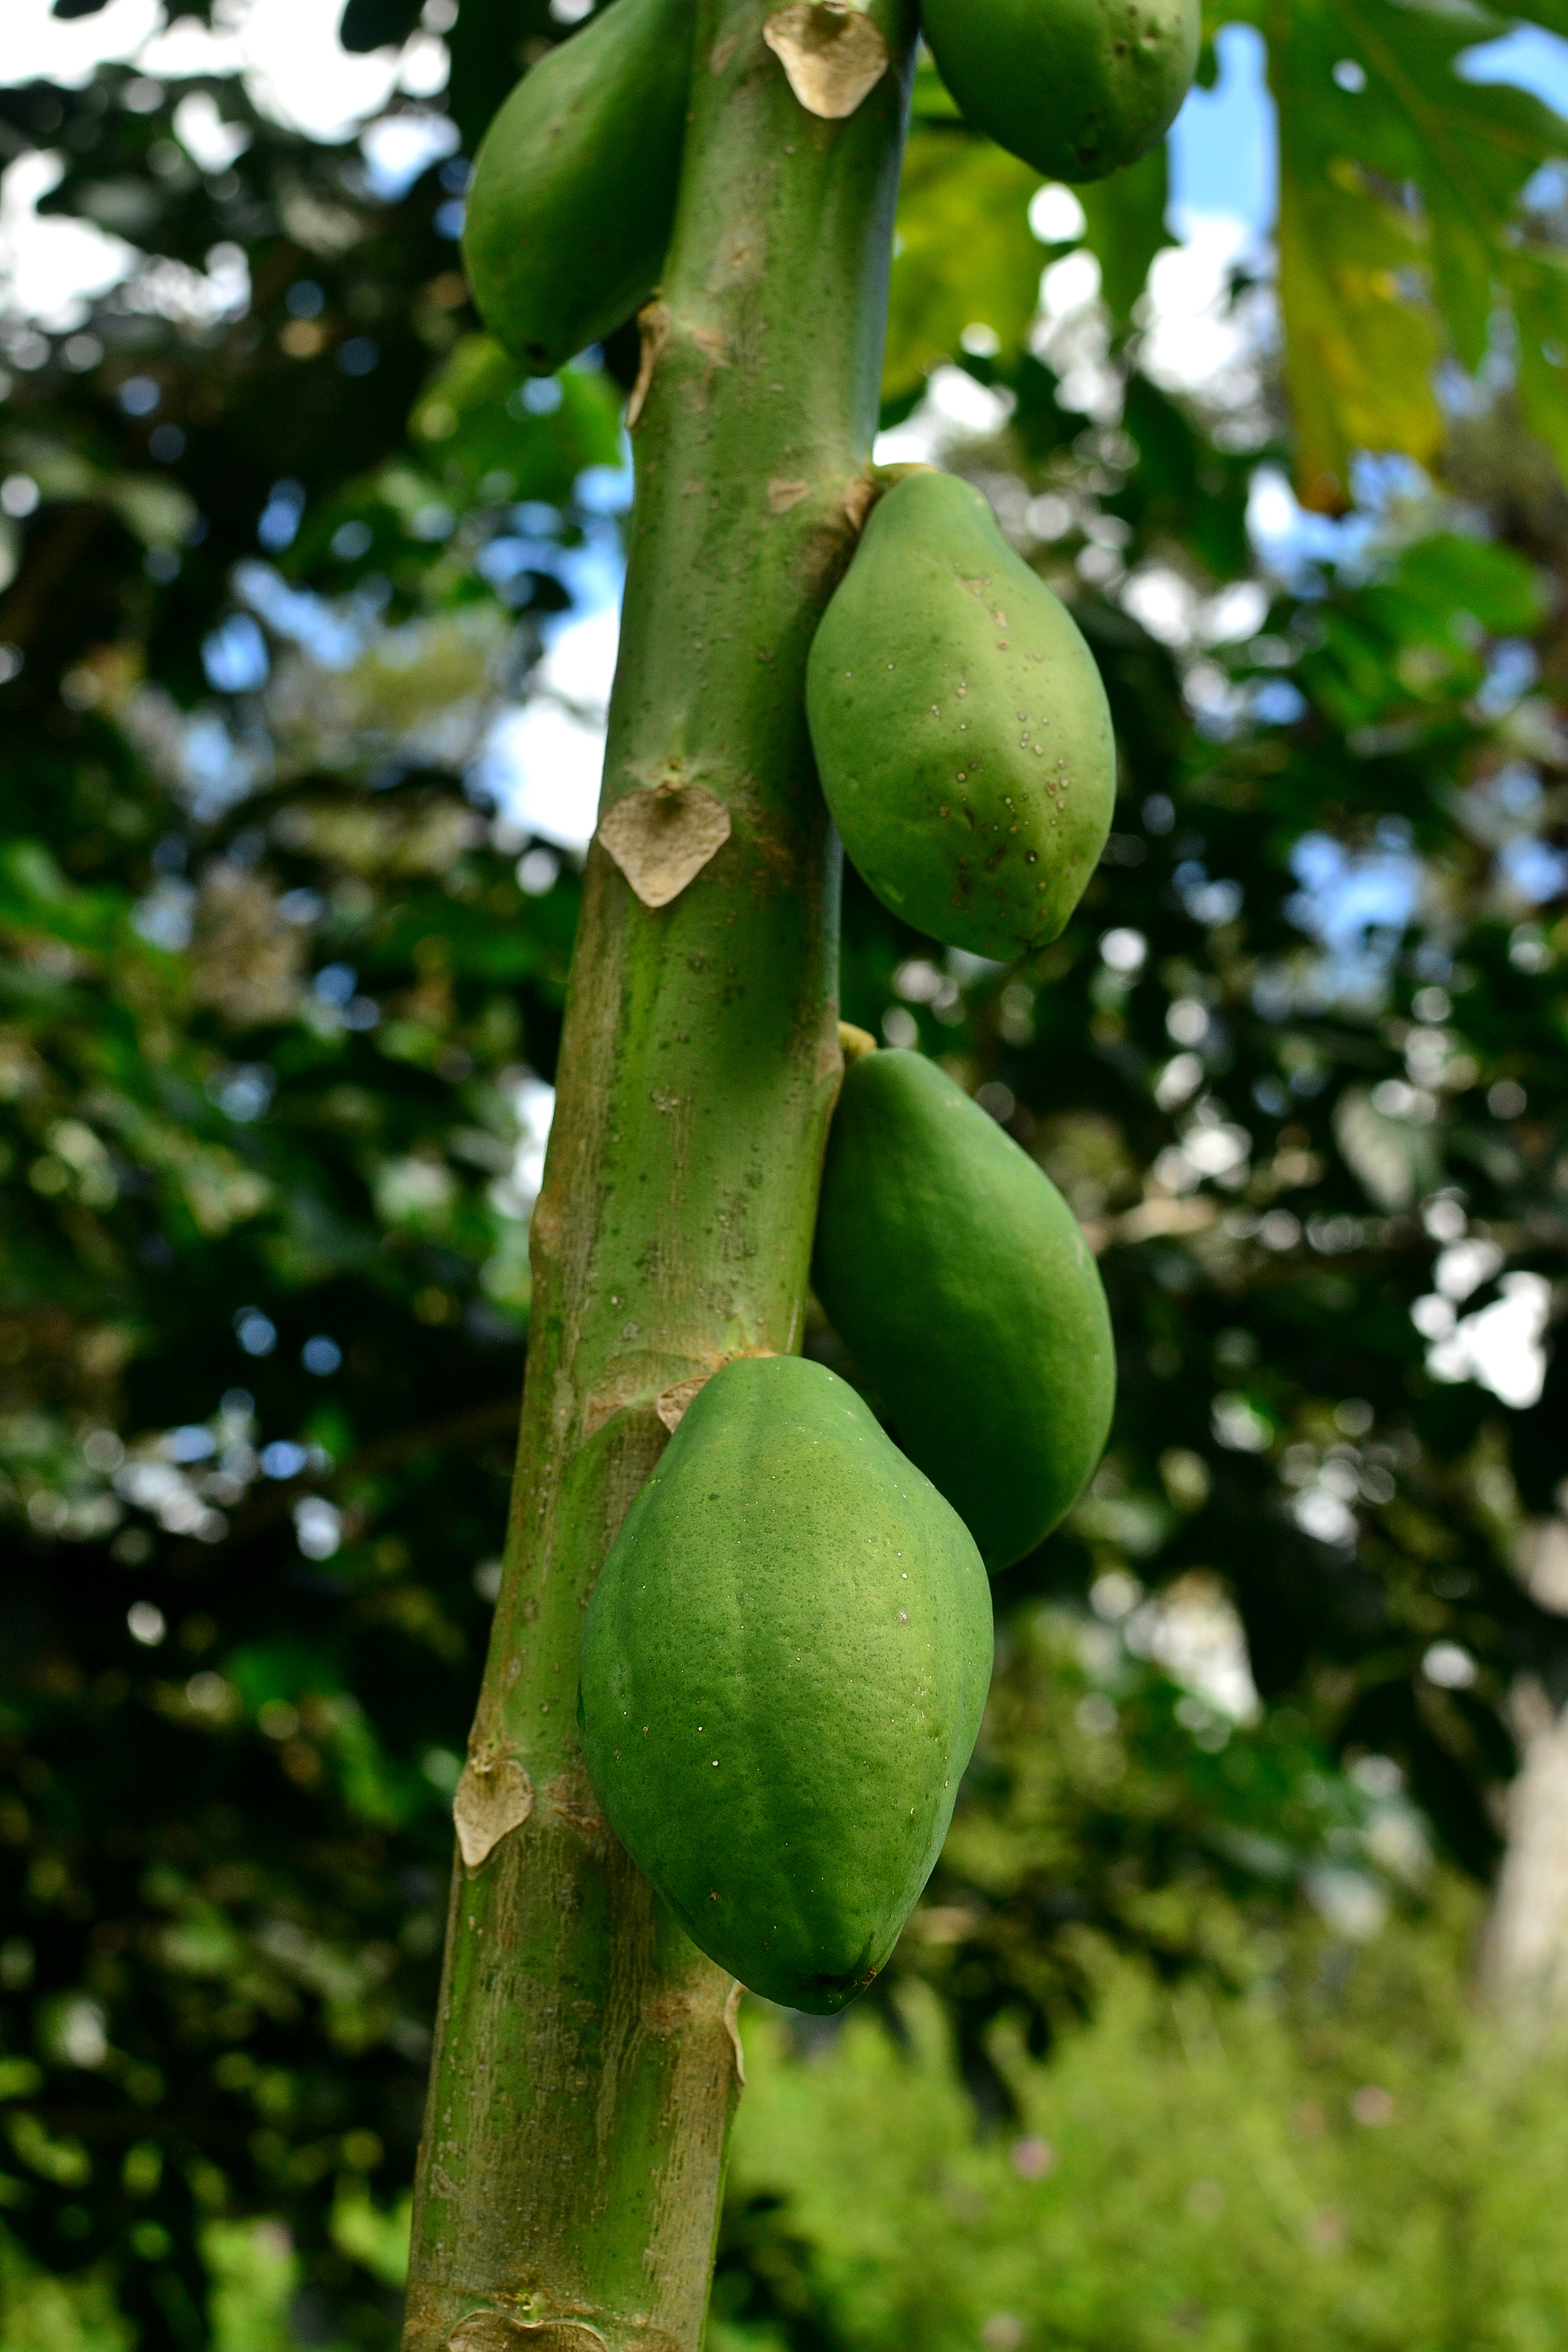
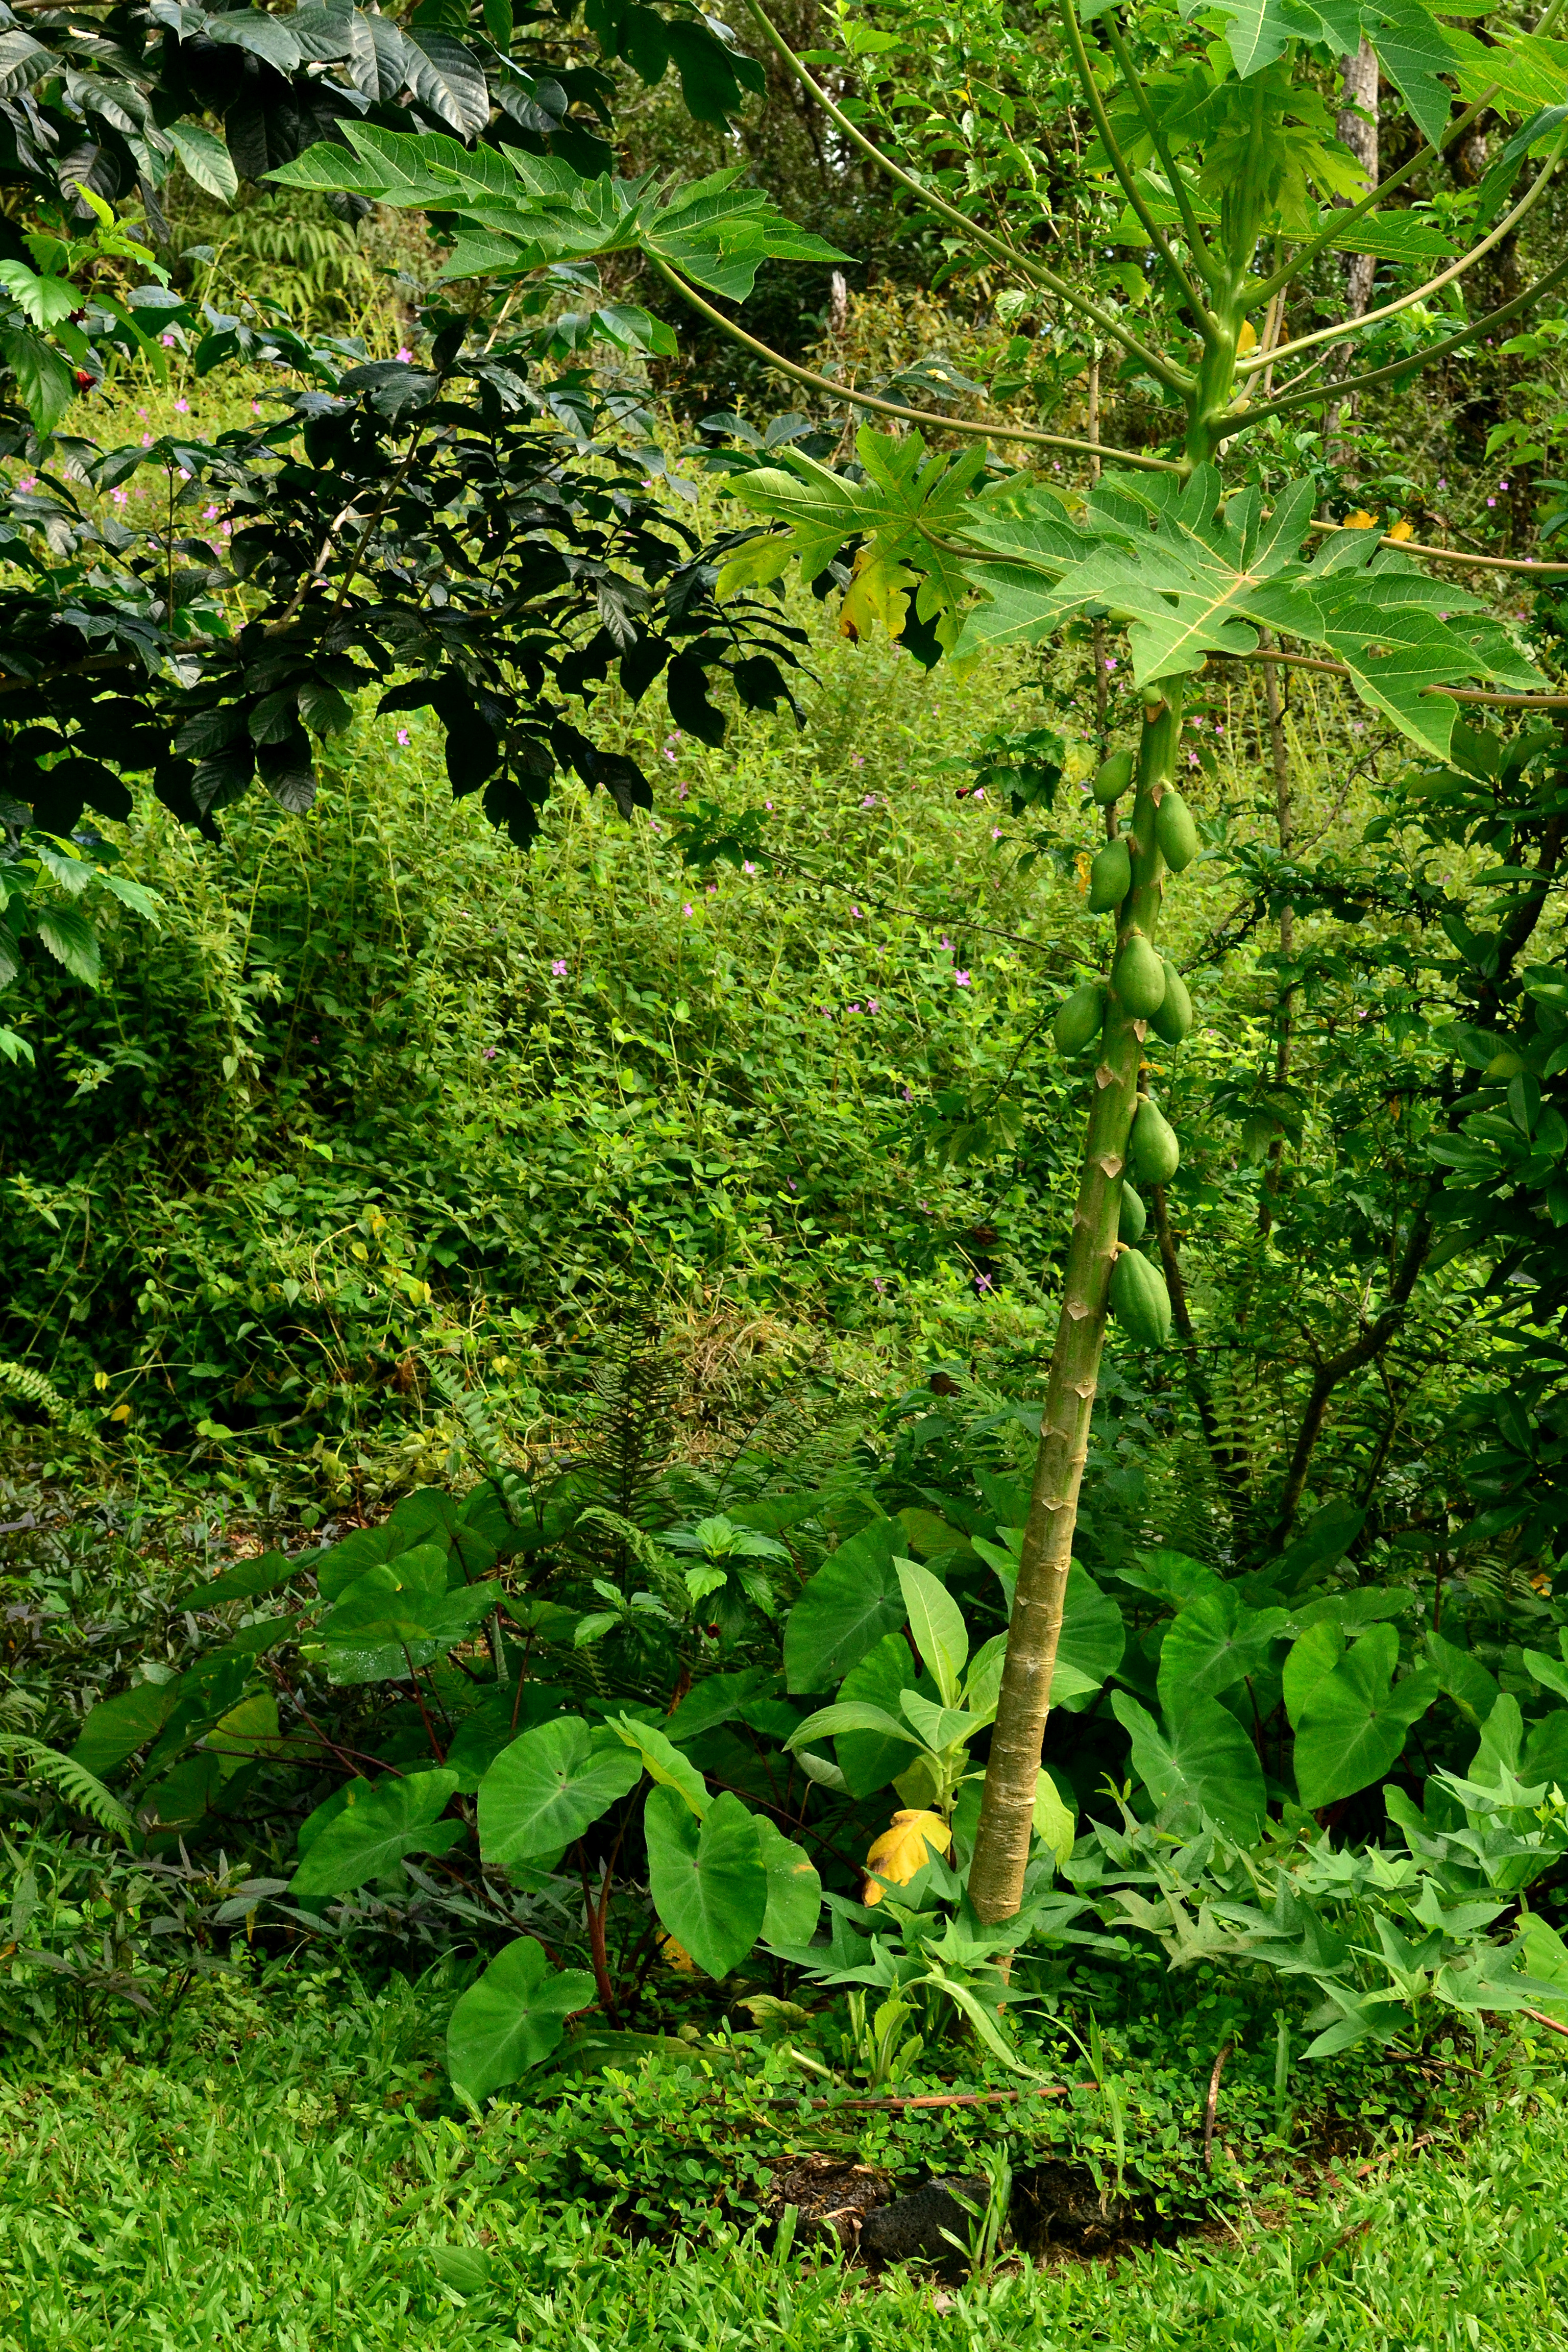
Papaya, Carica papaya, is another staple plant you should grow in your tropical home garden. Although the ripe fruit is very popular, especially here in Hawaii, papayas are mostly grown around the world for their immature fruits, that once cooked are used as a vegetable. Papayas are incredibly productive and fast to mature; they start producing after 6-12 months! And may live up to 15 years, but more often around 5 years, but production does taper off after 3-4 years creating less food. Papayas are large herbs, gaining heights from 5-30 feet and a six-foot spread, and resembles a small tree. They have a small canopy and can be planted close together or intercropped with many plants, how perfect for a home garden! The fruits are eaten, as well as the flowers, leaves and stems of the leaves. There are many different varieties of papaya, so try different ones to determine your favorite. Dried leaves may be used at tobacco substitute, and can also be beaten in water to form a soap substitute. The leaves are also used as a meat tenderizer when wrapped around meat over night. There are also many uses for medicine, but I will not go into detail for that.

dsc_0461dsc_0460

Propagation

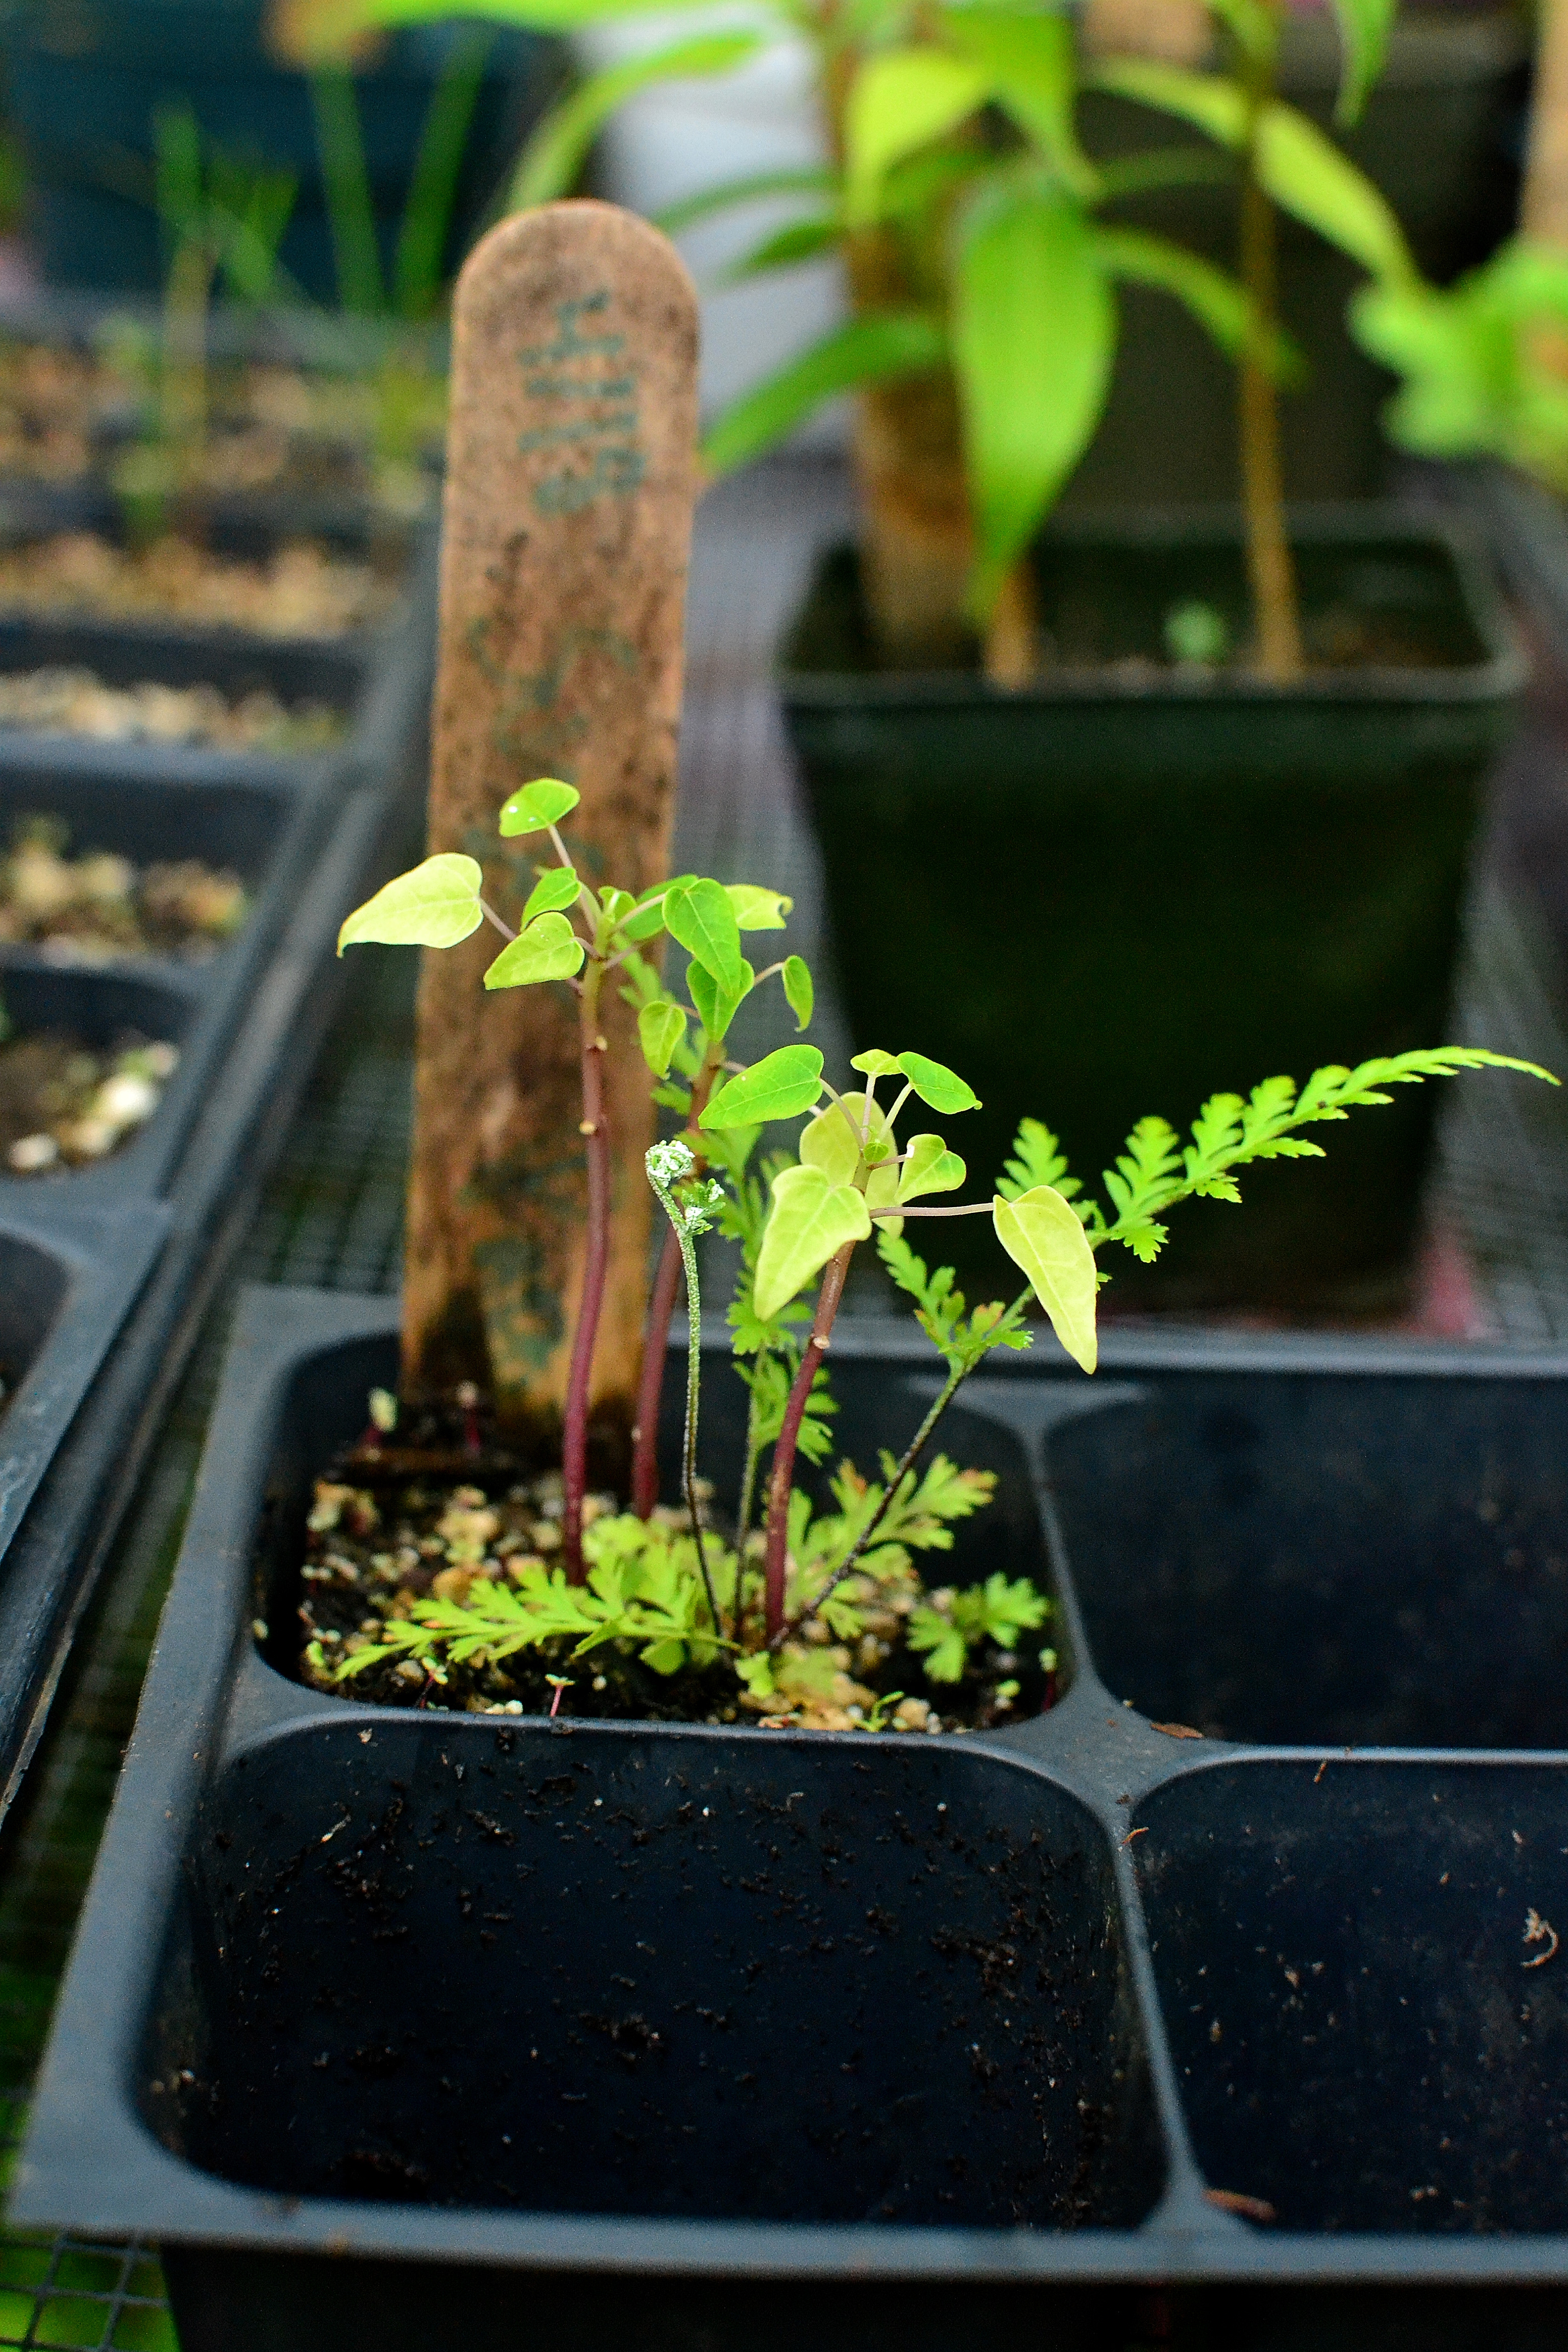
Propagation may be done vegetatively from cuttings, but more commonly from seed. Propagation from seed is very easy; once you eat a delicious variety, simply stick some of those seeds into the ground where you want the plant to grow, or into potting trays. I have tried planting cleaned seeds and seeds directly from the fruit and both germinate quite easily, so I see no need to clean and dry the seed.

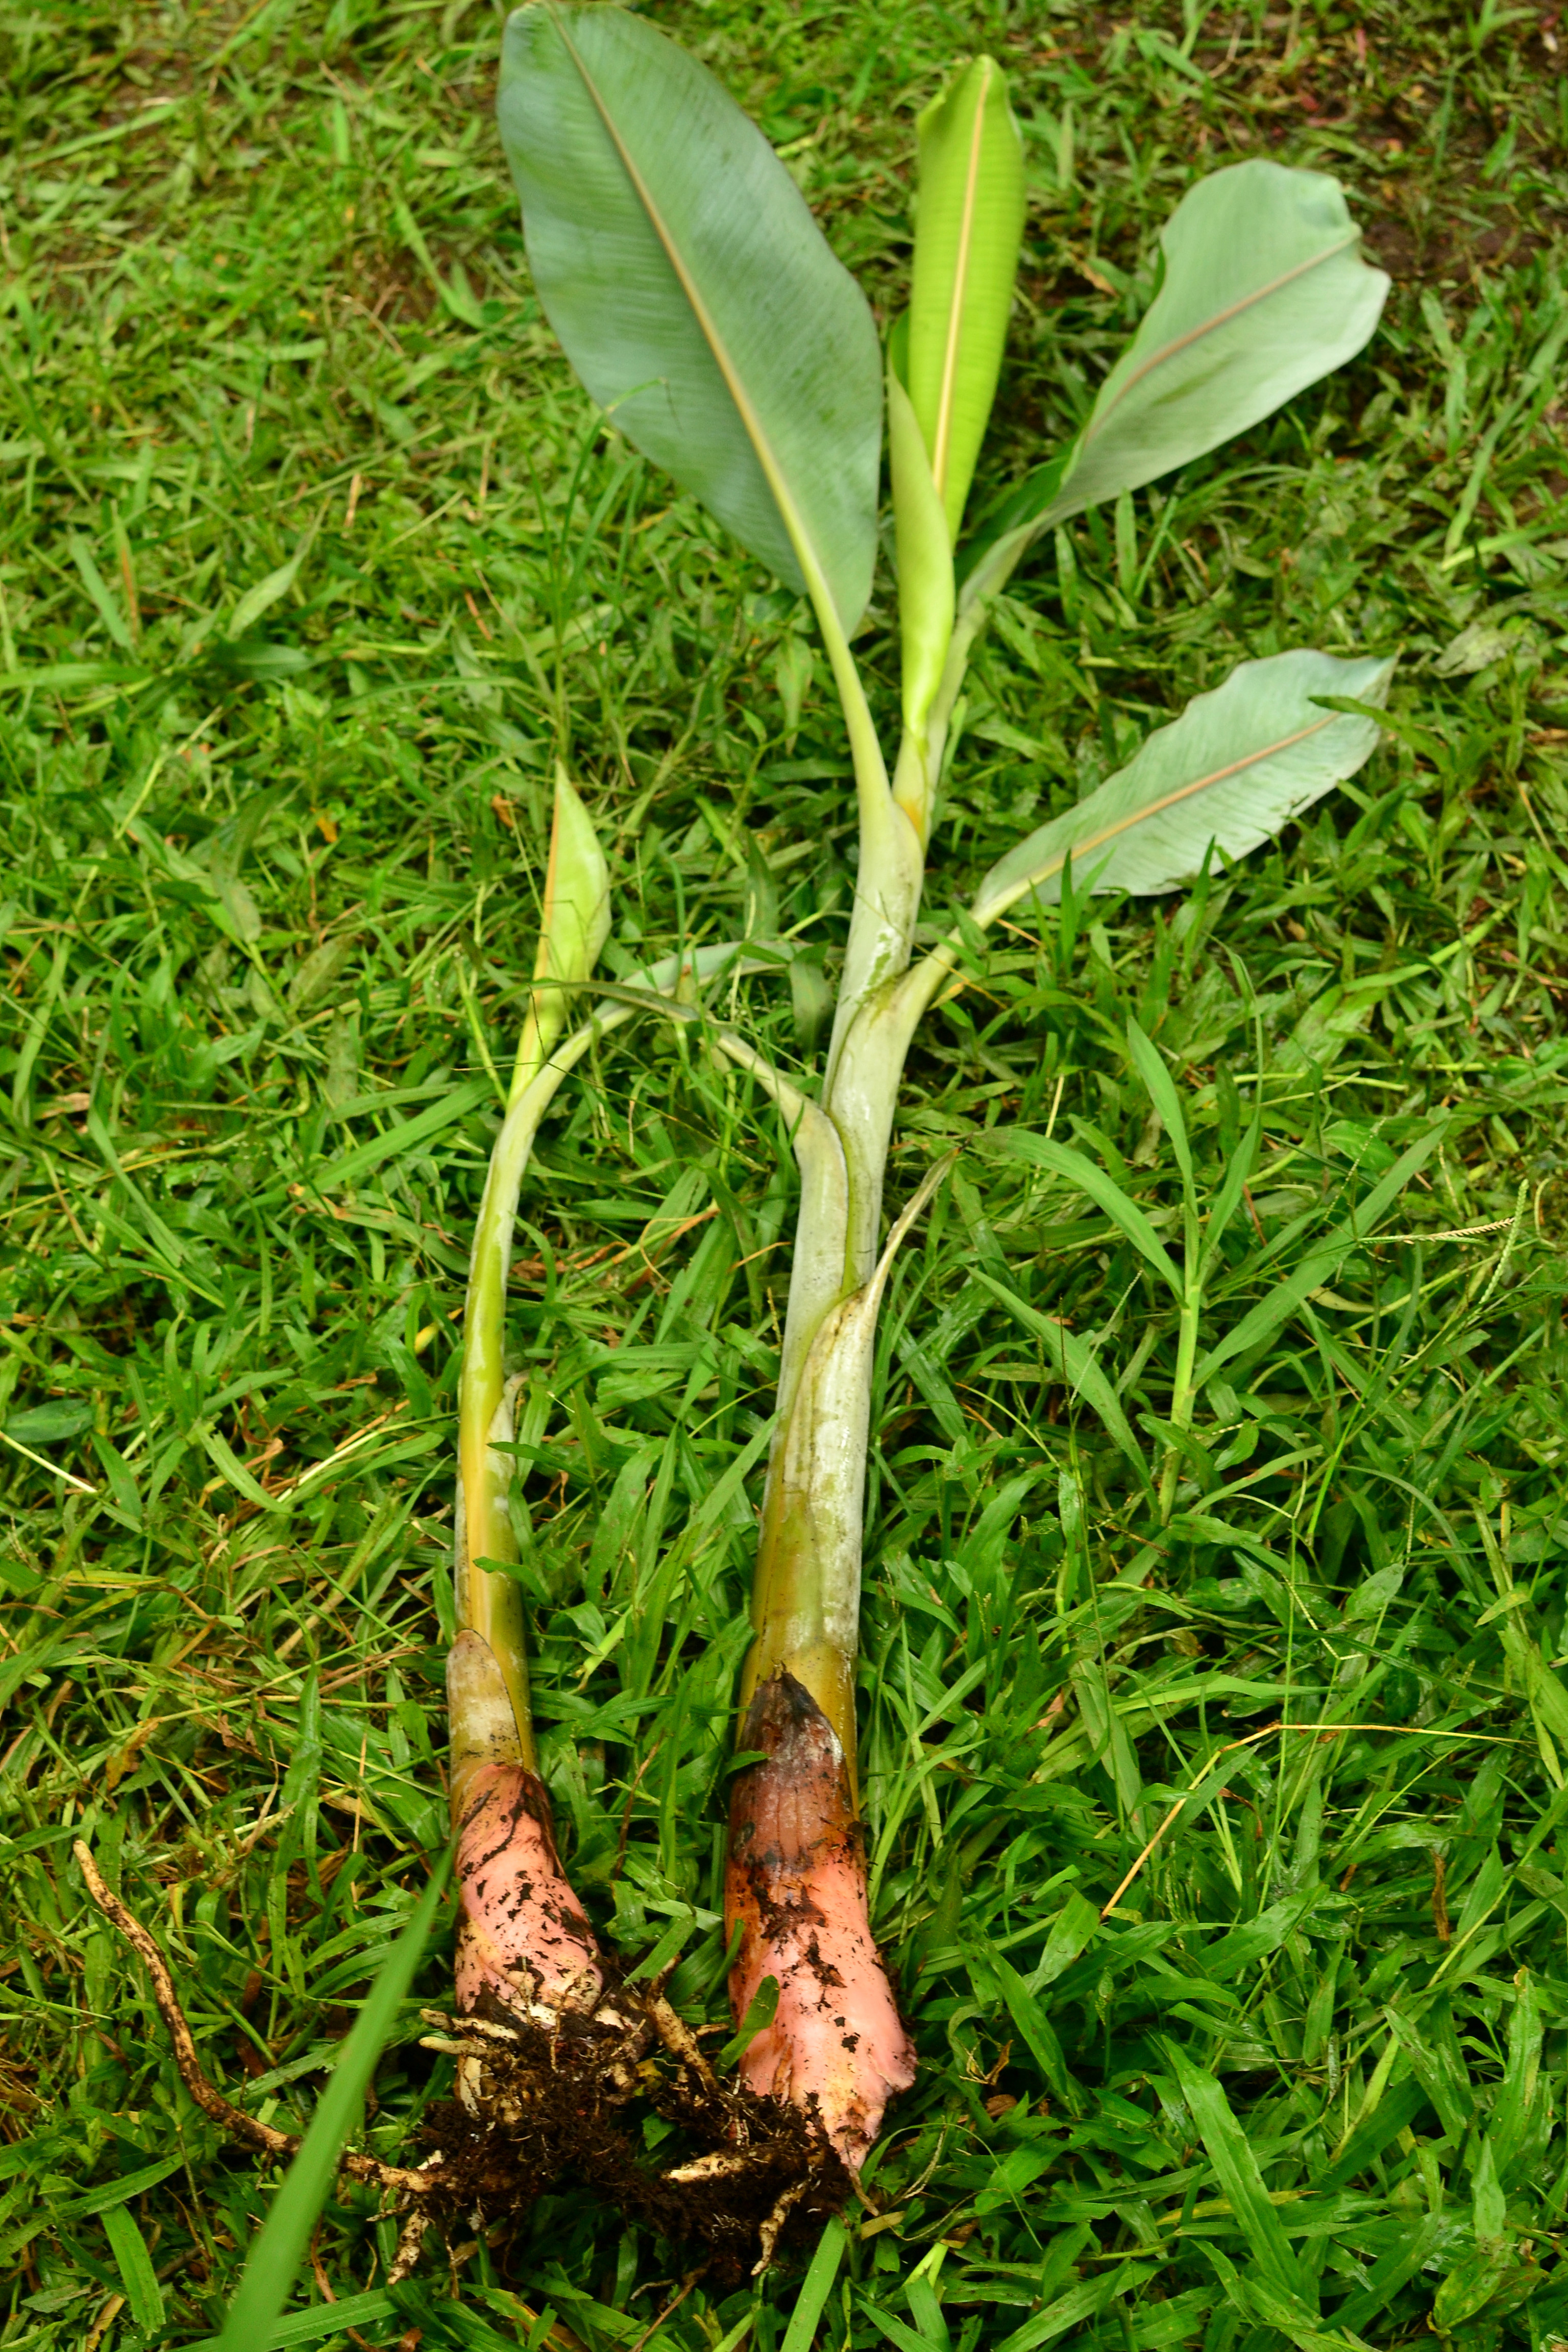
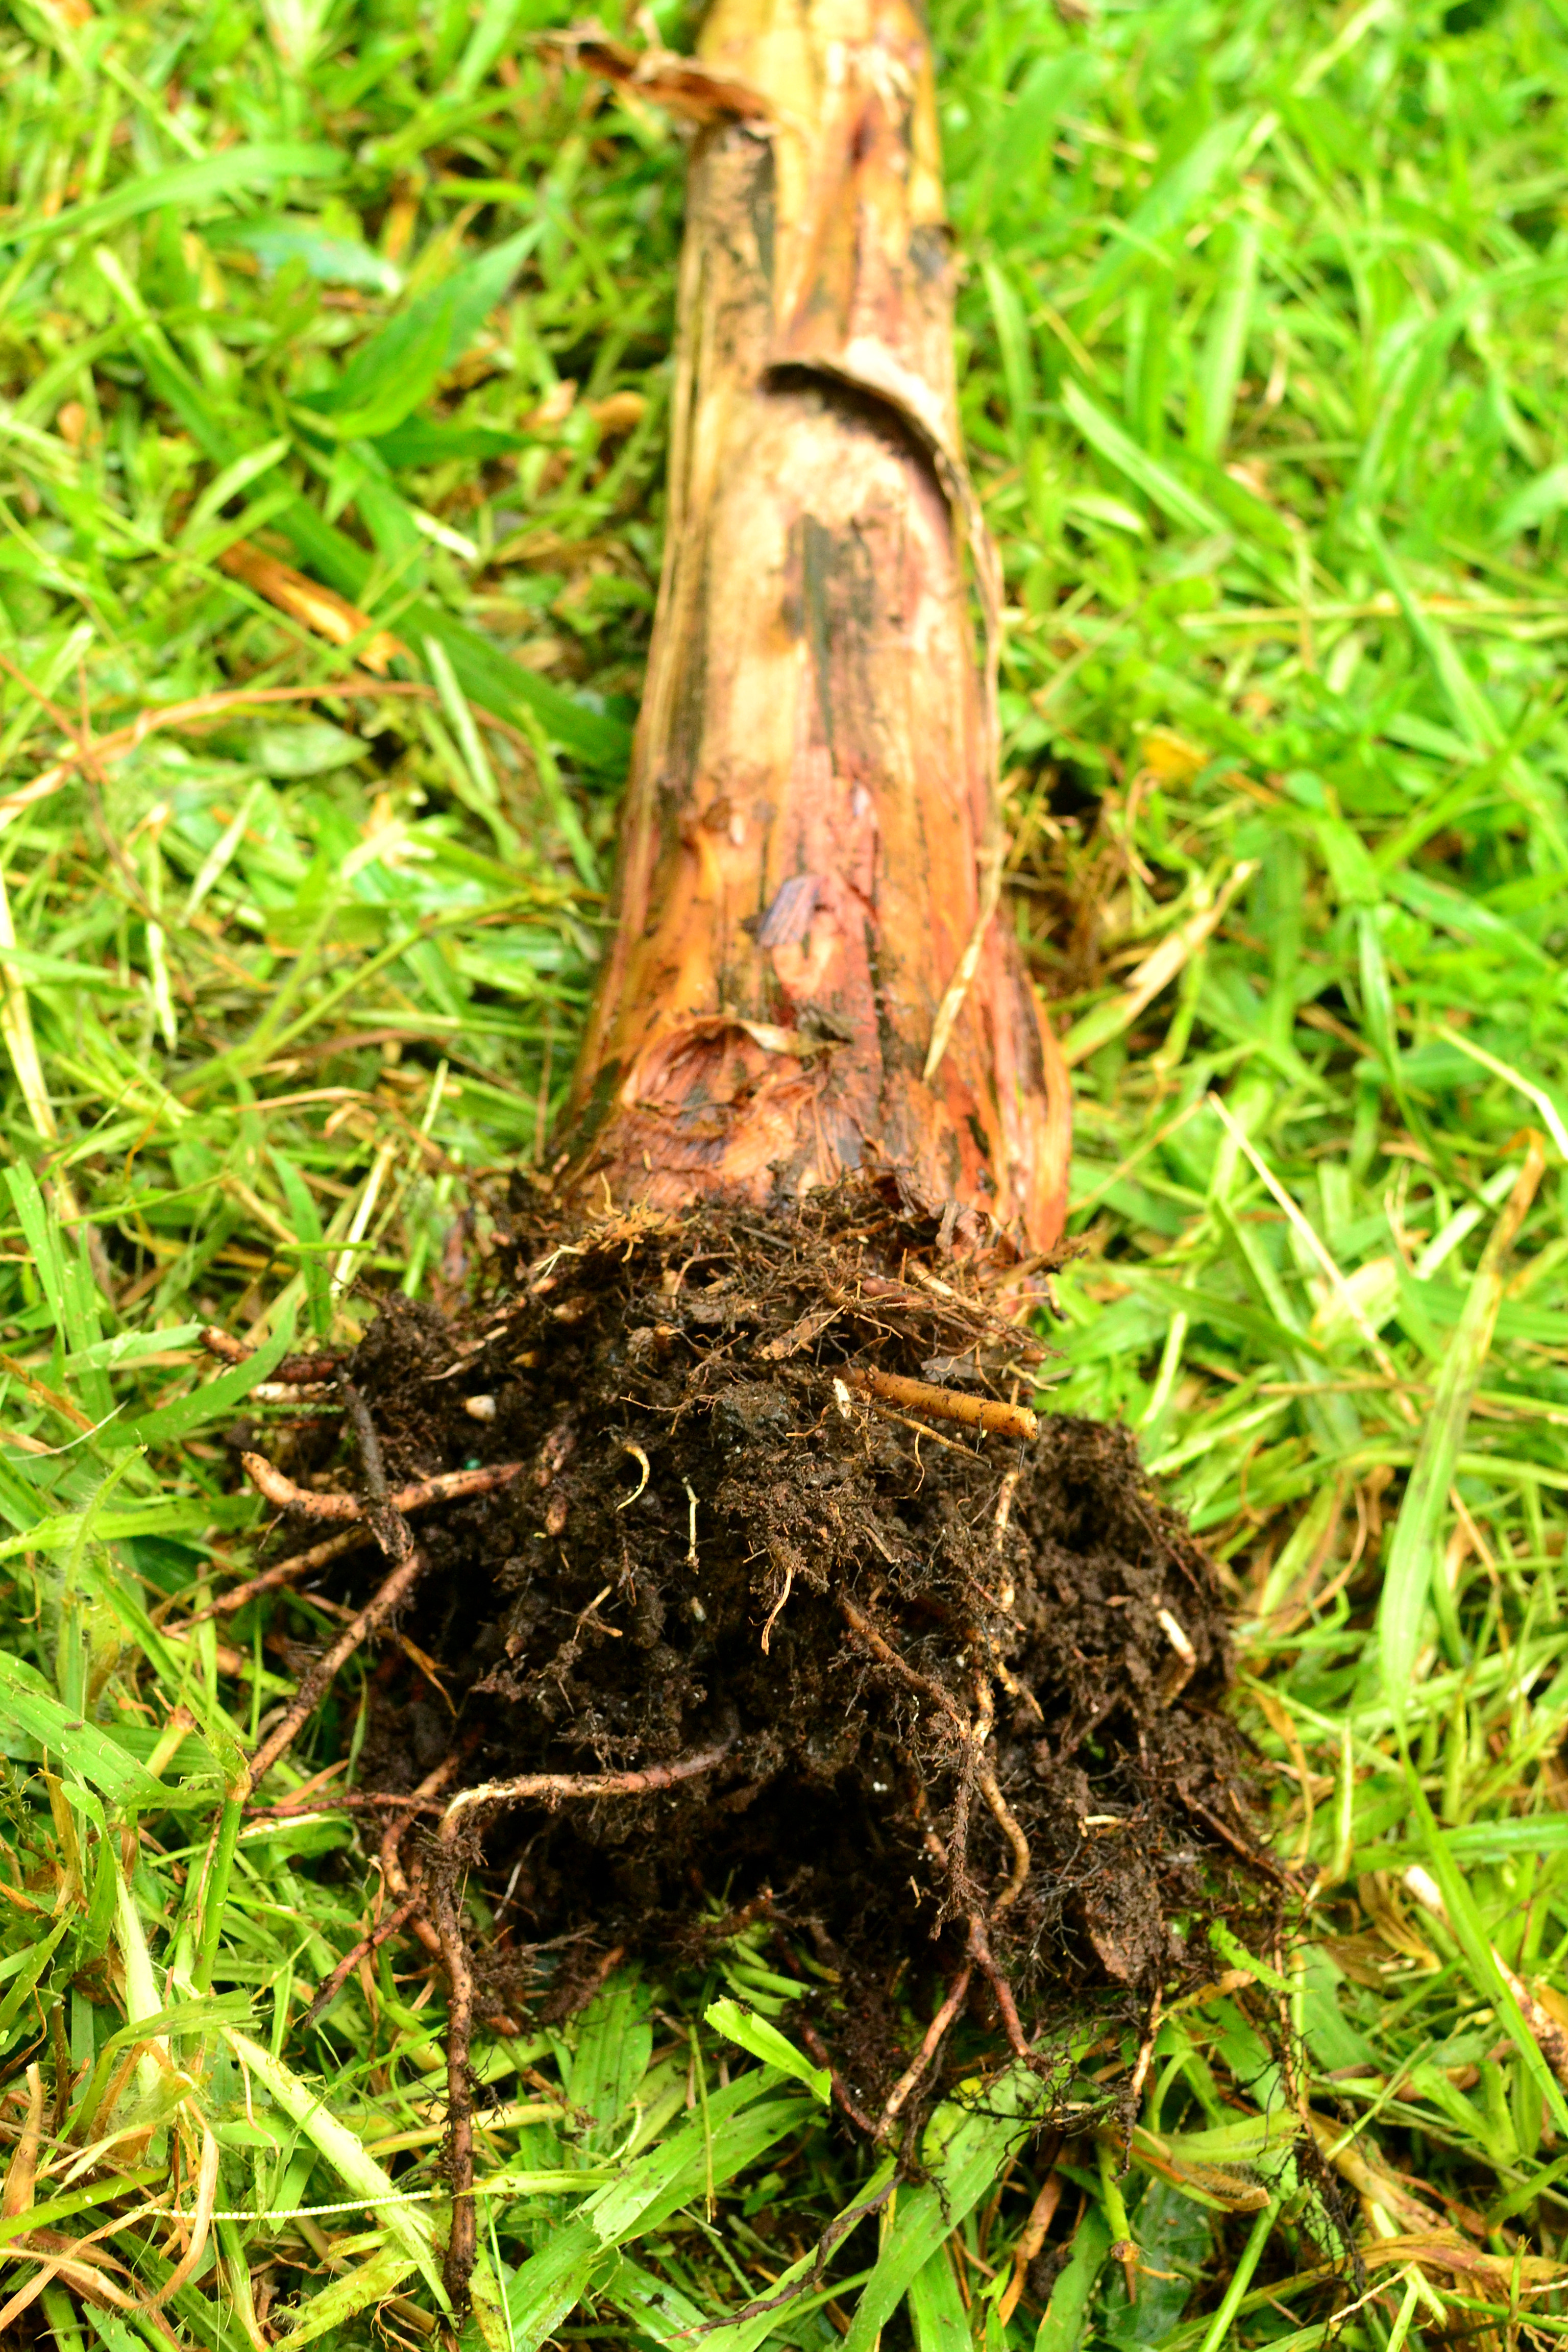
I do have a problem with direct sowing seeds (planting seed directly where I want plants to grow), so I plant my seeds into small trays first, then transplant out when they are a few inches tall. Papayas have a sensitive rooting system and a deep tap root, so make sure you transplant while the plants are young and haven’t developed their tap root yet.

dsc_0446

Plant seeds in trays or directly into the ground

dsc_0471

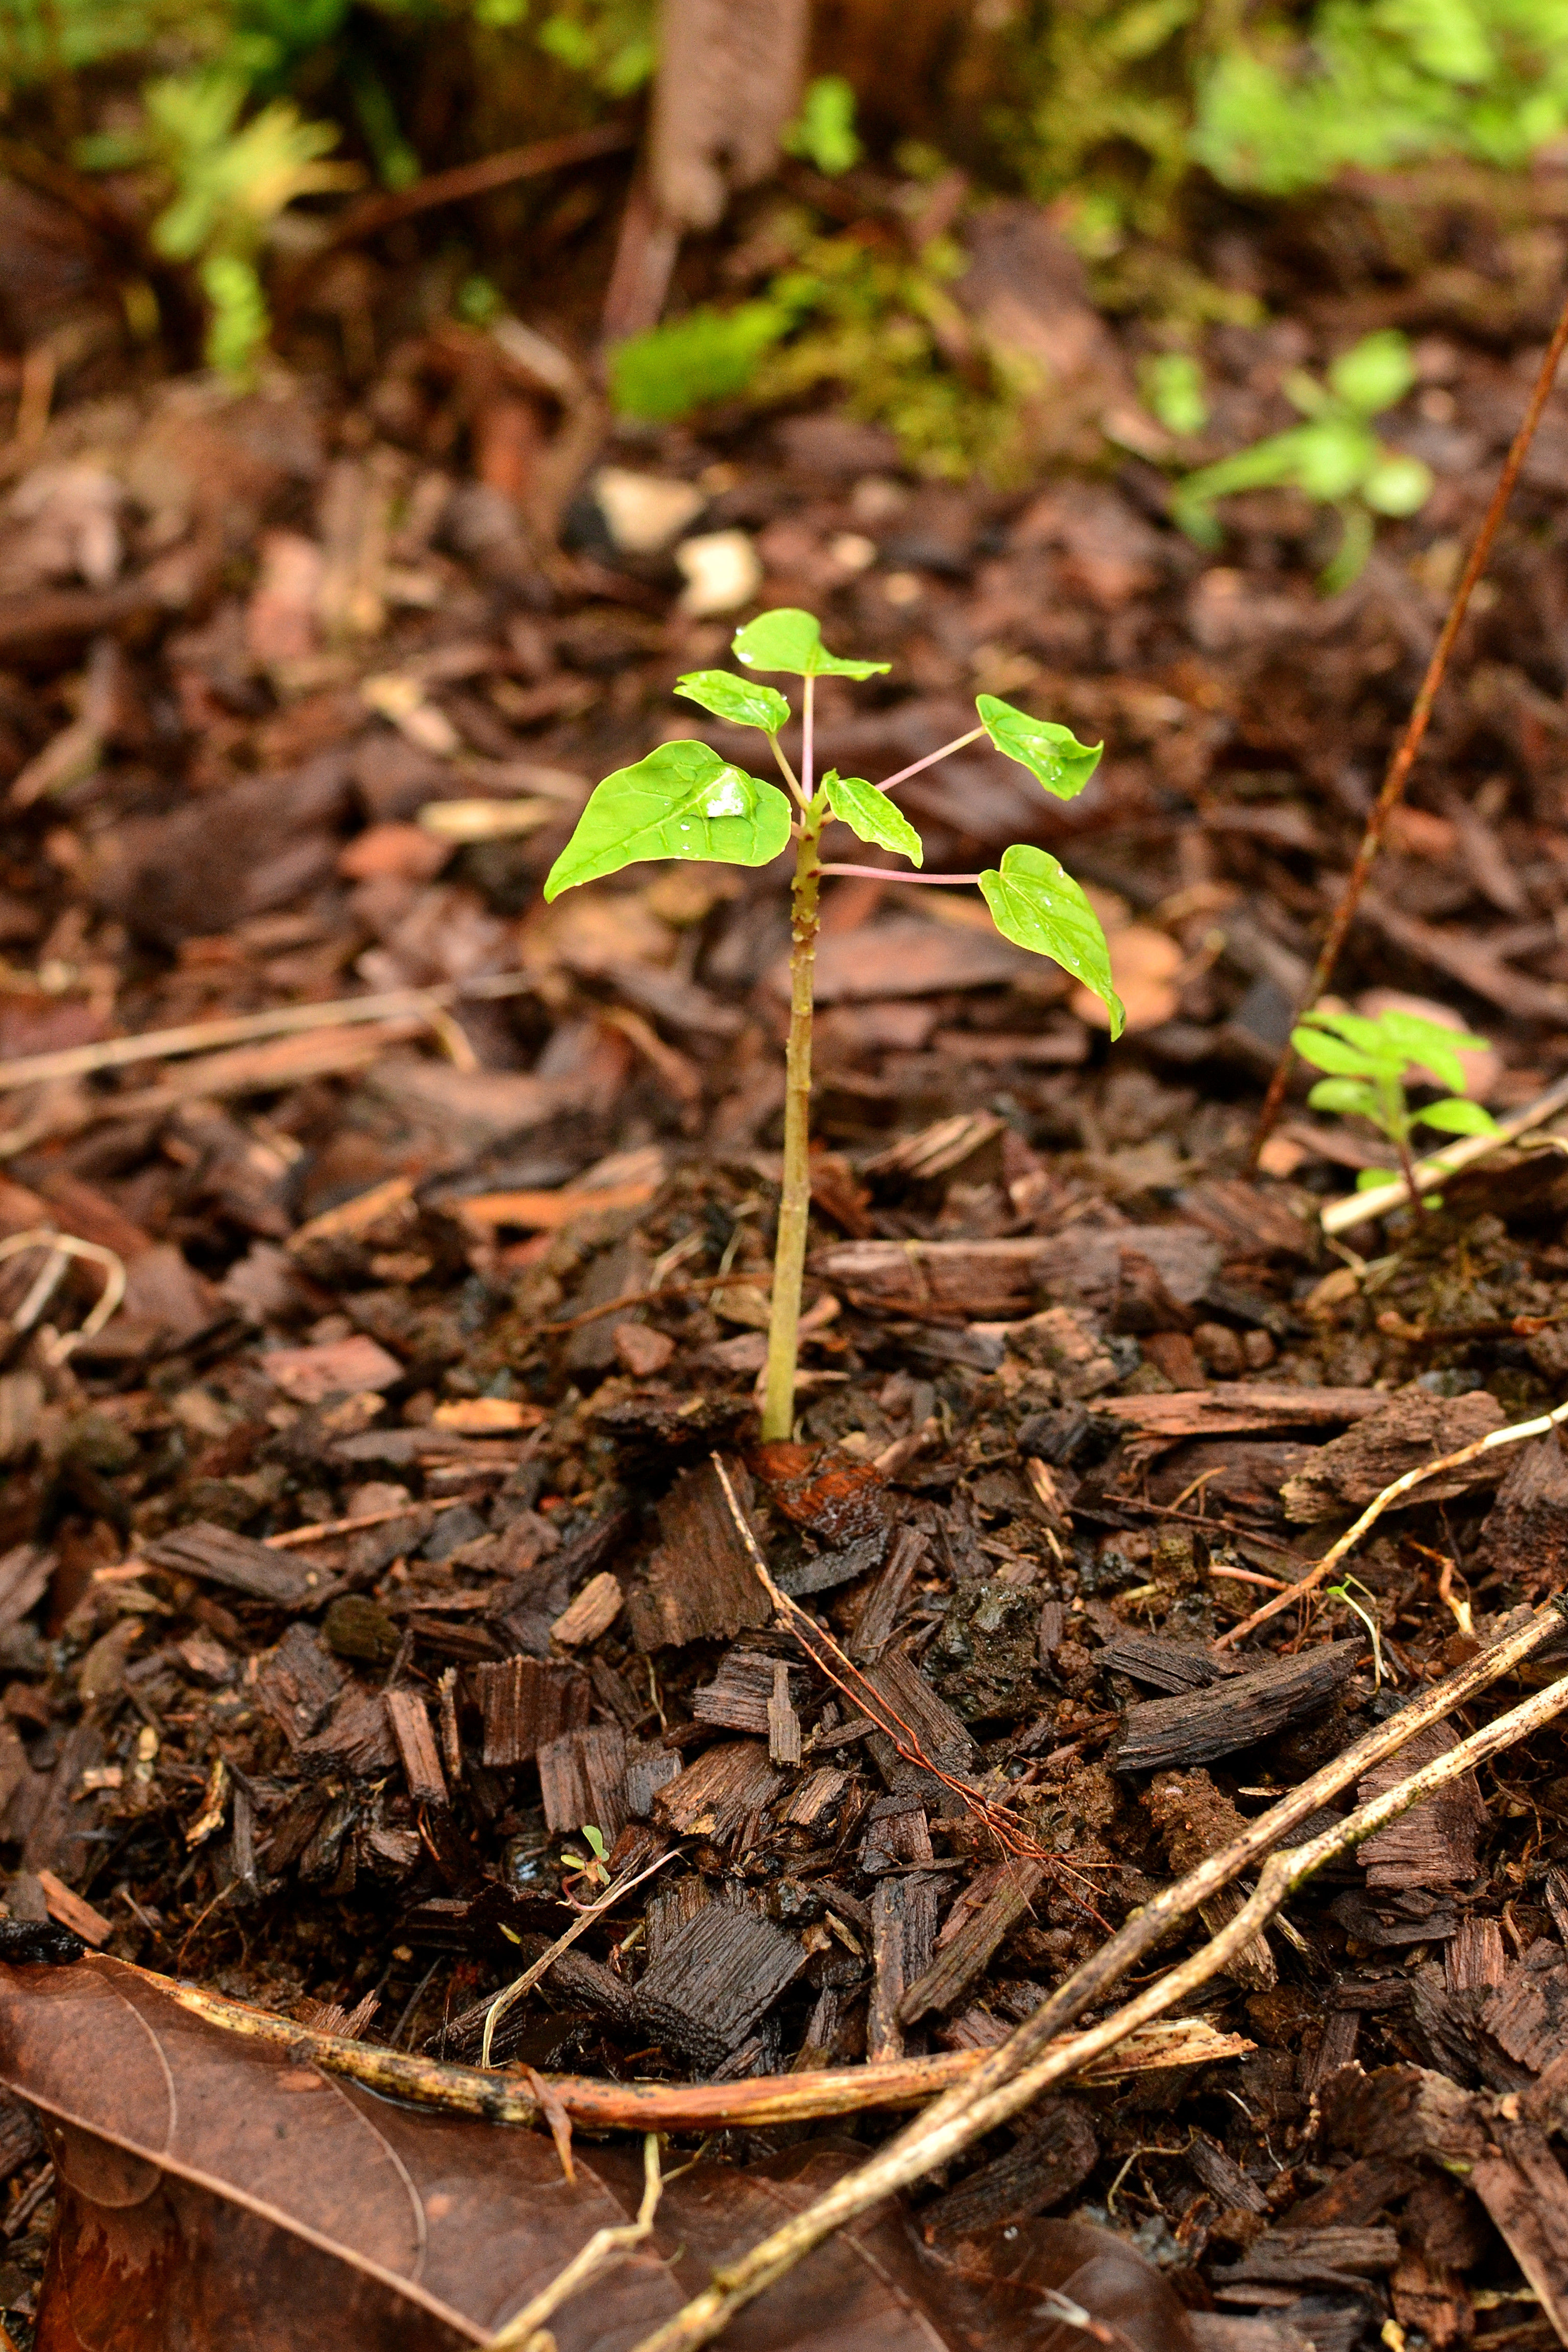
Transplant when small to reduce harming the taproot

Care

Weed around your young plants until they are tall enough to fend for themselves. Or better yet, grow a ground cover around them so you minimize weeding efforts. Papayas fruit year round, so adding compost, or nitrogen fixing plants periodically is recommended.

Eating

Eat ripe fruits raw when they are a yellow/orange color and slightly soft. The ripe fruit can be processed and used in numerous desserts or recipes; just do some research to find out how you want to use it! The fruits are high in pectin making for a perfect jam.

When eating unripe papaya, remove skin and seeds first, and then cook similar to a summer squash, like zucchini. They may also be boiled, sautéed, baked, or pickled. The papaya will soak up the flavors that it is cooked with. For papaya salad, you must remove skin and seeds, boil until tender, then chill, and add lime and chili. The seeds may also be eaten like black pepper if desired.

The leaves must always be cooked. Young leaves are cooked and eaten like spinach, while older leaves must be boiled with two changes of water. The flowers are also cooked and eaten, generally with the leaves. The soft part of a young stem may be eaten raw, while the rest of the stem must be cooked. After cooking, the older stems are typically used peeled and grated, the bitter juice squeezed out, and the mash mixed with sugar and salt.

Where to obtain planting materials

There are quite a few inexpensive or free ways to obtain seeds. You may find a delicious variety off the street, from a friend or somewhere else. You could buy a delicious variety from the farmers market or somewhere else. You could also buy seeds from a store, but why do that if you could sample the fruit before you plant it.

I prefer non-gmo varieties as they have better taste and since I am not planting a huge monocrop, I have no fear of disease. Make sure you plant a variety you enjoy eating, as the fruit from your planting will be the same as the one you ate, it would be terrible to grow a variety you don’t even want to eat!

My Garden

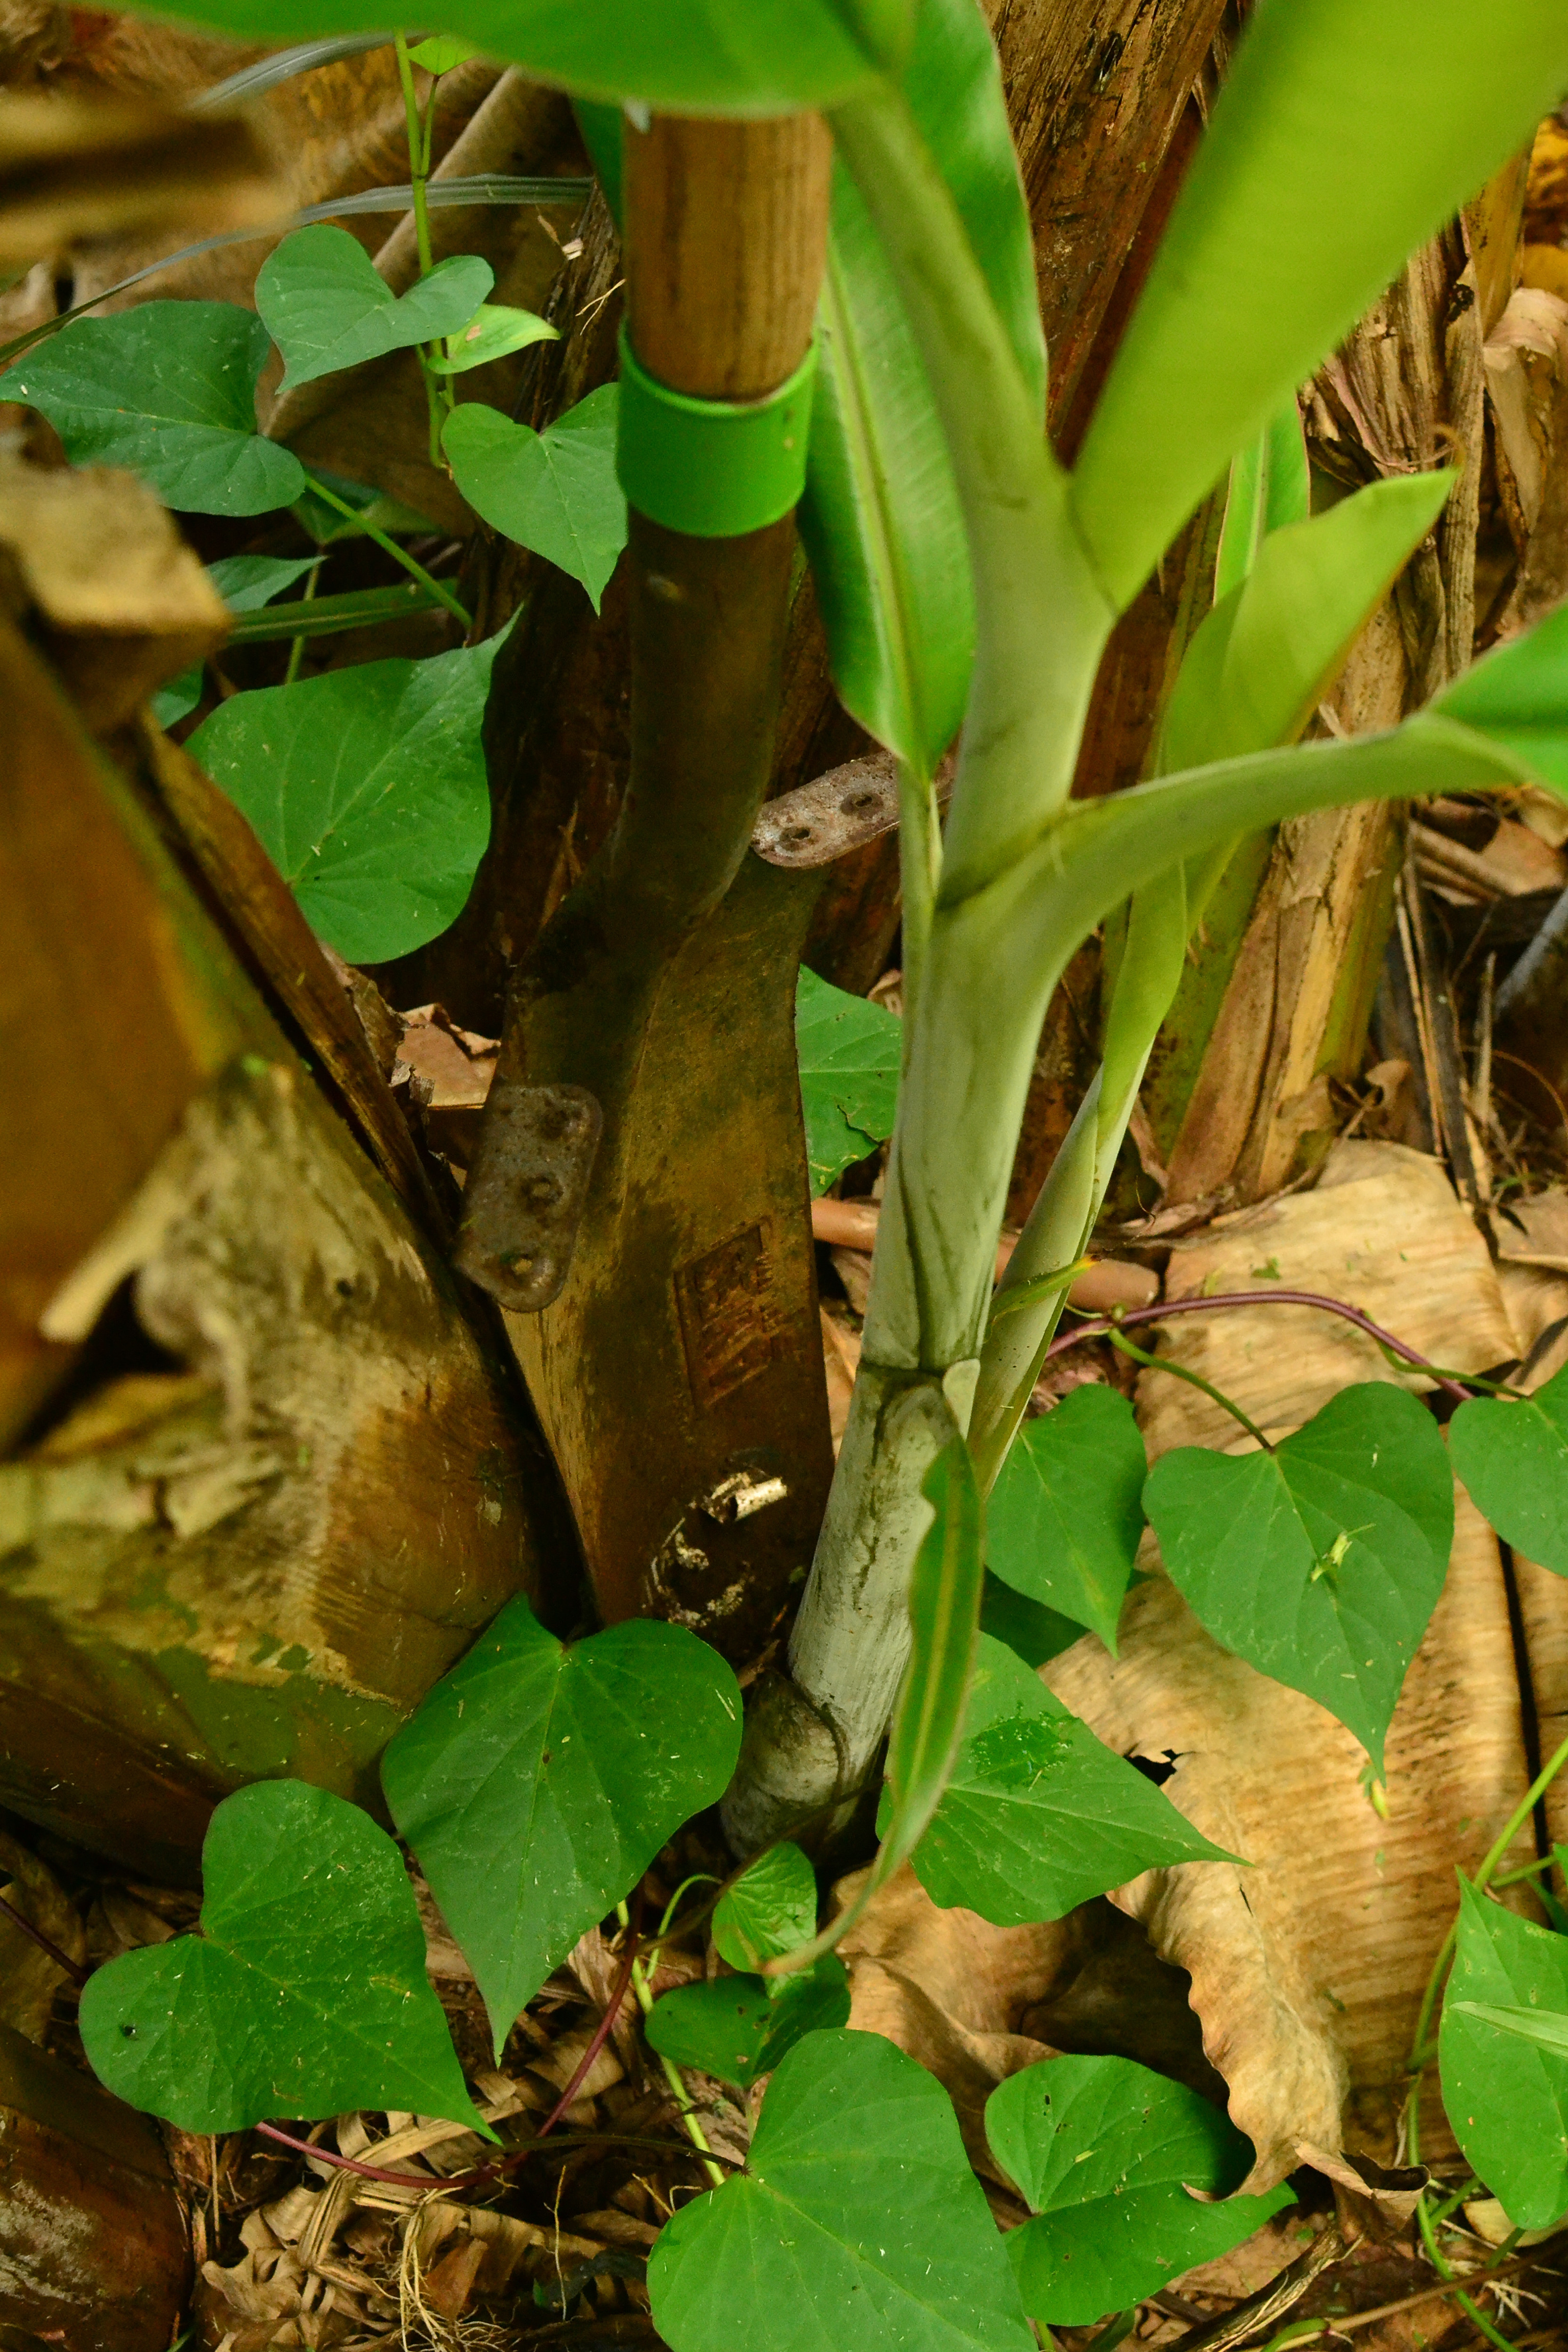
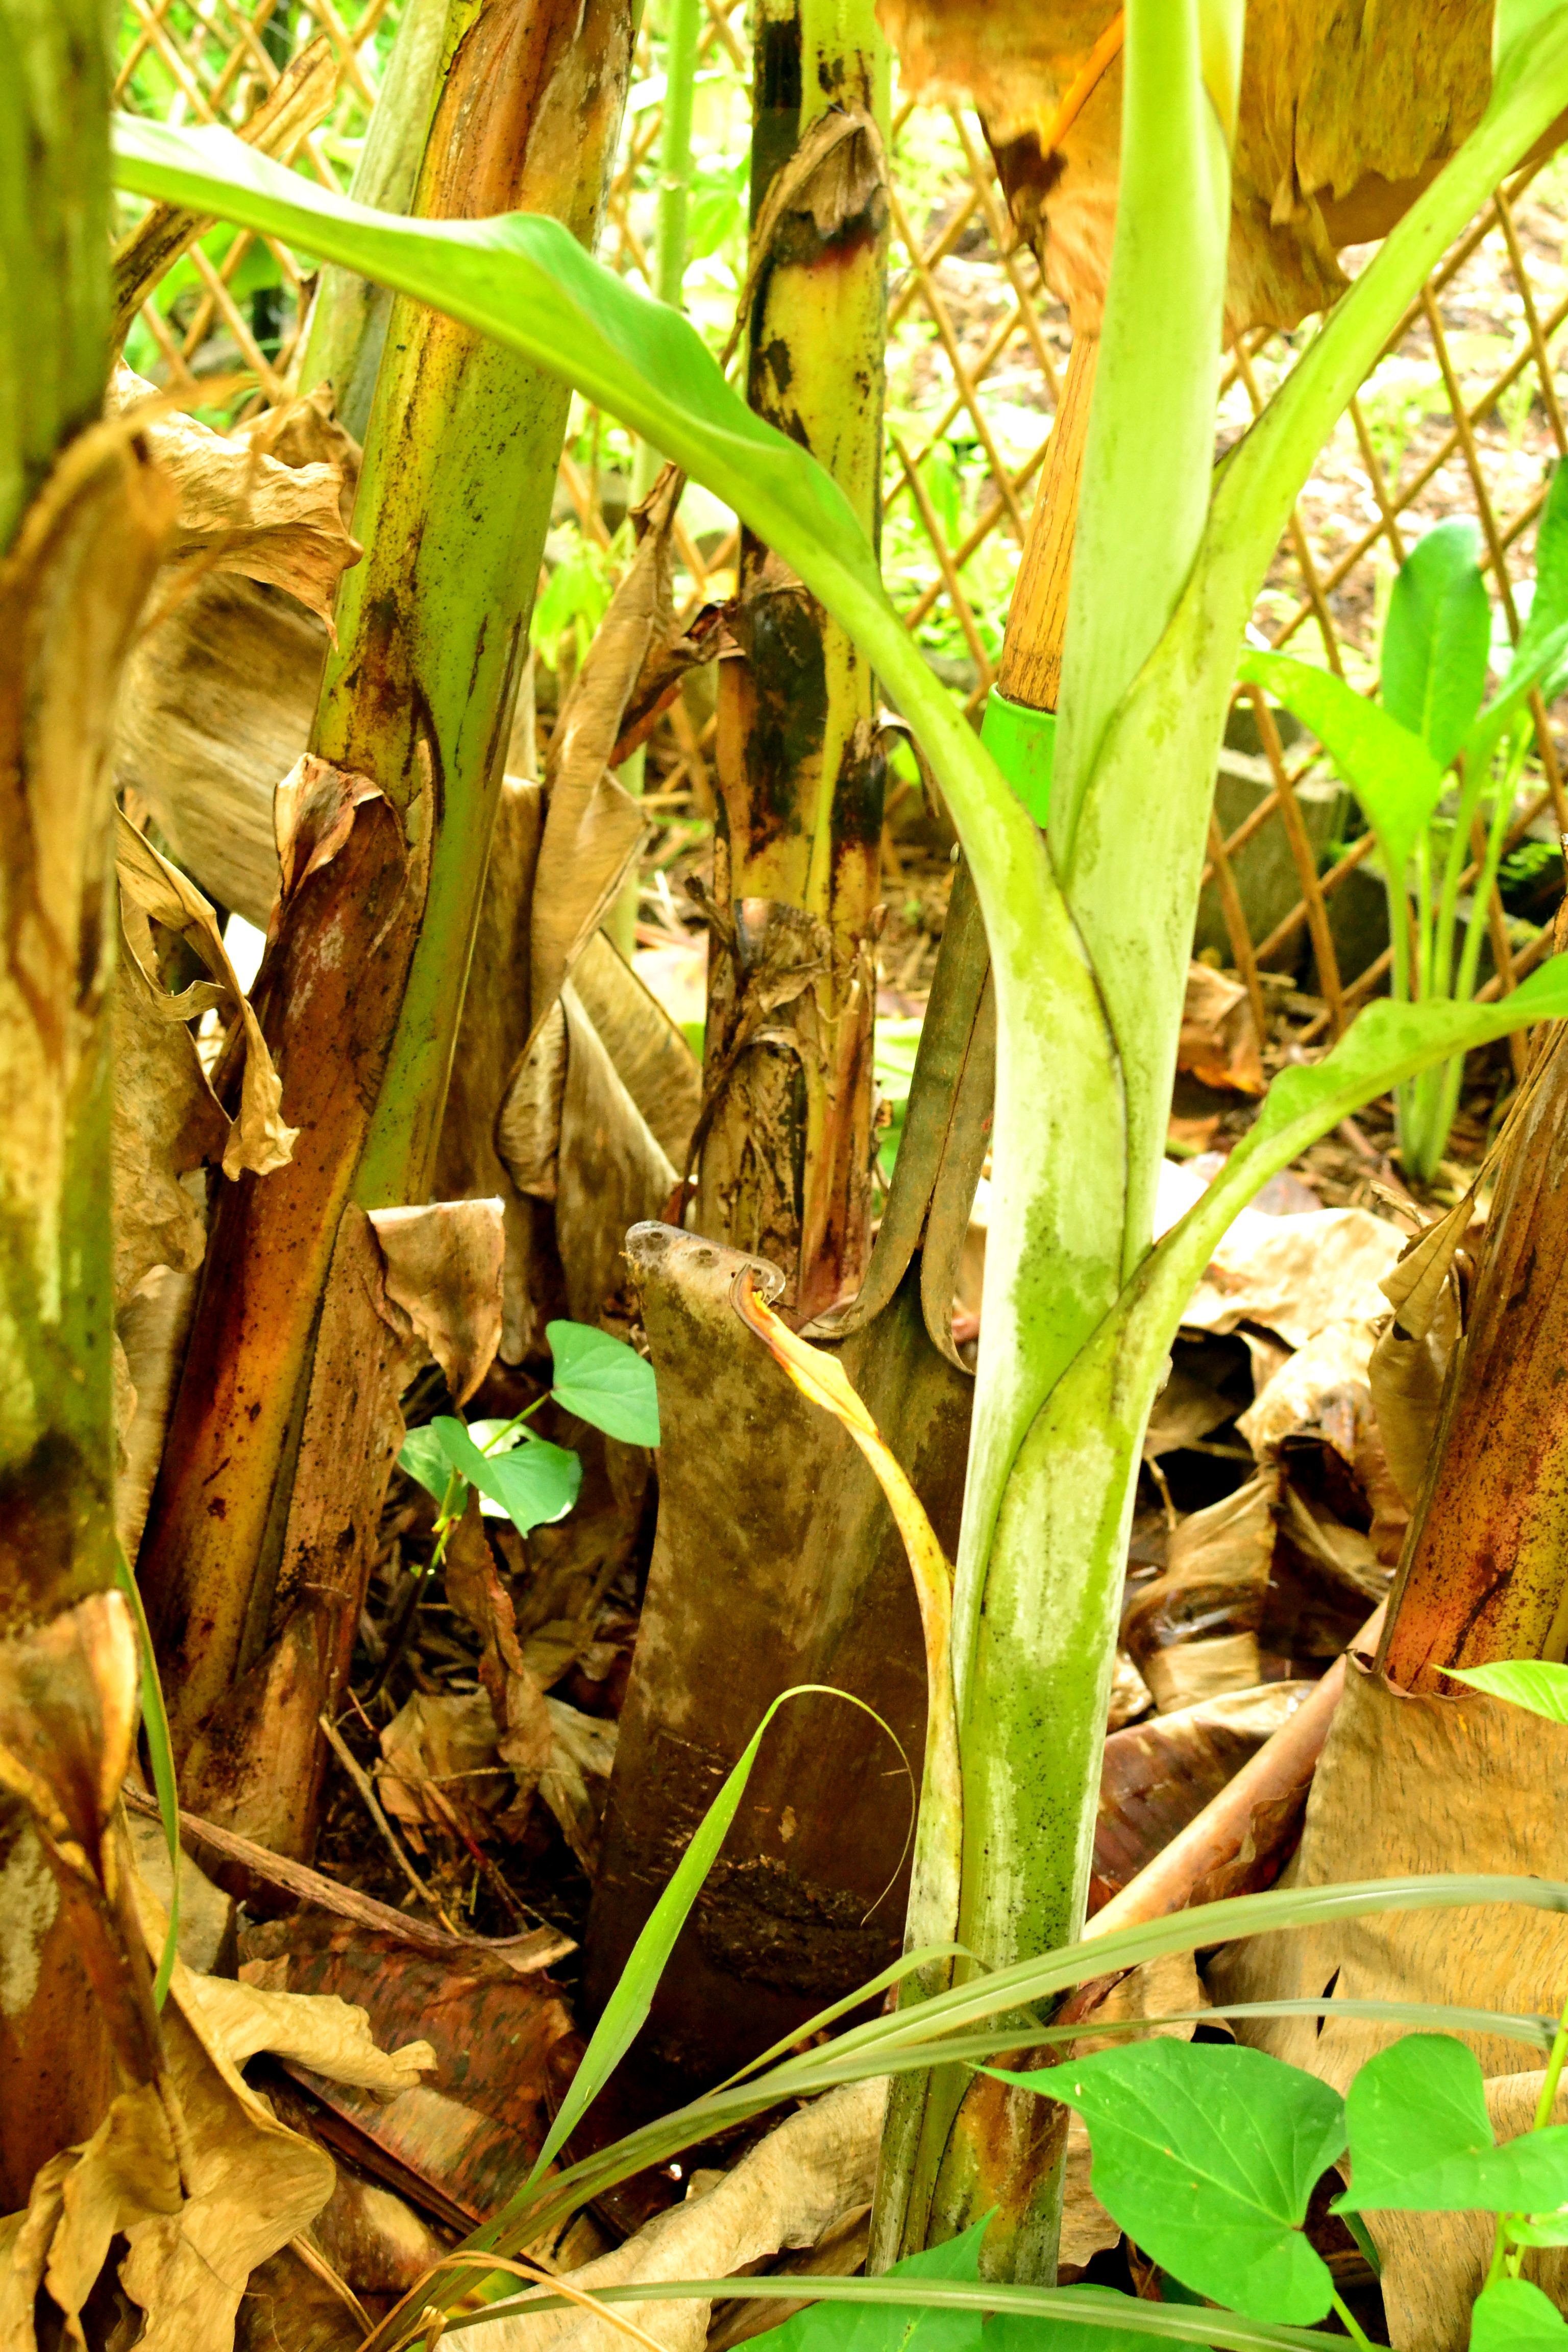
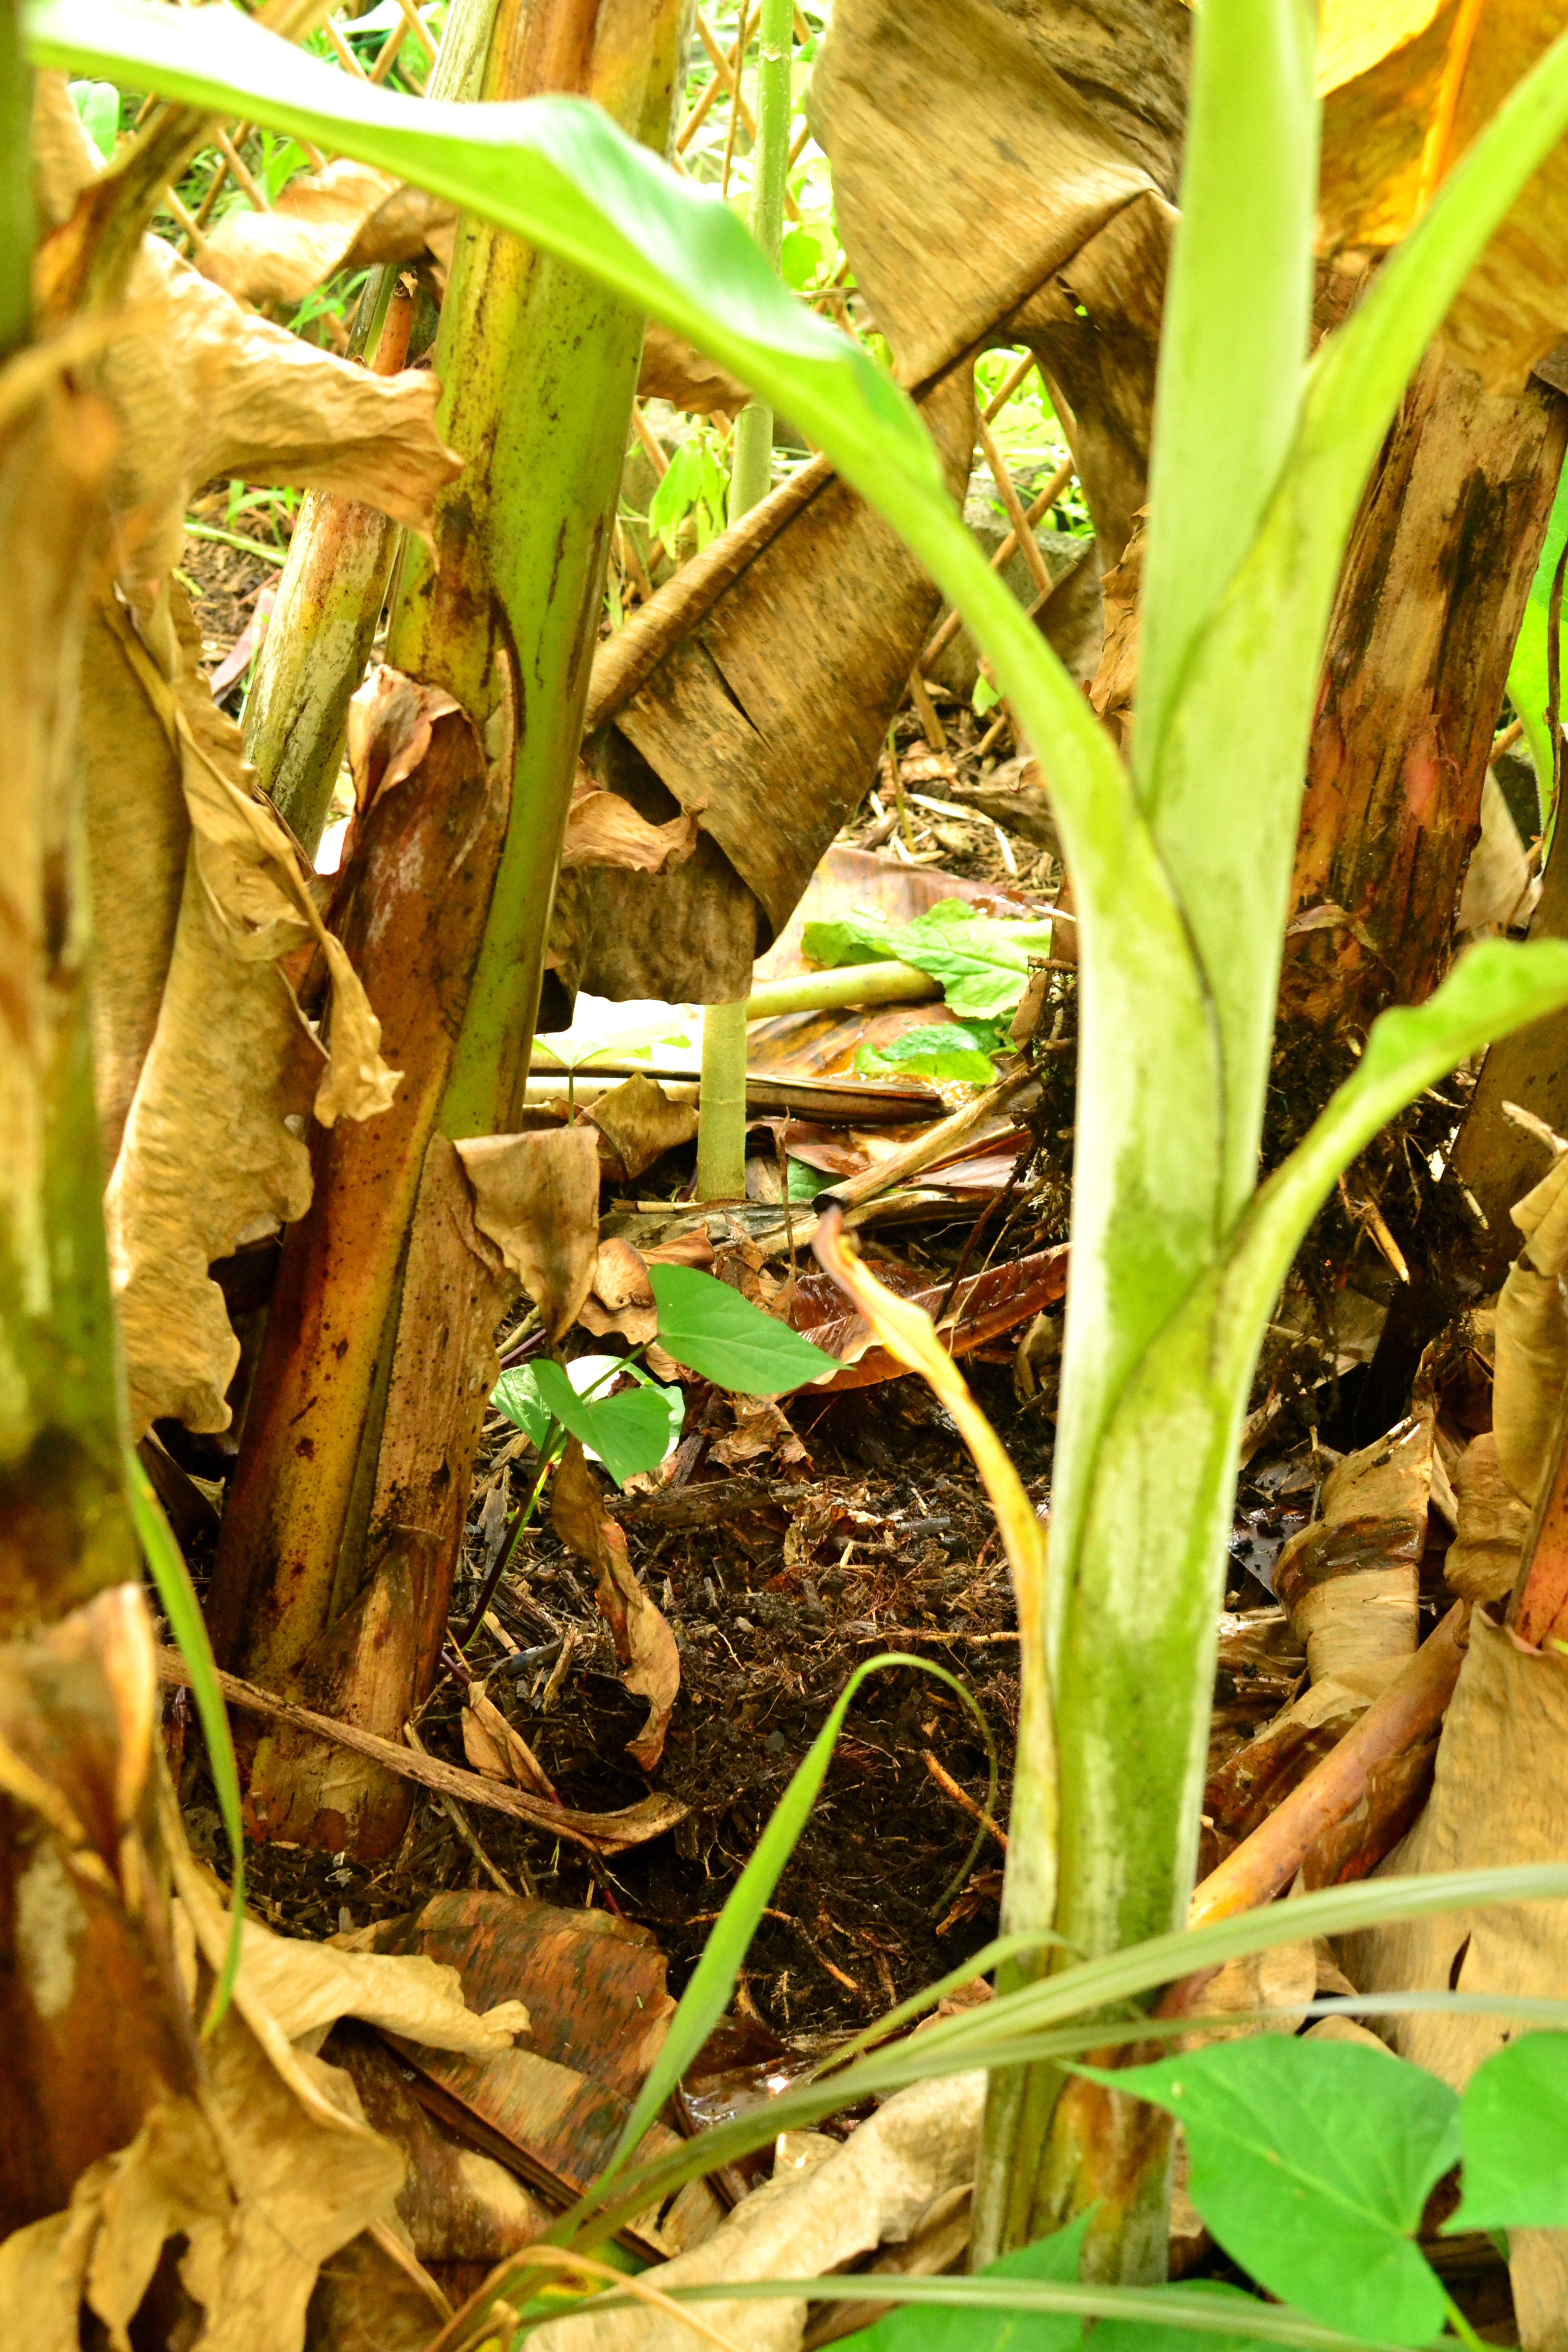
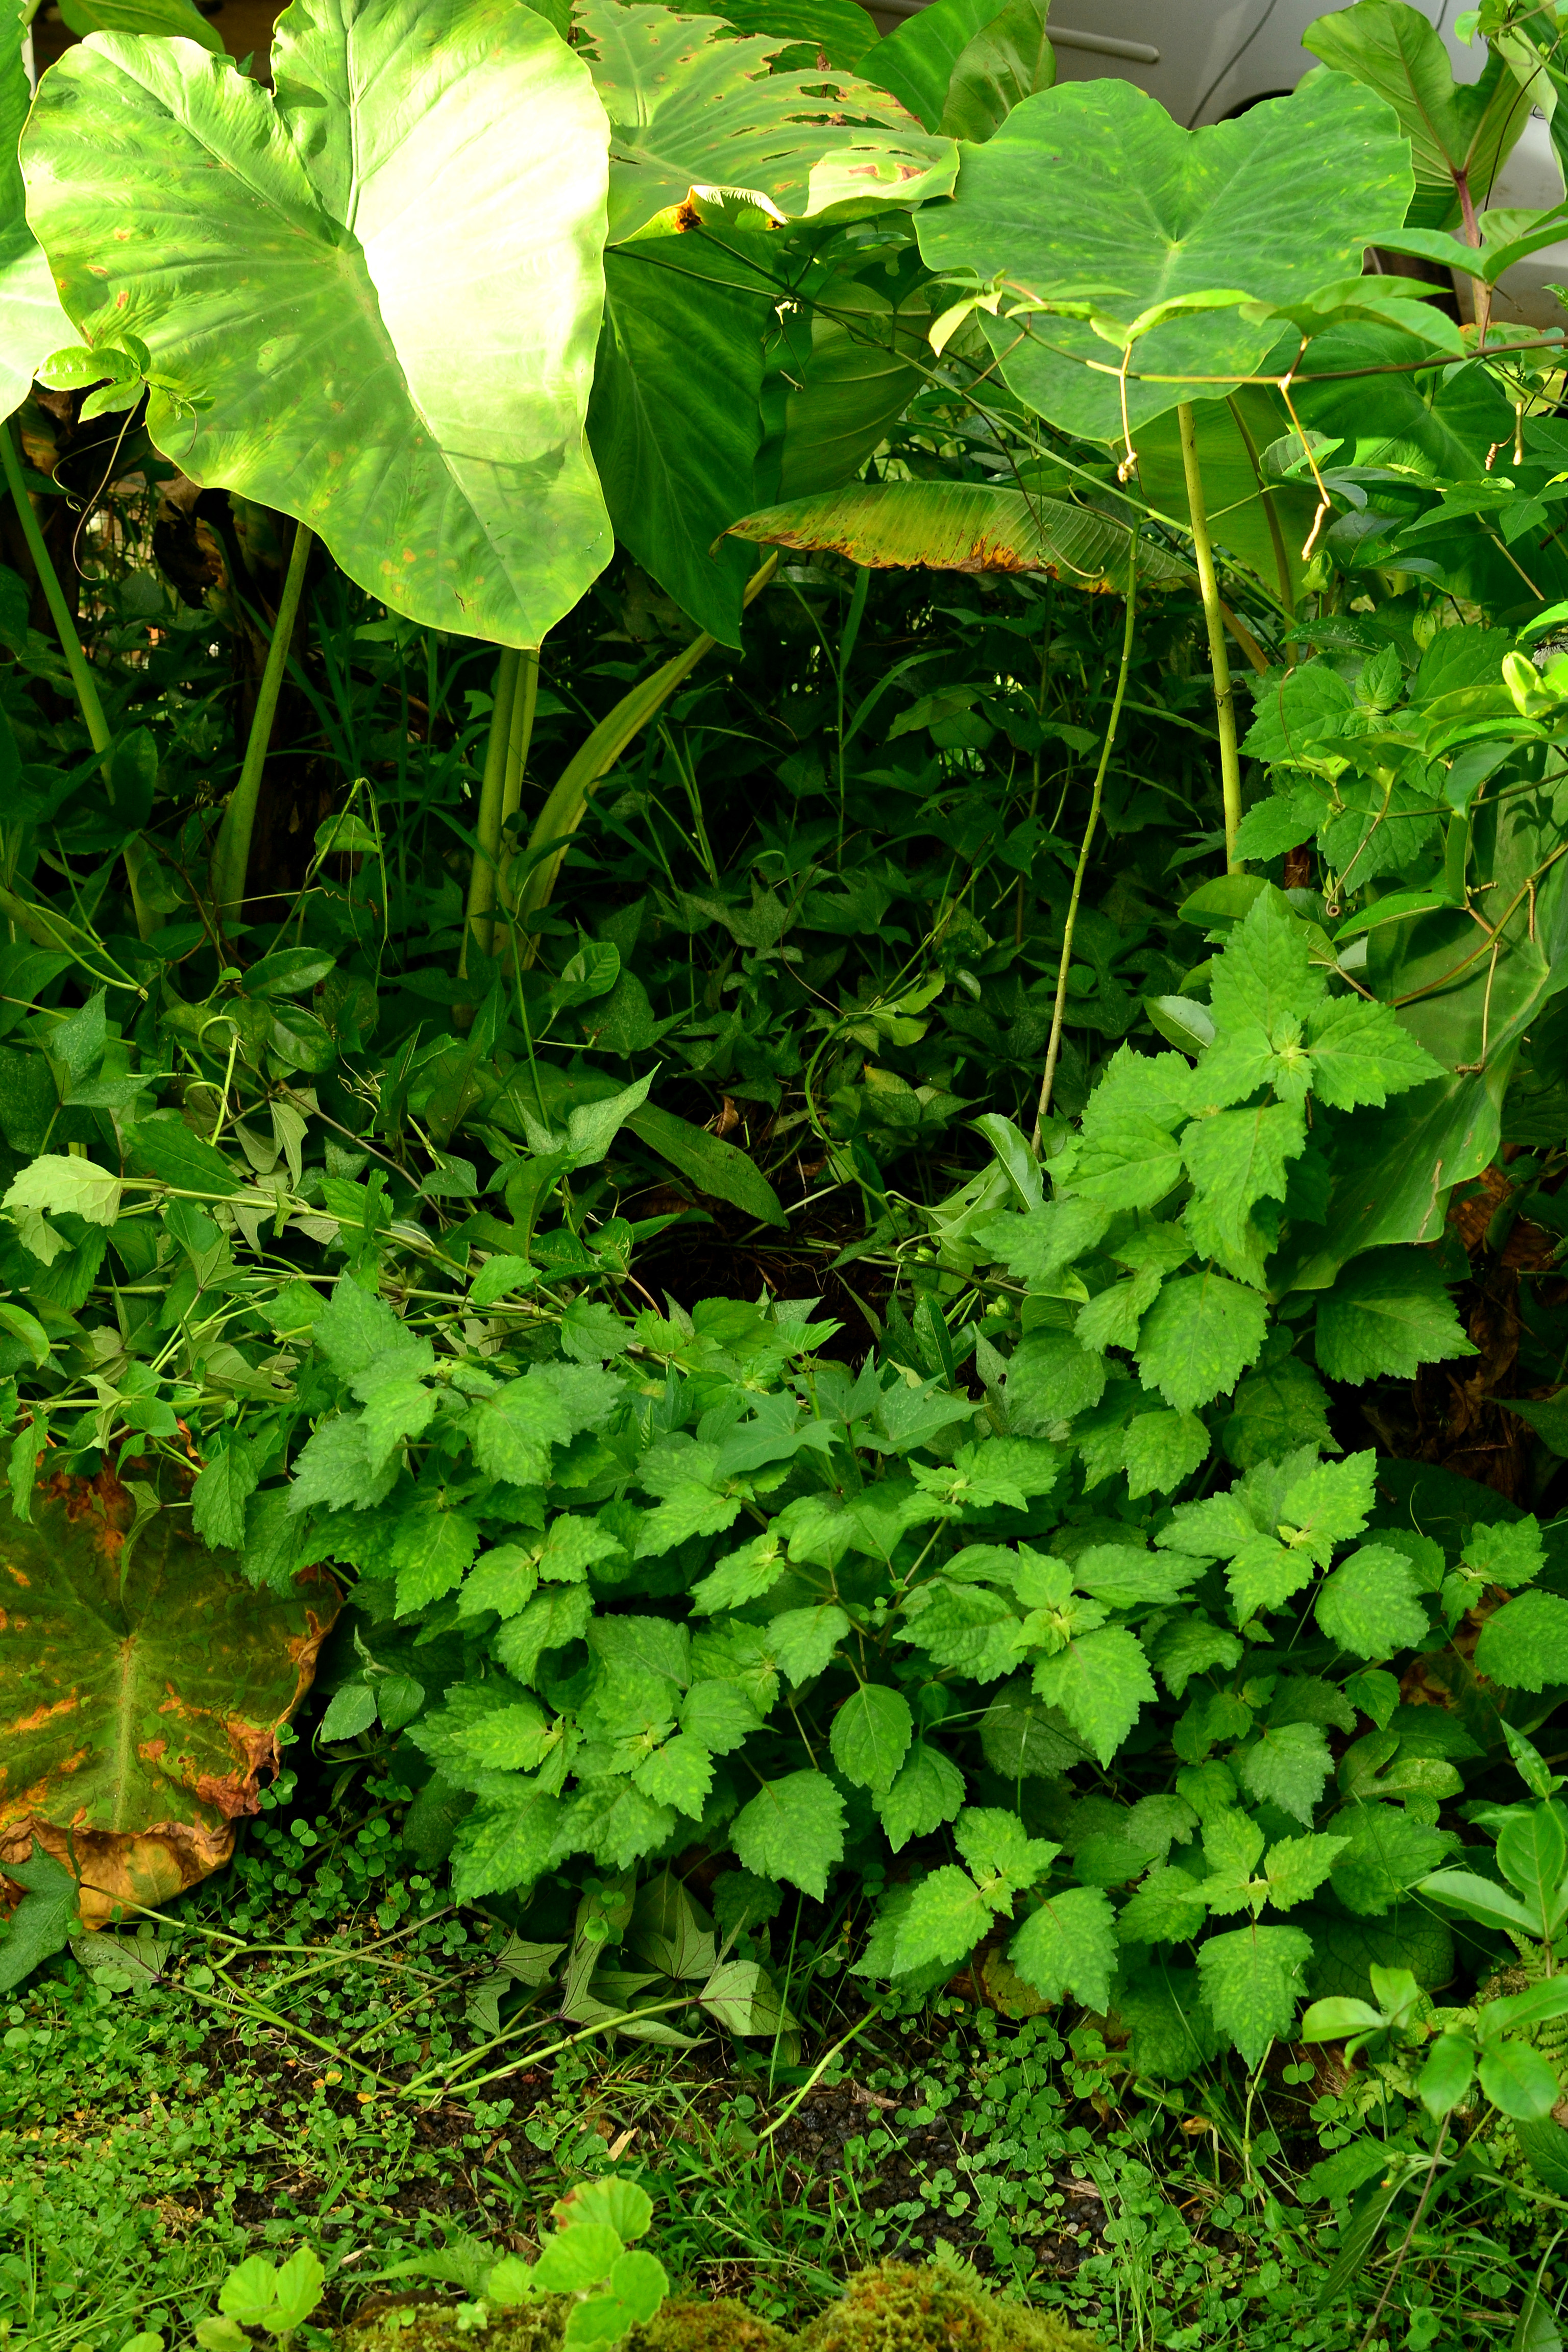
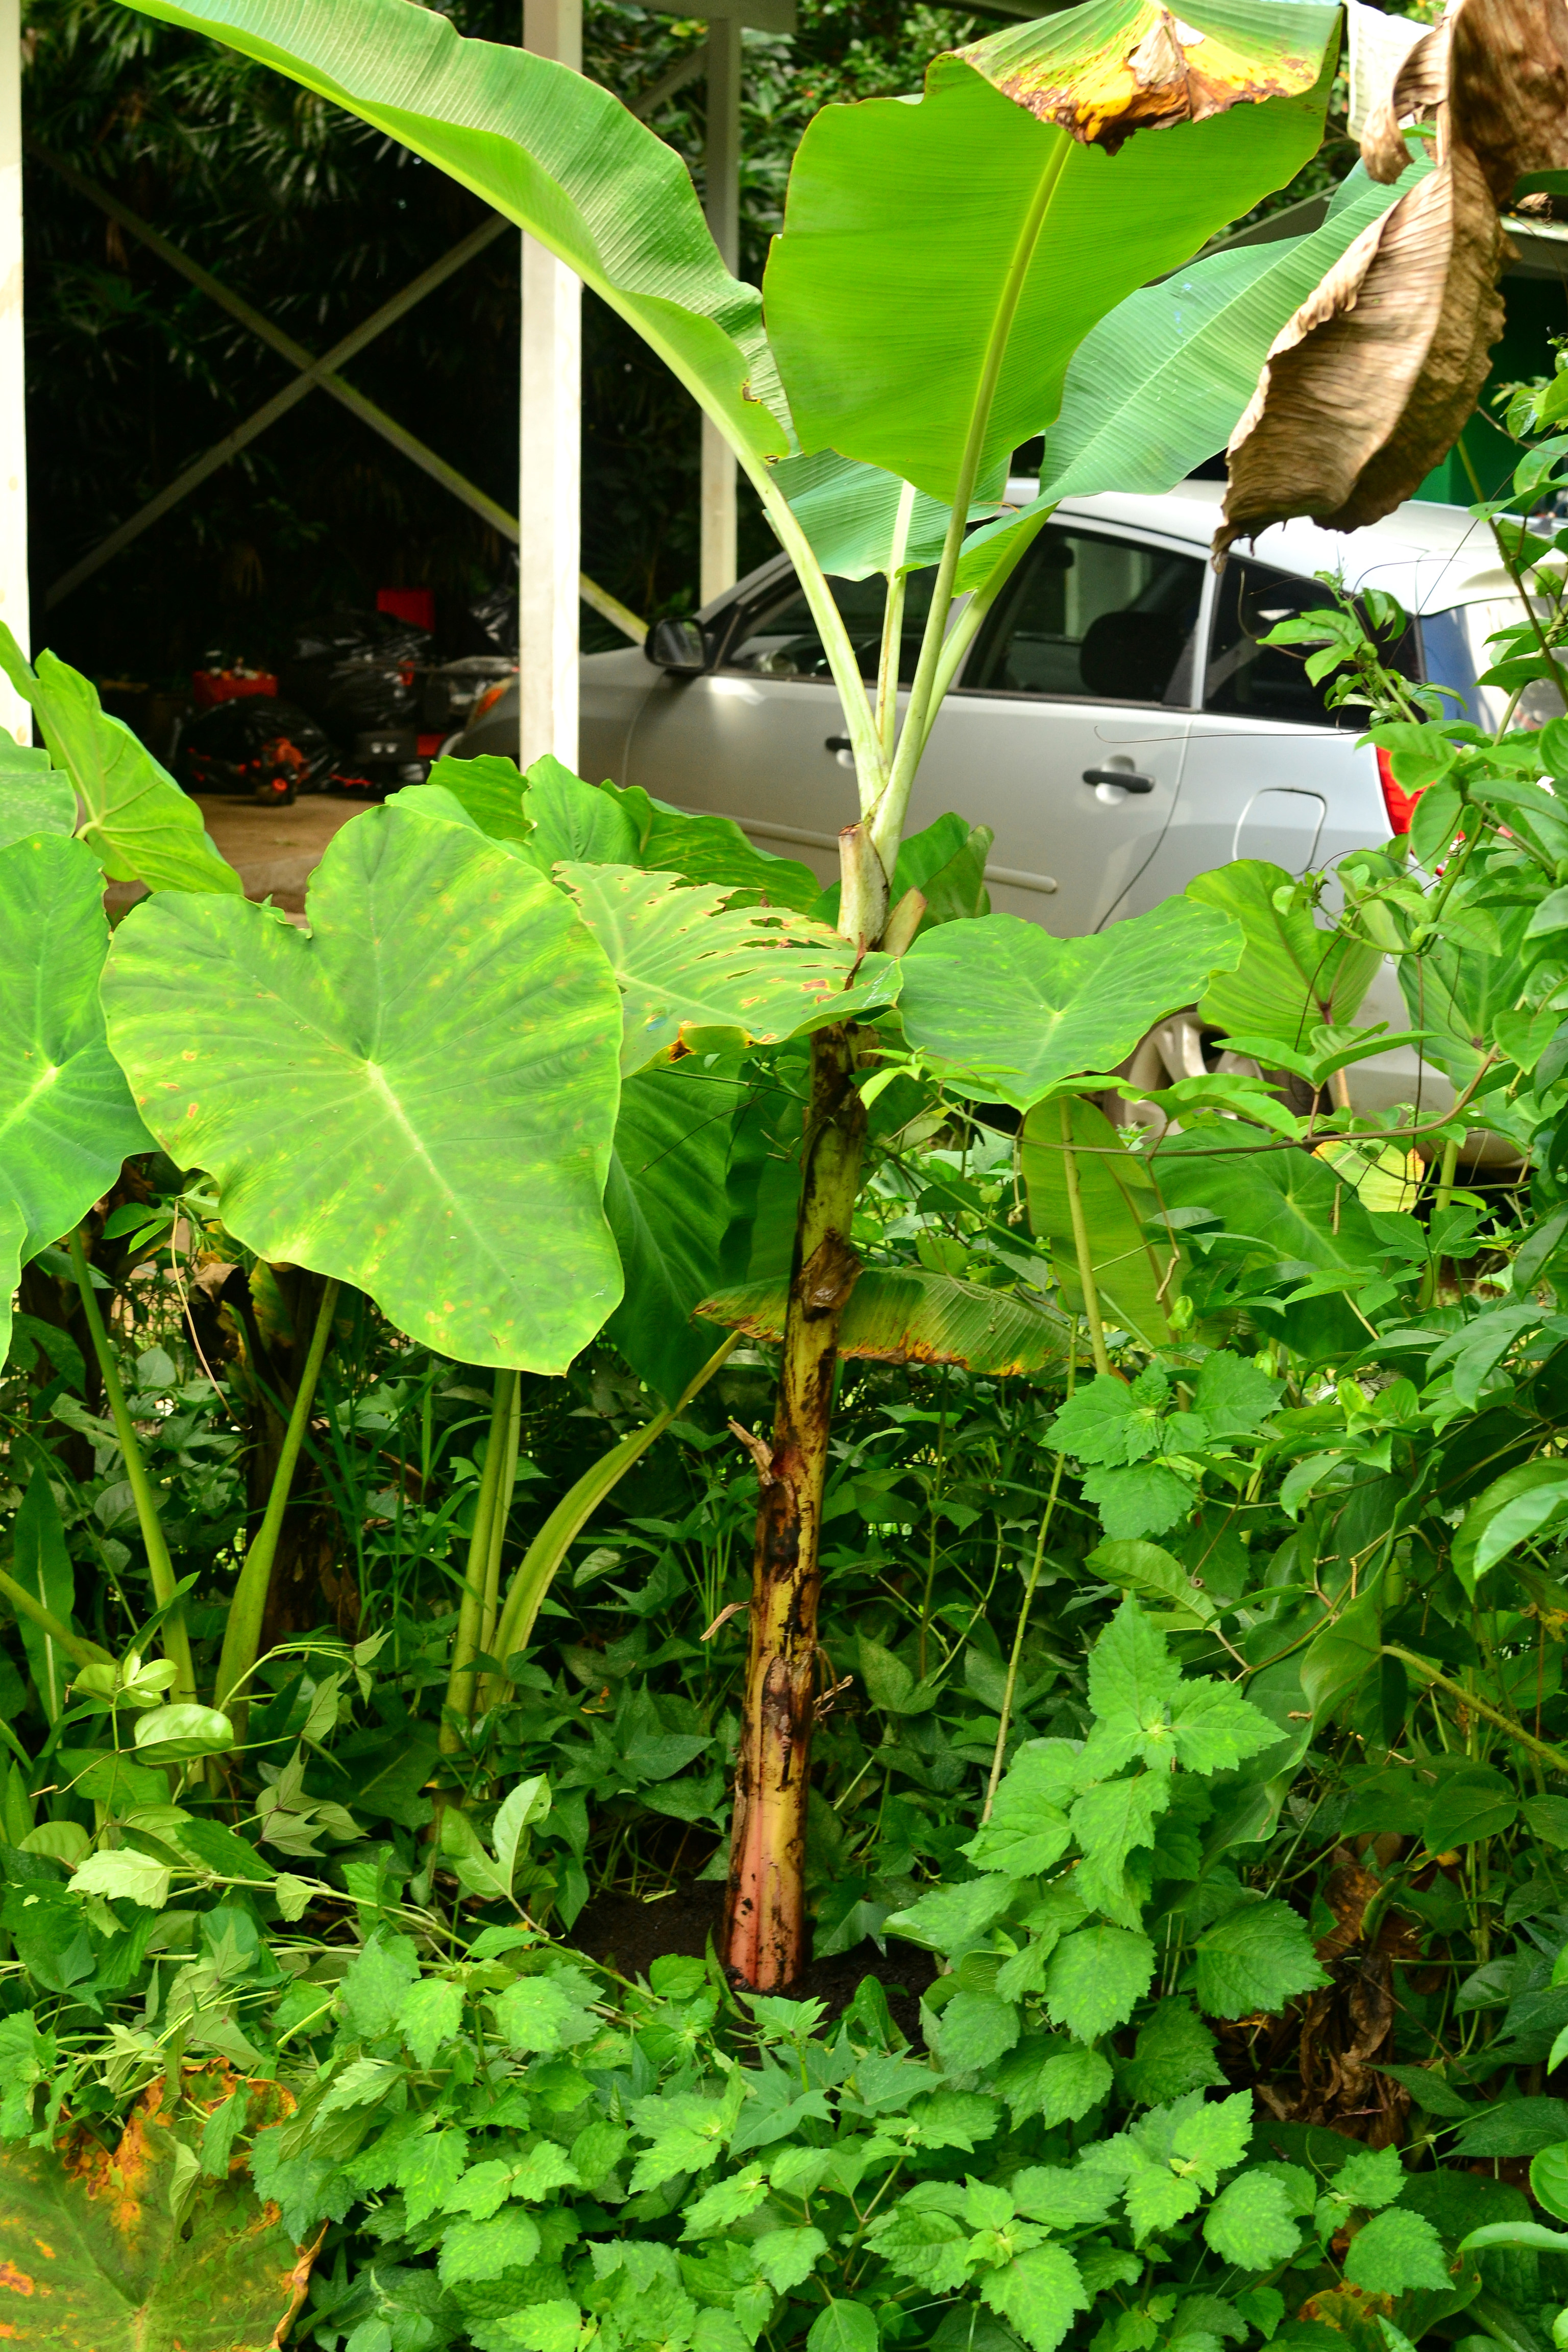
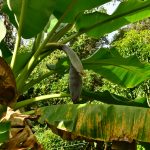
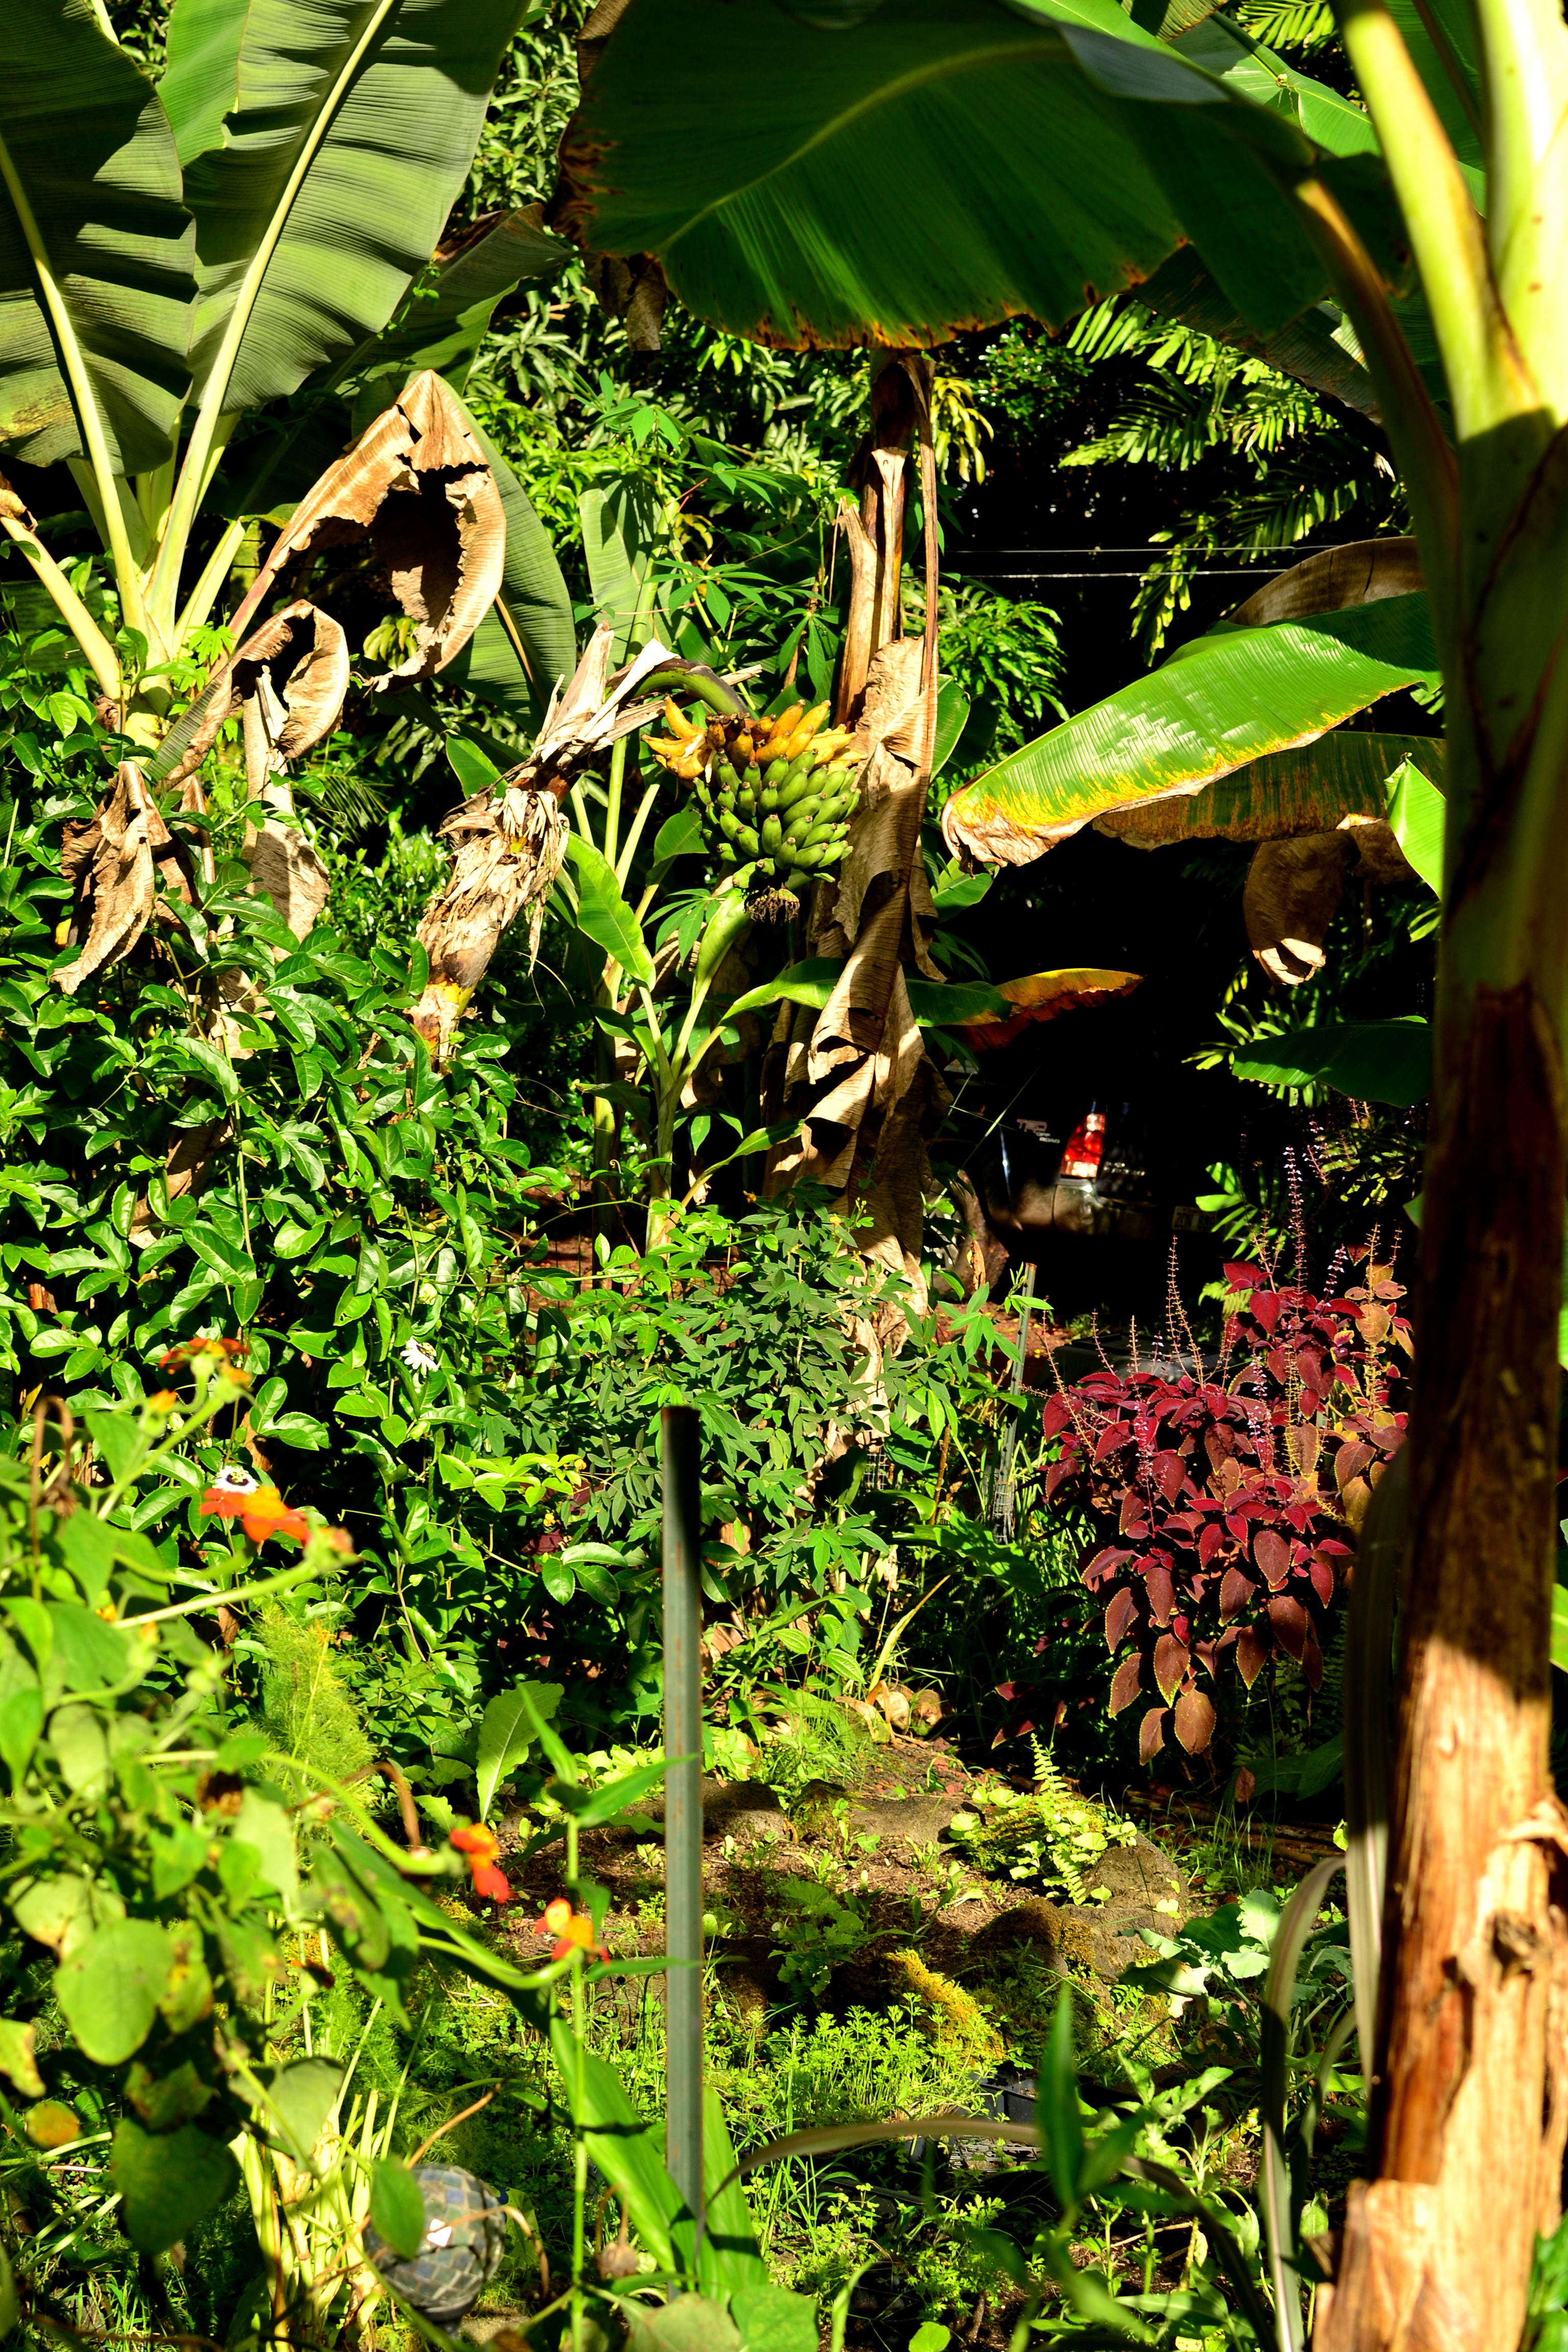
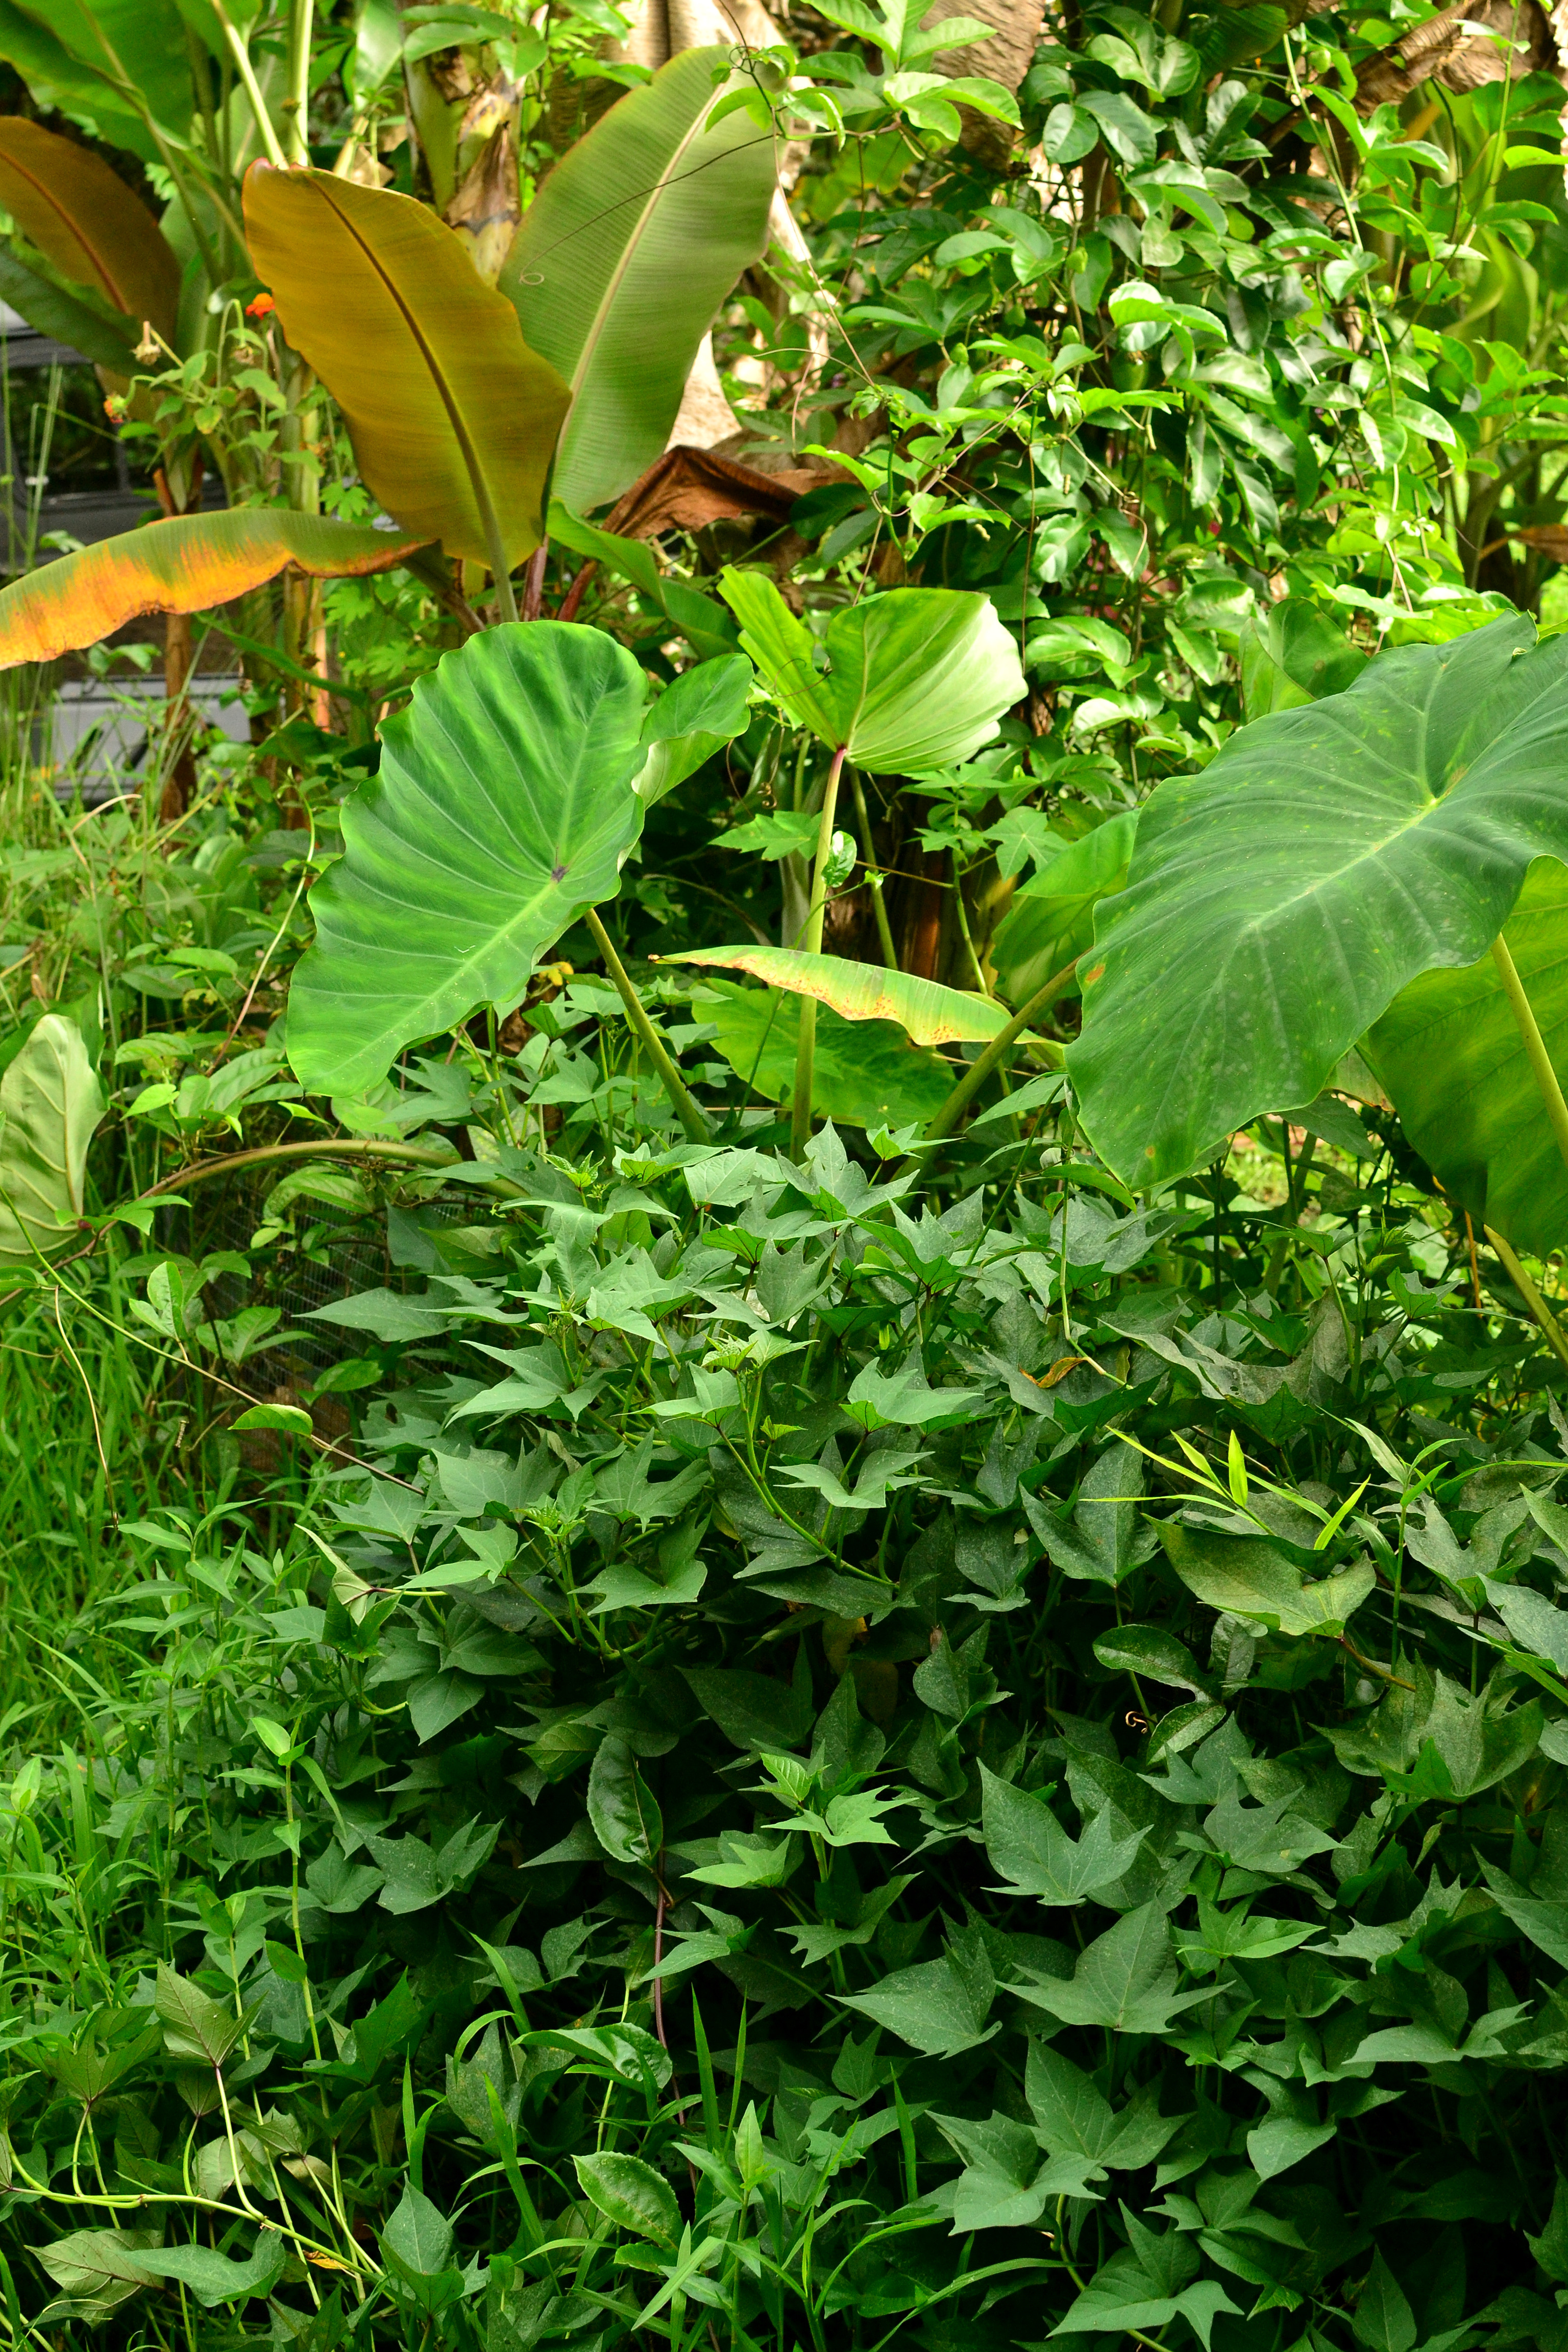
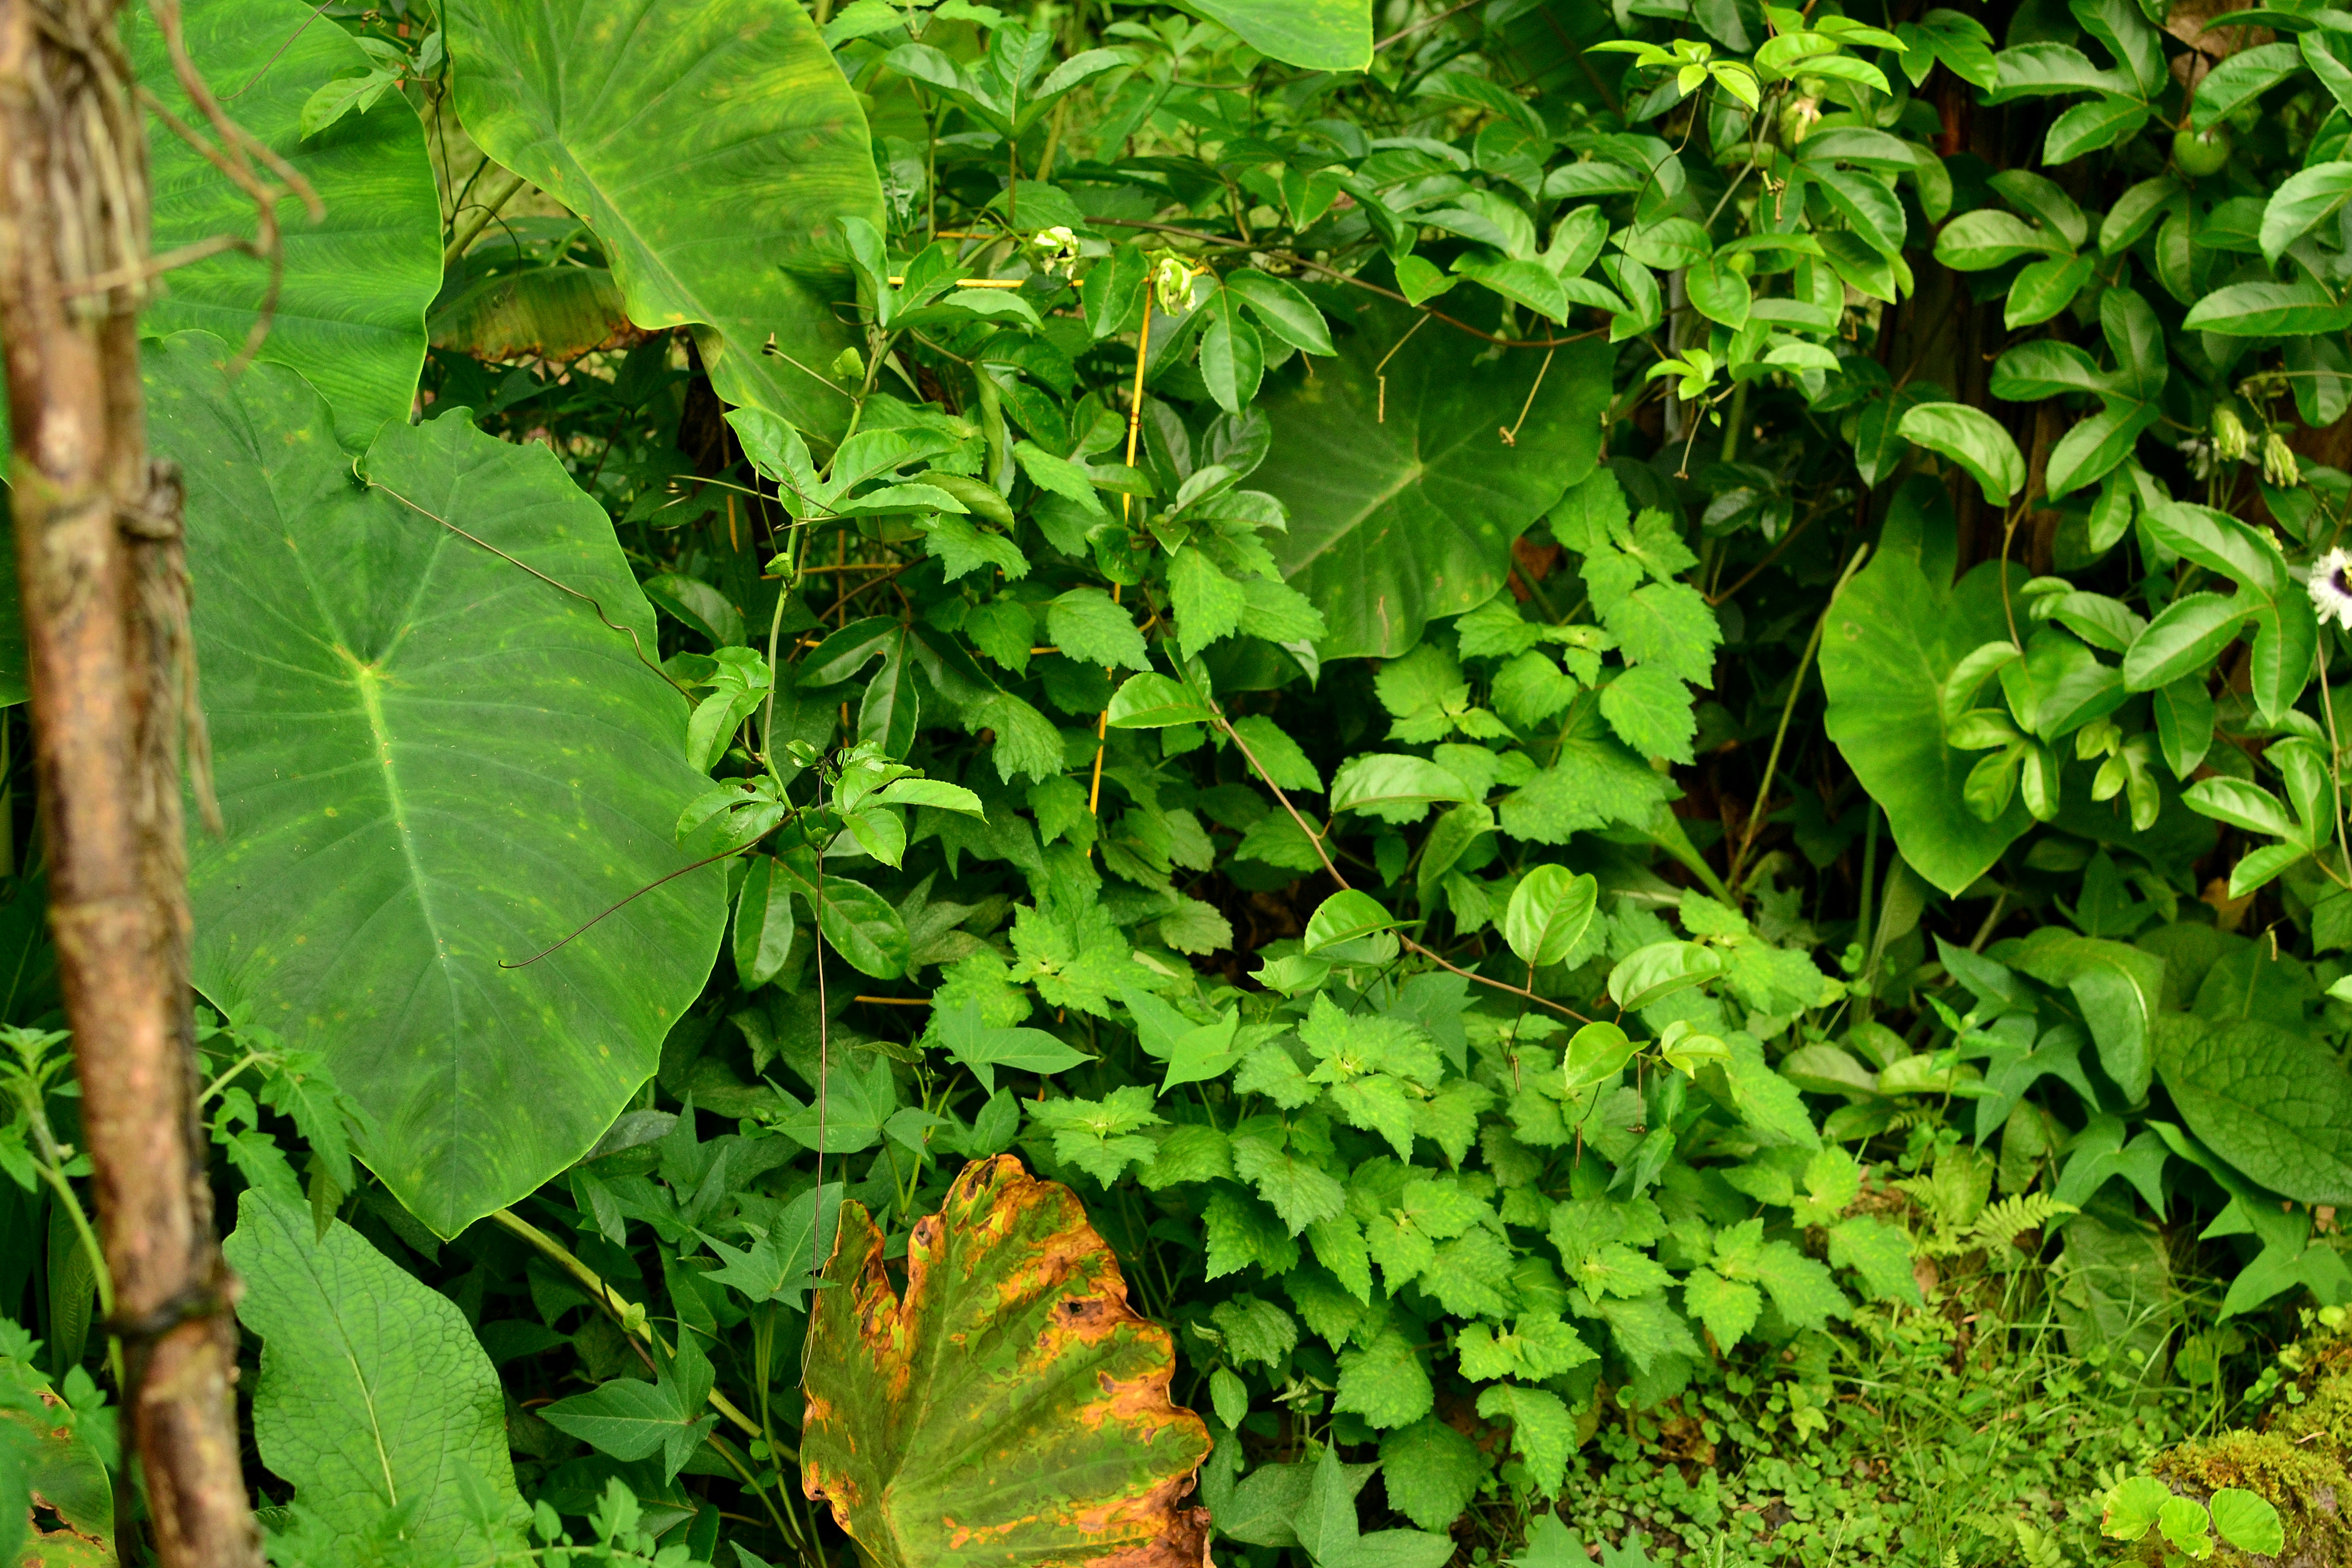
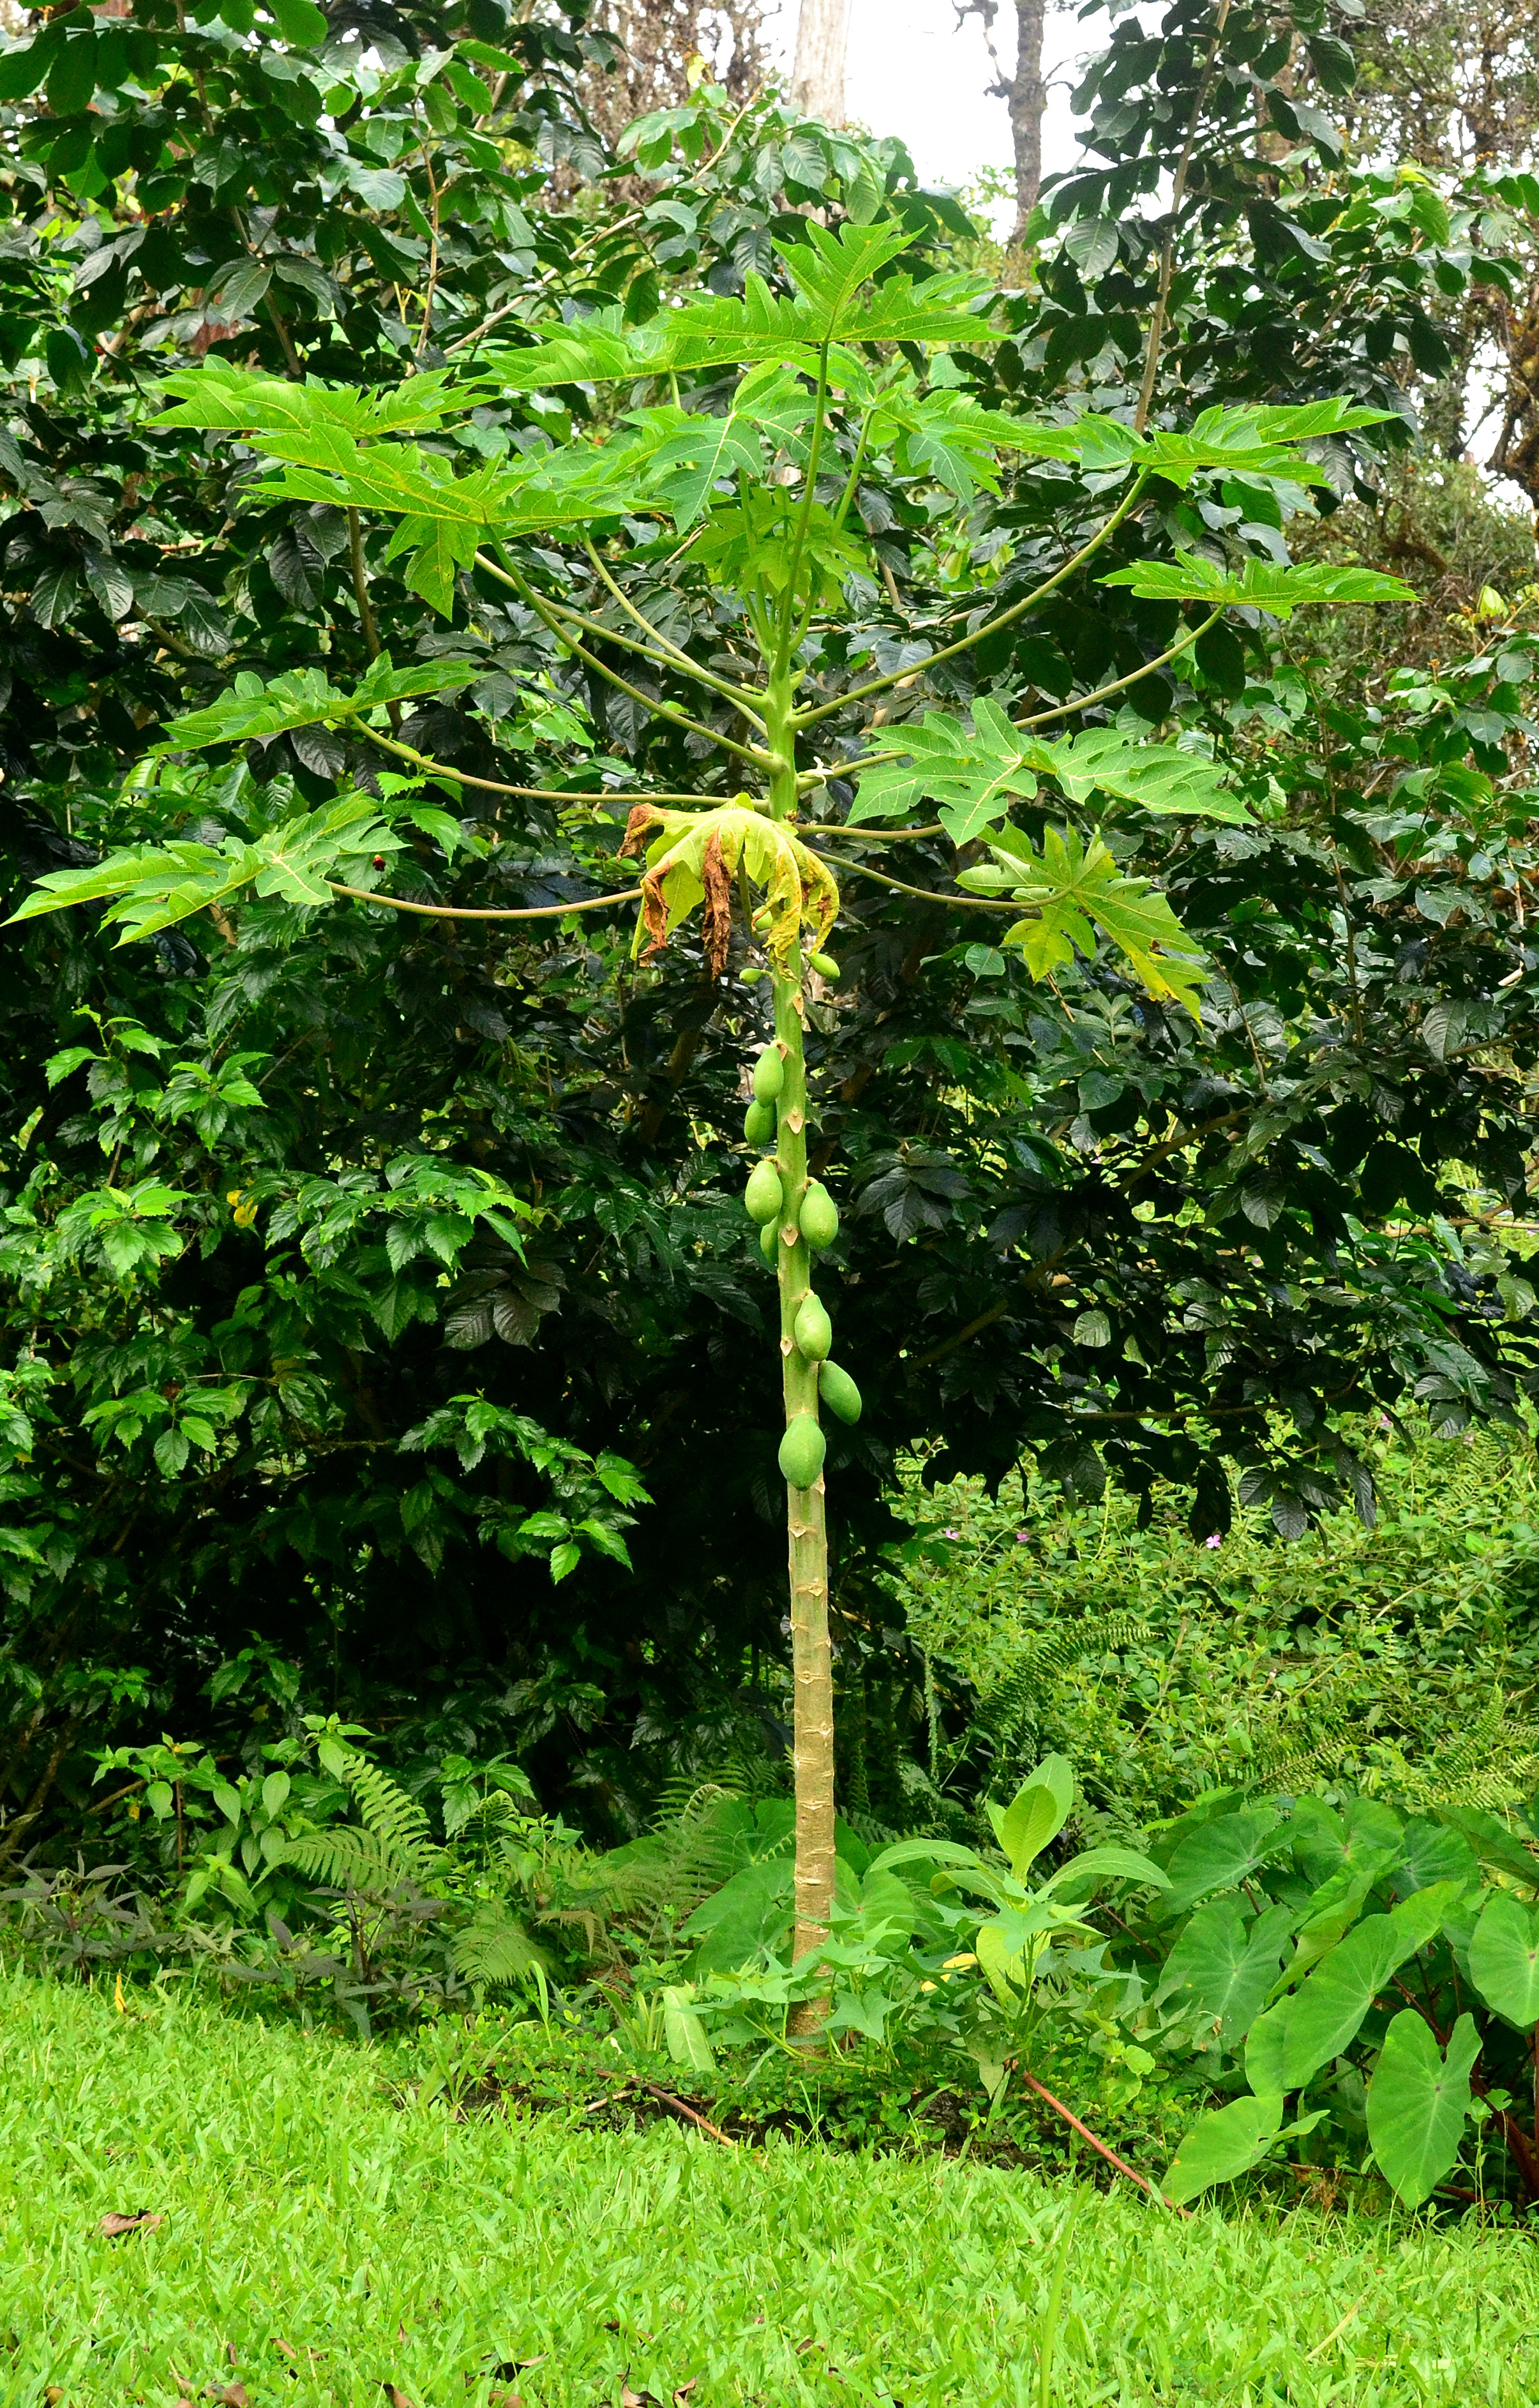
The very first plant I planted when I moved into this house was papaya. It was still a keiki when I moved and I was worried about waiting too long and harming the taproot. So I just planted it randomly in an area hoping that it was a good spot. Now it’s a main point of my garden, it marks the beginning of the down sloping path toward the eventual food forest. It’s nestled in next to an ice cream bean tree and Brazilian cherry tree, with comfrey, sweet potato, taro, poha berry, tobacco, ferns and hibiscus all around. The papaya is about a year old now and starting to be covered with fruit, I haven’t been able to harvest one yet, but it should be pretty soon.

dsc_0463

Once I started sampling different varieties I finally decided to start planting more seeds. I found a couple of varieties I really enjoy and only want to eat those now. The varieties are Sunset and Waimanalo. I have started a new area where I planted pineapples and in-between those are papaya and want to get some ground cover of perennial peanut established. Once the papayas get bigger I will plant something else in the mix.

The other place I planted papaya is in a mixed planting area where I am waiting for trees to establish themselves. The trees are: rainbow eucalyptus, soursop, milo, kou, mango, hala, Brazilian cherry, tree tomato, hapu’u, hibiscus, dracaena, strawberry guava, and rollinia. The other plants are: lemongrass, ti, heliconia, Chinese ground orchid, bamboo orchid, gotu kola and long beans. I created mini mounds where I planted beans and squash, the beans did well, but the squash did not, so I ended up planting papaya in the mounds as well. I’m thinking that the other fruit trees will take a few years to start producing, so while I’m waiting I will have papaya harvests for a few years, and cut them down as the other trees need the space. In this area I’m battling weeds, because it’s so open and I am trying to establish some plants as a ground cover, but nothing has been too successful yet. I may just throw in some sweet potato since it grows so well, but who knows. I’ll figure out the right plant some day.

dsc_0469

dsc_0476

Happy Gardening!

Banana (Musa Spp.)

Description

Banana, Musa spp., plantain, mai’a, and known by other names, is another extraordinary tropical or subtropical plant. There are two main ‘types’ of bananas; there are the cooking bananas and the dessert bananas. Bananas come in many shapes, sizes and varieties, being over 300 known domesticated varieties! They are large herbaceous plants from 6-35 feet tall. The life cycle from small plant to mature fruit takes from 9-18 months depending on variety. Bananas grow in clumps producing new herbaceous stocks from common underground corm and roots. Once a stock has flowered it will cease to put out new leaves and use up the last bits of its energy producing the fruits. Once the plant fruits, and is ready for harvest, you cut down the entire stock and the next generation from that corm will have already sprouted, continuing the life of the plant. Not only are the fruits edible but also the flower bud and the center of the stem is too. The leaves are used in various cooking methods as wrappers for steaming or baking other dishes, and the leaves are also used as biodegradable plates. The plants can also be used for mulch, thatching, livestock feed, clothing, containers, twine, medicine, dye, turned into alcohol, vinegar and wine. Wow! What a plant.

DSC_0396DSC_0395DSC_0406

Propagation

Domesticated bananas do not produce seeds, so the only way of propagation is from suckers, also called pups. To propagate you take a sharp shovel or machete and cut or separate between ‘mother’ stock and smaller plants. Once removed you could let it dry for a few days, to reduce rot, or plant it right away. If transplanting, remove the leaves so the plant can focus on rooting. If you do not plan on planting bananas in another location, you could let the bananas do all the work and reproduce in one continuous place for years, thinning out, as you feel necessary.

DSC_0421

Find pup to transplant

DSC_0422

Use sharp shovel to remove pup from mother corm

DSC_0426

Removed pups

Another example

DSC_0427

Find pup to transplant

DSC_0428

Use sharp shovel to remove pup from mother corm

DSC_0431

Pull out once removed

DSC_0433

Removed Pup

DSC_0434

Root ball ready for transplanting


DSC_0436

Find place to transplant. Dig hole.

DSC_0439

Place plant in nutritious soil. Mulch

Care

Plants can fruit all year long, so with careful planning you could have harvestable bananas throughout the year. With proper maintenance an original bunch of a single banana plant could last up to 50 years! Bananas are heavy feeders, meaning they take up lots of nutrients. Before planting adding rotted manure or compost to planting area is necessary. I like to grow clovers (perennial peanut would be better) around them so they also have a continuous source of nitrogen for their life. Adding mulch and nutrients as you can. Removing dead leaves helps prevent disease, and the leaves are a great source of mulch, or ‘carbon’ in your composting system.

Bananas thrive in full sun, but will grow in partial shade, and prefer some wind protection, as high winds tend to shred the leaves, making photosynthesis more difficult. Bananas need a ton of water!

Harvest your banana rack when the lines of the fruit have gone from rigid lines to smoothed roundness. Another key to look for when to harvest, is when a single fruit has started to yellow, or turn the color of ripe fruits per variety, as the rest of the rack will follow quickly. Look at the highest fruits as they mature first. Banana sap will dye and create unremovable stains on clothing, so when cutting down a rack and stock be sure to wear appropriate clothing. When I harvest a rack I cut the stem of the rack a foot above the tops of the fruit so there is somewhere to tie a rope to while the rest of the fruits mature. Rumor has it, that if you hang your rack upside down, the mature fruit from the top of the rack will fall first and will not harm the other maturing fruits. From flower production to harvest-able fruit is about 3 months, unless it is during the dry season, then it will take longer.

Harvest is simple. However, you may need multiple people if it is a tall plant. Cut the stock of the fruiting plant a few feet from the ground. Cut slowly so you can watch the stock bend with the weight of the rack, yes they are heavy! Once the rack has lowered enough gently, they are fragile, hold the rack while someone else cuts the stock of the rack away from the rest of the plant. Freeing the rack you may hang it up immediately or cut the rest of the plant down. Once you cut the rest of the plant down, you may chop it up for faster decomposition, or simply place it somewhere you want to let it decompose. Its full of great nutrients, add it to a bed, under the soil, in a compost pile, or anywhere else.

I like to hang my racks from the house in the shade to drip onto the ground for a few days. Once the dripping has stopped, I move the rack into a screened area, or put some kind of netting over it, so fruit flies and birds don’t get the harvest.

DSC_0417

Make sure your rack is ripe

DSC_0418

Cut the stock of the fruiting plant a few feet from the ground slowly so it bends with the weight of the rack

DSC_0419

Once the stock has bent far enough. You cut the stock of the rack a foot from the top of the fruit

DSC_0444

Hang somewhere safe

DSC_0420

Cut down plant

Tip: You could literally google about bananas forever. They are used in numerous ways in permaculture design too, due to their necessity for nutrients, use in banana circles, composting pits, polyculture designs and guilds. A perfect permaculture plant. The information is endless, follow whatever methods you desire, as there are many ways to grow and harvest bananas. Just grow them! You only have one day of work for the entire plants life-cycle and that’s during the harvest!

Eating

This is where things get interesting. Did you know that bananas are grown around the world mostly for its cooked starchy fruits and not for raw dessert varieties? Fruits are very versatile; you can cook them like potatoes in many ways, in soups, curries, mashed, fried, used raw in milkshakes, smoothies, breads or cakes. You may cook them when green, yellow, or brown depending on the texture you’re looking for and the recipe followed. Dessert varieties may also be cooked but tend to lose their texture with cooking, making them mushy. And cooking bananas may be eaten raw, but having a high starch content making them less desirable. Unripe fruit may be dried and ground into meal and used for a beverage like coffee.

Flowers for eating are cut as soon as the final bud has opened creating the final hand of the rack. Then the outer leaf sheathes of the bud should be pulled off with the blossoms until the pinkish white heart is revealed. Then cut the bud lengthwise into four and prepare for specific dish. Apparently the heart is reminiscent of artichokes. I have no experience with cooking the flower buds yet, but next flower that grows I will try it out. So research some recipes and try it out for yourself, apparently different varieties flowers taste different, some tasting better than others and particularly cooking bananas flowers are better textured and flavored.

Where to obtain planting materials

Obtaining banana plants can be costly. Here in Hawaii the prices seem to range from $5 to $90+ depending on rarity. What a range! Good varieties to start off growing that grow hardy and quickly are the common apple and dwarf Brazilian varieties. Some varieties produce more keikis or suckers than others, so growing these varieties could get you established with a crop while your other varieties are establishing themselves. Your plants will grow for many years, so obtaining the initial plants is the only cost investment. If you can find a friend or abandoned banana plants you can propagate for free.

My Garden

When I moved into this property there were two clumps of bananas already growing and I planted more varieties and I am waiting for them to fully establish themselves. So for this section I will focus on my friends garden, which has much more established banana plants. He allowed me to help him out with harvesting and propagation and using his garden for a blog entry. His bananas are going off right now, tons of fruits growing, flowers opening, harvestable racks, and natural regeneration or propagation.

He has planted numerous banana varieties around his garden plot as the border, mixing: taro, sweet potato, sugar cane, bitter melon, liliko’i (passion fruit), cassava, mulberry, pigeon pea, patchouli, comfrey, turmeric, tomato, avocado, papaya, sunflower, ginger, coleus, squash, ti and burdock (yes that’s just his border around his garden!!!). There is a small fence around this border to prevent animals from entering, and uses vetiver, Chrysopogon zizanioides, around the fence to prevent grasses from entering the garden. Then within this border of plants he has his normal crops growing in their beds, peppers, tomatoes, fennel, strawberries, carrots, lettuce, kale, roselle, and rosemary. Allowing a large production of foods from a small space. Outside of this section he has an established orchard giving him tons of fruits throughout the year, and also a shade house for seedlings and tender sun-sensitive plants. His garden is less than a year and a half old and you can see its lushness and abundance. He started small, in a maintainable space, learning tropical gardening and seeing what works at his location and has been quite successful! His garden is the perfect example of what every home gardener should have, an amazing abundance of fruits and vegetables of starches and nutrient rich plants stacked in a small space.

DSC_0402DSC_0410DSC_0414DSC_0411DSC_0408

Since he has different crops growing from me and at different stages of growth, we are able to share our abundance and reduce wastes. Making connections and bartering is necessary in a self-sufficient lifestyle.

Happy gardening!