Taro (Colocasia esculenta)

Description

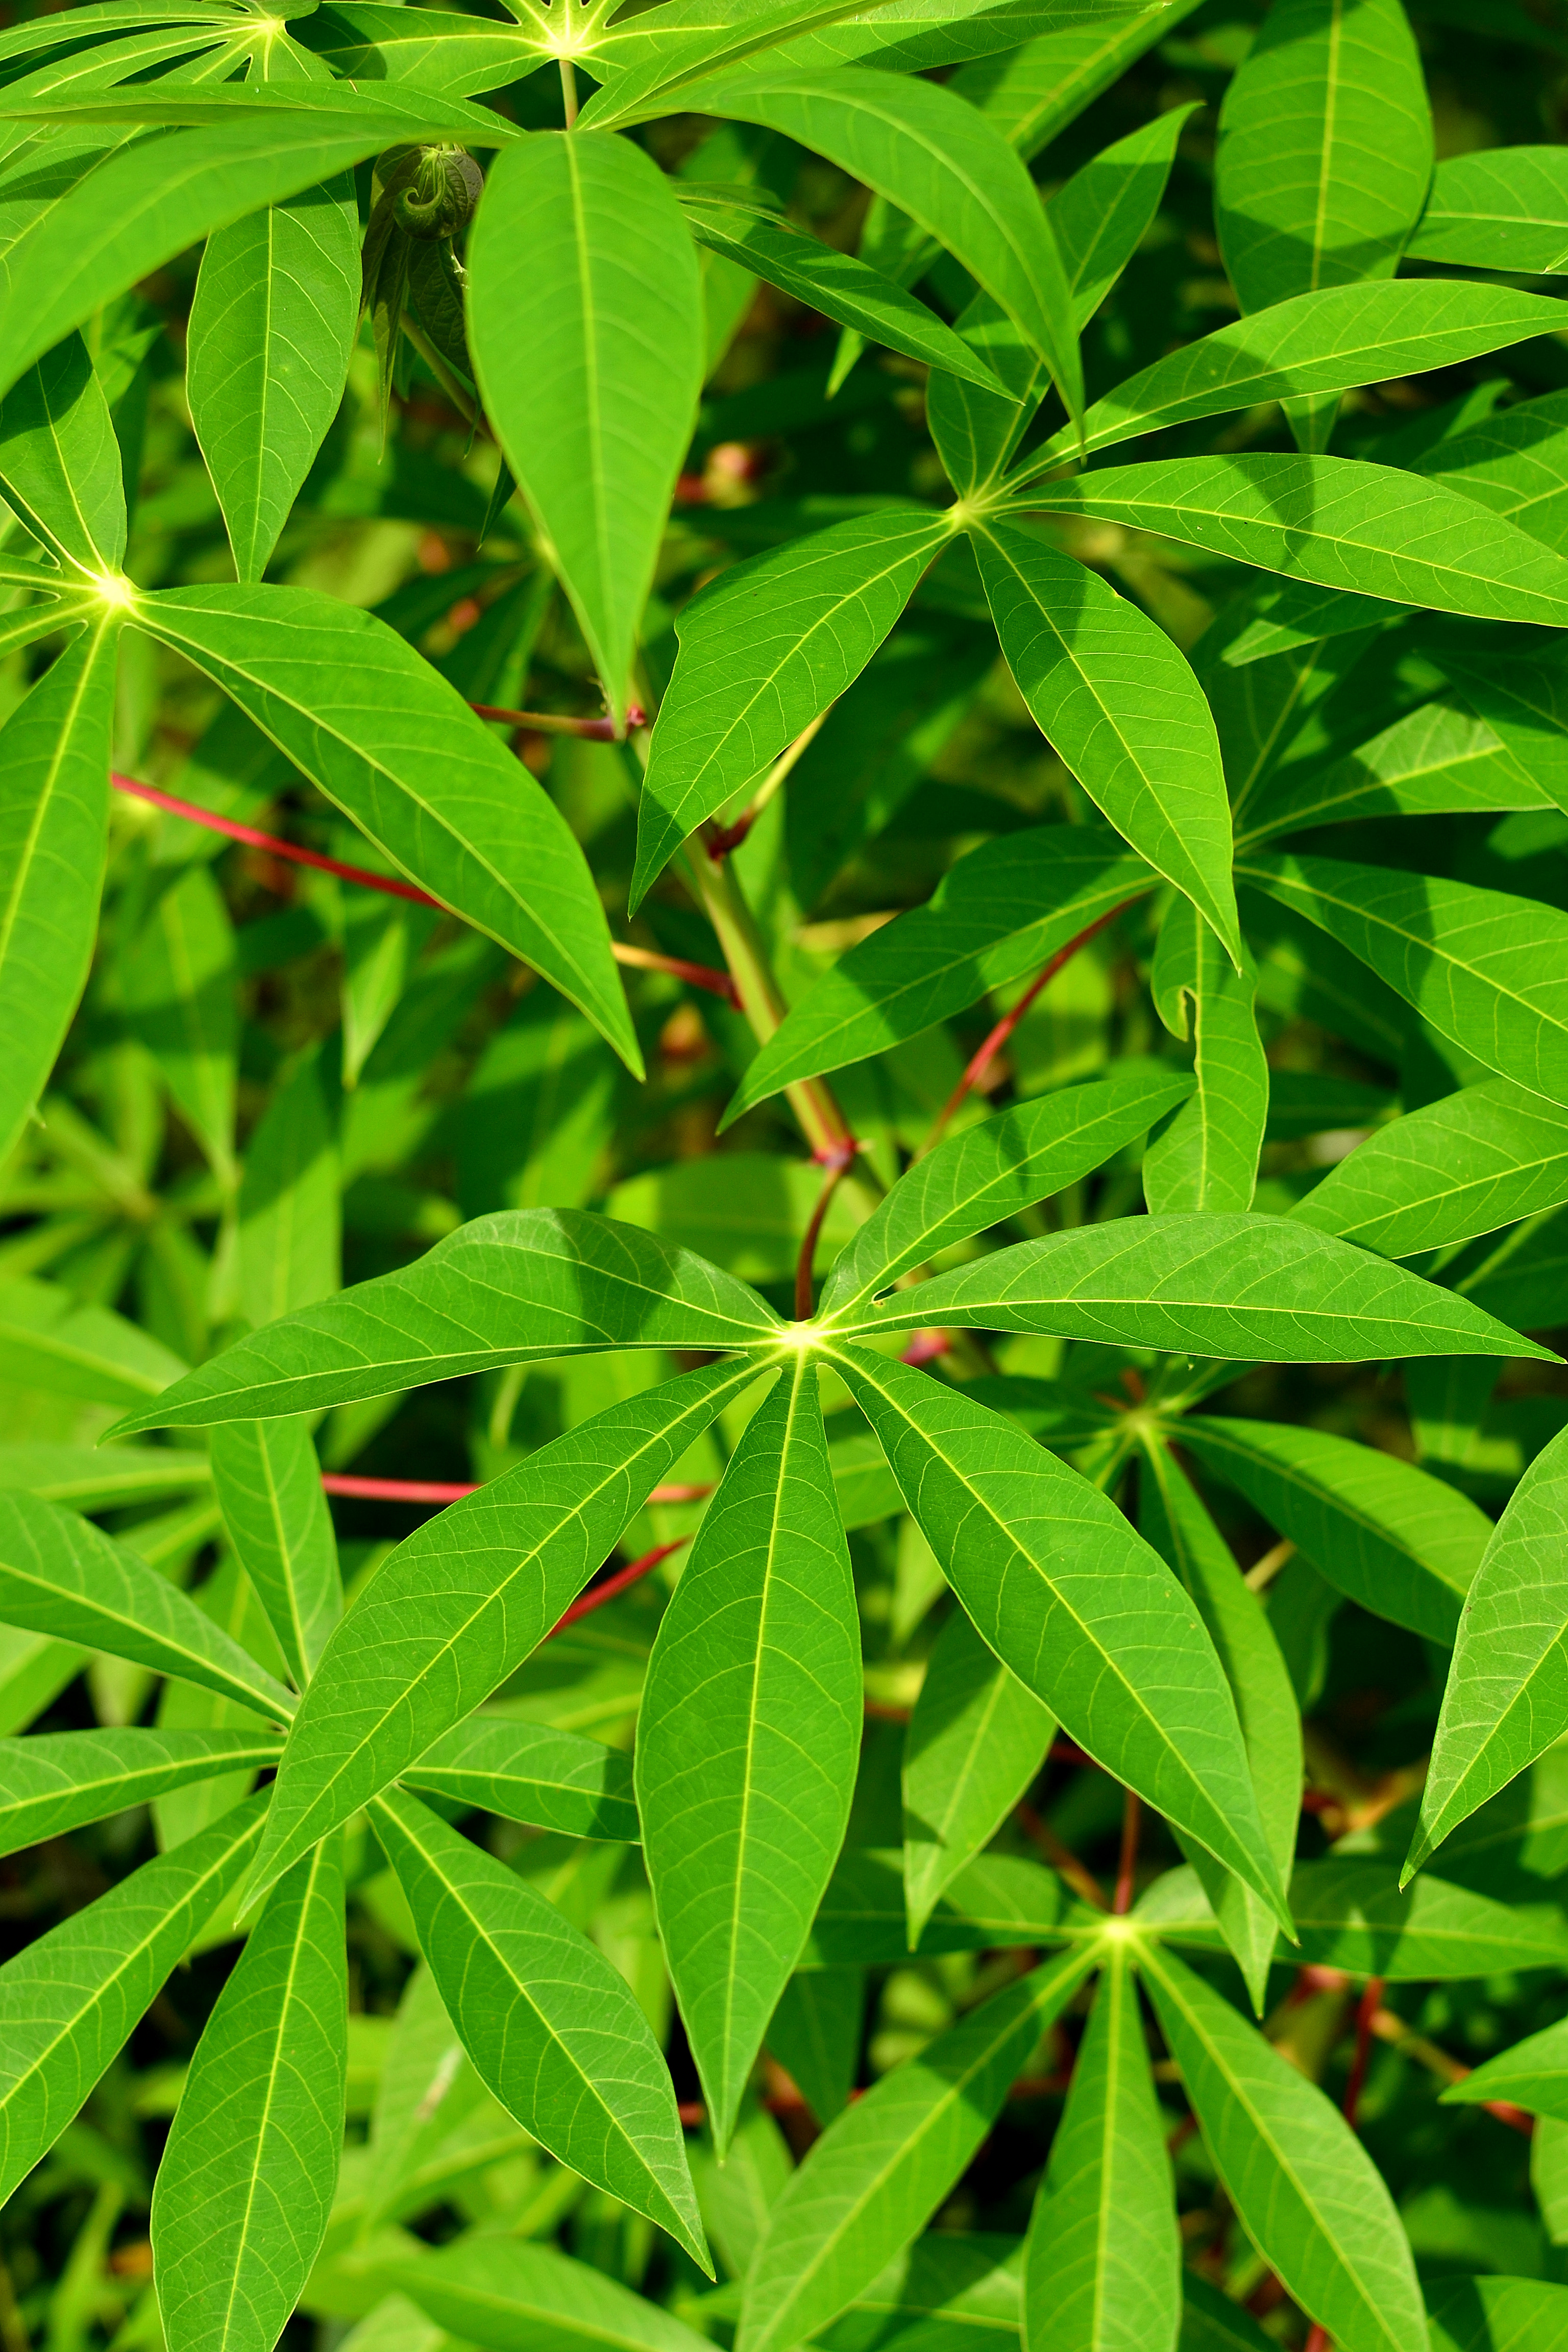
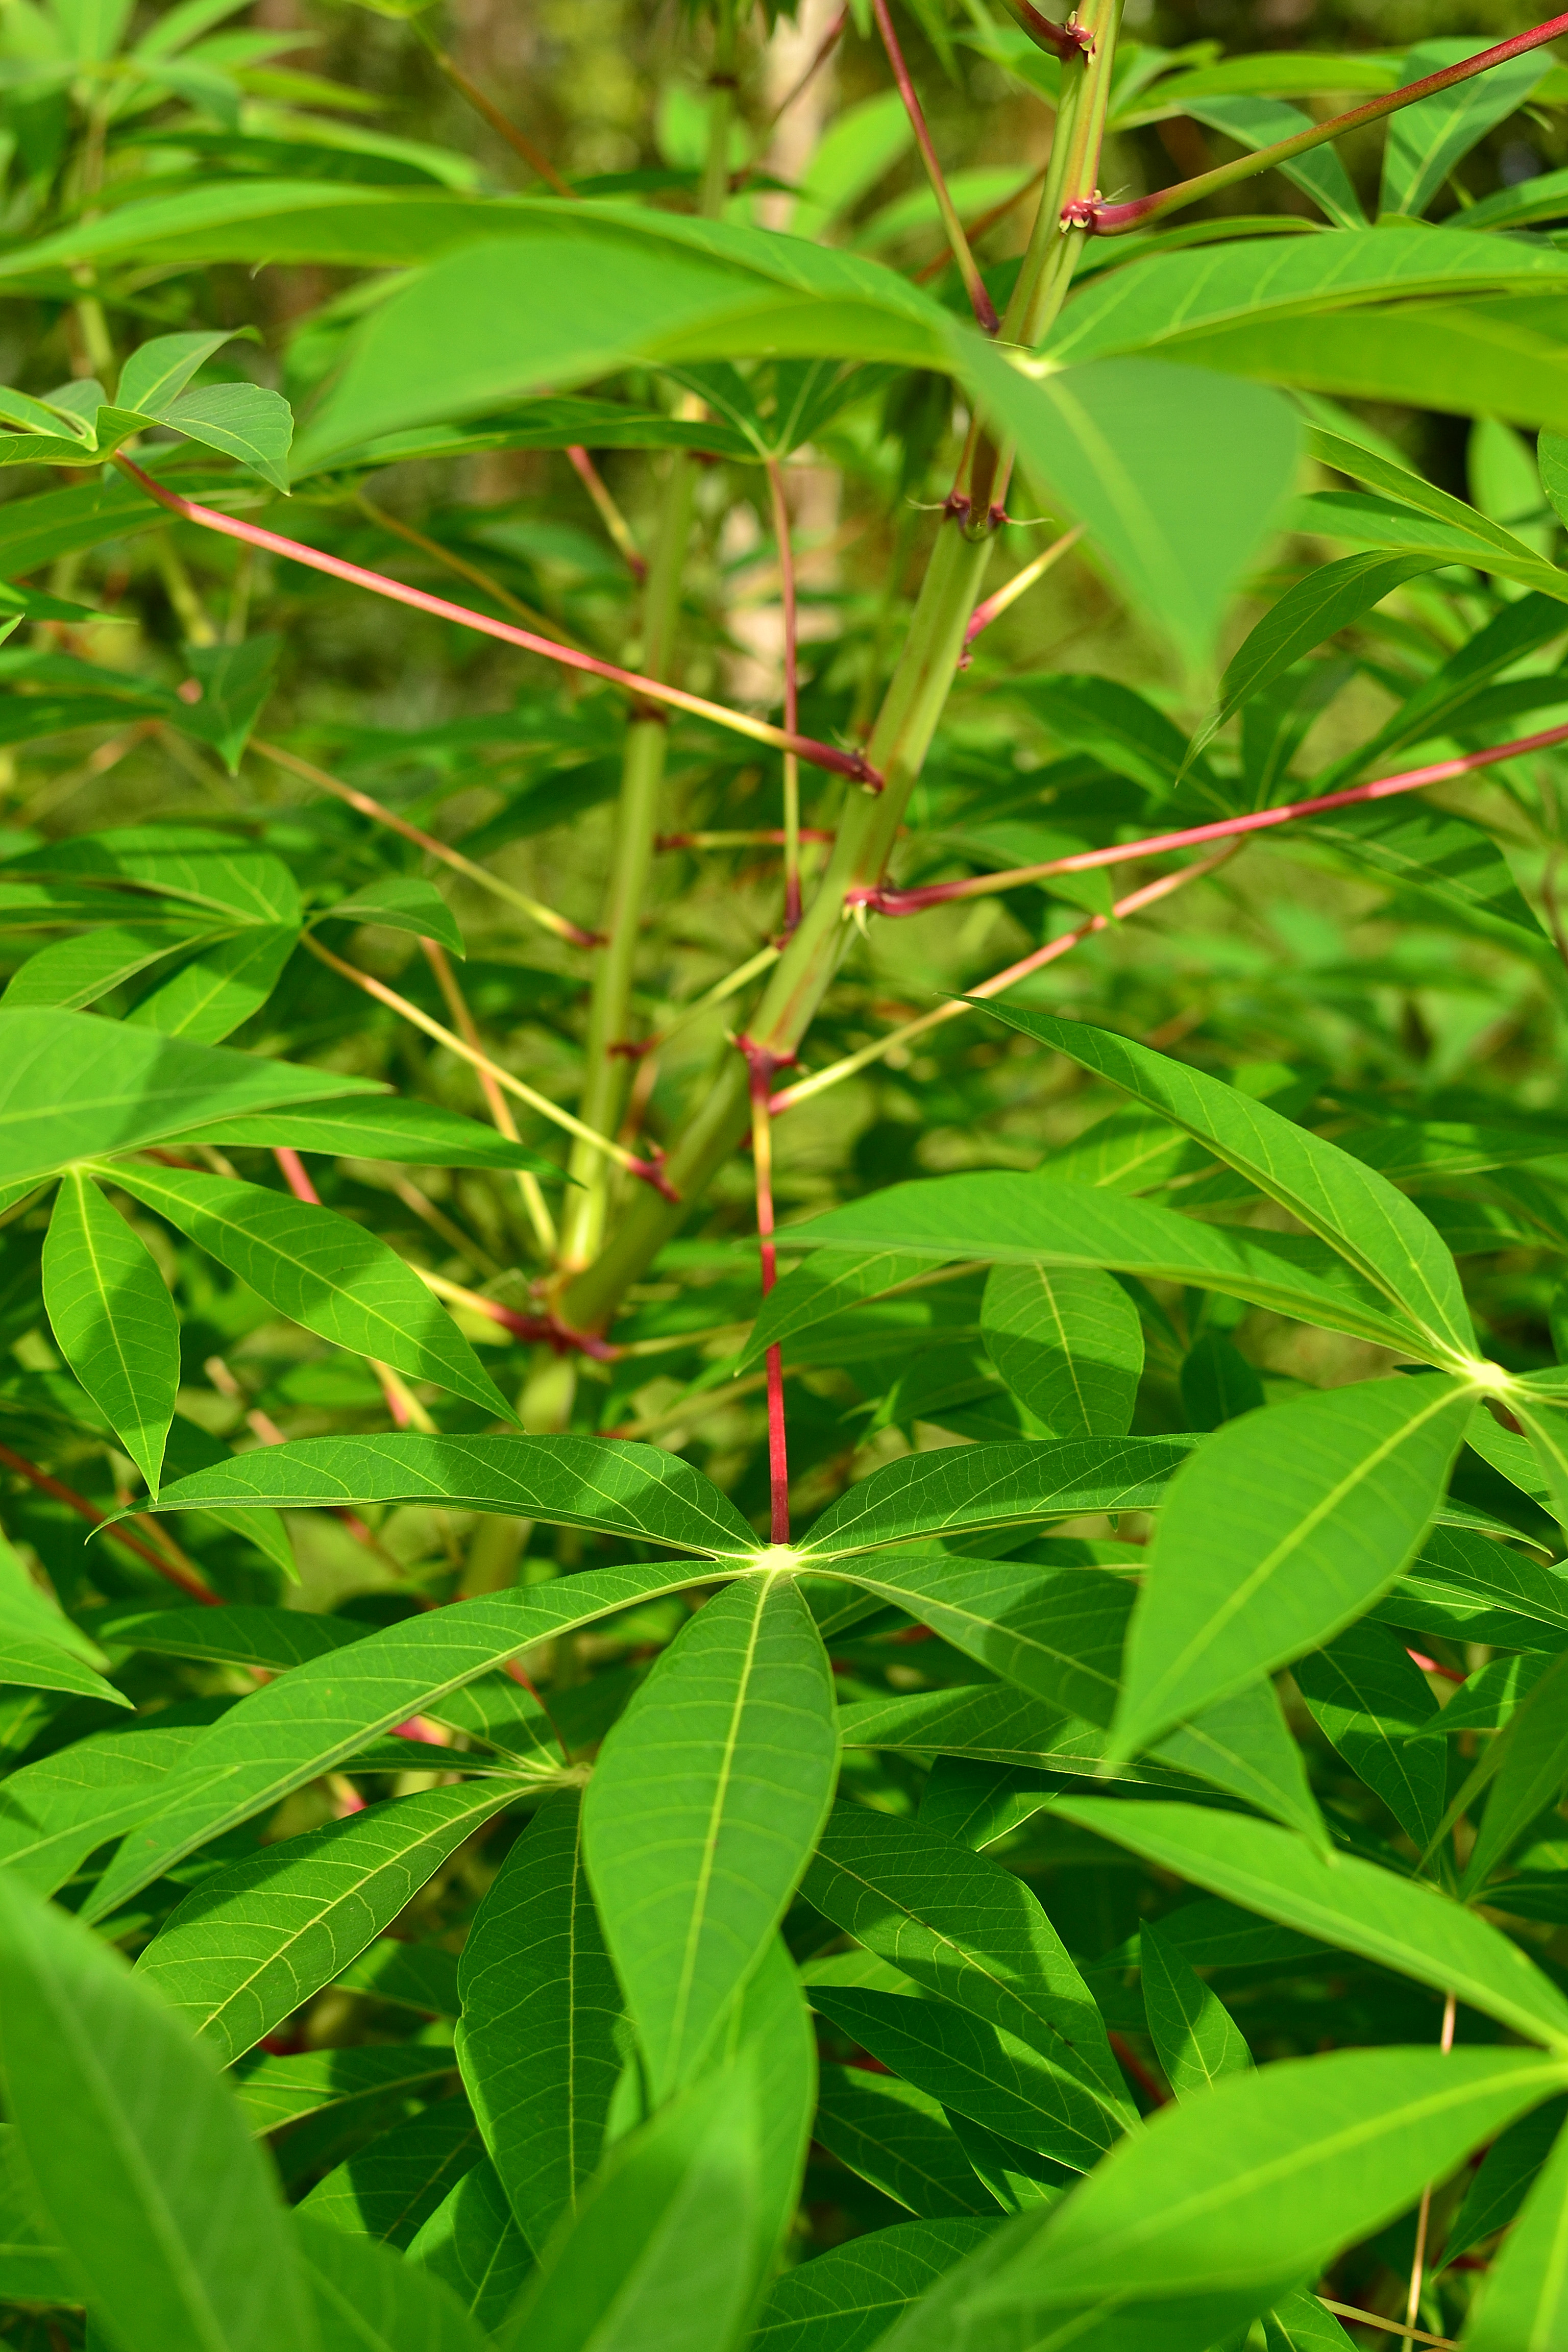
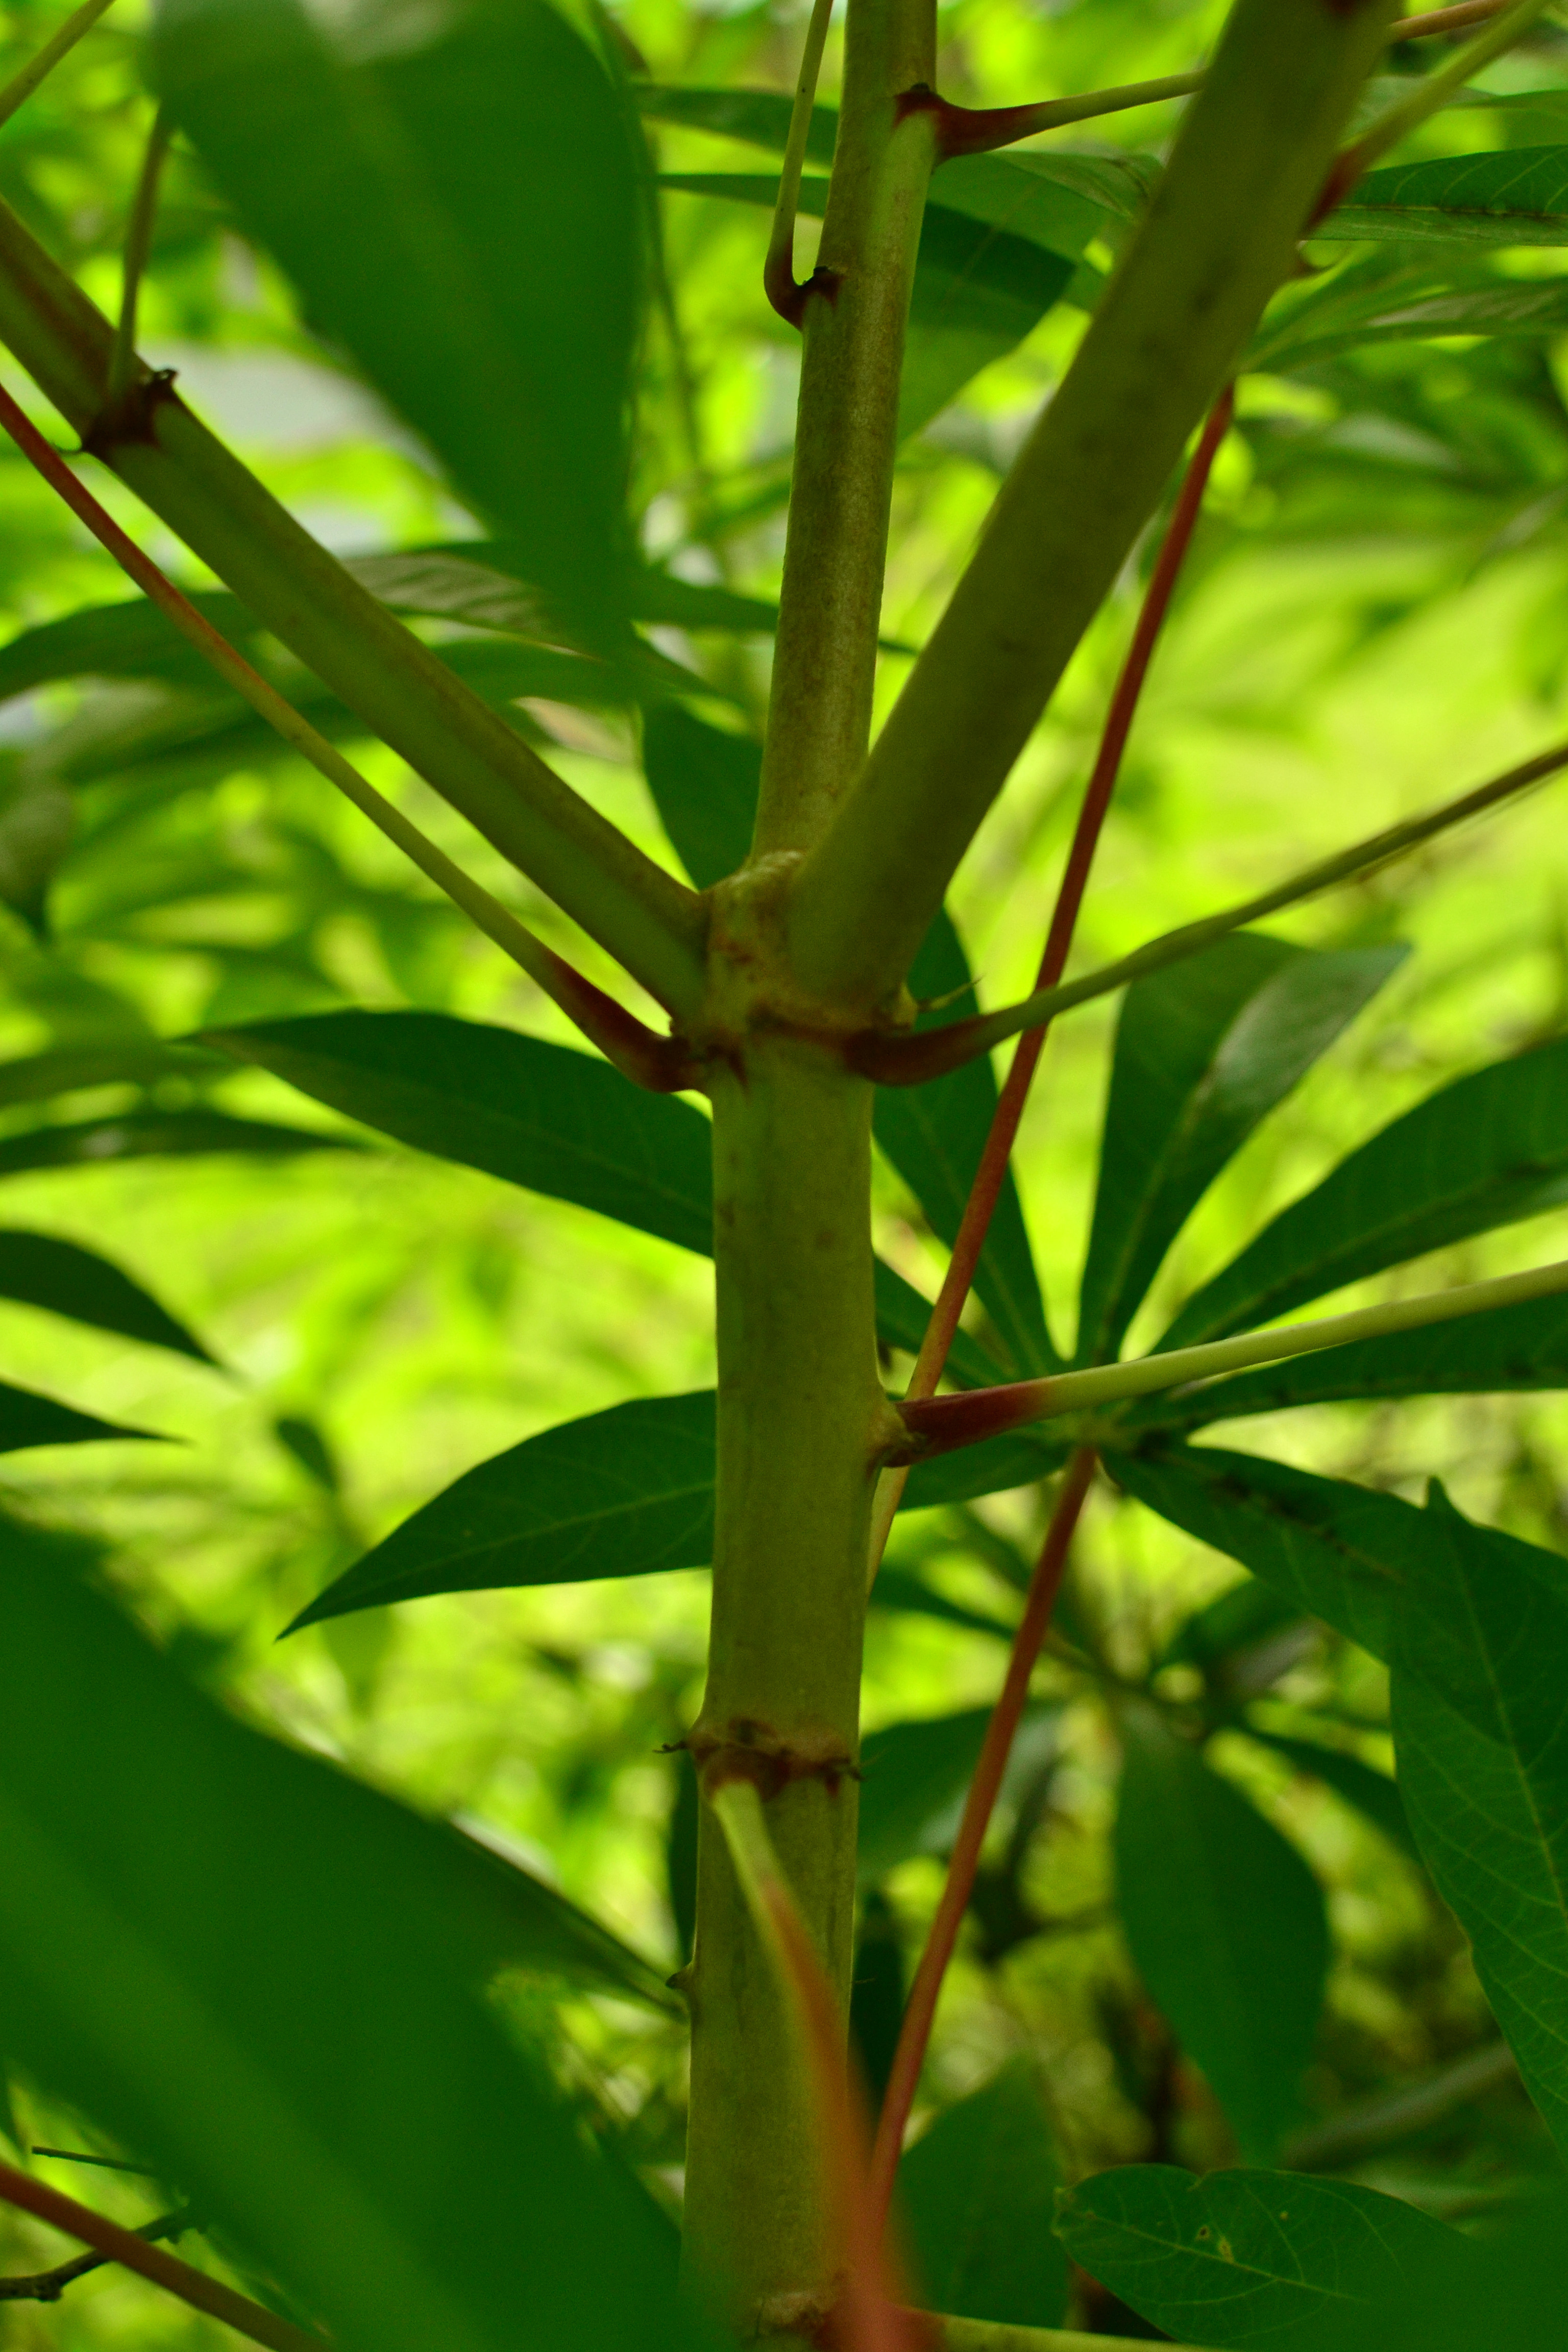
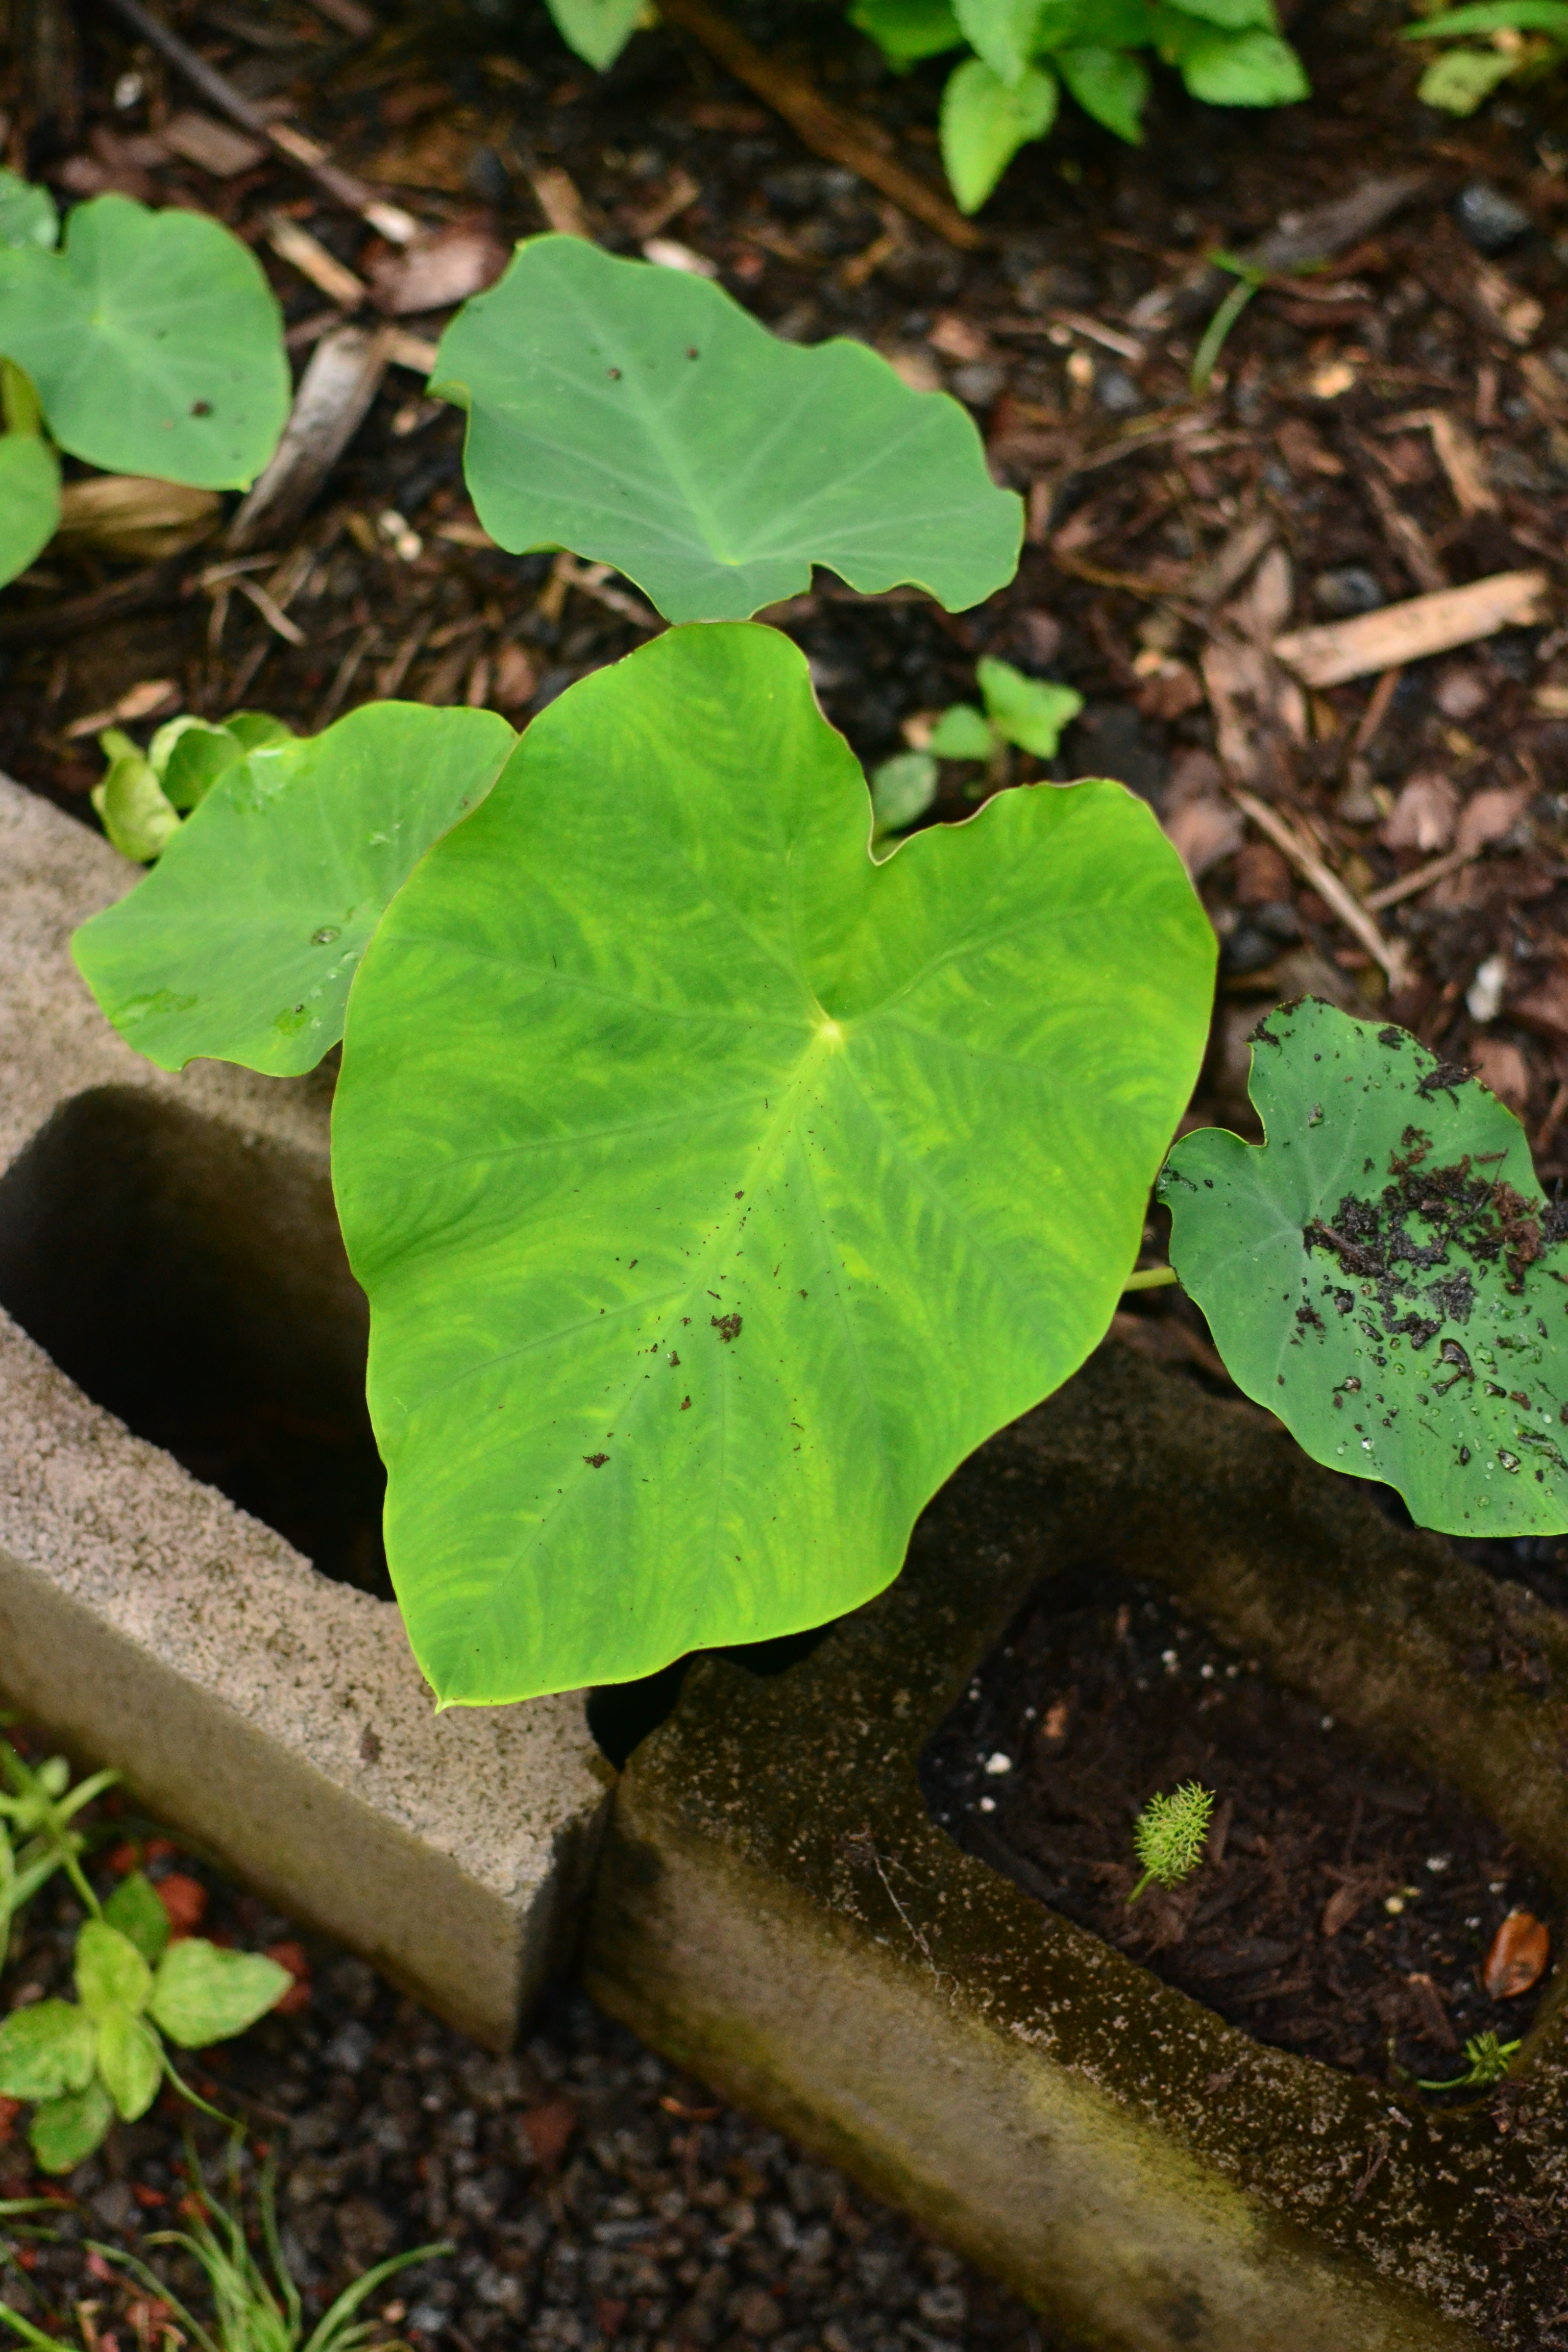
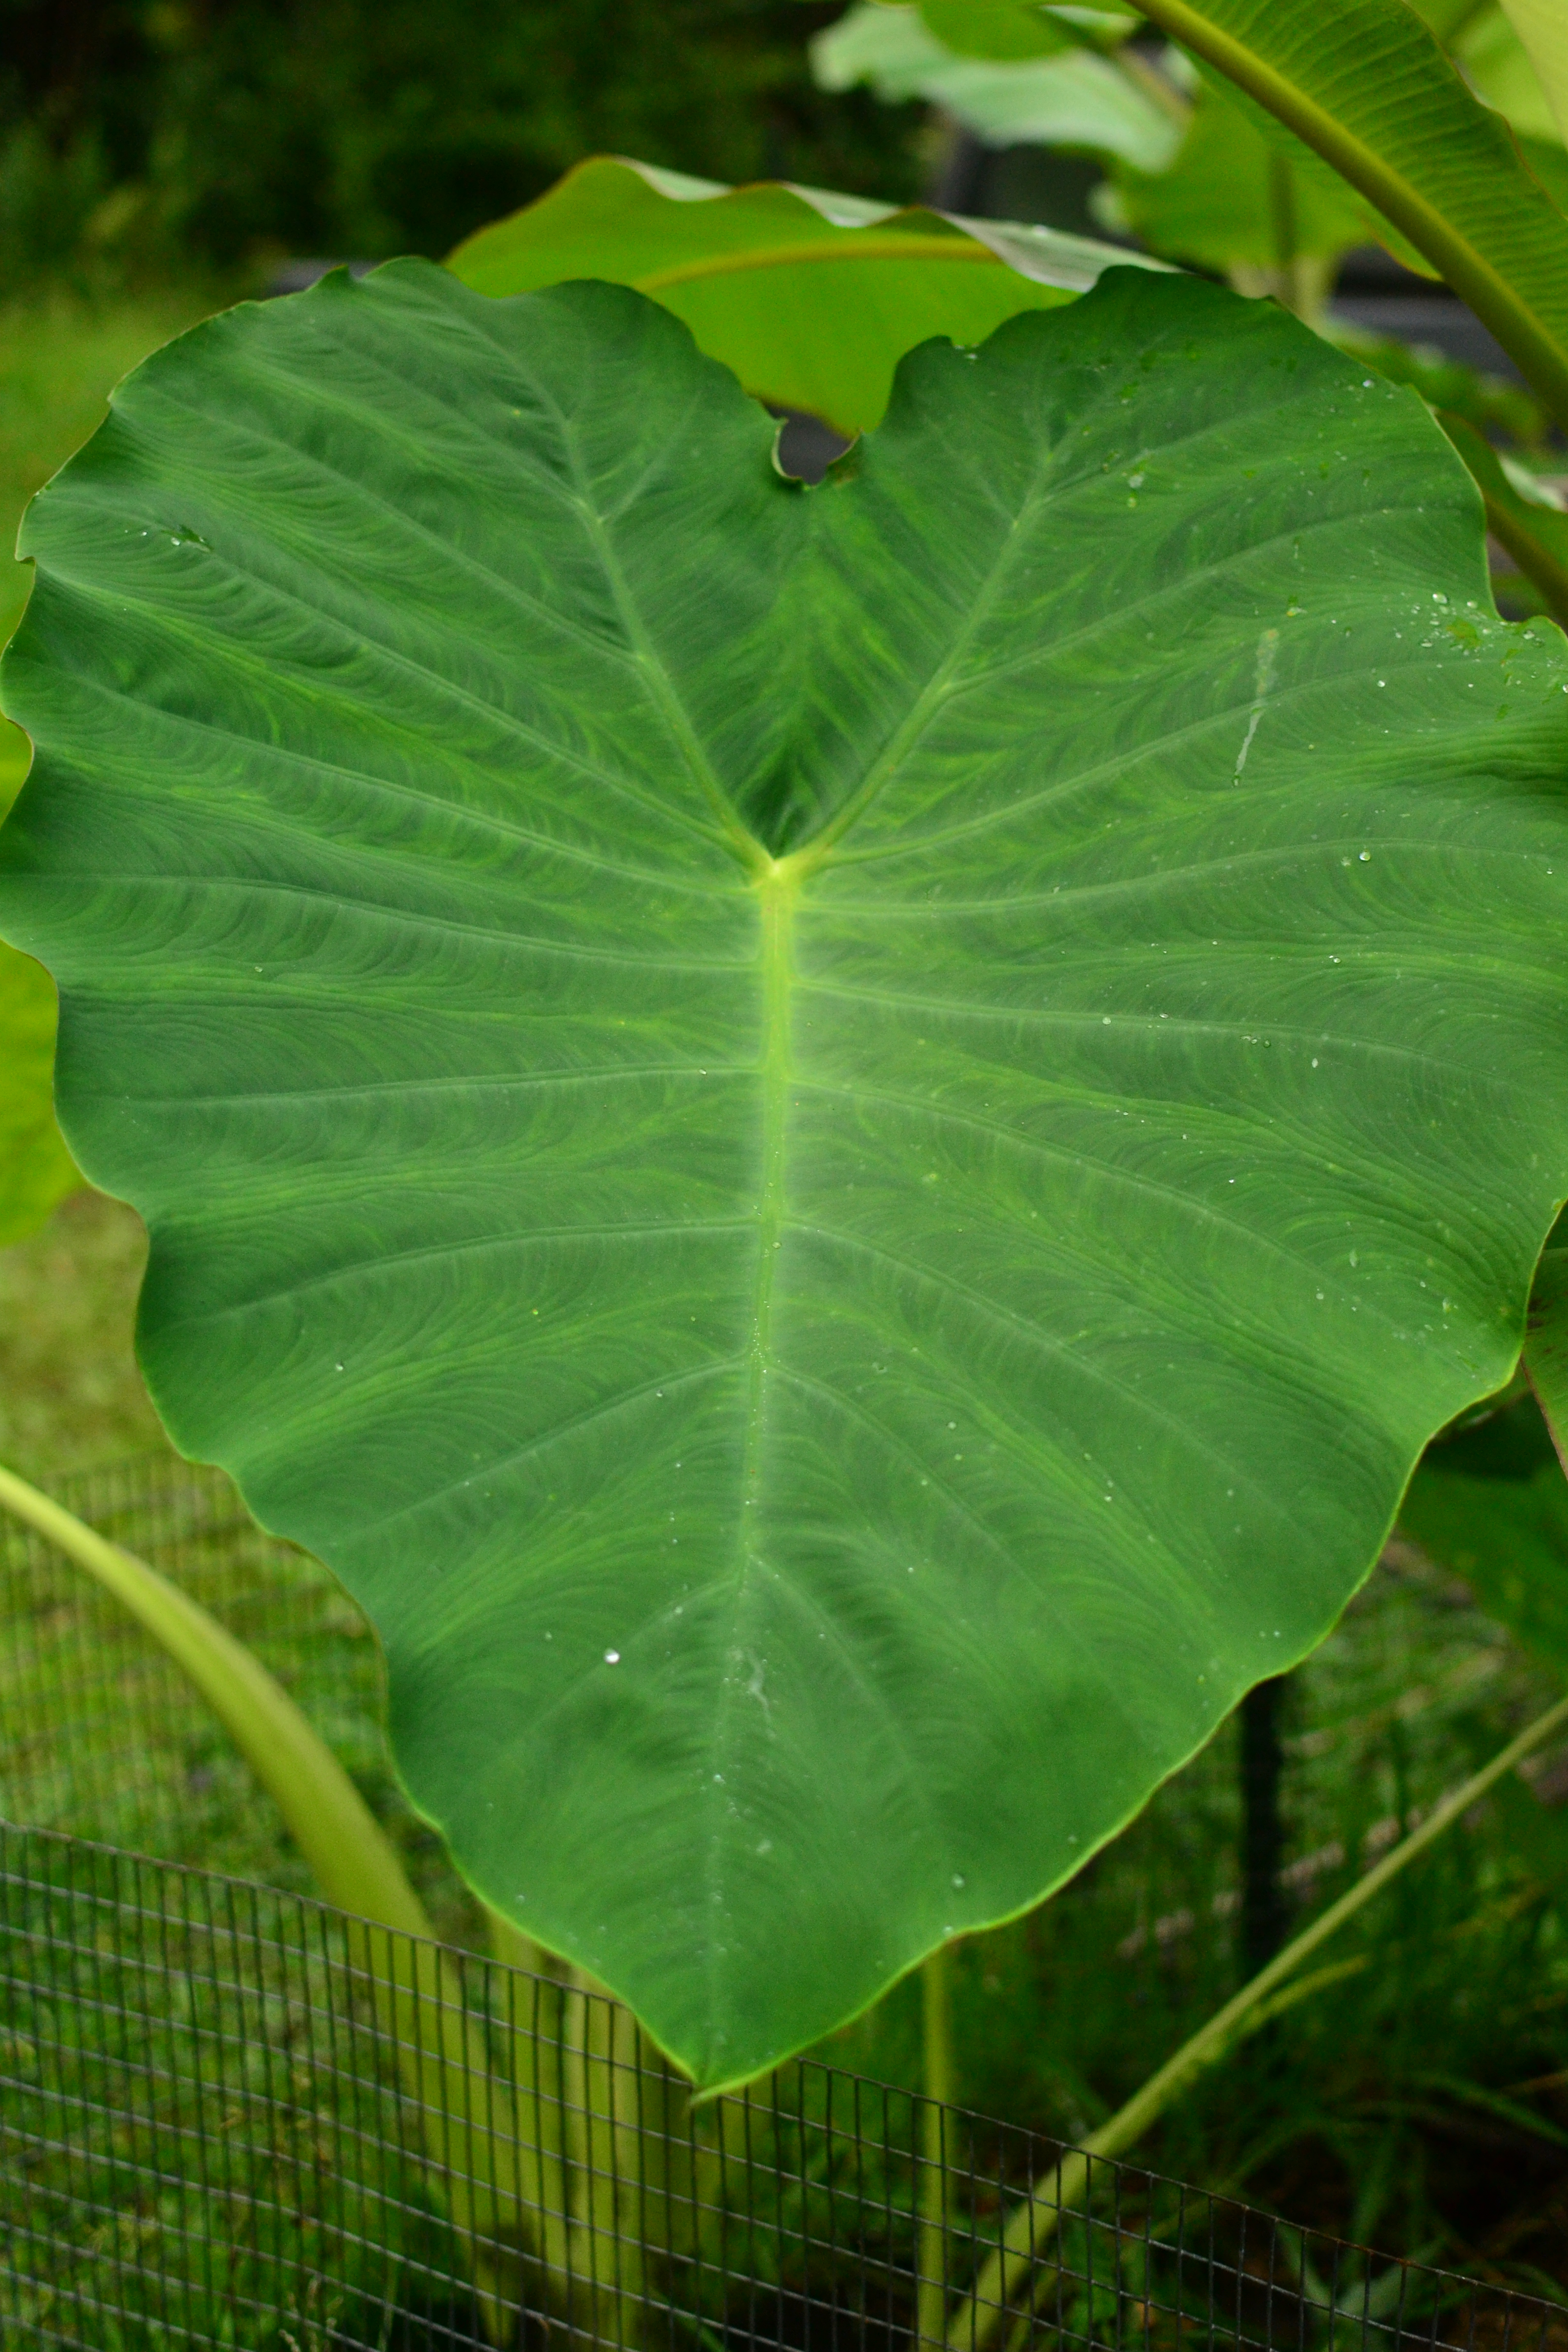
Taro, Colocasia esculenta, kalo, dasheen or known by many other names, is another perfect staple perennial plant. If you live in Hawaii you know this plant. It’s growing, there are stickers and t-shirts and tattoos with taro everywhere! This is the staple crop which poi is made from, even if you do not enjoy poi, you can enjoy the starchy corm of the taro plant. You may cook the corm just like potatoes in many different ways. Not only are the corms edible but the leaves and leafstalks are too! This is a wonderful vegetable, and to me it is the essential tropical looking plant. Those big wonderful heart-shaped leaves just scream tropical. There are non-edible varieties, hundreds of edible varieties, varieties that grow in water, varieties that grow in soil, shade loving varieties, and sun loving varieties. Grow different varieties to find your favorite or to fit your needs!

DSC_0918DSC_0919DSC_0920


Propagation

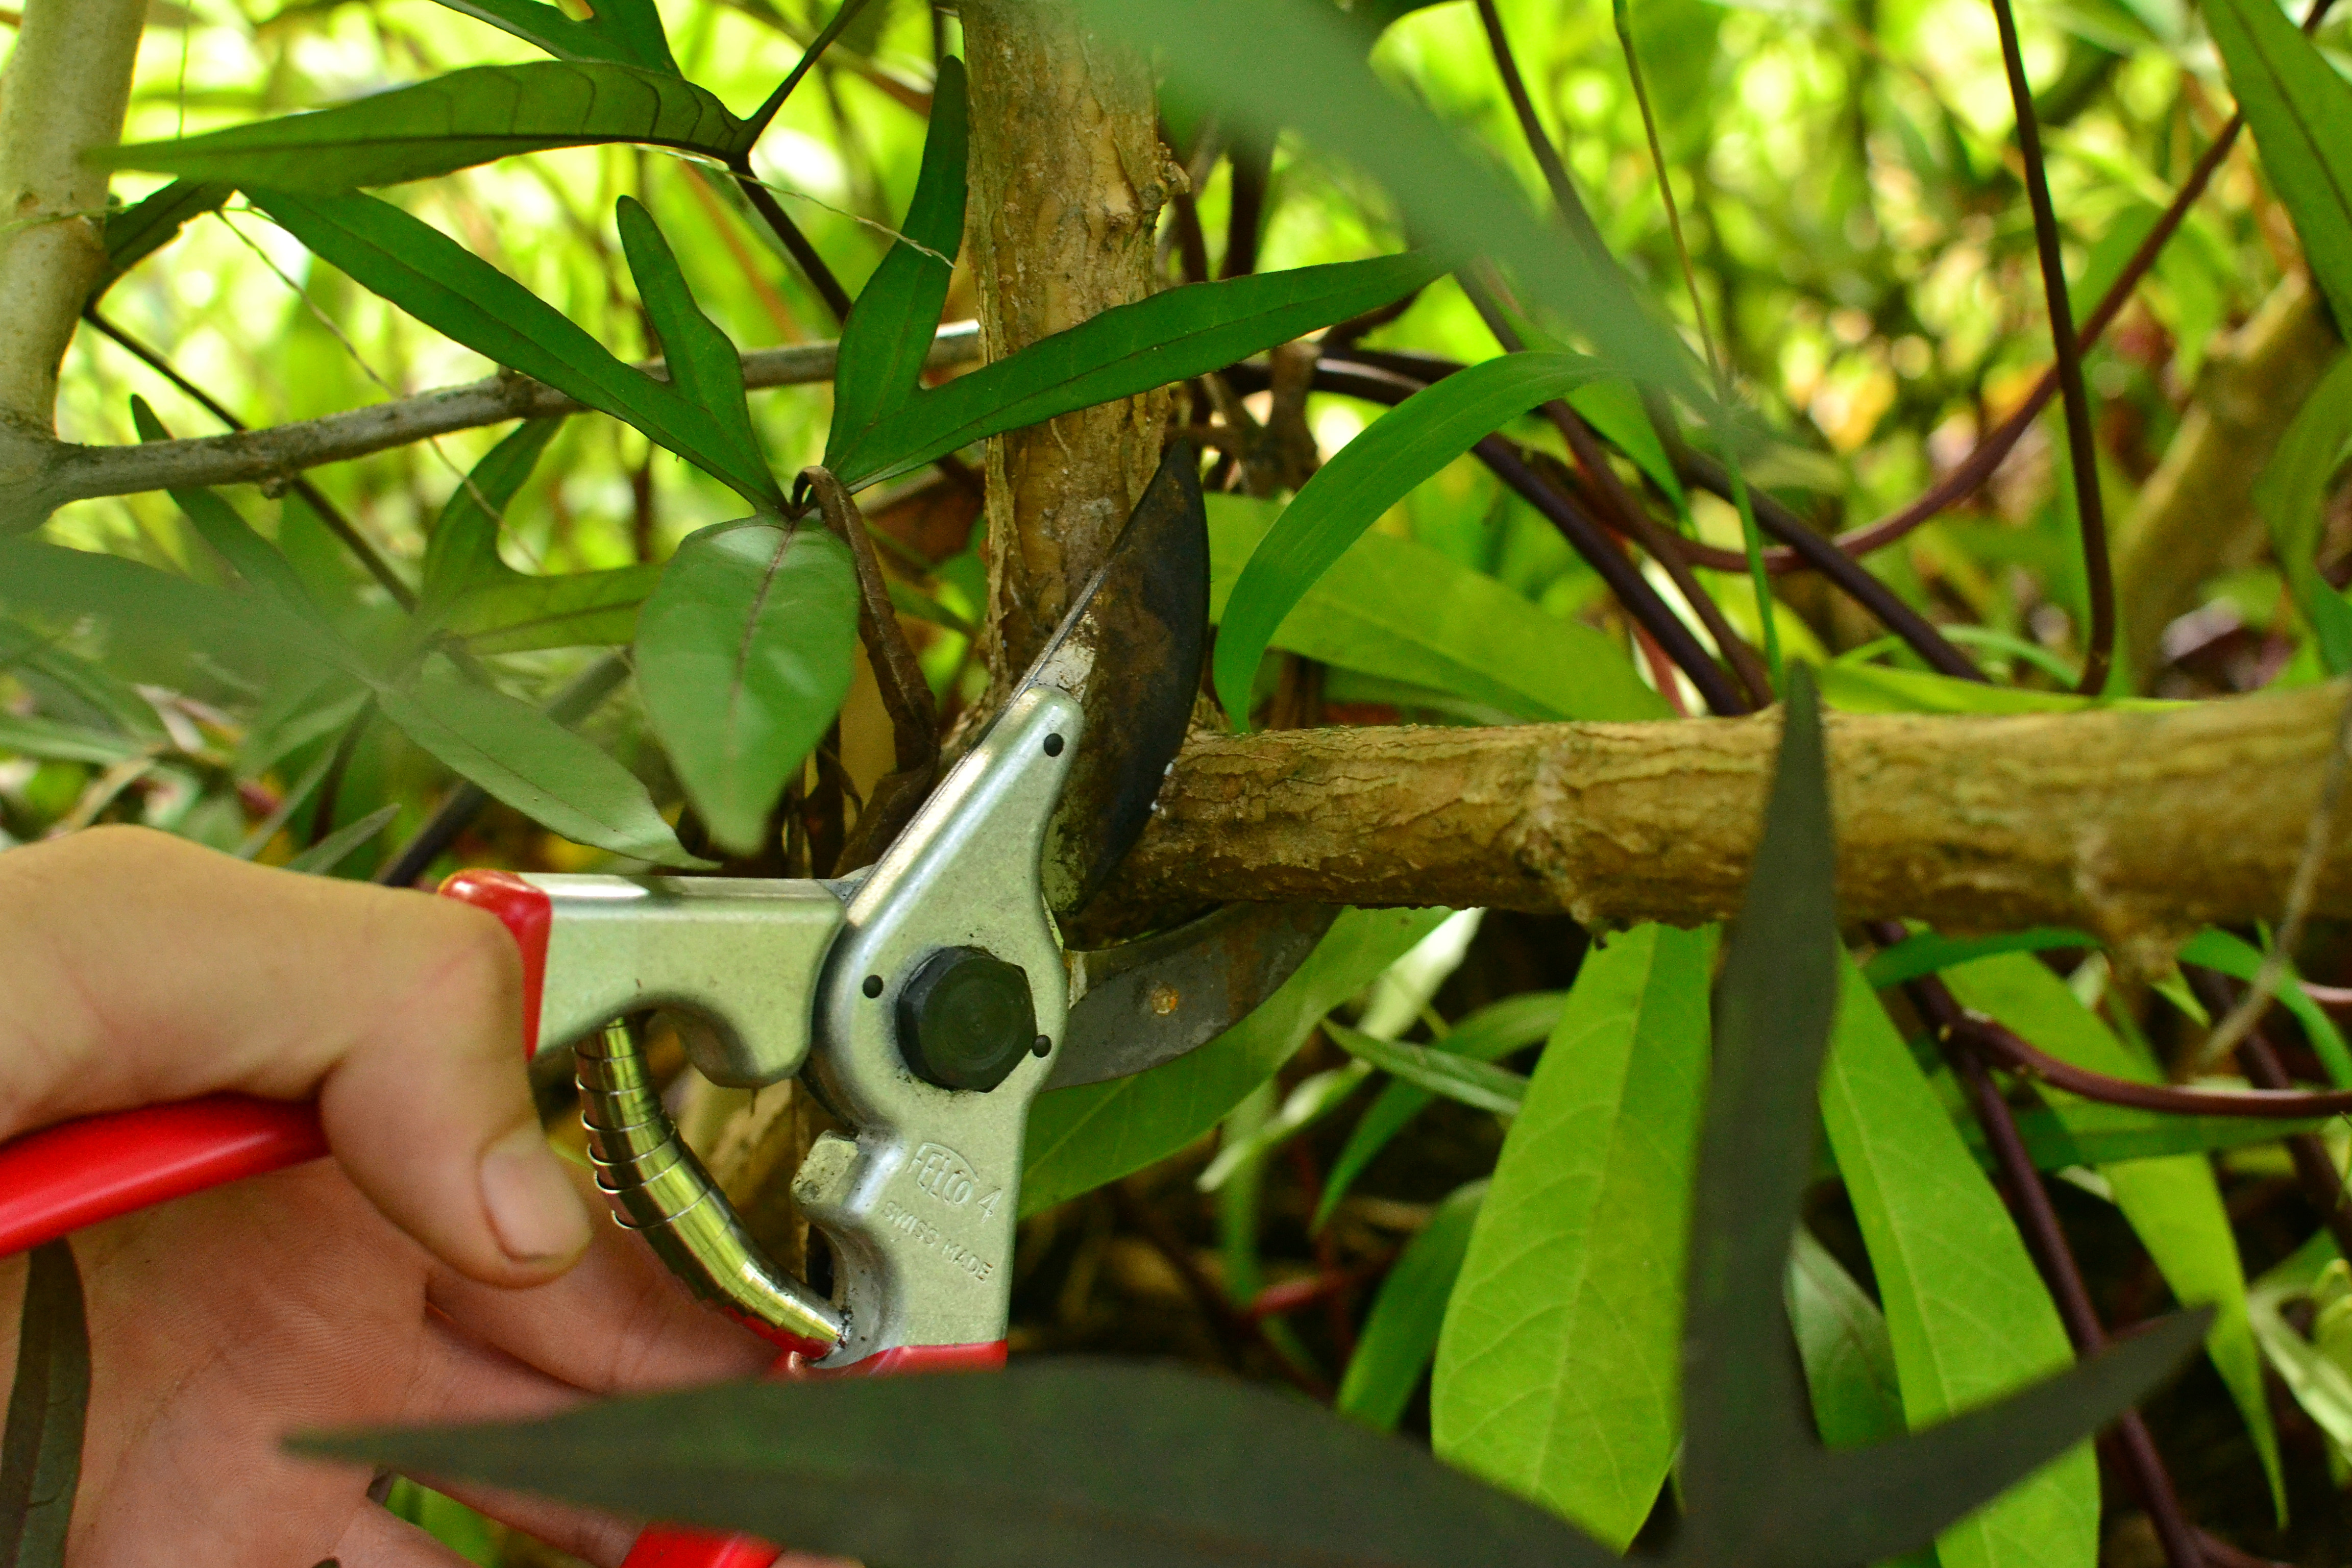
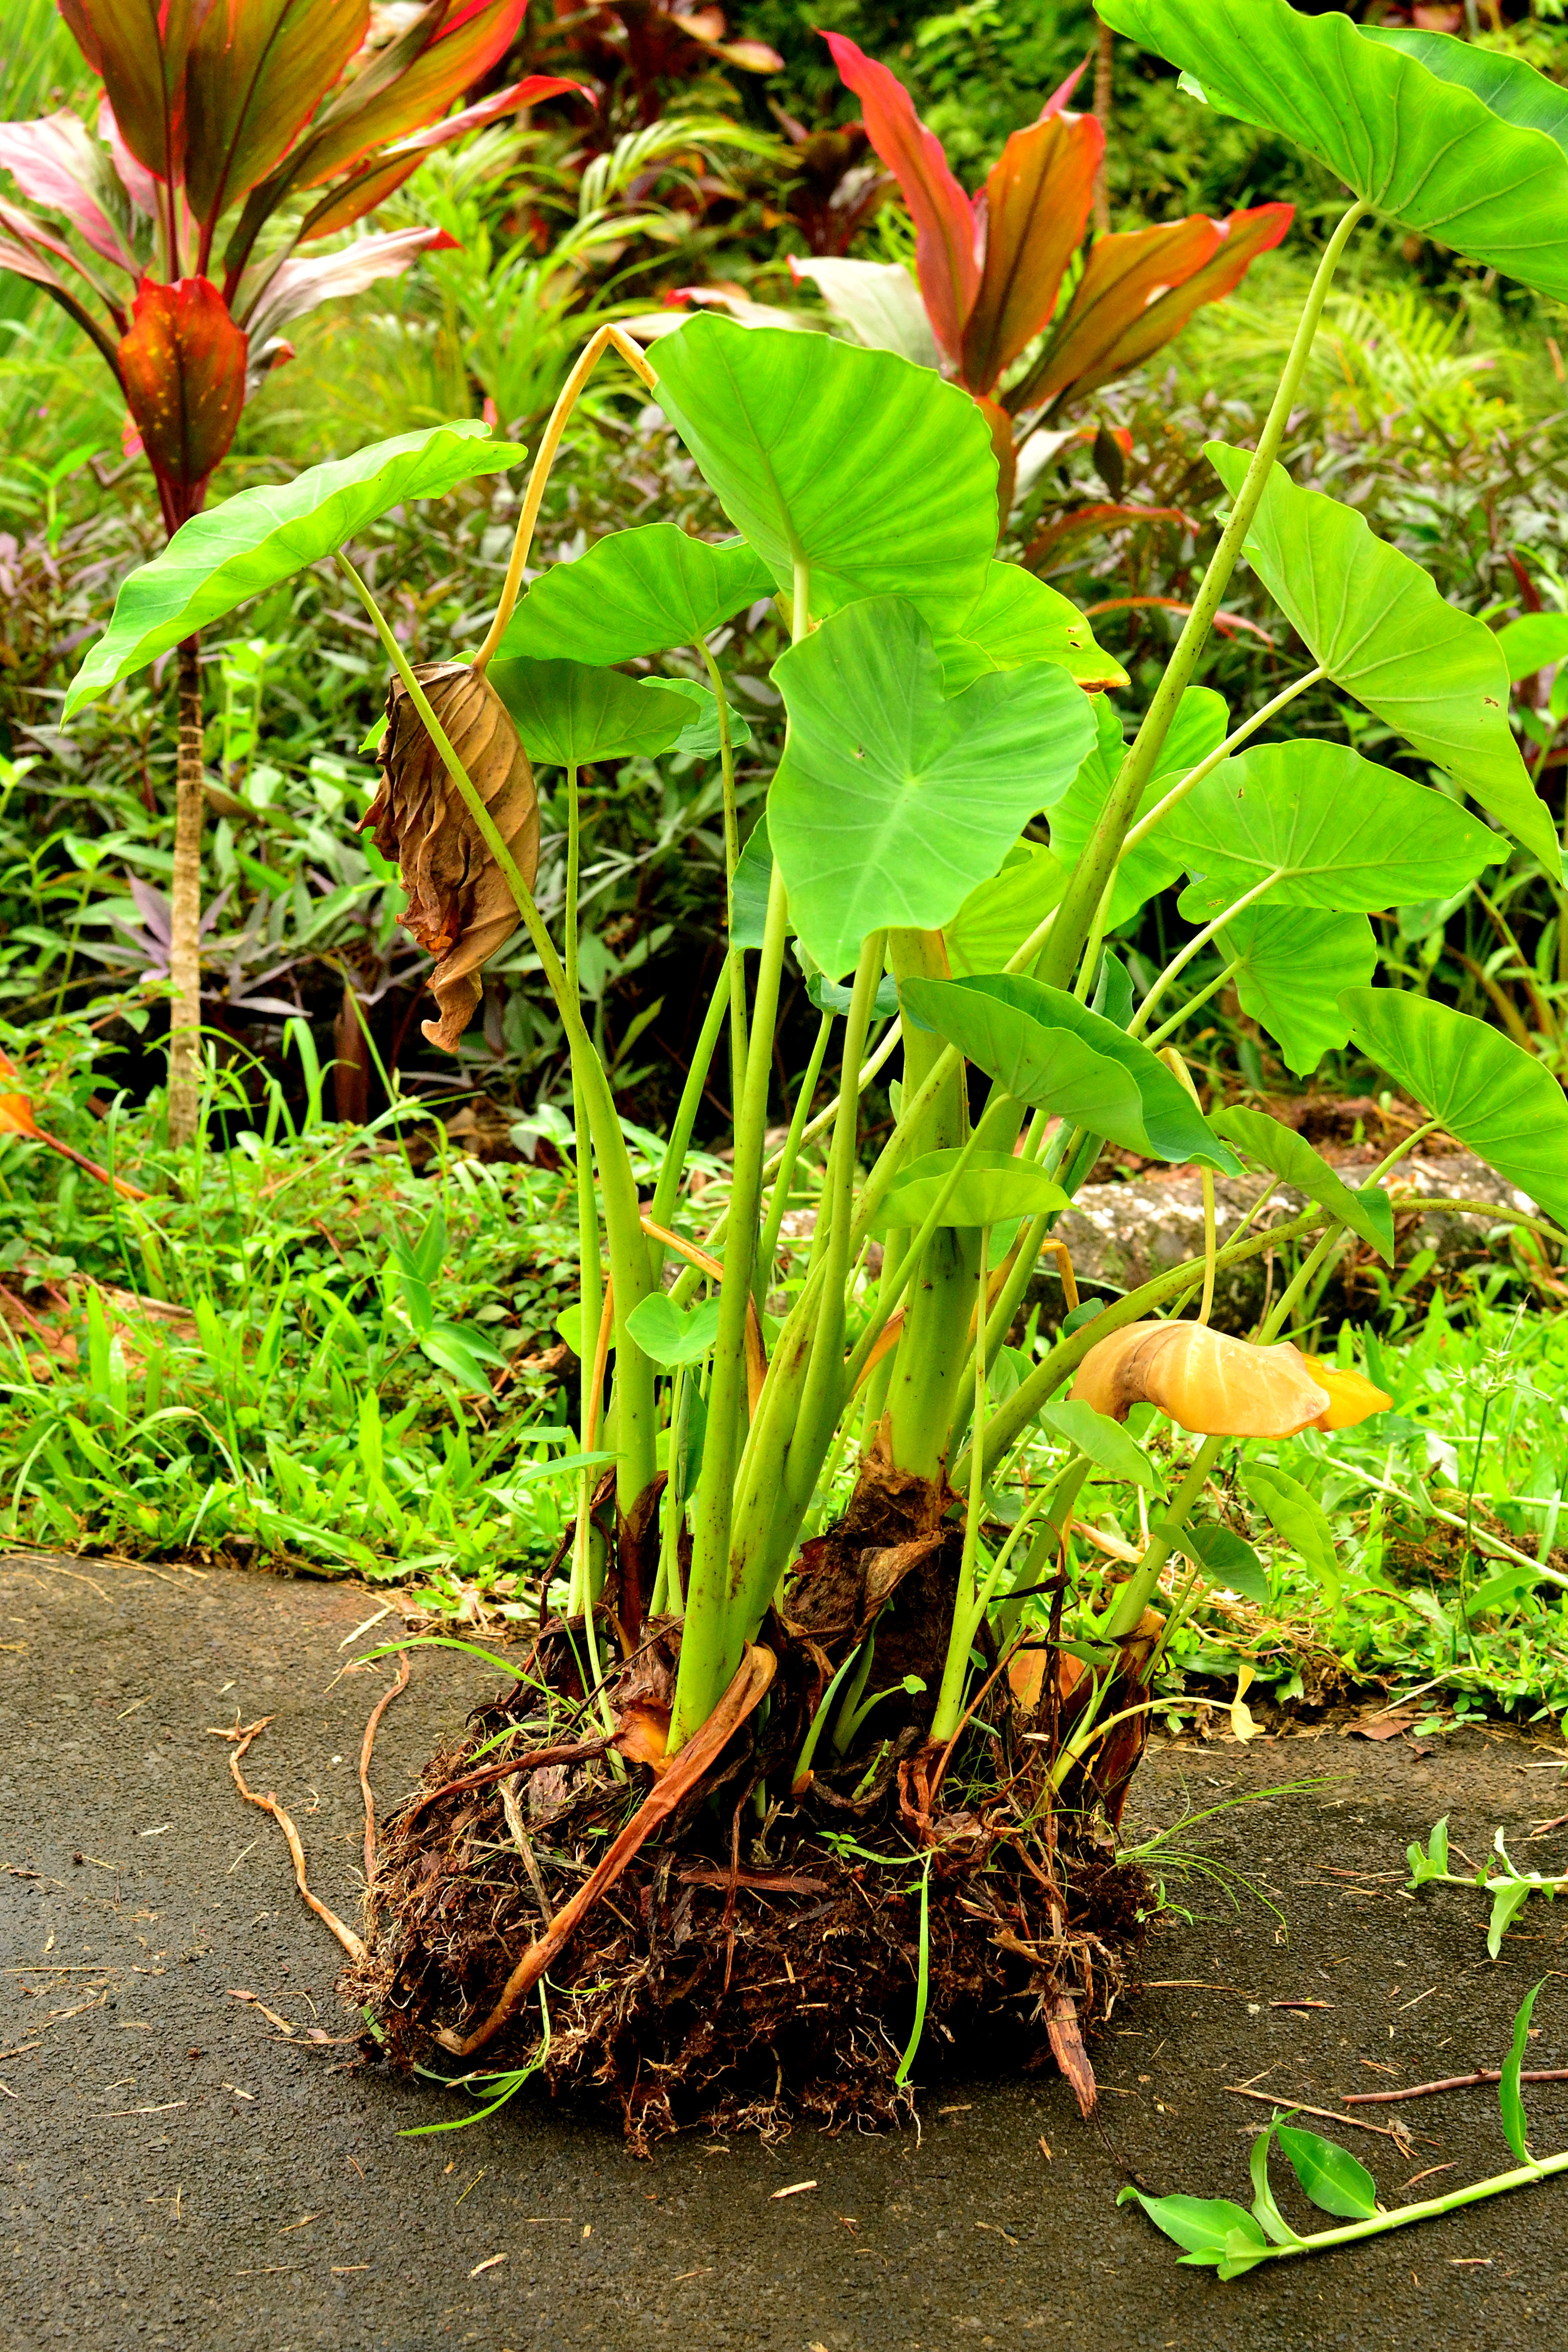
Taro may be grown from seed, seeds being hard to find, but is mostly grown from setts or cormels. You may also propagate from corms, but why do that if you can just eat them!

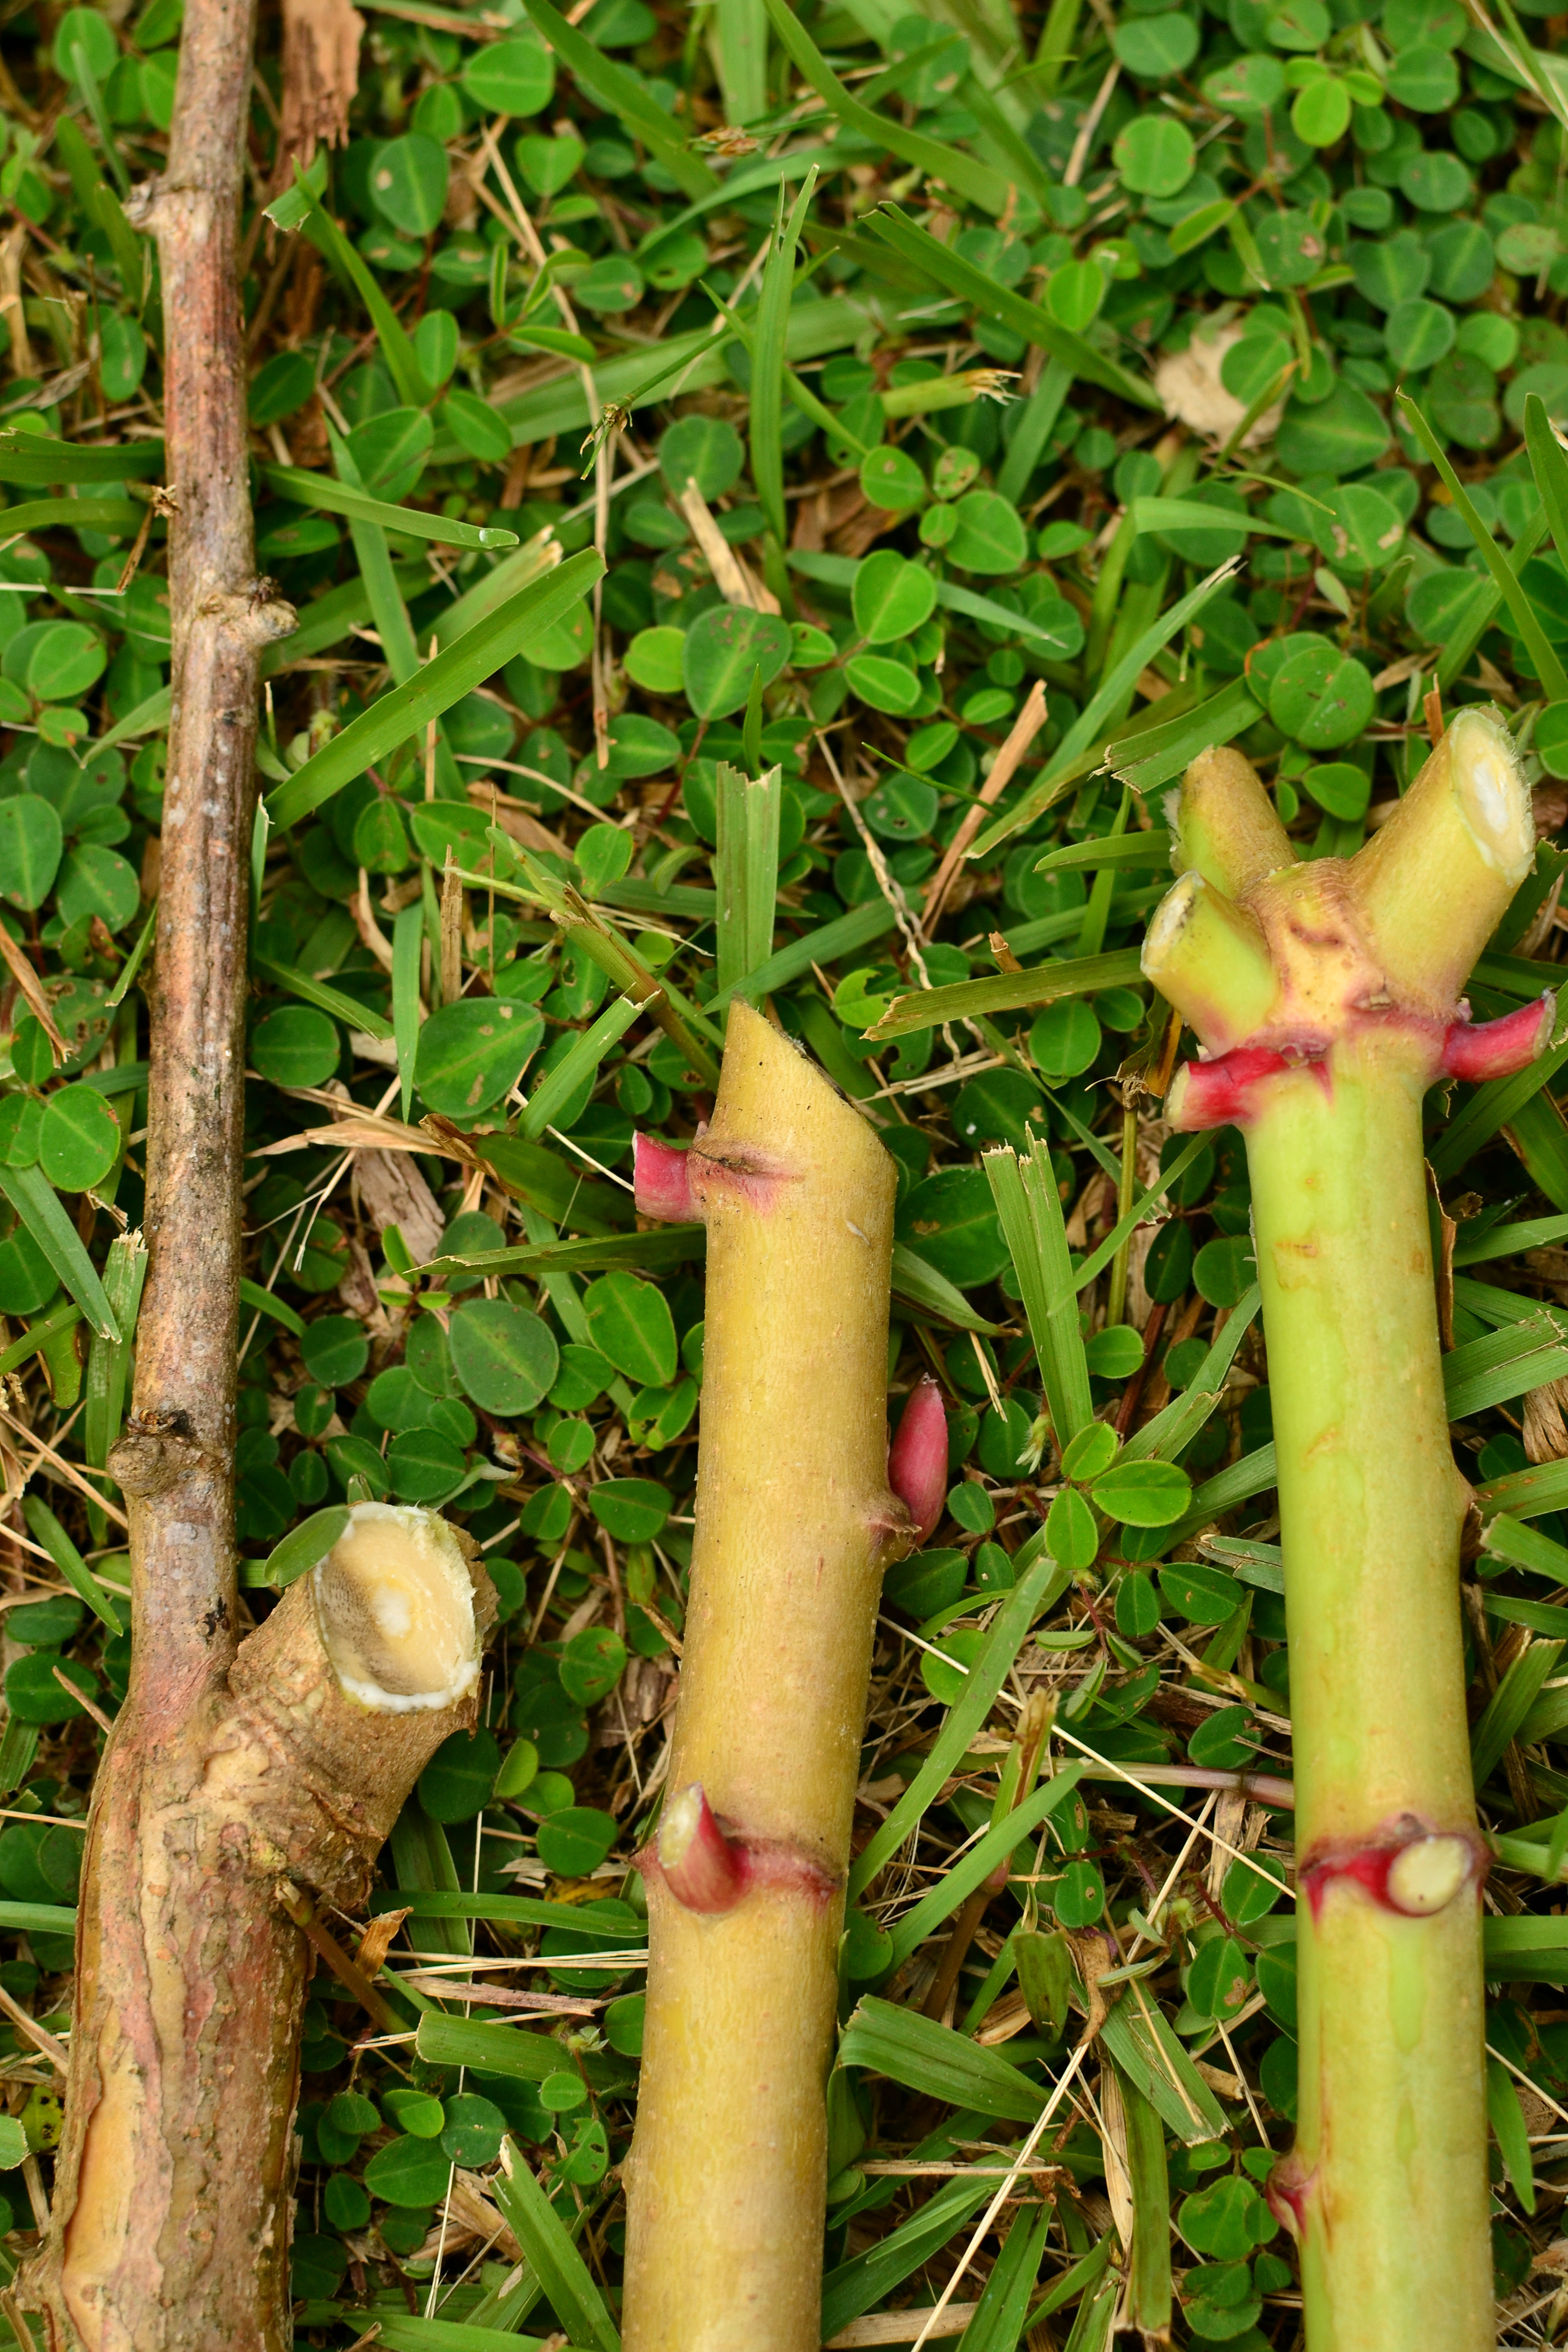
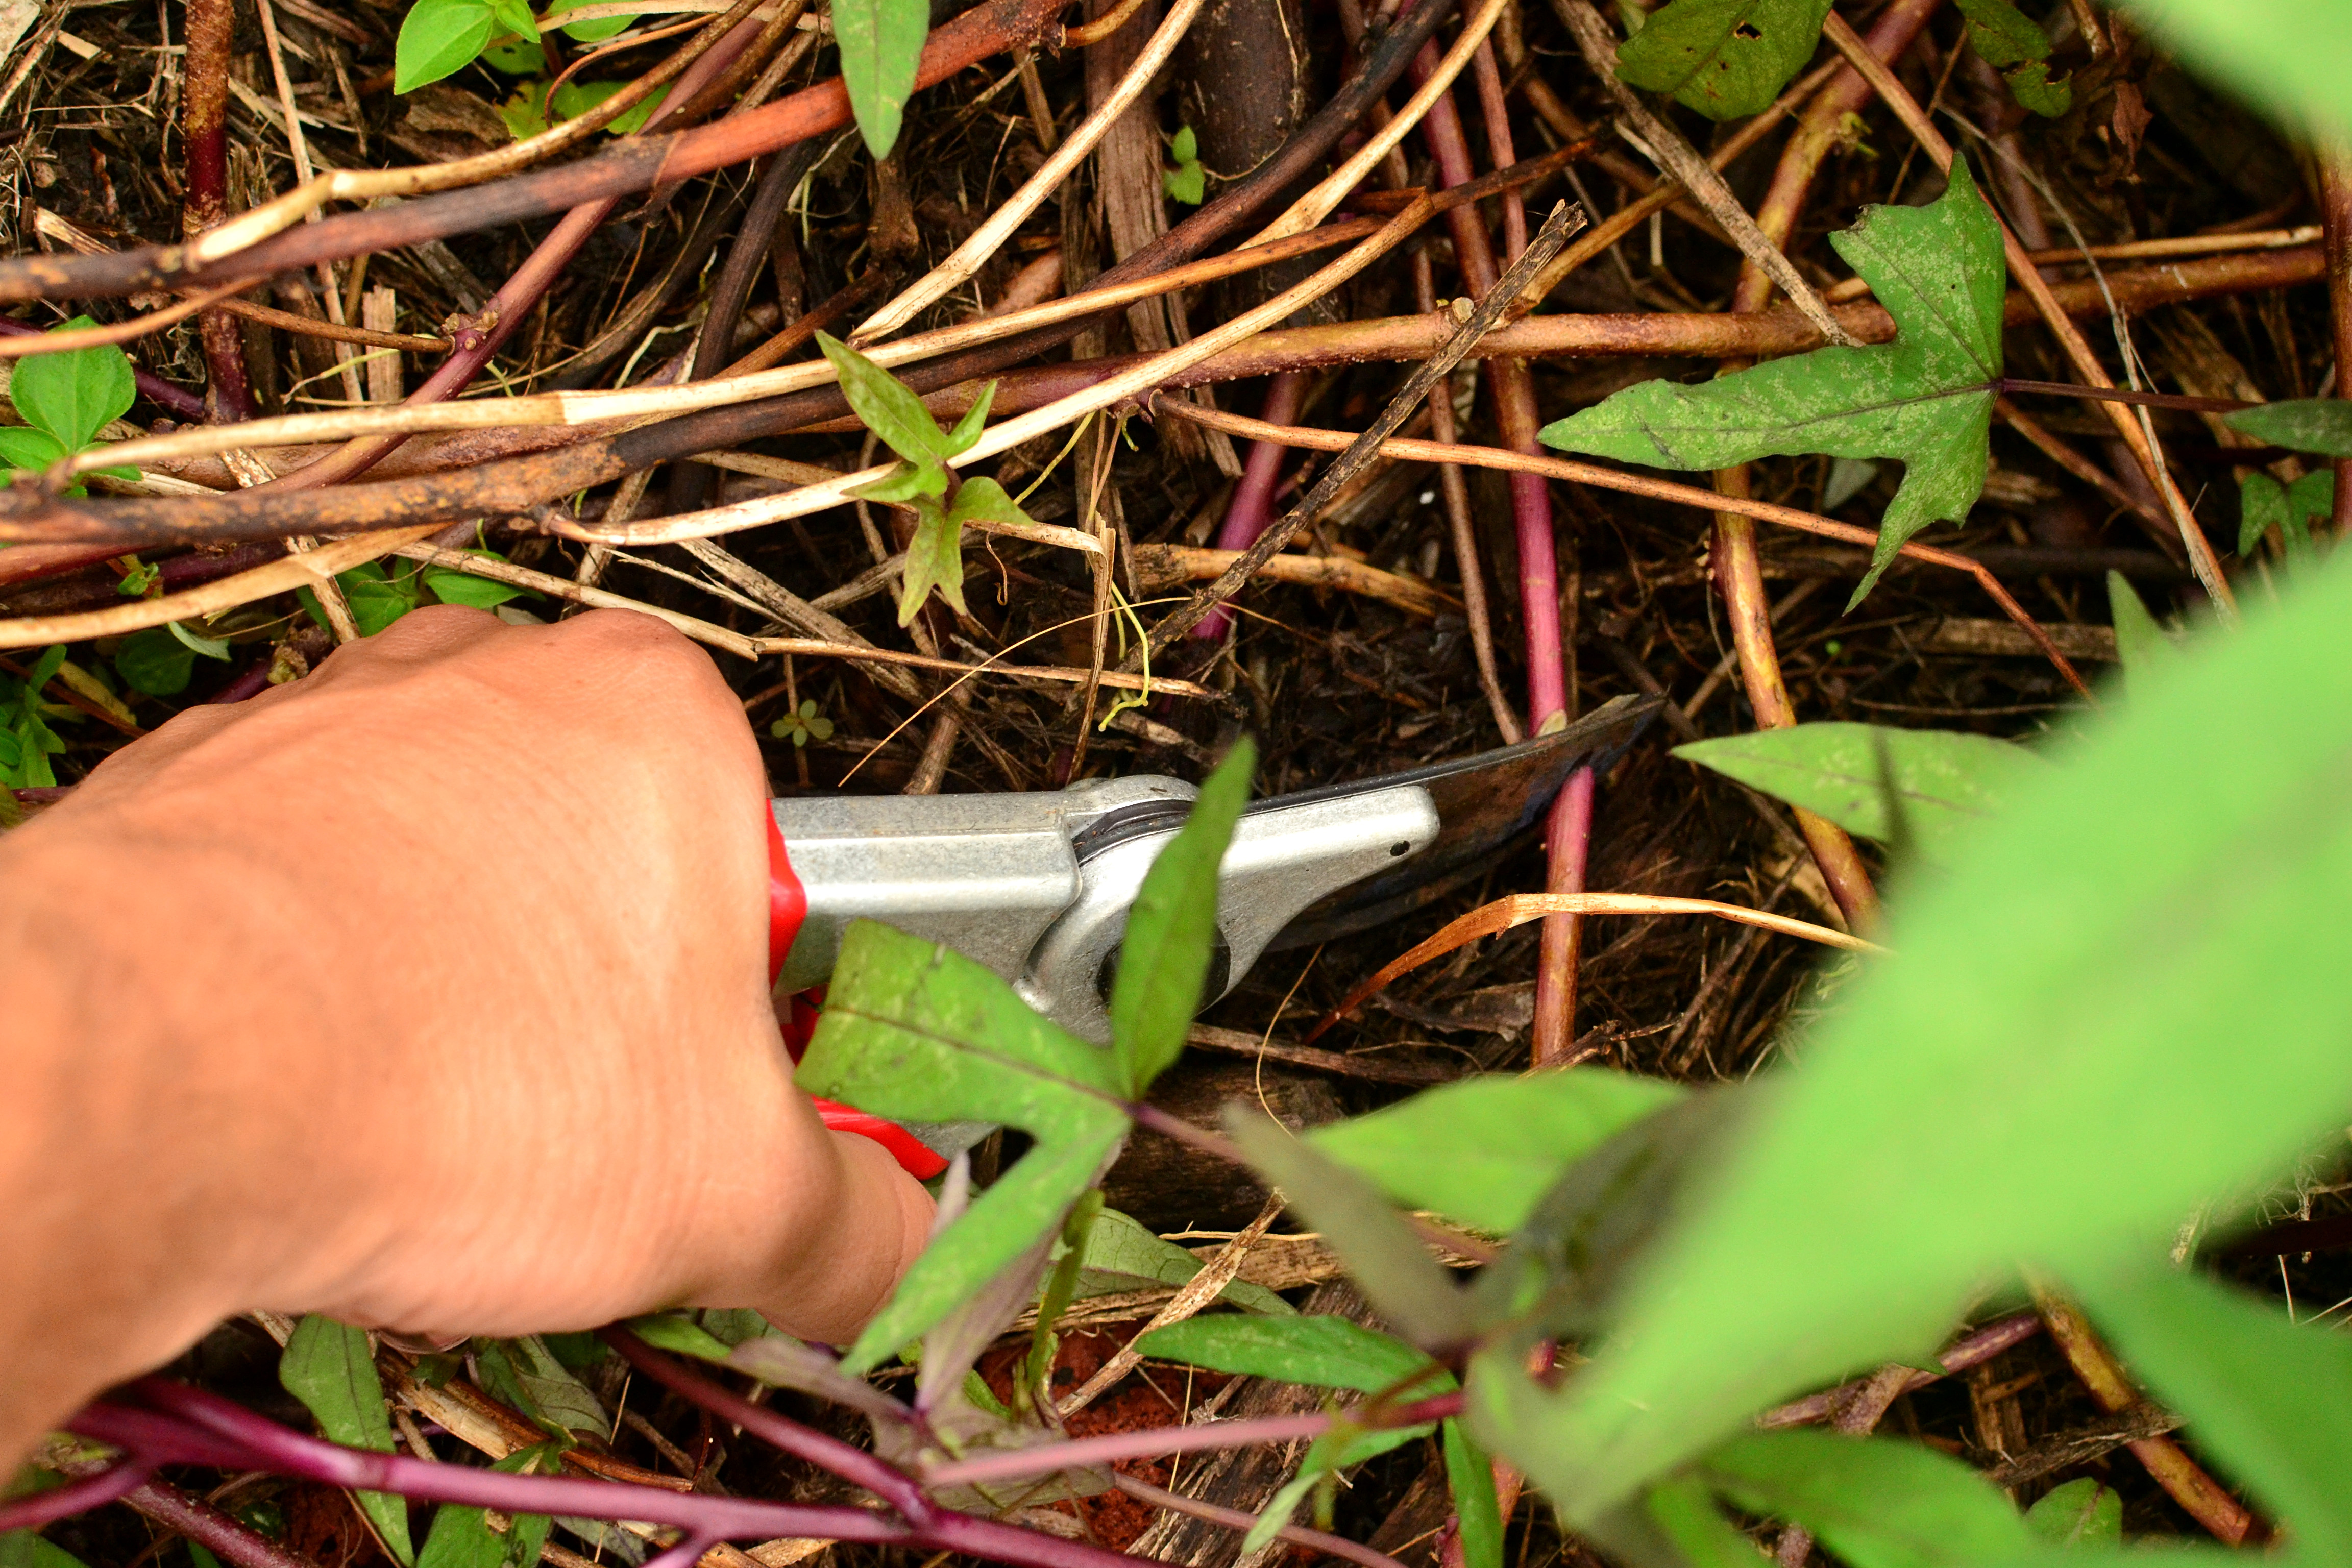
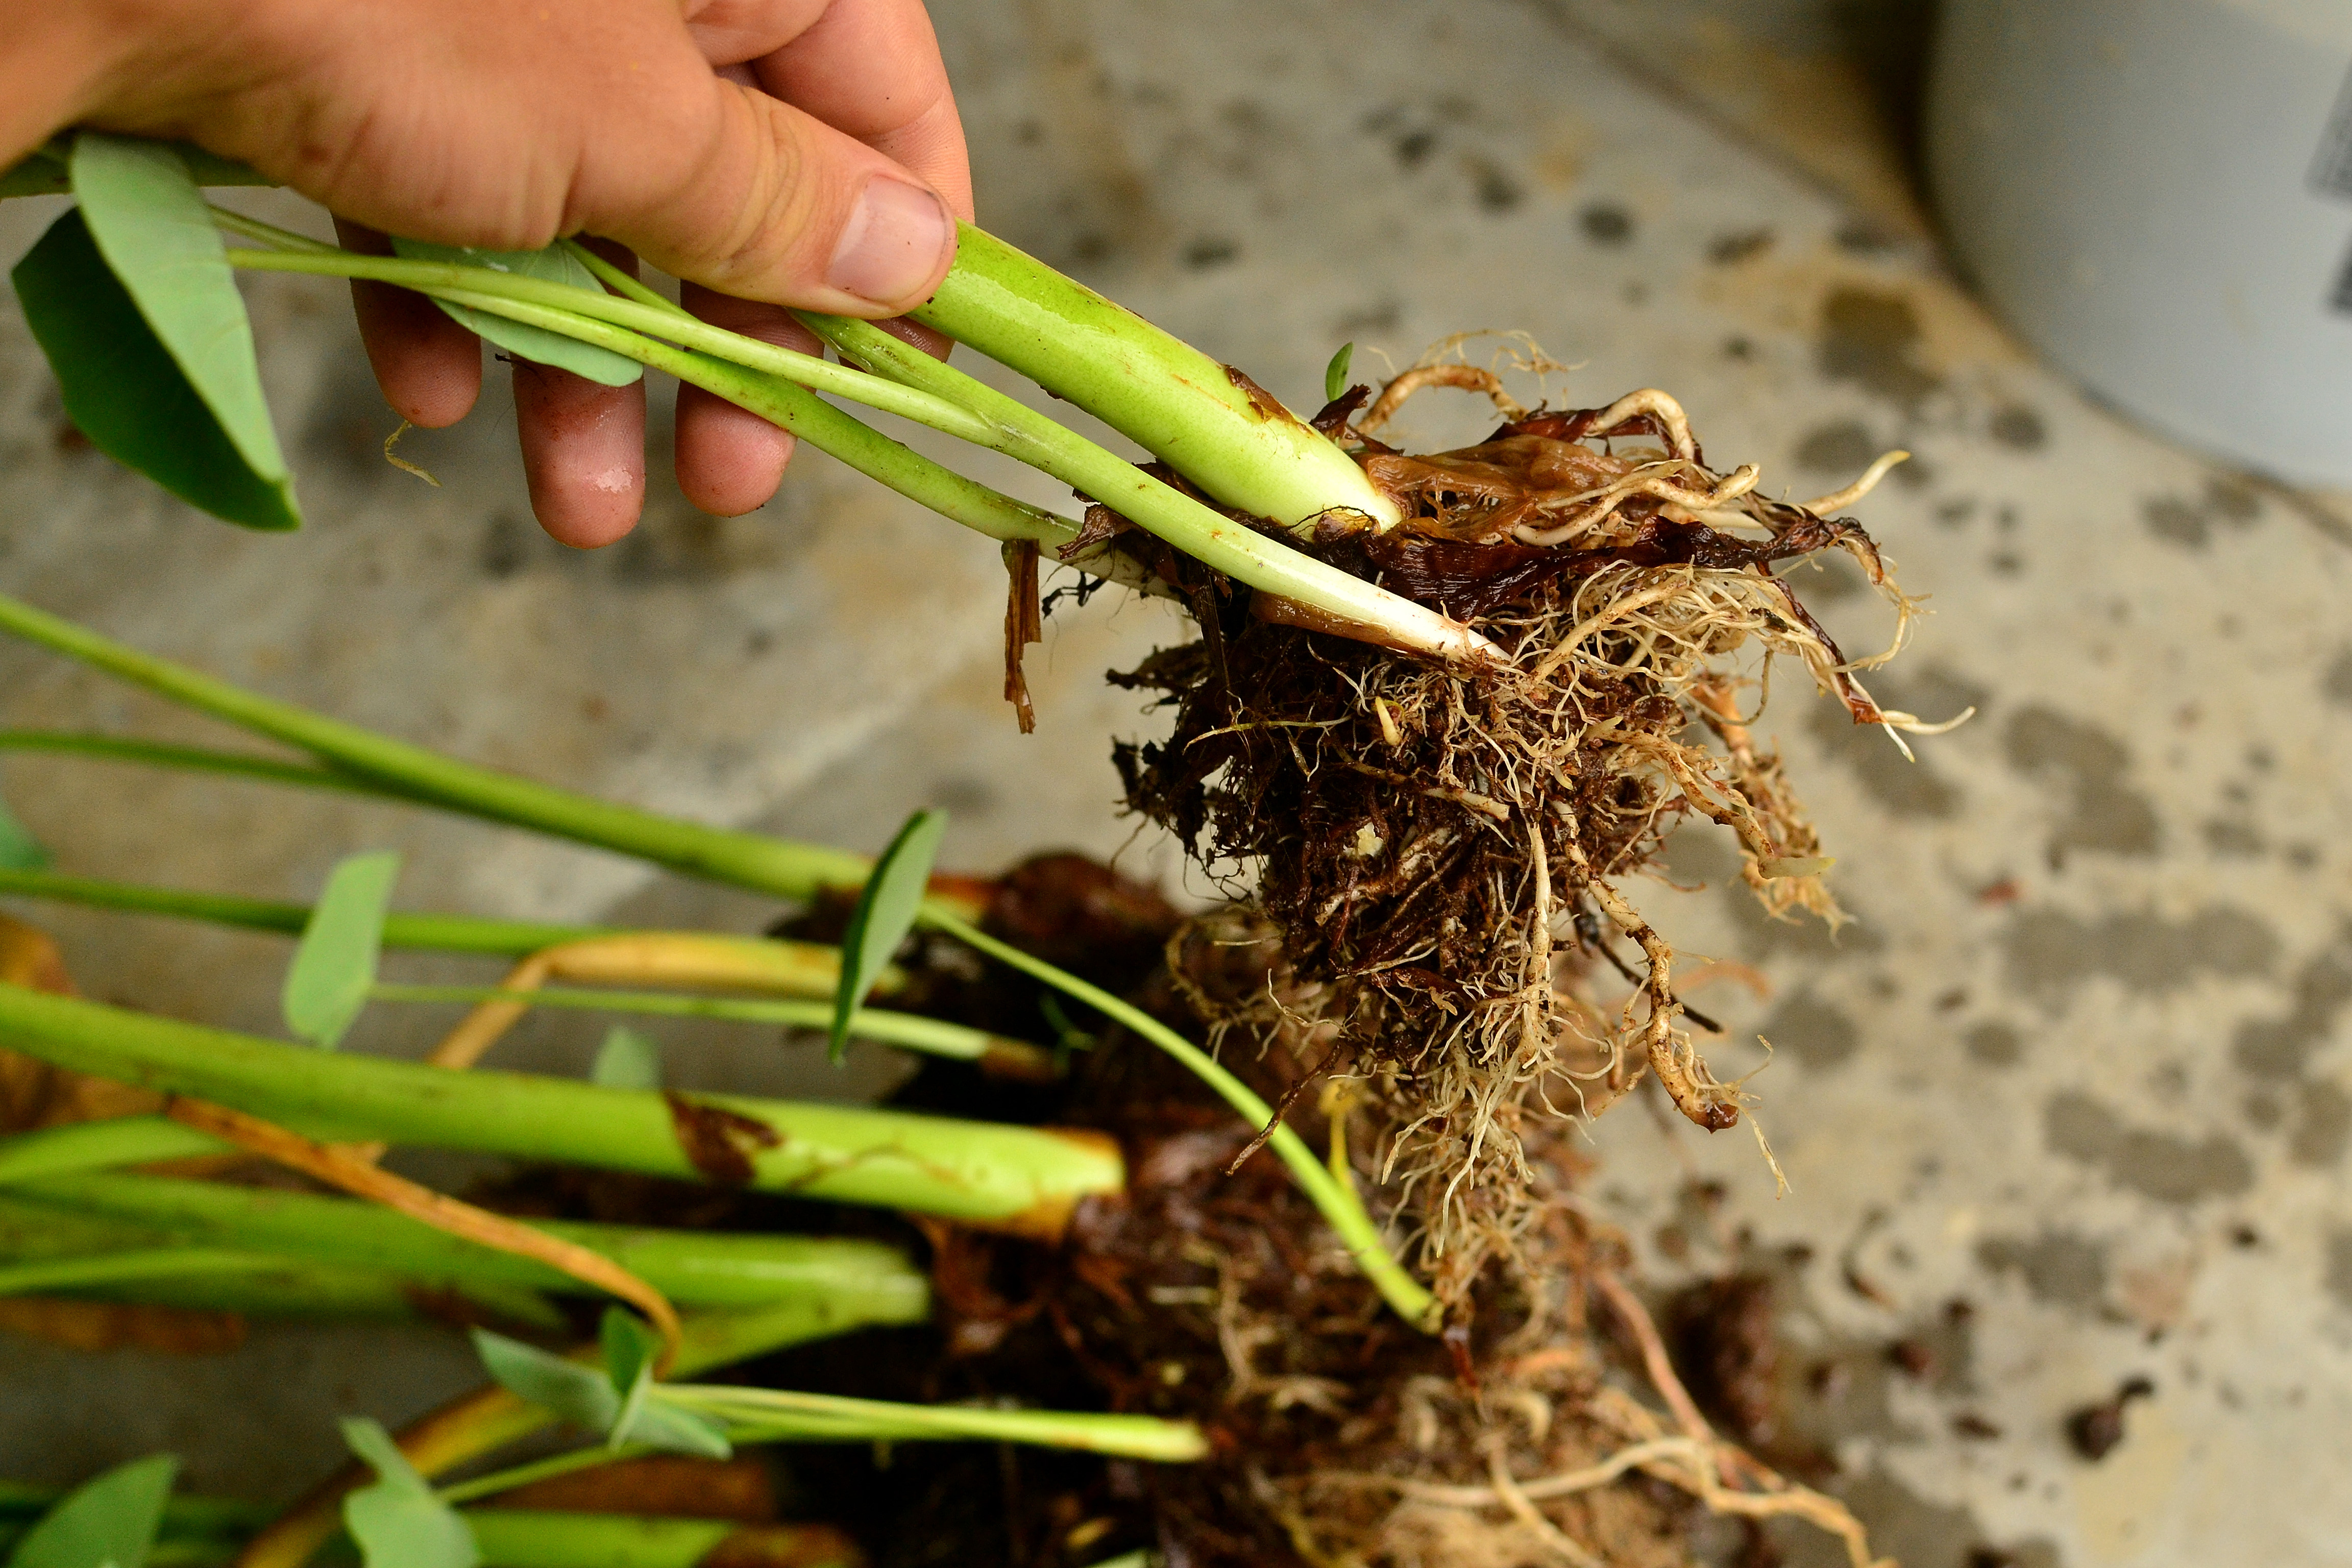
Setts, being the most typical propagation method, are the top of the corm, or root, and a section of the stem. You leave a small section of the top of the corm, less than ½ inch (1 cm), and take the leaves off the stem. You simply let it heal, for a day or two, and then plant right into the ground where you want it to grow. For best results plant your sett within a week. It is literally that simple, the larger sett you plant the larger your harvestable corm will be.

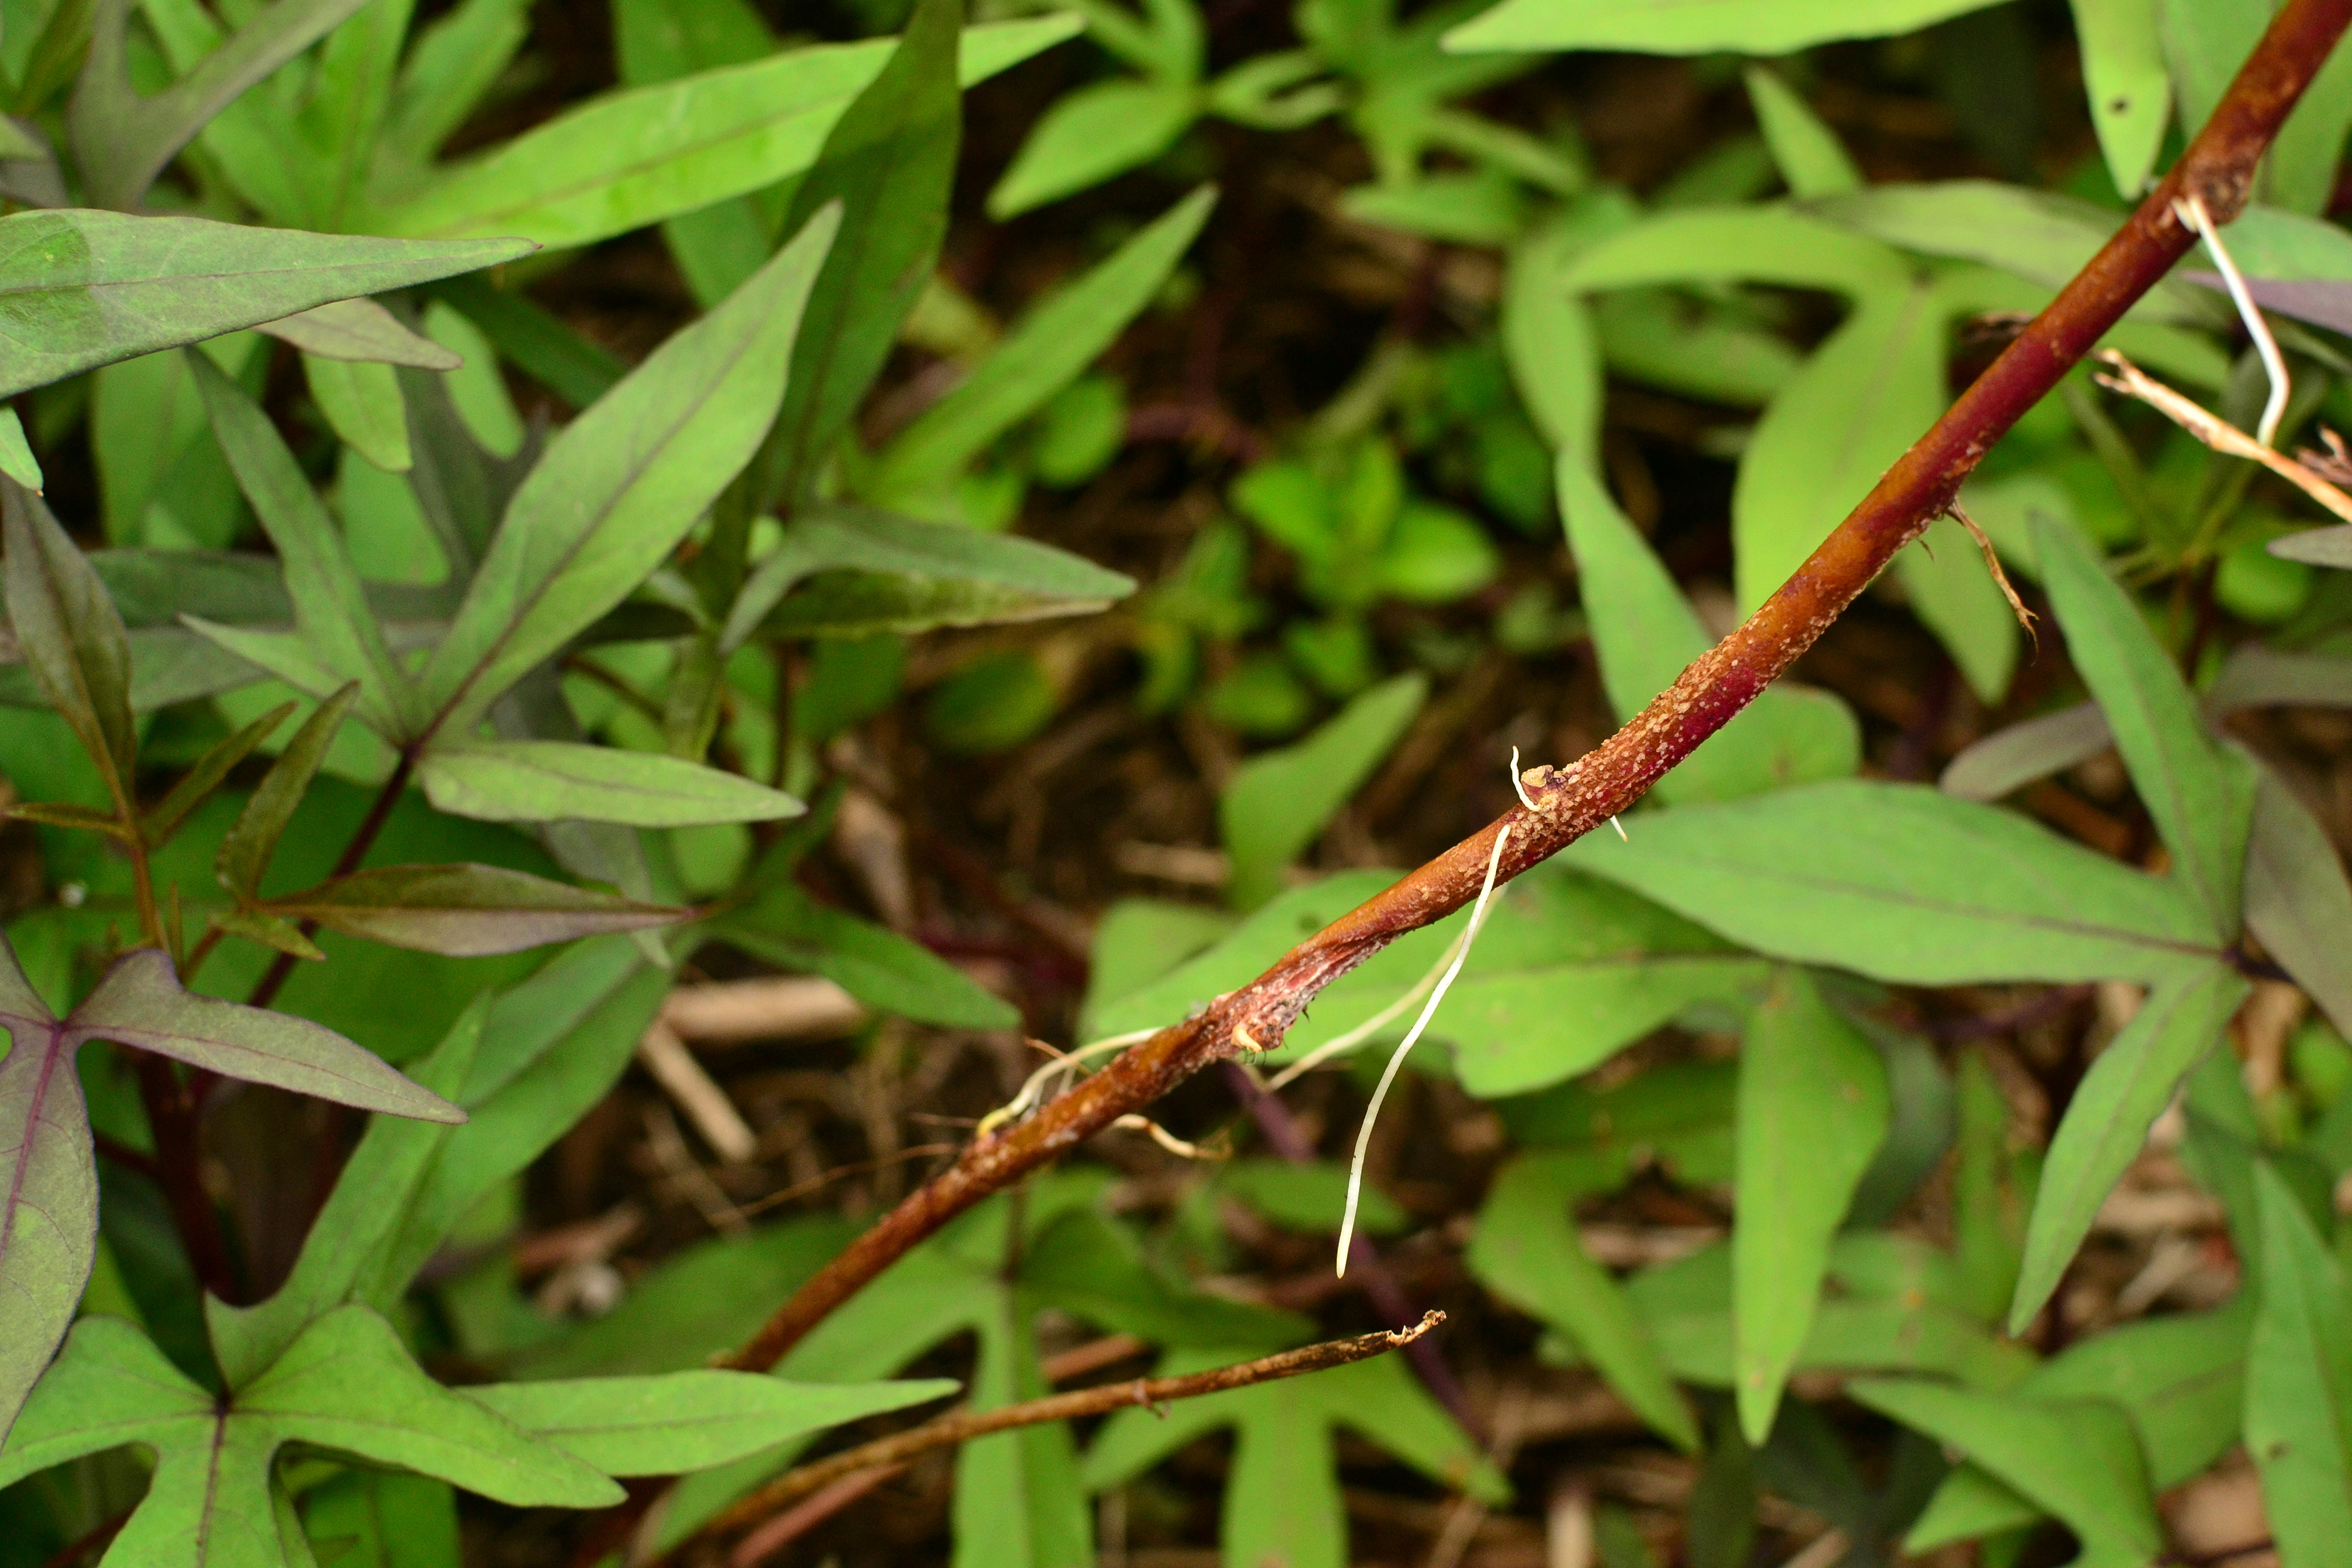
A cormel is a small immature corm attached to the mother plant, you could call this a sucker too. To propagate, you take this cormel and follow the same instructions for setts. If the corm is small enough you can plant that directly in a new spot to watch it grow into a fully mature plant. To remove cormels from the mother plant just pull the corms apart.

DSC_0355

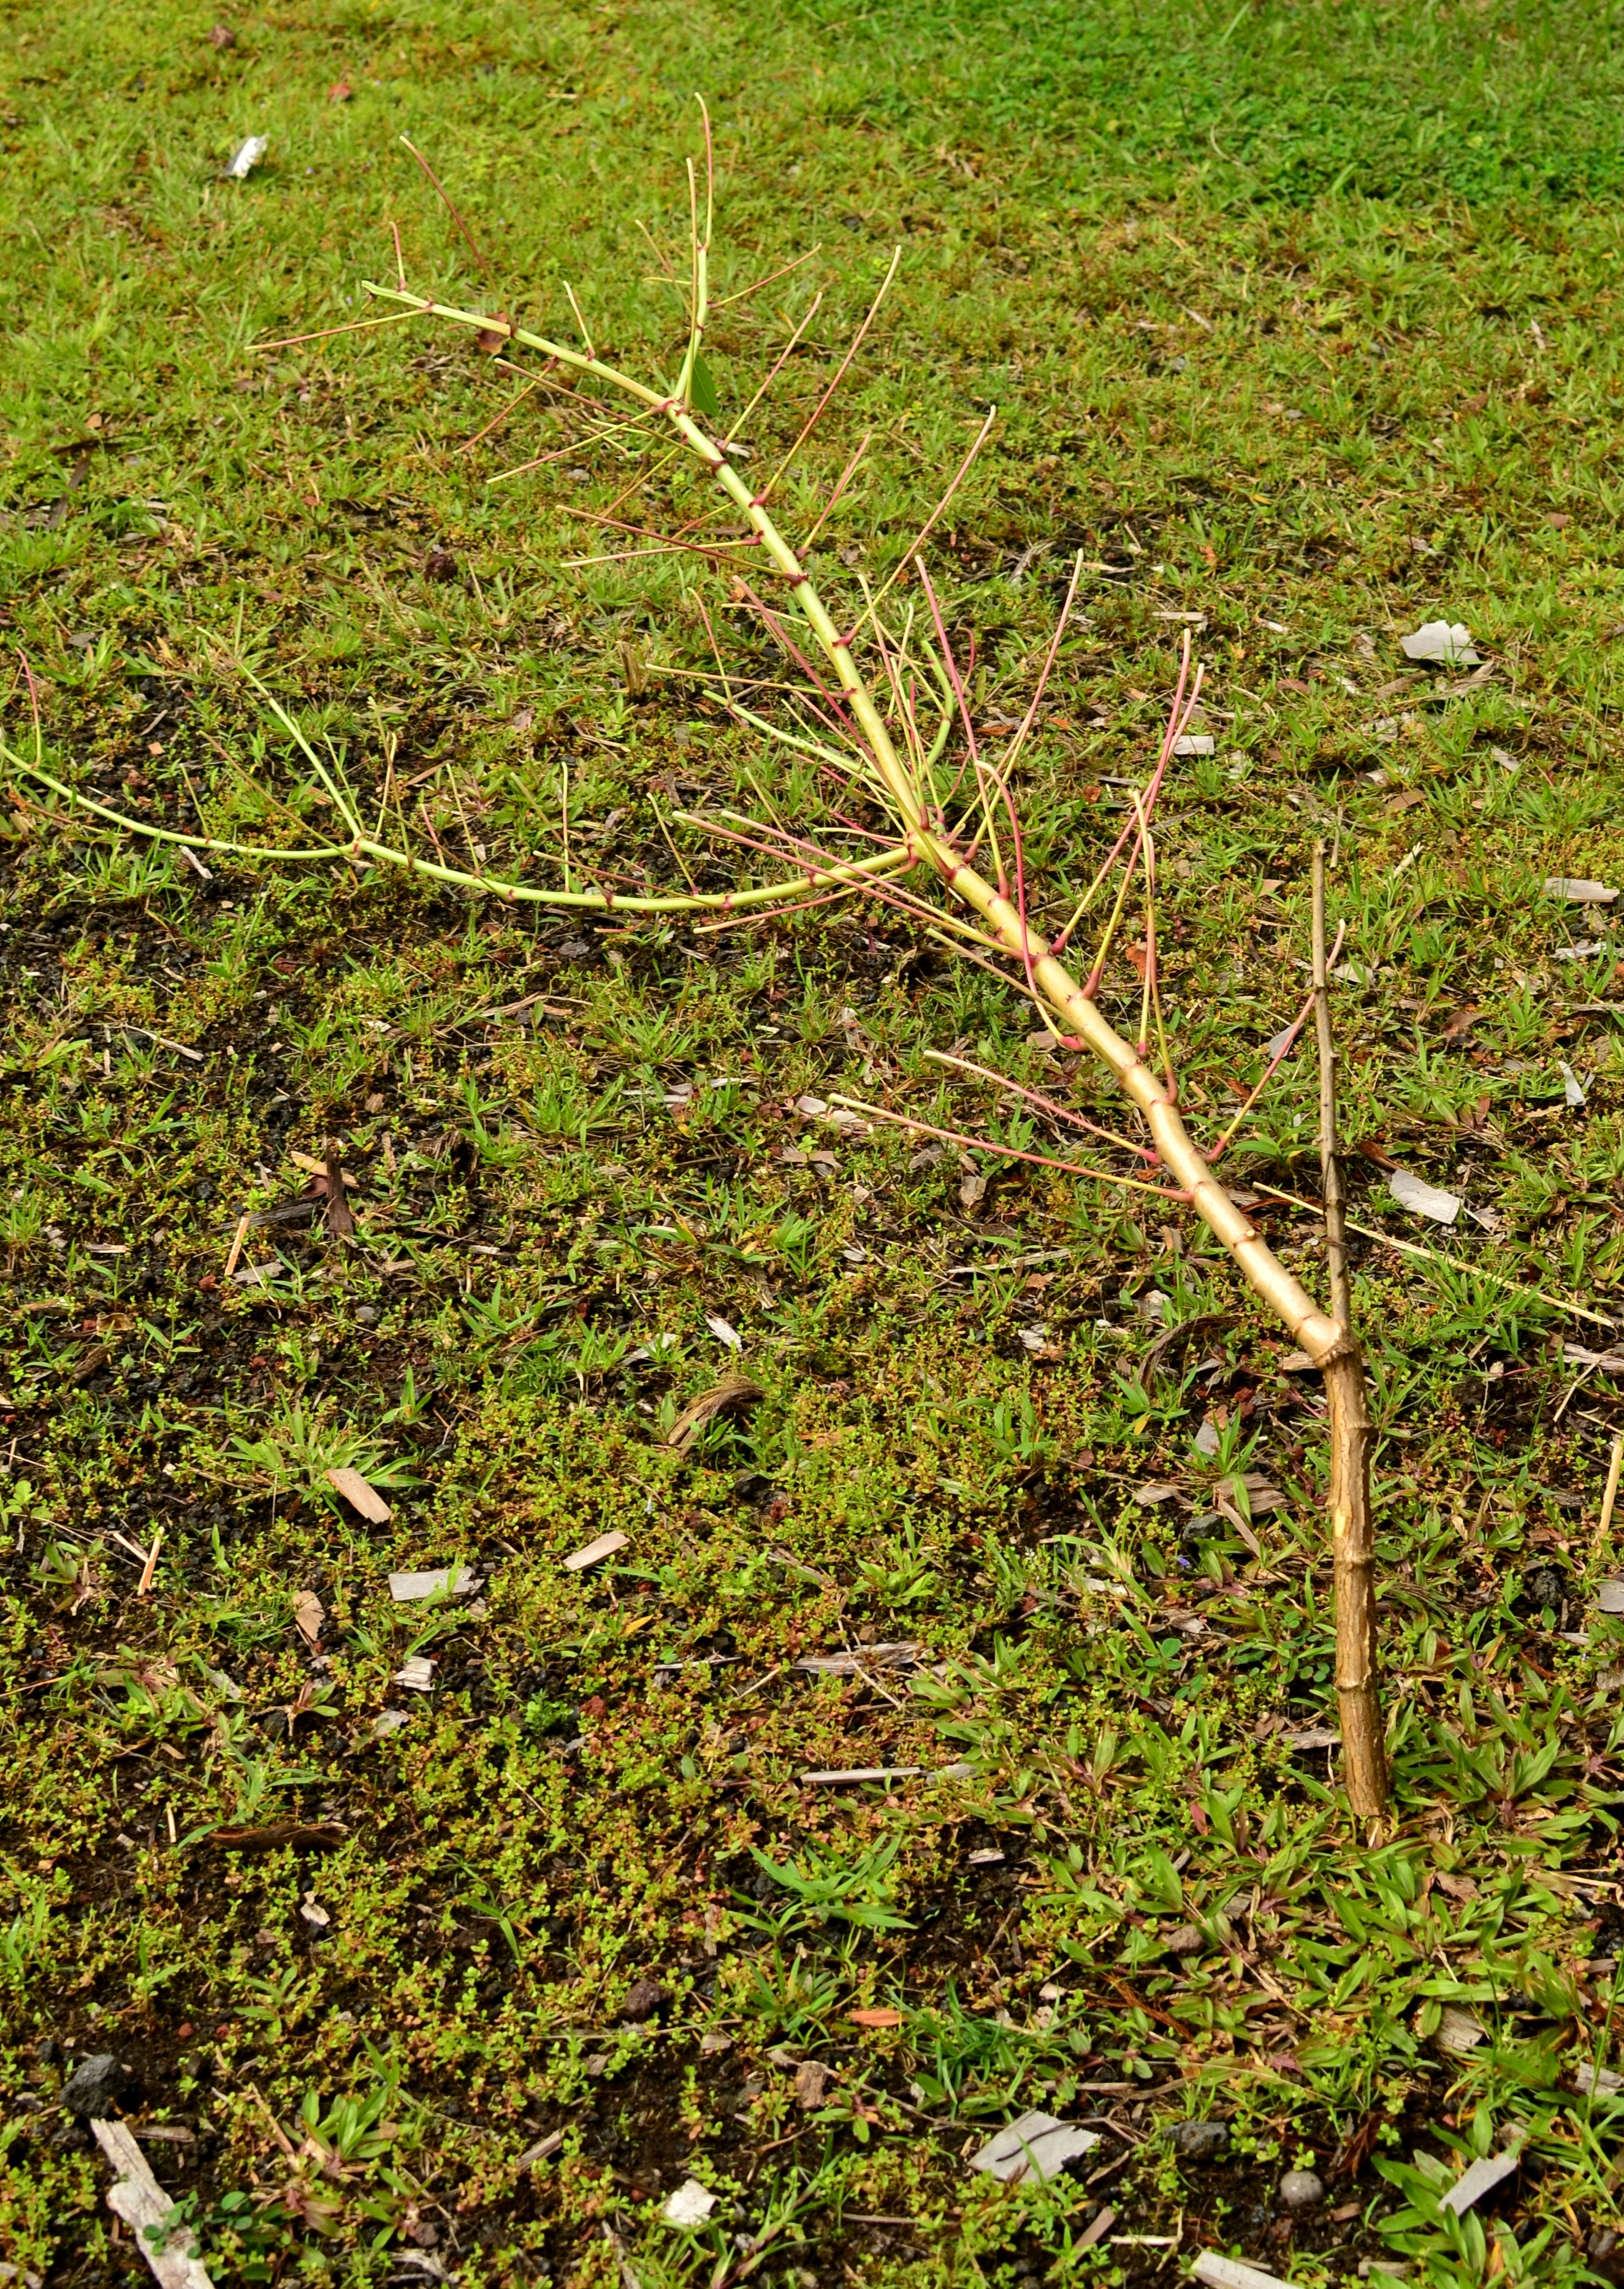
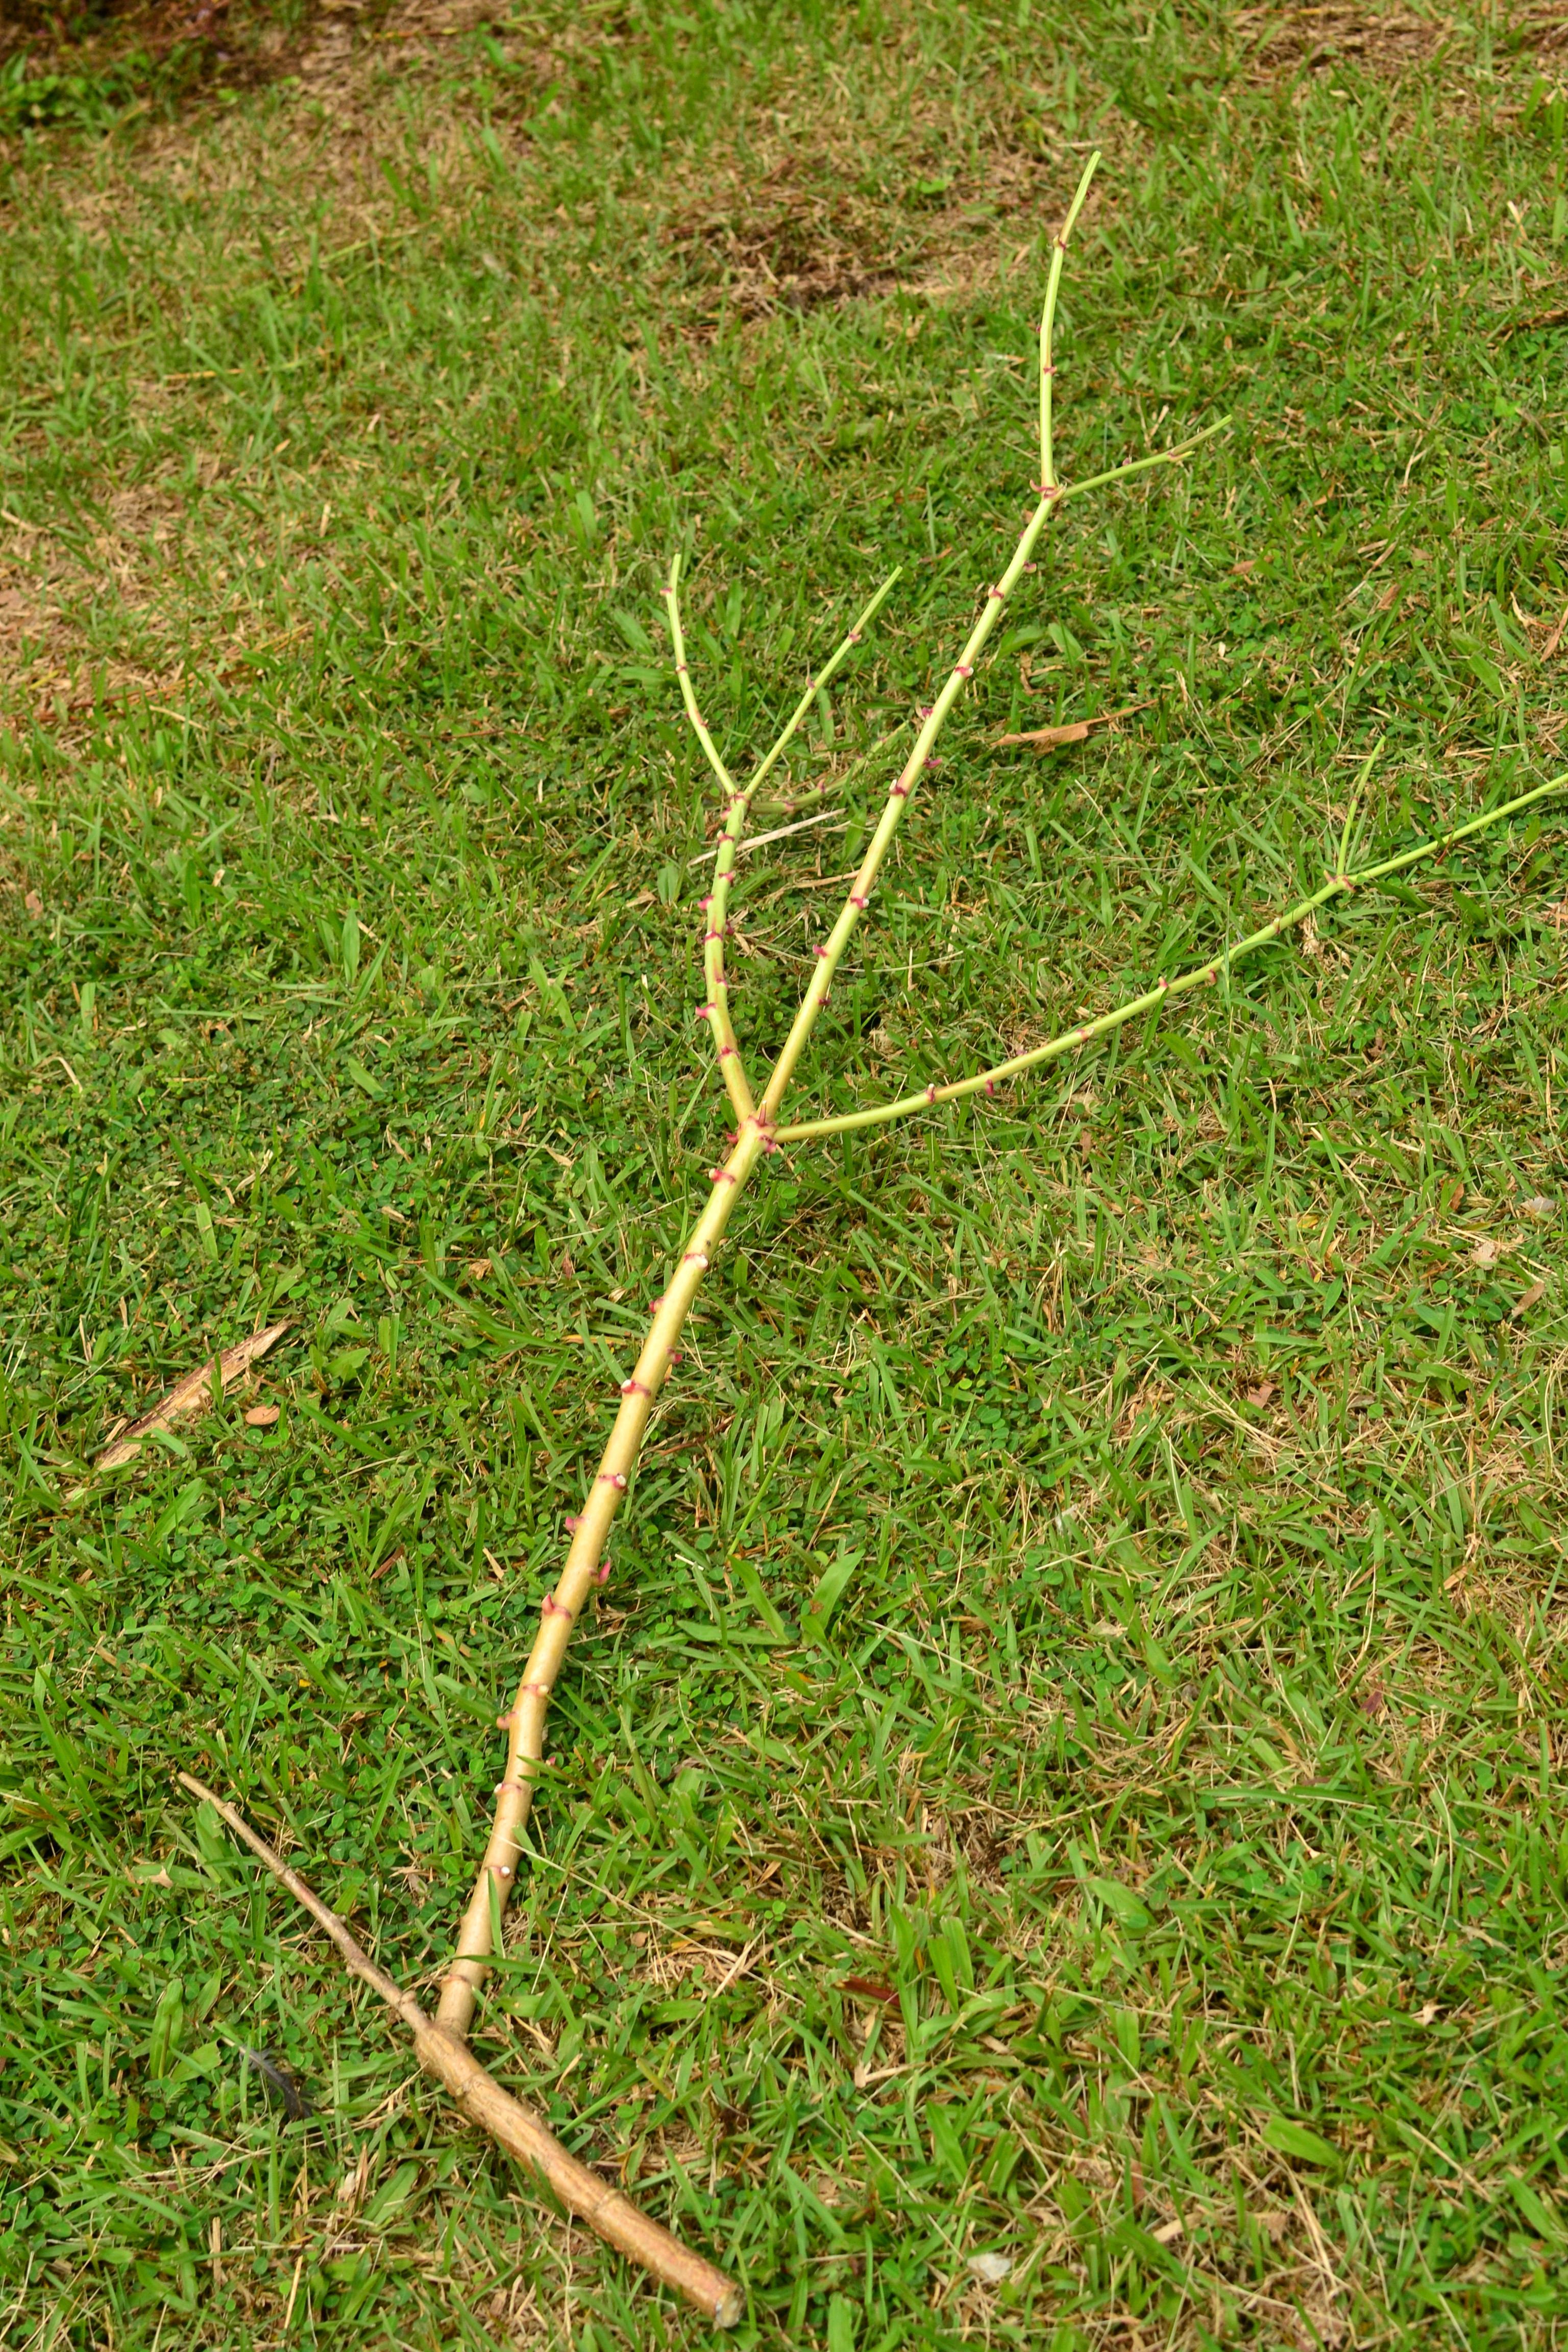
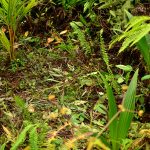
Pull from the ground (then rinse in bucket of water)

DSC_0357

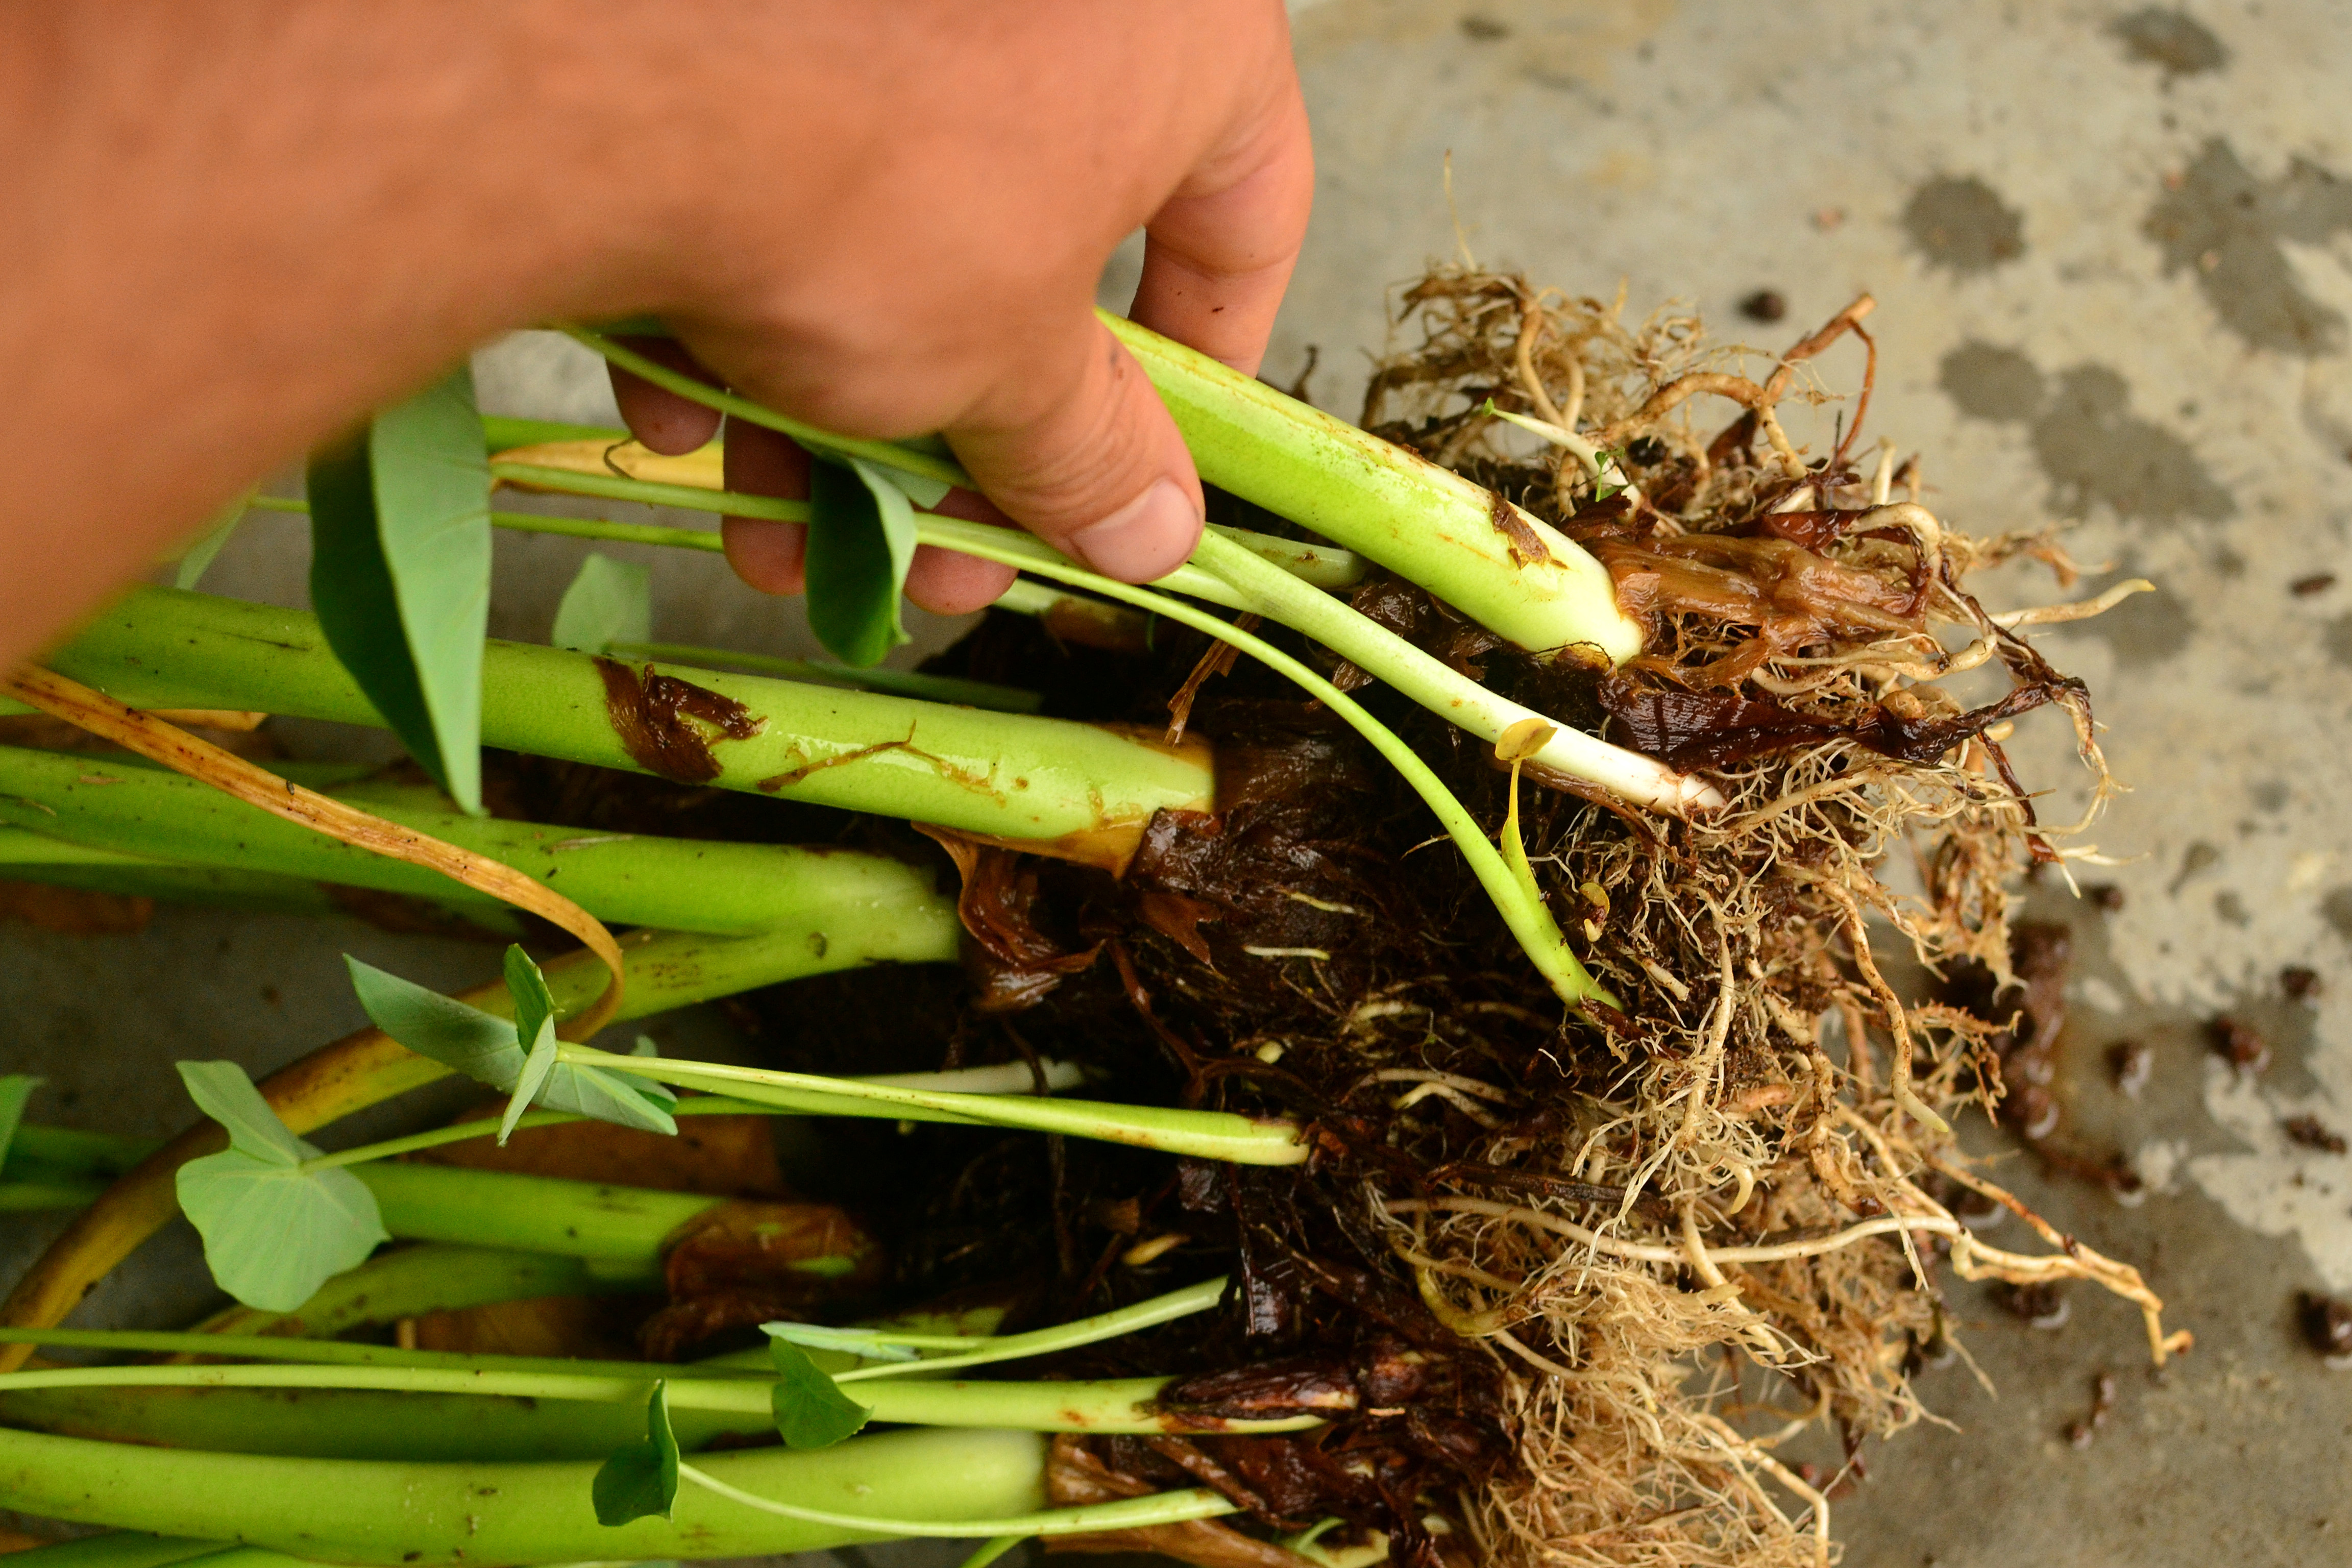
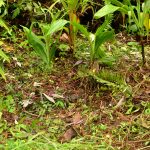
Grab cormel and pull from main corm
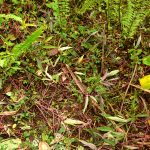
DSC_0358

Removed cormel

DSC_0365

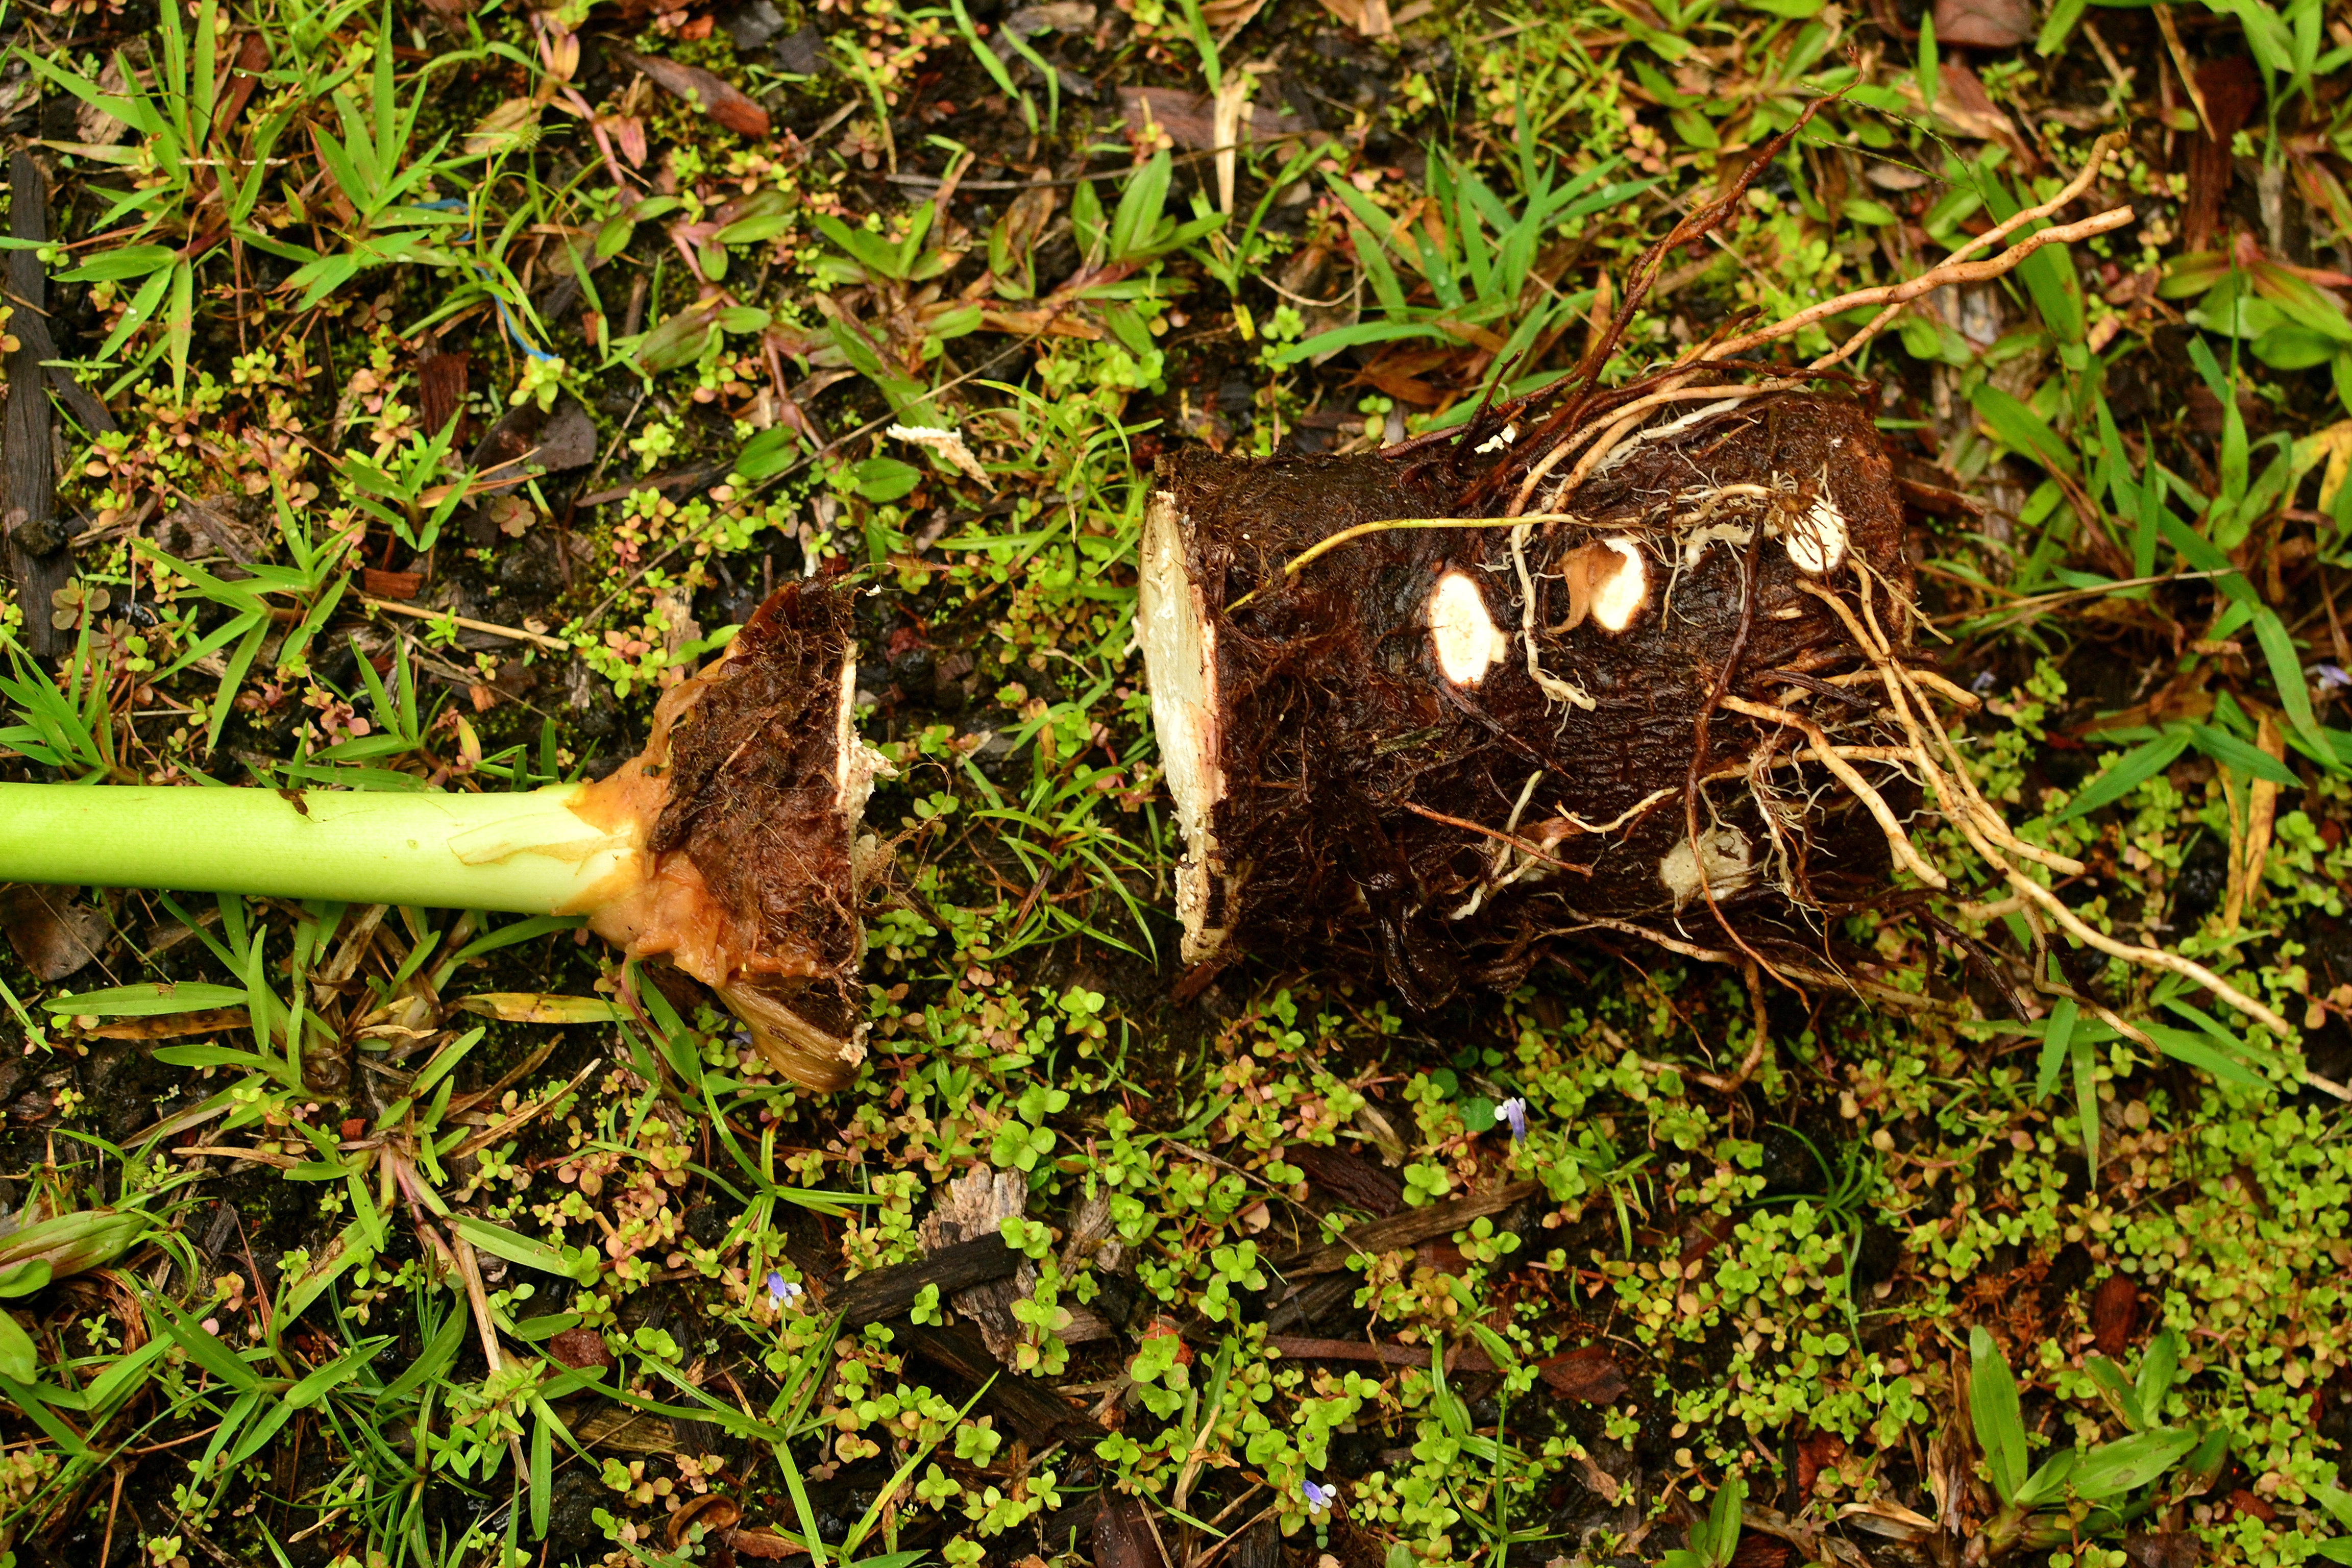
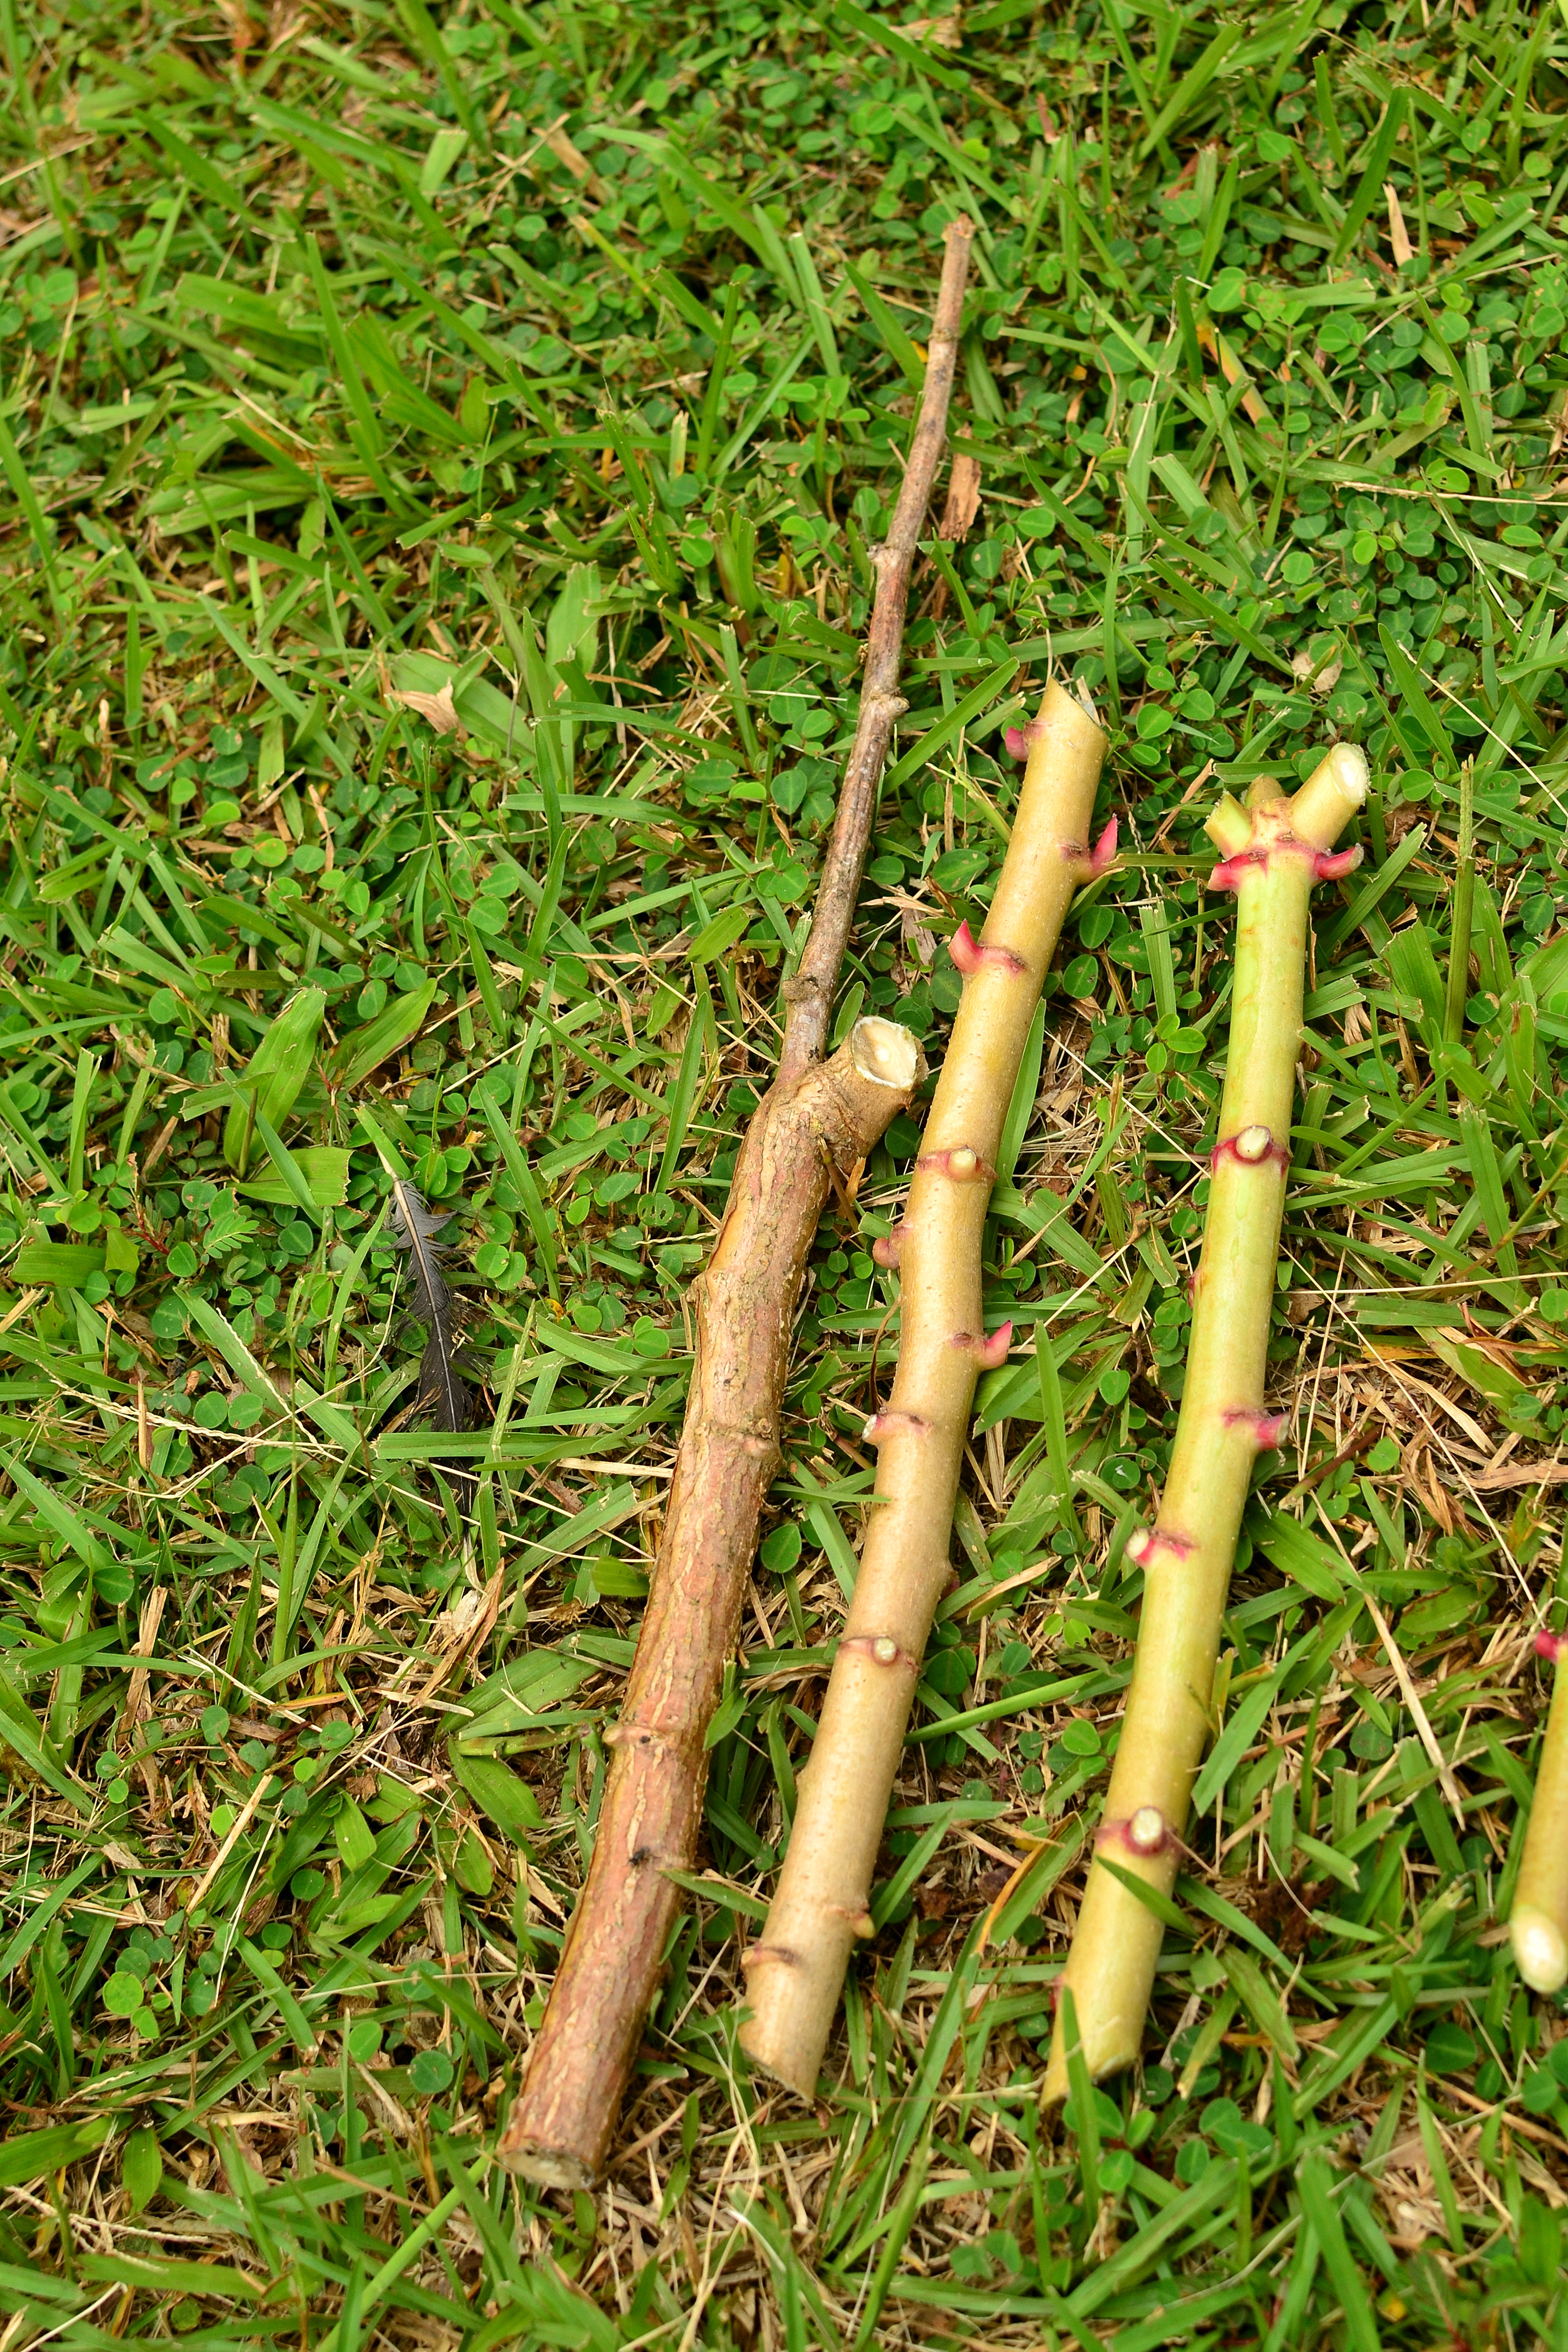
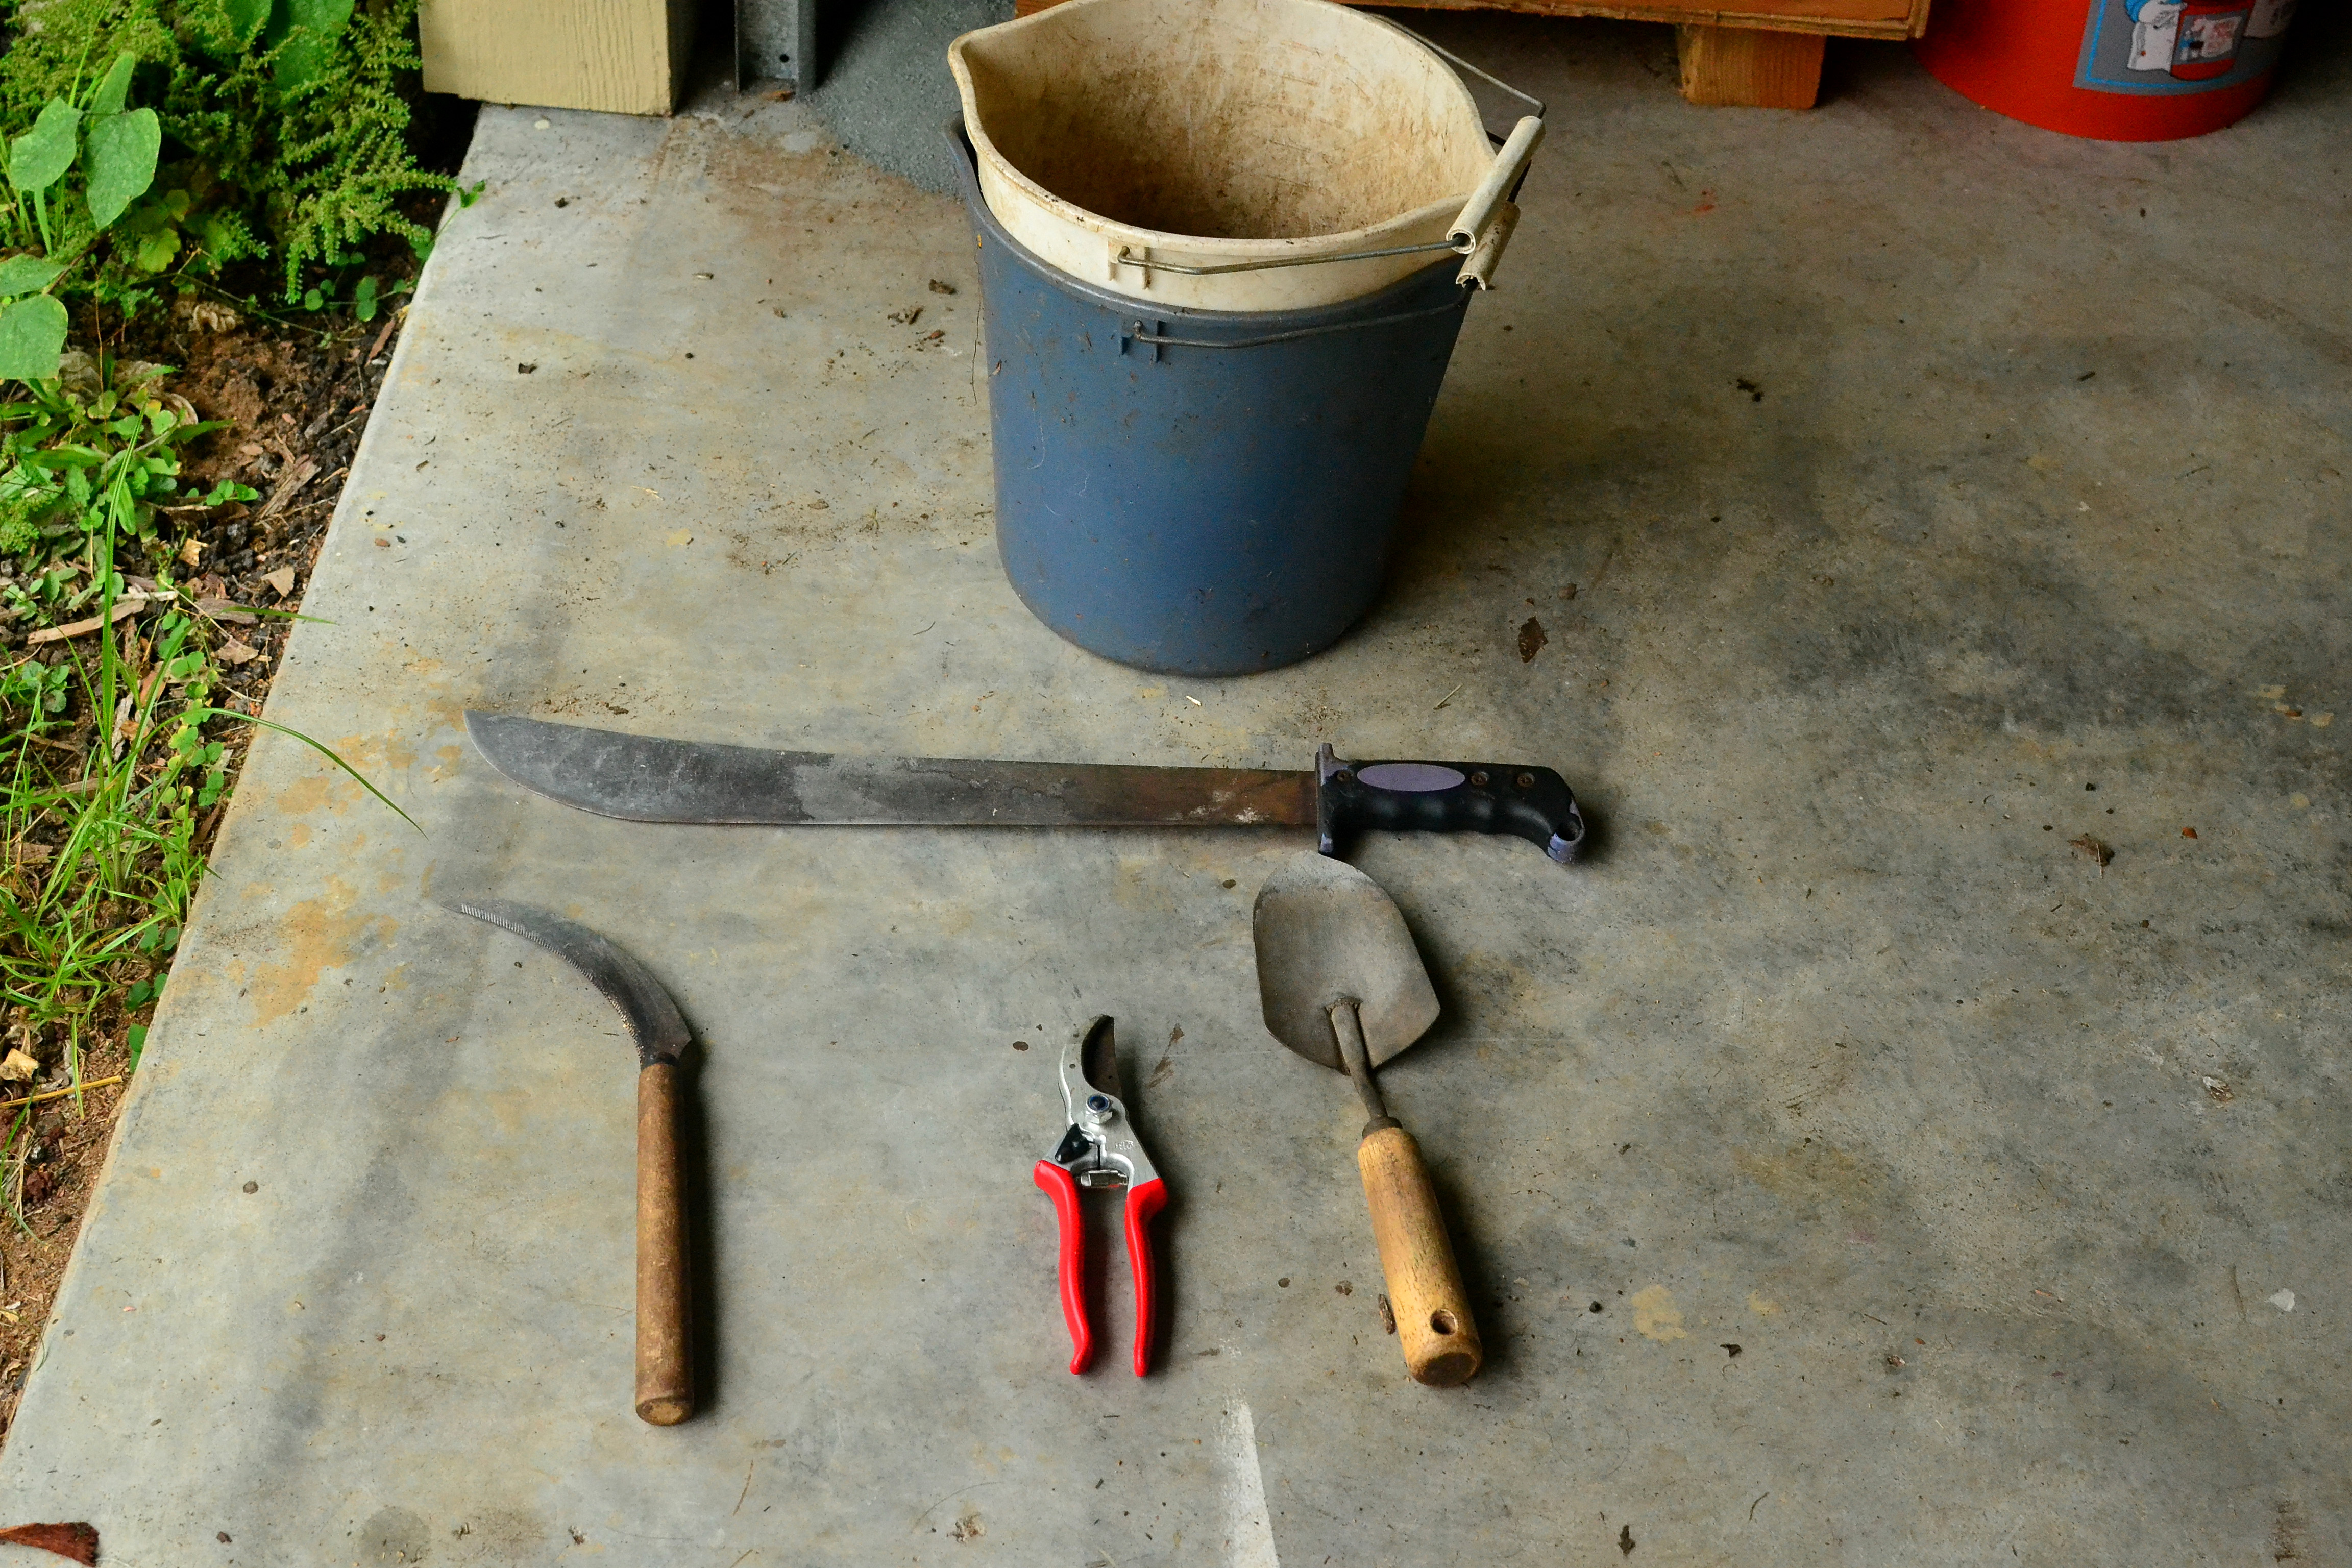
Separate Sett and corm

DSC_0369

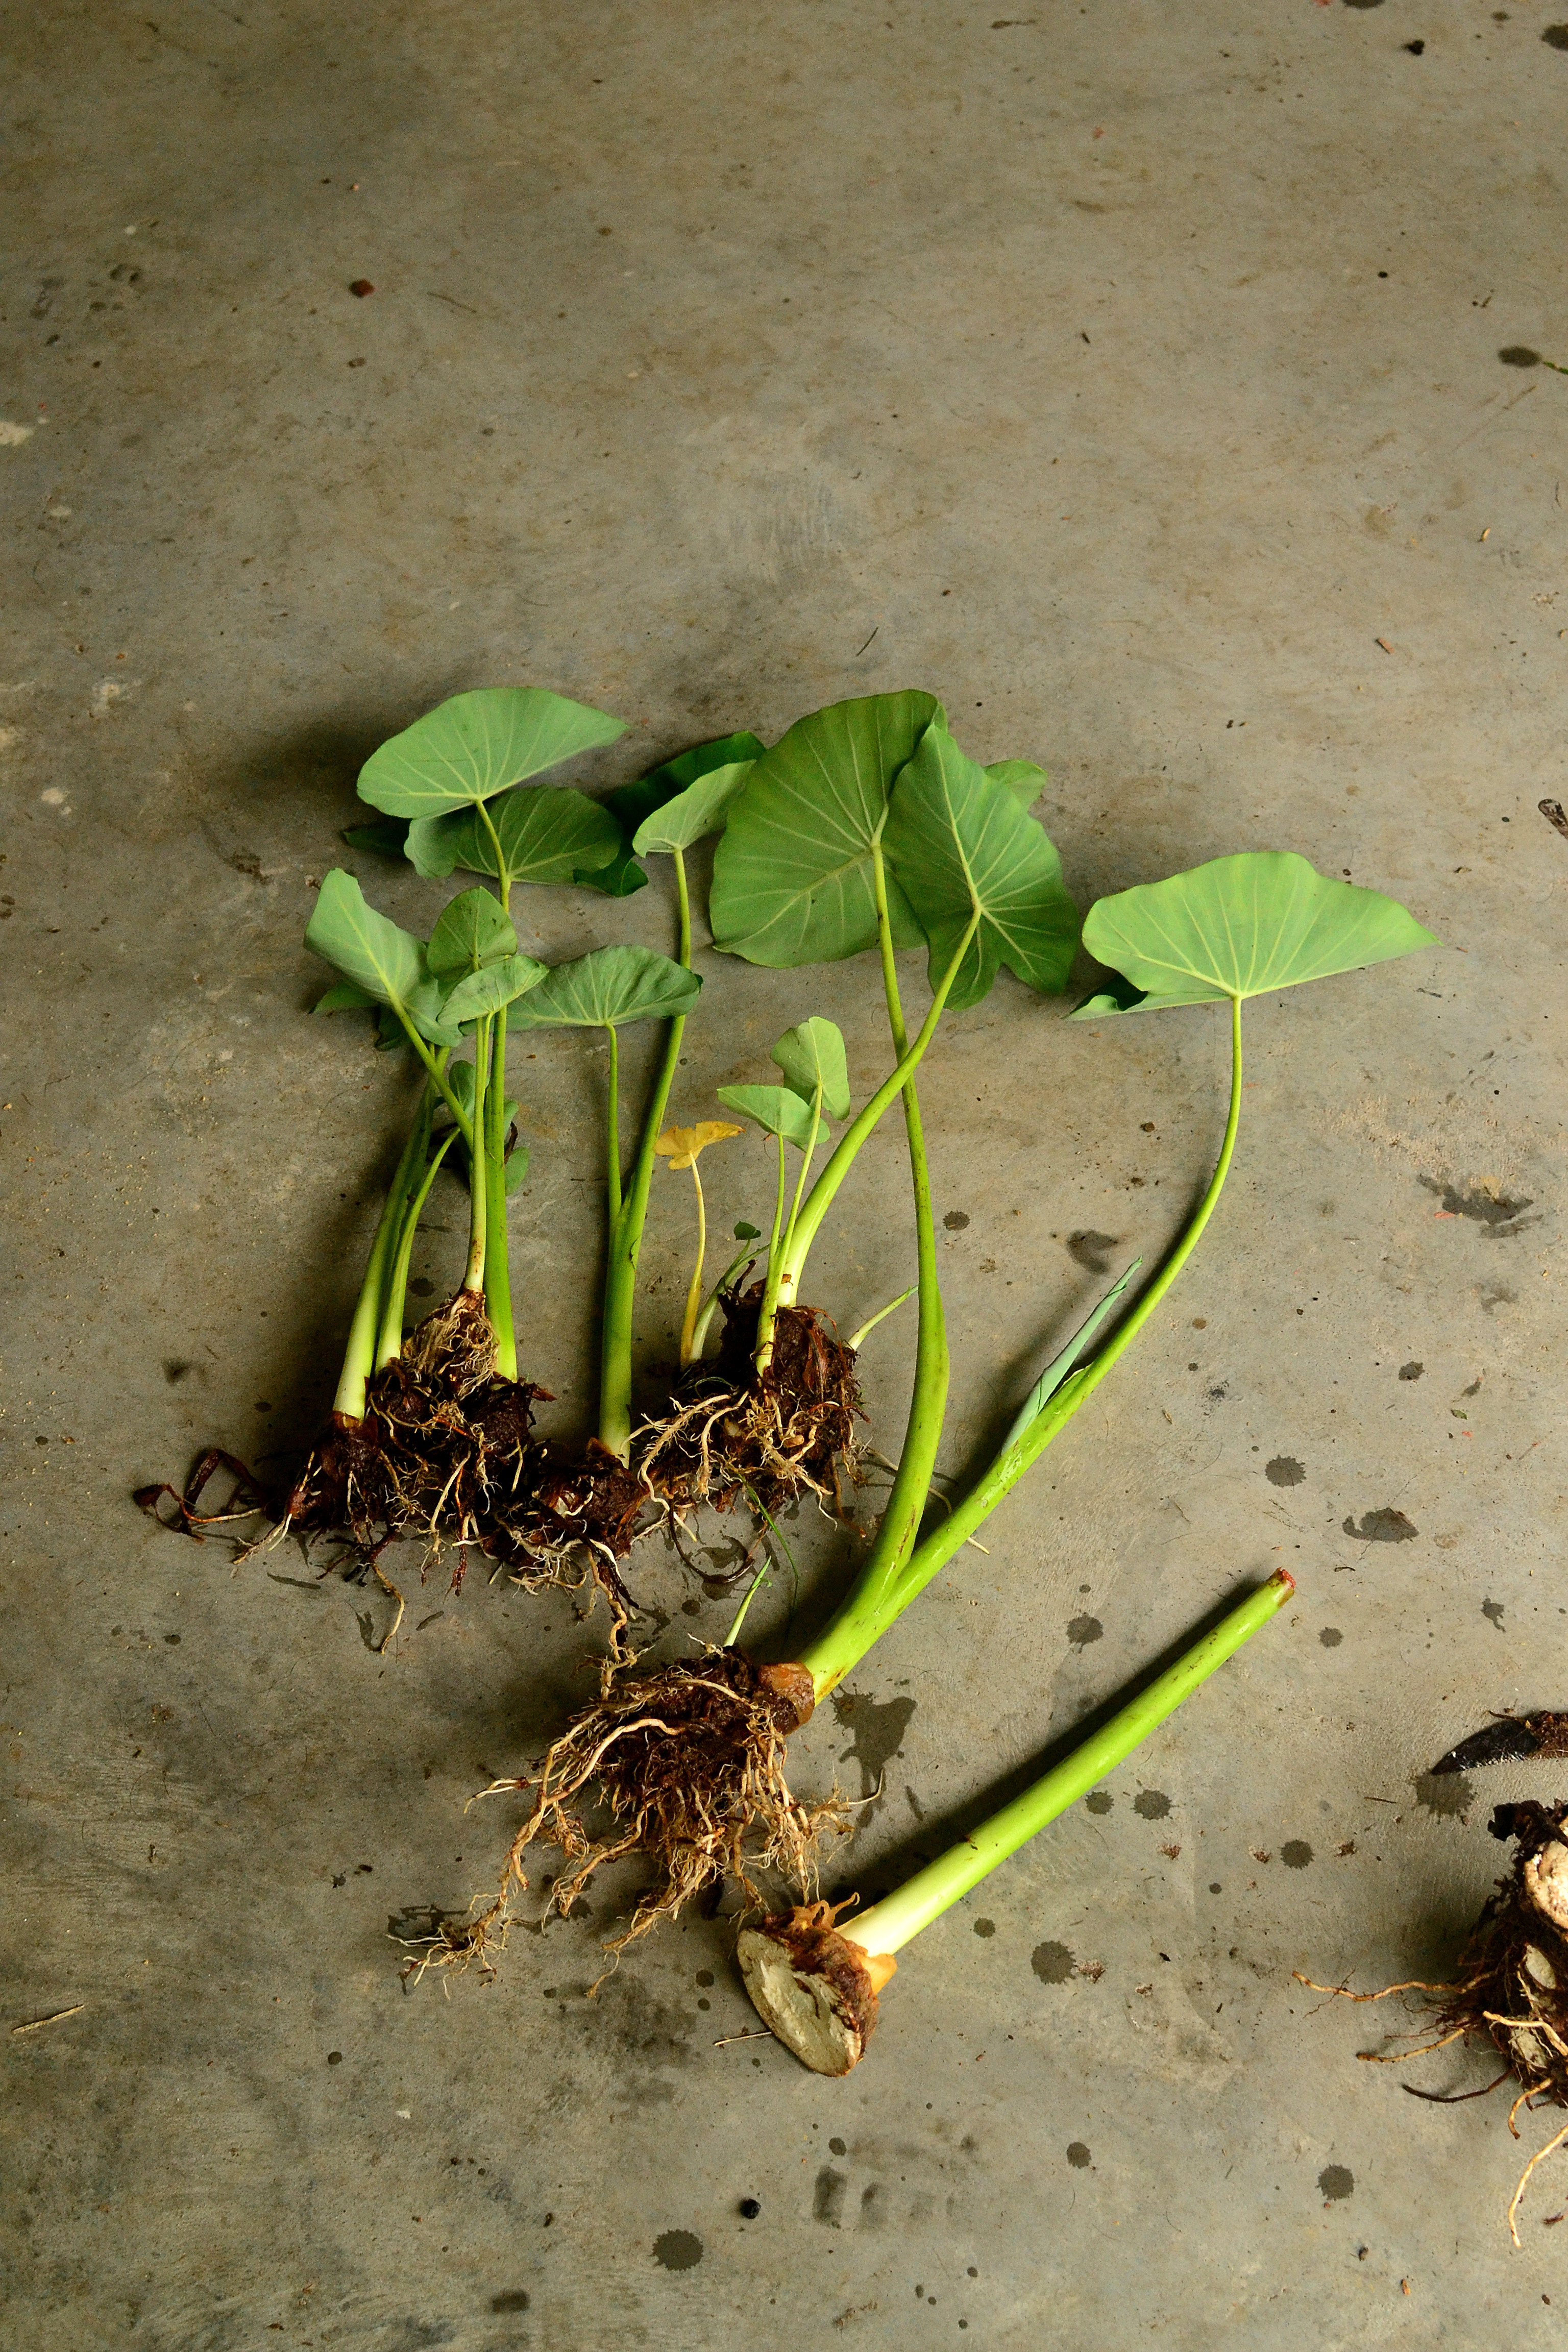
Cormels and Sett ready for planting

DSC_0381

Stick cormels into ground

DSC_0384

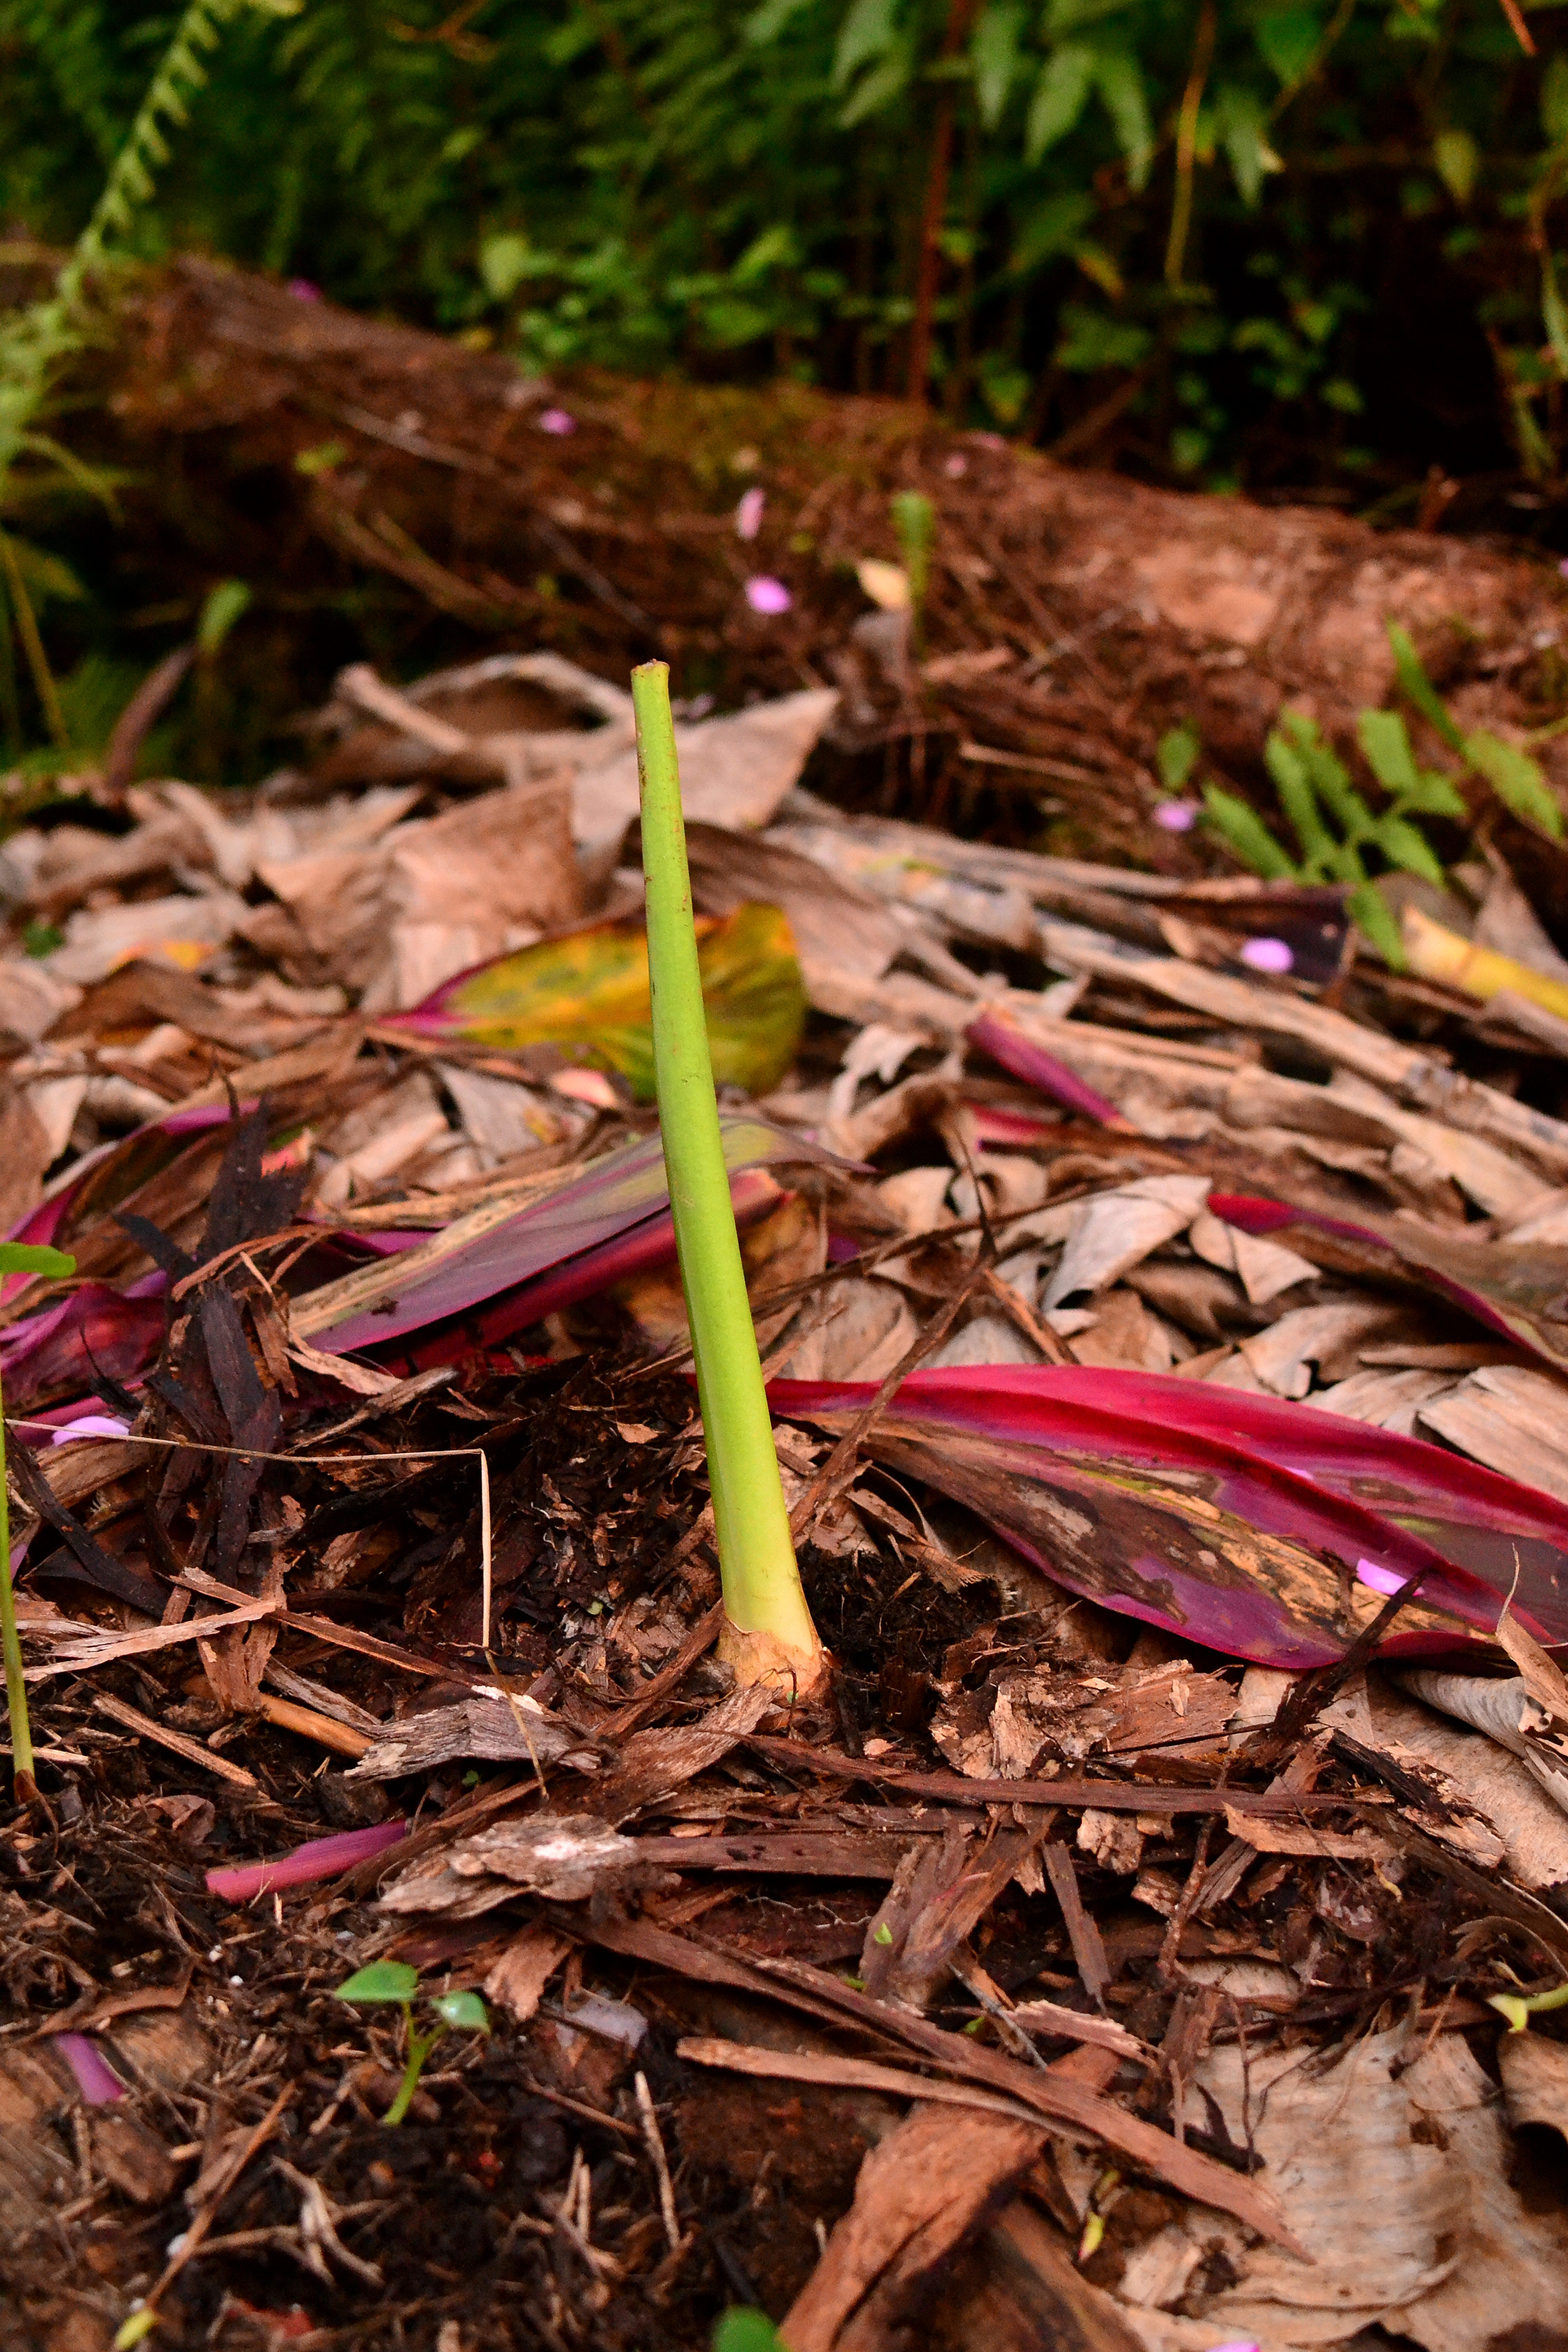
Stick sett into ground

Care

If growing in soil, weeding is necessary at all stages of plant growth. If grown in water, less weeding is necessary due regulated water movement. A way to reduce weeding is to grow ground cover around your taro, I like to use sweet potato because of its vigorous and edible natures. However, a clover or perennial peanut would be suitable because of taros high demand for nutrients. Make sure wherever you plant your taro; there are high levels of nutrients in the soil. Sheet composting, rotted manure, layers of leaves, or compost should be added before planting. Plants mature in 6-15 months depending on variety.

Eating

Always cook all parts of this plant before eating as they contain toxic calcium oxalate, cook at least 20 minutes. You may cook the corms or cormels like potatoes, the leaves are used for wrapping or stuffing, and the leafstalks are used like celery, when cooked.

Where to obtain planting materials

Unless you know someone growing taro, obtaining planting materials can be slightly costly. If you know someone growing taro, just ask them for some cormels, as I’m sure they are more likely to give up them up over their own setts. Some varieties produce tons of cormels, so growing those varieties first could get you started on a patch quite quickly. I’ve noticed here on the big island that small individual plants sell for about $5 per plant, but are easy to find. If you have trouble finding someone willing to give you some cormels you could buy a few plants and wait for them to mature/reproduce and you could have a nice patch of taro growing in a few seasons. Once you have the plants they can be propagated indefinitely!
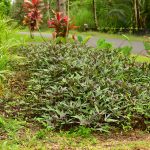
My Garden

At first, I started growing taro for its simple beauty, as I was not sure if I enjoyed the flavor of the corms. But as I ate some corms I realized I should grow much more taro and begin to experiment with its versatility. Luckily for me I was taking a class and our instructor was clearing out their taro plots to plant some other stuff, so I was able to obtain a large bag full of propagation materials. I planted every single plant and now I have lots taro growing!

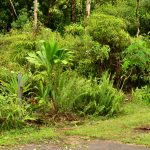
My first plot is growing quite successfully even though I was preoccupied with other things and let the weeds take over its bed. I planted a lot of clover in the bed and over time the grasses and other plants crept in and killed out the clover, lesson learned, have borders around beds so the grass can’t creep in as easily! Now I’m able to harvest from those plants and just in time to write a blog entry about it!

DSC_0353

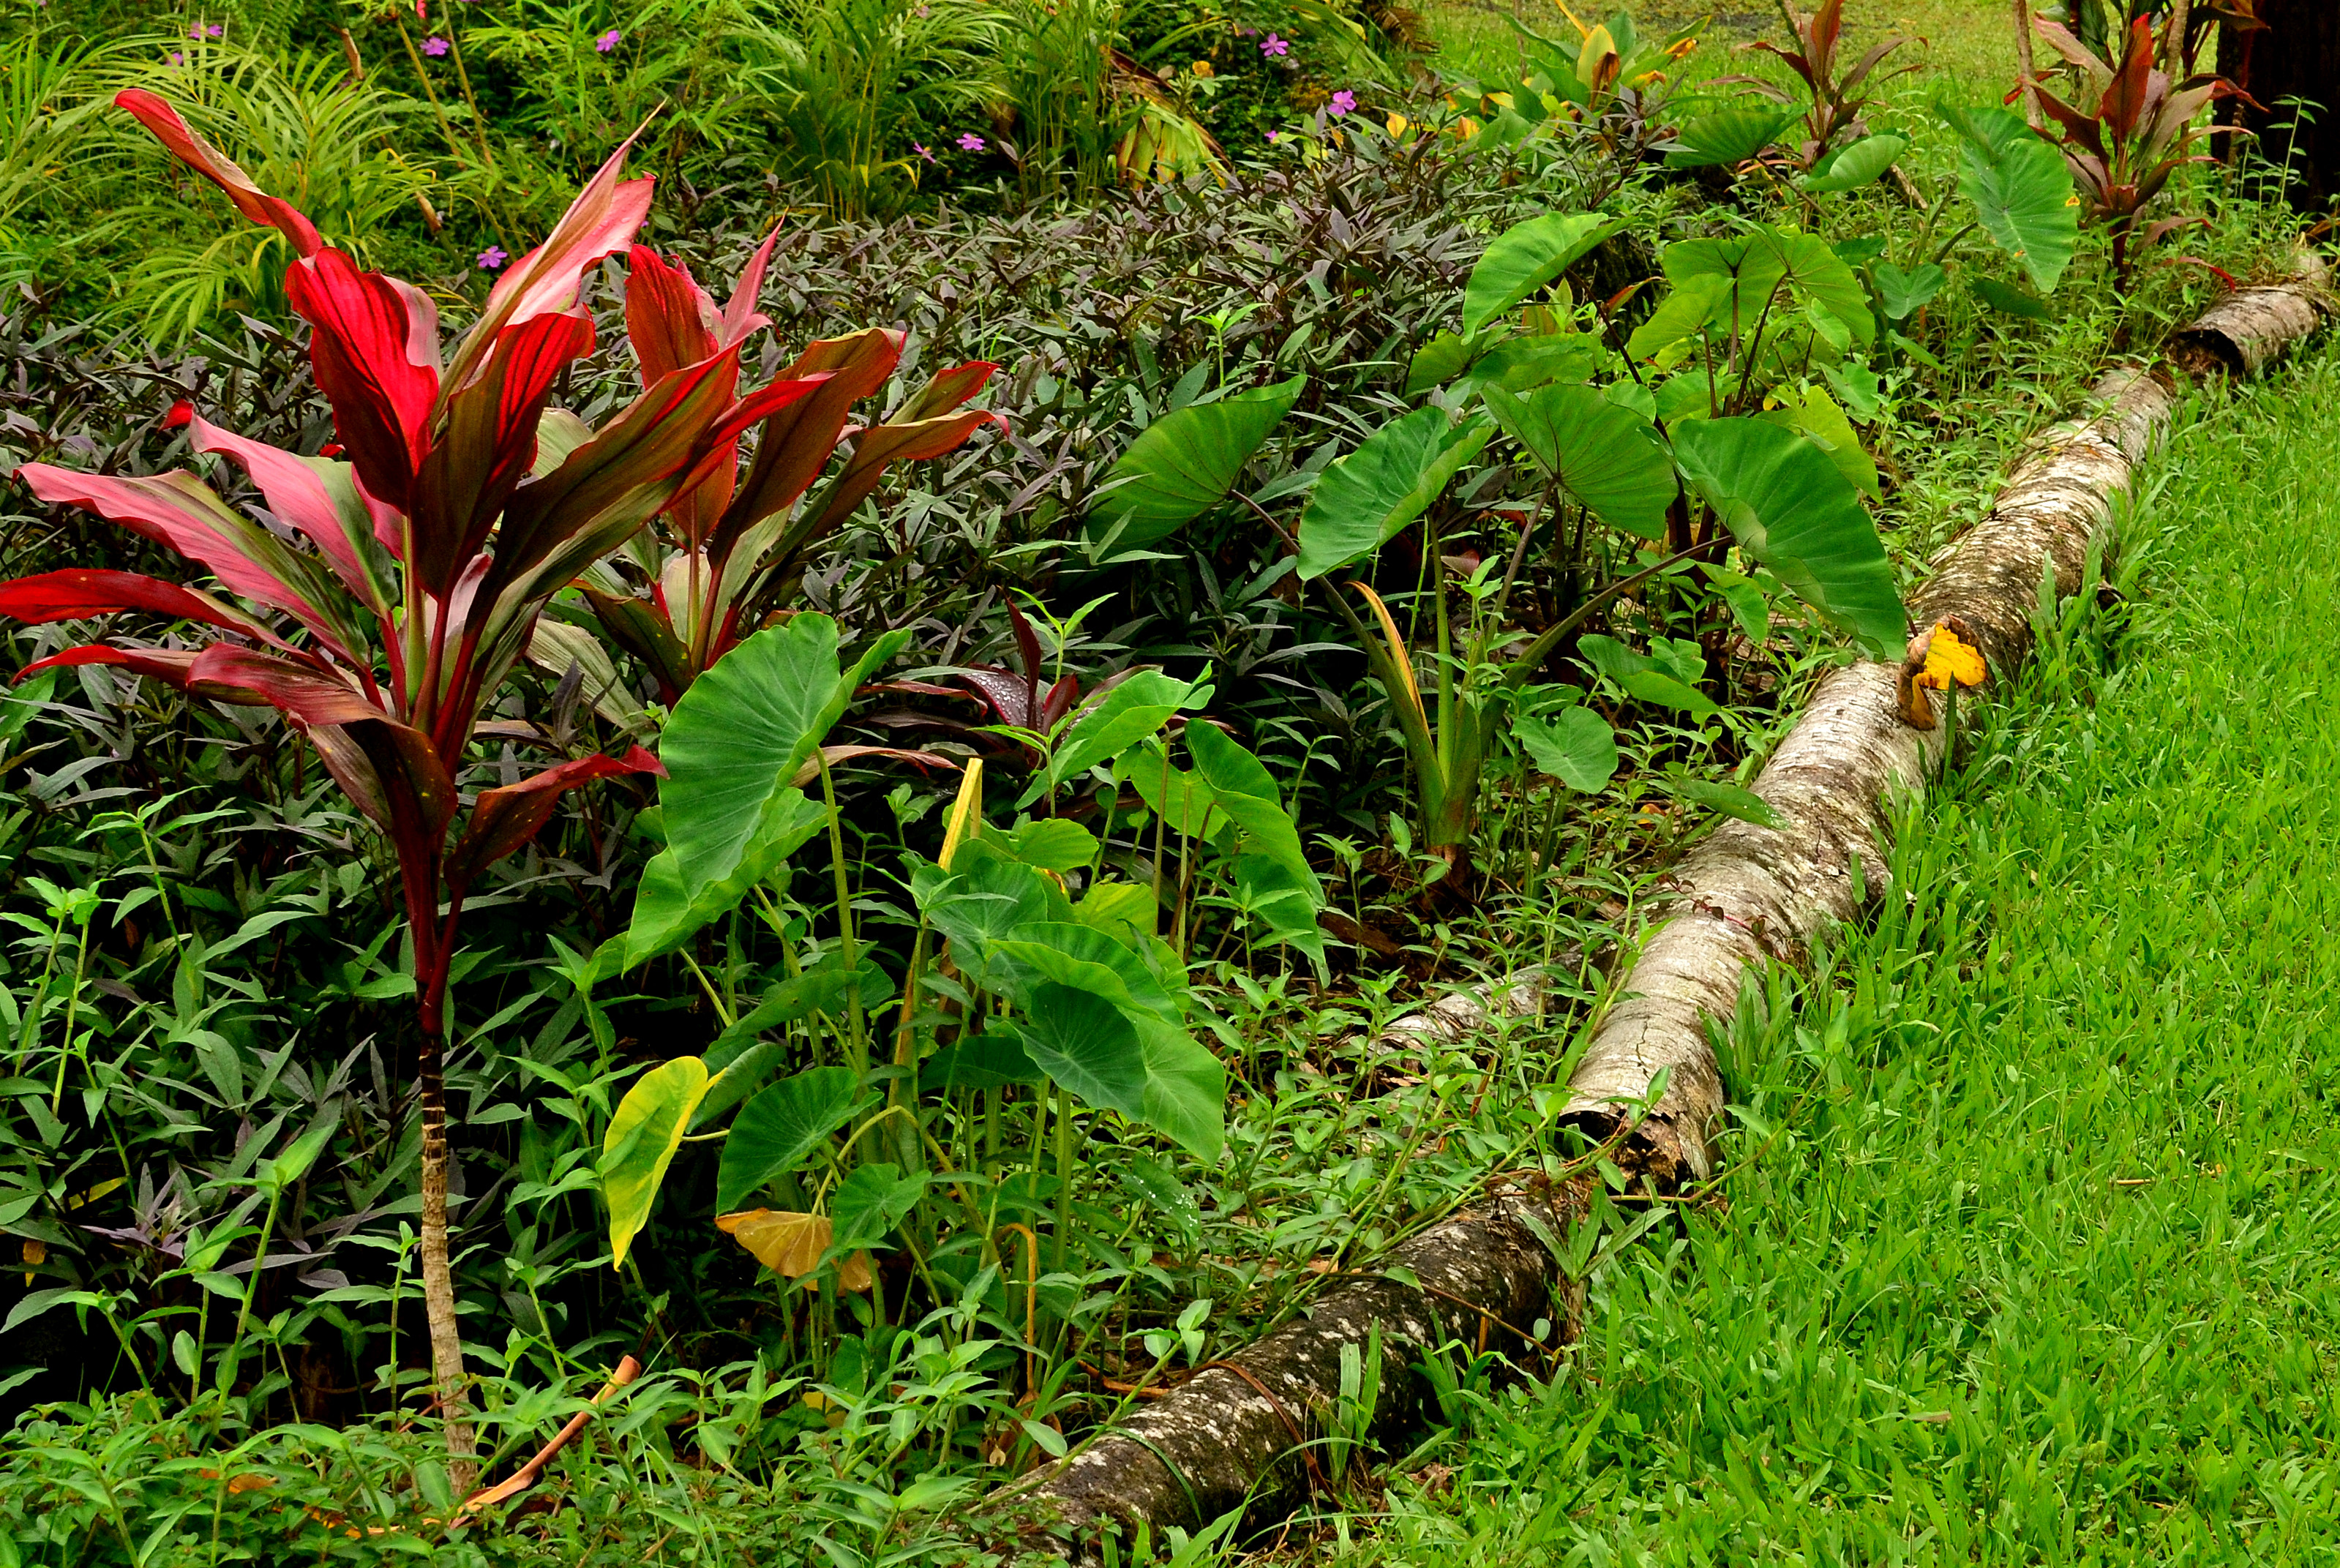
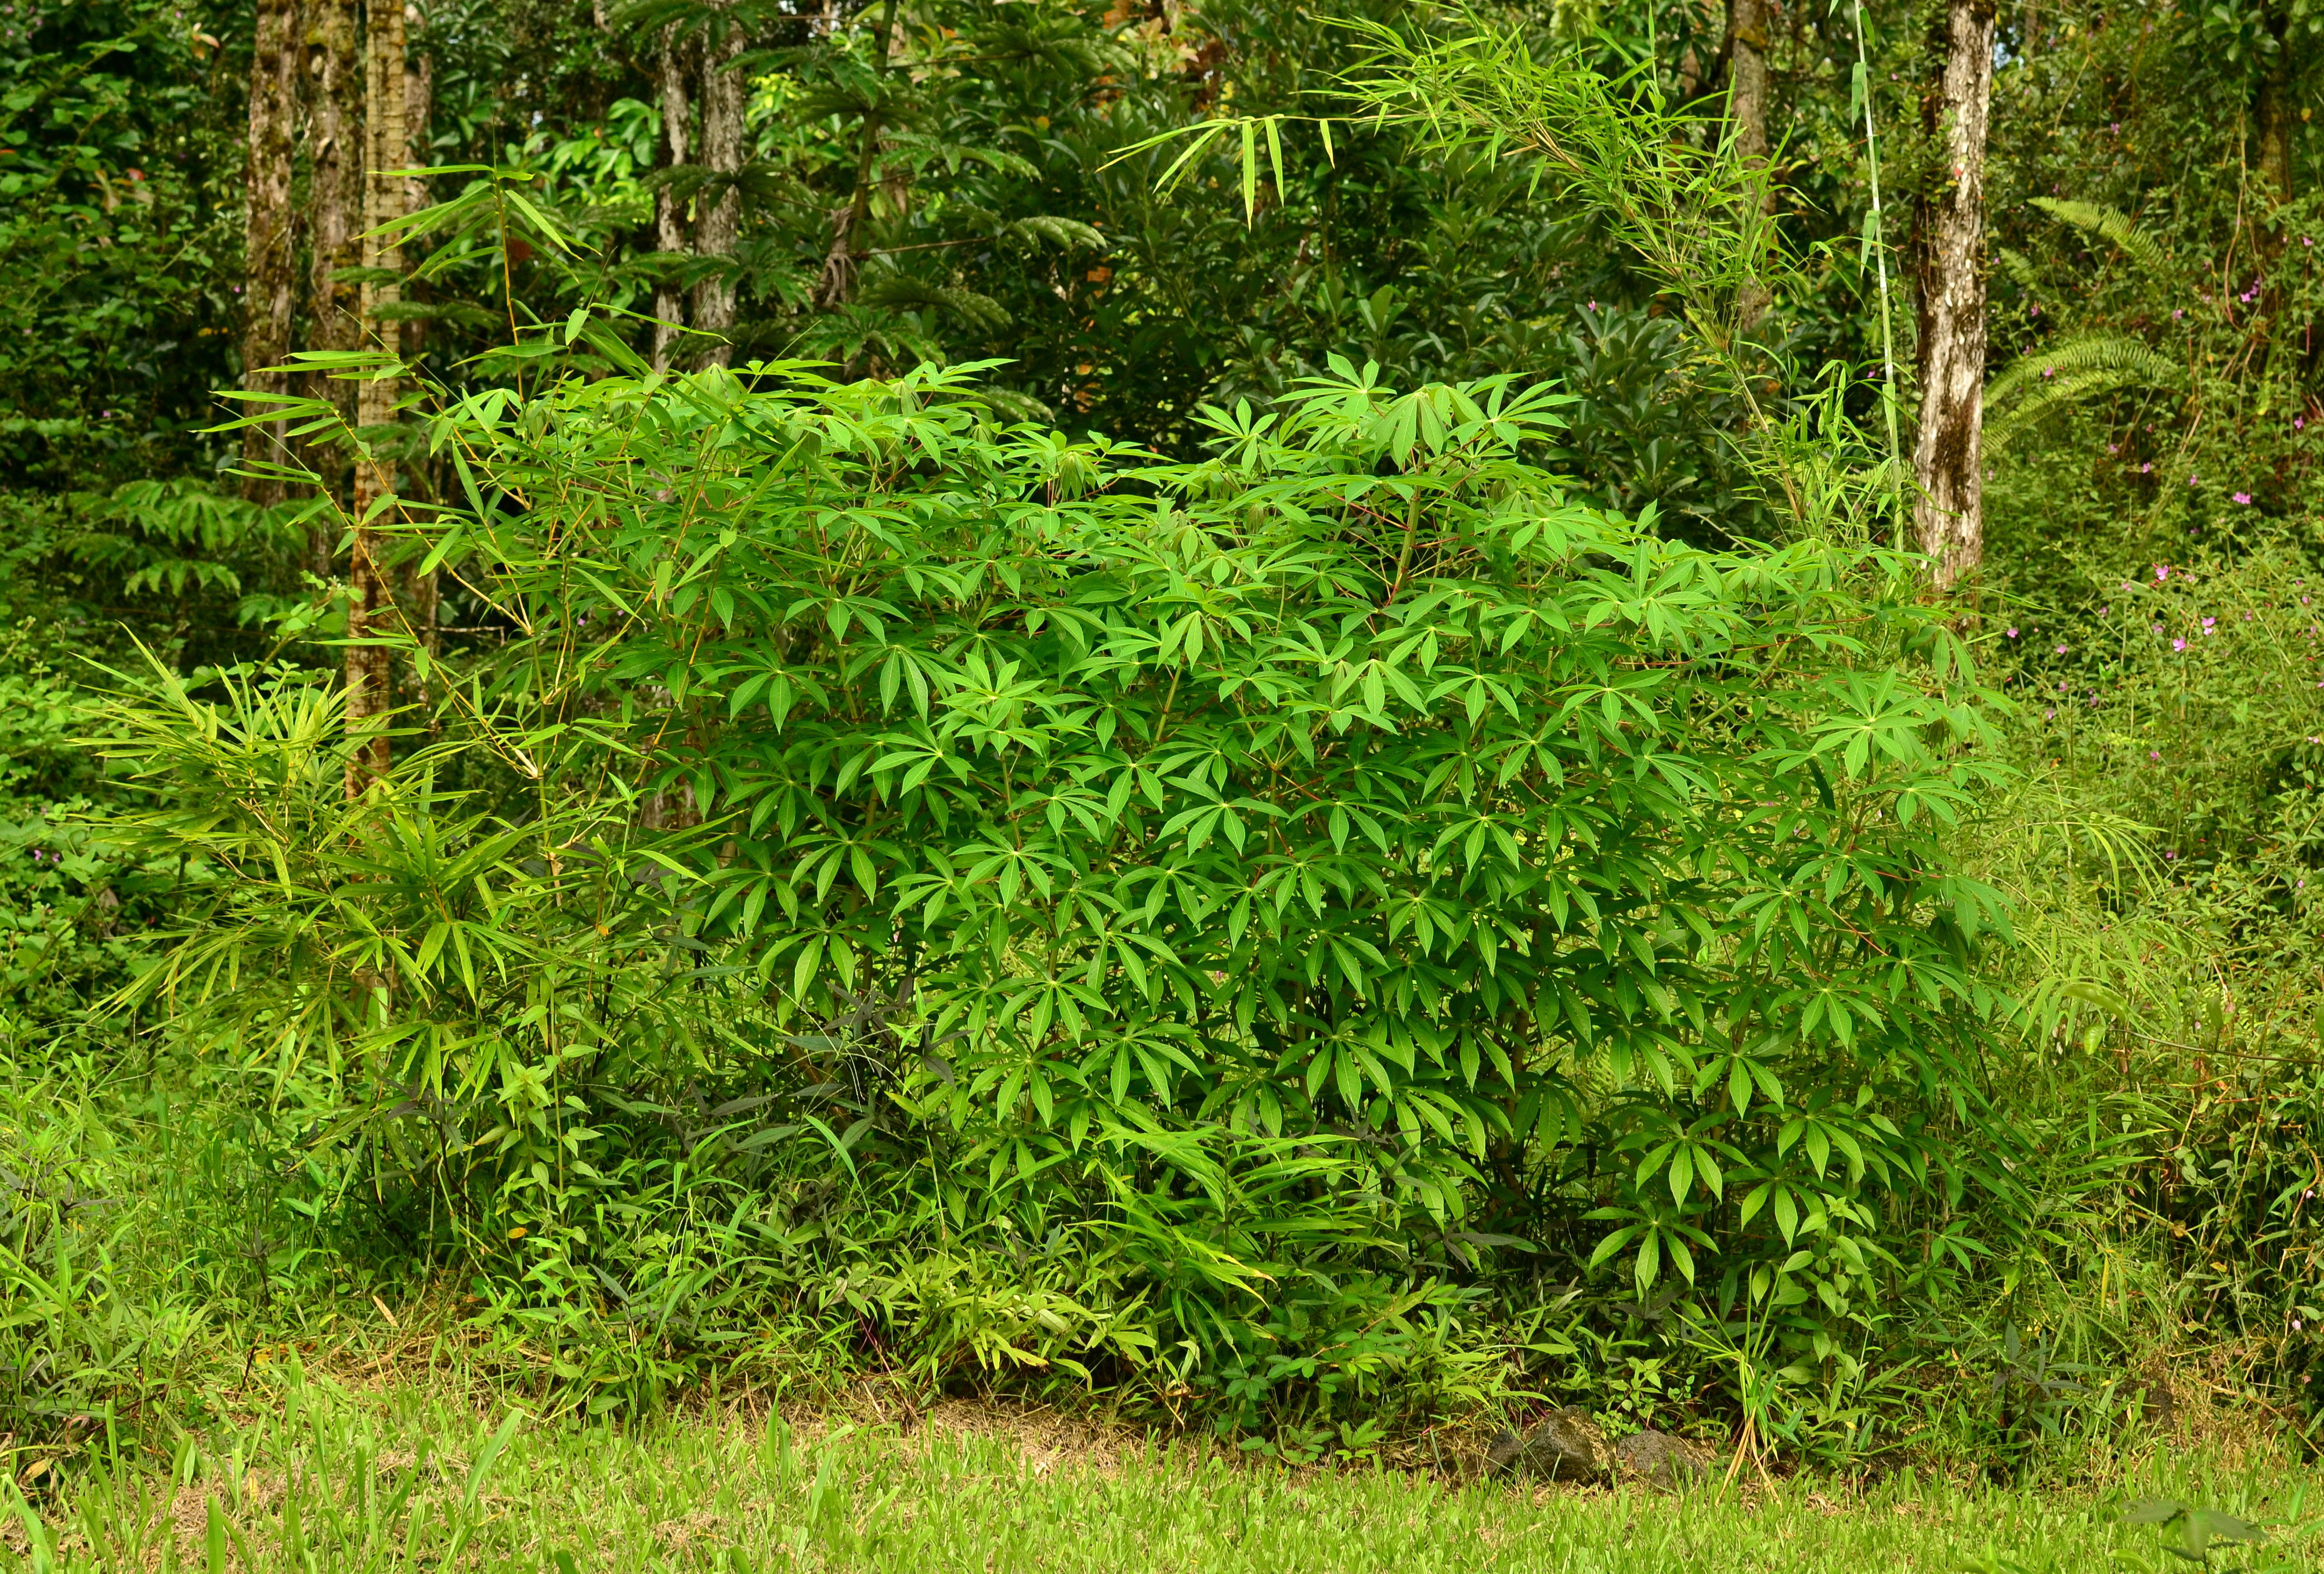
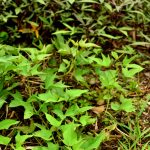
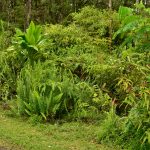
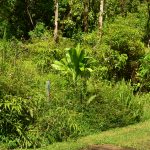
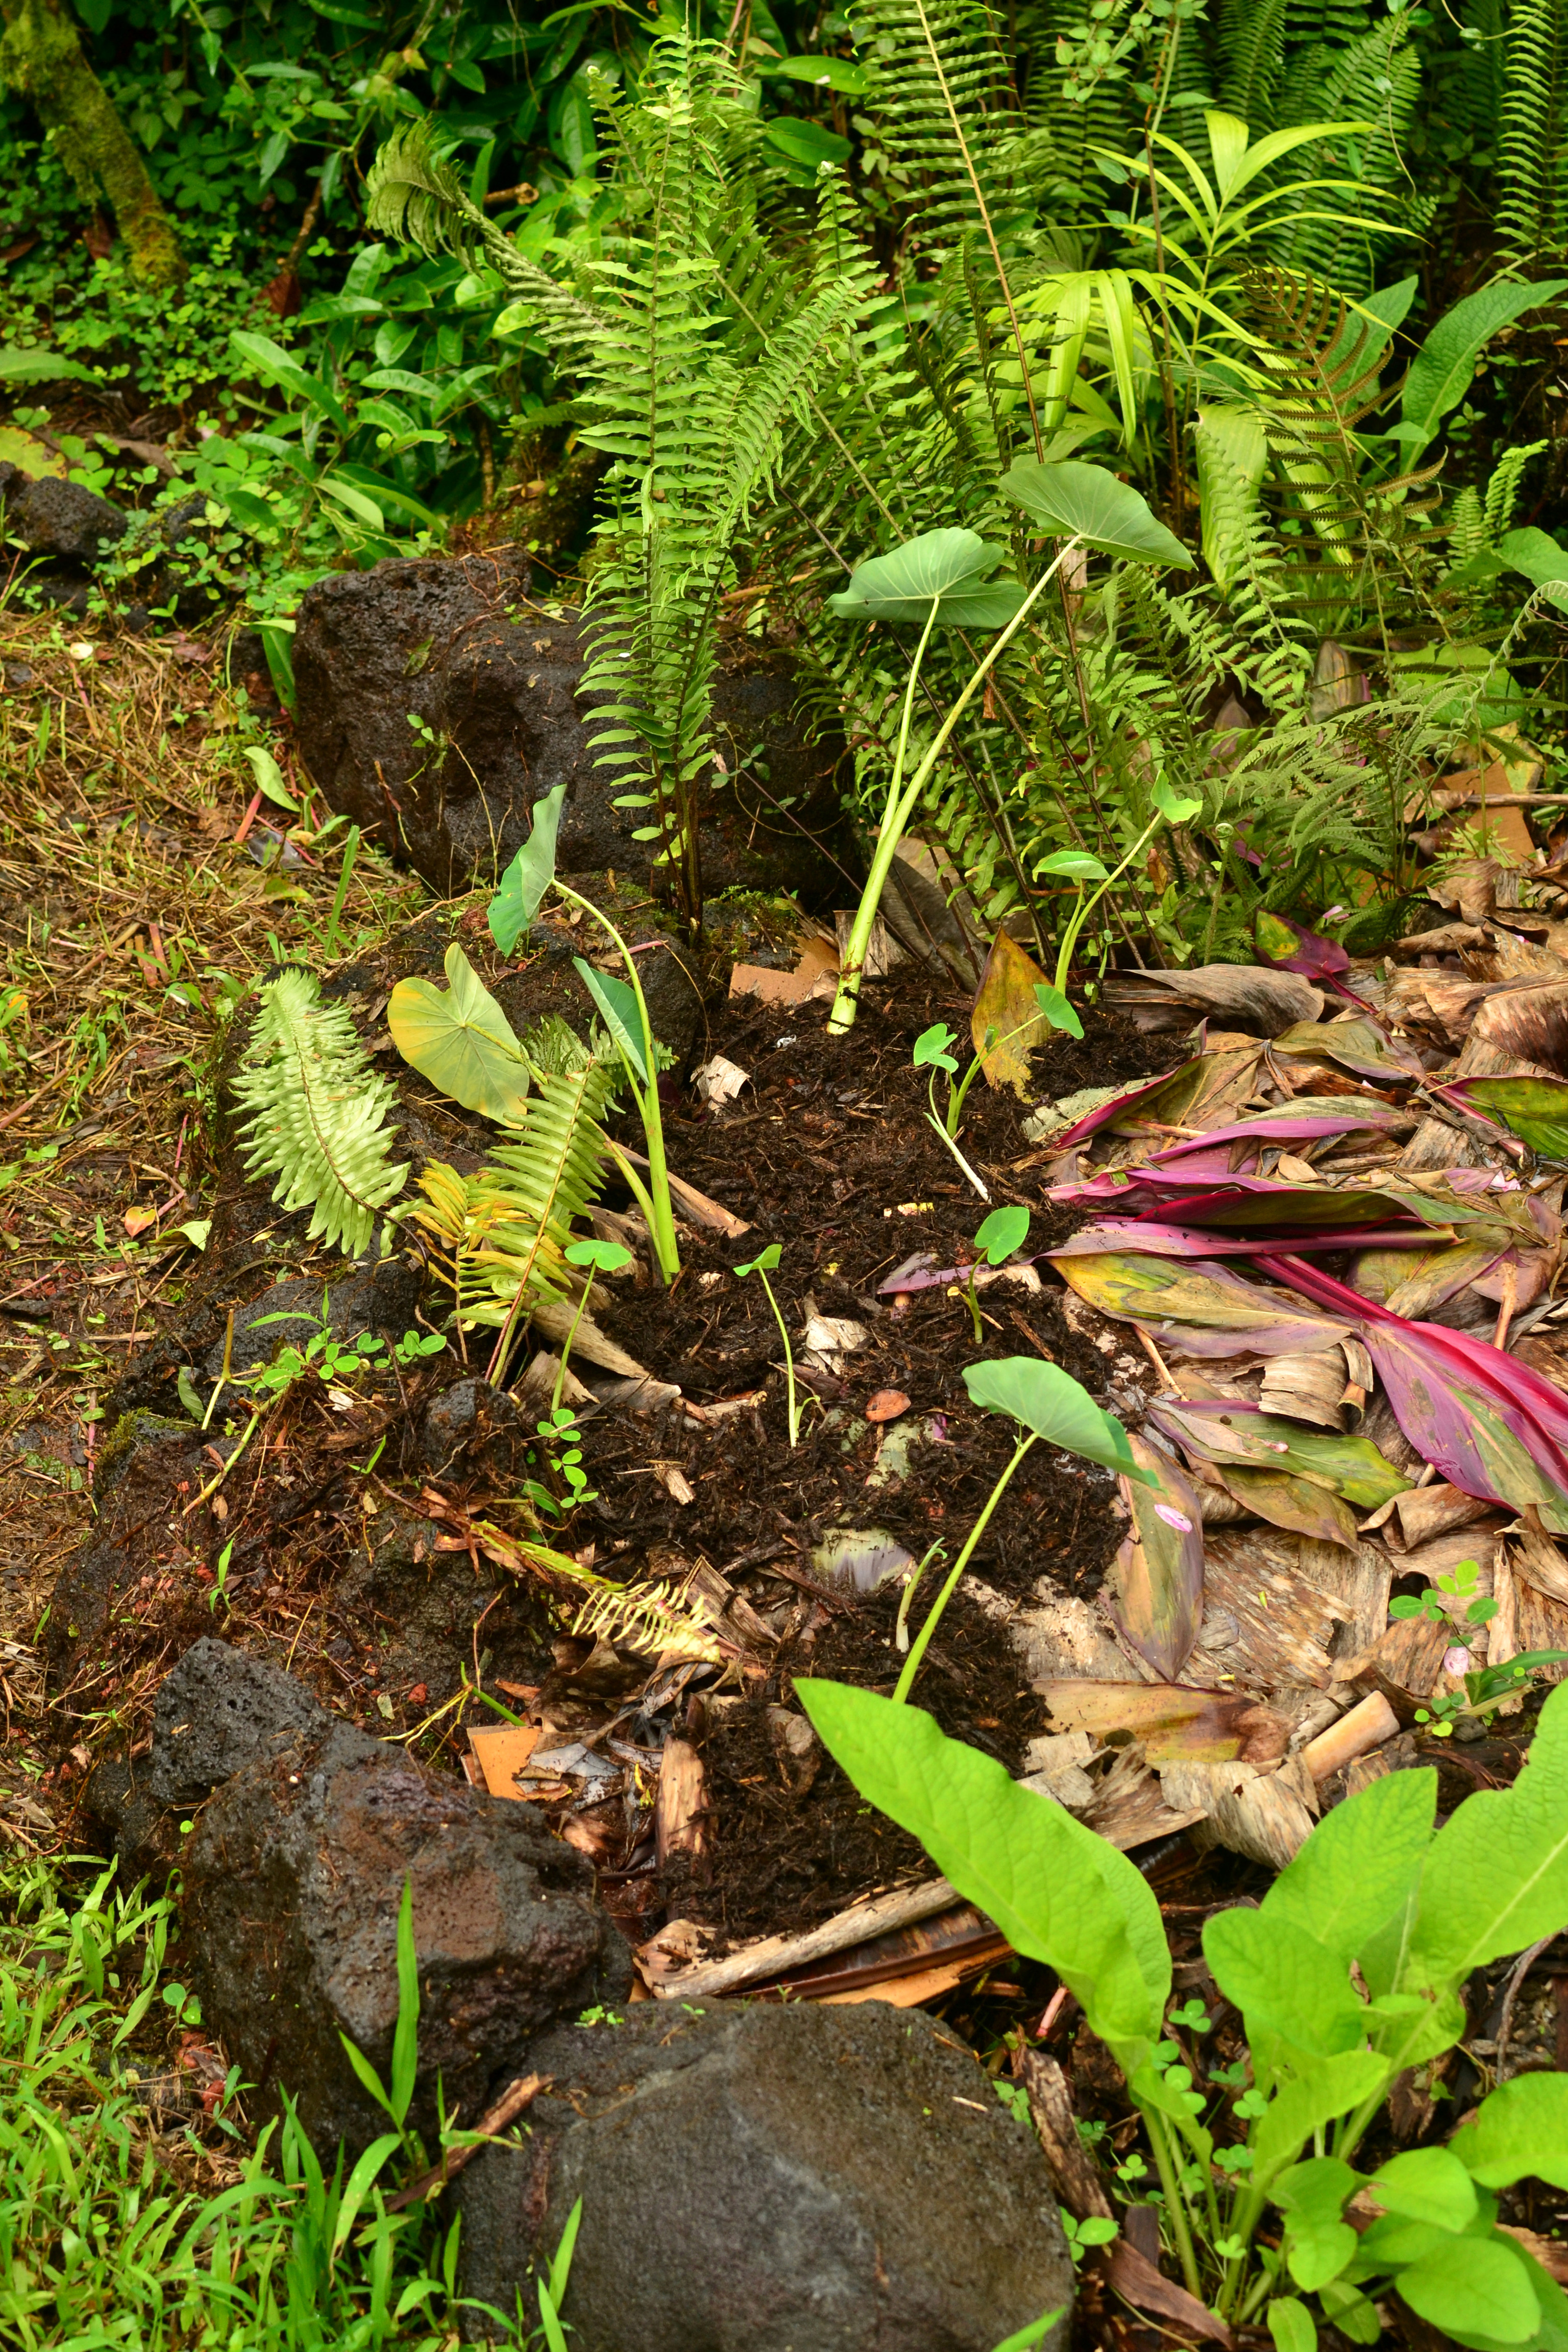
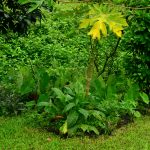
My other plot is still growing and I am stunned at its permaculture beauty. I randomly planted all my obtained taro under some fruit (papaya, blood orange, star apple, Brazilian cherry, ice cream bean) and flower (hibiscus) trees because I know taro likes shade and I wasn’t sure how else to occupy the space so the weeds didn’t just take over again. I then threw sweet potato cuttings all around the taro and sprinkled clover and bean seeds around for some nitrogen fixation. I also planted some sissoo spinach, alternanthera sissoo, but that hasn’t taken off yet so I won’t talk about that. Now some native ferns have popped up, I’ve harvested tons of beans, left many so it will reseed itself, and the sweet potatoes have taken over. Now I weed that plot about once a month and let it do its thing. Since that plot is on the edge of the unmanaged wilderness I just cut back the plants to maintain my path with some quick chop and drop and all is well.

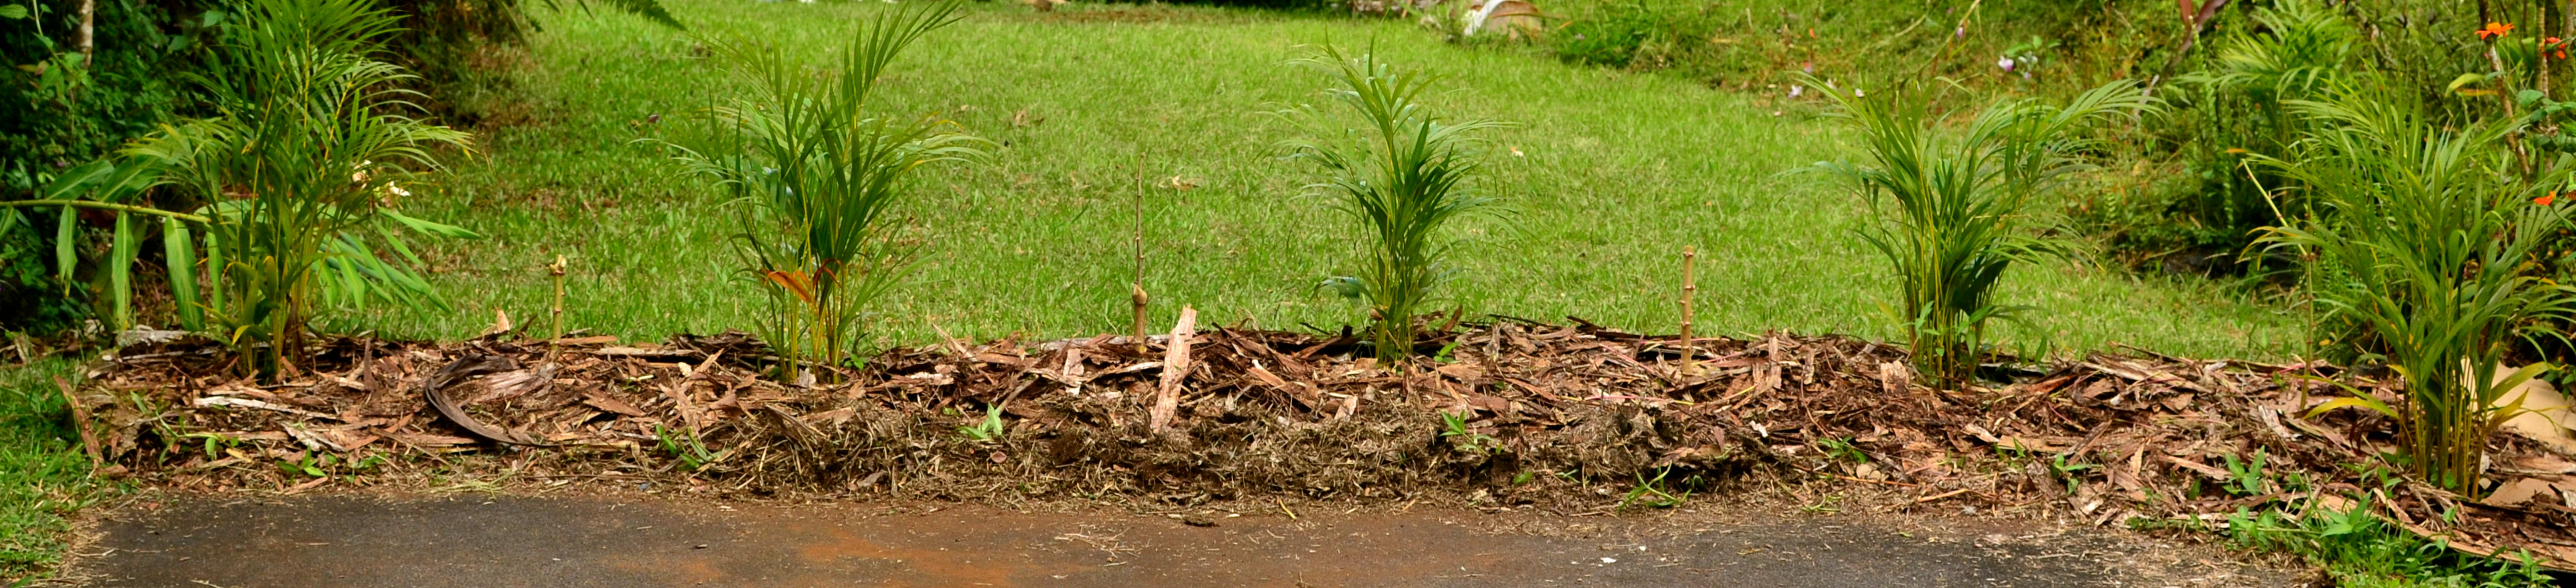
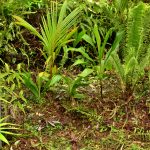
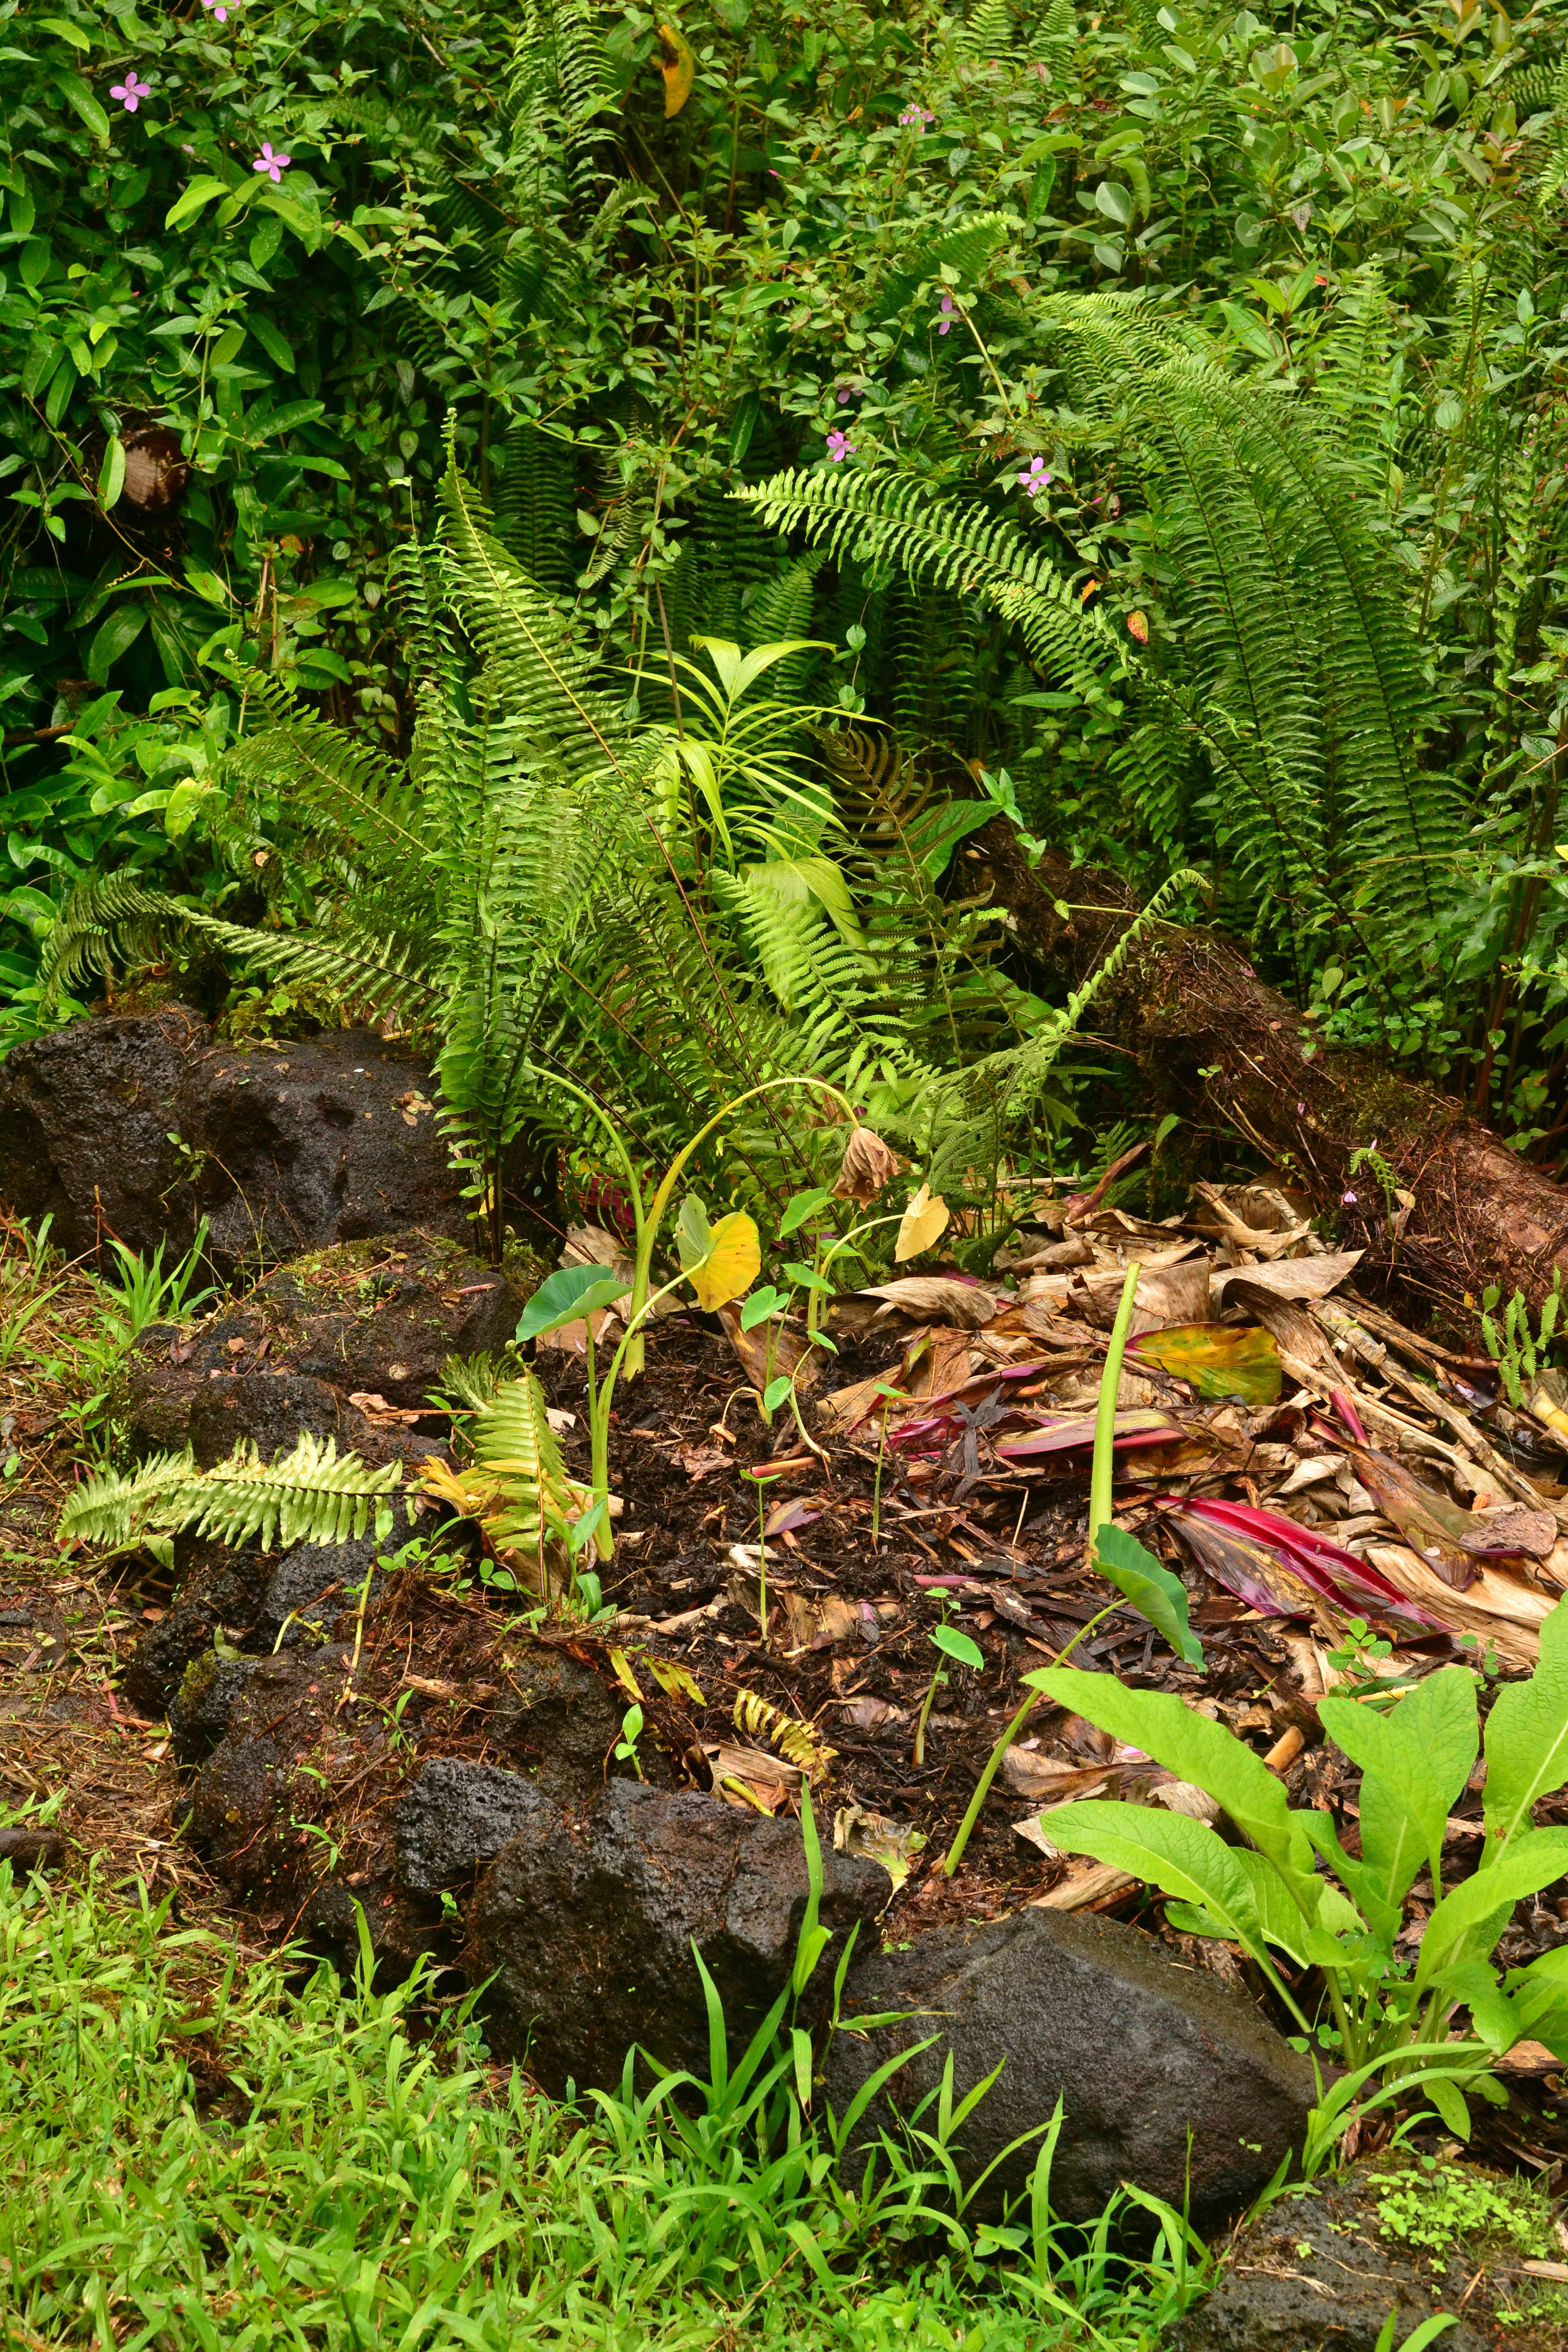
The new bed I just planted the taro in, accidently happened while I was weeding out an area from the not so shy, shy grass, Mimosa pudica. I was clearing out the shy grass because of its thorns and my desire to remove all of it from the property, and I discovered some beautiful dark earthworm filled soil. Since this area is outside of our lanai I’ve wanted to add some extra beauty to the area. As I discovered this beautiful soil I thought to myself, what plants would thrive in this soil and are ultra tropical looking, I’m determined to make outside the lanai ultra tropical ha-ha, and taro came to mind right away. Since this area will be shaded out one day by the fruit trees (cacao, snake fruit and lemon) and some nitrogen fixing trees for chop and drop and shade. And I’m writing this blog so taro was the next logical plant to write about. This is another experiment using only materials from the property + cardboard for creating beds. I’m trying to eliminate products brought in, especially the free mulch from the transfer center, even though it is a great resource, but I just do not know what could be in there; pesticides, insecticides, invasive seeds, seeds from unwanted plants, fire ants, who knows! We will see how it goes.

DSC_0387.JPG

Happy gardening!

Cassava (Manihot esculenta)

Description

Cassava, Manihot esculenta, manioc, yuca, or tapioca, is another wonderful perennial plant. It is grown for starchy roots and its edible, high in protein, leaves. It as a big woody shrub gaining heights of 15 feet, if you let it! Cassava can be used as an edible hedge or grown in developing food forests, or simply anywhere in the garden. Cassava thrives in any tropical environment, does well in very poor soils, very dry conditions, making it an ideal must grow staple plant. Cassava grows best in full sun, or partial shade.

DSC_0345DSC_0344

Propagation

Cassava is propagated by woody cuttings. You simply go out to another plant and cut off a branch that looks woody! Take off all the leaves from that cutting, they will die anyway, so you may as well harvest them for dinner. You do not want to eat the stems so cut them off too. Now proceed to make as many cuttings from the single branch as possible, the cuttings should be at least 1 foot in length, 30 centimeters. Be careful to cut the branches at an angle so water is not able to gather and rot out the cutting (see photos). Make sure you know which side is up and which side is down during this process. Next just take your cutting and stick them downside right in the ground! If your cuttings are larger stick them in at a slight slant.

Now wait! Within two months you should have a healthy plant. You may begin harvesting leaves when the plant looks healthy enough to, about 50-70 days. And roots 9-12 months after planting, younger roots could be eaten earlier and older woody ones, for starch extraction, later. If you’re careful you may harvest roots without harming the plant and allowing it to continue to produce for years.

DSC_0332

Woody

DSC_0334

Non-Woody

DSC_0335

cut from plant

DSC_0336

cut off leaves

DSC_0337

cut off leaf stems

DSC_0338

cut to planting length (1 foot)

DSC_0339

cut tops at an angle to reduce rot

DSC_0340

stick into ground

Care

Simple weeding when necessary. This plant is very pest resistant. Watch it grow!

Eating

Always cook roots and leaves, as they are poisonous, but fear not cooking disables the poison! Use roots like potatoes and use the leaves like spinach, cook at least 15 minutes.

Where to obtain planting materials

Ask anyone growing cassava for cuttings, I’m sure they could spare a few branches. You could look on Craigslist. I think I bought three midsize branches for less than $3 off Craigslist and planted 3 plants, if I were smarter I would have used smaller cuttings and had more plants! Continue making cuttings from your plants for never ending propagation materials. A one time investment creates a lifetime of starchy roots and leaves! Amazing!

My Garden

I don’t have very much experience with cassava yet; I’ve only been growing it for a few months and haven’t had my first root harvest yet. However, I have harvested leaves and they are beautiful plants that are fun to watch grow.

I made a new bed a few months ago to grow different root vegetables, temporarily, while my bamboo matures. I’m growing sweet potato from cuttings and from farmers market tubers, ginger from farmers market and cassava cuttings from Craigslist, in-between an ornamental bamboo, Bambusa ventricosa, and an edible bamboo, Nastus elatus. This bed has been very successful and took off with minimal efforts. I rarely weed this bed, and just observe its growth. The only thing I sometimes have to pull out is honohono grass, and push the sweet potato creepy stems into the bed. This polyculture is perfect! All the plants work in harmony to shade out the weeds, each grow in different ways, and do not bother each other. The cassava grows up as a shrub, the ginger grows straight up in a single stock and the sweet potatoes sprawl over the ground. If I didn’t already plant my turmeric all over the rest of the yard I would have stuck them in there too!

DSC_0321

Watching the cassava grow inspired me to use the plants as a hedge! I’ve got some areas I want to make barriers from the street. So while I’m waiting for my longer-term palms to mature, I’m growing faster growing plants that can be a hedge. I planted the cassava in a row, and I’m growing roselle, Hibiscus sabdariffa, in another row. The roselle hasn’t taken off yet, but will hopefully soon, and I know cassava is a fast grower.

DSC_0342

Happy gardening!

Sweet Potatoes (Ipomoea batatas)


Description

Sweet Potato, ipomoea batatas, or ‘uala in Hawaiian. Call it what you desire, is an incredible vegetable. The tubers are delicious and nutritious, but also the leaves are high in protein and the top 3-4 inches of the shoot tips and leaves are edible too! Not only are most parts of this plant edible but its an excellent sprawling ground cover, and thrives in our climate. Wow, what a plant! And there are tons of varieties!


Propagation

You can plant sweet potatoes from the tubers themselves, or for much quicker production plant cuttings. From cuttings you can have potatoes in 4 months. If you can grow all your own potatoes then you are well on your way for a year worth of starches, the bulk of our diets! Sweet potatoes thrive in full sun or full shade. They seem to take off quicker in the shade, where there is also less weed competition, but grow well either way.

Planting tubers; wait for them to sprout in your kitchen or somewhere else free of pests. Then go stick them in the ground and wait. The tubers are most likely to sprout in spring and summer, but may anytime. Plant with the sprouts skyward, and bury just below the surface. You may plant in soil or mulch.

Planting cuttings is equally as easy. Go grab some leaves and follow the stem and pull it out of the ground, be careful not to remove stems with large roots as those likely have potatoes attached. If possible get cuttings with smaller roots, as they will root much quicker, but stems without roots will also thrive. Now that you have your cutting place them around where you want sweet potatoes to grow. Cover lightly with mulch or soil and wait.

DSC_0308

Find stems with roots

DSC_0309

Cut from plant

DSC_0311

Cuttings

DSC_0312

Place on ground

DSC_0313

Cover roots with mulch

Tip: Planting in the evening before the rains start will shock the plants the least. However, the plants are extremely hardy, I’ve left them out in the sun all day and planted them and they still grew. But they do need water, and as much as possible! If you do not get rains almost every night like I do, water them in well once you plant them.

Care

Make sure you stay on top of weeding during the first few weeks after transplanting. They will grow and cover all the space they can. However, if they do not get a good head start they may be covered up by another plant and may be choked out. After they are established a light weeding every once in a while may be necessary, especially if honohono grass creeps in!

When the plant gets out of control, and it will, hill it like normal potatoes. That is, push the plant back on top of itself; this will start the plant to put its effort into growing tubers rather than just sprawling everywhere. A good time to do this is once it has covered the area you want it to grow in, maybe it outgrew its bed and is pushing into the path, what a great time to hill it. Just simply take all the stems and flip it from the path back into the bed. I’ve heard mixed reviews of putting more mulch or soil on top of the plants once you’ve hilled them, so why not try multiple methods and see what works best for yourself. If you are going to cover with mulch or soil, they say to cover all but a few inches of the tops of the stems and leaves. Try for yourself and let me know what works best!

I do not always try to grow sweet potatoes for tubers, but for the simple fact that they grow super fast, cover the ground, suppress weeds and are a quick edible leafy green. I have heard that too much nitrogen makes the plant focus on leafy growth and sprawling. Perfect for a ground cover! I have planted some sweet potatoes under an ice cream bean tree, inga edulis, a nitrogen fixing fruit tree, and it has produced an impenetrable ground cover where only native ferns and planted taro has sprouted under, perfect!

DSC_0265

Eating

Cook tubers just like any other potato; boiled, mashed, baked, hash browns, roasted, fried or get creative! You may use the leaves raw or cooked, I like them in sandwiches or tacos, or cooked like spinach. If you’re going to use the shoot tips you must cook them for at least 20-30 minutes and must not be eaten raw.

It is very hard to store tubers in our humid climate. The solution: harvest potatoes as needed! If you leave them in the ground they will not rot away and you don’t have to worry about storage. And if you forget about them, they just continue to grow. So just harvest a few when you want to eat them.

Where to obtain planting materials

Ask anyone you know growing sweet potatoes, I’m sure they will give you as many cuttings as you need. Or buy tubers from the farmers market, try to buy from a vendor that actually grows the potatoes themselves as they will be suited to your environment and hopefully grown without pesticides.

I have sweet potatoes growing in many different parts of the yard, but I have never bought starts, and only planted tubers I couldn’t eat quickly enough and they sprouted. So you can find them free easily. Maybe they are already growing in your yard and you don’t even know it! That happened to me when I moved in.

My Garden

I am growing at least four kinds and I only know what two of them look like, one is Okinawan, white/cream outside and purple on the inside, and the other is fully purple. The other two I only know from the leaves.

Before and after photos of my planting today. Pushing back the weeds to clear out space for ground cover. If you don’t stay on top of your weeds they will take over like happened here. I rediscovered some sweet potato, coconut, native hibiscus and ti that I planted months ago and neglected.

I always let the ferns and other native plants grow when I’m clearing areas. I may prune or cut back some ferns, especially uluhe, Dicranopteris linearis, when they are too big and intrusive. But the natives are  beautiful and have their place in the garden, hey, they were there before I was anyway!

Full of sweet potato cuttings now!


Happy gardening!

Most Used Tools

As my first post, I will describe a few of the most helpful and most used tools in the garden. These tools are not necessary, but they do make life easier. You can find them new or used at garden stores, on Craigslist, from farmers markets, from friends or anywhere else.

DSC_0233

Bucket – soil mixes, collecting weeds, carrying things

Machete – pushing back the forest or clearing an area for a garden bed

Sickle – cutting back mulch plants or overgrown weeds in a bed

Pruning Shears – harvesting, cutting back, deadheading

Hand trowel – planting, mixing soil

Gloves – hand safety (I do not use leather because of mold issues)

Tip: Keep your tools inside and clean them after use to prolong their life. I let my tools dry, then use a wire brush to clean, then move around in a box of sand to scrape final debris clean.